
We Value Your Culinary Privacy
EatMee Recipes uses cookies to provide a personalized browsing experience, analyze recipe popularity, and serve relevant ads. You can review our full disclosure in our Privacy Policy.
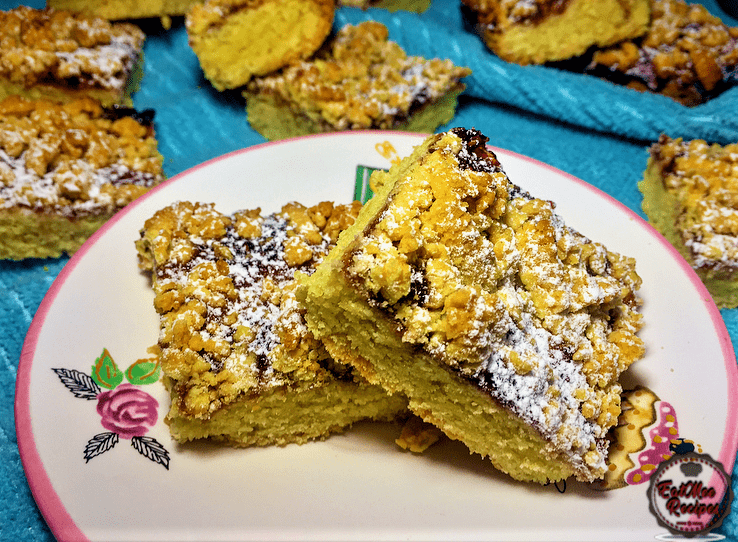
The classic South African bakery favourite! Melt-in-your-mouth buttery biscuit base filled with sweet jam and topped with grated pastry crumble.

Join over 60,000+ home chefs for weekly authentic Durban Indian cook-alongs, Instant Pot masterclasses, and family heritage recipes.
Hungarian Tart (Krummel Tert) is a delicate biscuit (cookie) like treat (similar to short crust pastry) spread with jam & finished off with a crumbly top layer. In spite of its name this treat has no relationship with Hungarian food yet remains a South African favourite. Most Indian households in South Africa will remember this treat as Jam Tarts.
It’s not excessively sweet, has great surface with the jam in the middle, the buttery base & the faint crunch from the top layer of ground dough. A couple of squares of this with a some coffee/tea, is immaculate paradise.
This recipe is fairly simple & not forgetting really quick to make. If you’re expecting guests at the last minute, this is an ideal treat to prepare as it does not take up much of your time.
Firstly, preheat oven to 180° Celsius or 356° Fahrenheit.
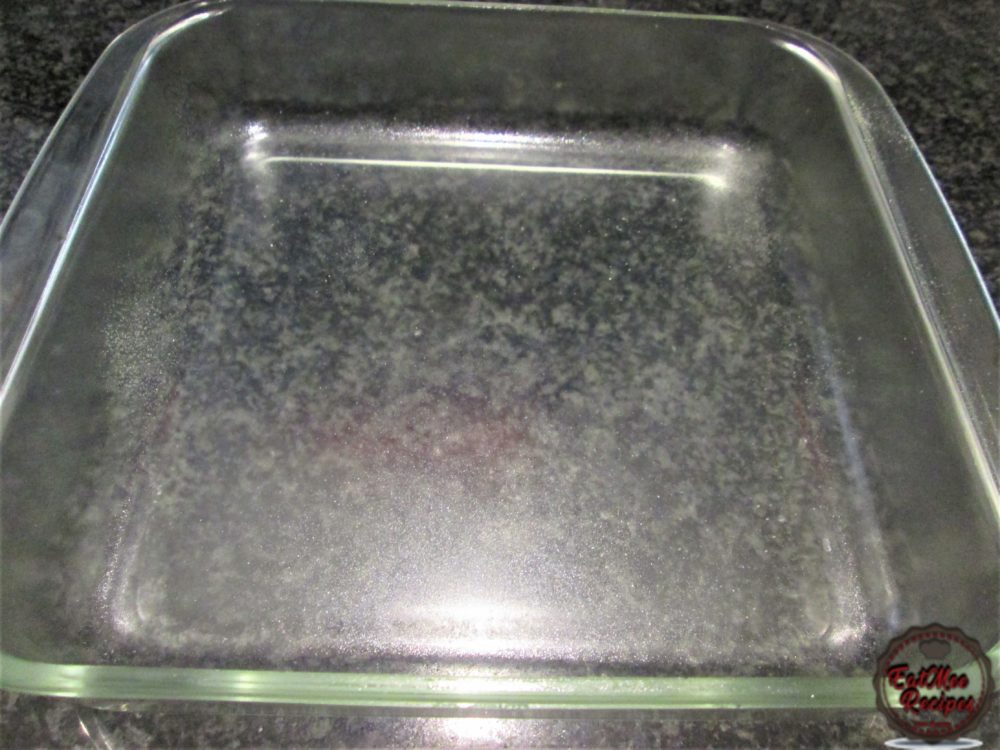
Grease a baking tray/casserole with spraying oil or butter & set aside.
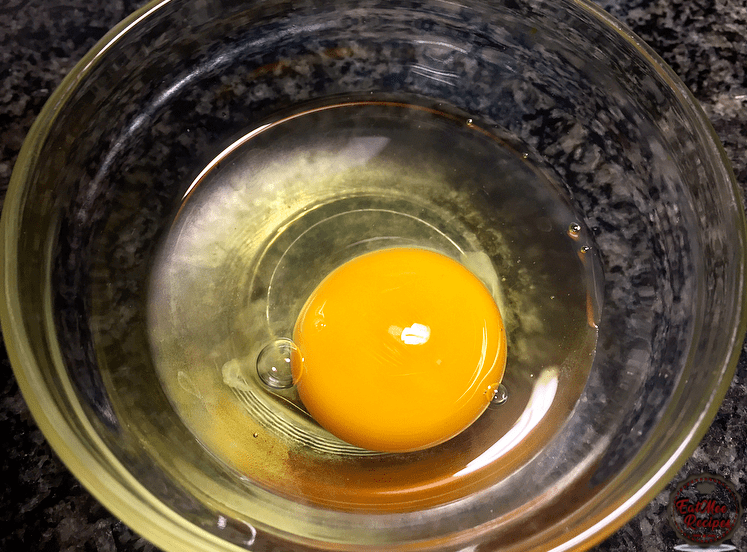
Crack the egg into a small bowl.
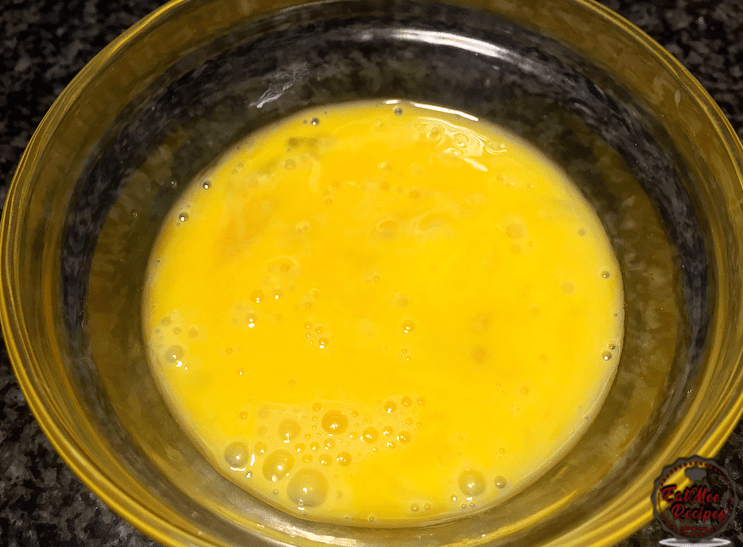
Beat the egg using a fork & set aside until ready to use.
Make sure that the butter is at room temperature.
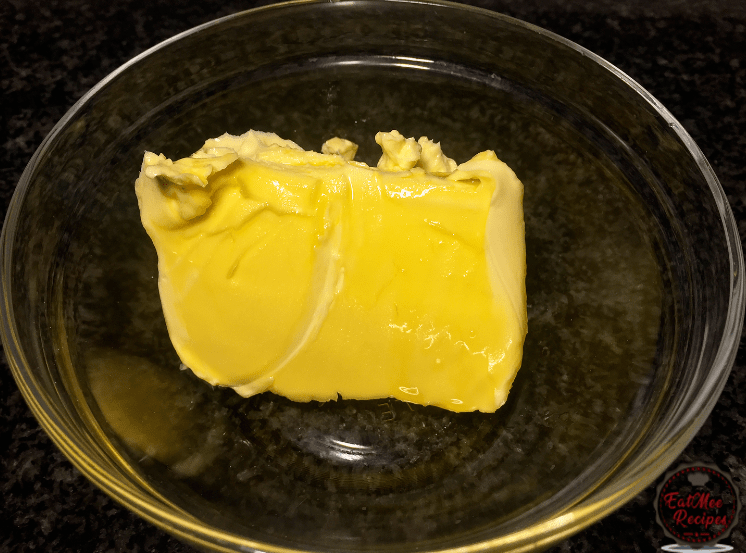
Add the butter into a mixing bowl.
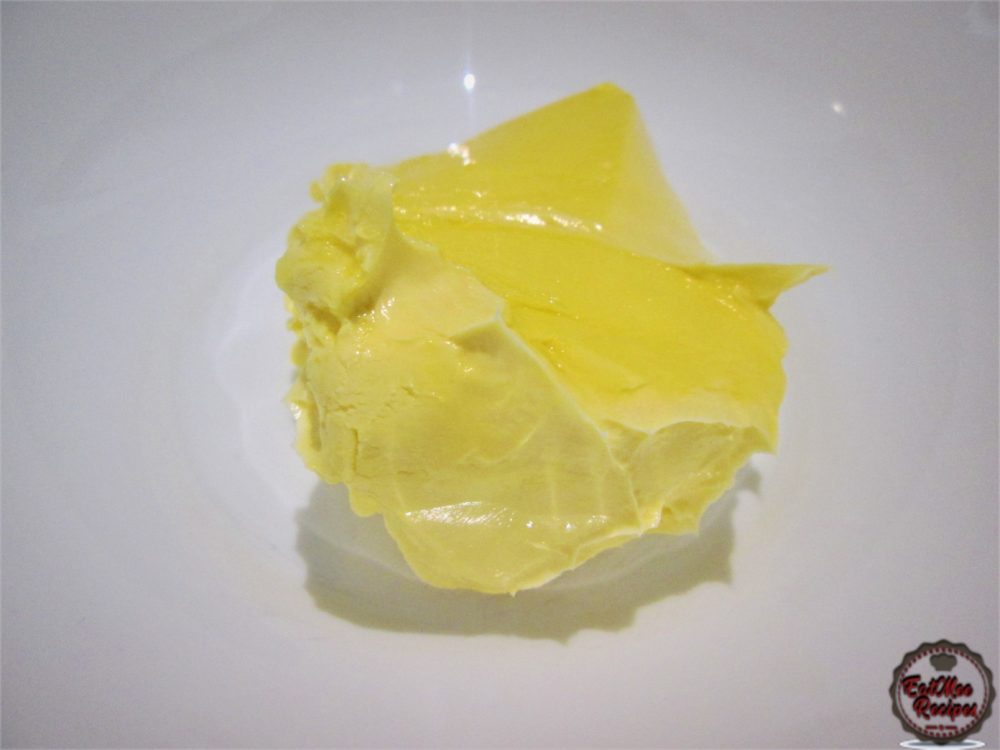
Add the icing sugar to the butter.
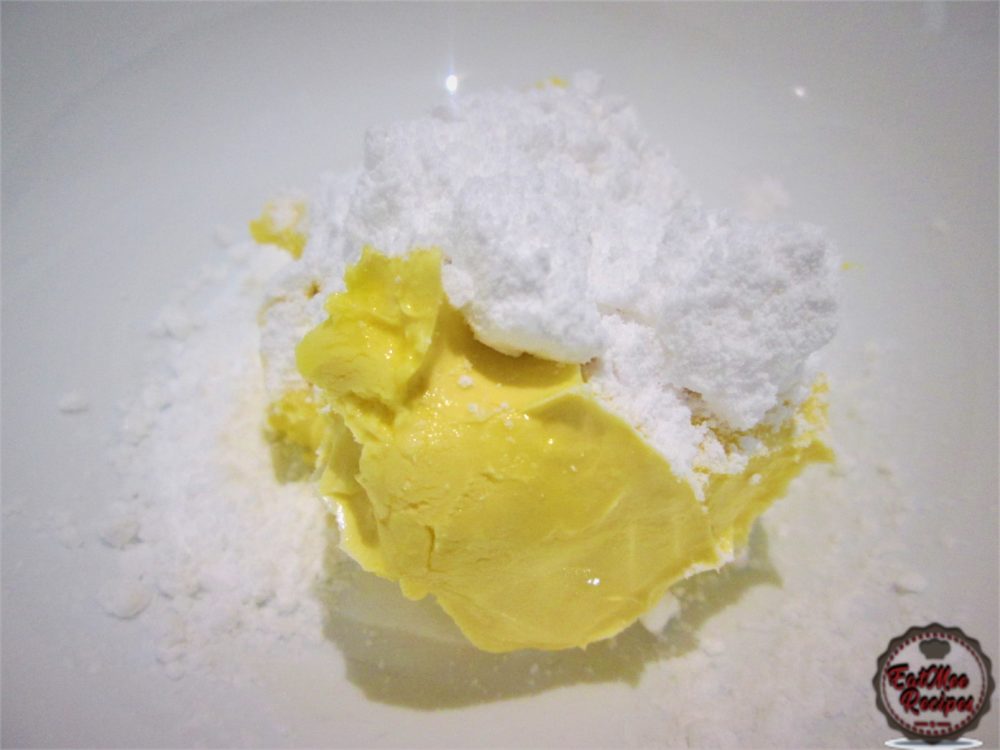
Cream the butter & the icing sugar using a spoon. I prefer using a wooden spoon for this process.
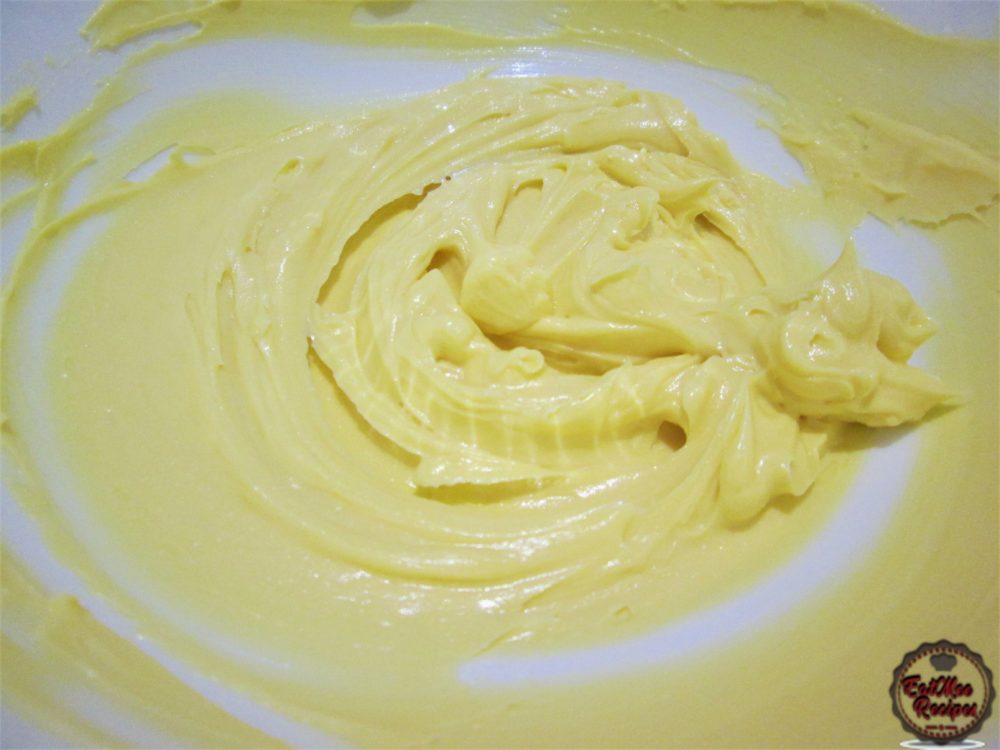
Once creamed, add in the vanilla essence & the beaten egg.
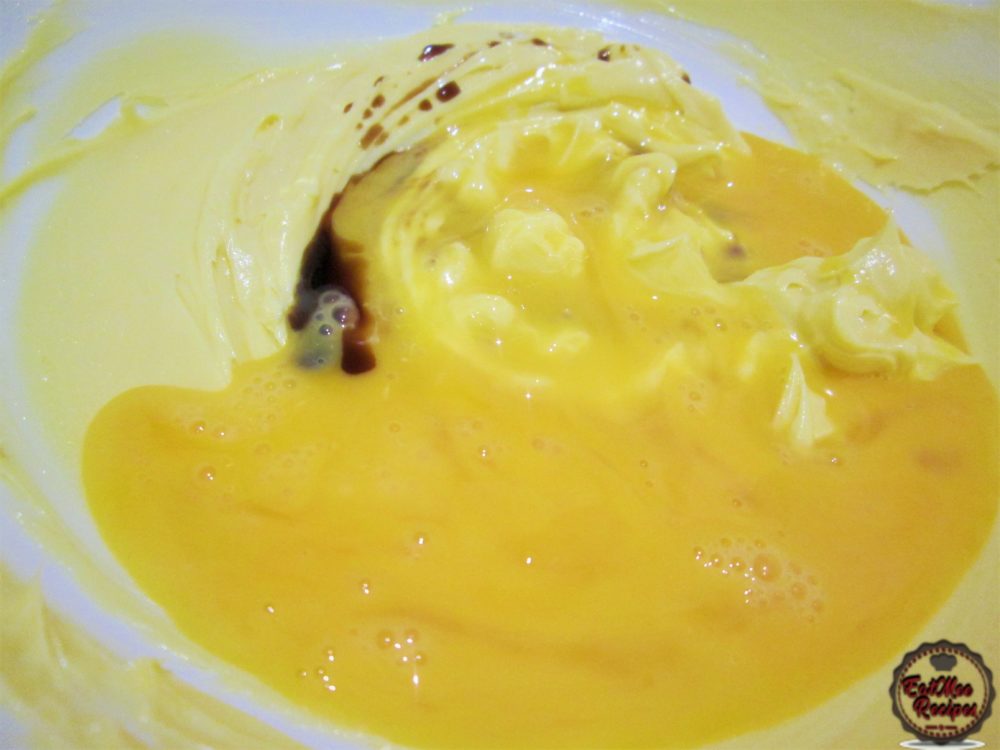
Thereafter, pour in the vegetable oil.
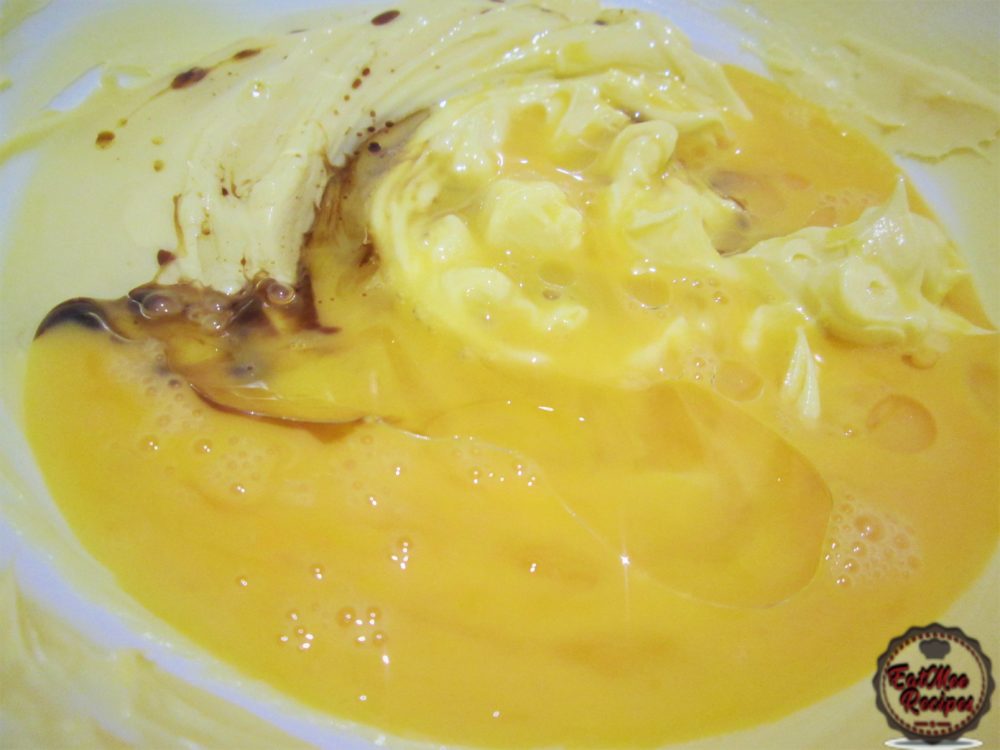
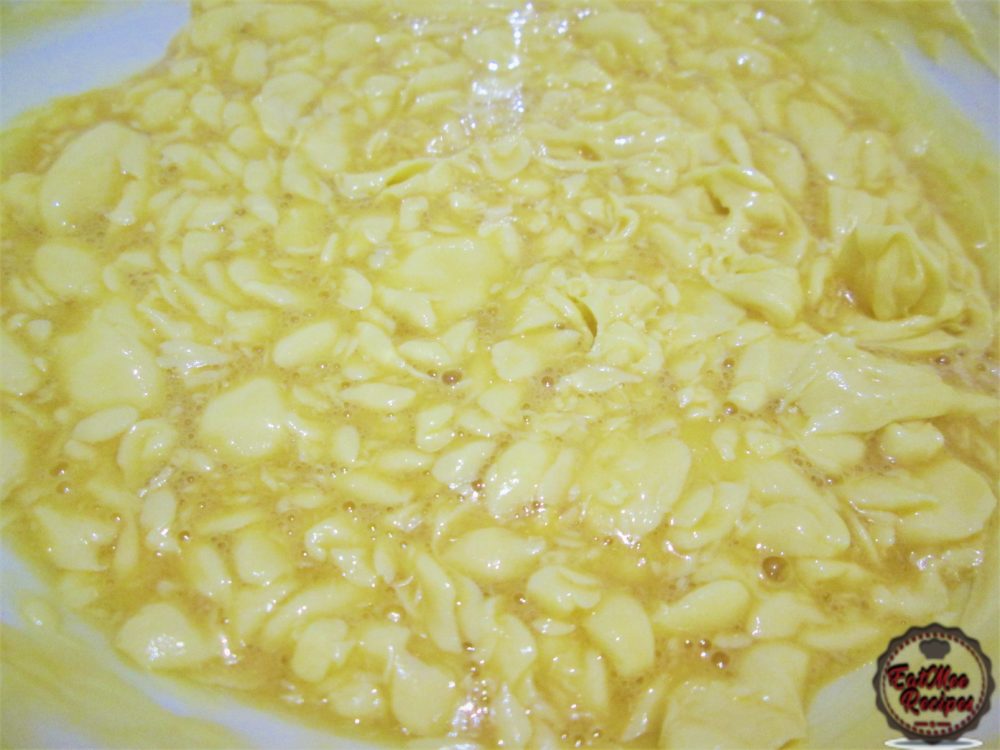
Mix well until all the ingredients are combined. You should end up with a lumpy mixture.
Thereafter, add in the flour & the baking powder.
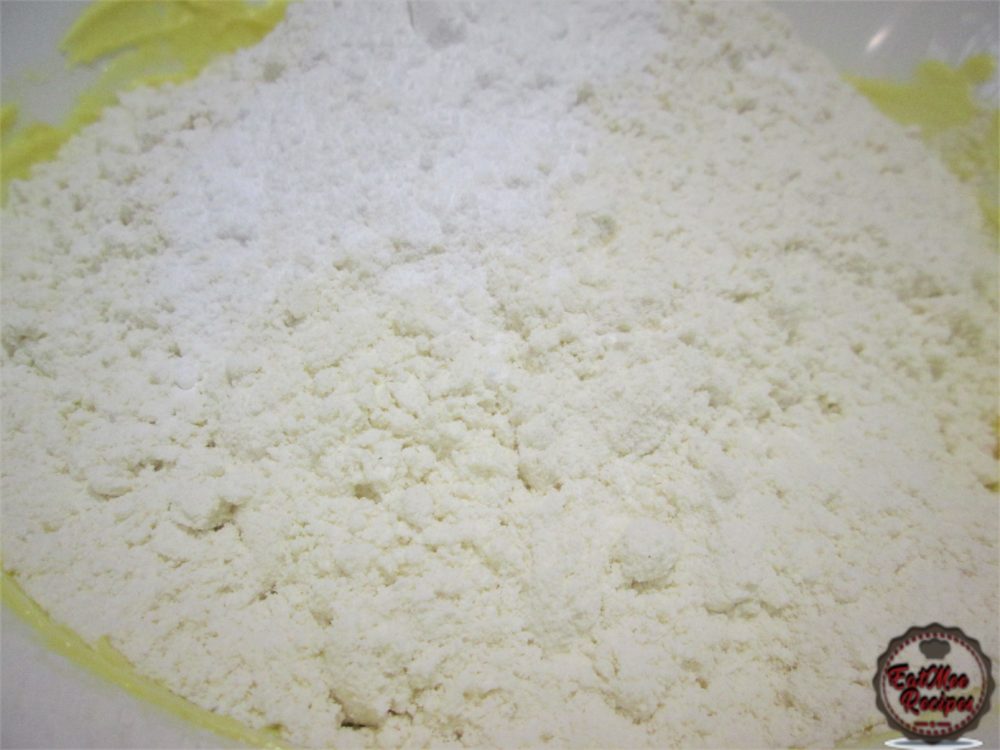
Give it a quick mix until the ingredients are incorporated. The mixture should be crumbly at this point. Don’t worry, it will get smooth in a bit.
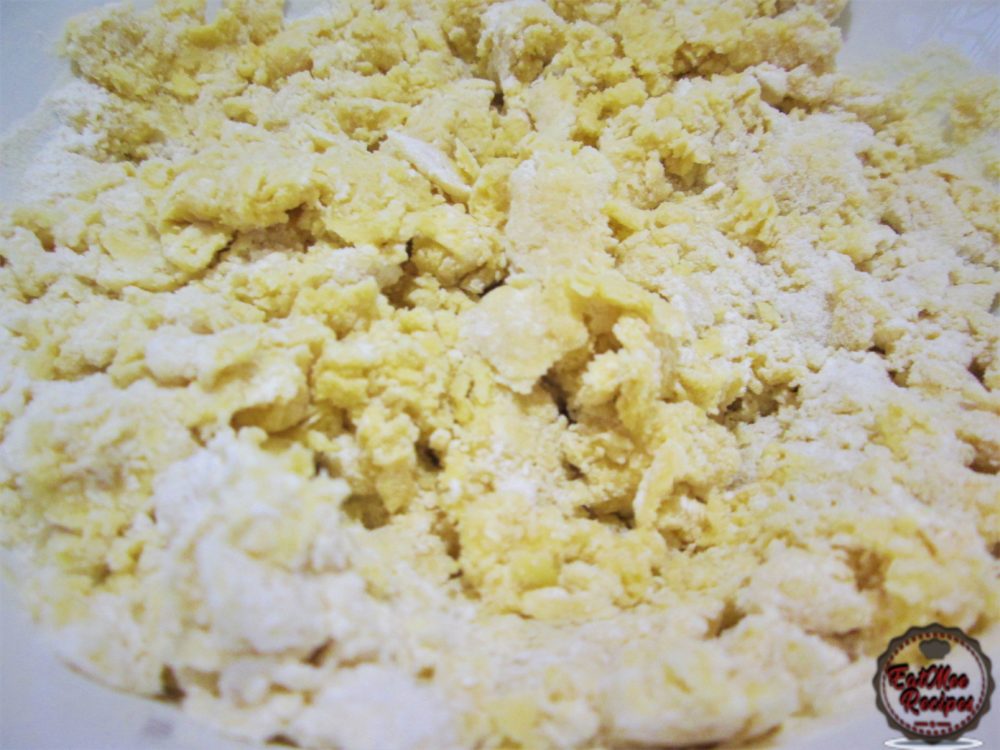
Now its time to get your hands messy, begin kneading until it forms a soft dough.
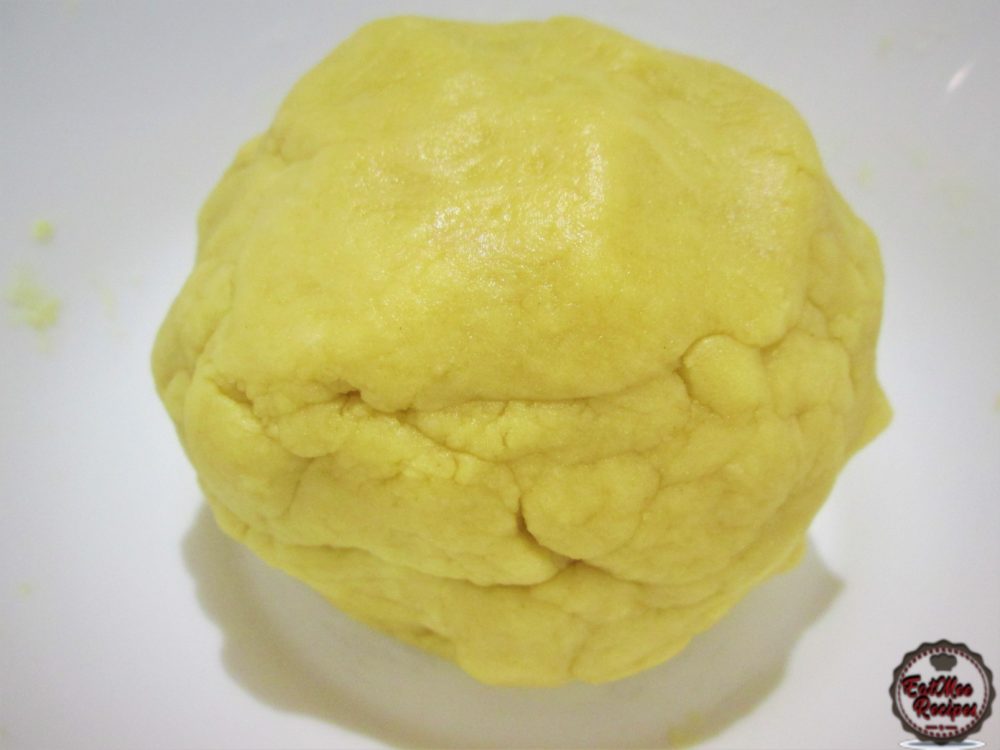
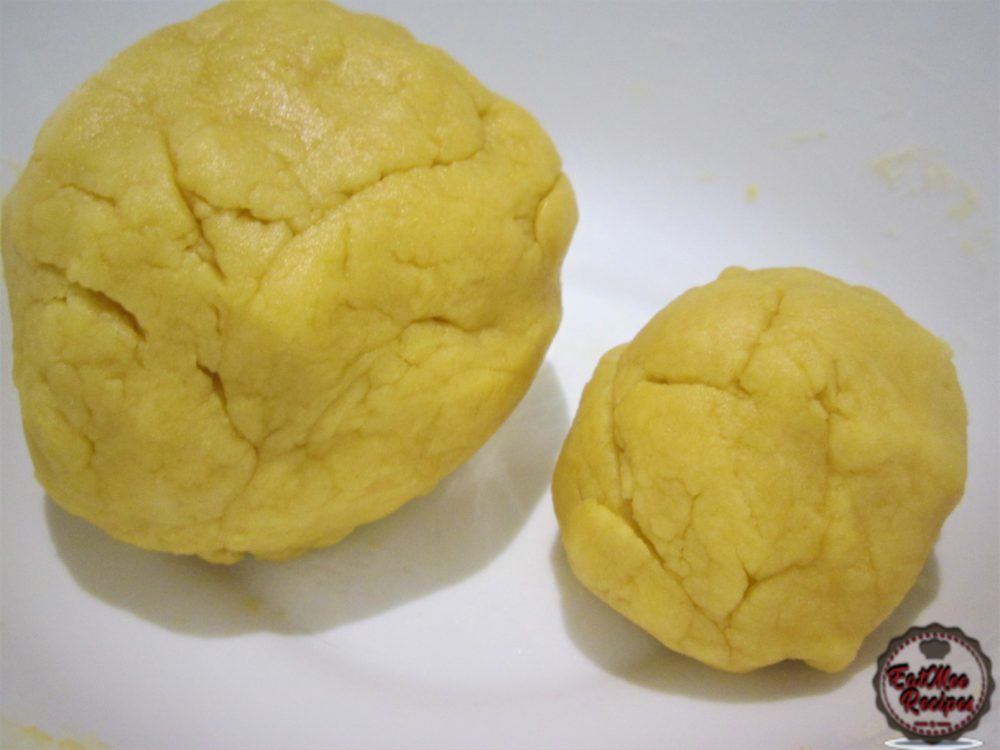
Separate the dough into two parts. I usually use a bigger piece of the dough for the base & leave aside a smaller piece to grate at the end.
Using the bigger piece of the dough, spread it evenly on a greased baking tray. Use a small glass & roll over to flatten if necessary.
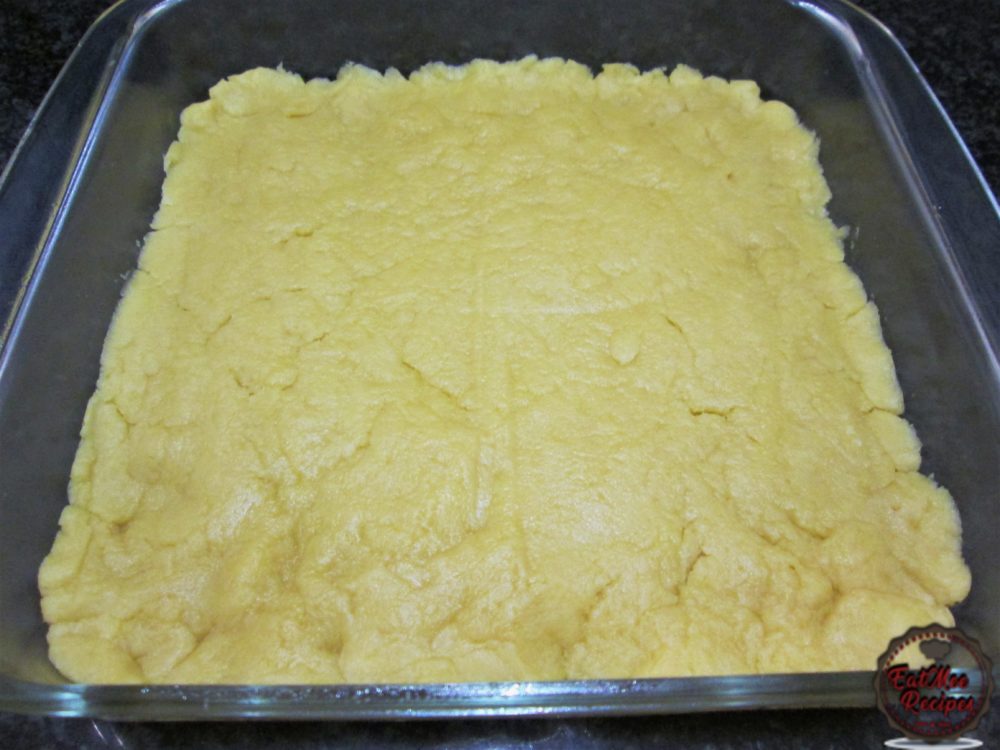
Using a fork, prick the layer of dough.
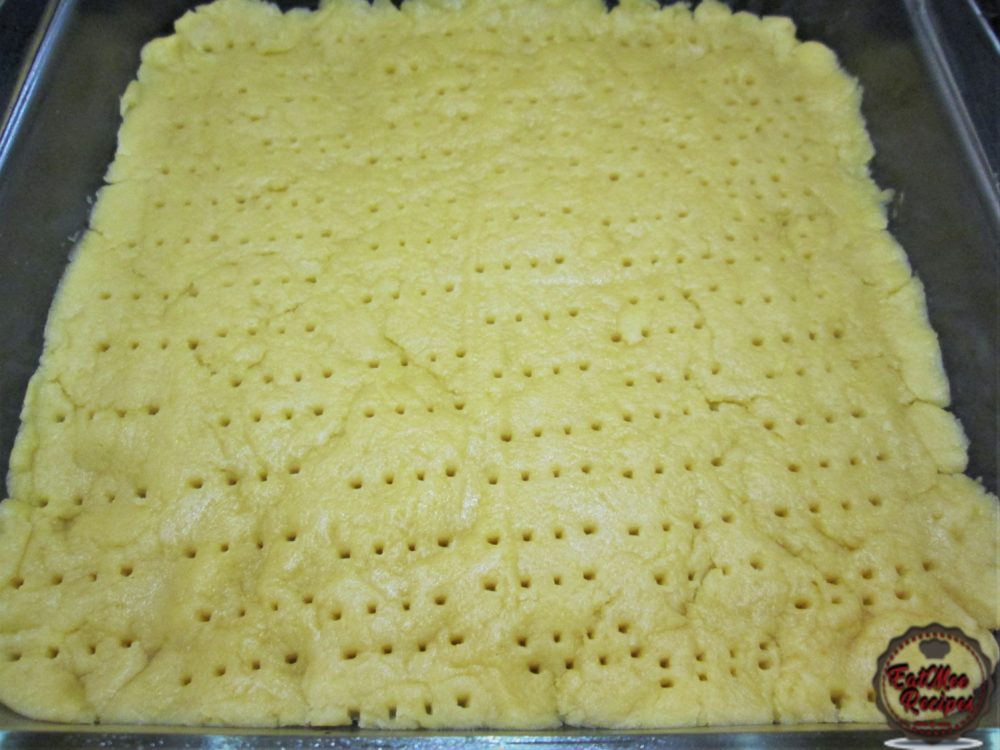
Now it’s time for the main ingredient, the jam. Spread a nice amount of any jam of your choice over the pricked dough. I personally love strawberry, raspberry or mixed berries jam so I have used raspberry jam in my Hungarian Tart.
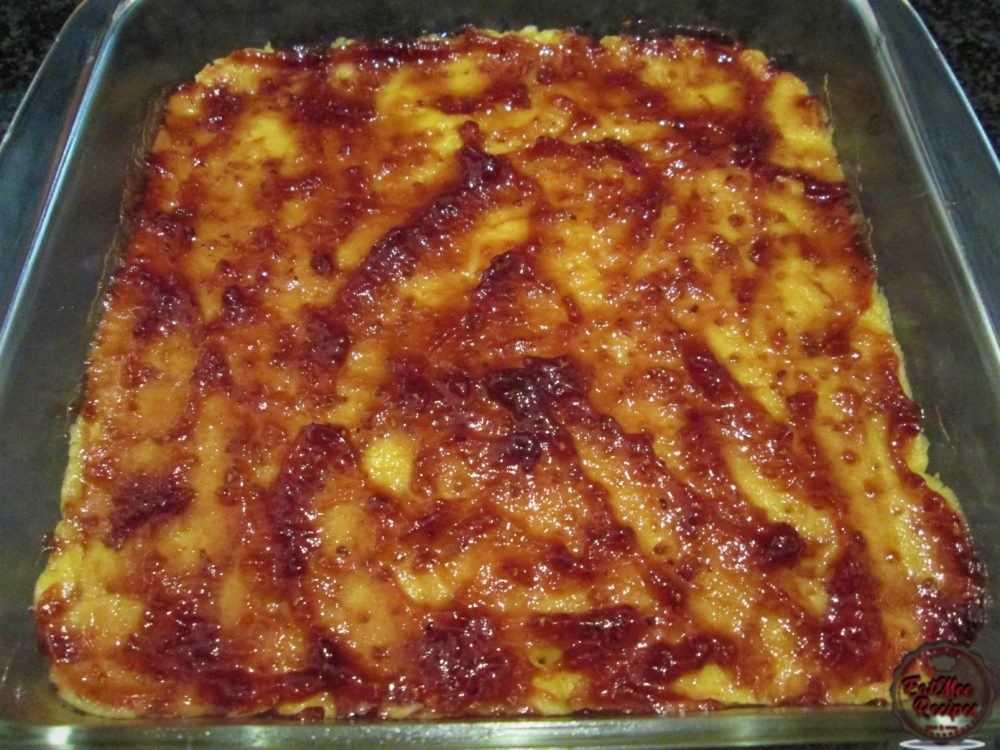
Remember the smaller piece of dough that was set aside? It’s time to grate that dough over the jam. This will create the crumbly effect.
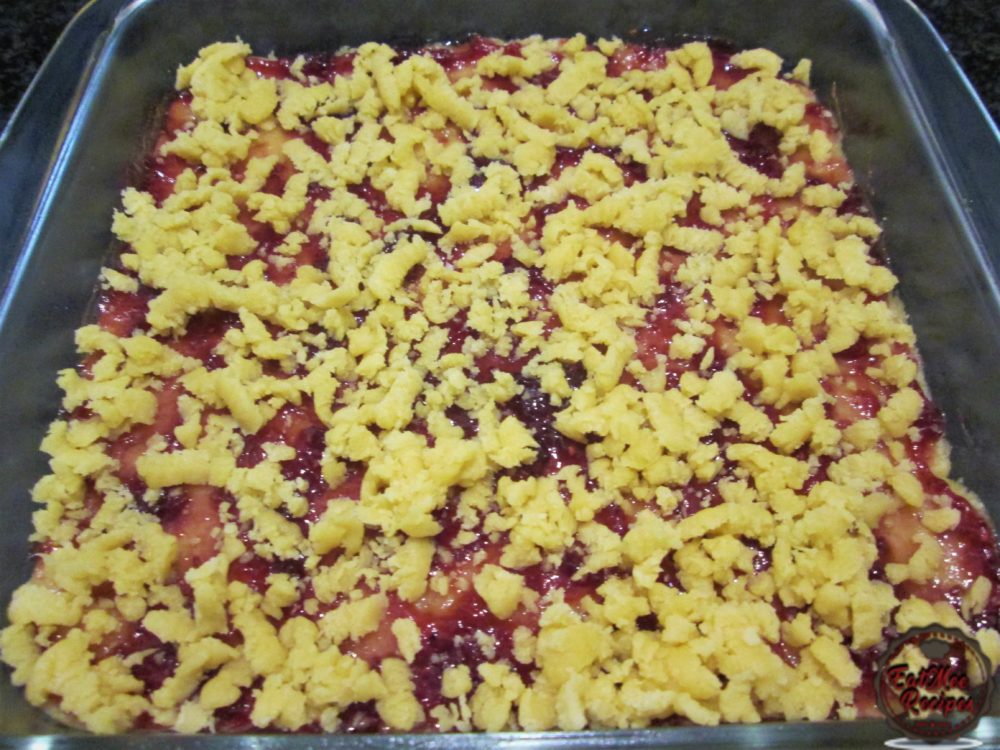
Once the dough has been grated over, it’s ready to be baked. Place the baking tray/casserole into the preheated oven & bake for 25-30 minutes.
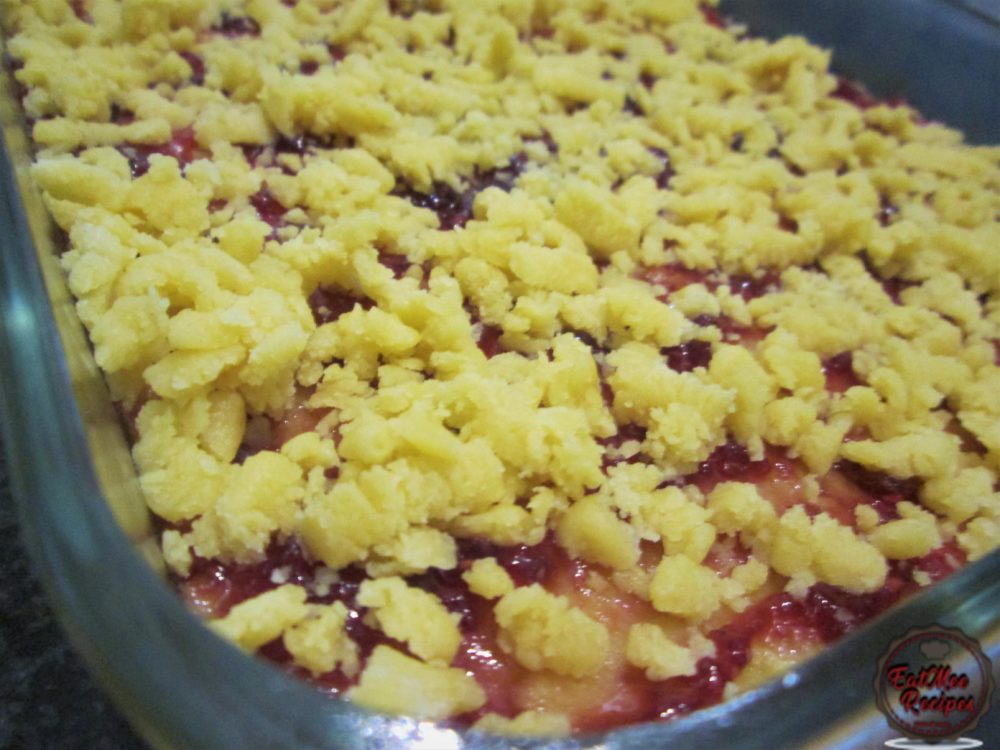
When it has finished baking, it should be golden on the top & give off a tantalizing aroma.
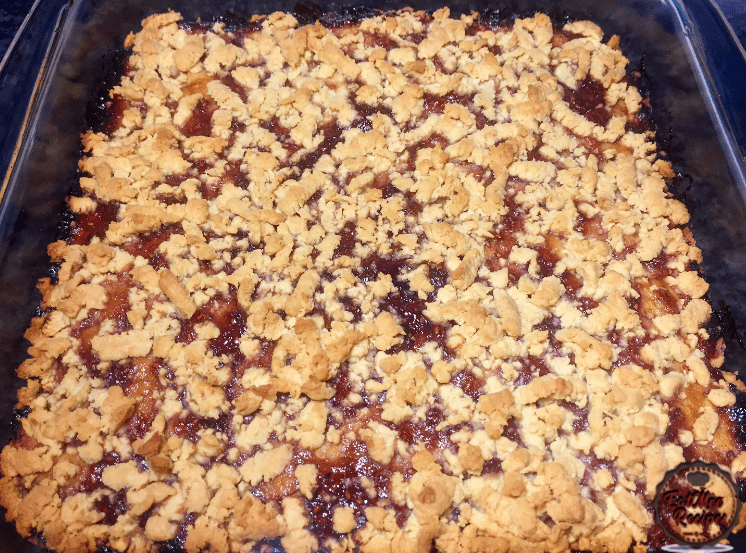
Set the hot tray/casserole aside & allow it to cool down until bearable to touch.
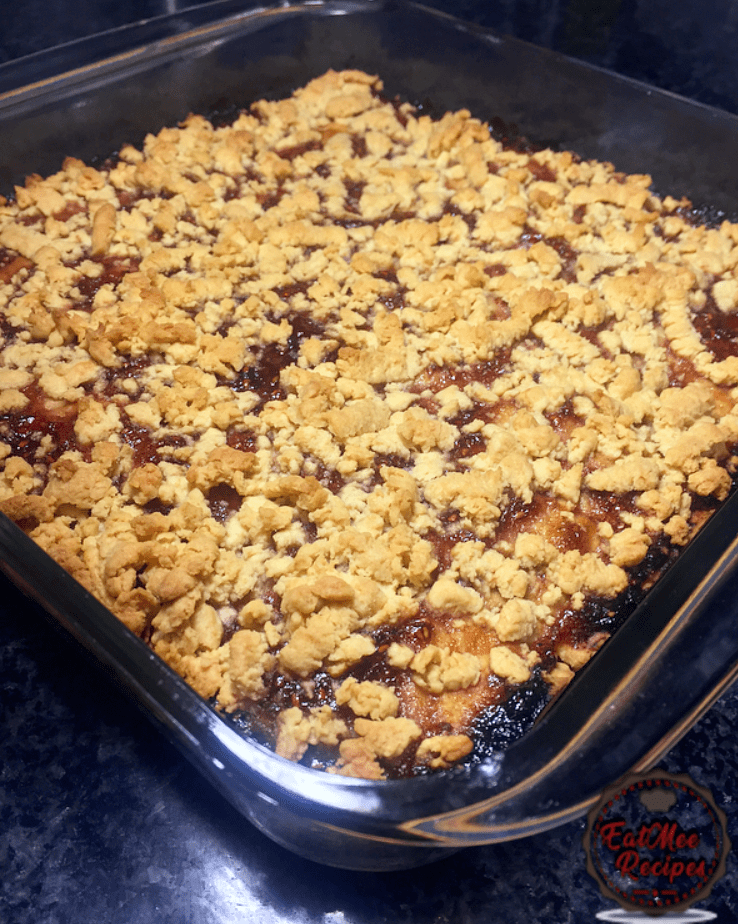
Once cooled, slice into squares. I usually get 16 pieces out of this mixture, but it will depend on how big your baking tray/casserole is.
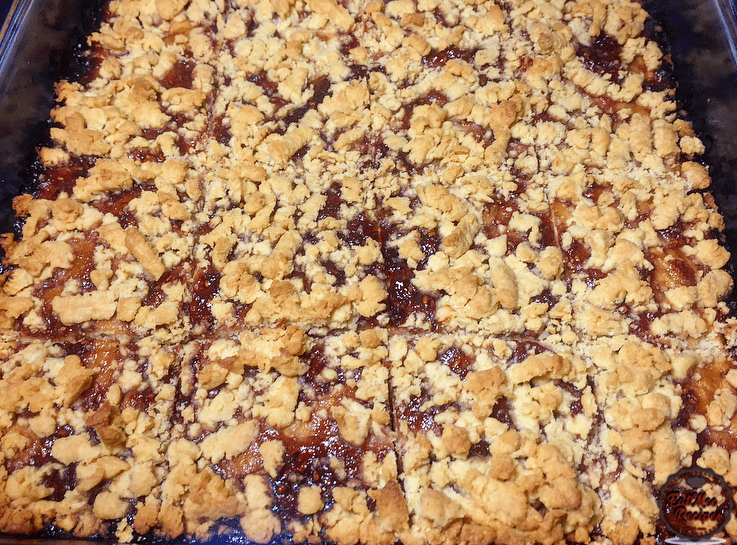
It may be served as is.
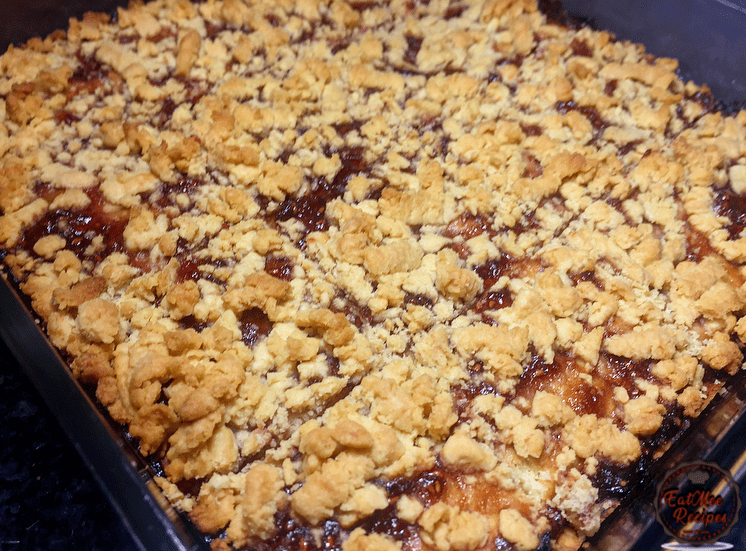
If you want to take it a step further, sift over some icing sugar. This step is optional.
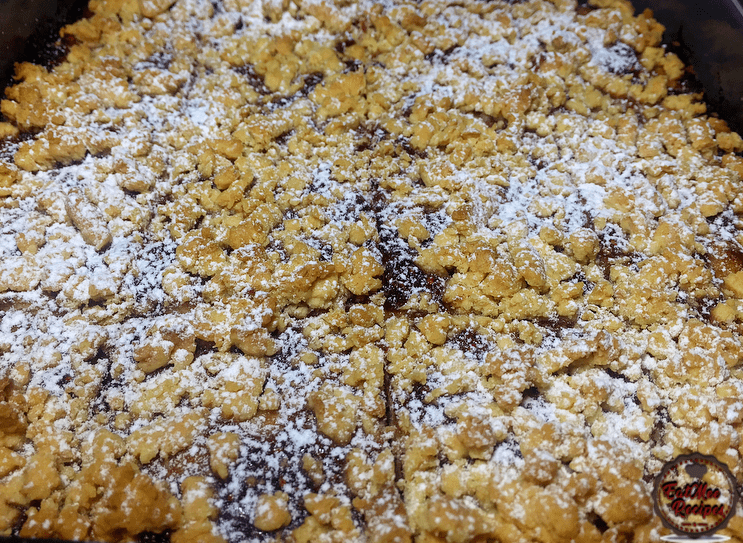
Plate & serve.
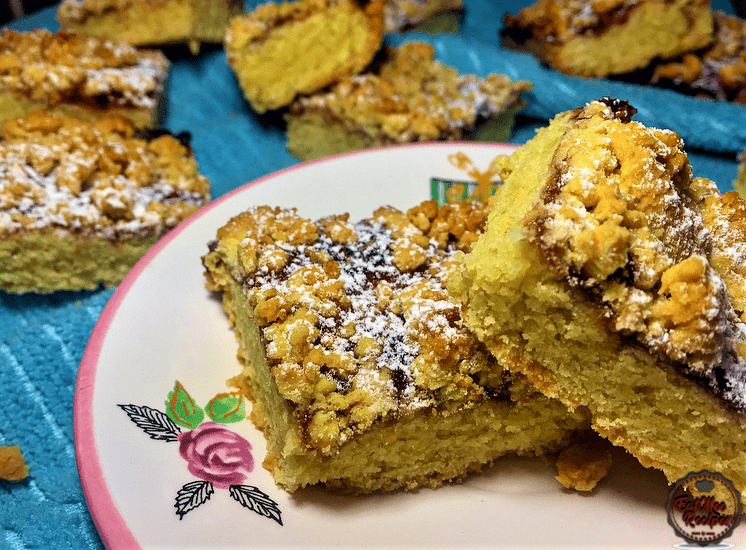
Goes best with a hot drink, preferably tea or coffee. This treat can also be served with a dollop of ice cream or whipped cream.
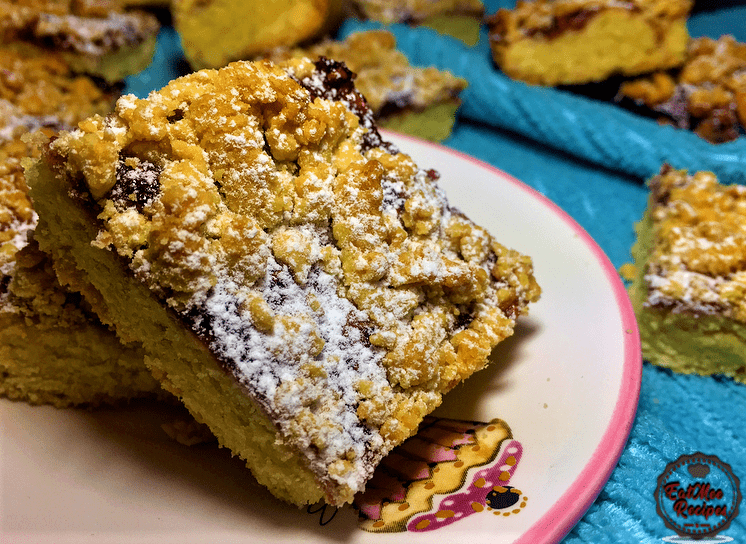
To store these Hungarian Tarts, simply place them into an airtight container. It can be stored for up to two weeks.
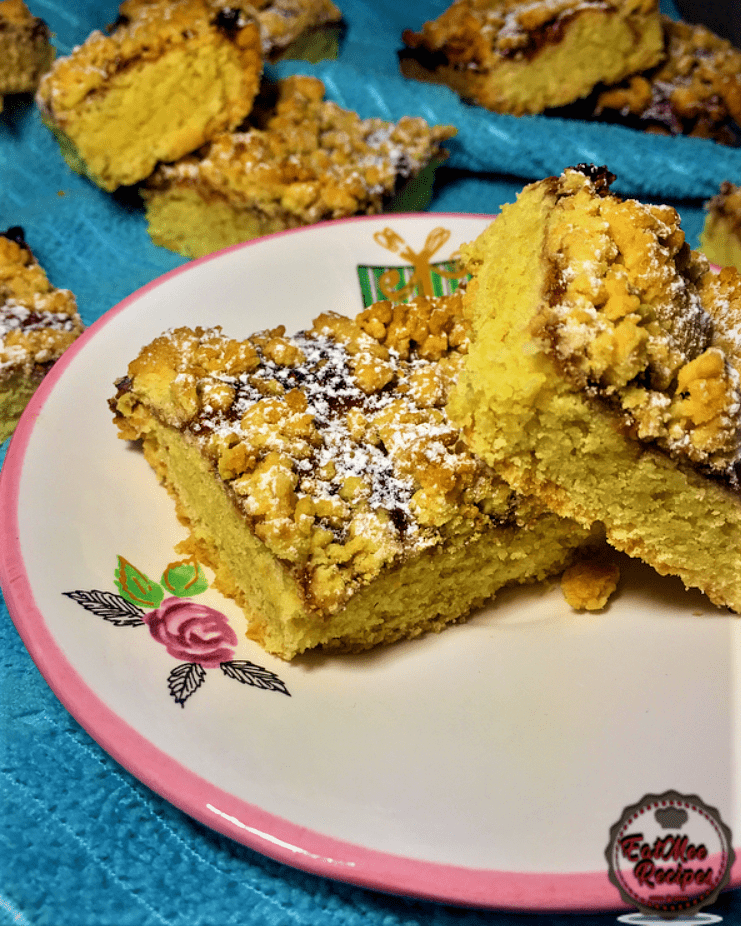
Follow along with Denisiya's step-by-step video guide for Hungarian Tart.
Expert kitchen guidance and troubleshooting for making the best Hungarian Tart
Store in an airtight container at room temperature for up to 1 to 2 weeks. For milk-based sweetmeats like burfee or soji, refrigerate in an airtight container for up to 7 to 10 days.
Pure butter or ghee provides the authentic rich aroma and texture characteristic of traditional Indian sweetmeats and bakes. Margarine can be used in a pinch, but butter delivers superior flavor.
Hi, I'm Denisiya! Food lover, recipe developer, and founder of EatMee Recipes. I specialize in authentic South African Durban Indian cuisine, comforting curries, and modern Instant Pot adaptations. Every recipe on this site is tested in my personal kitchen to ensure you get mouth-watering, foolproof results every time.
Explore more authentic Durban curries, traditional bakes, and comforting family favourites.
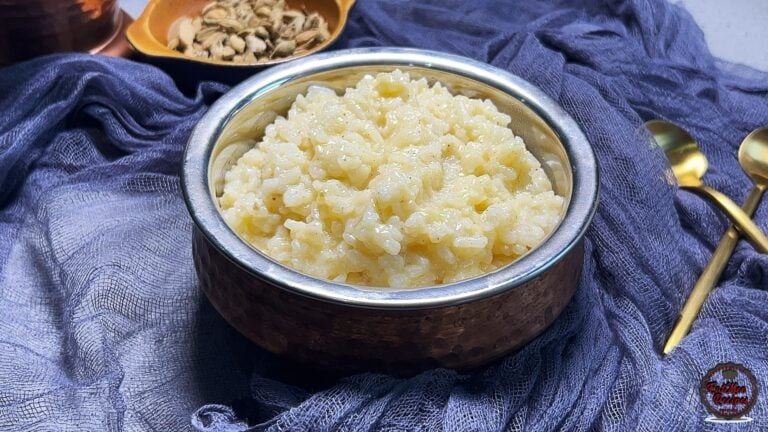 Desserts
If you love traditional South African sweet rice but want an easier, hands-off method, thi...
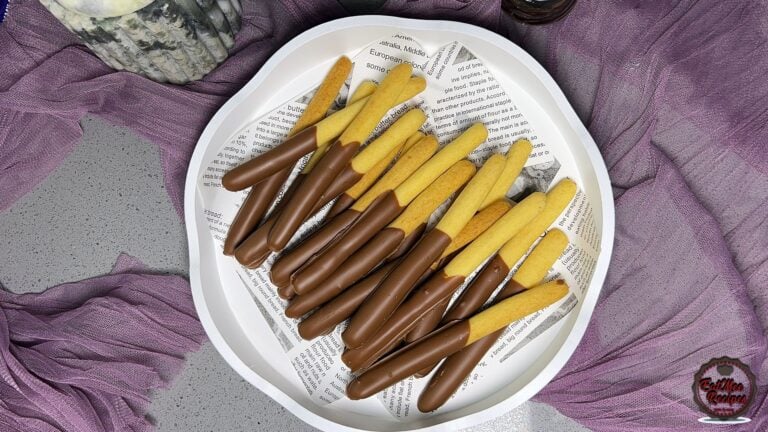 Desserts
Light, crisp, and delicately sweet biscuit sticks dipped in chocolate
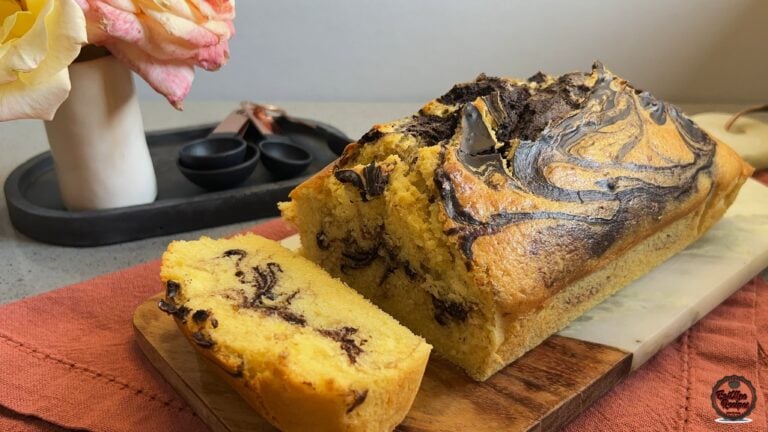 Desserts
There’s something comforting about a marble loaf cake fresh from the oven, especially when...
Have you tried this recipe or have questions for Denisiya? Join the conversation below.
No comments yet. Be the first to share your thoughts on this recipe!
Leave a Comment
Your email address will not be published. Required fields are marked *