INSTANT POT CARAMEL FLAN
This Recipe Makes 1 Medium Sized Flan
Instant Pot Caramel Flan is a sweet dessert that is served cold. It is also often referred to as Flan, Creme Caramel or Caramel Custard.
Traditionally, this dessert is baked in the oven but since the Instant Pot is so versatile, I though why not, right? The results were amazing!
Growing up, this Caramel Flan was a must have & my favourite part of it was the caramel of course.
I have looked into other online recipes & tried the steam option when preparing this Caramel Flan but unfortunately it did not work for me, so after some experimenting, I finally perfected it – 30 minutes in the Instant Pot on high pressure. Note, for this recipe you must have a trivet for the Instant Pot, it is included with your purchase.
Instant Pot Caramel Flan Ingredients:
Caramel:
- ⅓ cup white sugar
- 2 tablespoons water
Custard:
- 1 ½ cups water for the Instant Pot
- ¼ cup white sugar
- 2 eggs
- 2 egg yolks
- 1 ½ cups milk
- 1 teaspoon vanilla essence
Method:
- Firstly, start by preparing the caramel. It is crucial that you use a bowl that is microwave & oven safe. The same bowl will also be used to set the Caramel Flan in.
- Add the ⅓ cup white sugar to the bowl. I used castor sugar for this recipe but granulated sugar should work as well. I don’t use brown sugar for this step as it tends to bubble over & create a mess.
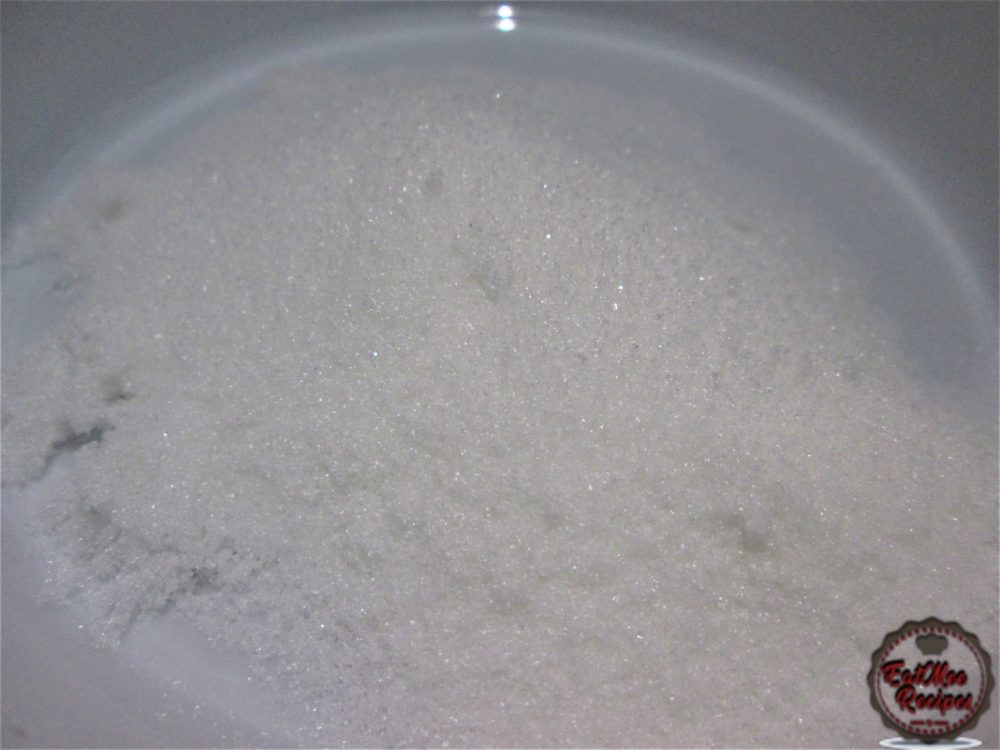
- Thereafter, add in the 2 tablespoons of water.
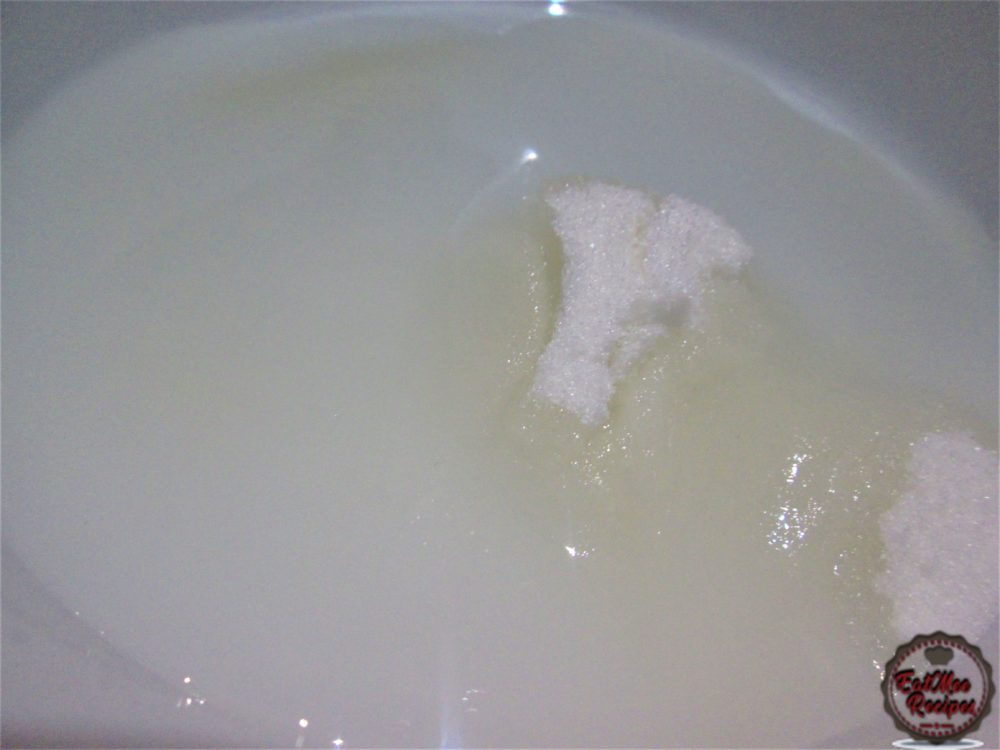
- Give it a stir so that the sugar moistens with the water.
- Microwave on high, uncovered for
- minutes.
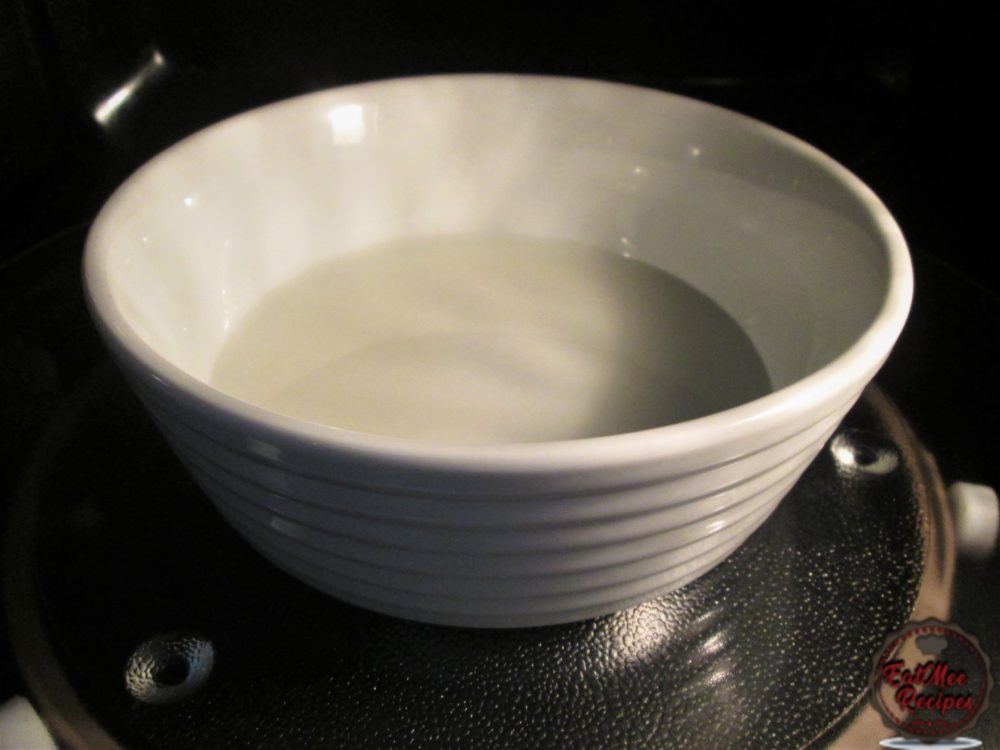
- The sugar should caramelize. Be careful as this mixture & the bowl should be very hot, always use mittens when handling it. Also be cautious if using thinner bowls. Alternatively, this process may be done on the stove-top but it will take much longer.
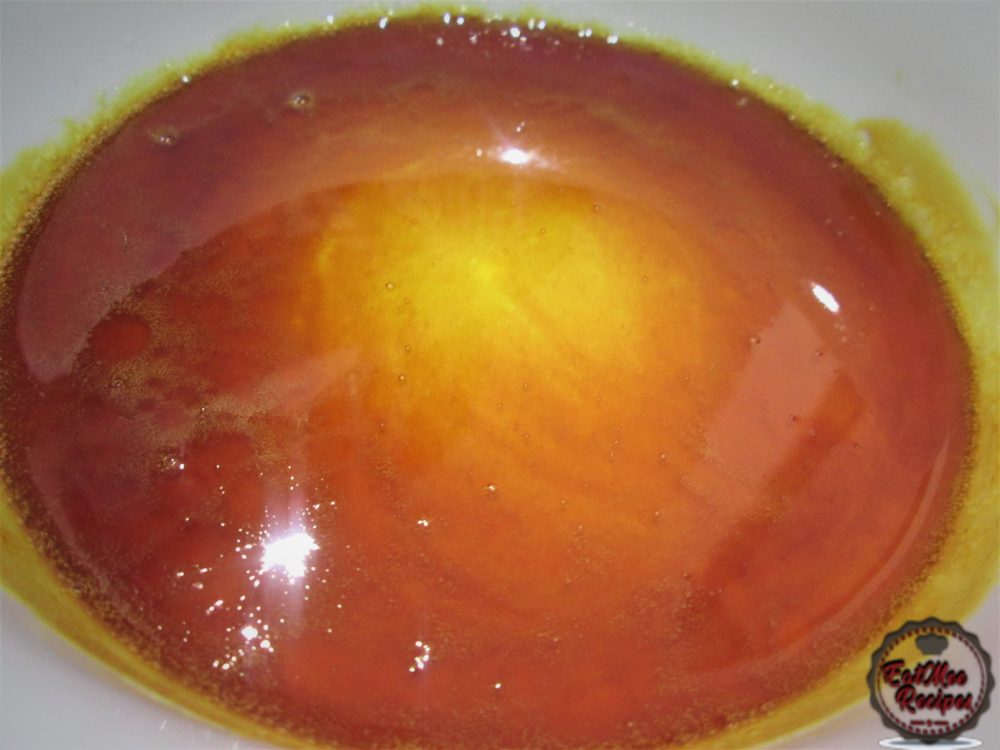
- Next, swirl the bowl around so that the caramel coats the sides – be quick because the caramel does harden.
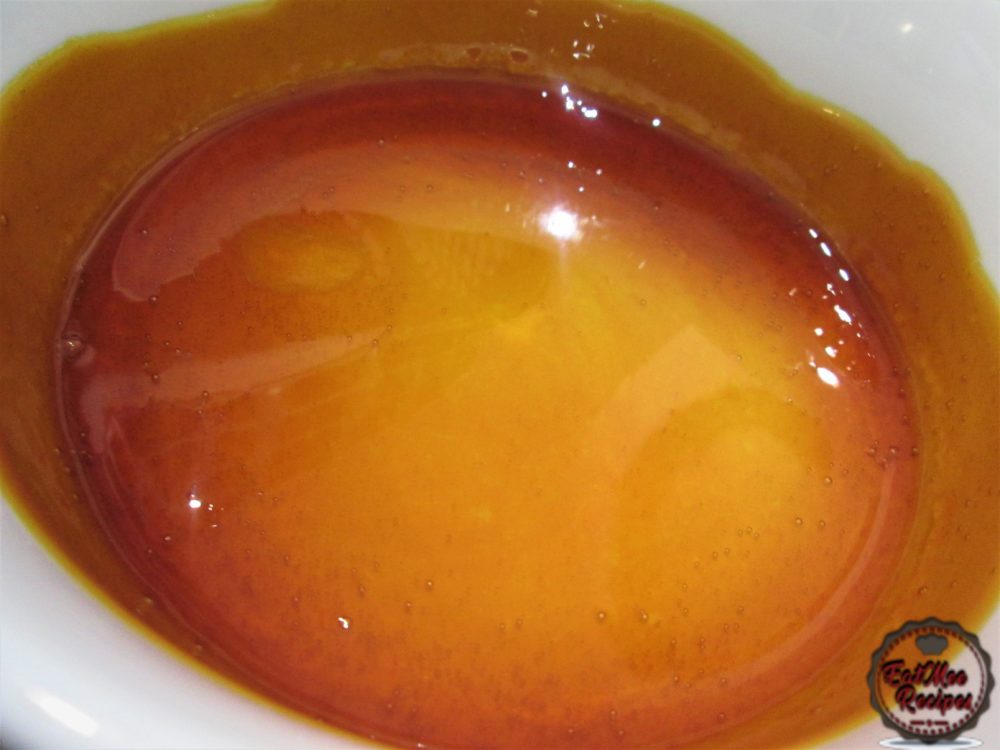
- Now that the caramel is done, it’s time to prepare the custard.
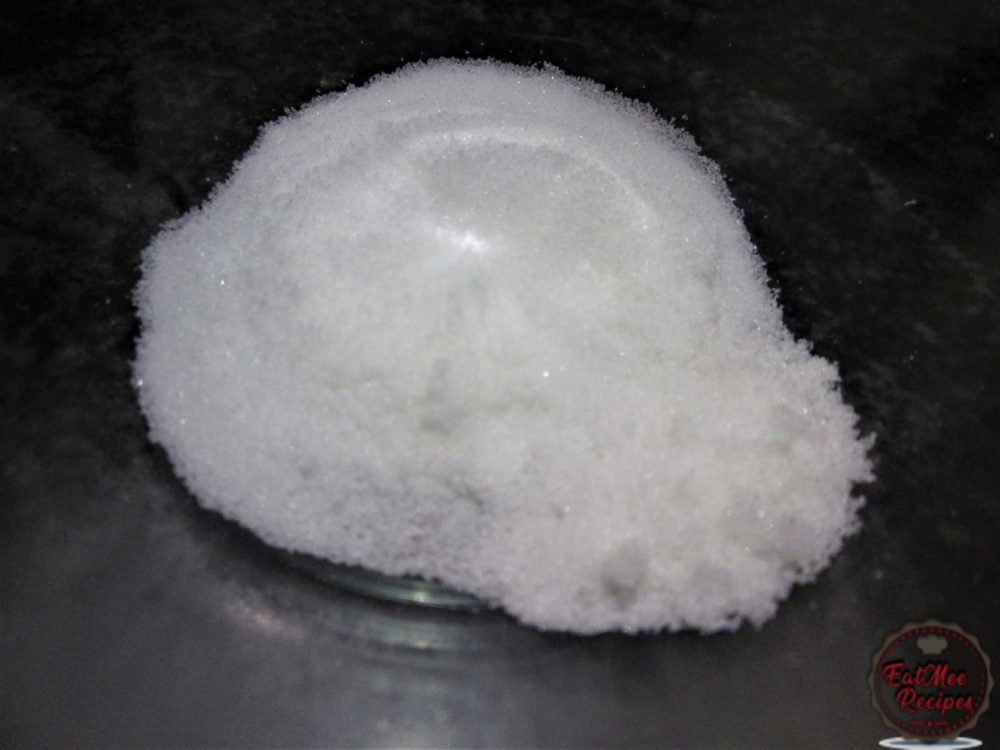
- To another bowl, add in the ¼ cup of sugar.
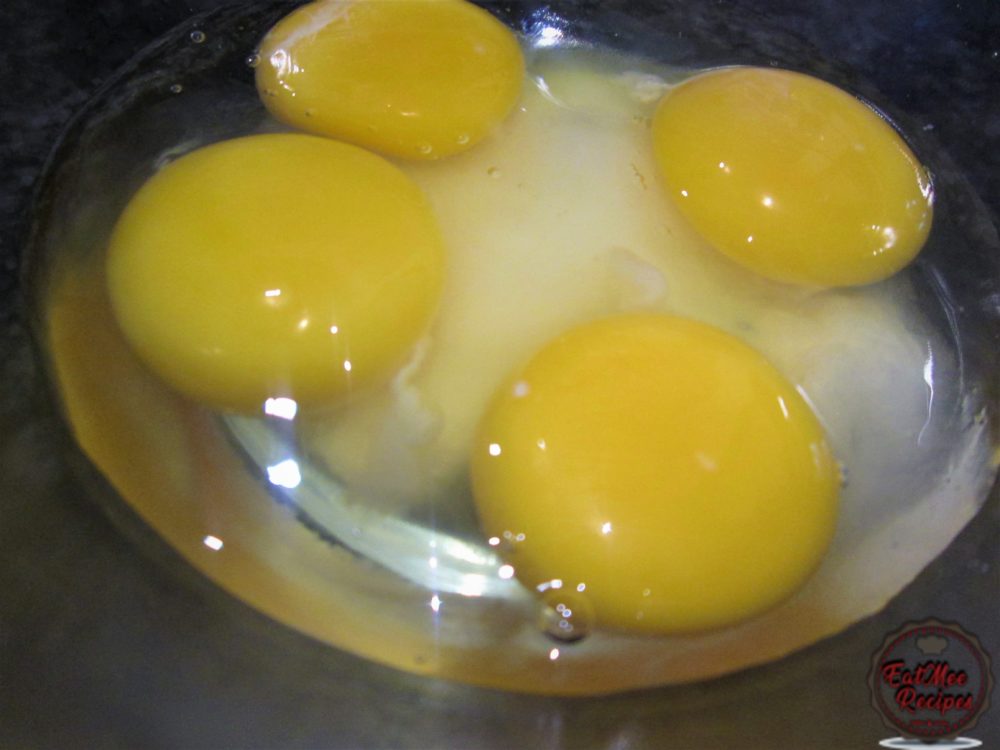
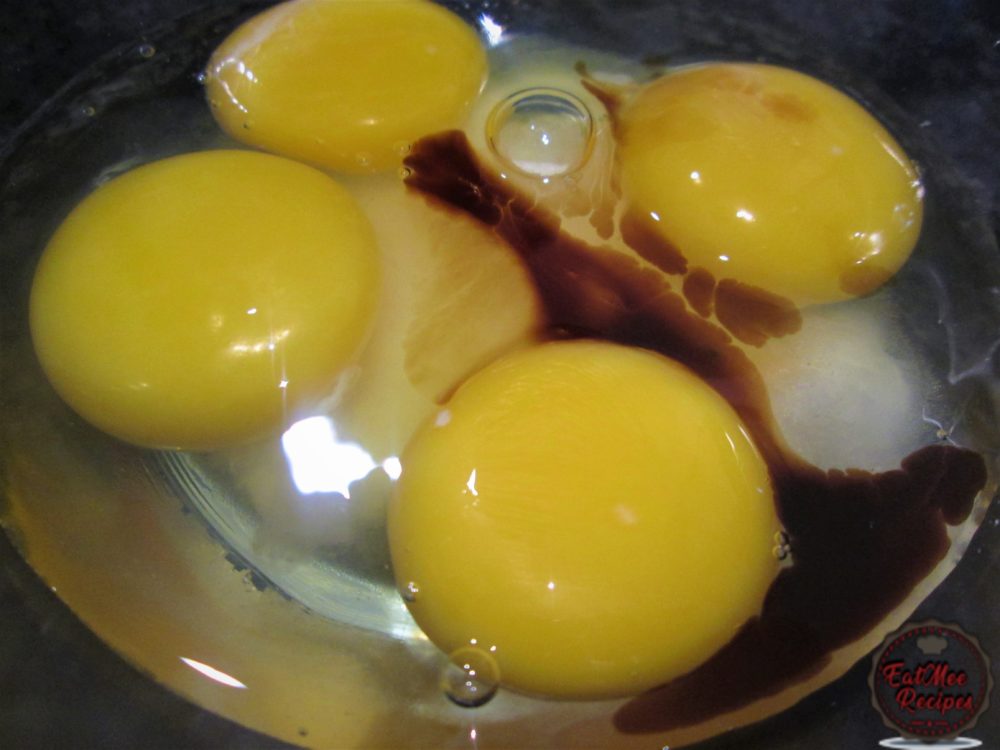
- Crack in two eggs.

- Then add in the egg yolks.
- Pour in the vanilla essence.
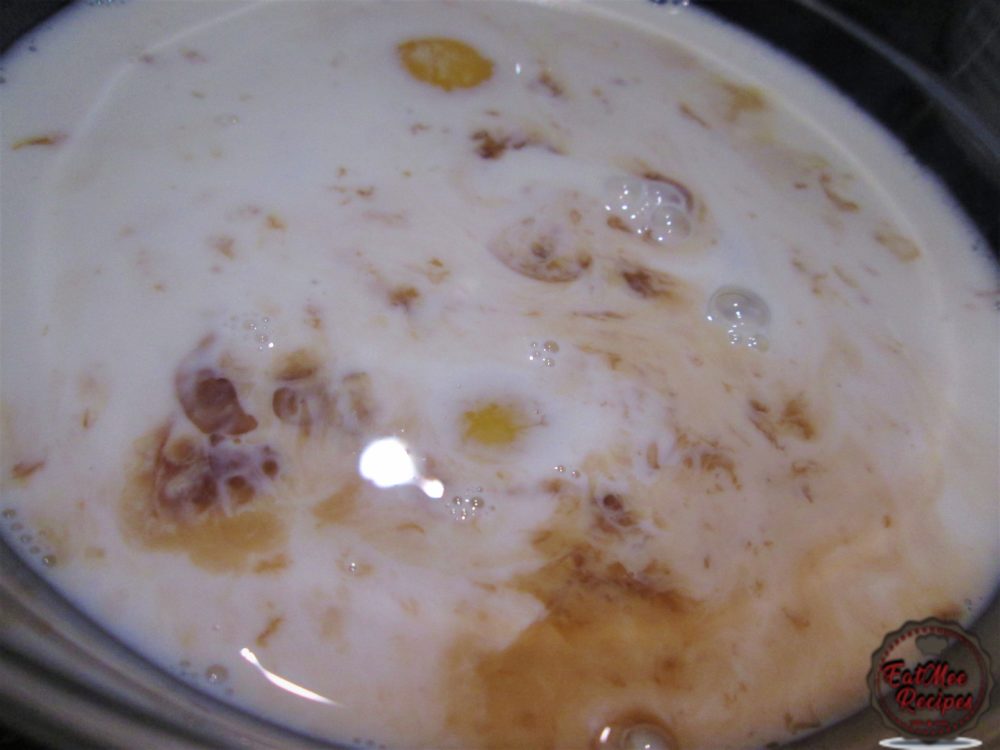
- Thereafter, pour in the milk.
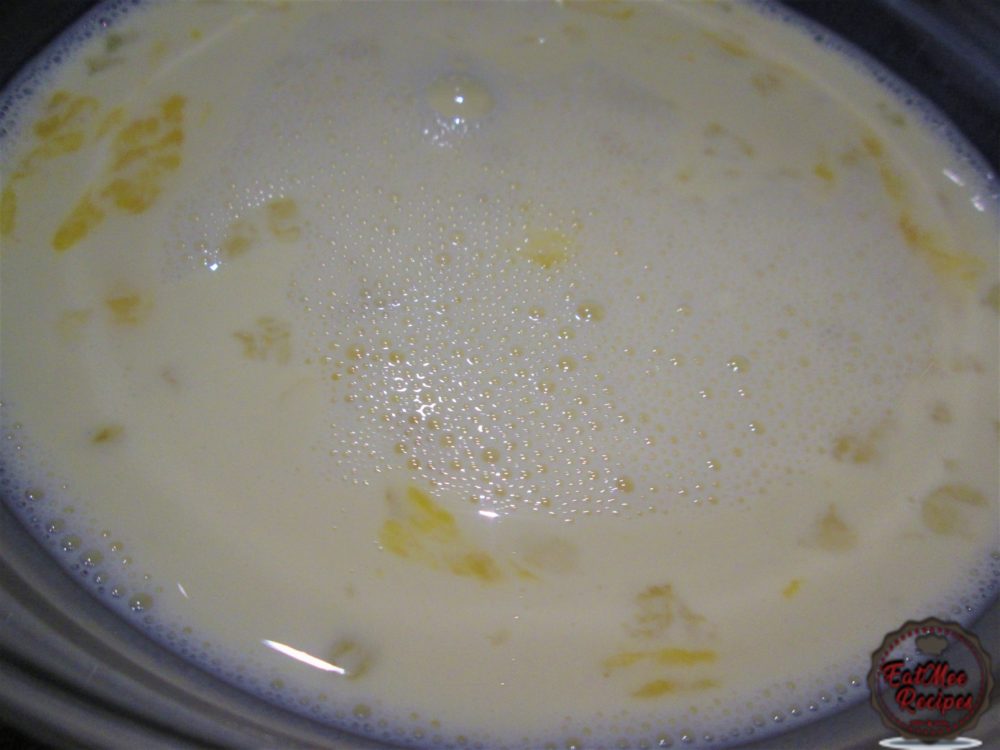
- Mix well.
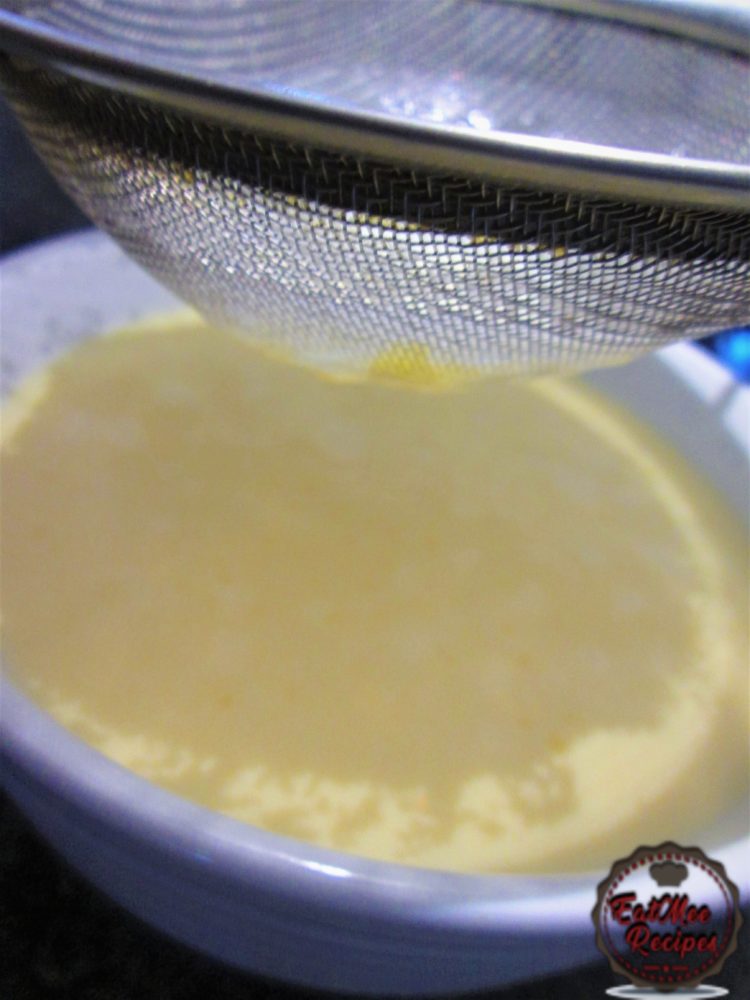
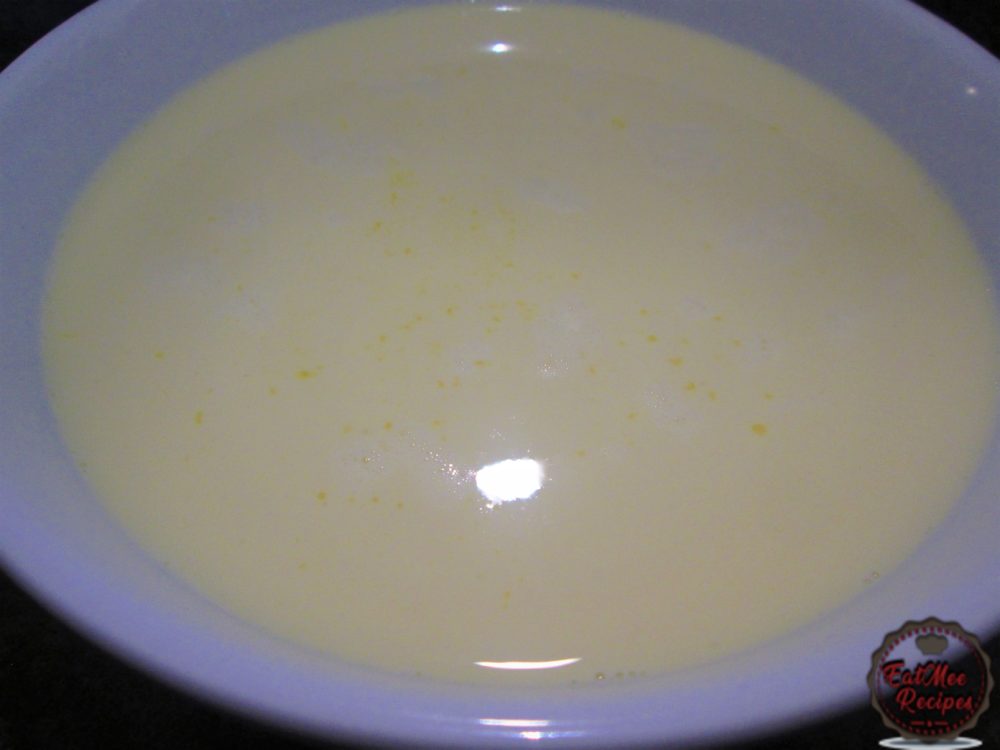
- Using a sieve, strain the custard mixture into the bowl of caramel.
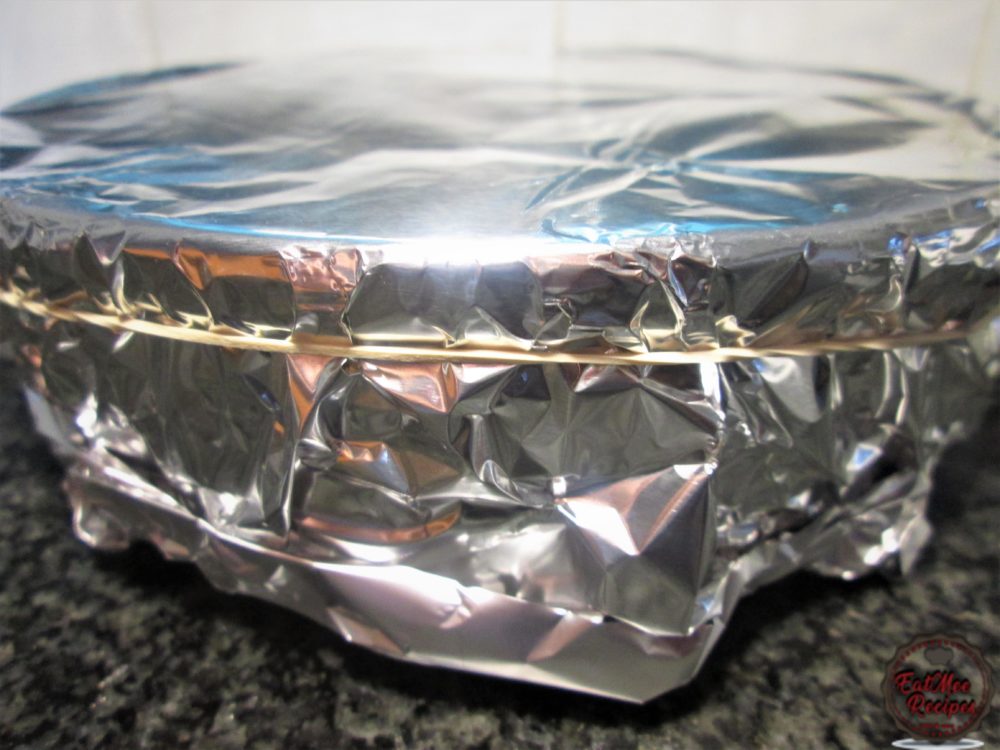
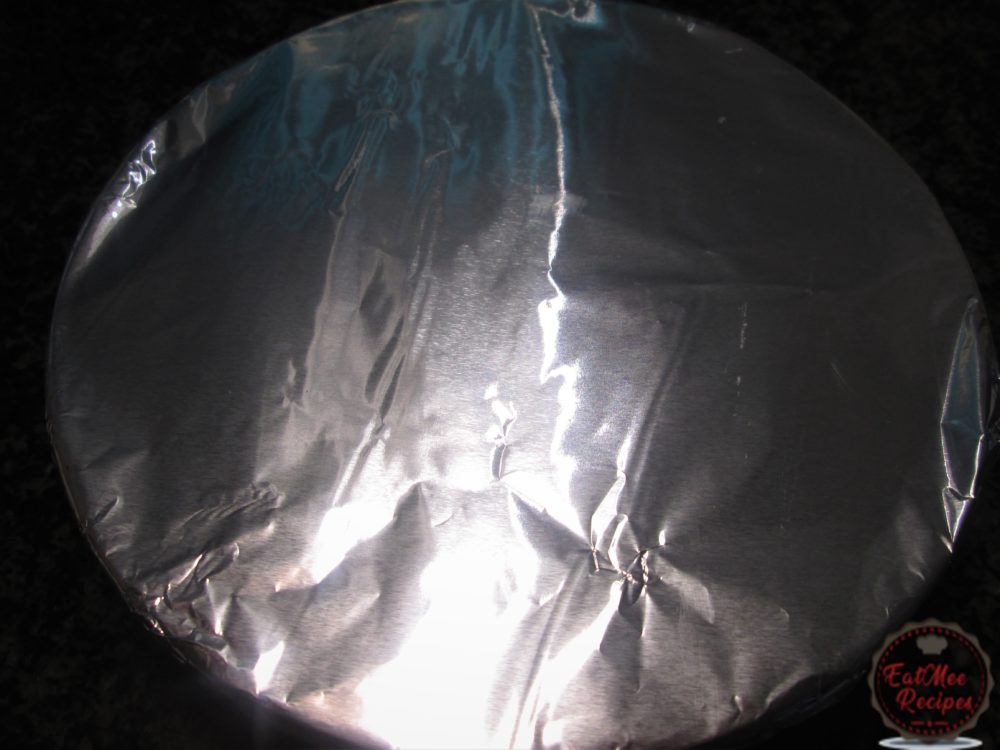
- Cover the bowl with foil & secure it with a rubber band. This ensures that no moisture gets into the mixture.
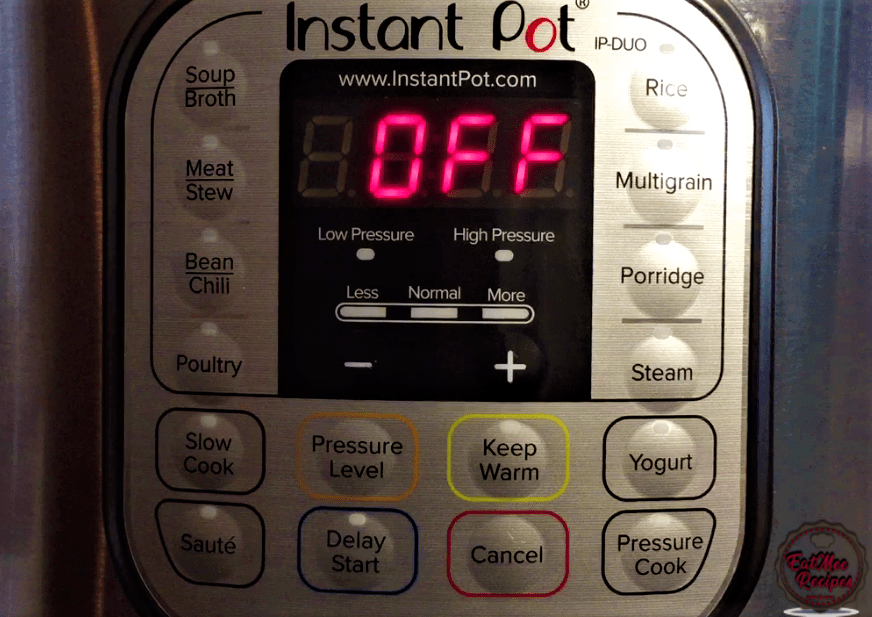
- Plug in your Instant Pot, the display should read “OFF”.
- Open the Instant Pot Lid & pour in the 1 ½ cups of water.
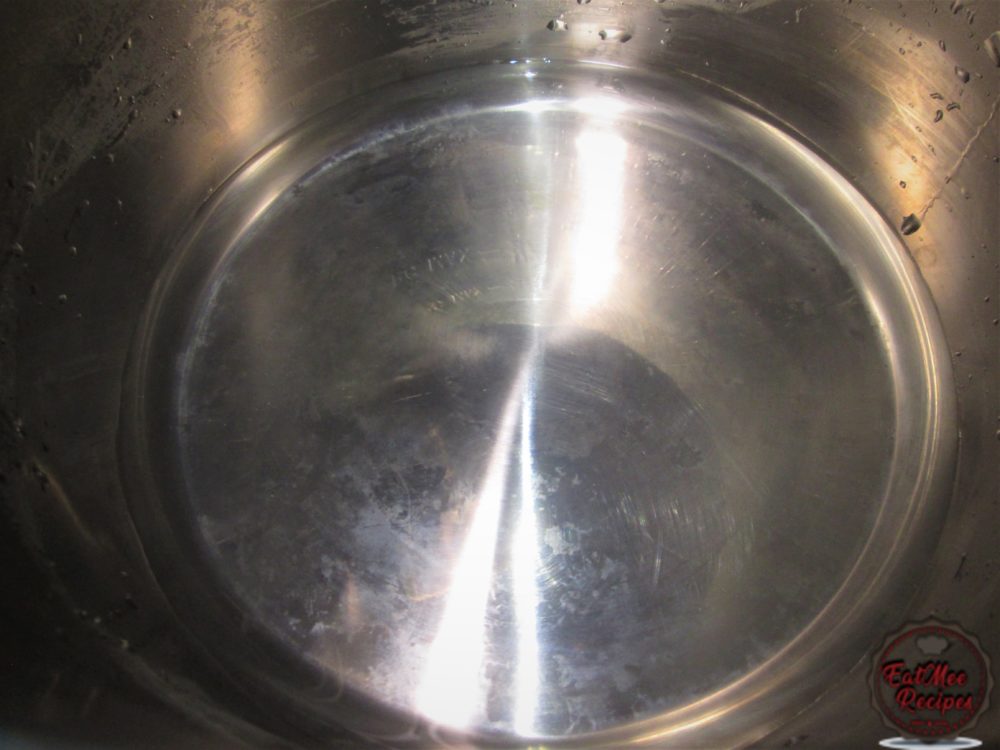
- Place the bowl onto the trivet.
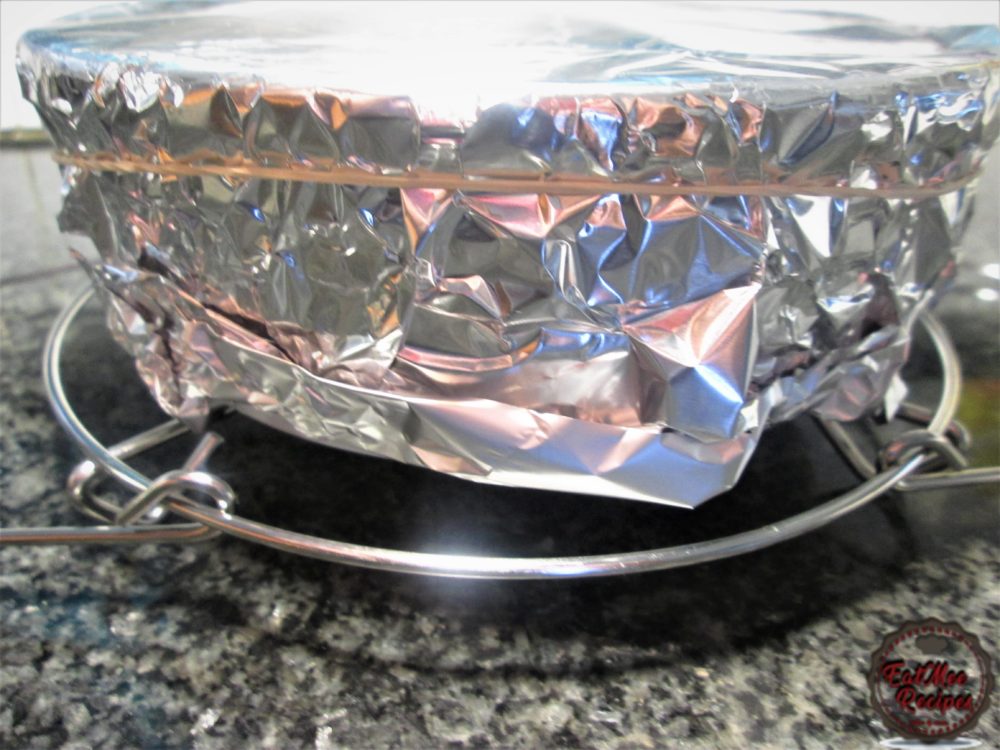
- Place the bowl with the trivet into the Instant Pot – over the water.
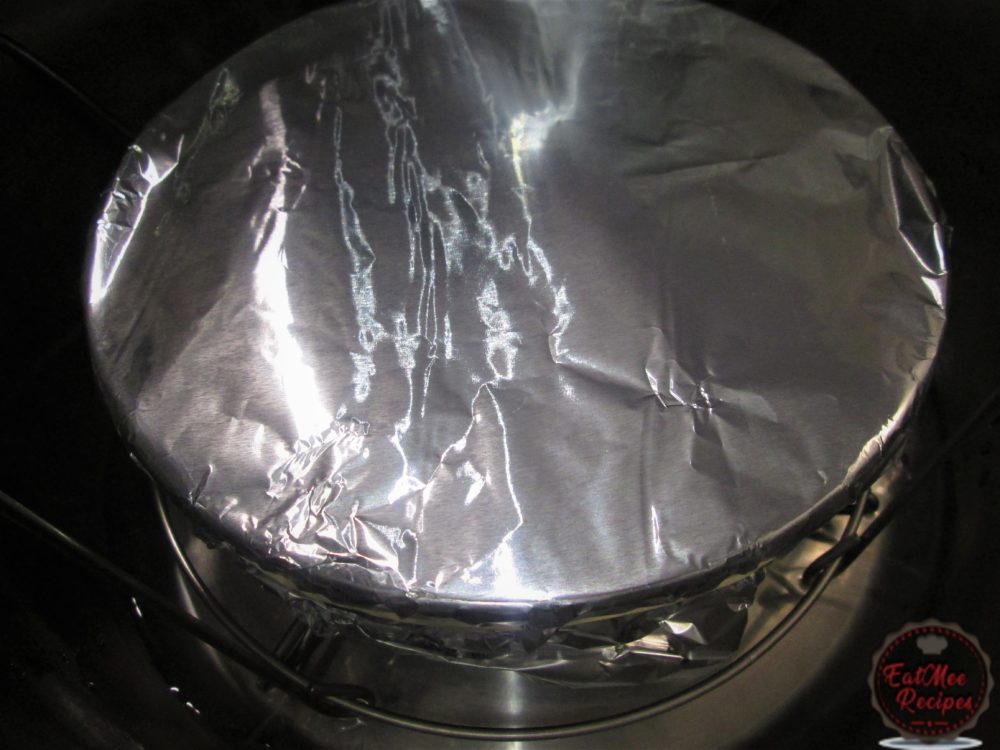
- Secure the lid on the Instant Pot.
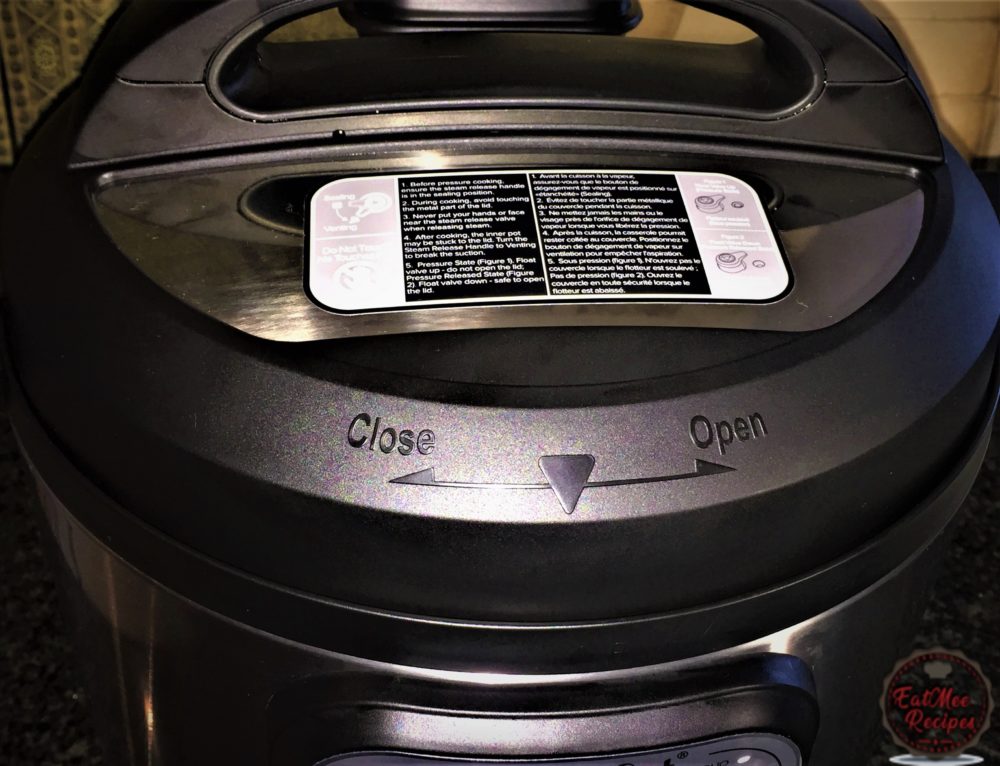
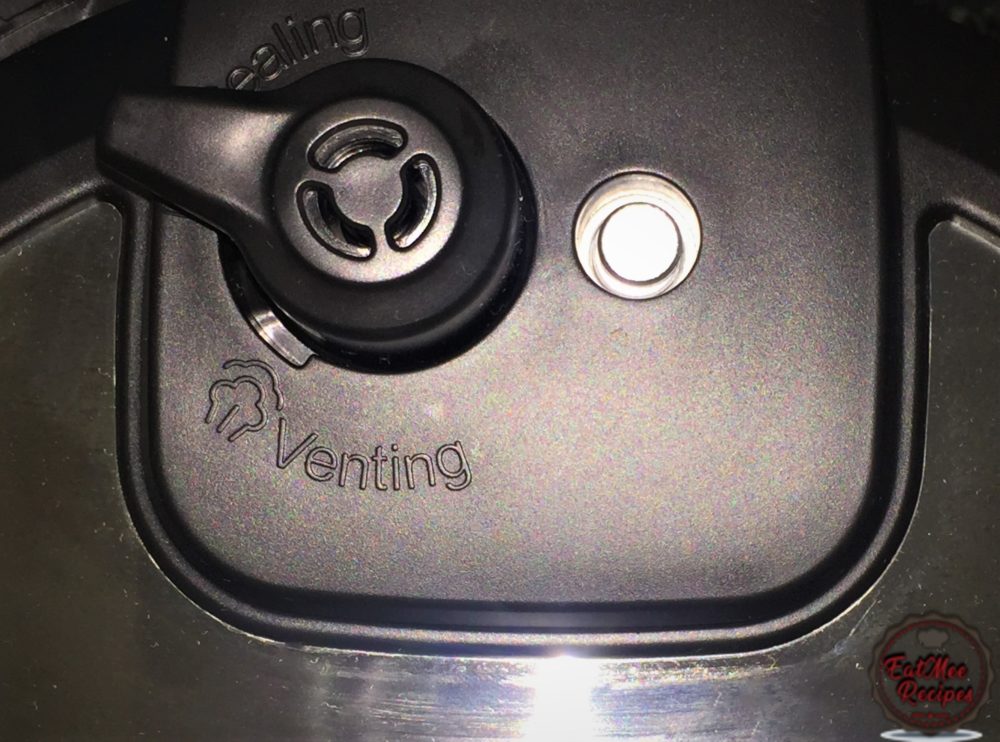
- Turn the anti-blockage vent (steam release handle) to “SEALING”.
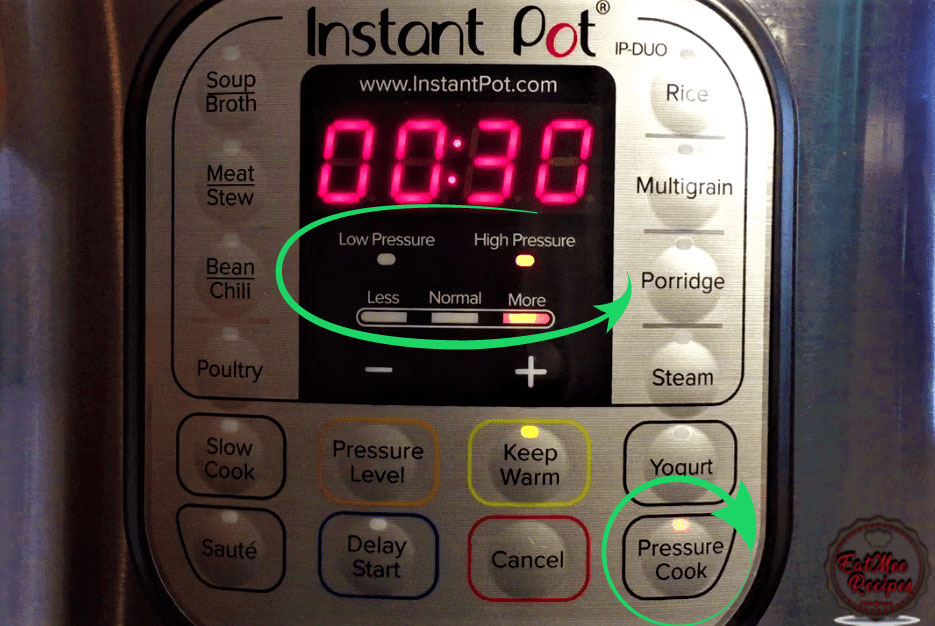
- Press the “Pressure Cook” button. Press the button again to set the pressure level to “MORE” on the display. Next, use the “- or +” buttons & set the cooking time to 00:30 (30 minutes).
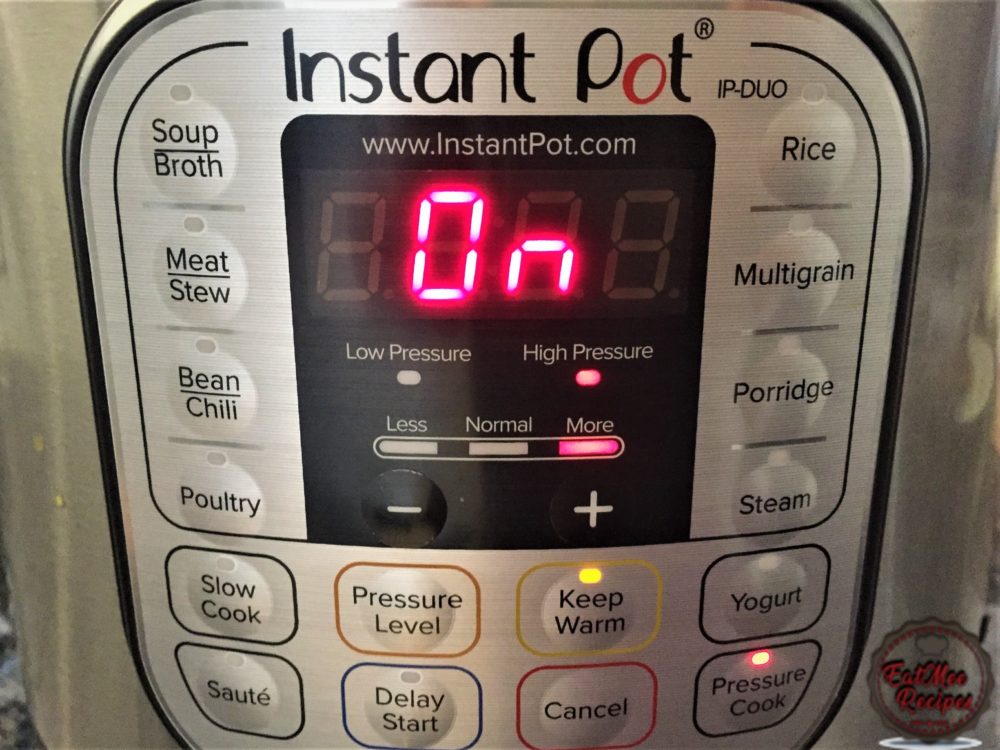
- The Instant Pot should display “ON” until the pressure builds up.
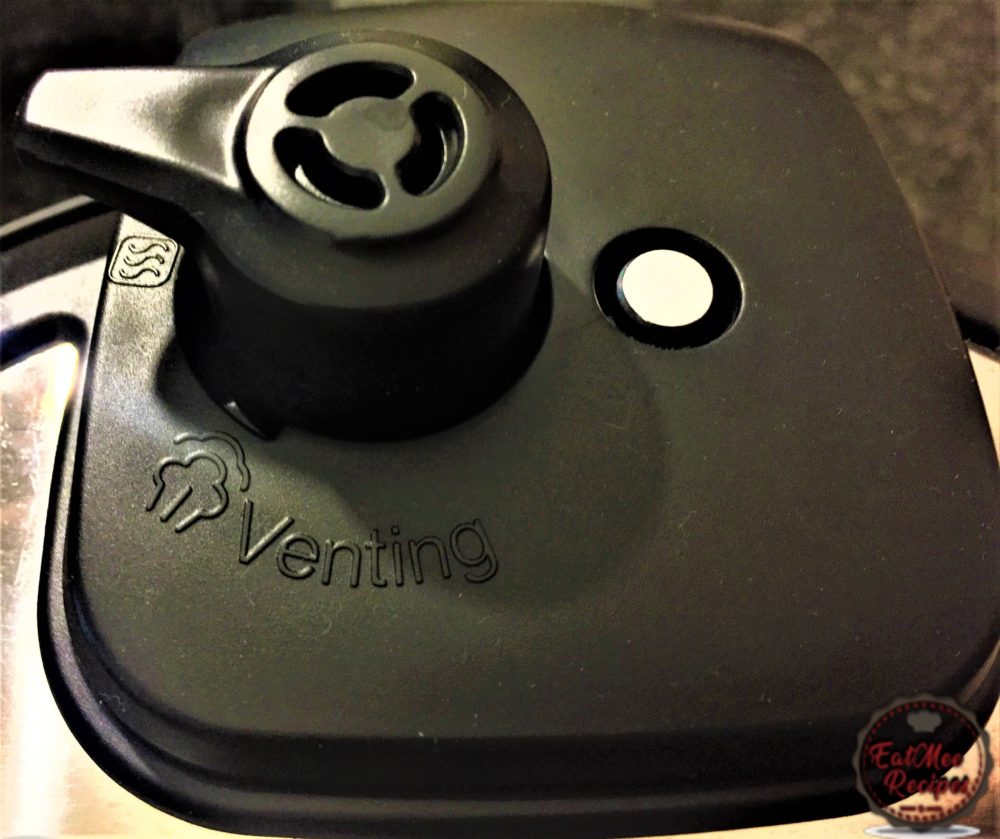
- Once the pressure builds up, the “float valve” will pop up – when it pops up, do not attempt to open the lid! Thereafter, the 30 minute timer will count down on the screen.
- After the 30 minutes are over. Press “CANCEL” on your Instant Pot.
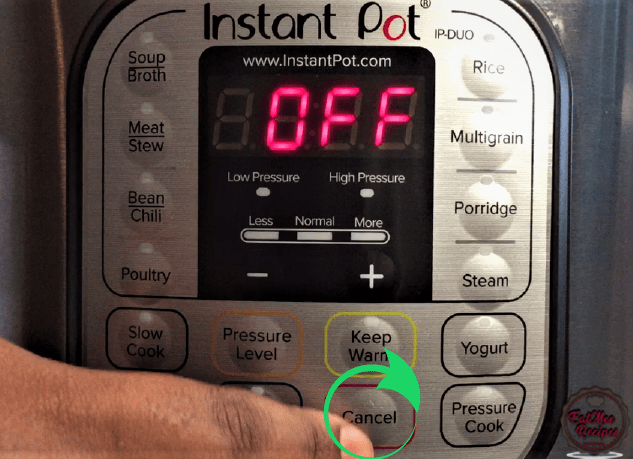
- Turn the anti-blockage vent (steam release handle) to “VENTING” & allow the steam to release. Once the “float valve” sinks in, it is safe to open the lid.

- Carefully take out the bowl from the Instant Pot.
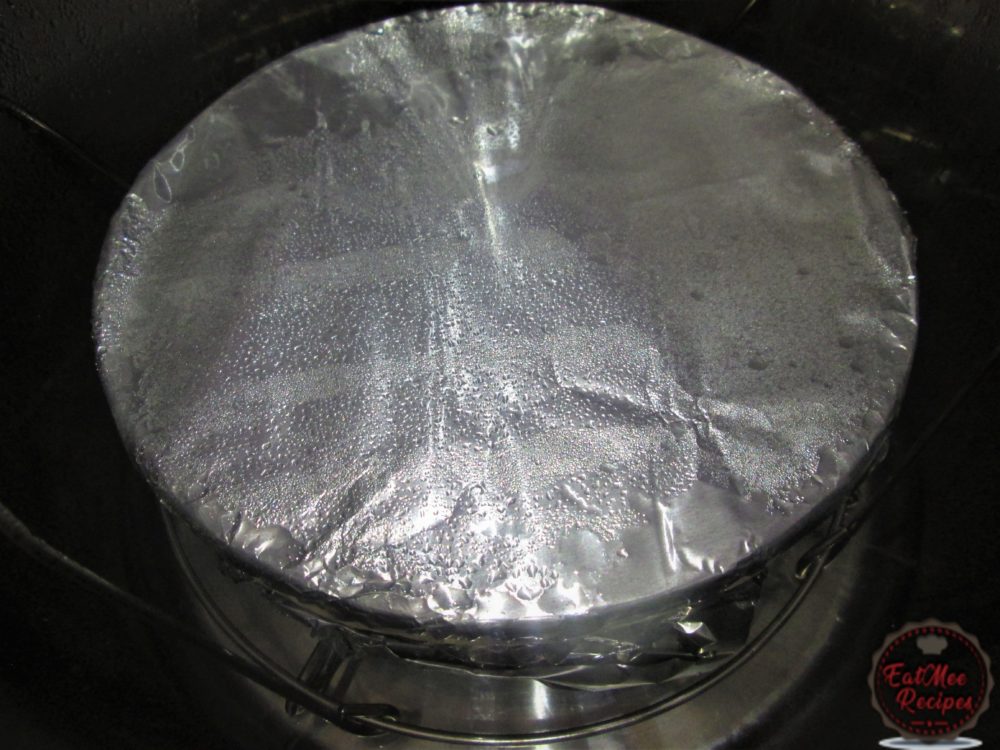
- Remove the foil. The custard should be firm & not runny. If it is still in liquid form then it needs to be cooked more or else it will never set in the fridge.
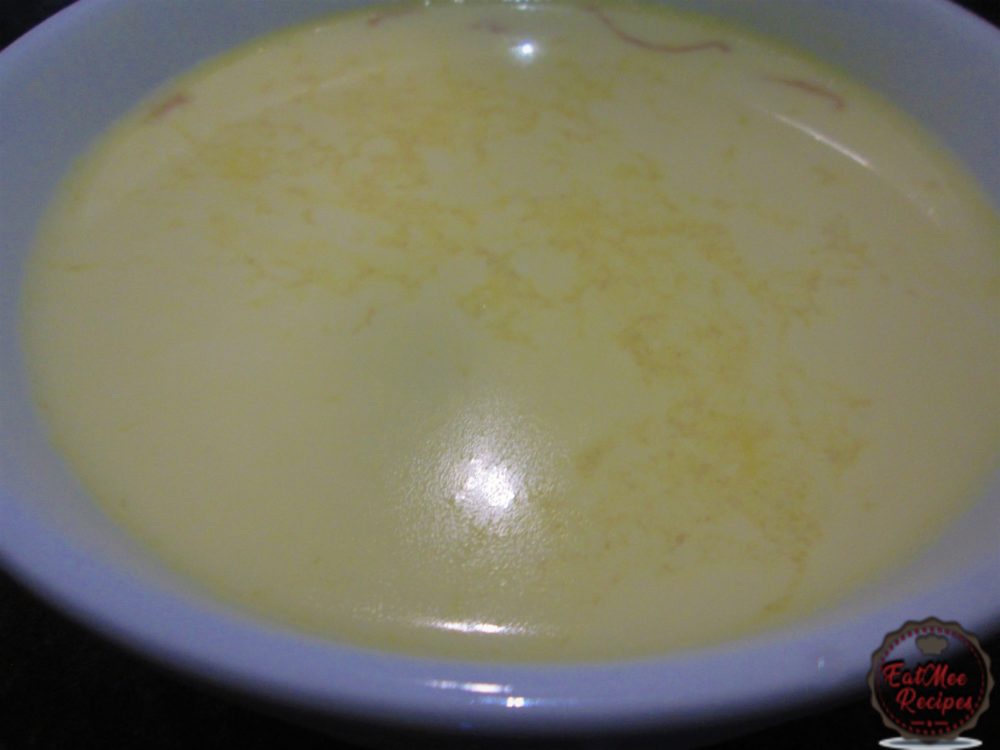
- Allow the custard to cool for 30 minutes on the counter.
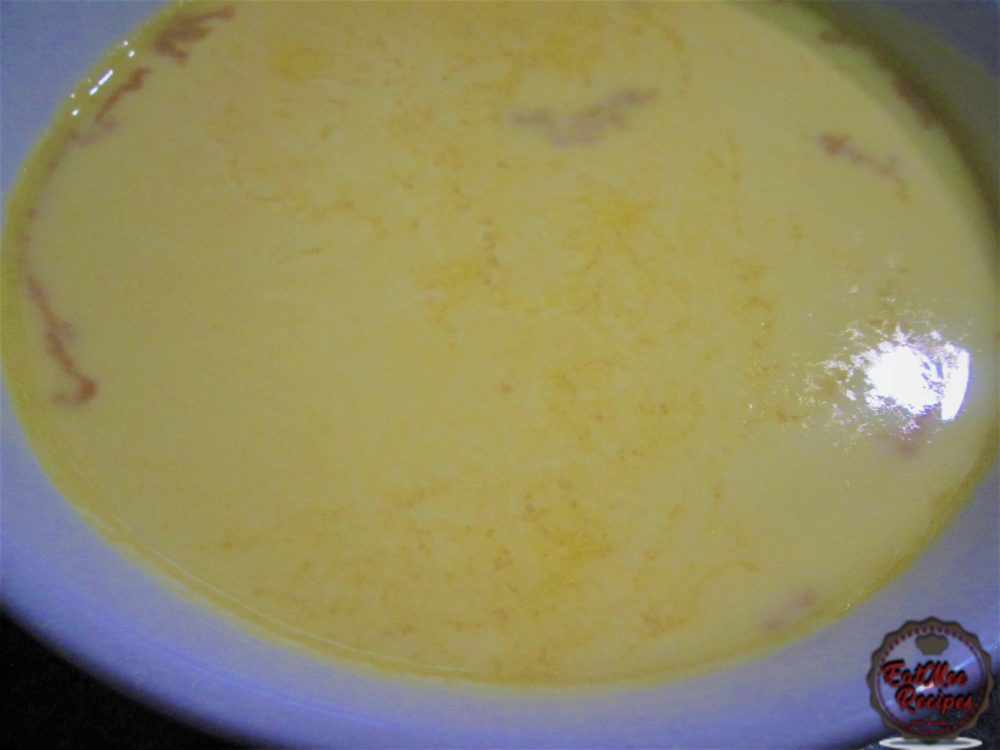
- Thereafter, place it in the refrigerator overnight for best results.
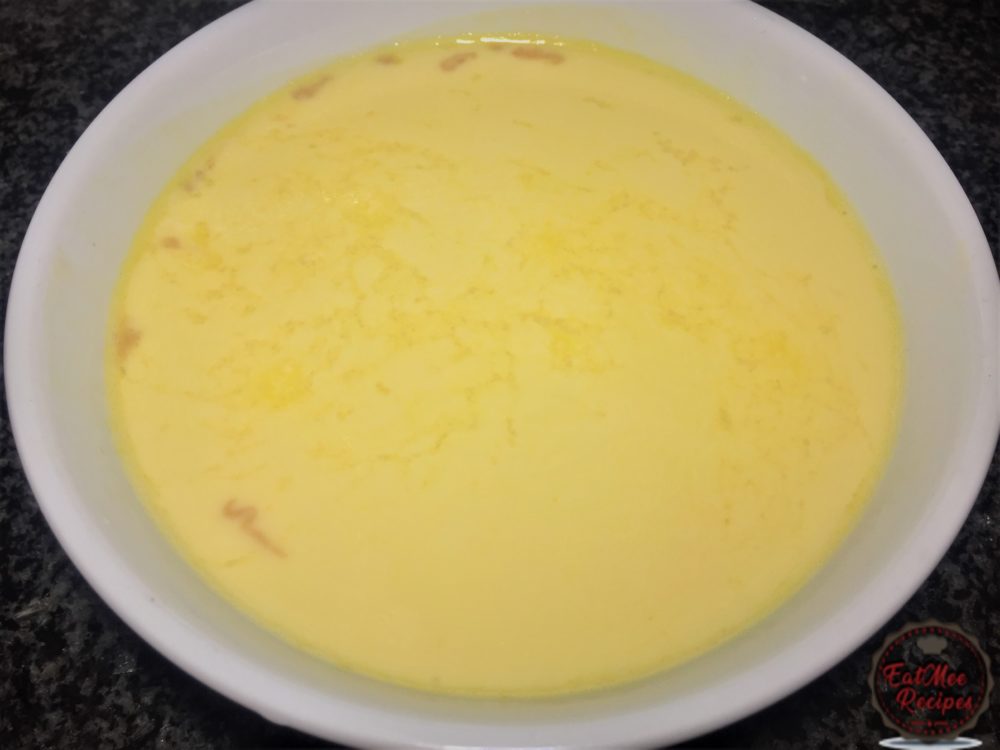
- The next day, remove from the refrigerator.
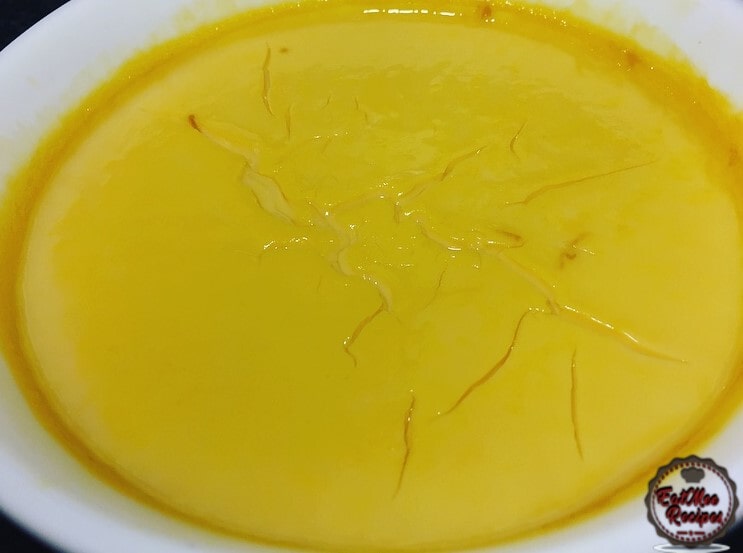
- It should be firm to the touch. Use a knife & glide it along the edge of the bowl to loosen the custard.
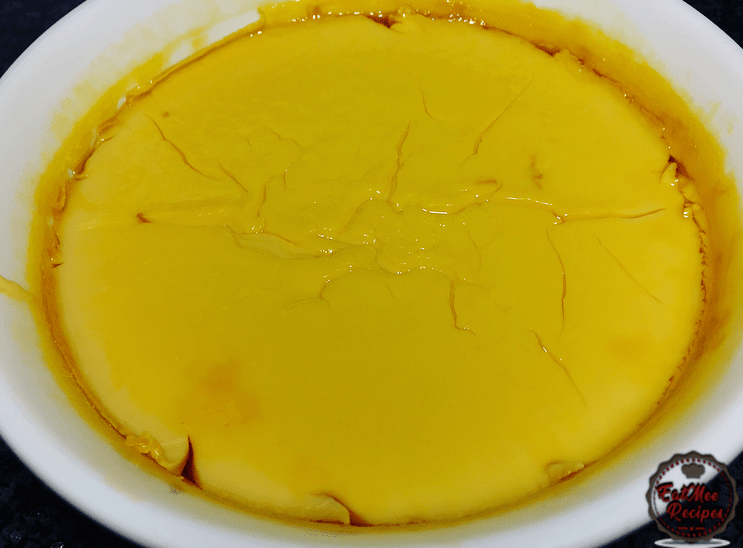
- Place a deep plate/casserole over the bowl of custard & carefully flip it over.
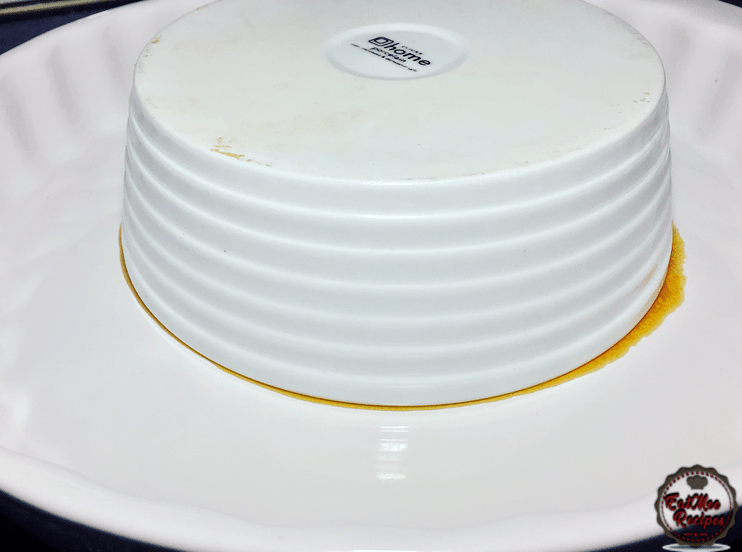
- Gently pull out the custard bowl & watch the magic happen. The caramel should pour over.
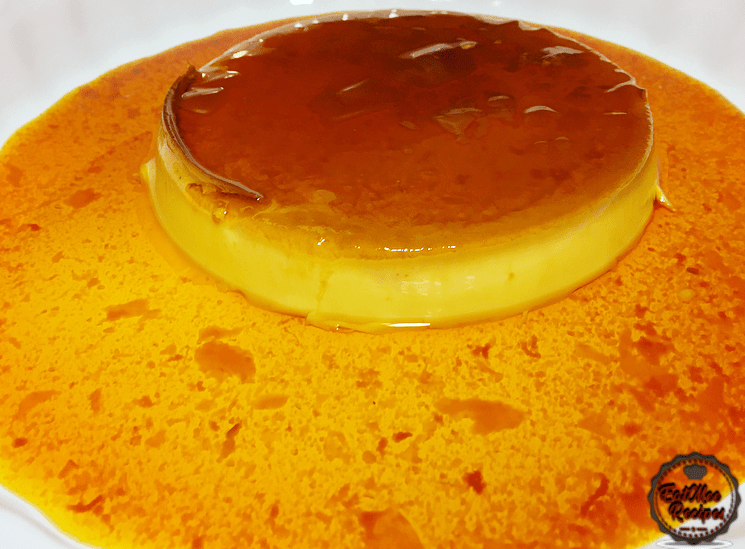
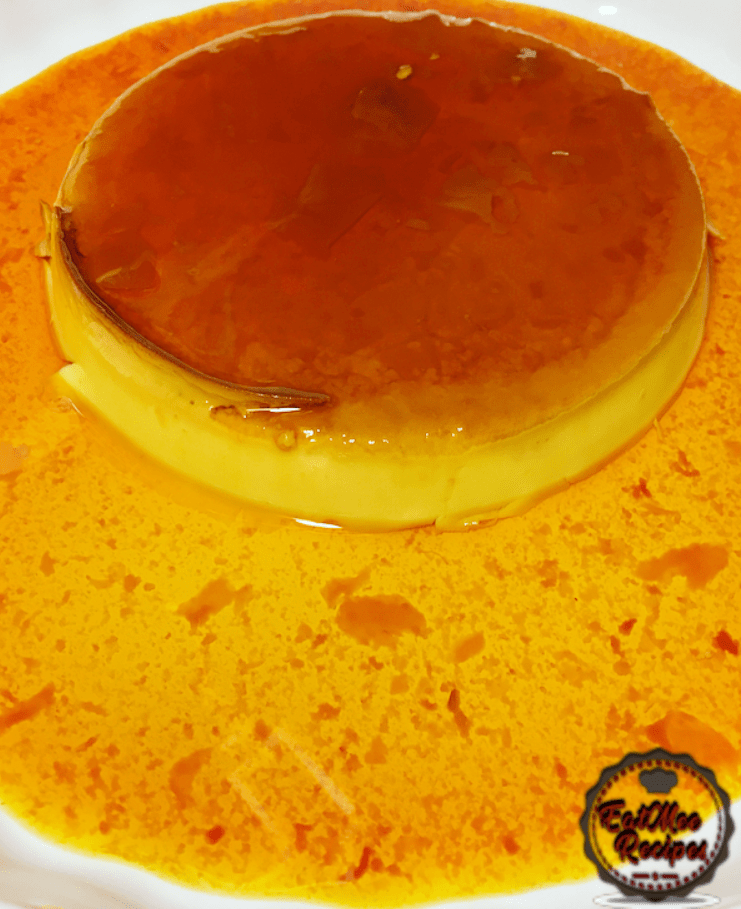
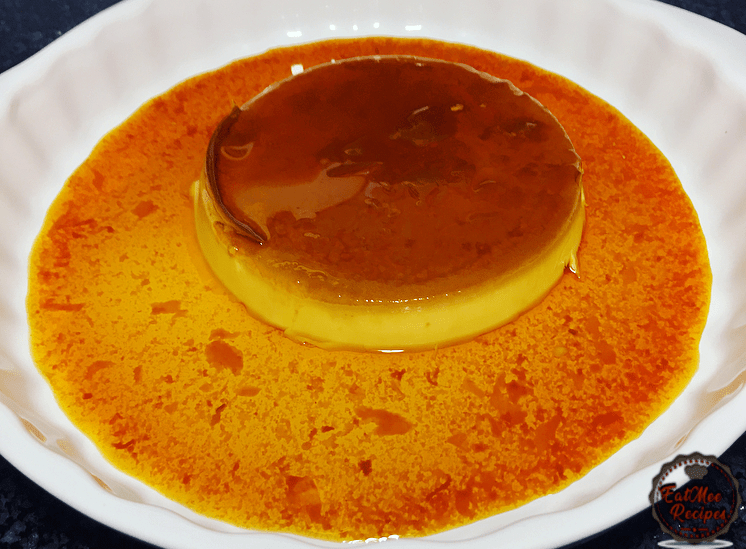
- Garnish with mint leaves or fresh fruits.
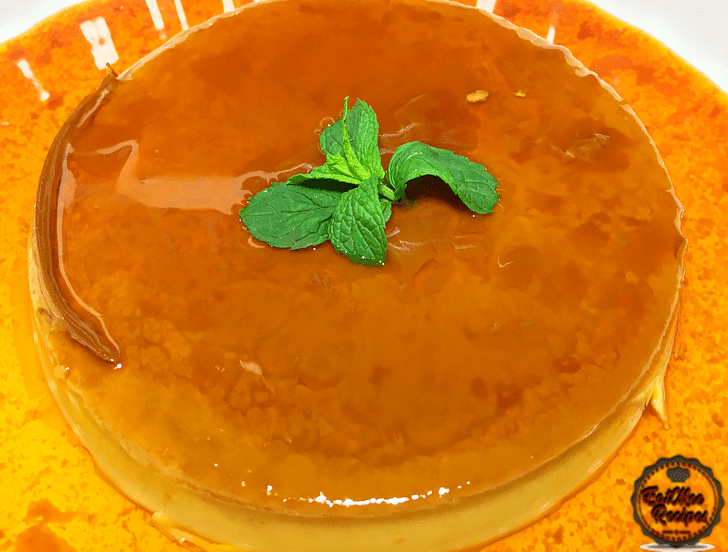
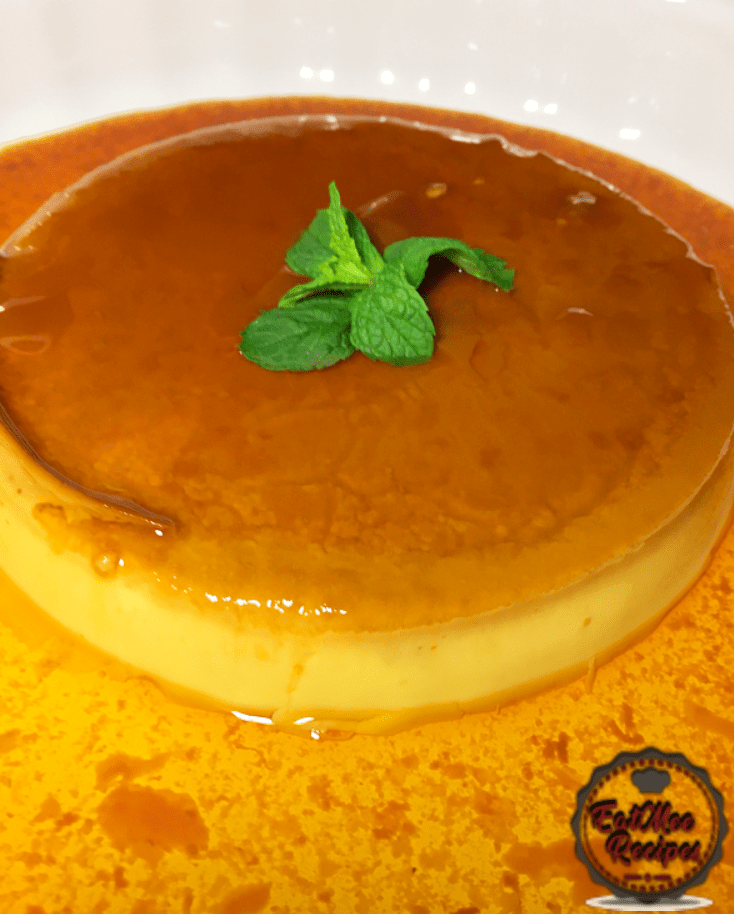
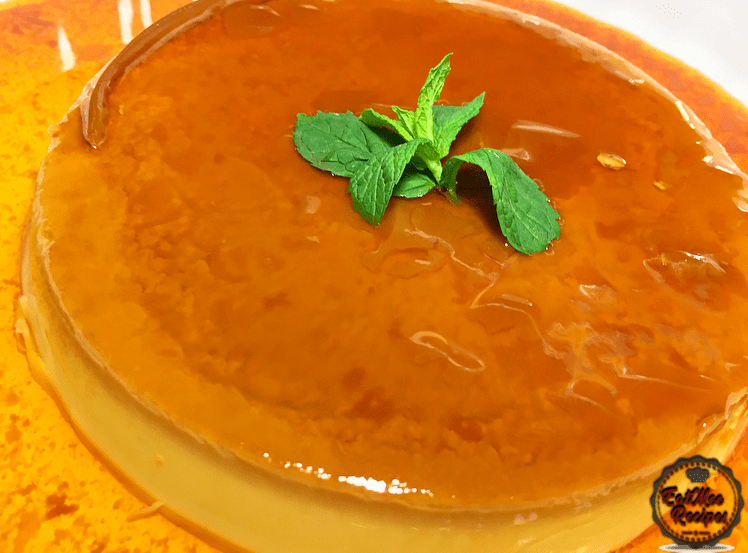
- Best served cold.
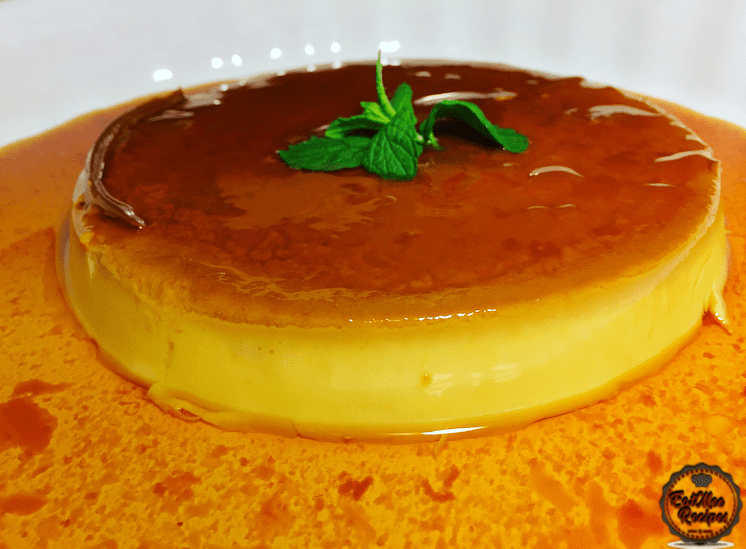
- Slice & enjoy your Instant Pot Caramel Flan.
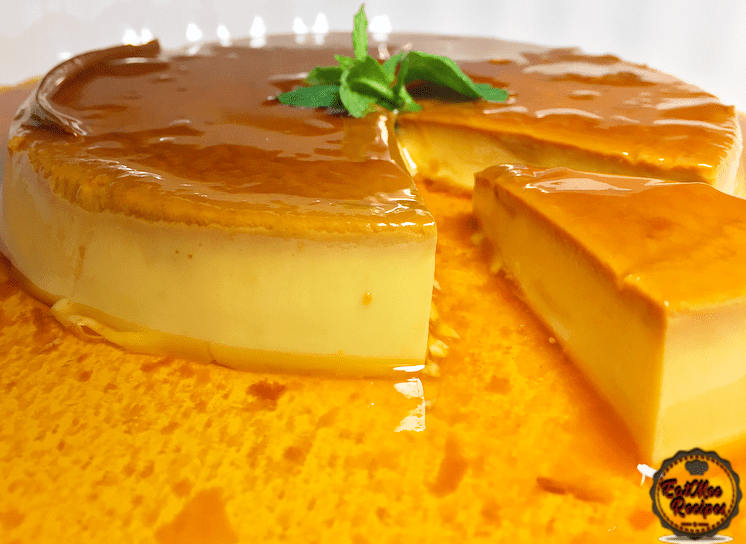
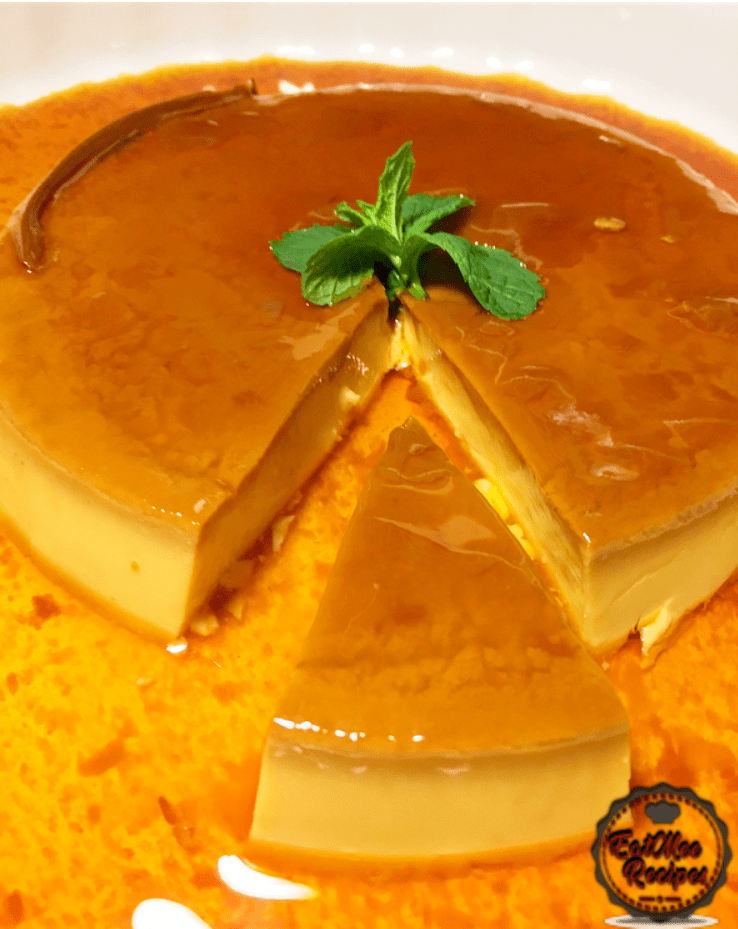
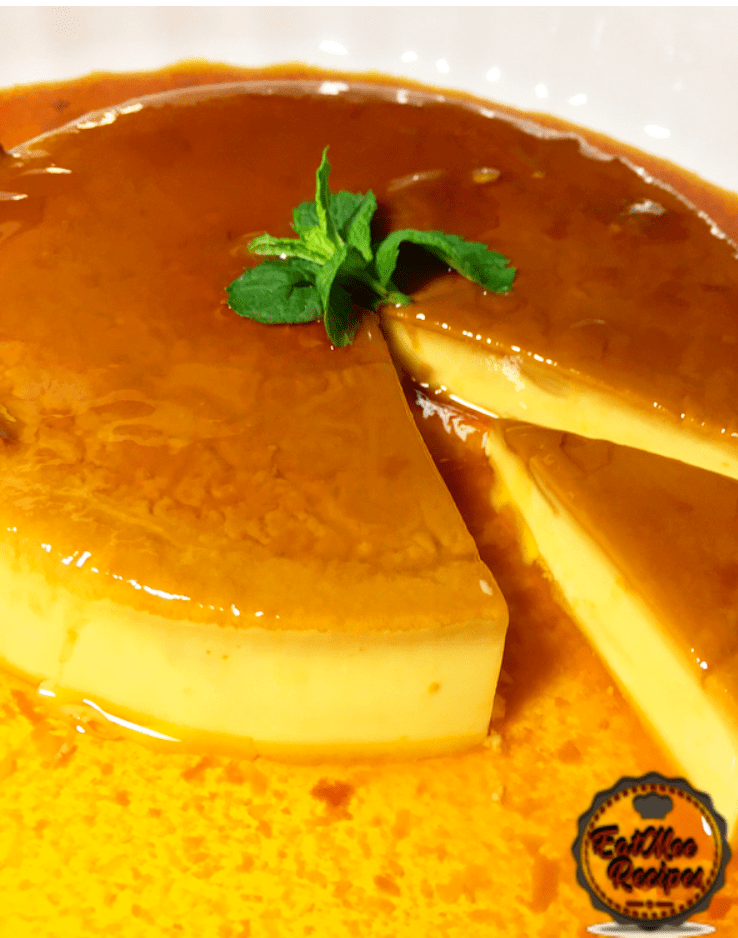
- Stores for up to two weeks in the refrigerator.
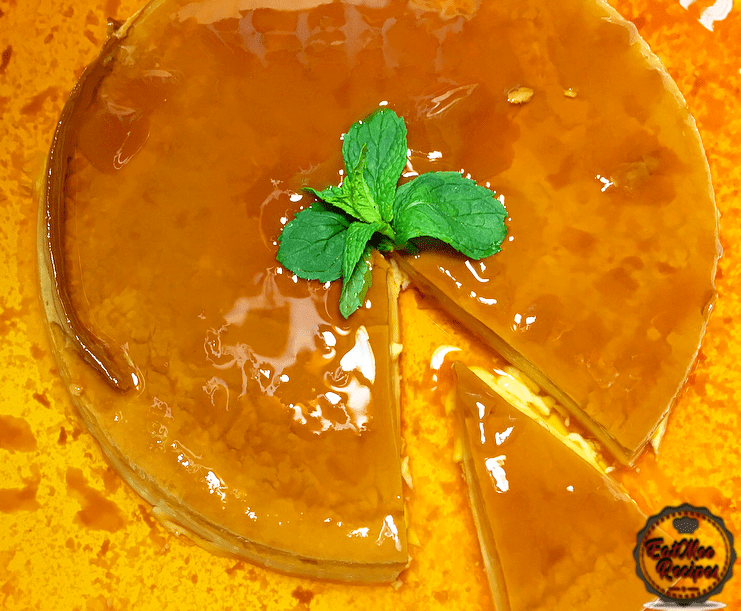
![]()


You need to add printable (no photo) versions of your recipes! They’d be so much more popular!
Thank you for your suggestion Lori. I will consider it in the future. The reason I put images with steps are for amateur cooks, just trying to make their lives easier in the kitchen. 😊