SOFT PURI
This Recipe Makes ± 22 Puri’s
Soft Puri: How to Make Perfectly Puffy, Soft Puris Every Time
Light, airy, and slightly crisp on the outside, yet soft and tender within, puri (also spelled poori) is one of India’s most beloved traditional dishes.
What is Puri?
Puri is a type of Indian fried bread made with flour, water, and a pinch of salt — sometimes enhanced with a dash of butter or semolina for texture. The dough is rolled into small circles and deep-fried until it puffs up, creating a beautifully ballooned bread that’s soft, not tough or chewy. While puris are usually made with water, there’s a trick that I use that makes them even better: using maas (sour milk) or yoghurt in the dough along with milk. Not only does this keep the puris soft, but it also reduces oil absorption, making them lighter and less greasy.
When is Soft Puri Served?
Puri is incredibly versatile and can be served for:
-
Breakfast with potato curry or chana masala
-
Festivals like Diwali, Holi, or Navratri
-
Temple offerings (prasadam)
-
Weekend brunches with halwa (for the classic “halwa-puri” combo) or the famous puri patha
-
Traditional thalis in weddings or puja feasts
No matter the occasion, soft puris are always a crowd-pleaser.
Why We Love Puri
Puri is more than a recipe — it’s a taste of home. Whether made for a special occasion or a simple Sunday breakfast, it brings warmth, joy, and the delicious satisfaction of something made by hand.
With the right technique, anyone can learn how to make soft puris that puff perfectly and stay soft even after cooling. Try it once, and it may just become your favorite go-to bread.
Ready to try making soft puri at home? Let us know how it turns out in the comments — or share your favorite puri memories with us!
Soft Puri Ingredients:
- 2 cups all-purpose or cake flour
- ¼ teaspoon salt
- ½ teaspoon baking powder
- 3 tablespoons softened butter or margarine
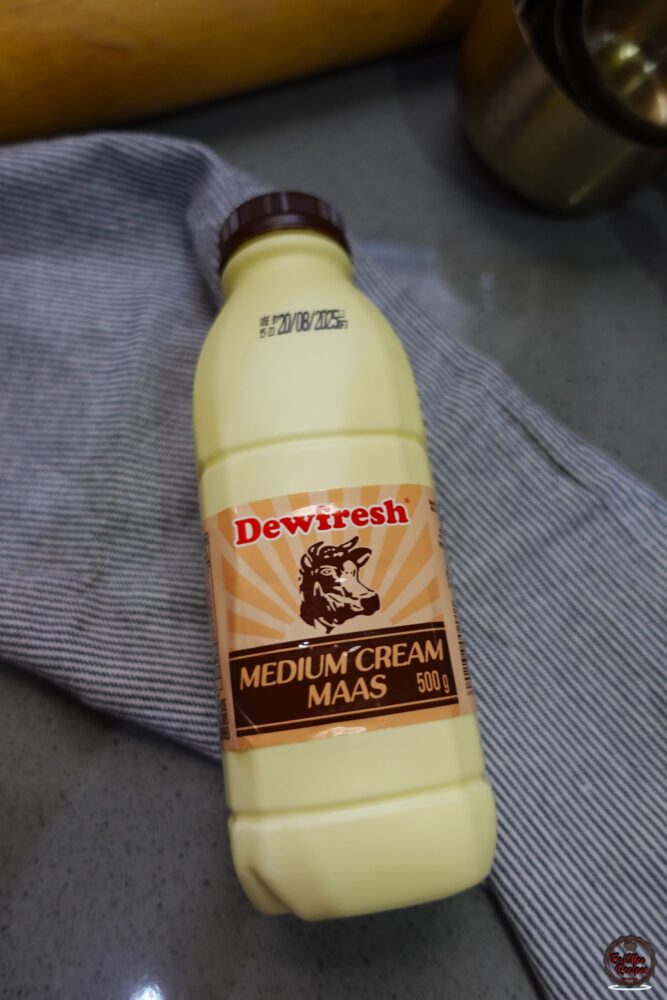
- ¼ cup maas (sour milk) or plain yoghurt (I’ve used maas)
- ± ¼ cup warm milk
- enough vegetable oil for deep frying
❄️ Winter Tip: Use Slightly More Liquid for Softer Puris
In cold weather, flour tends to dry out faster and absorbs more liquid. This can make puri dough stiffer than usual, resulting in hard or chewy puris.
✅ Tip: Add ± ½ cup of warm milk while kneading the dough in winter. This keeps the dough soft and manageable, ensuring your puris stay tender and puff beautifully even in dry, cold air.
Method:
- To a mixing bowl, add in the flour, salt and baking powder.
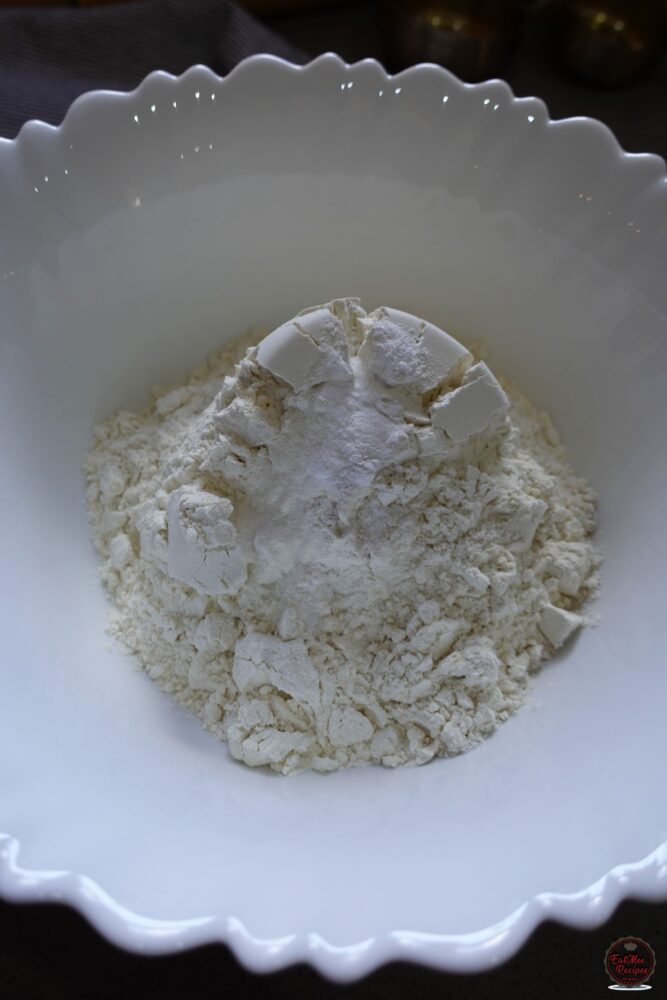
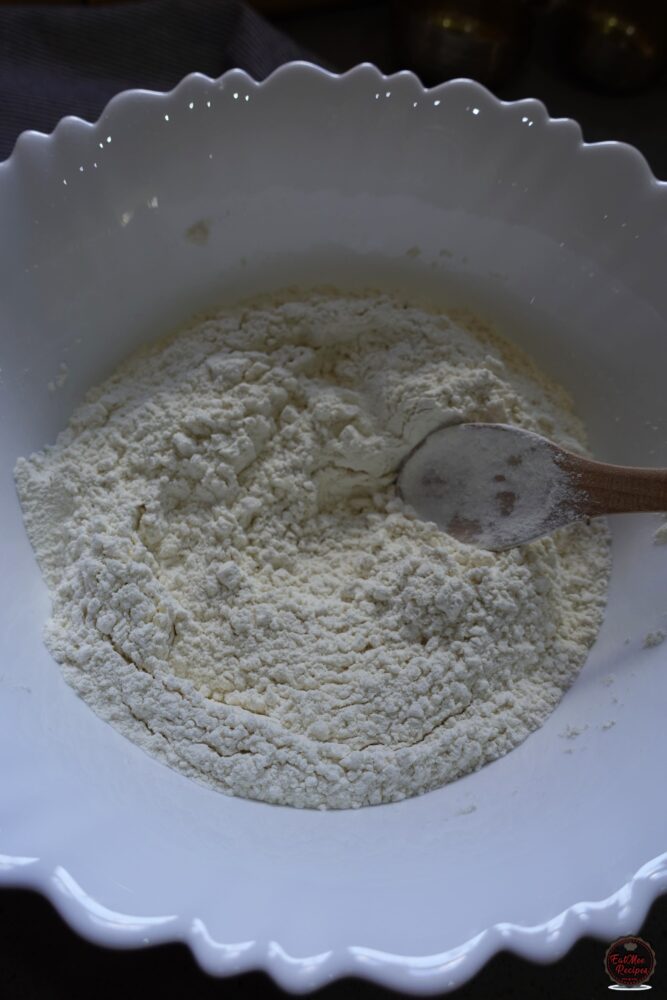
- Mix all the dry ingredients.
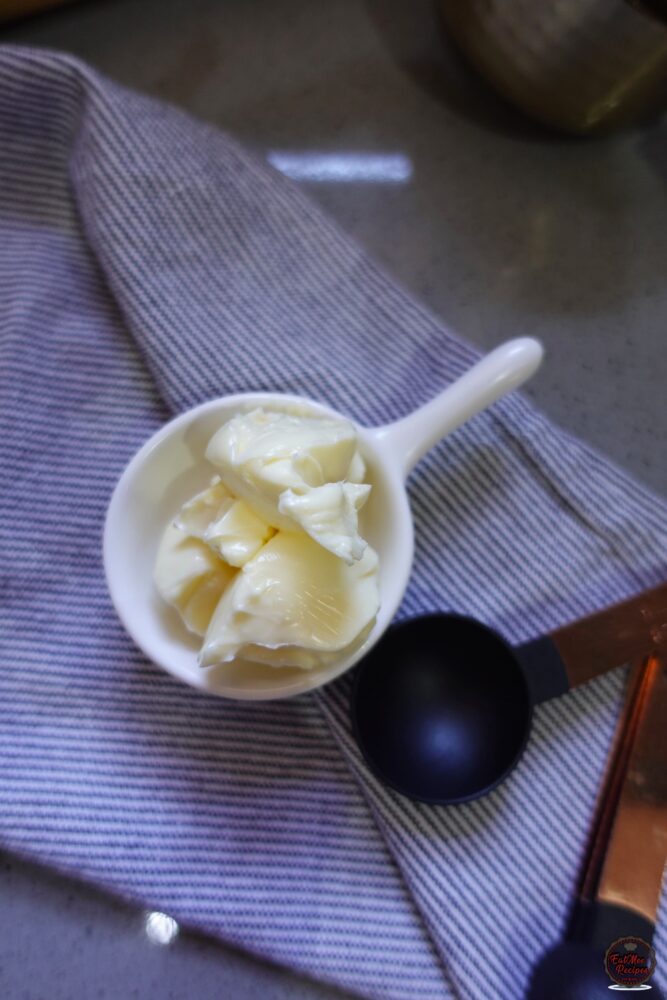
- Add in the butter or margarine, making sure it is softened (room temperature).
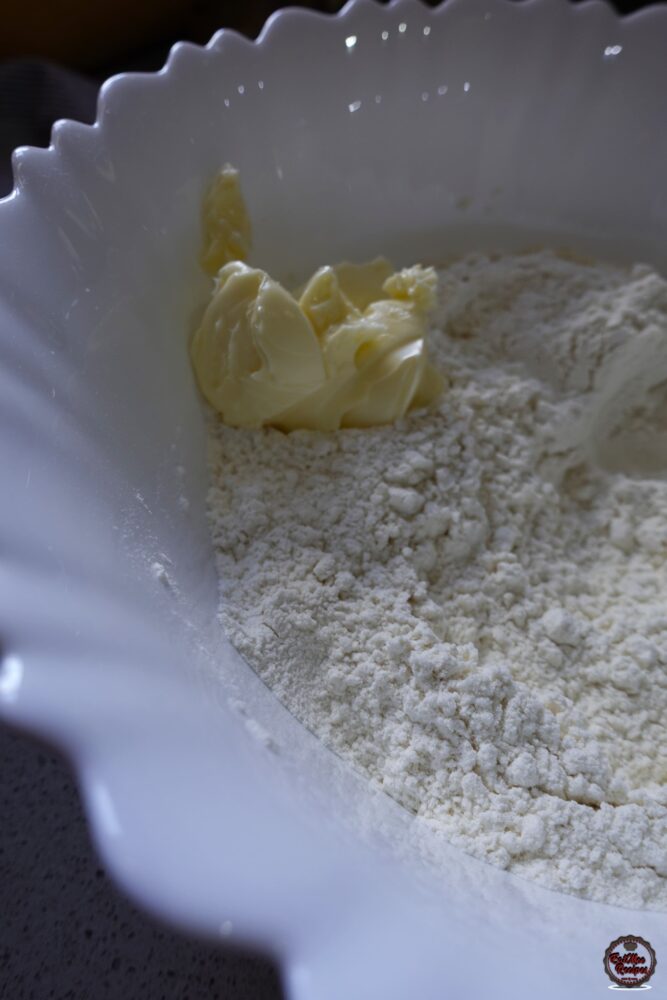
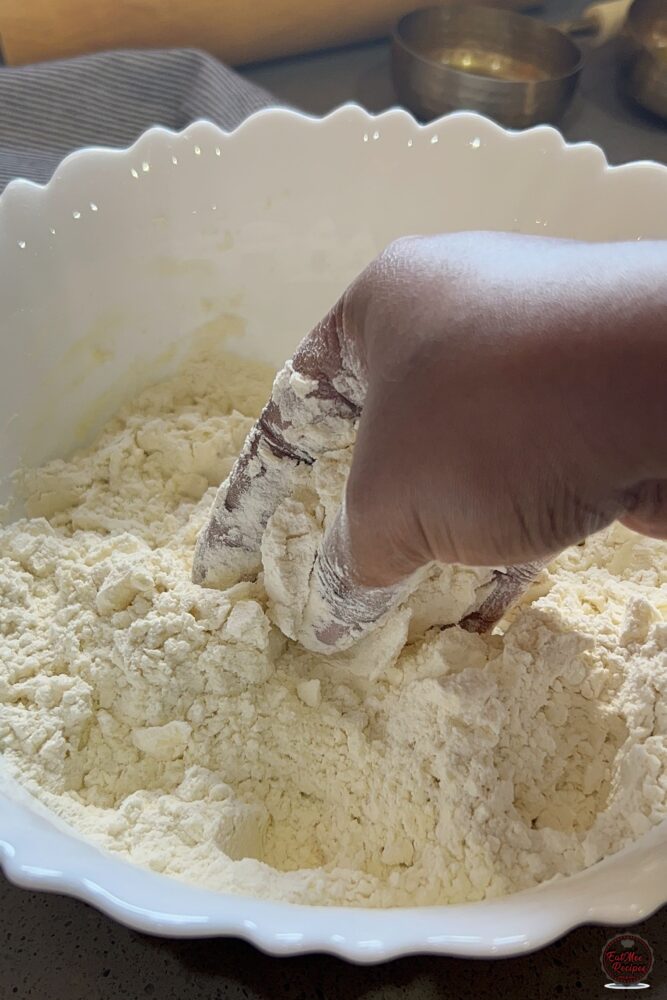
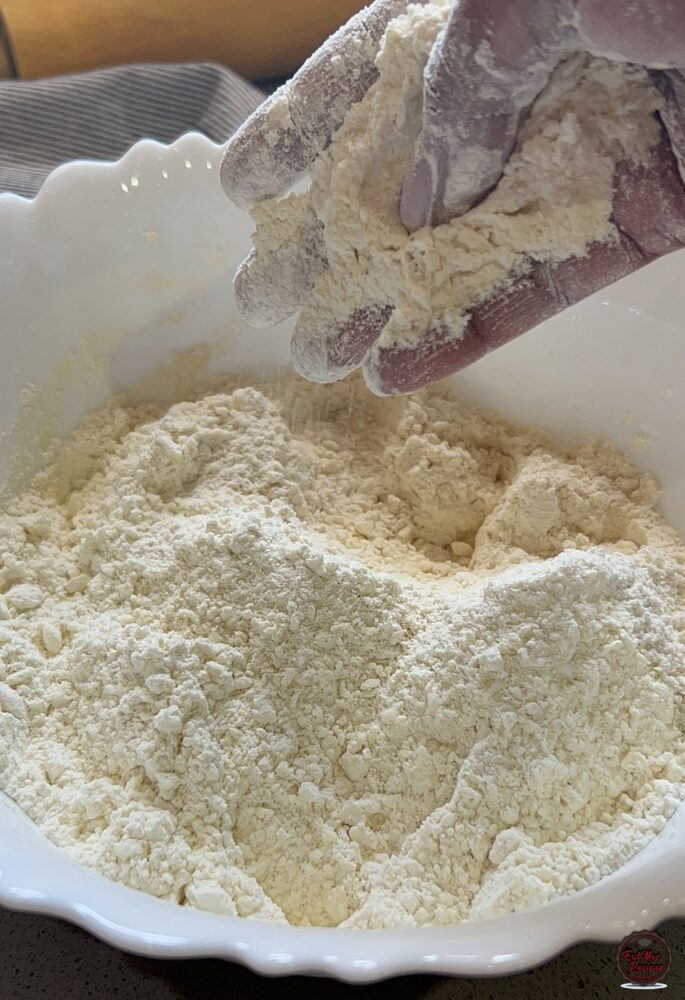
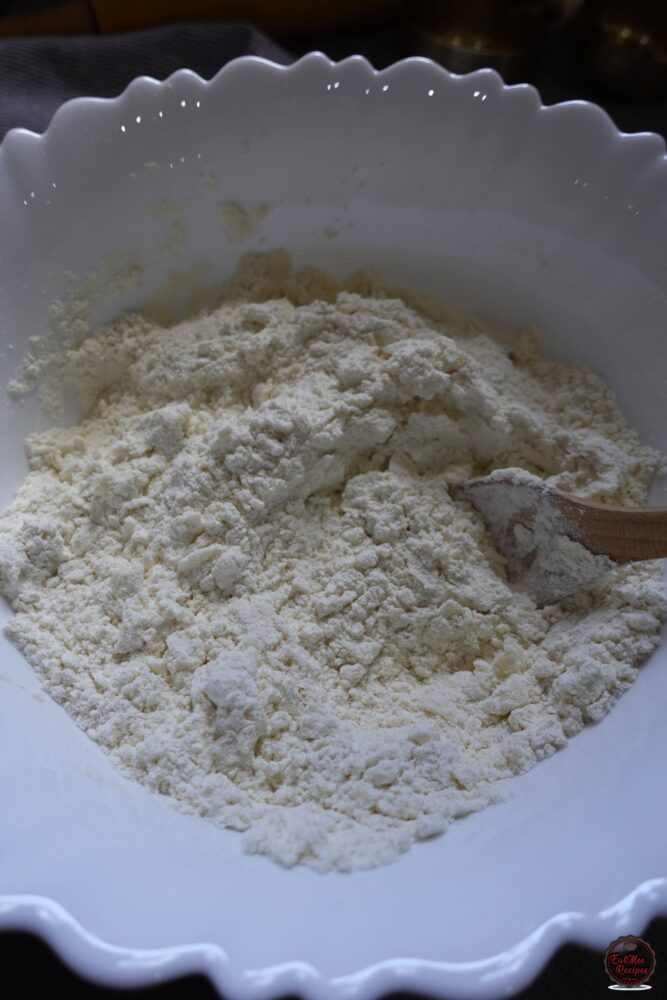
- Gently work the butter into the flour with your fingertips until the mixture takes on a crumbly, breadcrumb-like texture.
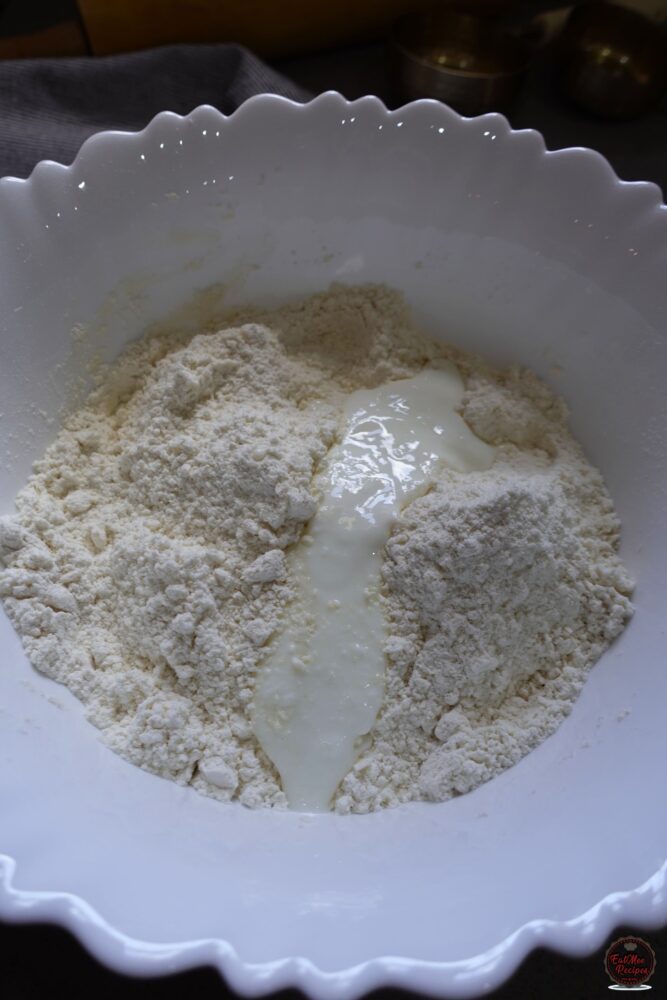
- Pour in the maas (sour milk) or plain yoghurt and mix gently until combined. This helps create soft puris and reduces oil absorption during frying.
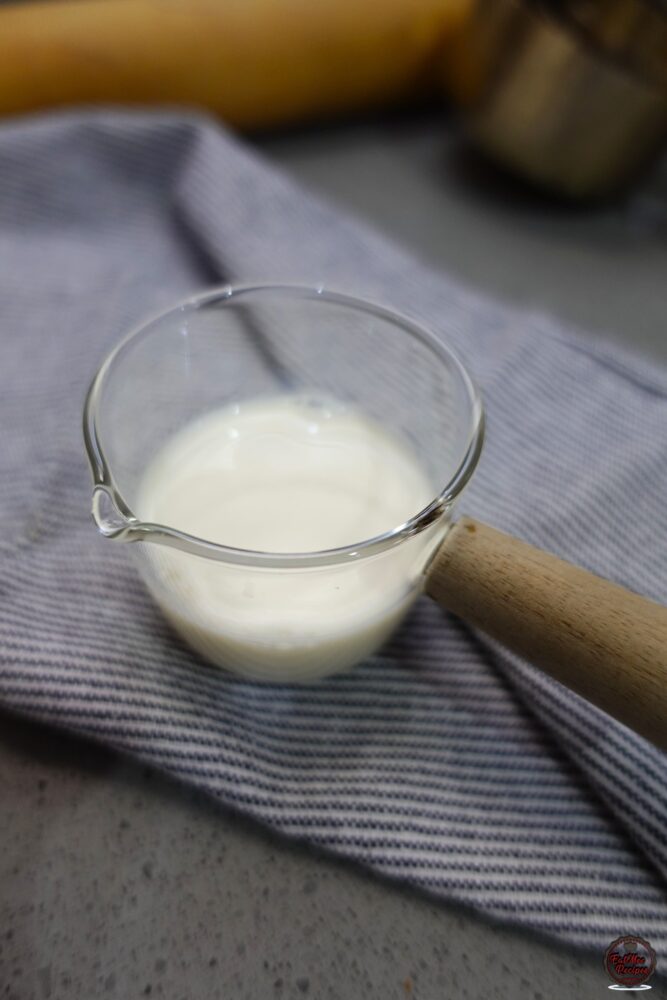
- Next, warm the milk in the microwave until it’s comfortably warm to the touch.
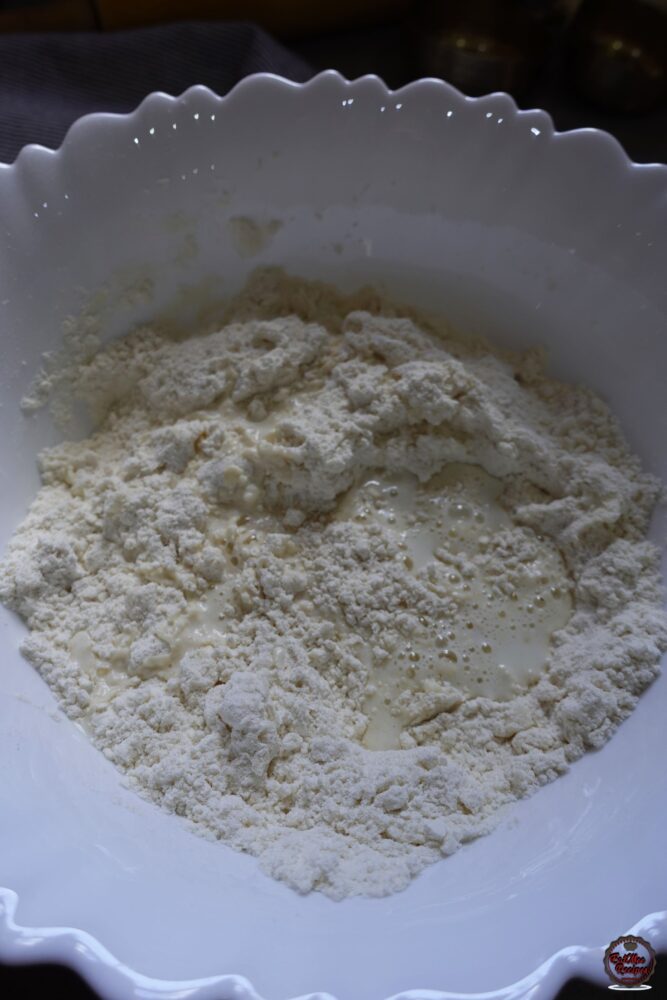
- Since it’s winter, I’ve used slightly more than ½ cup, as the flour tends to absorb more liquid in colder weather. If your dough feels too dry, add a splash more warm milk as needed. If it becomes too sticky, simply sprinkle in a little more flour until the texture is just right — soft, but not sticky. Mix with your hands until it forms a dough.
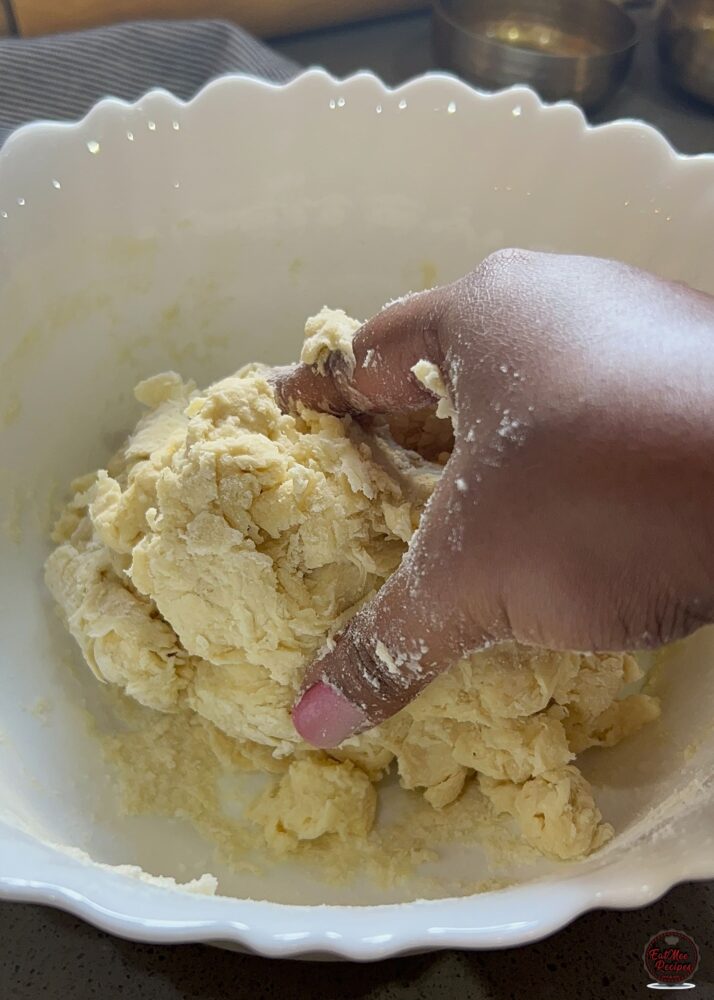
- Place dough onto a floured surface.
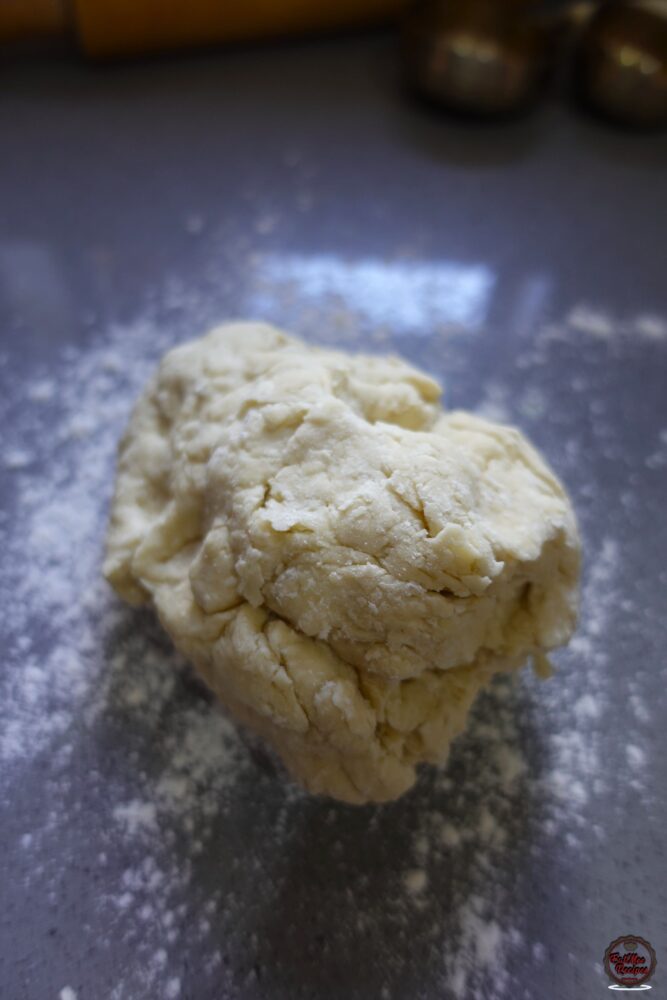
- Knead the dough until the dough is soft & pliable.
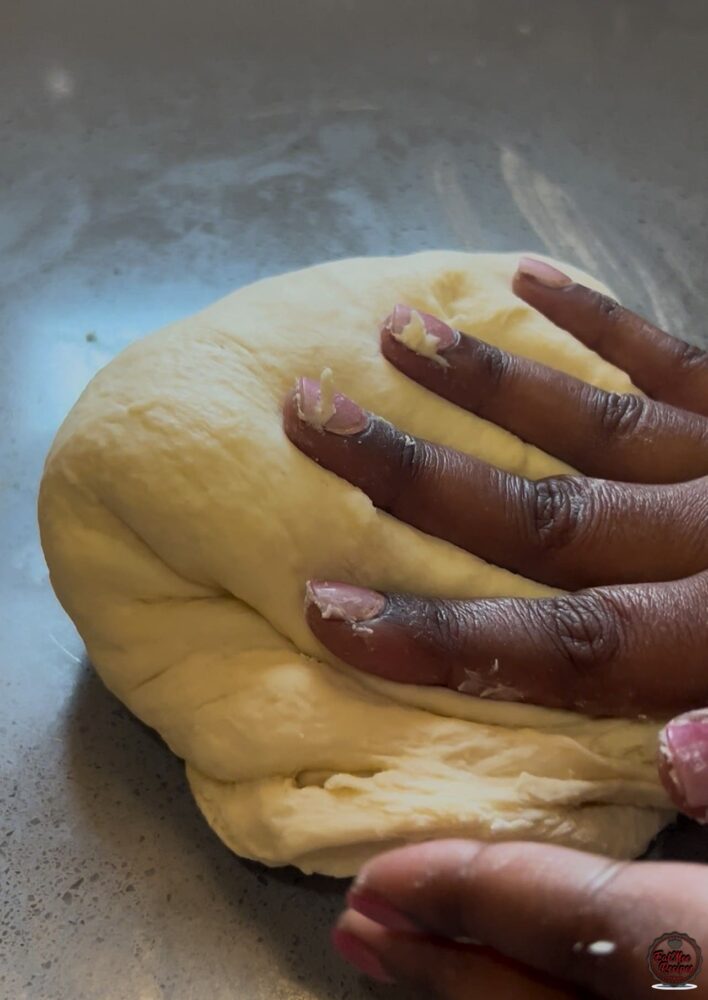
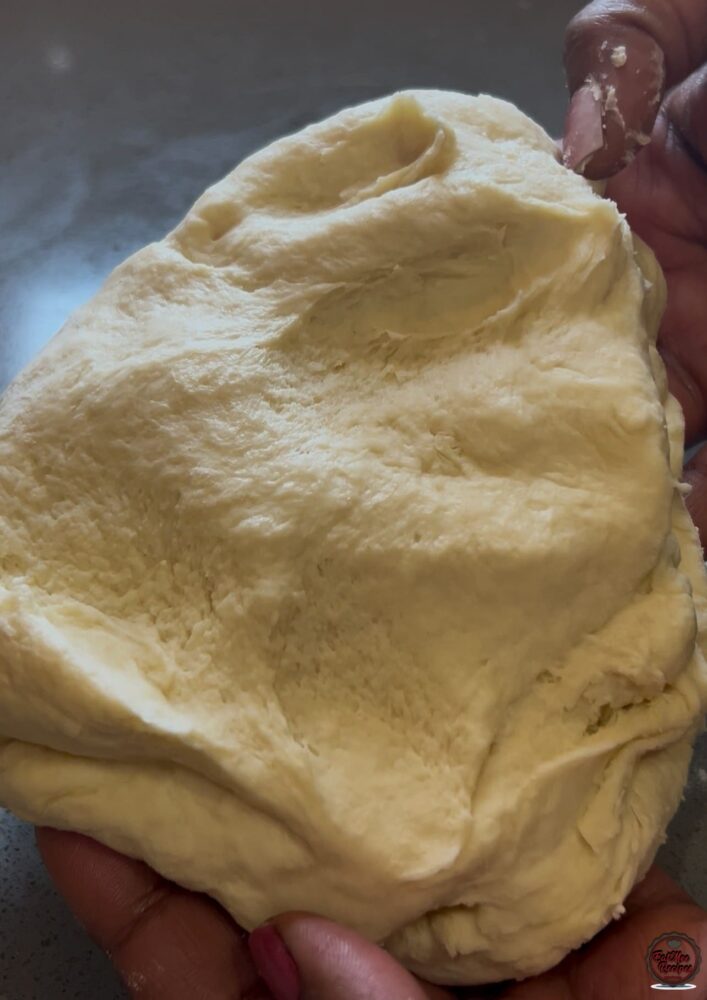
- Roll the dough into a log.
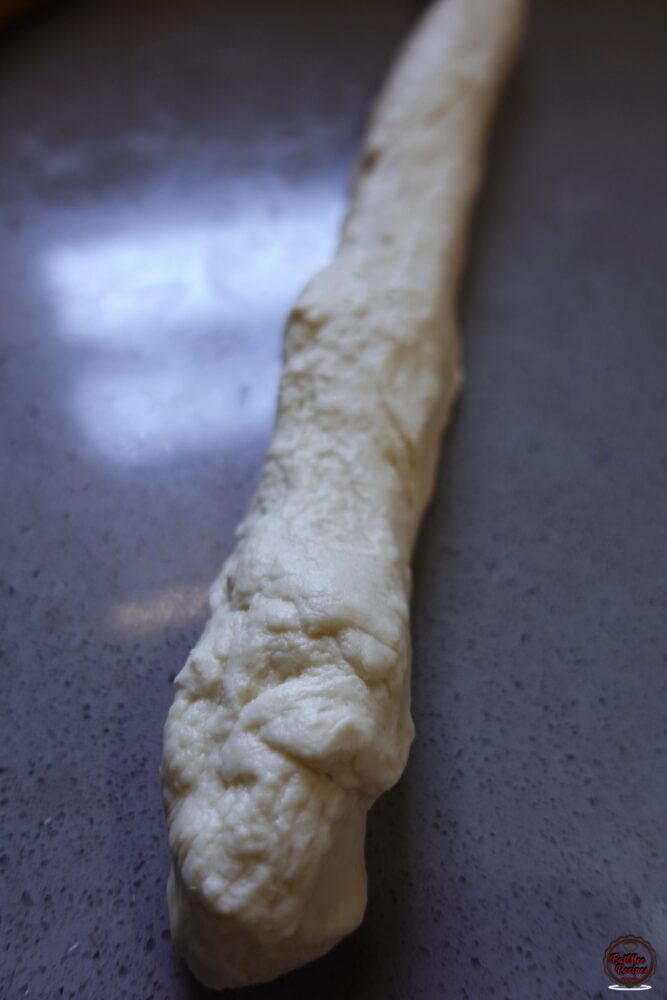
- Cut into 22 even sections.
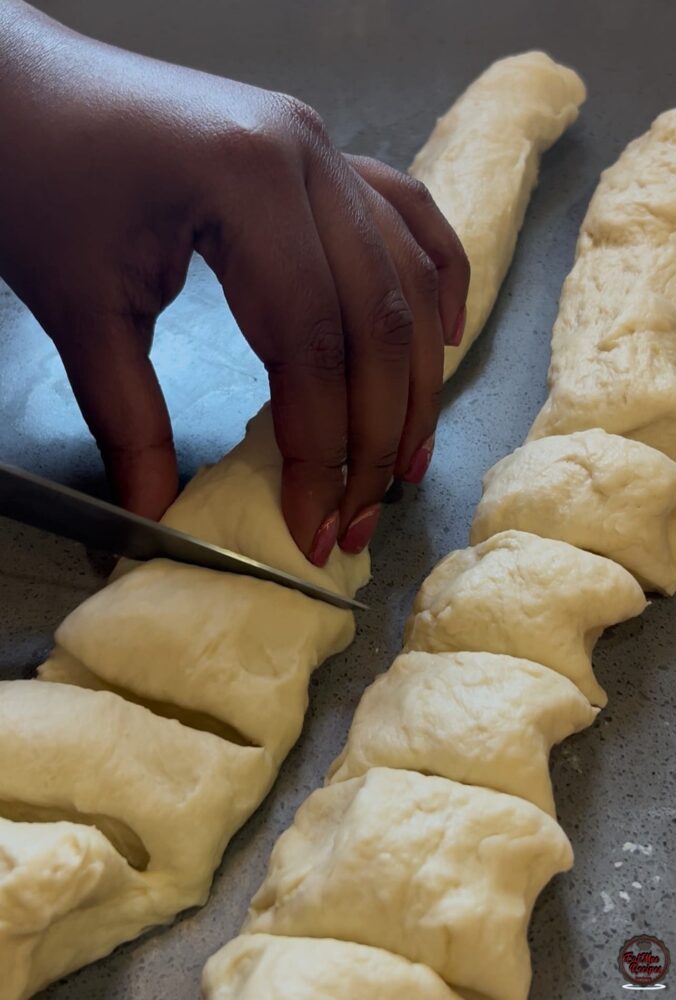
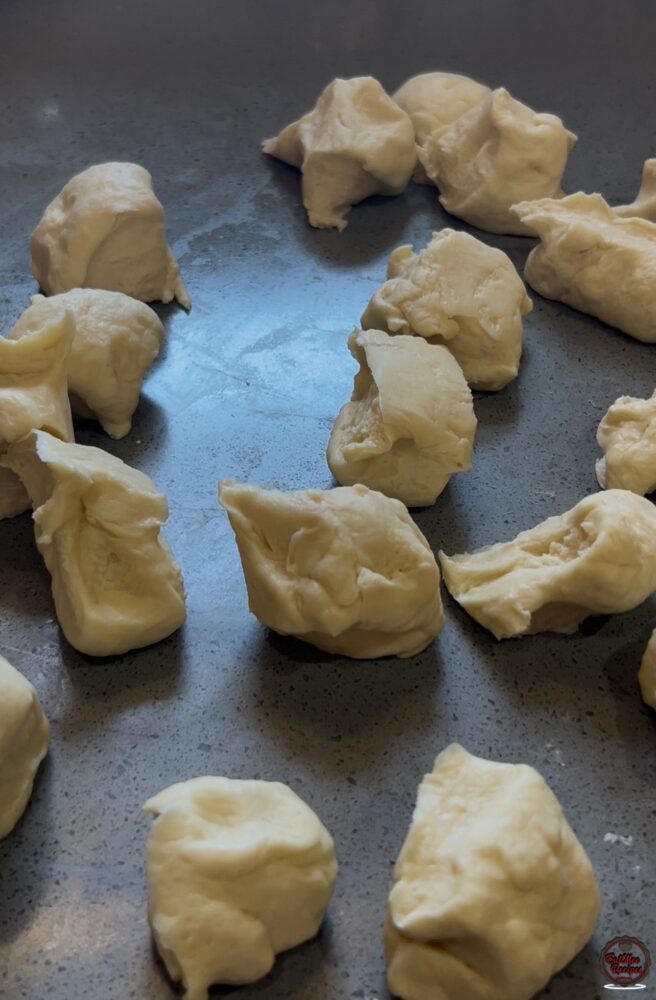
- Roll each portion of dough into a smooth ball using the palms of your hands, then place them on your work surface, ready for rolling
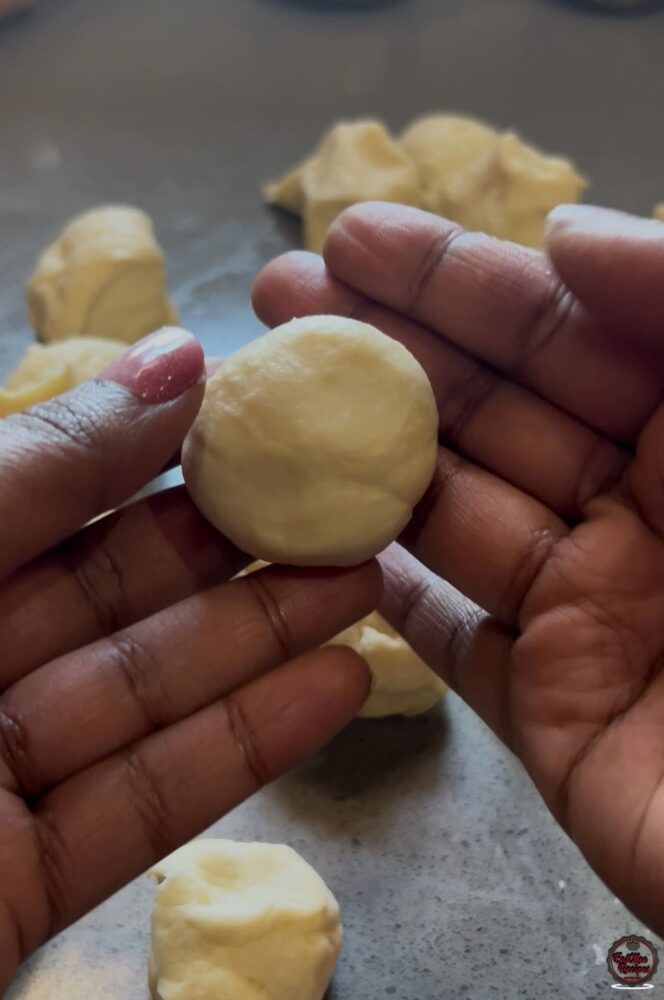
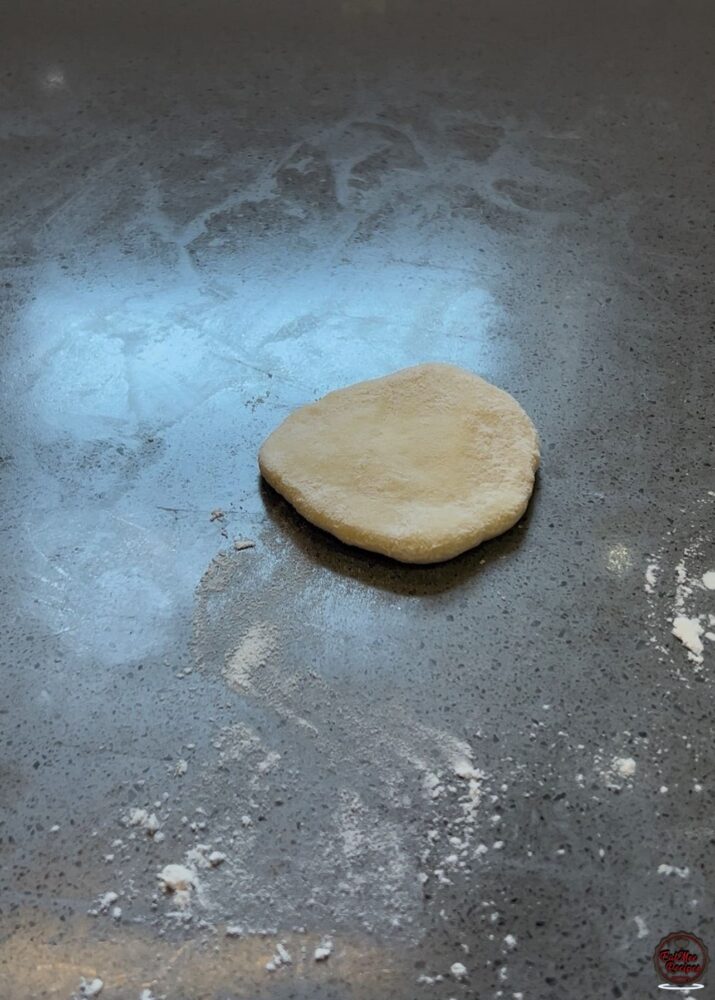
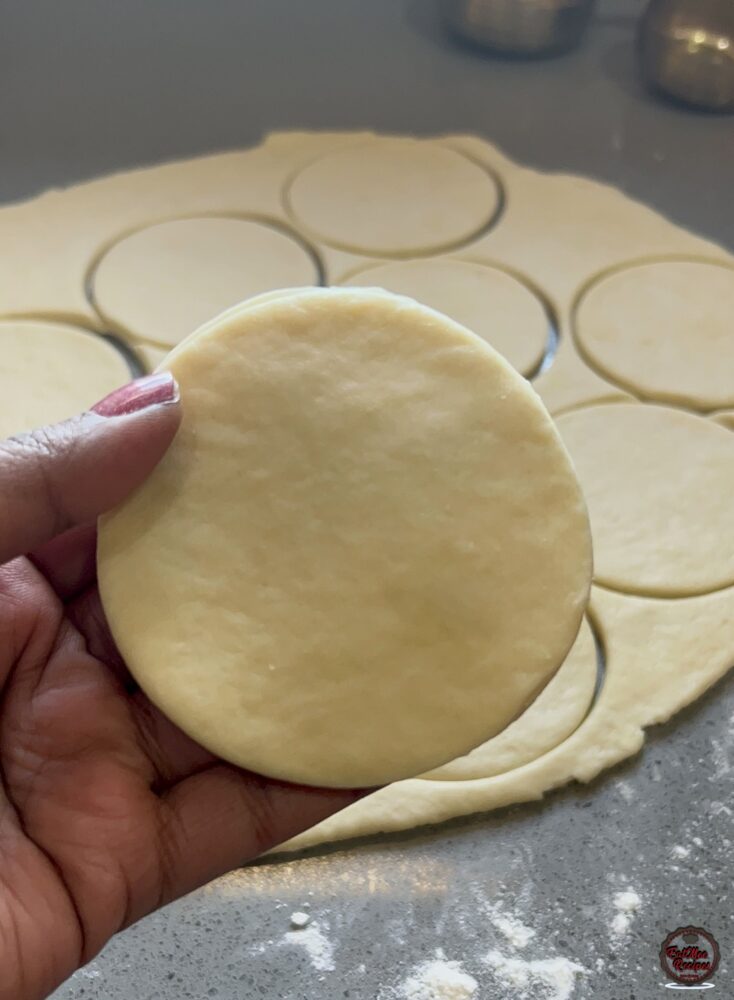
- Using a rolling pin, gently roll out each dough ball into a small, evenly round disc — not too thin, not too thick.
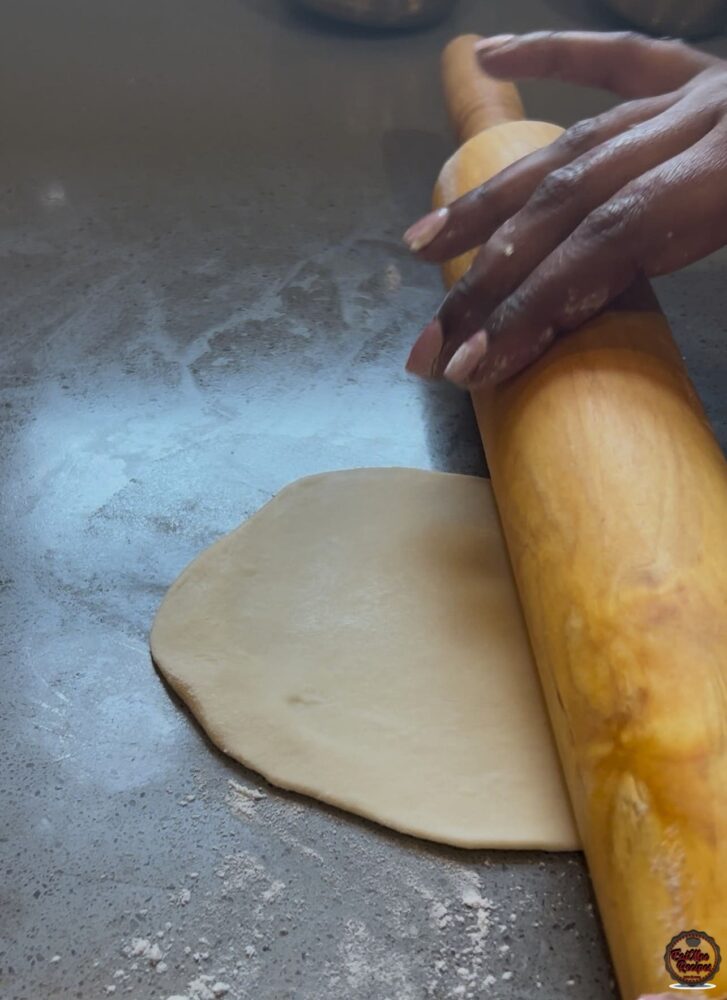
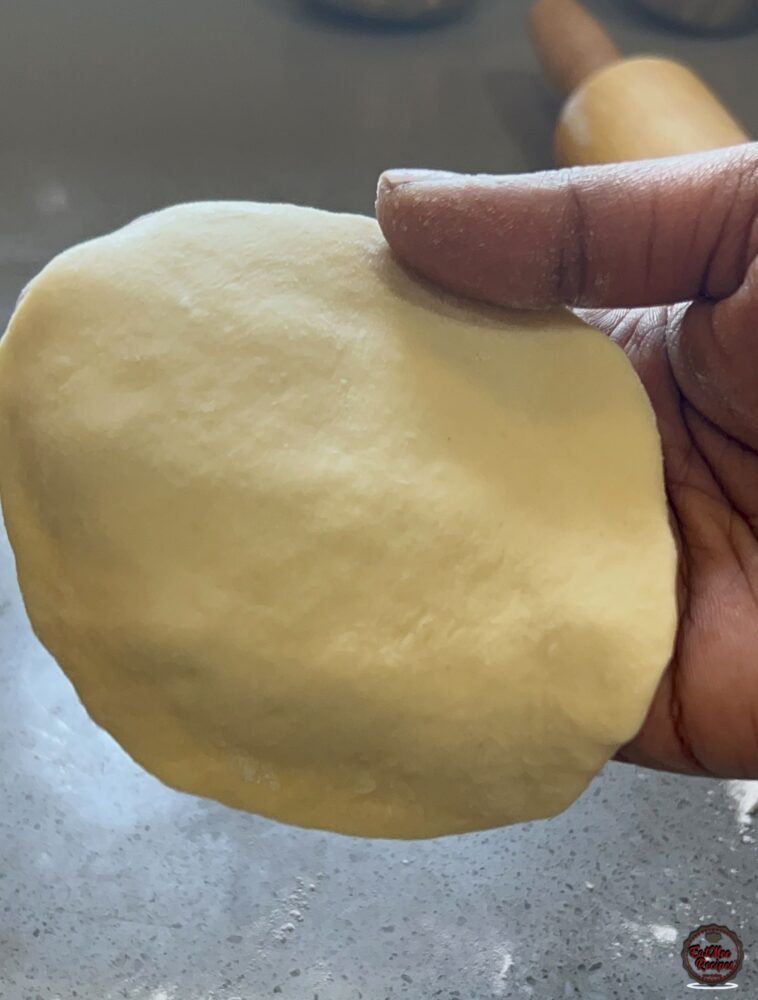
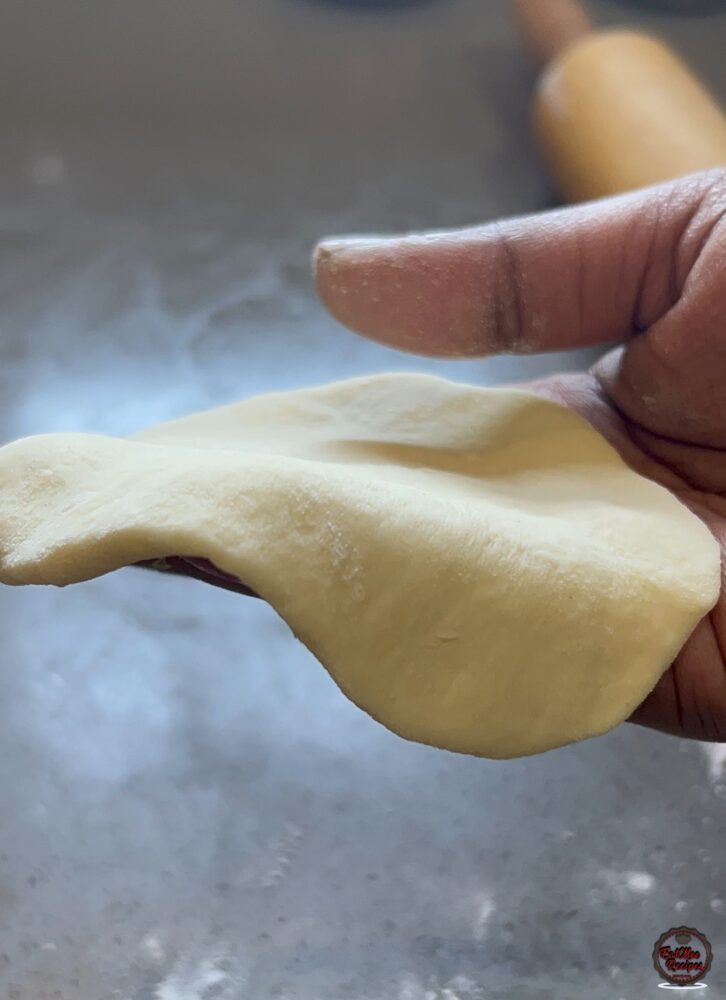
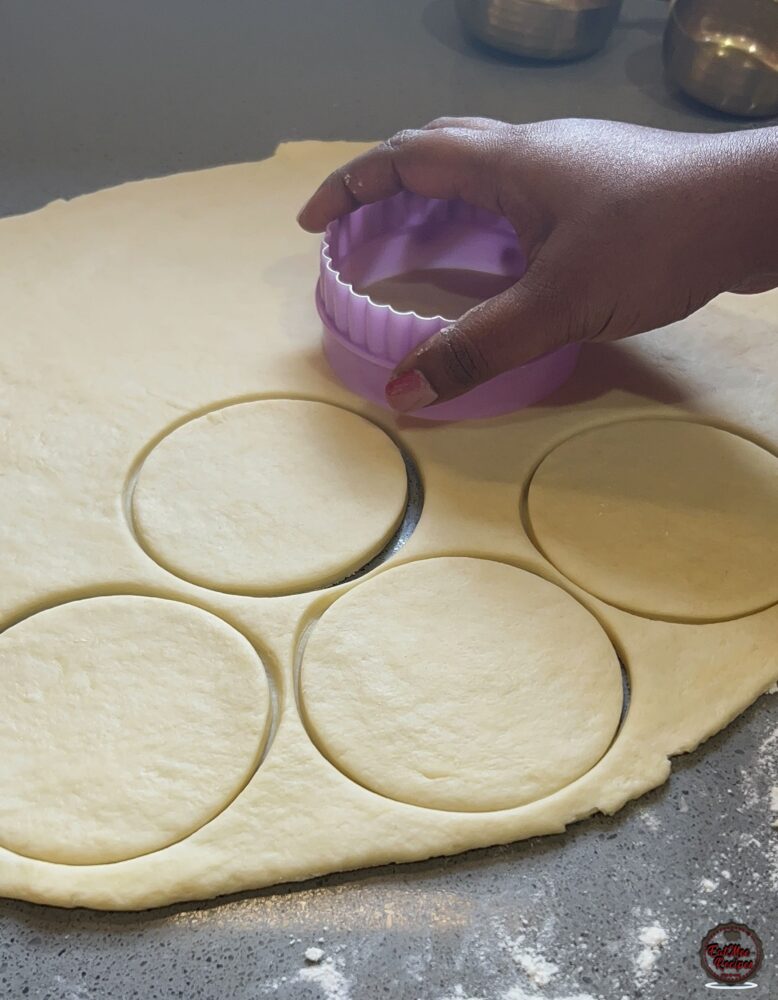
- Alternatively, you can roll out the dough and use a circular cutter to cut out puri shapes. While this method may yield fewer puris, it ensures perfectly uniform rounds.
- Place a deep pot on the stovetop and pour in cooking oil to fill about a quarter of the pot’s height. This oil will be used for deep frying the puris. Alternatively, you can use a deep fryer if you have one for more even temperature control. Keep the heat on low.
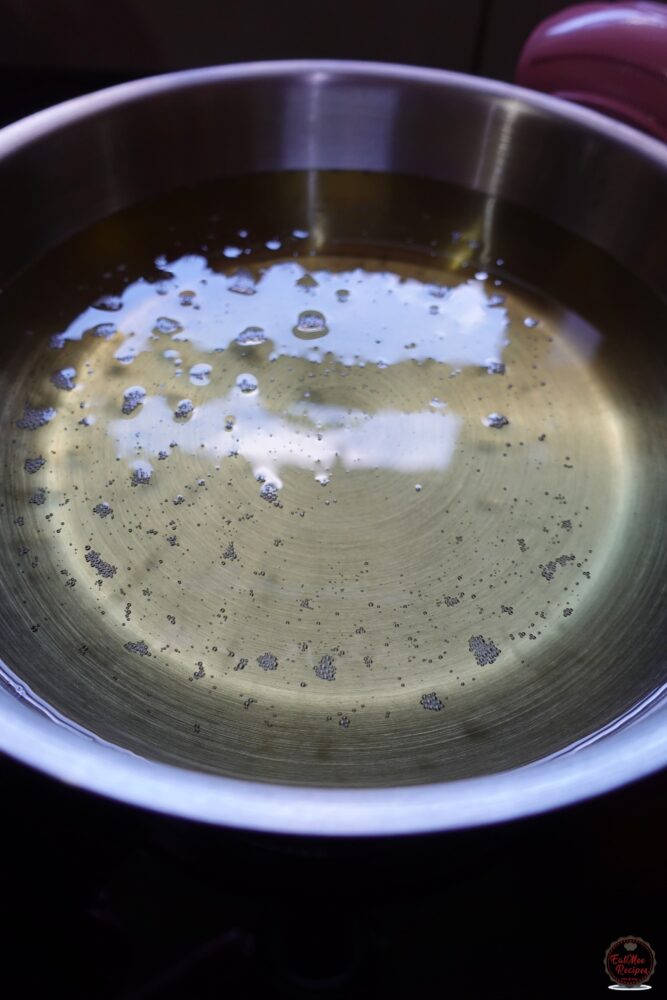
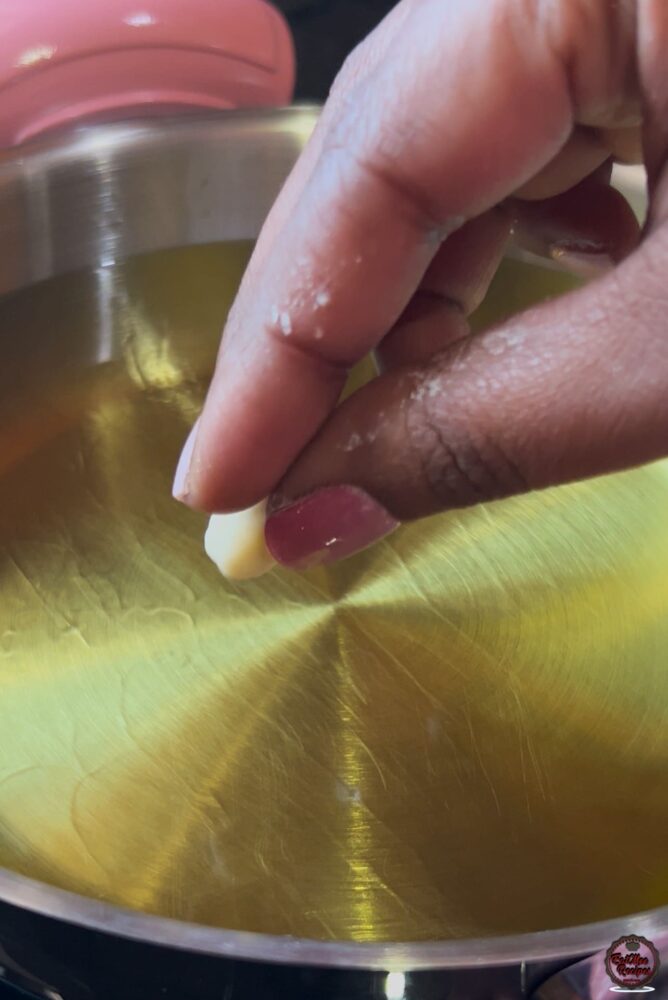
- Test the oil with a tiny piece of dough to check if the oil is hot enough. If the dough sizzles & has bubbles around it then the oil is ready.
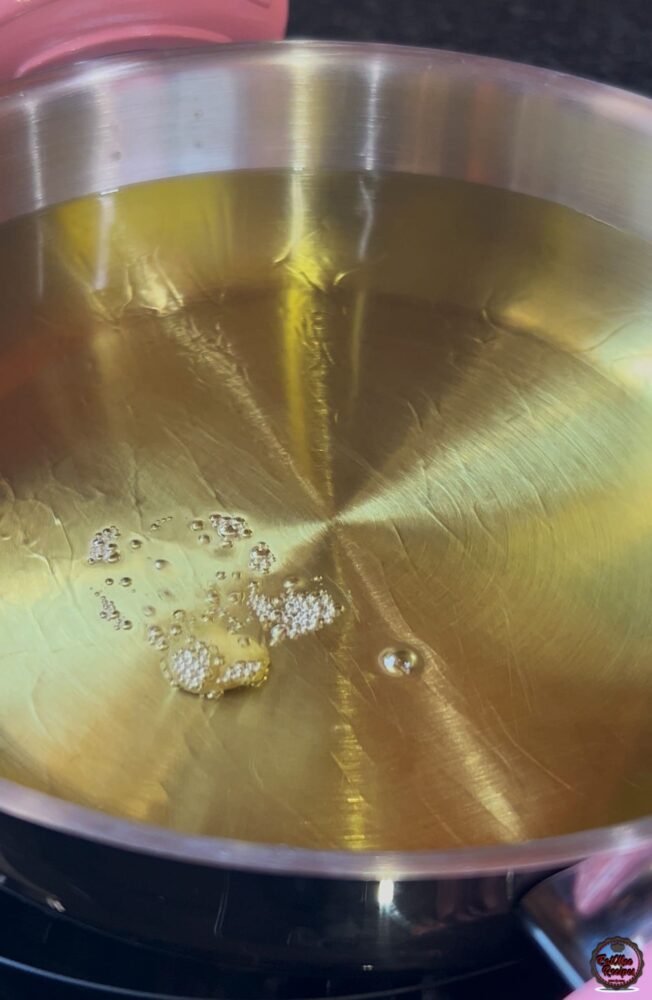
- Carefully place the puri one at a time into the hot oil.
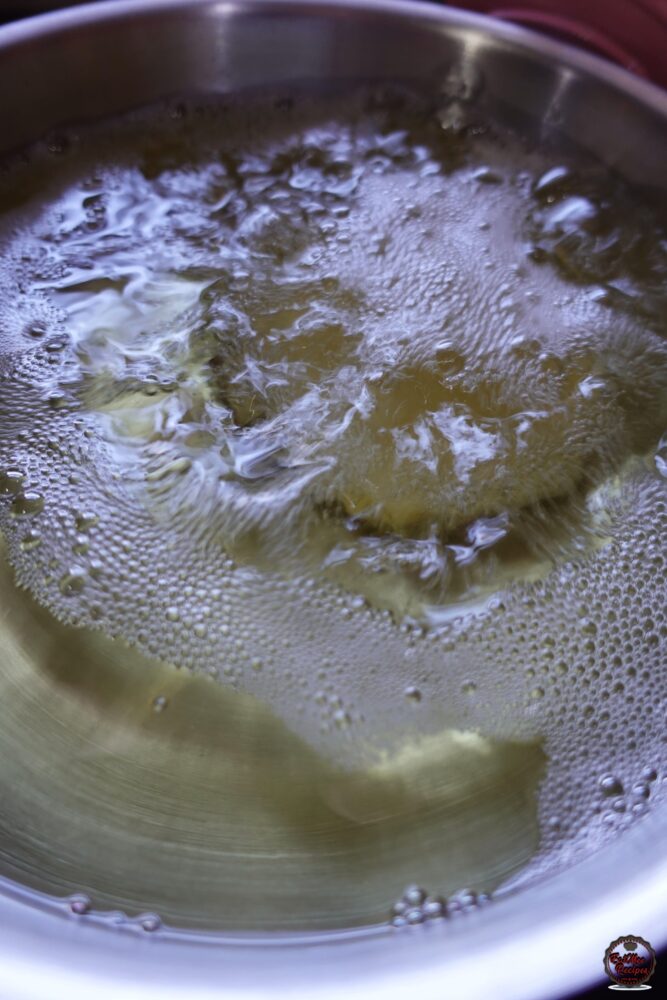
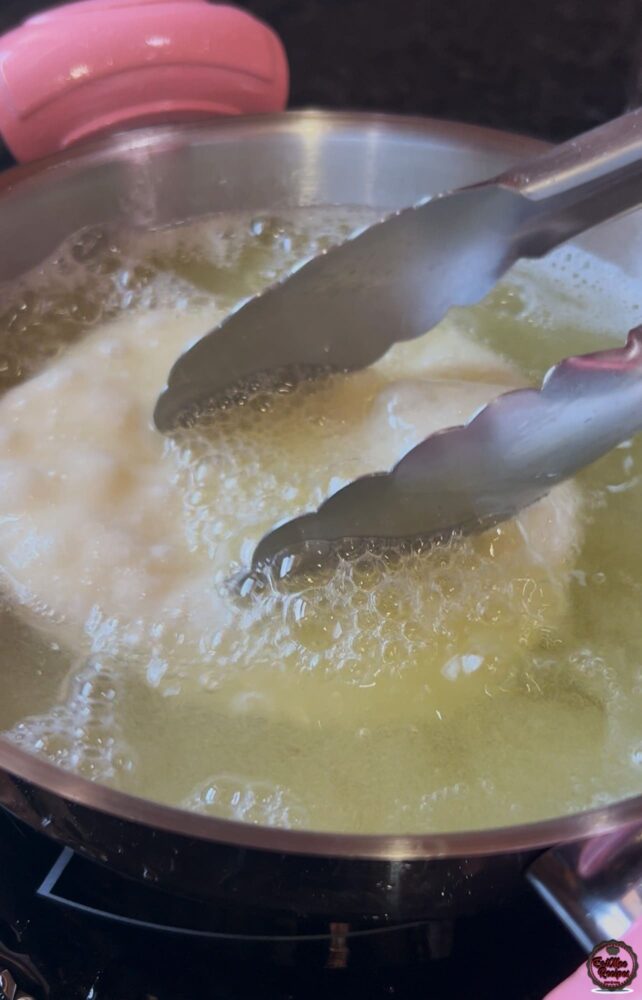
- The puri will begin to puff up within seconds. Use tongs or a slotted spoon to gently press it down into the oil, encouraging it to fully puff. Flip it over and continue frying for about a minute, or until both sides are lightly golden and puffed.
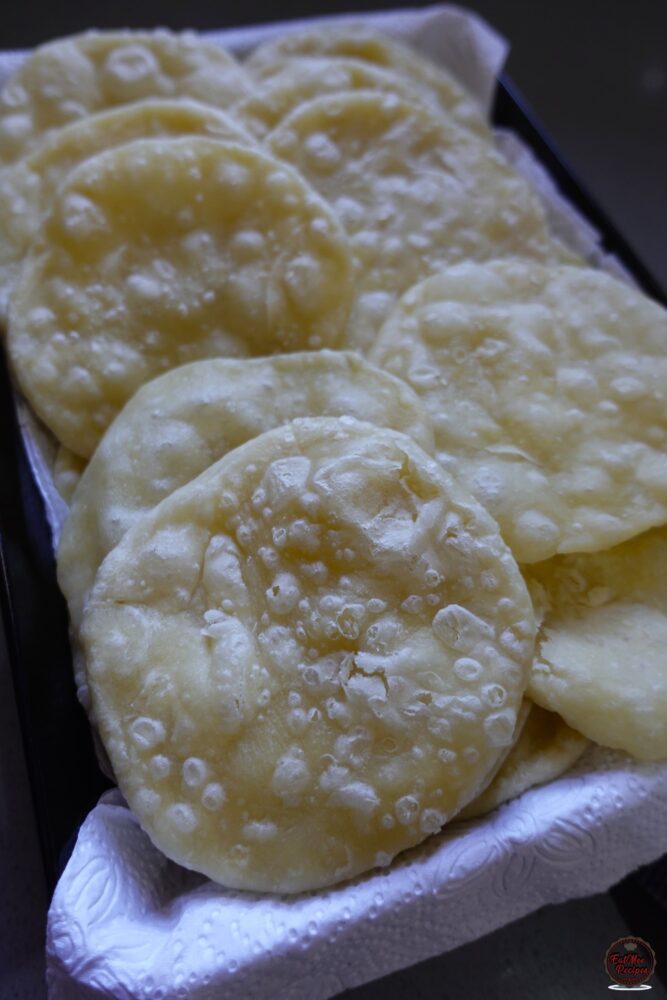
- Once fried, transfer the puris to a plate lined with paper towels to absorb any excess oil.
-
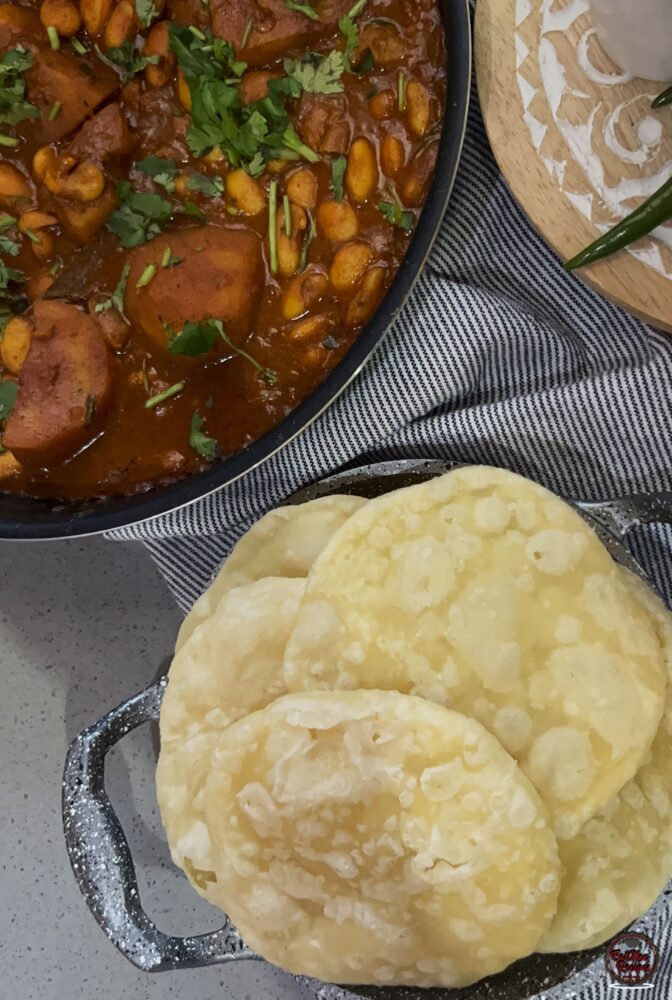
Puris pair beautifully with a variety of dishes, especially vegetable curries. Their soft, slightly chewy texture makes them the perfect companion to hearty, flavorful sides. One of the most popular pairings is with curried green beans or mixed vegetable curry — the puri soaks up the spices beautifully, turning every bite into comfort food.
-
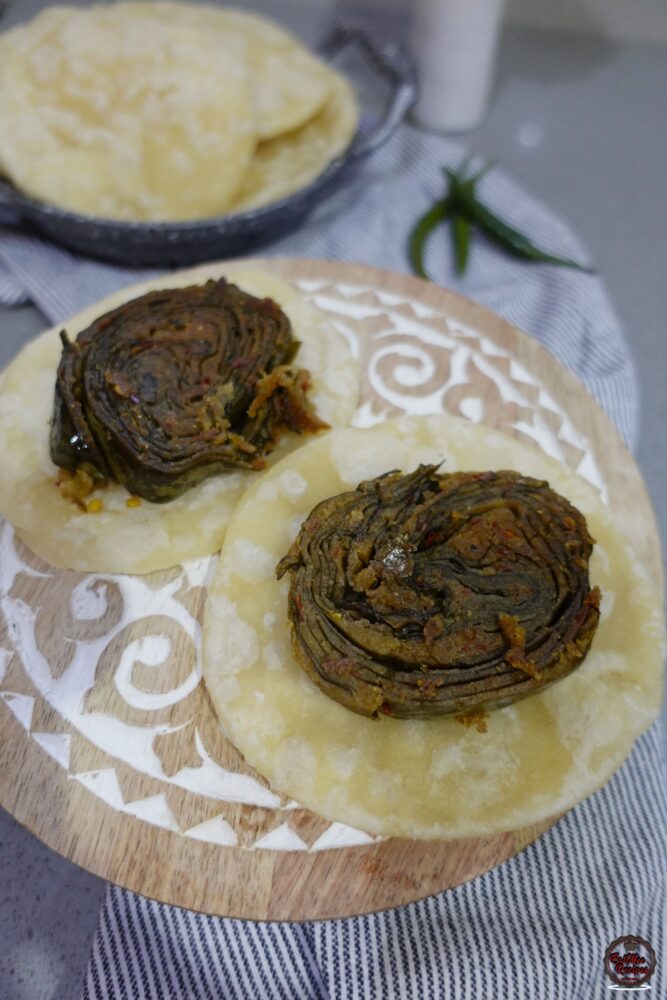
Another traditional way to enjoy puris is with pathas — a delicately spiced, rolled spinach and gram flour dish. In this combination, pathas are often sandwiched between two puris, creating a layered, satisfying bite that blends texture and flavor. This duo is especially popular during special occasions or family gatherings, bringing together tradition and taste in one delicious plate.
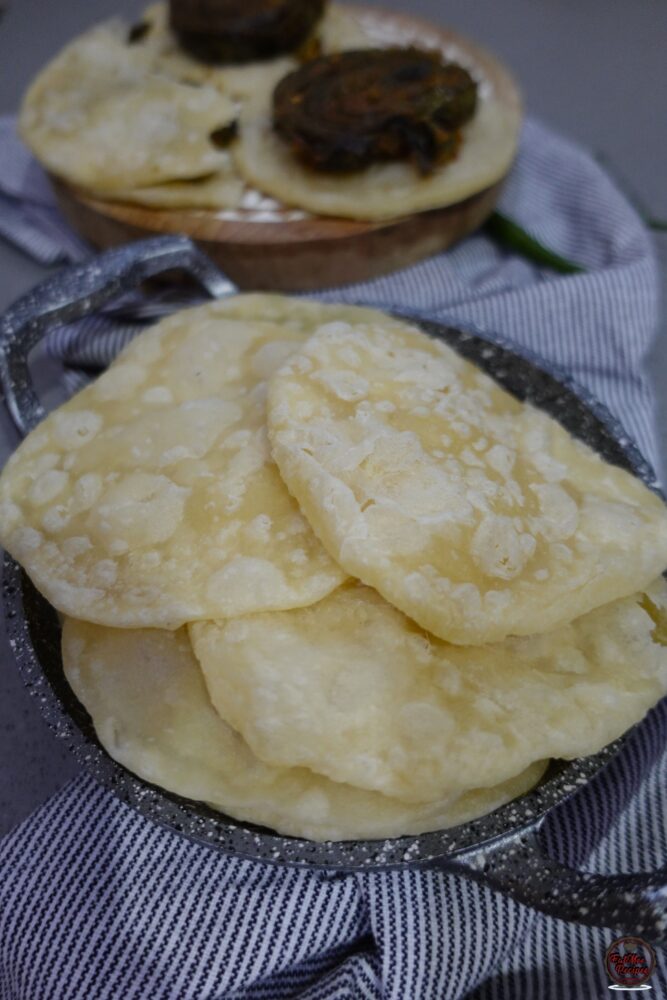
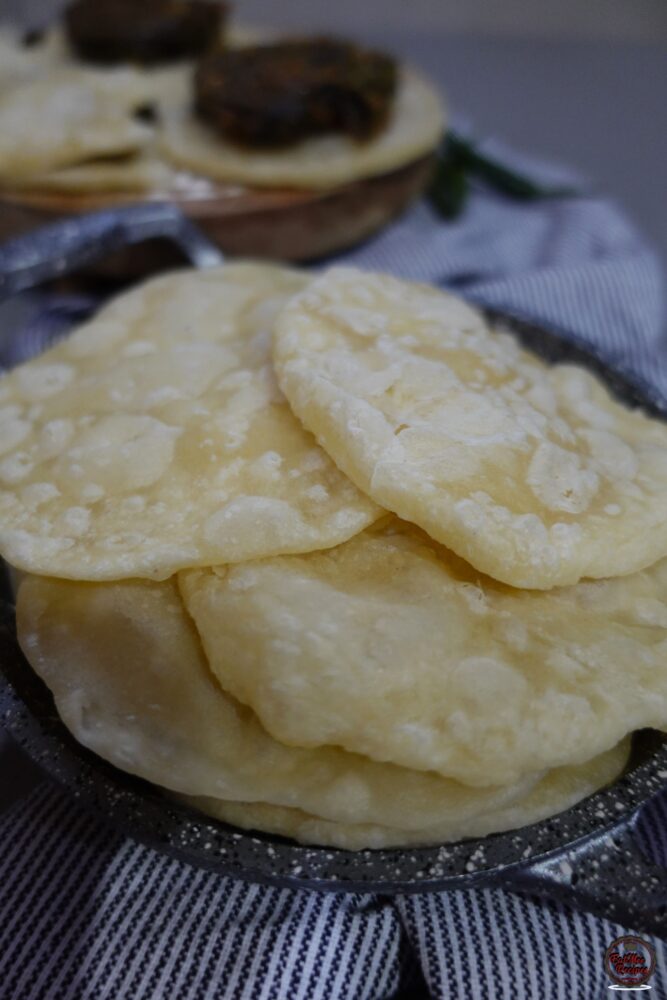
- Freshly fried puris are best enjoyed hot and puffed, but if you need to store them: Keep them covered in a clean kitchen towel or foil to retain softness. Avoid sealing them in an airtight container while hot — this traps steam and makes them soggy. Once cooled, you can store them in a container at room temperature for up to a week.
-
Once you master the dough, rolling, and frying technique, making puris becomes second nature — a satisfying process that fills your kitchen with warmth and tradition. Serve hot, share generously, and enjoy every bite!
![]()


