

We Value Your Culinary Privacy
EatMee Recipes uses cookies to provide a personalized browsing experience, analyze recipe popularity, and serve relevant ads. You can review our full disclosure in our Privacy Policy.
Make authentic Milk Burfee Balls with this foolproof recipe. Packed with rich traditional flavor, step-by-step photos, and cooking tips by Denisiya on EatMee Recipes.
Join over 60,000+ home chefs for weekly authentic Durban Indian cook-alongs, Instant Pot masterclasses, and family heritage recipes.
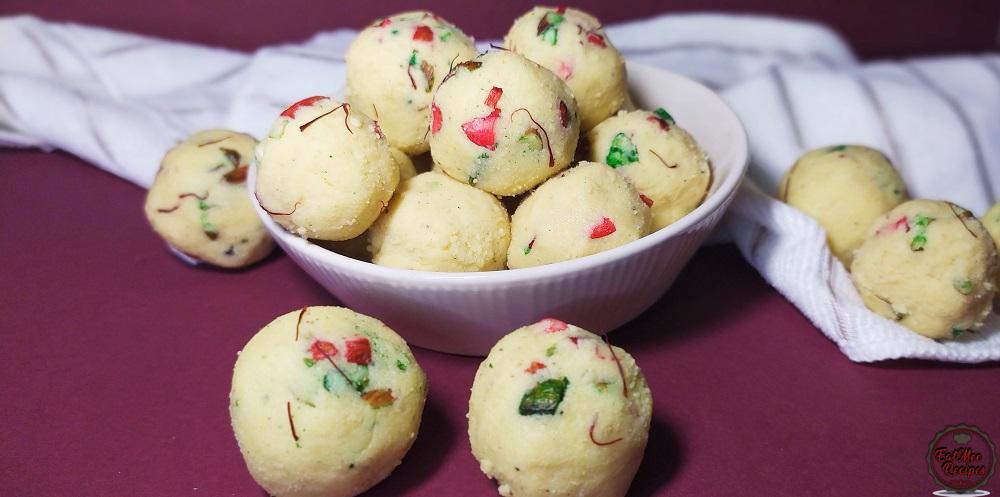
Rich, creamy, and delicately spiced with cardamom and saffron, these bite-sized Milk Burfee Balls come together on the stovetop in just 20 minutes using Klim milk powder, fresh cream, and butter ghee.
Milk Burfee (also spelled barfi or burfi) is the crown jewel of South African Indian sweetmeats, it’s a rich, melt-in-your-mouth milk fudge traditionally served during Diwali, Eid, weddings, and family celebrations. Instead of slicing the set fudge into classic squares, this recipe moulds the mixture into bite-sized Milk Burfee Balls topped with vibrant coloured almonds and saffron strands.
You only need 20 minutes of active time and simple pantry staples: full-cream milk powder (like Klim), pure butter ghee, fresh cream, icing sugar, and fragrant cardamom (elachi) powder. Because burfee needs about 3 hours in the fridge to firm up before rolling, it is the ultimate make-ahead festive treat.
Choose a Heavy-Bottomed or Non-Stick Pot: Milk-based sweets catch and discolour easily. A thick, heavy-based pot distributes heat evenly so your burfee stays milky-white instead of turning caramel-brown at the base.
Sliver or chop almonds. Divide them into equal parts into separate bowl, depending on how many shades of food colouring will be used. Colour them with a drop of food colouring & set aside.

The butter ghee (clarified butter) should be semi solid.

Grease a casserole with 2 teaspoons butter ghee & set aside until ready to use. I used a 27 centimeter casserole which was a bit too large for this quantity, so you may use a smaller casserole.

On medium heat, add the ½ cup of butter ghee to a pot.

Pour in the fresh cream.

Add 2 cups milk powder (Klim).

Continuously mix for 2 minutes until you get a somewhat crumbly mixture.

Thereafter, add in the icing (confectionery) sugar.

Continuously mix for 6 minutes.

Notice that the mixture starts to take shape by becoming thicker. At this point, add in the remaining ½ cup milk powder.

Mix for a further 2 minutes, then add in the cardamom (elachi) powder.

Mix until well combined & remove the mixture from the heat.

Empty the mixture into the greased casserole. Use a spatula & press the mixture so it forms a tight mould.

The coloured almonds may be added at this point but because I am moulding them into balls, I skipped adding the almonds so soon. Place the casserole into the refrigerator & allow it to set for 2-3 hours.

Once the Burfee is set, remove from the refrigerator & top with coloured almonds. I also topped it with saffron which gives it an incredible taste. If saffron isn’t available, you may omit it.

Press the almonds & saffron into the Burfee.

Slice this Milk Burfee into equal squares. It may be served as is if prefered.

I use the slices as a guide to make even sizes to mould into balls.

Simply grab a block of Burfee & using clean hands, mould it into balls with your palms.

These Milk Burfee Balls are ready to be served.

They are creamy & melt in your mouth with every bite.

Store these Milk Burfee Balls in an airtight container in the refrigerator for up to a week.

Follow along with Denisiya's step-by-step video guide for Milk Burfee Balls.
Expert kitchen guidance and troubleshooting for making the best Milk Burfee Balls
Milk burfee (also spelled barfi, burfi, or borfi) is a traditional Indian milk-based fudge and one of the most popular South African Indian sweetmeats. Made primarily from full-cream milk powder, butter ghee, sugar, and fresh cream, it has a rich, creamy, melt-in-your-mouth texture delicately spiced with cardamom (elachi).
Full-cream instant milk powder is essential for the best flavour and texture. In South Africa, Nestlu00e9 Klim is the gold standard for making authentic burfee, though Nido or another high-quality full-cream milk powder can be used. Avoid skim or low-fat milk powders, as they will make the burfee dry and chalky.
Pure butter ghee (clarified butter) gives milk burfee its signature rich aroma, glossy finish, and smooth set. Unsalted dairy butter can be used in a pinch, though the texture will be slightly softer. Avoid using margarine or vegetable oil, as they alter the traditional taste and prevent the fudge from setting properly.
Milk burfee takes approximately 2 to 3 hours to set in the refrigerator before it is firm enough to slice into squares or mould into balls. Because it needs this chilling time, it is an ideal make-ahead dessert.
If your burfee feels too sticky or soft after chilling, the warmth of your hands may be melting the ghee, or the mixture needed slightly longer on the stove. Place the dish back in the refrigerator for 15 to 20 minutes to firm up before continuing to roll.
Burfee becomes crumbly if the heat was too high during cooking or if the mixture was cooked for too long, causing excess moisture to evaporate. Always cook on low-to-medium heat and stick closely to the recommended cooking times.
Because this recipe contains fresh cream, store your Milk Burfee Balls in an airtight container in the refrigerator for up to 7 to 10 days. Let them sit at room temperature for 15 minutes before serving so they soften to a creamy, melt-in-your-mouth consistency.
Yes, milk burfee freezes very well for up to 2 months. Place the rolled balls in a freezer-safe airtight container with sheets of baking paper between layers to prevent sticking. Thaw overnight in the refrigerator before serving.
Absolutely. Once the mixture has set in your dish and you have pressed the coloured almonds and saffron into the top, simply slice it into neat squares or diamond shapes and serve as traditional block burfee.
Hi, I'm Denisiya! Food lover, recipe developer, and founder of EatMee Recipes. I specialize in authentic South African Durban Indian cuisine, comforting curries, and modern Instant Pot adaptations. Every recipe on this site is tested in my personal kitchen to ensure you get mouth-watering, foolproof results every time.
Explore more authentic Durban curries, traditional bakes, and comforting family favourites.
 Desserts
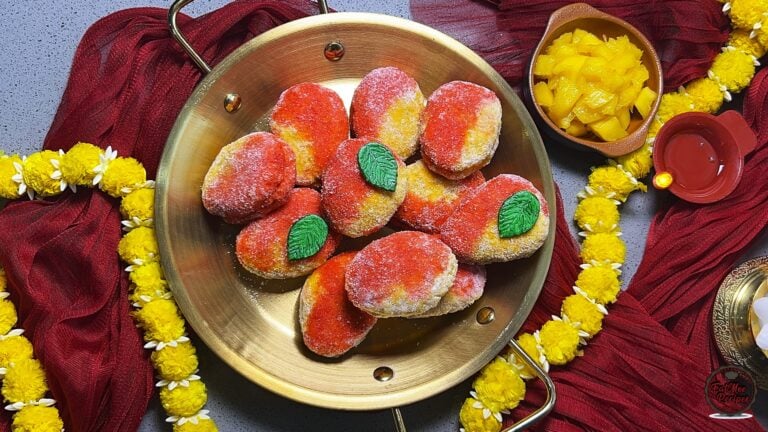
What if you could turn your favourite chilled mango lassi into a showstopping festive swee...
 Desserts
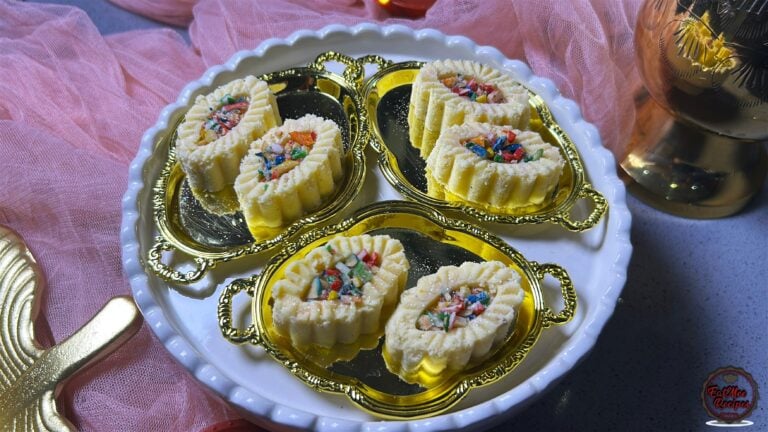
Classic Burfee (Soft, Silky & Melt-in-Your-Mouth): Diwali and special family celebrations ...
 Desserts
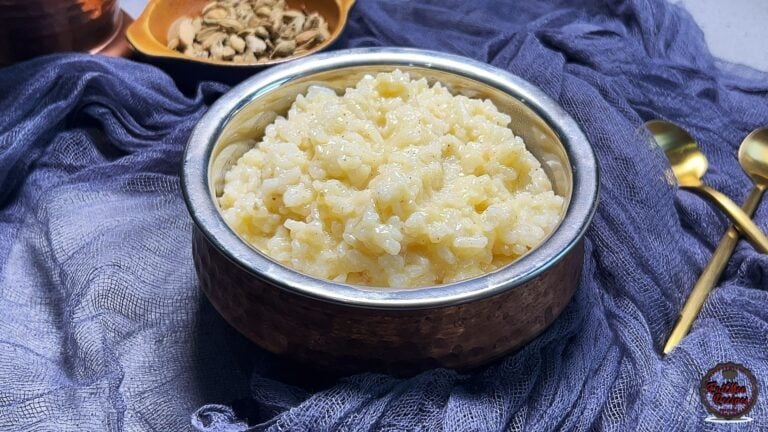
If you love traditional South African sweet rice but want an easier, hands-off method, thi...
Have you tried this recipe or have questions for Denisiya? Join the conversation below.
No comments yet. Be the first to share your thoughts on this recipe!
Leave a Comment
Your email address will not be published. Required fields are marked *