
We Value Your Culinary Privacy
EatMee Recipes uses cookies to provide a personalized browsing experience, analyze recipe popularity, and serve relevant ads. You can review our full disclosure in our Privacy Policy.
Make authentic Victoria Sponge Cake with this foolproof recipe. Packed with rich traditional flavor, step-by-step photos, and cooking tips by Denisiya on EatMee Recipes.

Join over 60,000+ home chefs for weekly authentic Durban Indian cook-alongs, Instant Pot masterclasses, and family heritage recipes.
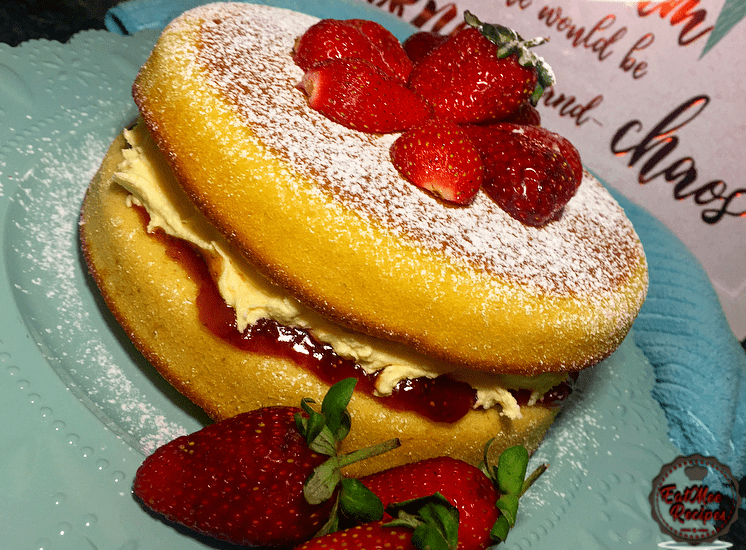
The Victoria Sponge Cake also known as the Victoria Sandwich Cake or Sponge is a cake which consists of two layers of vanilla sponge cake that is sandwiched together with a jam & cream filling.
This cake was named after Queen Victoria, whom consumed a slice of sponge cake with her afternoon tea.
Traditionally, this British bake uses strawberry jam & whipped cream as the filling. Alternatively, a jam of your preference may be substituted & instead of whipped cream, butter cream may be used as it stores longer. For this recipe, I have substituted the whipped cream with butter cream.
Two 20 centimeter cake pans can be used to bake the cakes at the same time. I did not have cake pans of that size so I opted to using a small steel pot & because I only had one of those pots on hand, I have baked the cakes individually which called for more time consumption.
Preheat oven to 180° Celsius or 356° Fahrenheit.
Make sure that the butter is softened at room temperature.
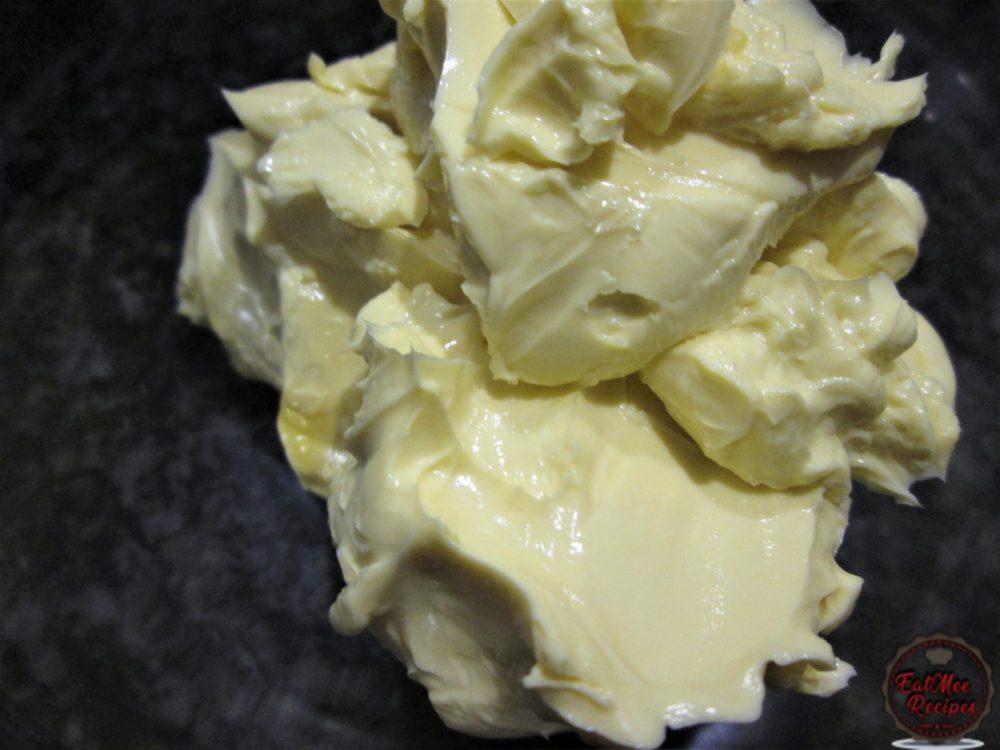
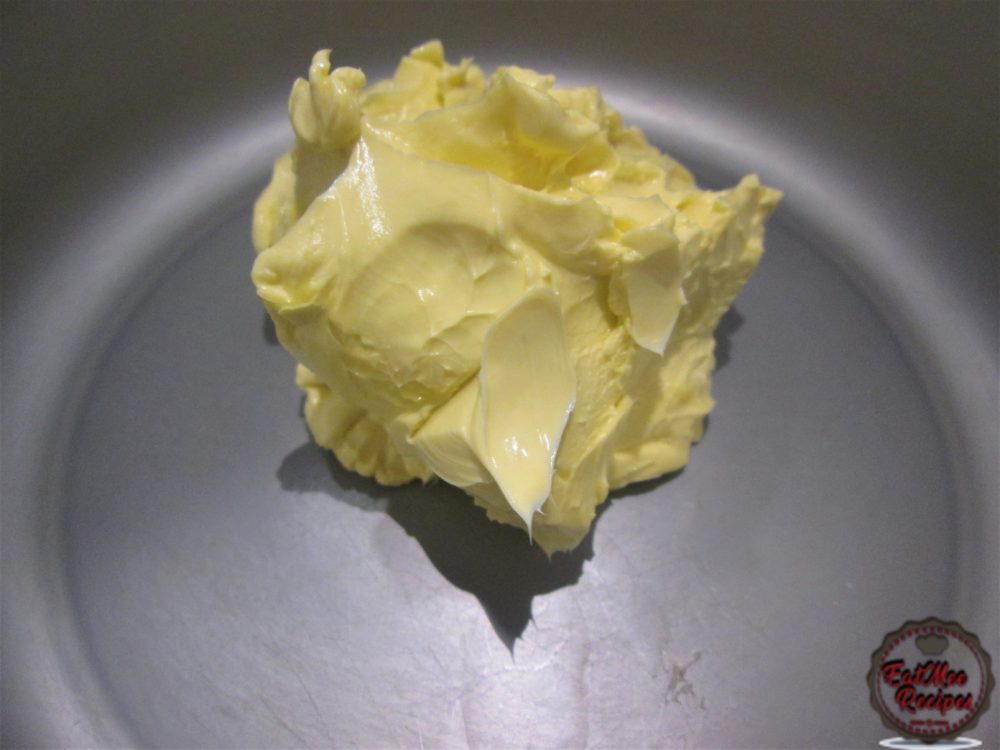
Add the butter to a mixing bowl.
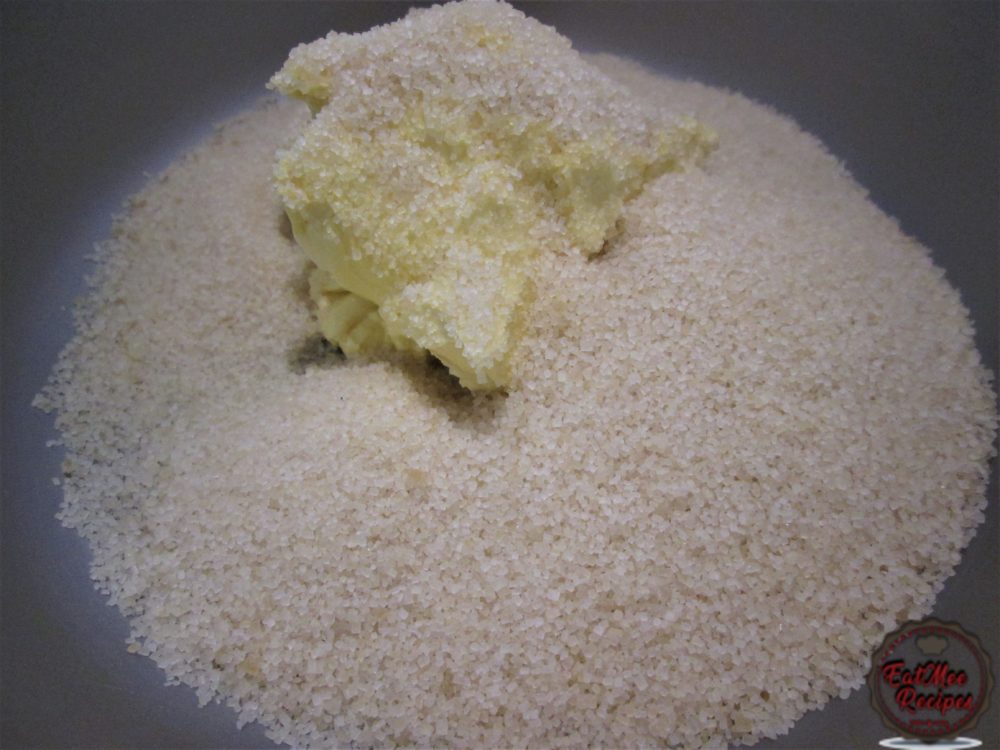
Add the sugar to the butter.
Mix well.
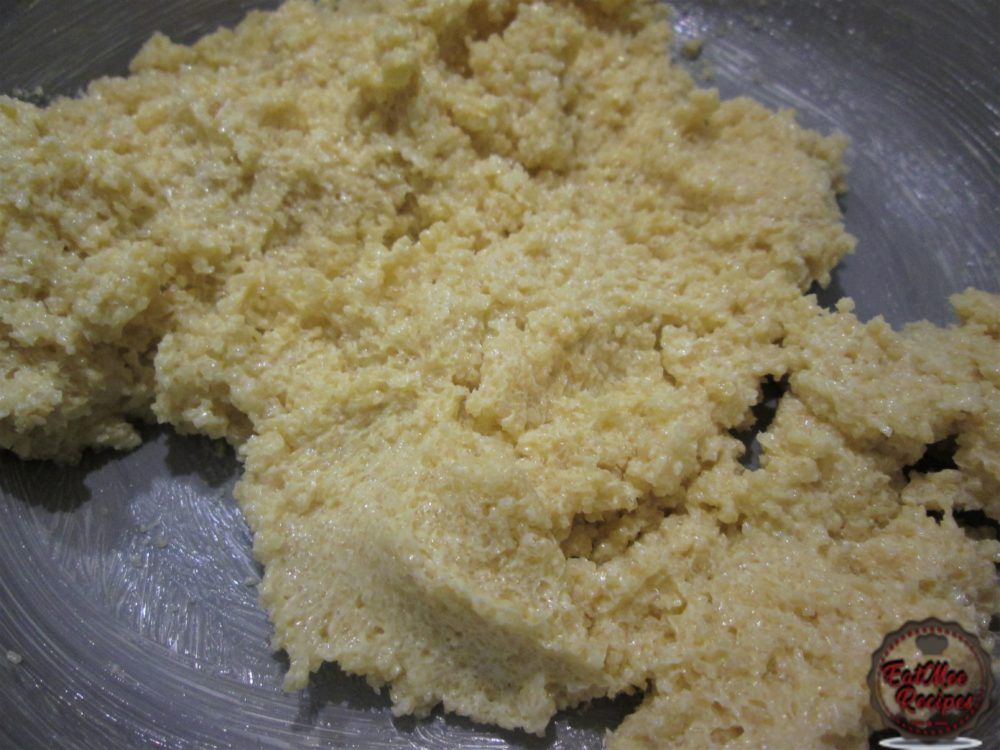
Next, add the eggs one at a time, mixing after each addition as this will prevent the mixture from curdling.
First egg.
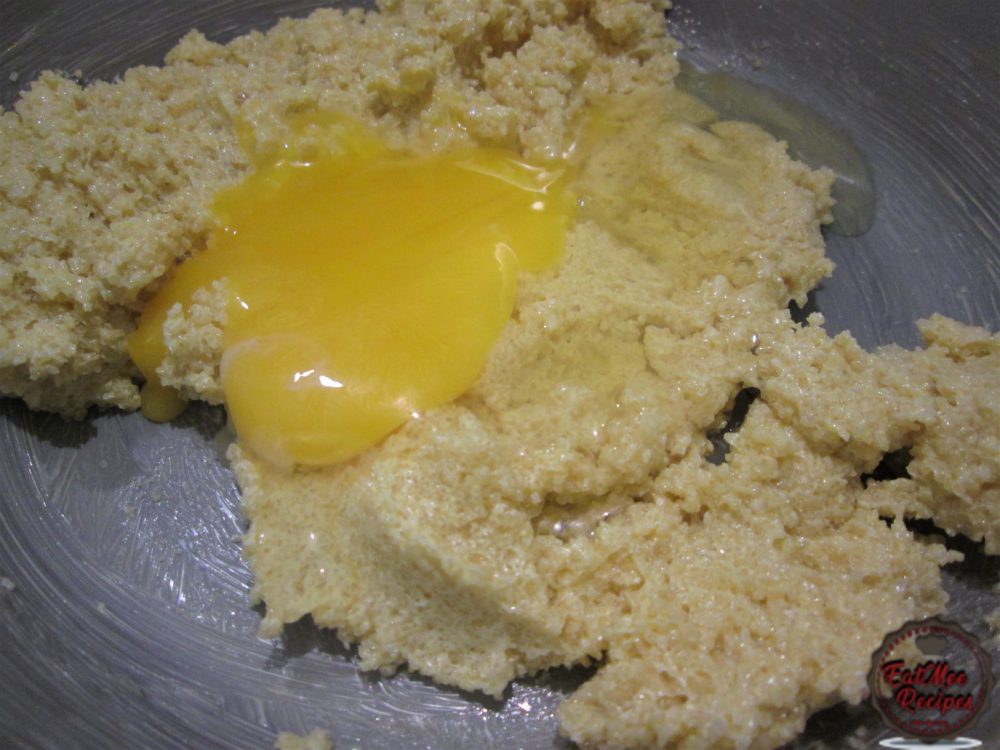
Mix.
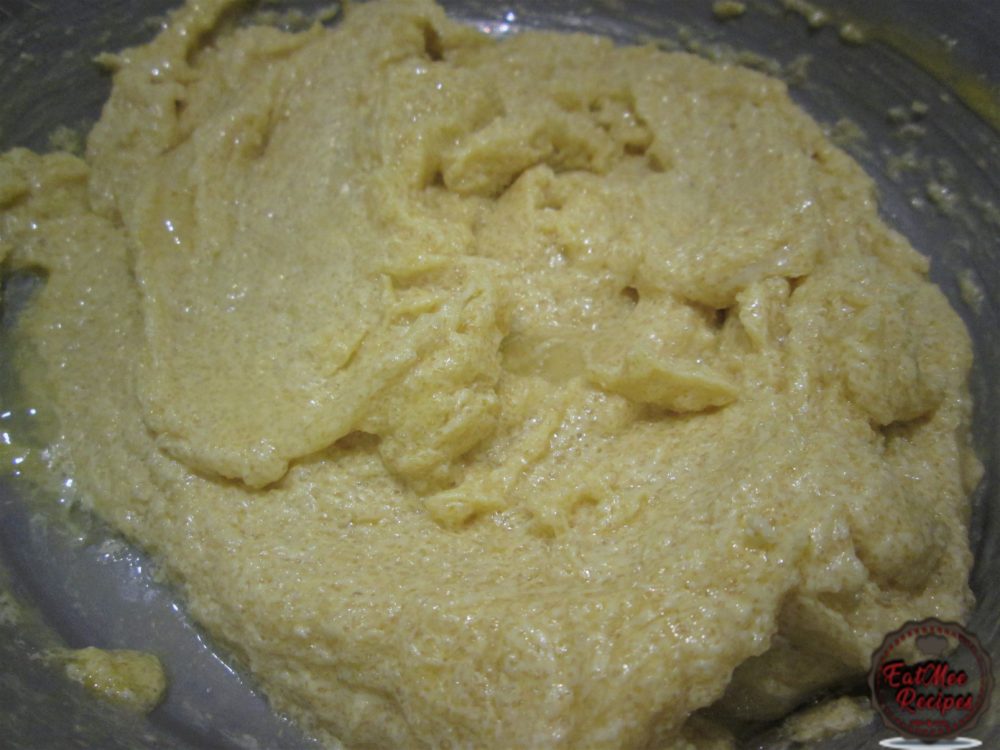
Second egg.
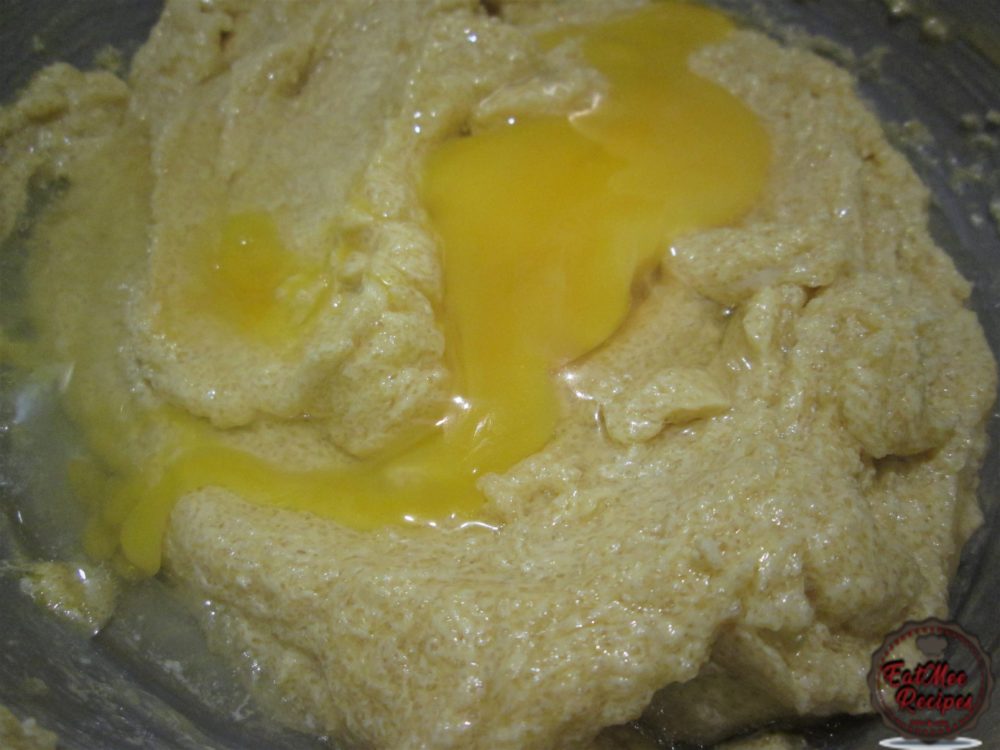
Mix.
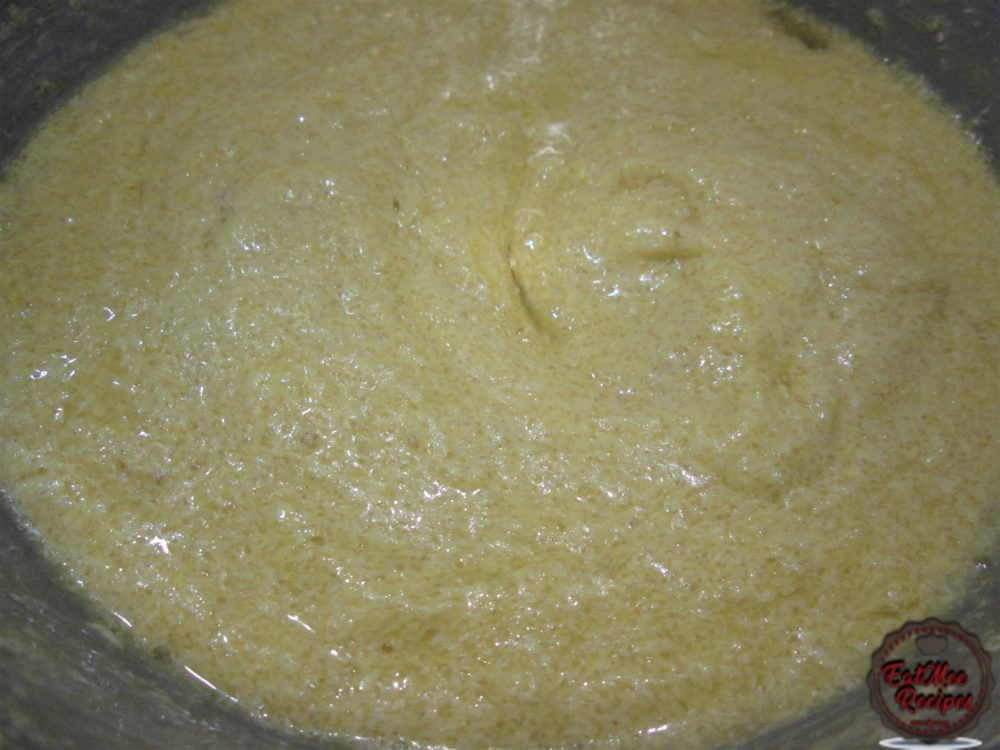
Third egg.
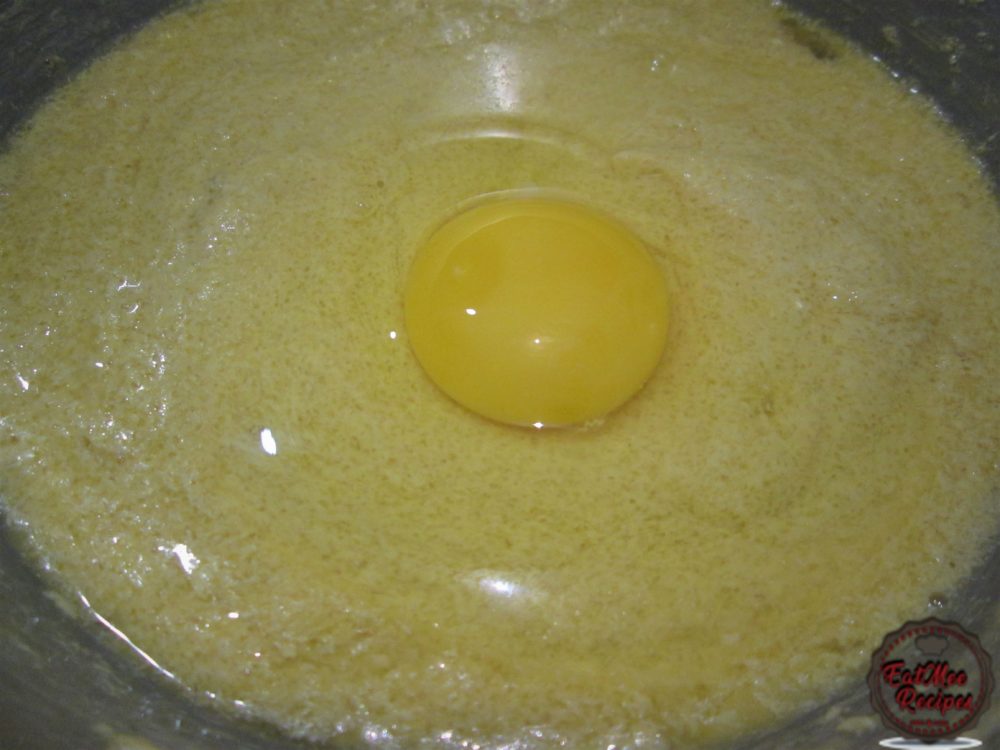
Mix.
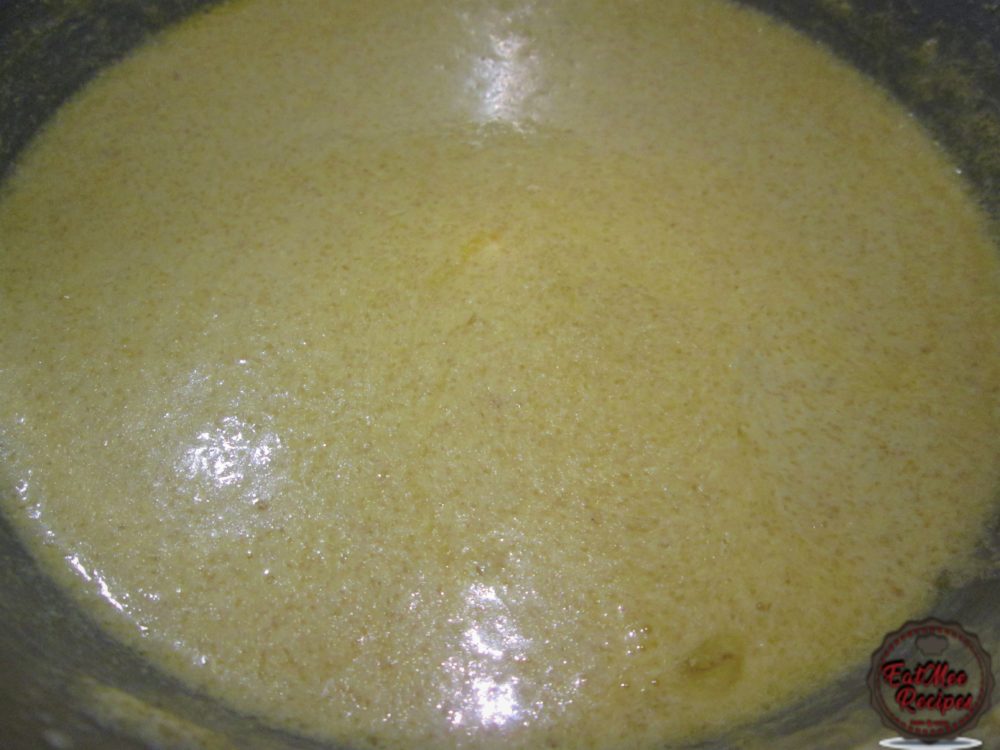
Fourth egg.
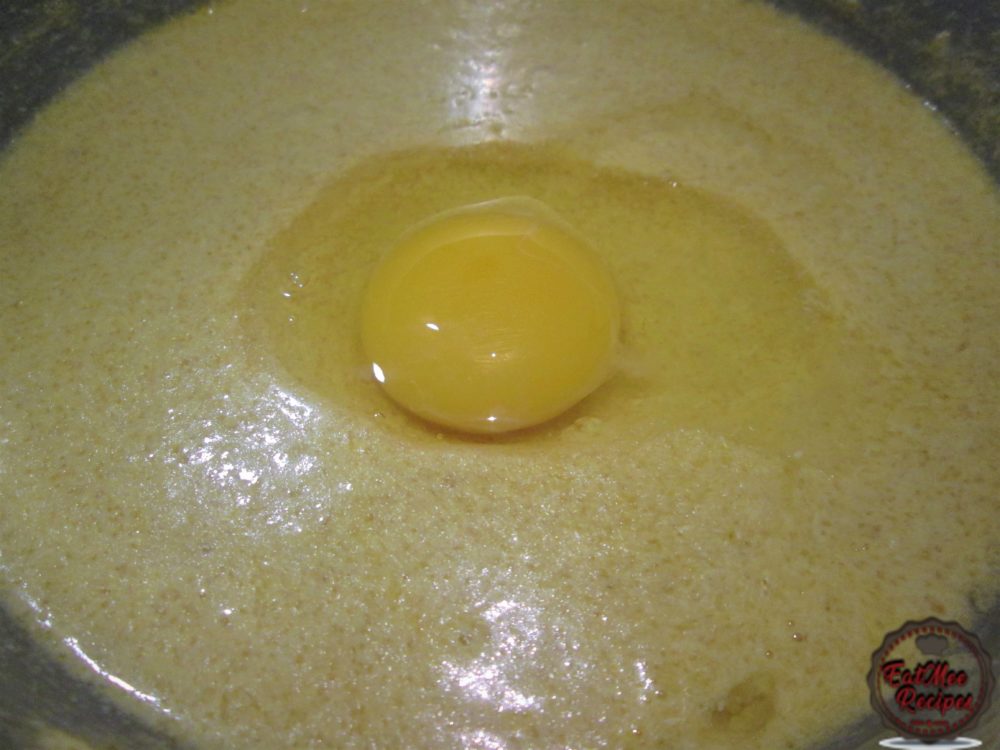
Mix.
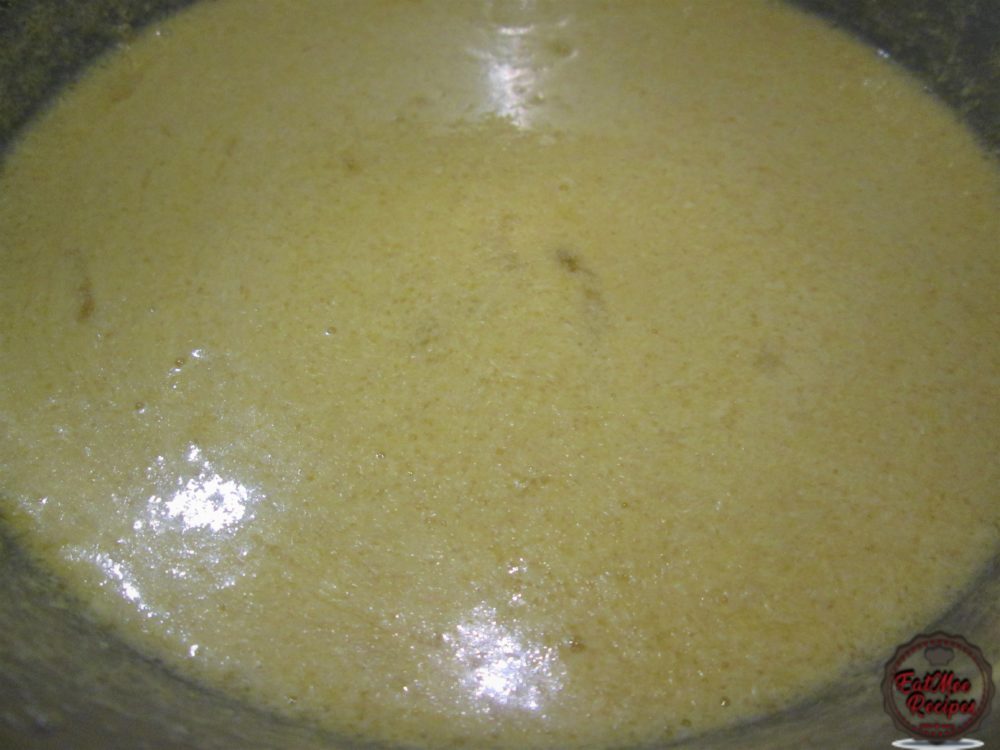
Add in the vanilla essence.
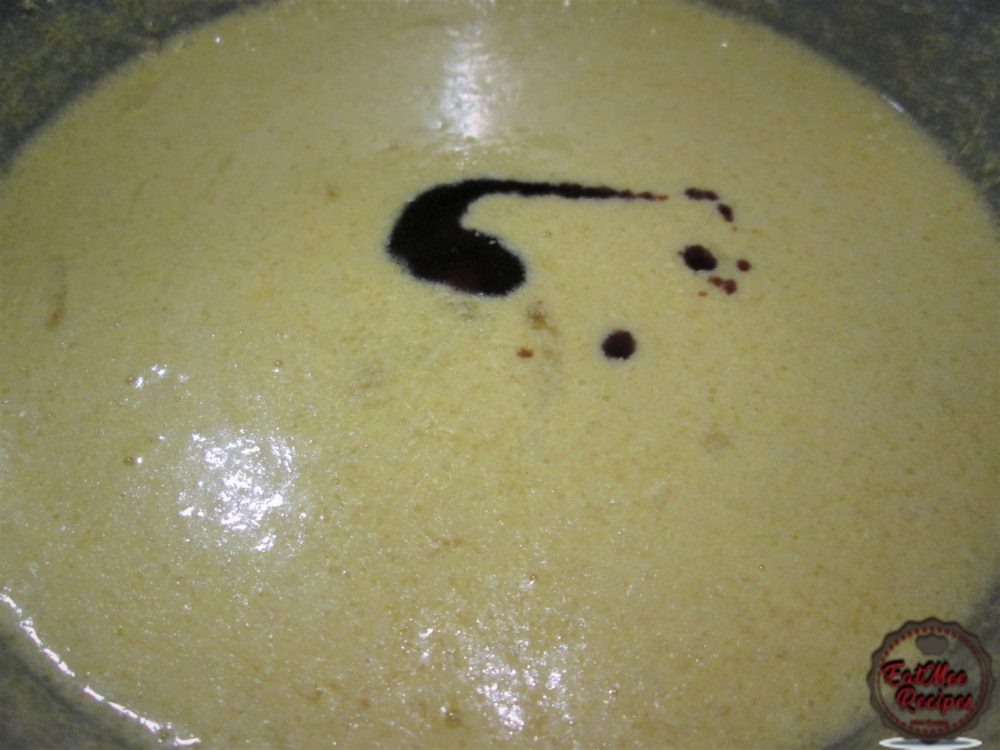
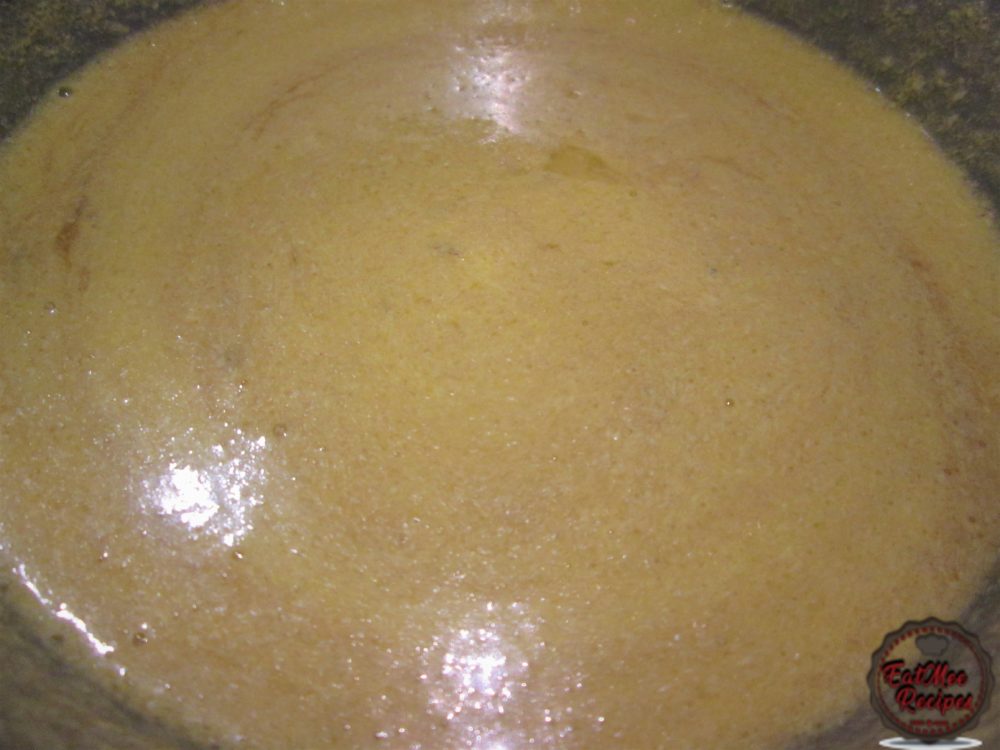
Mix.
Next, add in the all-purpose flour, salt & baking powder.
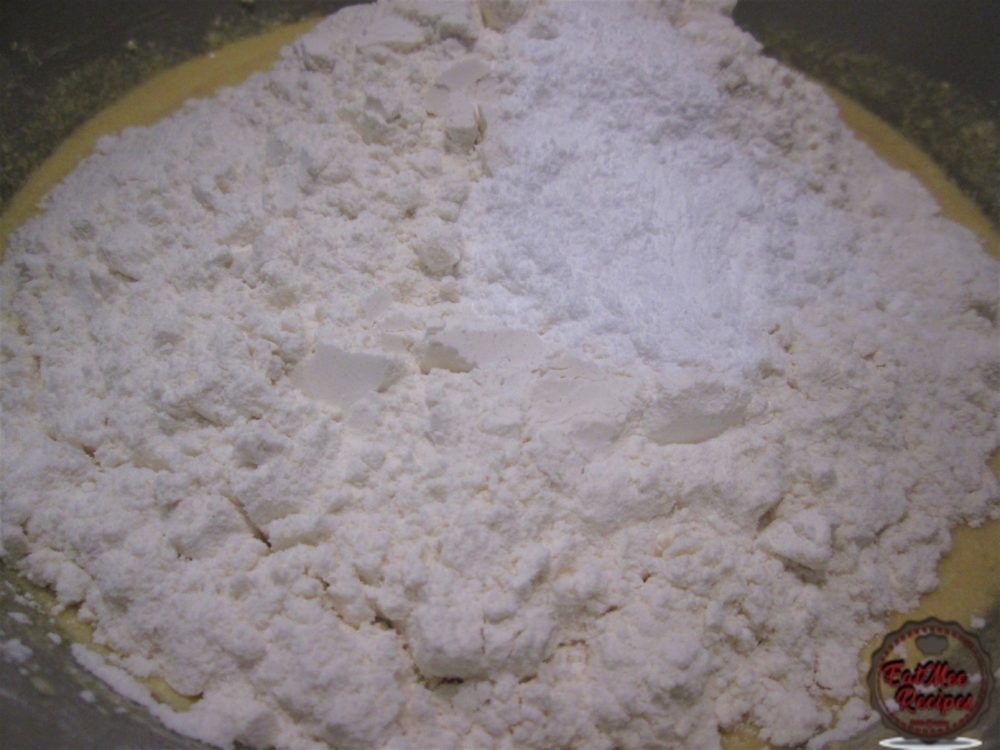
Roughly mix.
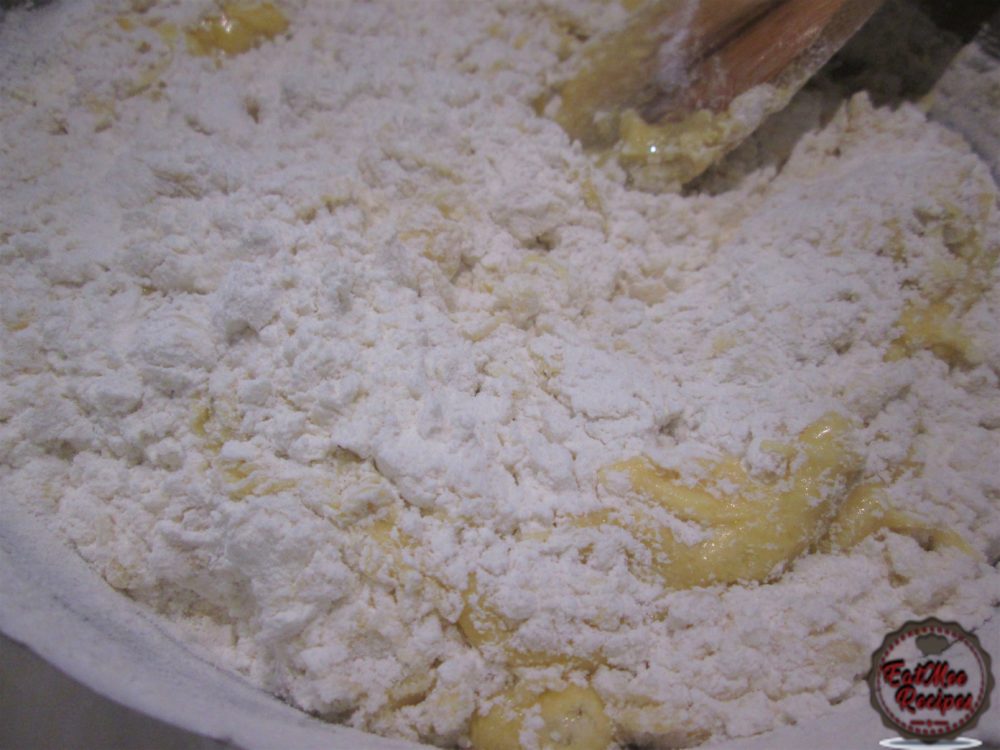
Pour in the milk.
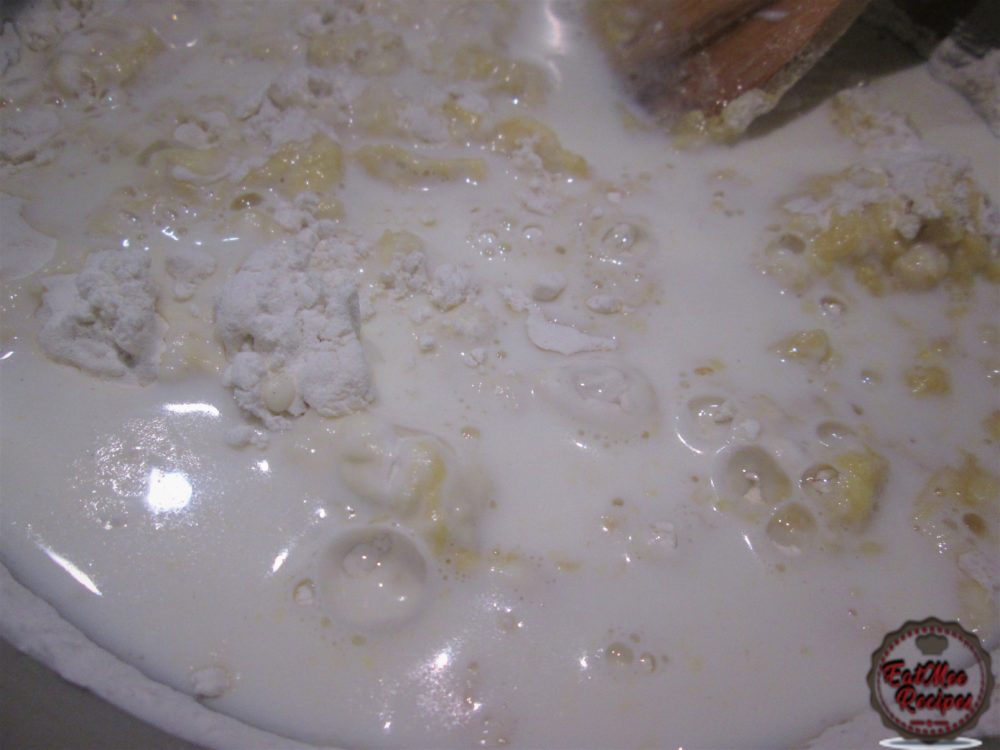
Mix until well combined.
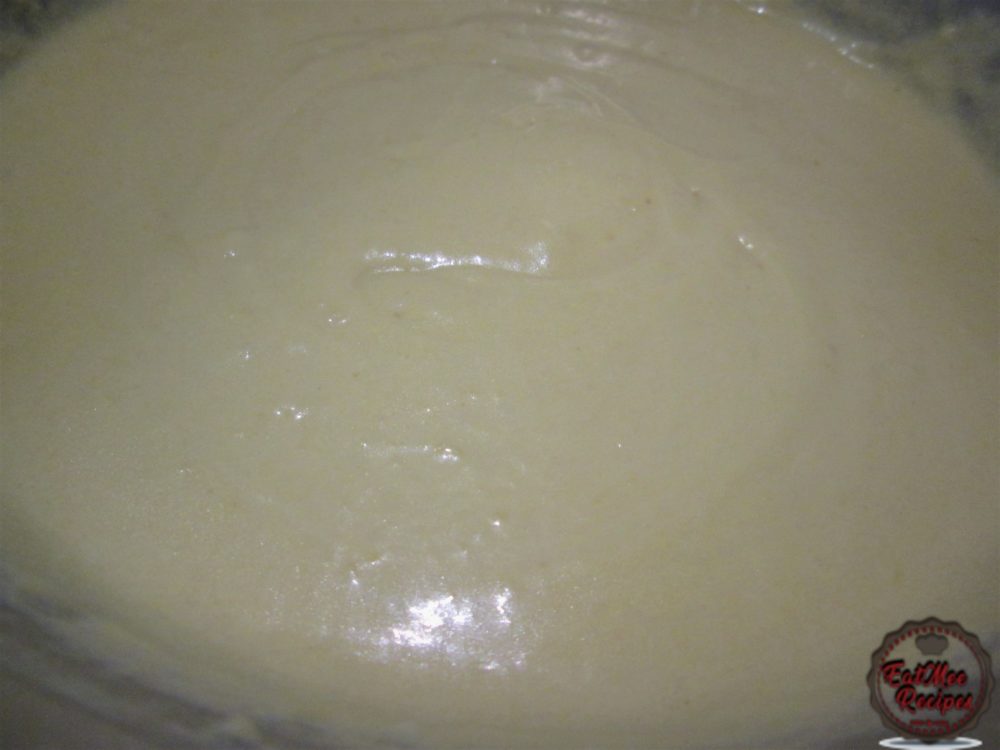
Prepare a baking tin or pot by greasing it with a little spray & bake or butter & pour in only half of the batter. If you have two tins, you may pour both halves into each of the the tins.
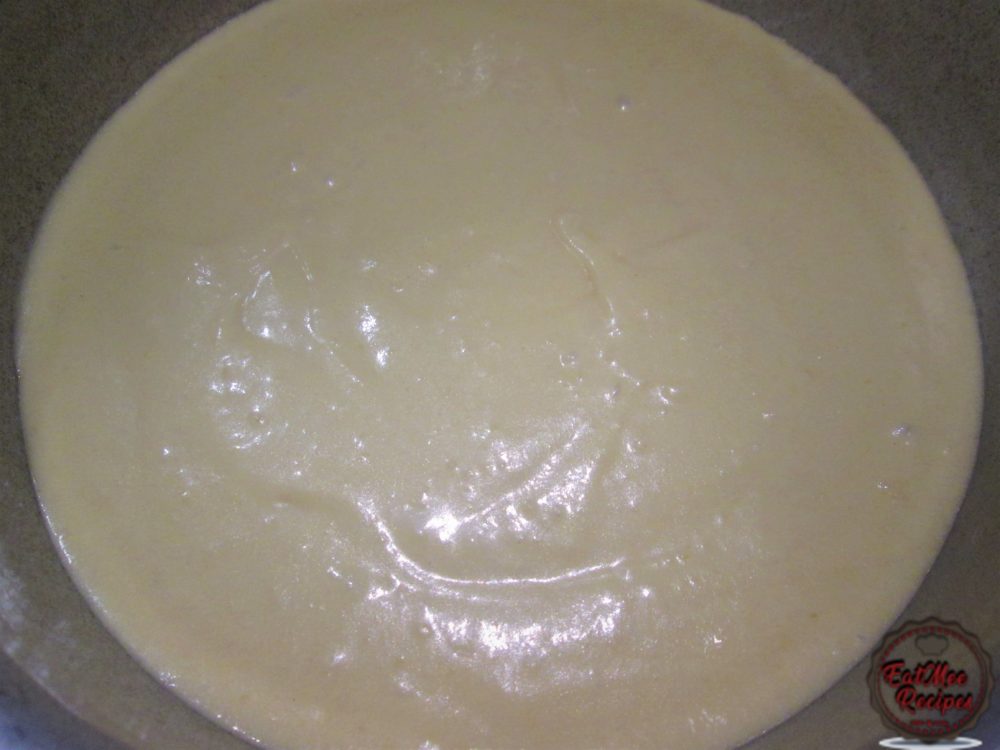
As I have said in the description above, I did not have a baking pan small enough for this cake so I opted to using a steel pot.
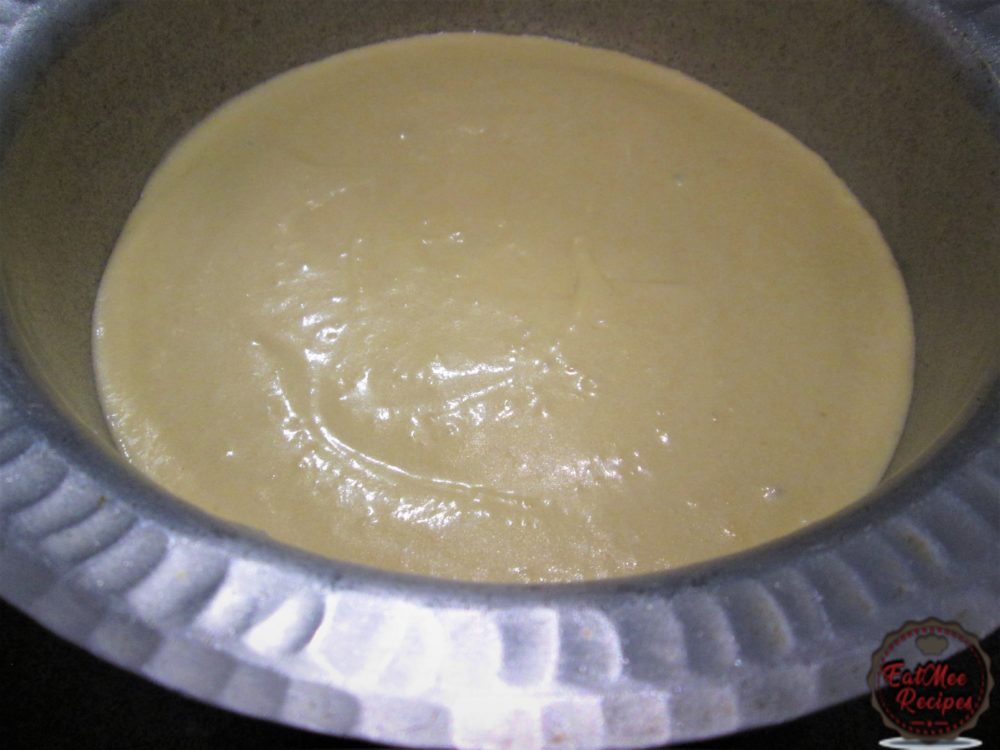
Place the baking tin in the preheated oven & bake for 20 minutes.
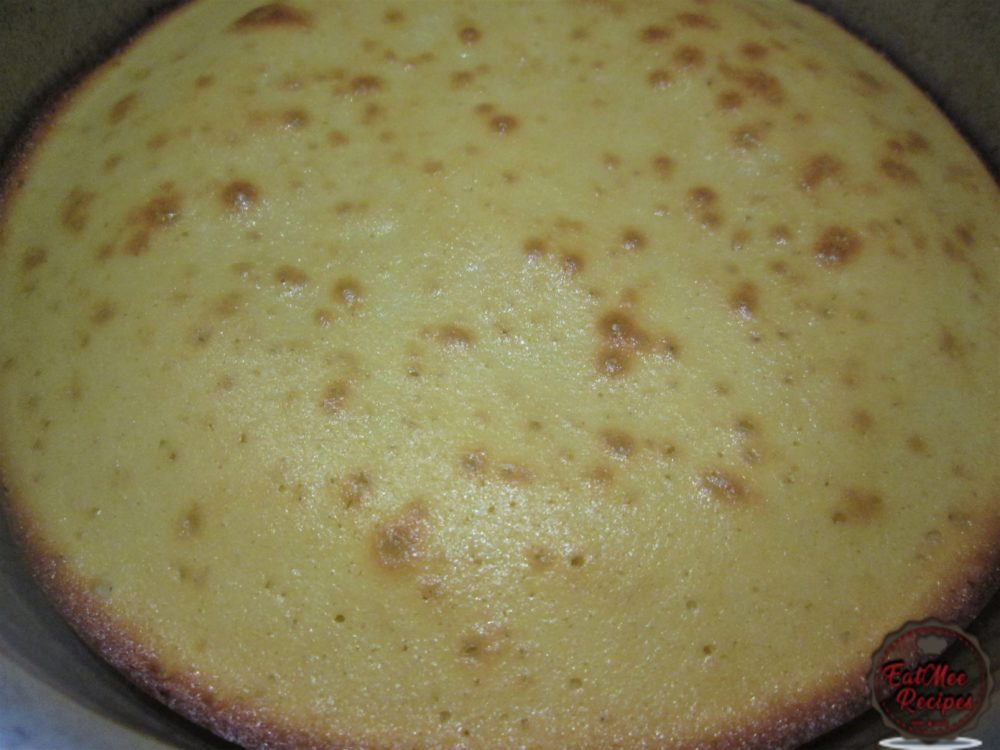
Once baked, insert a skewer or knife to check if it is thoroughly cooked. If it comes out with wet cake batter then put it back into the oven for a few minutes. If there isn’t any wet batter then the cake is cooked.
Flip the cake over onto a plate. It is best to place the plate over the baking tin/pot & the carefully flip it over.
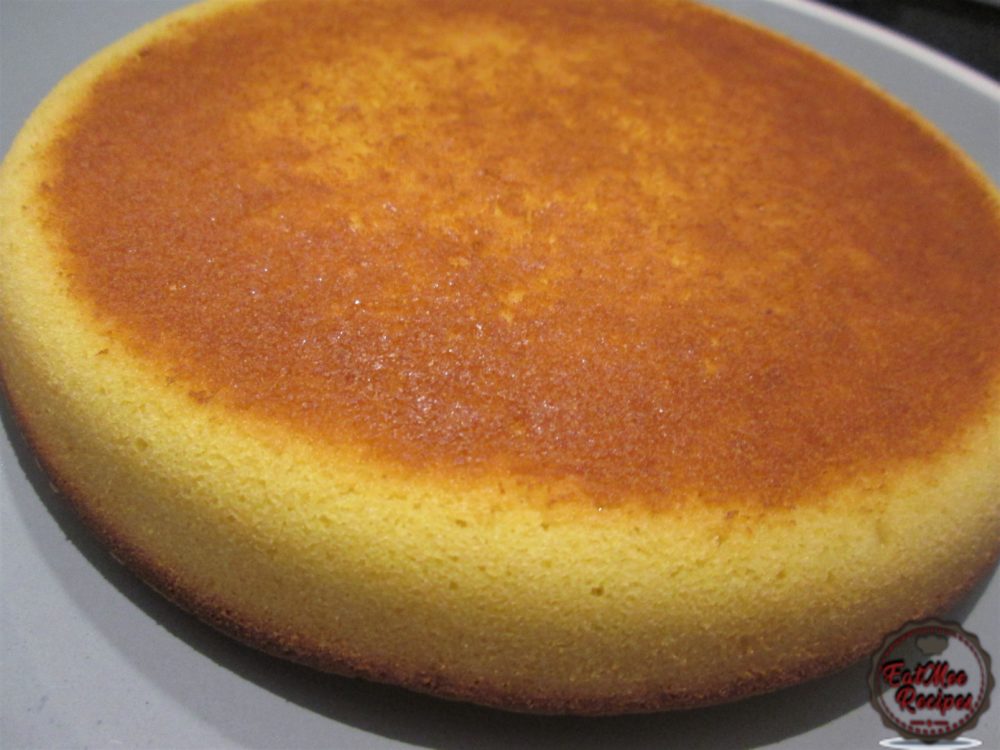
Thereafter, carefully place the cake/s onto a cooling rack & set aside.
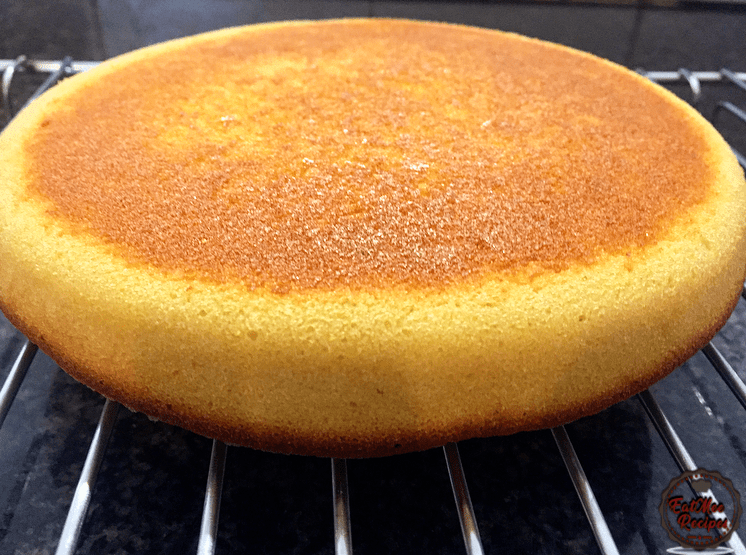
I have baked my cakes individually, so grease the baking tin/pot again & add in the remaining batter if you are doing it just as I have done.
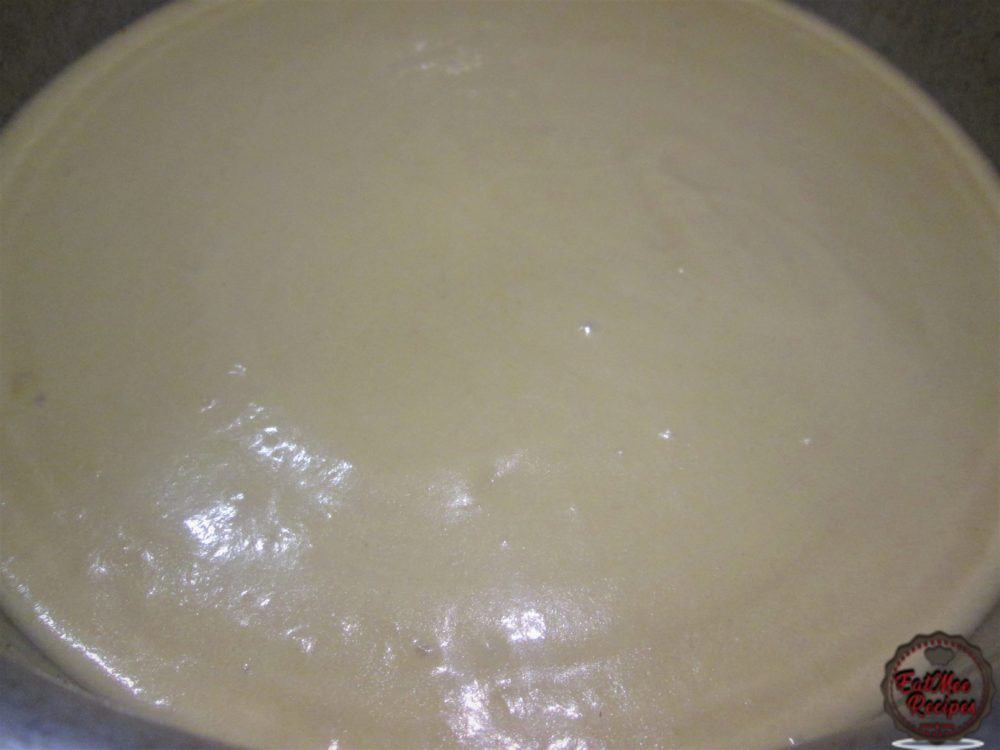
Bake the second half of the batter for 20 minutes as well.
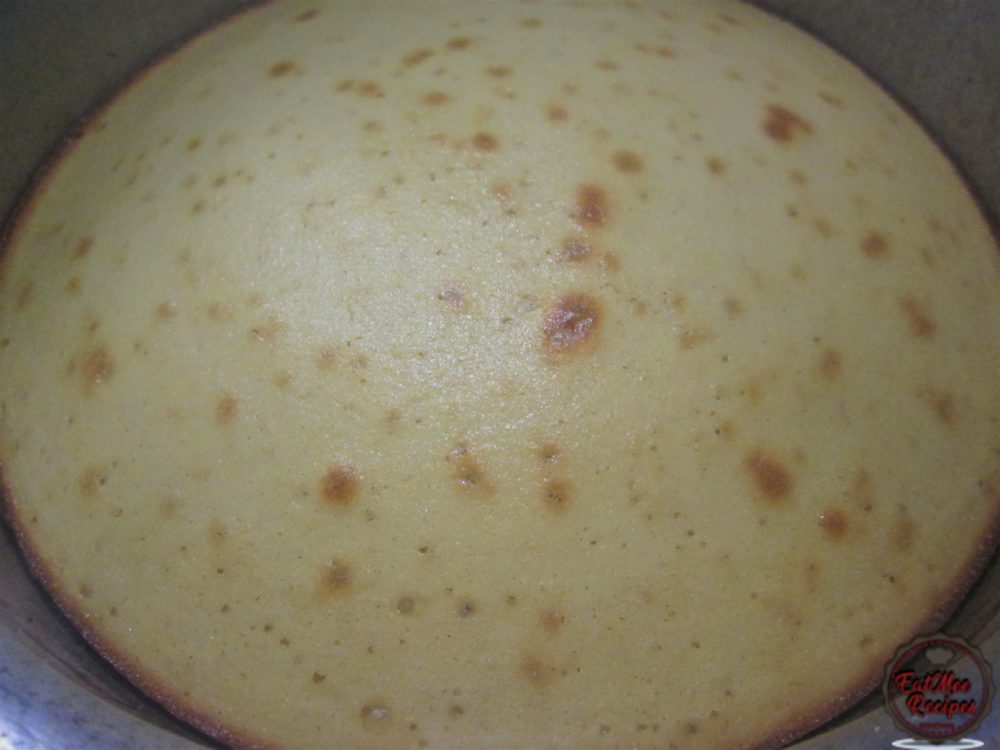
Flip the second cake over onto a plate
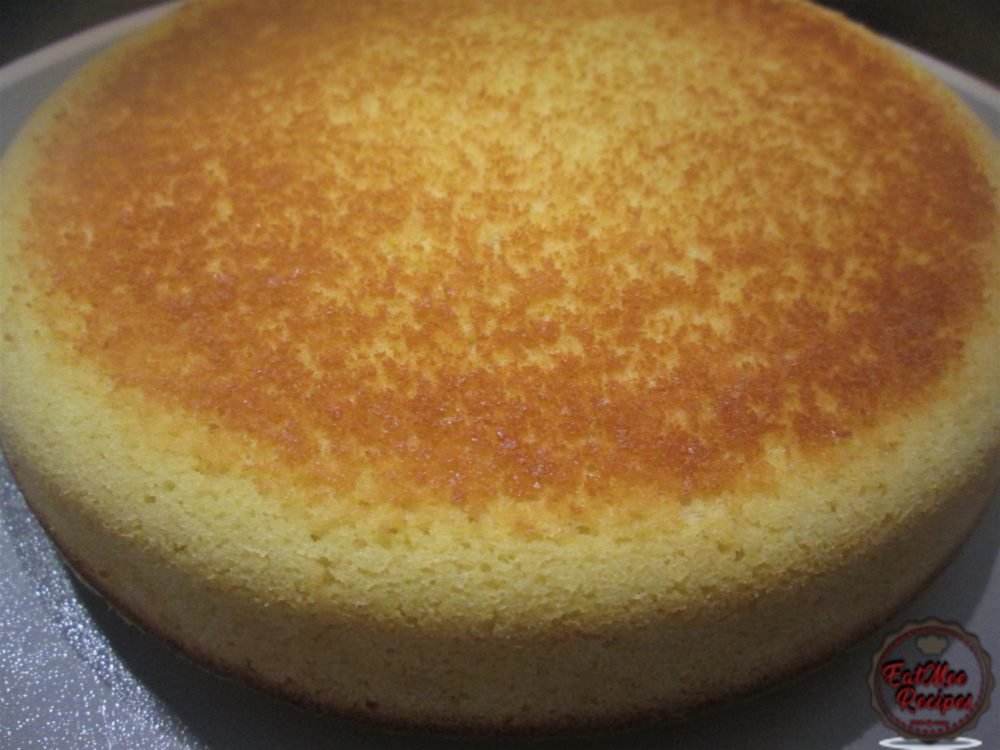
Place the cake onto the cooling rack.
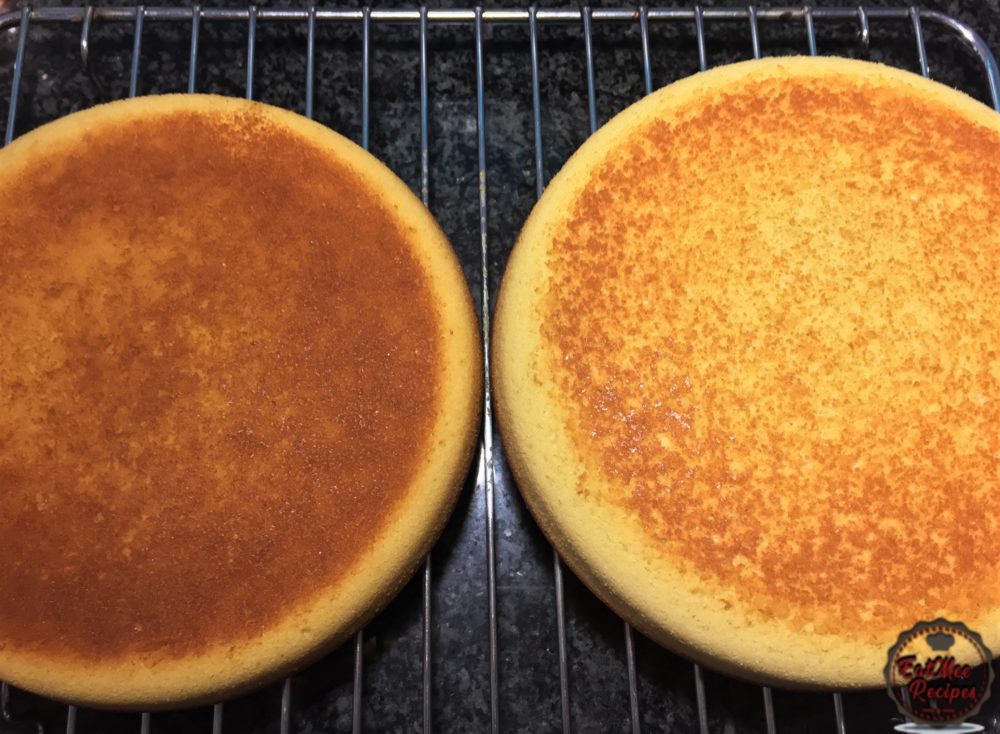
It is fine if the cakes aren’t exactly the same size once baked. Once they are sandwiched together, it won’t be noticeable.

Once the cakes are cool, place one of the cake layers onto a plate, platter or cake stand. I use the bottom side up to create that more parallel appearance.
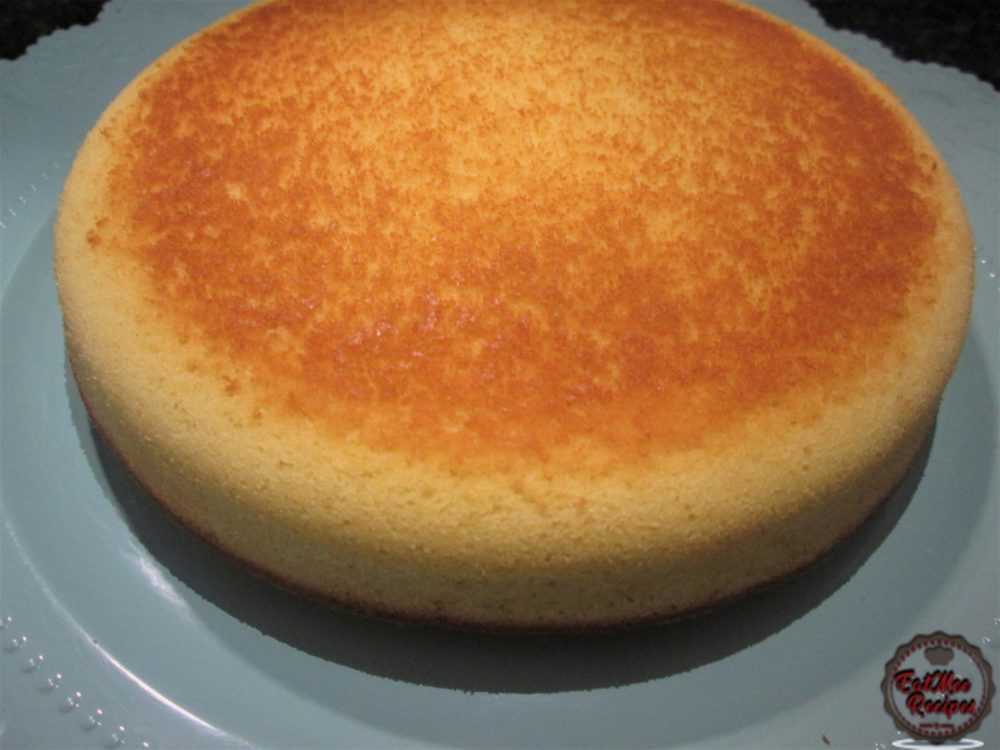
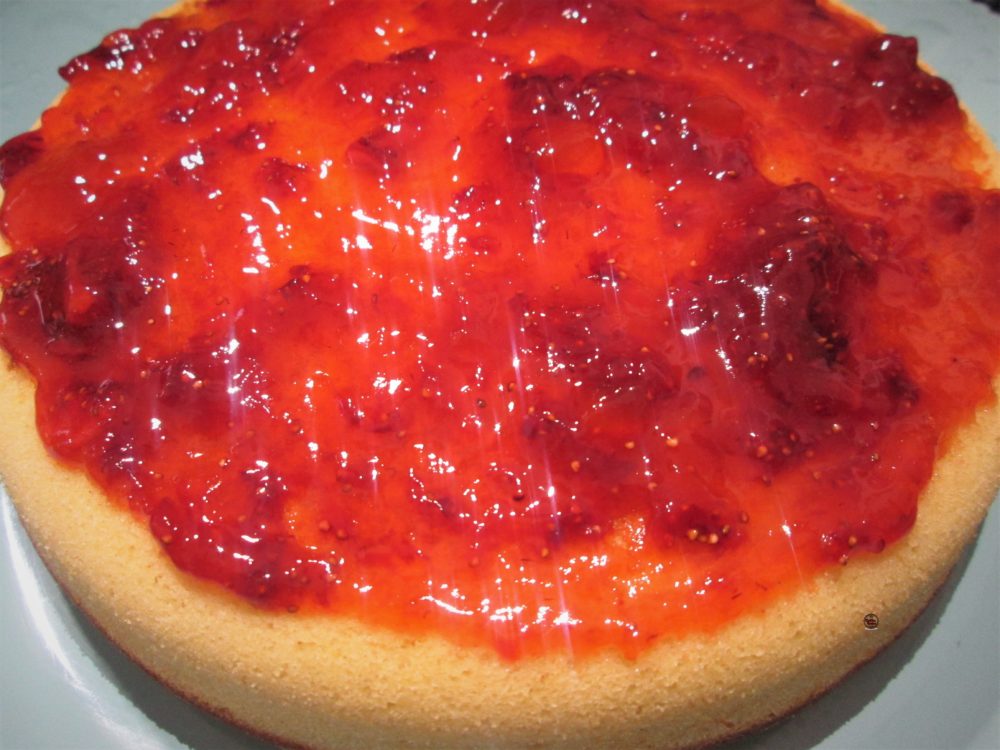
Apply a generous amount of strawberry jam (or your preferred jam) onto the cake. I prefer adding the jam first, as I find it gives additional moisture to the cake.
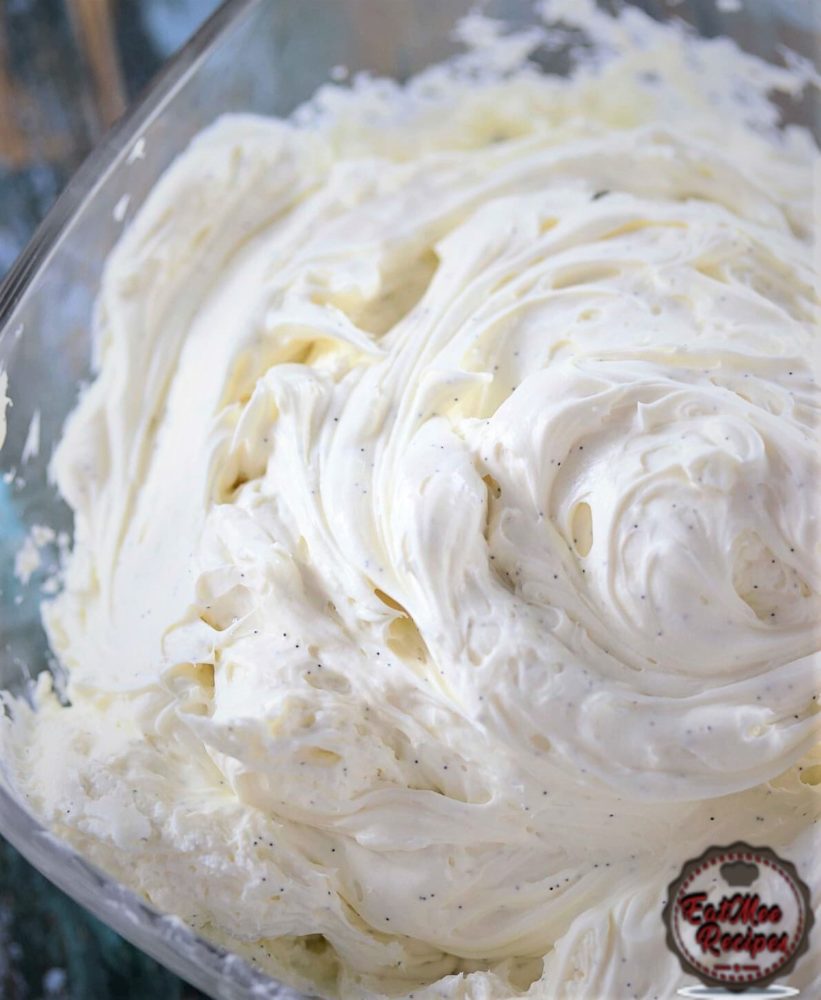
Next, if you are using whipped cream, whip that up. If you are using butter cream as I have done then simply add the butter to a mixing bowl, mix until smooth & gradually add in the icing sugar (confectionery sugar). Mix until it forms a creamy & smooth mixture.
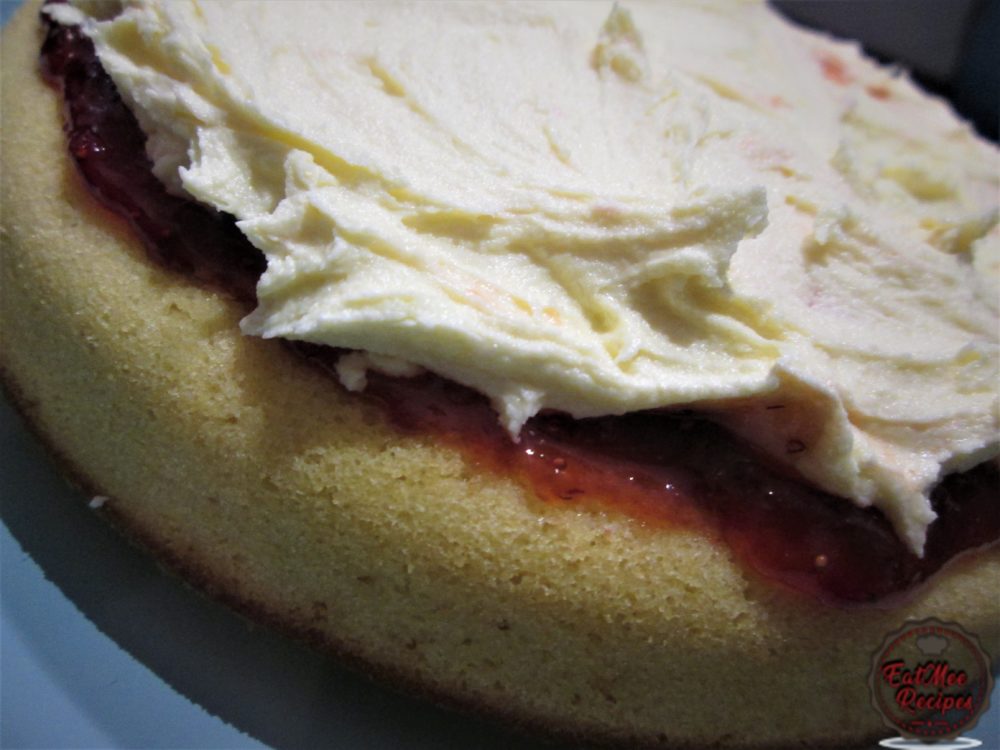
Spread the butter cream or whipped cream over the jam. You can smoosh it down evenly with clean fingers if spatulas or utensils don’t work well.
Place the other cake layer over the cream & slightly press down.
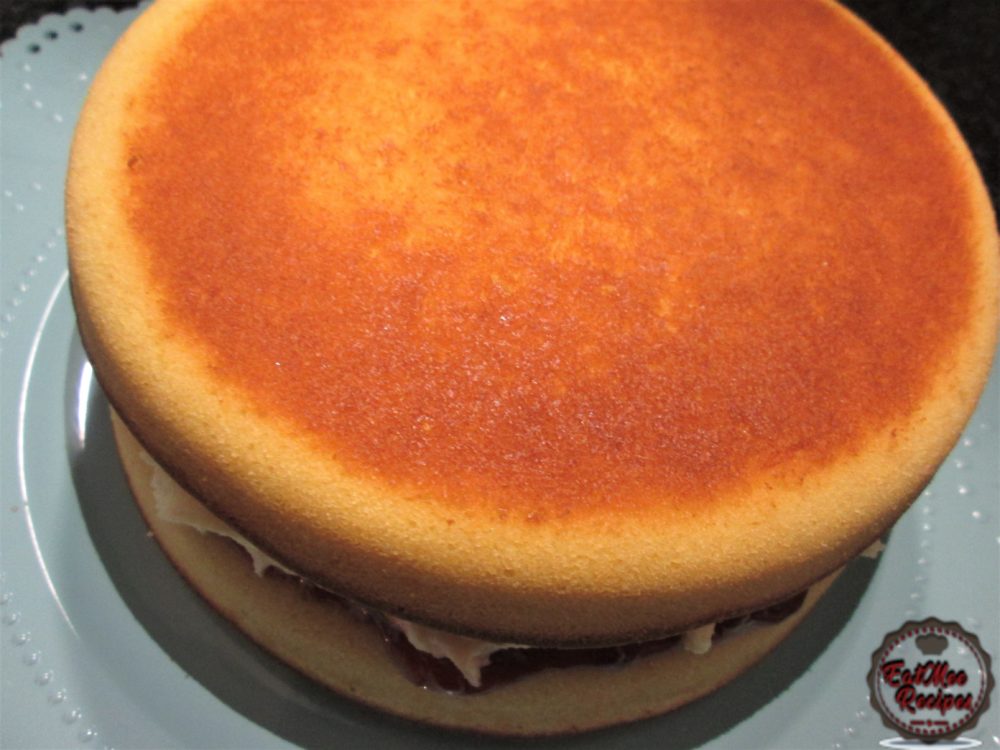
Decorate the top of the cake with sliced strawberries.
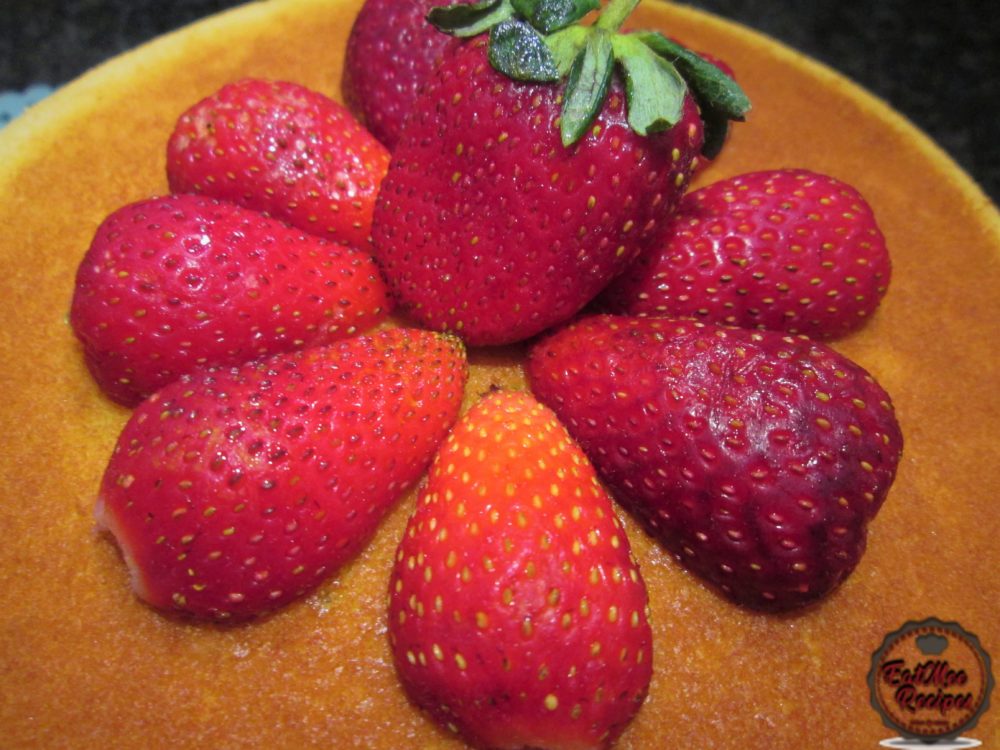
Finally, using a sieve, dust over the icing sugar (confectionery sugar).
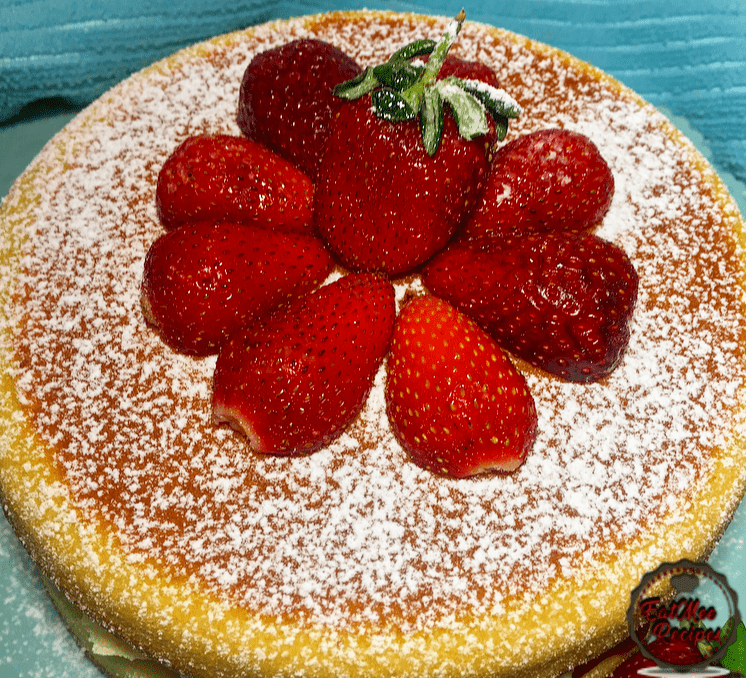
The Victoria Sponge Cake is now ready to devour.
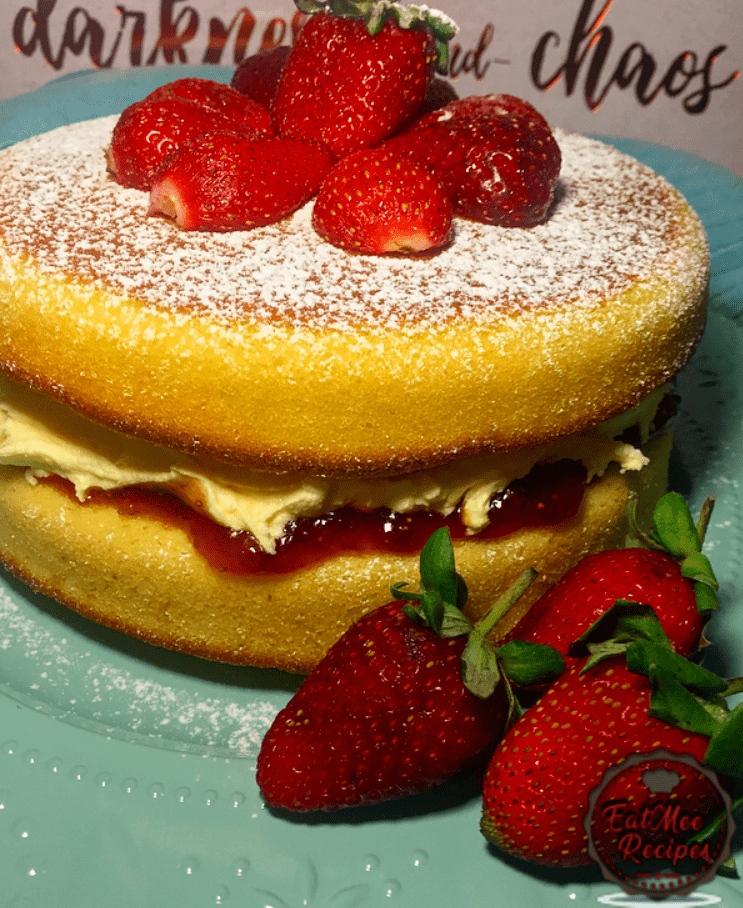
Notice how pretty the filling & the layers look.
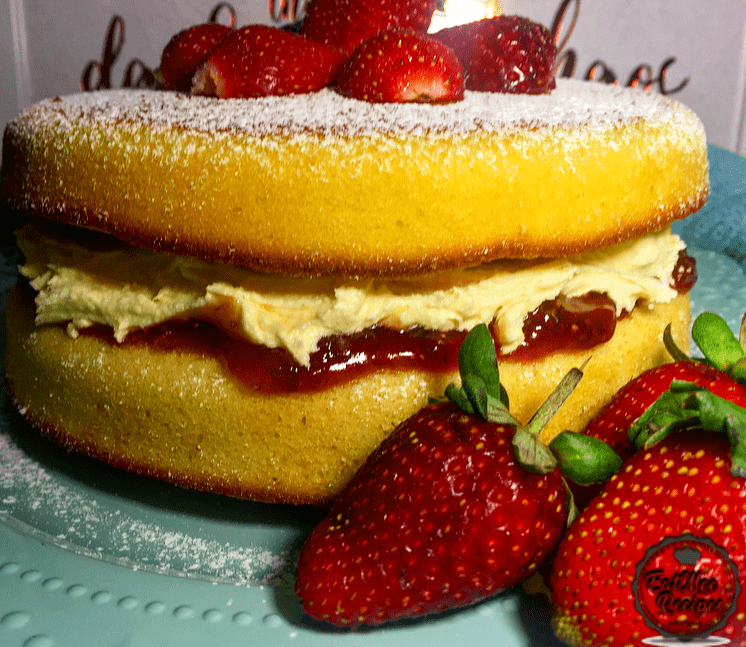
Slice & serve.
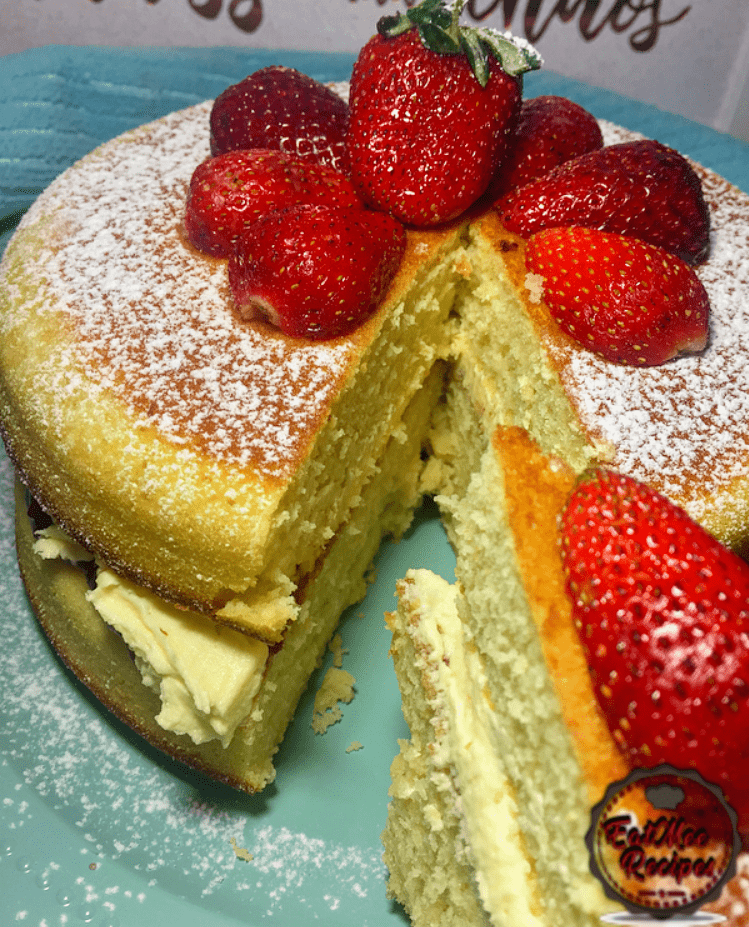
If using whipping cream, this cake will store well for a day or two in the refrigerator or if butter cream is being used, it should store well for a week.
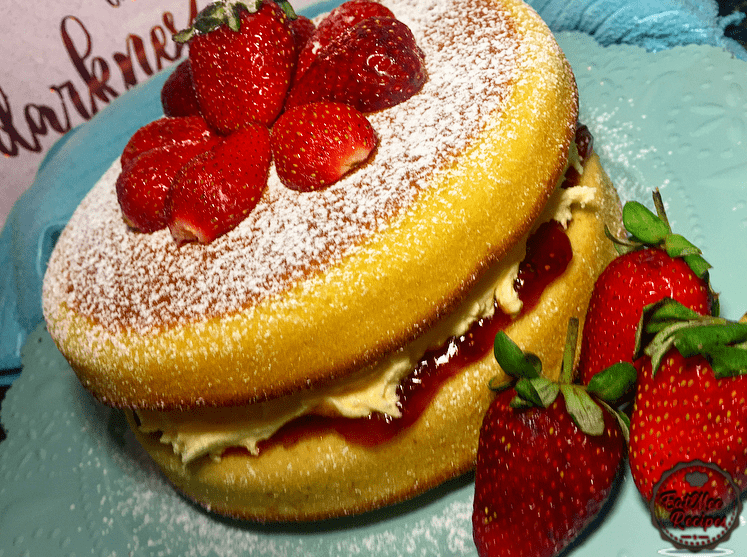
Take note that the icing sugar (confectionery sugar) doesn’t do well in the refrigerator as it will dissolve. When serving after storing, you may dust on more icing sugar (confectionery sugar) if preferred.
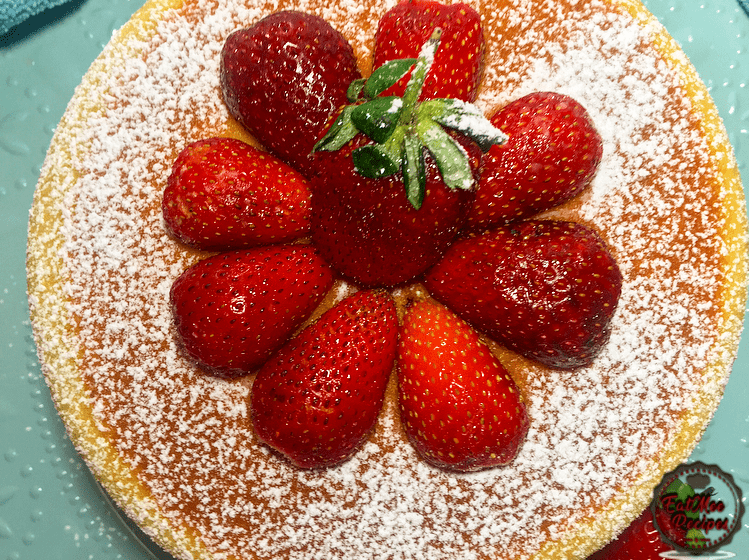
Follow along with Denisiya's step-by-step video guide for Victoria Sponge Cake.
Expert kitchen guidance and troubleshooting for making the best Victoria Sponge Cake
Store in an airtight container at room temperature for up to 1 to 2 weeks. For milk-based sweetmeats like burfee or soji, refrigerate in an airtight container for up to 7 to 10 days.
Pure butter or ghee provides the authentic rich aroma and texture characteristic of traditional Indian sweetmeats and bakes. Margarine can be used in a pinch, but butter delivers superior flavor.
Hi, I'm Denisiya! Food lover, recipe developer, and founder of EatMee Recipes. I specialize in authentic South African Durban Indian cuisine, comforting curries, and modern Instant Pot adaptations. Every recipe on this site is tested in my personal kitchen to ensure you get mouth-watering, foolproof results every time.
Explore more authentic Durban curries, traditional bakes, and comforting family favourites.
 American Food
Battered Fish is so yum, with just a few ingredients, it’s going to taste like it’s straig...
 British Food
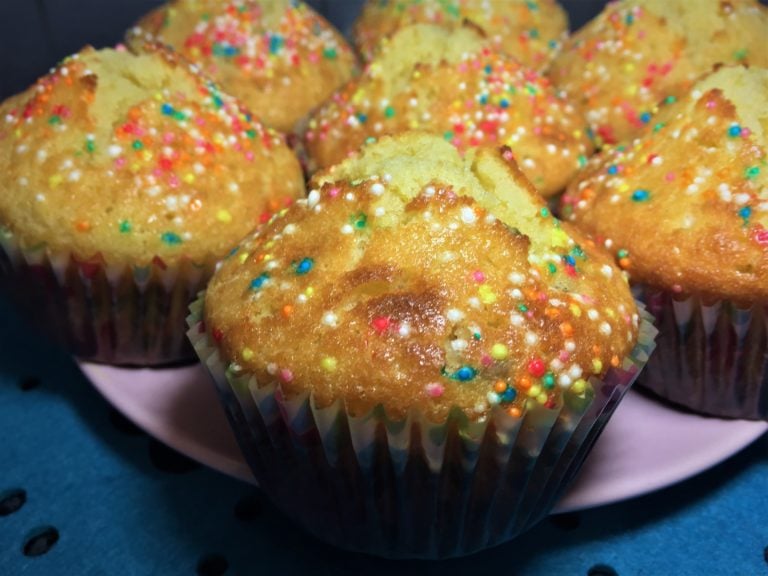
Queen Cakes are a luscious, buttery, sweet & decadent form of cupcakes which were a ninete...
 British Food
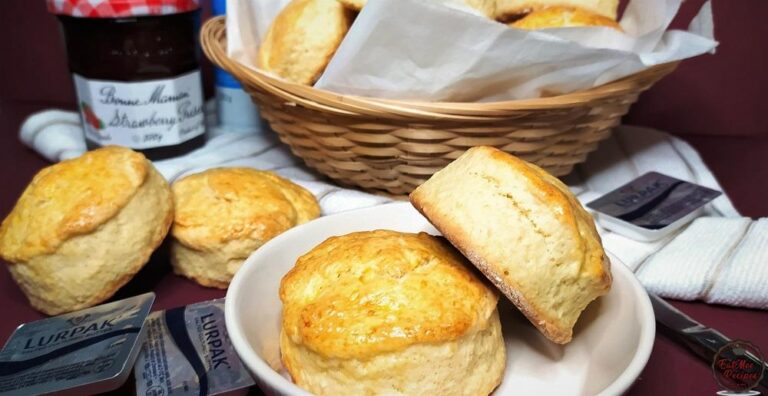
Farm Style Scones are warm & so fresh that they melt in your mouth. These are perfect comf...
Have you tried this recipe or have questions for Denisiya? Join the conversation below.
No comments yet. Be the first to share your thoughts on this recipe!
Leave a Comment
Your email address will not be published. Required fields are marked *