
We Value Your Culinary Privacy
EatMee Recipes uses cookies to provide a personalized browsing experience, analyze recipe popularity, and serve relevant ads. You can review our full disclosure in our Privacy Policy.
Make authentic Queen Cakes with this foolproof recipe. Packed with rich traditional flavor, step-by-step photos, and cooking tips by Denisiya on EatMee Recipes.

Join over 60,000+ home chefs for weekly authentic Durban Indian cook-alongs, Instant Pot masterclasses, and family heritage recipes.
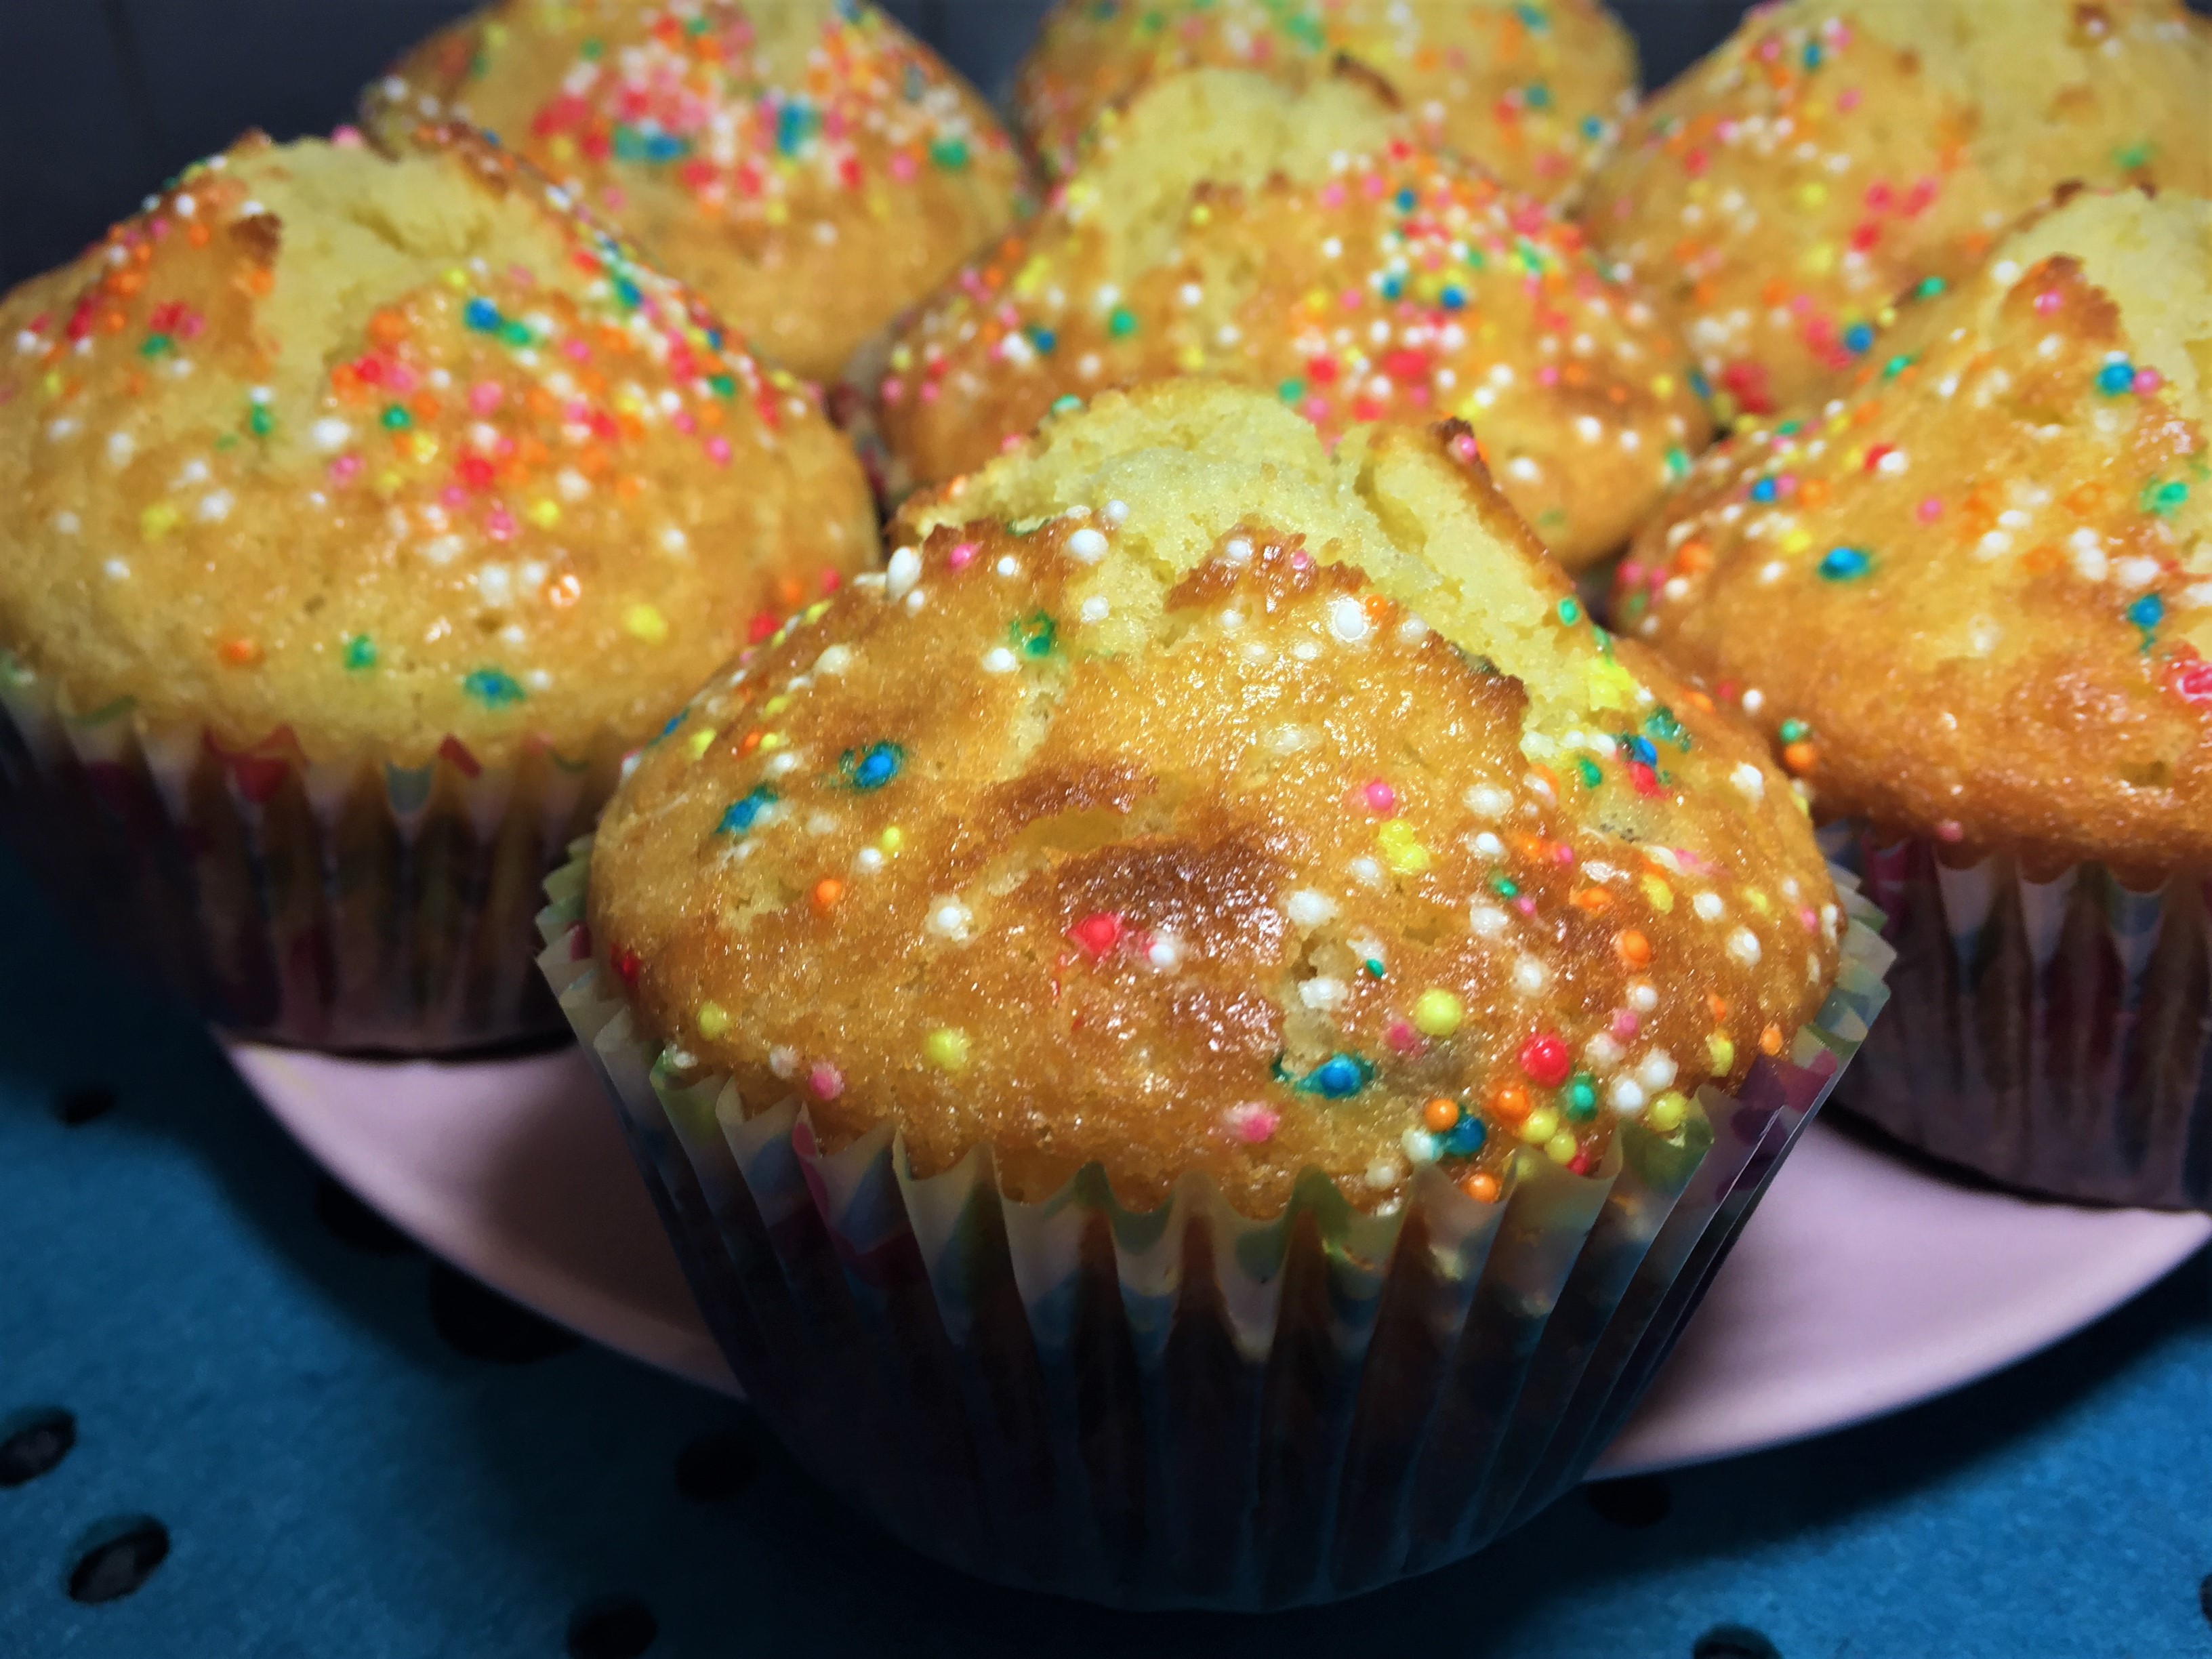
Queen Cakes are a luscious, buttery, sweet & decadent form of cupcakes which were a nineteenth century tea-party favorite. They are much richer & more indulgent to the modern cupcake.
These cakes evolved from the British creation called Portugal cakes, which towards the end of the seventeenth century, began gracing fine banqueting tables in England & America. These tiny cakes were known as Queen Cakes by the late eighteenth century.
Growing up, my mum used to always prepare these treat for us & I always devoured them. Usually, Queen cakes aren’t very much decorated as compared to cupcakes. Cupcakes tend to have dollops of icing on top whereas the Queen cake will most of the time be served plain or with sprinkles on top.
Preheat oven to 180°C or 356°F.
Add butter/margarine to a mixing bowl.
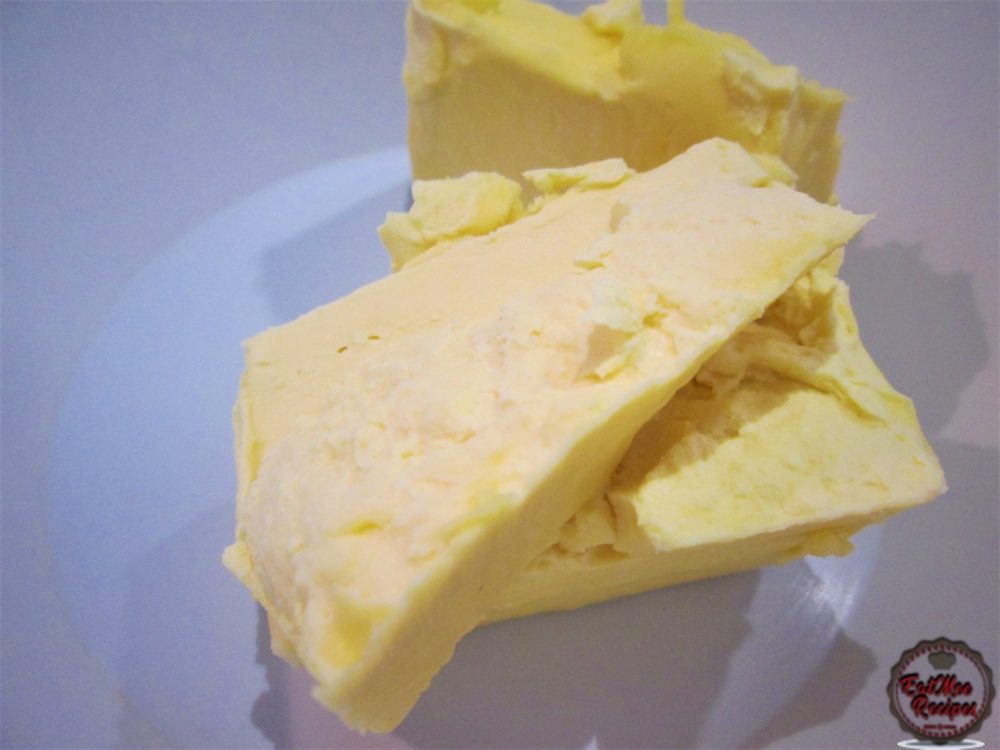
Thereafter, add in the castor sugar.
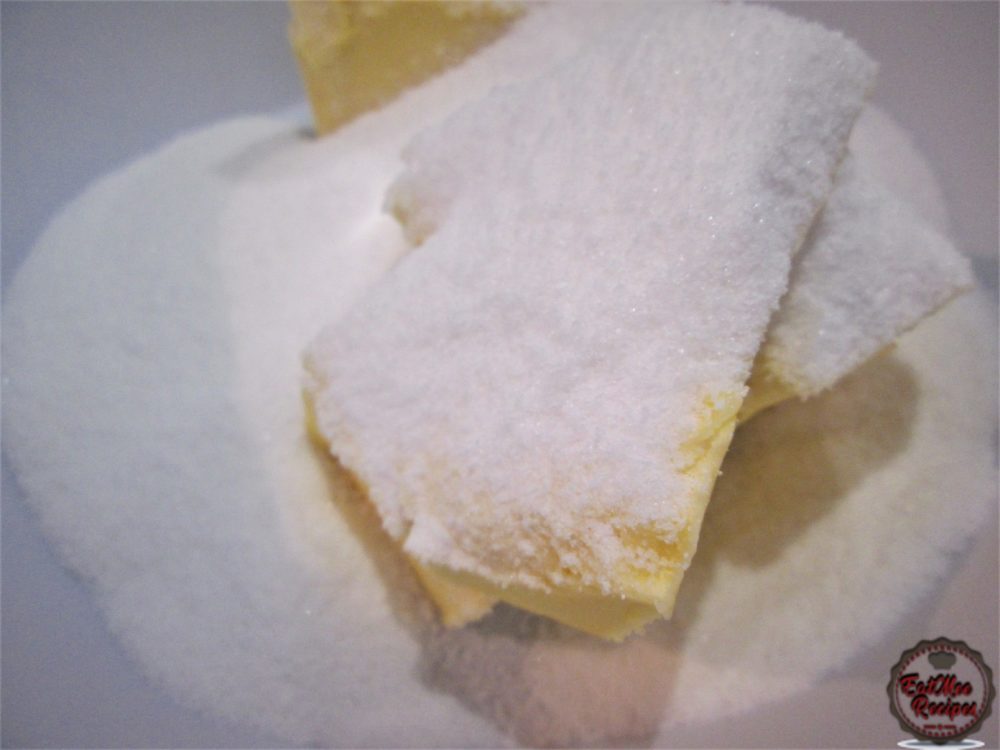
Cream together until well combined.
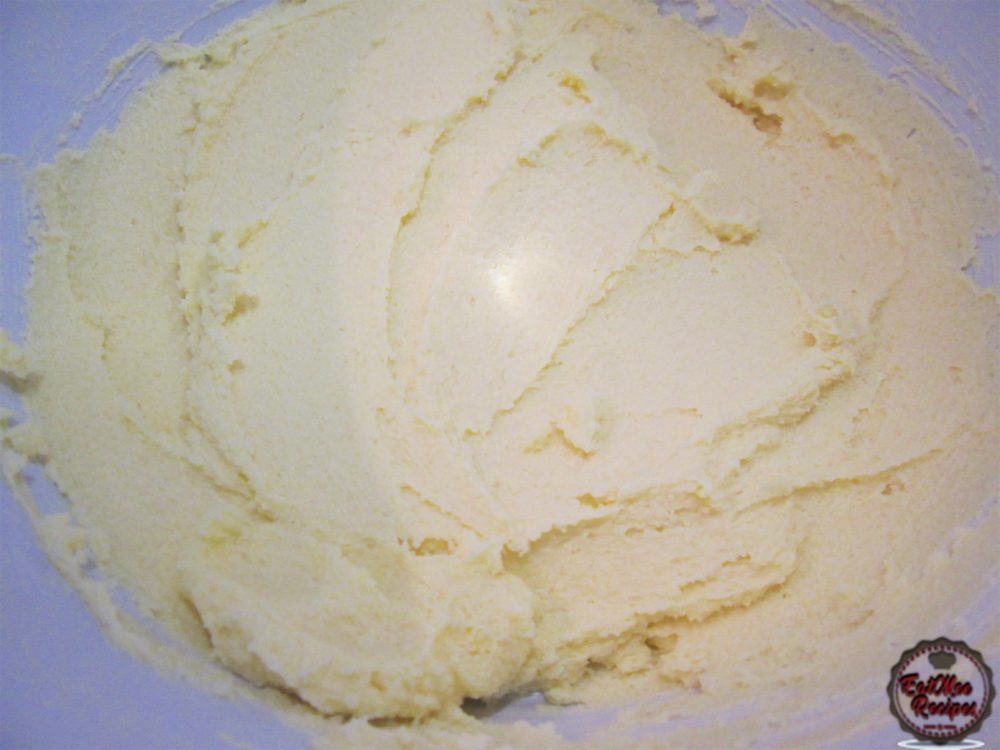
Next, crack in the eggs one at a time, mixing after every egg.
Crack the 1st egg in.
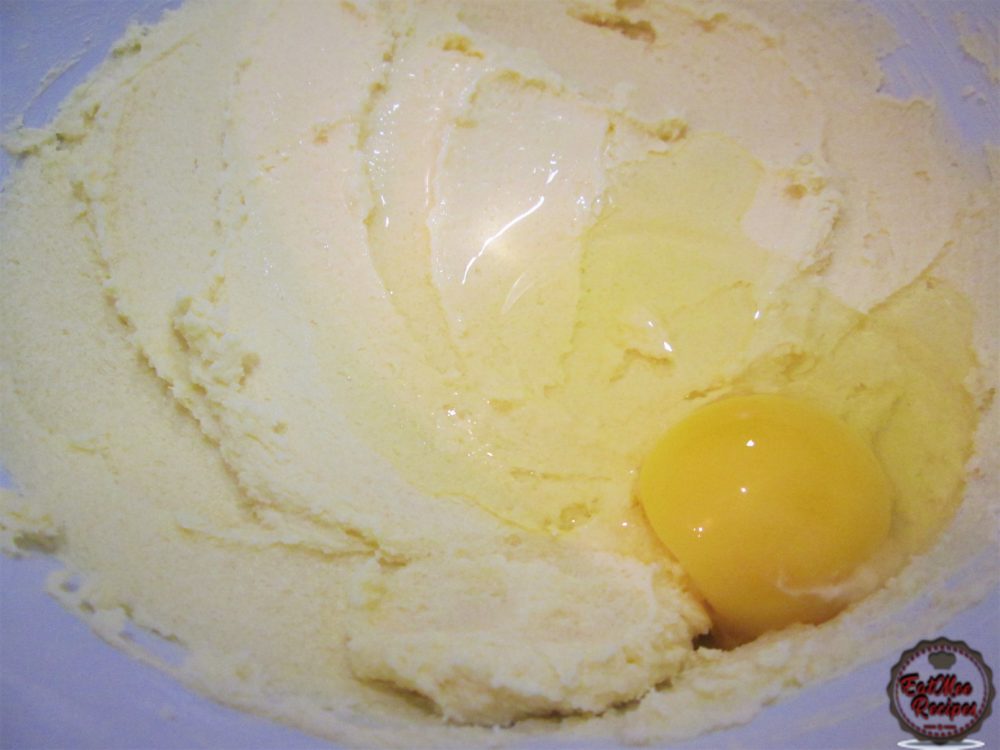
Mix.
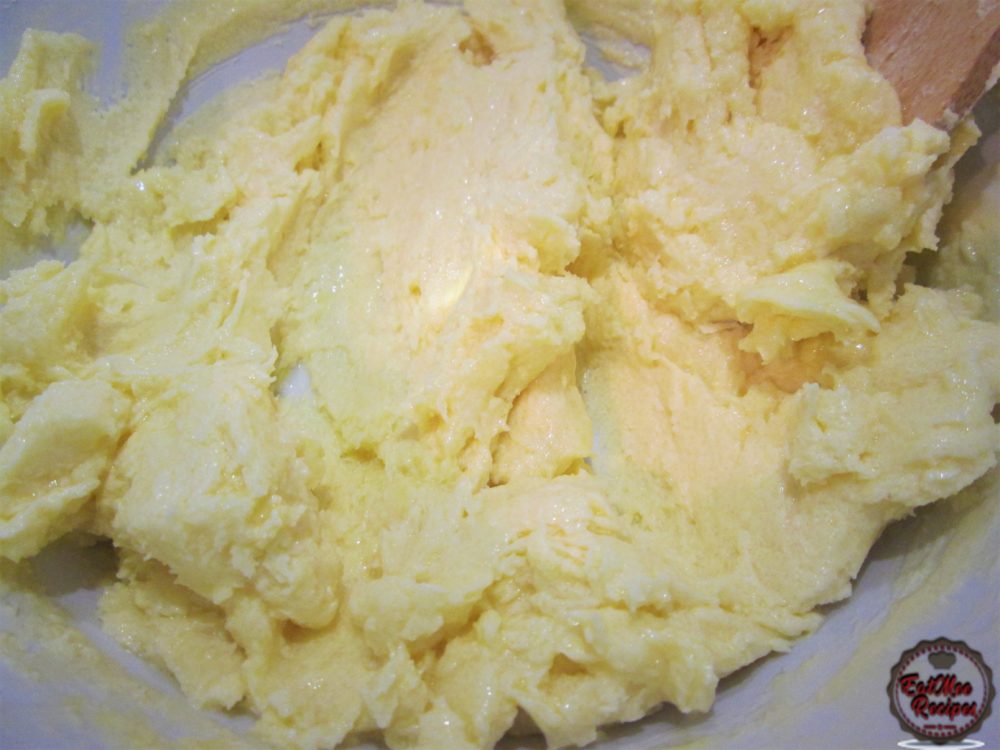
Crack in the 2nd egg.
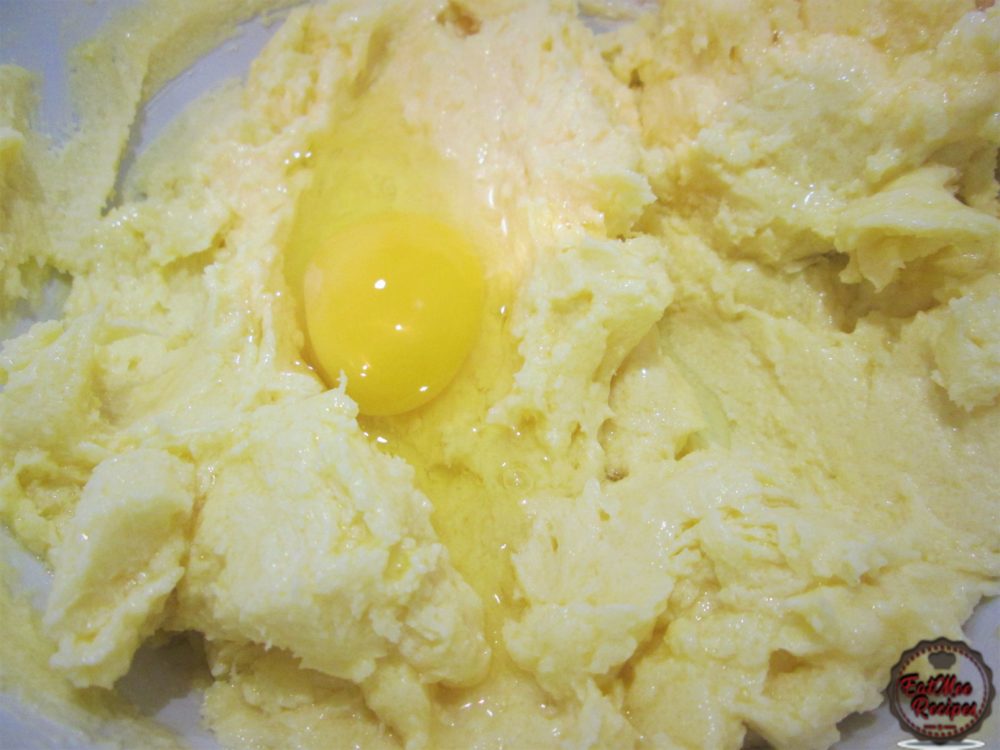
Mix.
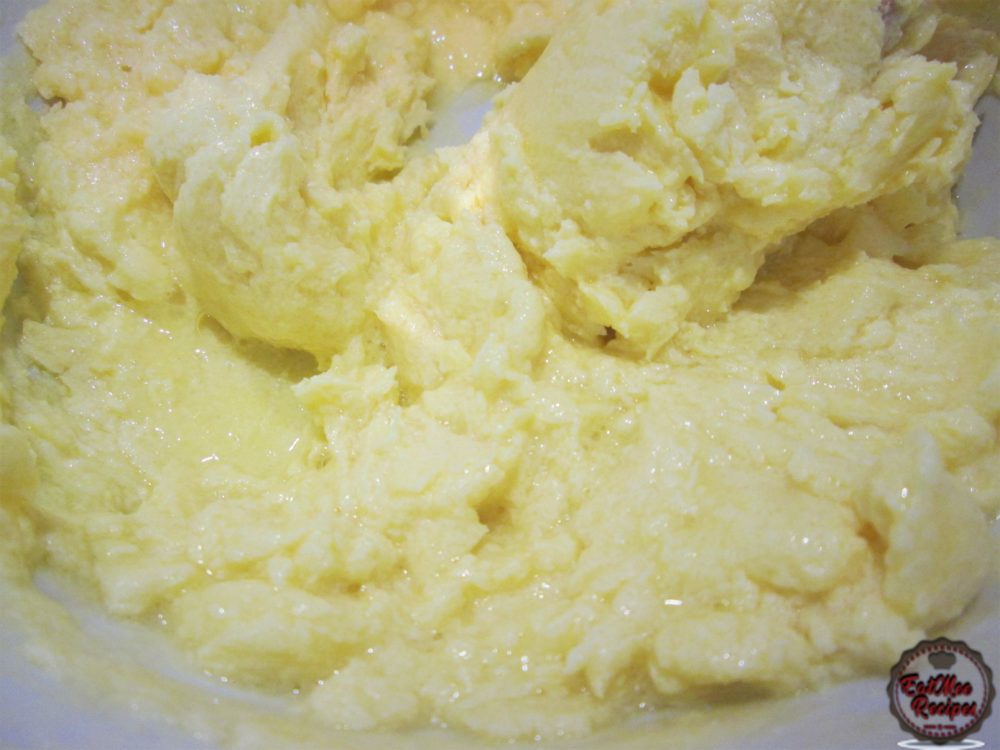
In goes the 3rd egg.
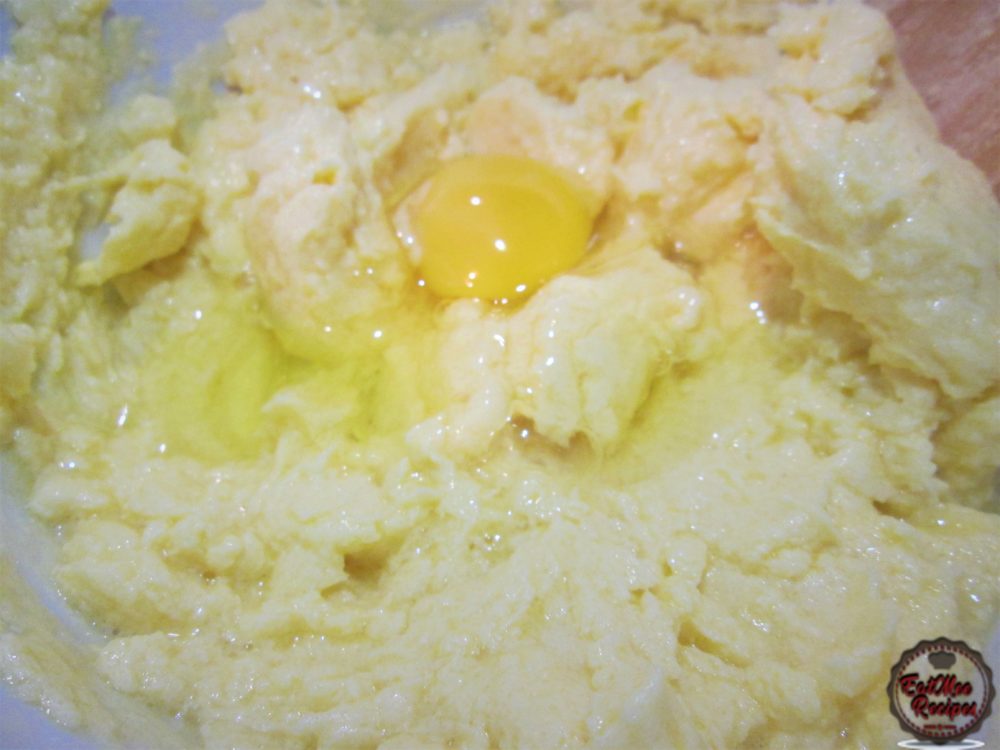
Mix.
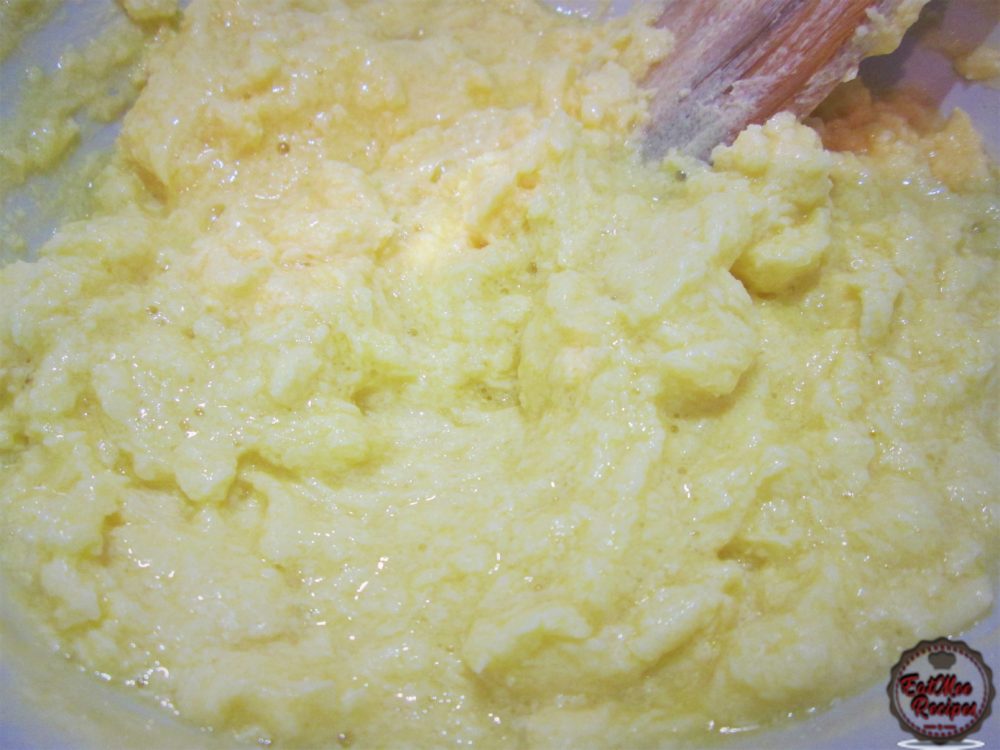
4th egg goes in.
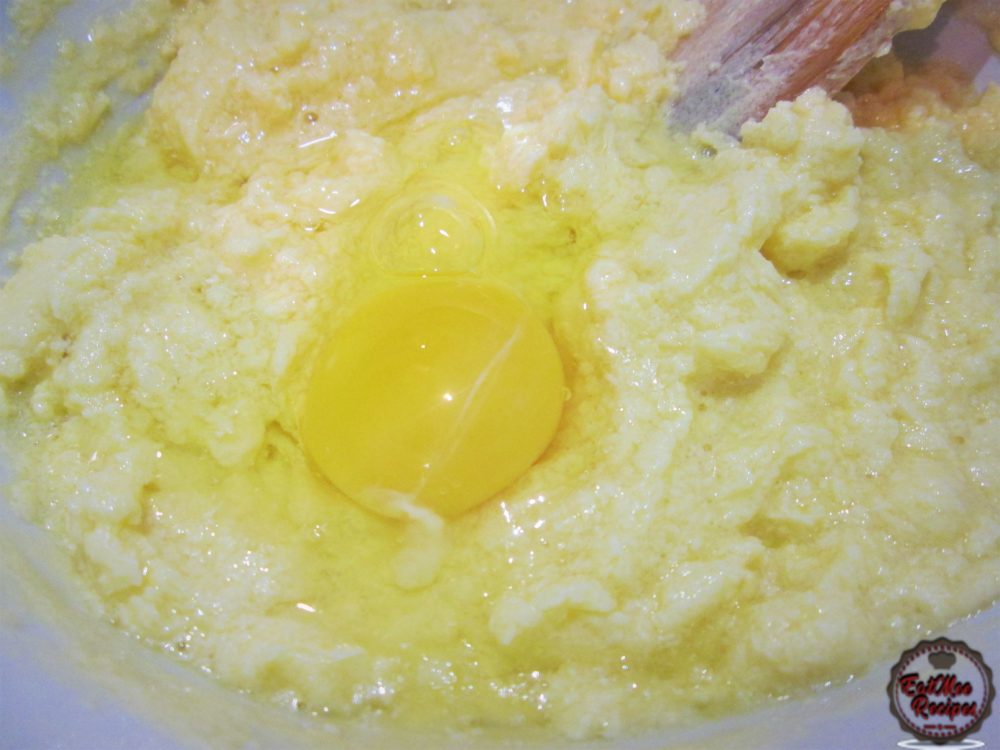
Mix.
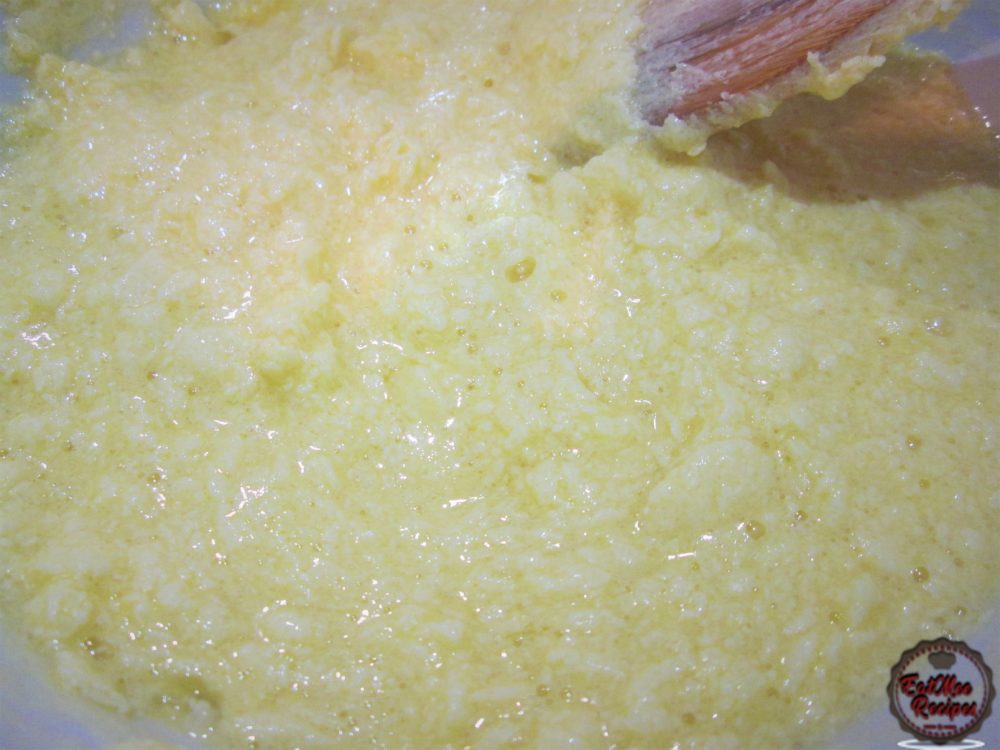
Finally, crack in the 5th egg.
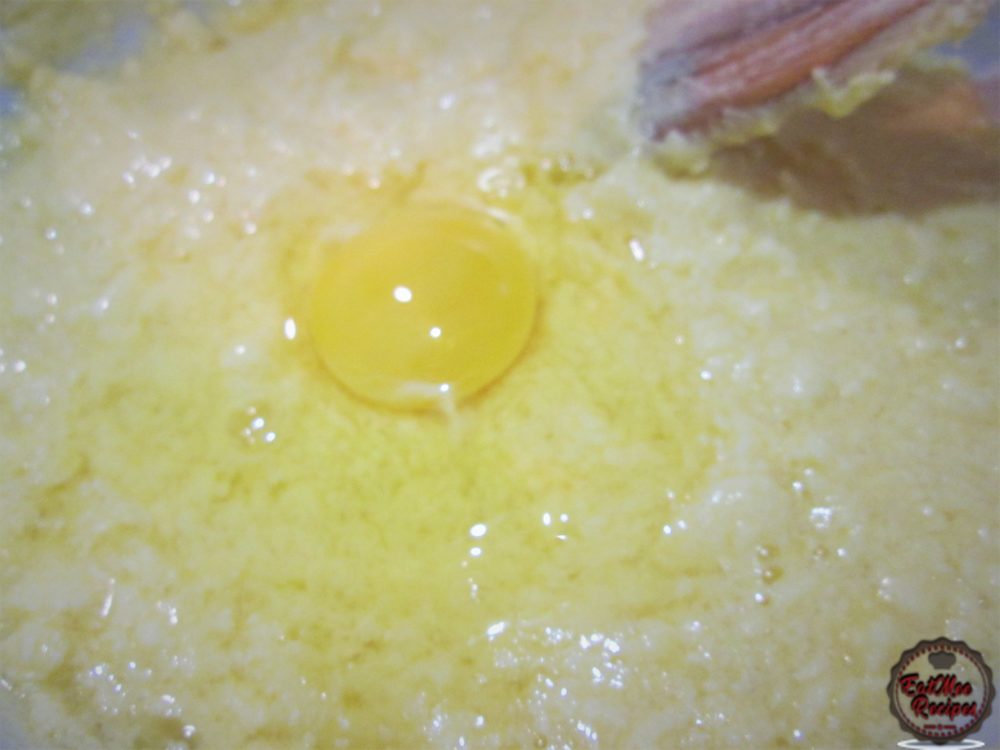
Mix,
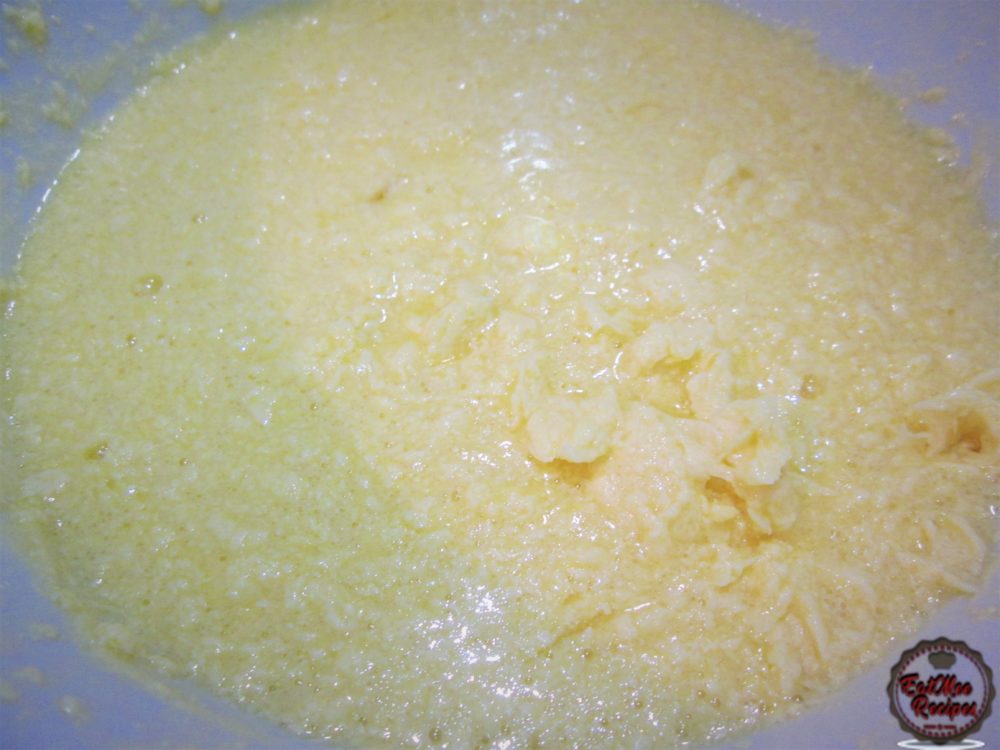
Next, add in the salt & baking powder.
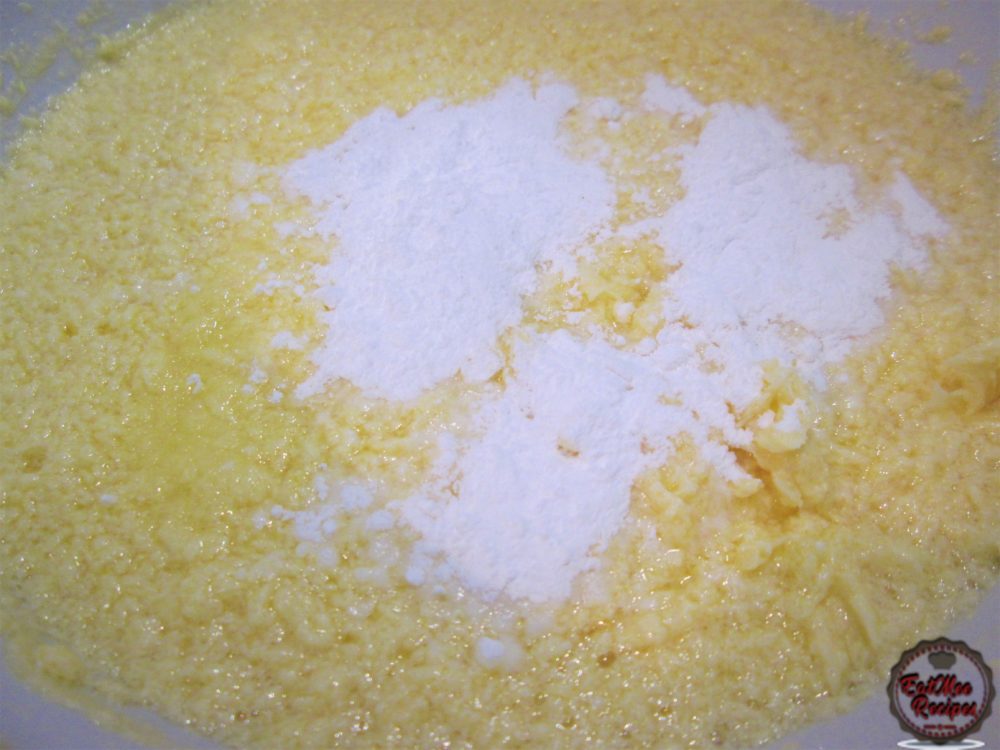
Add in the all purpose flour.
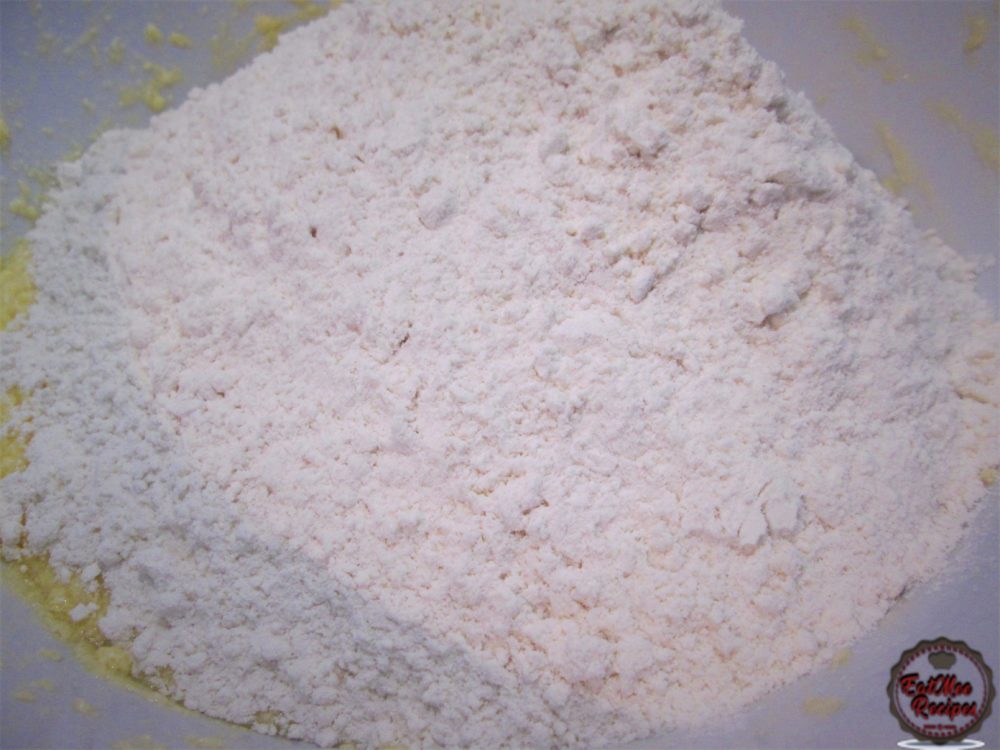
Pour in the warm milk. (Milk may be heated in the microwave oven for 30 seconds to a minute, depending on your appliance).
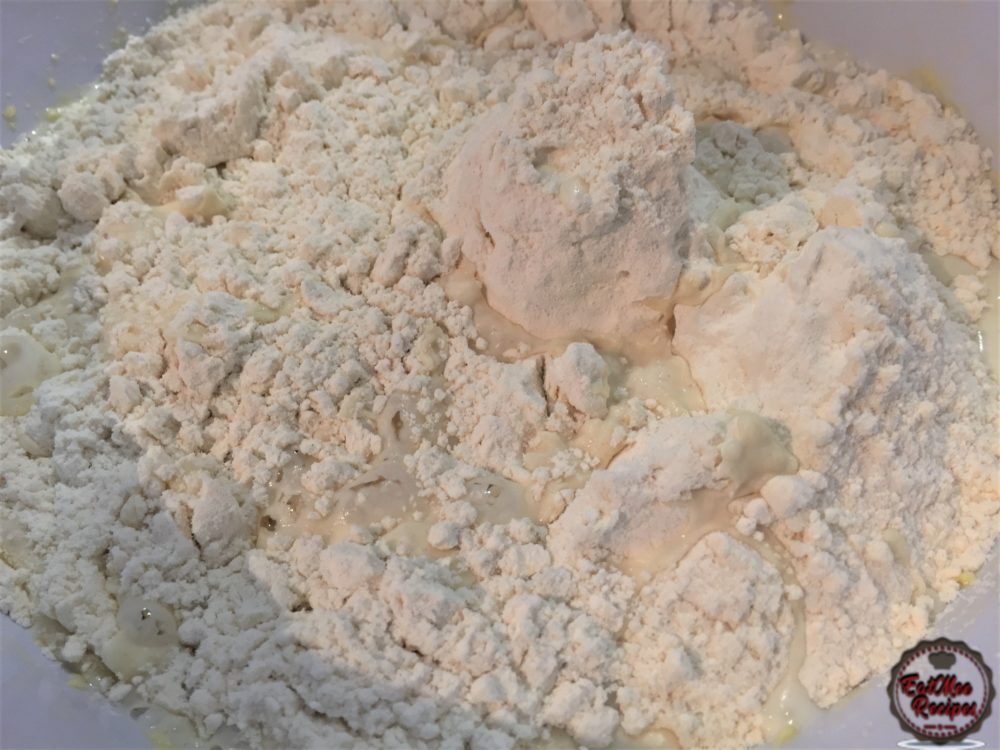
Add in the vanilla essence.
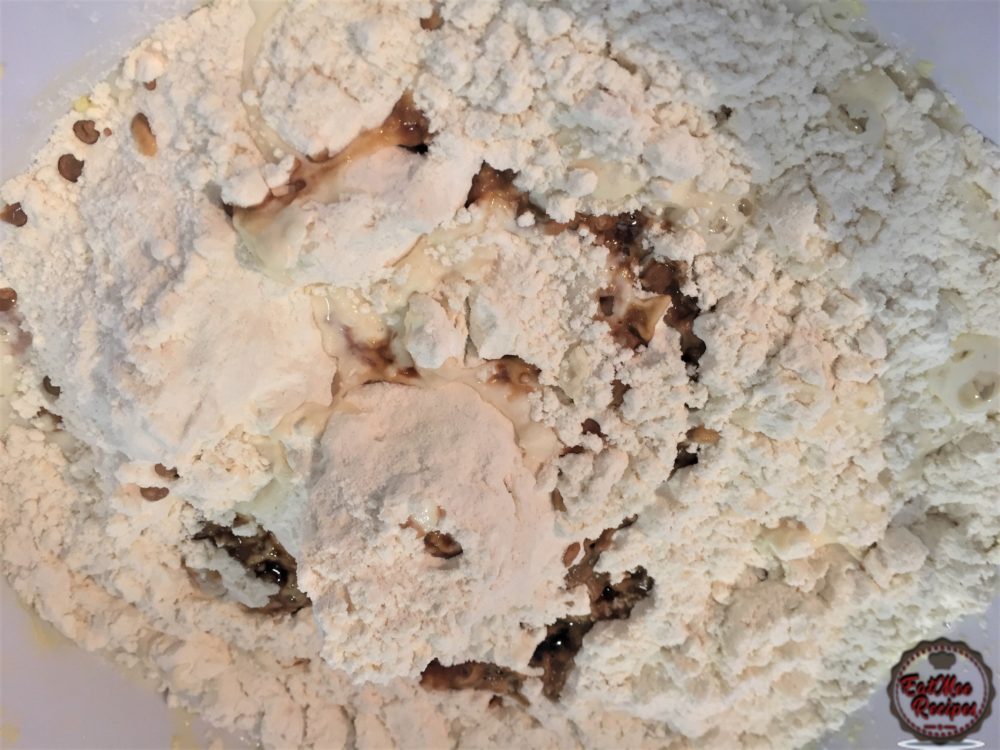
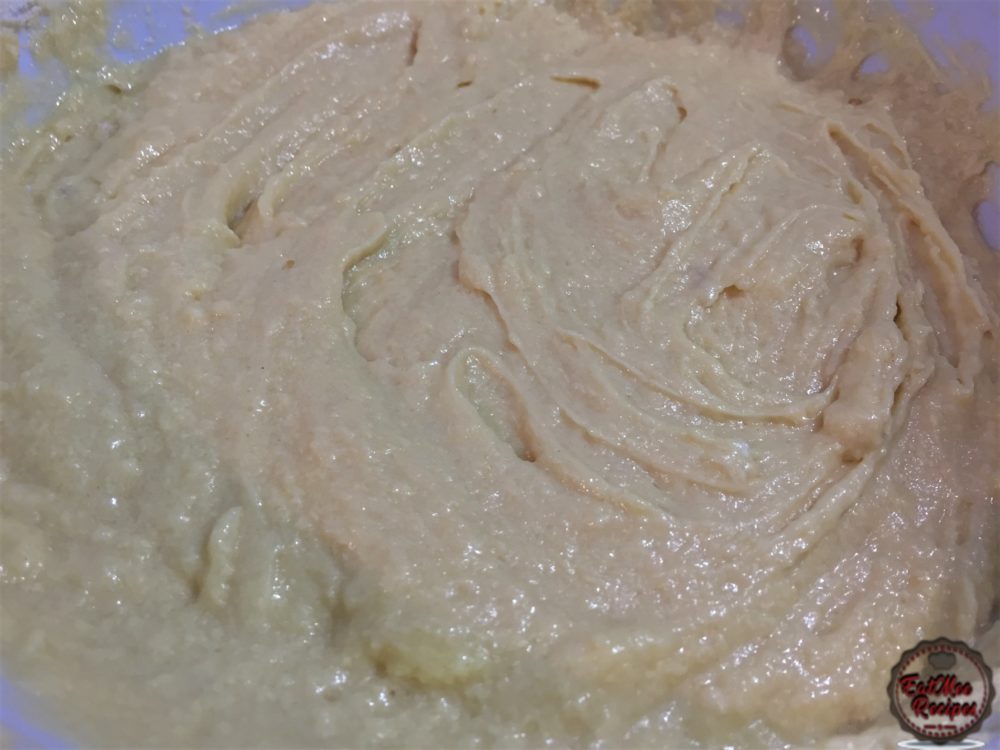
Fold well, using a wooden spoon until you get a batter – do not over mix.
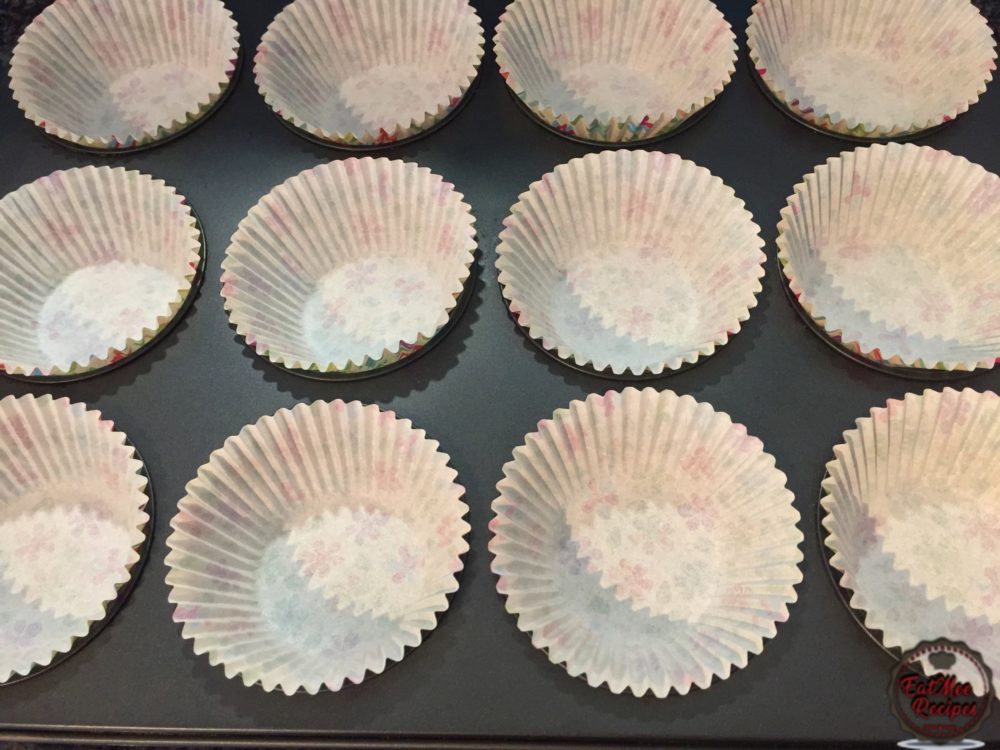
Next, line a muffin tray with cupcake liners, this can be omitted but I feel it gives a good look to the Queen Cakes.
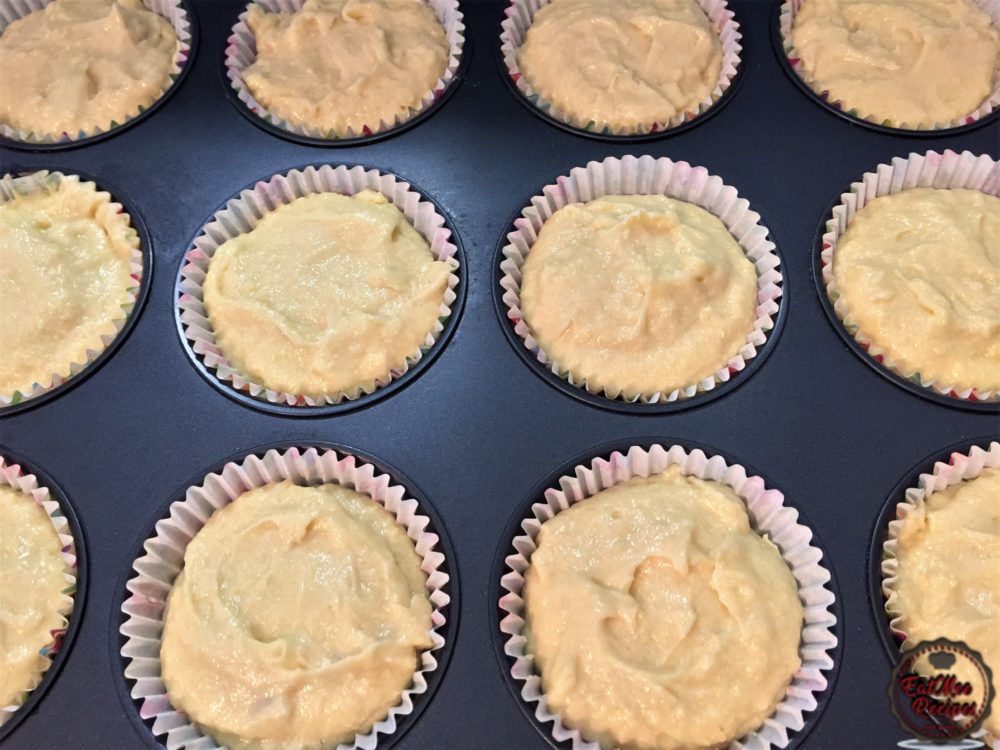
Carefully spoon the batter into the cupcake liners, avoiding any spillage over the ends.
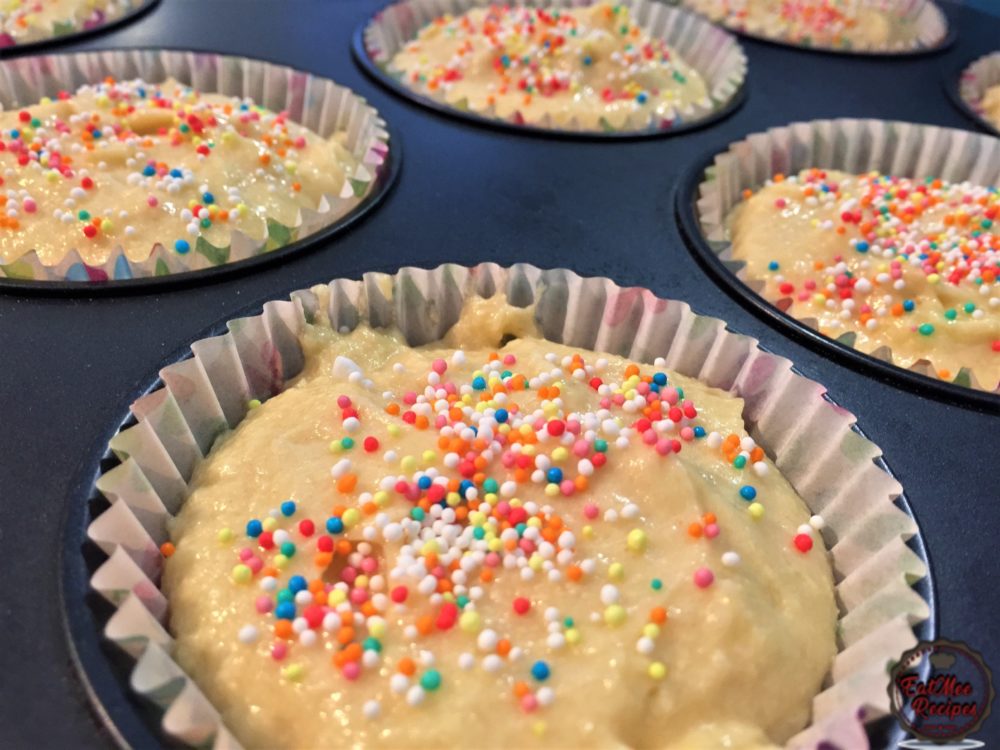
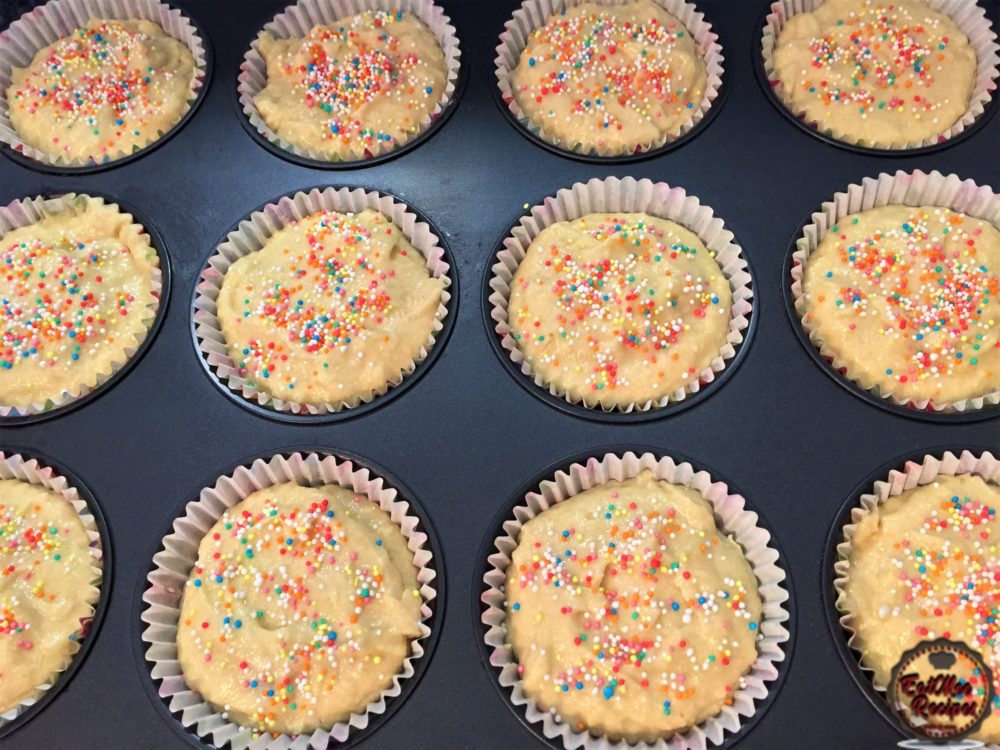
Next, this step is optional, but I feel that it gives these Queen Cakes a pretty look to it. Sprinkle over some 100’s & 1000’s.
Place these cakes into the preheated oven & allow to bake for 15 minutes.
They should be nice & golden once baked.
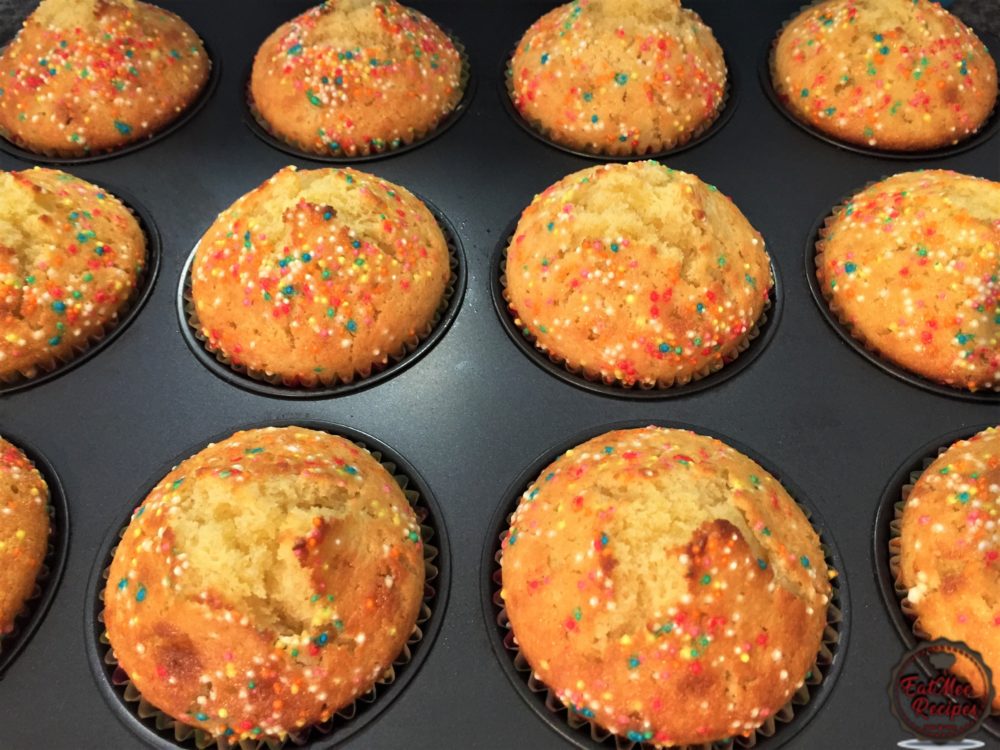
Insert a toothpick/skewer in the middle of one of the cakes. If it comes out clean, the cakes are ready.
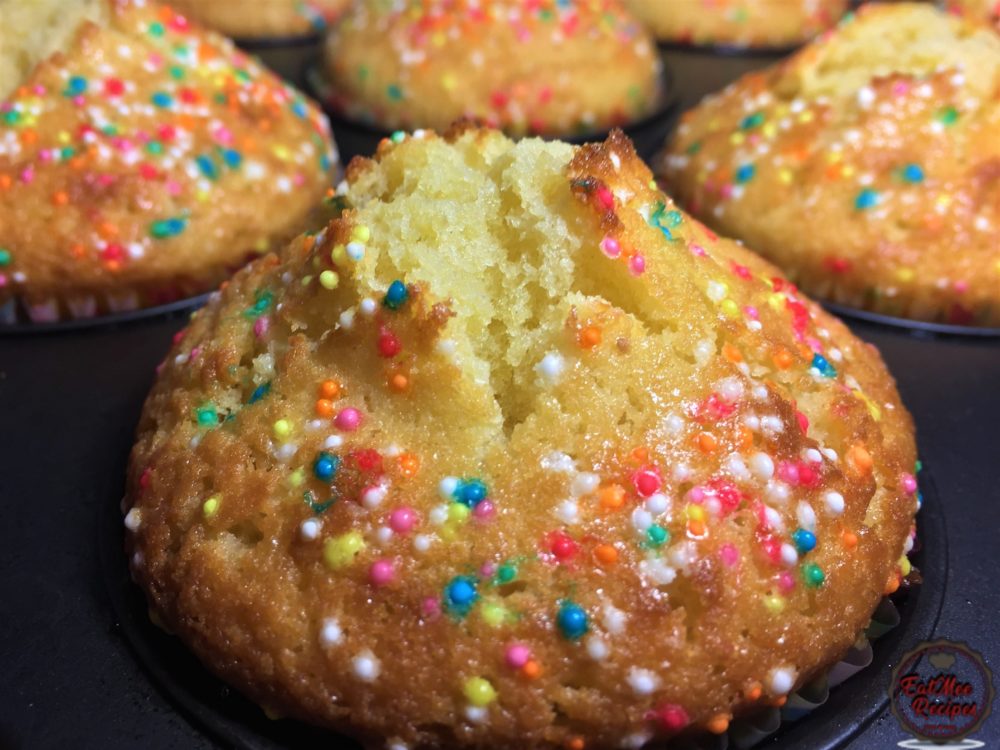
Allow to cool for a few minutes before removing these cakes from the tray.
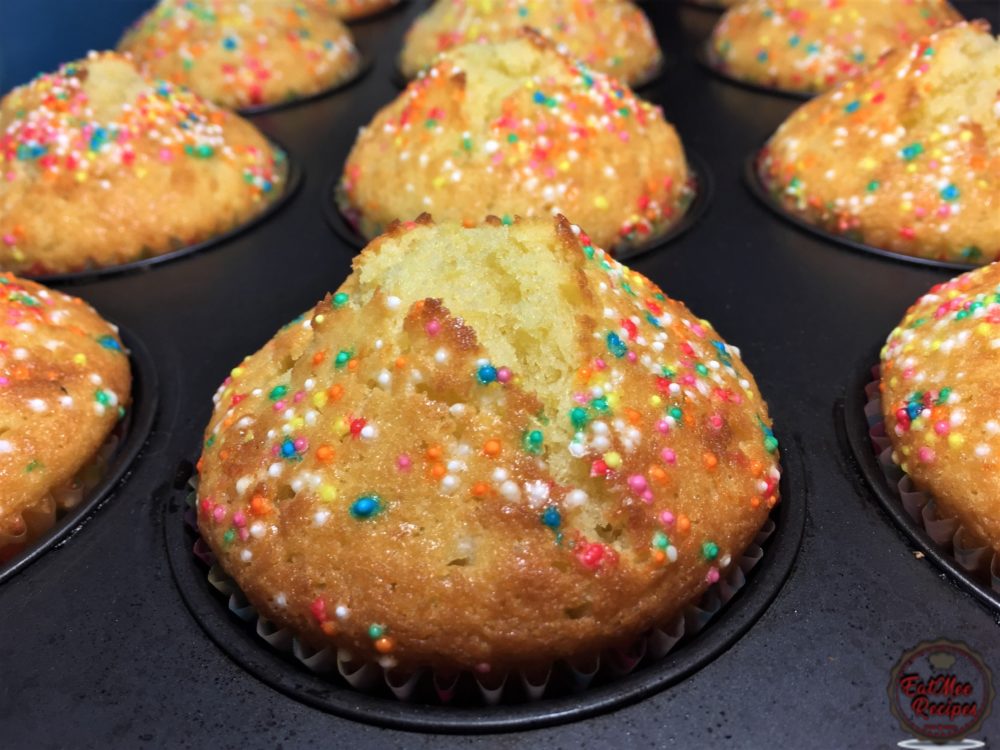
Serve as is or with a glass of milk or a hot drink.
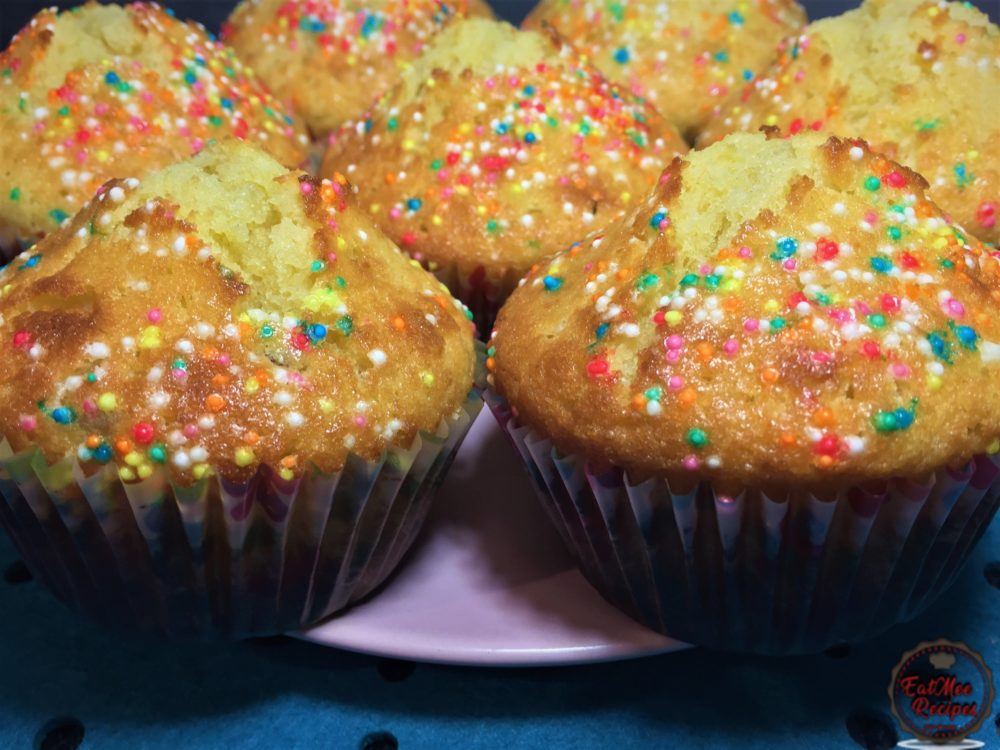
These Queen Cakes can be stored in a airtight container in a cool place for up to a week.
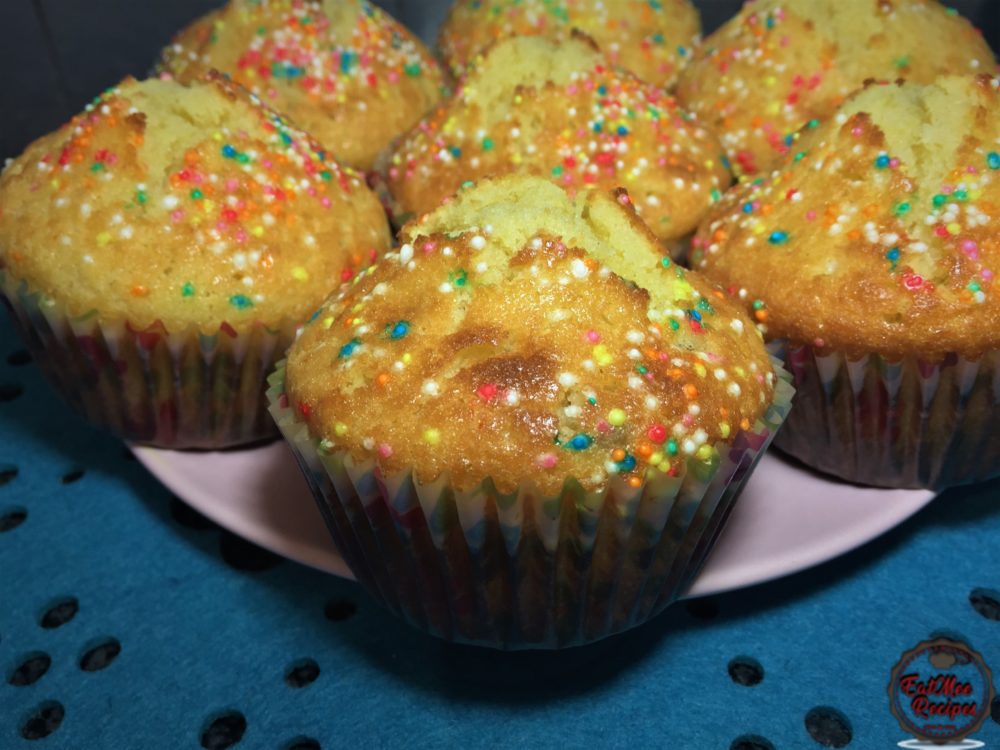
Follow along with Denisiya's step-by-step video guide for Queen Cakes.
Expert kitchen guidance and troubleshooting for making the best Queen Cakes
Store in an airtight container at room temperature for up to 1 to 2 weeks. For milk-based sweetmeats like burfee or soji, refrigerate in an airtight container for up to 7 to 10 days.
Pure butter or ghee provides the authentic rich aroma and texture characteristic of traditional Indian sweetmeats and bakes. Margarine can be used in a pinch, but butter delivers superior flavor.
Hi, I'm Denisiya! Food lover, recipe developer, and founder of EatMee Recipes. I specialize in authentic South African Durban Indian cuisine, comforting curries, and modern Instant Pot adaptations. Every recipe on this site is tested in my personal kitchen to ensure you get mouth-watering, foolproof results every time.
Explore more authentic Durban curries, traditional bakes, and comforting family favourites.
 American Food
Battered Fish is so yum, with just a few ingredients, it’s going to taste like it’s straig...
 British Food
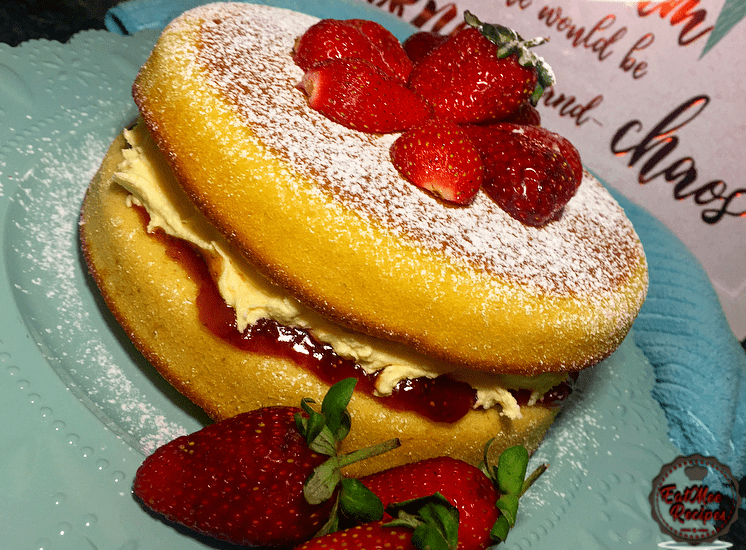
The Victoria Sponge Cake also known as the Victoria Sandwich Cake or Sponge is a cake whic...
 British Food
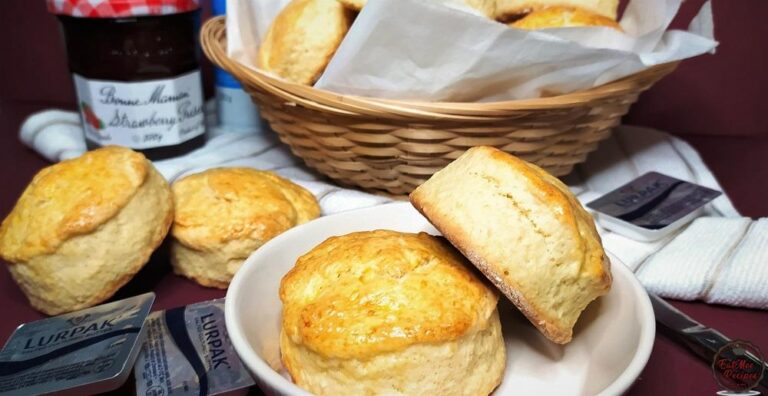
Farm Style Scones are warm & so fresh that they melt in your mouth. These are perfect comf...
Have you tried this recipe or have questions for Denisiya? Join the conversation below.
No comments yet. Be the first to share your thoughts on this recipe!
Leave a Comment
Your email address will not be published. Required fields are marked *