
We Value Your Culinary Privacy
EatMee Recipes uses cookies to provide a personalized browsing experience, analyze recipe popularity, and serve relevant ads. You can review our full disclosure in our Privacy Policy.
Make authentic Farm Style Scones with this foolproof recipe. Packed with rich traditional flavor, step-by-step photos, and cooking tips by Denisiya on EatMee Recipes.

Join over 60,000+ home chefs for weekly authentic Durban Indian cook-alongs, Instant Pot masterclasses, and family heritage recipes.
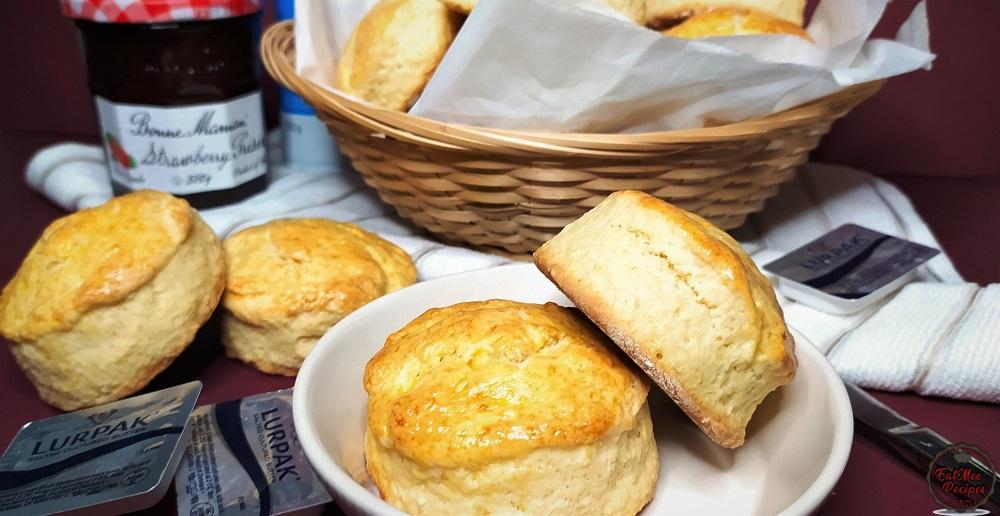
Farm Style Scones are warm & so fresh that they melt in your mouth. These are perfect comfort treat for those cold Winter days. Snuggle up with a warm Farm Style Scone smeared with clotted cream, whipped cream or butter & jam.
Scones are fluffy cake like breads which are baked in the oven until golden. There are two ways to pronounce the word Scone, mainly “Skone” which is pronounced as the word tone & “Skon” which is pronounced as the word gone. Some say the word originates from the Dutch word ‘schoonbrot’, which implies beautiful bread, while others contend it originates from Stone of Destiny, where the Kings of Scotland were delegated. As indicated by Webster’s Dictionary, scones began in Scotland in the mid 1500s.
Preheat oven to 180° Celsius.
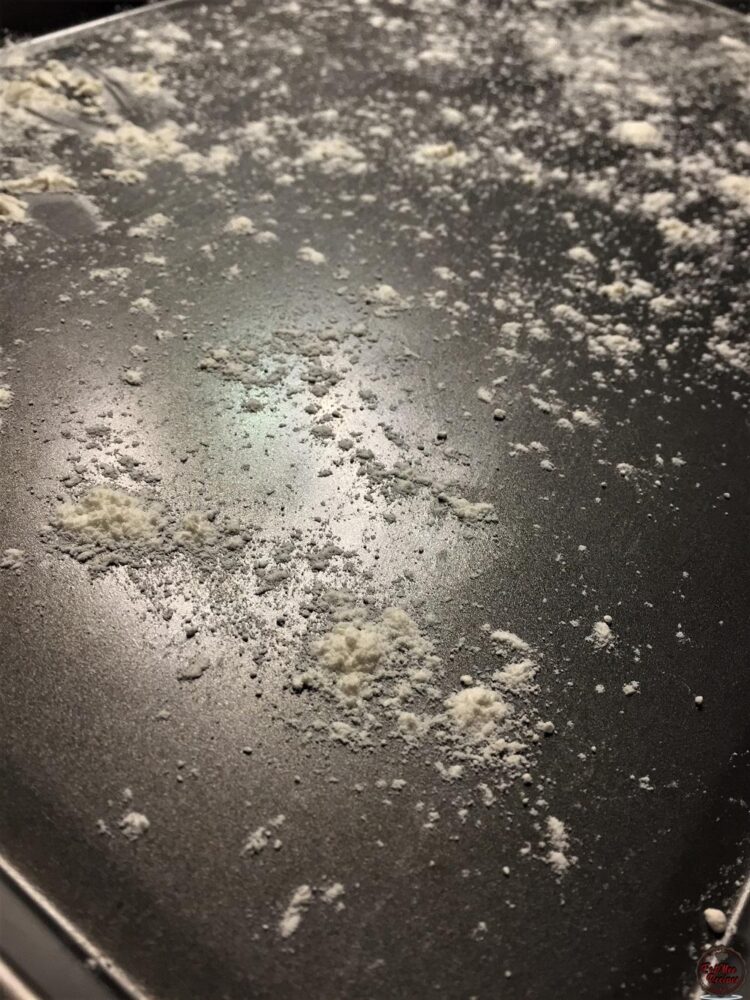
Lightly flour a baking tray & set aside.
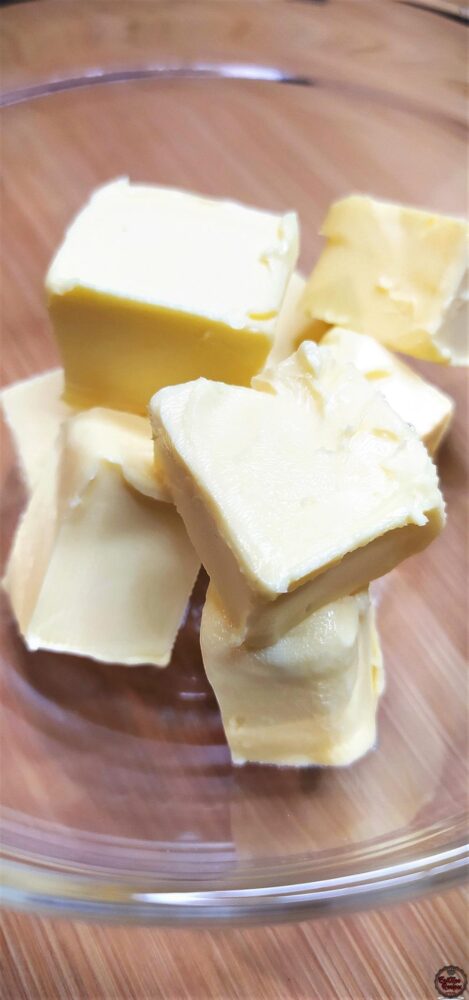
Make sure the butter or margarine is cold.
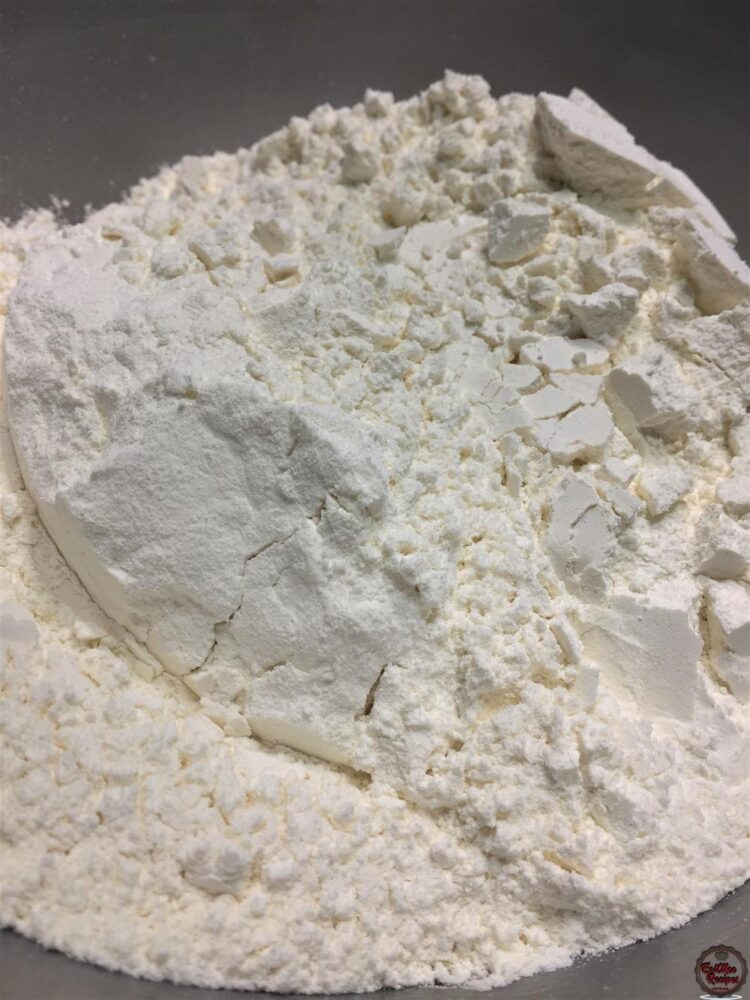
Add the all-purpose or cake flour to a mixing bowl.
Add in the salt & baking powder.
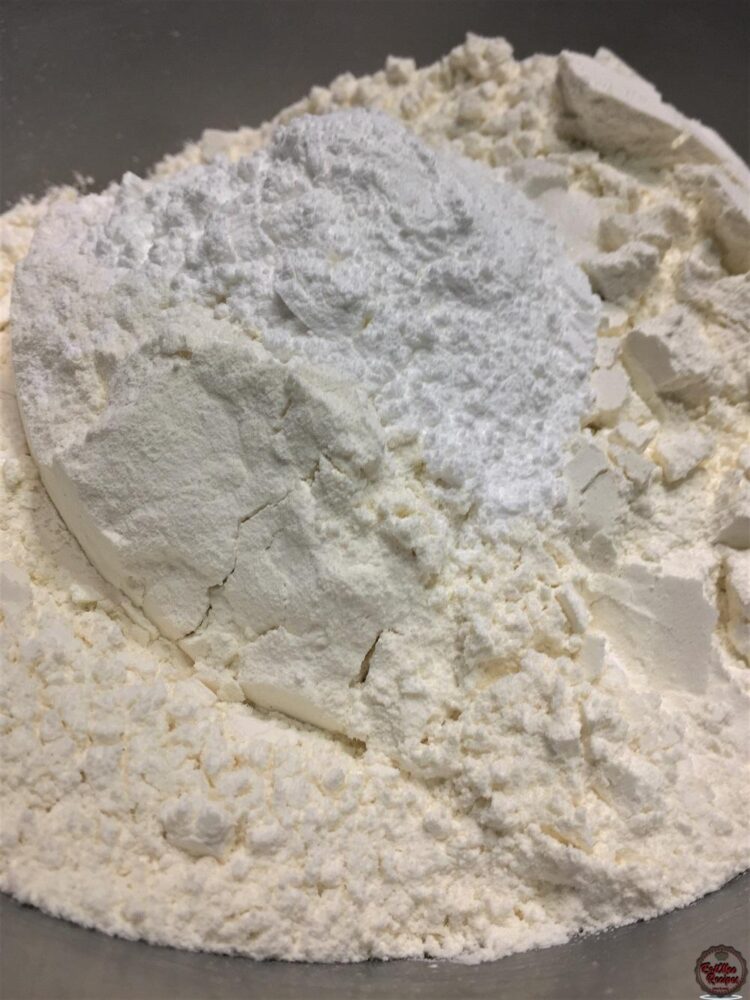
Thereafter, add in the icing sugar.
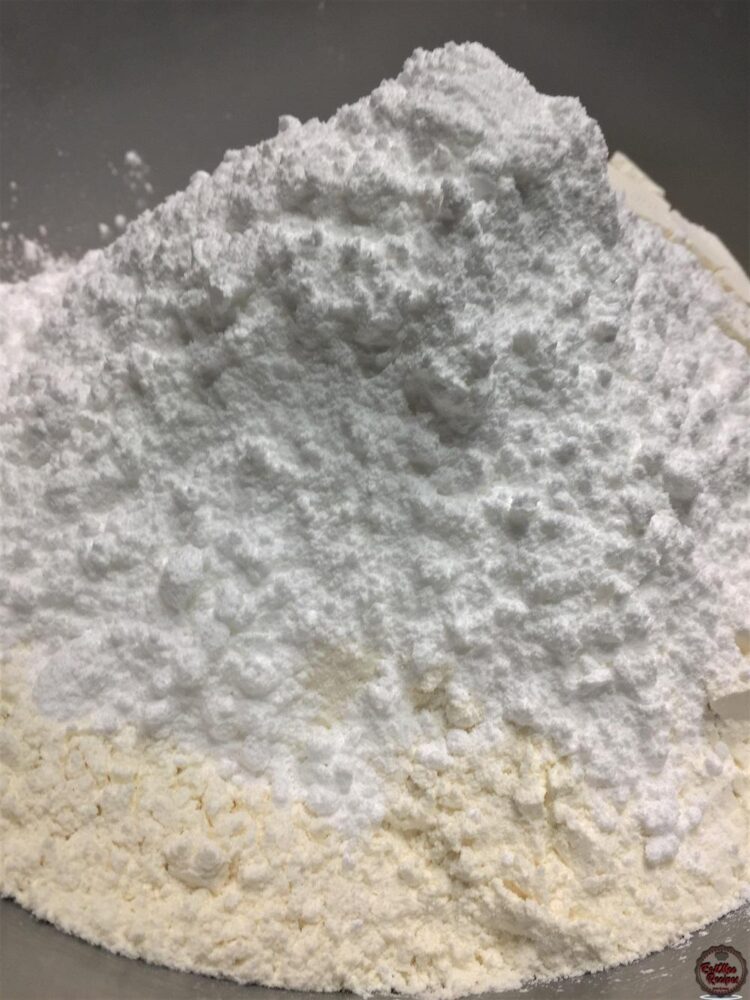
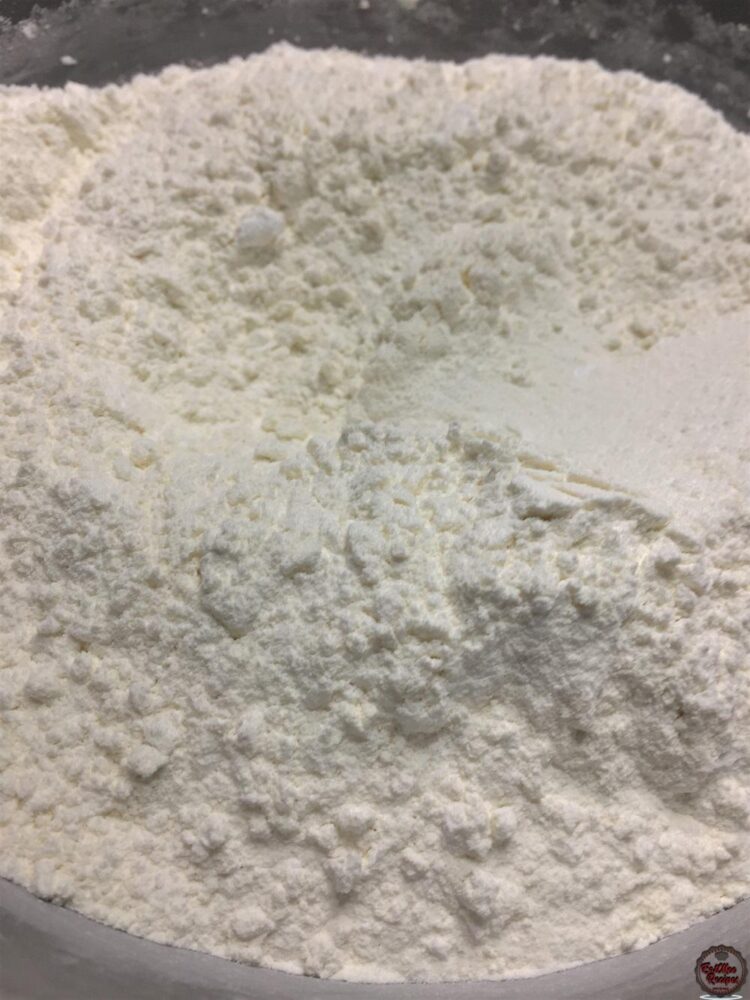
Mix well.
Add in the cold butter.
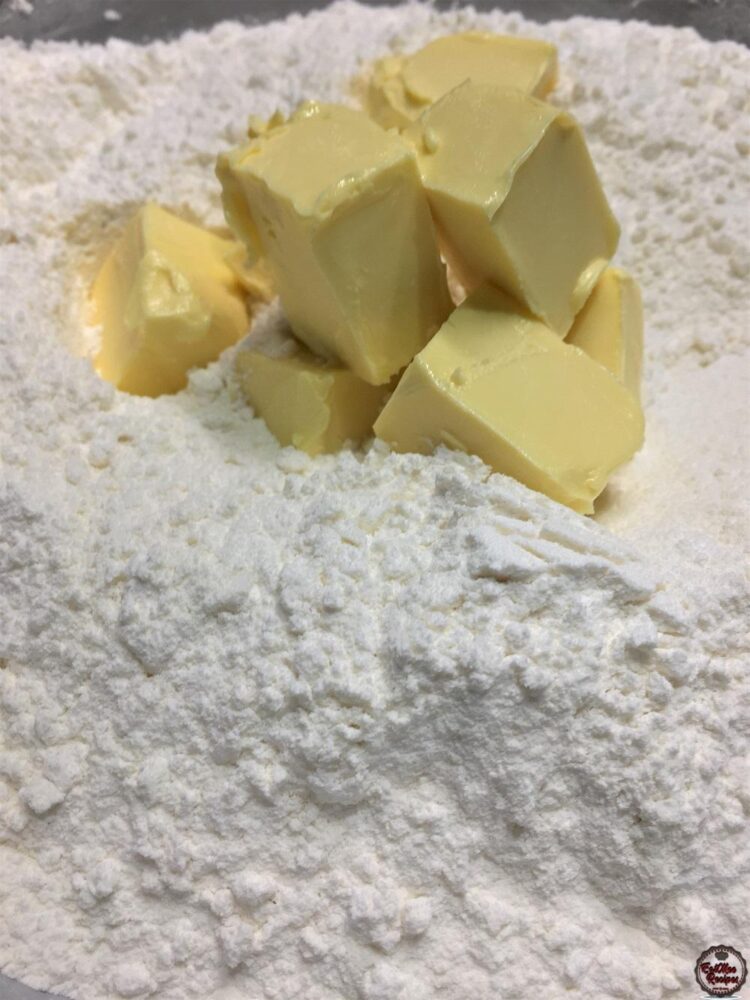
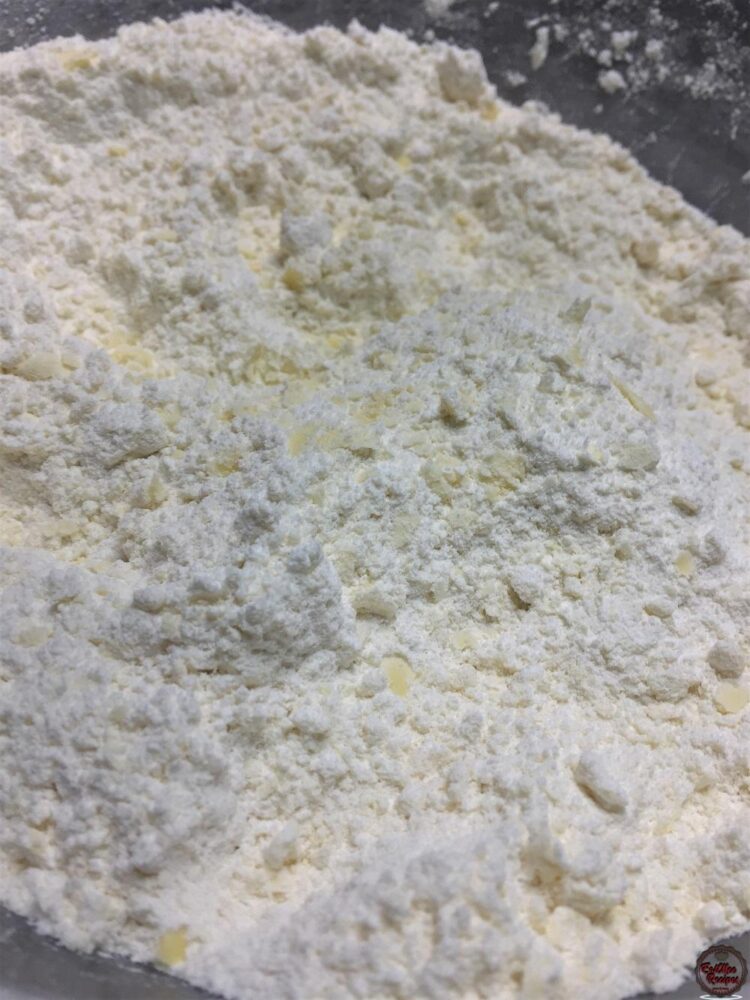
Rub the butter into the flour mixture using your fingertips. It should resemble a breadcrumb texture.
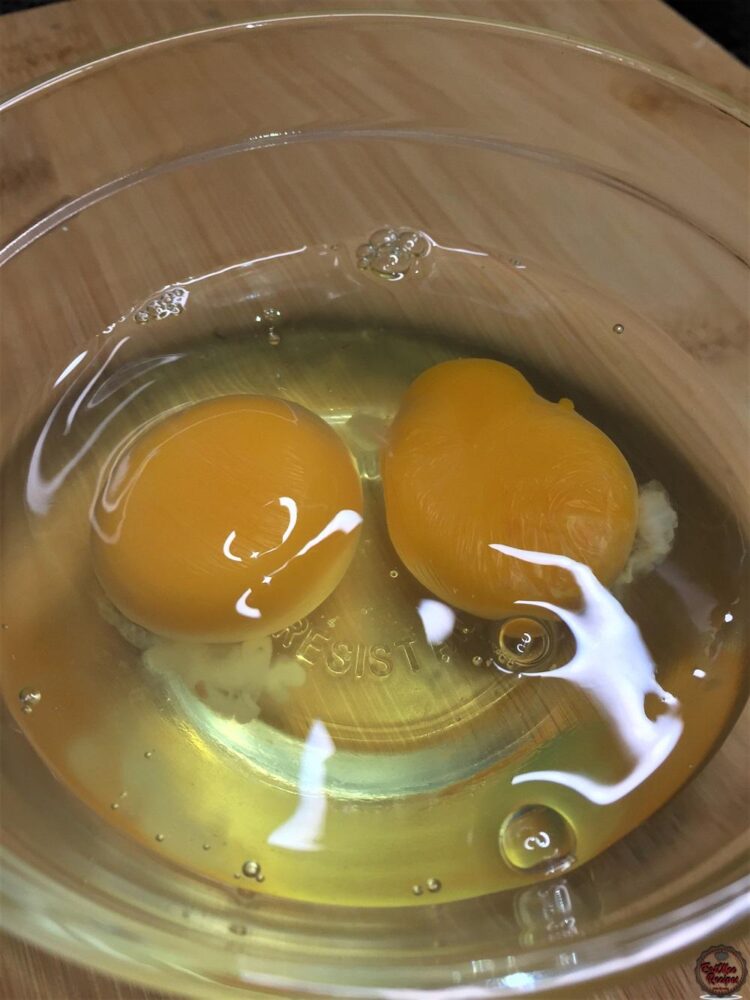
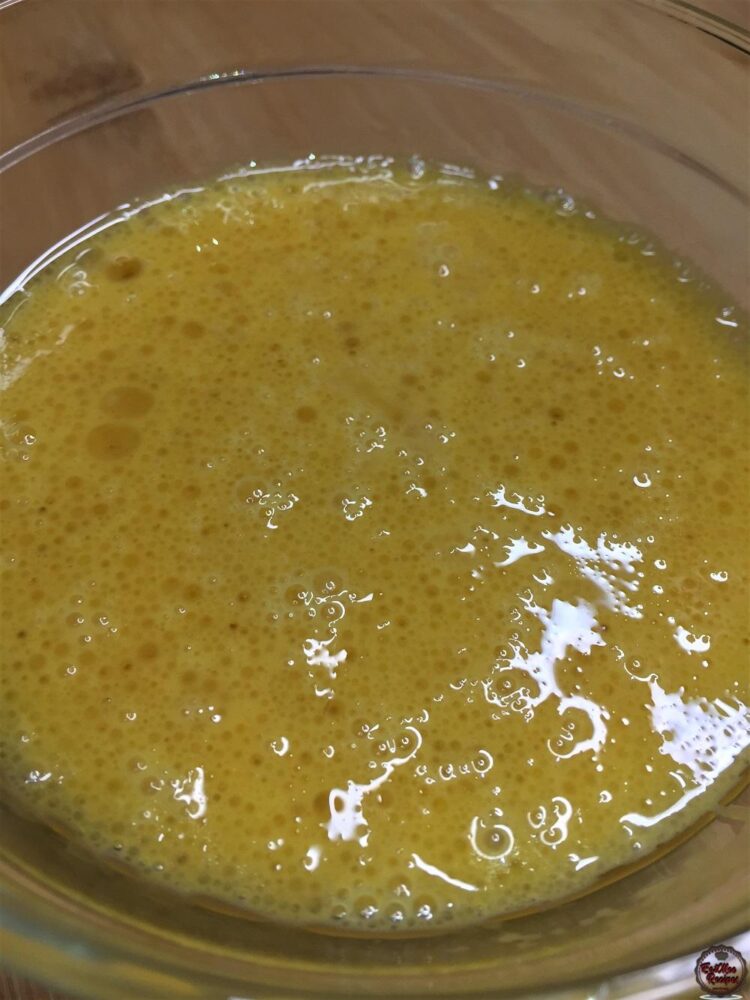
Crack two eggs into a small bowl.
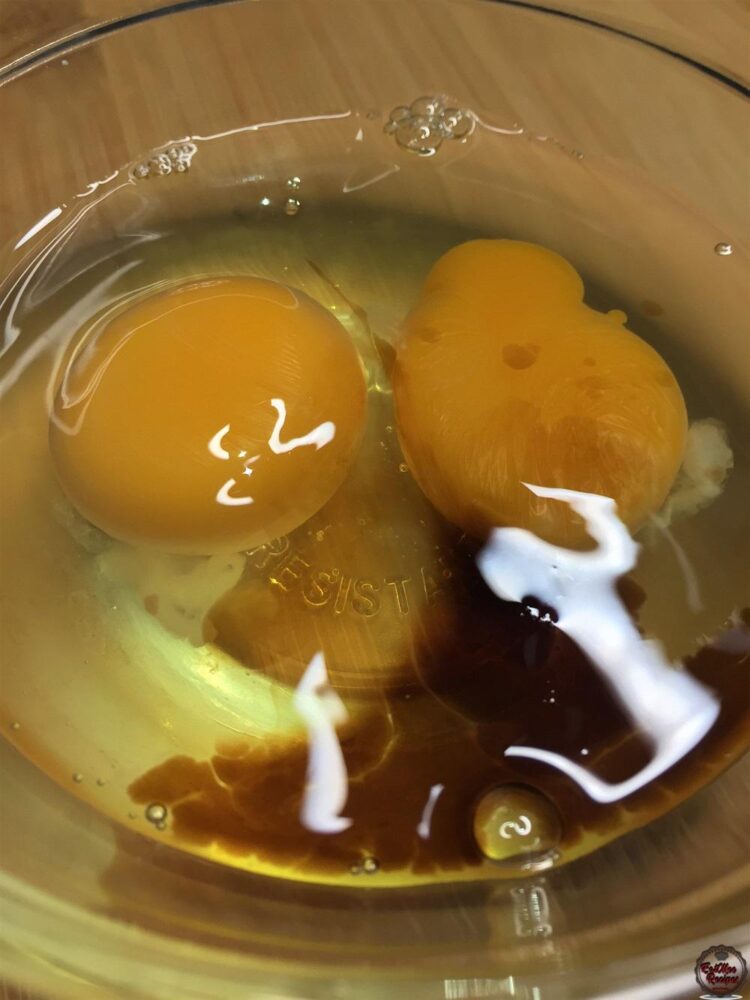
Pour in the vanilla essence.
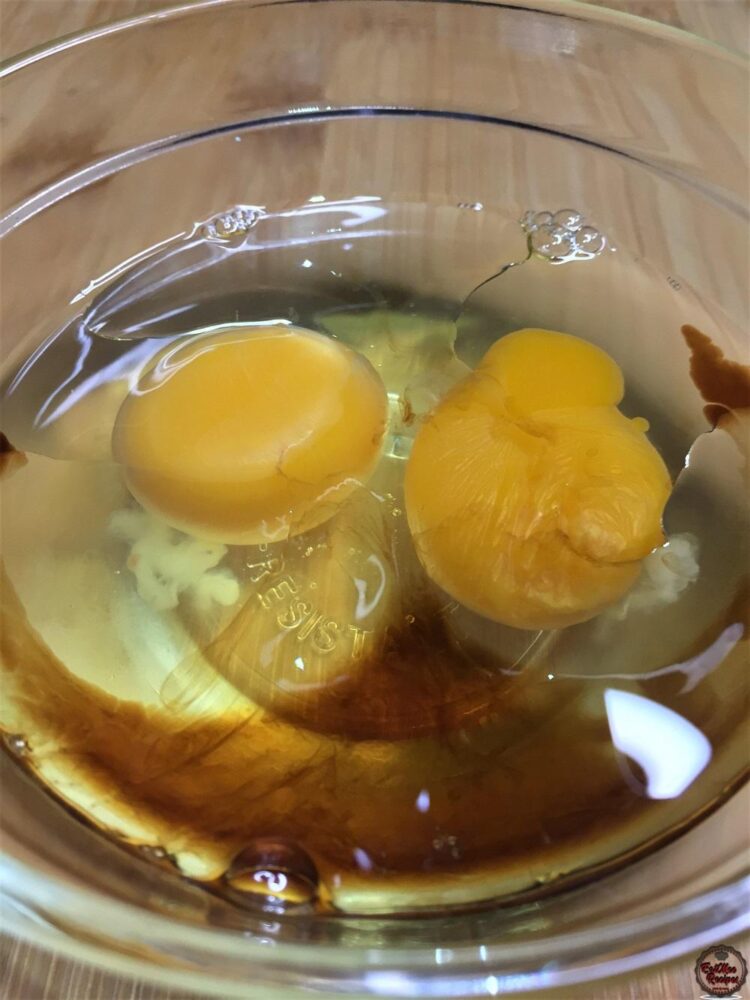
Pour in the vegetable oil.
Beat the eggs using a fork.
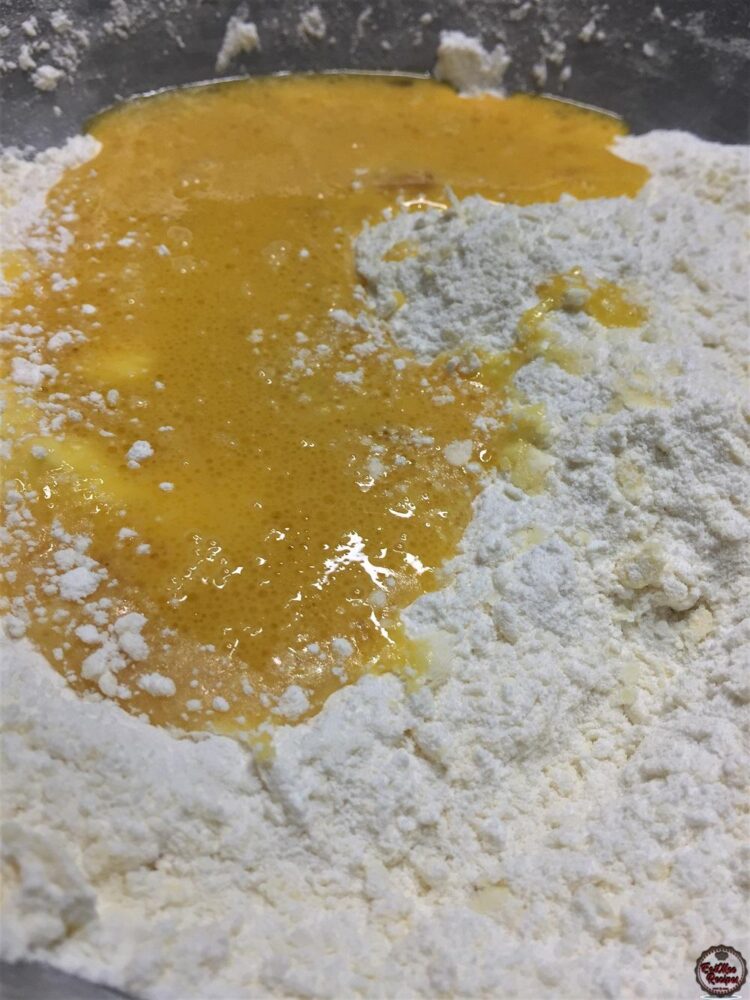
Add the egg mixture to the flour mixture.
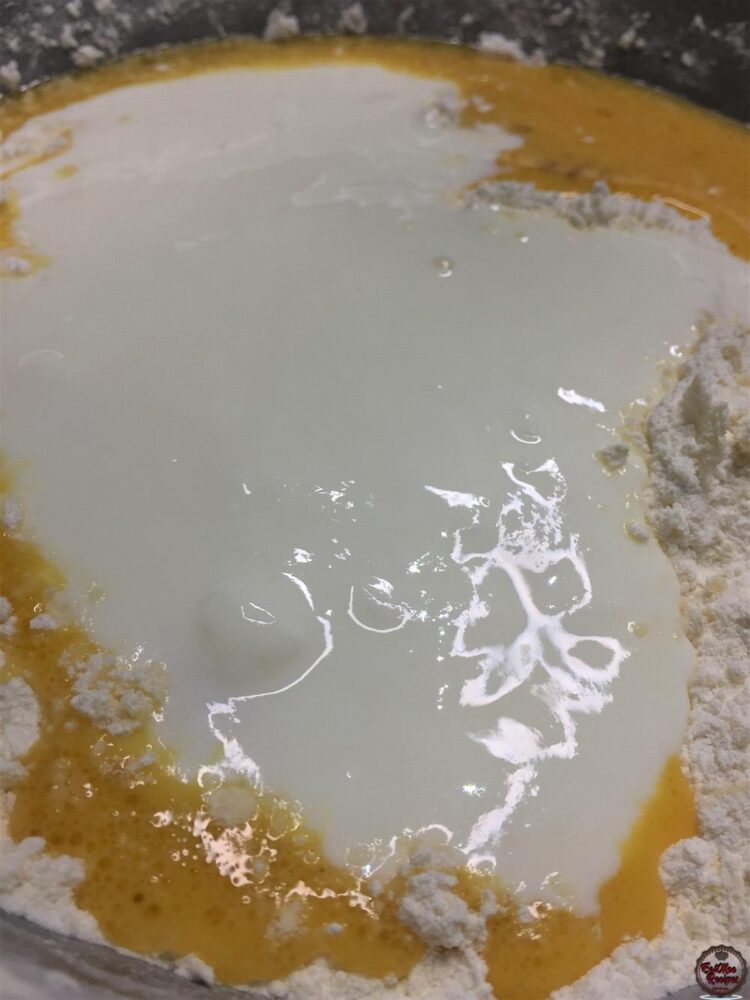
Thereafter, add in the sour milk (maas) or plain yoghurt.
Mix together using your hands. It should form into a dough.
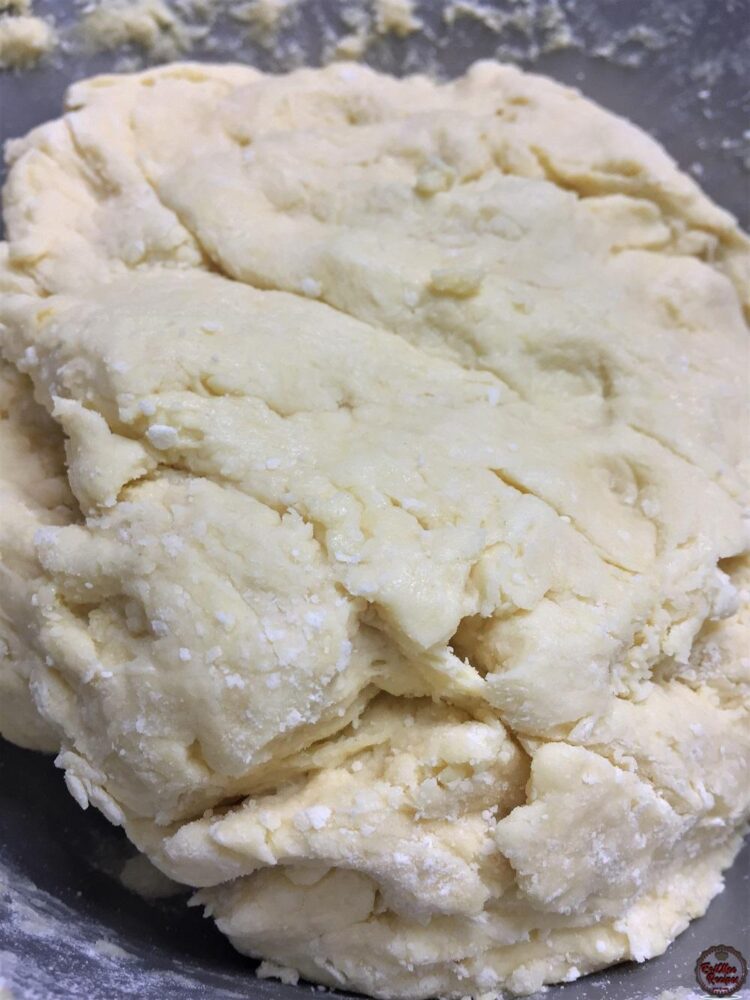
Place the dough onto a floured surface.
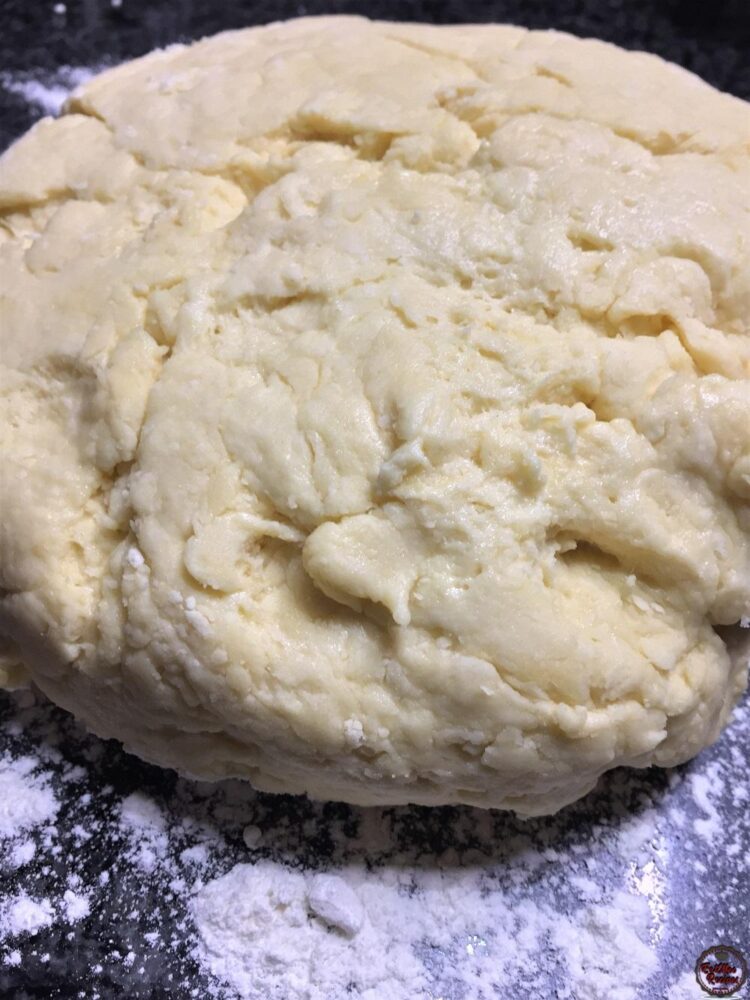
Lightly dust some flour over the dough, use your hands to press down onto the dough, spreading it out. Thereafter, roll out the dough using a rolling pin.
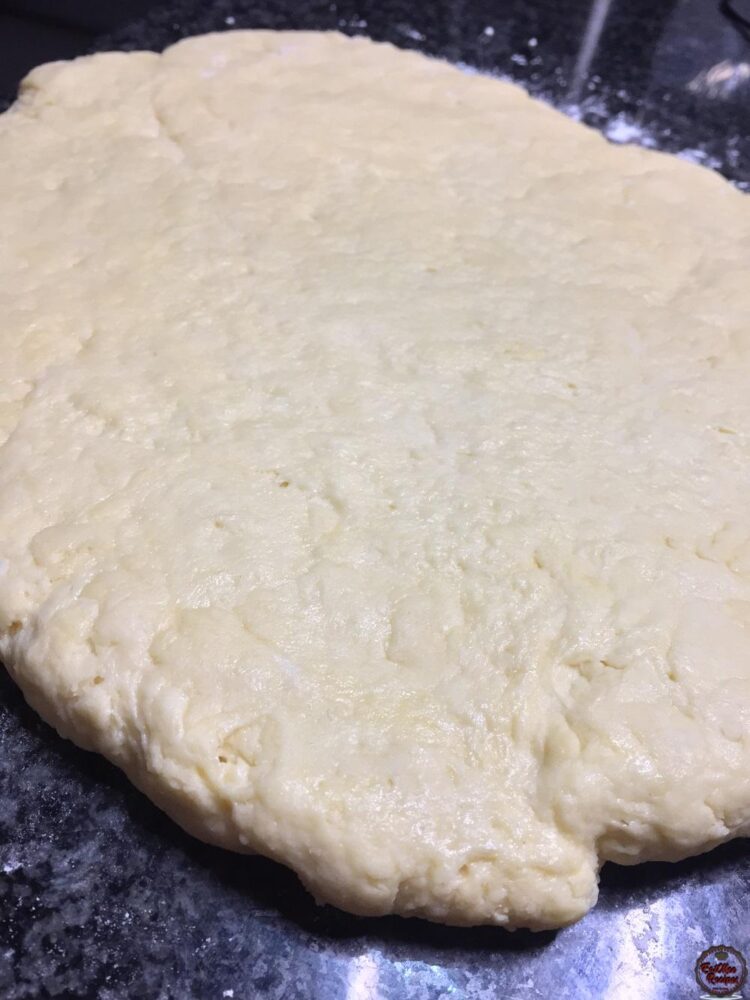
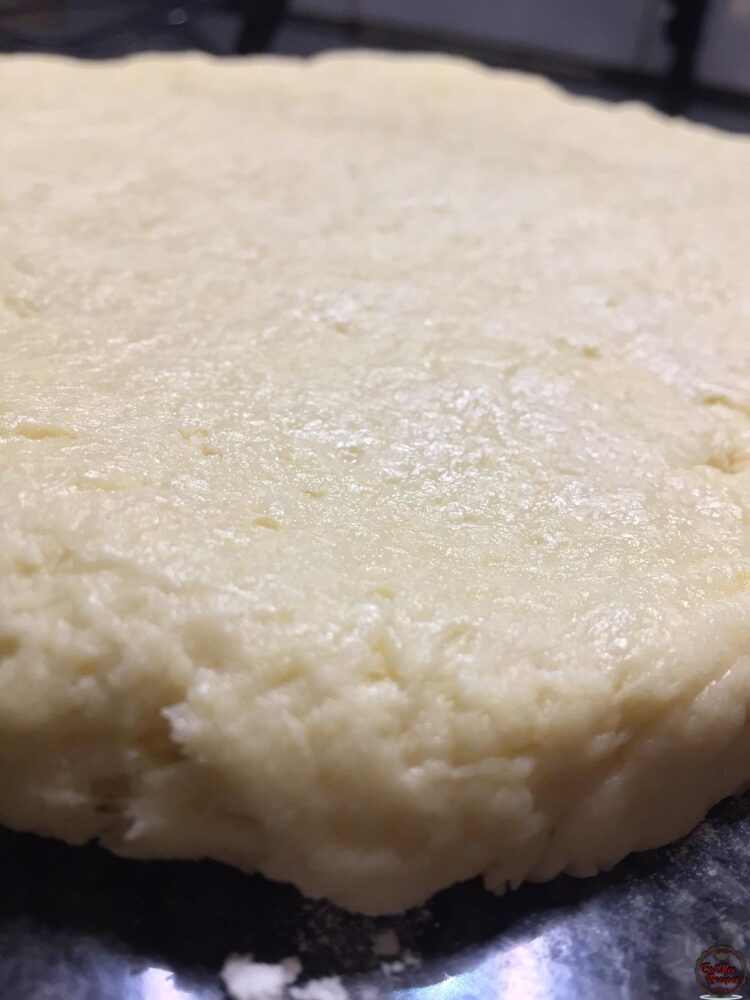
The dough should be about an inch thick.
Use a cookie cutter or a glass & cut out as many shapes as you can.
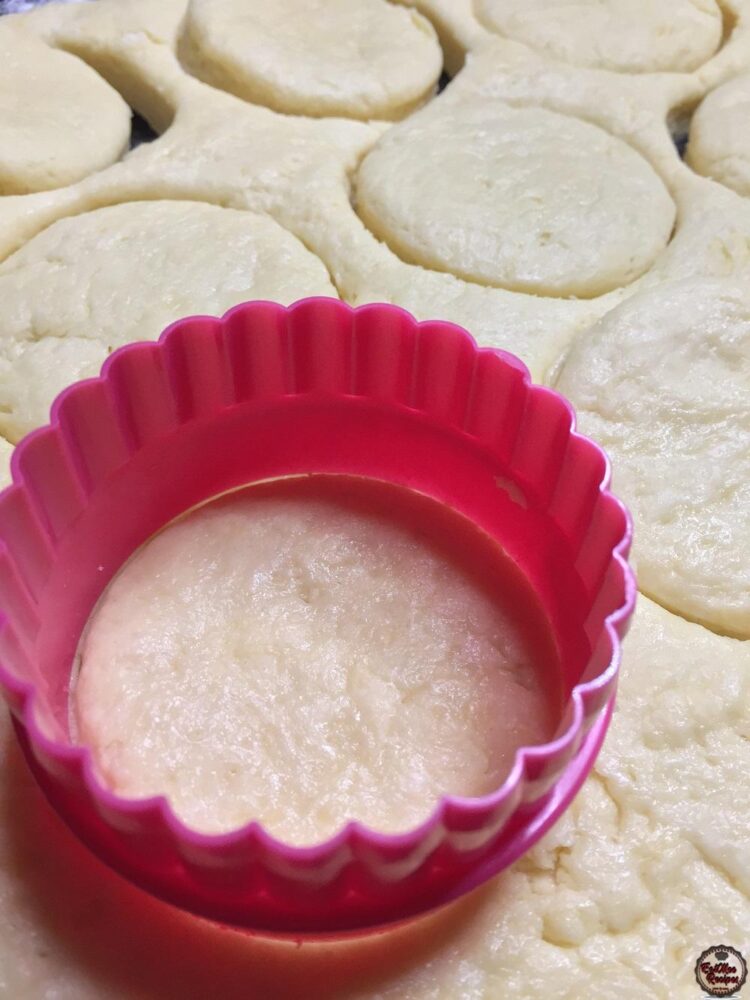
Place the shapes of the dough onto the prepared baking tray.
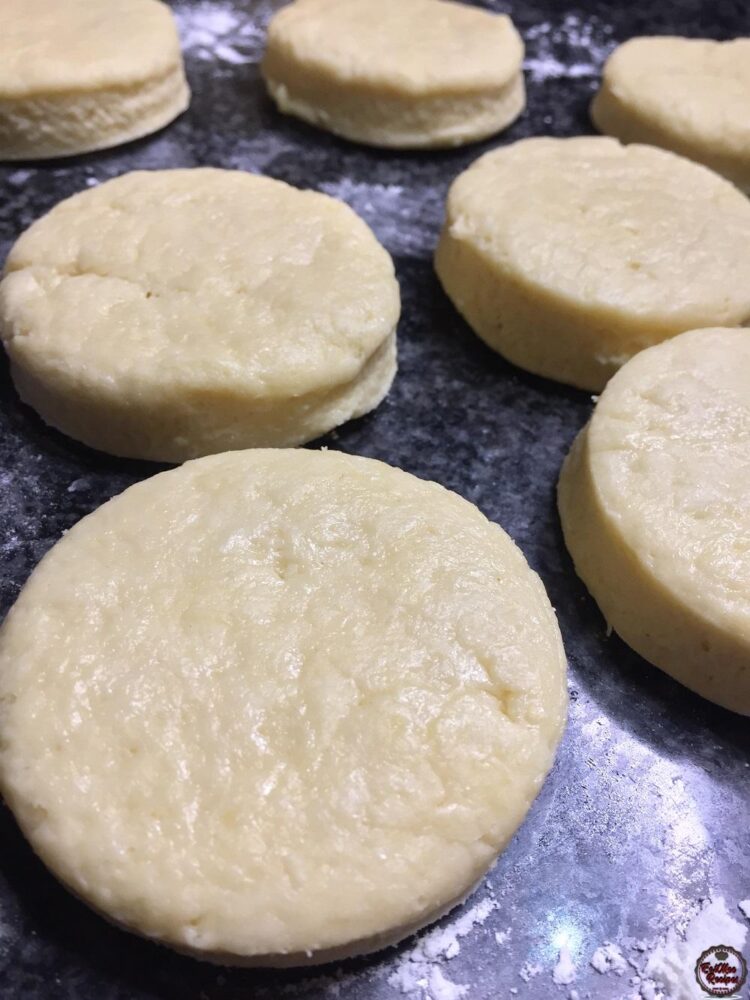
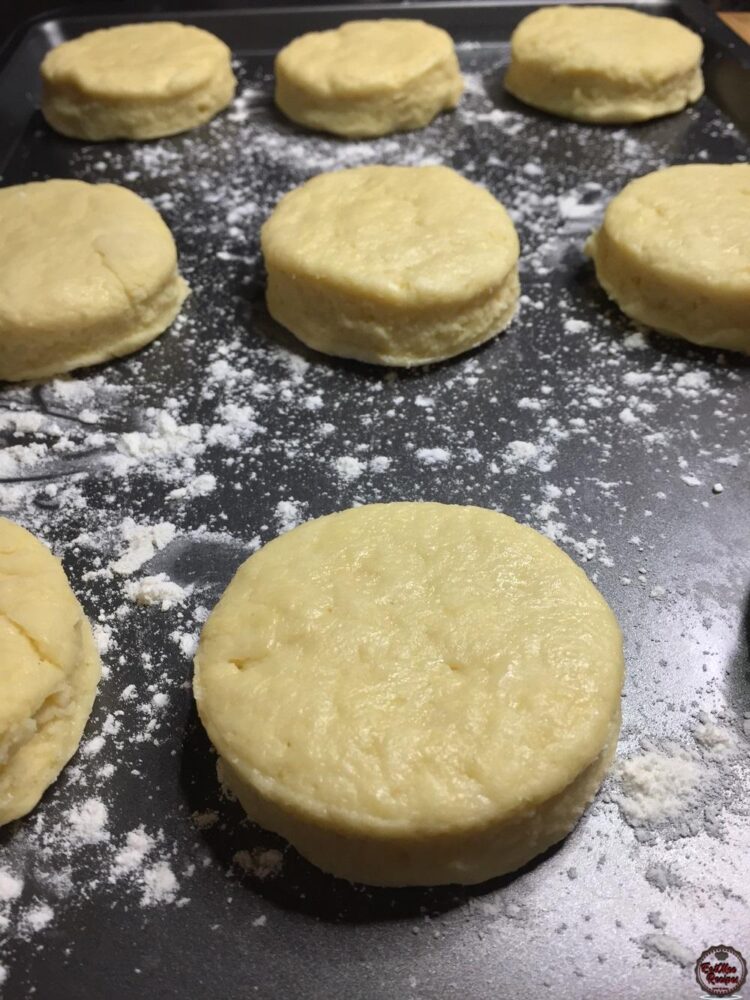
Allow the shapes of dough to rest on the tray for 5 minutes.
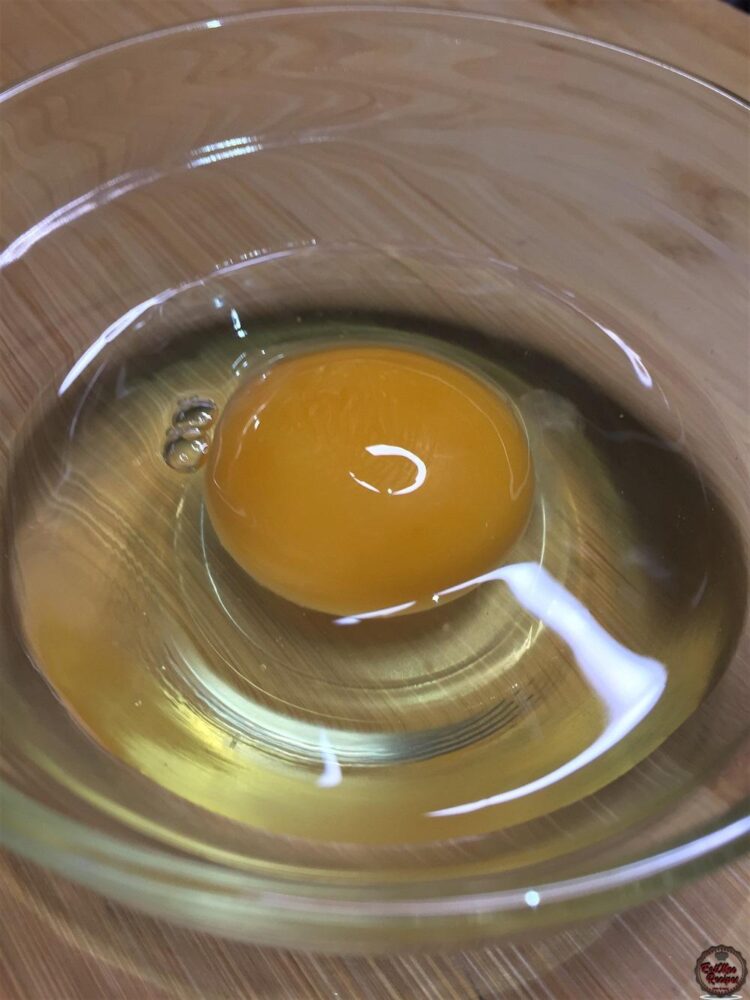
In the time being, crack the other egg into a bowl.
Add in the milk.
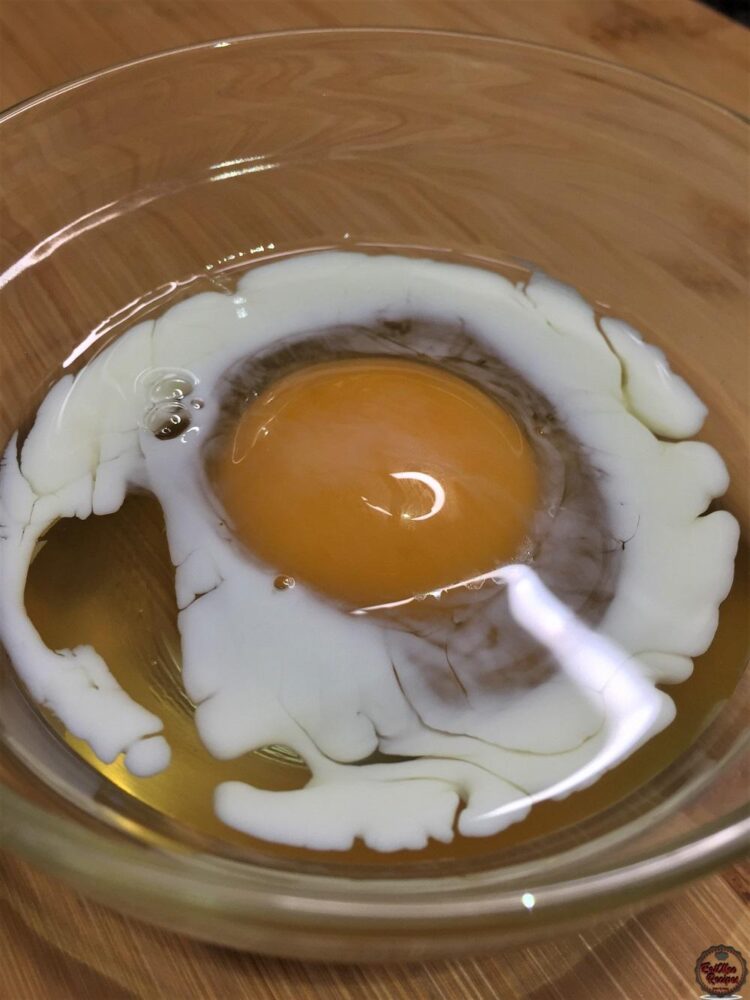
Beat until combined – this is the egg wash for the scones.
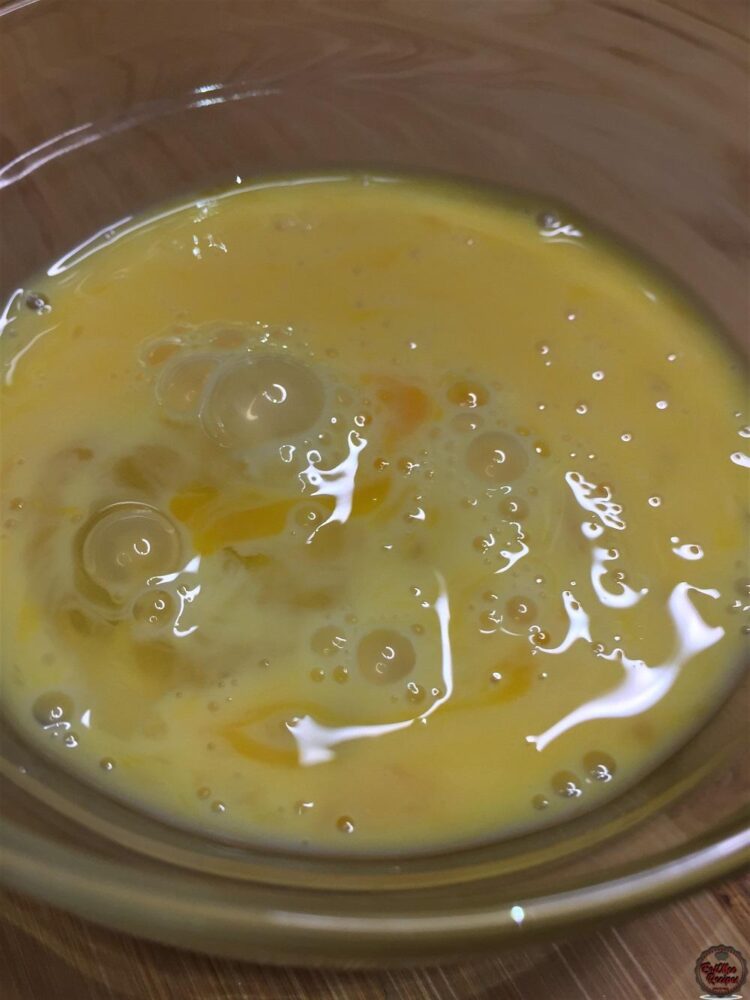
Brush the egg wash onto the scones that were resting.
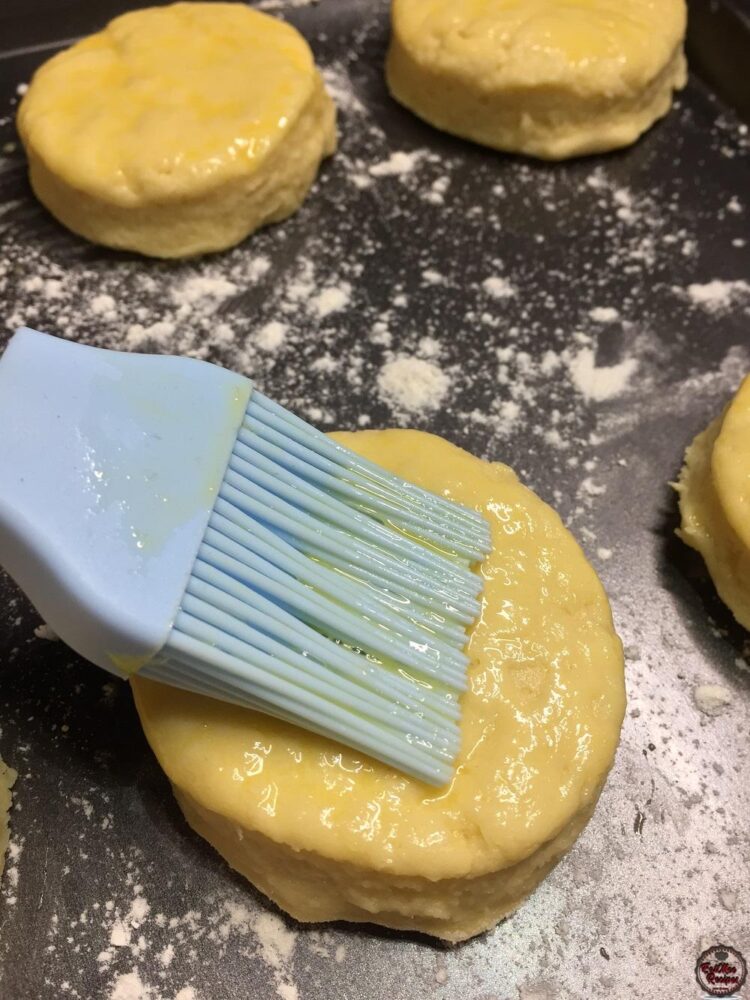
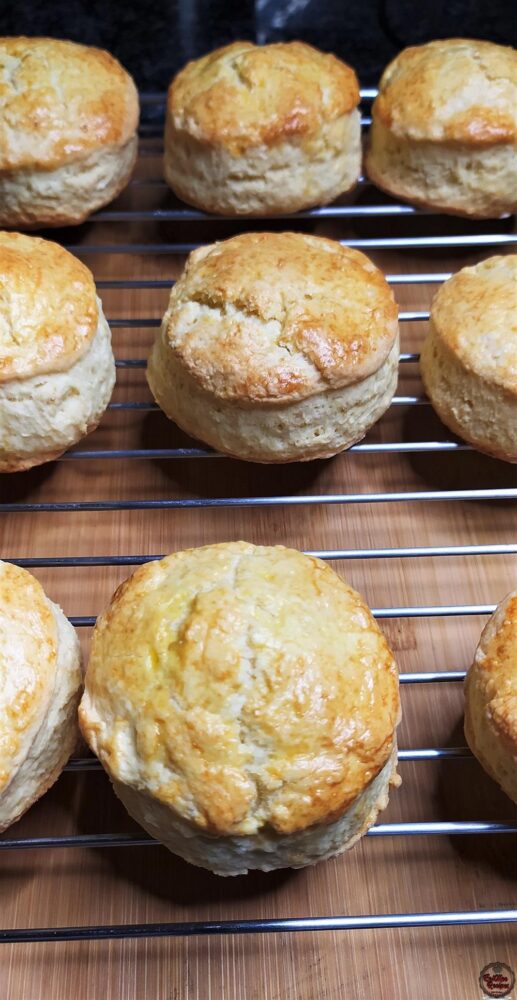
Bake in the preheated oven for 20 minutes or until golden.
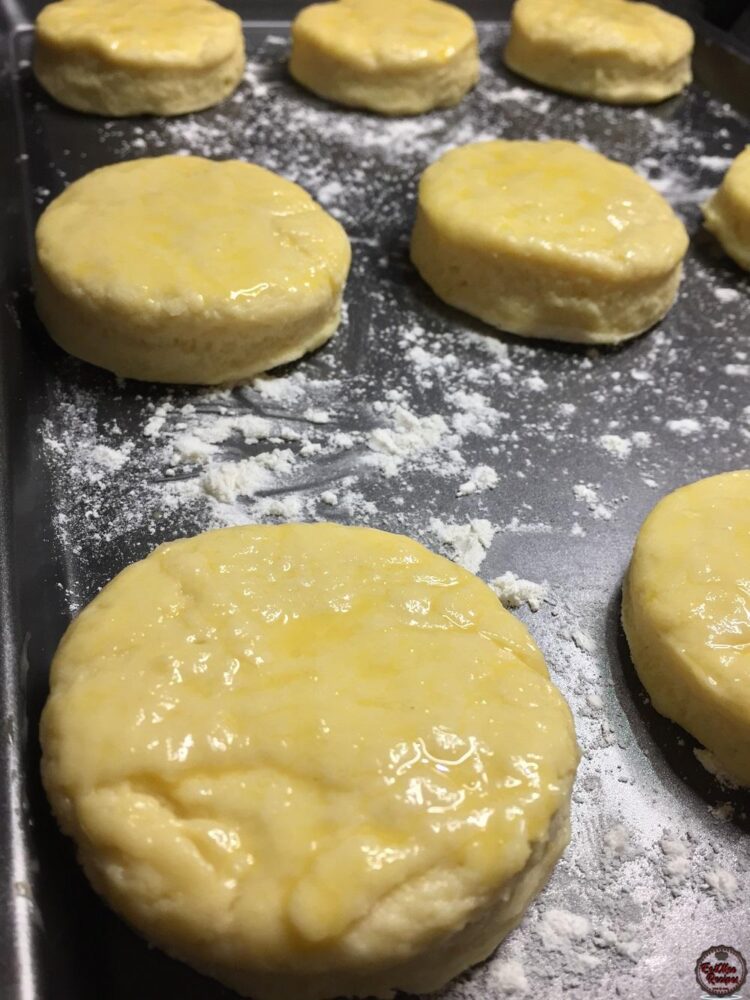
Place the scones onto a cooling rack.
The remaining scraps of dough can be carefully folded together so that more shapes may be cut out. Try to work gently with it because if the dough is over handled, it may not rise as well.
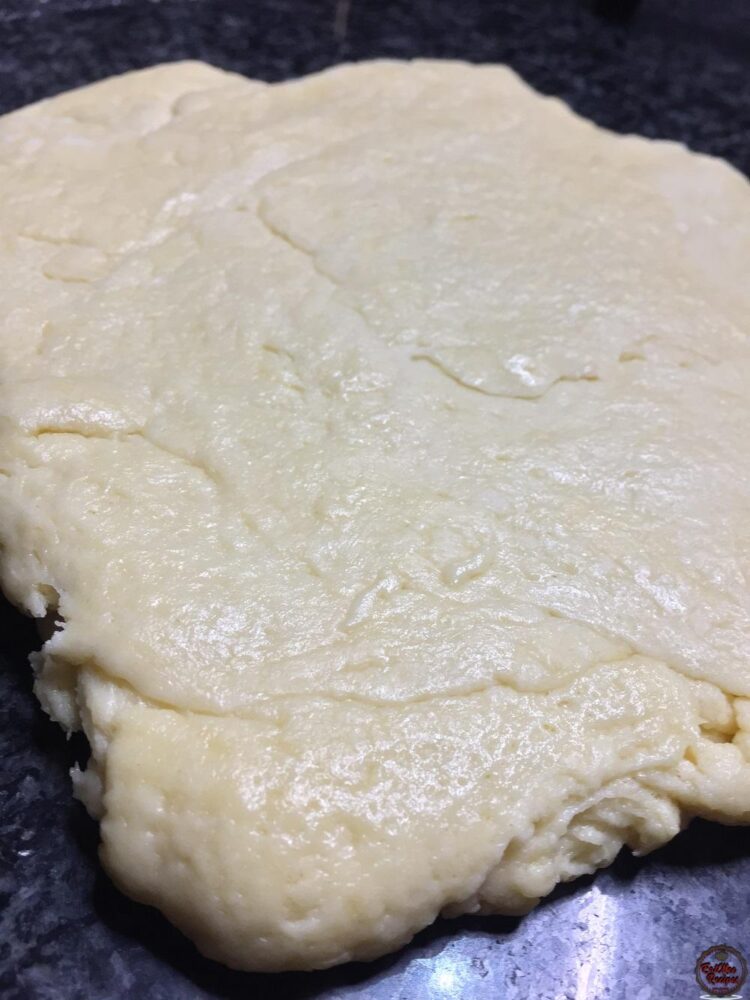
Serve these Farm Style Scones with a hot cuppa.
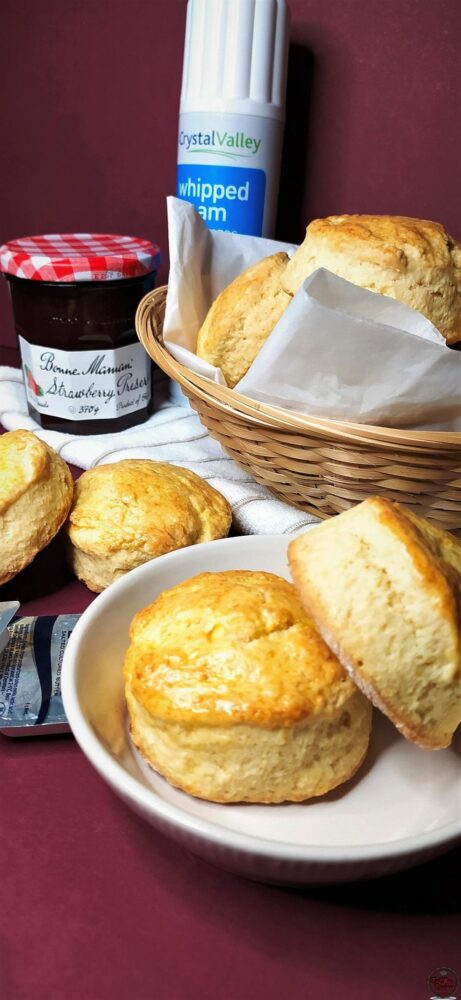
They can also be served with a jam, cream, cheese or butter of your choice.
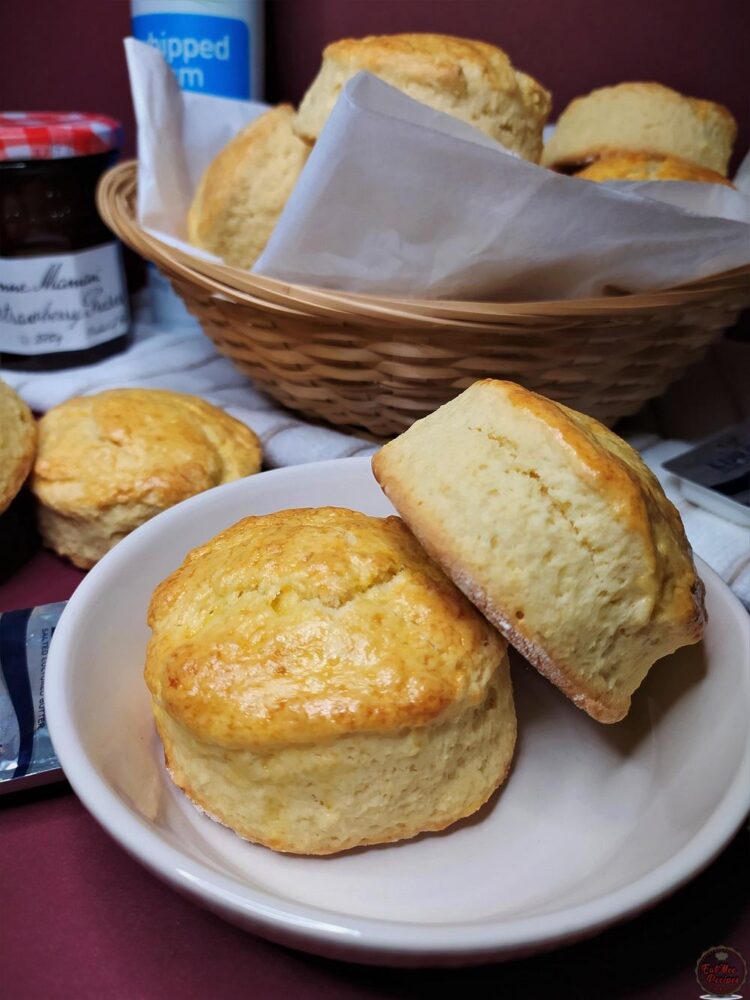
Store in an airtight container for up to a week, depending on the humidity.
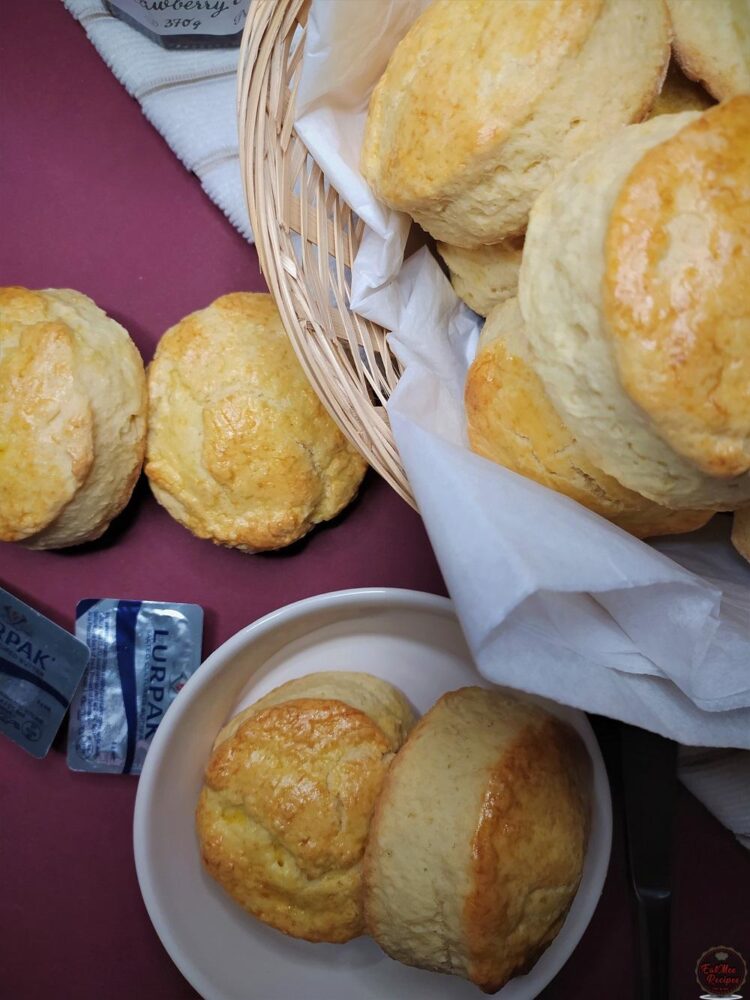
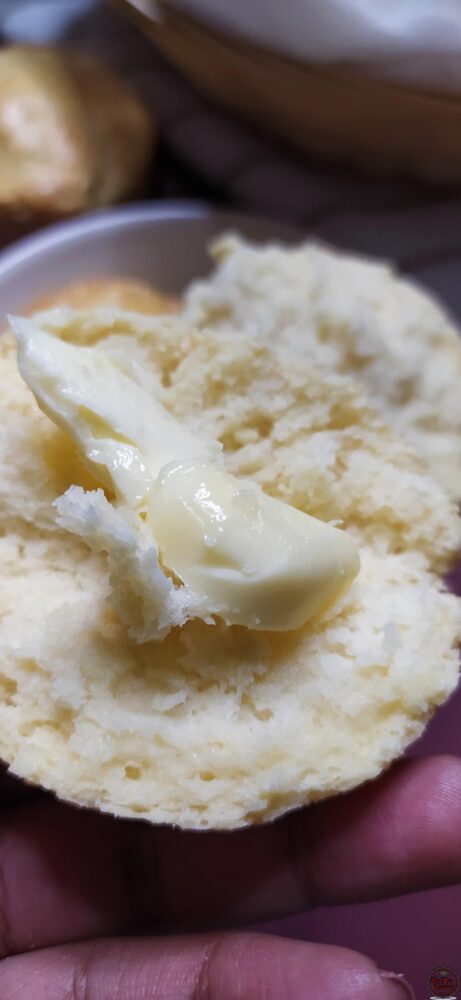
These Farm Style Scones are super fluffy on the inside & I personally prefer them with a thick slather of butter.
Follow along with Denisiya's step-by-step video guide for Farm Style Scones.
Expert kitchen guidance and troubleshooting for making the best Farm Style Scones
Store in an airtight container at room temperature for up to 1 to 2 weeks. For milk-based sweetmeats like burfee or soji, refrigerate in an airtight container for up to 7 to 10 days.
Pure butter or ghee provides the authentic rich aroma and texture characteristic of traditional Indian sweetmeats and bakes. Margarine can be used in a pinch, but butter delivers superior flavor.
Hi, I'm Denisiya! Food lover, recipe developer, and founder of EatMee Recipes. I specialize in authentic South African Durban Indian cuisine, comforting curries, and modern Instant Pot adaptations. Every recipe on this site is tested in my personal kitchen to ensure you get mouth-watering, foolproof results every time.
Explore more authentic Durban curries, traditional bakes, and comforting family favourites.
 American Food
Battered Fish is so yum, with just a few ingredients, it’s going to taste like it’s straig...
 British Food
The Victoria Sponge Cake also known as the Victoria Sandwich Cake or Sponge is a cake whic...
 British Food
Queen Cakes are a luscious, buttery, sweet & decadent form of cupcakes which were a ninete...
Have you tried this recipe or have questions for Denisiya? Join the conversation below.
being a cold day in durban, i decided to make some lamb stew. first off, i am no cook or baker. i love watching cooking shows but will never attempt it. i love lamb stew & always wait for an invite from friends & family.
i will be following your easy delicious lamb recipe.
its been 2 hours now, i am so loving your page. it is awesome.
Hi Tina. I am absolutely delighted to hear this. Thank you so much for trying out my recipes & taking the time to post your excitement. Much appreciated.
Leave a Comment
Your email address will not be published. Required fields are marked *