

We Value Your Culinary Privacy
EatMee Recipes uses cookies to provide a personalized browsing experience, analyze recipe popularity, and serve relevant ads. You can review our full disclosure in our Privacy Policy.
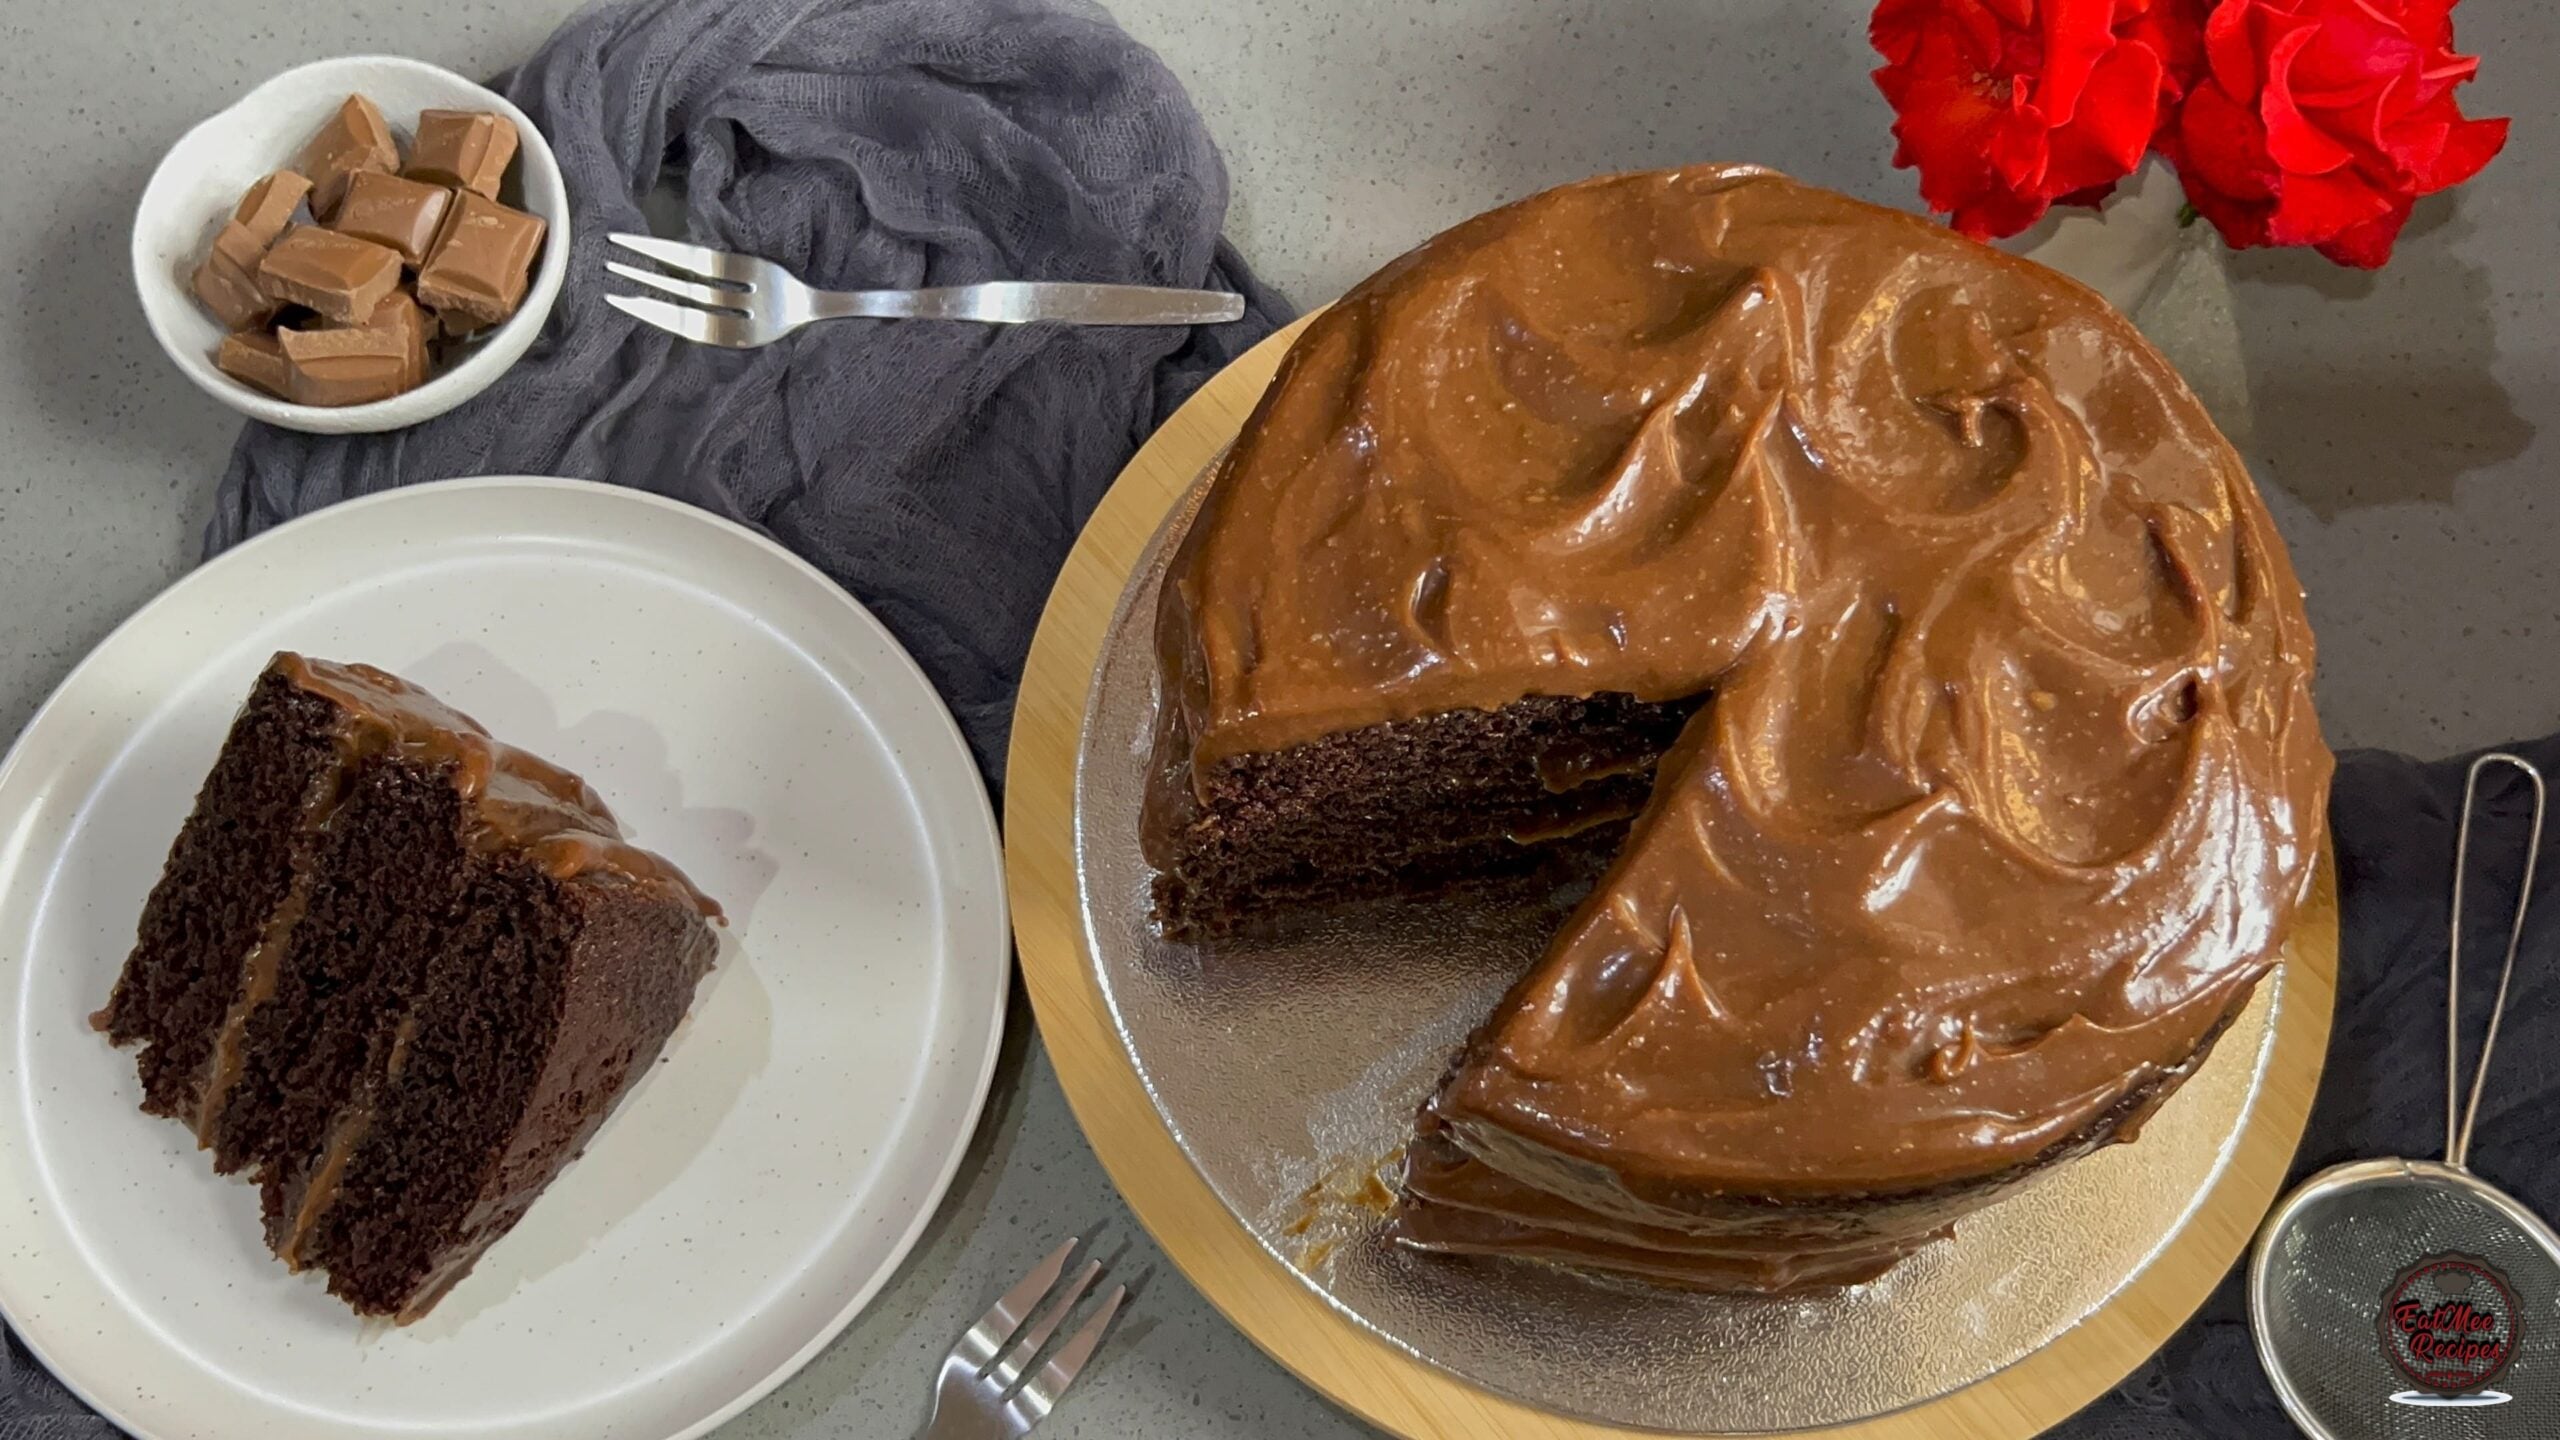
Make the iconic Matilda Cake at home! Ultra-rich, moist chocolate layers smothered in silky chocolate fudge frosting inspired by Bruce Bogtrotter. Easy step-by-step recipe.

Join over 60,000+ home chefs for weekly authentic Durban Indian cook-alongs, Instant Pot masterclasses, and family heritage recipes.
A Cake Worthy of Bruce Bogtrotter: The Matilda Chocolate Cake for My Husband’s Birthday
There’s chocolate cake… and then there’s Matilda chocolate cake. You know the one — the towering, fudgy, impossibly decadent slice from the movie that had us all drooling (and maybe just a little terrified) as poor Bruce Bogtrotter faced the ultimate challenge.
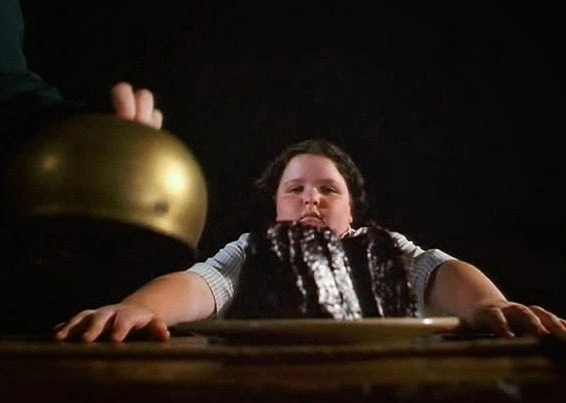
Well, for my husband’s birthday this year, I knew there was only one way to go: full Bruce. He’s a lifelong chocolate cake lover — I’m talking “order chocolate lava cake even after a huge dinner” level of devotion. So, this year, I decided to bring his dream dessert to life.
And let me tell you: it delivered.
There’s something iconic about that cake — it’s unapologetically rich, dense, and slathered in glossy ganache. It’s not just a dessert, it’s an experience. I wanted to make something that felt special, nostalgic, and completely over-the-top (in the best way) — just like birthdays should be.
I stuck with my original chocolate cake recipe but made one small (yet mighty) tweak — I added a bit of buttermilk to make it even more moist and tender. The real secret, though? A splash of hot coffee in the batter. It doesn’t make the cake taste like coffee, but it does intensify the chocolate flavor in the most magical way. The buttermilk plays several key roles: it creates a super moist and tender crumb without weighing the cake down, adds a subtle tang that balances out the sweetness, and works with the baking soda to give the cake a lovely rise and fluffiness. Plus, the acidity in buttermilk helps break down gluten, so the final texture is soft and melt-in-your-mouth — never dense or chewy.
I also changed up the ganache to make it more Matilda like.
Then came the ganache. Ohhhh the ganache. I used a mix of milk chocolate and heavy cream, poured over the cooled cake in a thick, silky layer. It dripped down the sides just right — messy, indulgent, beautiful.
This cake isn’t for the faint of heart, but if you’re baking for a true chocolate lover, it’s an absolute showstopper. Rich, messy, dramatic — everything a great birthday cake should be.
And best of all, it made my husband feel like a kid again — chocolate-smeared grin and all.
Preheat oven to 175° Celsius or 347° Fahrenheit.
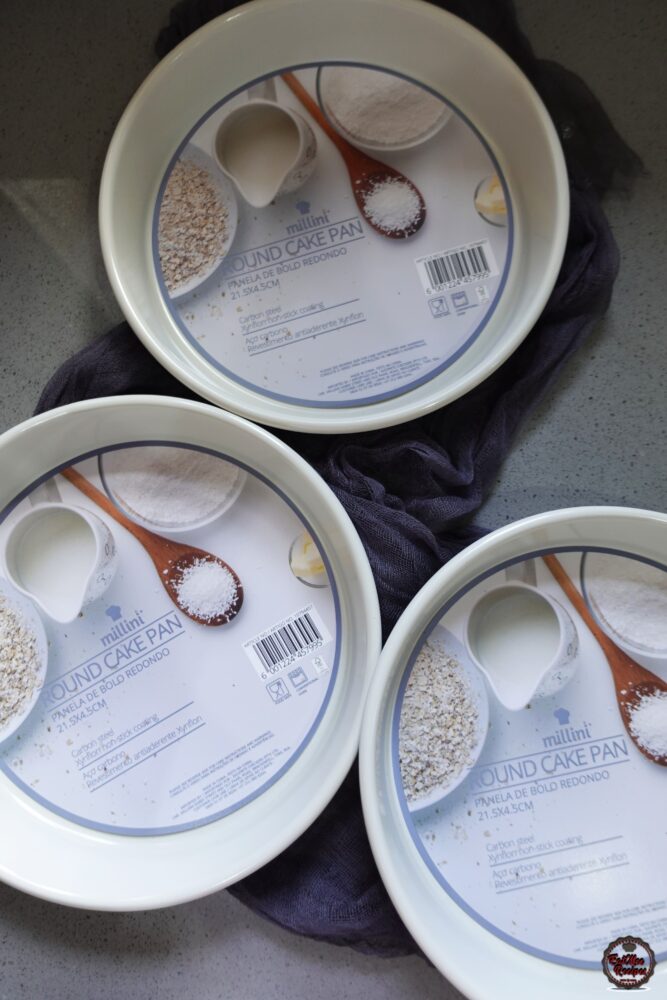
Bring out 3 round cake pans – 21.5×4.5cm.
Cut out baking paper to line the bottom of the pans.
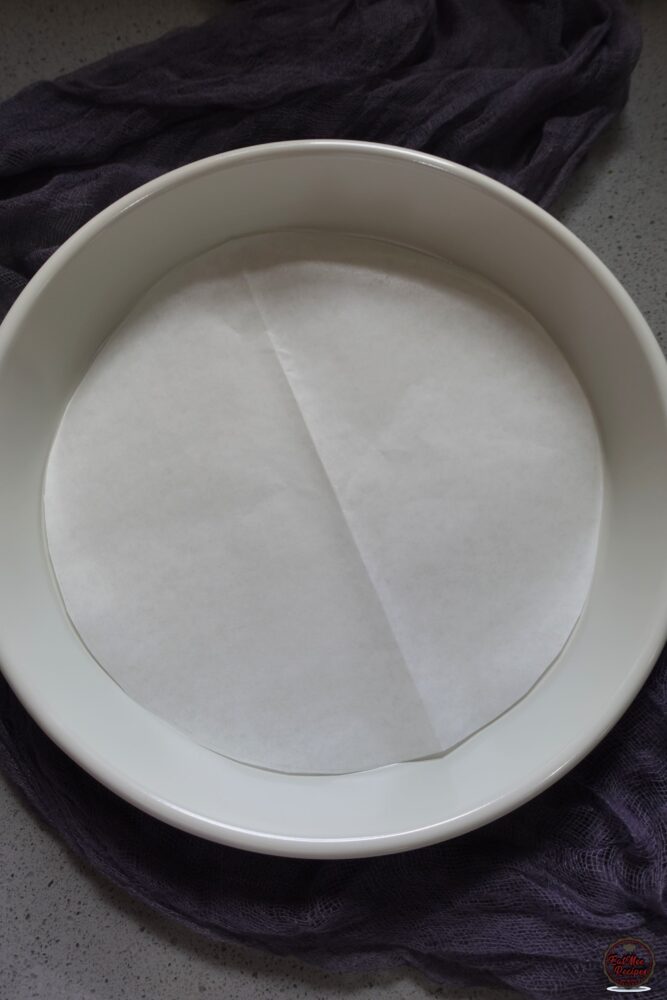
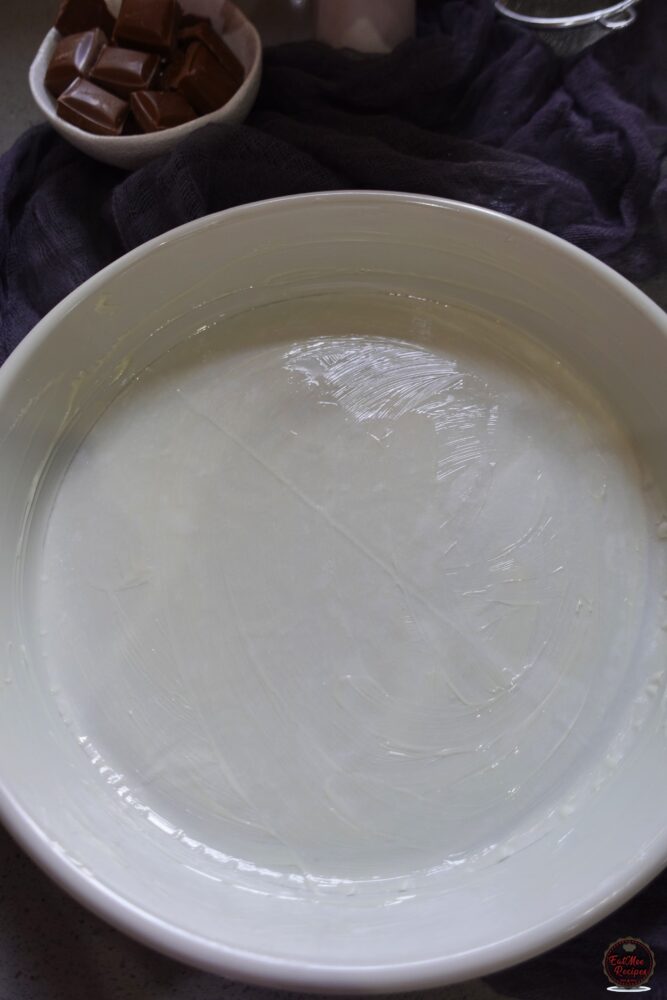
Grease each pan with butter – under and over the baking paper as well.
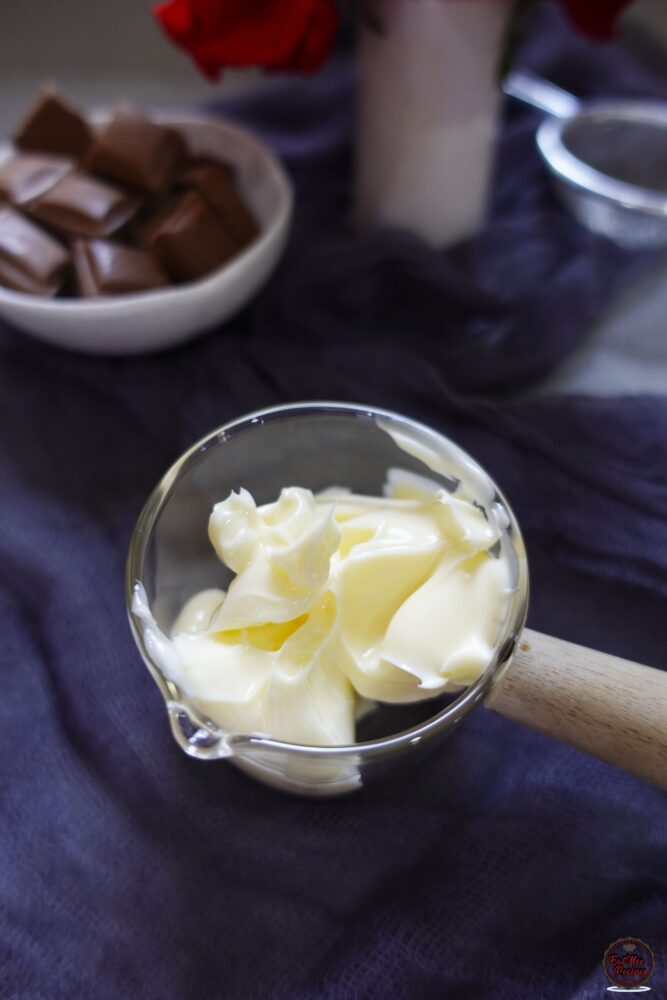
Next, add the butter to a microwave safe bowl.
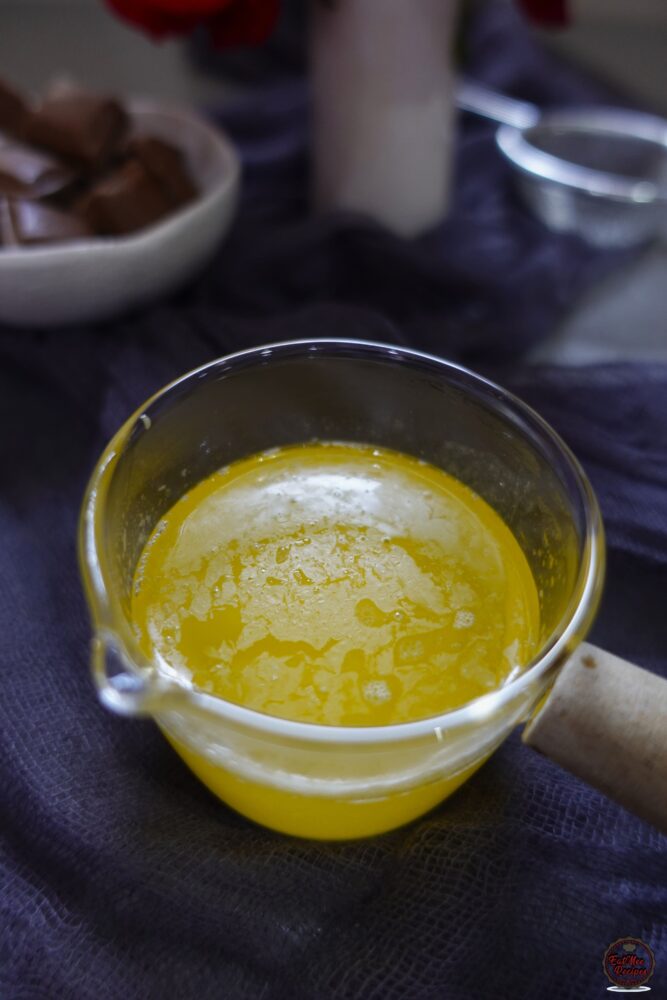
Heat the butter in the microwave for 30 seconds or until the butter has melted. Set aside & allow to cool.
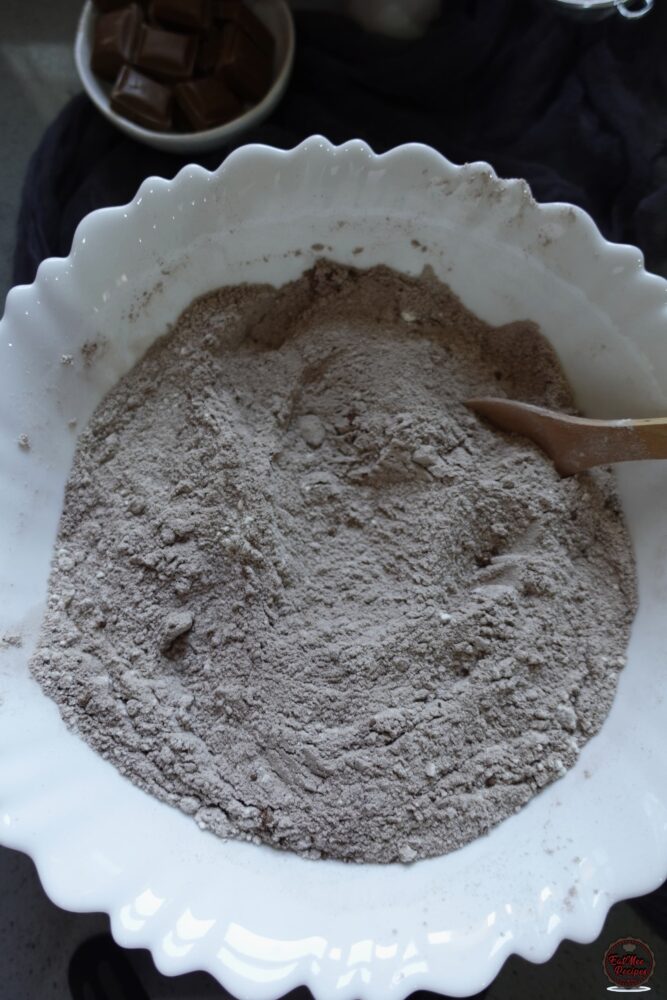
Thereafter, add the all-purpose or cake flour, baking powder, bicarbonate of soda, cocoa powder, salt and castor sugar to a large mixing bowl and mix until combined and set aside whilst we prepare the wet ingredients.
To a heat-resistant bowl/jug, add in the instant coffee granules.
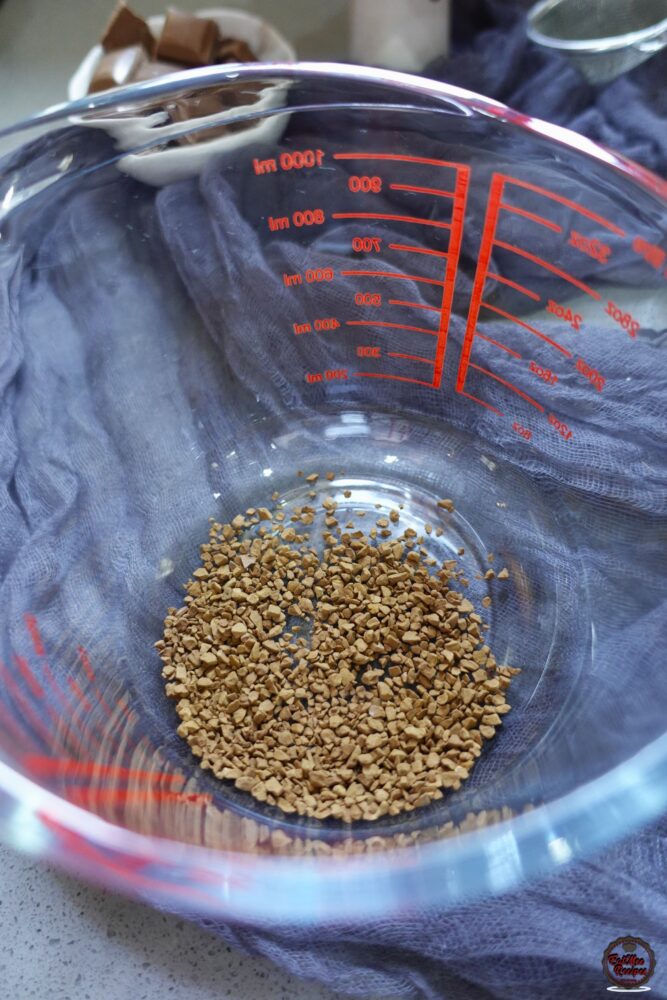
Pour in the boiling water and milk.
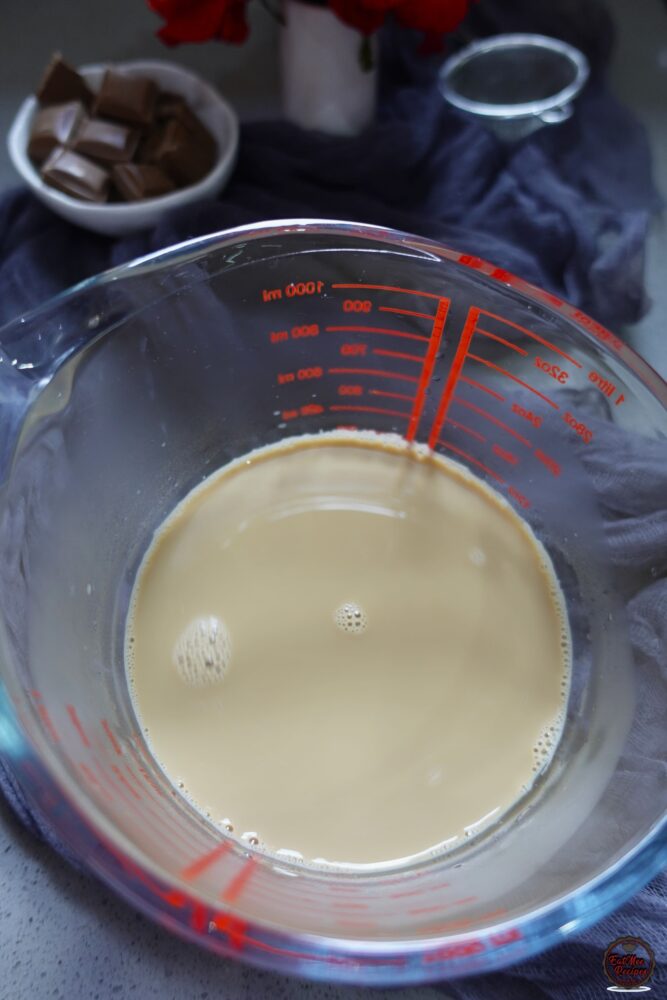
Pour the vegetable oil, vanilla essence and crack in the eggs.
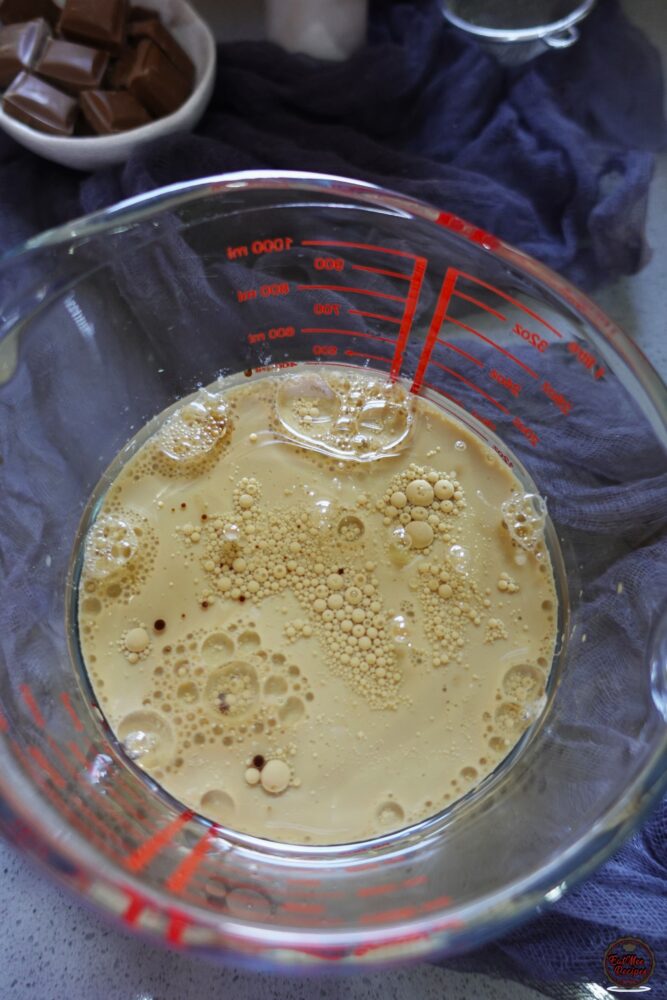
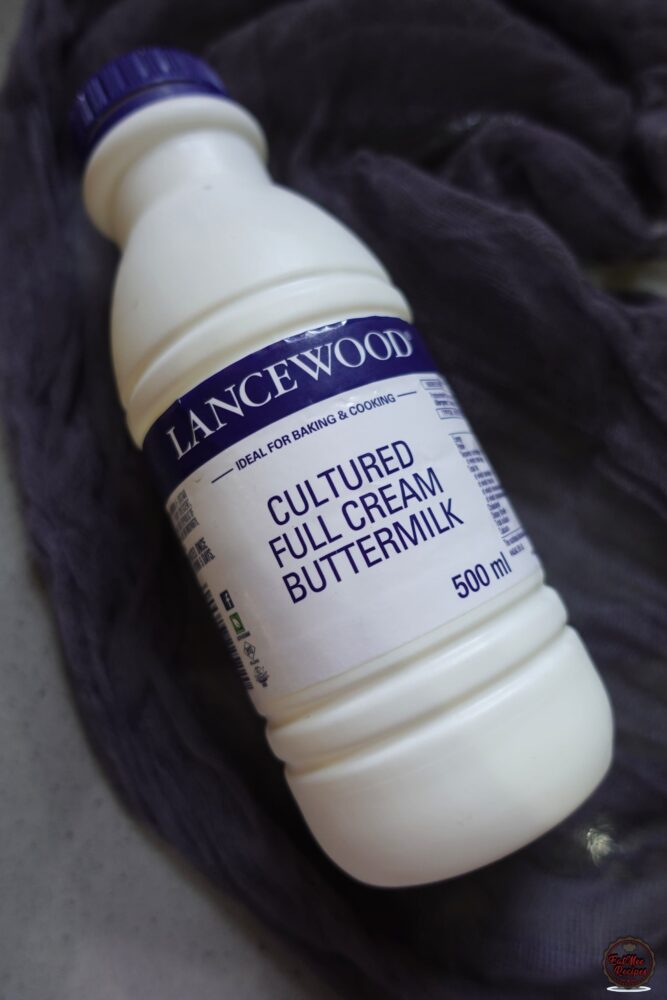
Add the buttermilk and melted butter (step 10). I used the Lancewood buttermilk.
Whisk until combined.
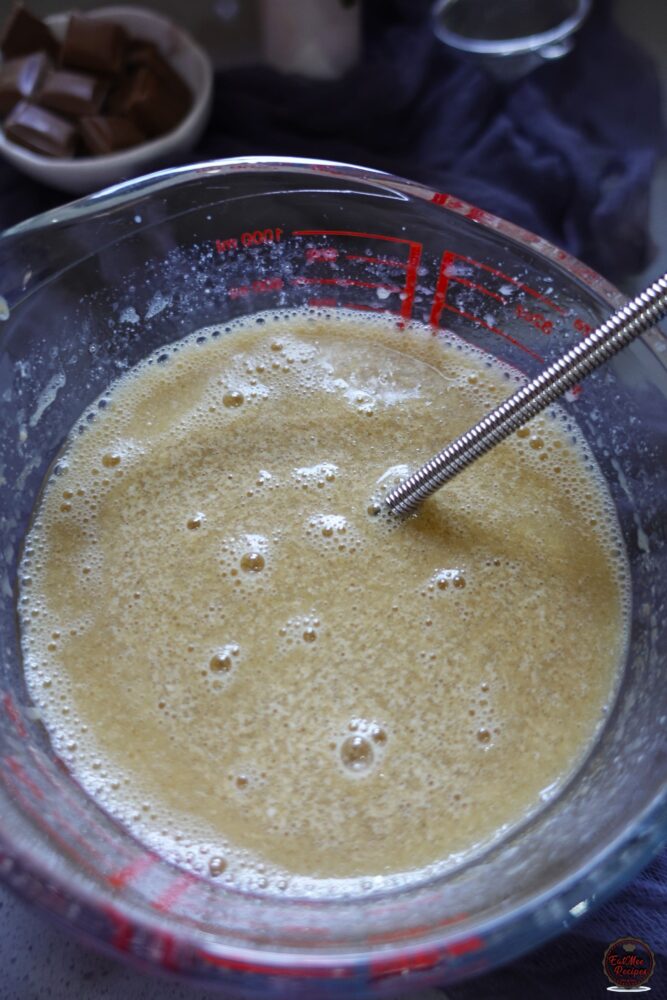
Add the wet ingredients (coffee mixture) to the dry ingredients (flour mixture).
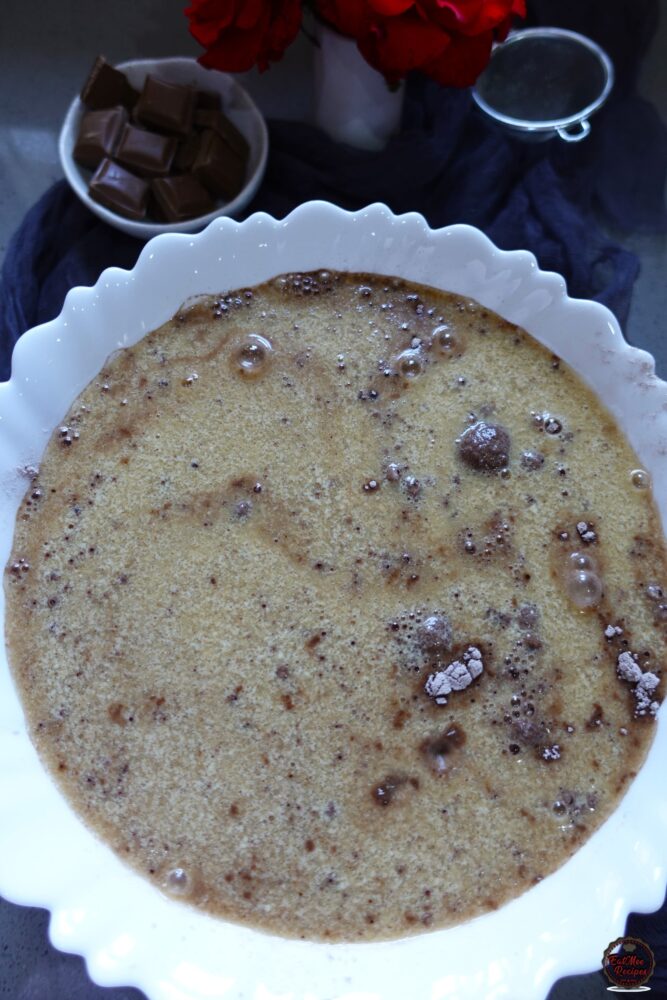
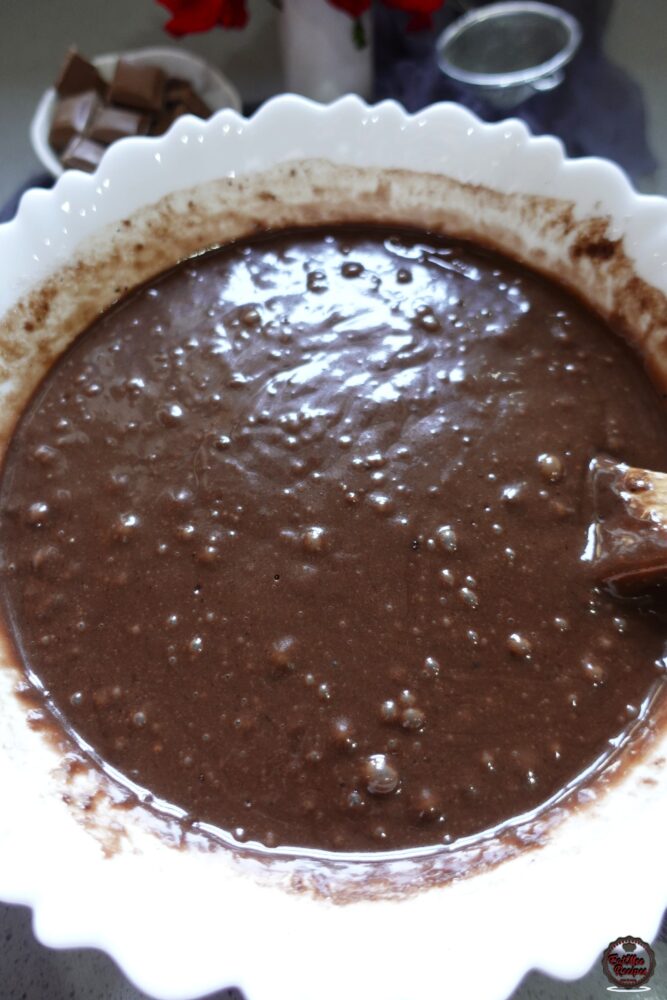
Combine well but do not over mix. It should form a rich & chocolatey cake batter.
Evenly divide the cake batter into the prepared cake tins.
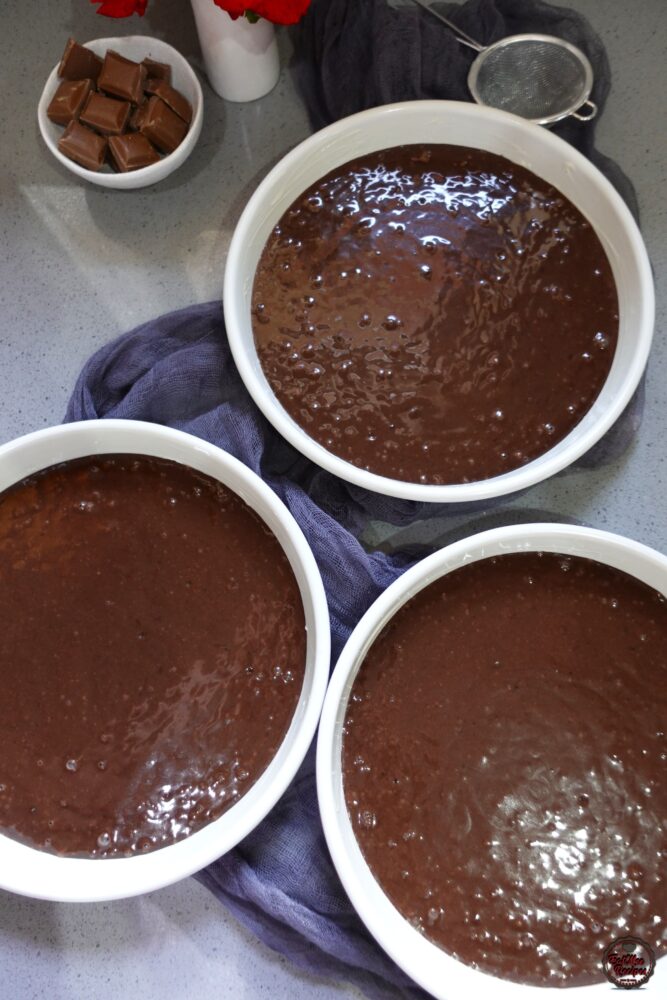
Bake for 25 minutes at 175° Celsius or 347° Fahrenheit.
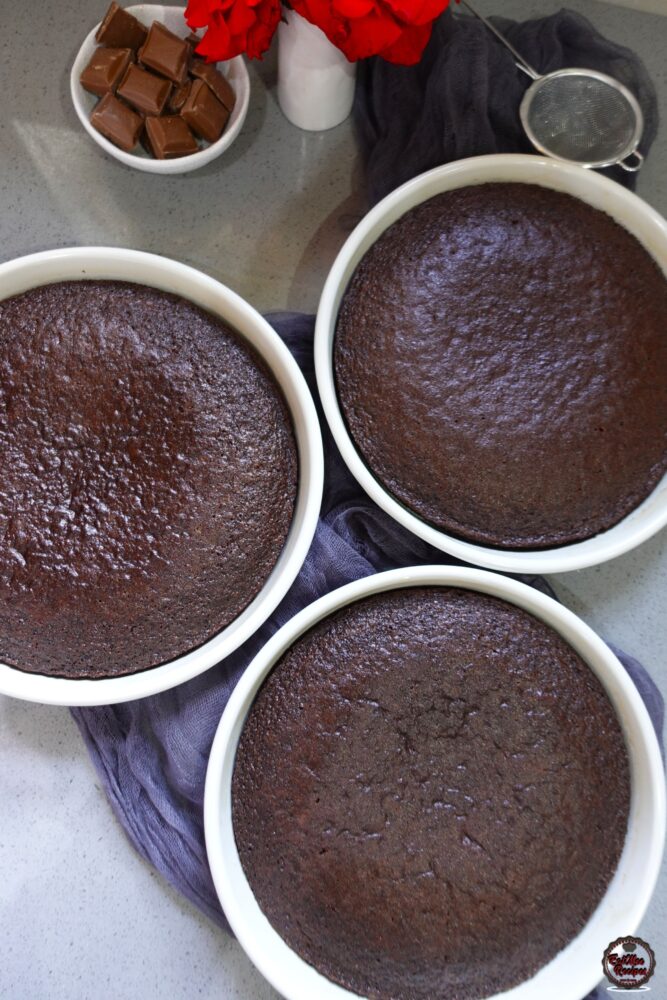
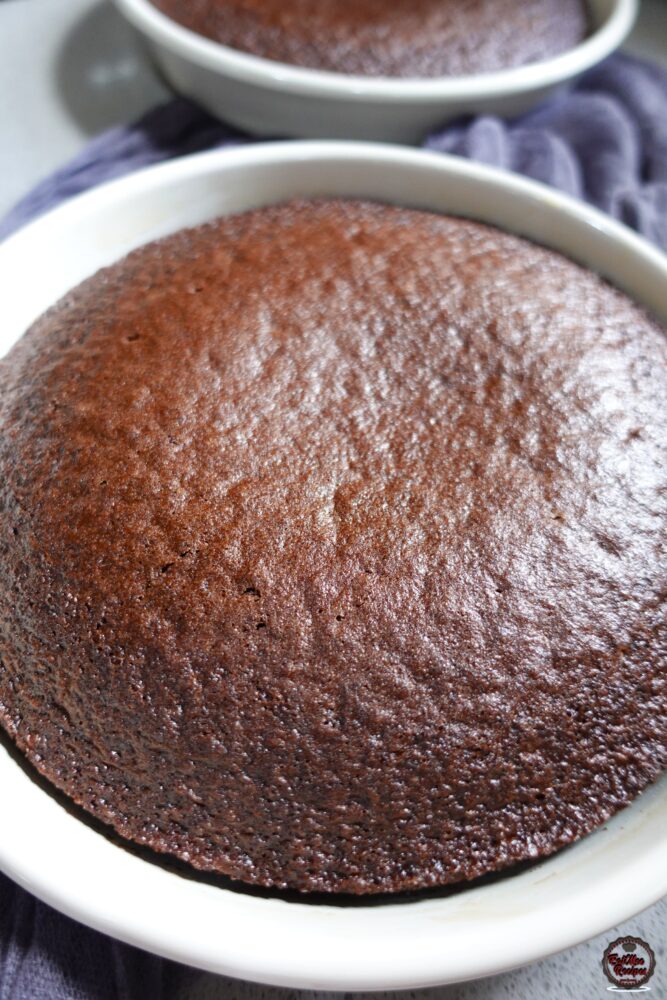
Gently stick a skewer or a knife through the cake, if it comes out clean then the cake is ready, if not then allow it to bake for a few minutes longer with supervision.
Allow the cake to sit in the baking tin until completely cooled. This cake is super moist & fragile so if you remove it from the pan whilst still hot, it will break.
Now it’s time to prepare the chocolate ganache.
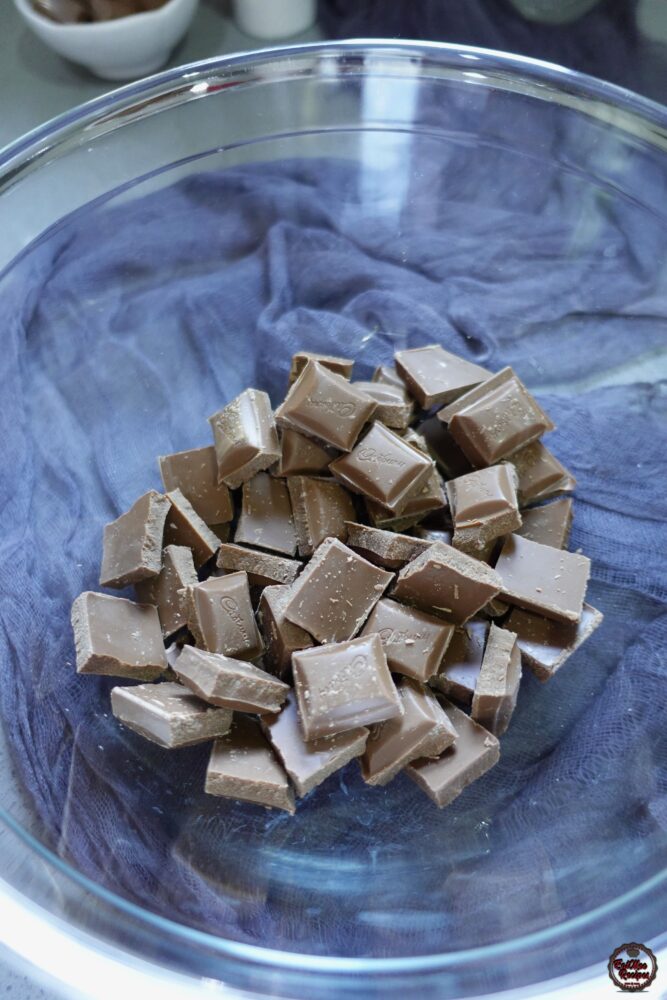
Break the chocolate into pieces & add to a microwave safe bowl. I used Cadbury Dairy Milk Chocolate for this ganache.
Add in the butter, vanilla essence and salt.
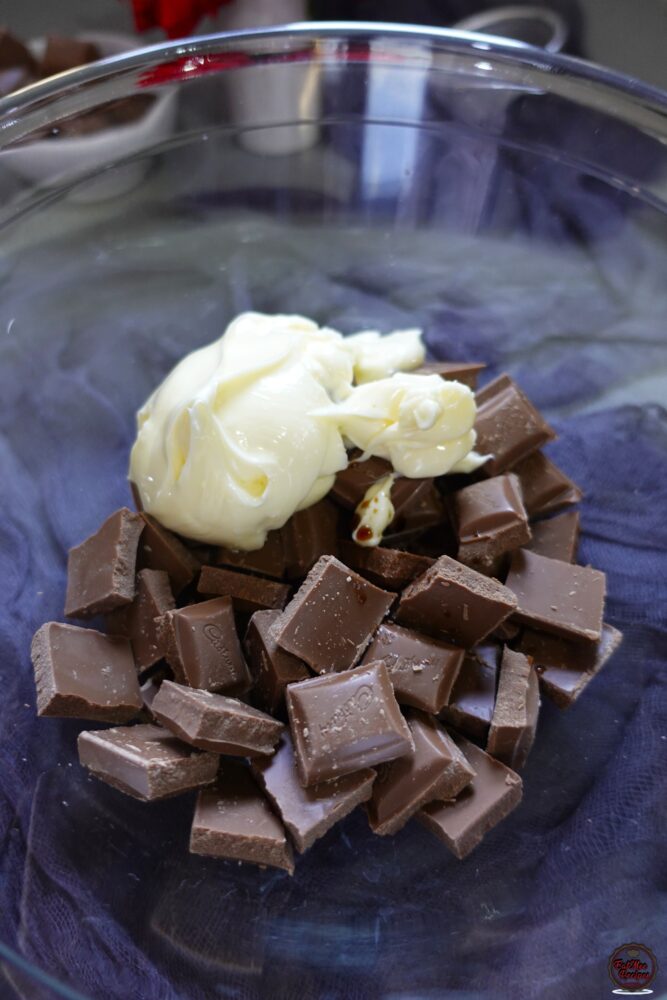
Roughly mix so that the ingredients are distributed.
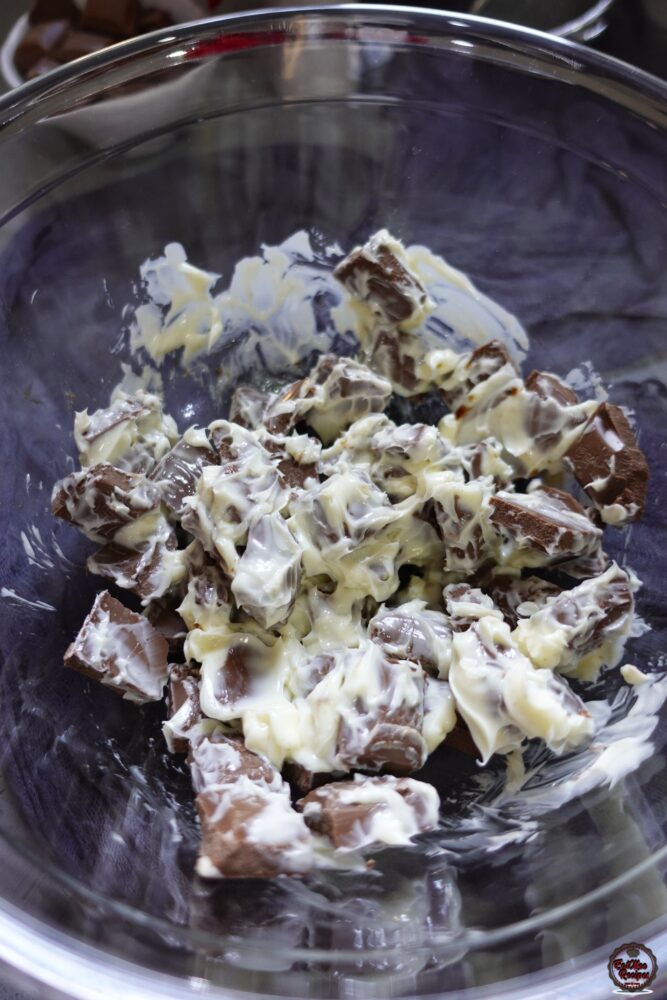
To another heat-resistant bowl, pour in the fresh cream and add in the confectionery (icing) sugar.
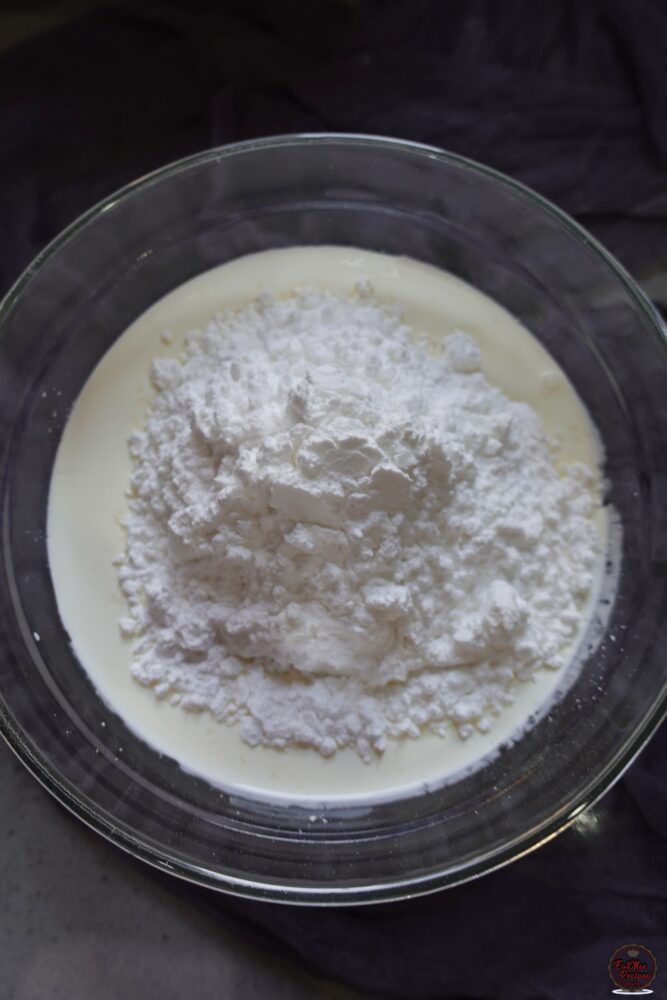
Mix until combined.
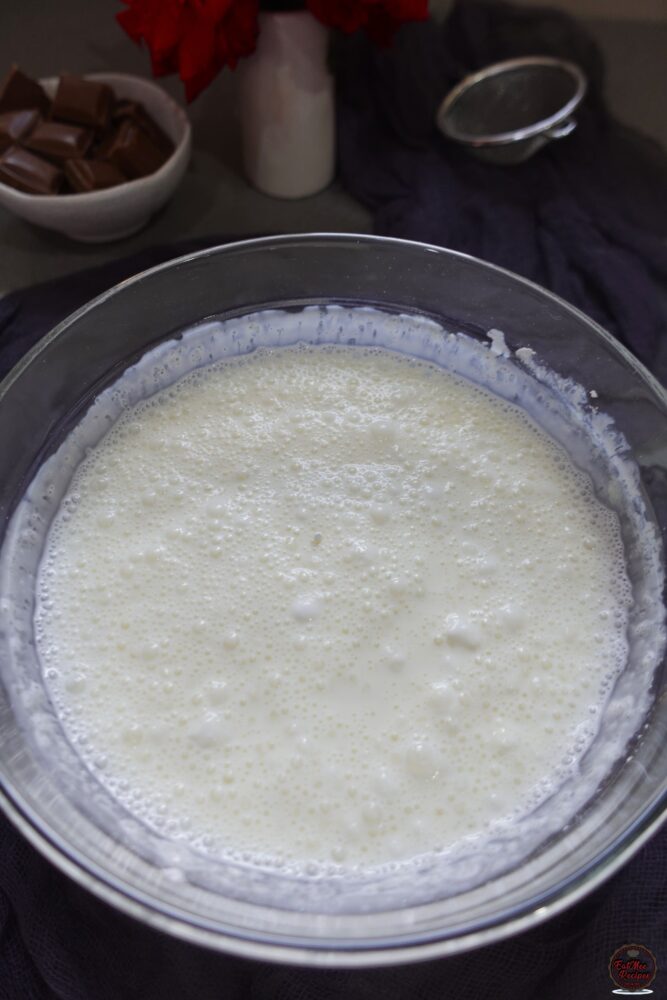
Heat in the microwave for 2 minutes, stirring after each minute.
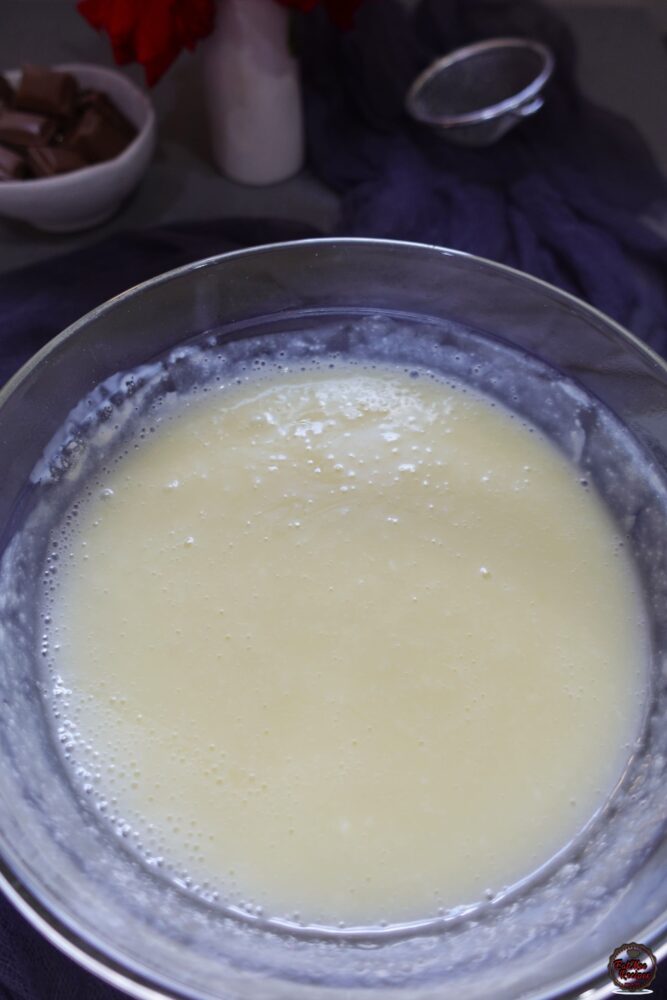
Pour the hot fresh cream over the bowl of chocolates and let it sit for a minute.
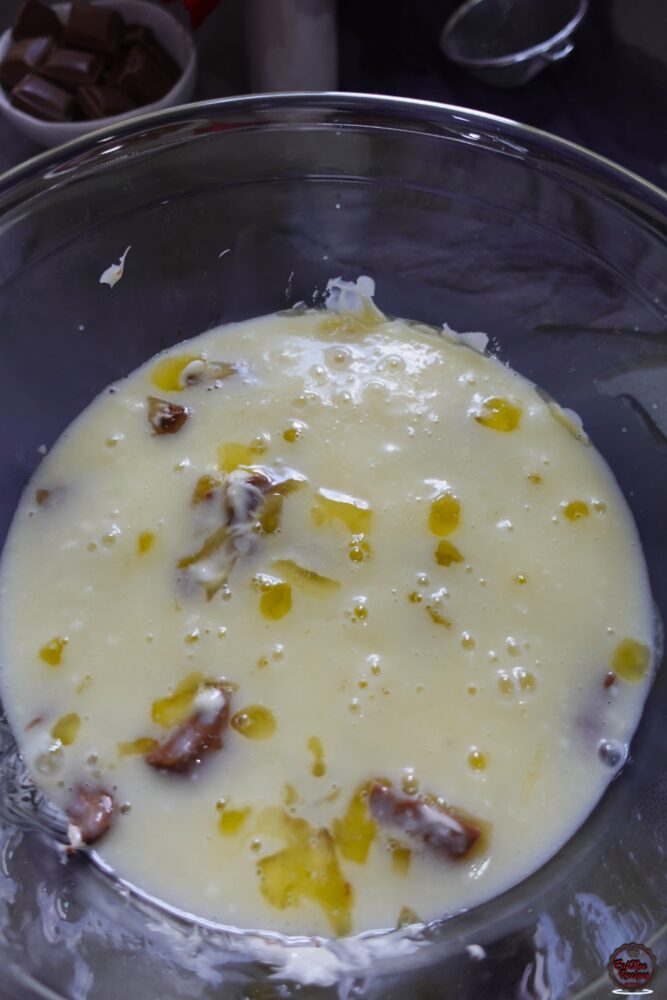
After a minute, mix until a smooth ganache forms.
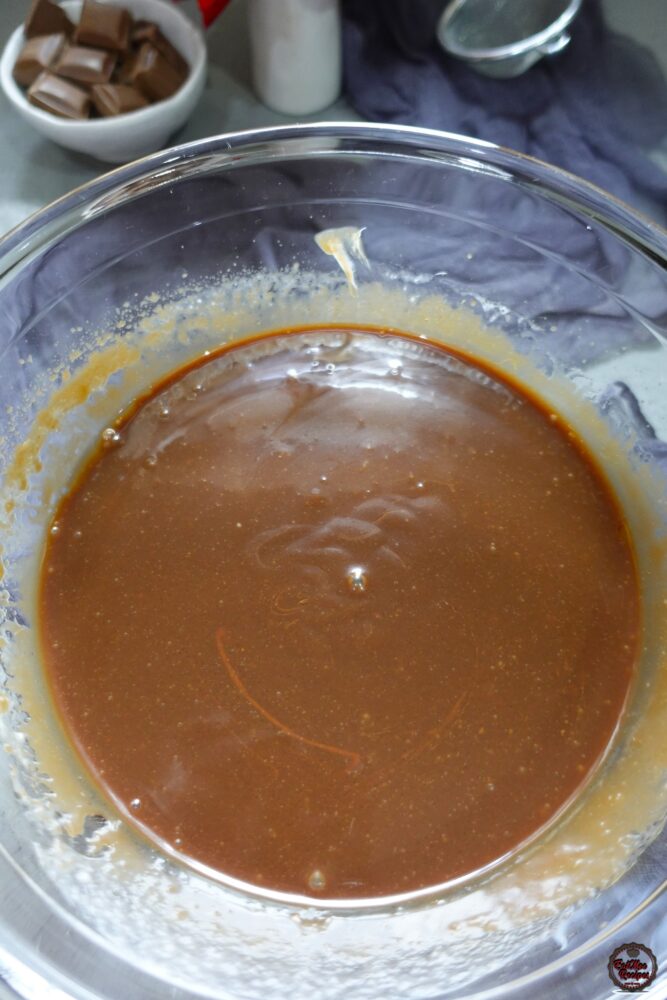
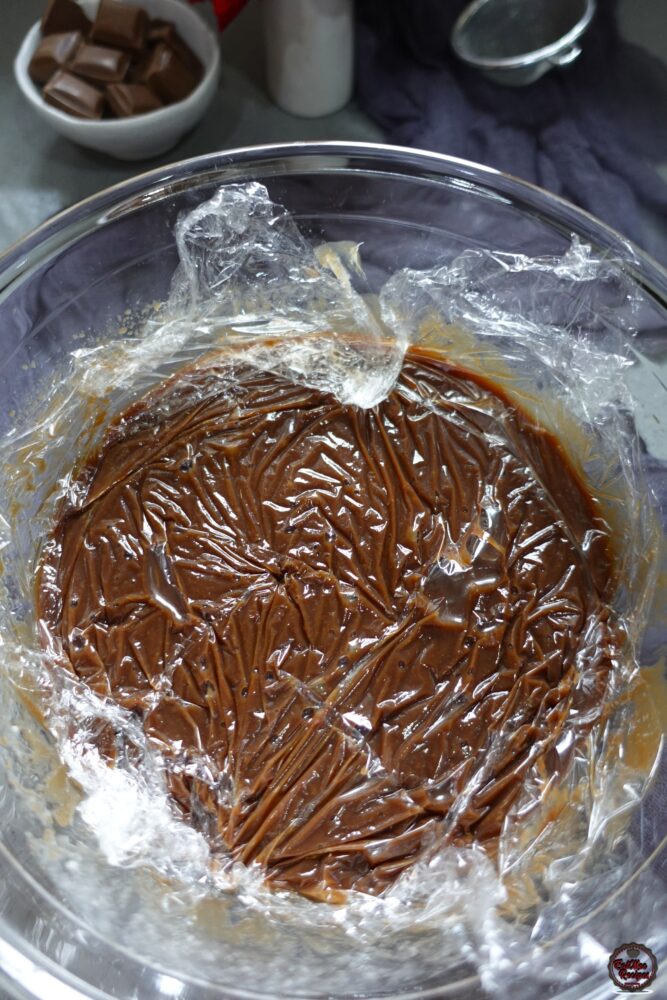
Cover the ganache with plastic wrap so that it is on the ganache to prevent a film from forming. Freeze the ganache for 30 minutes or until it’s thick to a consistency that you prefer.
Now that the ganache is ready, carefully flip the cakes over and remove the baking paper.
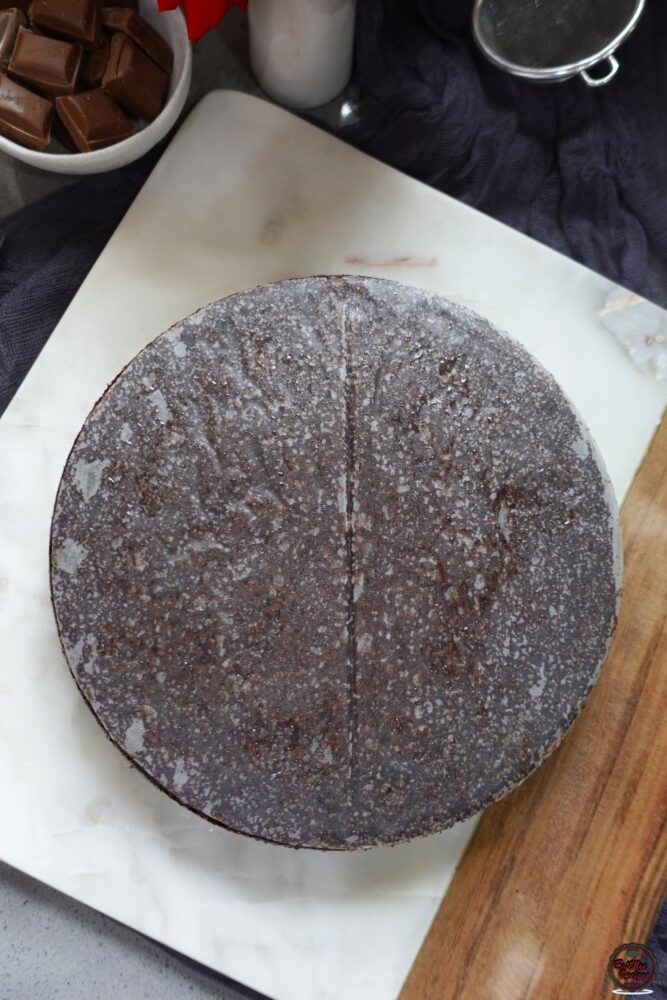
Prepare a cake tray by adding a dollop of the ganache to the base – this will help keep the cakes in place.
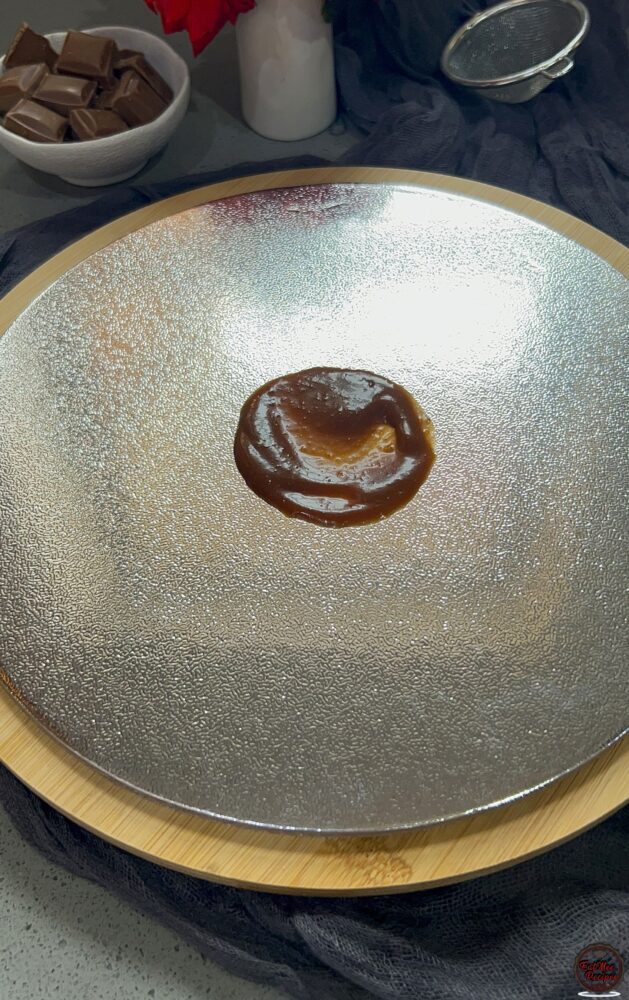
Place one of the cakes over. I like to place them bottom side up for a more even top.
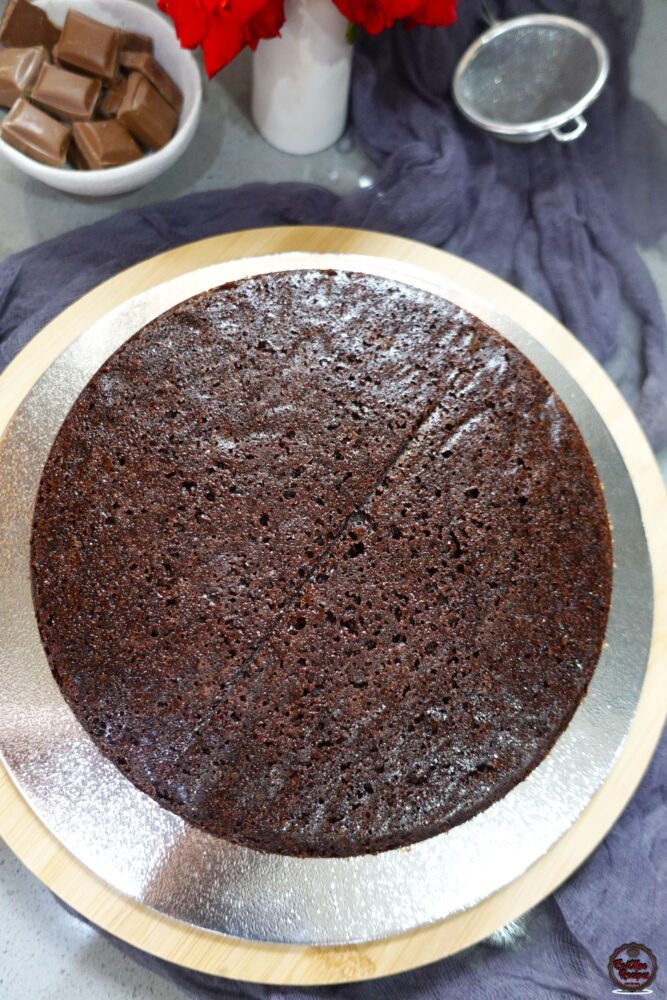
Add some of the ganache over the cake and spread out evenly.
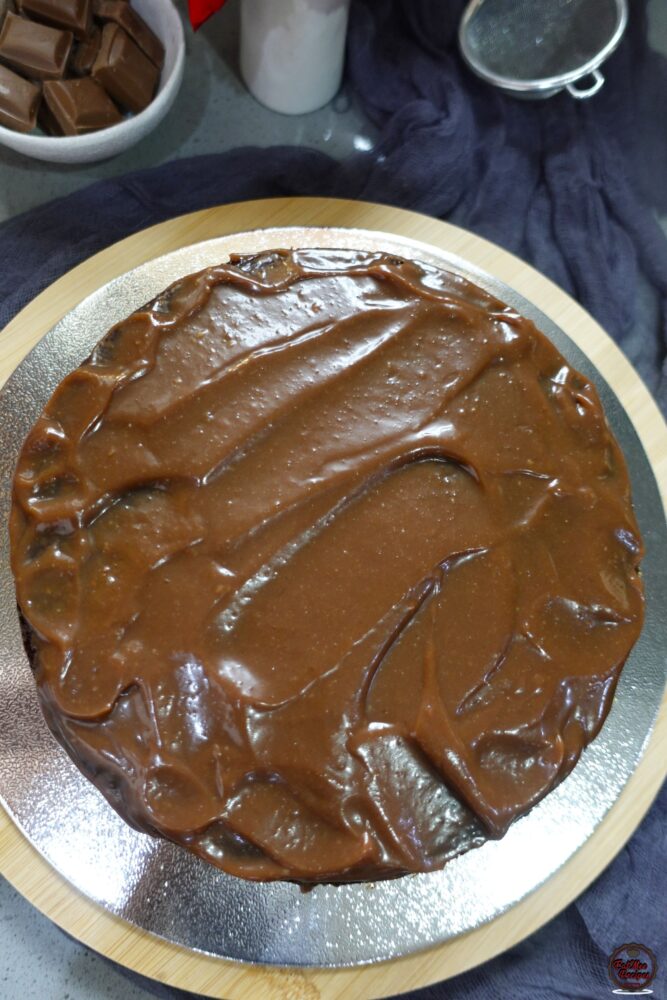
Stack another cake over and repeat with a layer of ganache and continue until the third cake is on top.
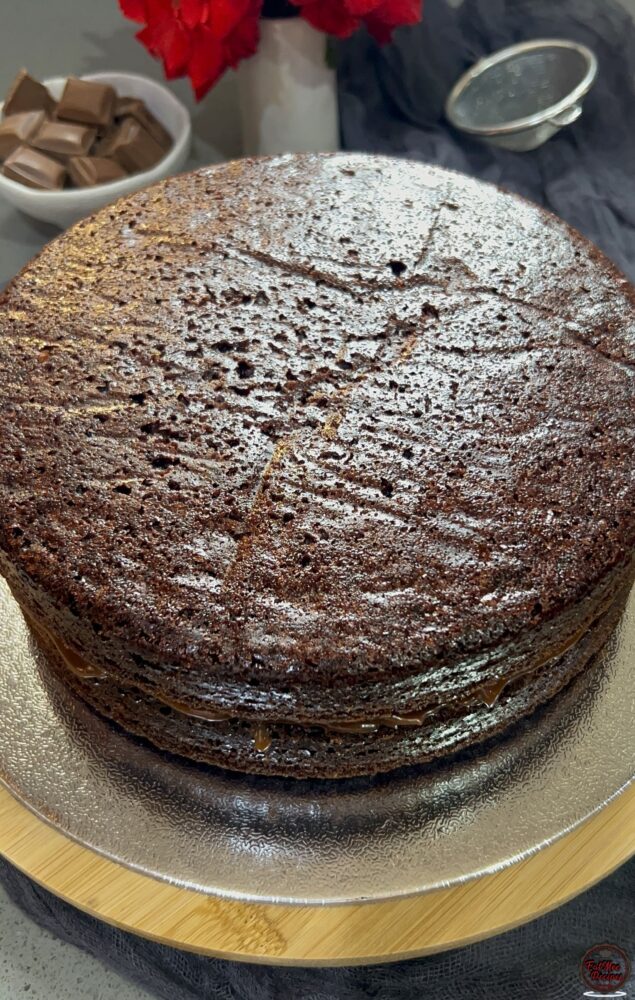
You may use a spoon or a spatula to twirl the ganache on the final layer.
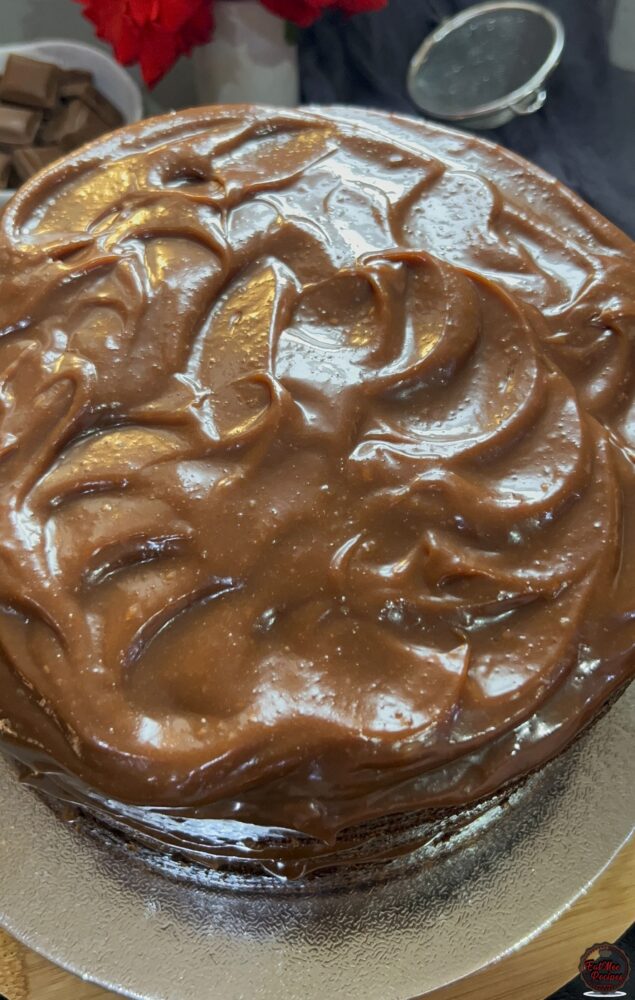
Spread the remaining ganache on the sides of the cake. It doesn’t have to be perfect, the great thing about this cake is that it’s meant to be a bit messy.
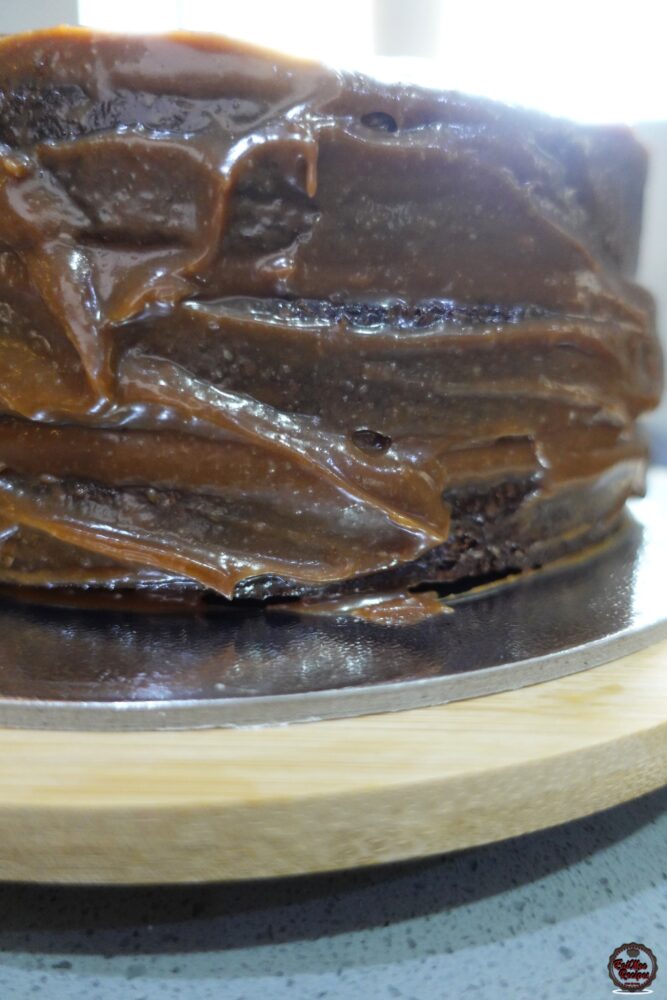
That’s the Matilda Chocolate Cake all done.
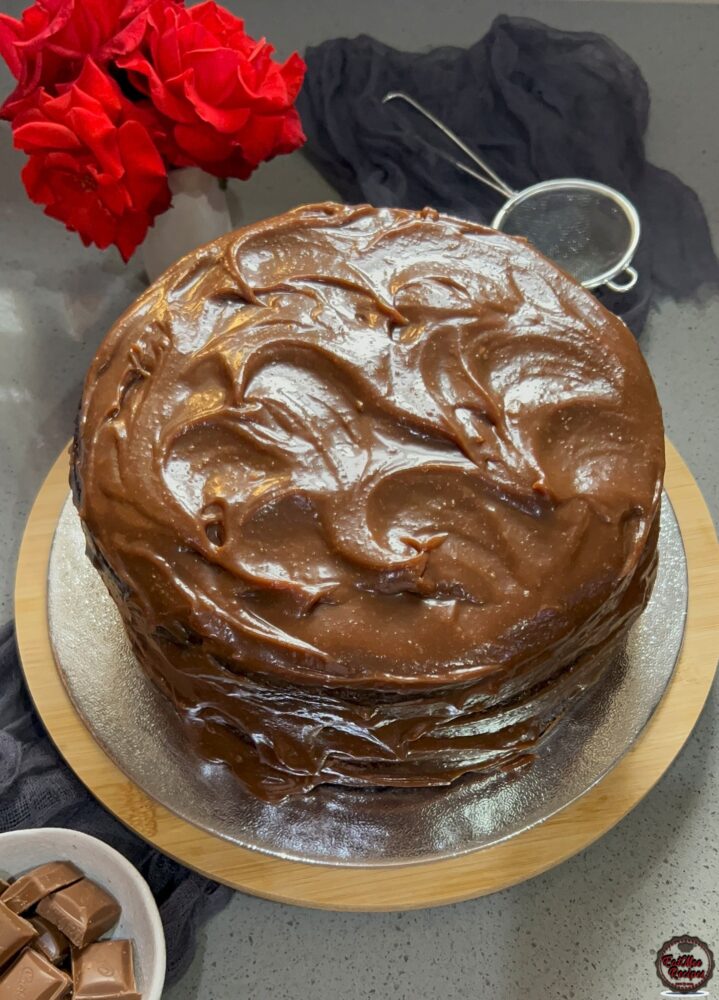
Slice and enjoy!
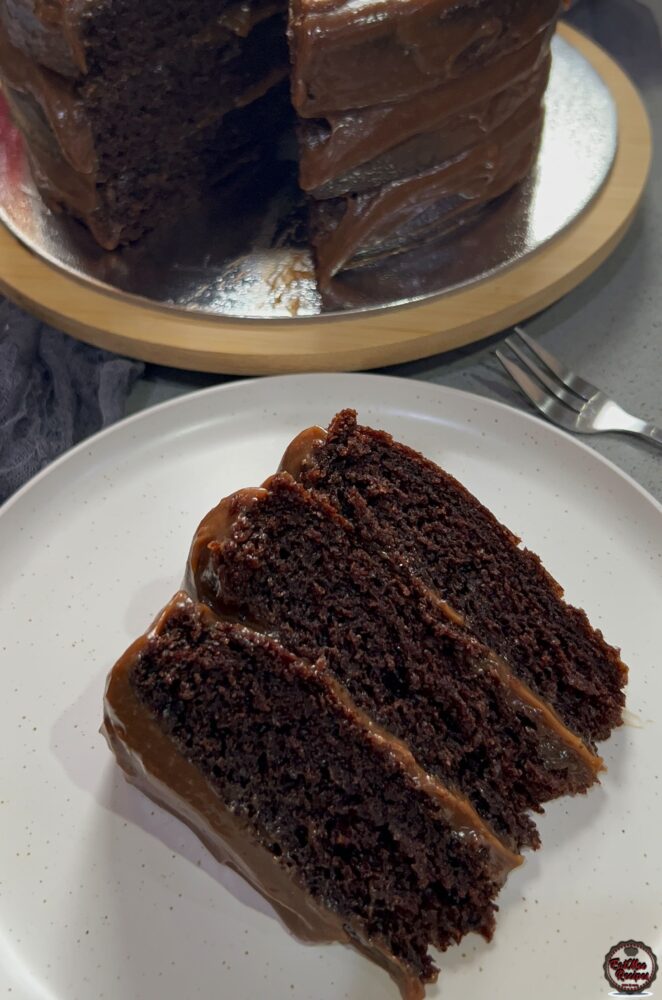
The layers turned out beautiful and this way you get the chocolate ganache with each bite.
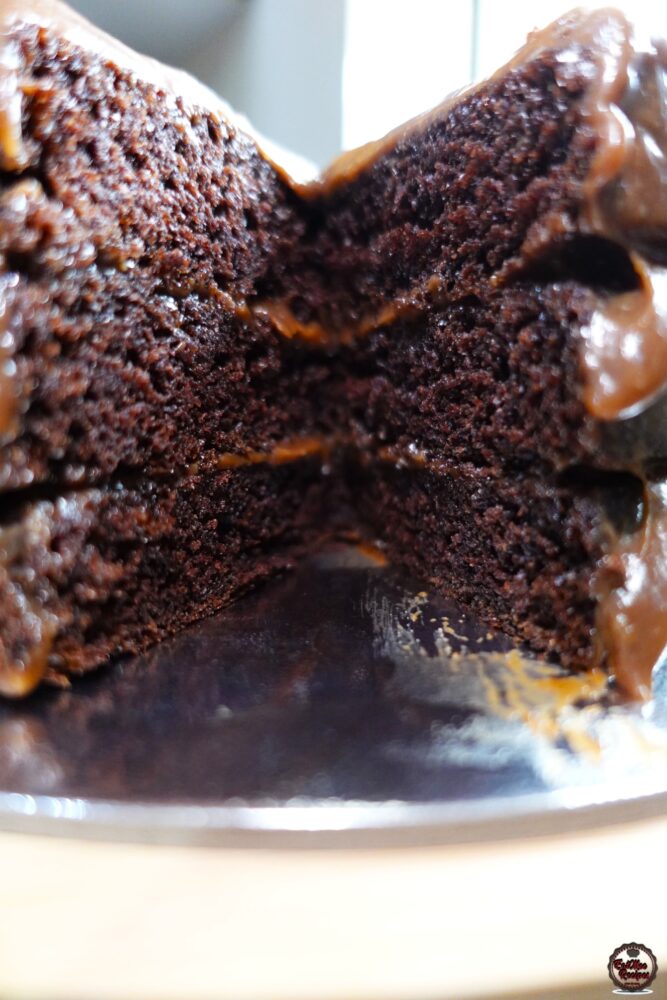
Store this Matilda Chocolate Cake in an airtight container in a cool place for up to 1 week.
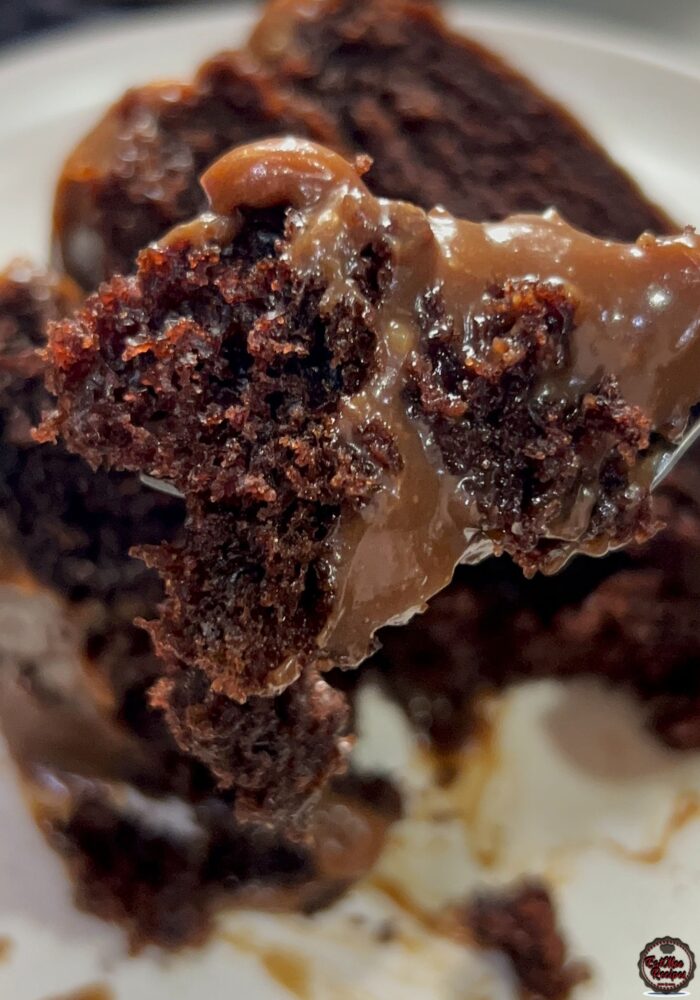
Follow along with Denisiya's step-by-step video guide for Matilda Chocolate Cake.
Expert kitchen guidance and troubleshooting for making the best Matilda Chocolate Cake
There’s something iconic about that cake — it’s unapologetically rich, dense, and slathered in glossy ganache. It’s not just a dessert, it’s an experience. I wanted to make something that felt special, nostalgic, and completely over-the-top (in the best way) — just like birthdays should be.
Store in an airtight container at room temperature for up to 1 to 2 weeks. For milk-based sweetmeats like burfee or soji, refrigerate in an airtight container for up to 7 to 10 days.
Pure butter or ghee provides the authentic rich aroma and texture characteristic of traditional Indian sweetmeats and bakes. Margarine can be used in a pinch, but butter delivers superior flavor.
Hi, I'm Denisiya! Food lover, recipe developer, and founder of EatMee Recipes. I specialize in authentic South African Durban Indian cuisine, comforting curries, and modern Instant Pot adaptations. Every recipe on this site is tested in my personal kitchen to ensure you get mouth-watering, foolproof results every time.
Explore more authentic Durban curries, traditional bakes, and comforting family favourites.
 Desserts
If you love traditional South African sweet rice but want an easier, hands-off method, thi...
 Desserts
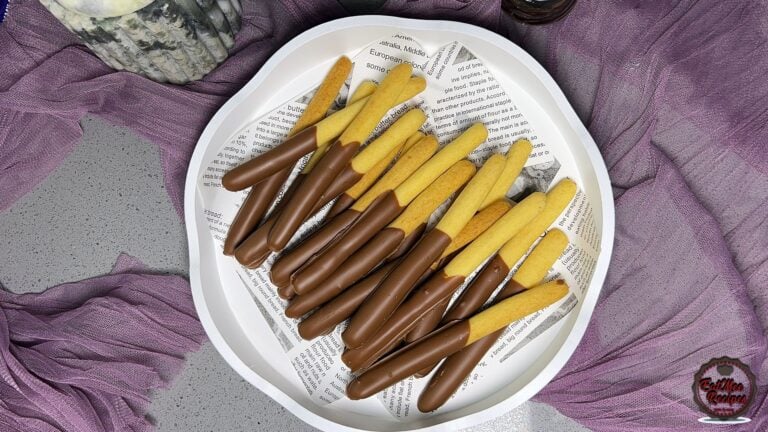
Light, crisp, and delicately sweet biscuit sticks dipped in chocolate
 Desserts
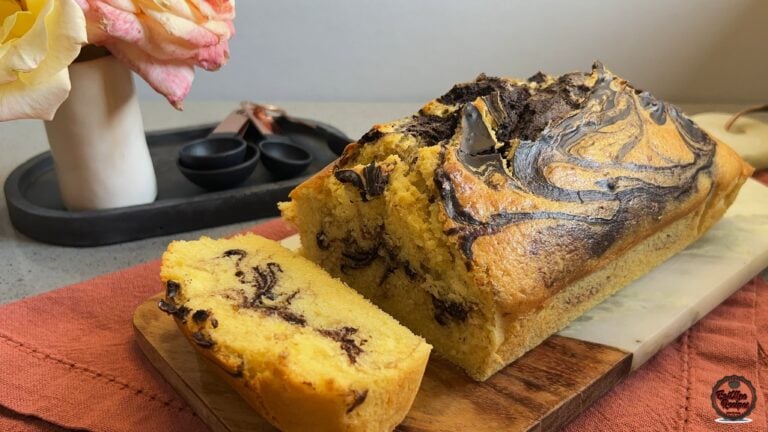
There’s something comforting about a marble loaf cake fresh from the oven, especially when...
Have you tried this recipe or have questions for Denisiya? Join the conversation below.
No comments yet. Be the first to share your thoughts on this recipe!
Leave a Comment
Your email address will not be published. Required fields are marked *