
We Value Your Culinary Privacy
EatMee Recipes uses cookies to provide a personalized browsing experience, analyze recipe popularity, and serve relevant ads. You can review our full disclosure in our Privacy Policy.
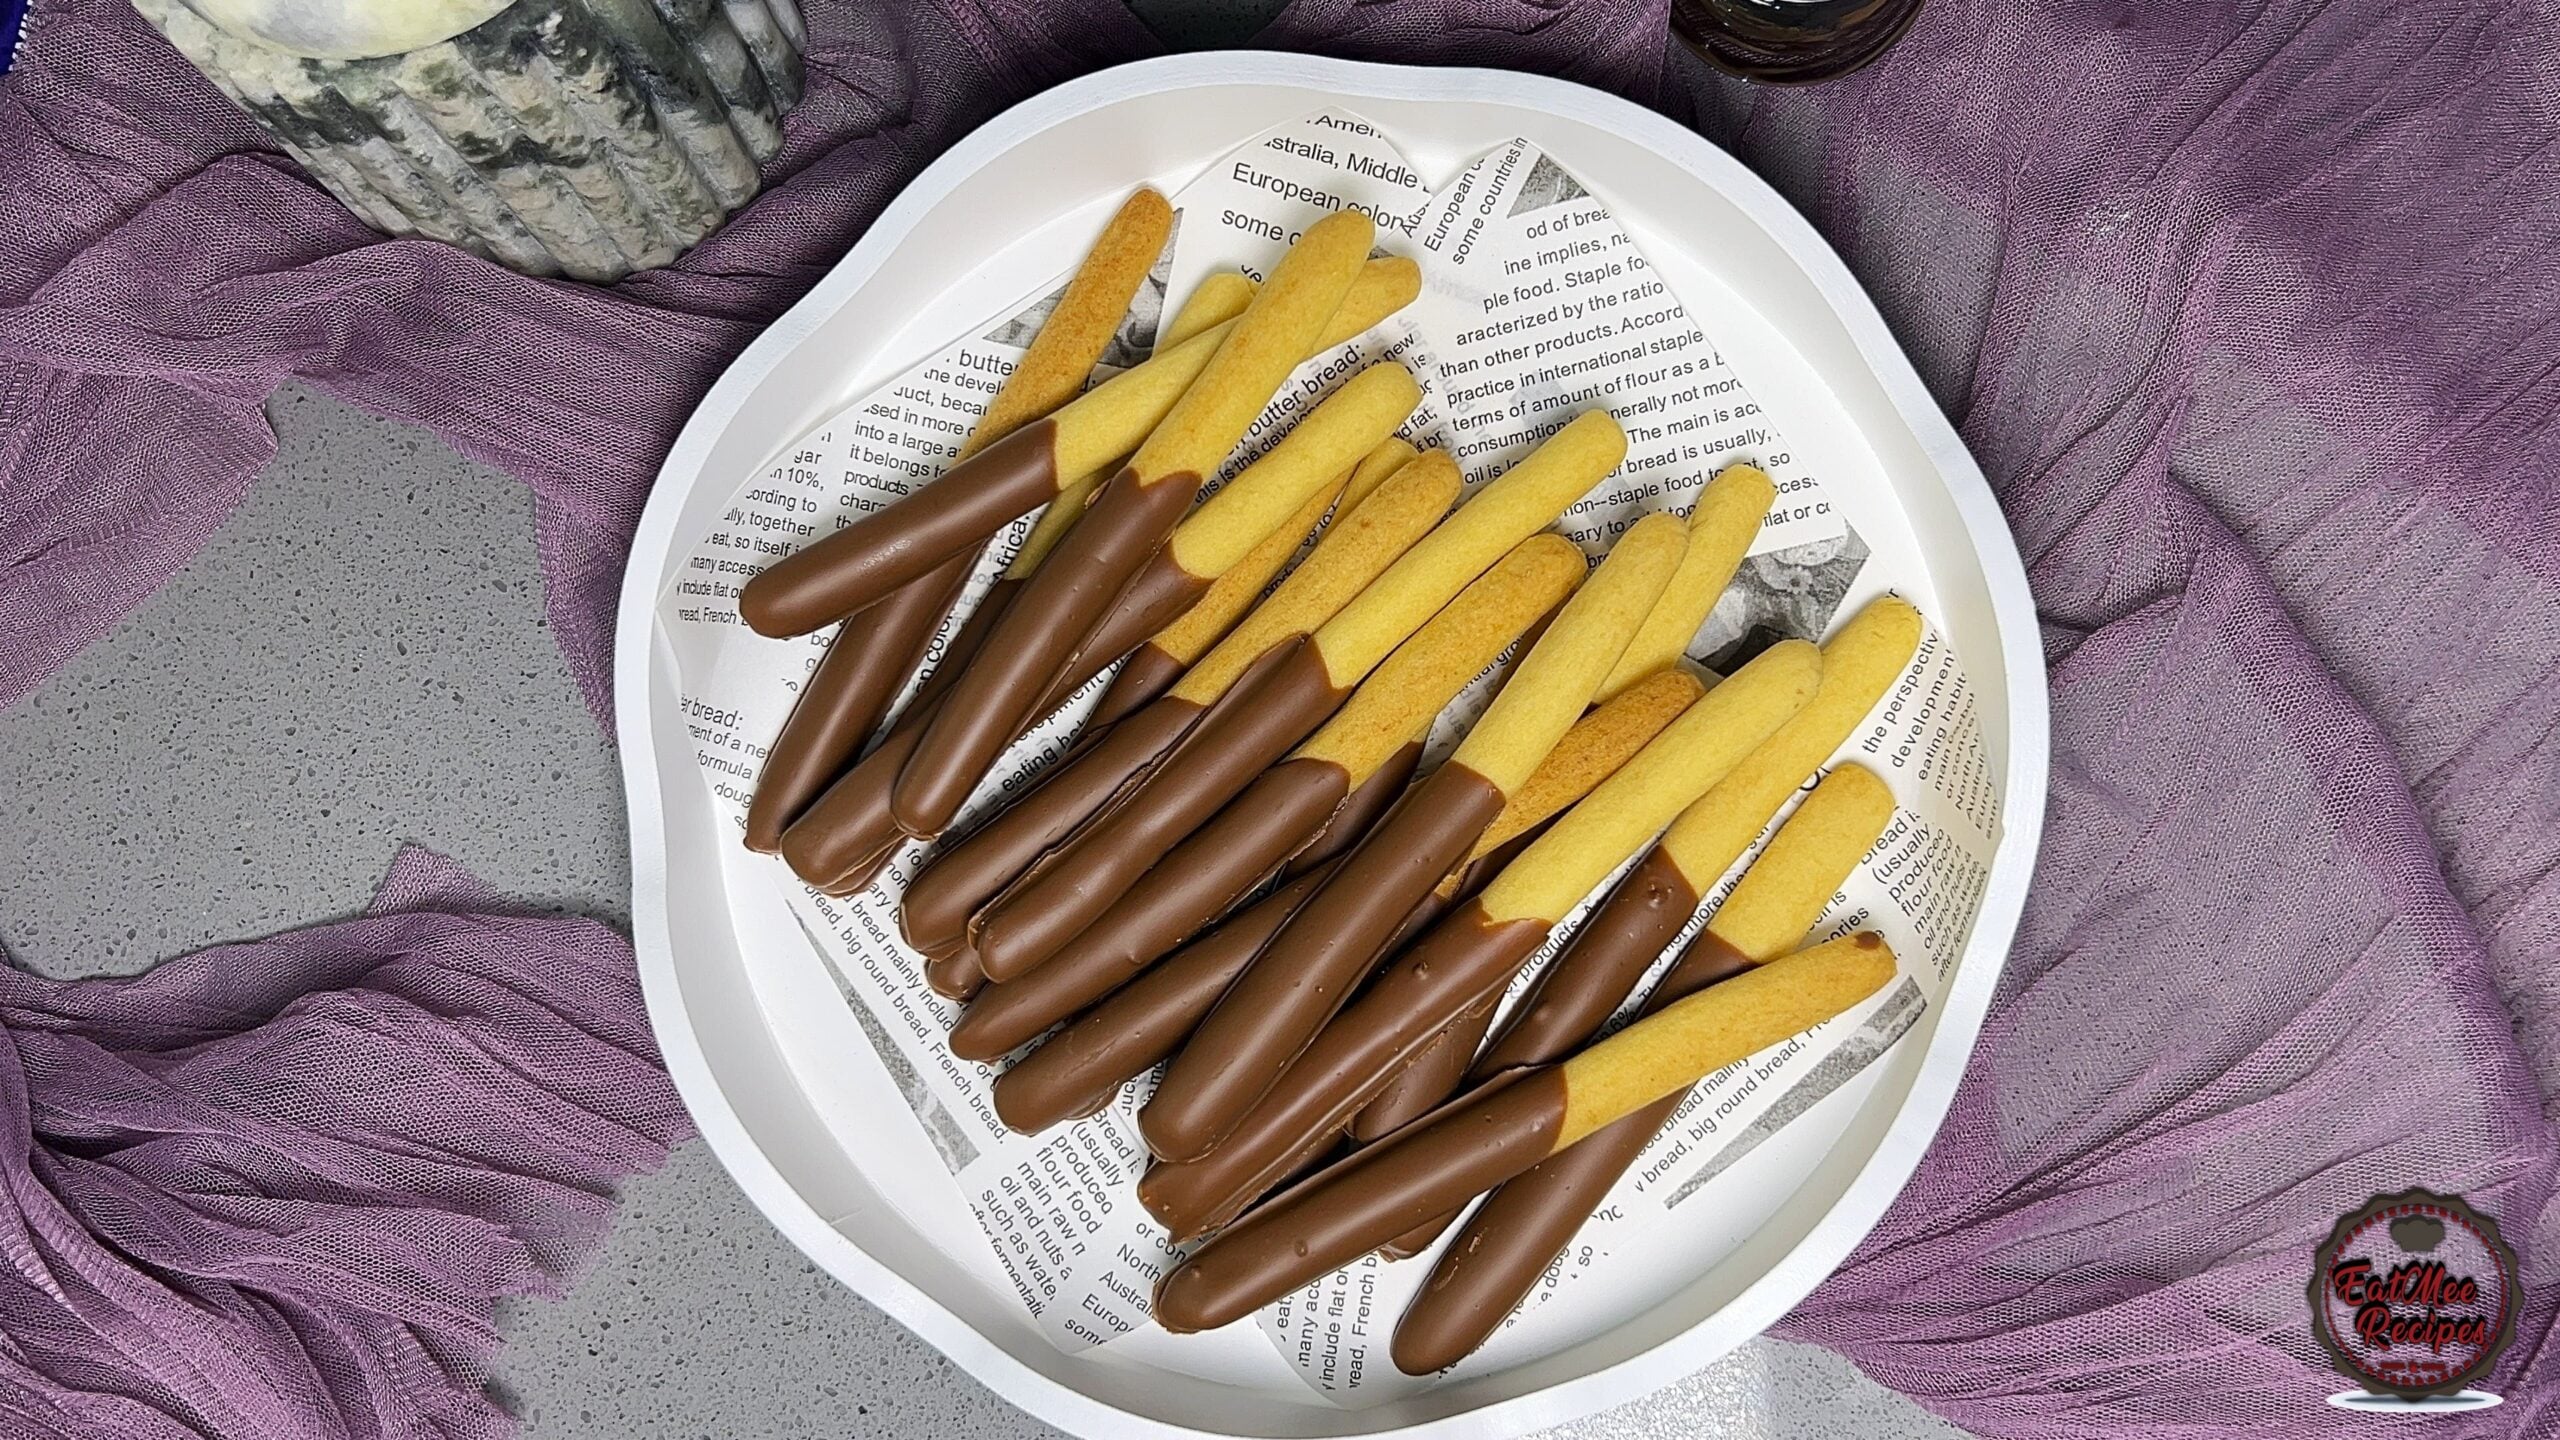
Light, crisp, and delicately sweet biscuit sticks dipped in chocolate

Join over 60,000+ home chefs for weekly authentic Durban Indian cook-alongs, Instant Pot masterclasses, and family heritage recipes.
Light, crisp, and delicately sweet biscuit sticks dipped in chocolate
These chocolate sticks are the kind of treat that quietly disappears before you even realise you’ve had more than one. Made with cake flour for a softer, more delicate crumb, they bake up beautifully.
Perfect for tea time, gifting, or a simple homemade sweet bite, this recipe is easy, elegant, and very moreish.
Cake flour has a lower protein content than regular flour, which means less gluten development. The result is a biscuit that is lighter, finer in texture, and more tender. For shaped biscuits like these sticks, it helps keep the bite delicate without becoming hard or dense.
Preheat the oven to 170° Celsius or 338° Fahrenheit.
Make sure the butter or margarine is at room temperature and add to a mixing bowl with icing sugar (confectionery sugar).
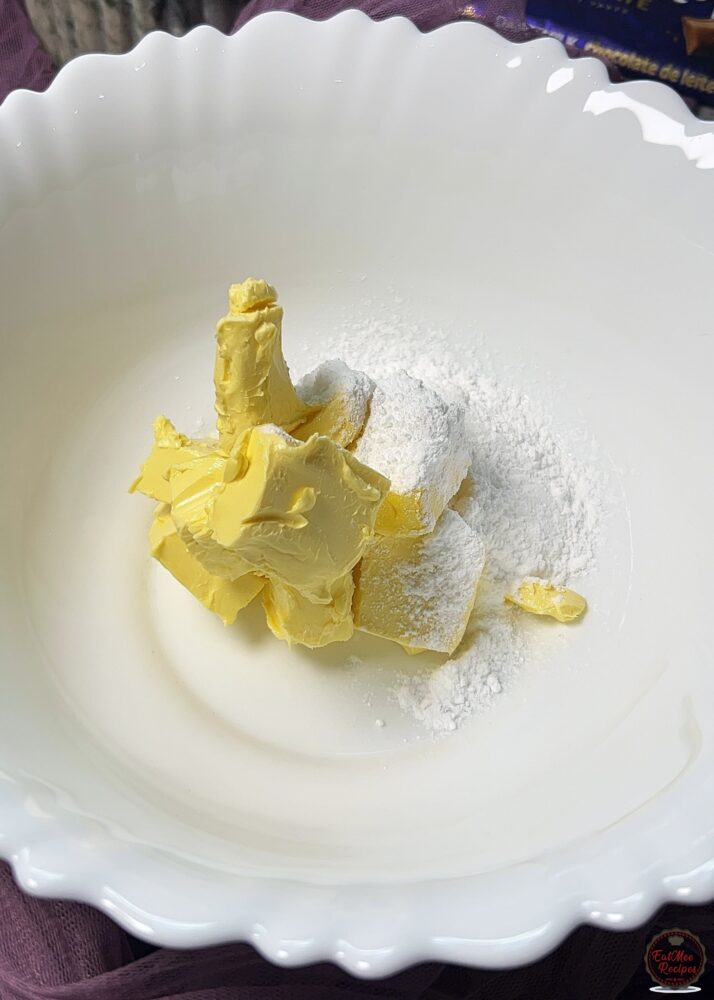
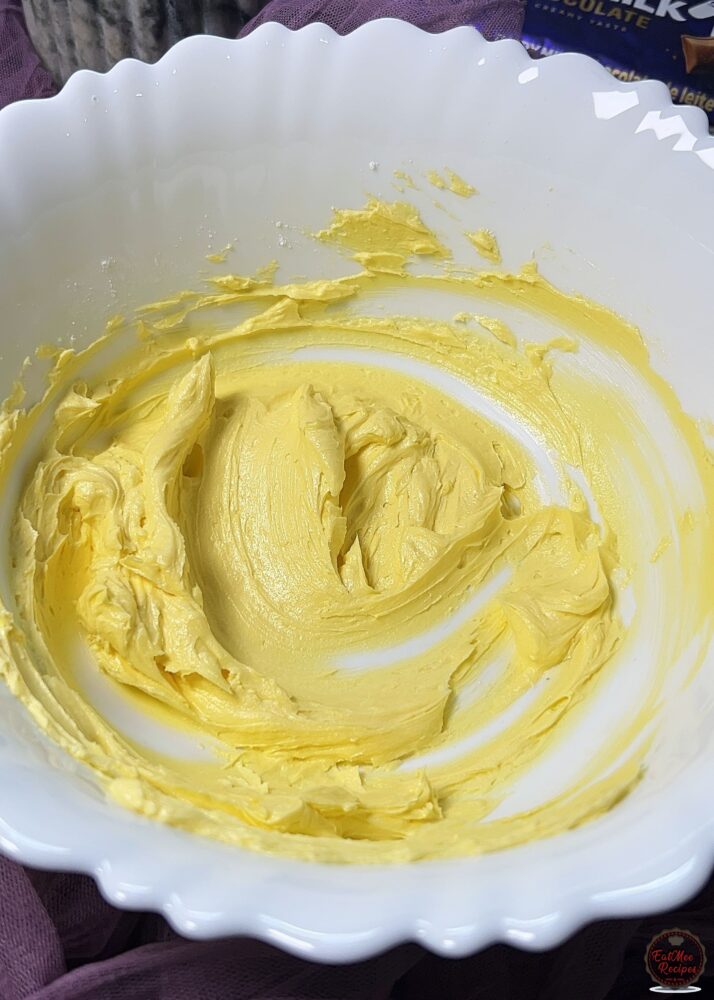
Cream the butter and icing sugar together until smooth, light, and fluffy.
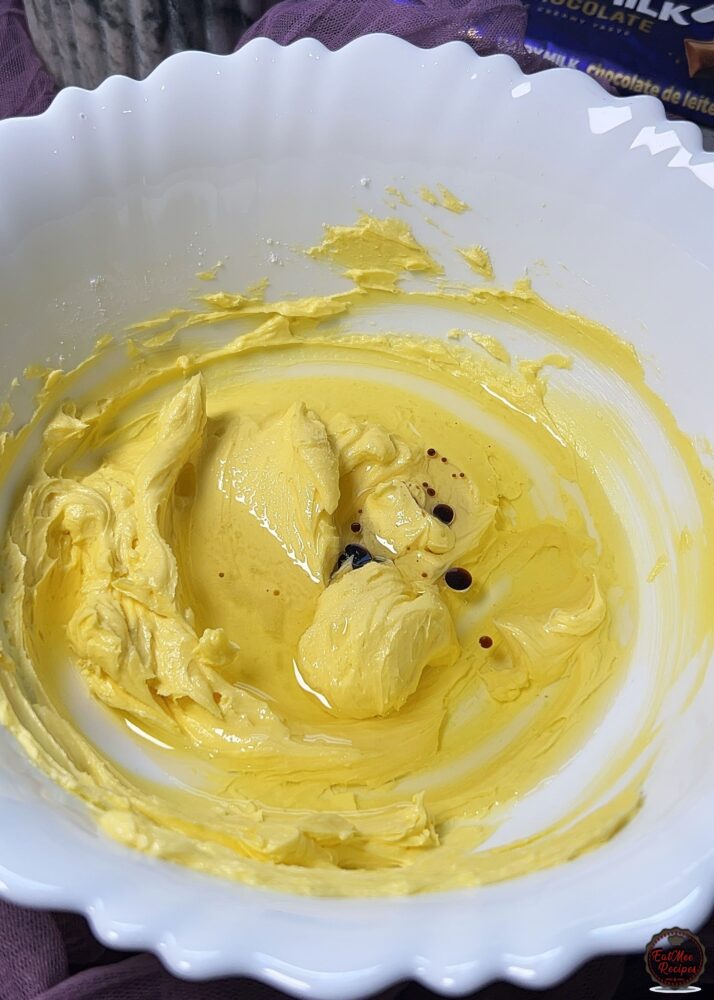
Add the vegetable oil, vanilla essence and a pinch of salt, then mix again. At this stage the mixture might look slightly clumpy or separated, but that’s completely normal.
Add the milk powder, corn flour and cake flour, then mix together.
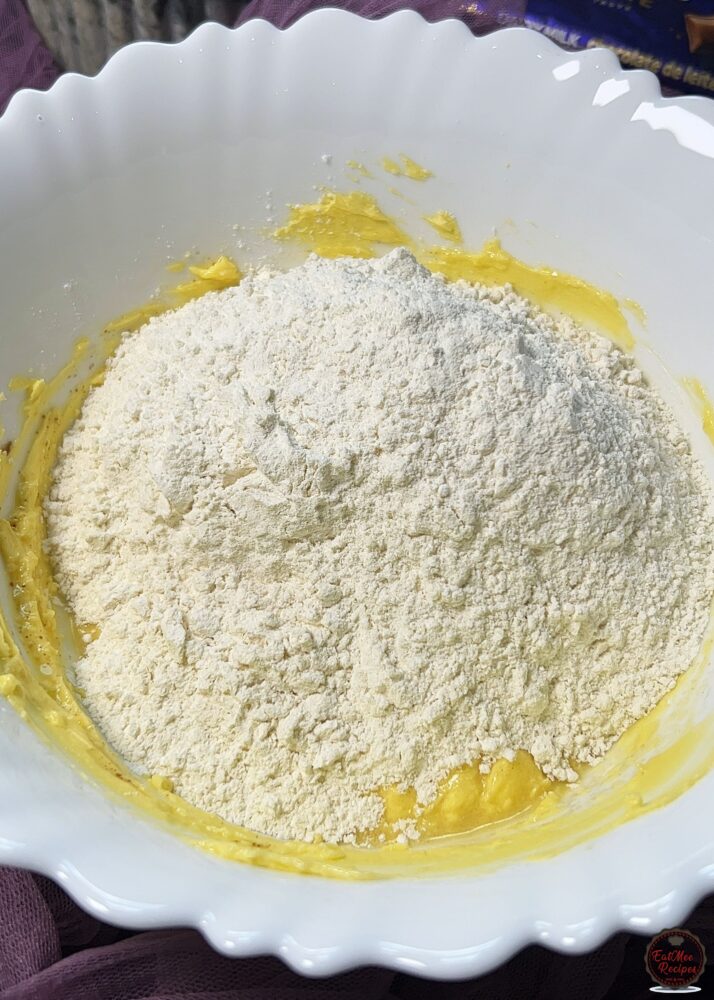
Once it starts coming together, use your hands to form a soft dough.
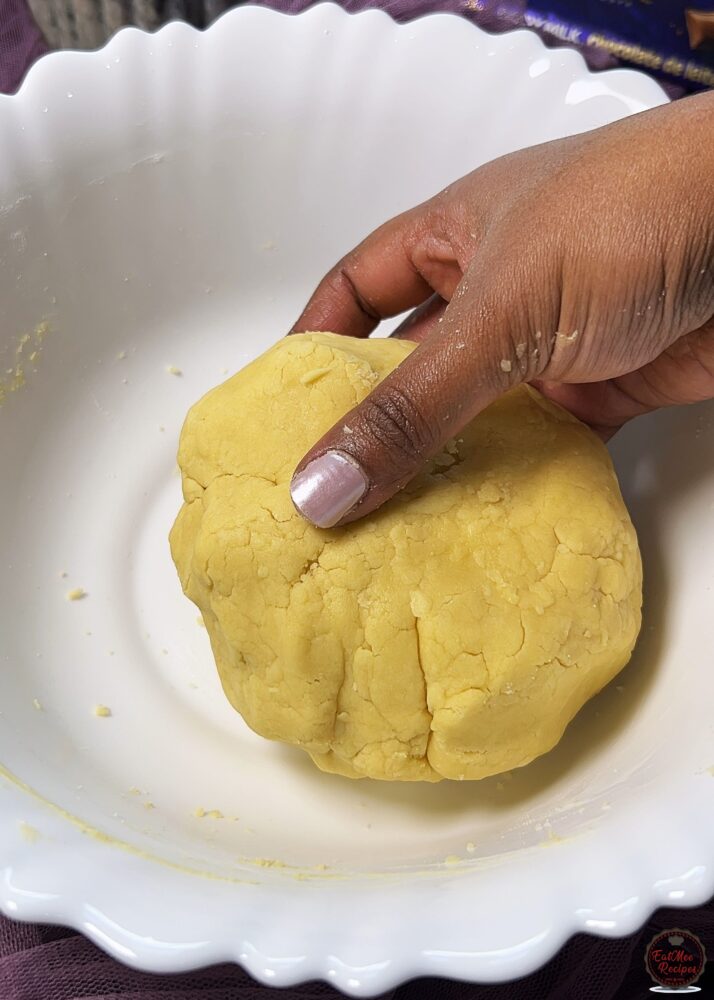
Portion the dough into 16 gram pieces, then gently clench and roll each one in your hand until you get a smooth log shape.
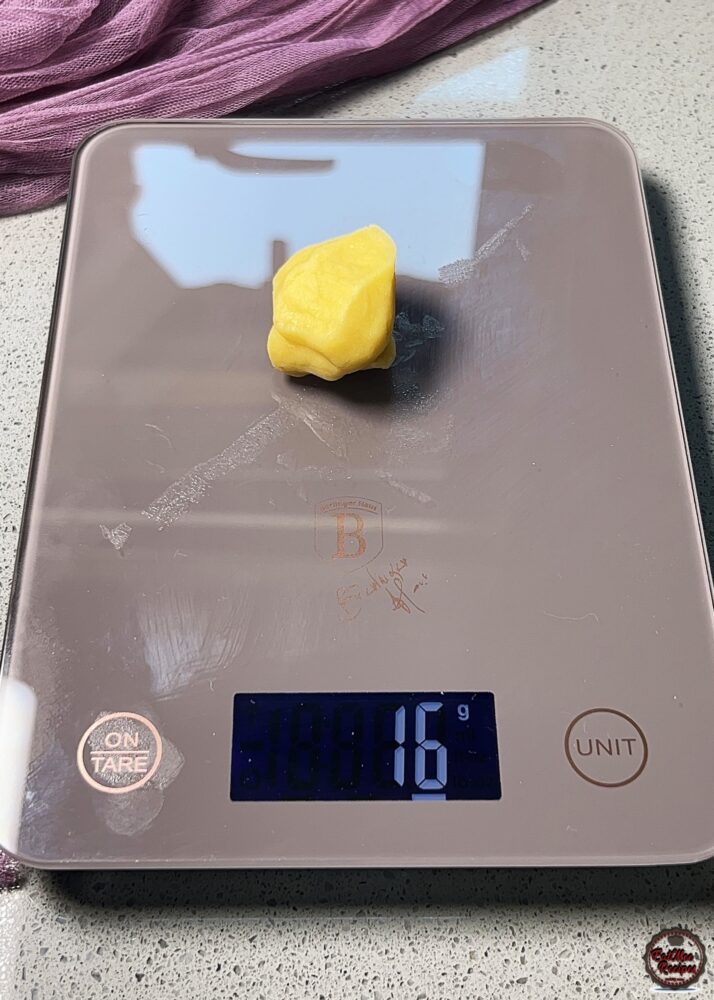
Place onto baking paper and gently roll using your palm. The dough is quite crumbly since there are no eggs to bind it, so take your time here.
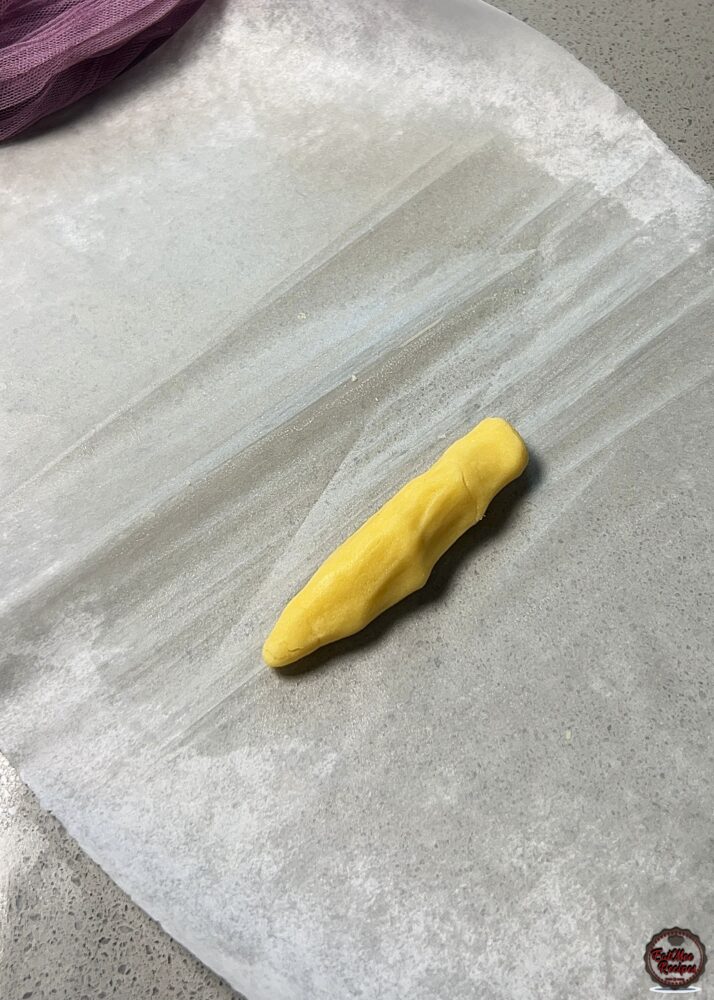
Fold the baking paper over the dough, then use a scraper to gently push and tighten it into a smooth stick shape.
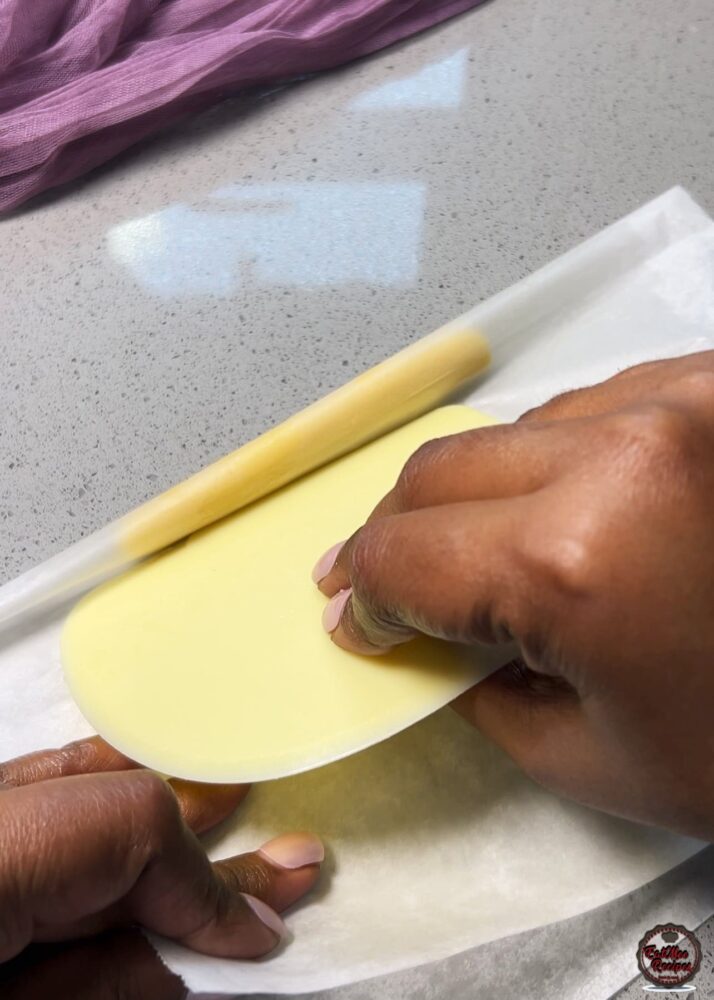
Repeat a few times until you’re happy with the length and shape.
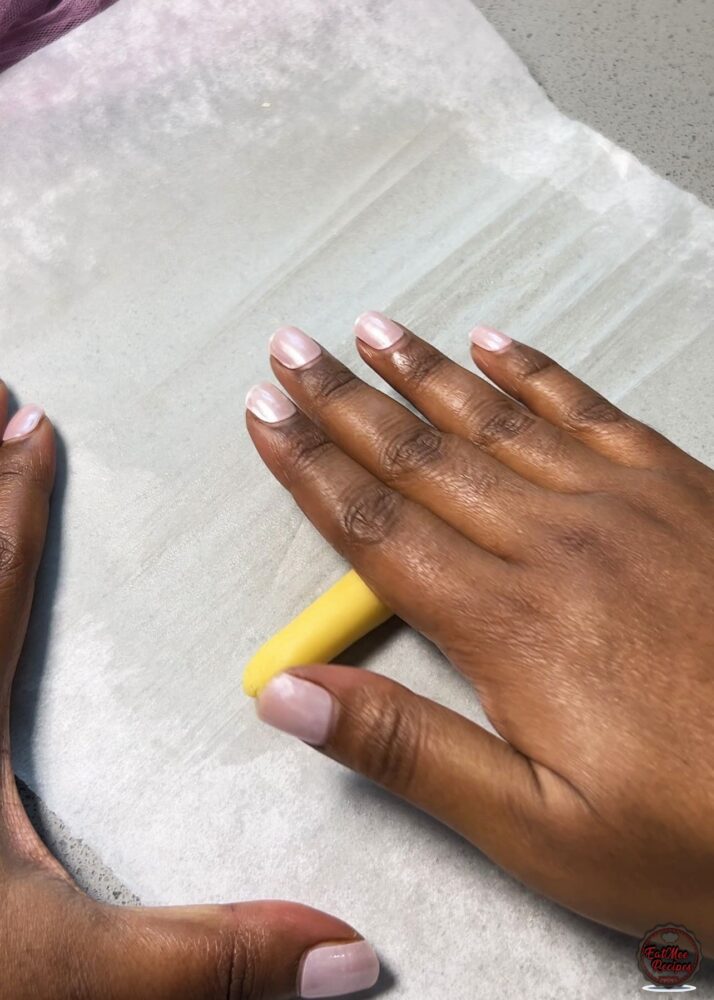
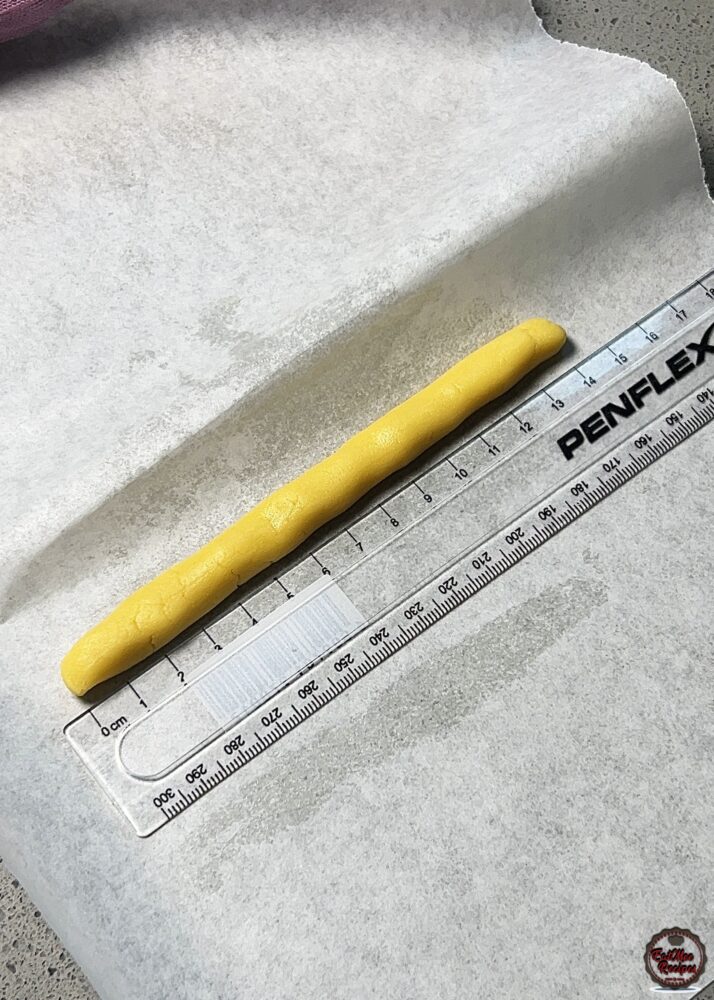
Each of my sticks measured around 14cm in length.
Use the same baking paper to roll the sticks onto a baking tray. They are very delicate, so picking them up with your hands will cause them to break.
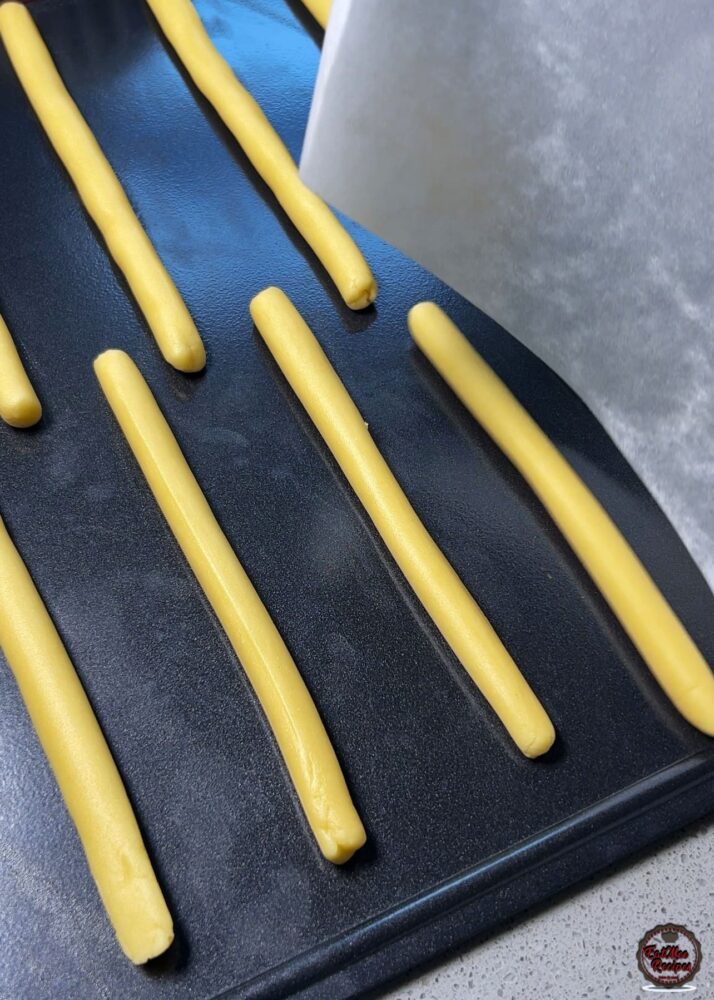
Once the tray is full, place it into the freezer for about 20 minutes until the dough firms up. This helps the dough sticks hold their shape while baking.
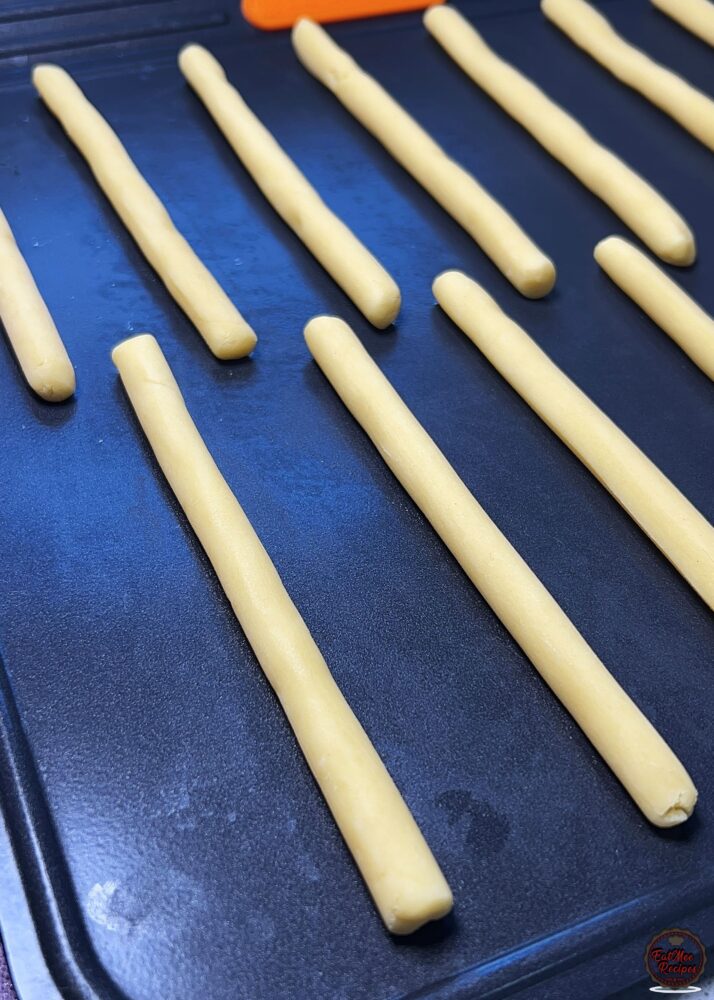
Then bake in a preheated oven for 20 minutes until the bottoms are lightly golden and the sticks are baked through.
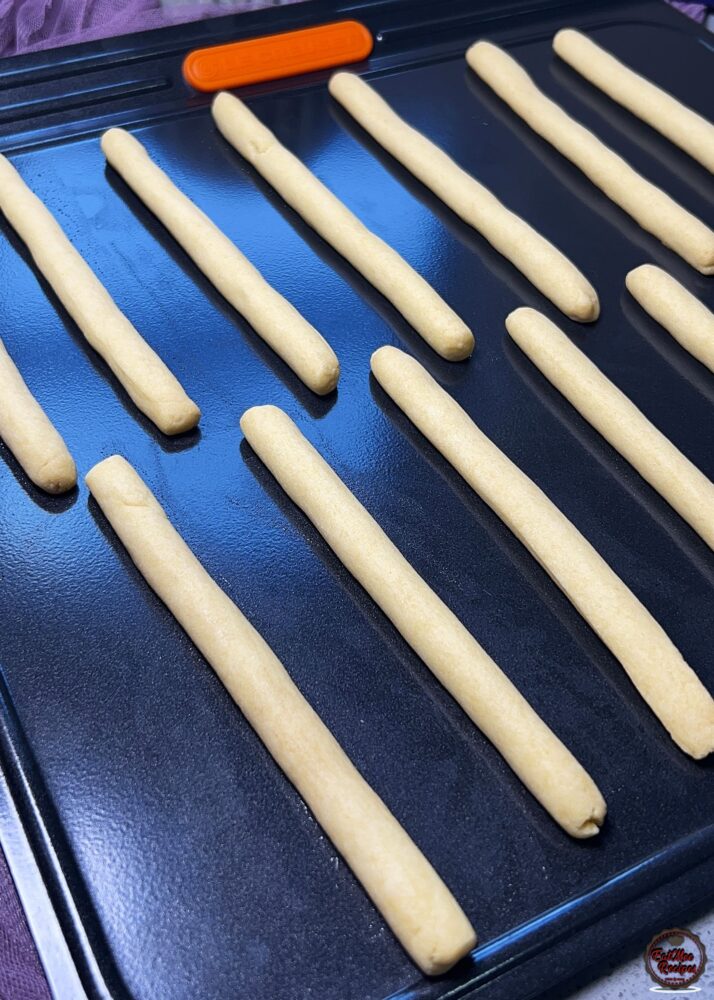
Allow them to cool on the tray for a minute. The biscuits need to firm up as they cool & if they are removed from the tray whilst hot, they will break. Thereafter, carefully transfer them onto a colling rack and allow them to cool completely.
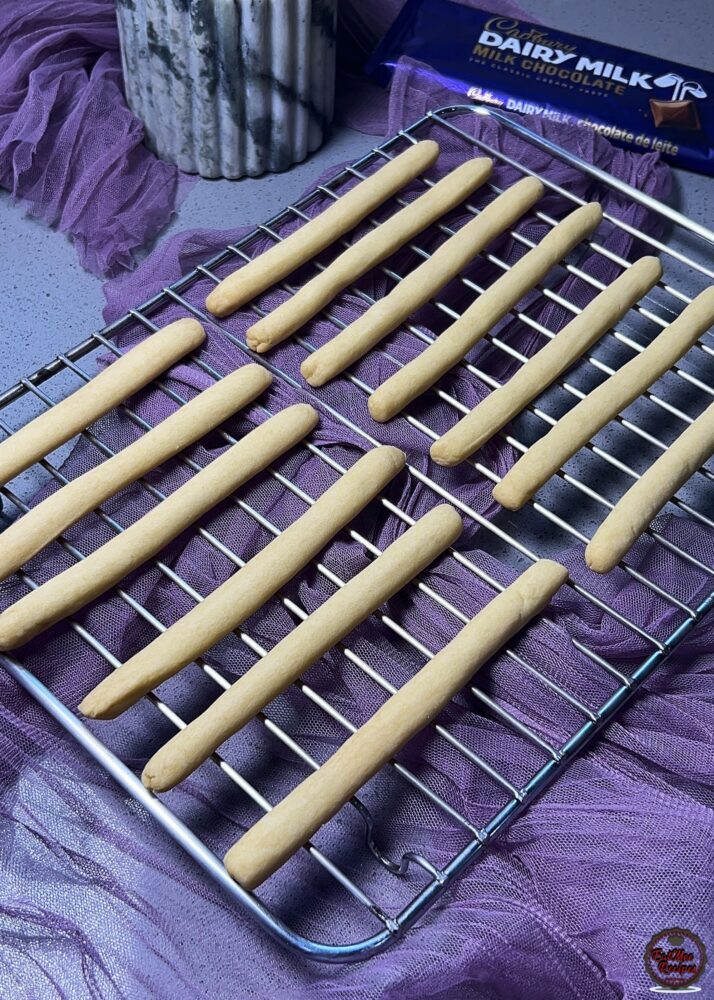
Once the biscuits are completely cooled, add the chocolate pieces into a microwave safe bowl.
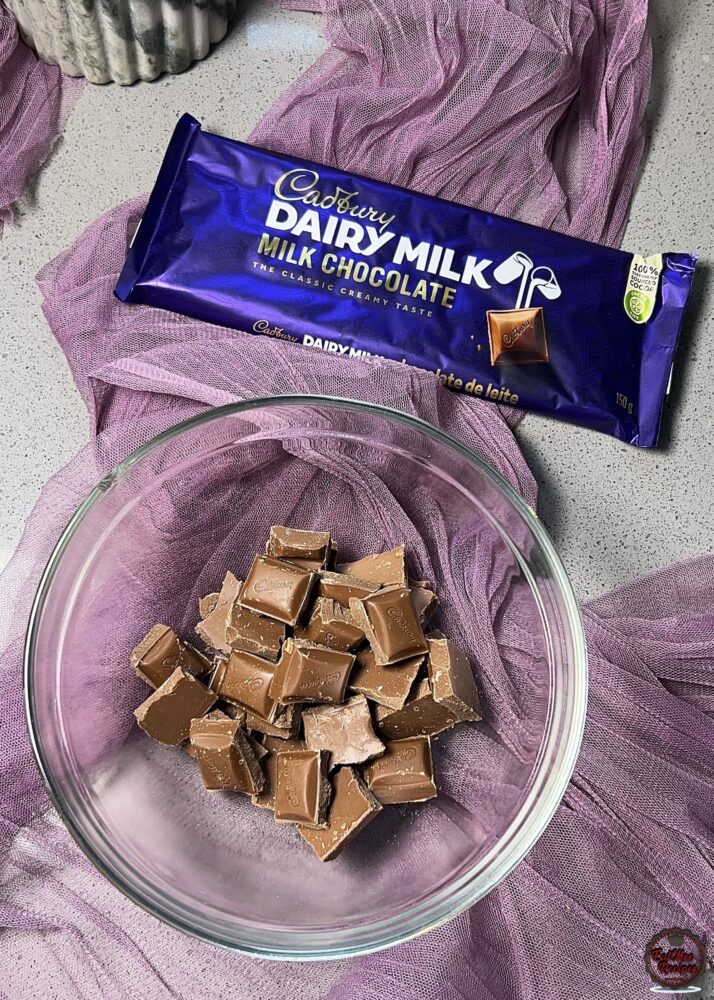
Add in a tablespoon of vegetable oil as this will give the chocolate a smoother coating.
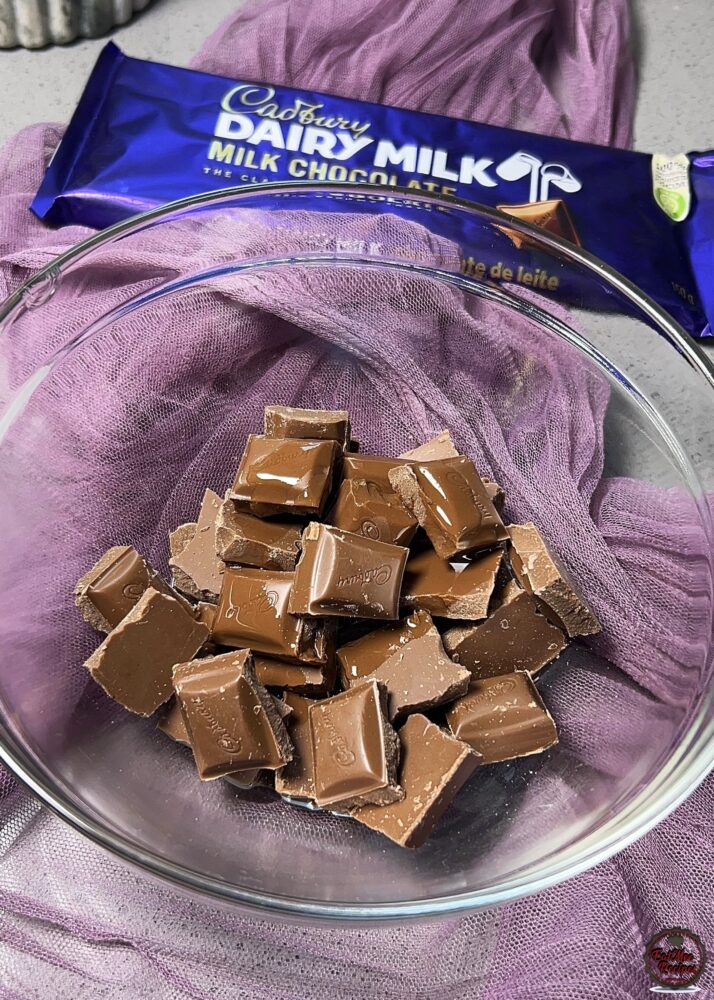
Heat in the microwave at 30 second intervals, stirring well between each round, until the chocolate is fully melted and smooth. I repeated this process about 3 times to prevent it from burning.
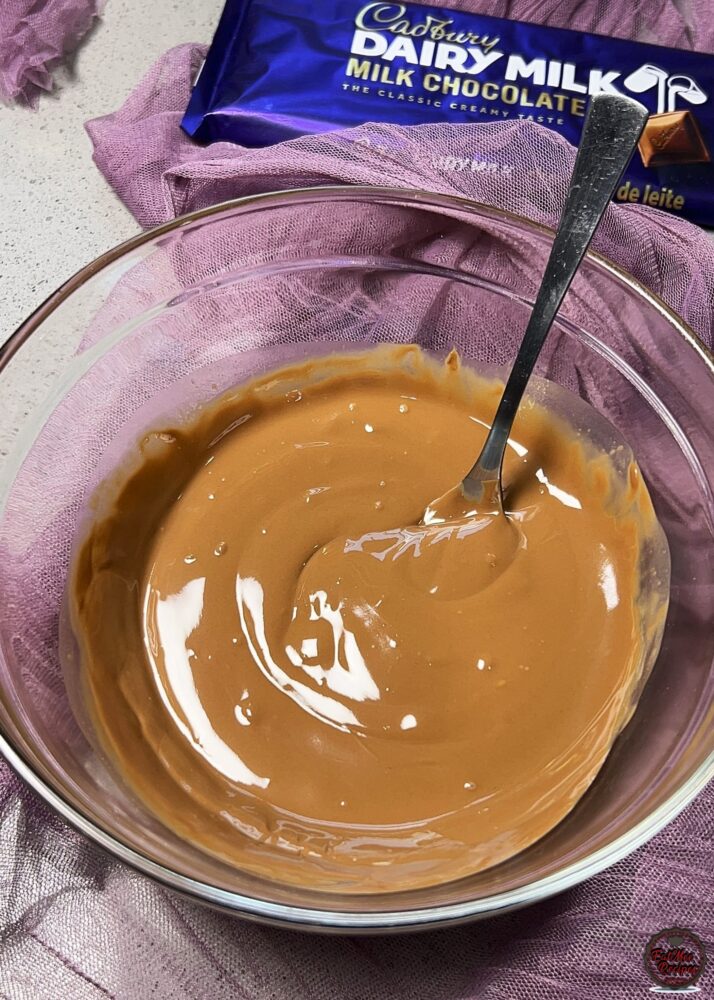
Transfer the melted chocolate into a tall glass as this will be easier to dip the biscuits into.
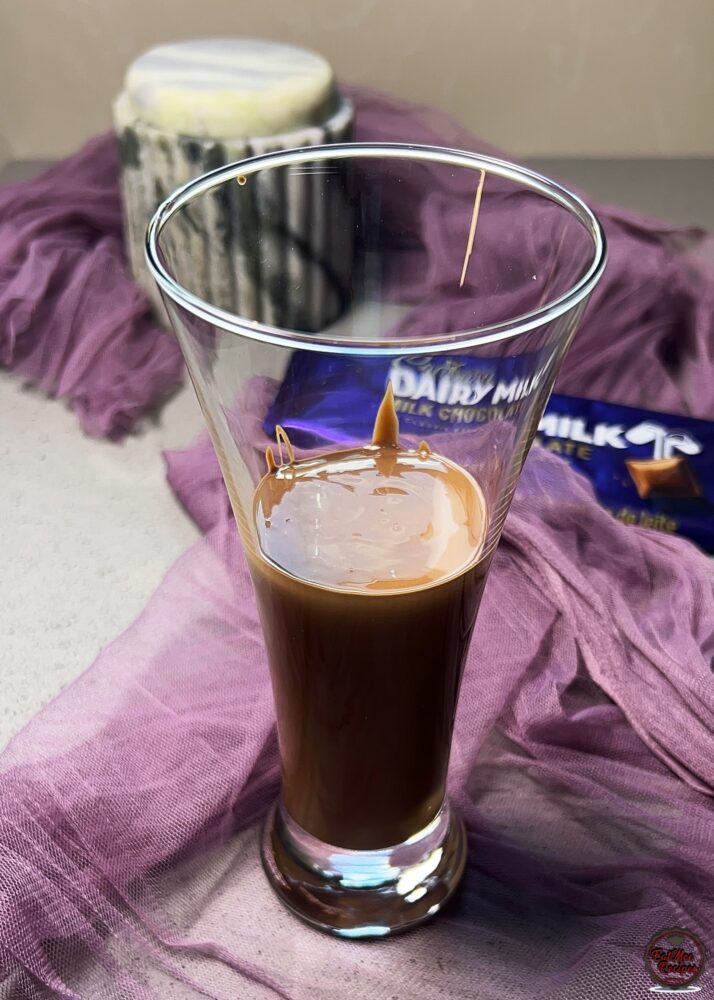
Dip each biscuit stick into melted chocolate.
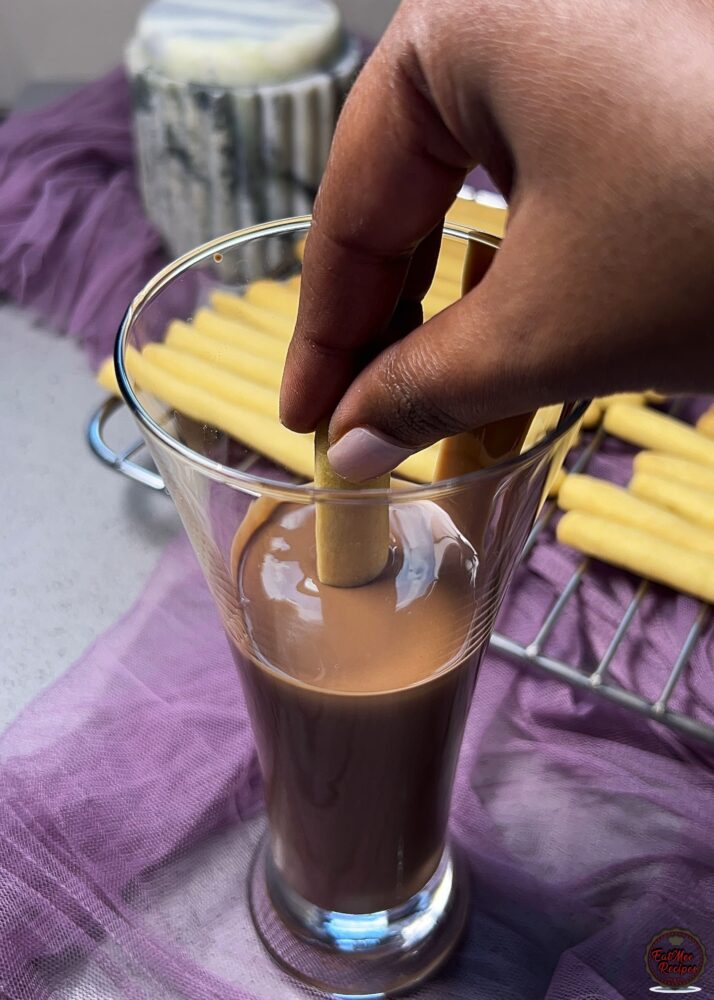
Gently scrape the bottom of each stick against the edge of the glass to remove any excess chocolate.
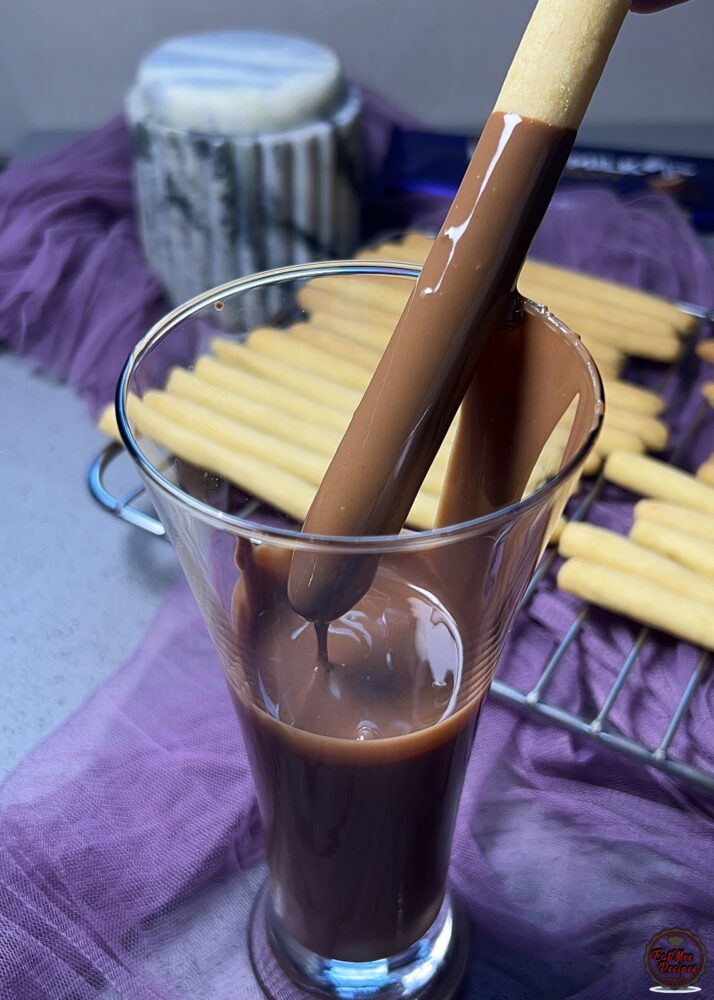
Then place onto a baking tray lined with baking paper.
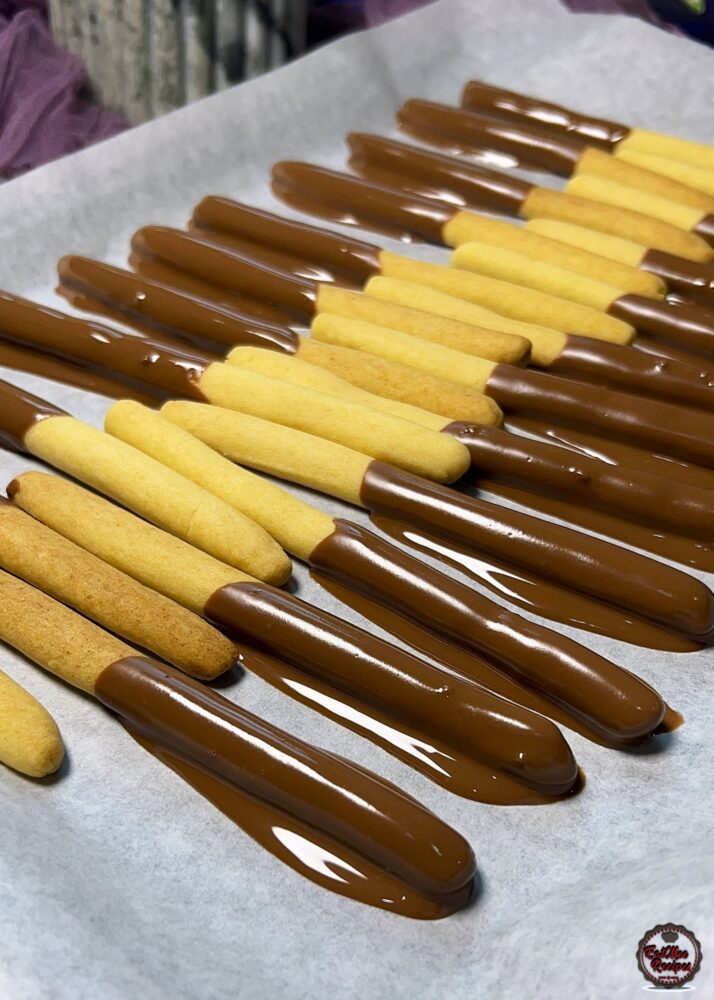
Pop the tray into the refrigerator and allow the chocolate to set.
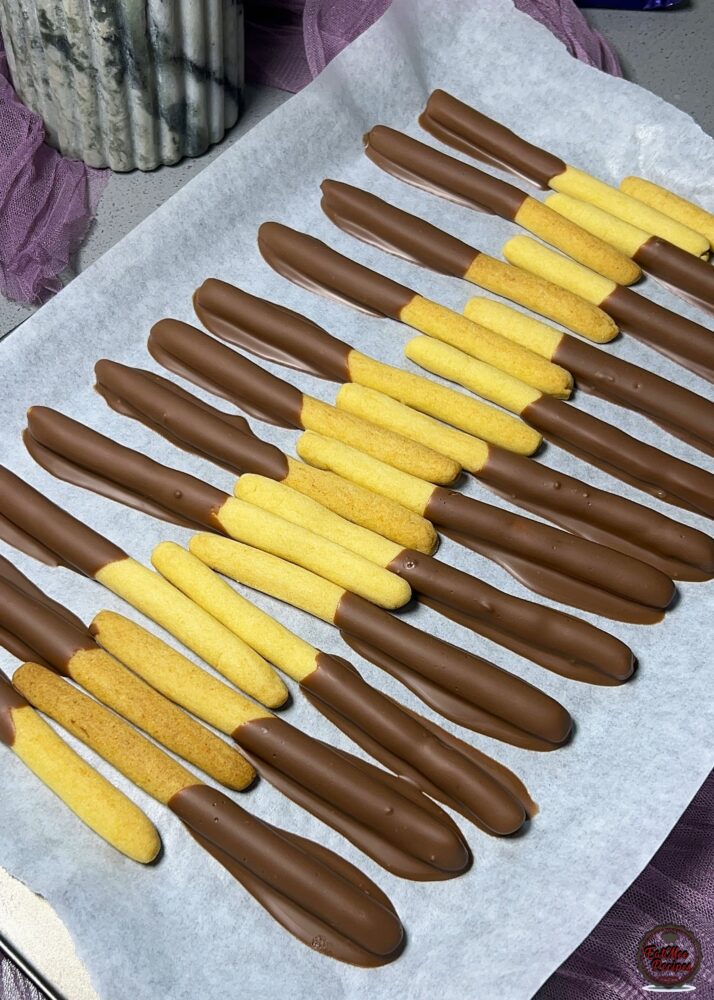
You may leave them as is if preferred with the excess chocolate on the ends.
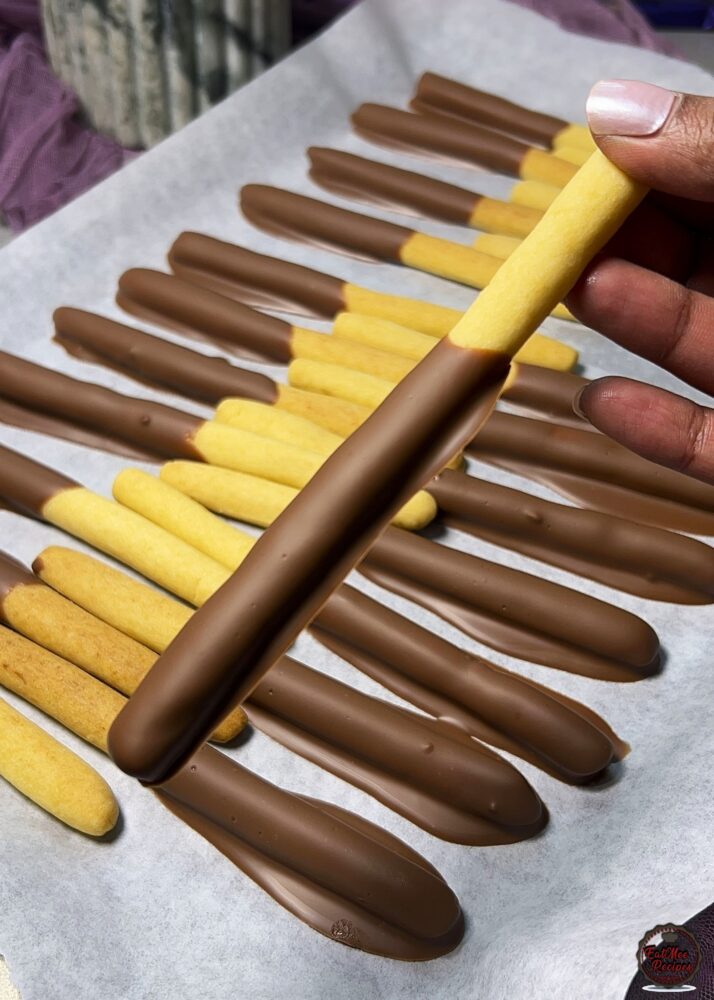
I like to take a knife and clean out those edges for a more aesthetic finish.
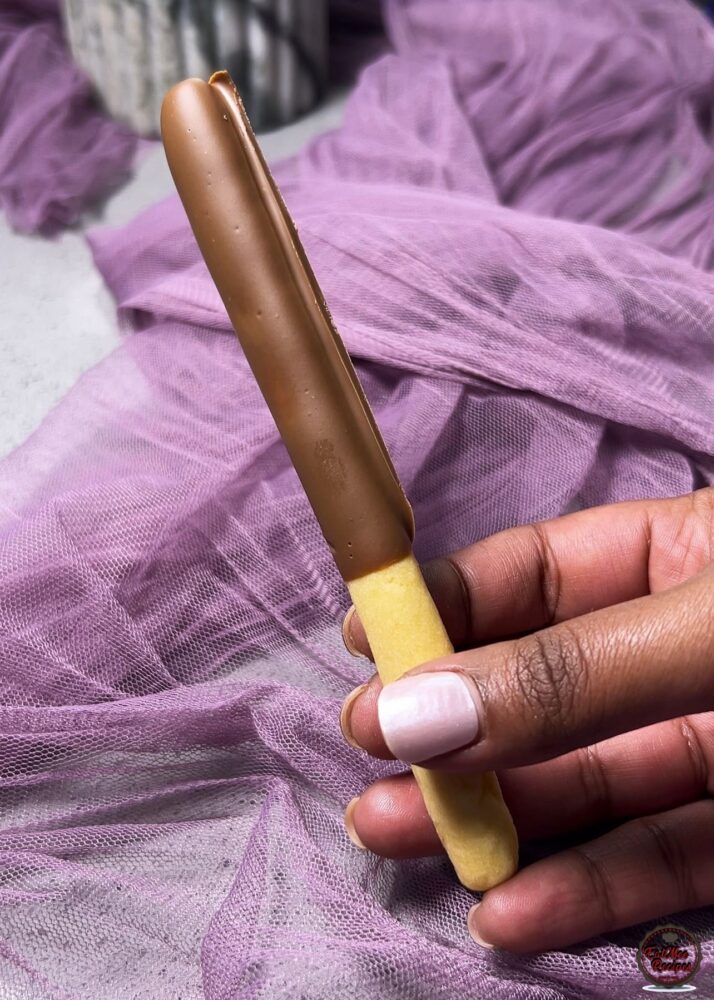
And just like that, we’ve got the perfect chocolate-dipped biscuit sticks…light, buttery, and completely irresistible.
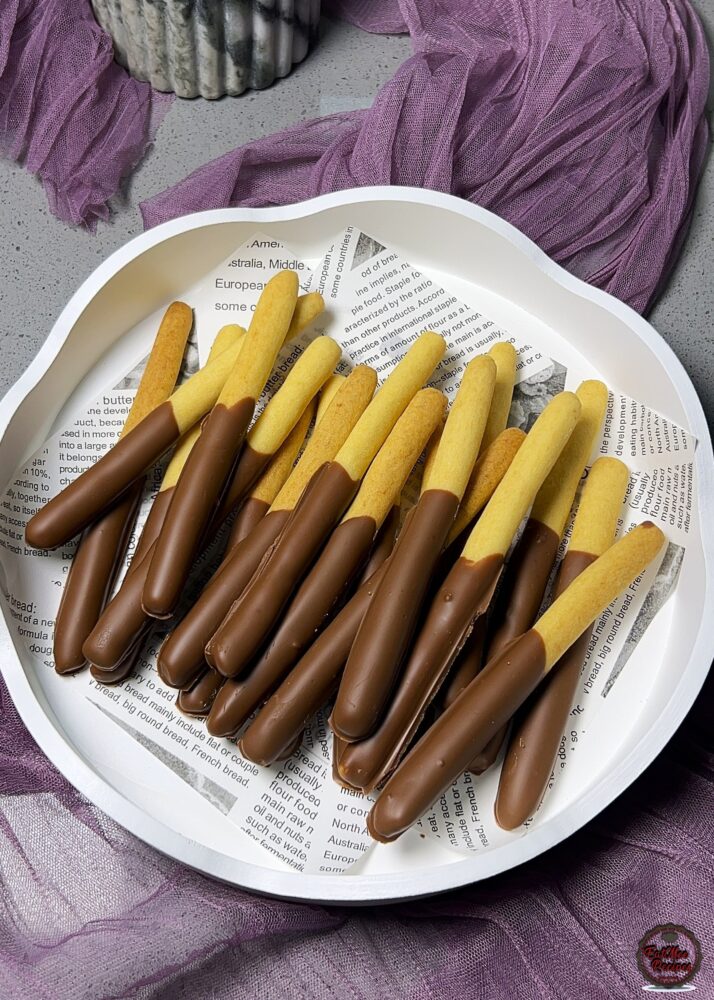
Store them in an airtight container at room temperature, they will stay fresh for up to 2 weeks. Keep them in a cool, dry place away from direct sunlight, especially in warmer weather, so the chocolate doesn’t soften or melt.
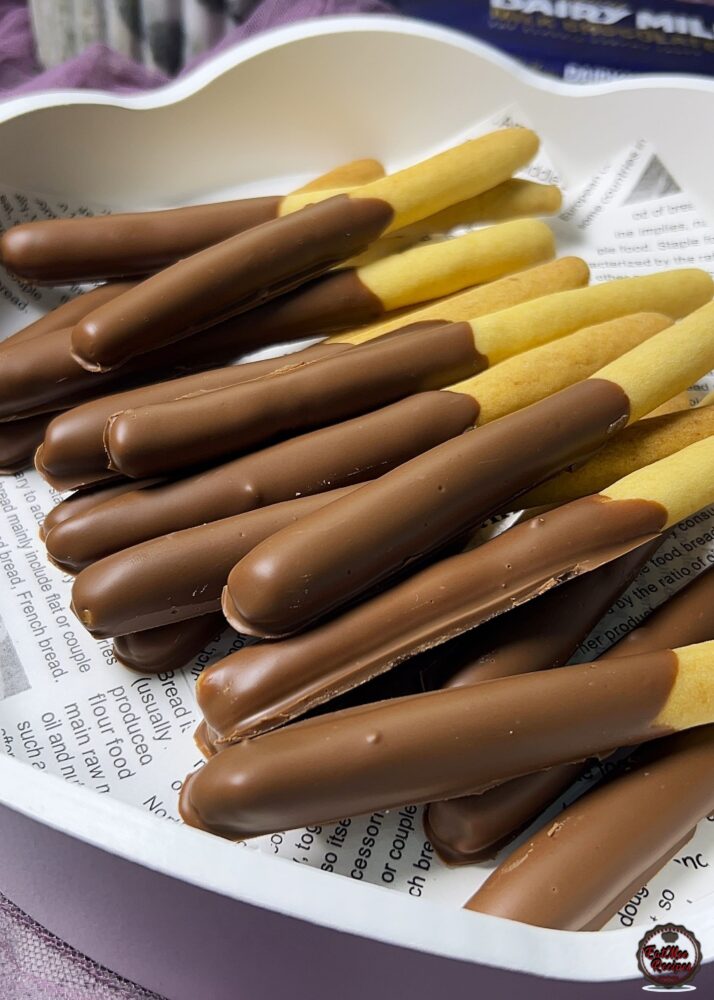
If you’d like to keep them longer, you can refrigerate them in an airtight container for up to 3 weeks. Just allow them to come back to room temperature before serving so the biscuit regains its crisp texture. These also freeze well (without the chocolate dip or after setting). Freeze in a sealed container for up to 2 months, then thaw at room temperature when needed.
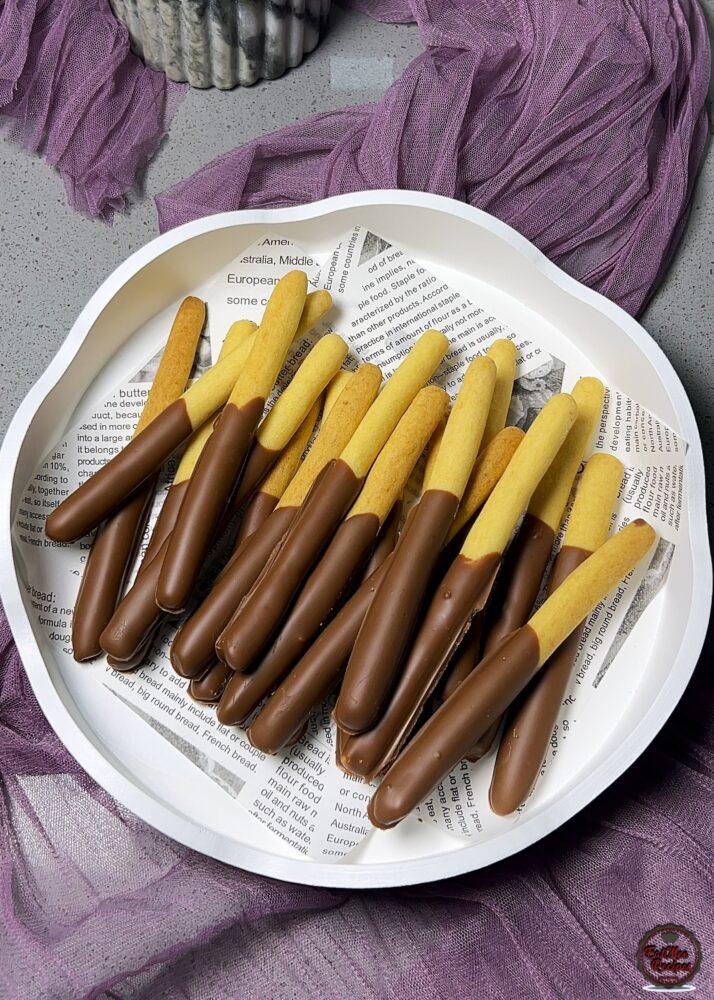
These chocolate sticks are best served once the chocolate has fully set for that crisp snap and smooth bite. Enjoy them with a hot cup of tea or coffee for the perfect afternoon treat. They also look beautiful arranged on a dessert platter, or packaged in a jar or box for gifting. Simple, elegant, and always a crowd-pleaser – they tend to disappear quickly once served.
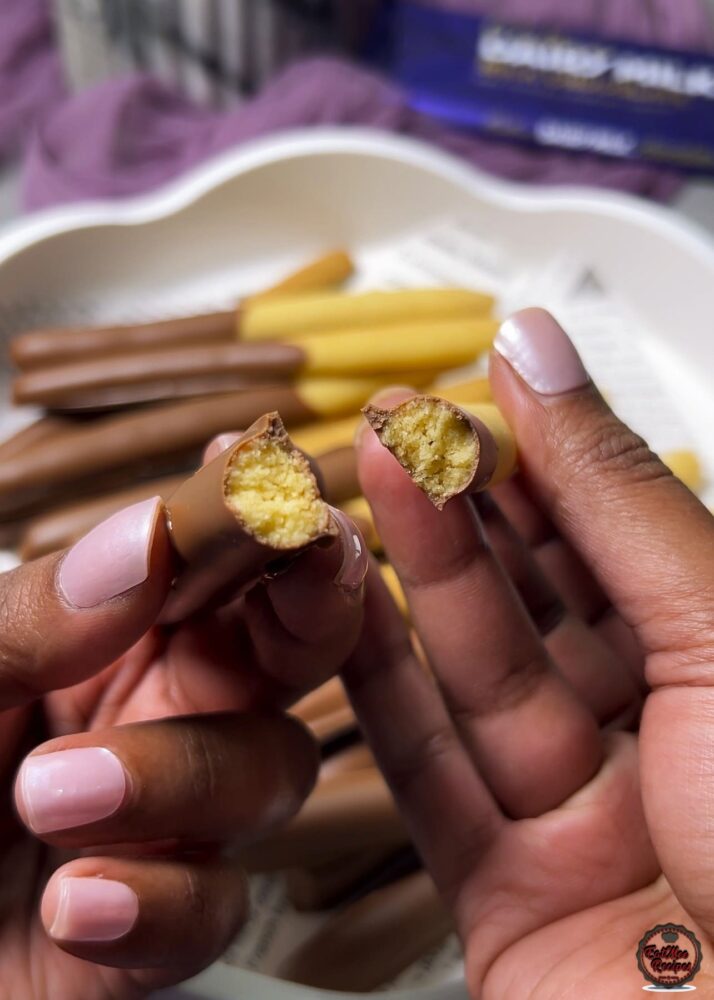
Follow along with Denisiya's step-by-step video guide for Chocolate Sticks.
Expert kitchen guidance and troubleshooting for making the best Chocolate Sticks
Cake flour has a lower protein content than regular flour, which means less gluten development. The result is a biscuit that is lighter, finer in texture, and more tender. For shaped biscuits like these sticks, it helps keep the bite delicate without becoming hard or dense.
Store in an airtight container at room temperature for up to 1 to 2 weeks. For milk-based sweetmeats like burfee or soji, refrigerate in an airtight container for up to 7 to 10 days.
Pure butter or ghee provides the authentic rich aroma and texture characteristic of traditional Indian sweetmeats and bakes. Margarine can be used in a pinch, but butter delivers superior flavor.
Hi, I'm Denisiya! Food lover, recipe developer, and founder of EatMee Recipes. I specialize in authentic South African Durban Indian cuisine, comforting curries, and modern Instant Pot adaptations. Every recipe on this site is tested in my personal kitchen to ensure you get mouth-watering, foolproof results every time.
Explore more authentic Durban curries, traditional bakes, and comforting family favourites.
 Desserts
If you love traditional South African sweet rice but want an easier, hands-off method, thi...
 Desserts
There’s something comforting about a marble loaf cake fresh from the oven, especially when...
 Desserts
When the festive season rolls around, desserts should be delicious, comforting, and let’s ...
Have you tried this recipe or have questions for Denisiya? Join the conversation below.
No comments yet. Be the first to share your thoughts on this recipe!
Leave a Comment
Your email address will not be published. Required fields are marked *