

We Value Your Culinary Privacy
EatMee Recipes uses cookies to provide a personalized browsing experience, analyze recipe popularity, and serve relevant ads. You can review our full disclosure in our Privacy Policy.
Make authentic Marble Loaf Cake with this foolproof recipe. Packed with rich traditional flavor, step-by-step photos, and cooking tips by Denisiya on EatMee Recipes.

Join over 60,000+ home chefs for weekly authentic Durban Indian cook-alongs, Instant Pot masterclasses, and family heritage recipes.
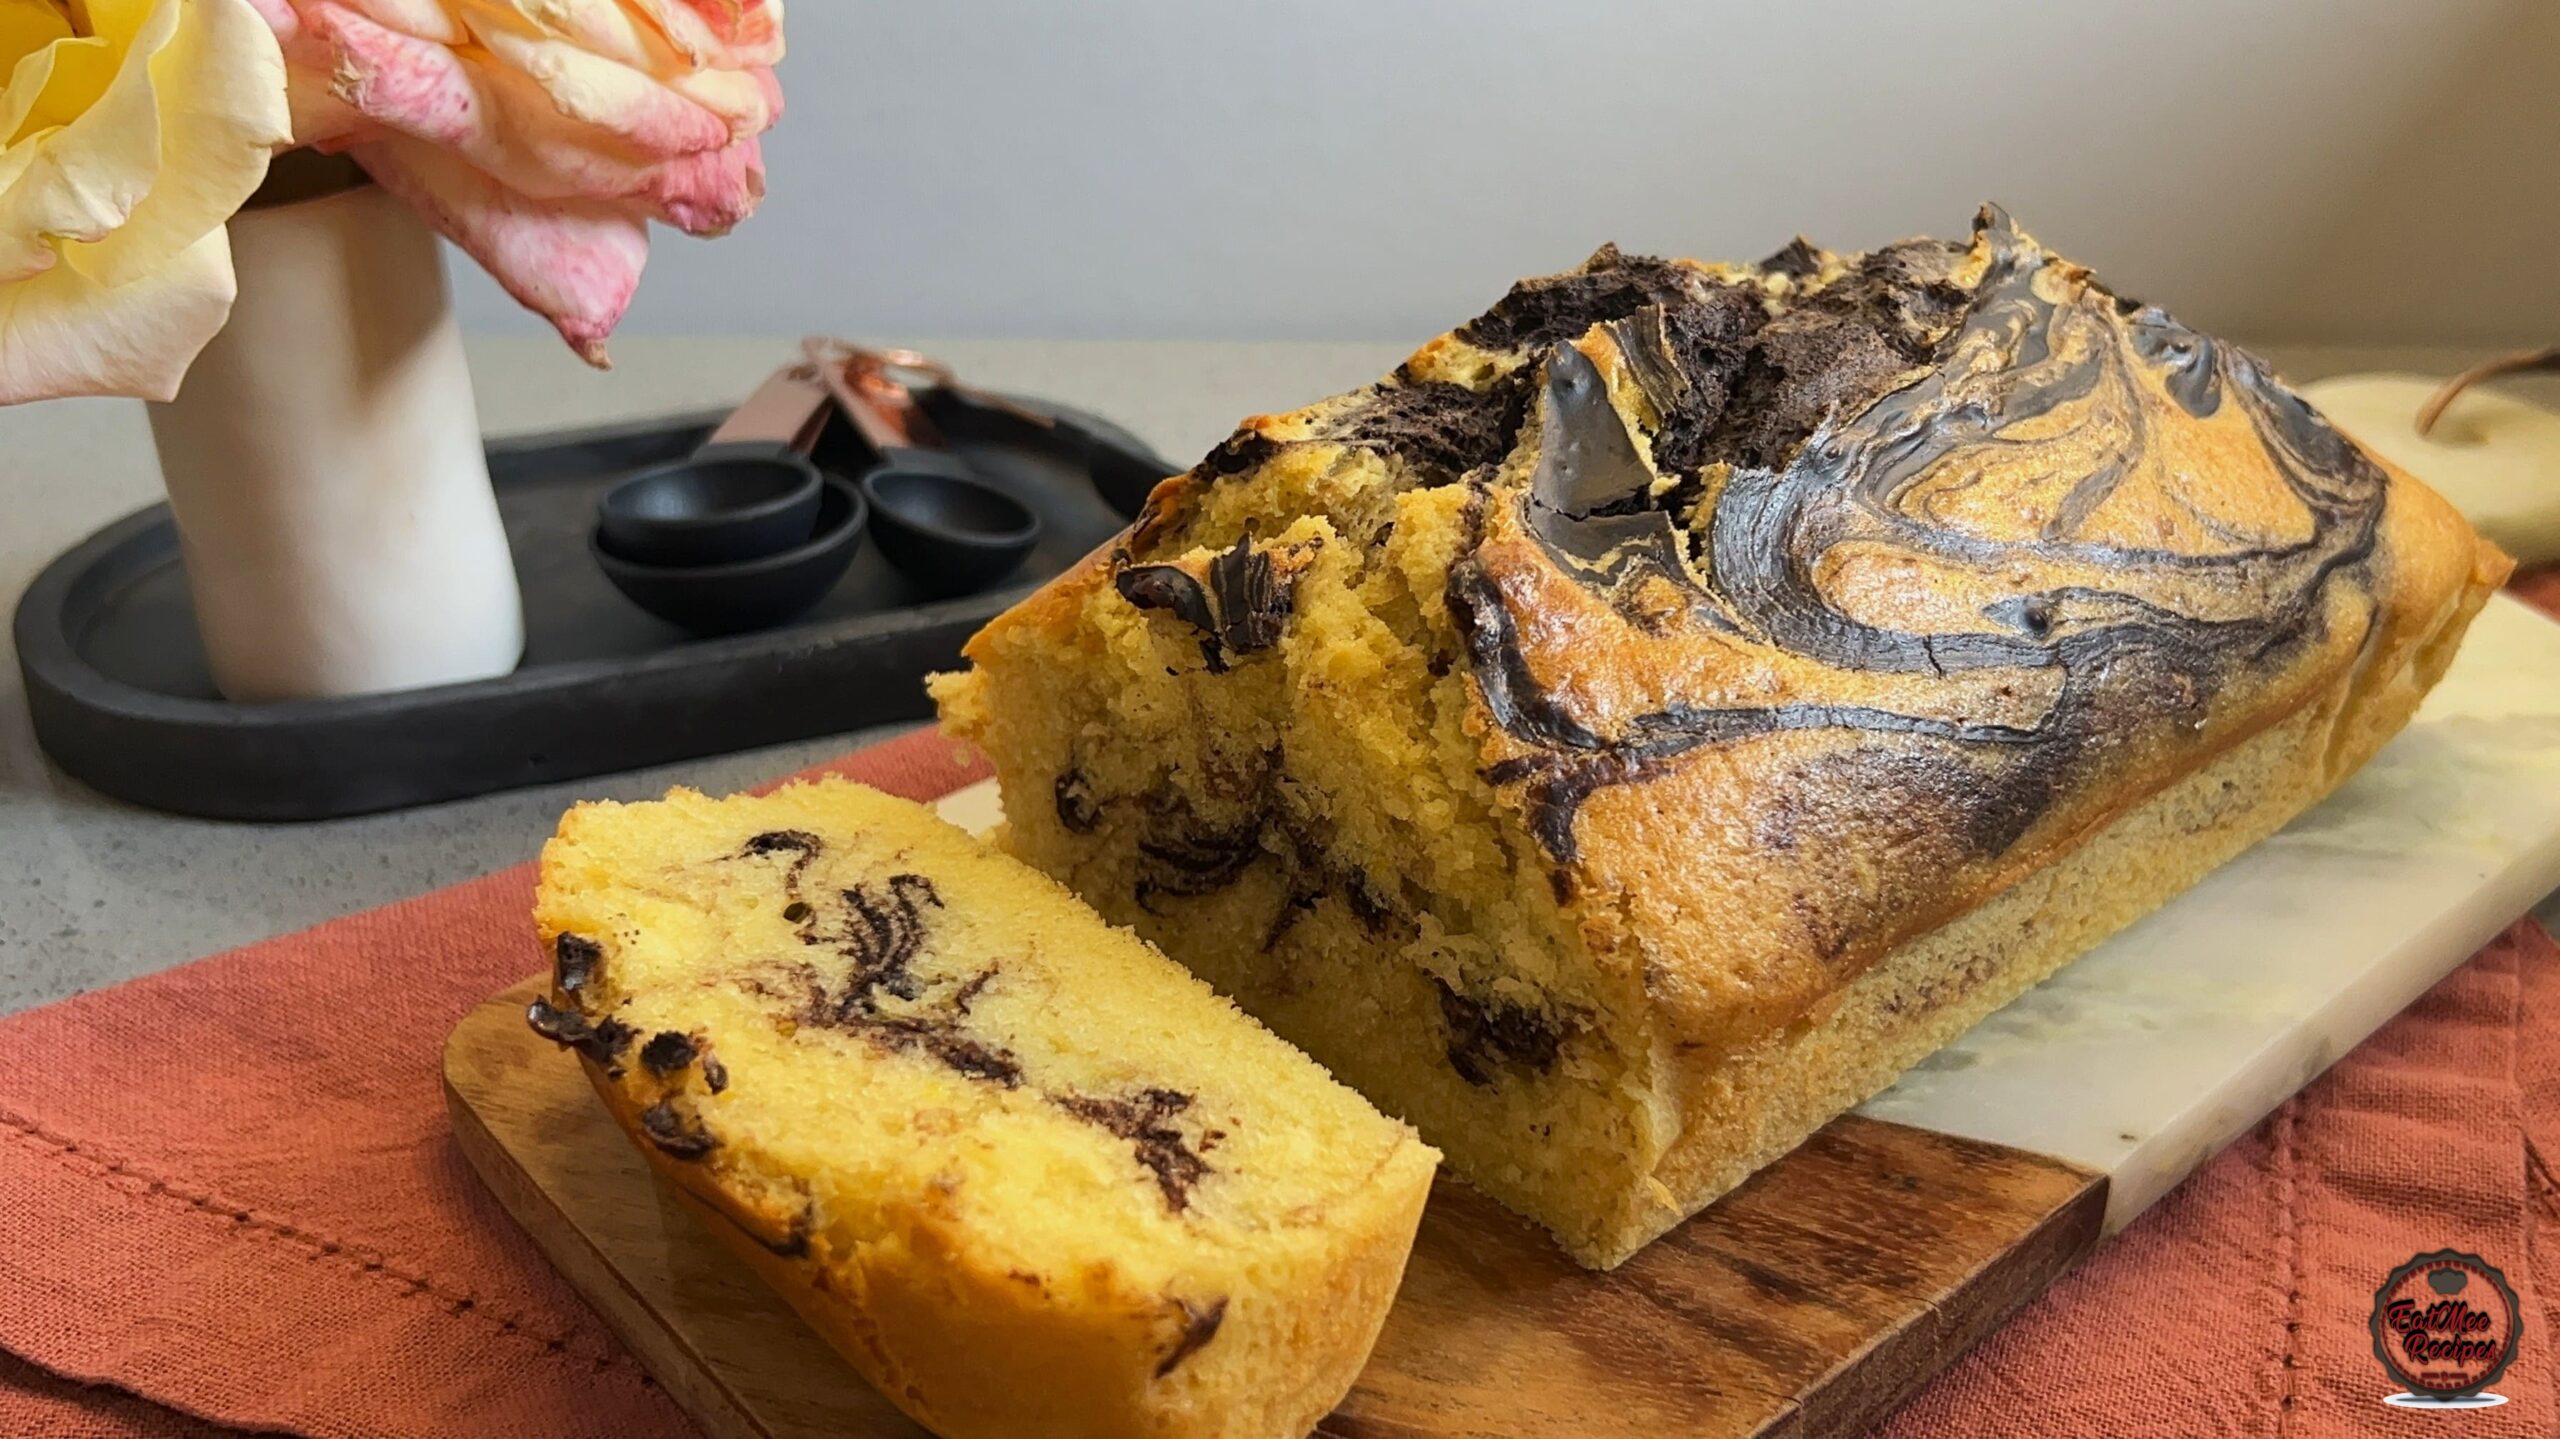
There’s something comforting about a marble loaf cake fresh from the oven, especially when it rises well and cracks gently along the top, a classic sign of a soft, fluffy interior. This version delivers a light, tender crumb with beautifully defined swirls of vanilla and chocolate running through every slice.
This recipe has been tried and tested several times to achieve the best possible texture and flavour. Each adjustment was made with care, resulting in a loaf that’s consistently soft, well-balanced, and very close to bakery-style quality, while still being simple enough to make at home.
One of the key elements in this cake is a small but important “secret” ingredient: liquid glucose. Used alongside a long egg-whipping stage, it helps create a loaf that stays soft, slices neatly, and keeps well for days without drying out.
Baked in a 24 cm loaf pan, the cake has a traditional loaf finish with a natural split as it bakes. It slices cleanly, stays moist, and keeps its softness for days. The flavour is not overly sweet, making it perfect for everyday enjoyment.
Whether served plain, lightly dusted with icing sugar, or paired with a cup of tea or coffee, this marble loaf cake is a dependable classic you’ll come back to again and again.
Liquid glucose plays a subtle but powerful role in this marble loaf cake.
It helps retain moisture, keeping the cake soft for longer
It improves the texture of the crumb, making it finer and more even
It prevents excessive crystallisation of sugar, which can cause cakes to dry out
Unlike honey or syrup, liquid glucose has a neutral flavour, so it doesn’t alter the taste of the cake – it simply enhances the softness and shelf life. This is one of the reasons the texture is so close to what you’d expect from a bakery-style loaf.
Preheat your oven to 170°C (338°F). Prepare a 24 cm loaf pan by lining it with air fryer liners, they fit perfectly and make cleanup a breeze. If you don’t have liners, simply use baking paper to line the pan.

Make sure your eggs are at room temperature. This helps them whip up more easily, creating a lighter, fluffier batter that’s perfect for a soft, tender marble loaf.

We’re using liquid glucose in this recipe as it helps keep the loaf soft and moist while giving it a beautiful sheen. You can find it at most spice stores, and it’s very affordable. Keep in mind, liquid glucose is quite sticky and can be a bit tricky to work with. To make it easier, try using a small spoon or a silicone spatula to measure and scrape it out, and lightly oil your hands or tools if needed to prevent it from sticking.

Add the room-temperature eggs, liquid glucose, and castor sugar into your stand mixer.

Beat for about 9 minutes at a steady speed (around speed 4 on a stand mixer), until the mixture becomes light, airy, and creamy. No stand mixer? No problem! You can get the same fluffy result with a hand mixer or even a whisk, though it will take a bit more elbow grease.

Sift together the cake flour, cornflour, and baking powder. This removes any lumps and evenly distributes the raising agent, ensuring a lighter, finer crumb and a more delicate marble loaf.

Add the sifted dry ingredients to the beaten mixture, folding gently until just combined.

Gently warm the milk until just lukewarm – not hot. Add the warm milk, vanilla essence and melted butter to the batter, folding gently until smooth and fully incorporated.

Next, prepare the chocolate swirl batter. In a separate bowl, combine the cocoa powder, white granulated sugar, and boiling water, stirring until smooth.

Remove ¼ of the vanilla batter and add the cocoa paste.

Mix together until well combined.

Pour the plain vanilla batter into the prepared pan.

Pour the chocolate swirl batter down the centre of the pan, directly over the vanilla batter.

Using a skewer, gently swirl the chocolate batter through the vanilla batter to create a marble effect.

Work lightly and avoid over-swirling, just a few figure-eight or zigzag motions are enough. Too much swirling will blend the batters together rather than creating defined marbled ribbons. For best results, keep the skewer mostly in the centre and drag it slightly towards the edges for a balanced pattern throughout the loaf.

Bake for 55-60 minutes in the preheated oven. Bake on conventional (normal) oven mode, not fan-forced. Fan mode circulates hot air too aggressively, which can cause the loaf to rise unevenly, crack too quickly on top, or dry out before the centre is fully baked. Using normal oven mode allows the cake to rise gently and bake evenly, giving you a soft, moist crumb with a well-defined marble pattern.

Once baked, insert a skewer into the centre of the loaf, it should come out clean or with just a few soft crumbs attached. The top should be golden and spring back lightly when pressed.

Remove the marble loaf from the pan and carefully peel away the liner.

The underside of the cake will be smooth and perfectly baked.

Allow the loaf to cool slightly, then slice and enjoy.

Don’t be surprised if the first slice doesn’t have much marbling; it may look more uniform, but it’s still beautifully soft and delicious.

The true marbled effect will appear in the following slices, showcasing the swirls of chocolate and vanilla in all their glory.

When you break into a slice, you’ll notice a delicate, light crumb that holds together beautifully without being dense or heavy. The combination of vanilla and chocolate batters creates a moist, melt-in-your-mouth texture that’s irresistible.

Serve as is, dusted lightly with icing sugar, or with a generous spread of butter. It’s perfect alongside a cup of tea or coffee, and even better slightly warmed for an extra-soft crumb.

Store the marble loaf in an airtight container at room temperature for up to 3 days. For longer storage, wrap slices individually and freeze for up to 2 months. Thaw at room temperature or warm gently before serving.

Follow along with Denisiya's step-by-step video guide for Marble Loaf Cake.
Expert kitchen guidance and troubleshooting for making the best Marble Loaf Cake
Liquid glucose plays a subtle but powerful role in this marble loaf cake.
Store in an airtight container at room temperature for up to 1 to 2 weeks. For milk-based sweetmeats like burfee or soji, refrigerate in an airtight container for up to 7 to 10 days.
Pure butter or ghee provides the authentic rich aroma and texture characteristic of traditional Indian sweetmeats and bakes. Margarine can be used in a pinch, but butter delivers superior flavor.
Hi, I'm Denisiya! Food lover, recipe developer, and founder of EatMee Recipes. I specialize in authentic South African Durban Indian cuisine, comforting curries, and modern Instant Pot adaptations. Every recipe on this site is tested in my personal kitchen to ensure you get mouth-watering, foolproof results every time.
Explore more authentic Durban curries, traditional bakes, and comforting family favourites.
 Desserts
If you love traditional South African sweet rice but want an easier, hands-off method, thi...
 Desserts
Light, crisp, and delicately sweet biscuit sticks dipped in chocolate
 Desserts
When the festive season rolls around, desserts should be delicious, comforting, and let’s ...
Have you tried this recipe or have questions for Denisiya? Join the conversation below.
No comments yet. Be the first to share your thoughts on this recipe!
Leave a Comment
Your email address will not be published. Required fields are marked *