
We Value Your Culinary Privacy
EatMee Recipes uses cookies to provide a personalized browsing experience, analyze recipe popularity, and serve relevant ads. You can review our full disclosure in our Privacy Policy.
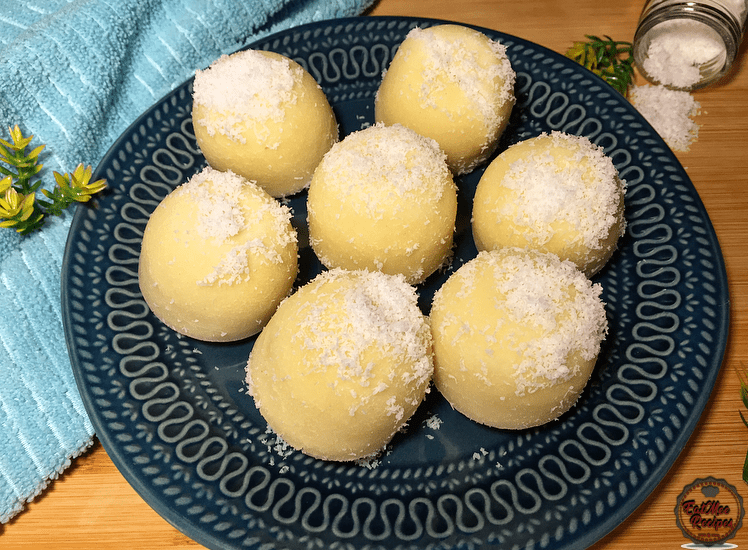
Instant Pot No Yeast Idli is a great way to make this delicious treat. Idli is a steamed rice cake which originated in South India.

Join over 60,000+ home chefs for weekly authentic Durban Indian cook-alongs, Instant Pot masterclasses, and family heritage recipes.
Instant Pot No Yeast Idli is a great way to make this delicious treat. Idli is a steamed rice cake which originated in South India.
These little pillows are usually made with yeast & a combination of rice flour & black lentils (urad dhall). Another method consists of using semolina in batter to create rava idlis. However, in South Africa, we tend to omit the urad dhall in this recipe & have come up with our own easier way of preparing them.
Unfortunately, I am not a lover of yeast in my Idli’s so this recipe was actually given to me by my mum, she has omitted the yeast & has substituted it with baking powder instead.
Traditionally, these idli’s are steamed in an Idli pot, with moulds on stainless steel racks that interlock & stacked upon each other. They are steamed in a pot on the stove top. This recipe uses the Instant Pot & I have used their silicone moulds to prepare these delicious idli’s.
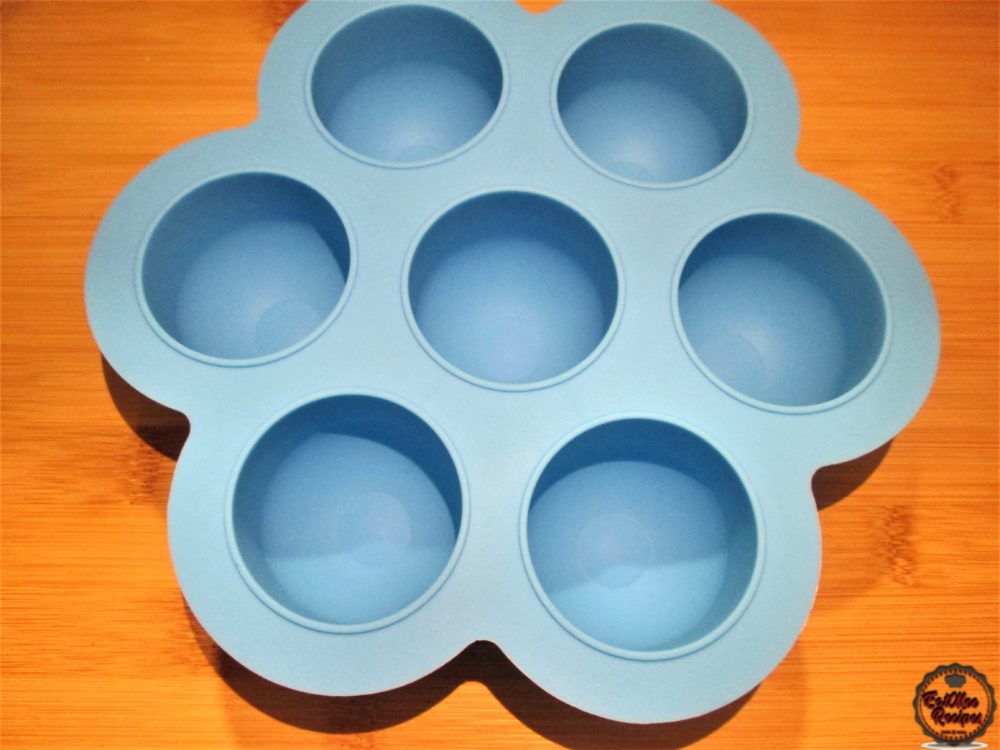
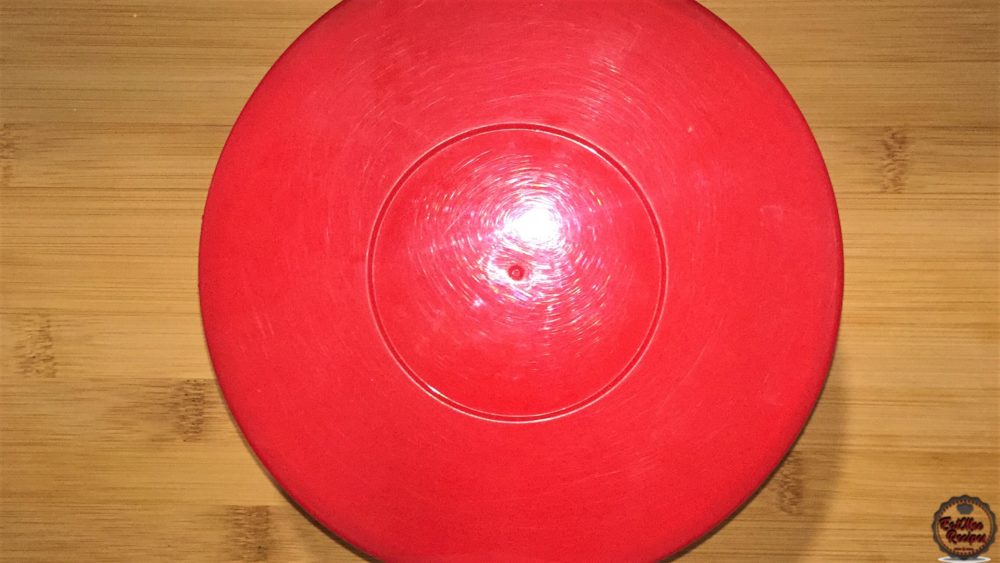
This is the silicone mould that I have used from the accessory kit.
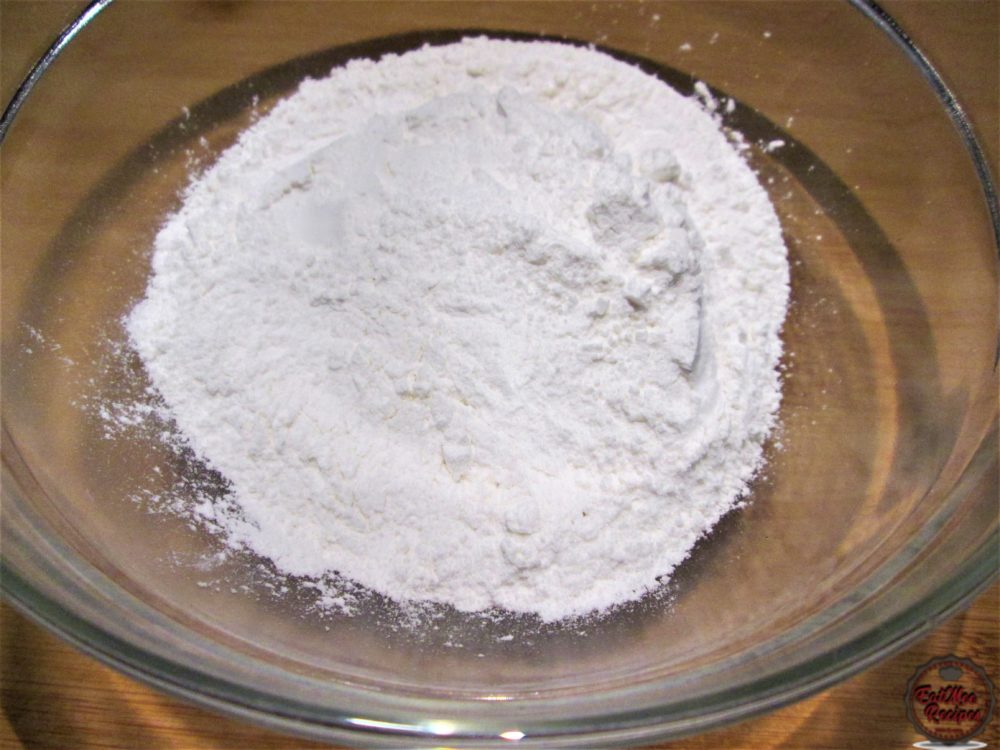
To a mixing bowl, add in the rice flour.
Add in the all-purpose flour.
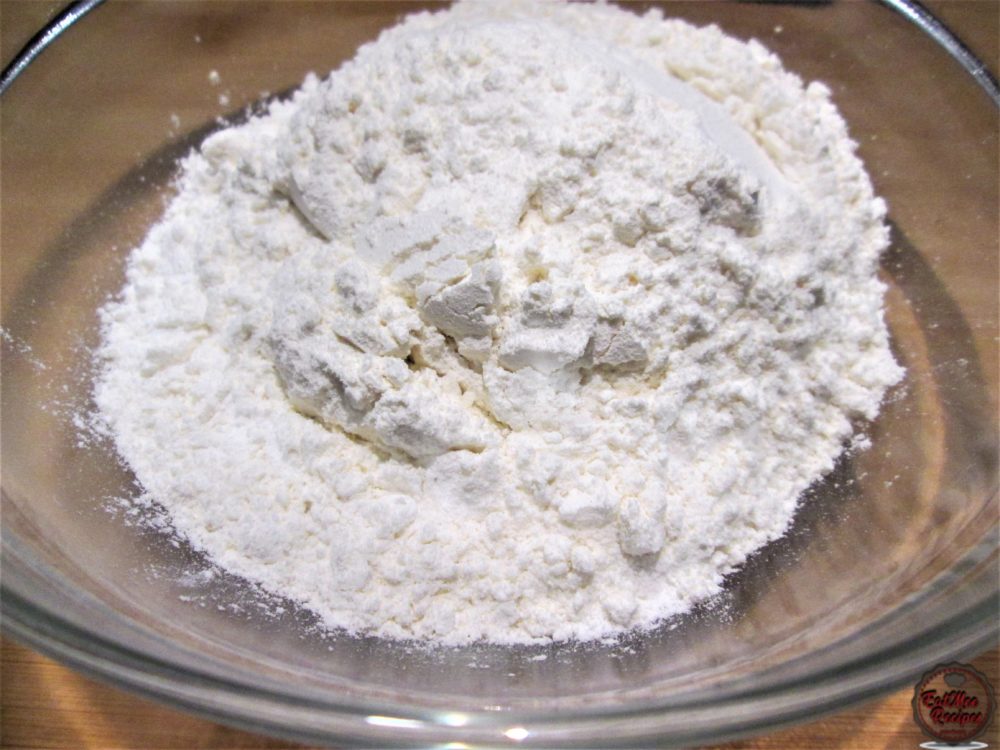
Next, add in the baking powder & the white sugar.
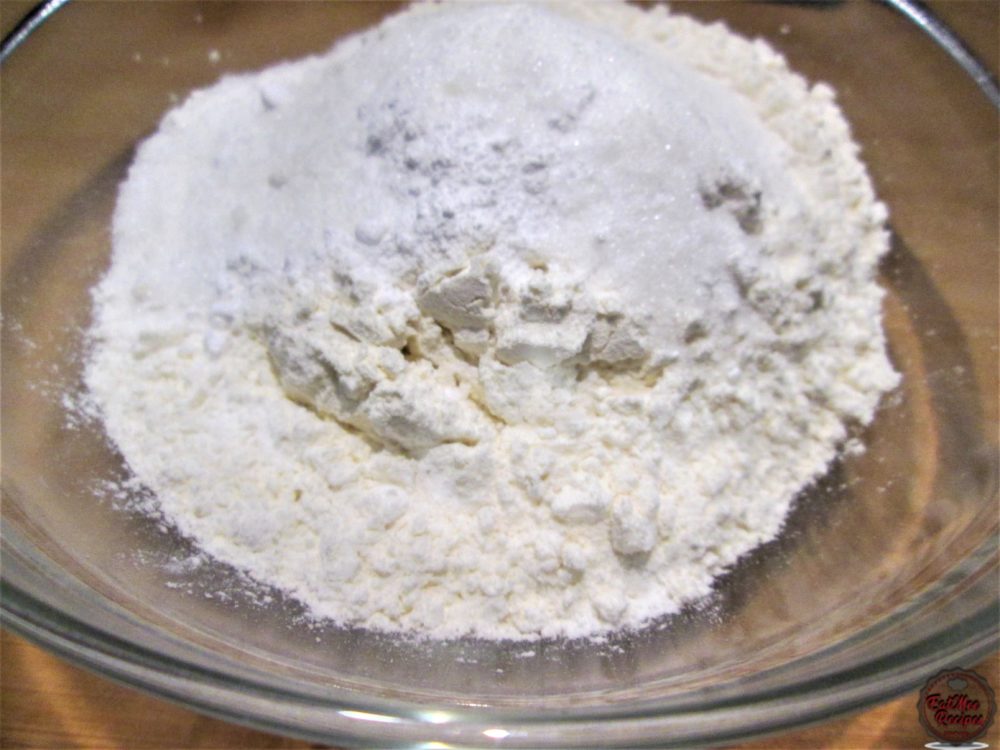
Mix well.
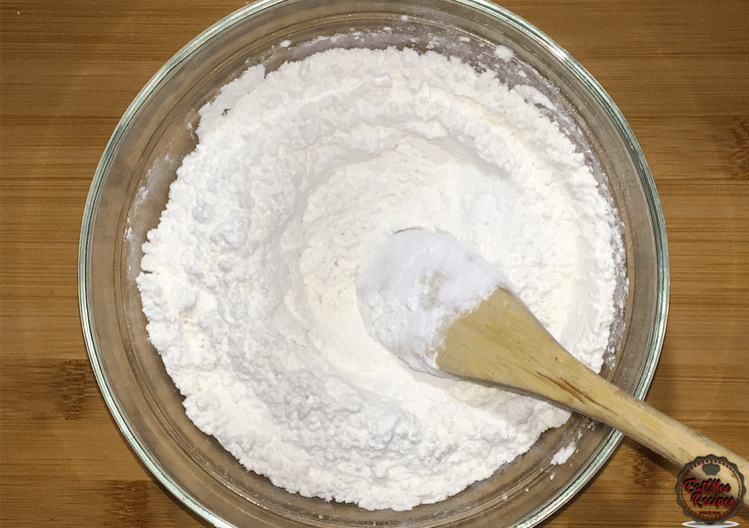
Gradually pour in the milk & mix.
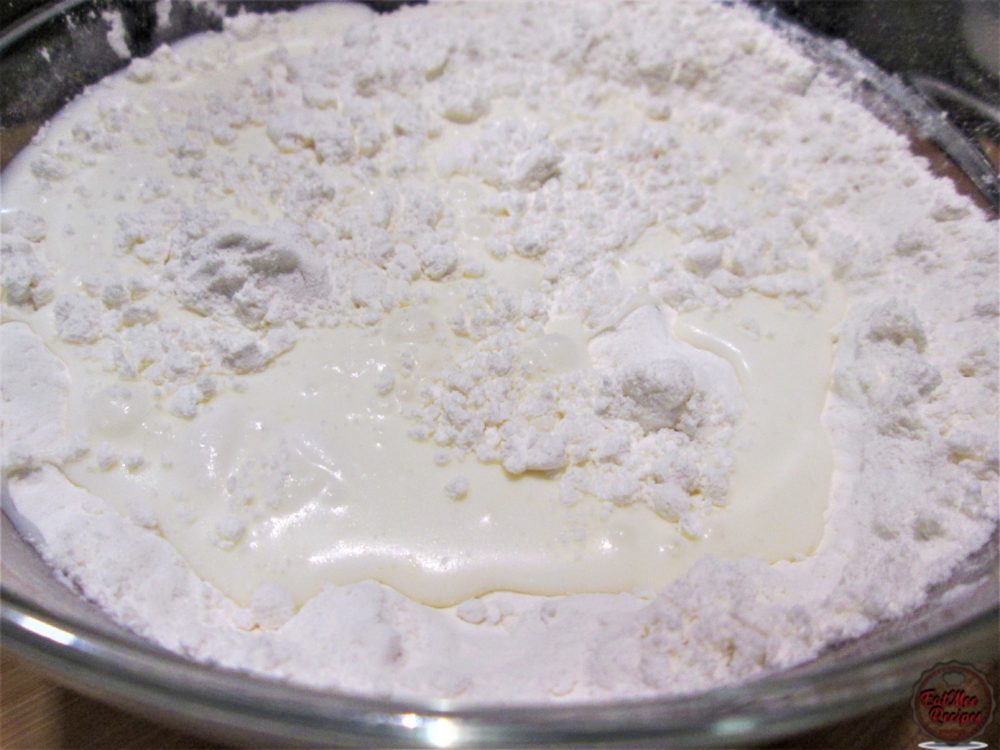
It should result in a pancake like batter not to runny & not too thick.
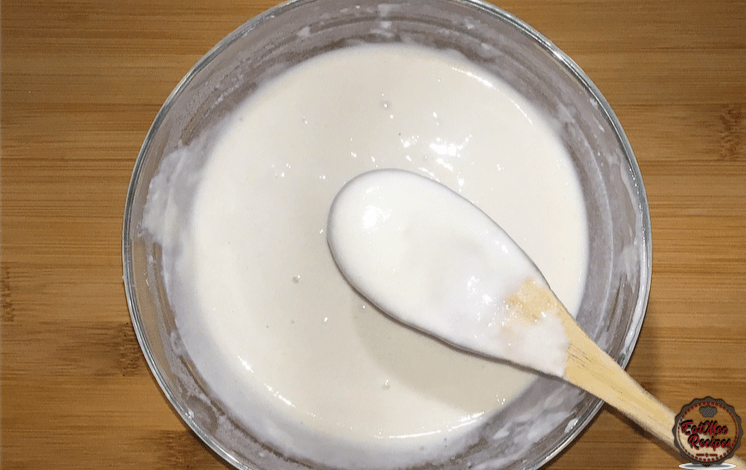
Cover the bowl with a lid or plastic wrap & allow it to rest on the counter for 1 hour.
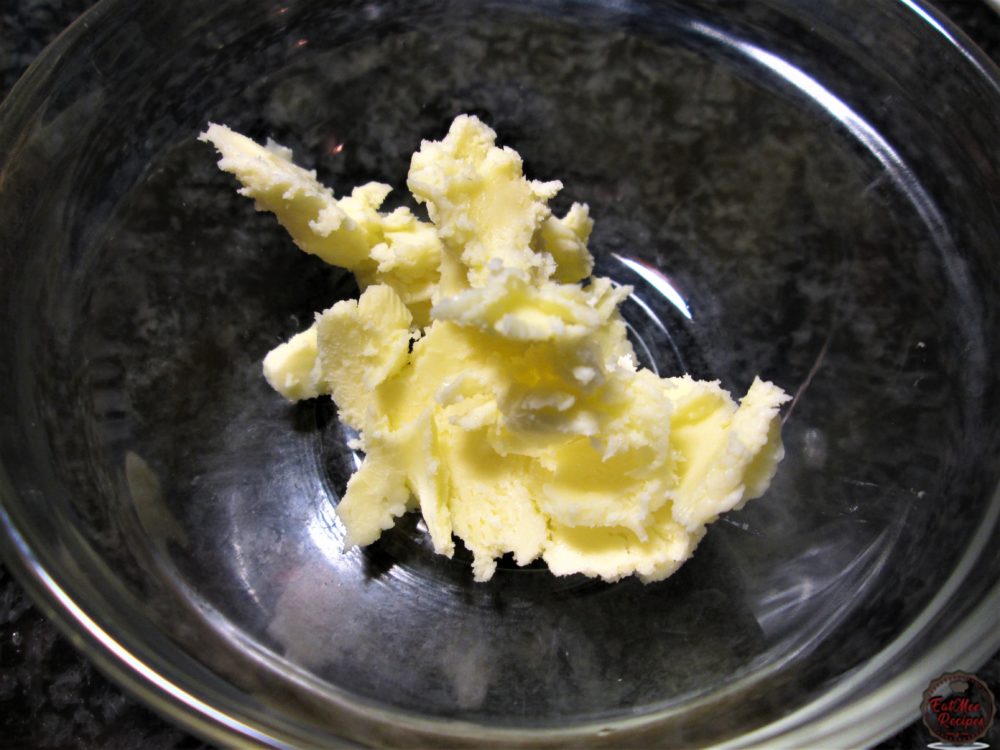
After an hour of resting the batter, melt the butter for a few seconds in the microwave.
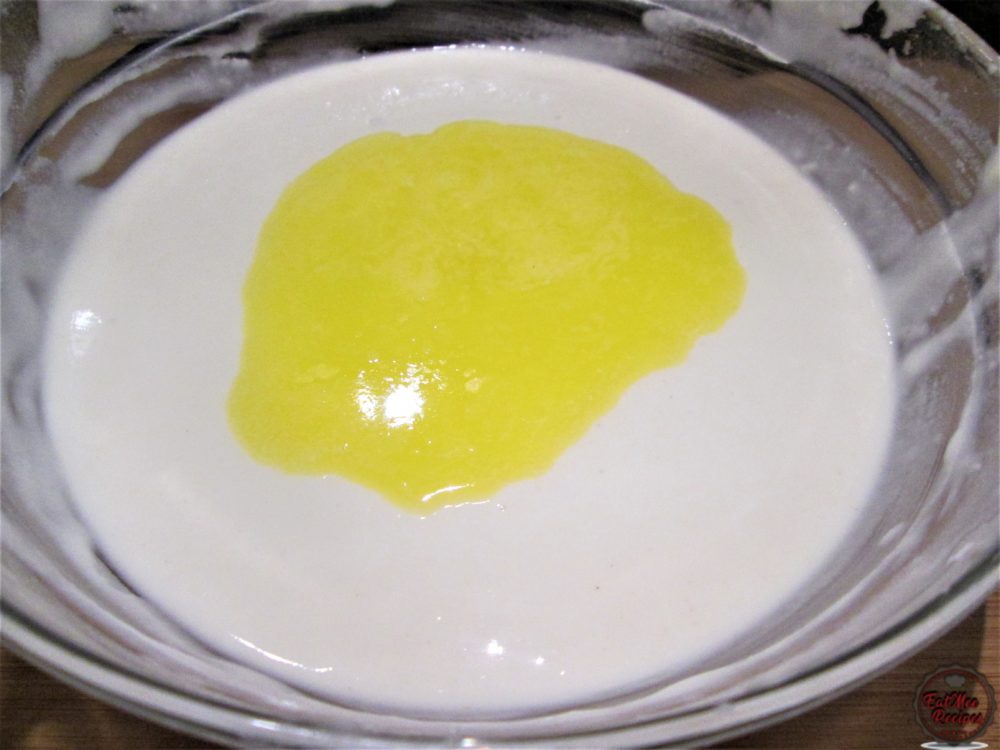
Pour the melted butter into the batter.
Mix well.
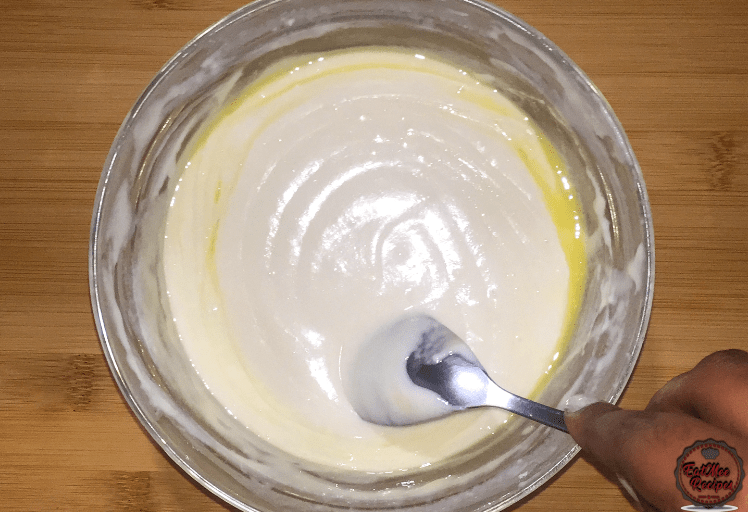
It should become a creamy & smooth batter.
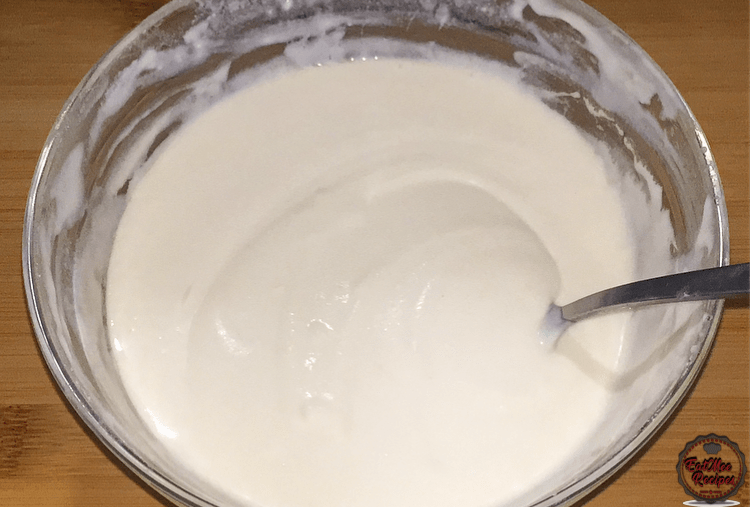
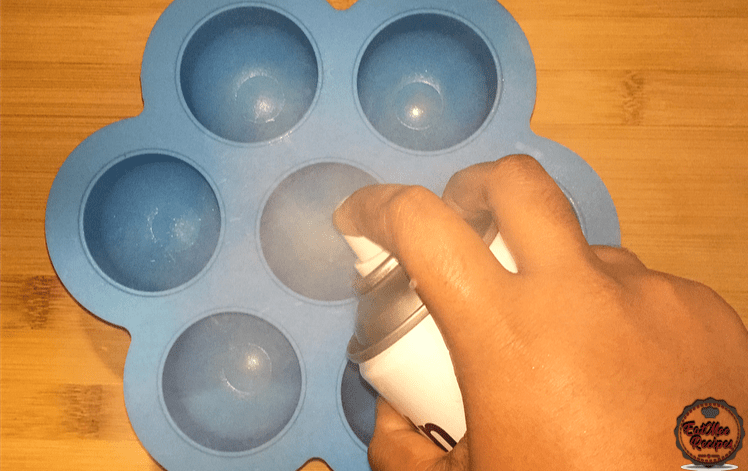
Next, grease the silicone moulds with cooking spray.
Add about 3 tablespoons of the batter to each mould until all the batter is used up.
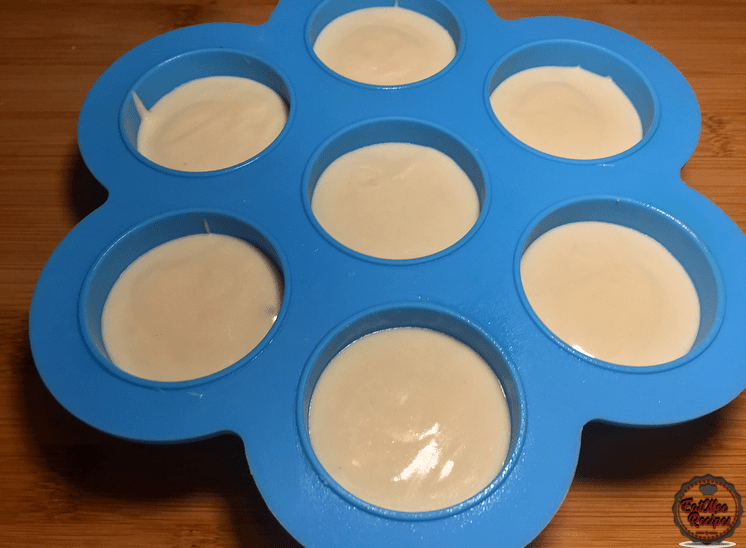
Try not to fill them up to the top as they will rise once steamed.
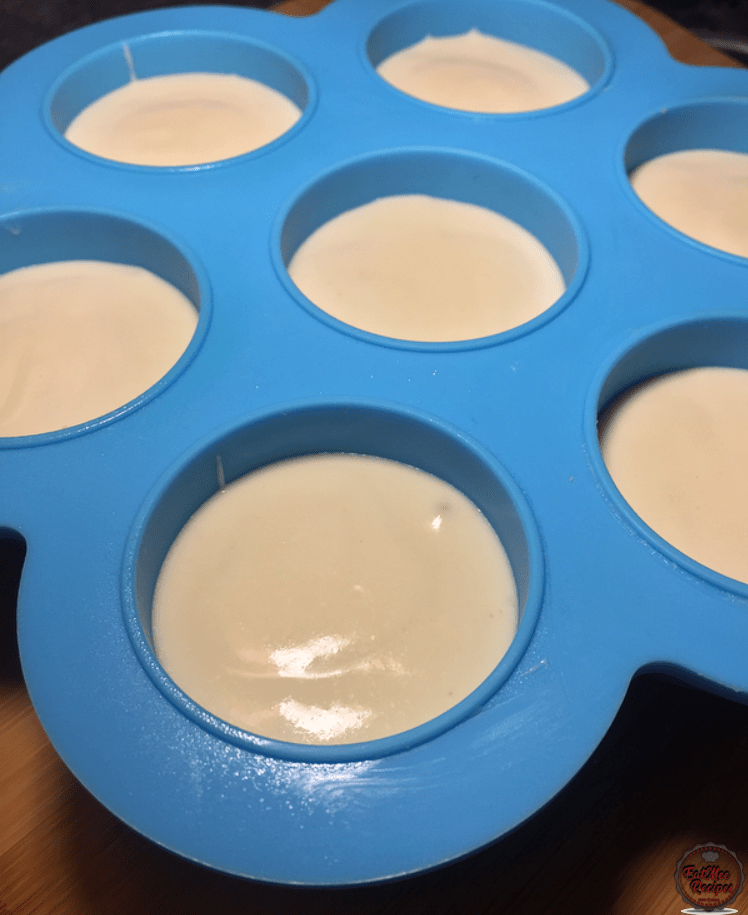
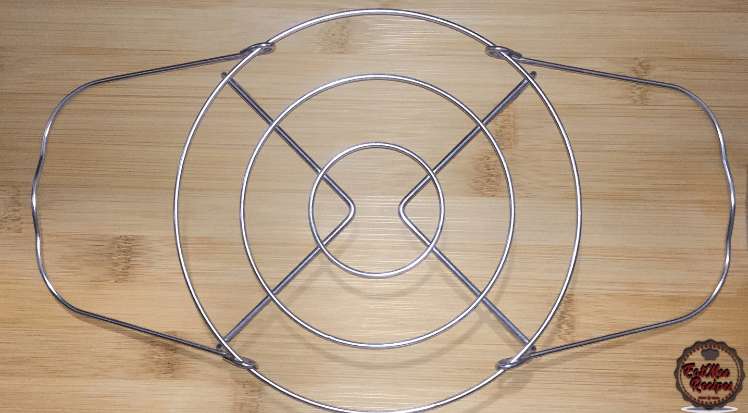
Thereafter, bring out the trivet & place the silicone mould over it.
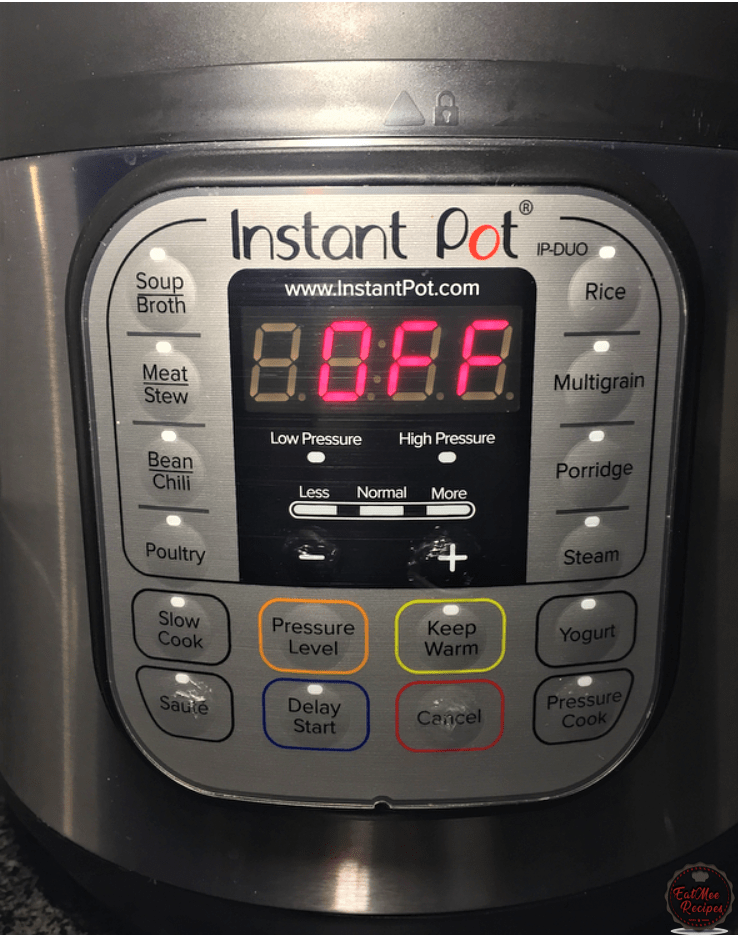
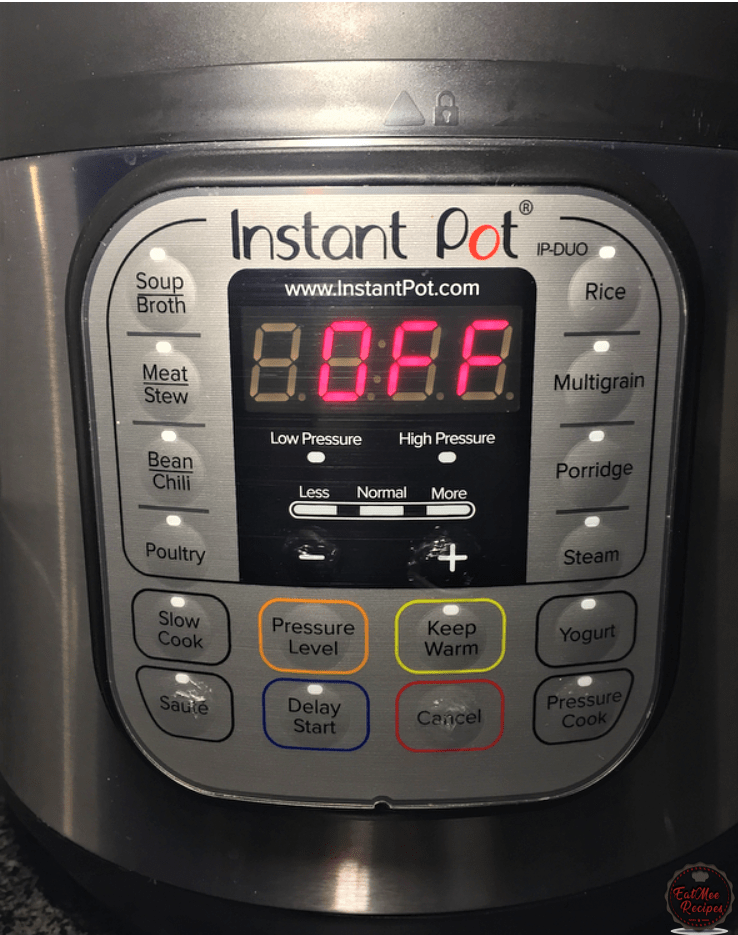
Plug in your Instant Pot, the display should read “OFF”.
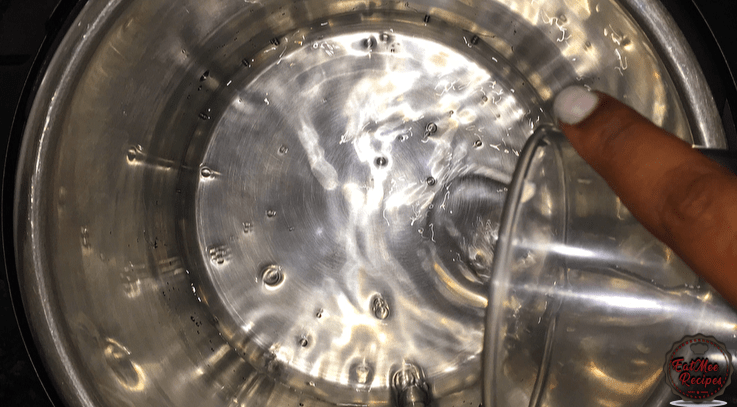
Open the Instant Pot Lid & pour the 1 cup of water into the stainless steel inner pot.
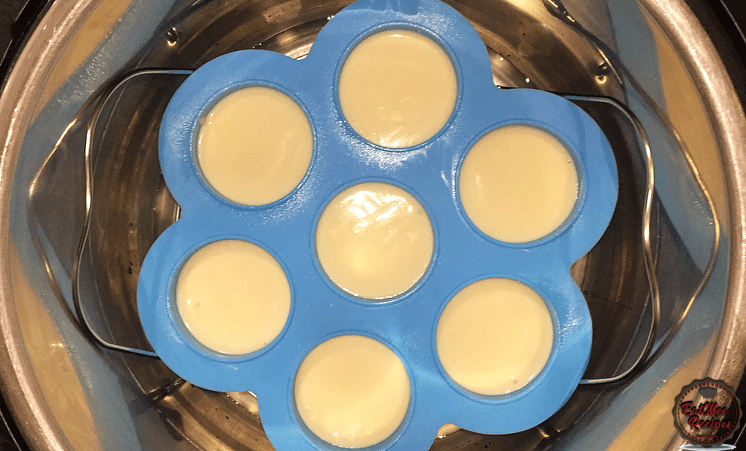
Place the trivet with the silicone mould into the Instant Pot – over the water.
Secure the lid on the Instant Pot.
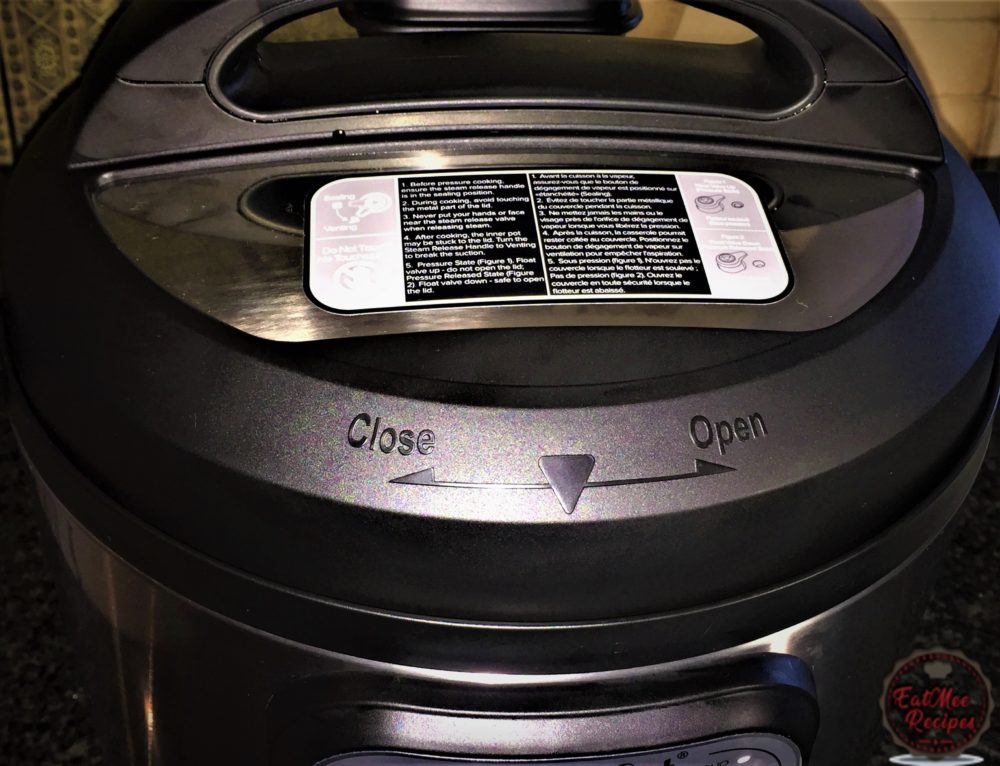
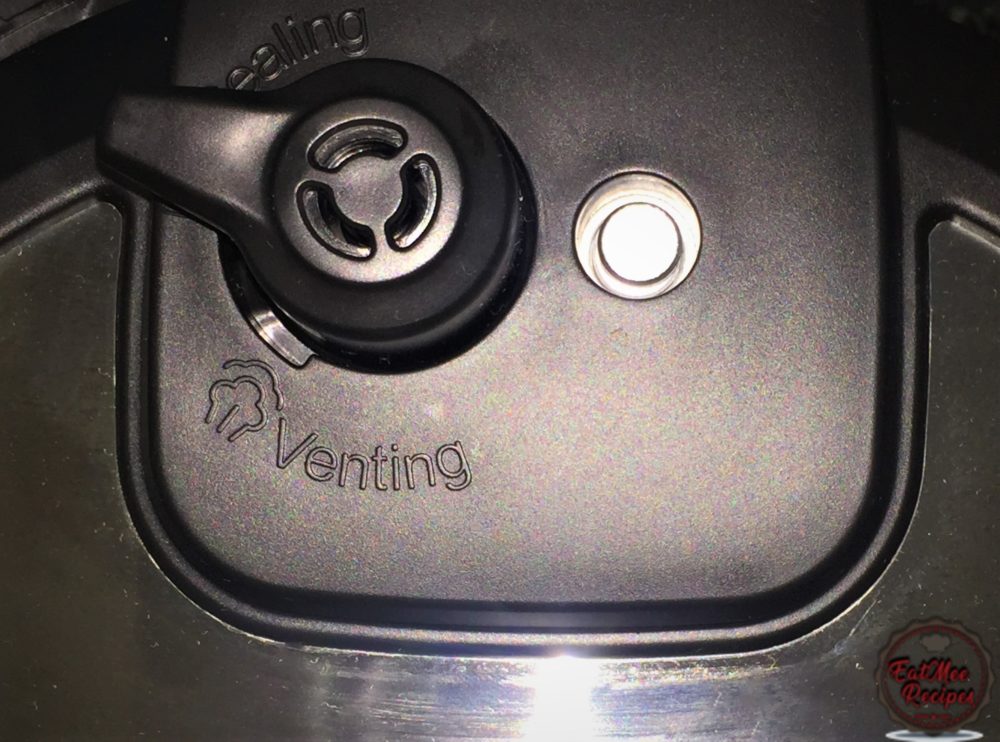
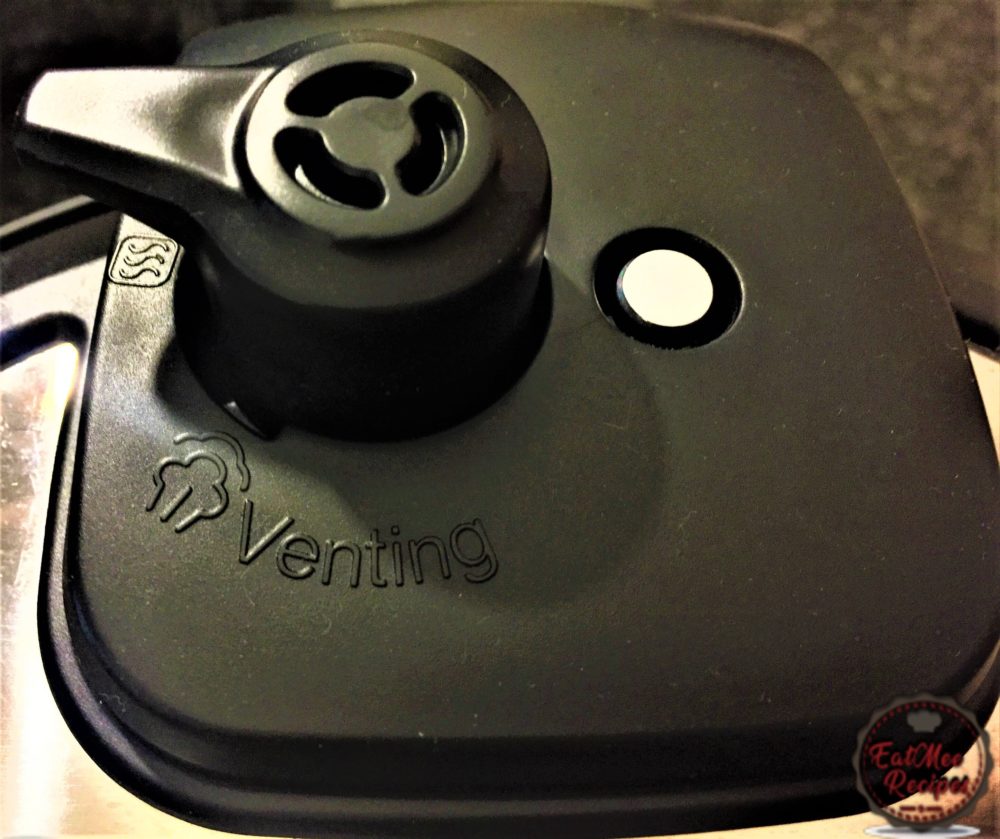
Turn the anti-blockage vent (steam release handle) to “SEALING”.
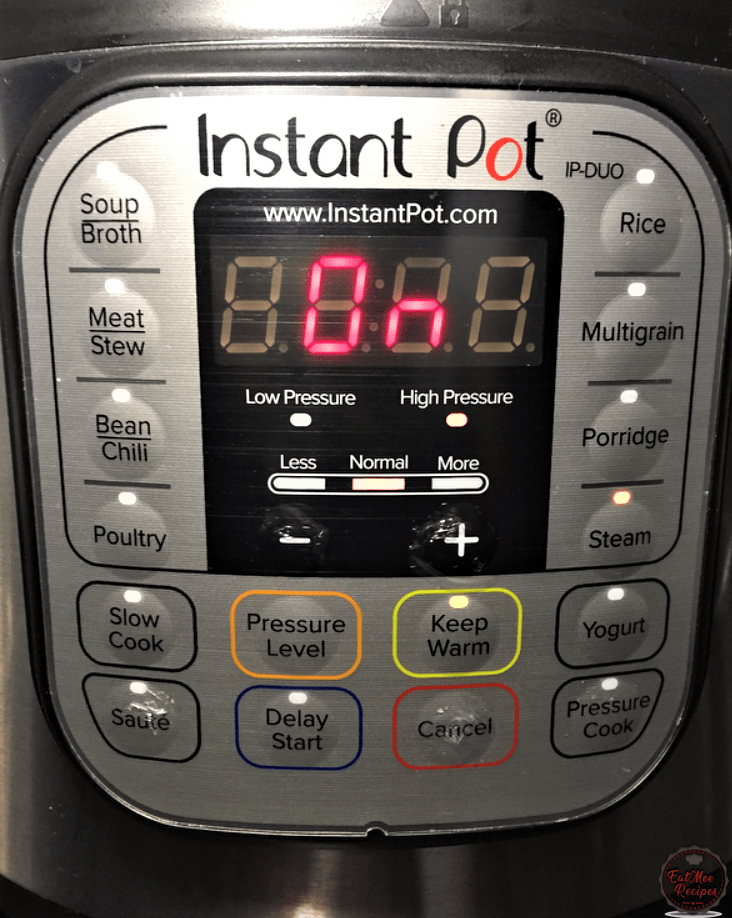
Press the “Steam” button. Press the button again to set the pressure level to “NORMAL” on the display.
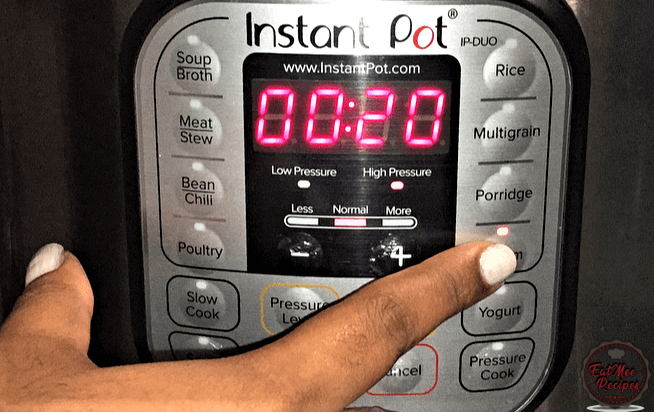
Next, use the “- or +” buttons & set the cooking time to 00:12 (12 minutes).
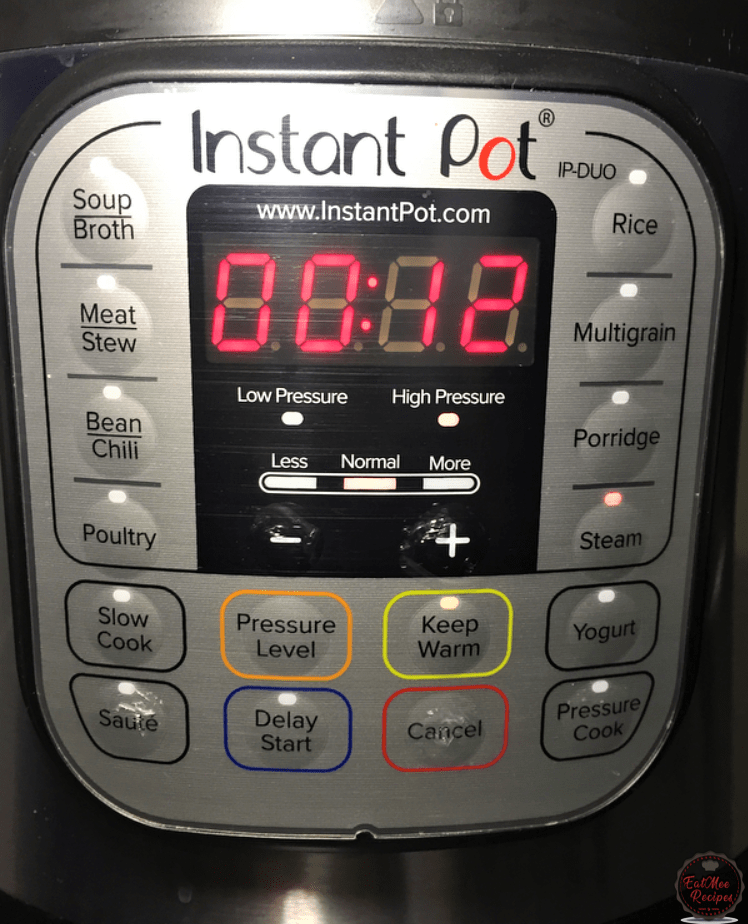
The Instant Pot should display “ON” until the pressure builds up.
Once the pressure builds up, the “float valve” will pop up – when it pops up, do not attempt to open the lid! Thereafter, the 12 minute timer will count down on the screen.
After the 12 minutes are over, Press the “Cancel” button on your Instant Pot.
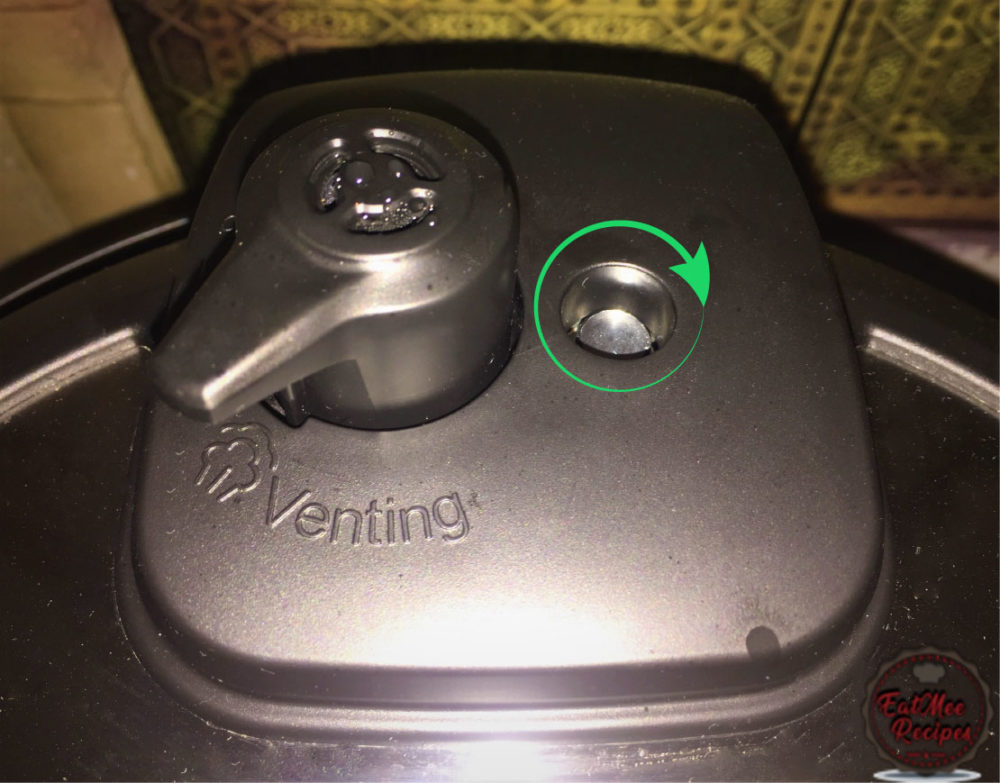
Turn the anti-blockage vent (steam release handle) to “VENTING” to allow the excess steam to release. Once the “float valve” sinks in, it is safe to open the lid.
Carefully take out the trivet from the Instant Pot.
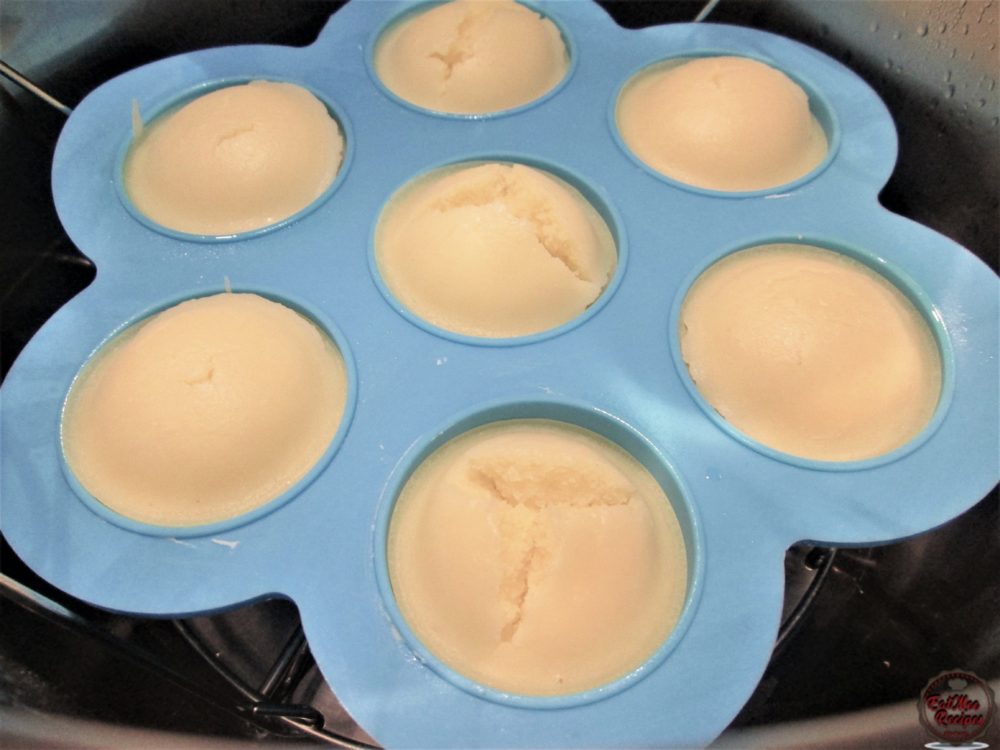
Allow the idli’s to cool for 3 minutes.
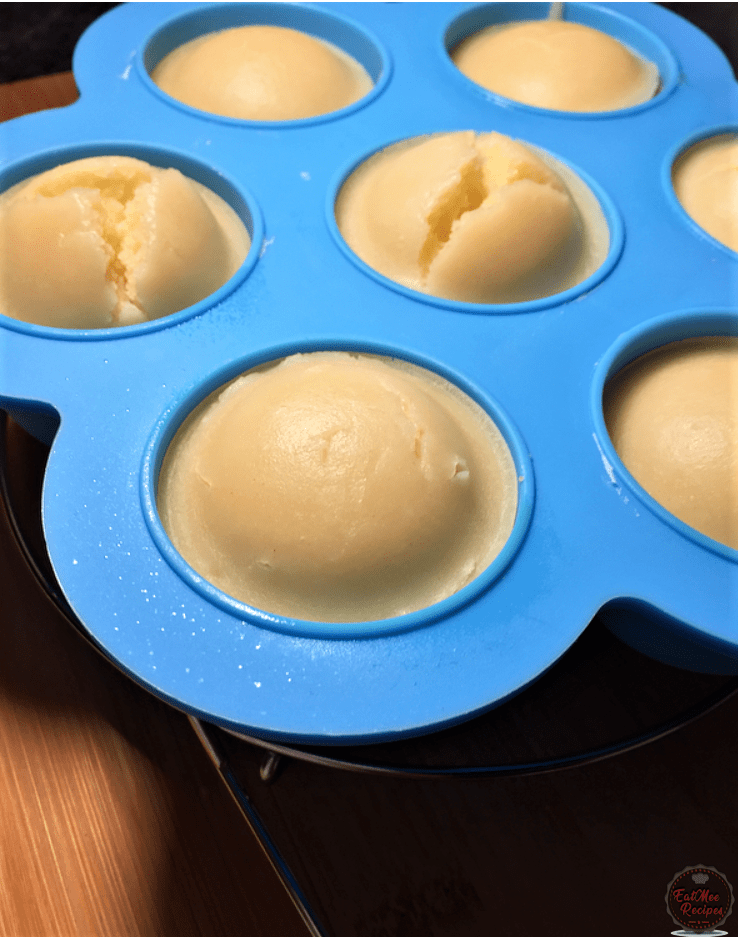
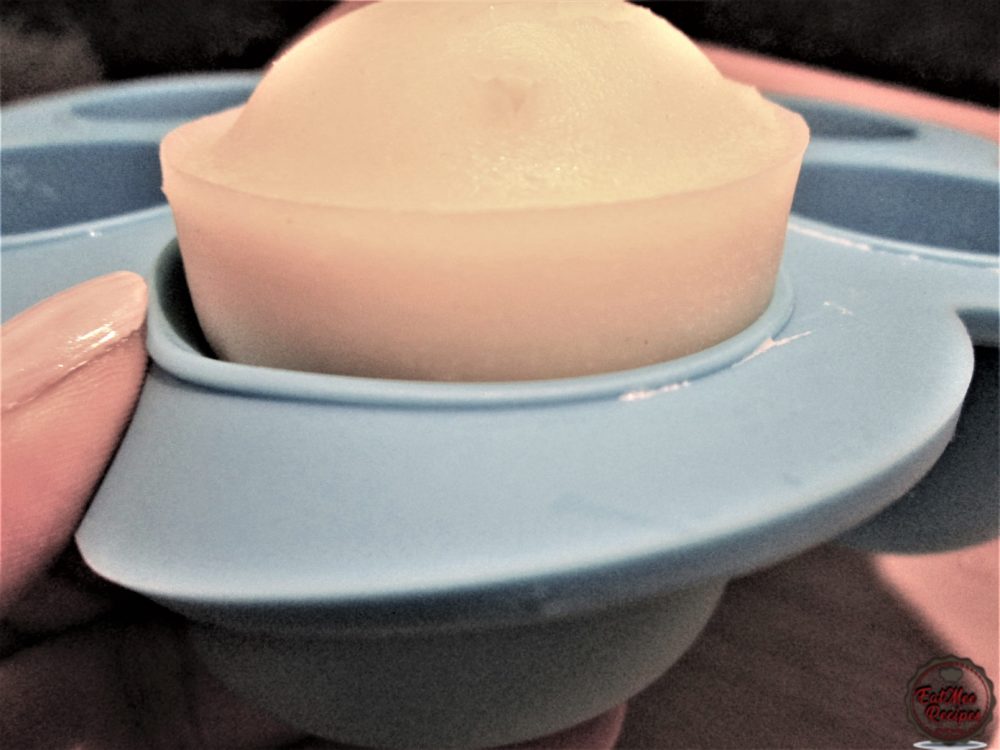
Thereafter, push the silicone mould one at a time from the bottom using your thumb/fingers & watch these idli’s pop out effortlessly.
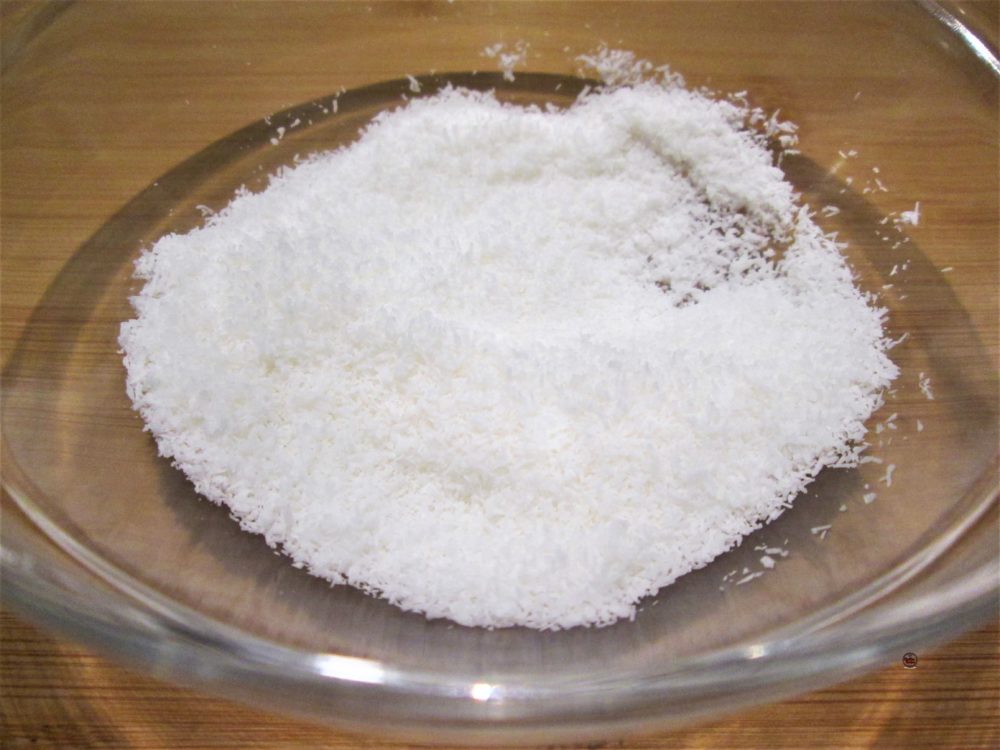
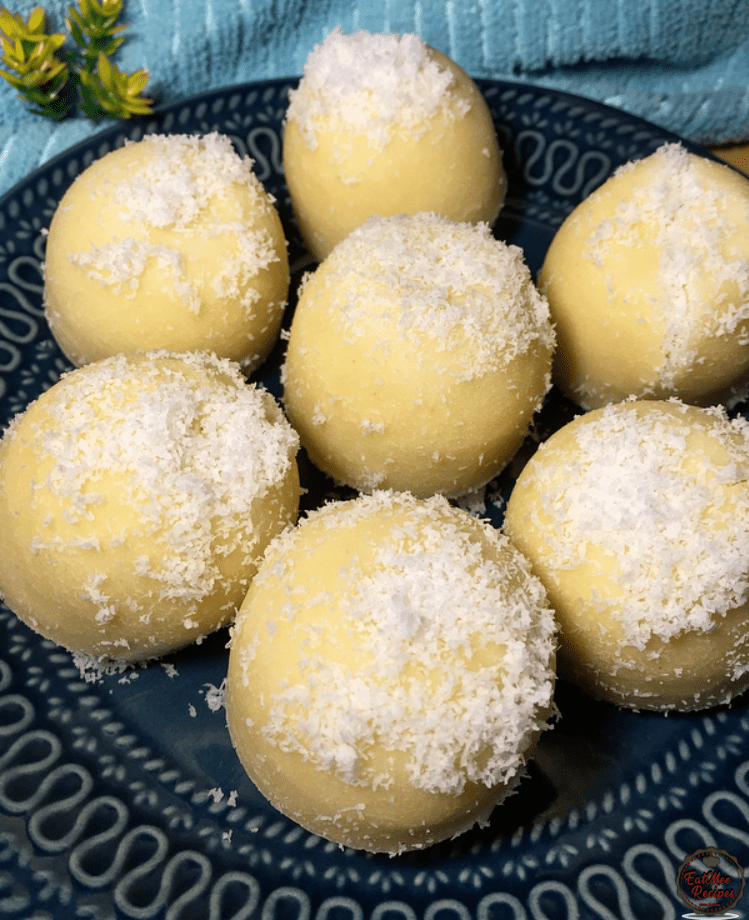
Add the desiccated coconut to a bowl.
Roll the idli’s into the desiccated coconut.
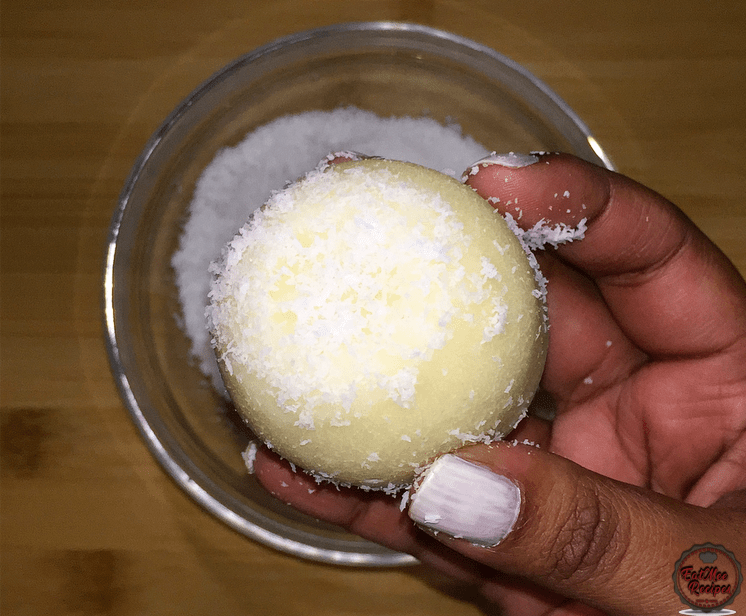
They aren’t the authentic flat shaped idli’s due to them being in these silicone moulds, but they’re still super yum.
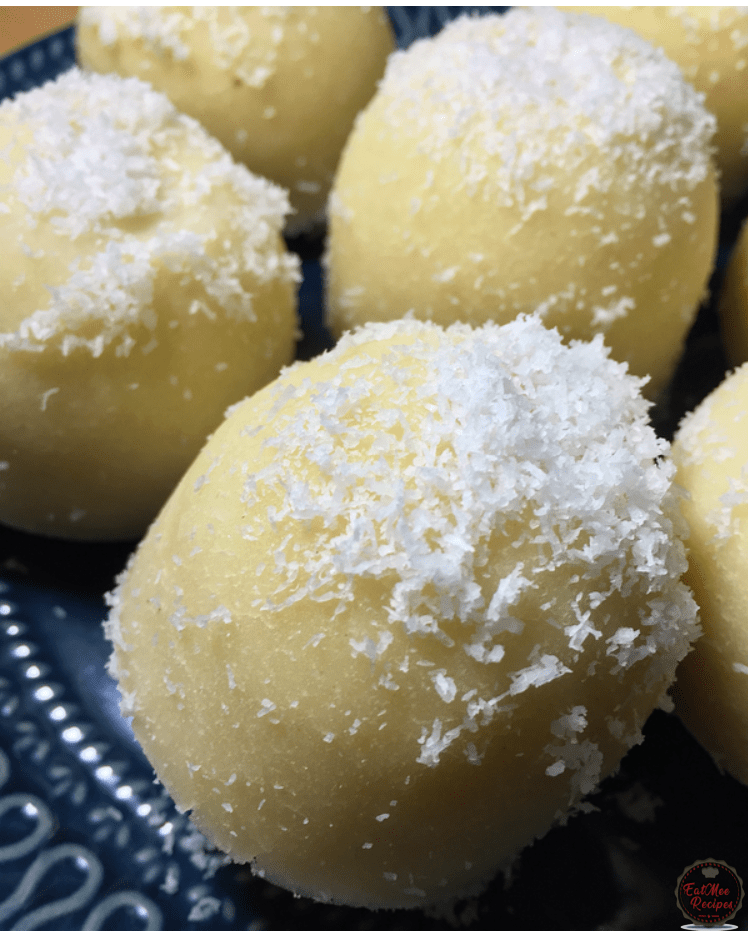
These Instant Pot No Yeast Idli can be served as is.
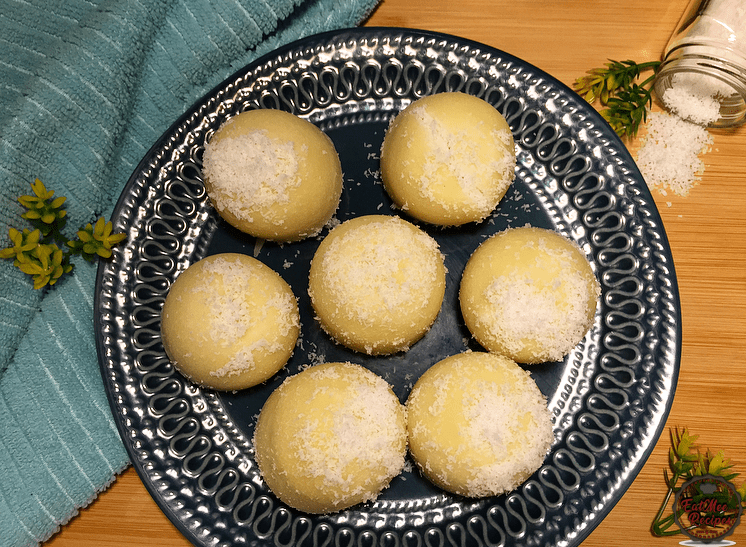
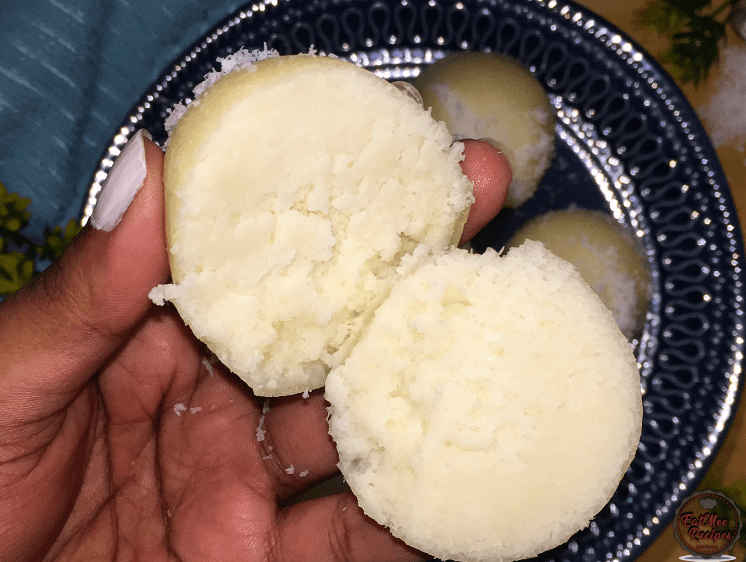
Alternatively, slice them & slather on some butter.
Store in an airtight container for up to a week. They can even be stored in those same silicone moulds as it comes with it’s very own lid.
Follow along with Denisiya's step-by-step video guide for Instant Pot No Yeast Idli.
Expert kitchen guidance and troubleshooting for making the best Instant Pot No Yeast Idli
Absolutely! You can easily tailor the heat by increasing or reducing the chili powder and fresh chilies to suit your family’s palate without compromising the authentic flavor profile.
Yes, you can freeze Instant Pot No Yeast Idli in an airtight, freezer-safe container for up to 2 to 3 months. Thaw overnight in the refrigerator before gently reheating.
Reheat gently on the stovetop over low heat with a splash of water, or in the microwave covered with a damp paper towel to retain moisture.
Hi, I'm Denisiya! Food lover, recipe developer, and founder of EatMee Recipes. I specialize in authentic South African Durban Indian cuisine, comforting curries, and modern Instant Pot adaptations. Every recipe on this site is tested in my personal kitchen to ensure you get mouth-watering, foolproof results every time.
Explore more authentic Durban curries, traditional bakes, and comforting family favourites.
 Indian Cuisine
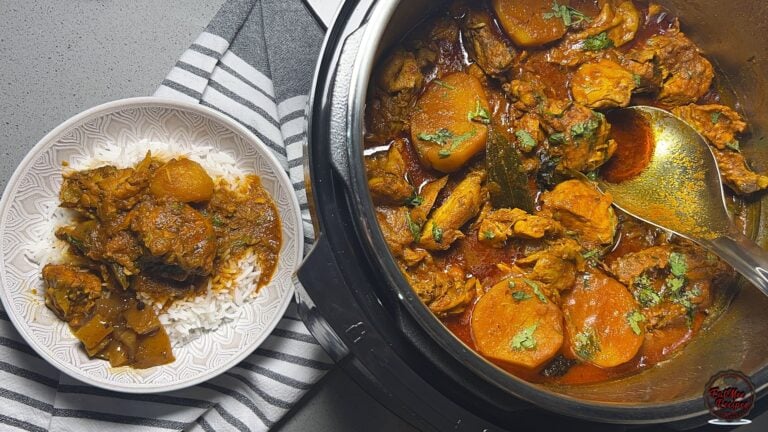
Durban chicken curry isn’t just a meal – it’s a ritual. From the moment the spices hit the...
 Instant Pot Recipes
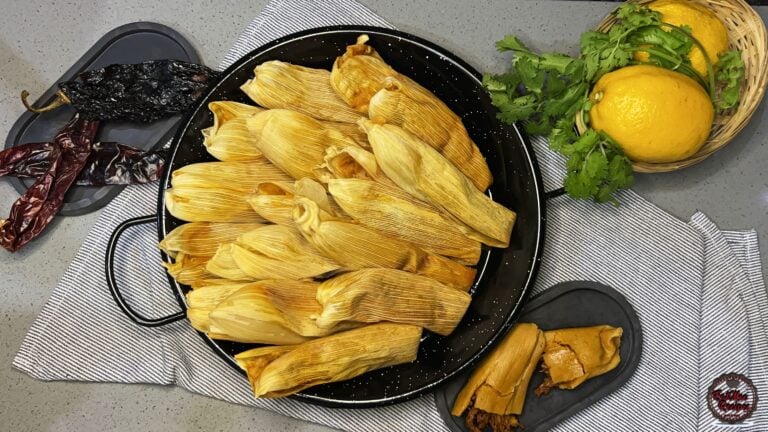
There’s something deeply comforting about making tamales from scratch, the slow layering o...
 Indian Cuisine
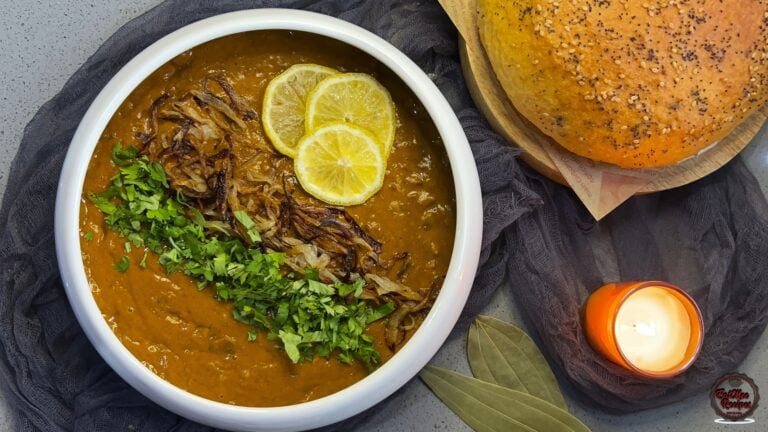
There’s something incredibly comforting about a bowl of rich, slow-cooked haleem. Traditio...
Have you tried this recipe or have questions for Denisiya? Join the conversation below.
No comments yet. Be the first to share your thoughts on this recipe!
Leave a Comment
Your email address will not be published. Required fields are marked *