
We Value Your Culinary Privacy
EatMee Recipes uses cookies to provide a personalized browsing experience, analyze recipe popularity, and serve relevant ads. You can review our full disclosure in our Privacy Policy.
Make authentic Instant Pot Durban Chicken Curry with this foolproof recipe. Packed with rich traditional flavor, step-by-step photos, and cooking tips by Denisiya on EatMee Recipes.

Join over 60,000+ home chefs for weekly authentic Durban Indian cook-alongs, Instant Pot masterclasses, and family heritage recipes.
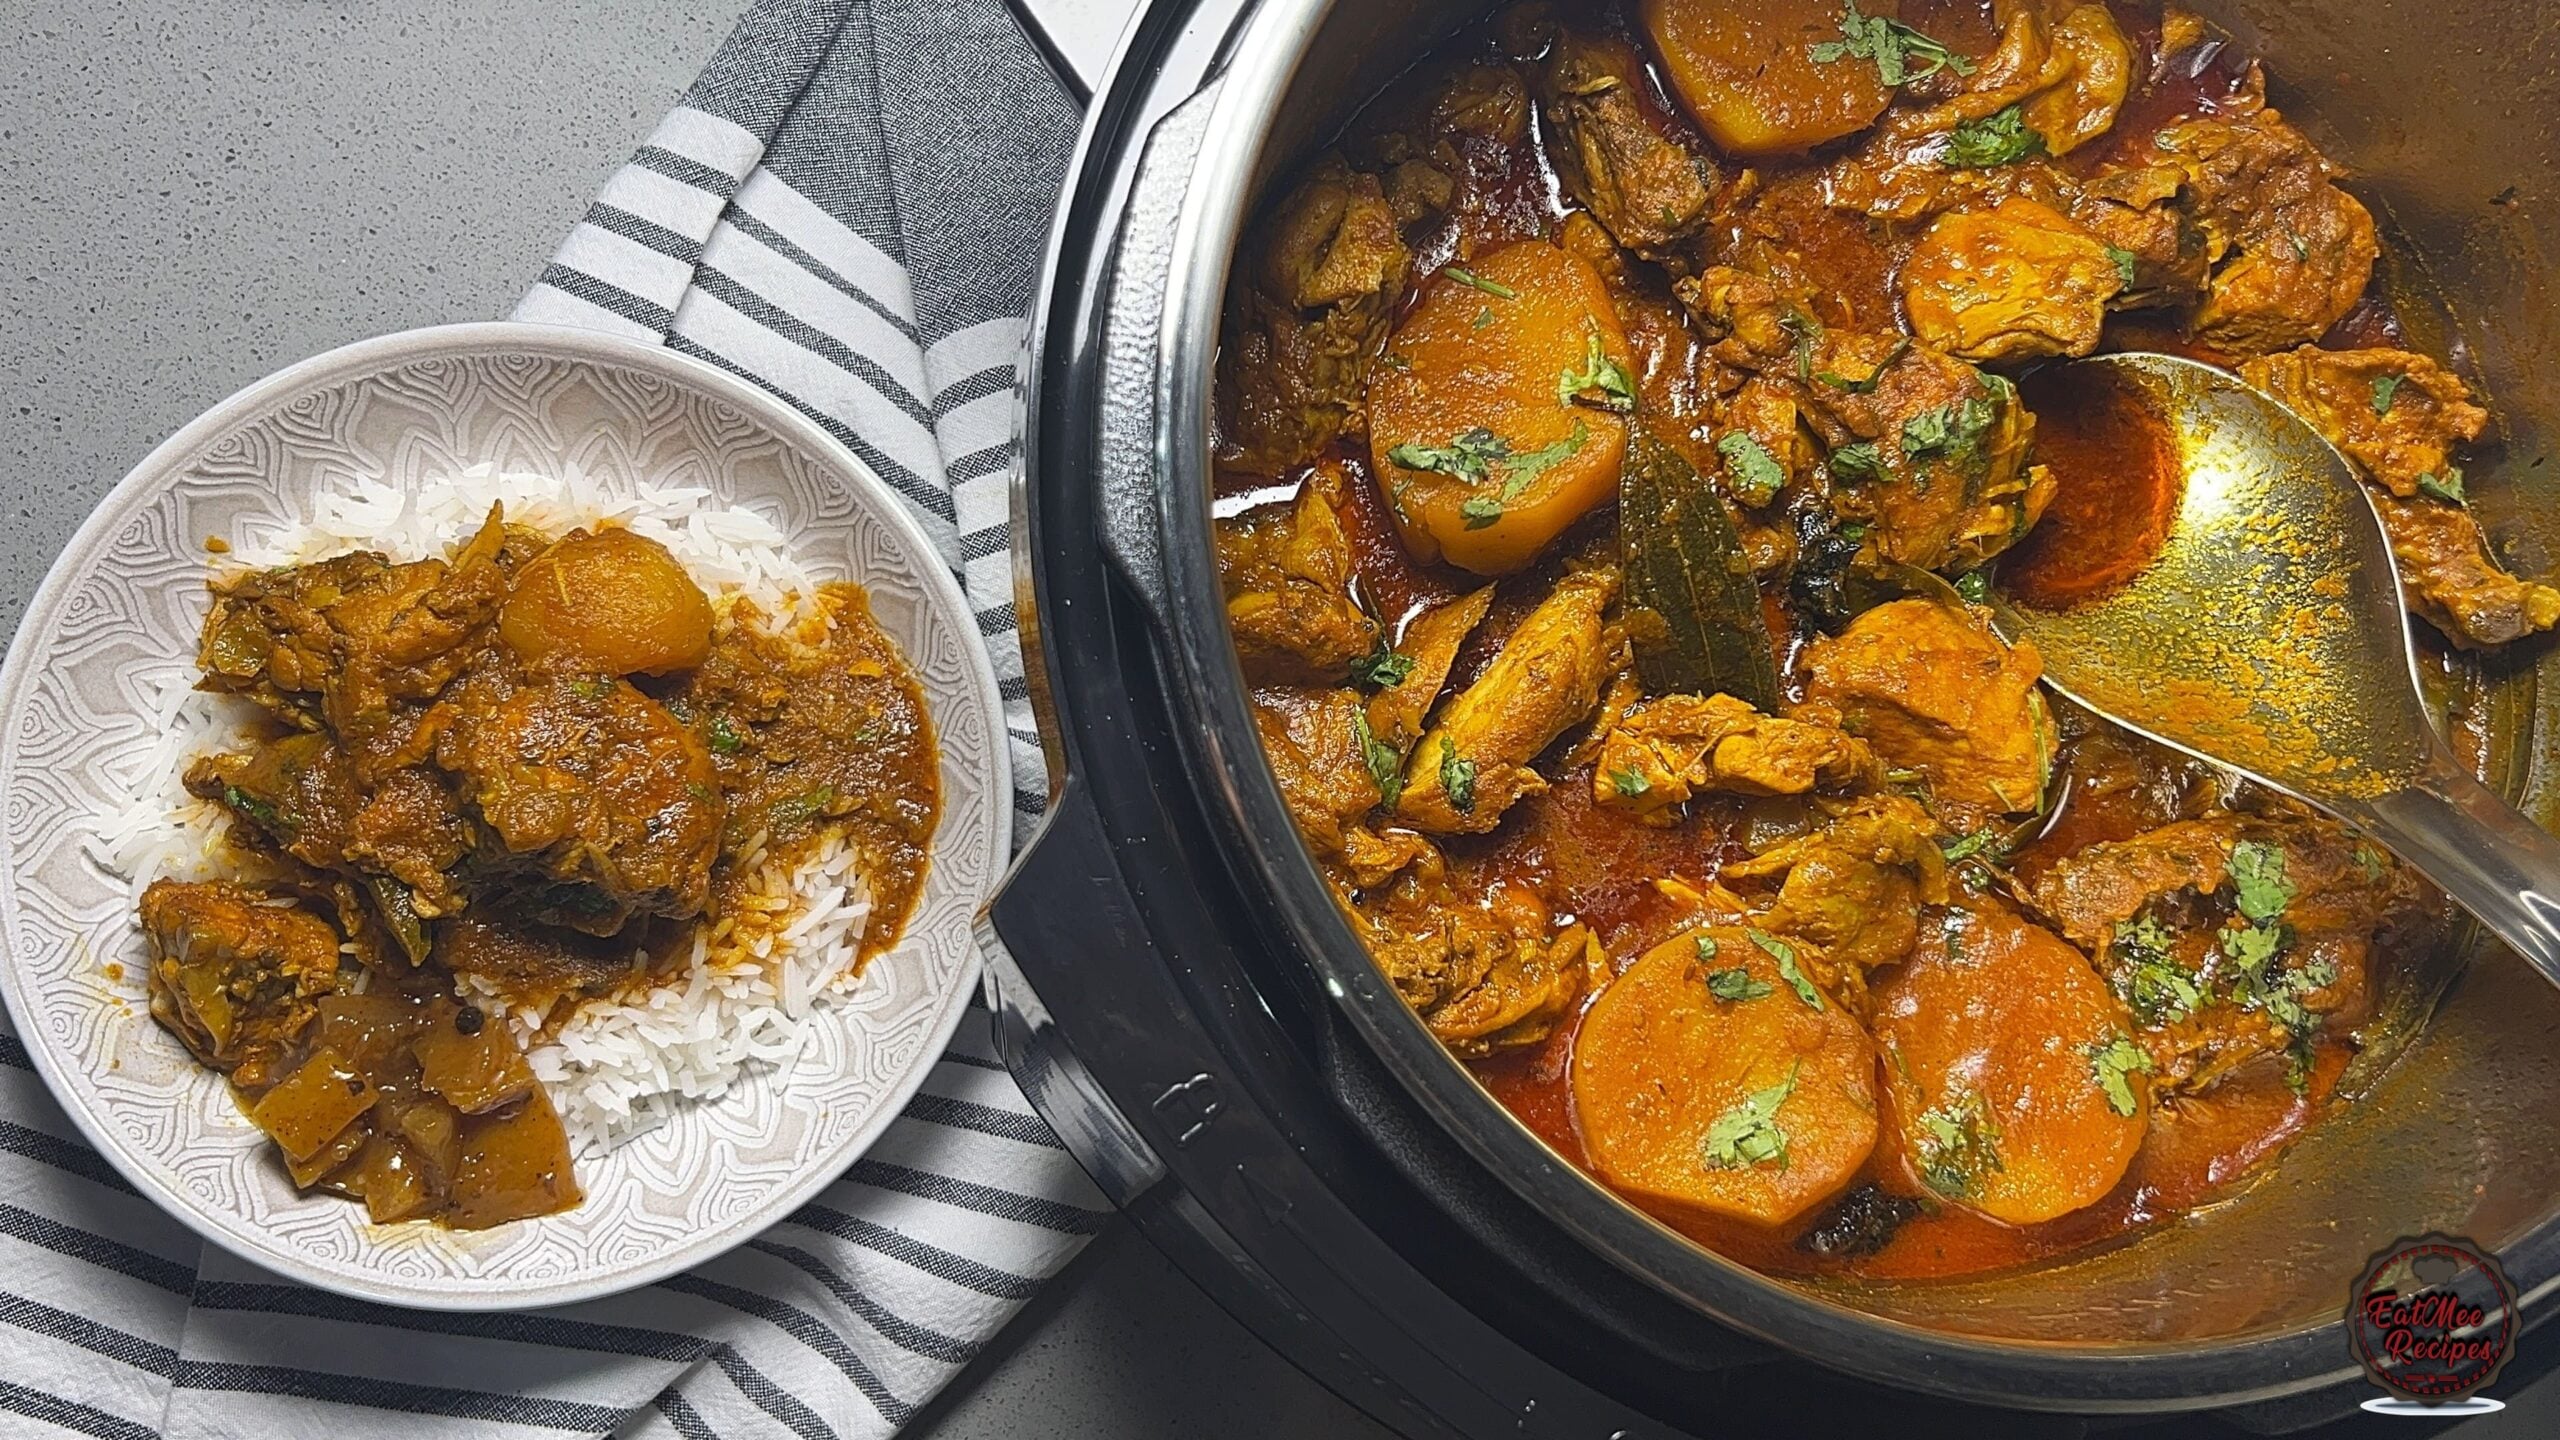
Durban chicken curry isn’t just a meal – it’s a ritual. From the moment the spices hit the pot, you know something special is on the way. This Instant Pot version keeps all that familiar flavour and fire, but brings it together quicker, without losing what makes it truly Durban.
This Instant Pot Durban Chicken Curry stays true to its roots – fiery, fragrant, and full of character while giving you the convenience we all need on busy days. Think tender chicken infused with spices, a beautifully thick gravy, and that unmistakable Durban heat that lingers just enough to keep you going back for more.
Today I’m using my Instant Pot XL Wide to make my Instant Pot Durban Chicken Curry. The wider cooking surface really comes in handy when building a curry like this, from sautéing whole spices to browning the chicken and allowing the masala to cook down evenly in one pot.
Durban chicken curry relies on properly developing its masala, and the Instant Pot XL Wide makes that process far more efficient. Its wider surface area allows for even sautéing and better heat distribution, ensuring the spices bloom correctly and the chicken cooks evenly. The result is a well-balanced curry with depth, body, and flavour in every bite.
For this recipe, I’m using a whole chicken cut into curry portions. It’s one of the best choices for a Durban chicken curry because it gives you a balance of different cuts – thighs, drumsticks, wings, and breast, all cooking together to create a richer, more flavourful dish.
Bone-in pieces are especially important here. As the curry cooks, the bones release flavour into the gravy, giving it that deep, traditional taste that you don’t quite get from boneless cuts. The mix of white and dark meat also adds variety in texture, making every bite a little different.
I’ve removed most of the skin for a lighter finish, but you can leave it on if you prefer. The skin adds extra richness and helps keep the chicken juicy during cooking.
Using a whole chicken is also a more economical option, making it ideal for feeding a family while still delivering on flavour.
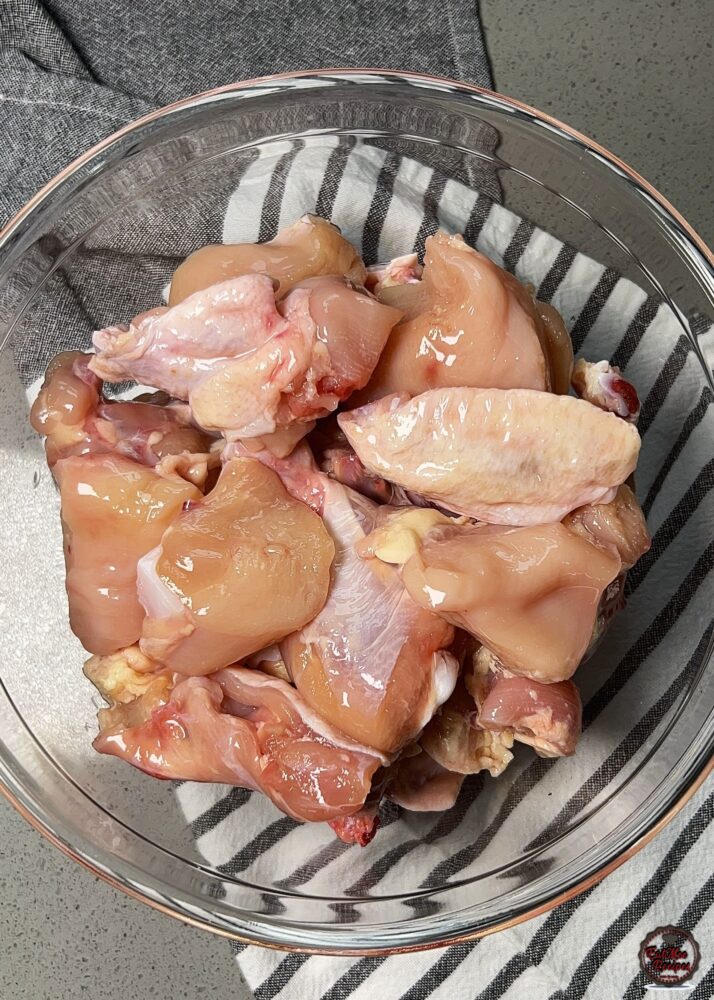
Start by prepping all the ingredients. I’ve used a whole chicken which I’ve cut into curry pieces and skinned – feel free to keep the skin on if preffered. I always rinse my chicken as well but feel free to skip this if you’d rather not.
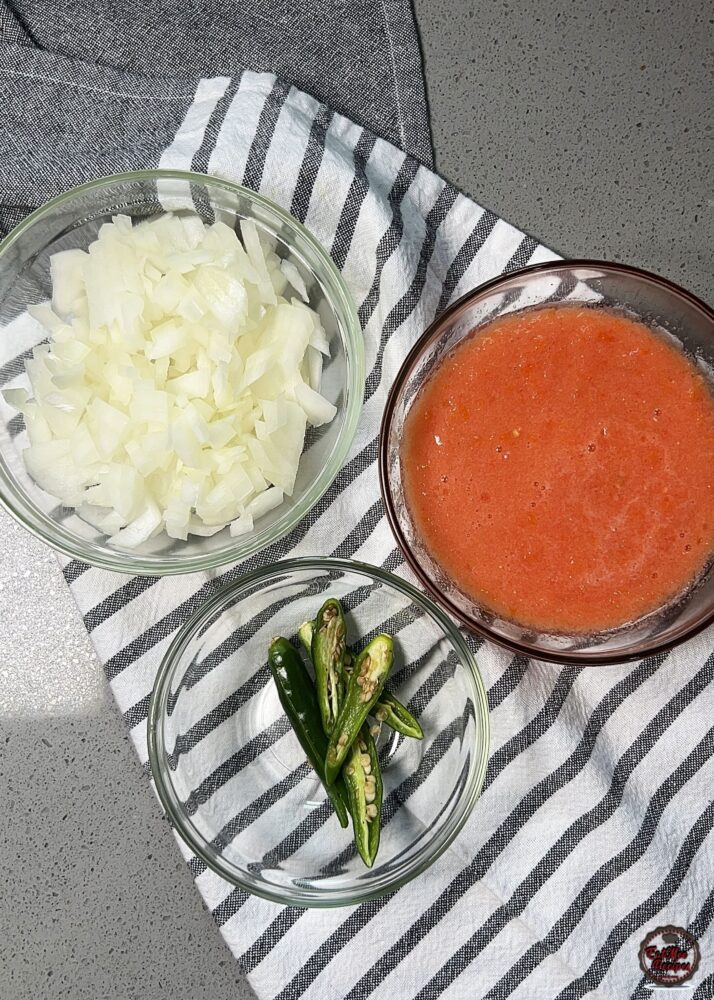
Peel and finely chop the onions, slit the green chillies lengthwise, and blend the tomatoes into a smooth puree.
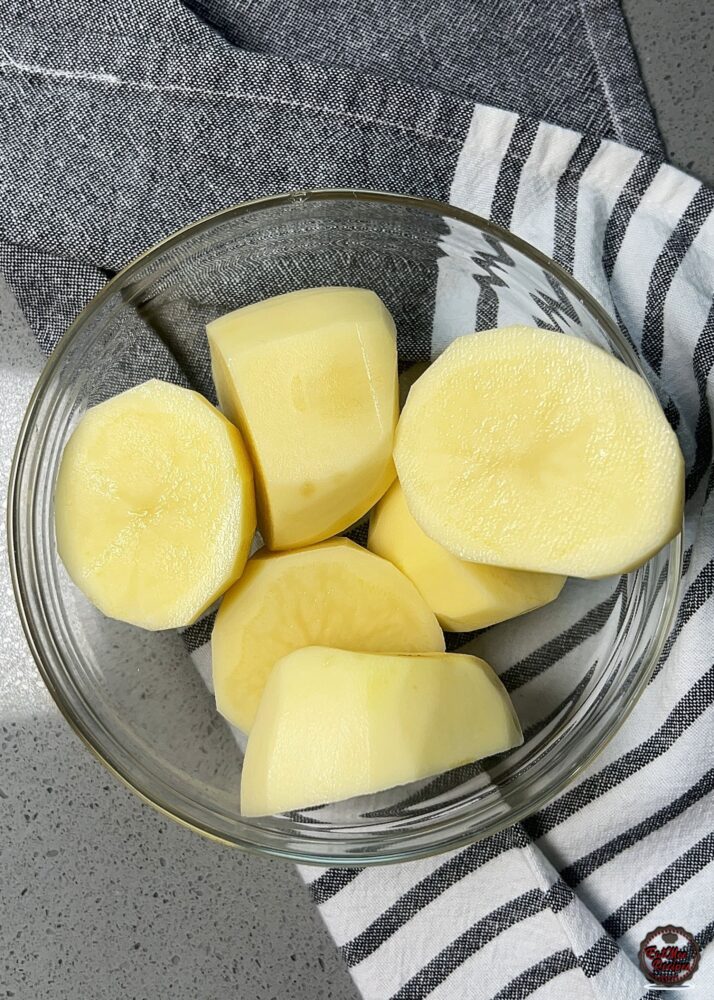
Peel and the potatoes and halve them.
I am using my Instant Pot XL Wide, however, other Instant Pots can be used – the buttons will just differ with other models.
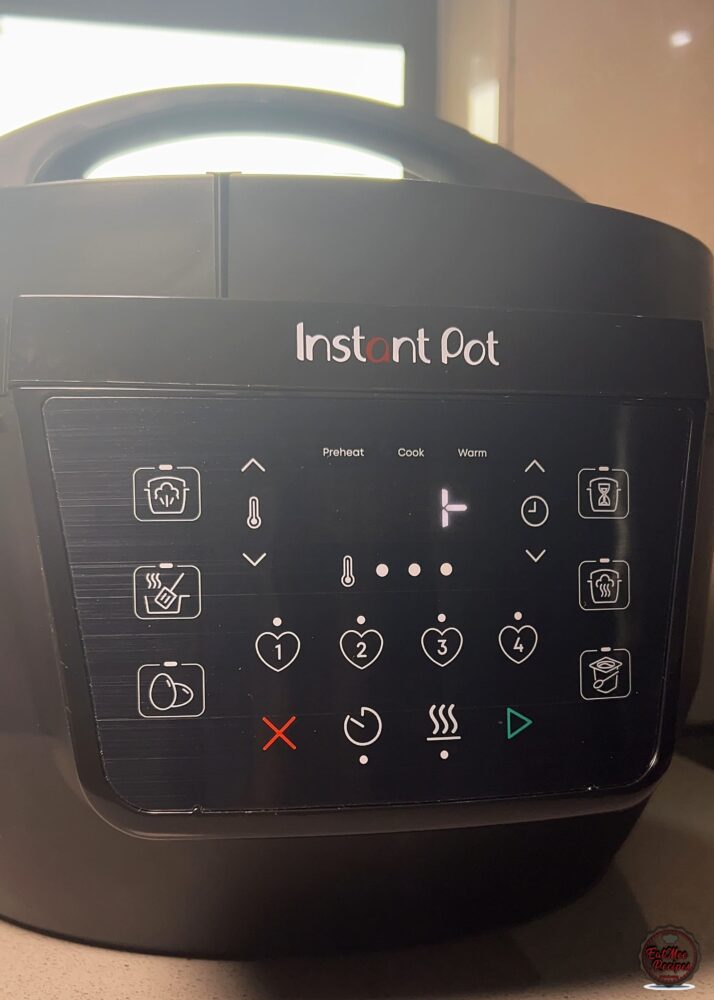
Plug in the Instant Pot, it should display “OFF” on the screen.
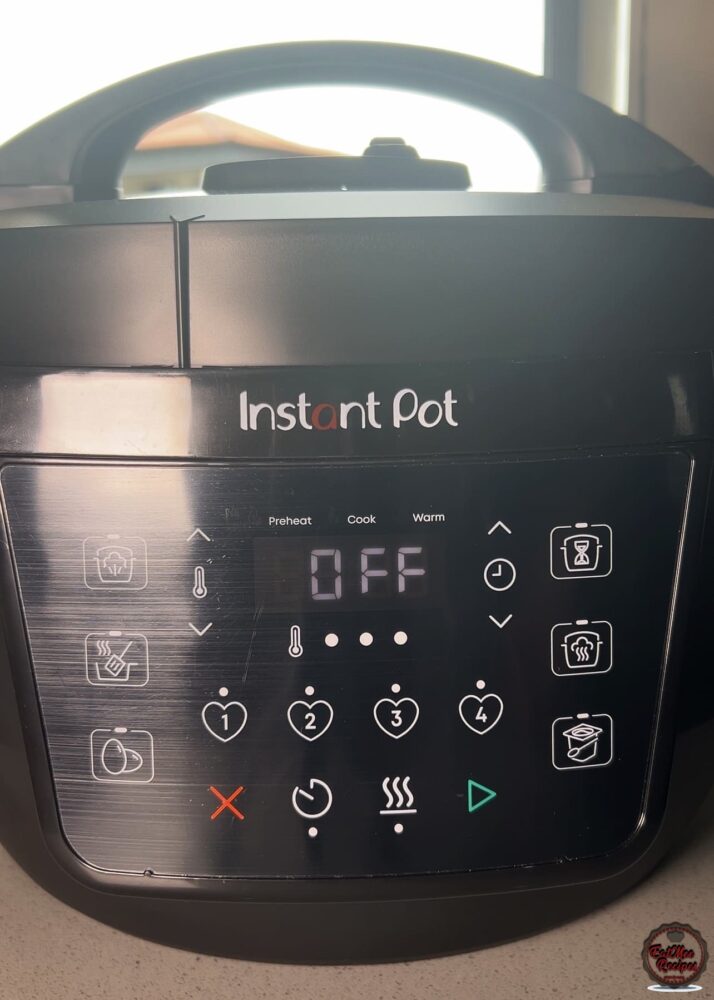
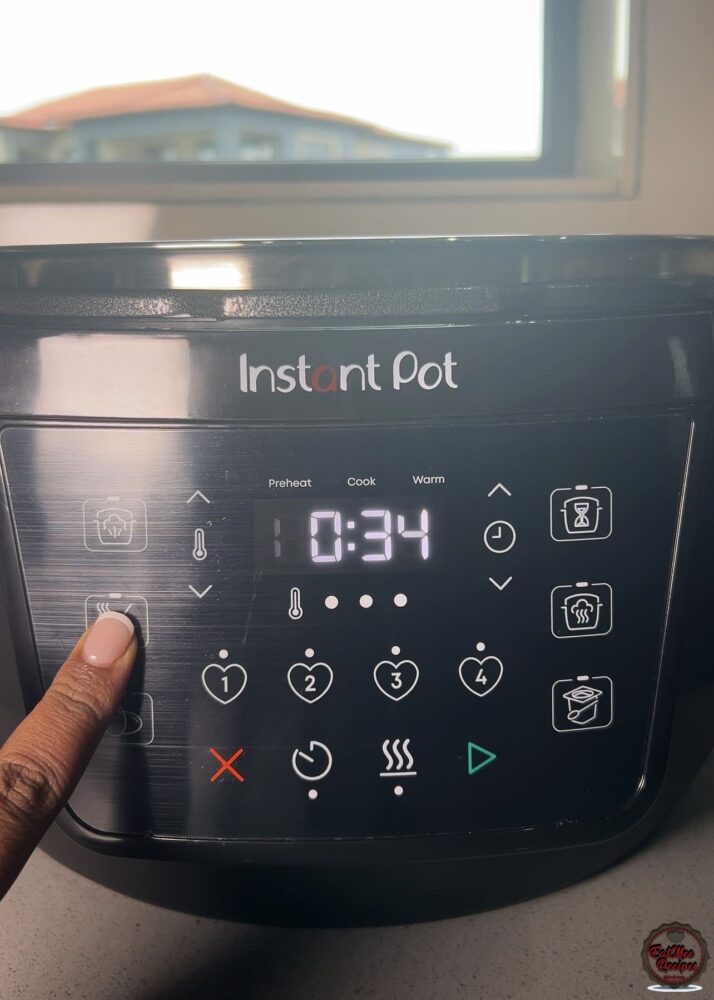
Press the “Sauté” button and press the “Play” button to get started. (On older versions just press “Sauté” it will begin the function).
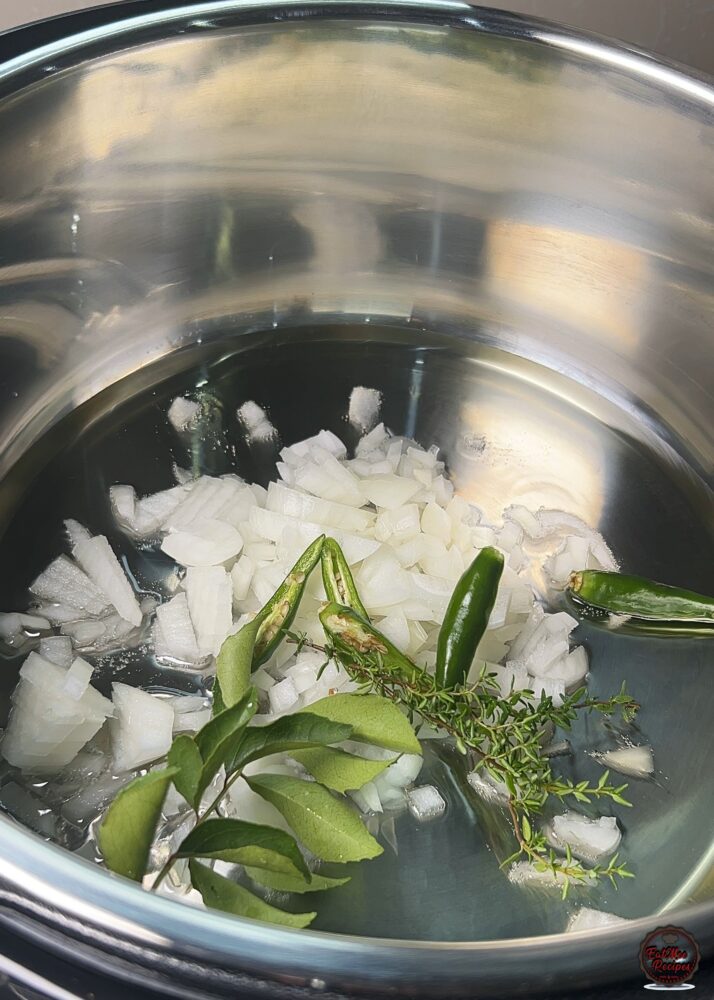
Add in the vegetable oil, once the oil is slightly hot, add in the sliced onions, green chillies, thyme and curry leaves.
Next, add in the whole spices: cinnamon stick, bay leaves, star anise, cumin (jeera) seeds, and fennel (soomph) seeds.
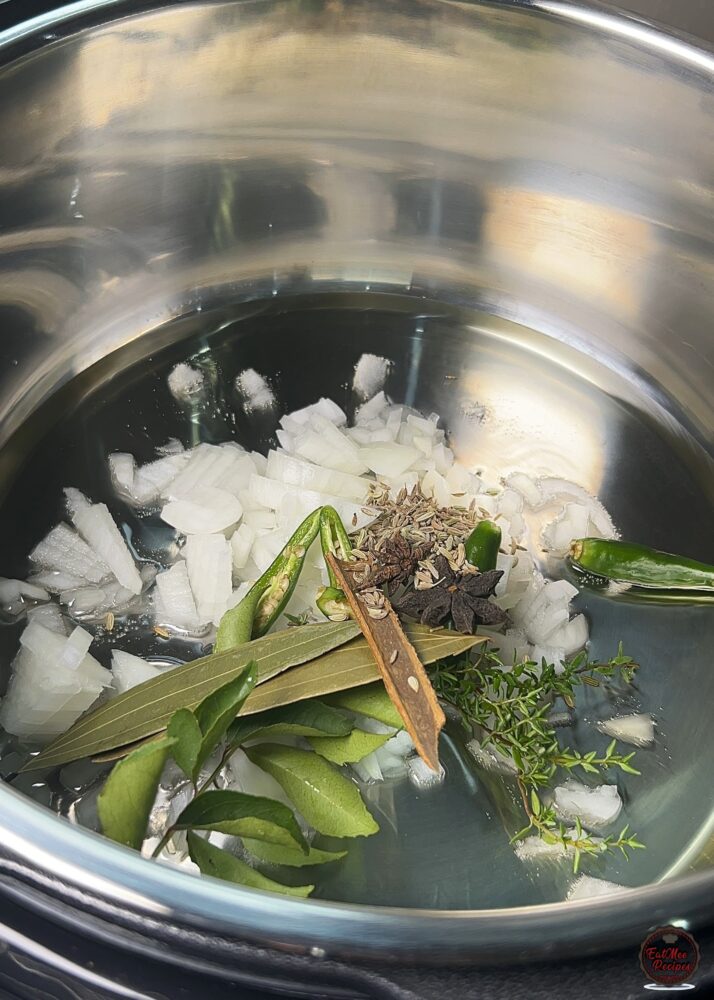
Mix and allow the onions to become translucent.
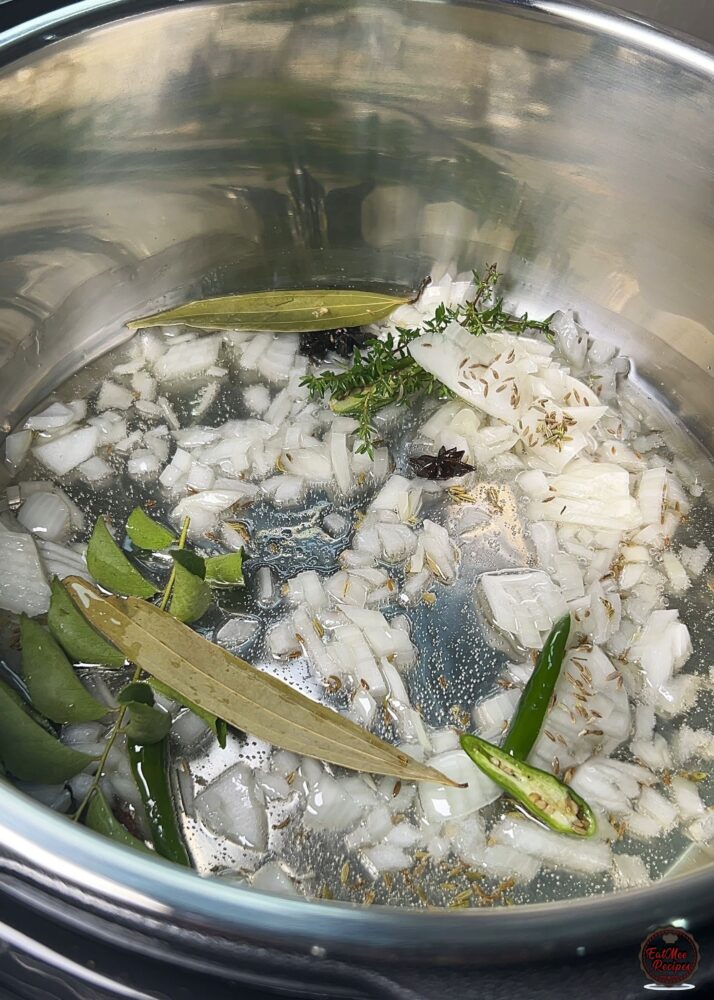
Once the onions are translucent, add in the ground spices: chilli powder or curry masala, garam masala, cumin (jeera) powder, coriander (dhania) powder, cardamom (elachi) powder, turmeric powder and ginger and garlic paste.
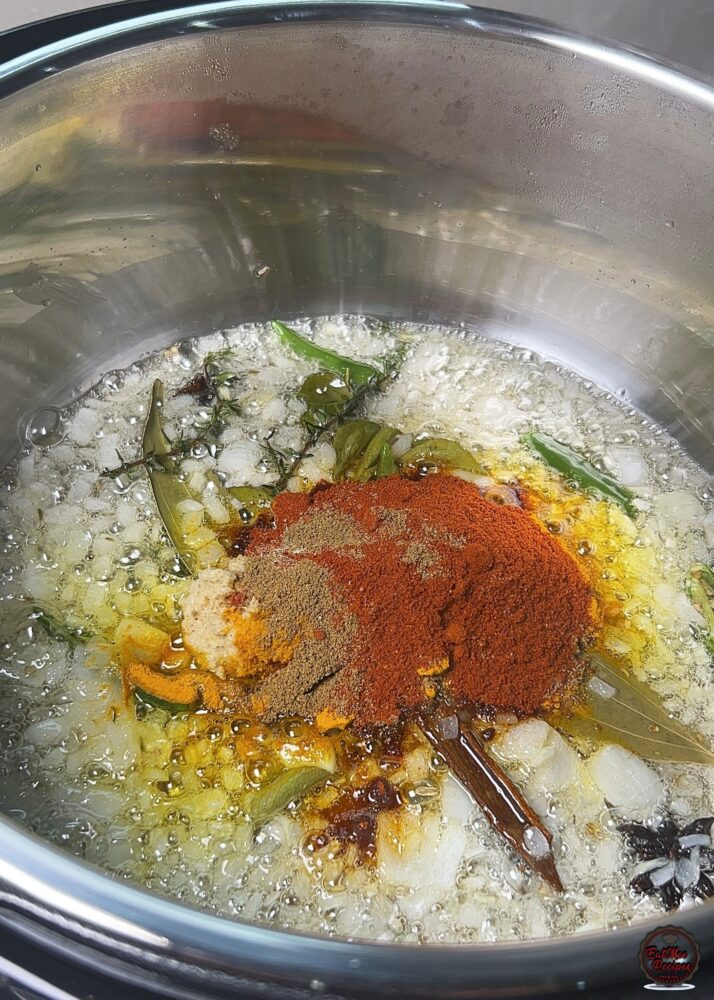
Mix well, and allow to simmer for about 30 seconds. This step helps the spices cook through, removing any raw taste and allowing their flavours to deepen.
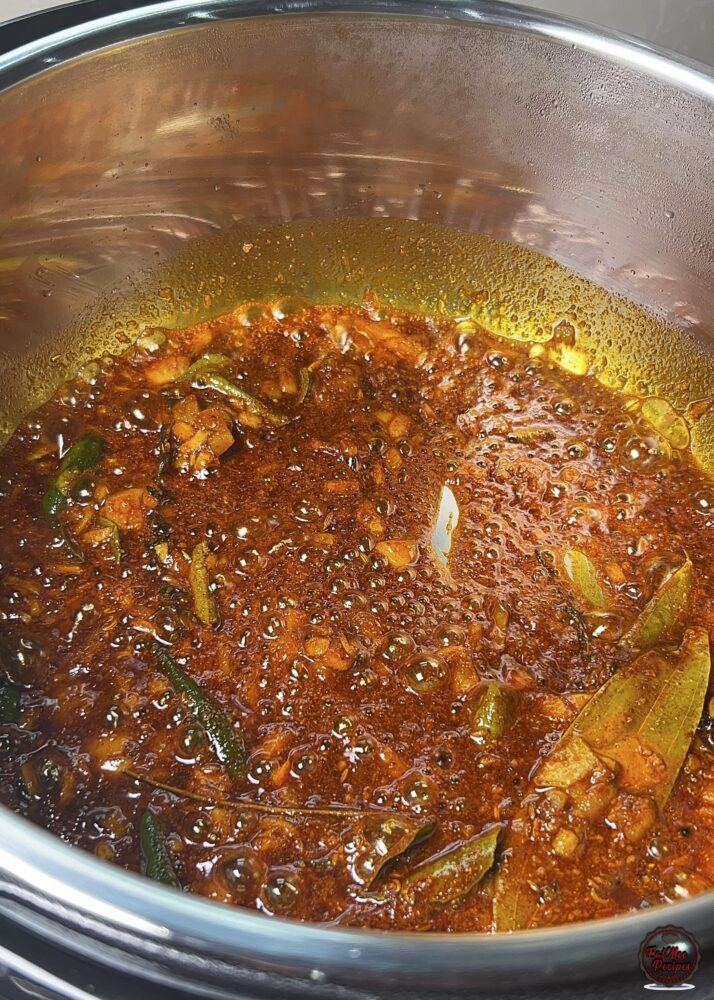
Next, add in the chicken and salt to taste.
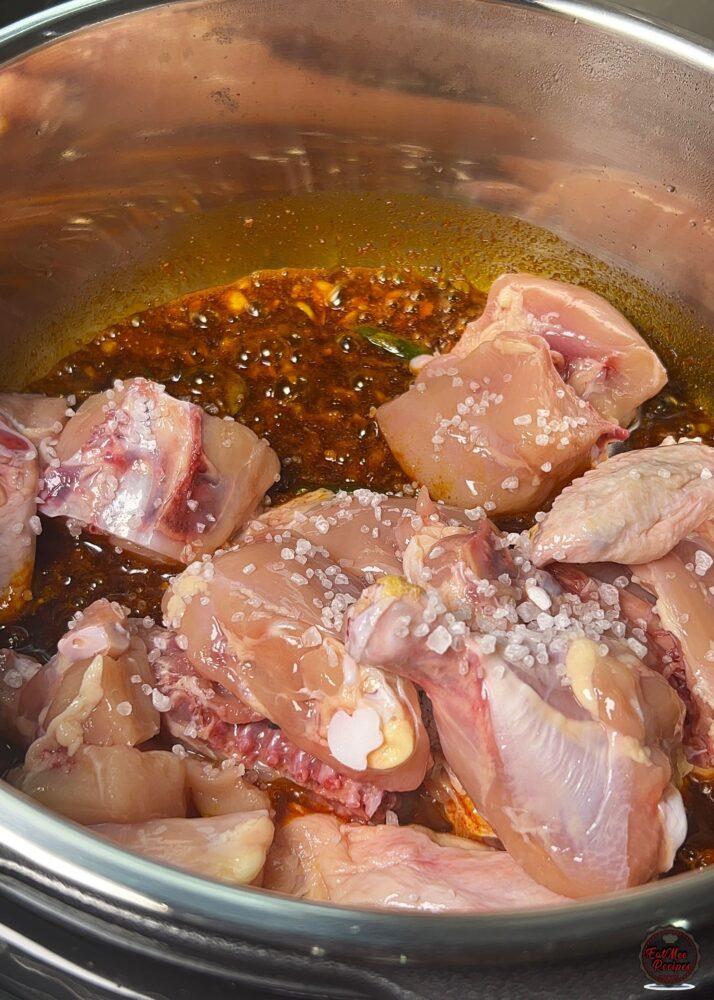
Mix together, allowing the chicken to coat in the spices.
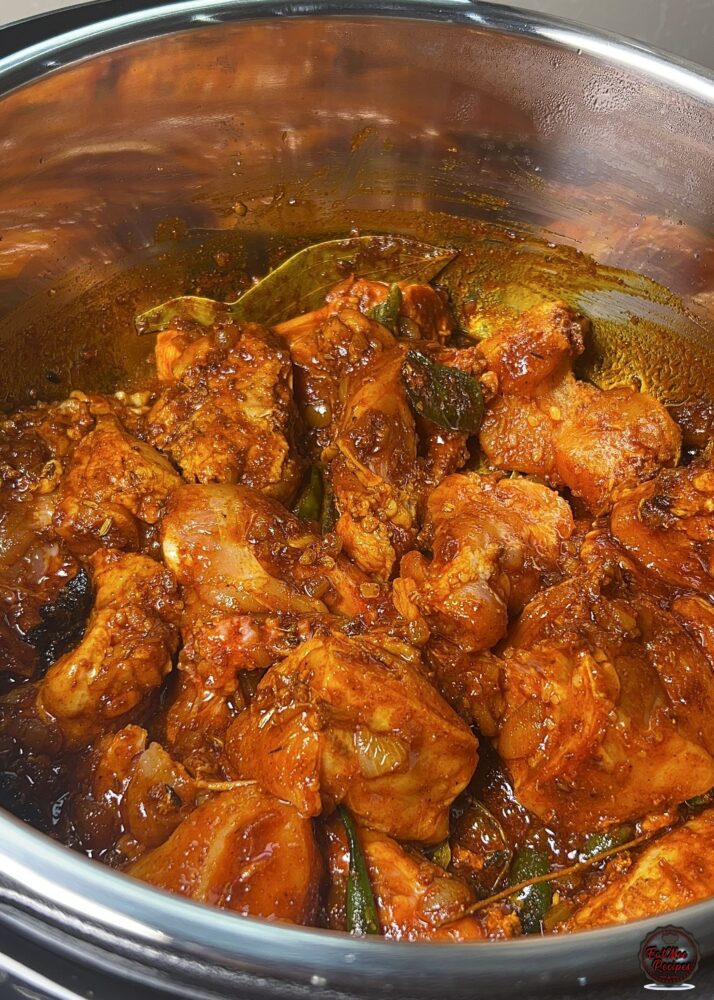
Using any lid you have on hand, cover and allow the chicken to seal in the spices for 5 minutes. Do not add any water.
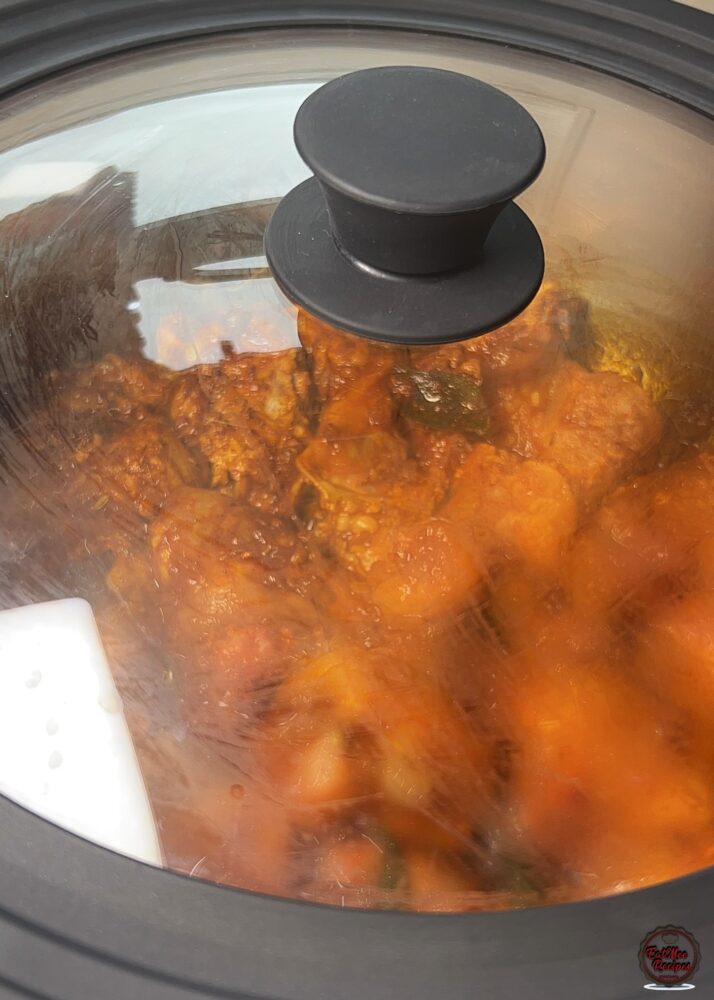
After 5 minutes, the chicken should have absorbed the spices beautifully.
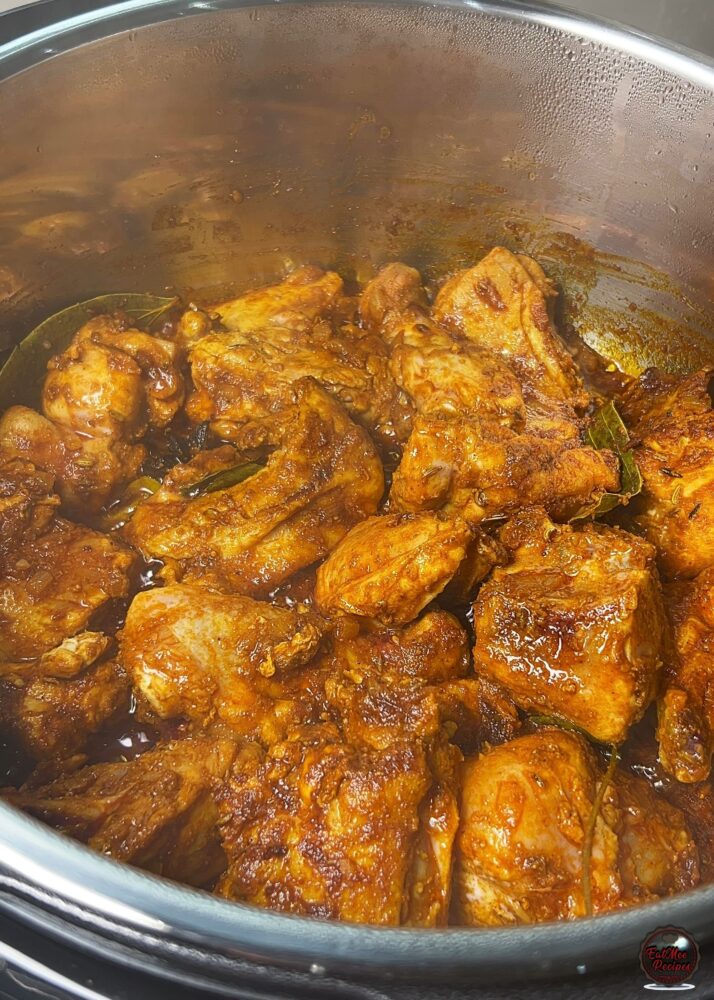
Now add in the blended tomatoes, potatoes, fresh coriander (for cooking) and some water.
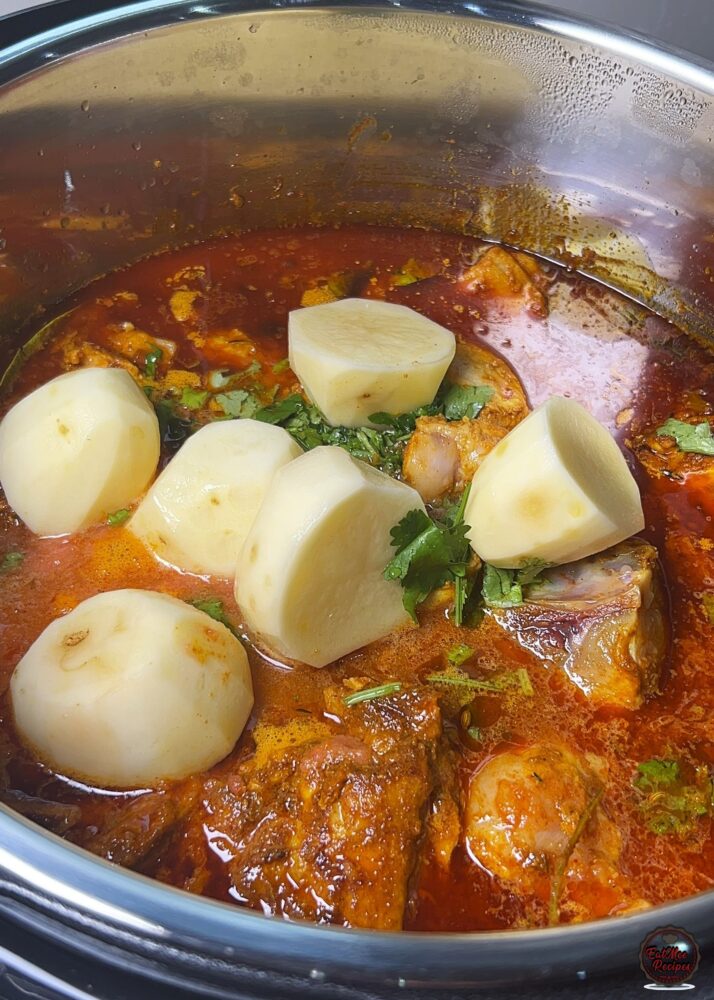
Try not to add too much water – just enough so it can pressure cook or else the dish will become very watery. Mix together until combined.
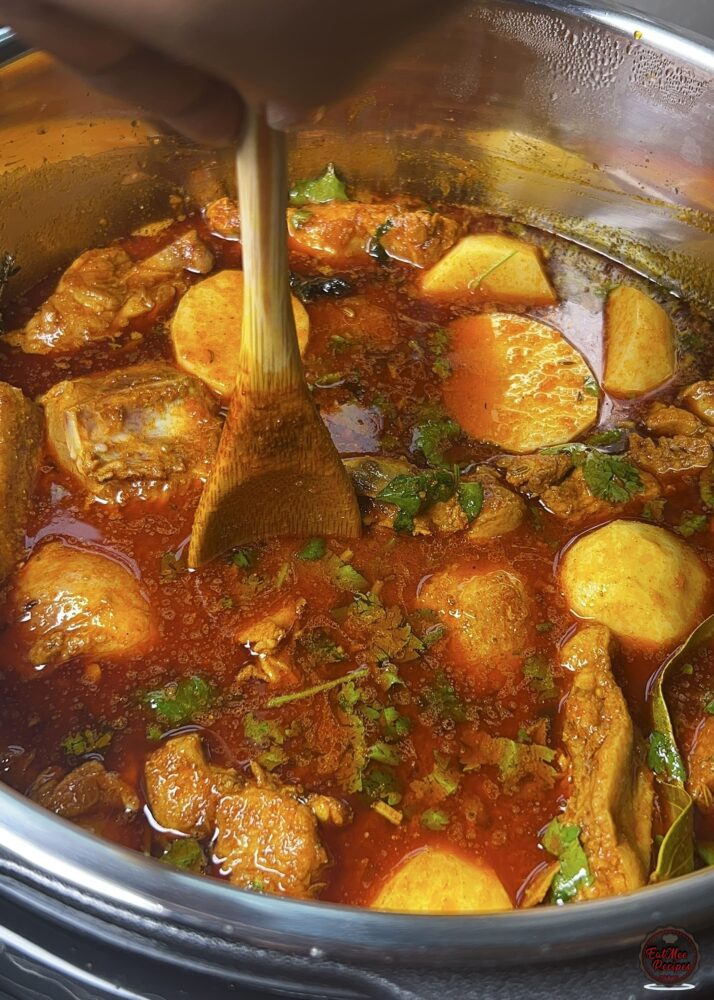
Press ‘Cancel’ or the ‘X’ on your Instant Pot. This will take it off sauté mode.
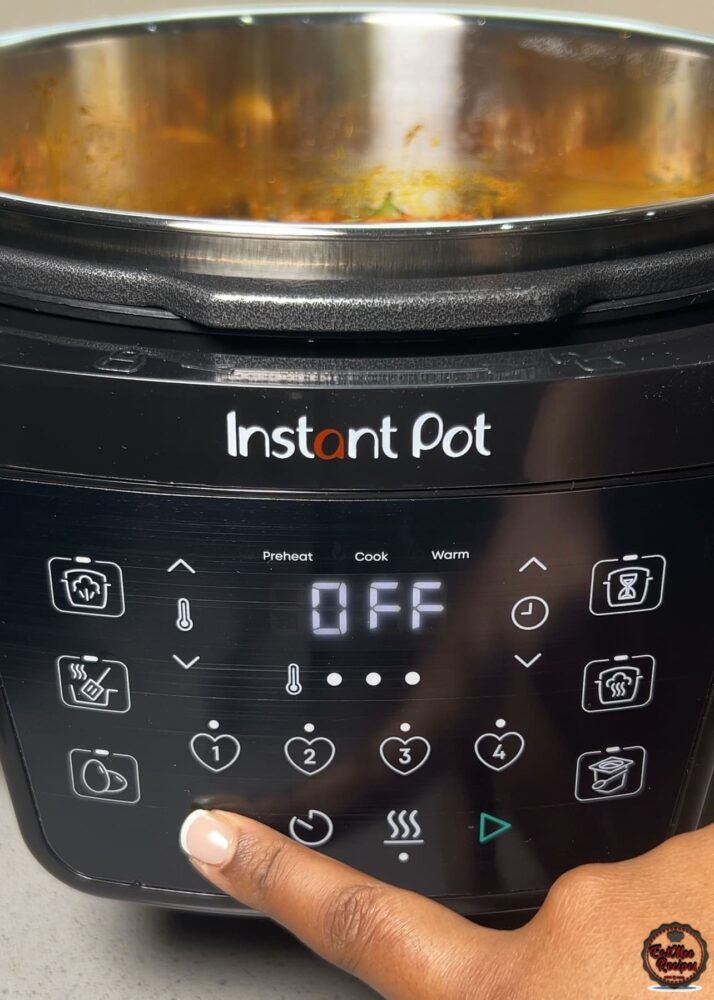
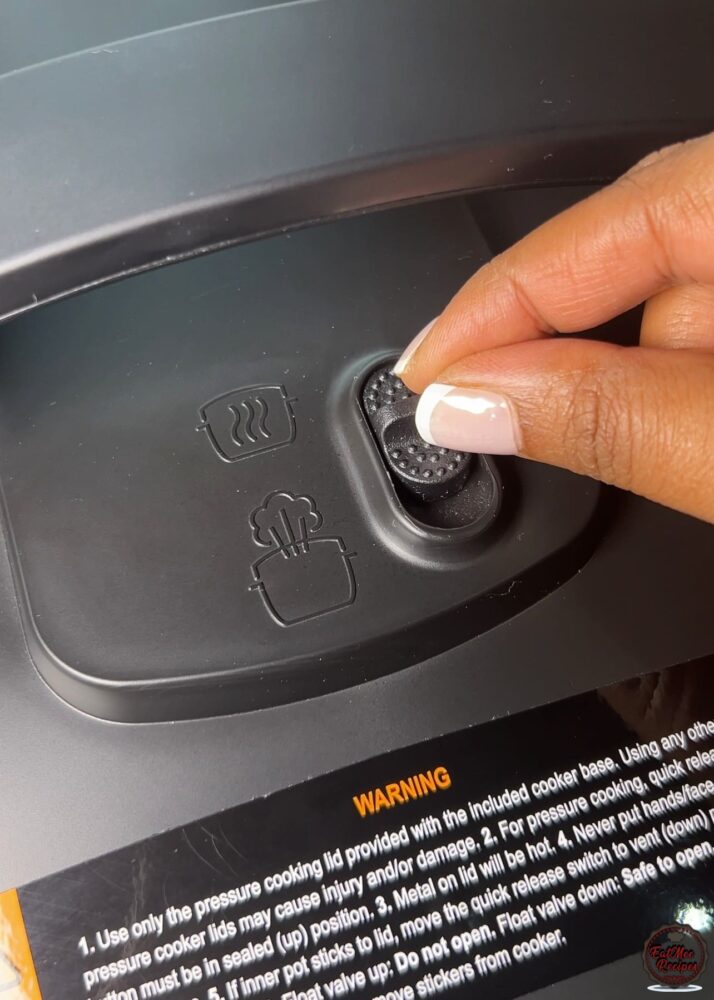
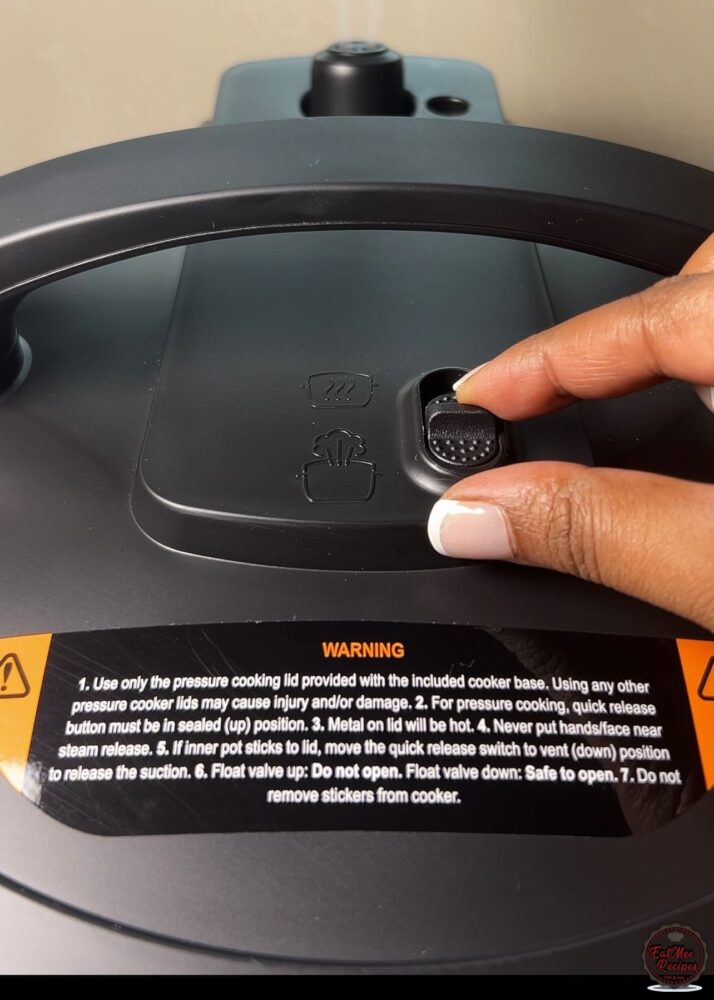
Secure the lid. On many other Instant Pot models, you need to make sure the steam release valve is set to “Seal” before pressure cooking. However, on the Instant Pot XL Wide, the design is slightly different. Instead of a traditional valve, it has a steam release switch, which is already set to the sealing position when the lid is closed. This means you don’t need to manually adjust anything before starting the pressure cook function, making it even easier to get started.
Press the “Pressure Cook” button.
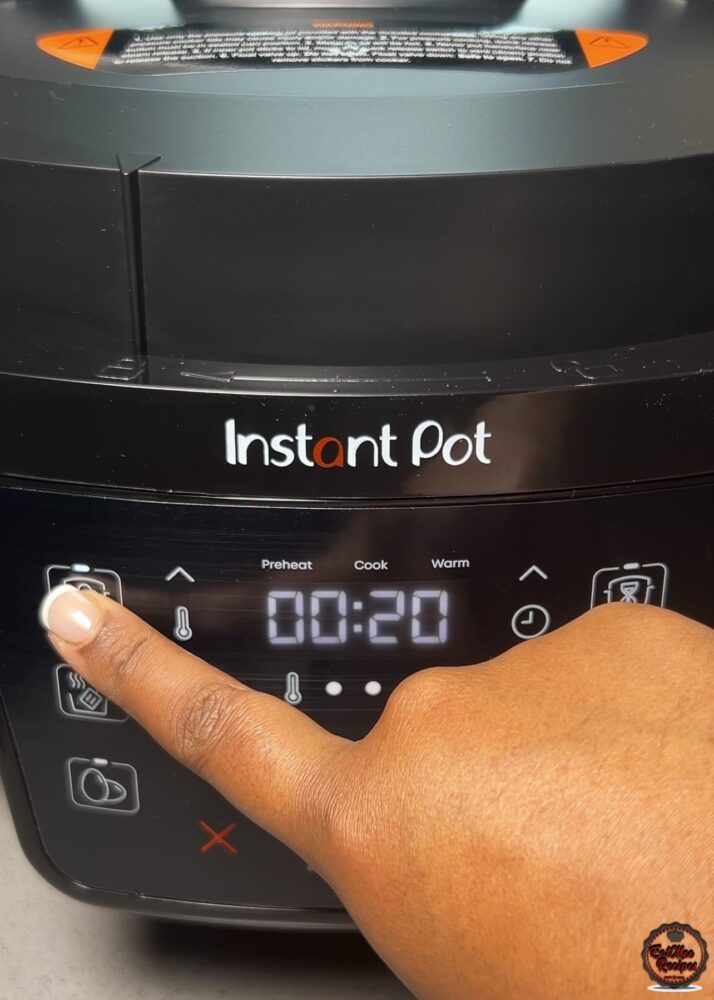
Adjust the time to 20 minutes and make sure the temperature level is on high.
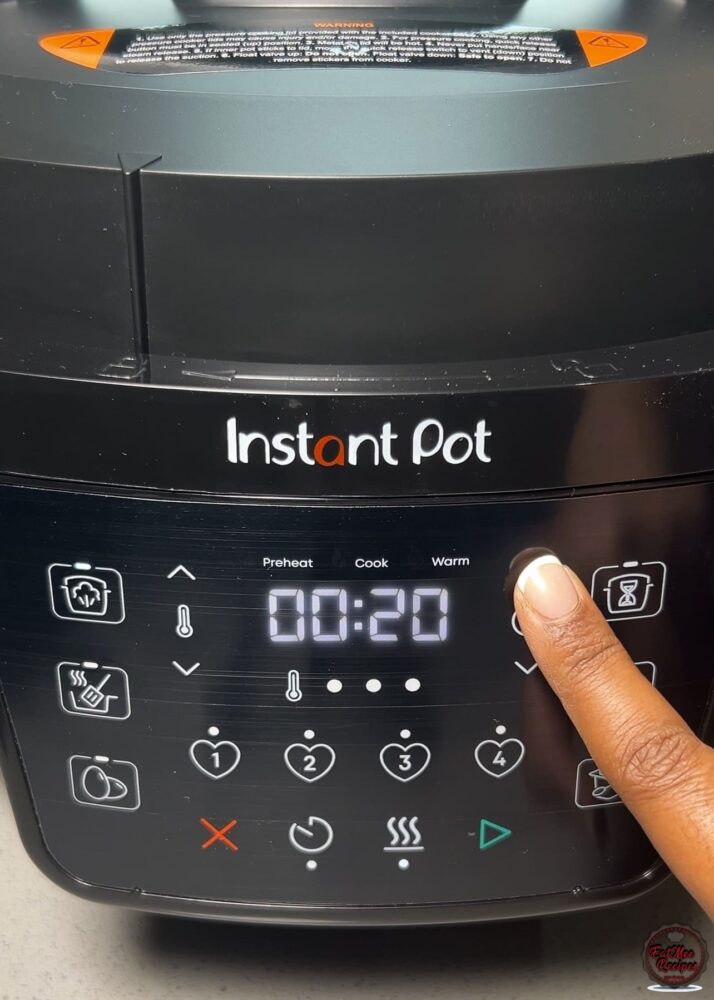
Then press the play button (start) and allow it to pressure cook.
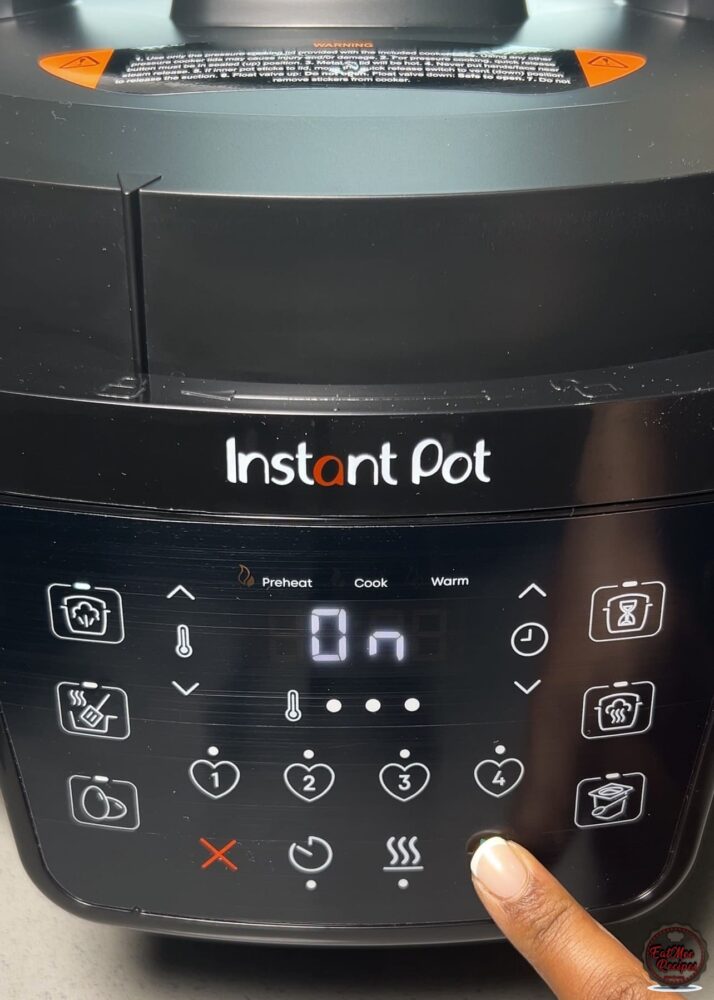
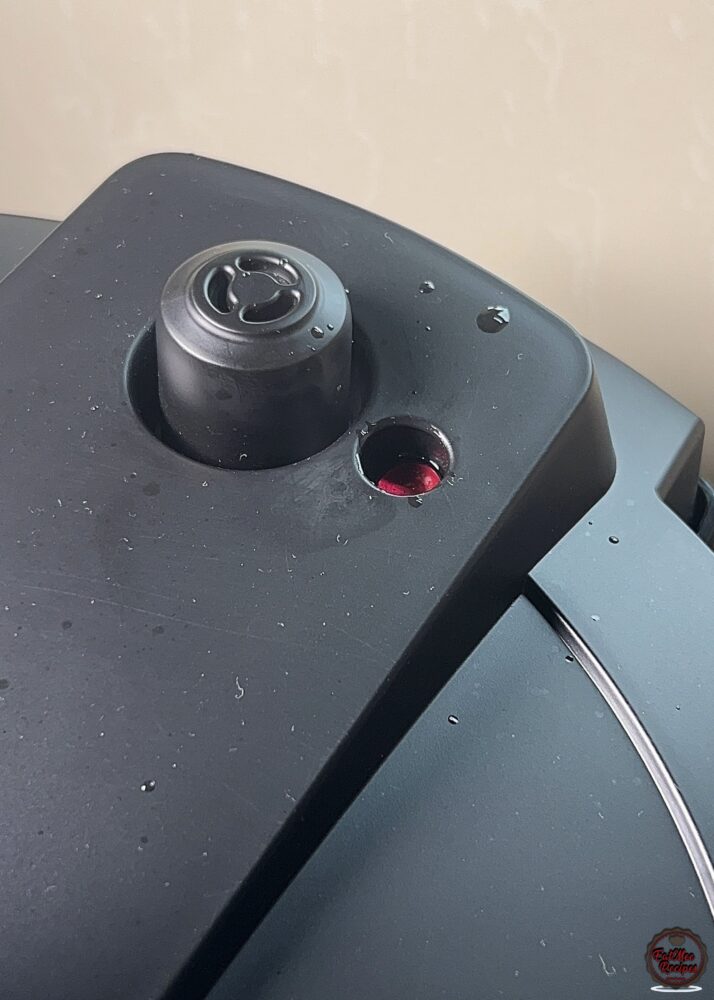
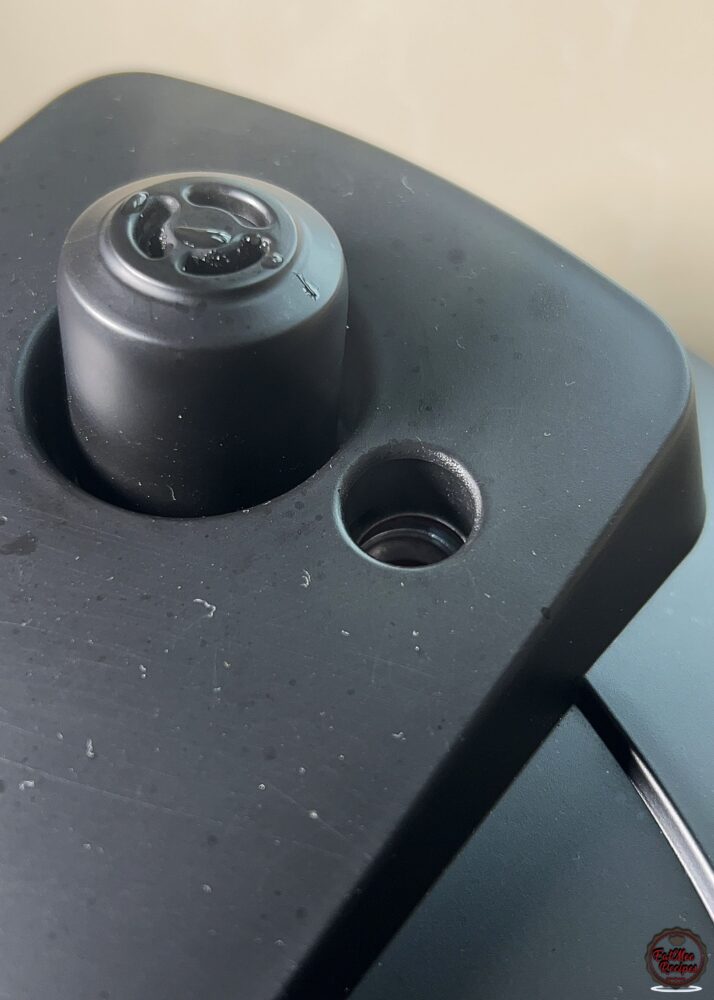
Once the pot builds pressure, the red or silver valve should pop up.
The screen should then display ’00:20′ and will count down.
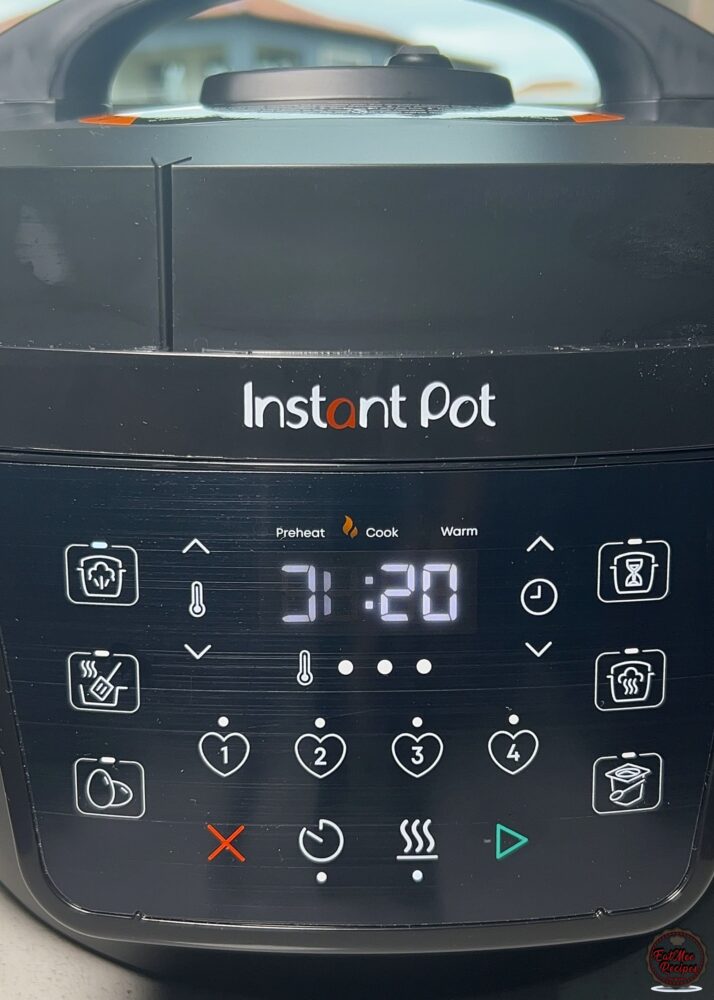
Once the timer is done, it should display ’00:00′. Press ‘Cancel’ or ‘X’.
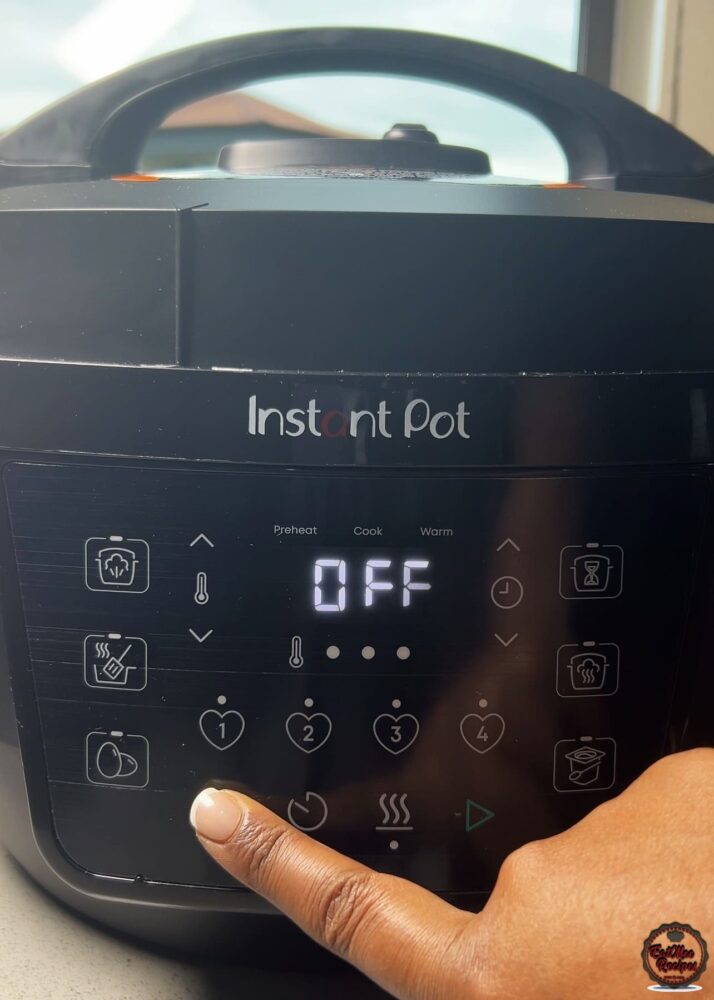
Then move the anti-blockage vent (steam release switch) to “VENT” – On the Standard IP, turn the anti-blockage vent (steam release handle) to “VENTING” & allow the remaining pressure to release.
Once the red or silver valve sinks in, it’s safe to open the lid.
You should notice that the gravy is a bit weak but that Durban aroma fills the kitchen straight away.
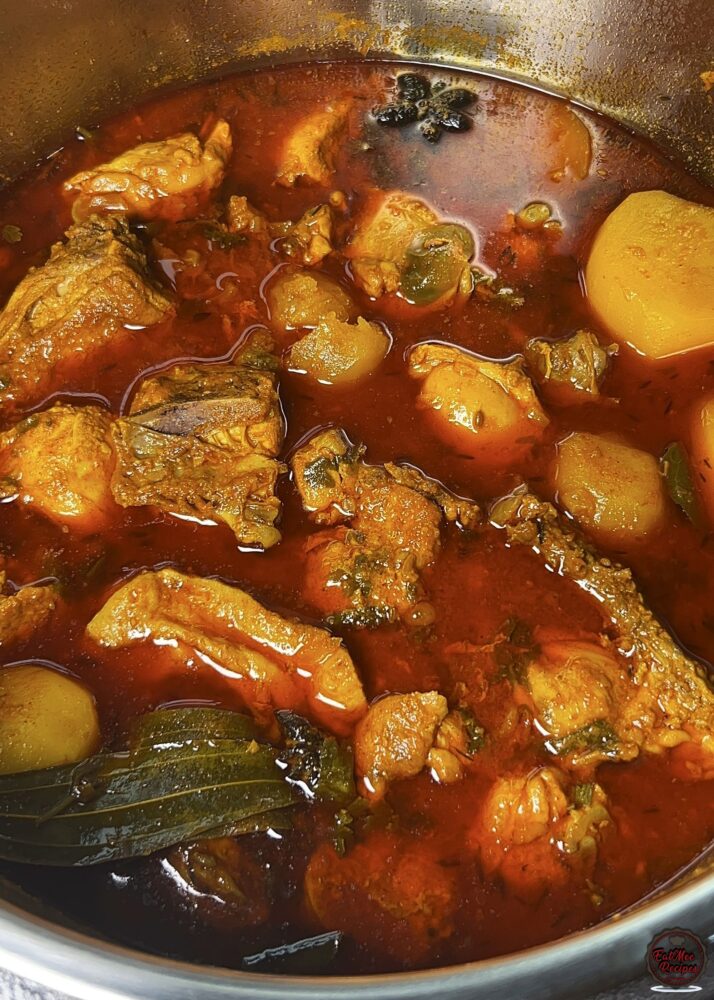
At this point, I like to put it back onto “Sauté” mode for 5 minutes.
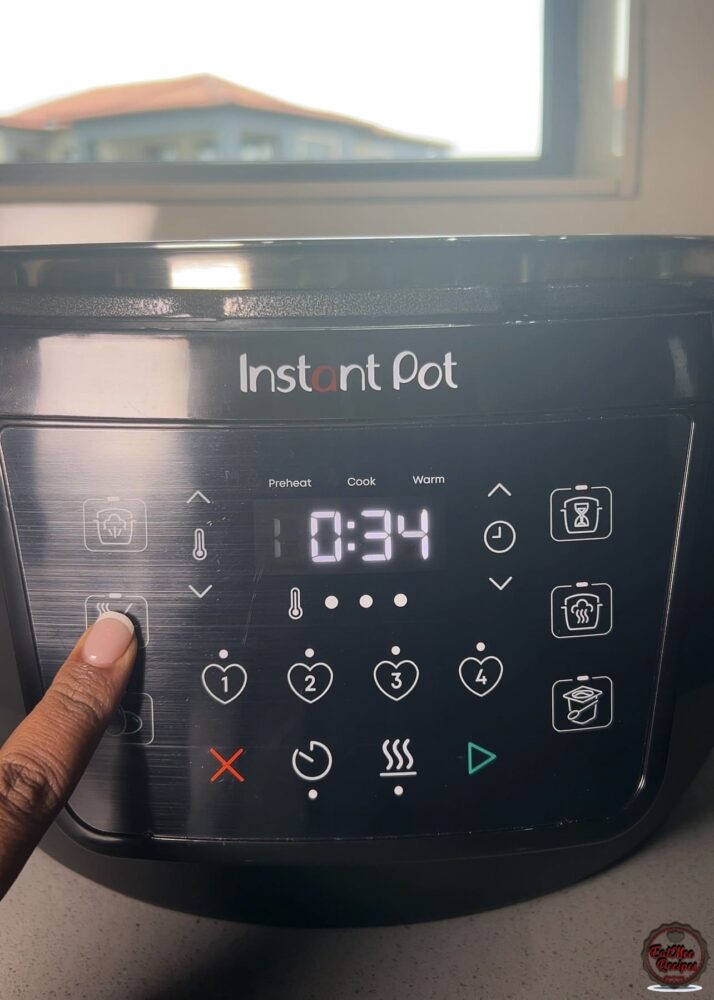
This will allow the gravy to thicken. Try not to keep it on sauté mode for too long as the chicken is already tender and will eventually fall apart.
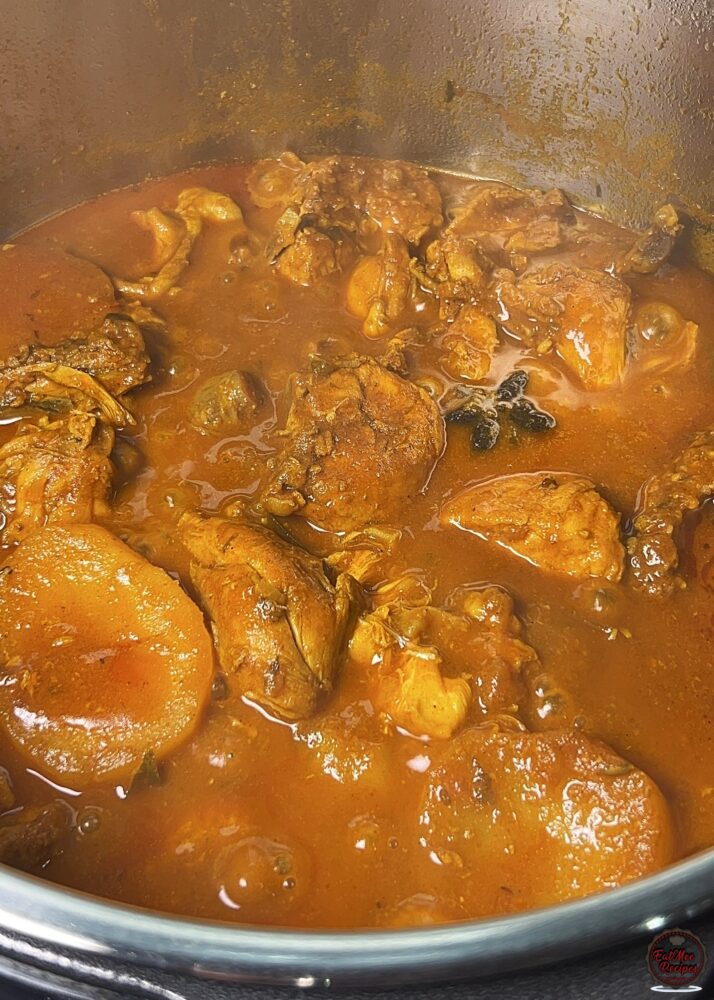
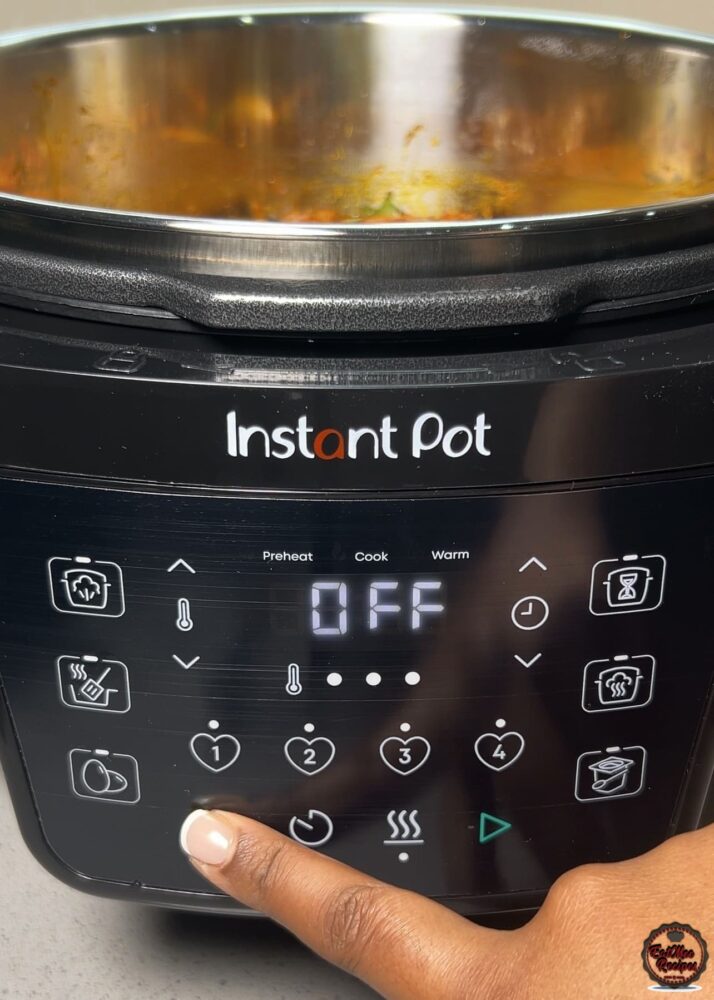
Once the gravy is thickened according to your consistency, press ‘Cancel’ or the ‘X’ on your Instant Pot. This will take it off sauté mode.
Finally, garnish with some freshly chopped coriander (dhania).
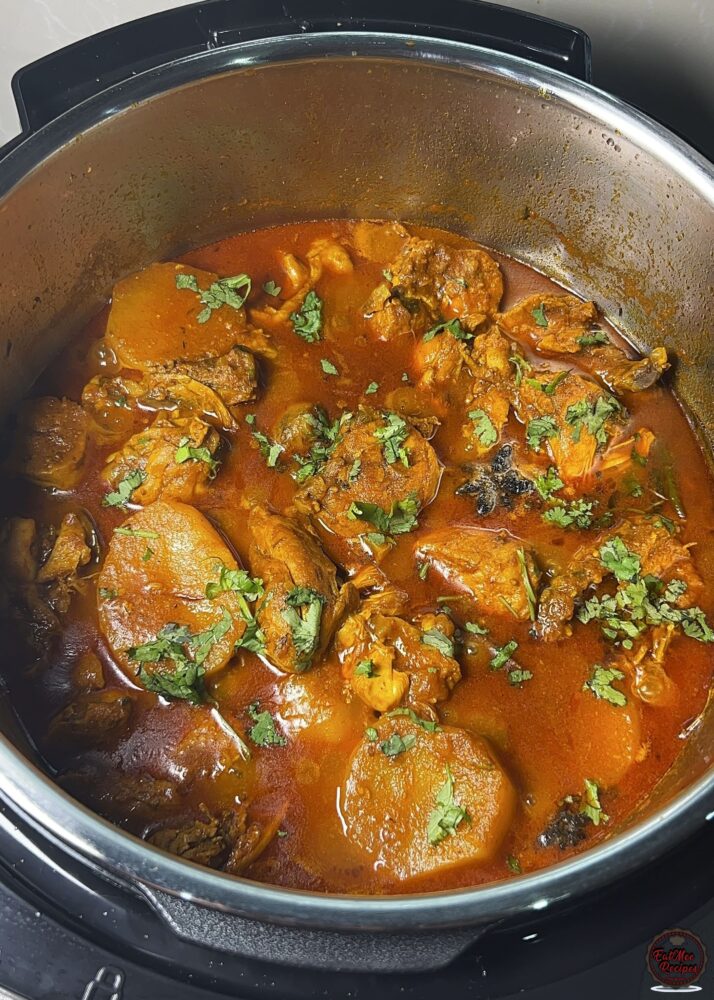
That’s the wonder of having an Instant Pot. Meals just got so much easier and now you can enjoy a lekker Durban Chicken Curry in no time!
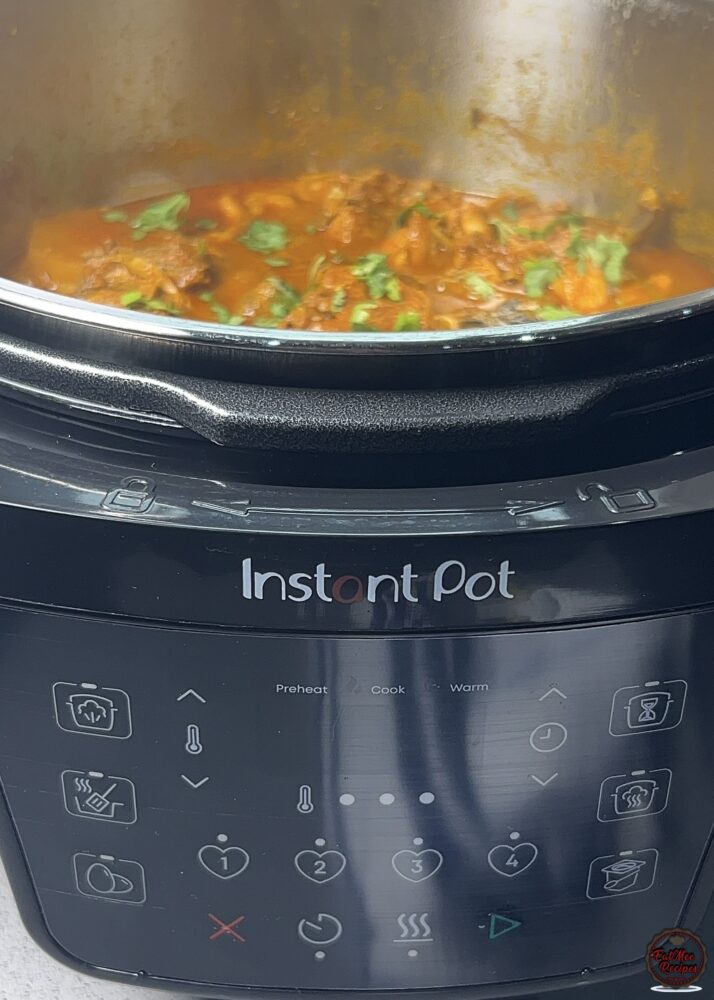
Serve hot and enjoy!
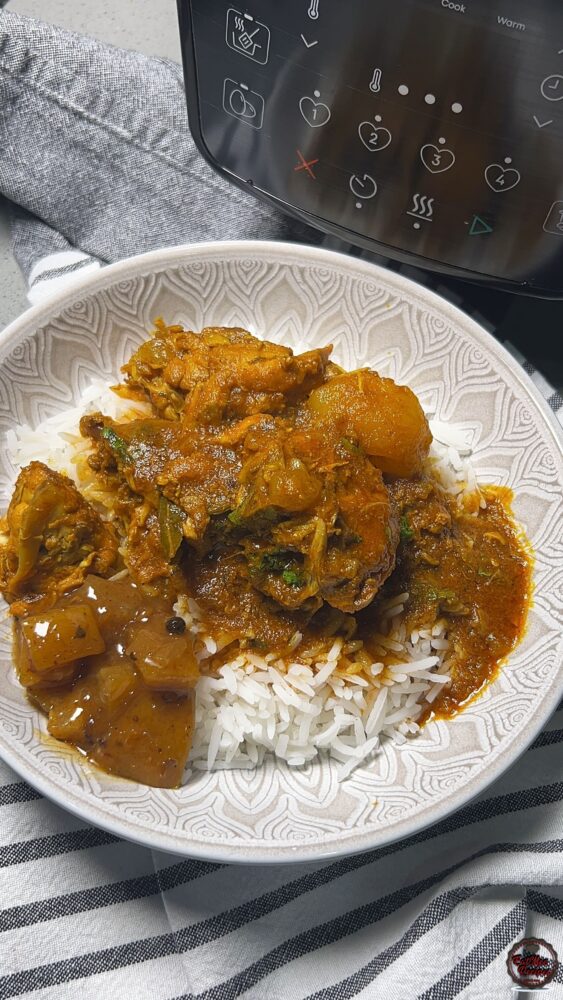
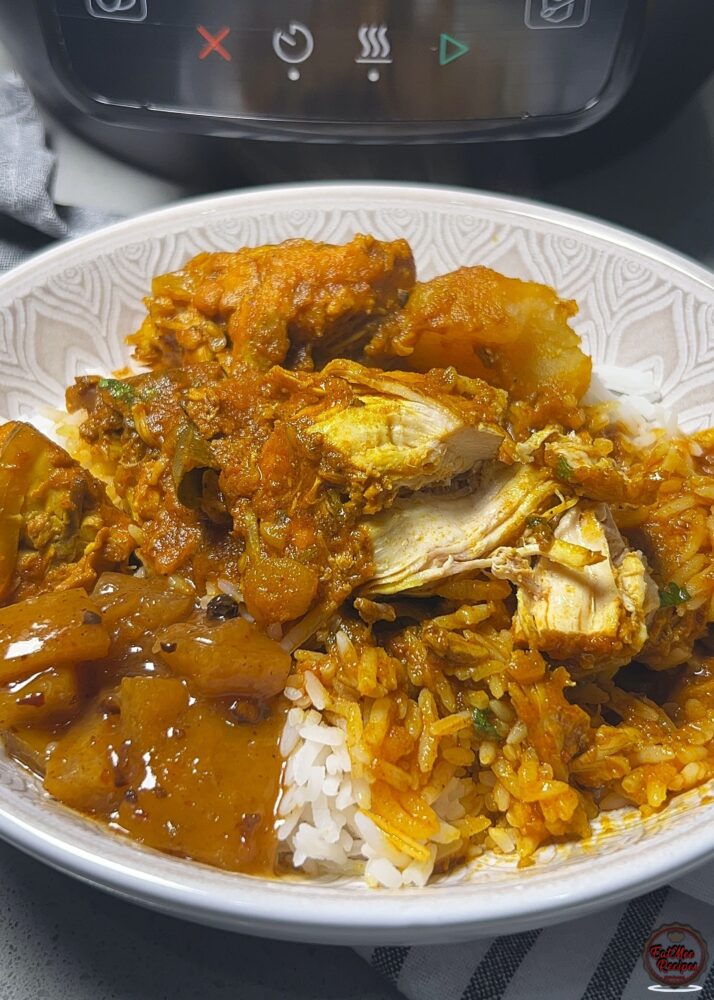
I paired mine with fluffy basmati rice and a spoon of lime pickle on the side, its the perfect balance to the rich, spicy gravy. This is the kind of meal that brings comfort to the table every time.
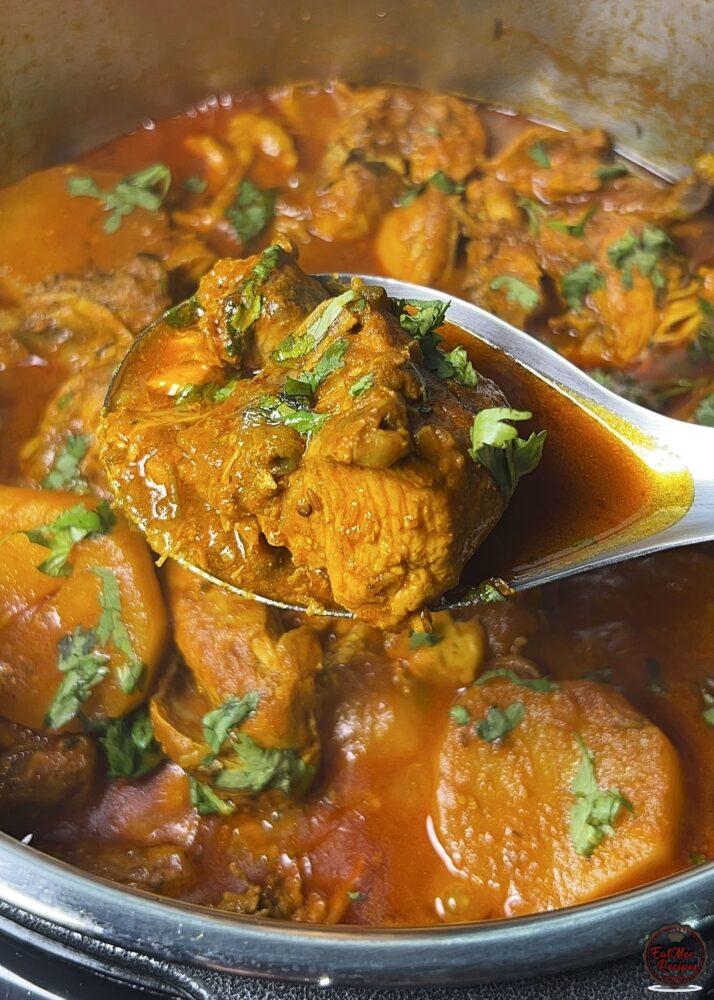
As you can see, the chicken is super tender. To store leftovers, empty into an airtight container and store in the fridge for up to 3-4 days, or freeze for up to 2-3 months. Reheat with a little water to bring the gravy back to life.
Follow along with Denisiya's step-by-step video guide for Instant Pot Durban Chicken Curry.
Expert kitchen guidance and troubleshooting for making the best Instant Pot Durban Chicken Curry
Durban chicken curry relies on properly developing its masala, and the Instant Pot XL Wide makes that process far more efficient. Its wider surface area allows for even sautéing and better heat distribution, ensuring the spices bloom correctly and the chicken cooks evenly. The result is a well-balanced curry with depth, body, and flavour in every bite.
For this recipe, I’m using a whole chicken cut into curry portions. It’s one of the best choices for a Durban chicken curry because it gives you a balance of different cuts – thighs, drumsticks, wings, and breast, all cooking together to create a richer, more flavourful dish. Bone-in pieces are especially important here. As the curry cooks, the bones release flavour into the gravy, giving it that deep, traditional taste that you don’t quite get from boneless cuts. The mix of white and dark meat also adds variety in texture, making every bite a little different. I’ve removed most of the skin for a lighter finish, but you can leave it on if you prefer. The skin adds extra richness and helps keep the chicken juicy during cooking. Using a whole chicken is also a more economical option, making it ideal for feeding a family while still delivering on flavour.
Hi, I'm Denisiya! Food lover, recipe developer, and founder of EatMee Recipes. I specialize in authentic South African Durban Indian cuisine, comforting curries, and modern Instant Pot adaptations. Every recipe on this site is tested in my personal kitchen to ensure you get mouth-watering, foolproof results every time.
Explore more authentic Durban curries, traditional bakes, and comforting family favourites.
 Indian Cuisine
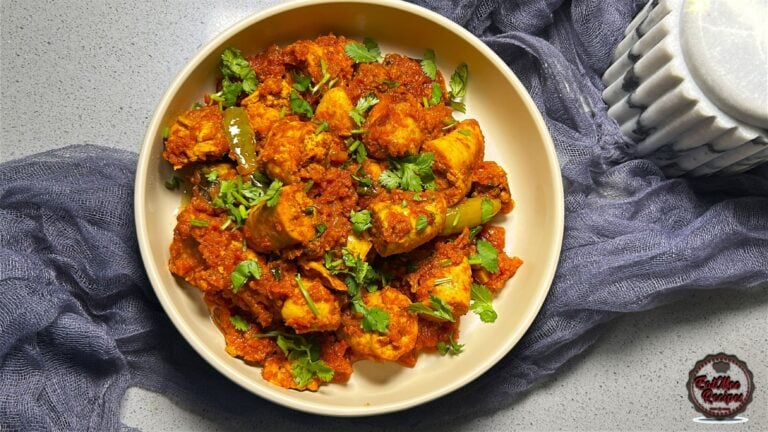
My mum is sharing another one of her much-loved traditional South African Indian recipes. ...
 Indian Cuisine
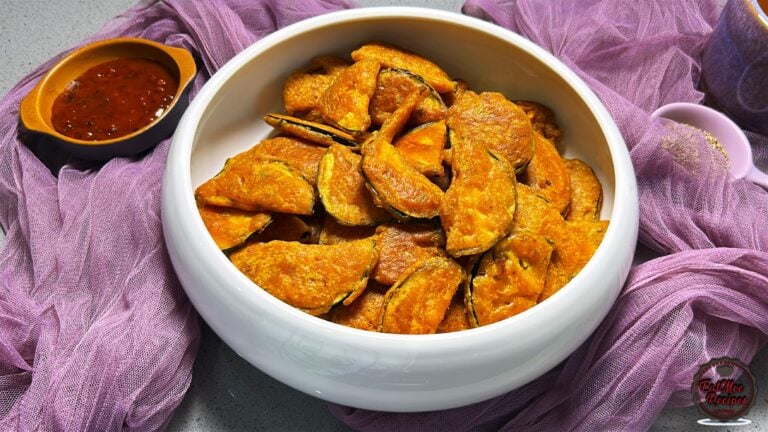
Crispy, golden and delicious, these Brinjal Pakoras are made with thin slices of brinjal c...
 Indian Cuisine
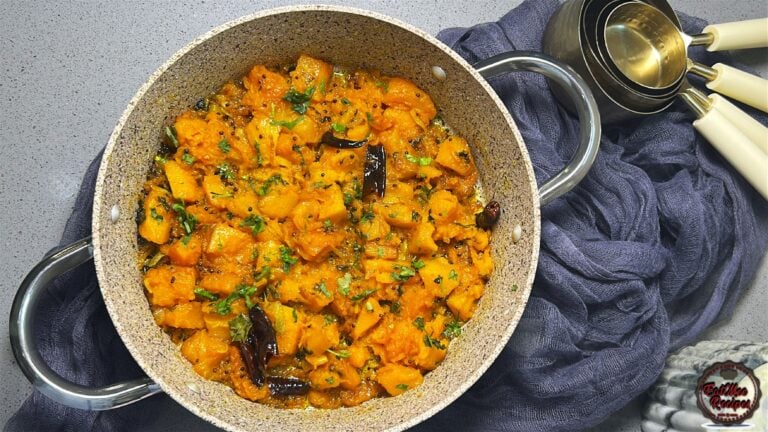
Mum’s Pumpkin Curry is a simple, comforting vegetarian dish that proves you don’t need a l...
Have you tried this recipe or have questions for Denisiya? Join the conversation below.
No comments yet. Be the first to share your thoughts on this recipe!
Leave a Comment
Your email address will not be published. Required fields are marked *