
We Value Your Culinary Privacy
EatMee Recipes uses cookies to provide a personalized browsing experience, analyze recipe popularity, and serve relevant ads. You can review our full disclosure in our Privacy Policy.
Make authentic Instant Pot Beef Tamales with this foolproof recipe. Packed with rich traditional flavor, step-by-step photos, and cooking tips by Denisiya on EatMee Recipes.

Join over 60,000+ home chefs for weekly authentic Durban Indian cook-alongs, Instant Pot masterclasses, and family heritage recipes.
There’s something deeply comforting about making tamales from scratch, the slow layering of flavour, the soft masa, and that rich, saucy filling tucked inside. Traditionally, tamales can take hours of tending, but using the Instant Pot Duo Plus WhisperQuiet 8L completely transforms the process.
I used this specific Instant Pot not just for its generous 8L capacity (perfect for batch cooking and steaming tamales upright), but also because of its WhisperQuiet steam release. If you’ve ever filmed or cooked around a pressure cooker, you’ll know how loud they can be and this one is noticeably quieter, making it ideal for content creation and a much calmer kitchen experience. It’s powerful, efficient, and honestly takes the intimidation out of recipes like tamales.
For this recipe, I used tri-tip steak simply because it’s what I had on hand and it worked beautifully after pressure cooking, giving me tender, shreddable beef.
That said, if you’re planning ahead, these cuts are even better suited for tamales:
These cuts break down more naturally over time, giving you that classic, melt-in-your-mouth tamale filling.
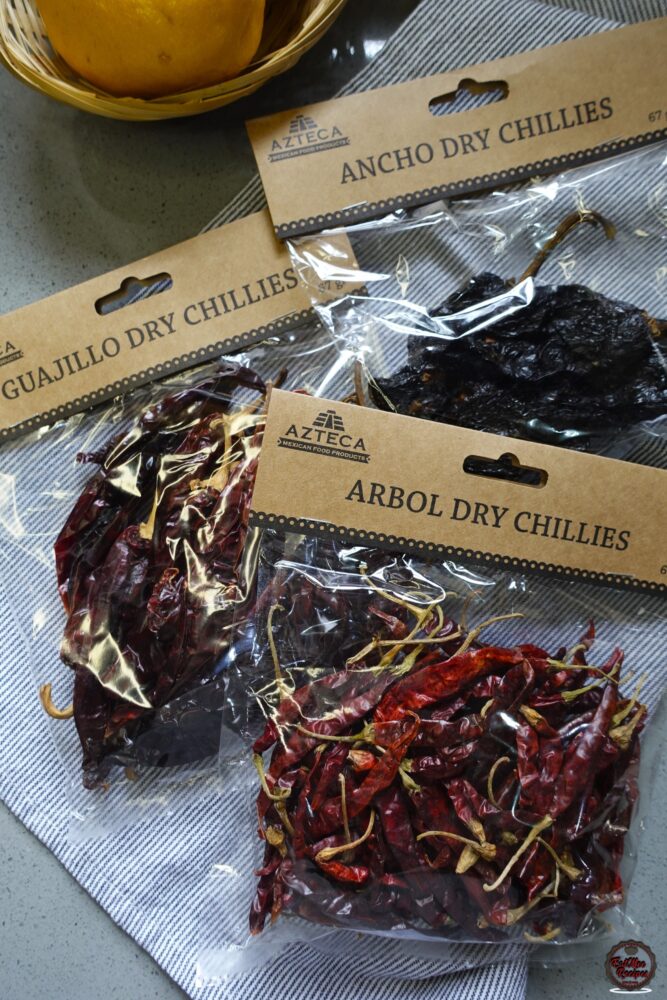
Tamales are all about depth, and that comes from the dried chillies:
Together, they create a balanced sauce that’s bold, layered, and full of character, not just heat, but real flavour.
Tomatillos are small green fruits (often mistaken for tomatoes) wrapped in a papery husk. They have a naturally tangy, slightly citrusy flavour that brightens up rich dishes like tamales.
In this recipe, they:
Can you substitute them?
If you can’t find tomatillos in South Africa, you can use green tomatoes, just keep in mind:
If you’re new to tamales, masa harina is the key ingredient. It’s a special type of corn flour made from dried maize that’s been treated with lime (a process called nixtamalisation). This gives it:
It’s very different from regular maize meal or cornflour so for authentic tamales, masa harina is essential.
Traditionally, tamale dough is made with lard, which gives it richness and softness. But since lard isn’t always easy to find in South Africa, I used:
Combined with a bit of oil, this still gives you a light, fluffy masa that spreads easily and steams beautifully.
This is the cut of beef that I used (as stated above, it’s what I had on hand). Tri-tip is normally a grilling or roasting cut, not a classic shredding cut like chuck or brisket. However, in a pressure cooker, it can still work well.
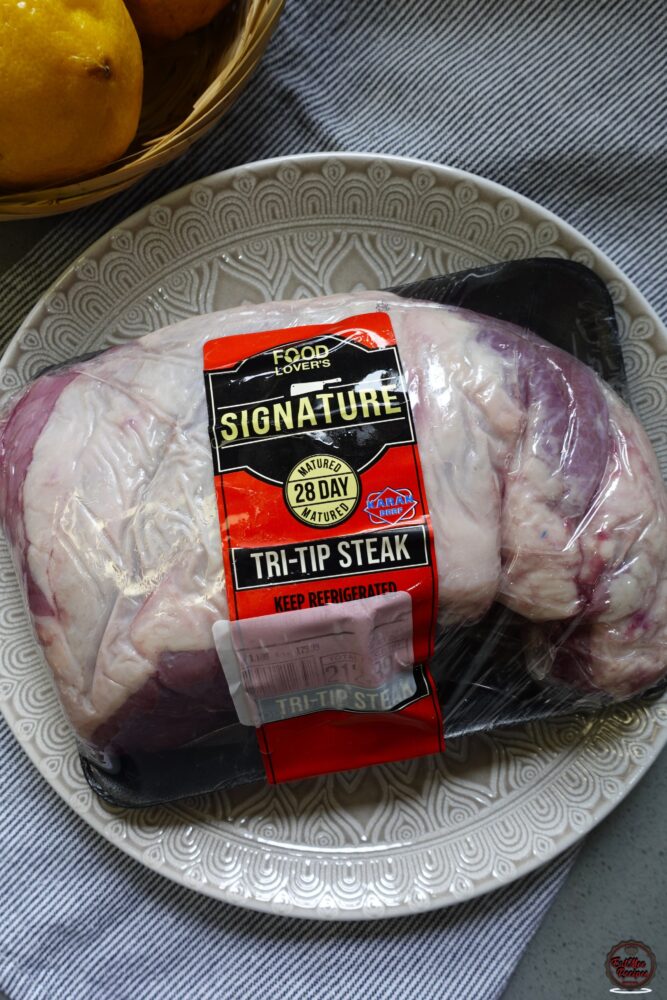
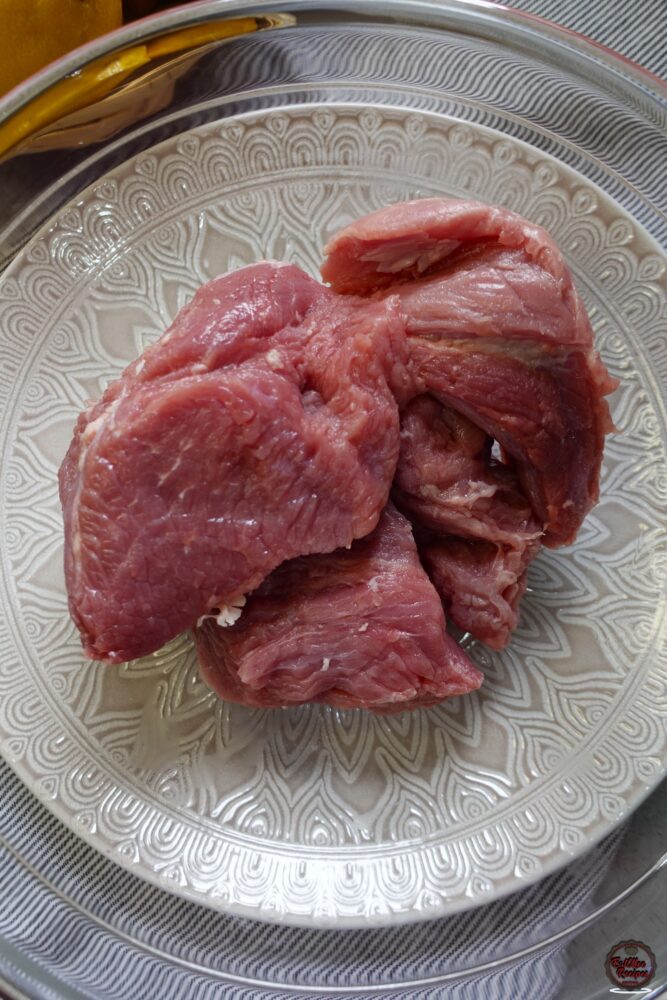
Trim off the very thick exterior fat or silver skin and cut into large chunks. (Note: I’m only using 500 grams for this recipe).
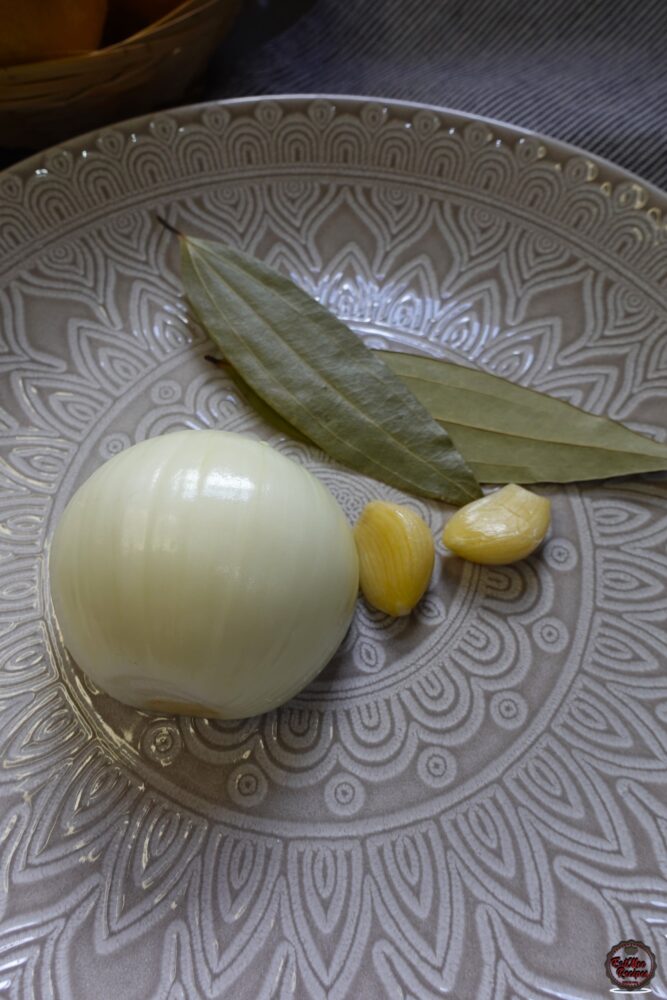
Prepare the ingredients that will cook with the beef.
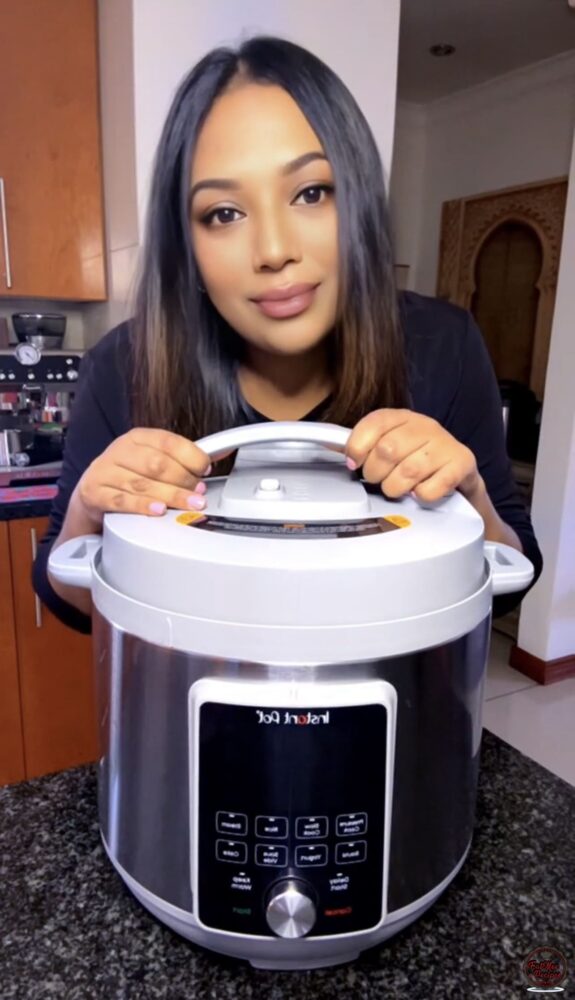
As mentioned above, I’m using my Instant Pot Duo Plus with Whisper Quiet 8L now with a new sleek silver grey finish – however, other Instant Pots can be used.
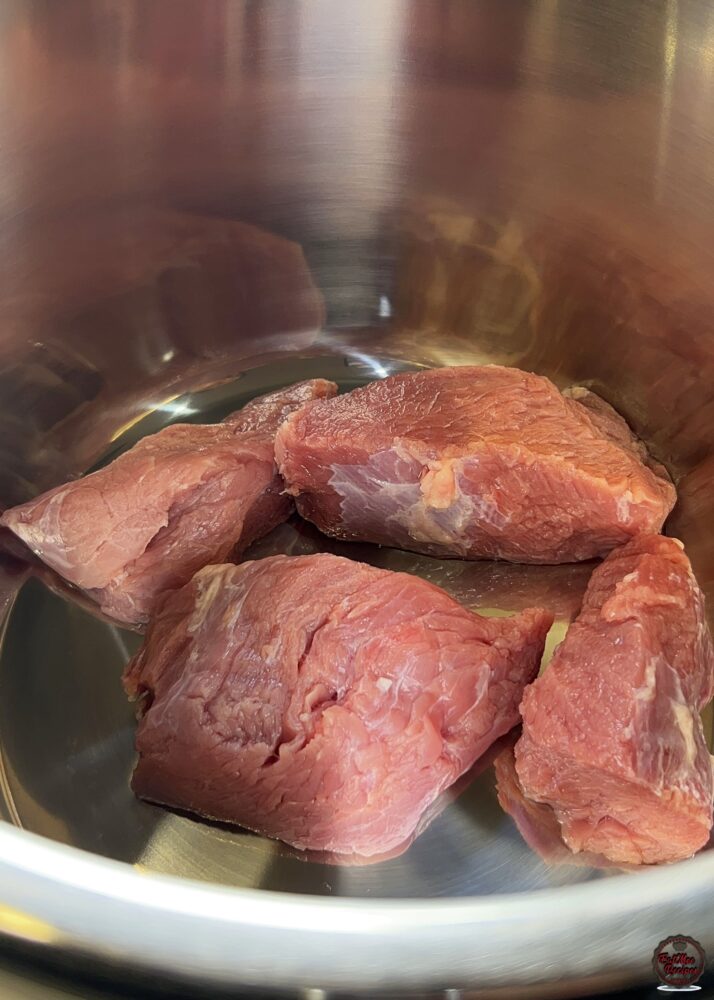
Add the beef chunks to the inner pot.
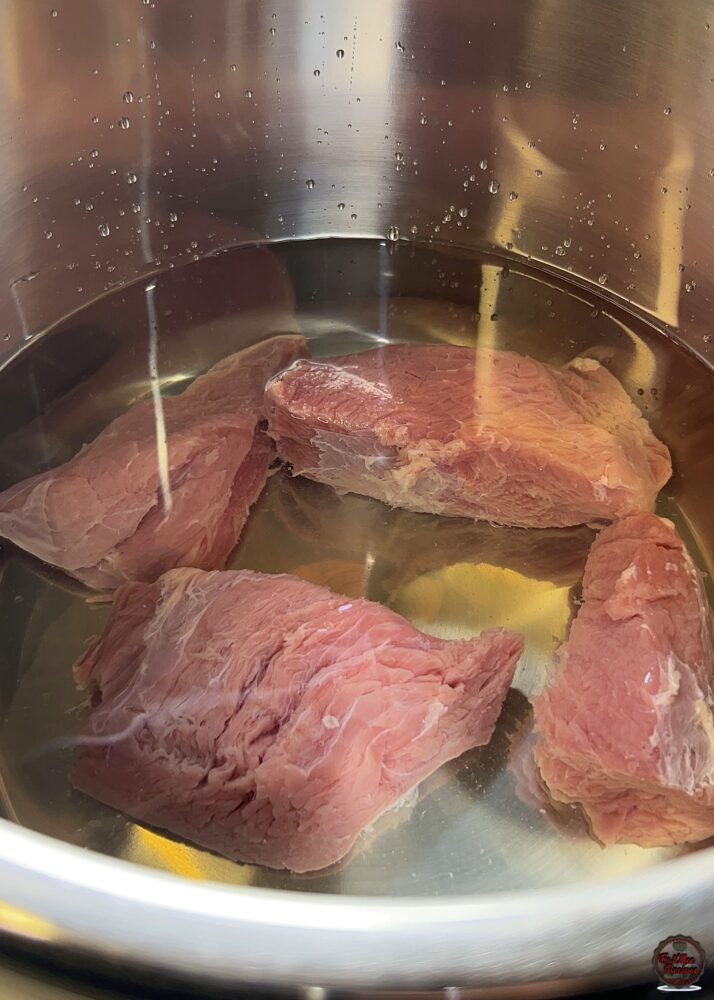
Cover with water (just enough to submerge).
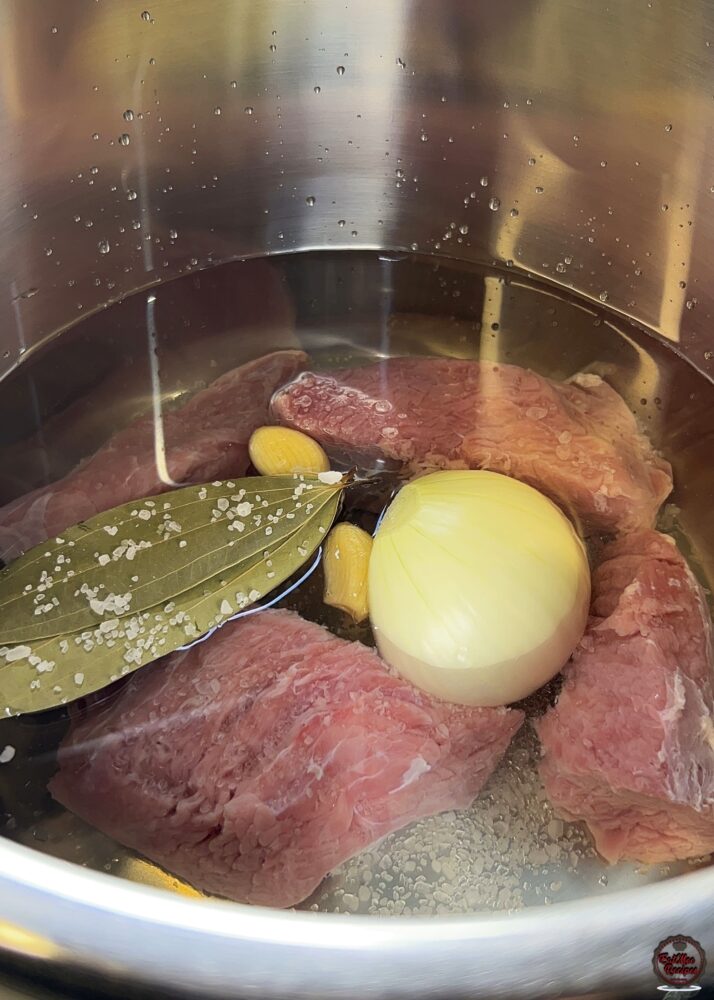
Add the onion, garlic, bay leaves, and salt.
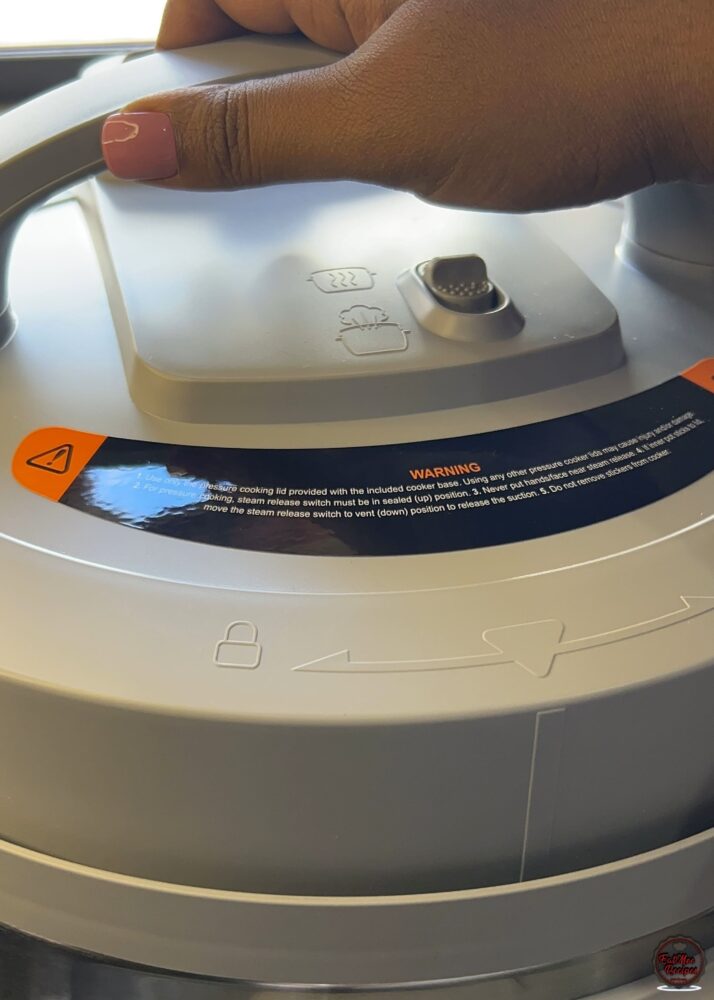
Close the lid. If you’re using a standard Instant Pot, make sure your valve is set to sealing before pressure cooking. But one of the best things about the Whisper Quiet model is that it automatically seals for you taking out that extra step completely.
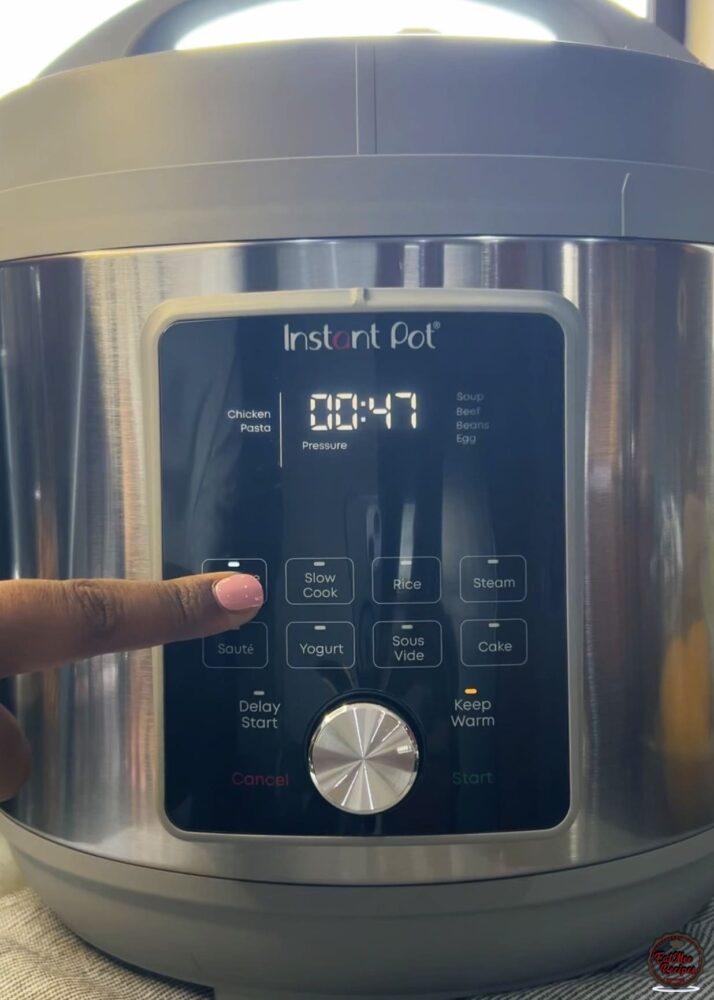
Press the “Pressure Cook” button.
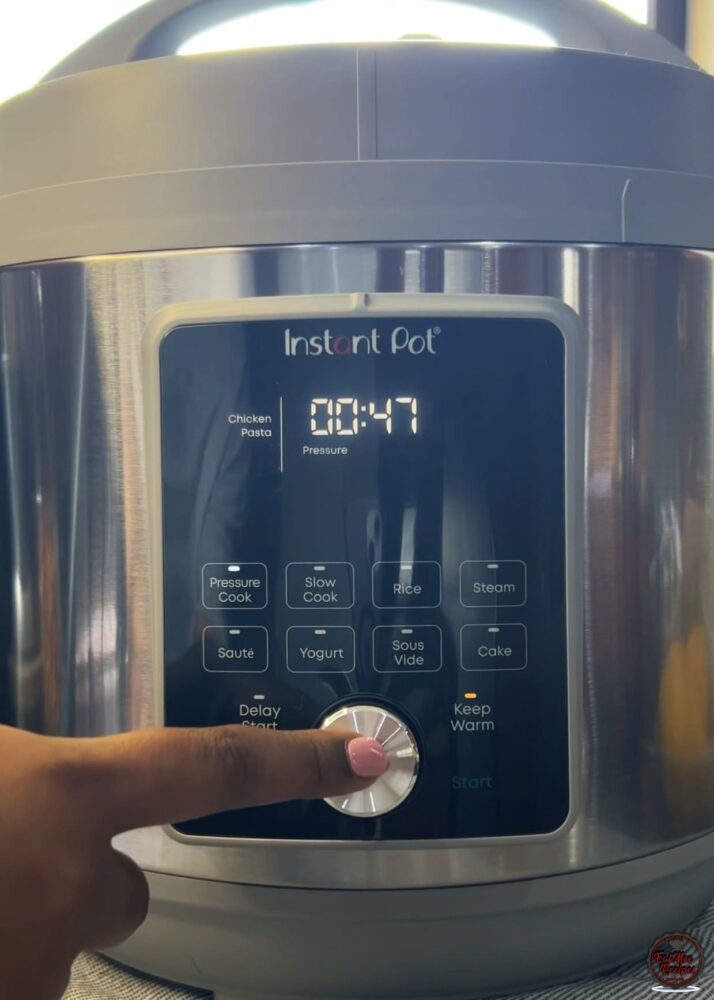
Press on the silver knob to select the time.
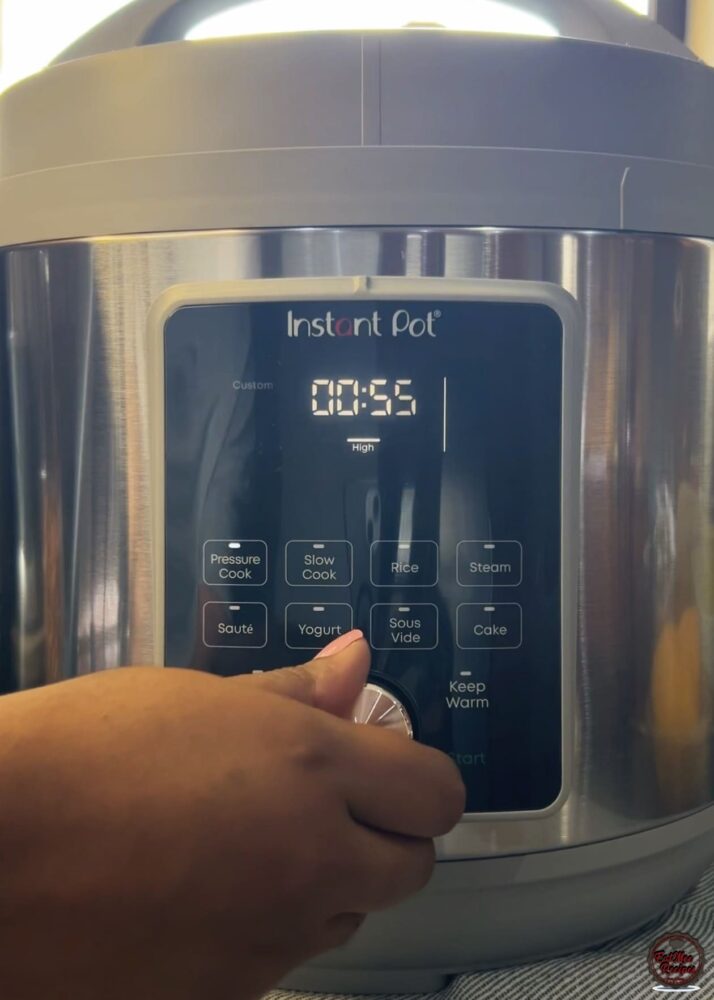
Turn on the knob to adjust the time to 55 minutes.
Then hit the “Start” button.
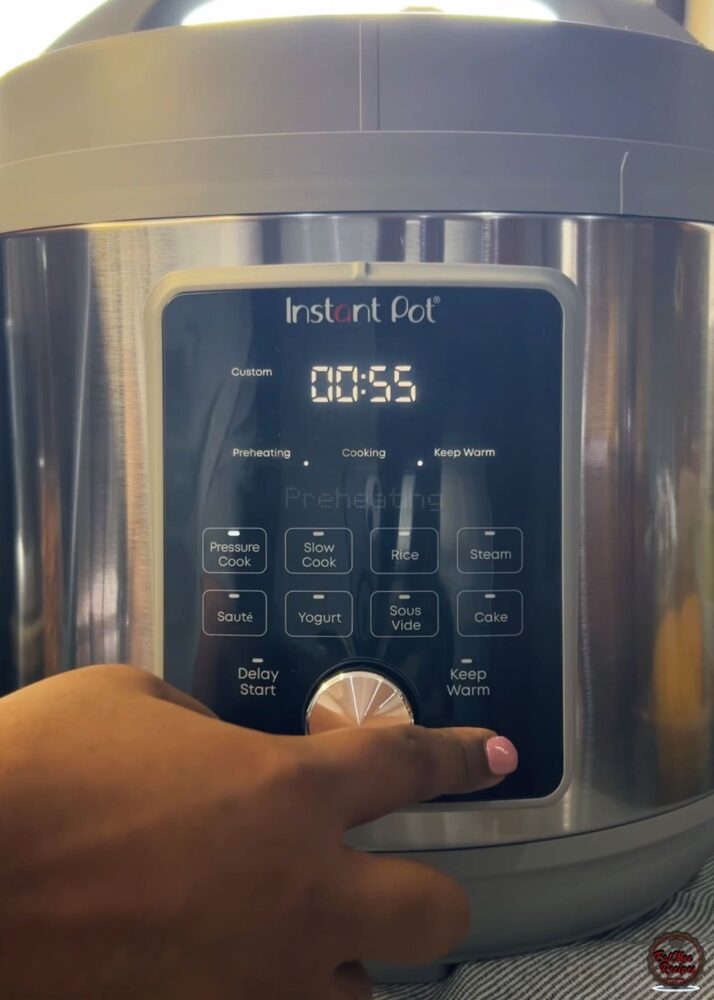
On most Instant Pots, you’ll see the pressure valve pop up once pressure builds, and drop back down when it’s safe to open. The Whisper Quiet doesn’t have a visible pop-up valve, instead, it alerts you on the screen with ‘Do Not Open Lid’ while pressurised and ‘Ready’ once it’s safe, making the whole process even more user-friendly.

Once the 55 minutes have counted down, the screen should display “00:00”.
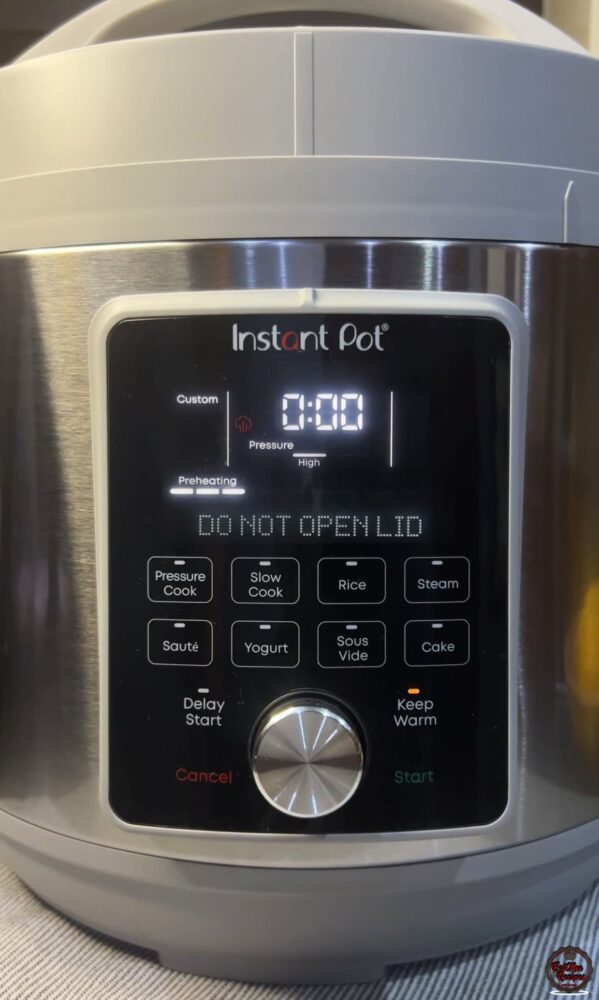
Leave it as to Natural Release for 15 minutes. (It should count up to 15).
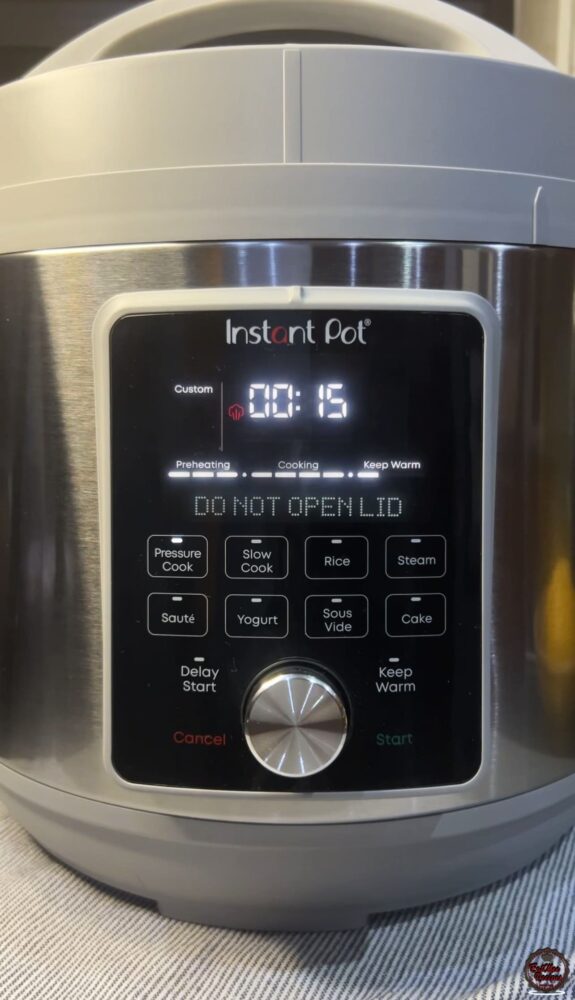
Once done, hit “Cancel”.
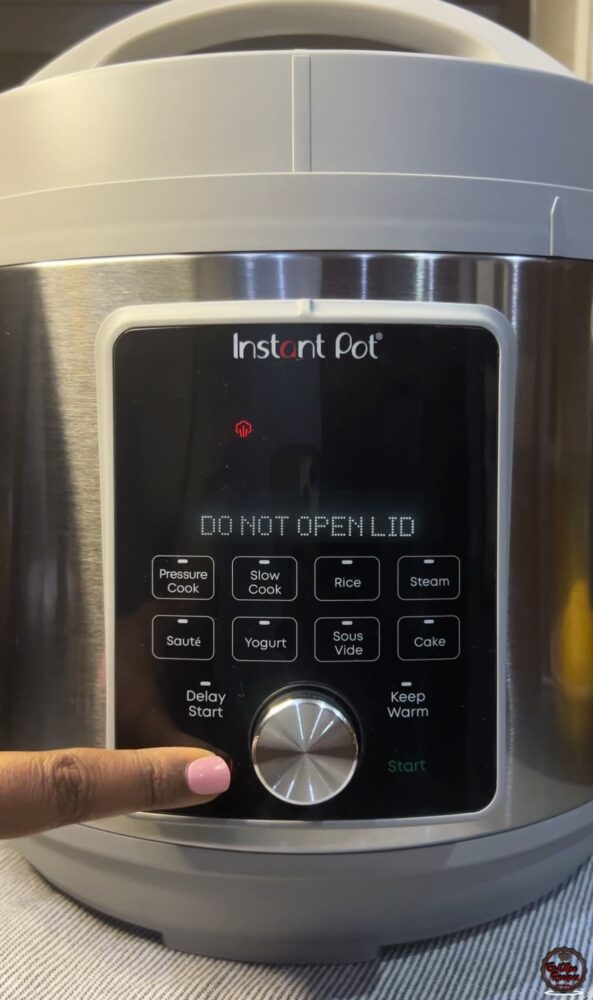
Quick release by moving the valve or switch to venting. This will release any remaining pressure in the Instant Pot.
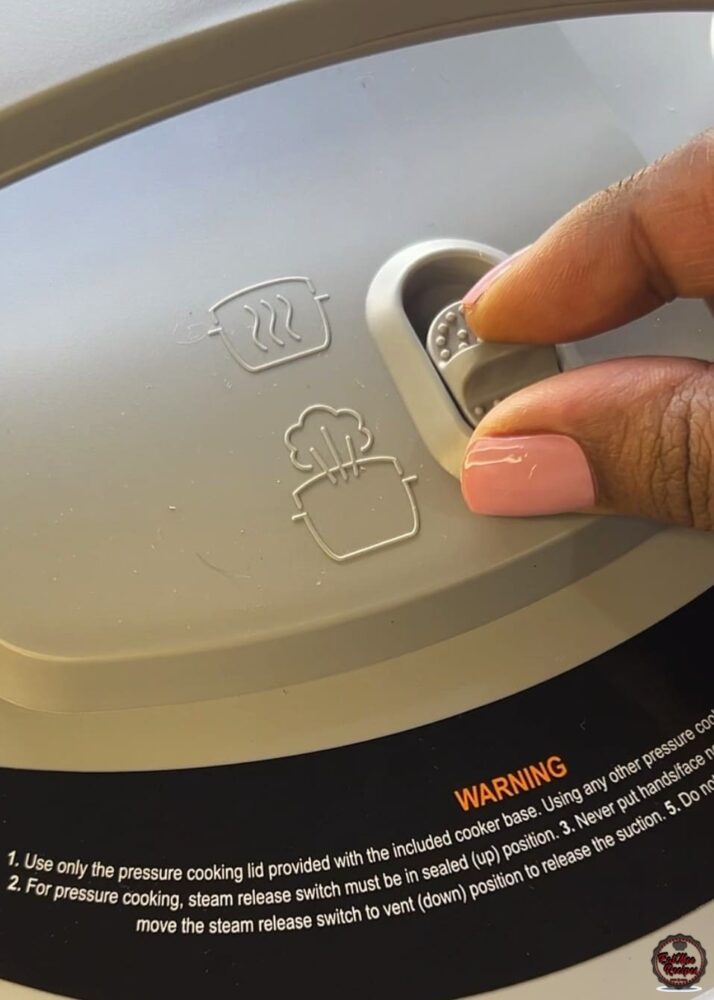
It’s safe to open the lid when the screen displays “Ready” or the valve sinks in on other models.
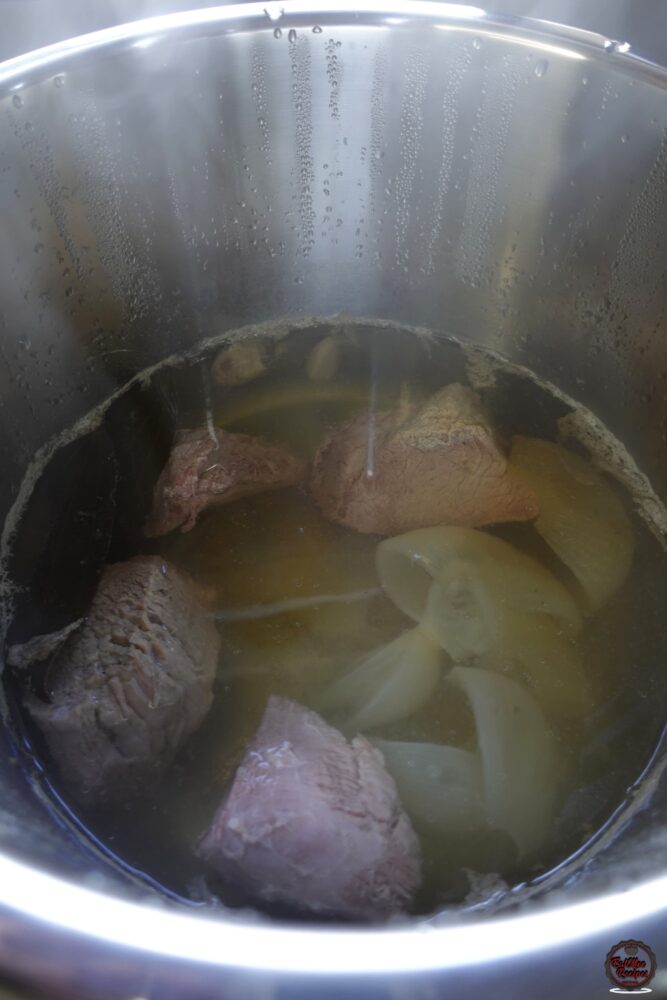
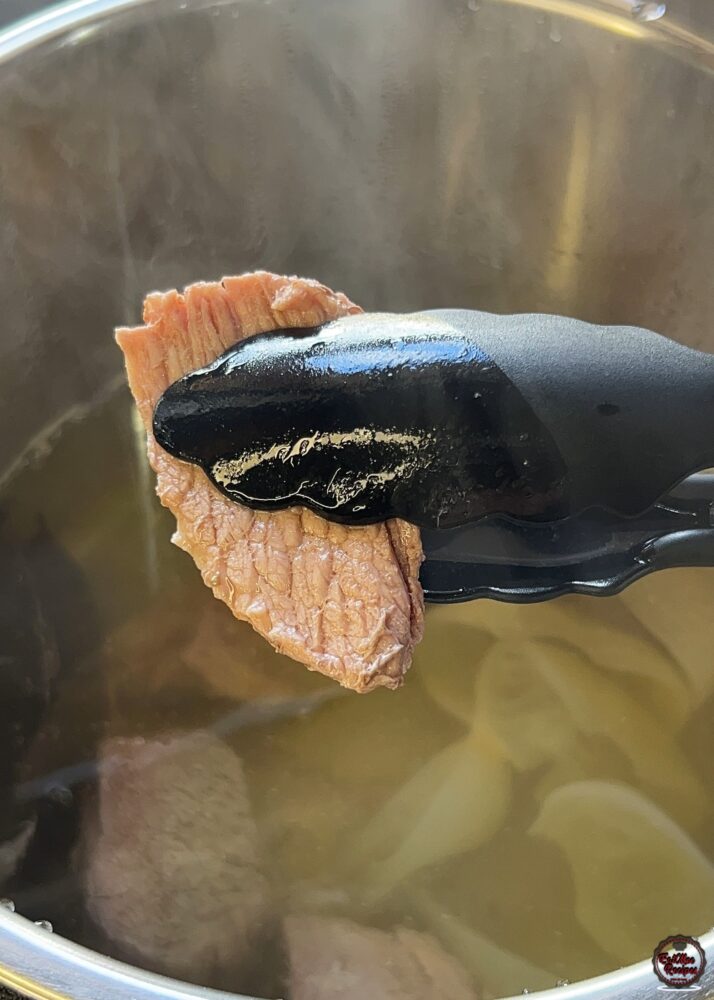
Remove the beef and place it into a bowl. It should be beautifully tender and juicy, almost falling apart already.
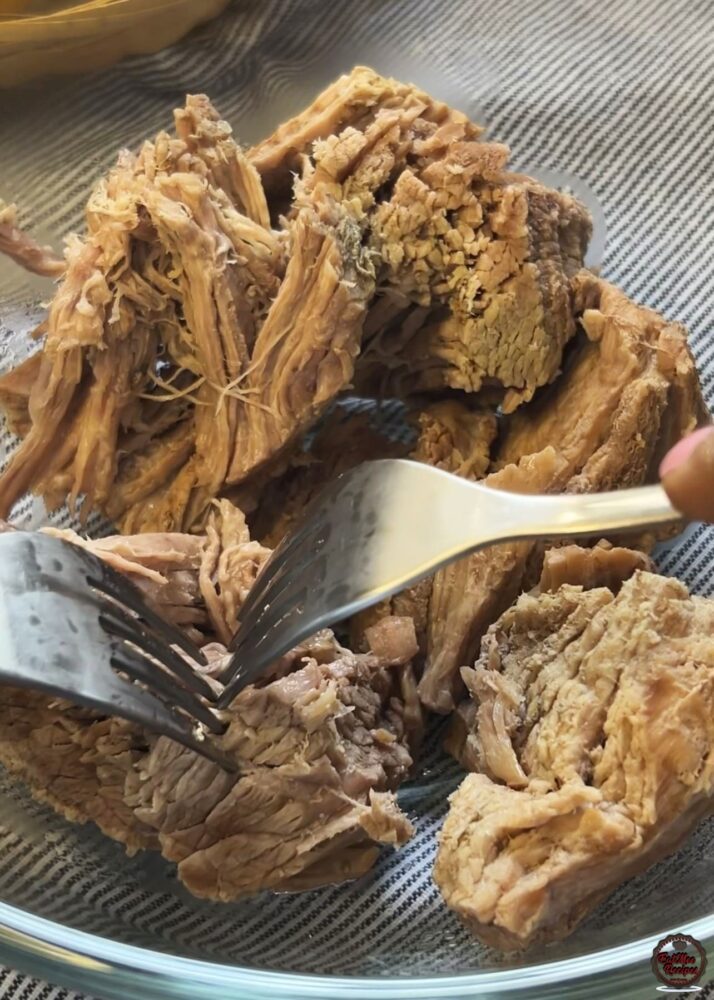
Using two forks, gently shred the beef, but don’t go too fine, you still want some texture so the filling doesn’t turn mushy in the tamales.
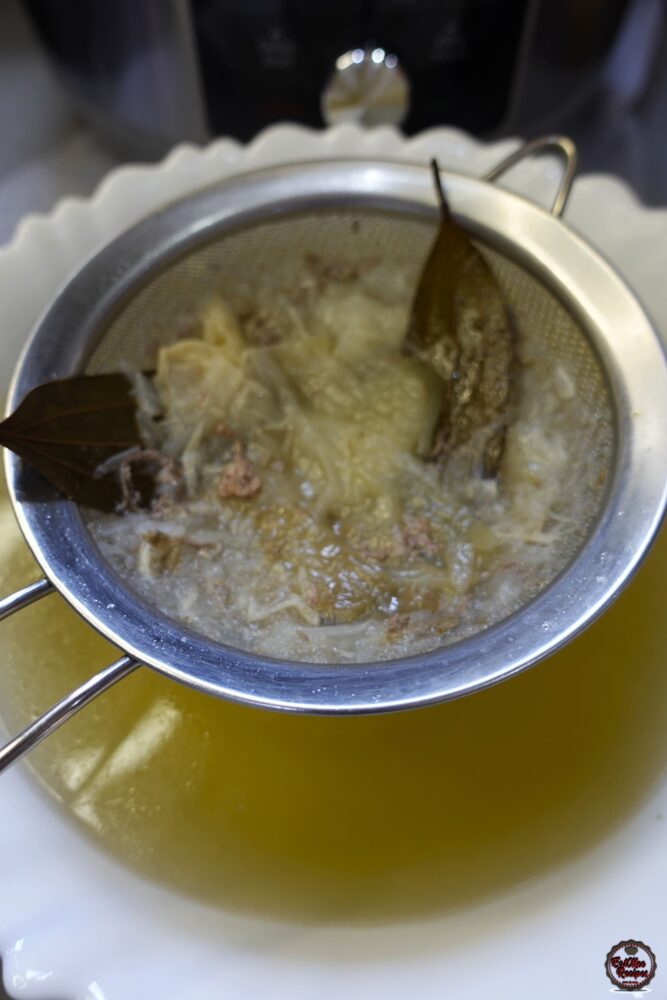
Strain the broth, discarding the onions, bay leaves and garlic.
Next, bring out the chillies. I got most of the Mexican ingredients from Azteca (not sponsored! but they are very reliable as I got my order the very next day). All direct links are added on the ingredients list above.
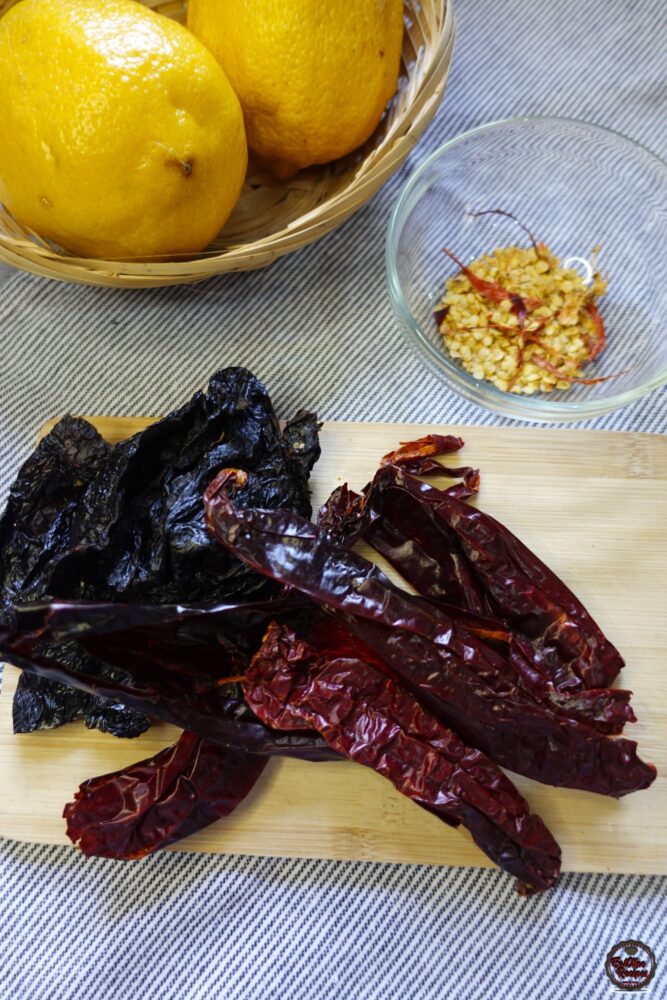
Time to deseed the chilles so start by removing the stems, slice the chillies open and shake out the seeds, you can also scrape them out with a knife. This helps control the heat and keeps the sauce smooth without any bitterness. I’ve found Ancho to leave a orange hue and sting on my fingers but after washing your hands, it should be fine. Overall the chillies weren’t spicy for us.
Open up the can of tomatillos.
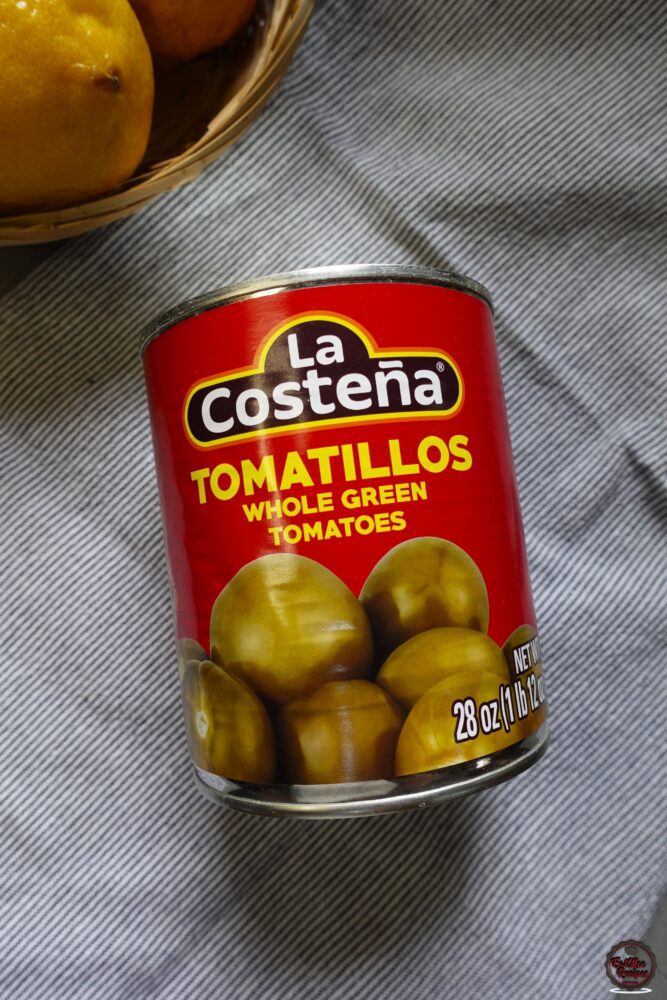
We’re only using 4 of them so you may store the remaining tomatillos in a container with the brine for another recipe.
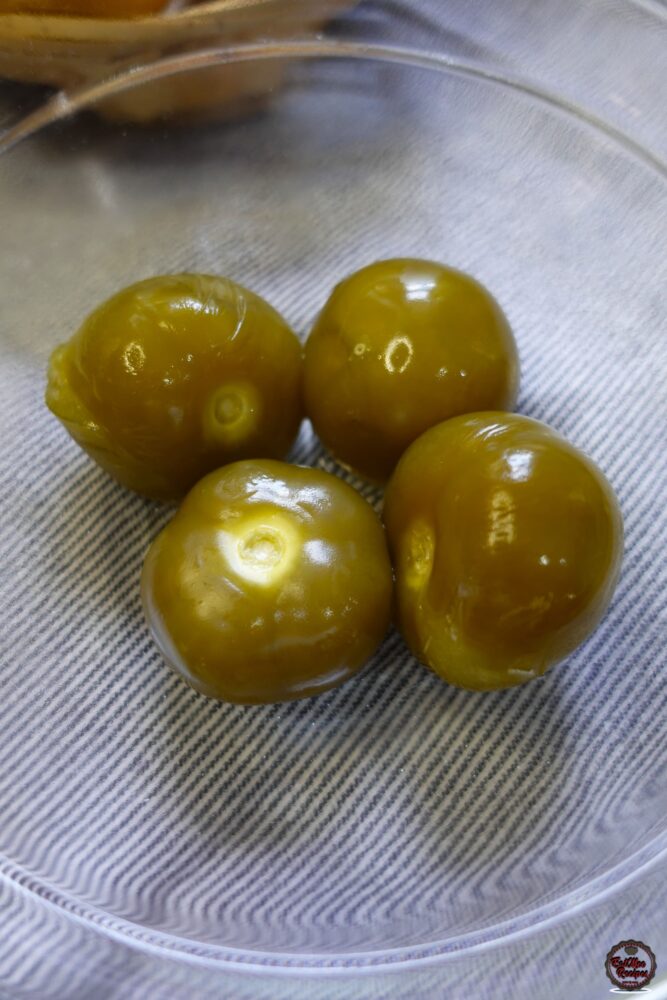
Give the inner pot a quick rinse just to remove any chunks of onions or garlic that may remain. Add in 2 cups of the strained broth.
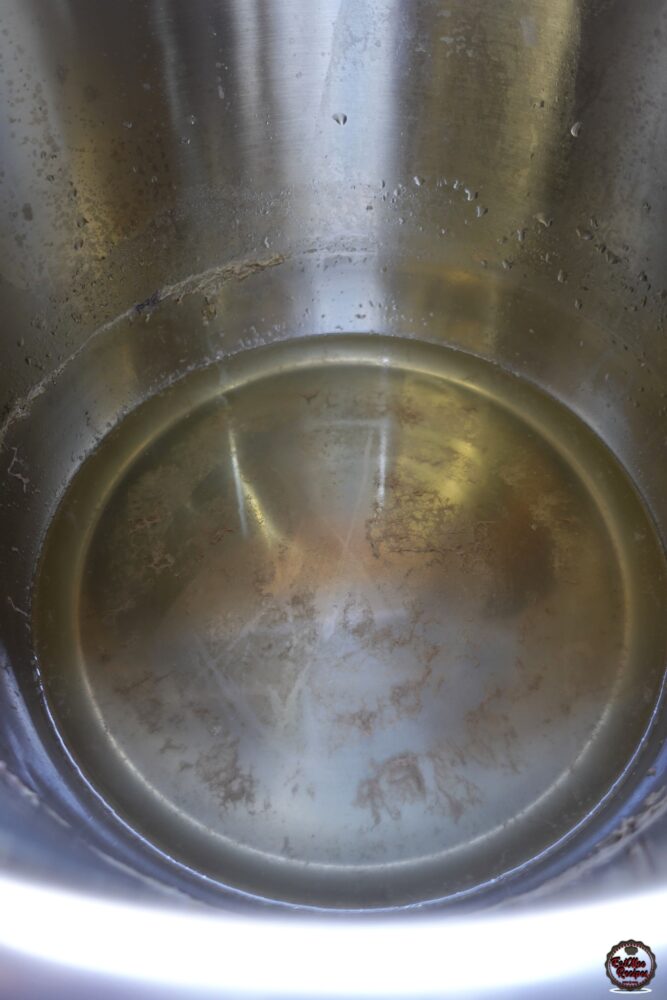
Make sure the broth is still hot and add the deseeded chillies and tomatillos to it.
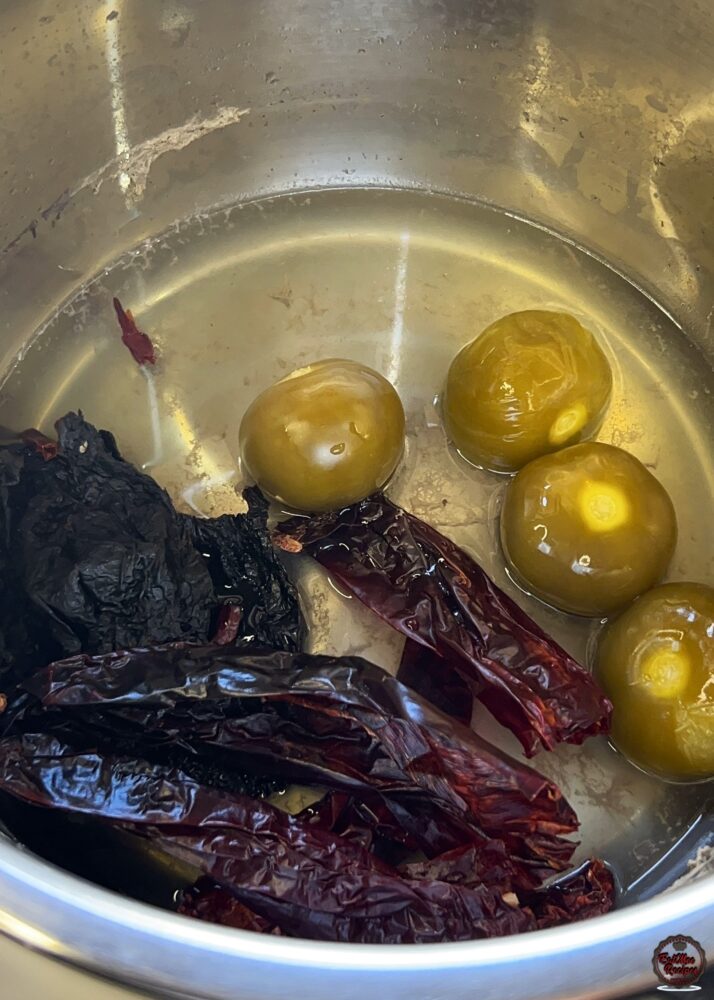
Mix it around gently so the chillies are submerged in the broth as this is going to help soften it.
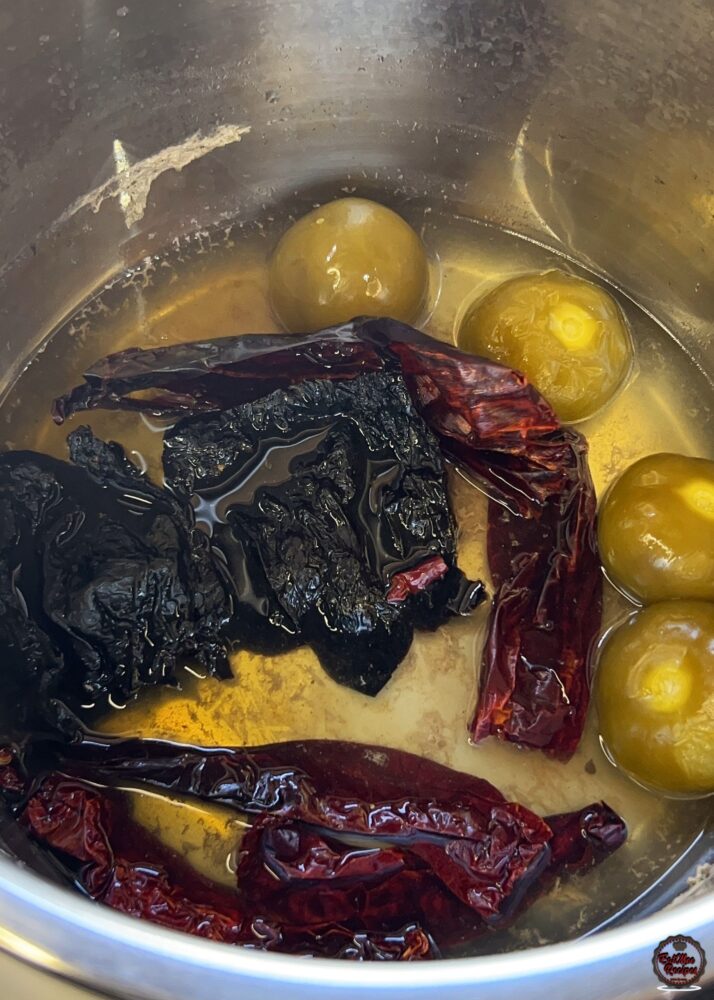
Close the lid and let them soak for 10 minutes until chillies are soft.
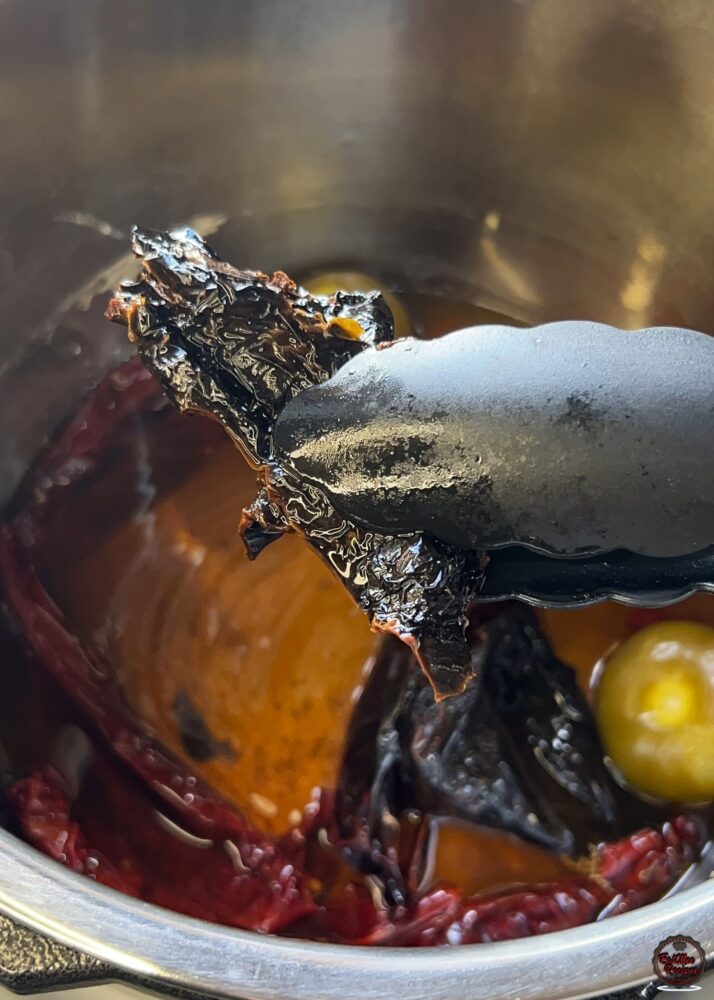
Transfer the soaked chillies, tomatillos, all the soaking broth, garlic, cumin powder, dried oregano and salt to a blender.
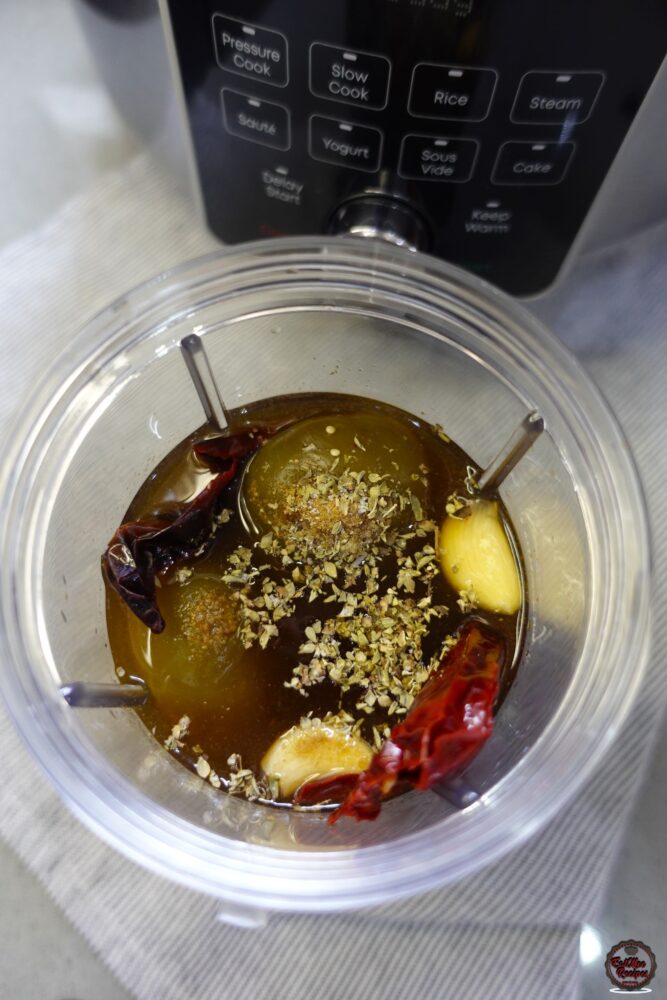
Blend until completely smooth.
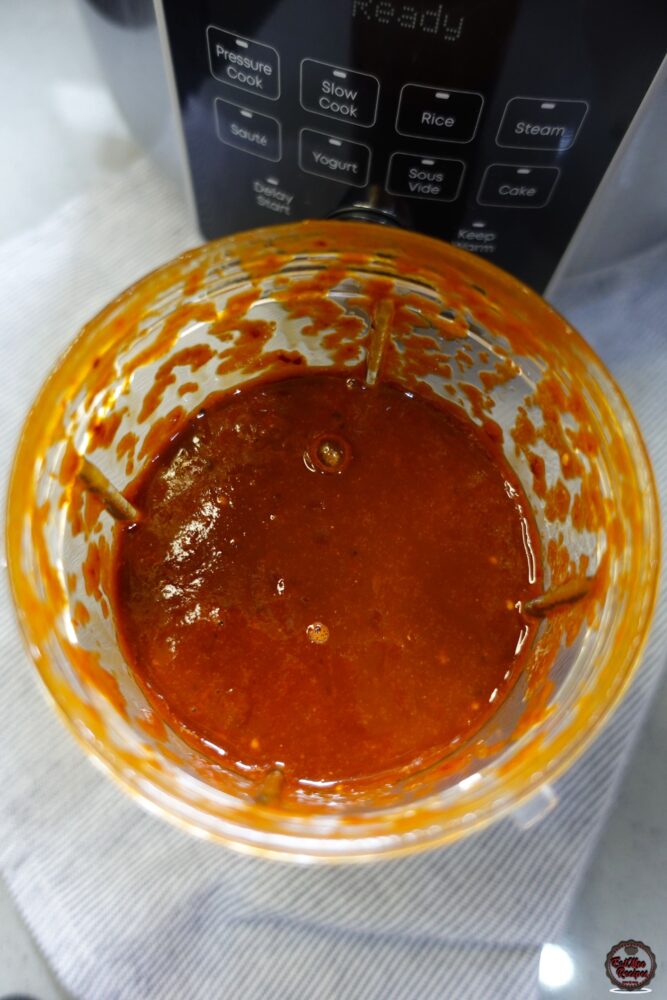
Reserve ½ cup chilli-tomatillo sauce to flavour the masa later.
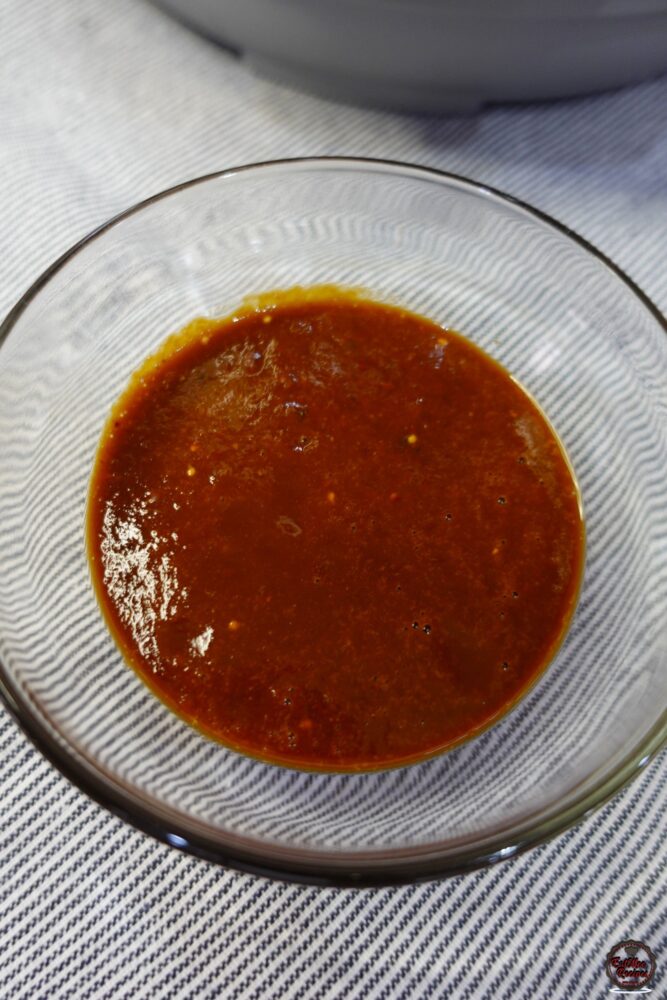
Rinse and wipe the inner pot clean.
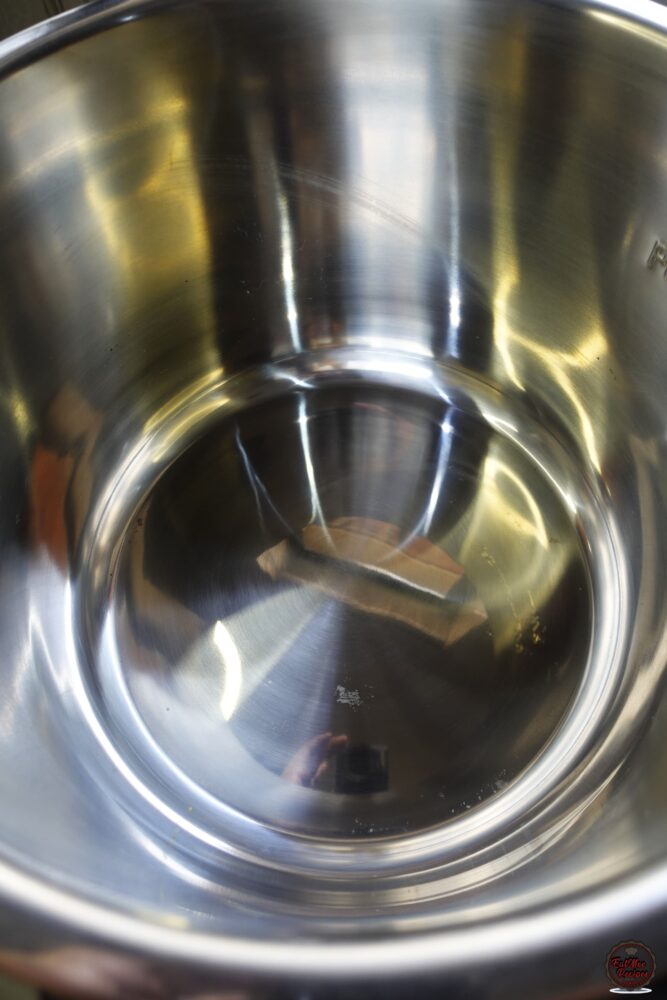
Press “Sauté” on your Instant Pot and then hot “Start”.
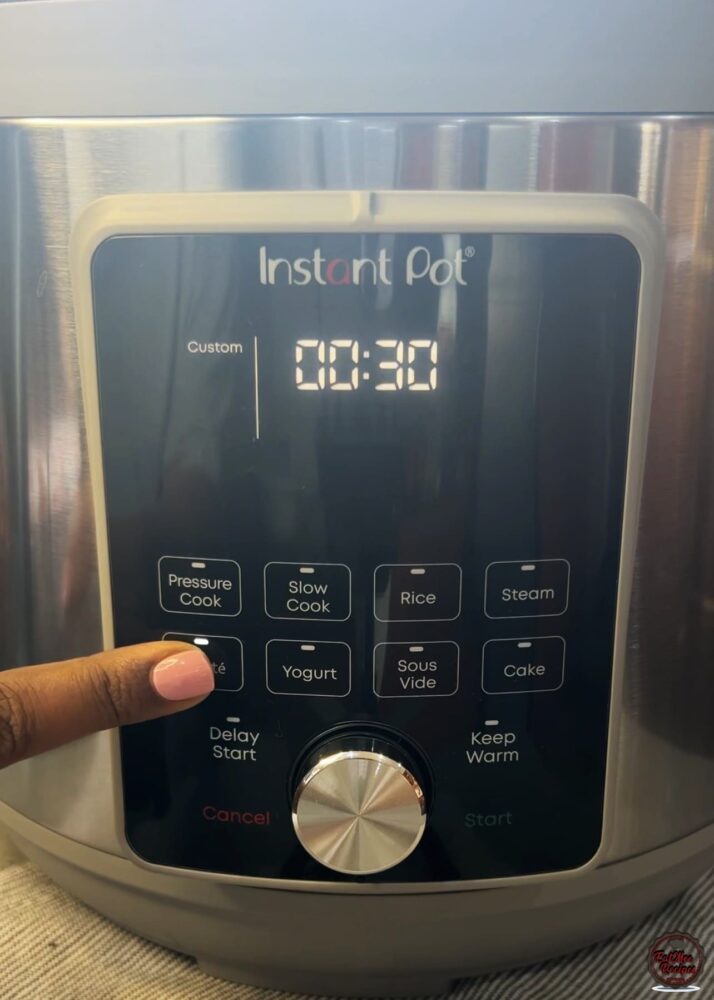
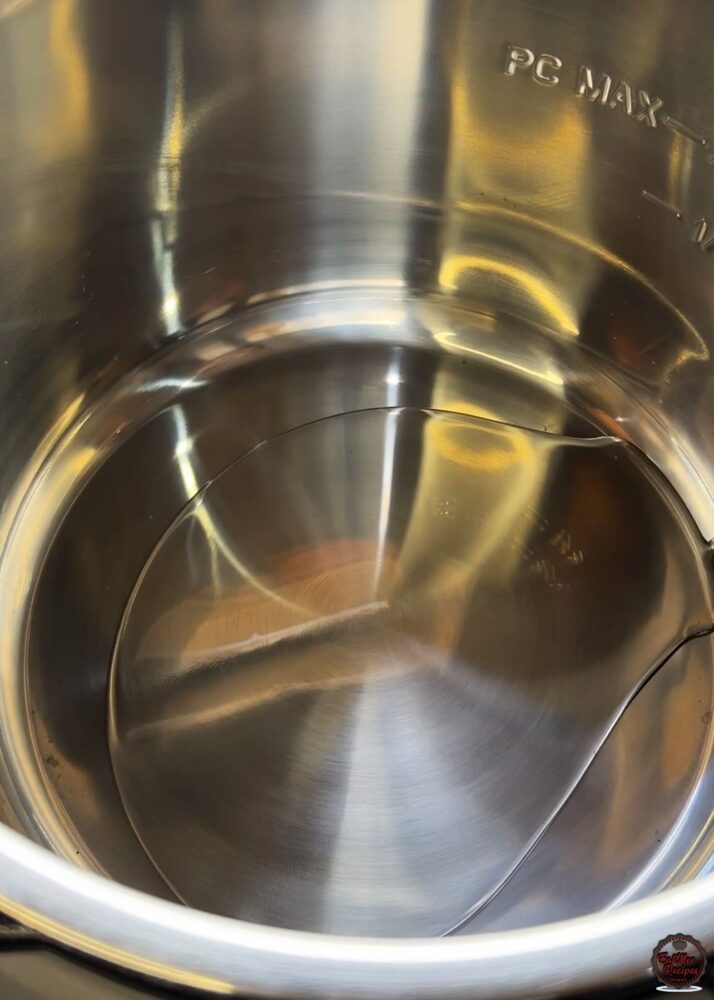
Add in the neutral oil. This will prevent the sauce from sticking and make it glossy.
Pour in the sauce and mix together.
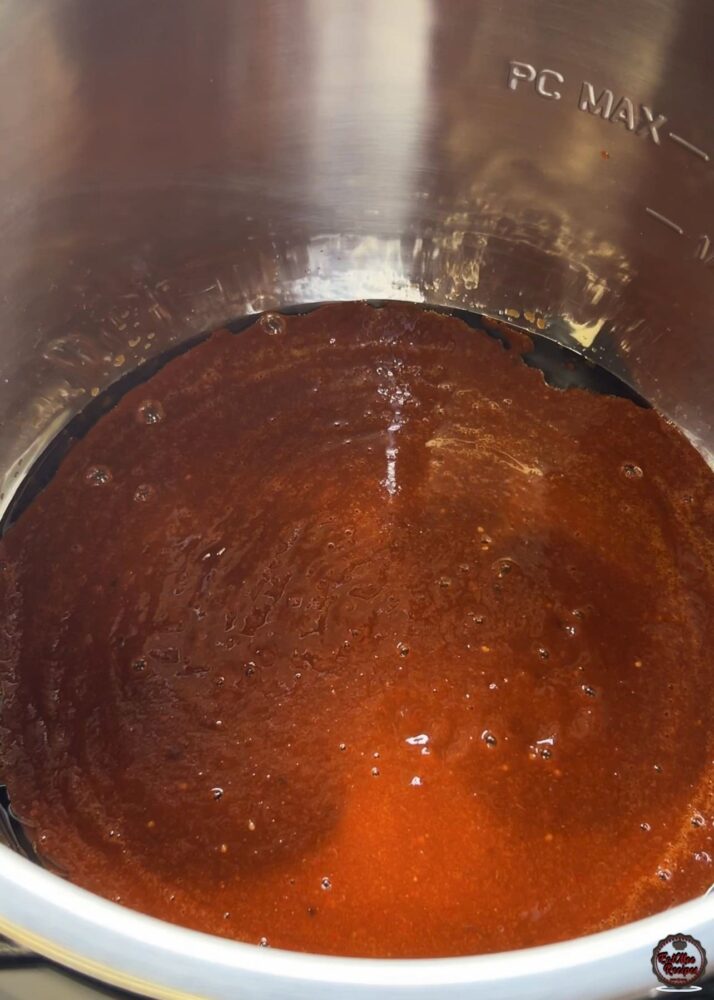
Sauté for 10 minutes, stirring every now and again so it doesn’t burn.
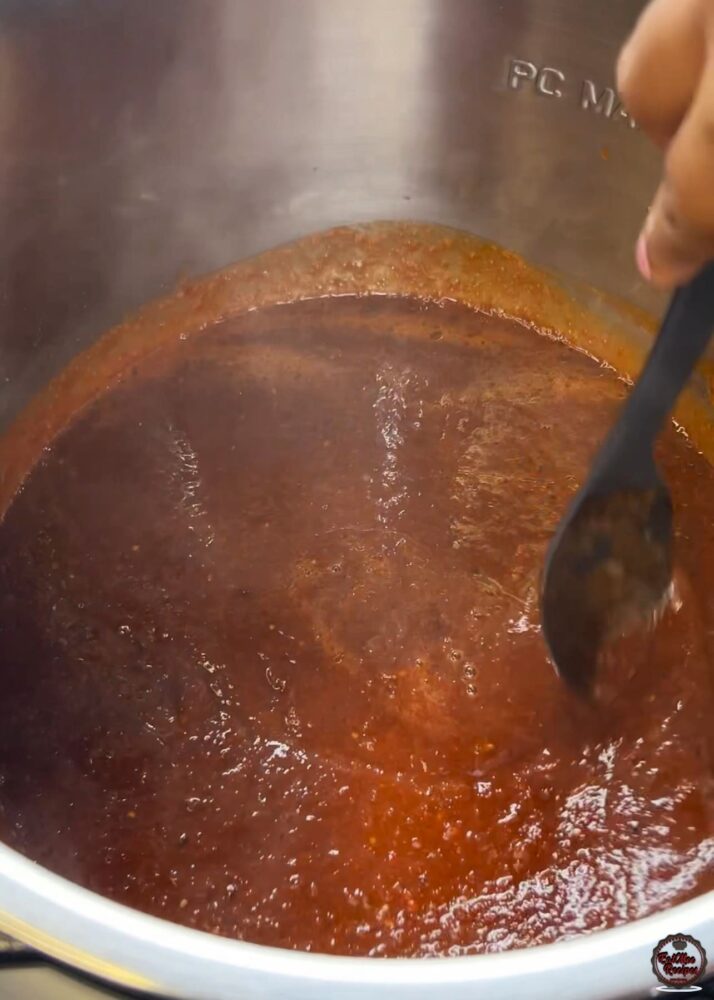
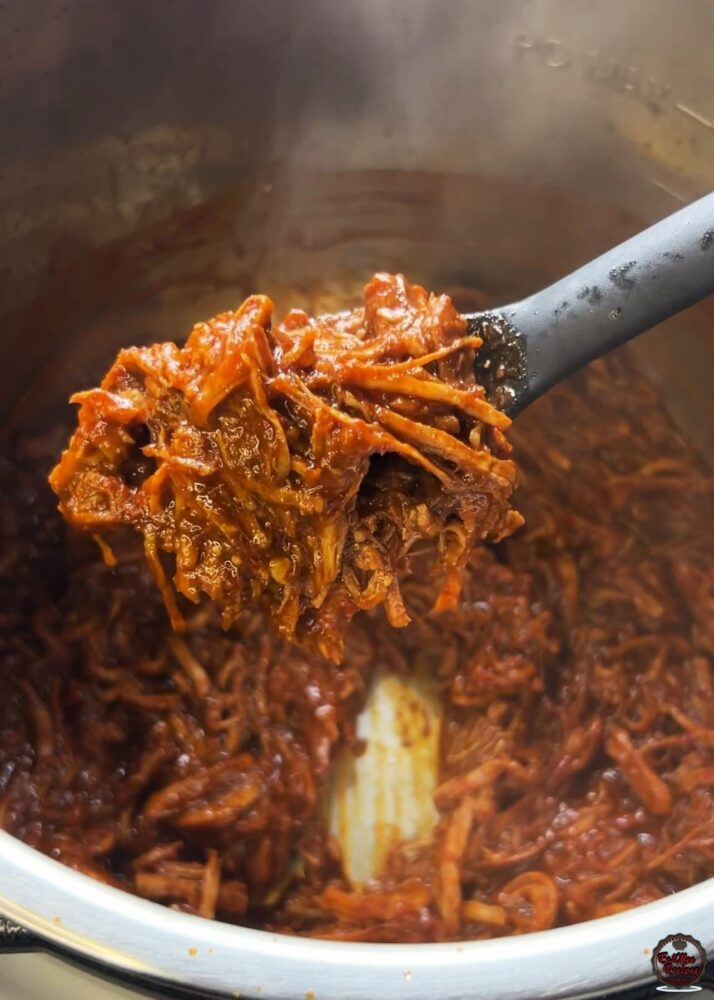
After 10 minutes, the sauce should be nice and thick.
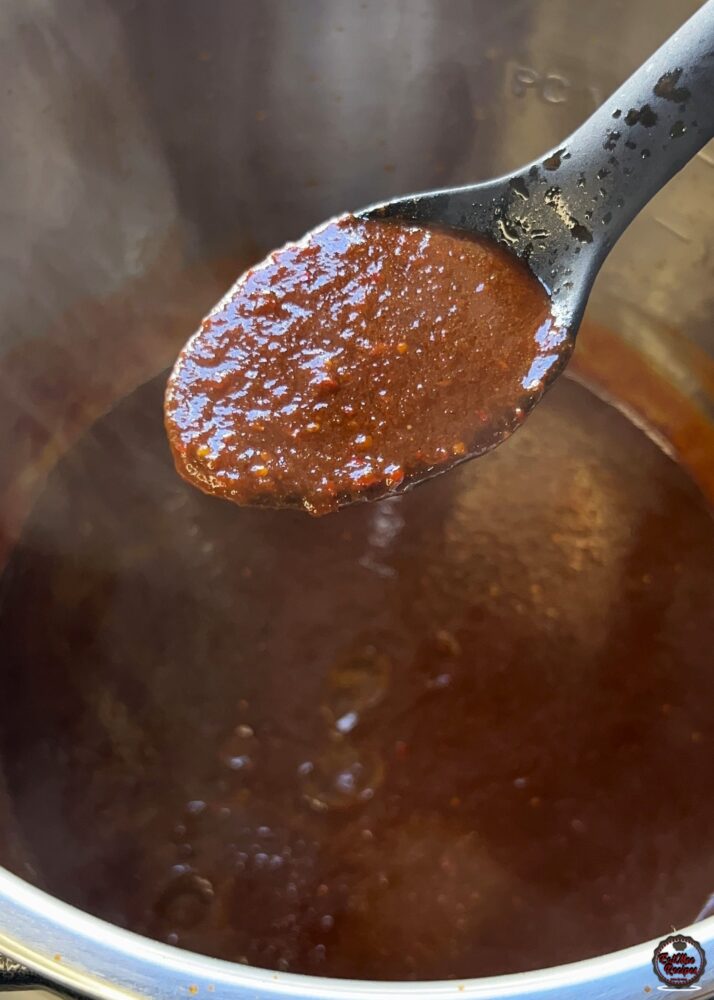
Next, add in the shredded beef.
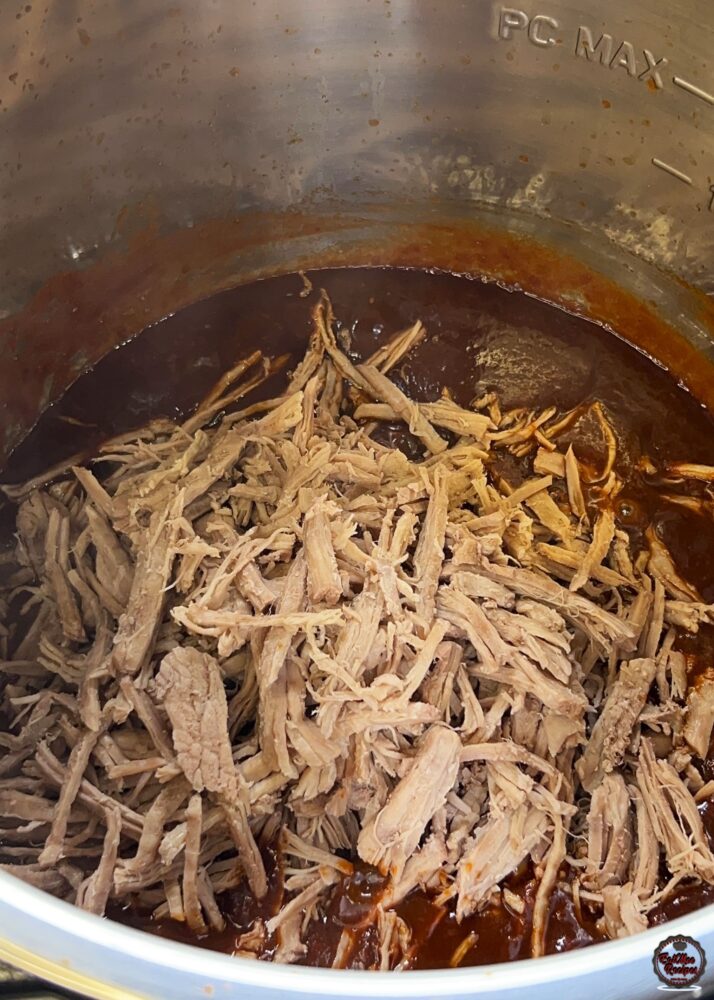
Mix together and simmer for 5 minutes.
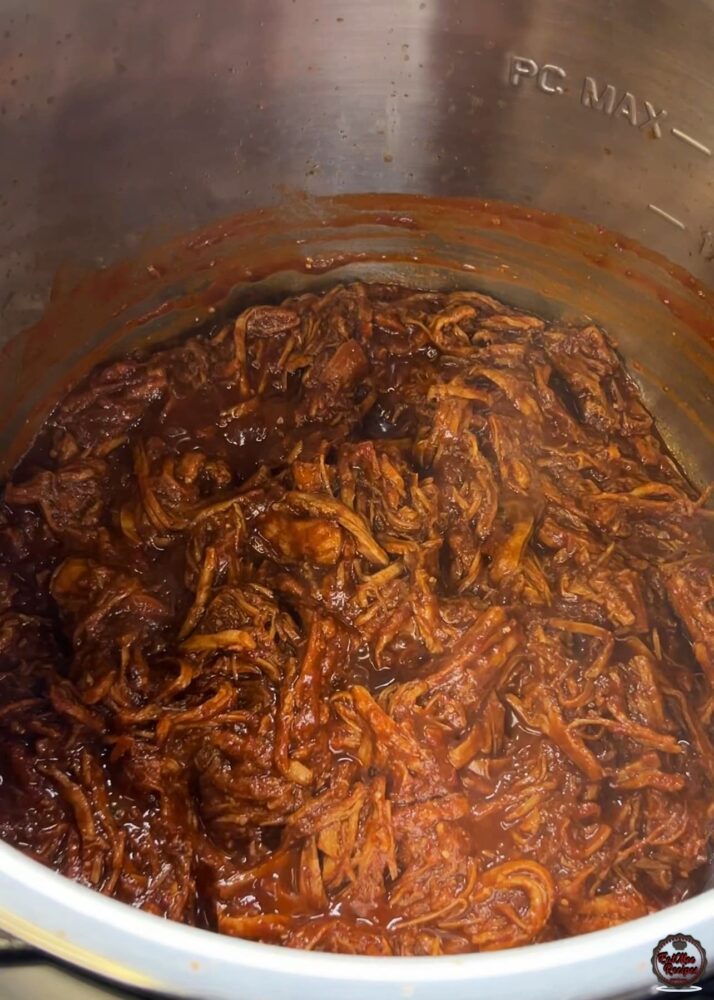
Once the beef is cooked with the sauce, set aside.
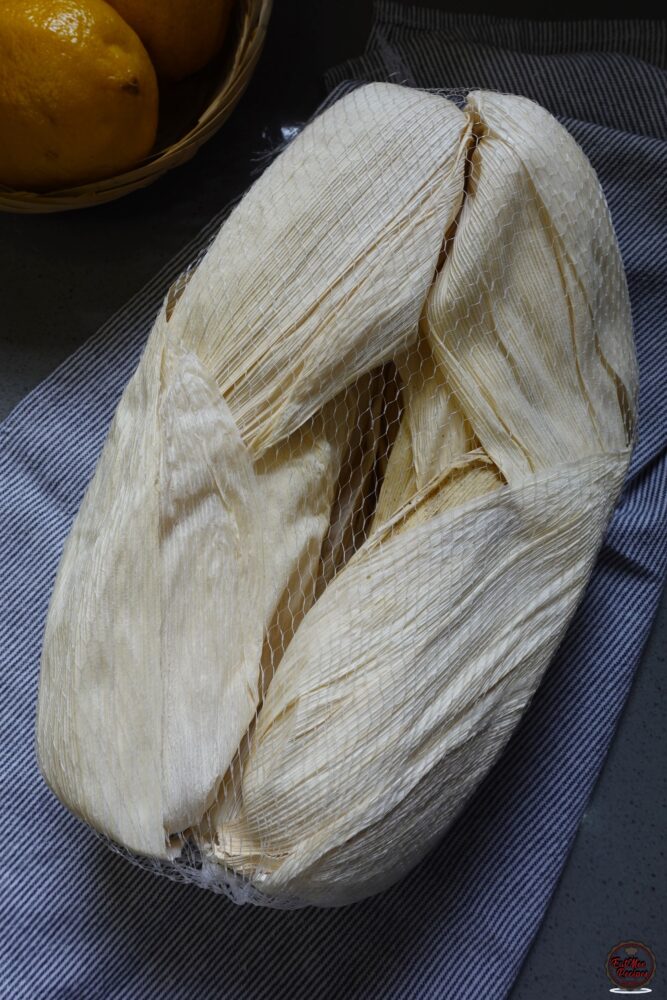
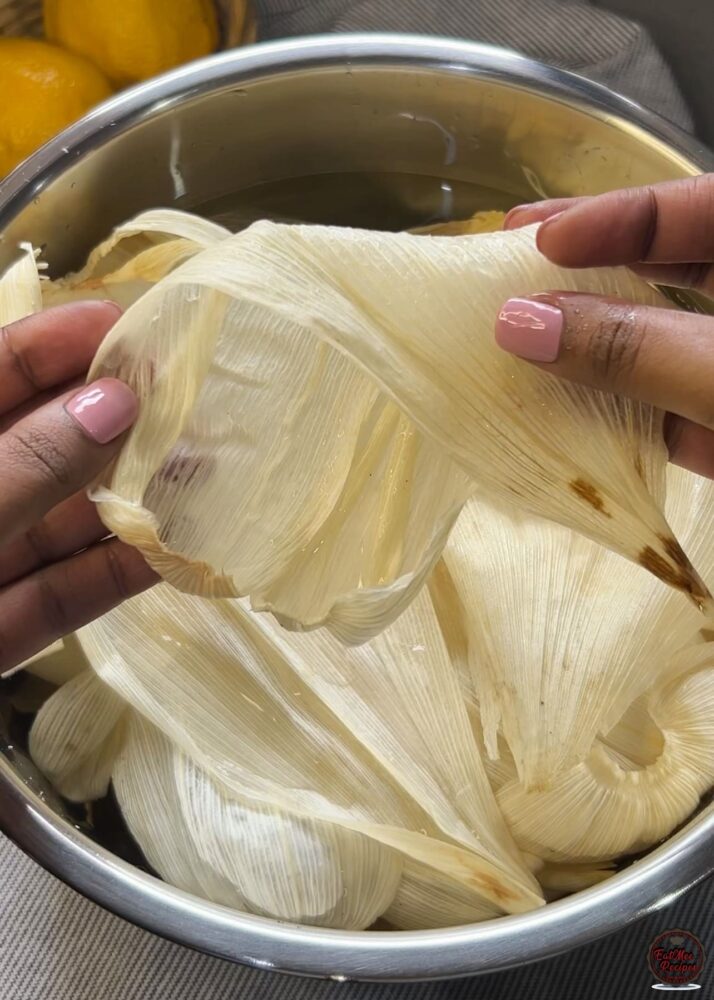
Soak the corn husks in a large bowl with hot water. I was done using my instant pot at this point so I used the inner pot to soak them. Leave them to soak for 30-60 minutes as this will allow them to soften and become more flexible.
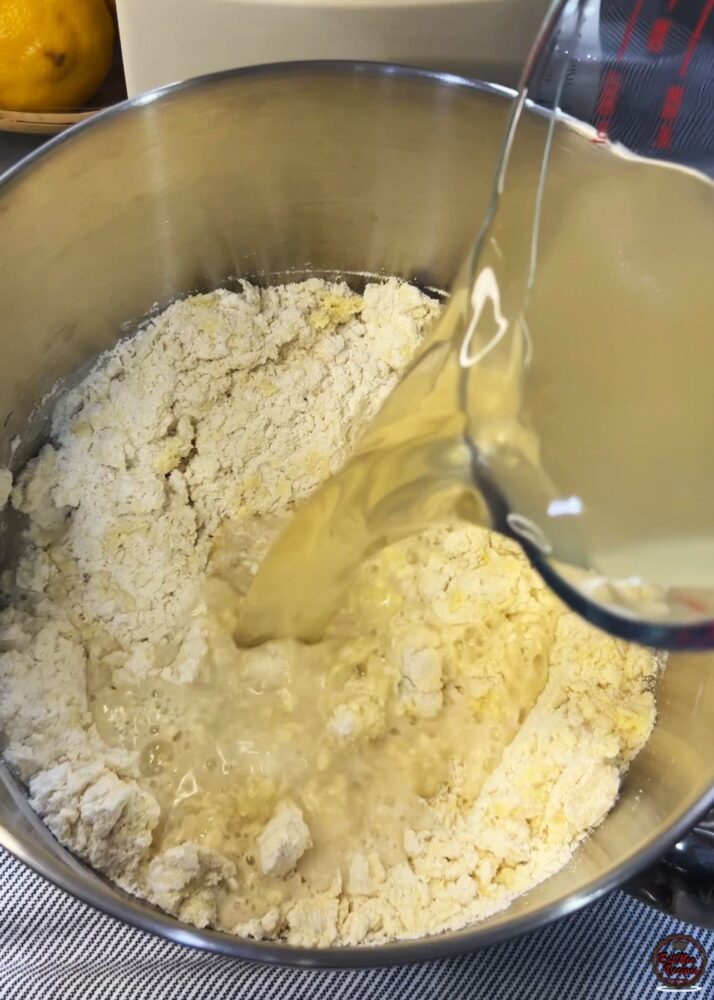
Pour in 2-3 cups of the strained broth.
Add in the reserved chilli-tomatillo sauce.
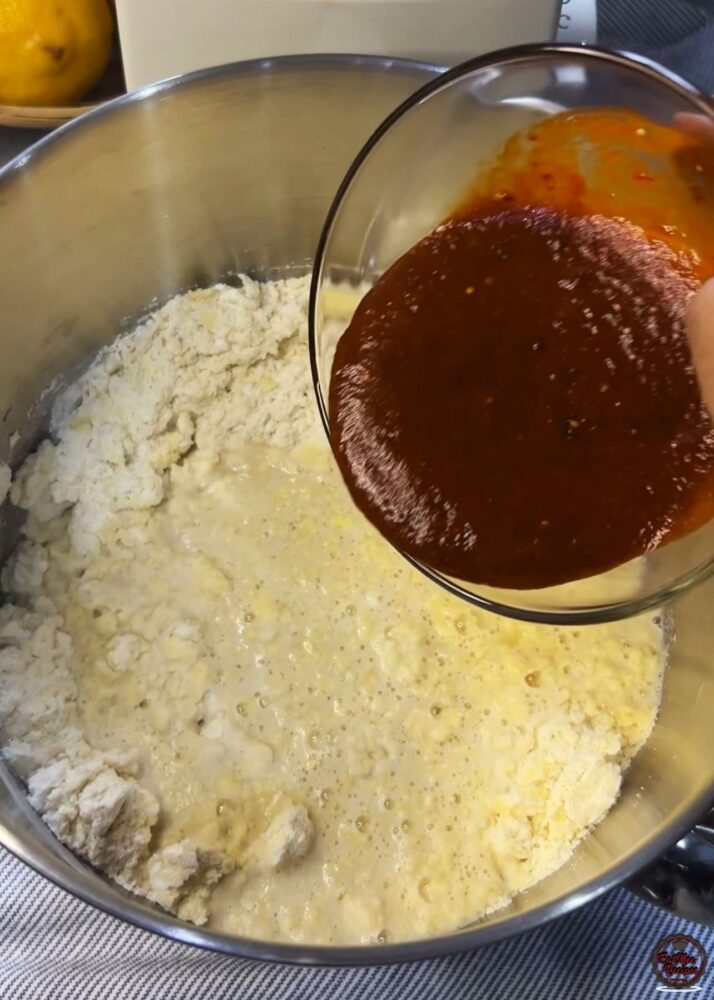
Mix together until combined.
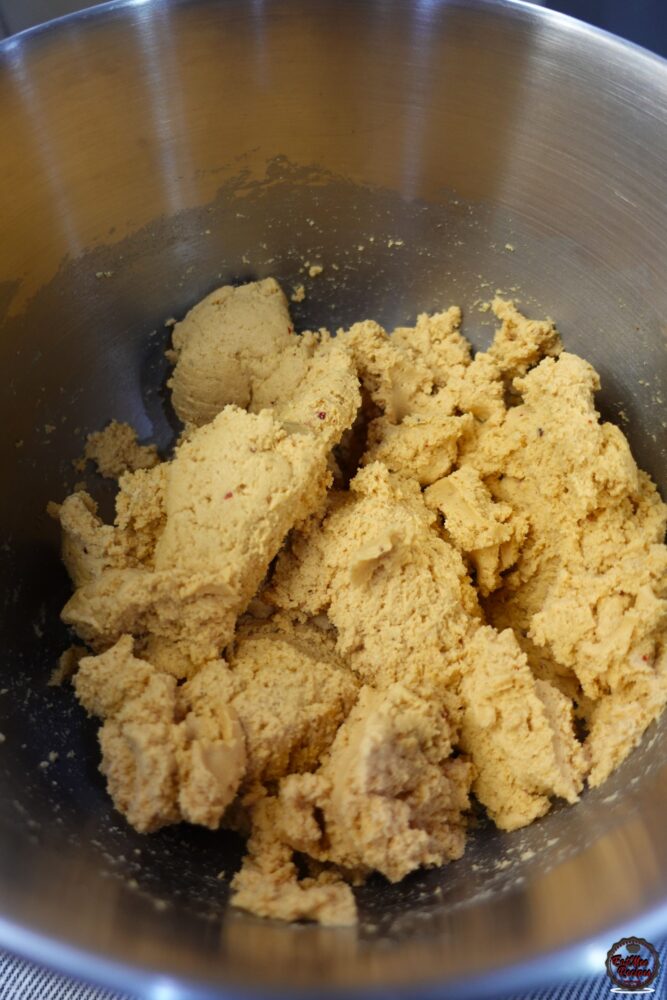
The texture should be like a thick hummus.
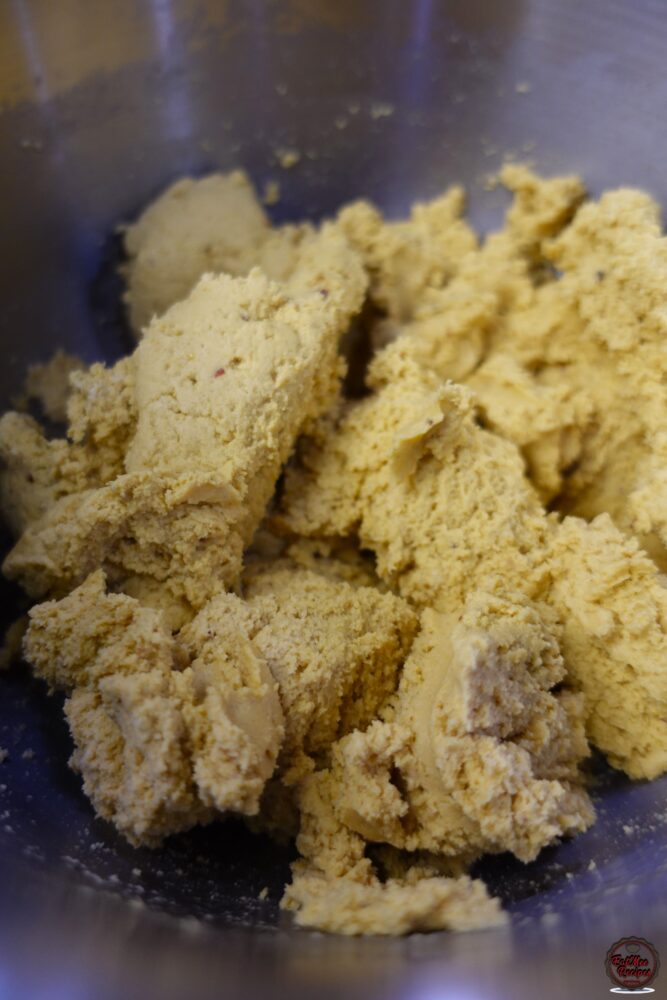
To know if your masa is right, do a float test by filling a small glass or bowl with room-temperature water. Take ½ teaspoon of masa and gently drop it into the water. If it floats, your masa is perfectly aerated and ready for tamales. That means it has enough fat, enough air whipped in and has proper hydration which should make your tamales come out light and fluffy.
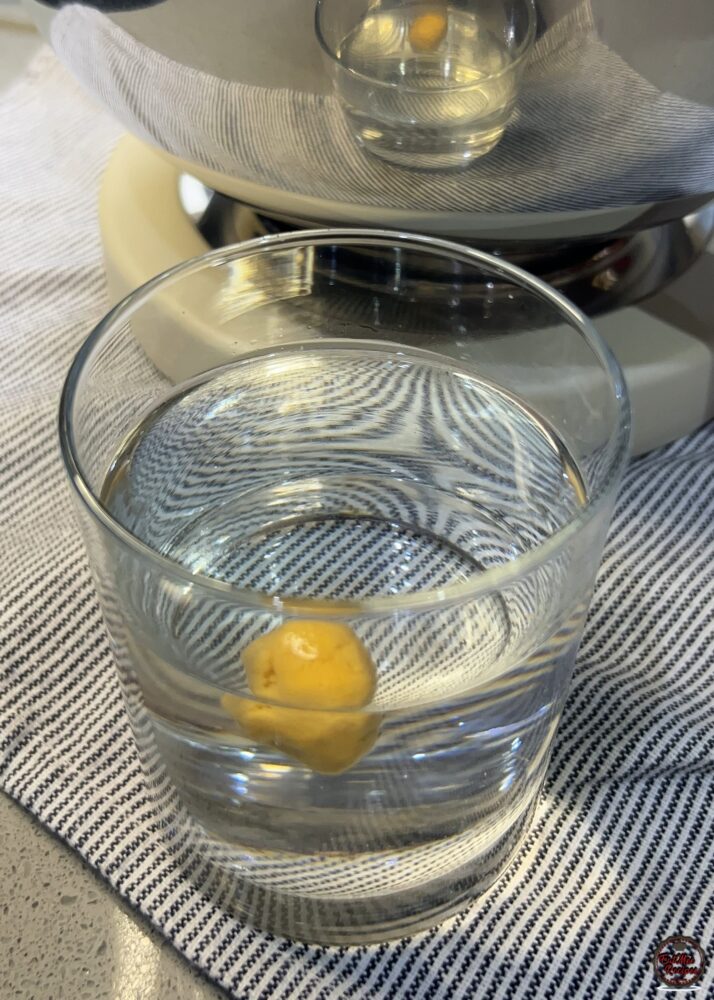
If it sinks, your masa needs more aeration or fat. Fix it by beating the masa 2-3 minutes longer or adding 1-2 tablespoons more butter/oil. If it spreads apart in the water, the masa is too wet, fix it by adding 1-2 tablespoons masa harina. Mix and retest.
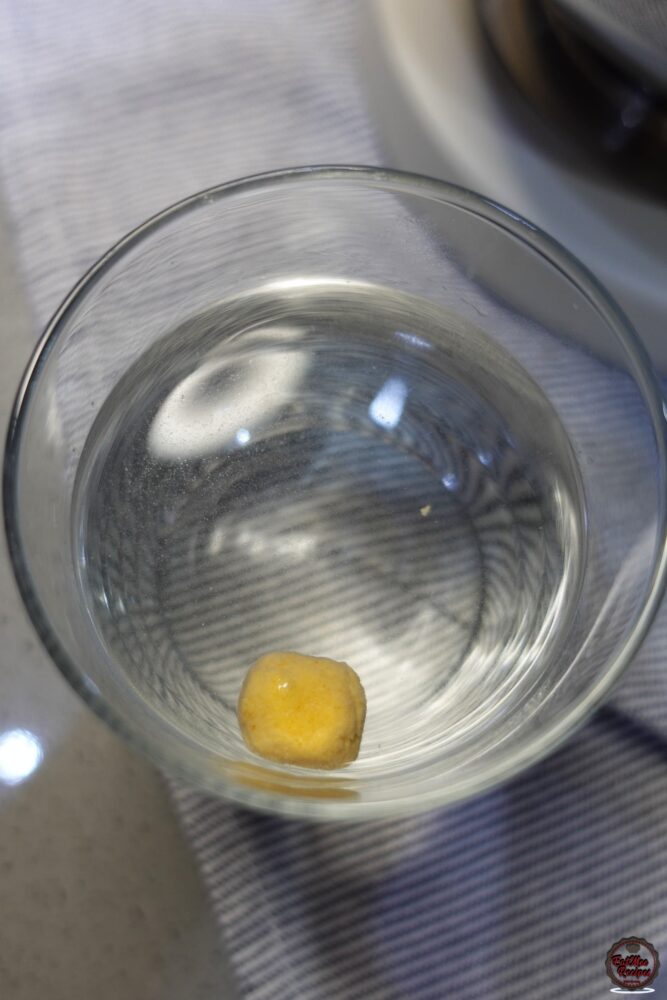
Allow the masa to rest 10-15 minutes. This allows the masa harina to fully hydrate, giving a better texture.
Once the corn husks are softened and become flexible, we can begin assembling the tamales.
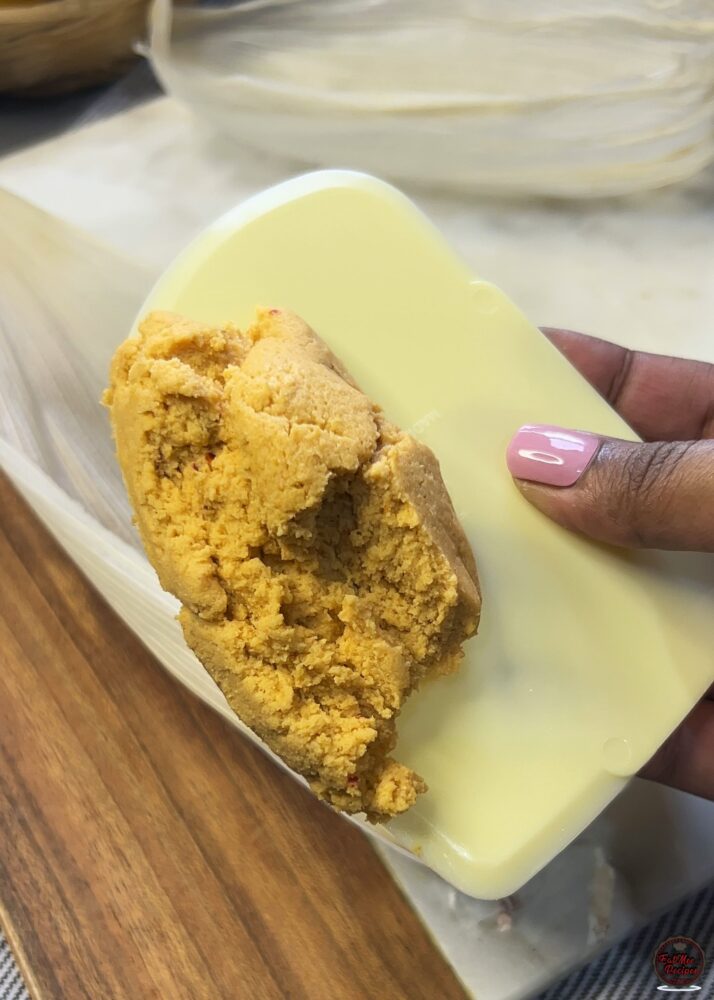
Pat the corn husks slightly dry so masa sticks properly. Place husk smooth side facing up (this spreads easier). Use 2-3 tablespoons masa per husk. Add masa to the top half of the husk. I used a dough scraper but you may use the back of a spoon (most common), offset spatula (best for smooth, even layer), a butter knife or even your fingers (very traditional).
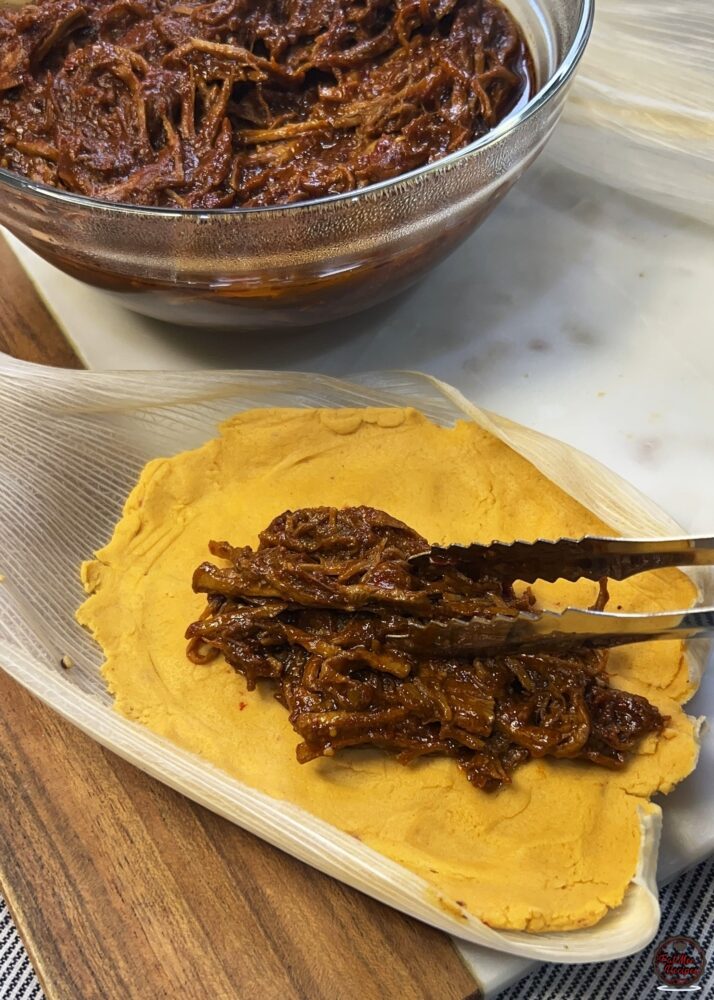
Add 1-2 tablespoons beef filling in a line down the center. Don’t overfill as this will make folding messy.
Bring one side of the husk over the filling.
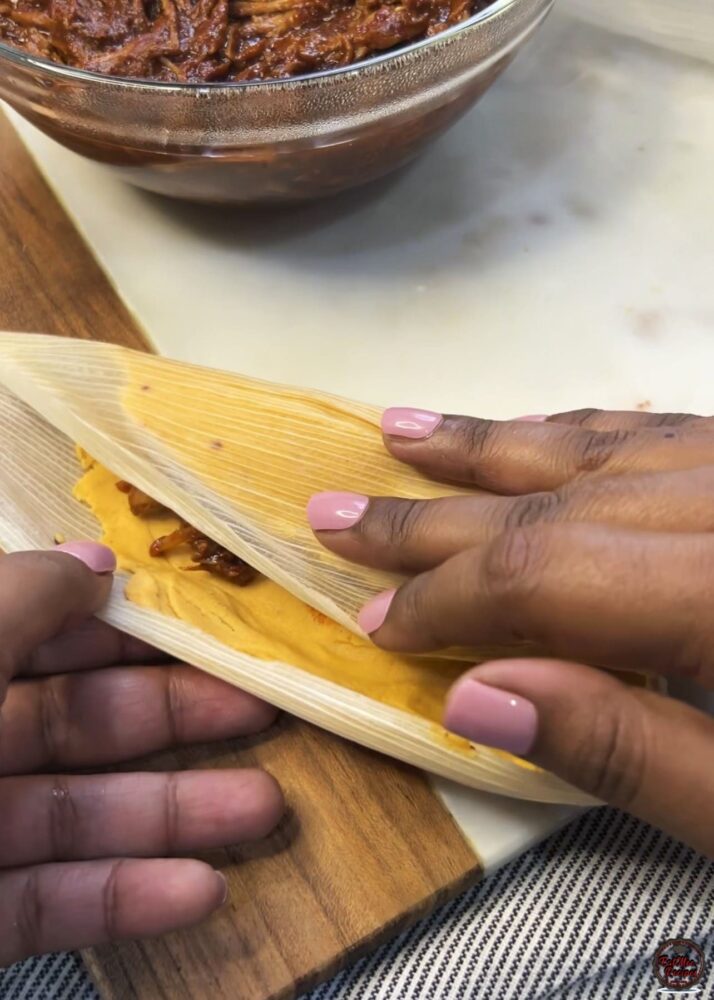
Then bring the other side over it (overlapping).
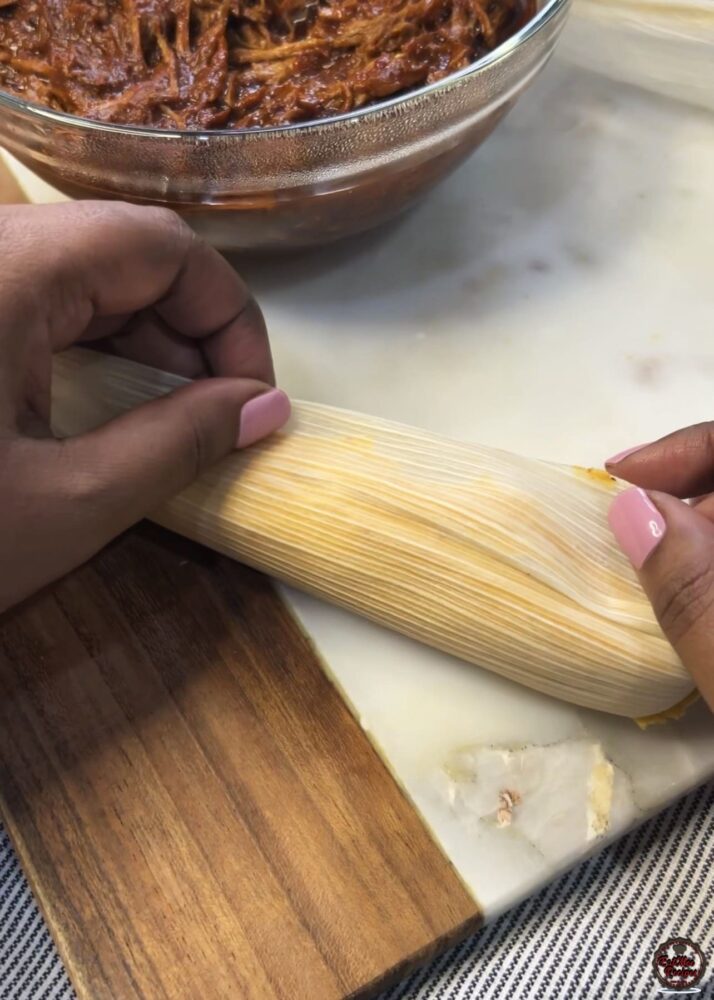
Fold the empty bottom end upward.
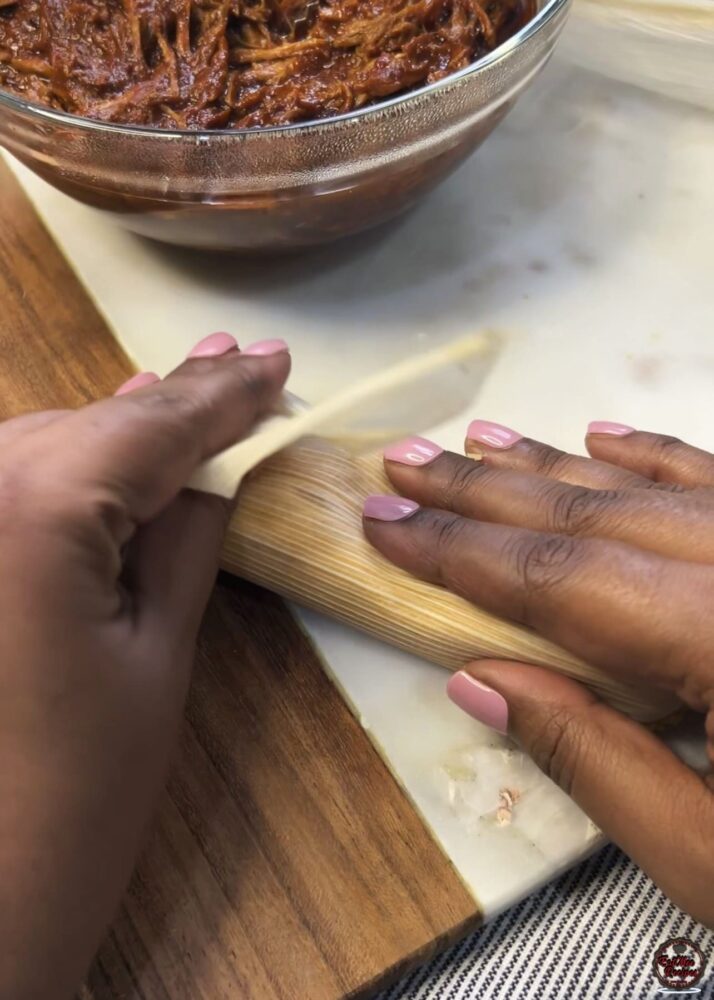
That’s the tamales folded, now continue until all the filling and masa is used.
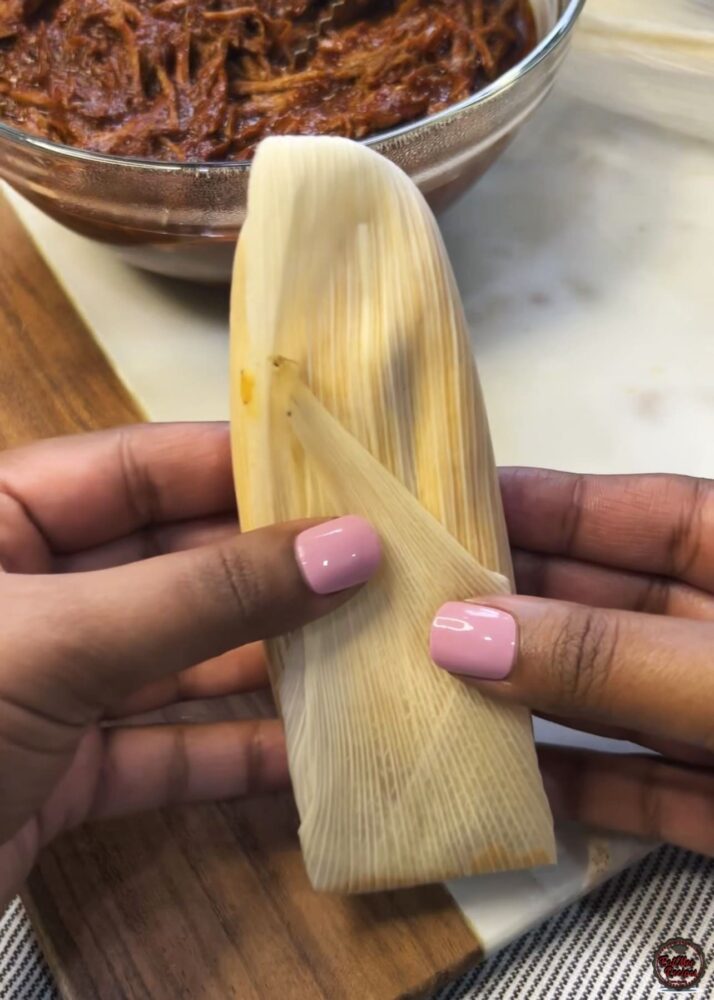
Prepare the Instant Pot by placing the trivet inside the inner pot, then pour in 1 ½ cups of water. The water should be below trivet.
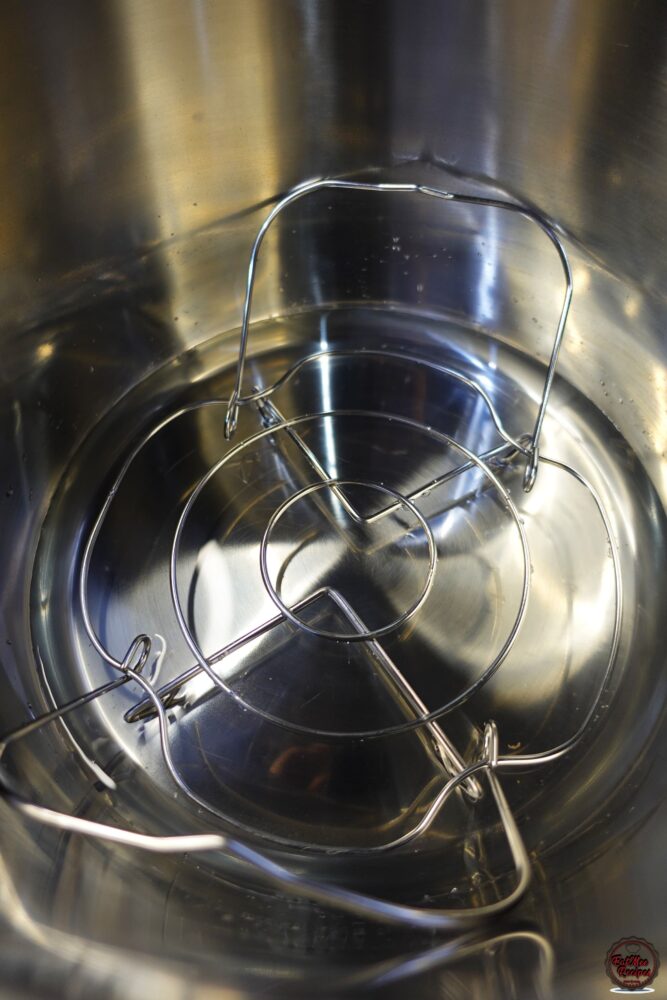
Place some corn husks over the trivet as the will support the tamales and prevent them from sinking into the water.
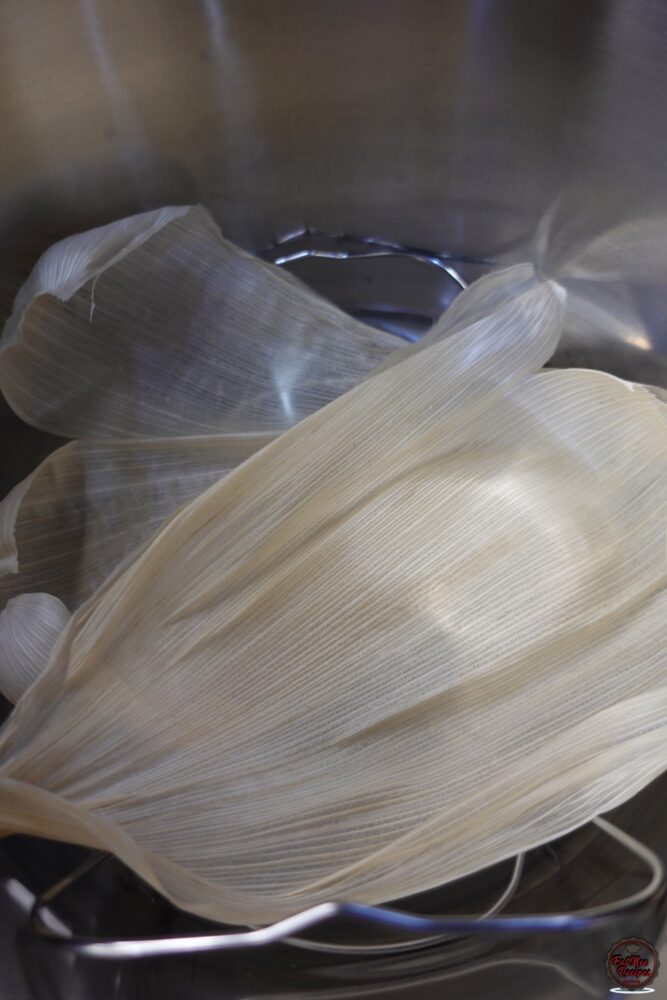
Stand tamales upright, folded side down, open side facing up. This keeps them sealed while steaming.
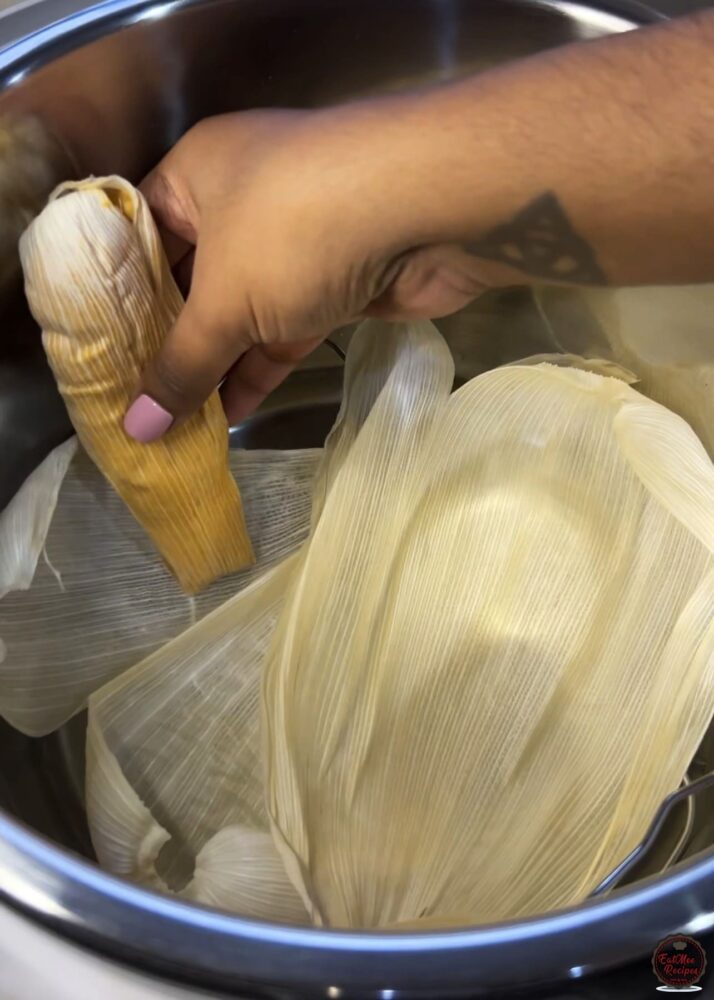
Stack them together making sure they won’t fall over.
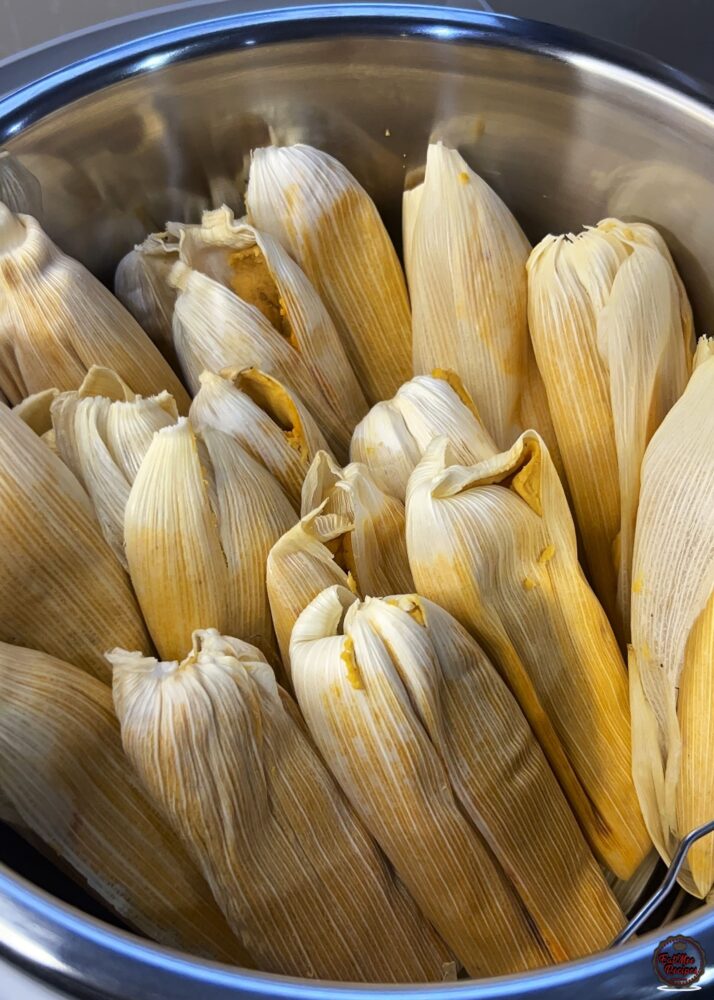
Close the lid and press the “Pressure Cook” button.
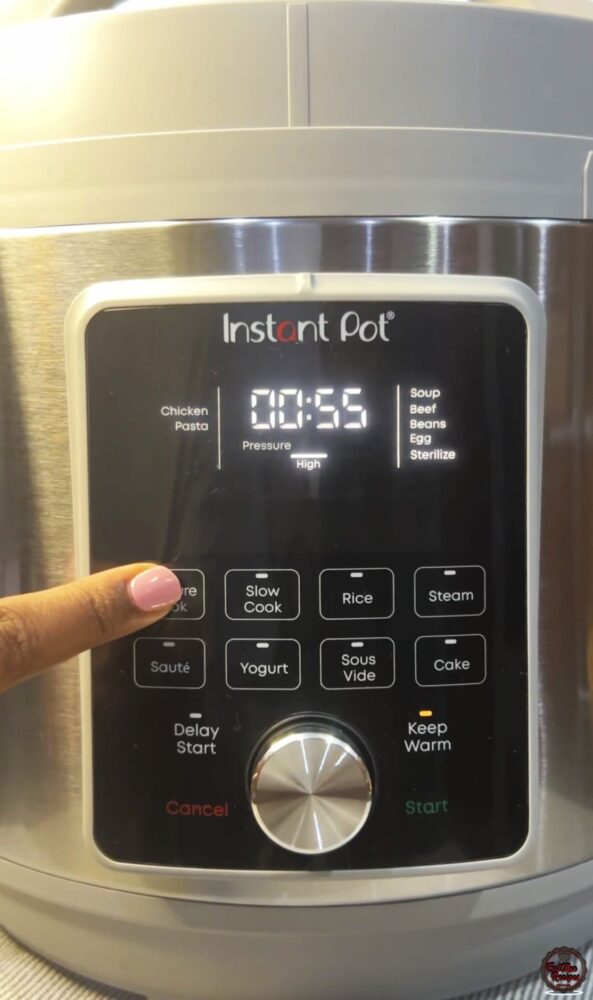
Press the silver knob and adjust the time to 40 minutes.
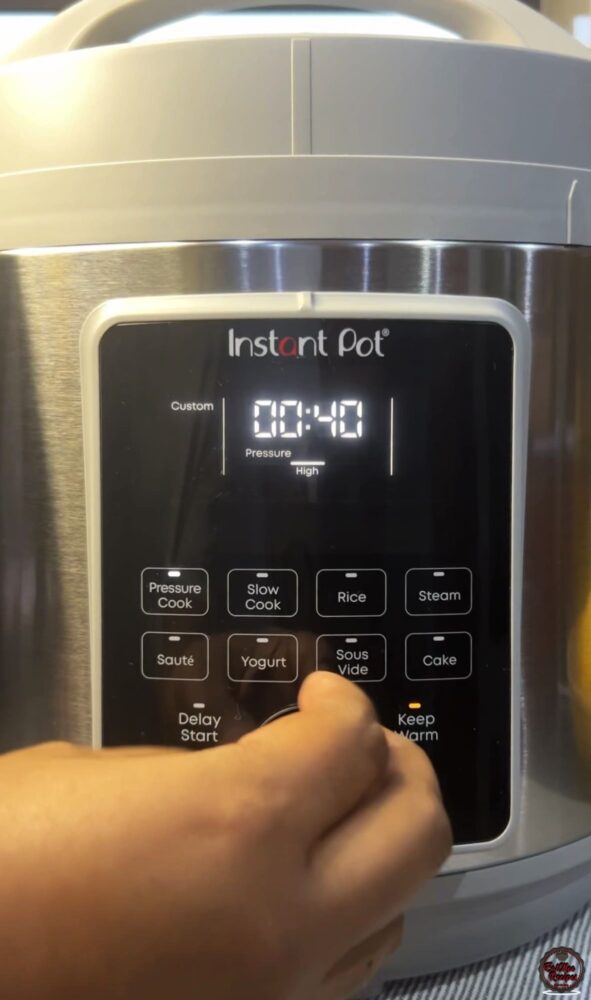
Then hit “Start”.
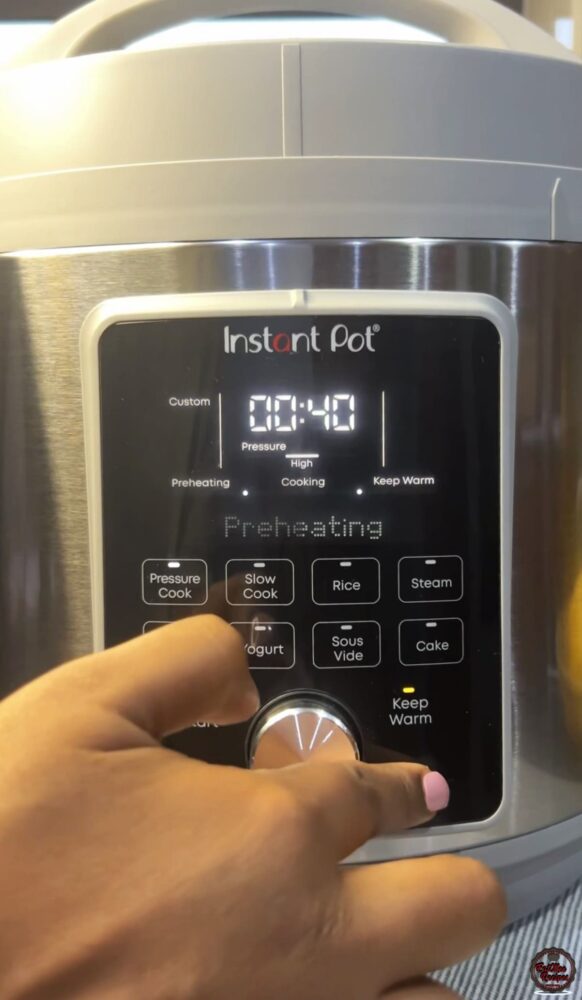
Once the 40 minutes are done, allow it to natural release for 15 minutes.
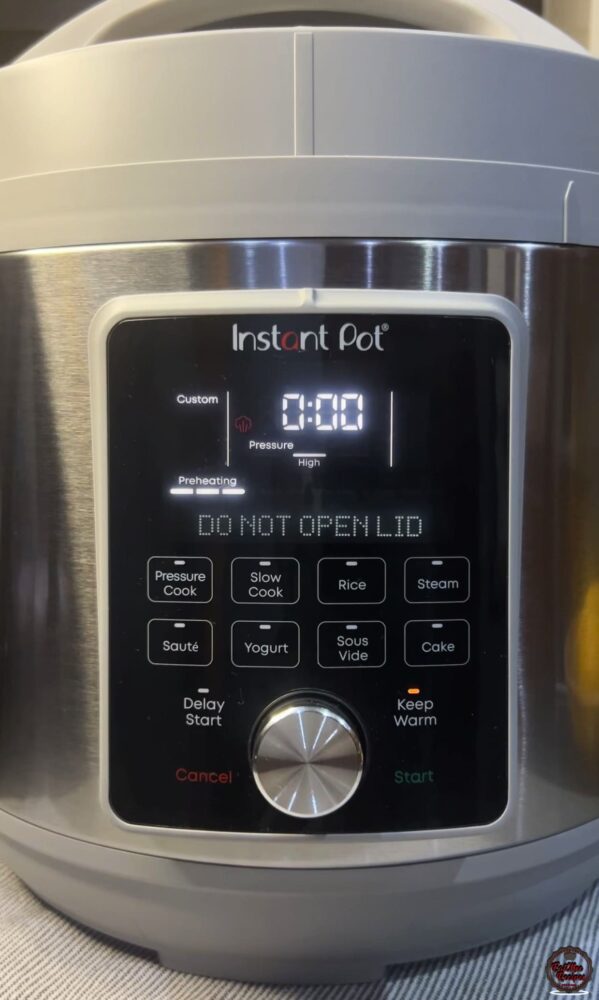
Once done, press “Cancel”.
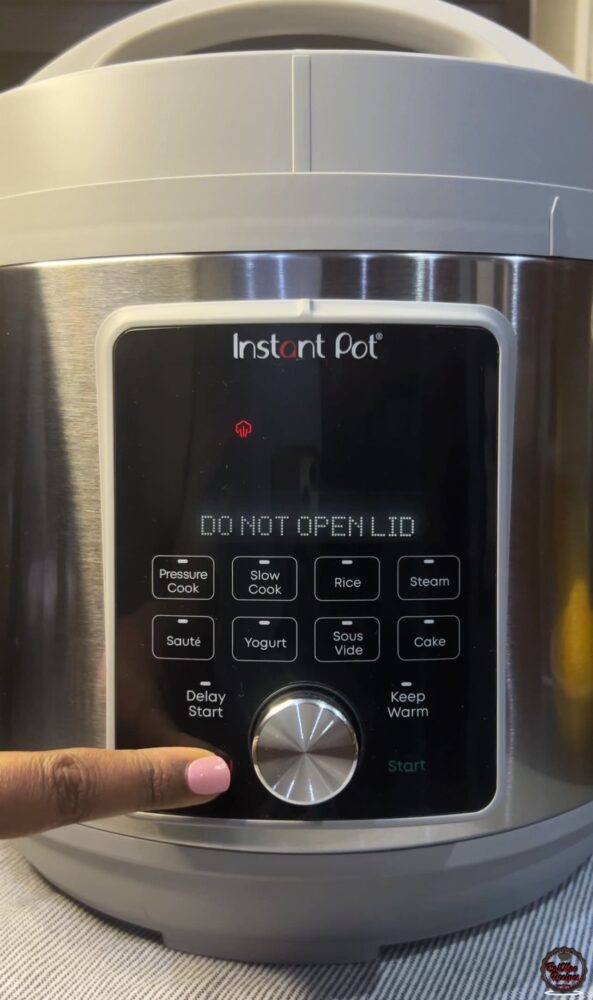
Open the lid when the screen displays Ready or the pressure valve sinks in. The tamales should be perfectly cooked.
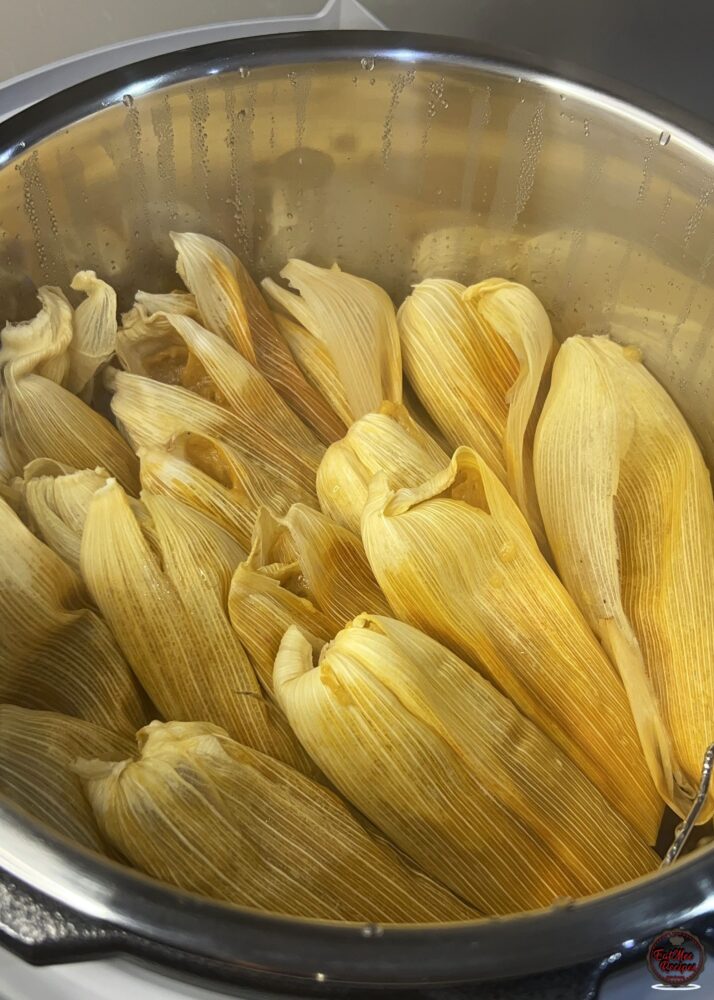
Once done, let the tamales rest for about 10-15 minutes before opening. This allows the masa to firm up and set properly, so they hold their shape and don’t stick to the husk.
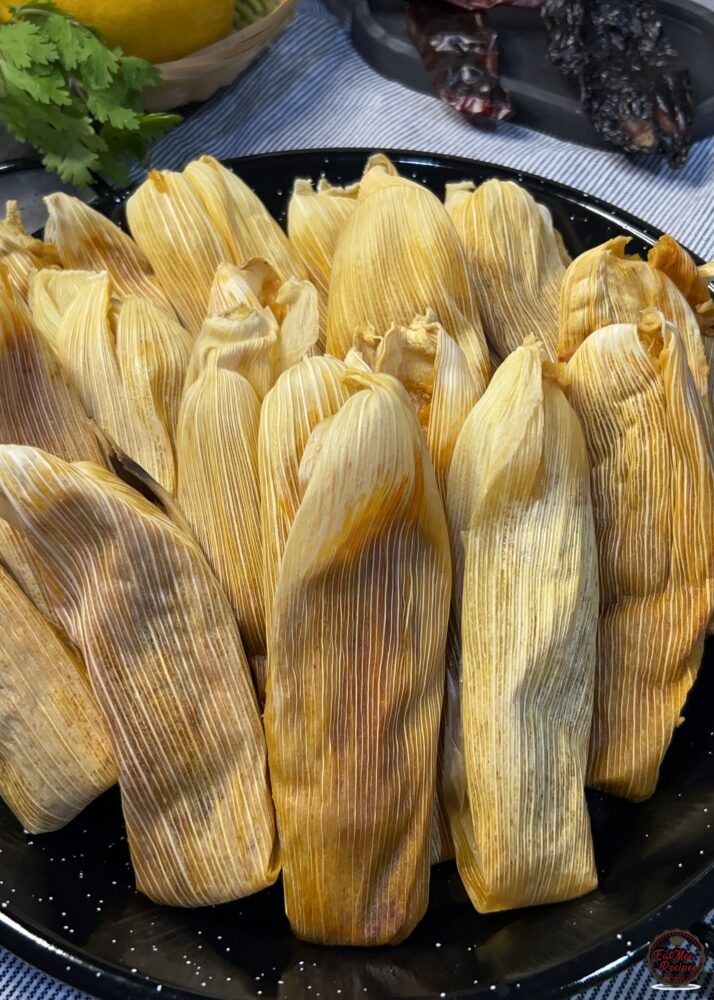
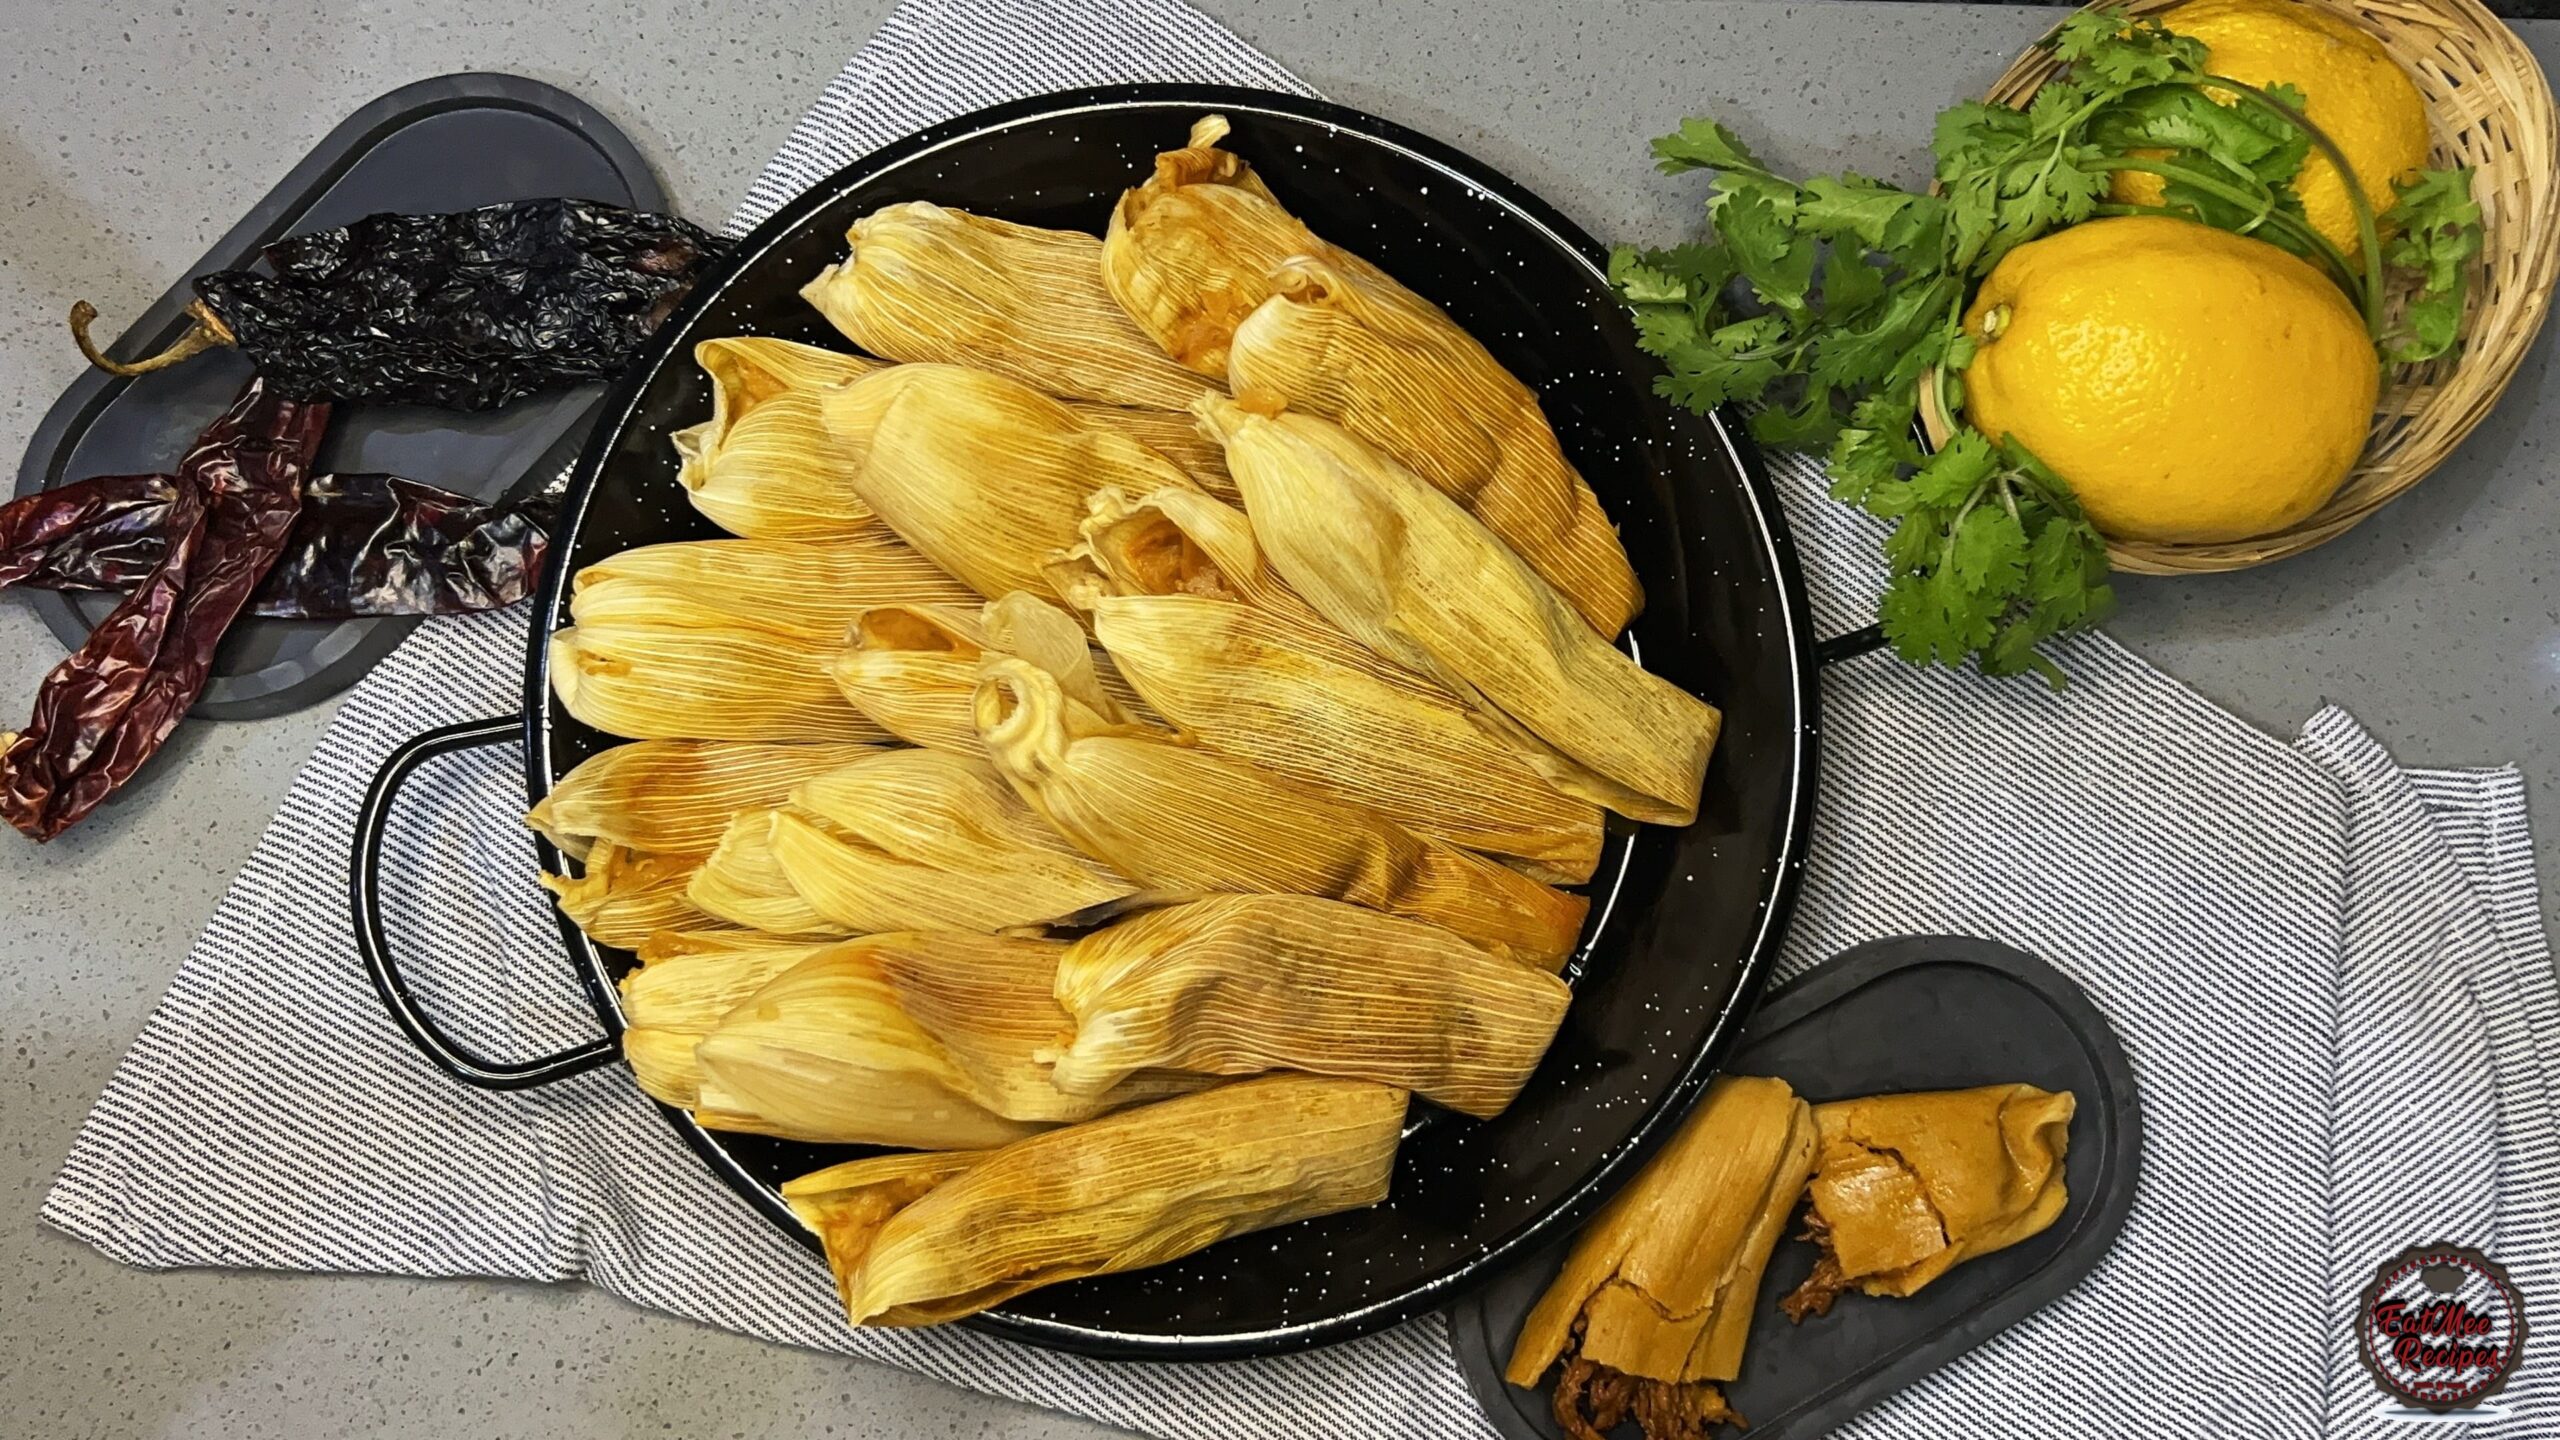
After allowing the tamales to rest, gently unwrap them to reveal the steaming, flavorful filling inside
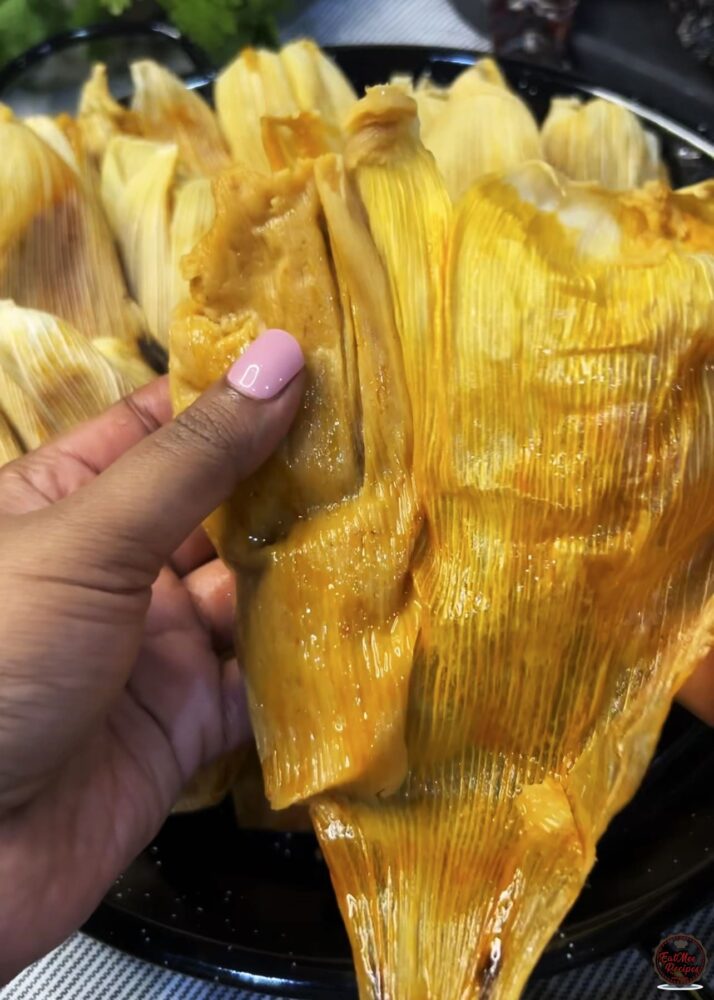
If you enjoy Mexican flavours then these tamales will definitely hot the spot.
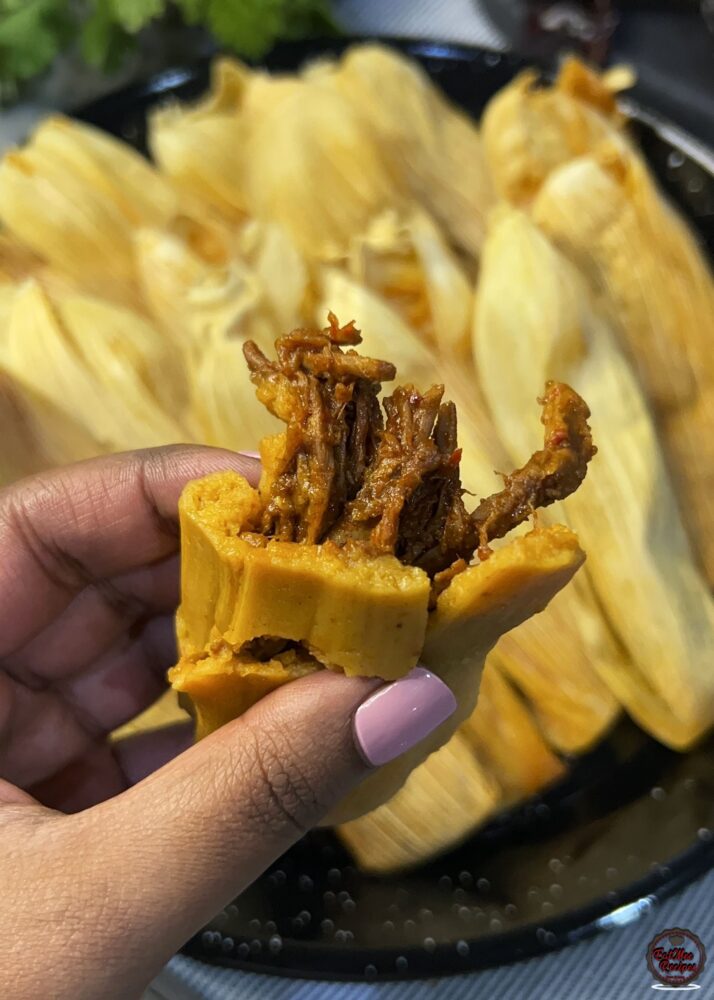
They actually quite resemble a pap and filling, with the soft, slightly crumbly masa surrounding the flavorful center, making each bite hearty and satisfying.
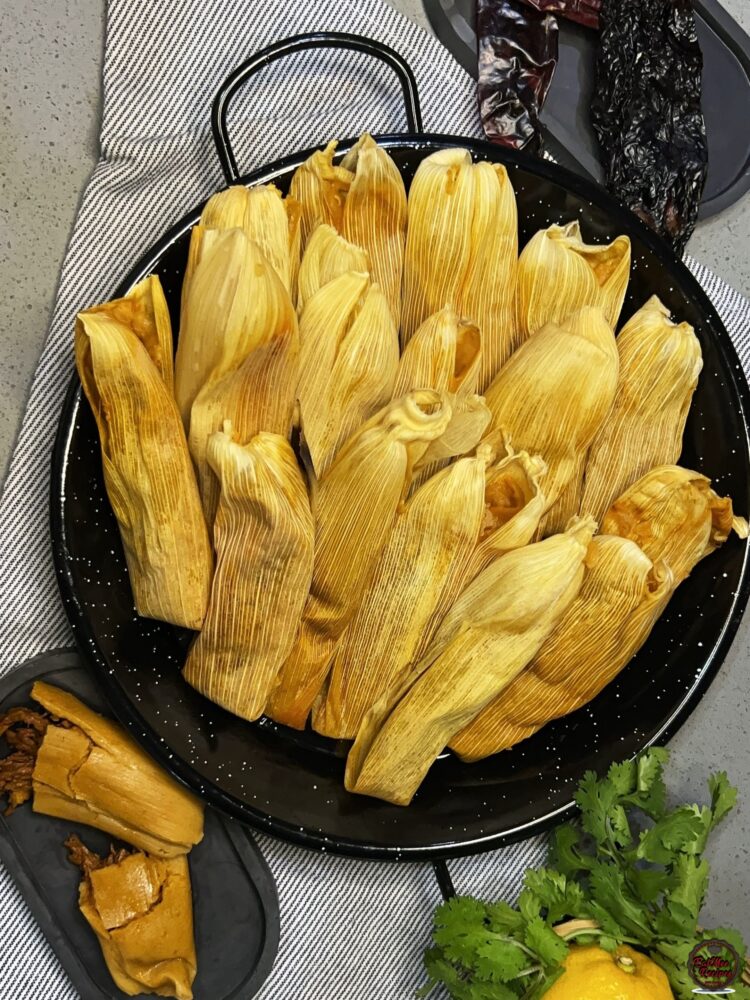
If you need to reheat these tamales, simply steam for 10-15 minutes or microwave (covered with a damp paper towel) for 1-2 minutes.
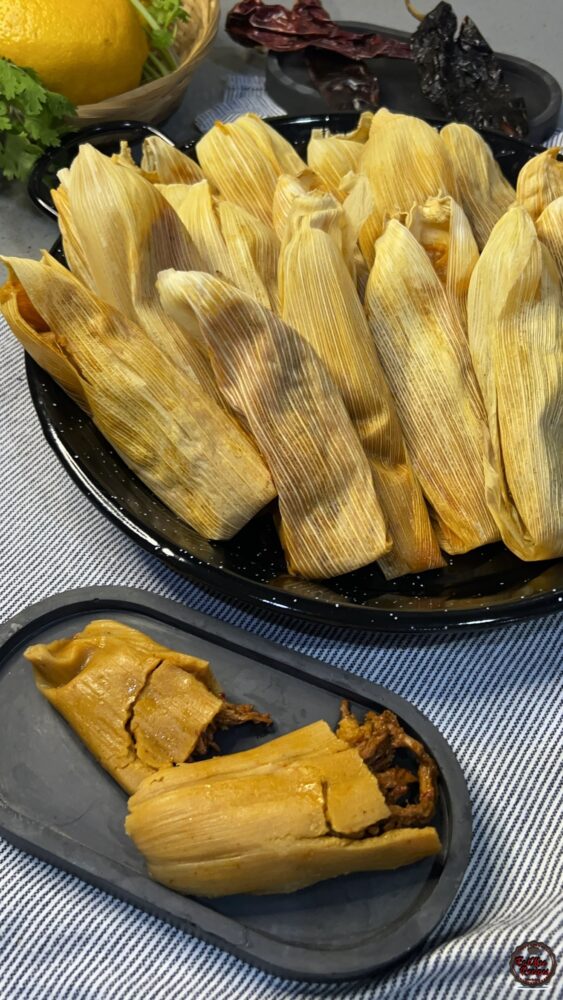
Store cooked tamales (in husks) in an airtight container for up to 3-4 days in the refrigerator. They can also be frozen for up to 2-3 months (wrap well to prevent freezer burn).
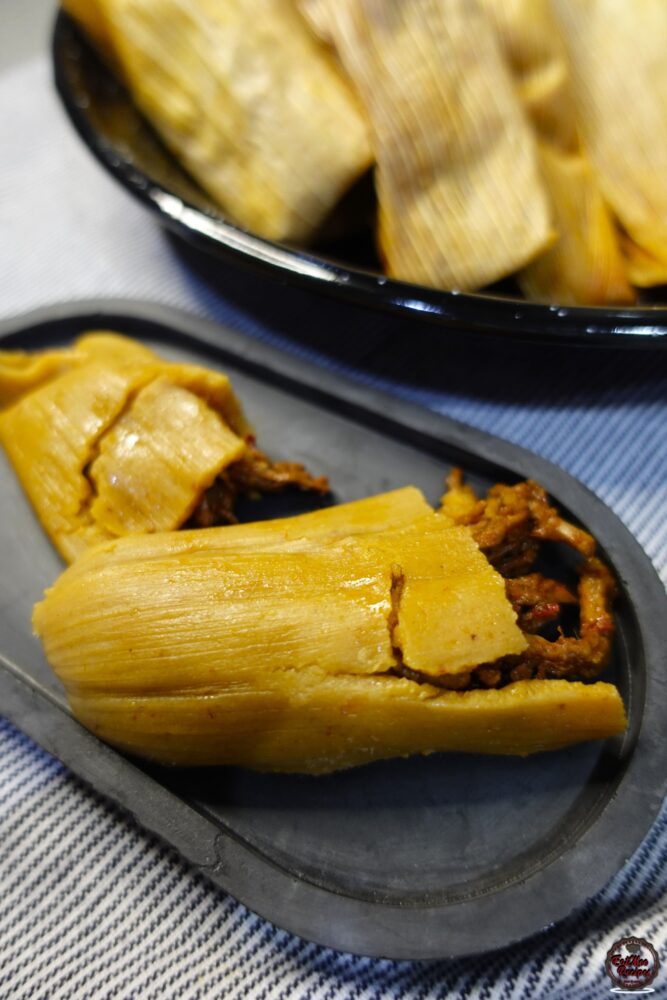
Tamales are a labour of love, but using the Instant Pot Duo Plus WhisperQuiet 8L makes the process smoother, faster, and honestly more enjoyable. From tender beef to perfectly steamed masa, it takes the pressure off (literally) while still delivering incredible flavour. And once you make these…you’ll understand why I’m convinced I lived a past life in Mexico.
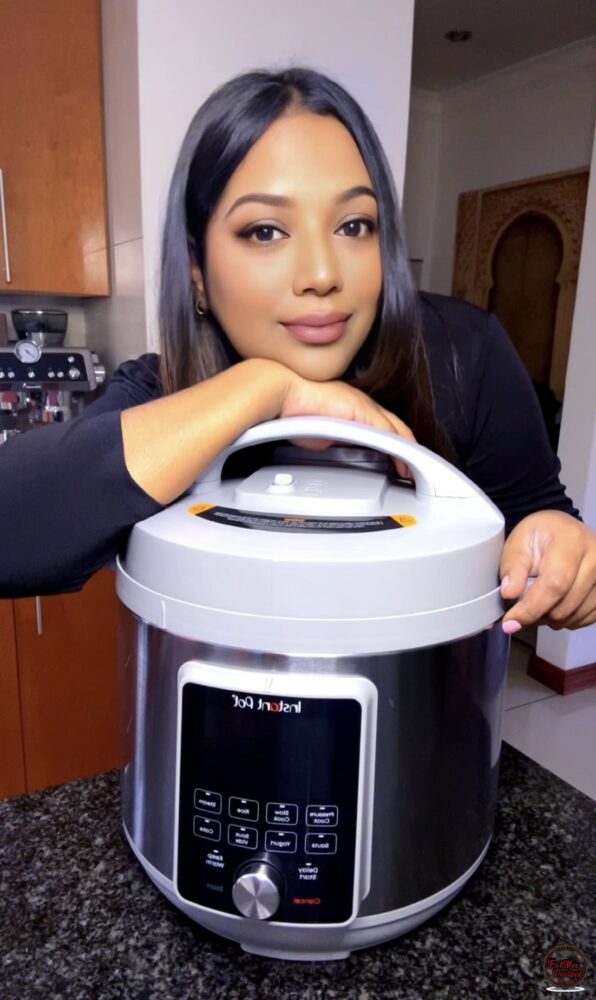
Follow along with Denisiya's step-by-step video guide for Instant Pot Beef Tamales.
Expert kitchen guidance and troubleshooting for making the best Instant Pot Beef Tamales
For this recipe, I used tri-tip steak simply because it’s what I had on hand and it worked beautifully after pressure cooking, giving me tender, shreddable beef. That said, if you’re planning ahead, these cuts are even better suited for tamales:
Tomatillos are small green fruits (often mistaken for tomatoes) wrapped in a papery husk. They have a naturally tangy, slightly citrusy flavour that brightens up rich dishes like tamales. In this recipe, they:
If you’re new to tamales, masa harina is the key ingredient. It’s a special type of corn flour made from dried maize that’s been treated with lime (a process called nixtamalisation). This gives it:
Hi, I'm Denisiya! Food lover, recipe developer, and founder of EatMee Recipes. I specialize in authentic South African Durban Indian cuisine, comforting curries, and modern Instant Pot adaptations. Every recipe on this site is tested in my personal kitchen to ensure you get mouth-watering, foolproof results every time.
Explore more authentic Durban curries, traditional bakes, and comforting family favourites.
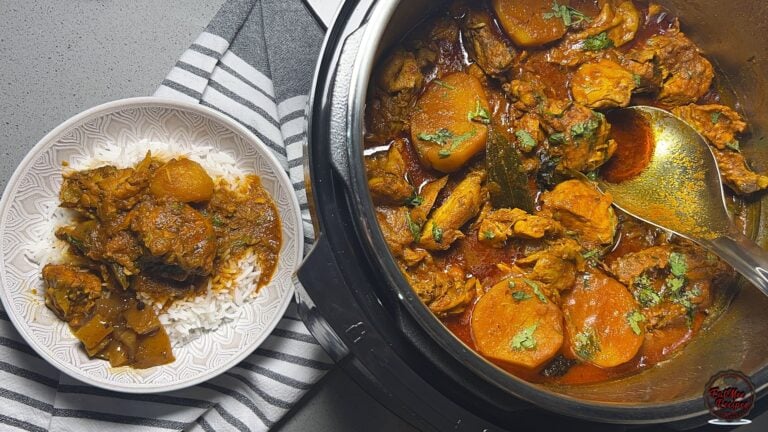 Indian Cuisine
Durban chicken curry isn’t just a meal – it’s a ritual. From the moment the spices hit the...
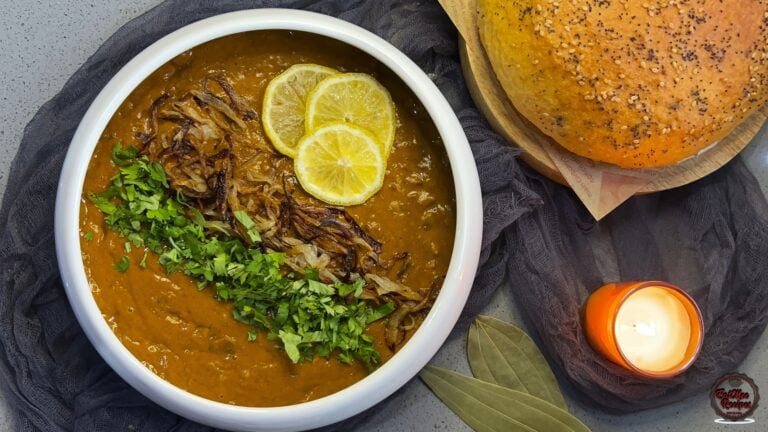 Indian Cuisine
There’s something incredibly comforting about a bowl of rich, slow-cooked haleem. Traditio...
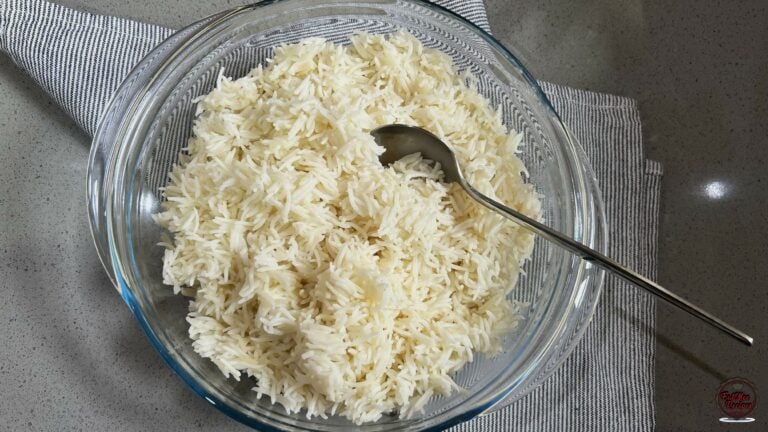 Indian Cuisine
How to Make Perfect Basmati Rice in an Instant Pot
Have you tried this recipe or have questions for Denisiya? Join the conversation below.
No comments yet. Be the first to share your thoughts on this recipe!
Leave a Comment
Your email address will not be published. Required fields are marked *