

We Value Your Culinary Privacy
EatMee Recipes uses cookies to provide a personalized browsing experience, analyze recipe popularity, and serve relevant ads. You can review our full disclosure in our Privacy Policy.
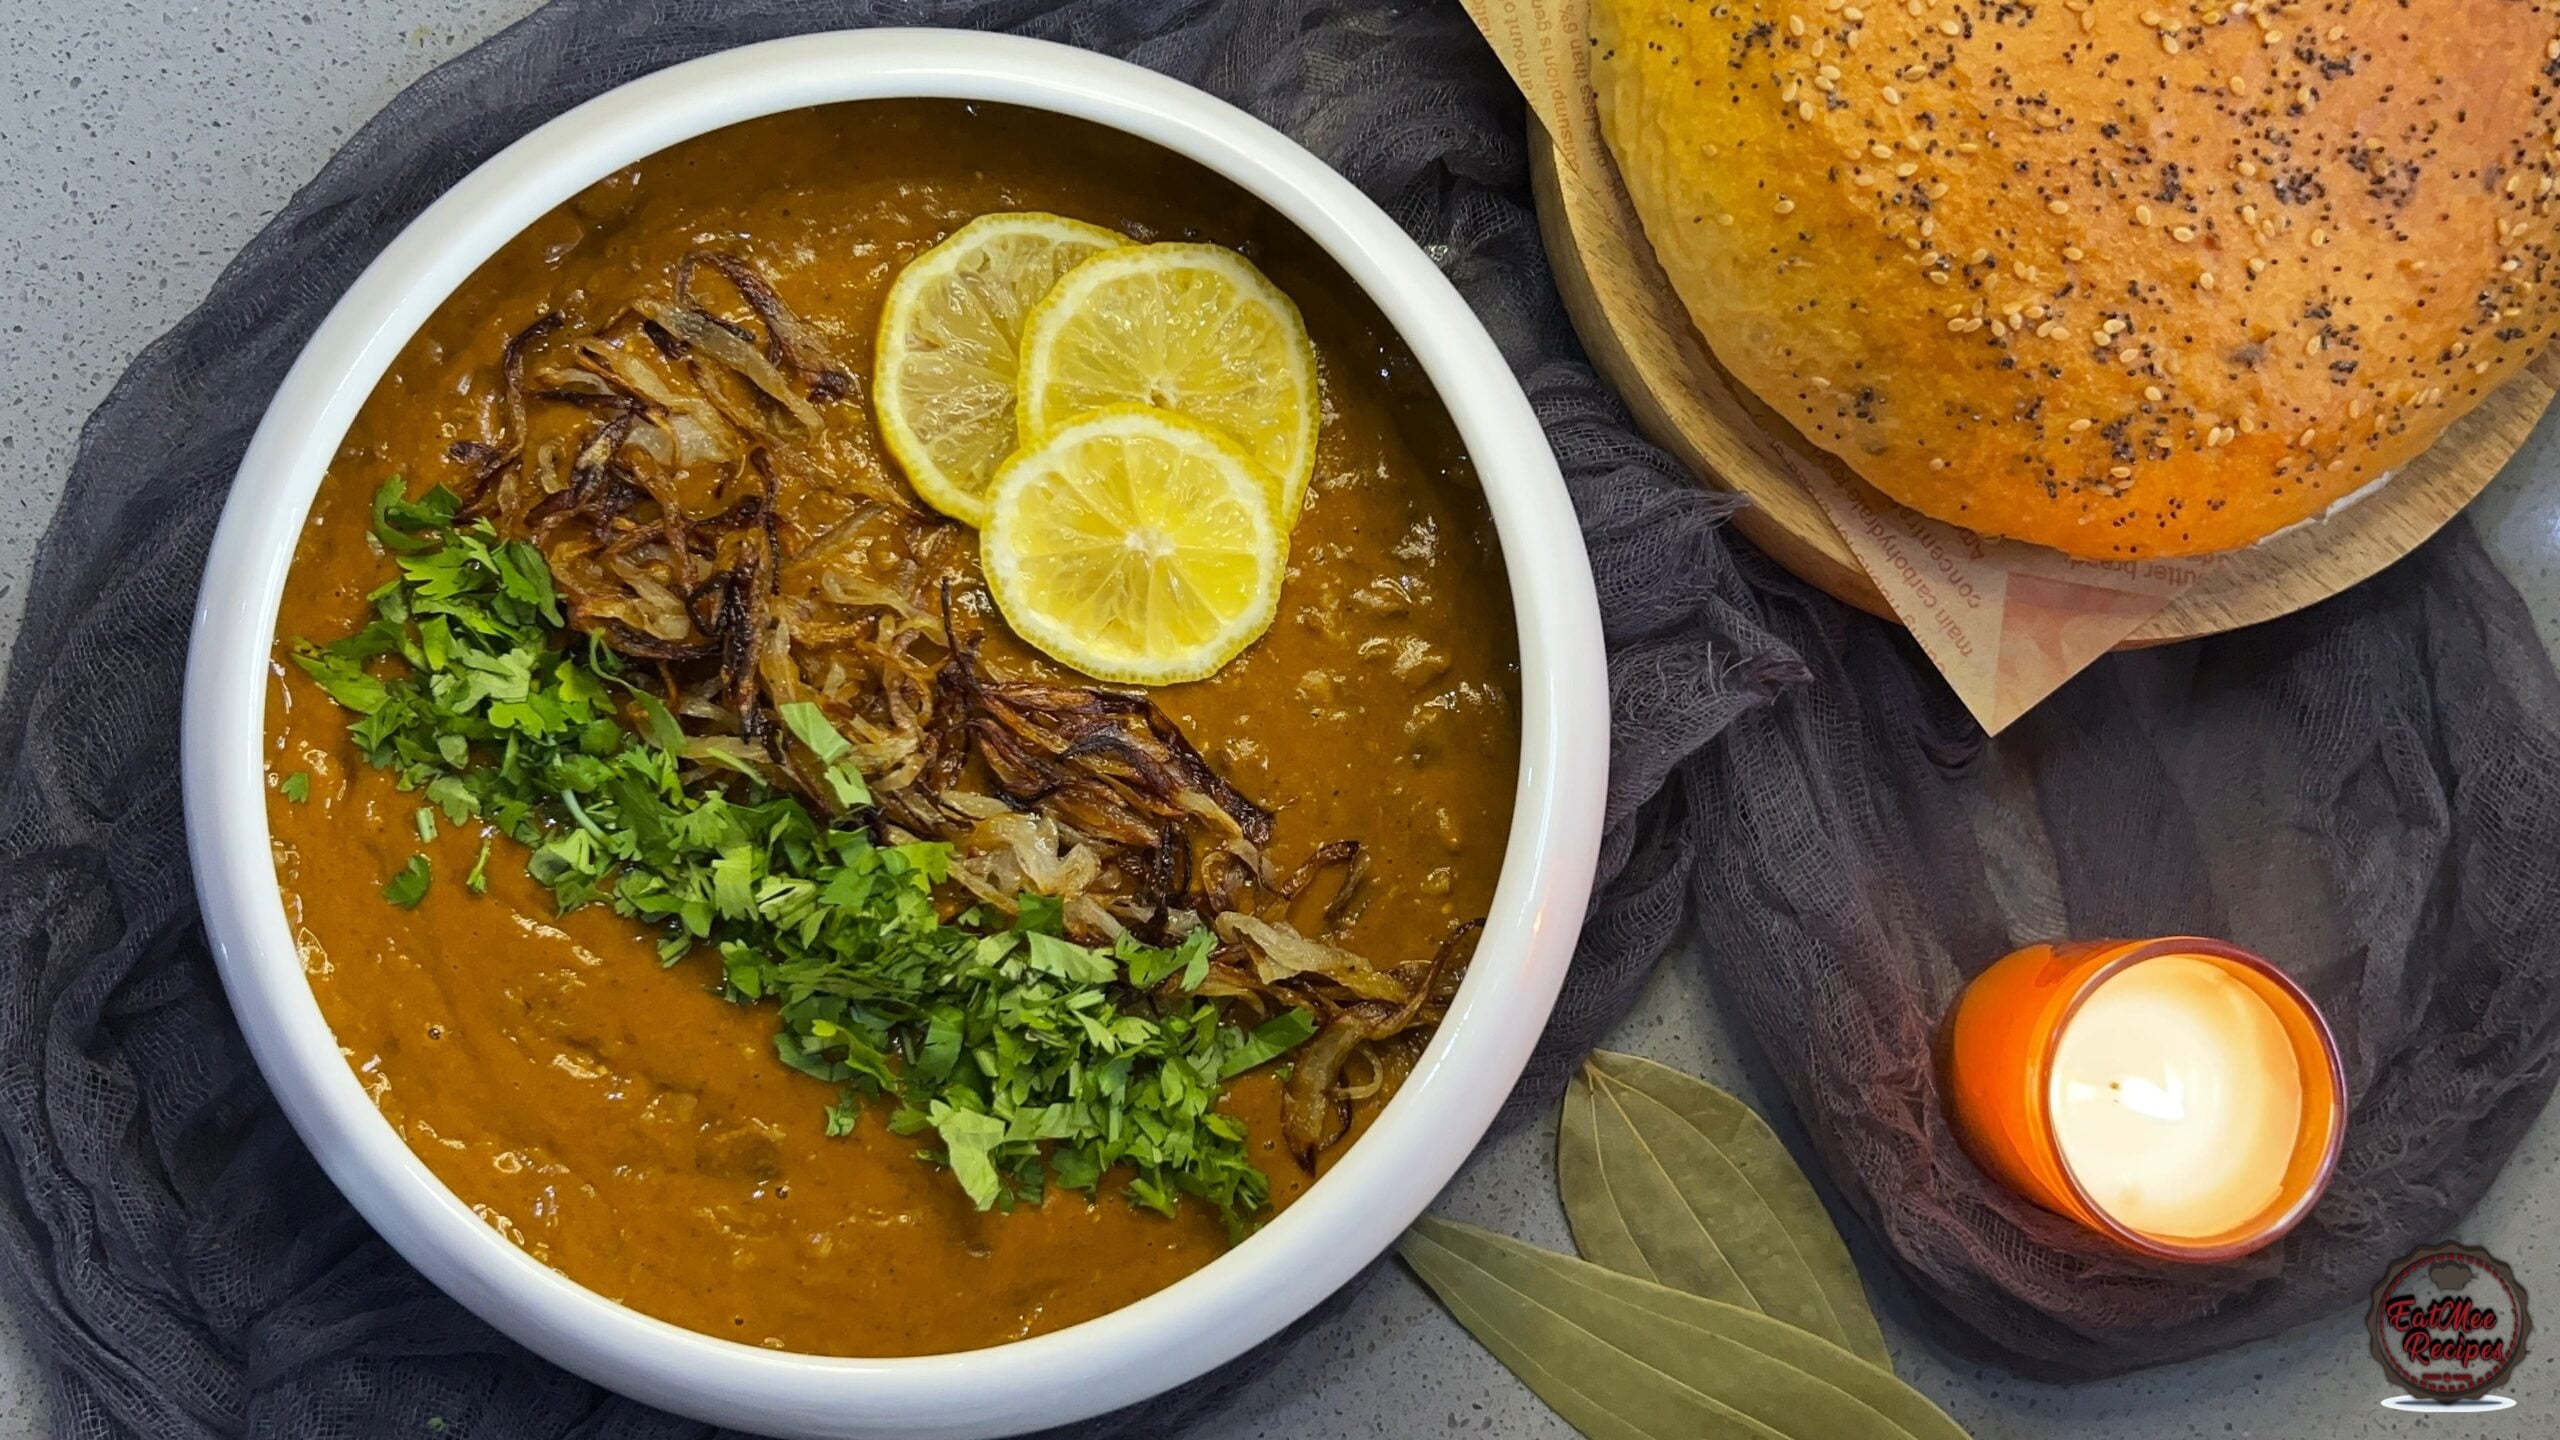
Make authentic Instant Pot Beef Haleem with this foolproof recipe. Packed with rich traditional flavor, step-by-step photos, and cooking tips by Denisiya on EatMee Recipes.

Join over 60,000+ home chefs for weekly authentic Durban Indian cook-alongs, Instant Pot masterclasses, and family heritage recipes.
There’s something incredibly comforting about a bowl of rich, slow-cooked haleem. Traditionally, this hearty dish is simmered for hours as grains, lentils and meat slowly break down into a thick, creamy consistency. While the classic method requires constant stirring and patience, modern appliances make it so much easier to recreate this deeply flavourful dish at home.
Today I’m sharing my Instant Pot Beef Haleem, prepared using the new Instant Pot XL Wide. The wide cooking surface makes a noticeable difference when preparing dishes like haleem that involve sautéing spices, browning meat, and cooking grains all in one pot.
Instead of standing over a stove for hours, the Instant Pot does most of the work for you while still delivering that signature silky texture and deep flavour.
One of the standout features of the Instant Pot XL Wide is its wide inner pot, which gives you more surface area compared to traditional pressure cookers. This may seem like a small detail, but it’s actually very useful for many Indian and South Asian recipes.
Here are a few reasons why the wide design is especially helpful:
Better browning
The wider base allows meat and onions to brown more evenly during the sauté step. Browning builds flavour, which is essential for dishes like haleem.
More room for stirring
Haleem thickens as the grains and lentils break down. The wider pot makes stirring much easier, especially when blending or mashing the mixture toward the end.
Perfect for spice cooking
Indian cooking often begins with tempering whole spices in oil or ghee. The wide base allows spices to toast properly without overcrowding.
Ideal for one-pot meals
Since haleem combines meat, grains, and lentils in a single pot, the extra space helps everything cook evenly without becoming too dense.
It’s a small design change, but it makes cooking traditional dishes much more comfortable and efficient.
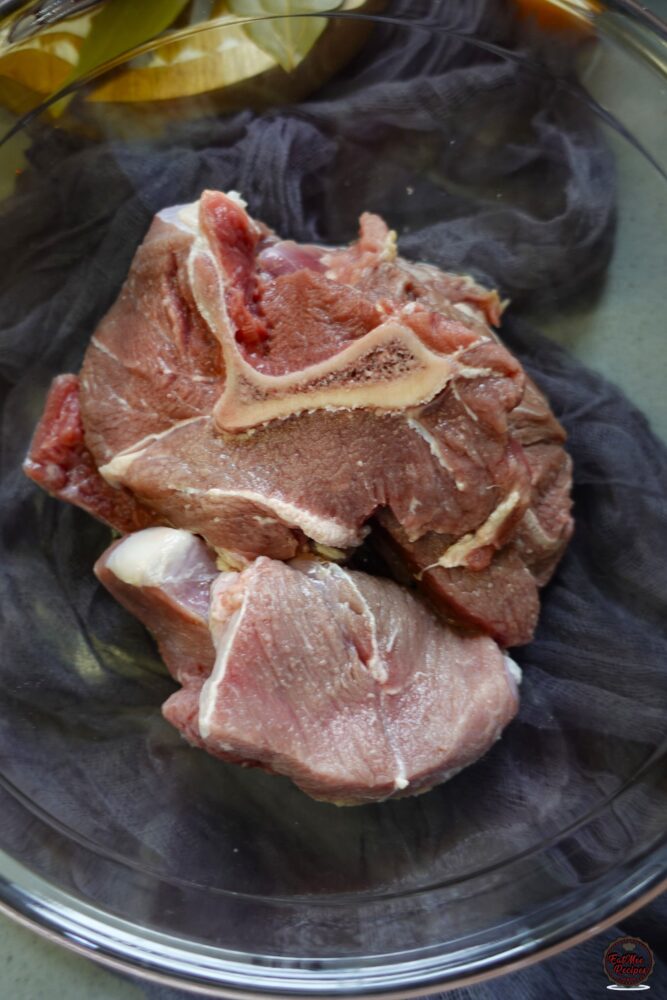
Start by prepping all the ingredients. For this recipe I’m using beef shin which is extremely flavourful and produces a thick, silky consistency. Other cuts of beef that can be used can be found above. Rinse the meat and keep it in big portions.
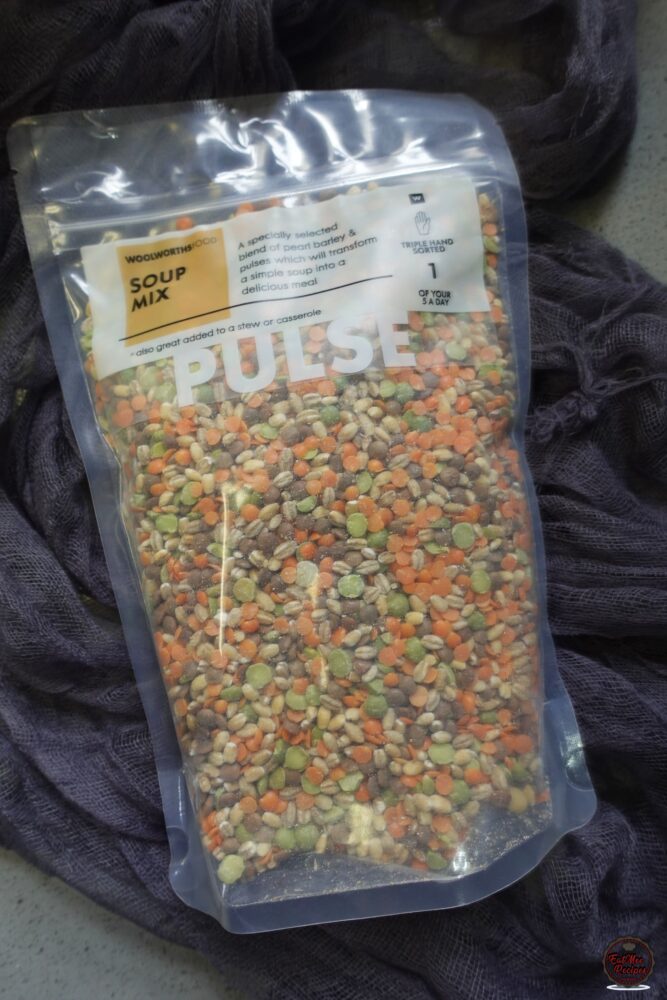
To make things easier, I’m using the Woolworths Soup Mix. This mix already contains all the lentils and barley needed for haleem.
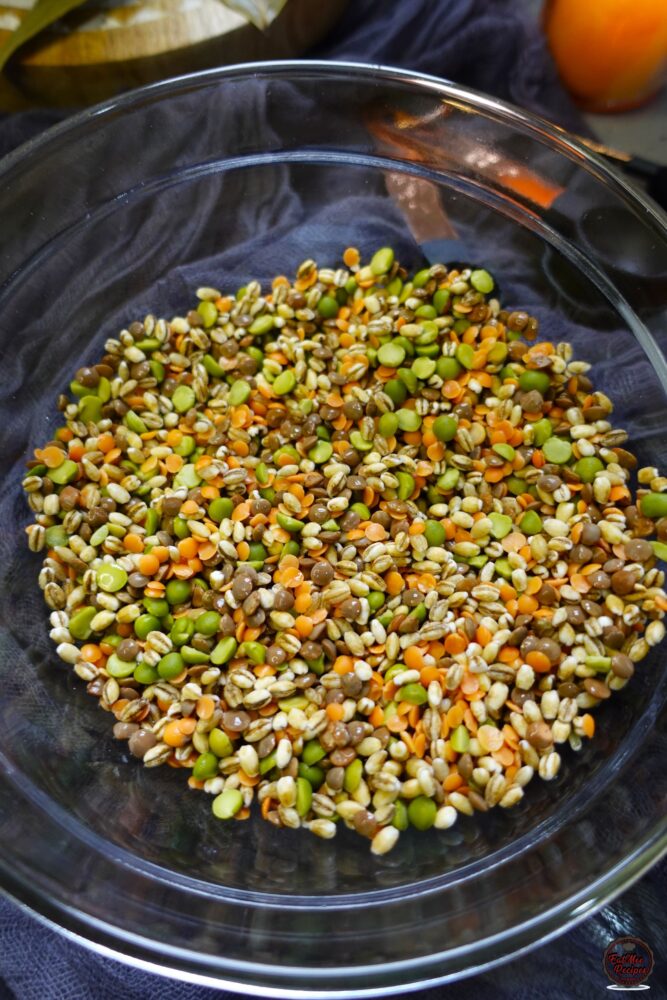
Add 1 cup of the soup mix to a bowl and rinse it thoroughly under cold water. Gently stir the grains and pulses with your hands while rinsing to remove any dust or excess starch. This helps ensure a cleaner flavour and prevents the mixture from becoming overly cloudy as it cooks.
Peel and thinly slice the onions.
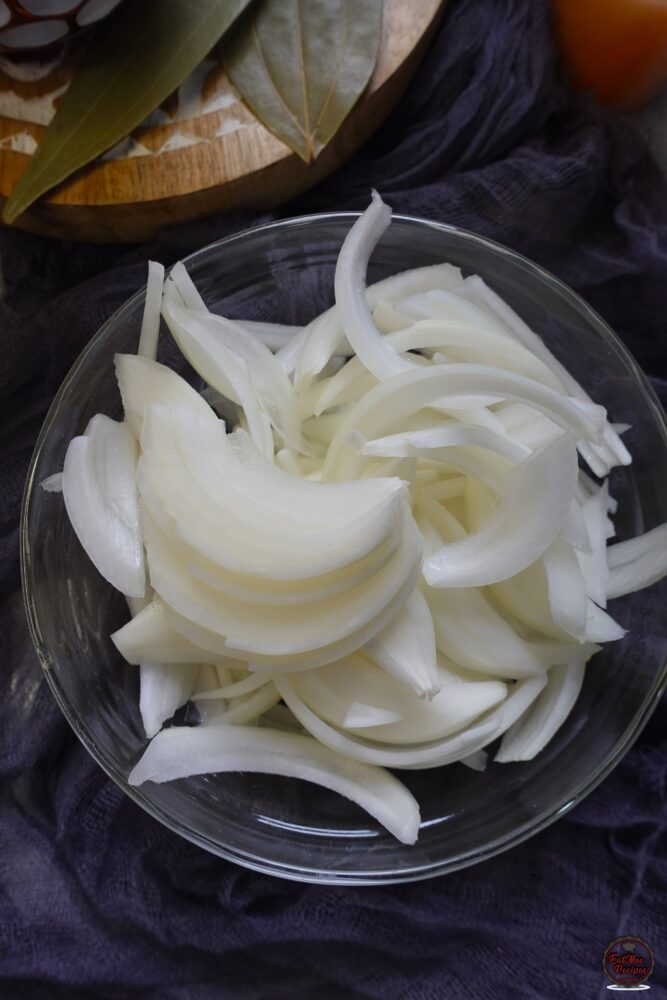
Today I am using my Instant Pot XL Wide, however, other Instant Pots can be used.

Plug in the Instant Pot, it should display “OFF” on the screen.

Press the “Sauté” button and press the “Play” button to get started. (On older versions just press “Sauté” it will begin the function).

Add in the vegetable oil, once the oil is slightly hot, add in the sliced onions.
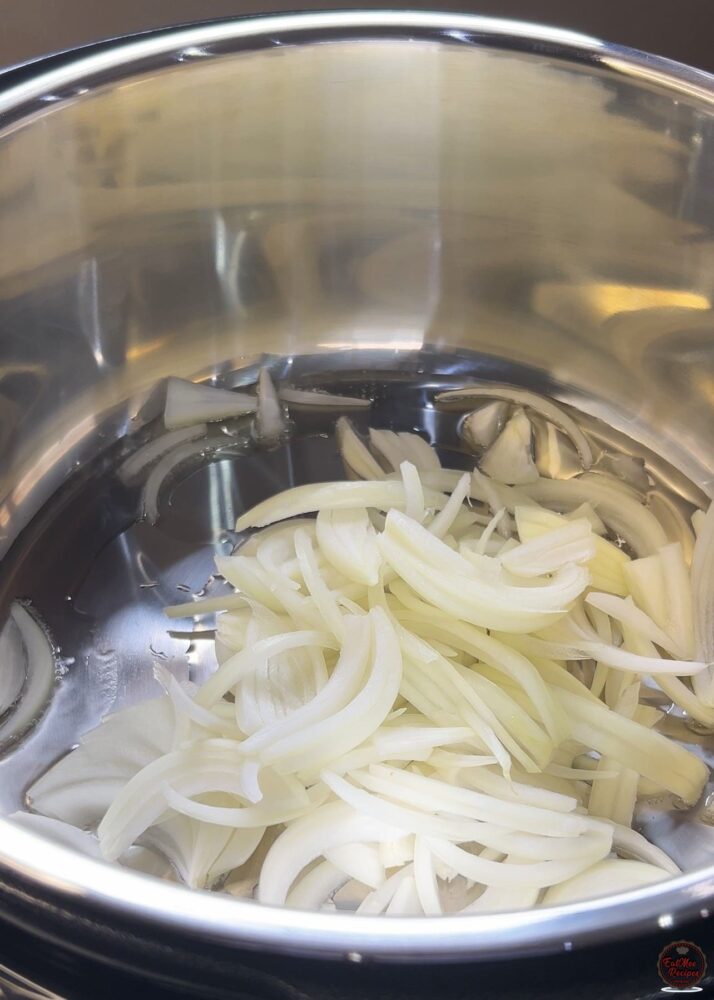
Mix and allow the onions to brown. This should take some time but be patient.
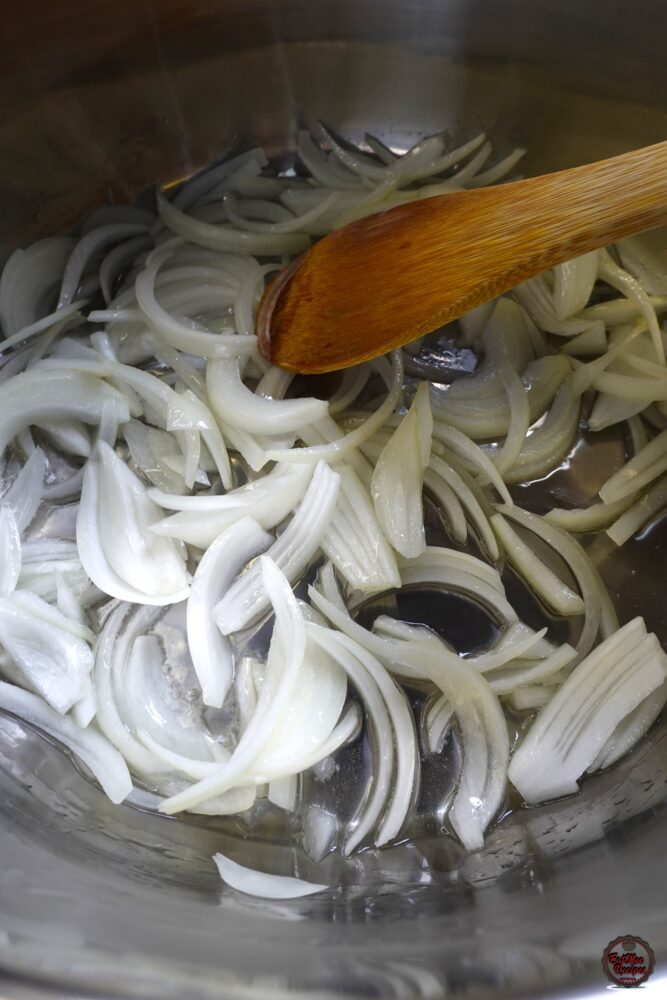
Just be sure to stir every few minutes so it doesn’t burn.

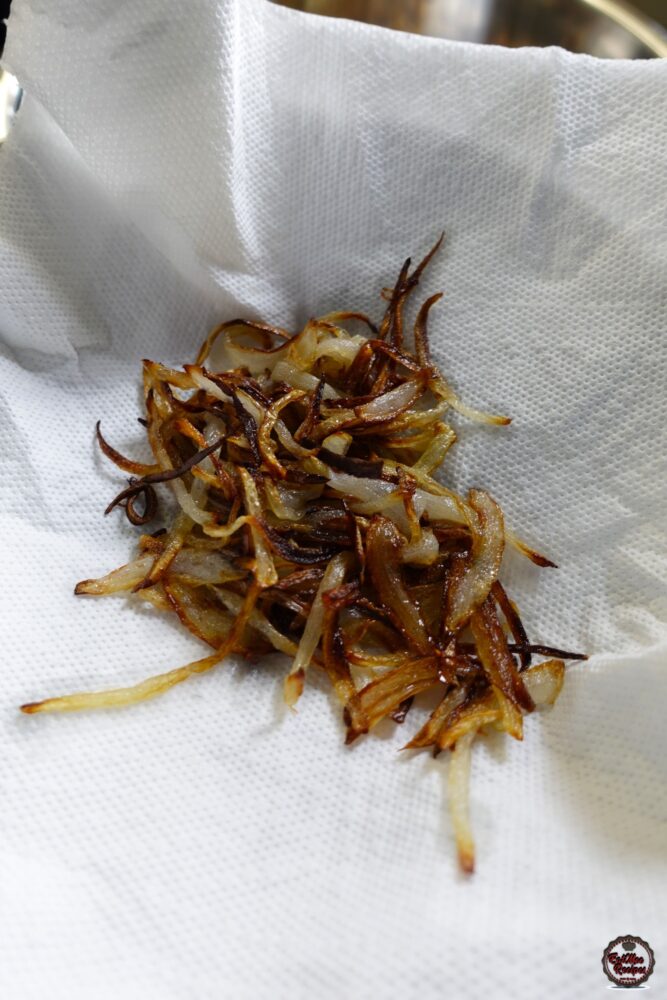
Once browned, remove half of the onions and set aside on paper towels. This will drain off excess oil and the onions will be used to garnish the finished dish.
To the pot, add in the whole spices: cumin (jeera) seeds, bay leaves, cinnamon stick and cloves.
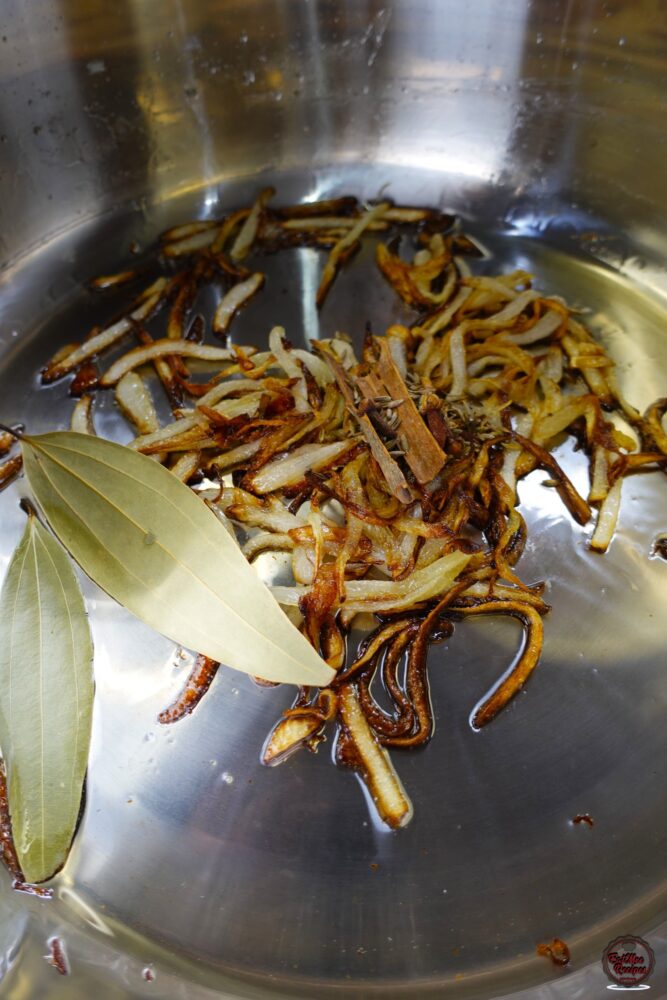
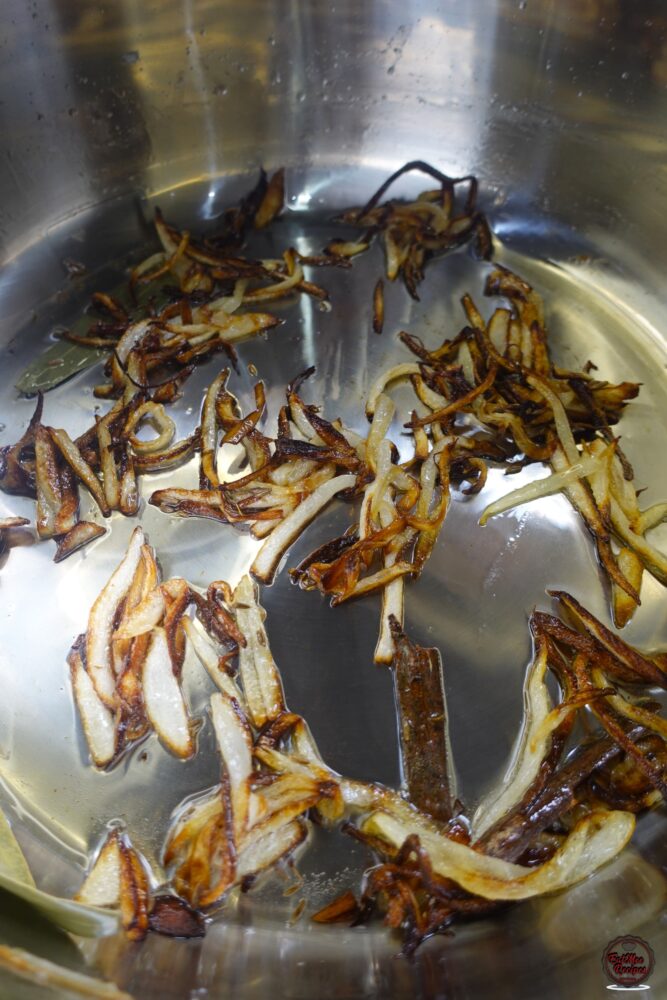
Mix and sauté for 1 minute until fragrant. This step allows the spices to toast in the hot oil, releasing their natural oils and aromas. Blooming the spices at the beginning helps build a deeper, more complex flavour base for the haleem.
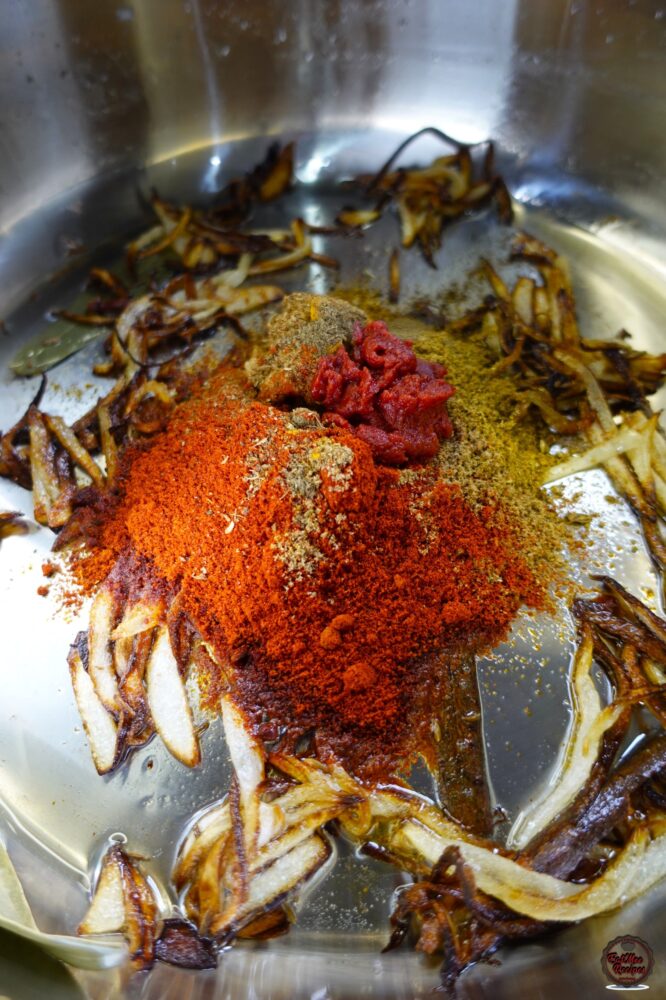
Add in the ground spices: turmeric powder, cardamom (elachi) powder, garam masala, cumin (jeera) powder, coriander (dhania) powder, fine black pepper, chilli powder (according to heat level) and baharat spice. Then add in ginger and garlic paste and tomato paste. Although traditional haleem recipes usually do not include fresh tomatoes, a small amount of tomato paste adds subtle richness and colour without making the dish taste like a tomato-based curry. It helps round out the spices and enhances the overall savoury flavour of the dish.
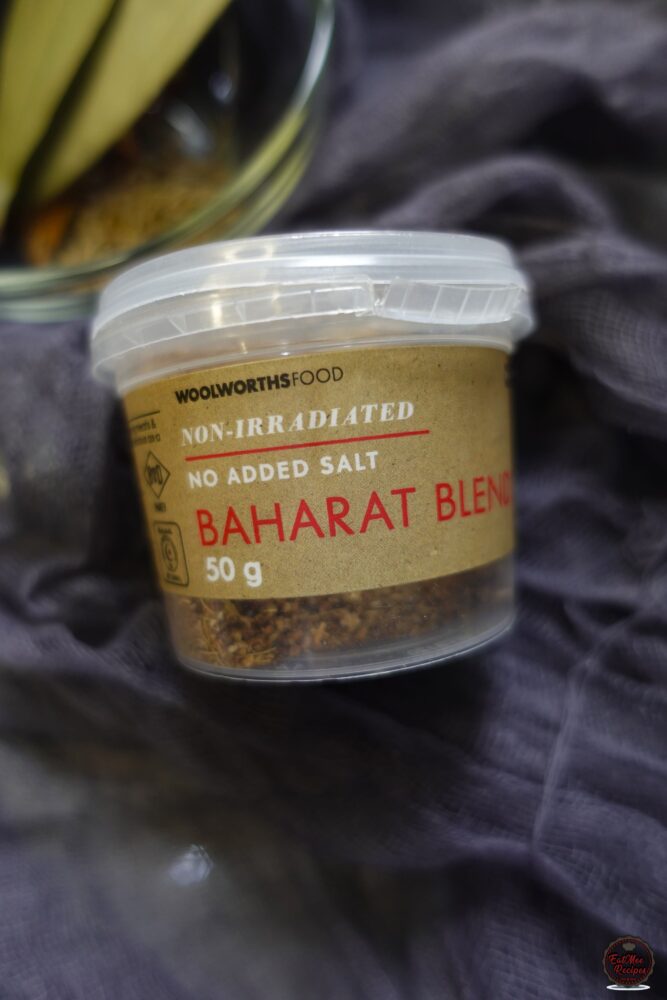
The Baharat spice blend from Woolworths is optional but adds an extra layer of warmth. Baharat typically contains a blend of spices such as paprika, cumin, black pepper, cloves, cinnamon and cardamom. Used in small amounts, it complements the existing spices in the haleem and gives the dish a slightly deeper, more aromatic flavour.
Mix the spices together and sauté for 30 seconds. If the mixture looks too dry, add a small splash of water and mix again. This helps the spices cook evenly without burning and allows them to form a rich, fragrant base for the haleem.
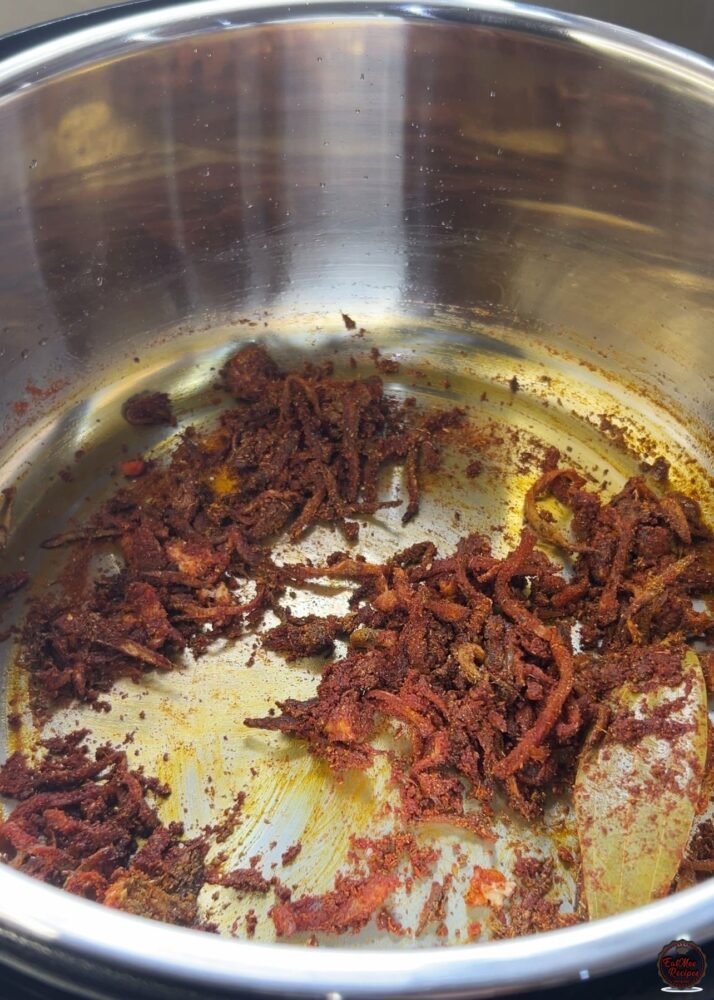
Next, add in the beef and salt to taste.
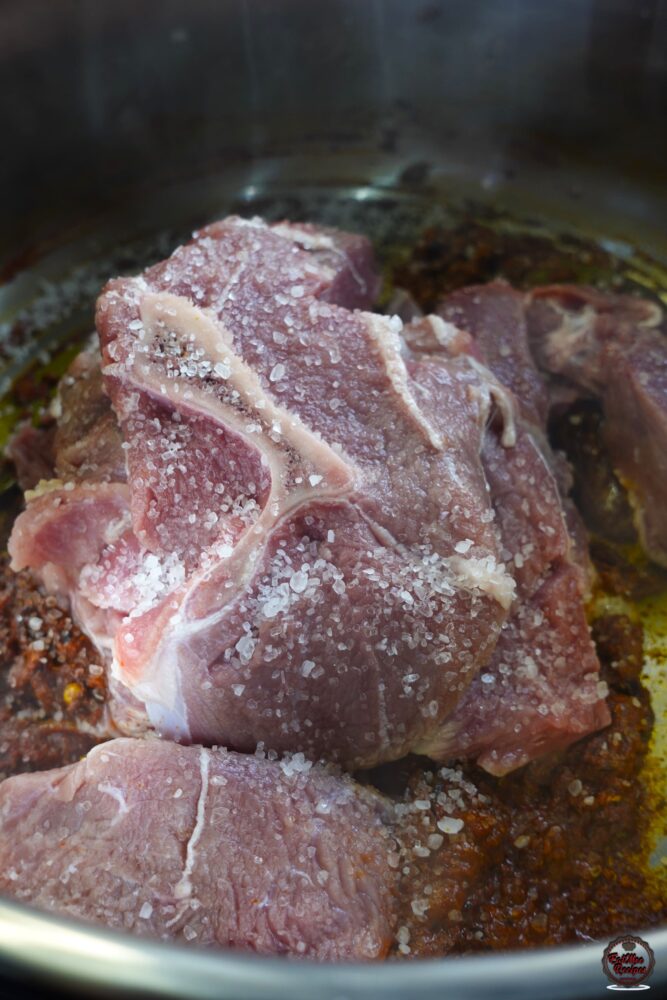
Mix until the meat is coated in the spices.
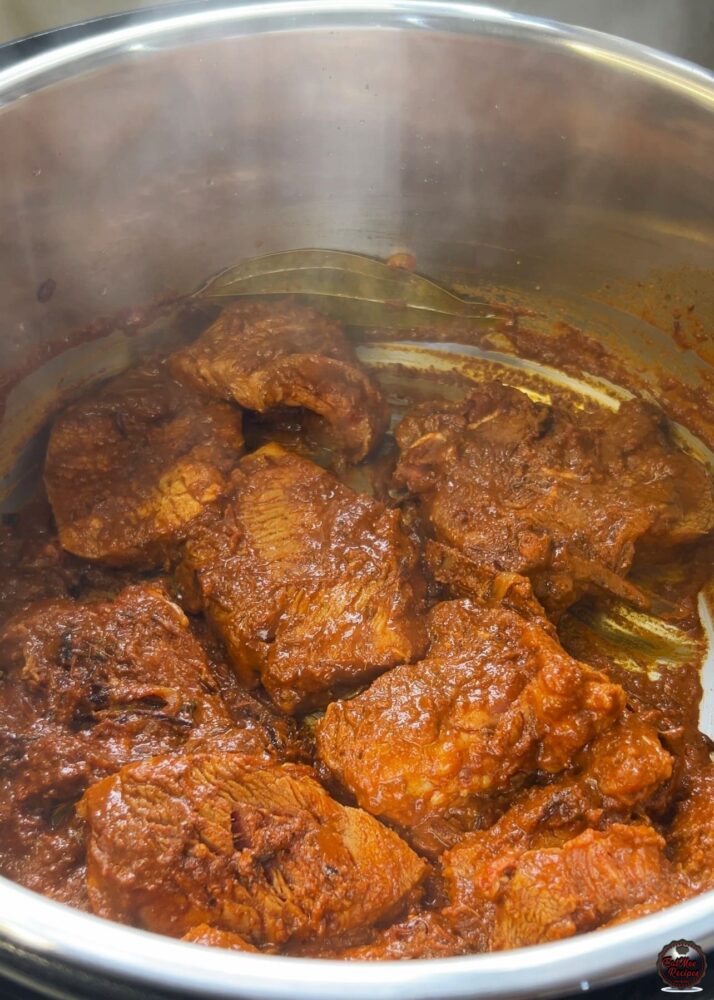
Allow the meat to cook for about 5 minutes, stirring occasionally. This step helps the meat sear slightly and absorb the spices, allowing the flavours to penetrate the surface of the meat. It also helps the spices toast gently in the oil, creating a deeper, richer base before the liquid and grains are added.
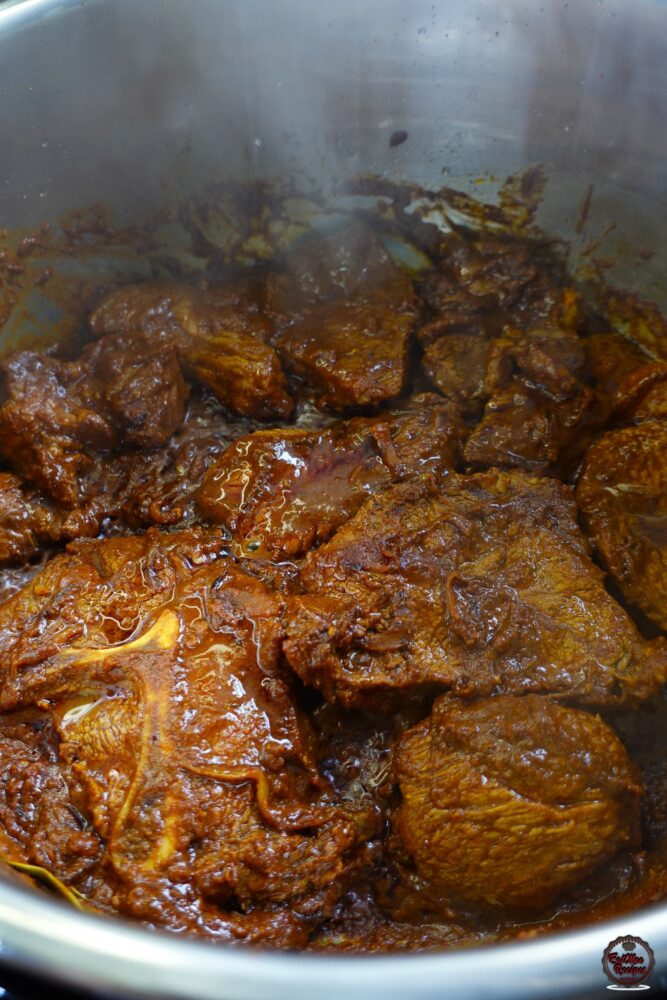
After about 5 minutes, the meat should begin to change colour and firm up slightly on the outside.
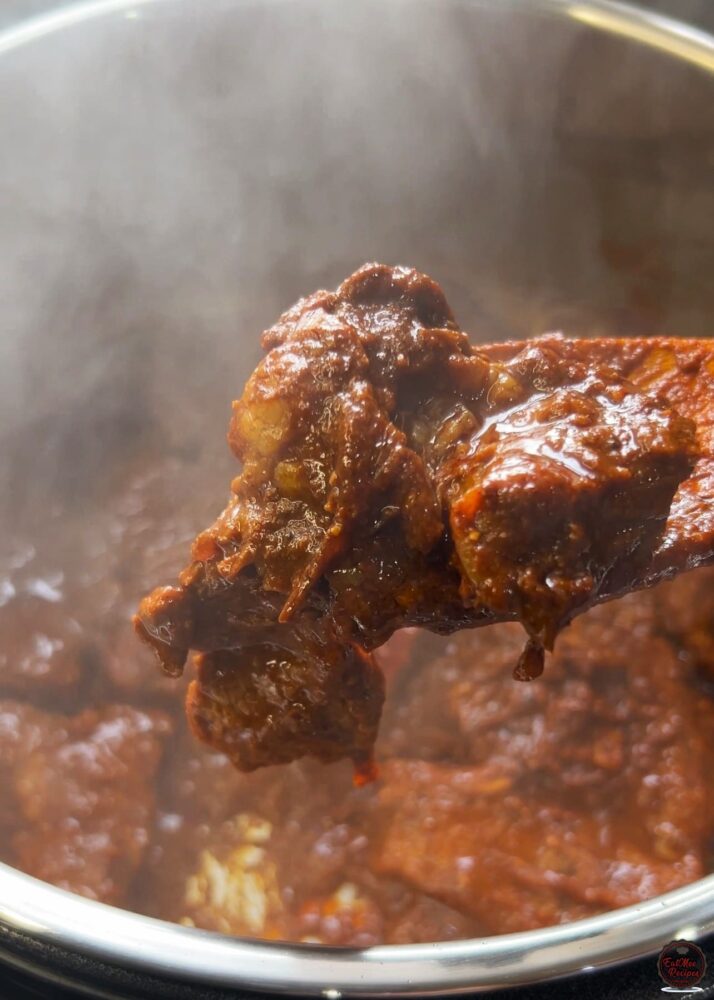
Press ‘Cancel’ or the ‘X’ on your Instant Pot. This will take it off sauté mode.

Add in the rinsed soup mix.
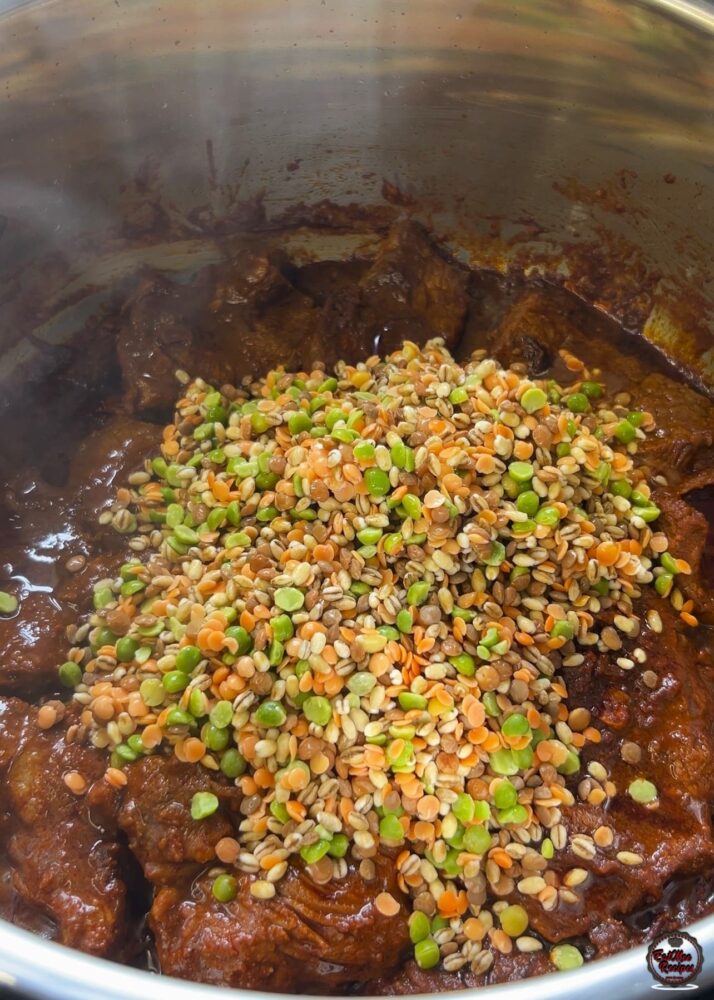
I also like to add fresh mint and coriander at this stage. While this isn’t traditionally added to haleem during cooking, it brings a subtle freshness and aromatic flavour that balances the richness of the meat and spices. As the haleem pressure cooks, the herbs soften and gently infuse the dish without overpowering the classic flavours.
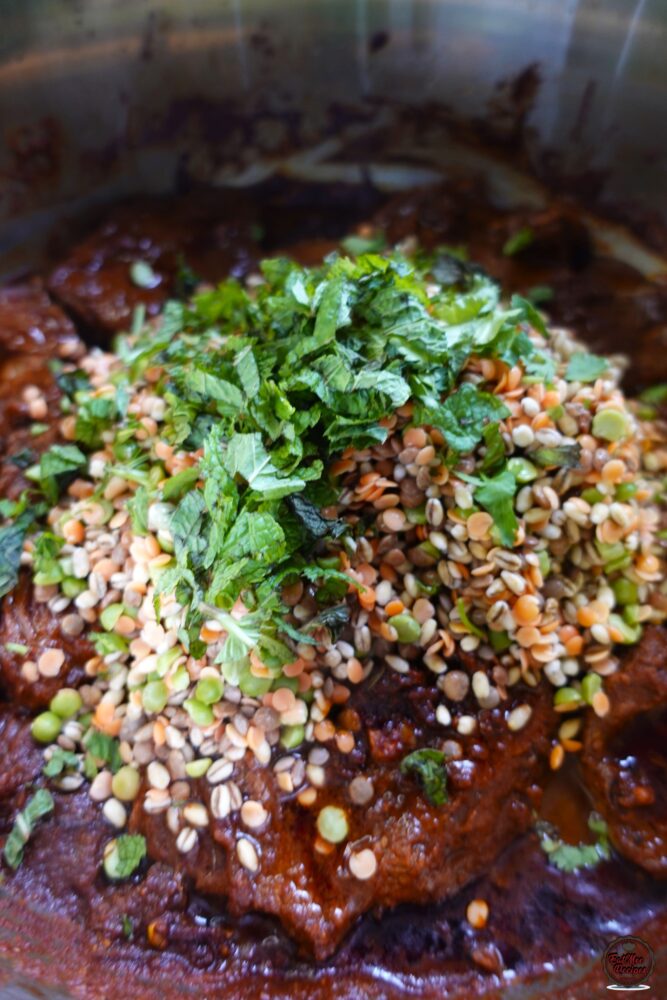
Pour in the 6 cups of water making sure the soup mix is fully covered.
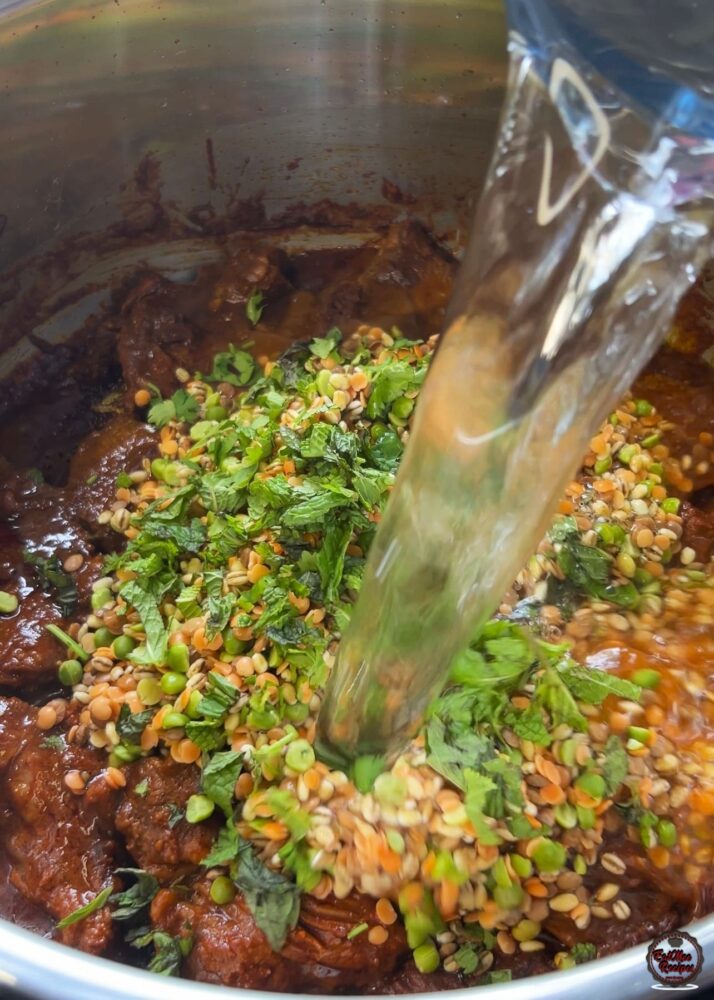
I prefer not to stir the mixture at this stage. Leaving the soup mix layered on top helps prevent the grains and pulses from settling directly on the bottom of the pot, which can sometimes trigger the Instant Pot’s burn warning. As the pressure builds and the haleem cooks, everything will naturally combine and soften together, so stirring isn’t necessary at this point.
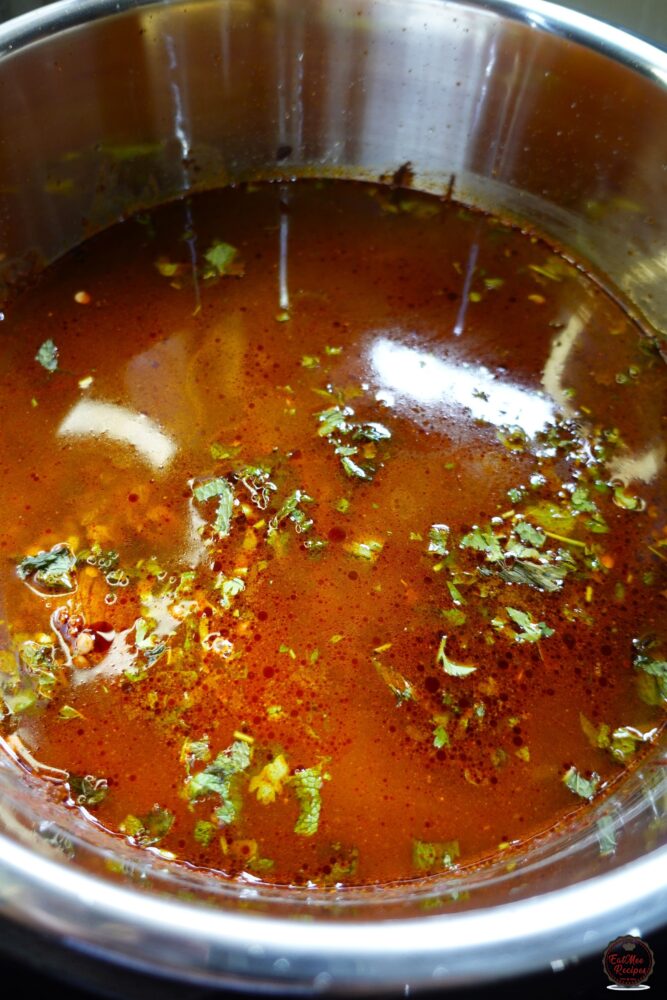
Secure the lid.

On many other Instant Pot models, you need to make sure the steam release valve is set to “Seal” before pressure cooking. However, on the Instant Pot XL Wide, the design is slightly different. Instead of a traditional valve, it has a steam release switch, which is already set to the sealing position when the lid is closed. This means you don’t need to manually adjust anything before starting the pressure cook function, making it even easier to get started.

Press the “Pressure Cook” button.

Adjust the time to 45 minutes and make sure the temperature level is on high.
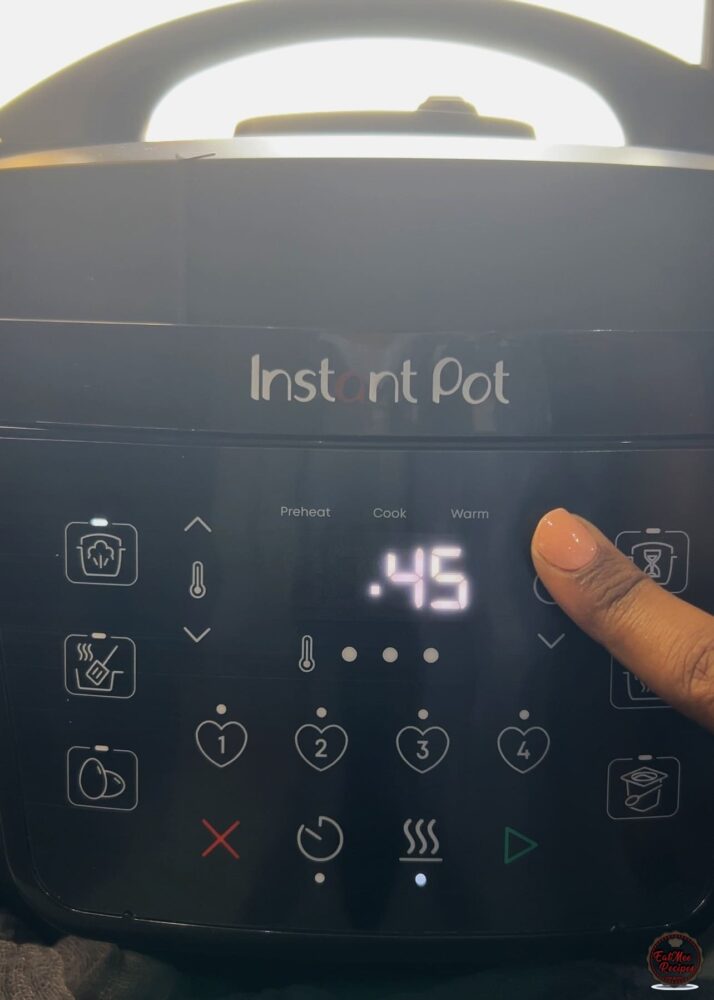
Then press the play button (start) and allow it to pressure cook.

Once the pot builds pressure, the red or silver valve should pop up.

The screen should then display ’00:45′ and will count down.

Once the timer is done, it should display ’00:00′.

Do not release any pressure. Leave it as is and allow it to ‘Natural Release’ for 20 minutes.
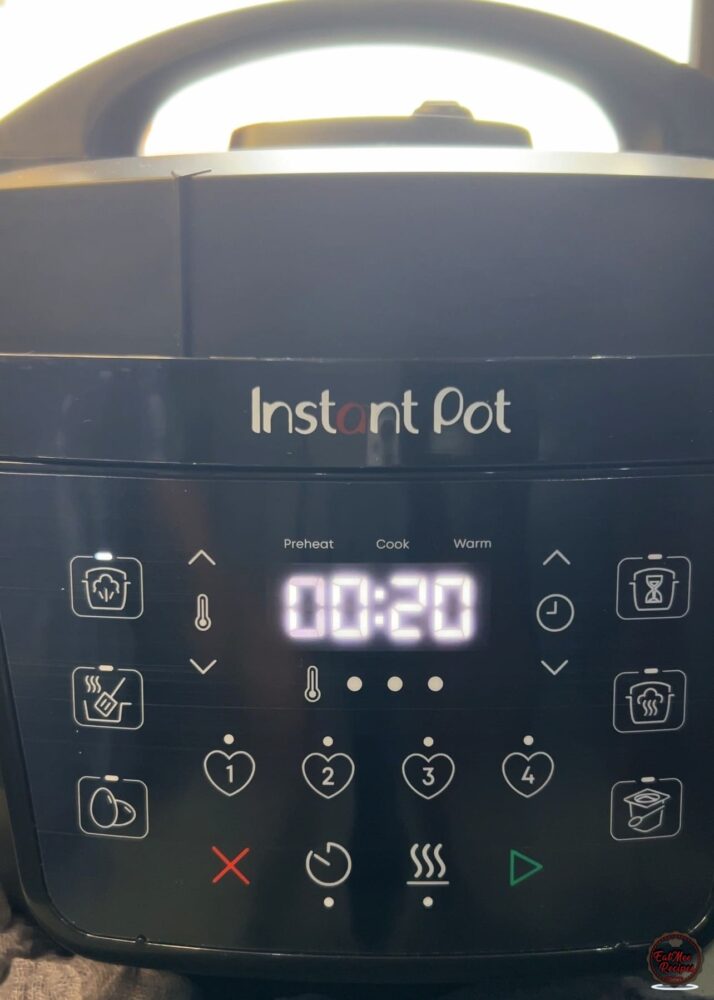
Once the 20 minutes of Natural Release is done, press ‘Cancel’ or ‘X’. Then move the anti-blockage vent (steam release switch) to “VENT” – On the Standard IP, turn the anti-blockage vent (steam release handle) to “VENTING” & allow the remaining pressure to release.

Once the red or silver valve sinks in, it’s safe to open the lid.

You should notice that the beef has become extremely tender and the grains and lentils have softened significantly. The mixture will look thick and hearty, and you’ll immediately smell the warm aroma of toasted spices, slow-cooked beef, and fragrant herbs that have developed during pressure cooking.
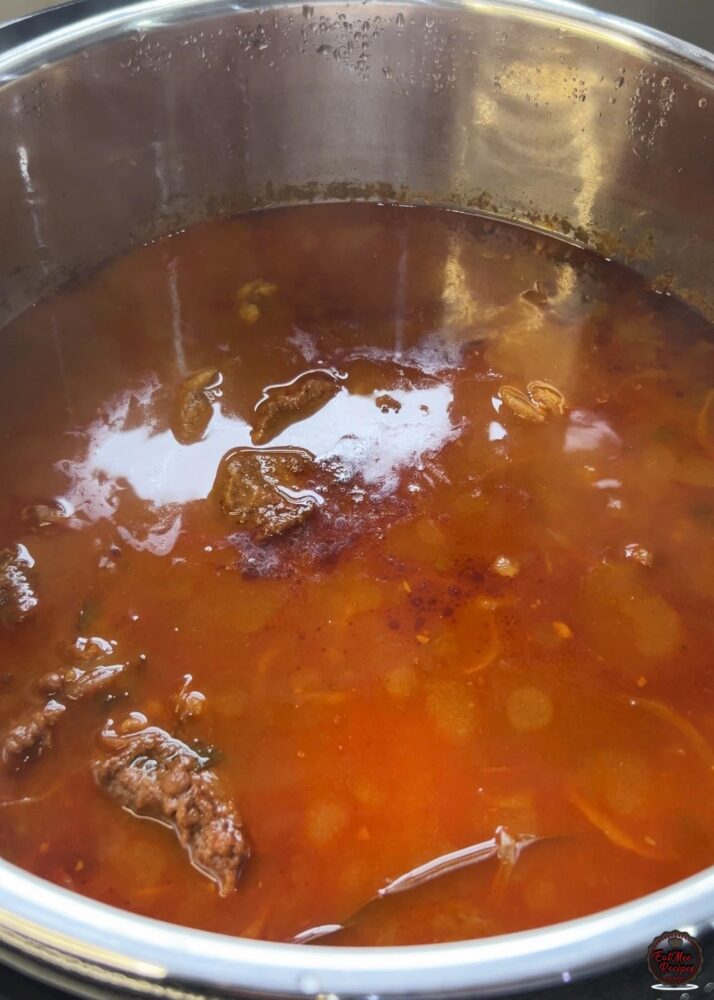
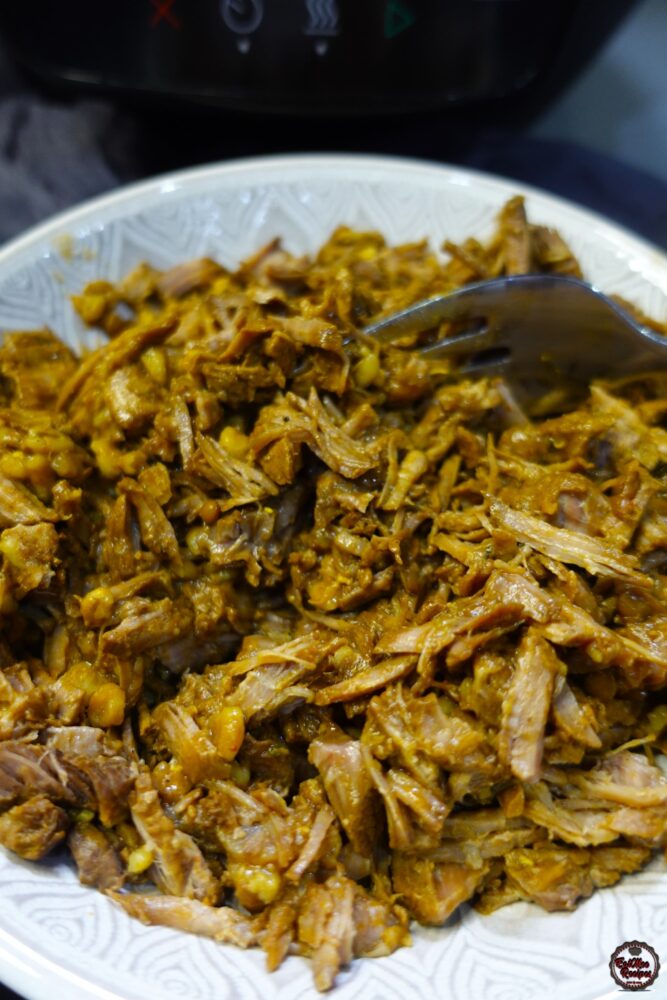
At this point, remove the beef from the pot and shred it using a fork.
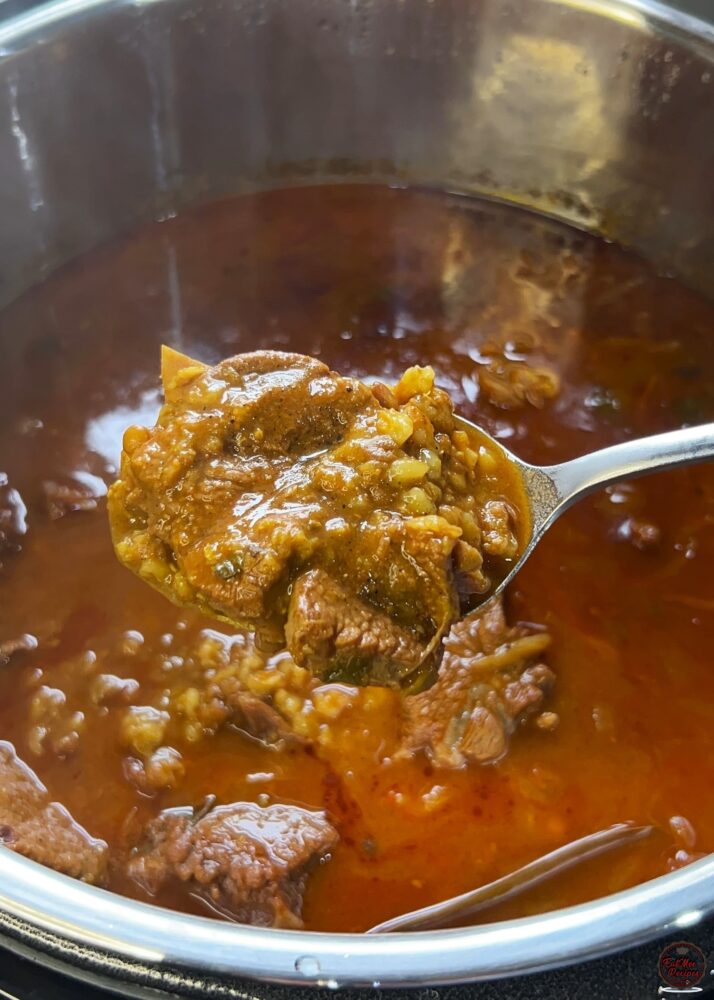
Shredding the meat separately ensures that it distributes evenly throughout the haleem and creates the signature texture where tender strands of meat are mixed through the creamy lentil base.
Next, fish out the whole spices such as the bay leaves, cinnamon stick and cloves. If you can’t find the smaller one’s, it’s completely fine.
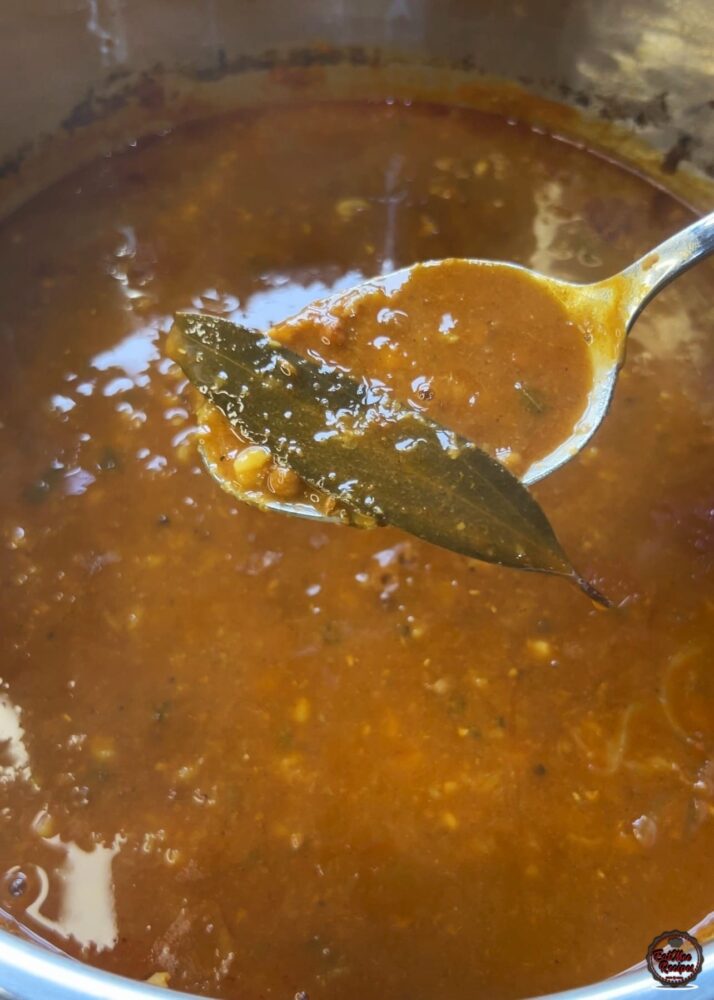
Using an immersion blender, blend the lentil and grain mixture until smooth and creamy.
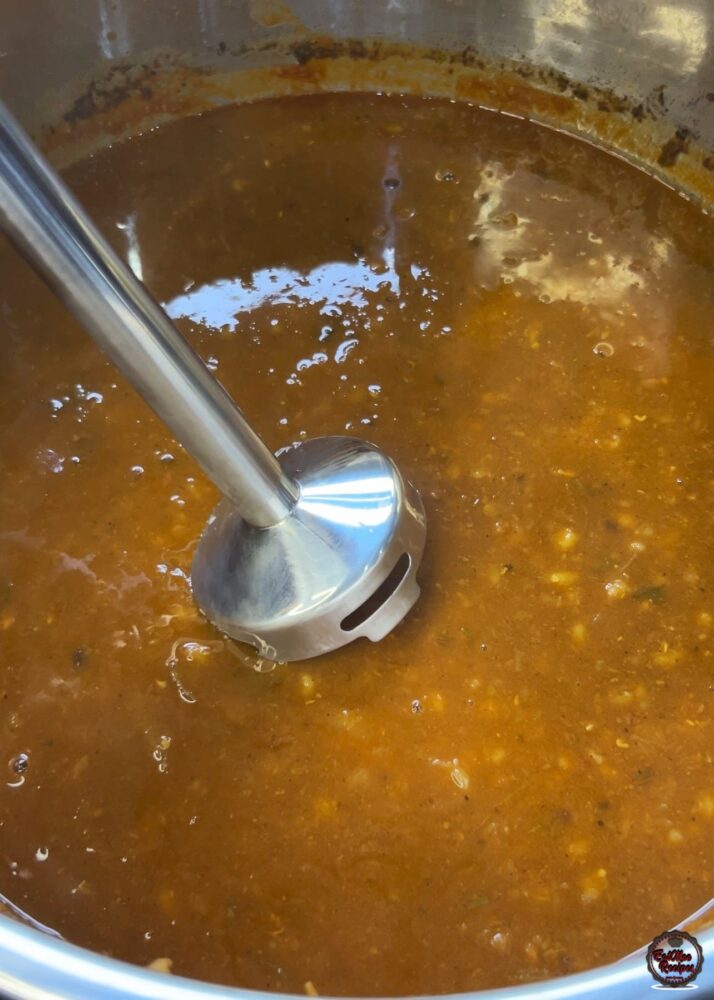
If the haleem feels too thick while blending, simply add a little hot water until you reach your desired consistency. Note: I did not add any water as the consistency was perfect for me.
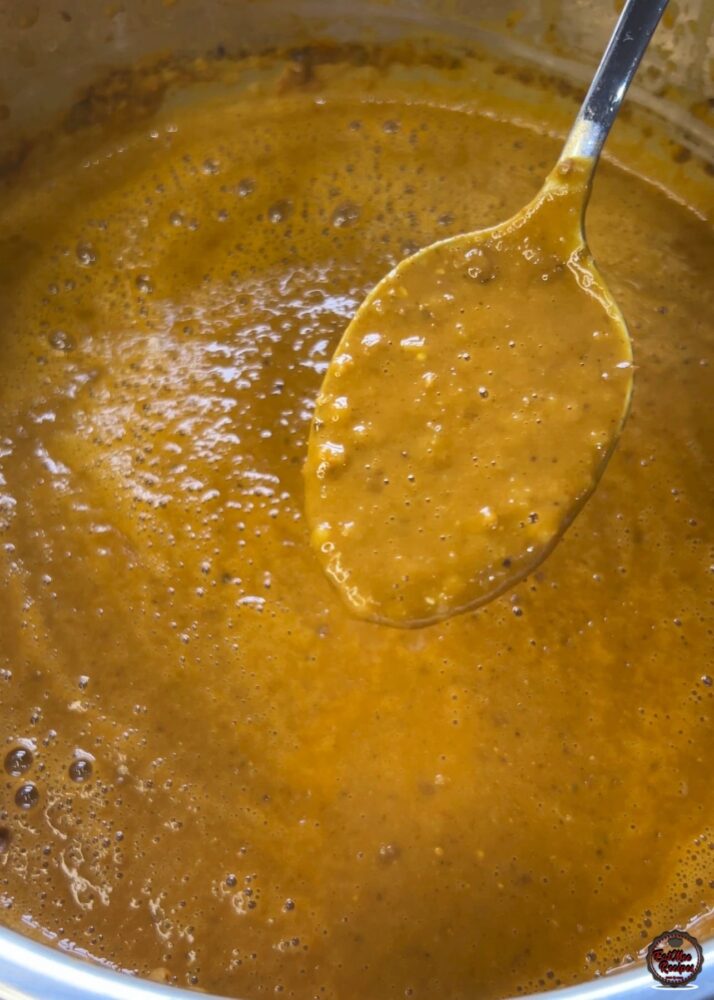
Once smooth, return the shredded beef back to the pot and add a fresh squeeze of lemon juice and mix well. The acidity from the lemon helps brighten the rich flavours of the dish and balances the heaviness of the meat and spices.
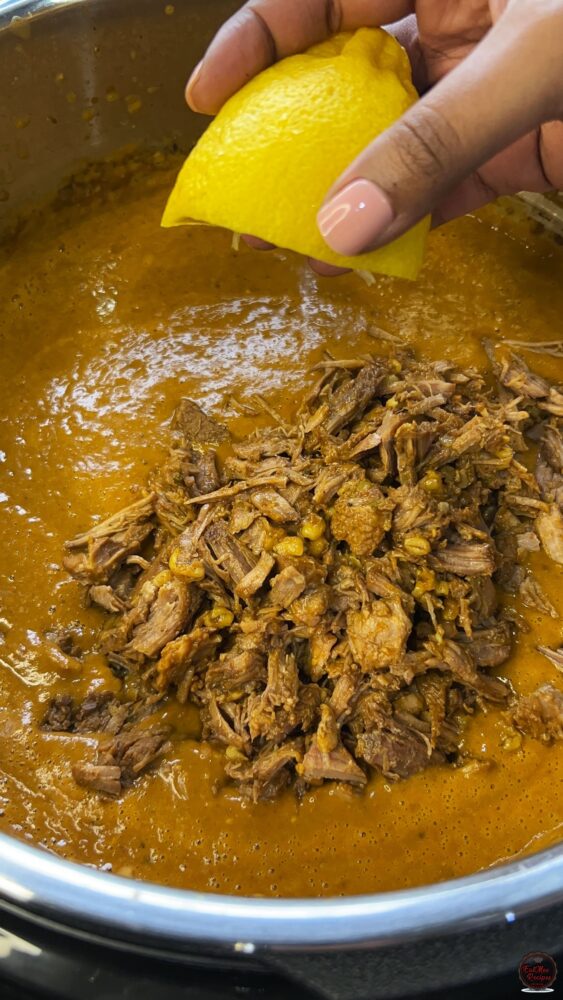
Spoon the haleem into serving bowls.
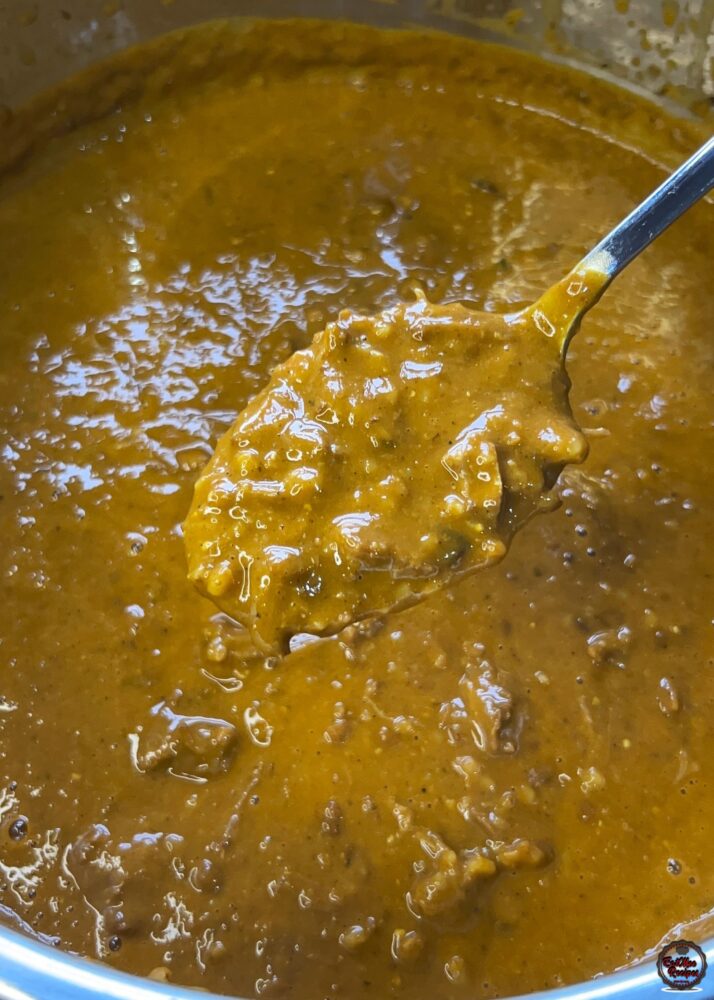
Garnish with the fried onions that were prepared at the beginning of the recipe and top with freshly chopped coriander.
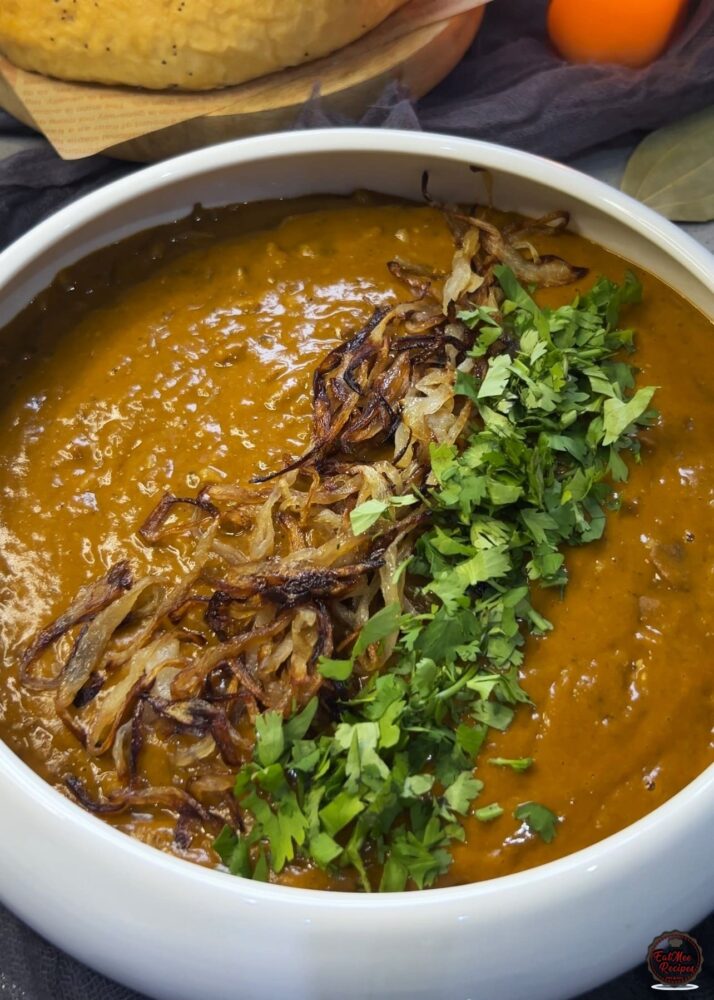
]For a touch of colour and freshness, I like to add a few slices of lemon as well.
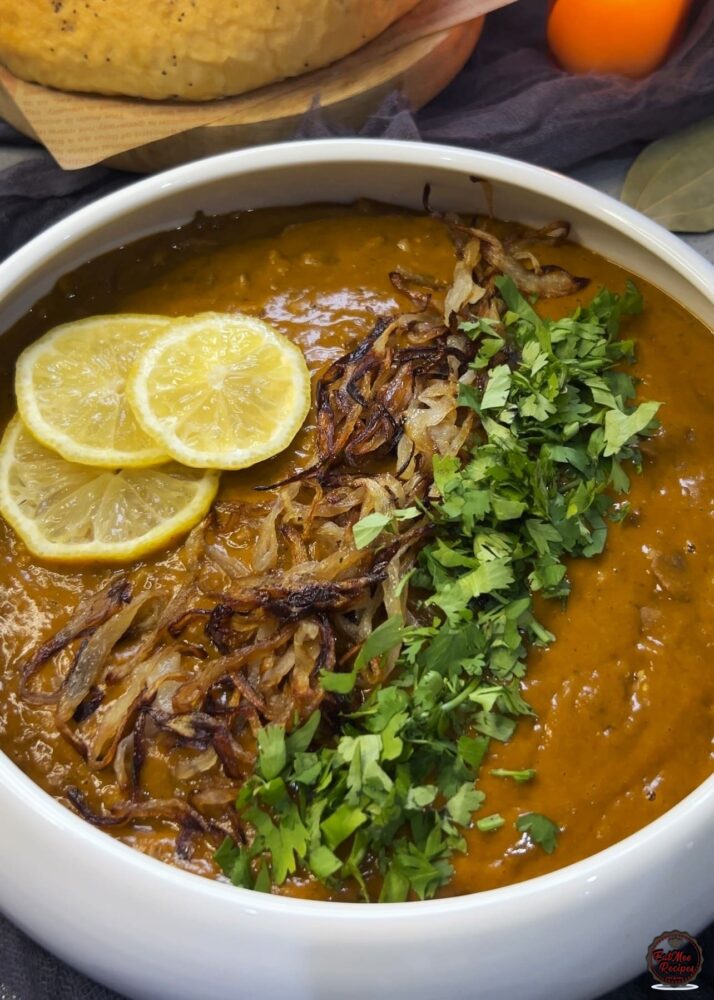
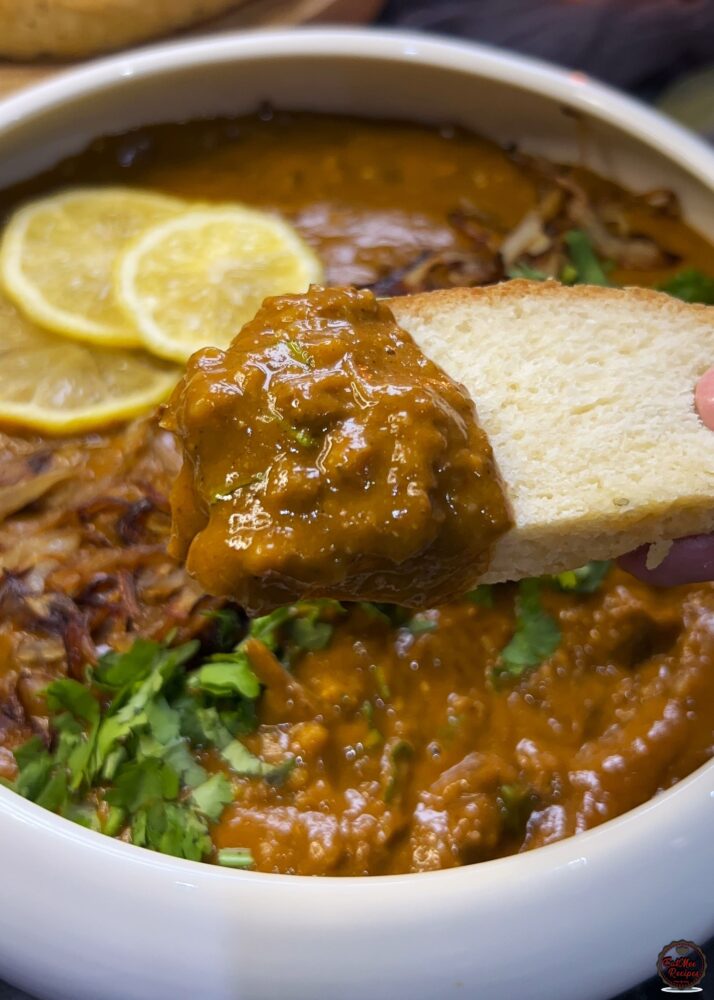
Serve hot with your favourite naan breads. Haleem pairs beautifully with warm, soft bread that can be used to scoop up the thick, creamy mixture.
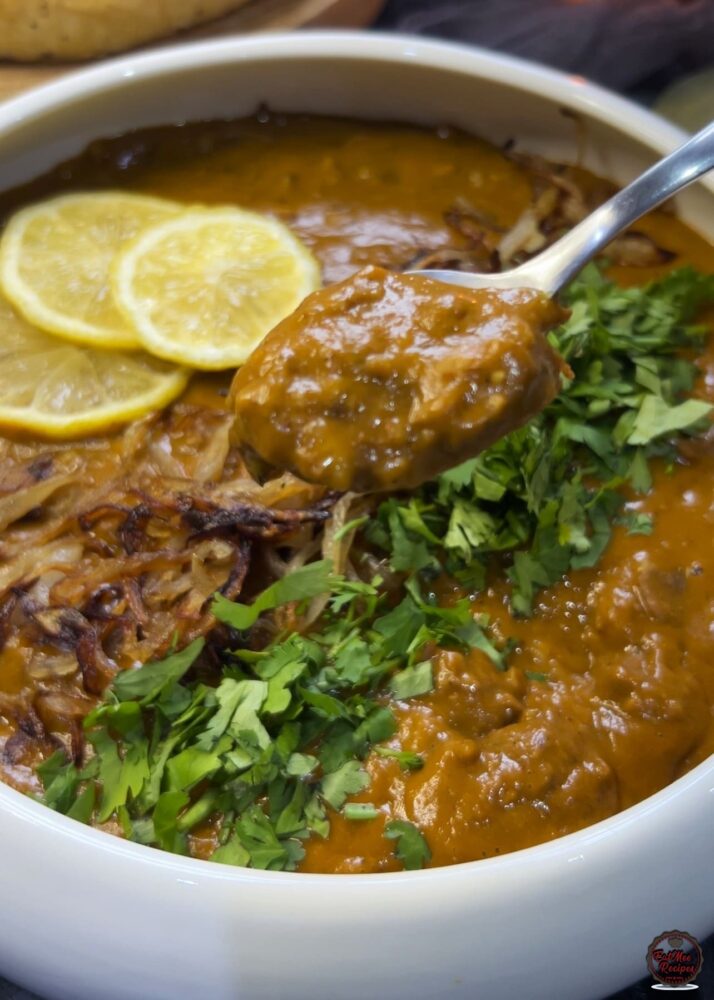
I also served mine with my homemade Durban Naan Bread, which is slightly softer and lightly flavoured with fennel seeds. The gentle sweetness and fluffy texture of this bread complements the rich, savoury haleem perfectly.
Allow the haleem to cool completely before storing. Store in an airtight container in the refrigerator for up to 3-4 days. As it sits, the haleem will naturally thicken, so when reheating you may need to add a splash of water to loosen the consistency.
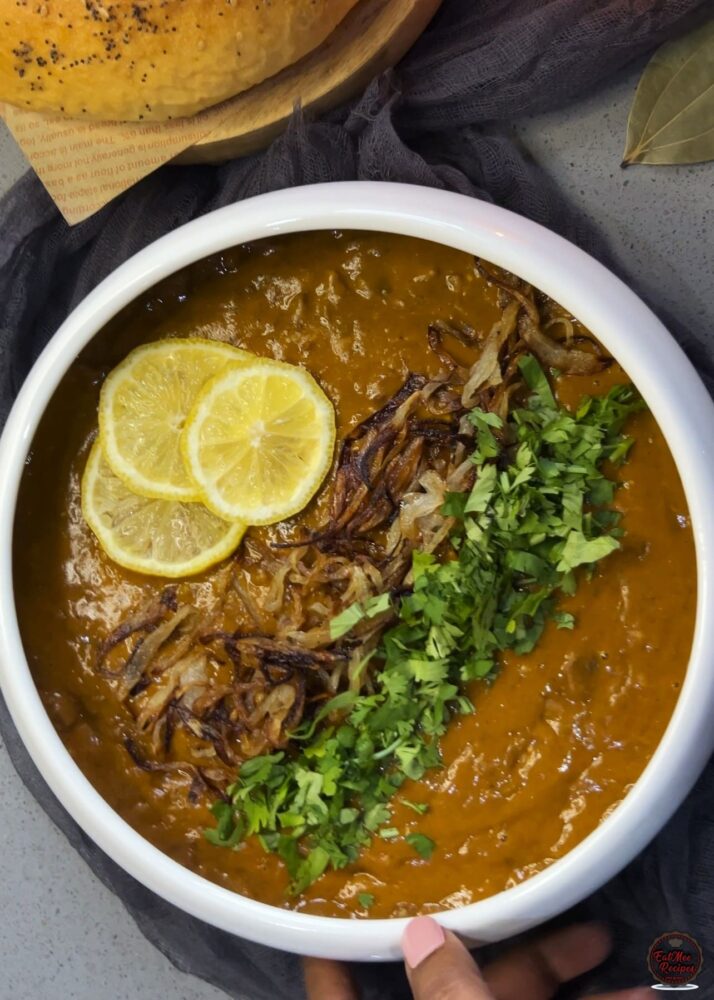
Haleem also freezes very well. Portion it into freezer-safe containers and freeze for up to 3 months. Thaw overnight in the refrigerator before reheating gently on the stove or in the microwave, adding a little water if needed.
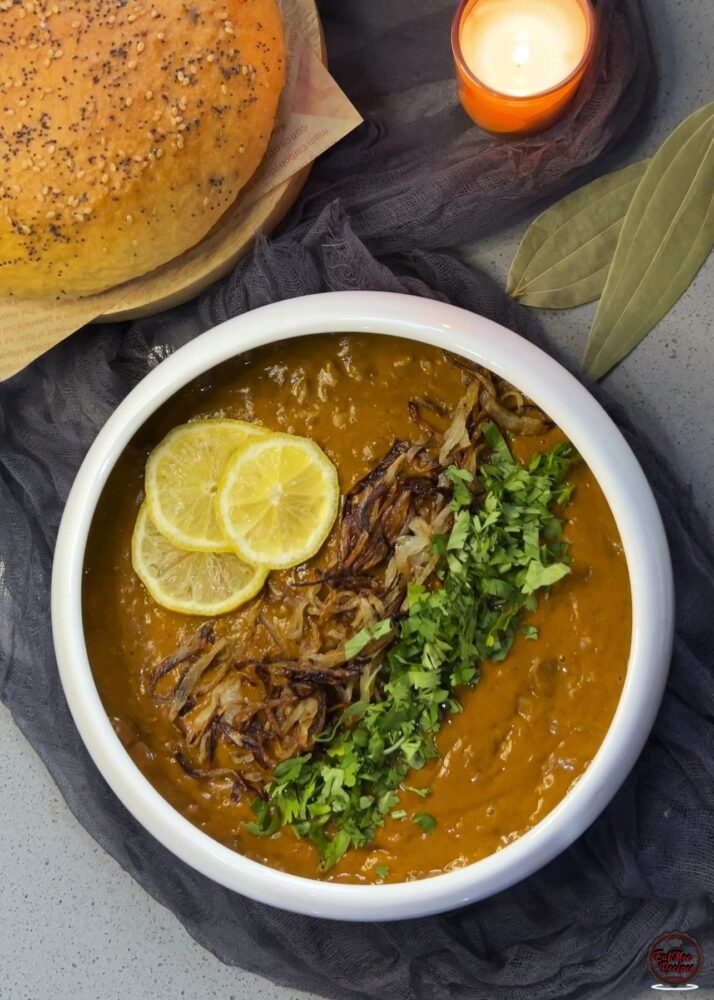
This Instant Pot Beef Haleem is proof that a traditionally slow-cooked dish can be made much more accessible without sacrificing flavour or texture. Using the Instant Pot XL Wide allows you to create a deeply comforting, richly spiced meal in a fraction of the time. Whether you’re making it for a family dinner or preparing a large batch to share, this hearty dish is always incredibly satisfying.

Other Meat Variations: Chicken Haleem: 700g chicken (bone-in preferred) (Pressure Cook: High Pressure – 30 minutes) – (Natural Release – 15 minutes).
Lamb Haleem: 800g lamb shoulder or stewing lamb (Pressure Cook: High Pressure – 40 minutes) (Natural Release – 15-20 minutes).
Follow along with Denisiya's step-by-step video guide for Instant Pot Beef Haleem.
Expert kitchen guidance and troubleshooting for making the best Instant Pot Beef Haleem
One of the standout features of the Instant Pot XL Wide is its wide inner pot, which gives you more surface area compared to traditional pressure cookers. This may seem like a small detail, but it’s actually very useful for many Indian and South Asian recipes. Here are a few reasons why the wide design is especially helpful: Better browningThe wider base allows meat and onions to brown more evenly during the sauté step. Browning builds flavour, which is essential for dishes like haleem. More room for stirringHaleem thickens as the grains and lentils break down. The wider pot makes stirring much easier, especially when blending or mashing the mixture toward the end. Perfect for spice cookingIndian cooking often begins with tempering whole spices in oil or ghee. The wide base allows spices to toast properly without overcrowding. Ideal for one-pot mealsSince haleem combines meat, grains, and lentils in a single pot, the extra space helps everything cook evenly without becoming too dense. It’s a small design change, but it makes cooking traditional dishes much more comfortable and efficient.
Haleem is deeply savoury, warmly spiced, and incredibly comforting. As the beef cooks with lentils and grains, everything softens and blends into a thick, velvety stew. A final touch of ghee and garam masala adds warmth and aroma, while toppings like fried onions, fresh herbs, and lemon brighten the dish. The result is a hearty meal that’s both nourishing and flavourful.
Hi, I'm Denisiya! Food lover, recipe developer, and founder of EatMee Recipes. I specialize in authentic South African Durban Indian cuisine, comforting curries, and modern Instant Pot adaptations. Every recipe on this site is tested in my personal kitchen to ensure you get mouth-watering, foolproof results every time.
Explore more authentic Durban curries, traditional bakes, and comforting family favourites.
 Indian Cuisine
My mum is sharing another one of her much-loved traditional South African Indian recipes. ...
 Indian Cuisine
Crispy, golden and delicious, these Brinjal Pakoras are made with thin slices of brinjal c...
 Indian Cuisine
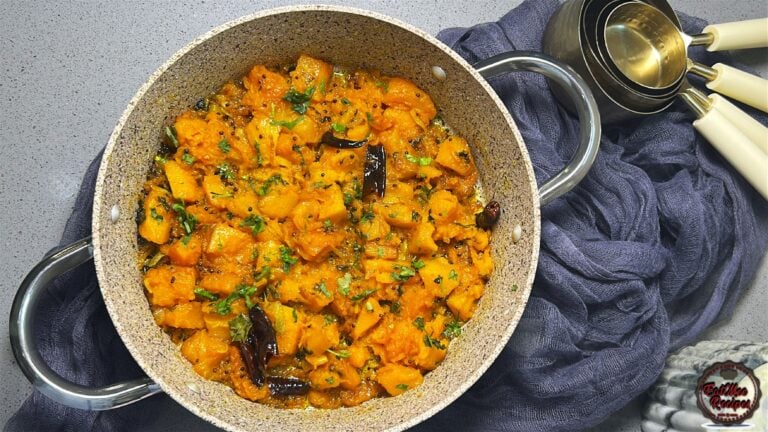
Mum’s Pumpkin Curry is a simple, comforting vegetarian dish that proves you don’t need a l...
Have you tried this recipe or have questions for Denisiya? Join the conversation below.
No comments yet. Be the first to share your thoughts on this recipe!
Leave a Comment
Your email address will not be published. Required fields are marked *