
We Value Your Culinary Privacy
EatMee Recipes uses cookies to provide a personalized browsing experience, analyze recipe popularity, and serve relevant ads. You can review our full disclosure in our Privacy Policy.
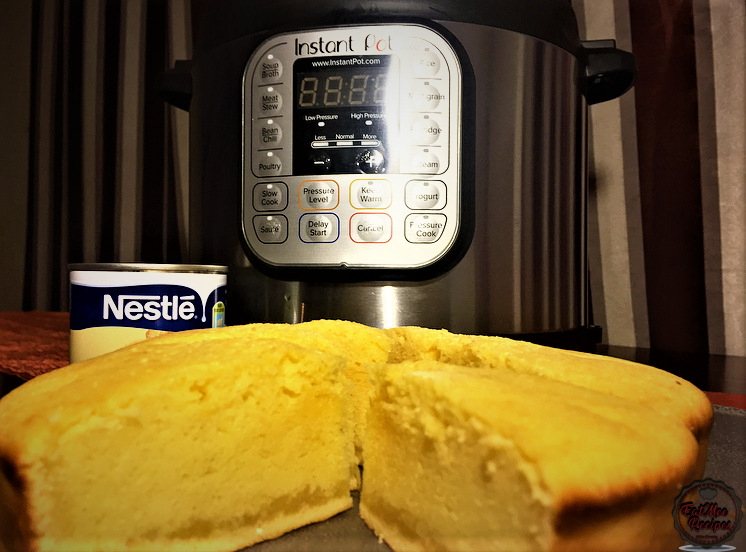
Instant Pot Condensed Milk Cake – yup that’s right! Not only can you pressure cook & sauté in your Instant Pot, you can also bake in it.

Join over 60,000+ home chefs for weekly authentic Durban Indian cook-alongs, Instant Pot masterclasses, and family heritage recipes.
Instant Pot Condensed Milk Cake – yup that’s right! Not only can you pressure cook & sauté in your Instant Pot, you can also bake in it.
Traditionally, desserts, especially cakes are usually baked in the oven but since the Instant Pot is so versatile, I had to try a delicious cake recipe in it. Let me just say, you won’t regret it!
Instant Pot South Africa recently launch a new accessory kit that you can use in your Instant Pot, I’m a sucker for these gadgets & had to get my hands on it. It comes with a springform pan, hence the inspiration for this decadent recipe.
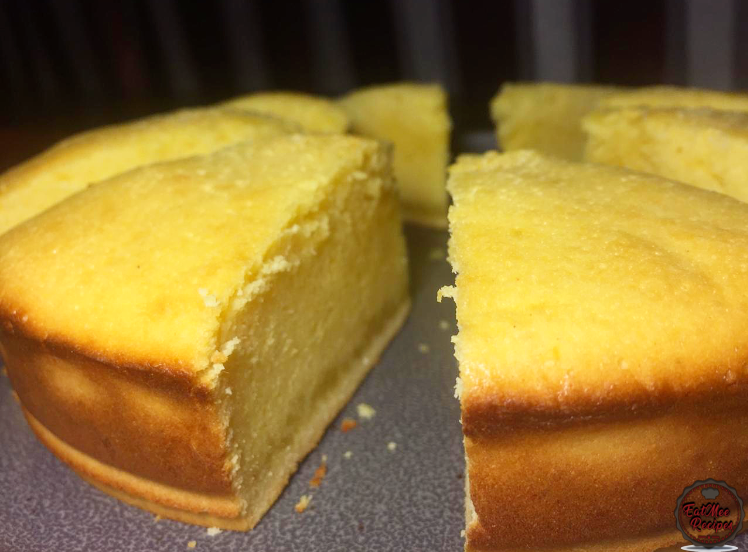
I will say, baking in the Instant Pot is a long wait as compared to using your oven, however, the cakes retain the moisture when they are pressure cooked & tends to dry out in the oven. It is definitely worth the time – plus there is no need to worry about burning cakes or having to constantly check up on them, the Instant Pot has you covered.
If you do prefer your cakes with a little crisp or brown hue on the tops, you can always just pop it into a preheated oven once it is done in the Instant Pot.
This is the springform pan that I have used from the accessory kit.

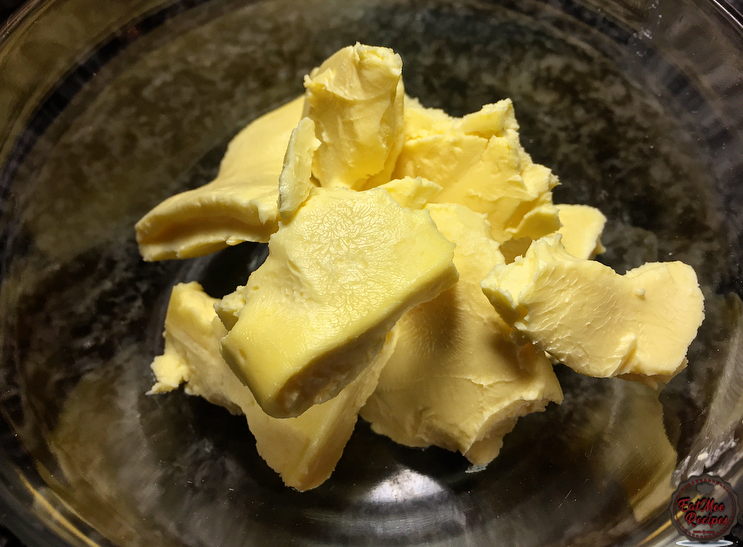
Firstly, start by melting the butter for a few seconds in the microwave.
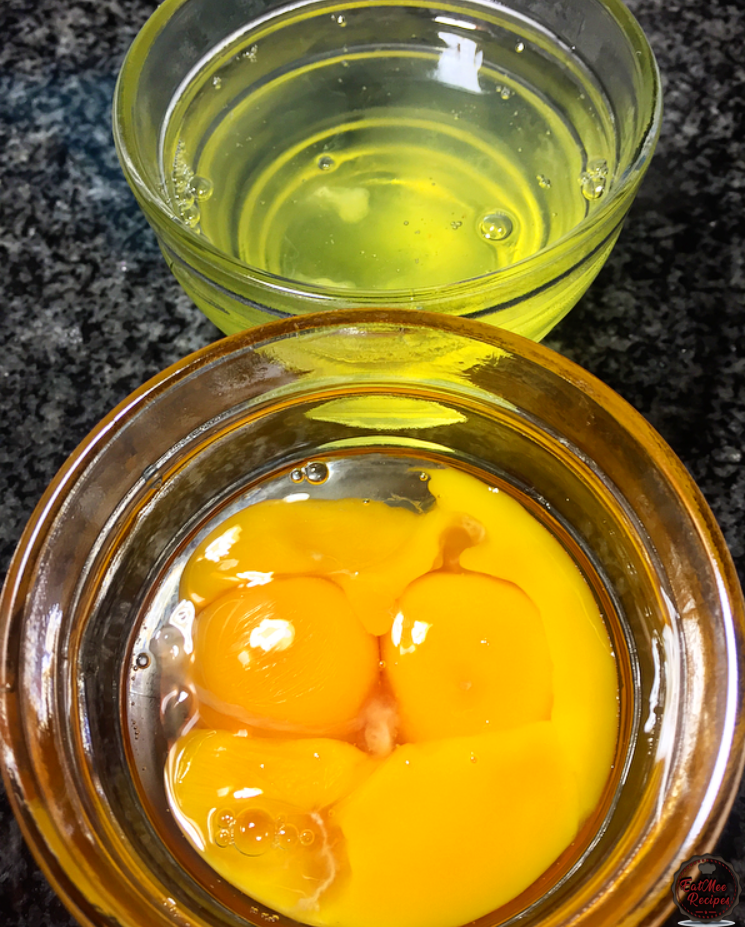
Next, separate the egg yolks & the egg whites.
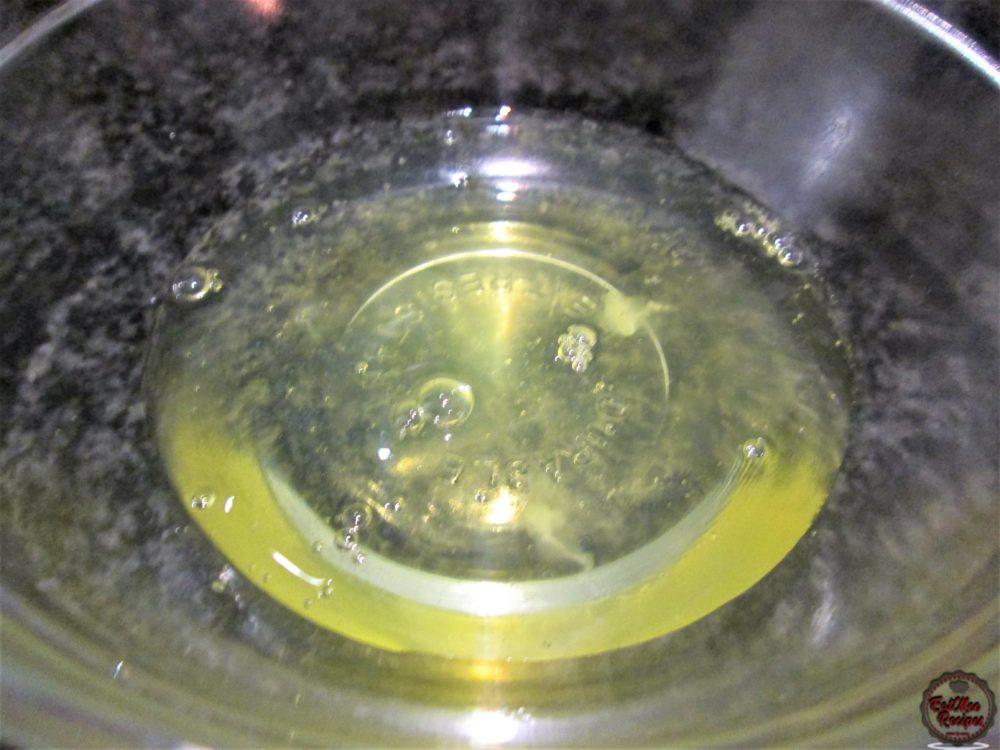
Add the egg whites to a mixing bowl.
Whisk the egg whites until firm peaks form.
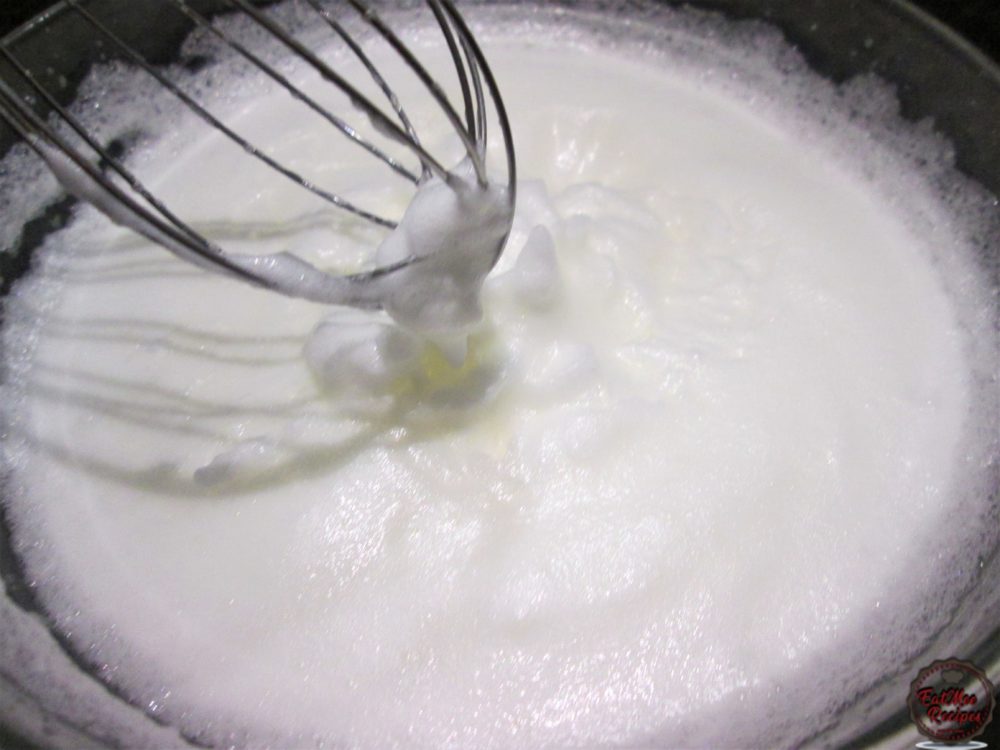
Set the egg whites aside until ready to use.
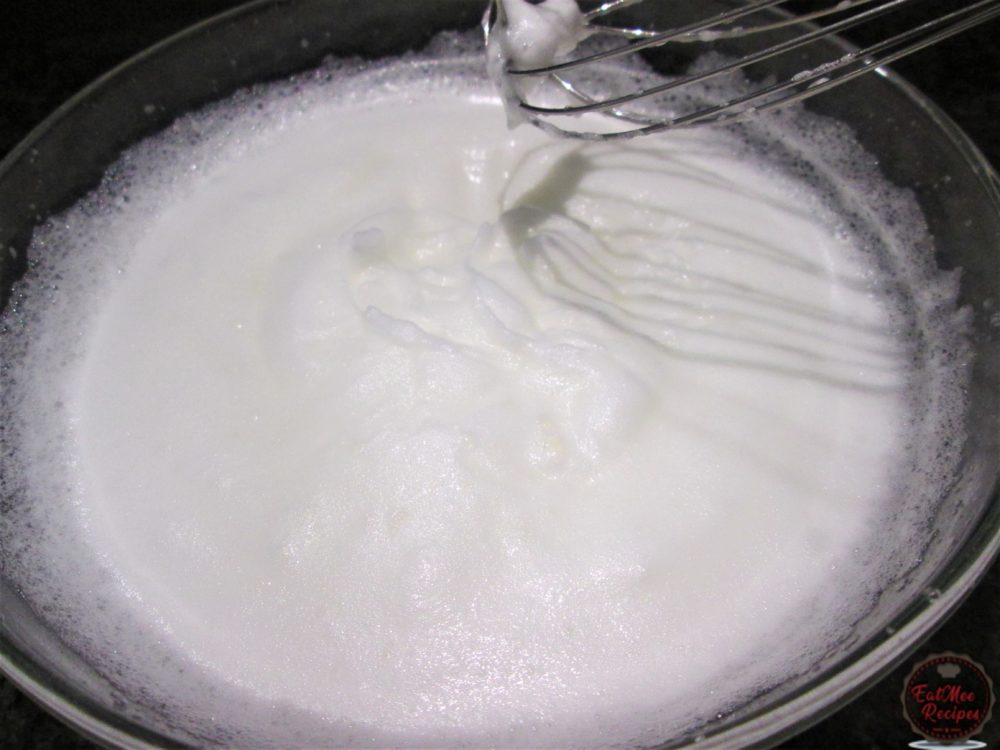
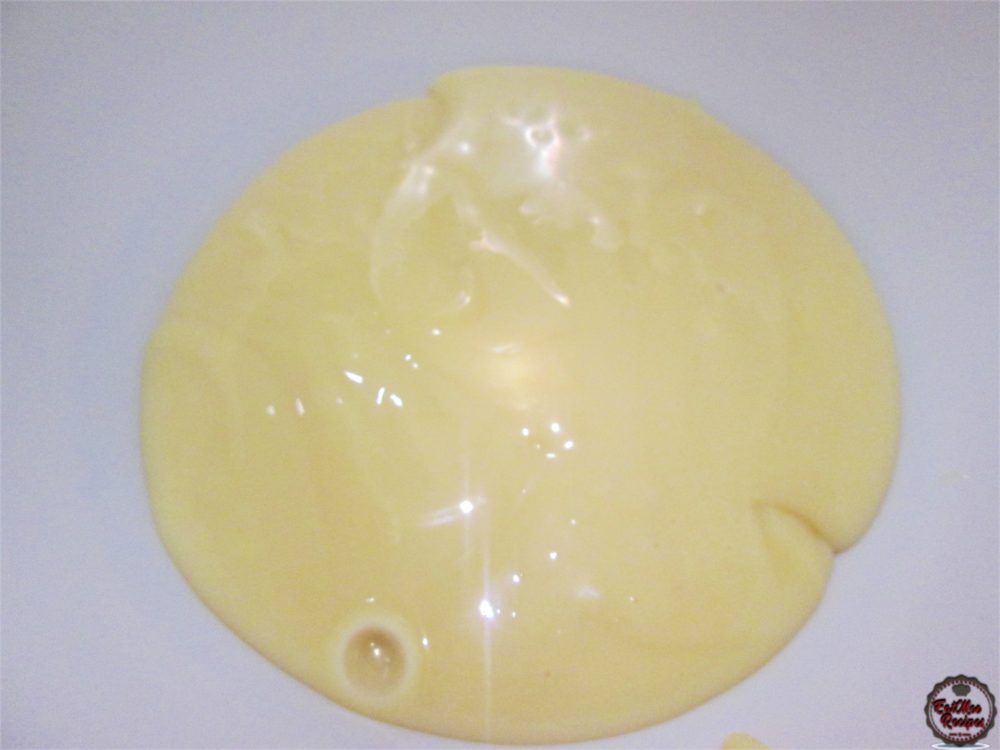
To another mixing bowl, add in the condensed milk.
Pour in the melted butter.
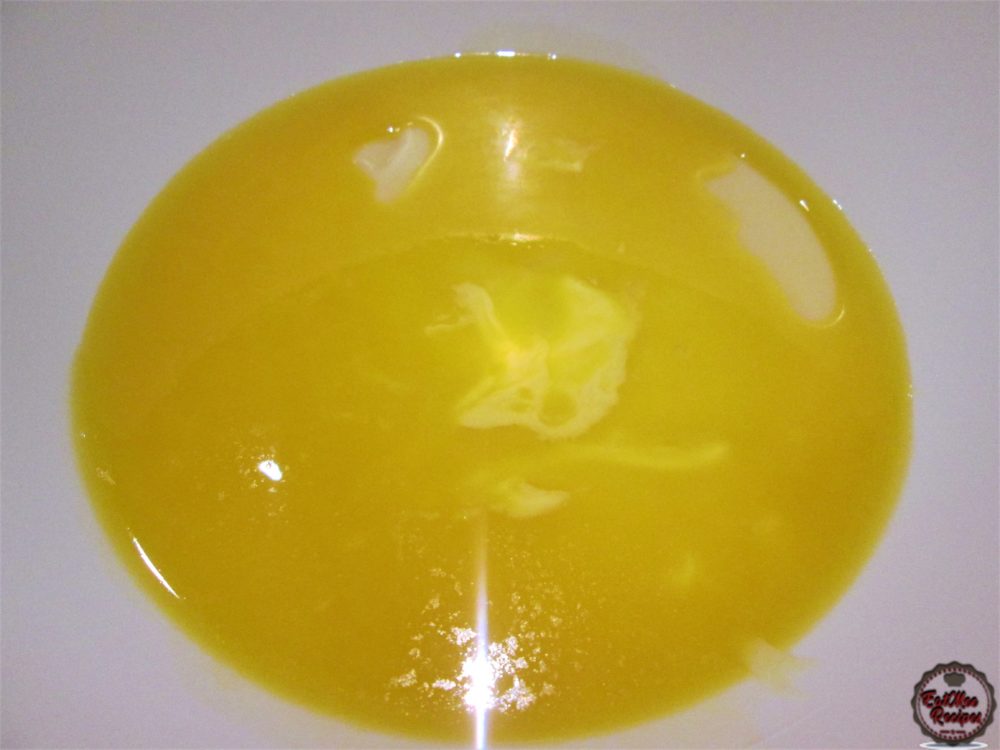
Mix well until combined.
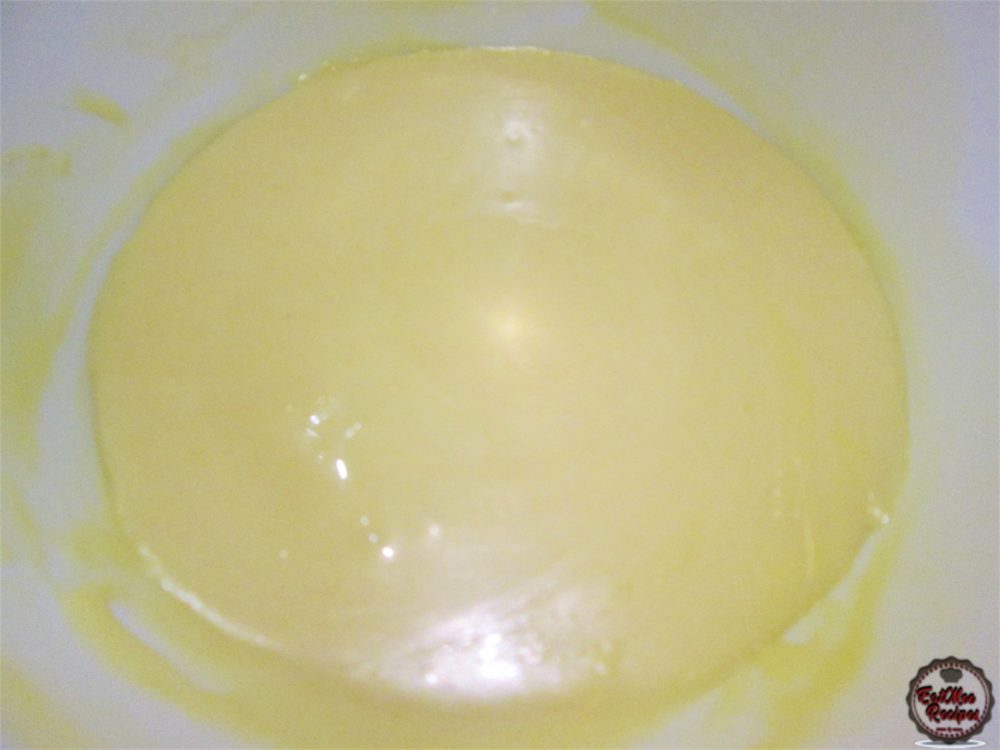
Add in the egg yolks.

Thereafter, add in the vanilla essence.
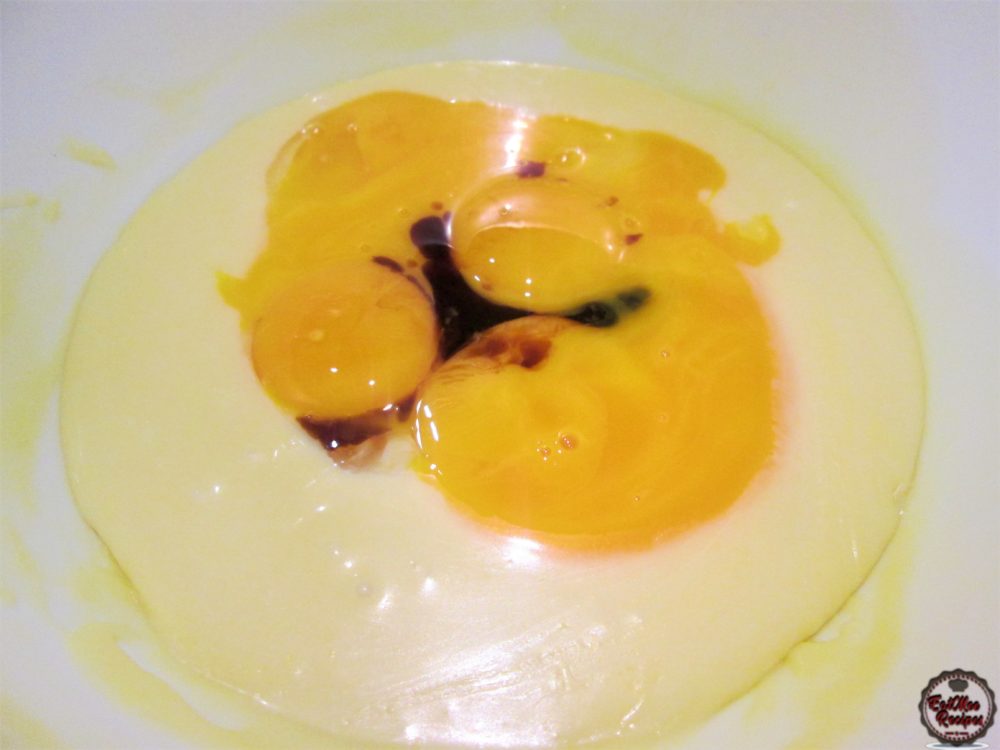
Mix well.
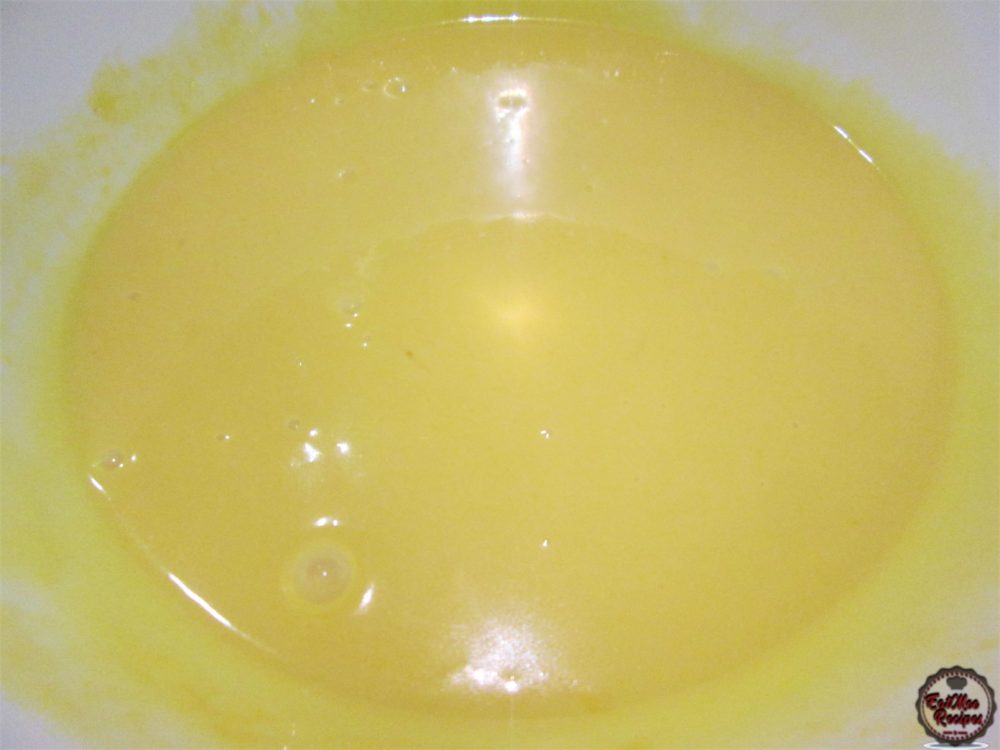
Add in the salt, baking powder & corn flour (maziena).
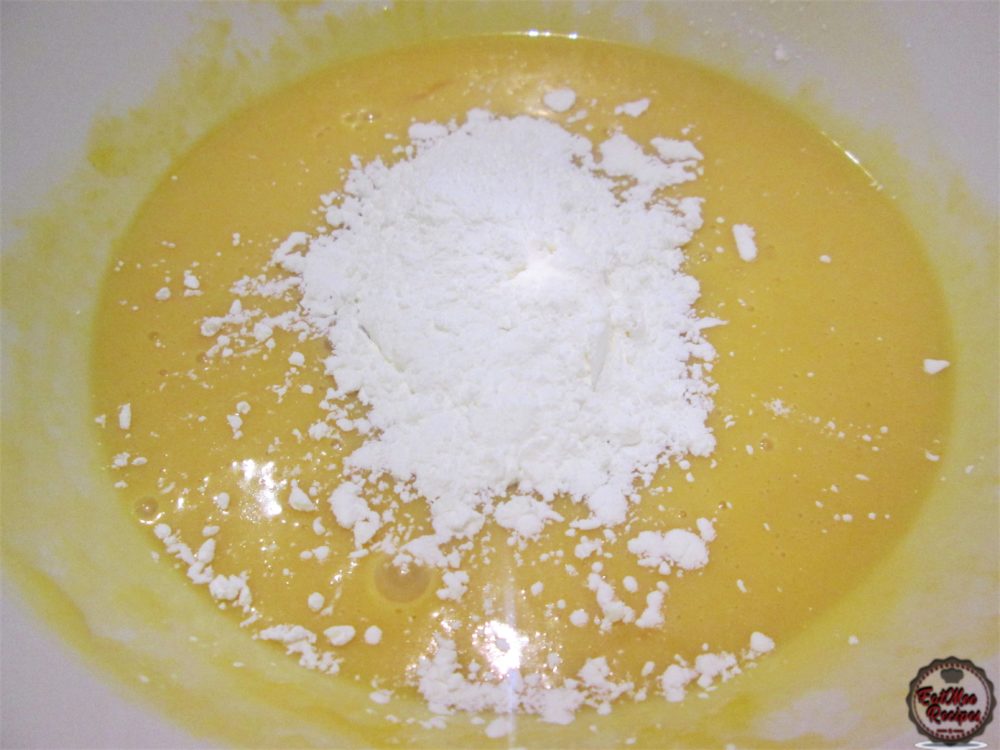
Thereafter, add in the all-purpose flour.
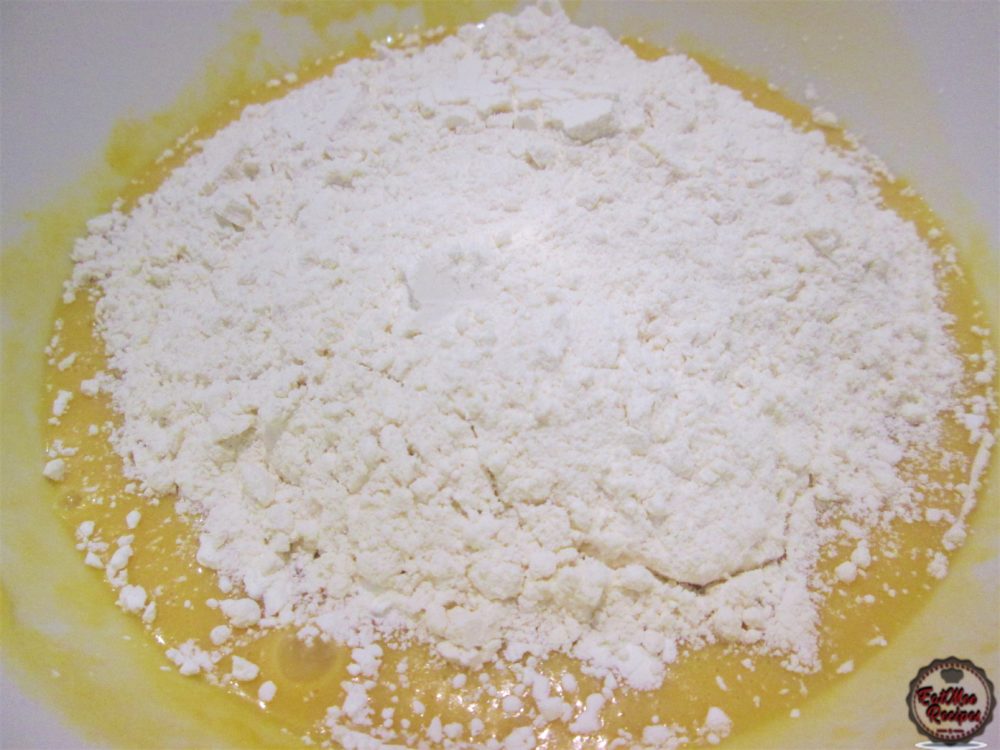
Give it a good mix. The batter should be of a thick consistency.
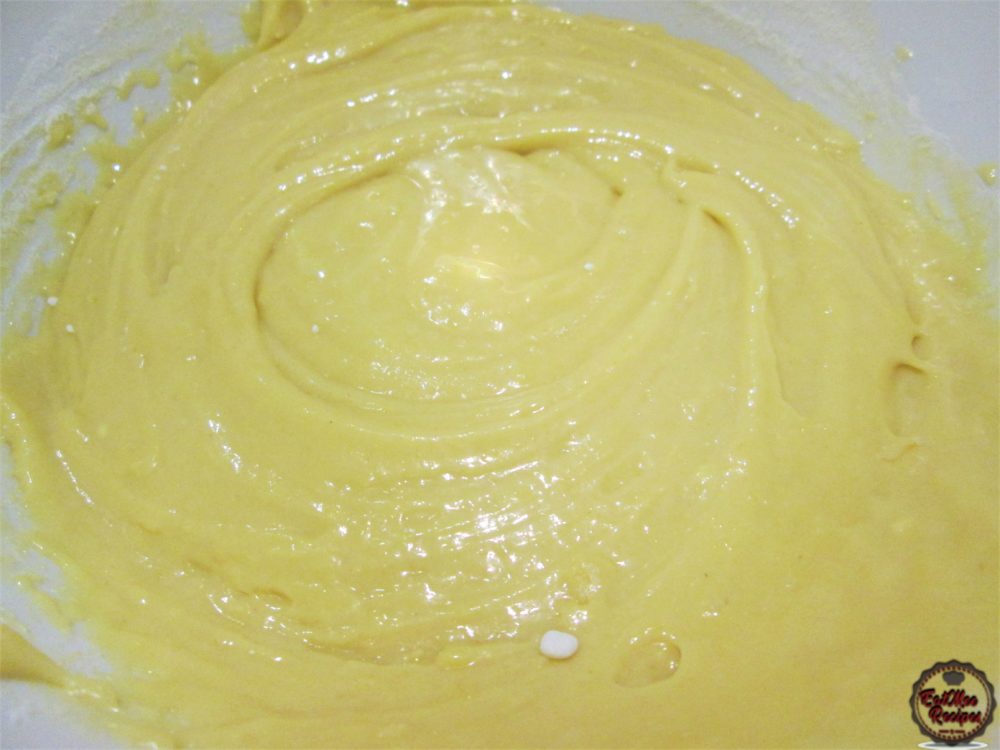
Add the egg whites in three parts – the first part goes in.
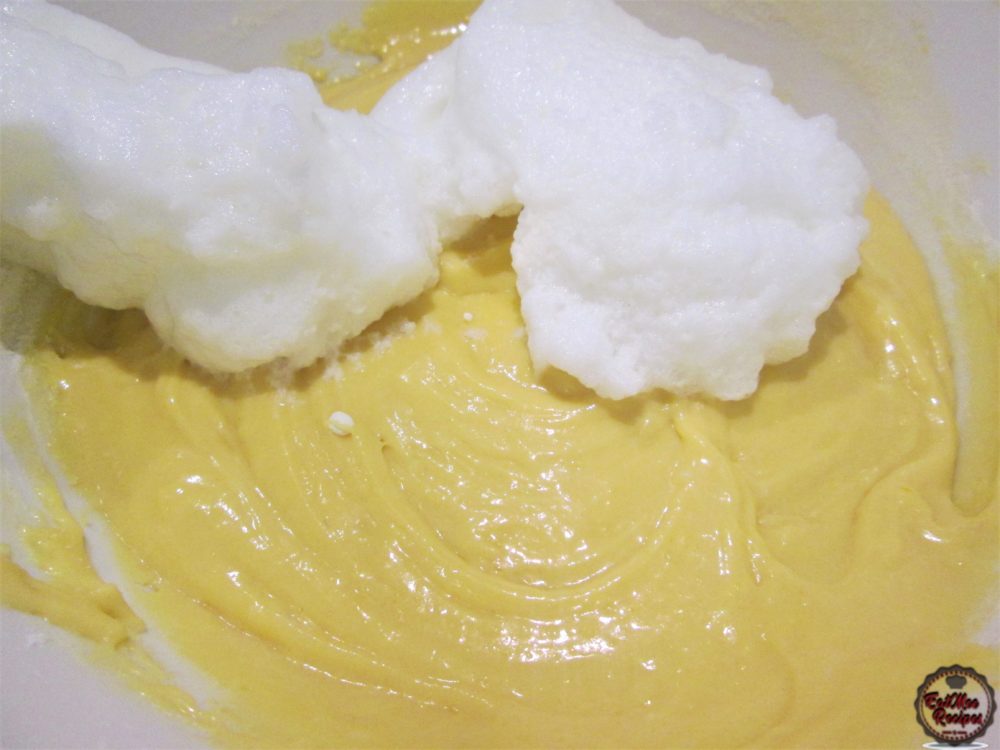
Gently fold the egg whites into the batter.
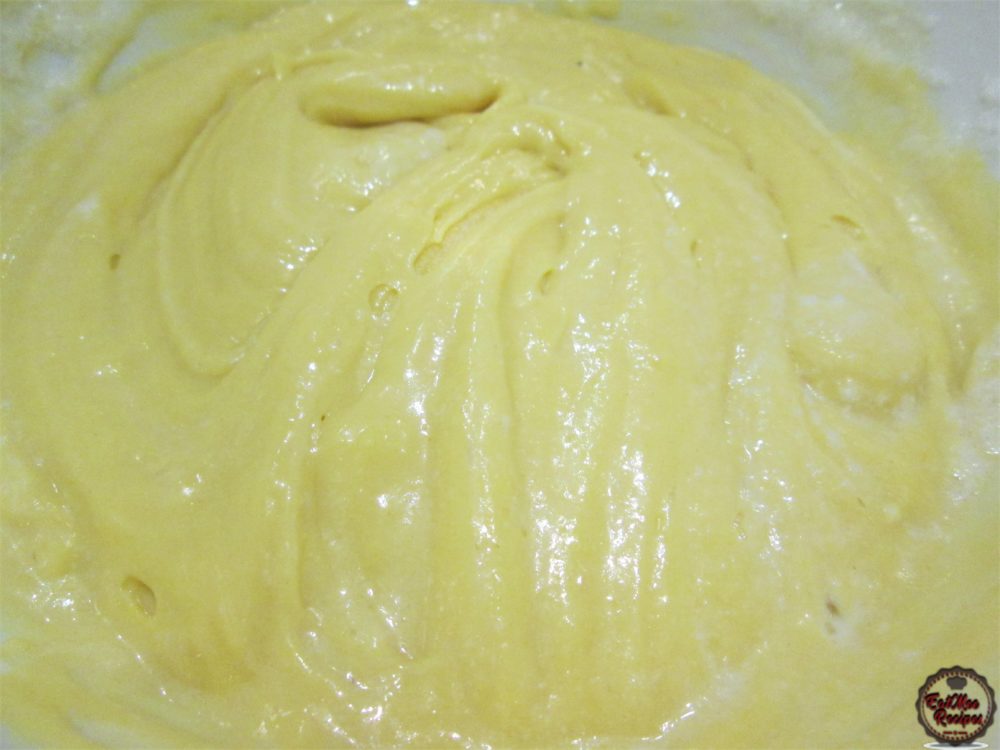
Add the second part of the egg whites.
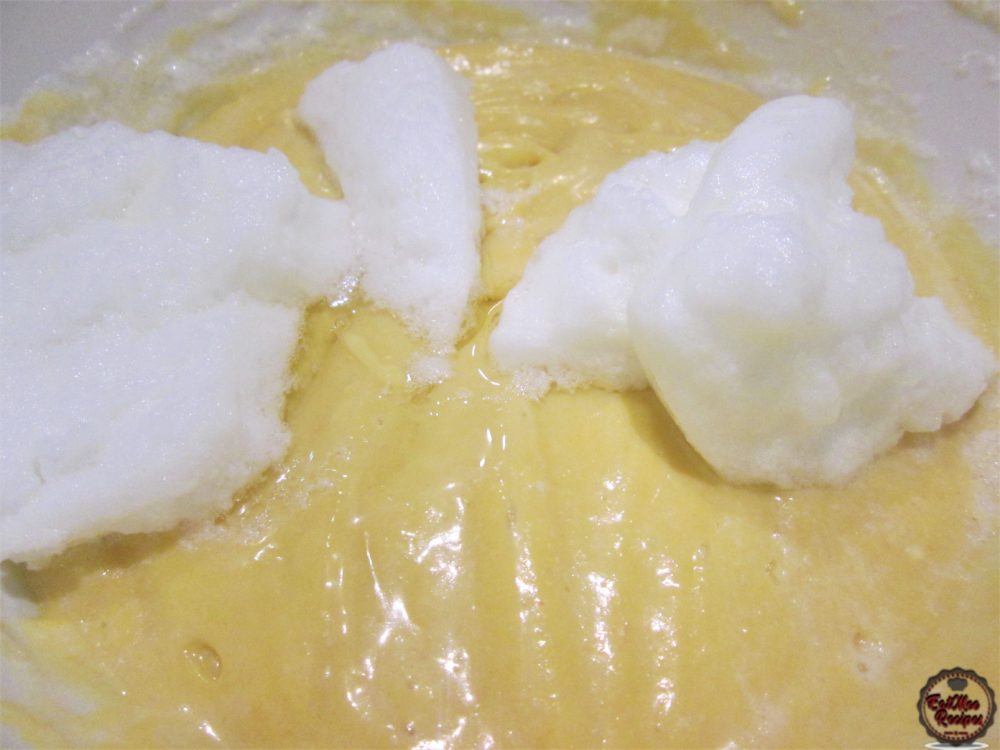
Fold together.
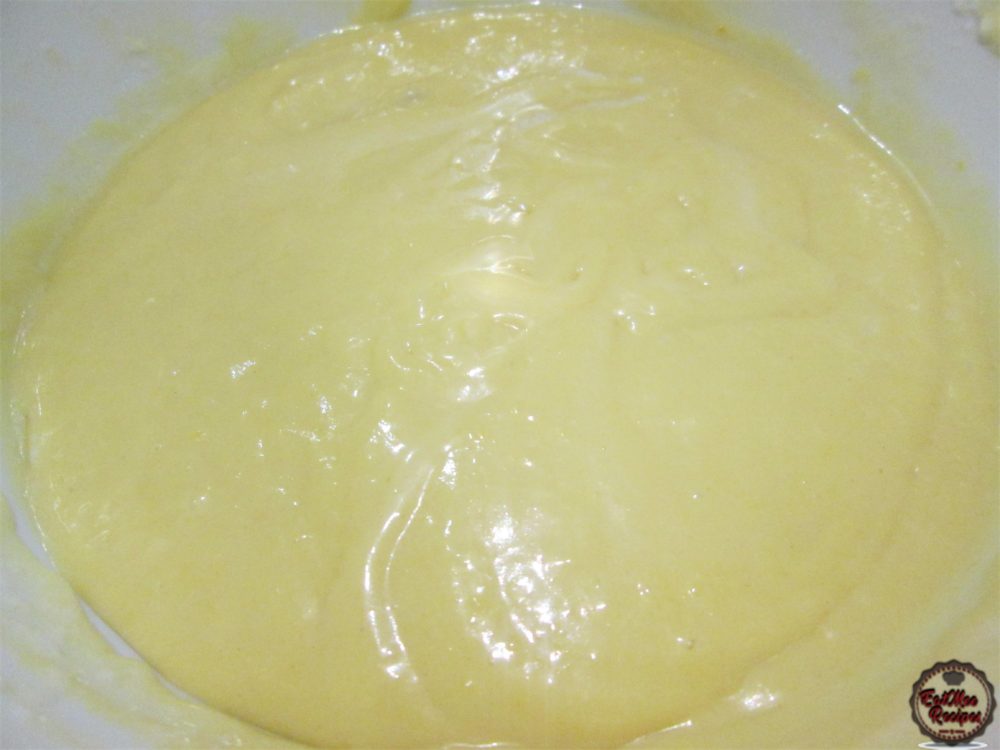
Finally, add in the last part of the egg whites.
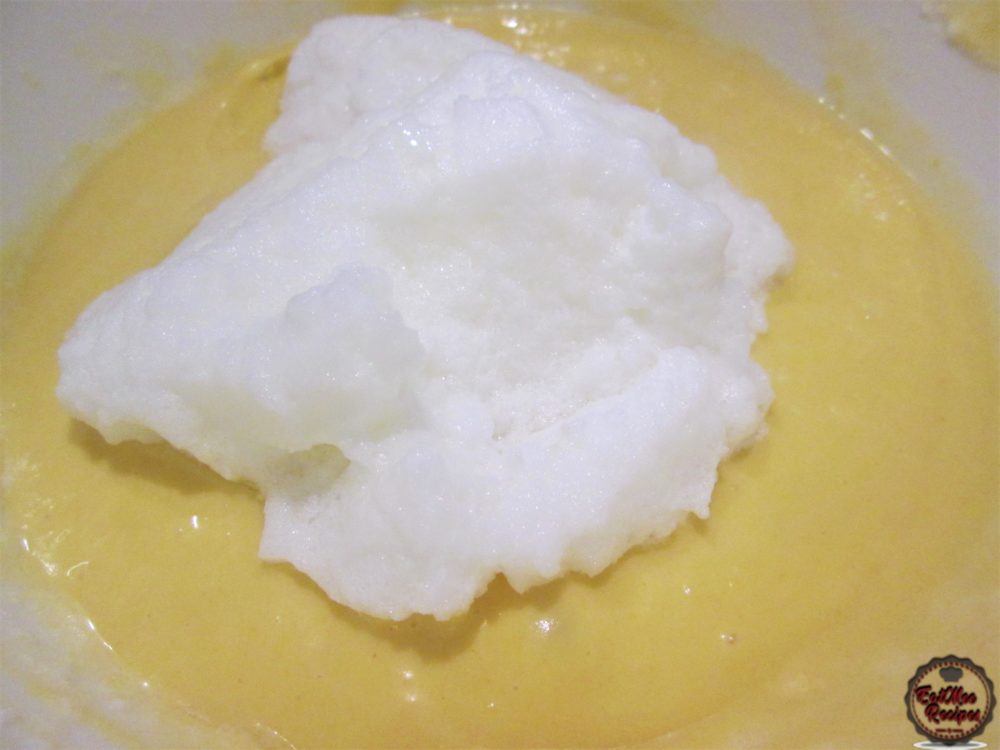
Fold together once again.
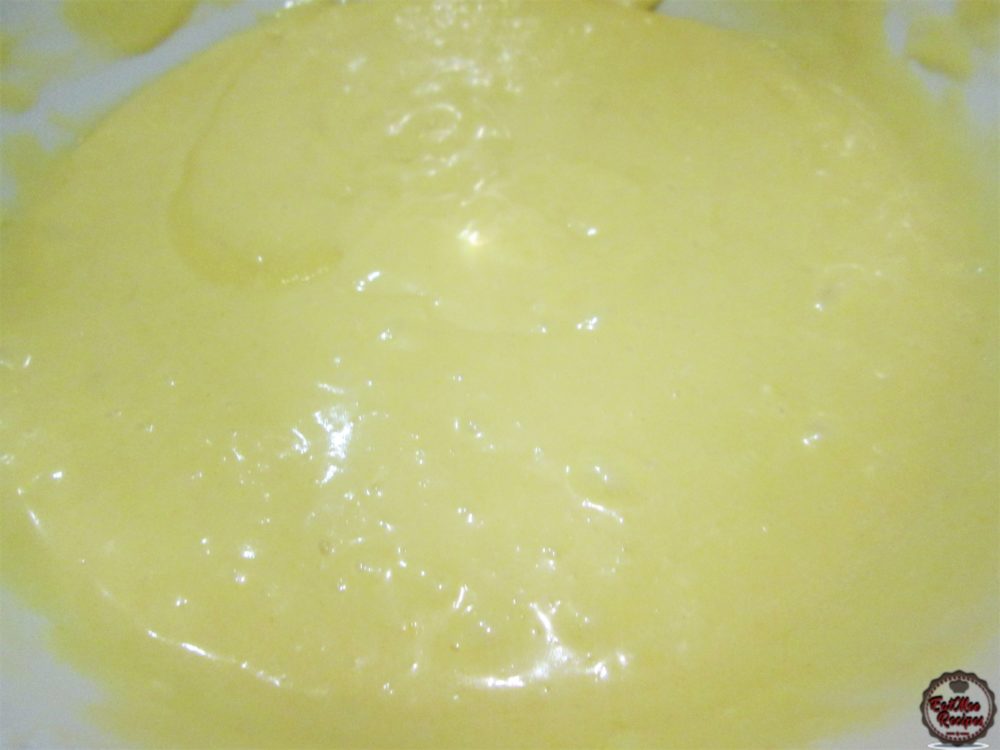
Grease the springform pan with cooking spray.

Pour the batter into the greased pan.
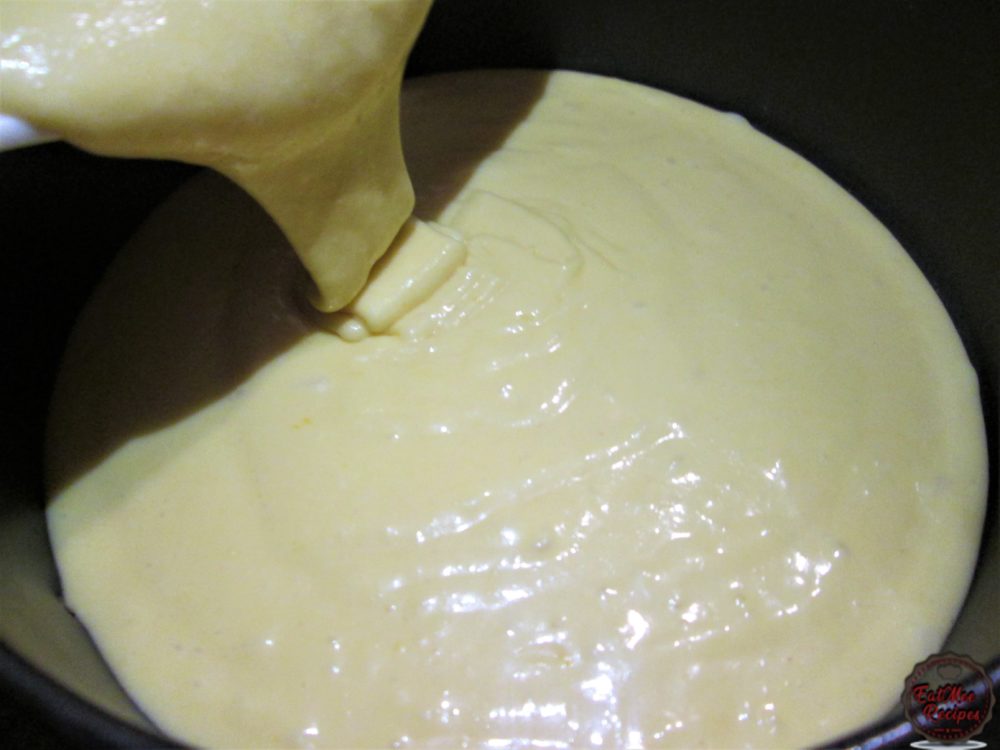
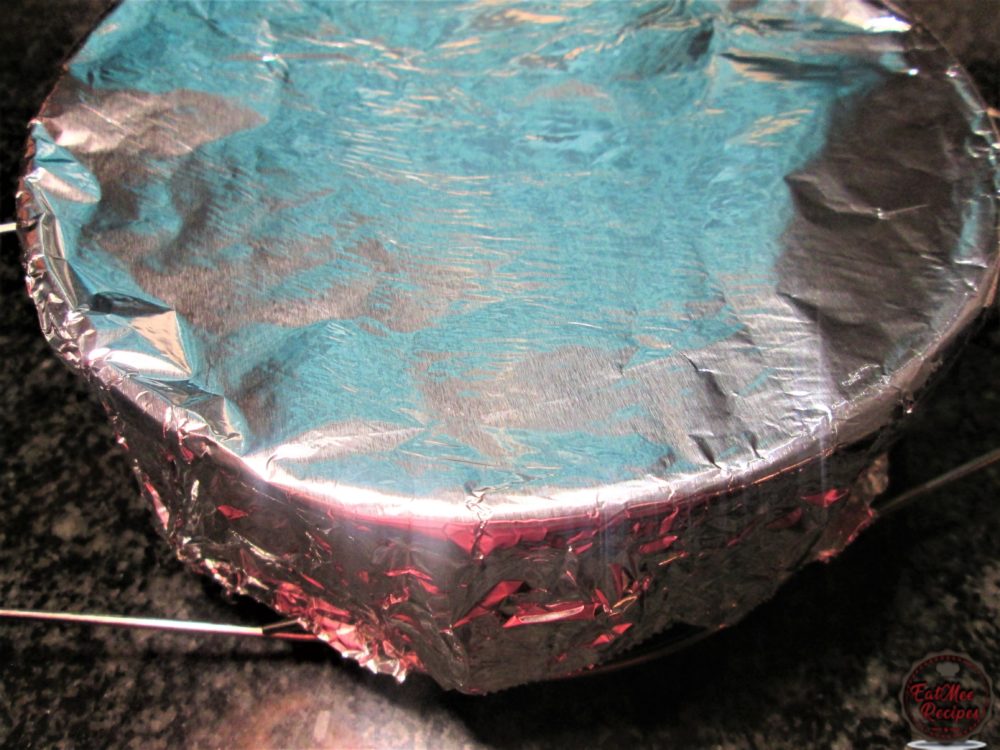
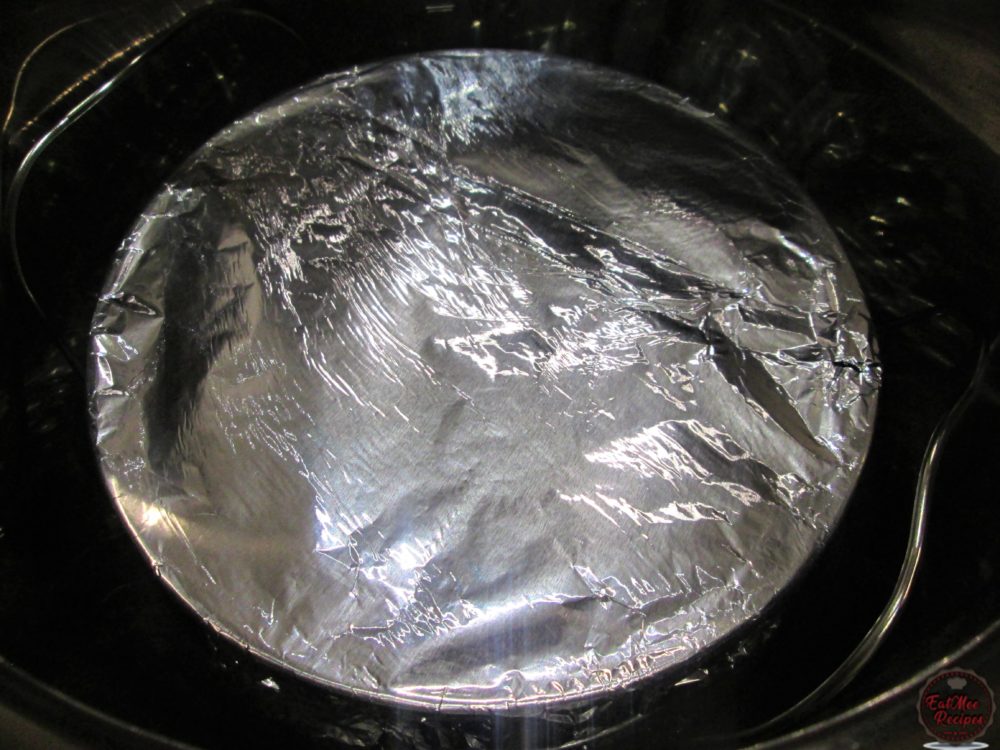
Cover the pan tightly with foil. This ensures that no water gets into the mixture.
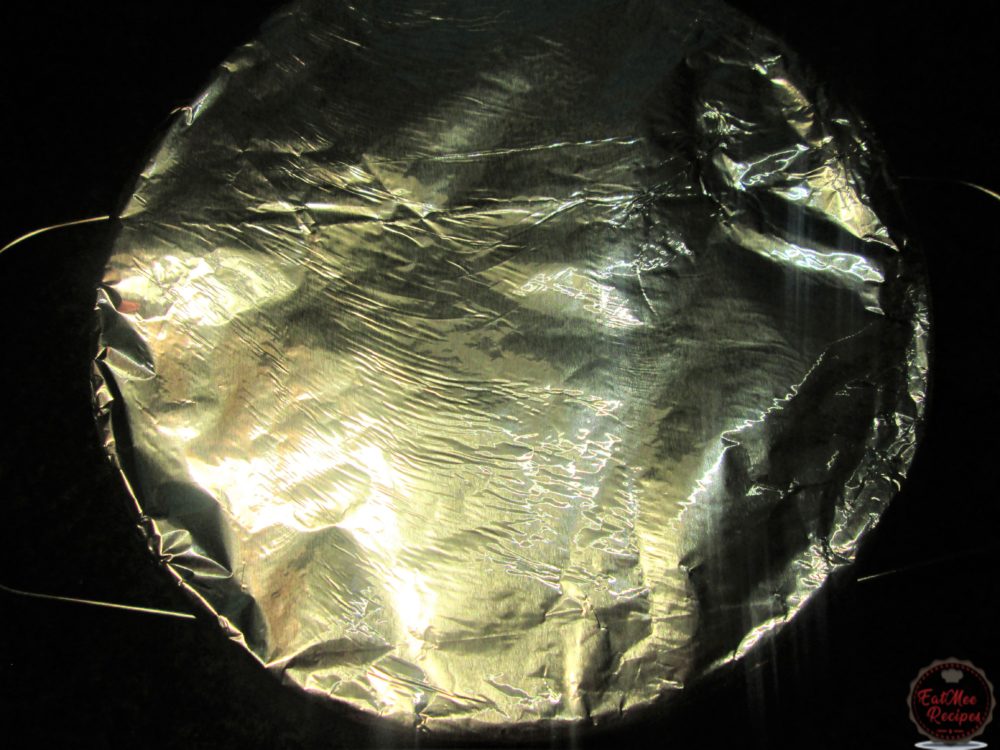
Place the pan onto a trivet. I prefer using the one that comes with the Instant Pot – it has handles on it so it makes it easier to handle.
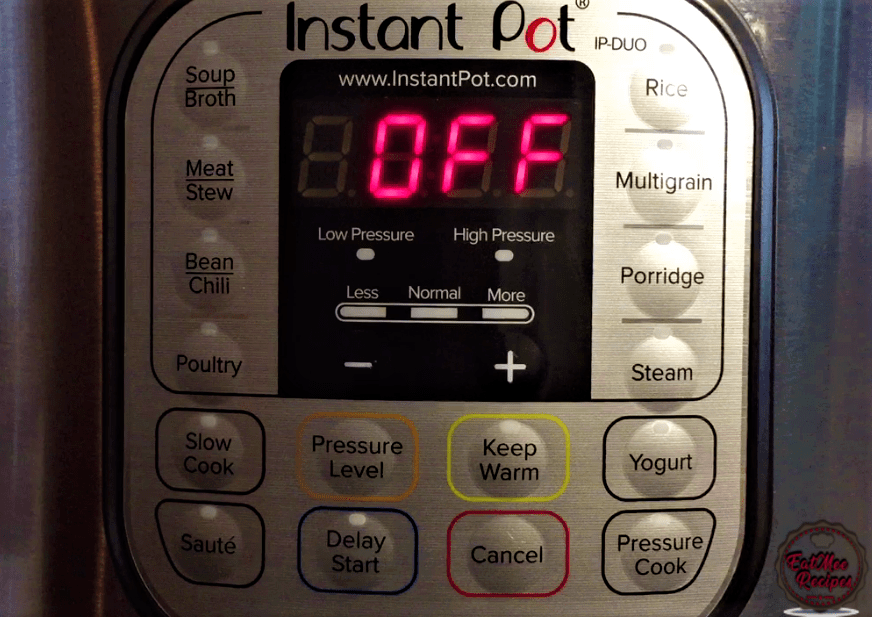
Plug in your Instant Pot, the display should read “OFF”.
Open the Instant Pot Lid & pour the 1 cup of water into the stainless steel inner pot.
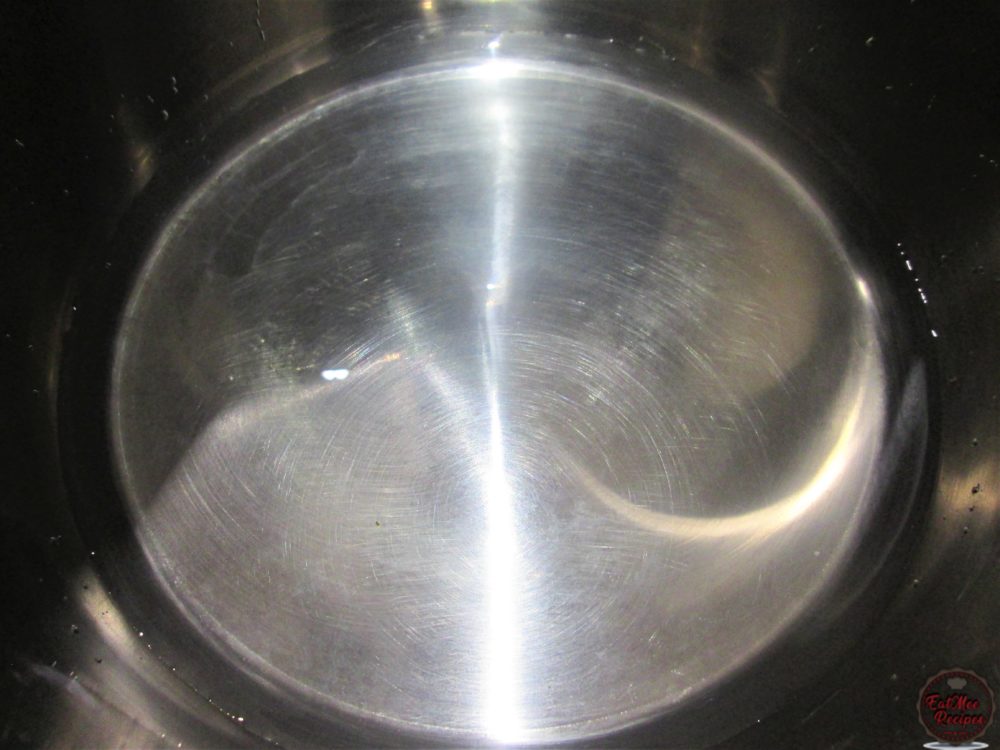
Place the pan with the trivet into the Instant Pot – over the water.
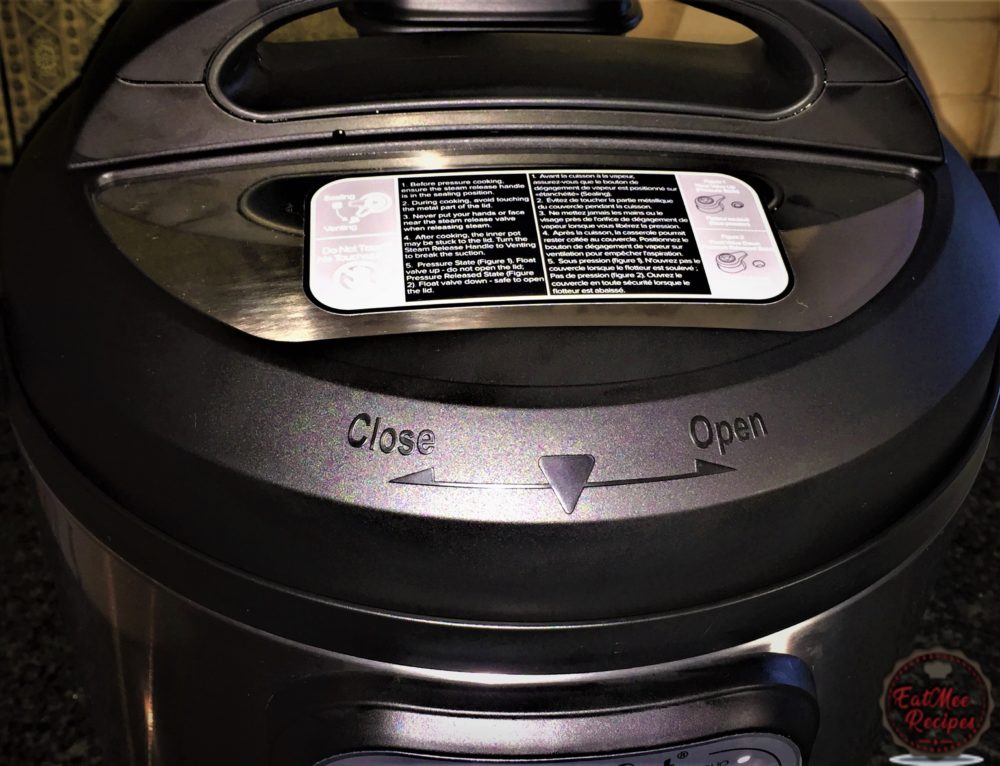
Secure the lid on the Instant Pot.
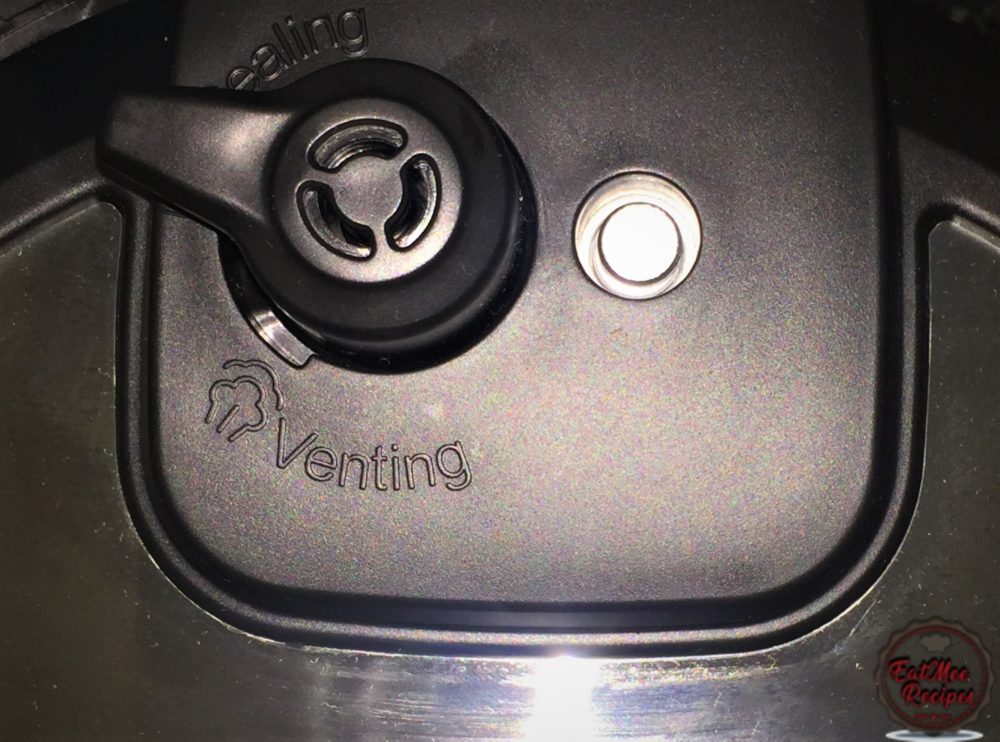
Turn the anti-blockage vent (steam release handle) to “SEALING”.
Press the “Pressure Cook” button. Press the button again to set the pressure level to “MORE” on the display. Next, use the “- or +” buttons & set the cooking time to 00:55 (55 minutes).
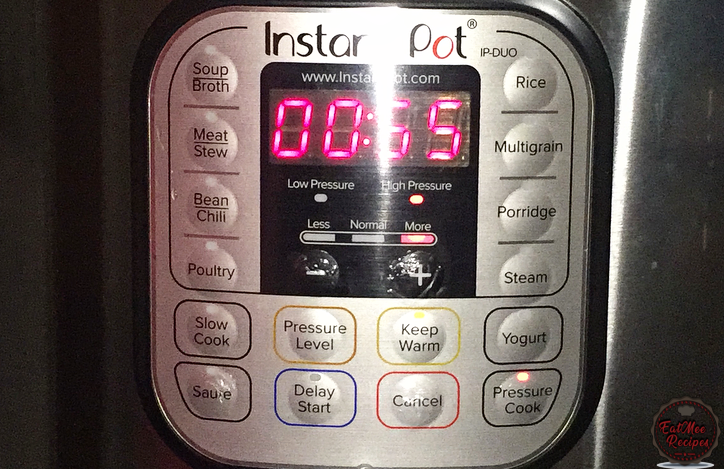
The Instant Pot should display “ON” until the pressure builds up.
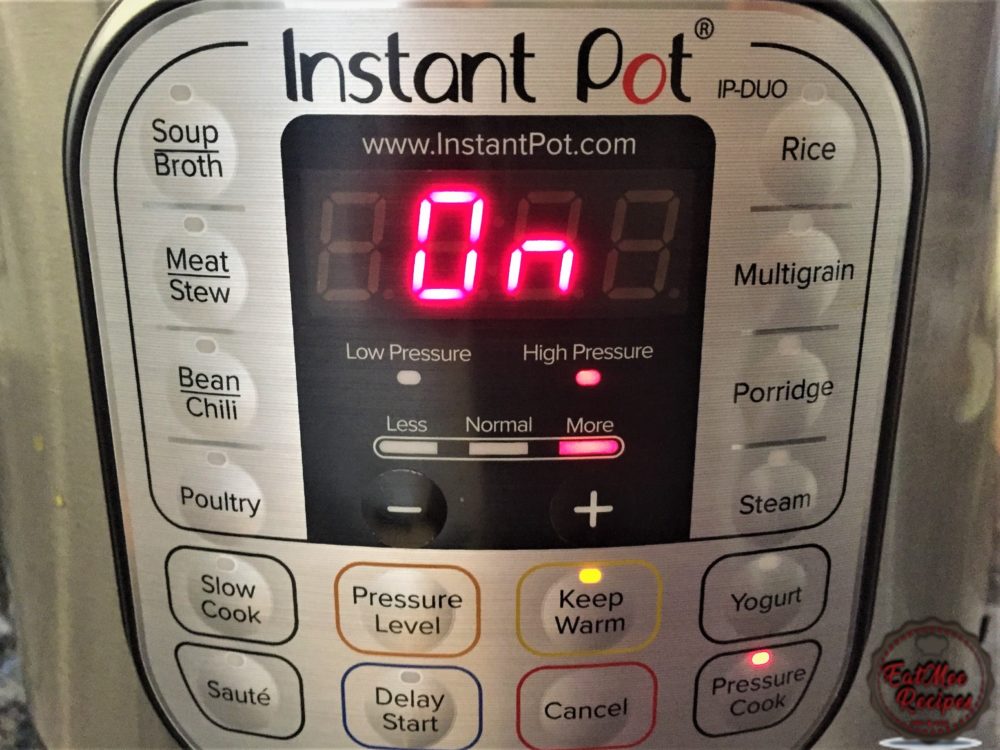
Once the pressure builds up, the “float valve” will pop up – when it pops up, do not attempt to open the lid! Thereafter, the 55 minute timer will count down on the screen.
After the 55 minutes are over. Do not press Cancel on your Instant Pot, instead, allow it to do a “NATURAL RELEASE” of the pressure for 10 minutes. A counter will automatically display on the screen “L000”.
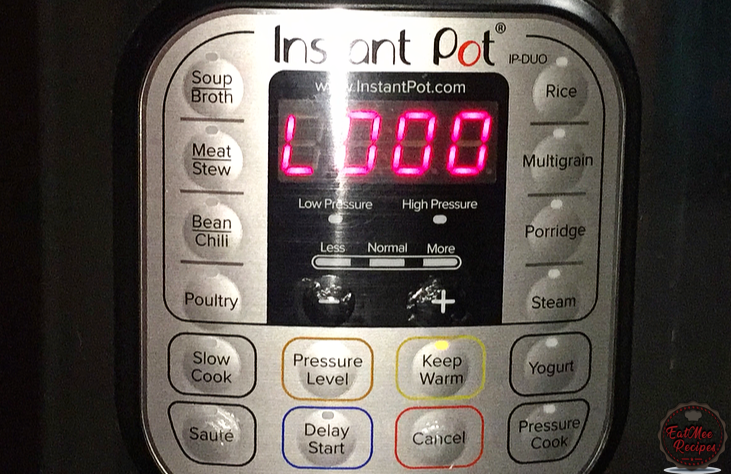
Allow it to go up to “L010” – this means that it has naturally released the pressure.
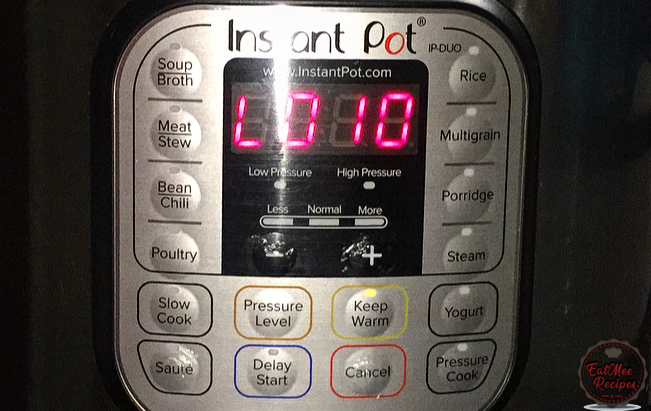
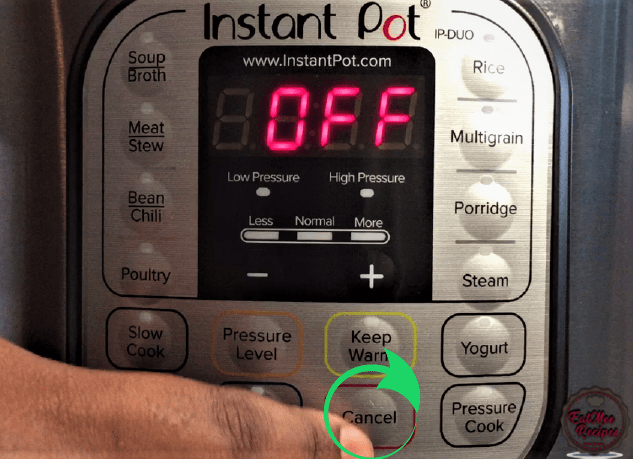
Thereafter, press “CANCEL” on your Instant Pot.
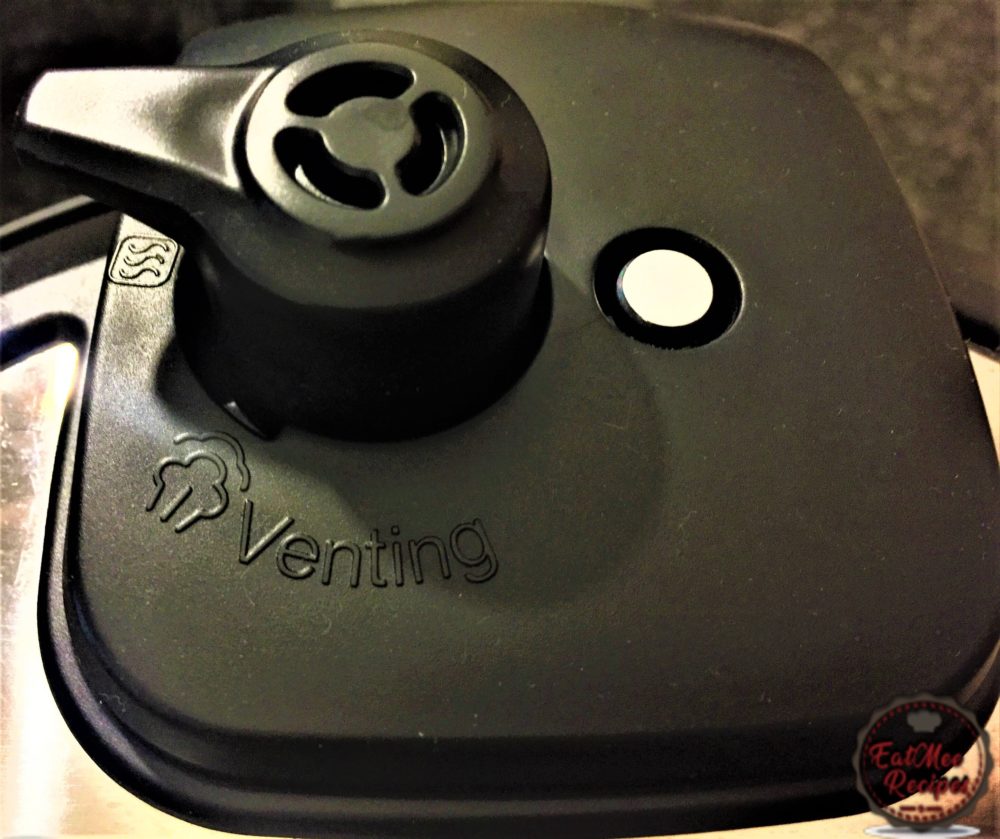
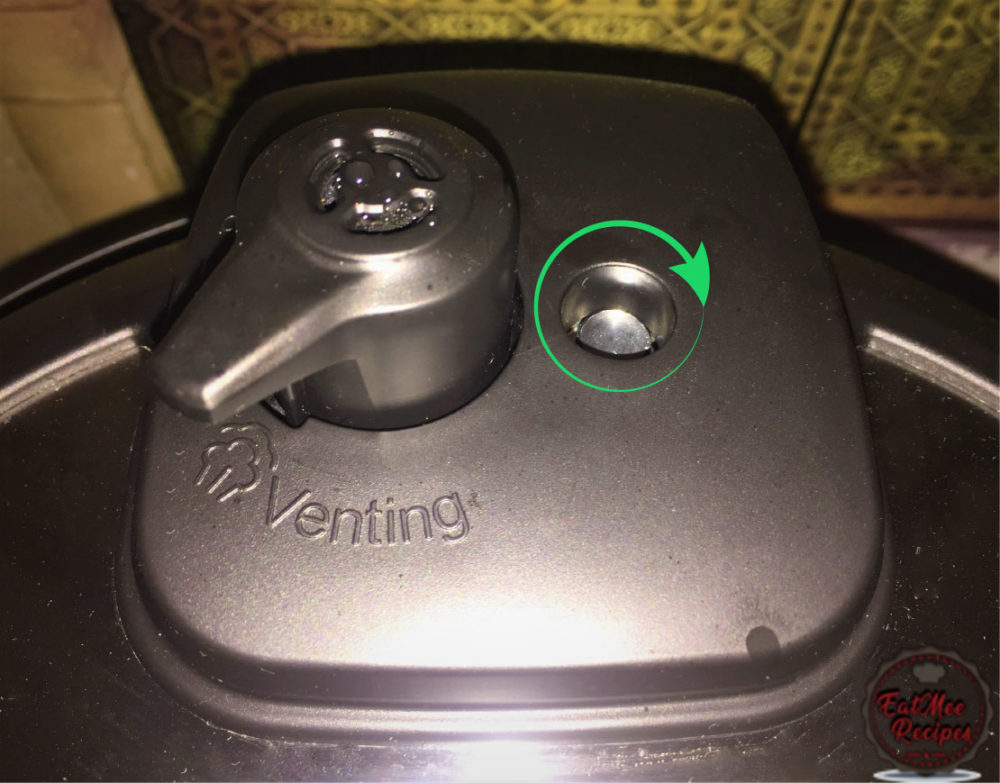
Turn the anti-blockage vent (steam release handle) to “VENTING” to allow the excess steam to release. Once the “float valve” sinks in, it is safe to open the lid.
Carefully take out the pan from the Instant Pot.
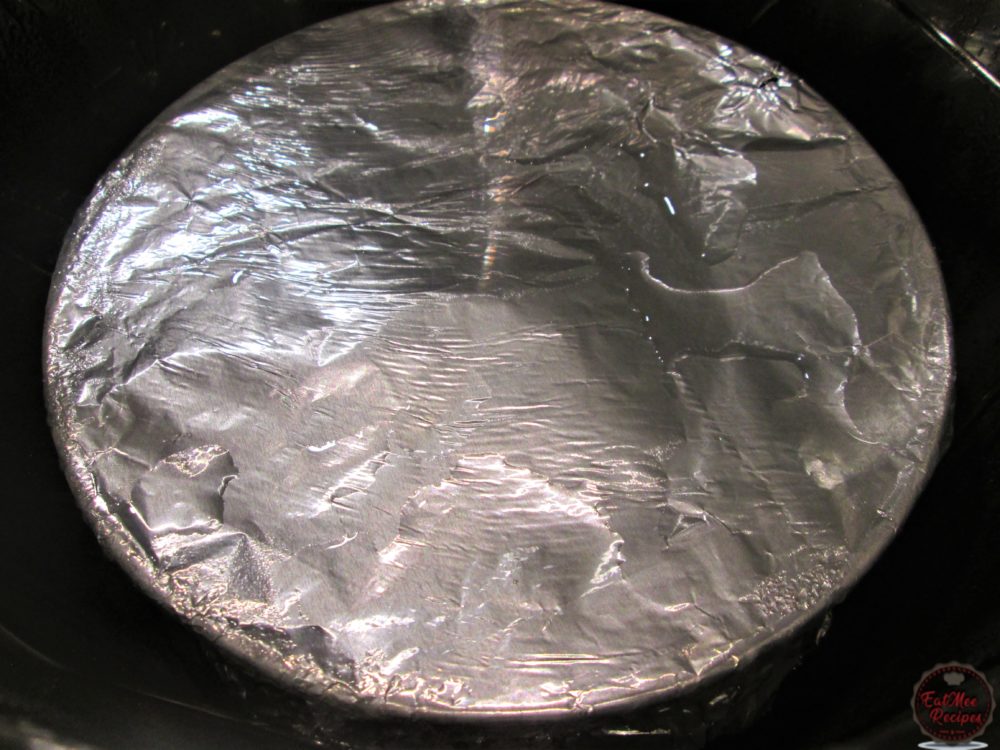
Remove the foil for the big reveal.
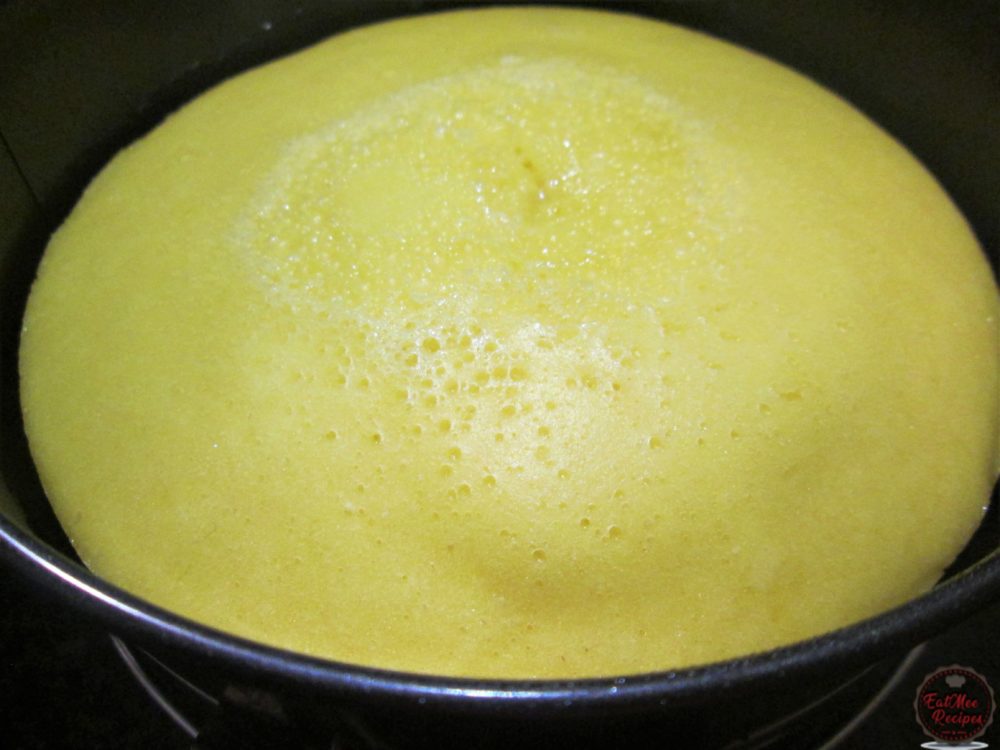
Insert a toothpick, if there is no batter on the toothpick then your Instant Pot Condensed Milk Cake is ready. If there is batter on the toothpick then unfortunately it needs to be covered with foil again & pressure cooked for another 10 minutes or so. Alternatively, you can pop it into the oven just to bake that remaining batter that is left behind.
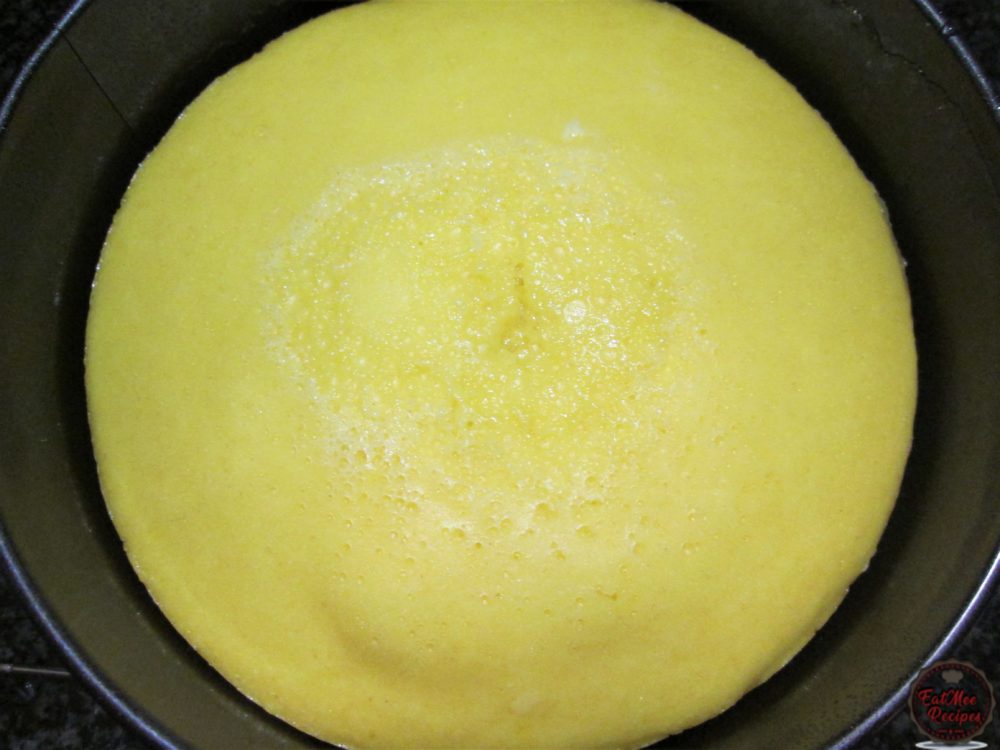
Pull the clip on the springform pan & effortlessly get your cake out the pan.
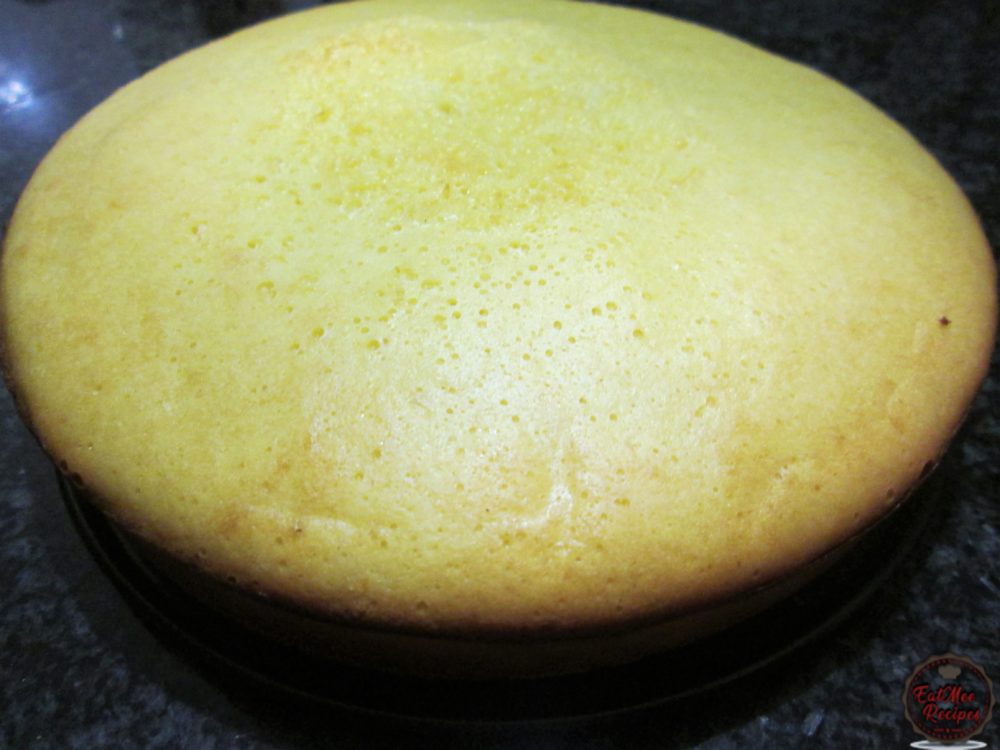
Slice & serve.
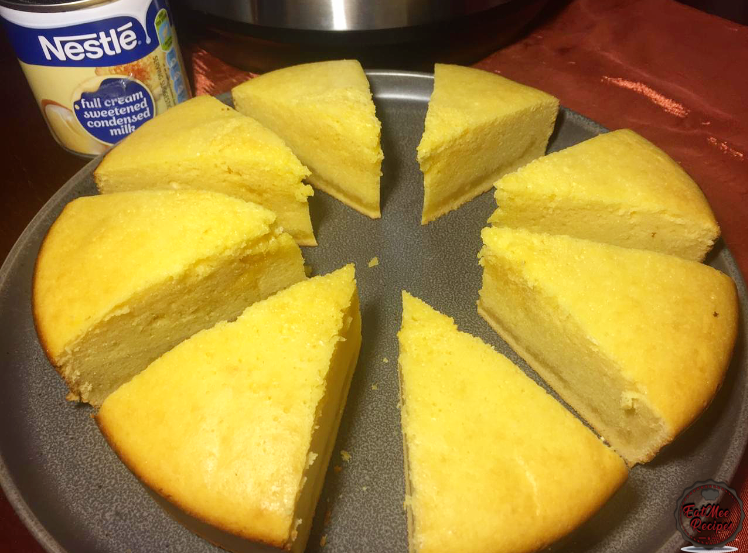
This Instant Pot Condensed Milk Cake is moist, delicious & is perfect for a tea time treat.
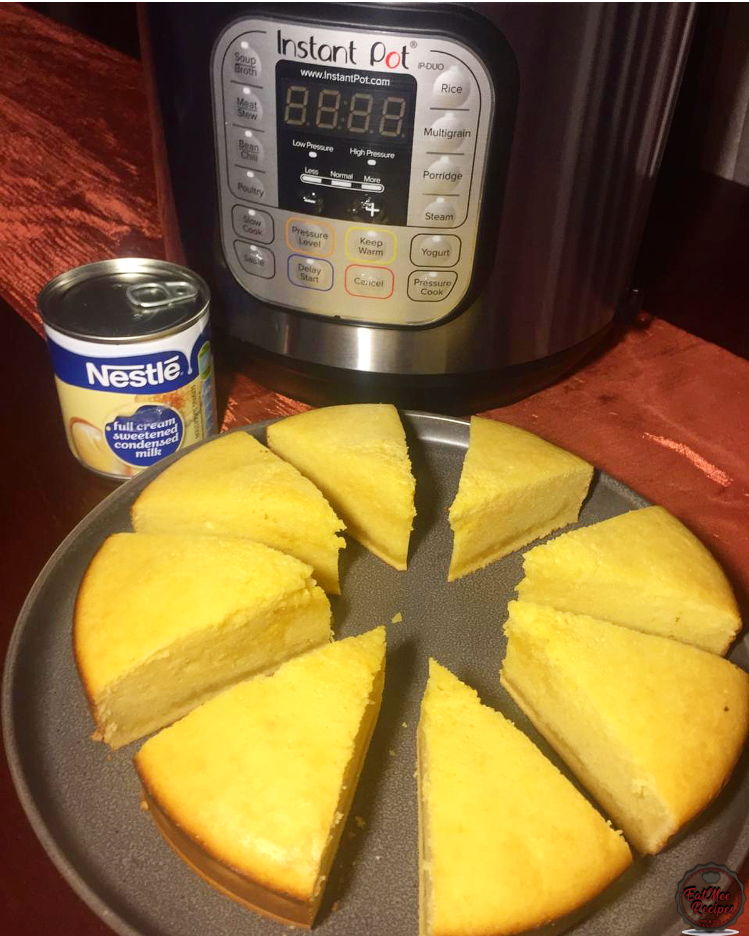
Store in an airtight container for up to a week.
Follow along with Denisiya's step-by-step video guide for Instant Pot Condensed Milk Cake.
Expert kitchen guidance and troubleshooting for making the best Instant Pot Condensed Milk Cake
Store in an airtight container at room temperature for up to 1 to 2 weeks. For milk-based sweetmeats like burfee or soji, refrigerate in an airtight container for up to 7 to 10 days.
Pure butter or ghee provides the authentic rich aroma and texture characteristic of traditional Indian sweetmeats and bakes. Margarine can be used in a pinch, but butter delivers superior flavor.
Hi, I'm Denisiya! Food lover, recipe developer, and founder of EatMee Recipes. I specialize in authentic South African Durban Indian cuisine, comforting curries, and modern Instant Pot adaptations. Every recipe on this site is tested in my personal kitchen to ensure you get mouth-watering, foolproof results every time.
Explore more authentic Durban curries, traditional bakes, and comforting family favourites.
 Indian Cuisine
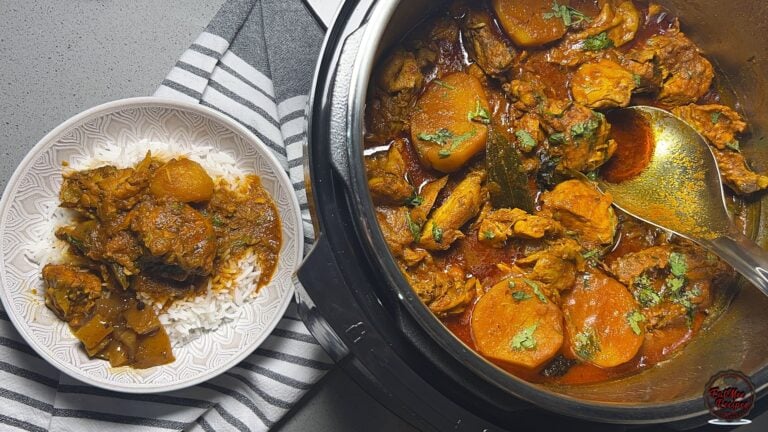
Durban chicken curry isn’t just a meal – it’s a ritual. From the moment the spices hit the...
 Instant Pot Recipes
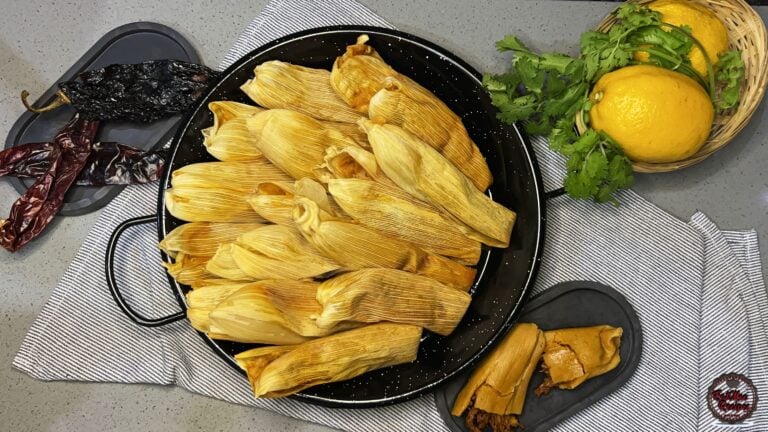
There’s something deeply comforting about making tamales from scratch, the slow layering o...
 Indian Cuisine
There’s something incredibly comforting about a bowl of rich, slow-cooked haleem. Traditio...
Have you tried this recipe or have questions for Denisiya? Join the conversation below.
No comments yet. Be the first to share your thoughts on this recipe!
Leave a Comment
Your email address will not be published. Required fields are marked *