
We Value Your Culinary Privacy
EatMee Recipes uses cookies to provide a personalized browsing experience, analyze recipe popularity, and serve relevant ads. You can review our full disclosure in our Privacy Policy.
Make authentic Instant Pot Basmati Rice with this foolproof recipe. Packed with rich traditional flavor, step-by-step photos, and cooking tips by Denisiya on EatMee Recipes.

Join over 60,000+ home chefs for weekly authentic Durban Indian cook-alongs, Instant Pot masterclasses, and family heritage recipes.
How to Make Perfect Basmati Rice in an Instant Pot
Basmati rice is a long-grain rice variety known for its fragrant aroma and delicate, fluffy texture. Whether you’re making a side dish, biryani, or serving it with curry, cooking basmati rice can sometimes be tricky to get just right. But with the Instant Pot, it’s a breeze! In just a few simple steps, you can achieve perfectly cooked basmati rice every time, with minimal effort.
Here’s a quick and easy guide to making basmati rice in your Instant Pot.
The Instant Pot Duo Easy takes the guesswork out of cooking basmati rice. It creates the perfect conditions for the rice to steam evenly, giving you tender, fluffy grains every time. Plus, it’s fast – what would take you 20-30 minutes on the stovetop can now be done in just 10 minutes of pressure cooking, with no stirring or babysitting needed.
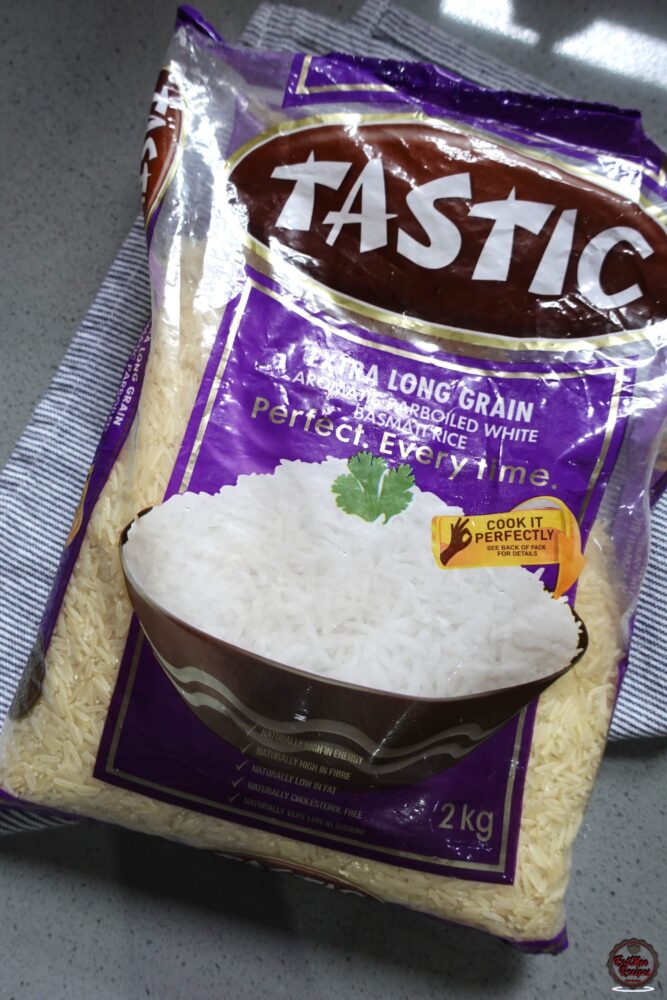
Firstly, bring out the Basmati rice. I’m using the Tastic brand, but the Woolworths brand is also my go to.
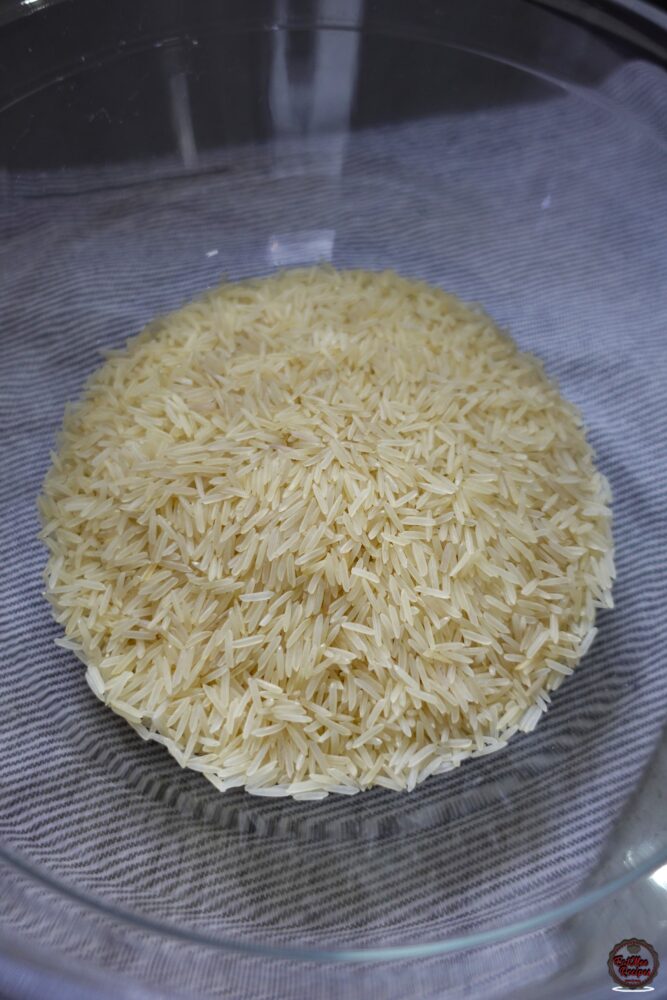
Add the rice to a bowl.
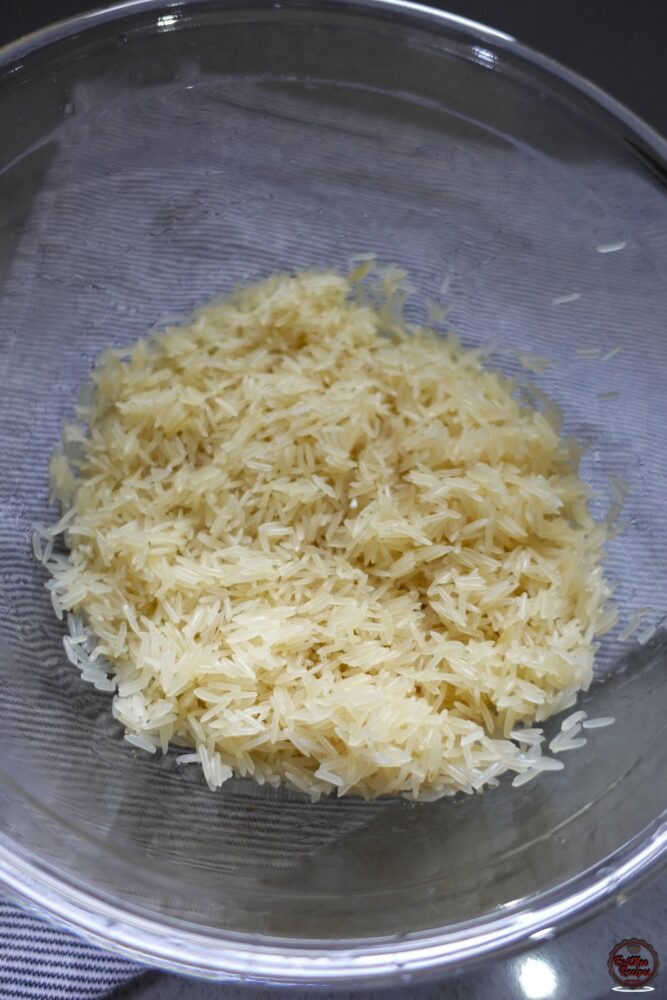
Rinse the rice several times until the water runs clear. This removes excess starch, preventing the rice from becoming too sticky or gummy.
Today I am using my Instant Pot Duo Easy, however, other Instant Pots can be used.

Plug in the Instant Pot, it should display “OFF” on the screen.
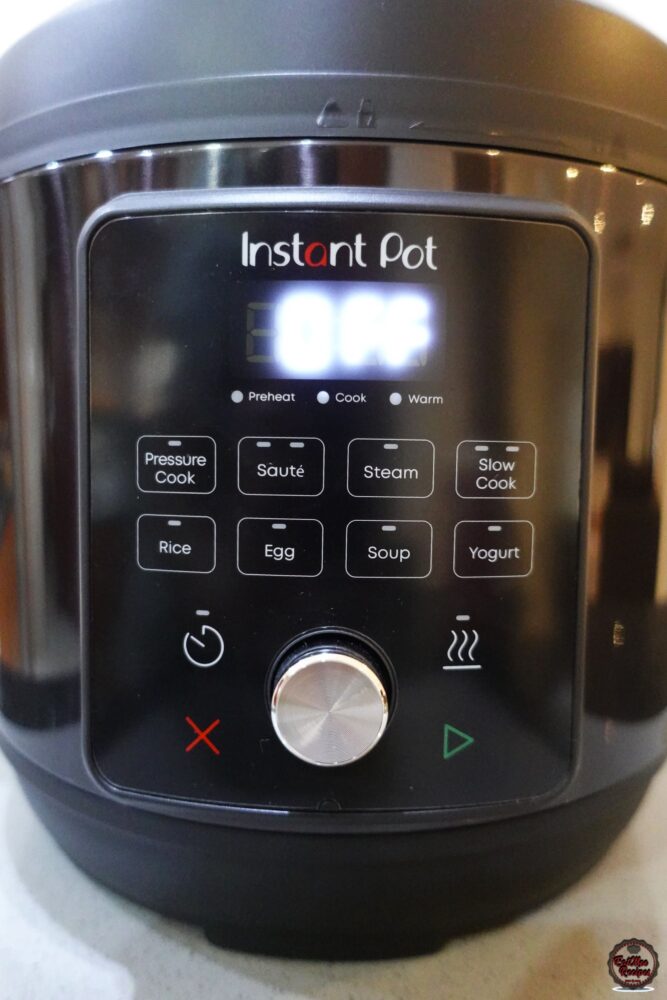
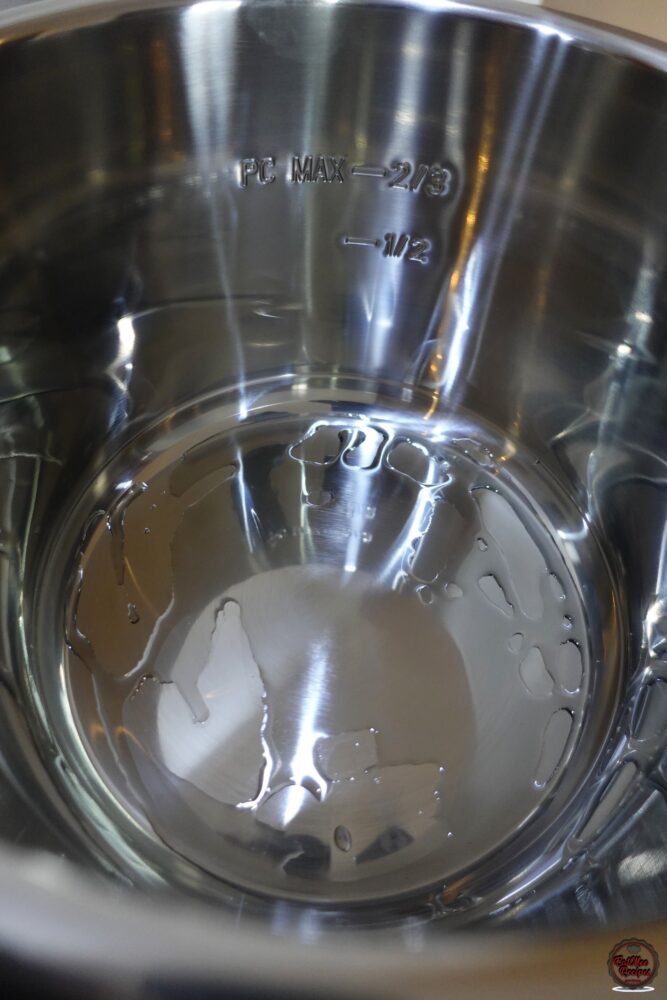
Open the lid and add the vegetable oil into the inner stainless-steel pot. This will prevent the rice from sticking to the surface.
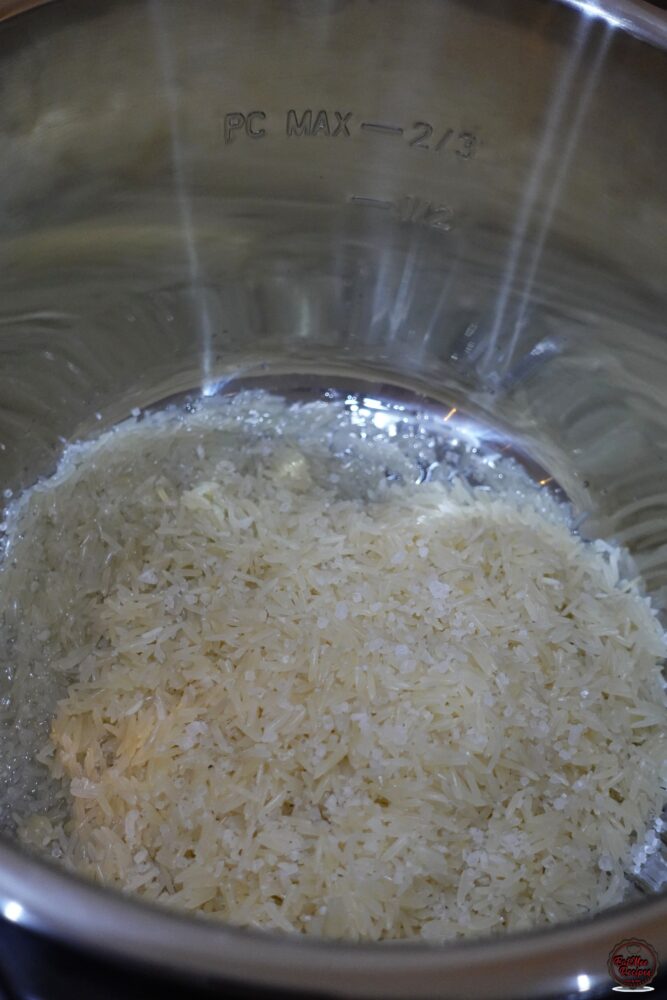
Add in the washed rice.
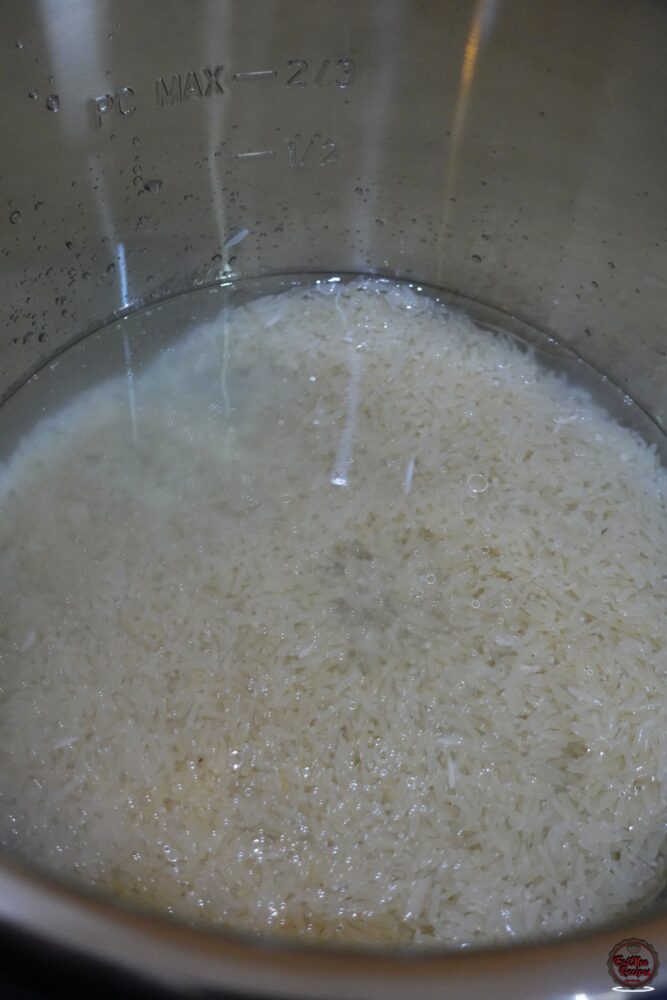
Next, pour in the water and add salt to taste.
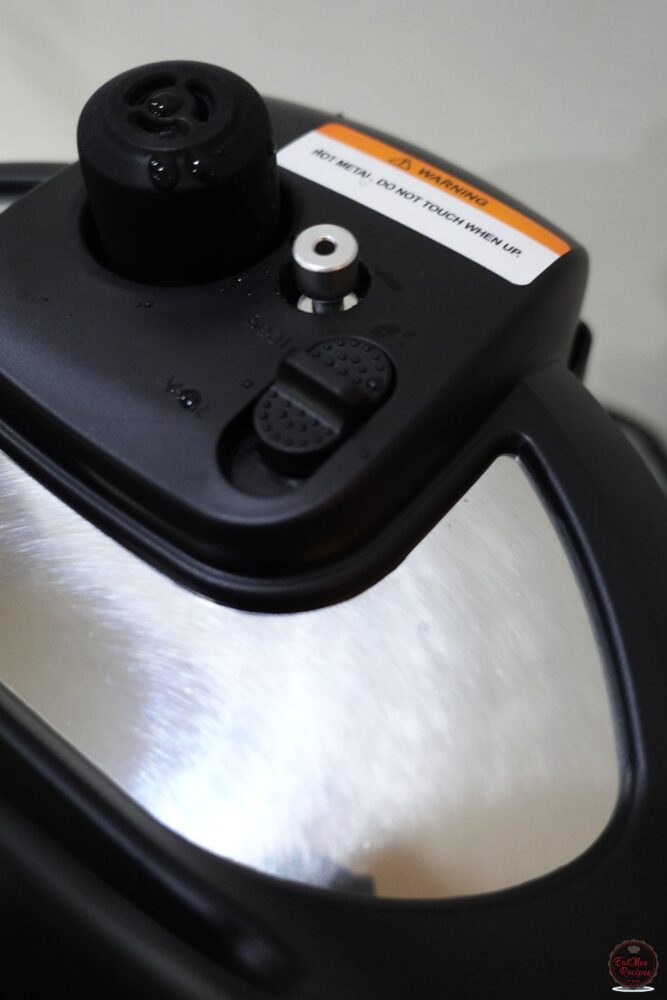
Secure the lid and move the anti-blockage vent (steam release lever) to “SEAL”.
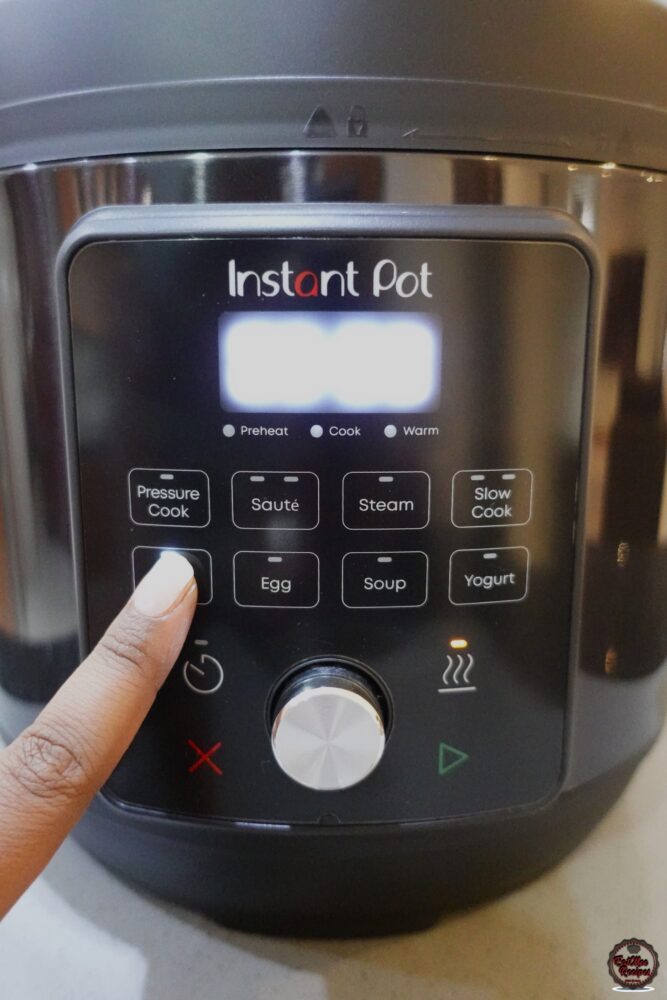
Press the “Rice” button.
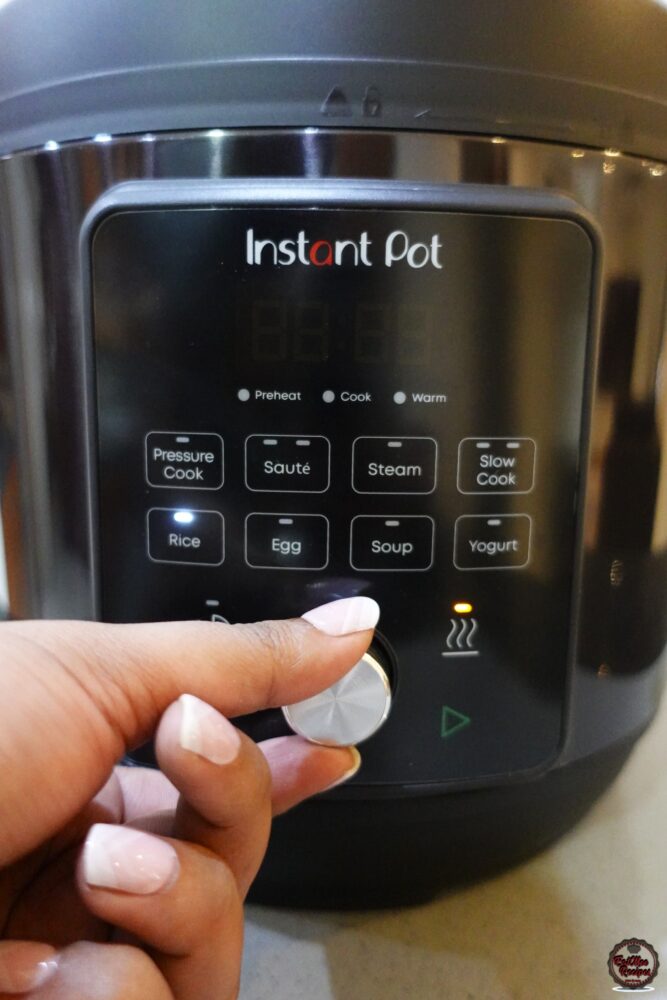
Turn the silver knob to adjust the time to 00:06 (6 minutes).
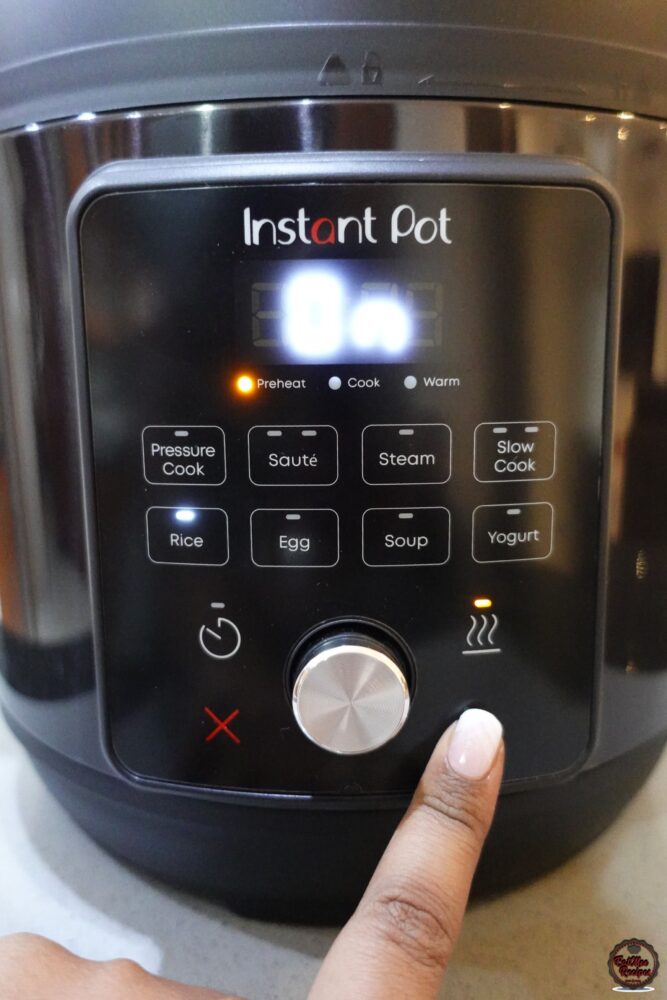
Press the “Start” (Play) button and leave the Instant Pot to do the rest.
Once the pressure builds up, the “float valve” will pop up – when it pops up, do not attempt to open the lid!
After the 6 minutes are over, the screen should display “L0:00”.
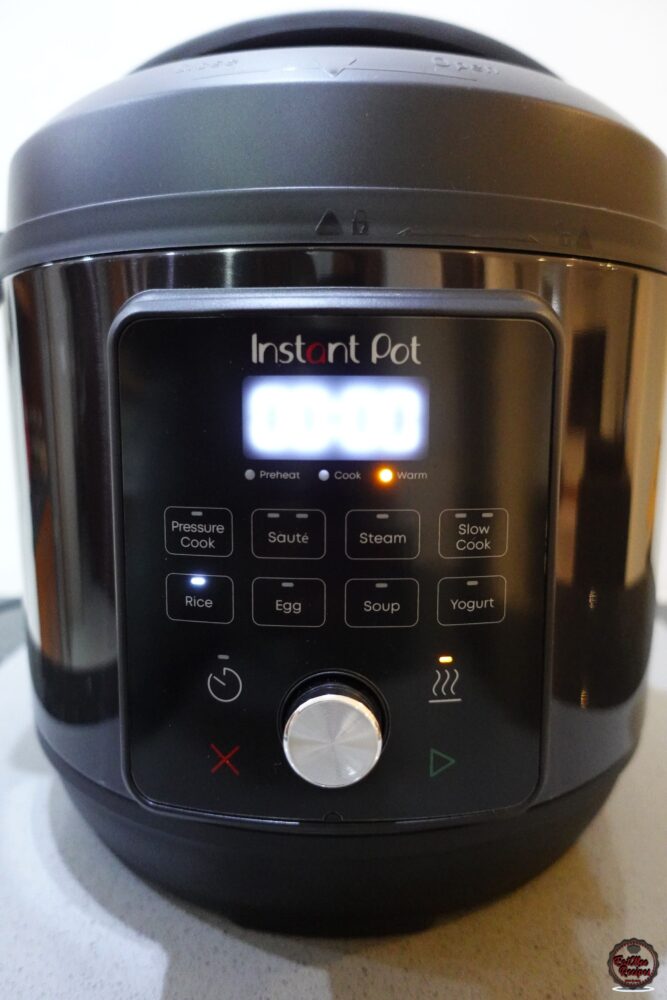
Do not press “CANCEL” on your Instant Pot, allow it to “Natural Release for 5 minutes.
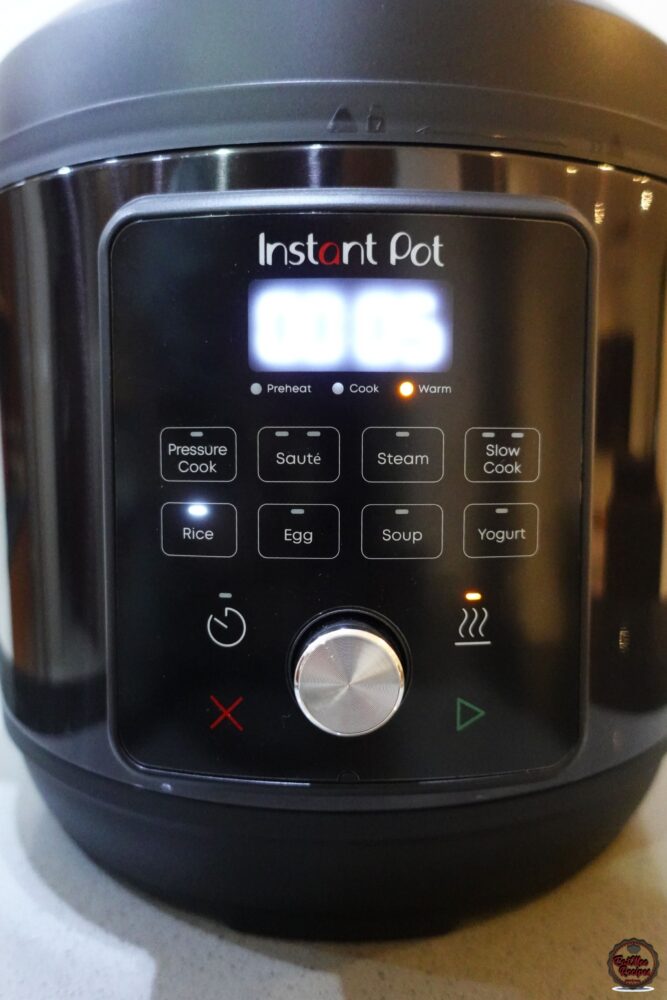
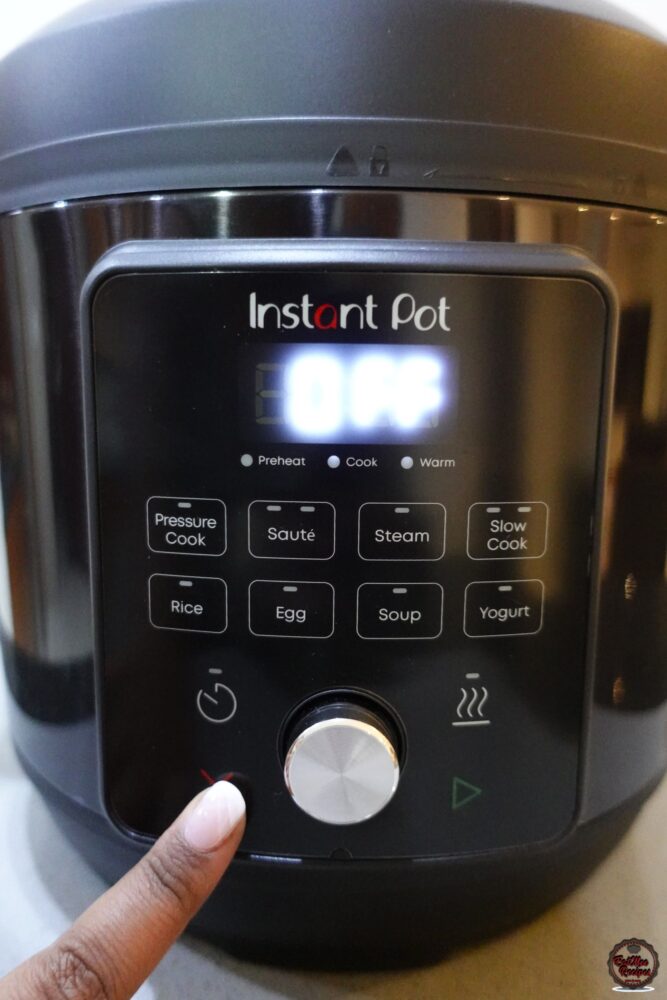
Once the 5 minutes are done, press “Cancel” (X button).
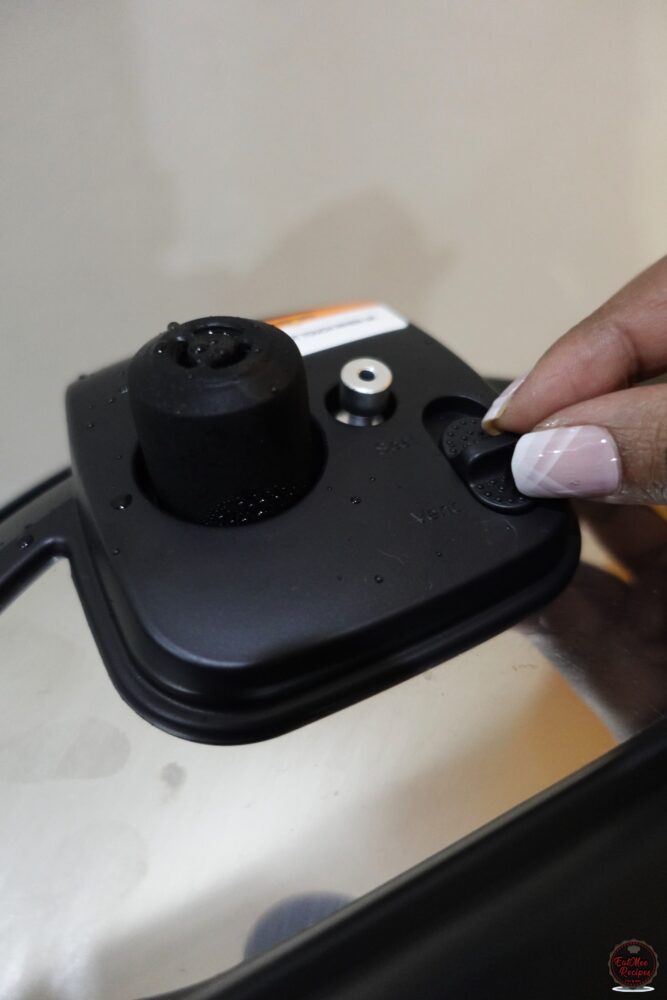
Move the anti-blockage vent (steam release lever) to “VENT” to allow the remaining pressure to release.
Once the “float valve” sinks in, it is safe to open the lid.
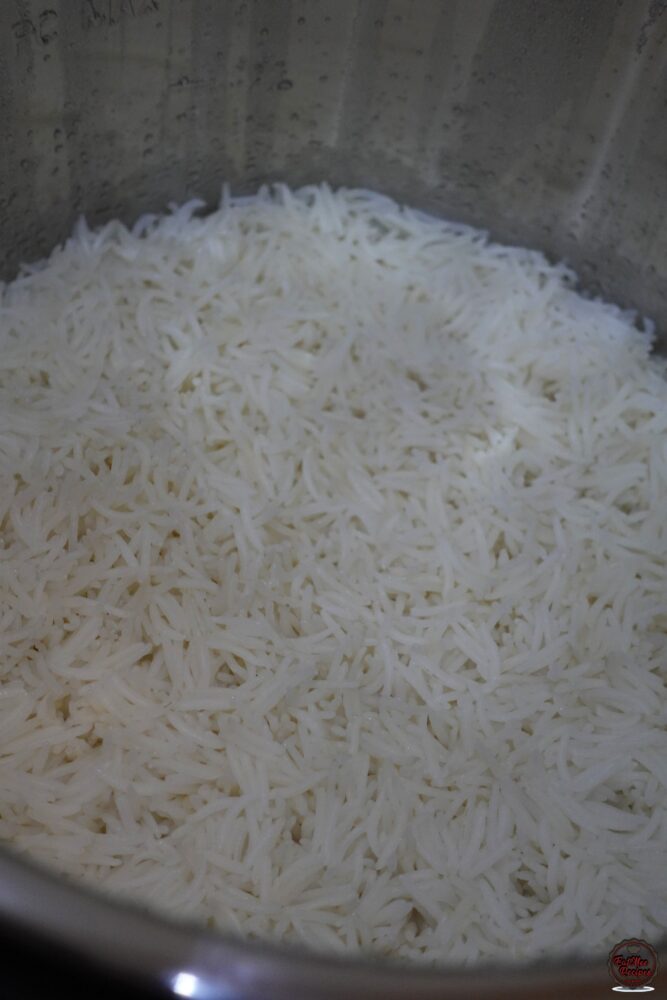
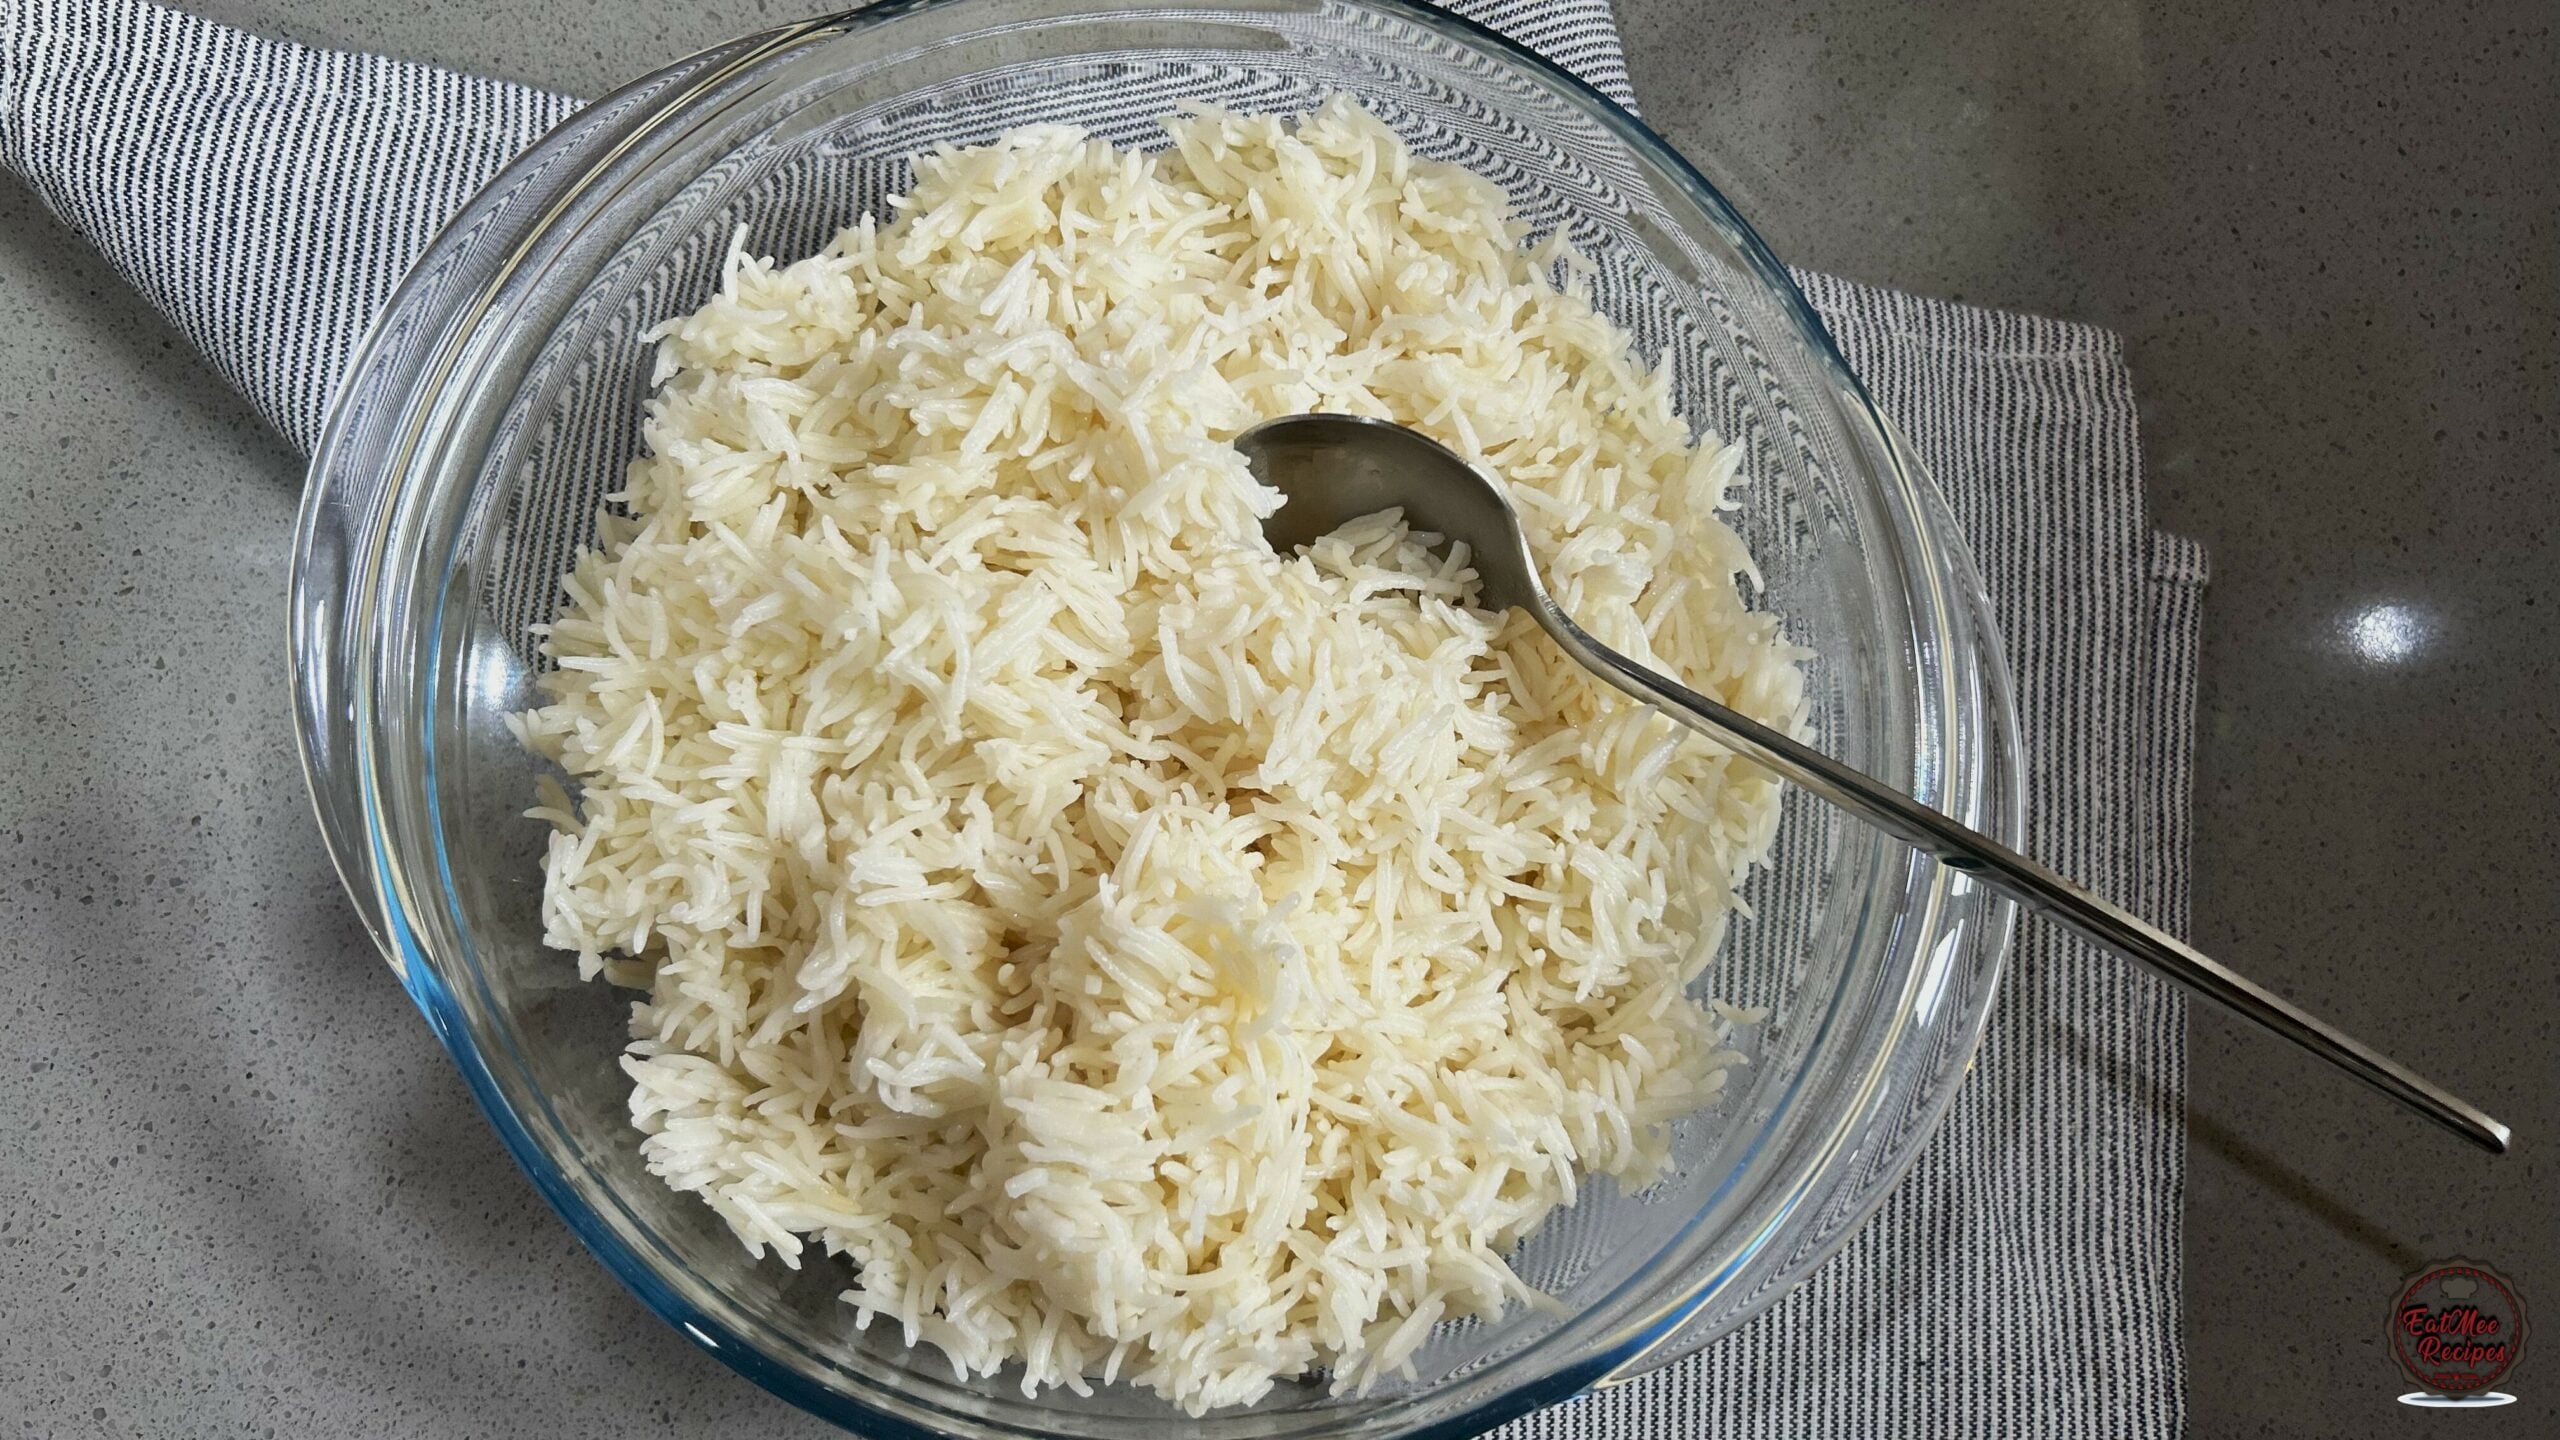
Use a fork to fluff up the rice and you may empty it into a serving dish.
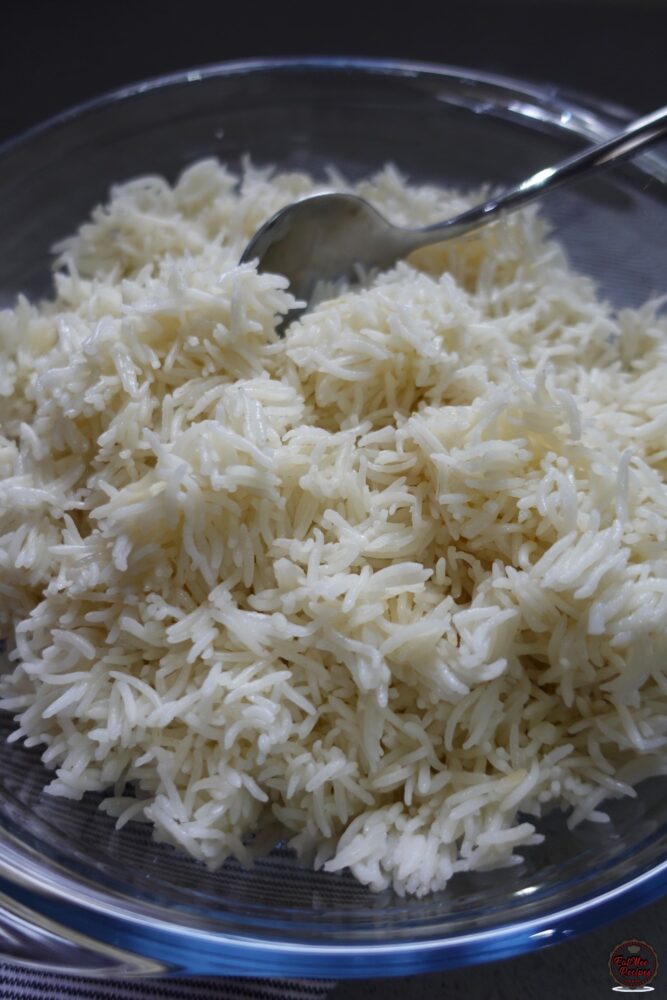
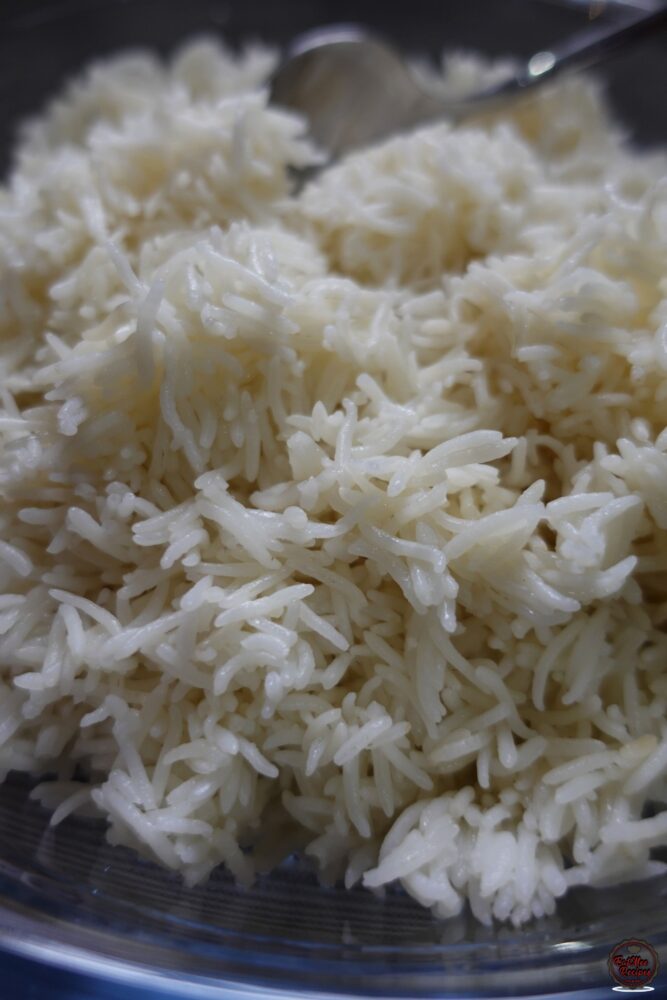
The Basmati rice should be perfectly cooked.
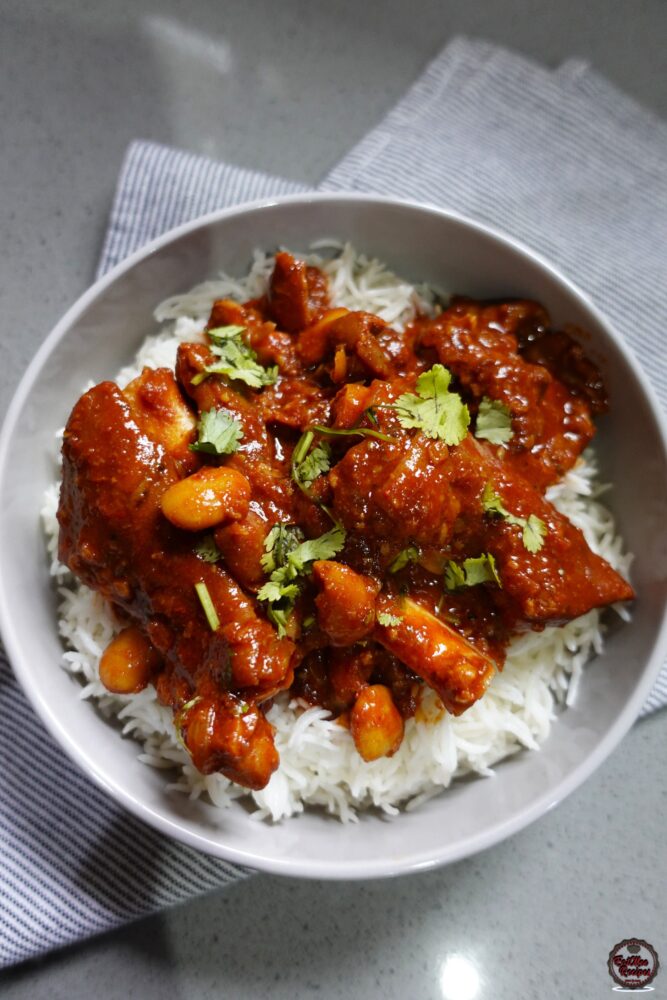
I served it with some Instant Pot Trotters And Beans Curry.
Follow along with Denisiya's step-by-step video guide for Instant Pot Basmati Rice.
Expert kitchen guidance and troubleshooting for making the best Instant Pot Basmati Rice
The Instant Pot Duo Easy takes the guesswork out of cooking basmati rice. It creates the perfect conditions for the rice to steam evenly, giving you tender, fluffy grains every time. Plus, it’s fast – what would take you 20-30 minutes on the stovetop can now be done in just 10 minutes of pressure cooking, with no stirring or babysitting needed.
Always par-boil your basmati rice with whole spices until it is only about 70% cooked (firm with a slight bite). The rice finishes steaming to fluffy perfection during the layered dum (steaming) stage.
Yes, marinating the meat overnight in yogurt, ginger, garlic, and spices tenderizes the meat and allows the deep aromatic flavors to permeate fully before cooking.
Hi, I'm Denisiya! Food lover, recipe developer, and founder of EatMee Recipes. I specialize in authentic South African Durban Indian cuisine, comforting curries, and modern Instant Pot adaptations. Every recipe on this site is tested in my personal kitchen to ensure you get mouth-watering, foolproof results every time.
Explore more authentic Durban curries, traditional bakes, and comforting family favourites.
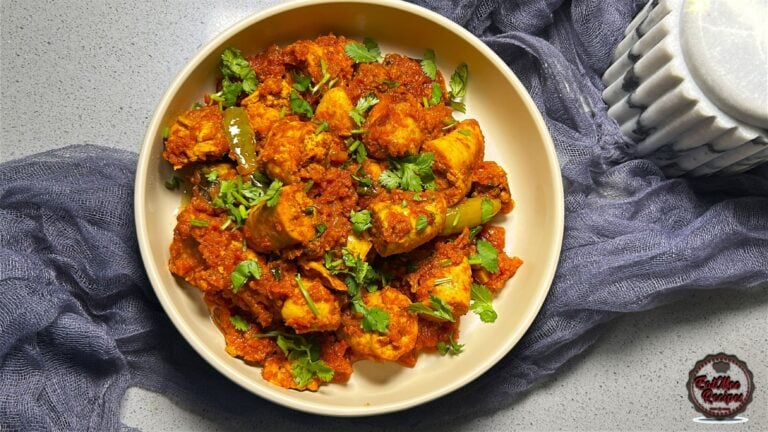 Indian Cuisine
My mum is sharing another one of her much-loved traditional South African Indian recipes. ...
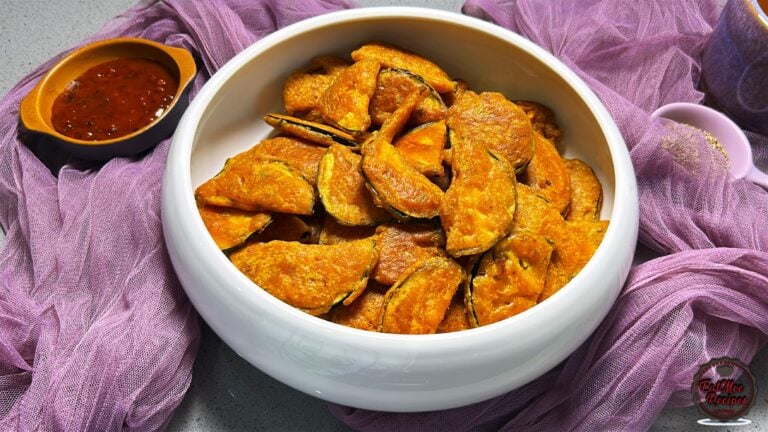 Indian Cuisine
Crispy, golden and delicious, these Brinjal Pakoras are made with thin slices of brinjal c...
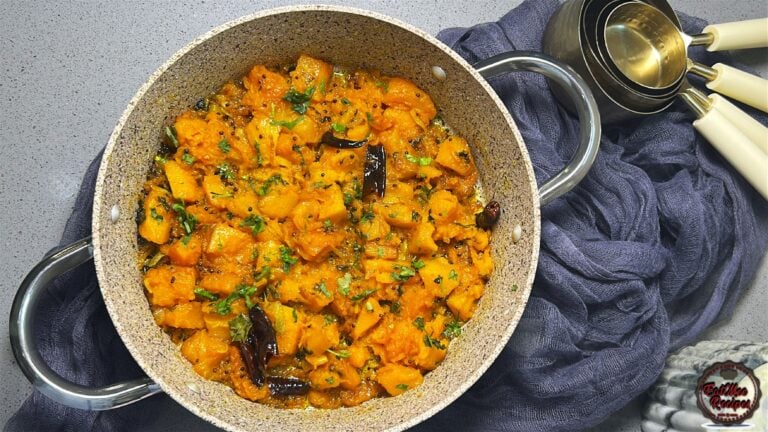 Indian Cuisine
Mum’s Pumpkin Curry is a simple, comforting vegetarian dish that proves you don’t need a l...
Have you tried this recipe or have questions for Denisiya? Join the conversation below.
No comments yet. Be the first to share your thoughts on this recipe!
Leave a Comment
Your email address will not be published. Required fields are marked *