
We Value Your Culinary Privacy
EatMee Recipes uses cookies to provide a personalized browsing experience, analyze recipe popularity, and serve relevant ads. You can review our full disclosure in our Privacy Policy.
Make authentic Hot Cross Buns with this foolproof recipe. Packed with rich traditional flavor, step-by-step photos, and cooking tips by Denisiya on EatMee Recipes.

Join over 60,000+ home chefs for weekly authentic Durban Indian cook-alongs, Instant Pot masterclasses, and family heritage recipes.
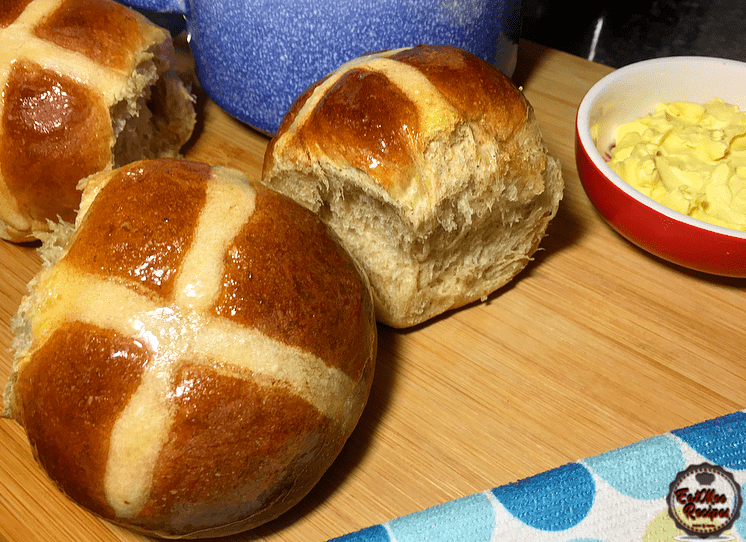
Hot Cross Buns are generally eaten on Good Friday in the British Isles, Australia, Canada, New Zealand, South Africa & a few regions of America. It is sweet & spiced bun made with either currants, raisins or both.
This bun denotes the finish of Lent & diverse parts of the hot cross bun have a specific significance, including the cross speaking to the torturous killing of Jesus, & the flavors inside implying the spices used to preserve him at his burial.
The most important information about Hot Cross Buns are that they are tasty either hot or cold, & now their even available in a variety of delicious flavours.
We are going to begin preparing the dough. Add the 5 cups of all purpose flour into a mixing bowl.
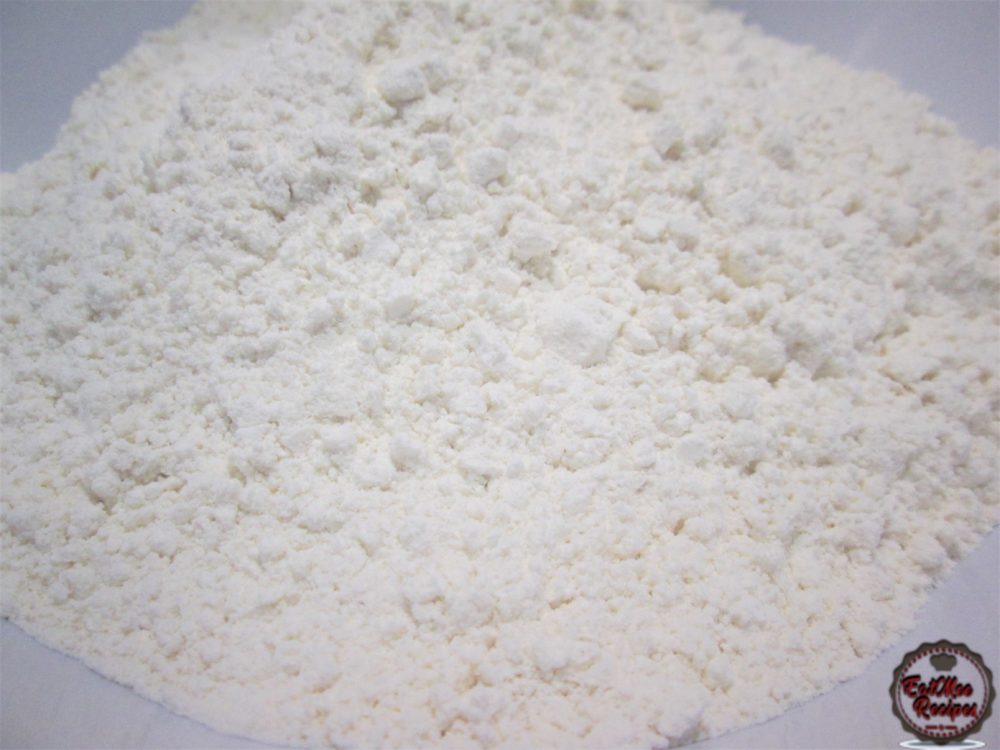
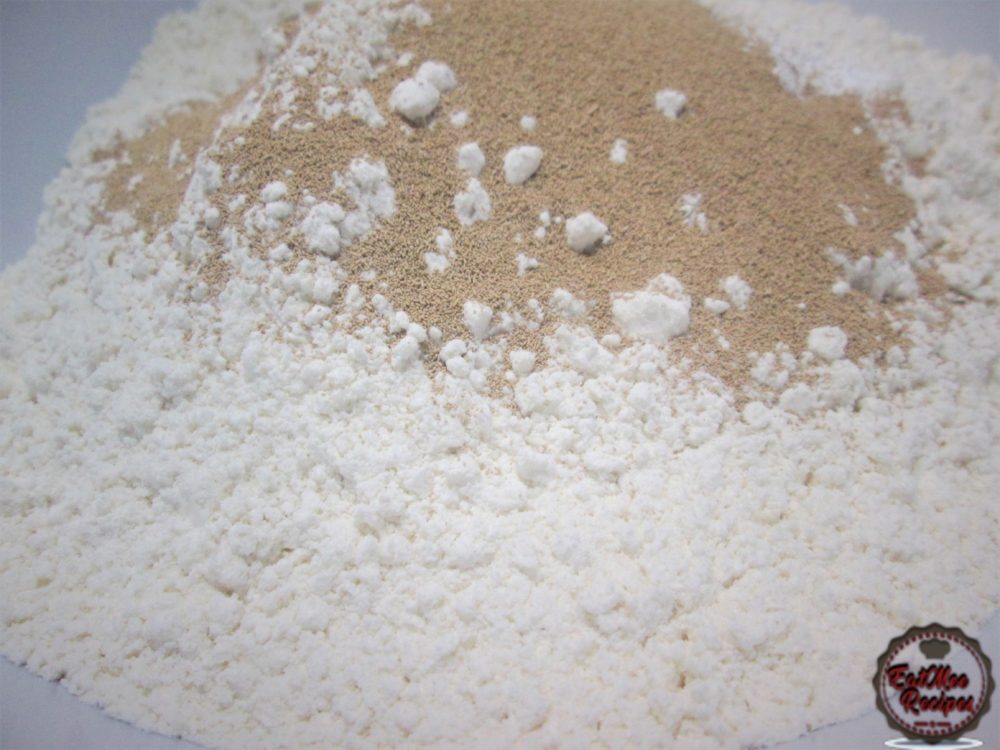
Next add in the baking powder & the yeast.
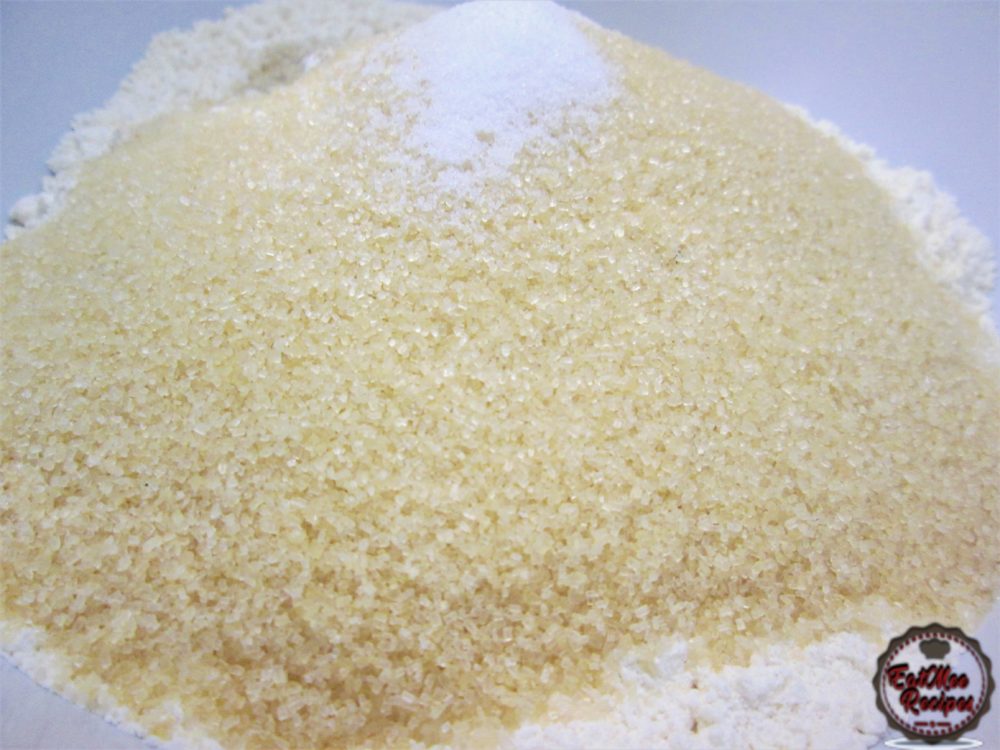
Add in the brown sugar & the salt.
Then add in the cinnamon powder.
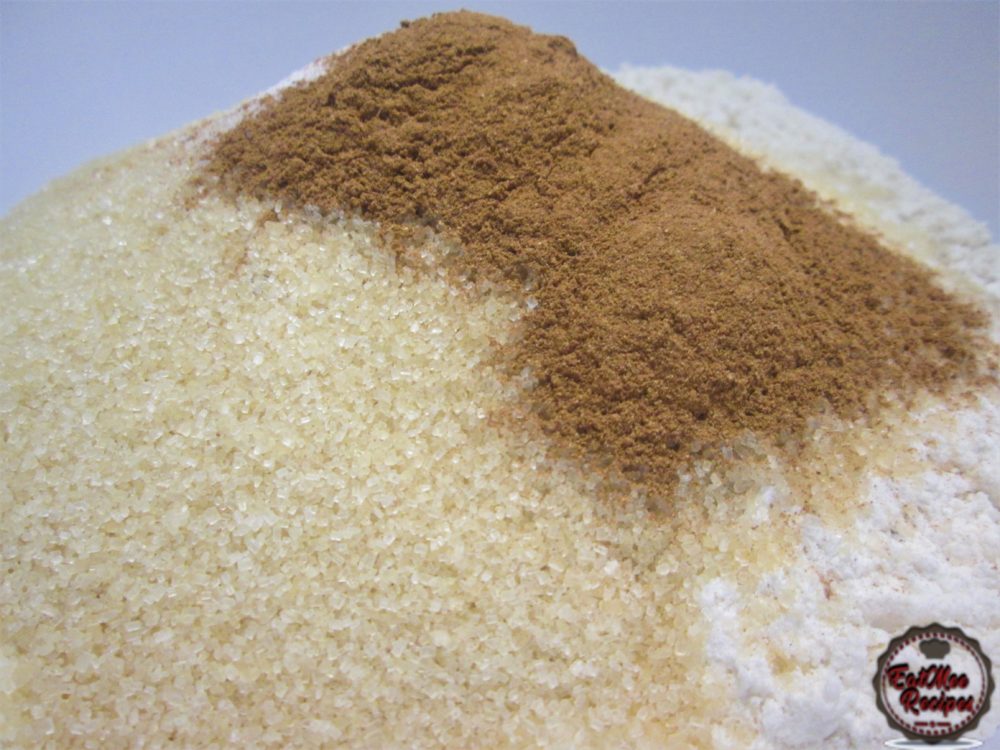
Finally, add in the all spice powder.
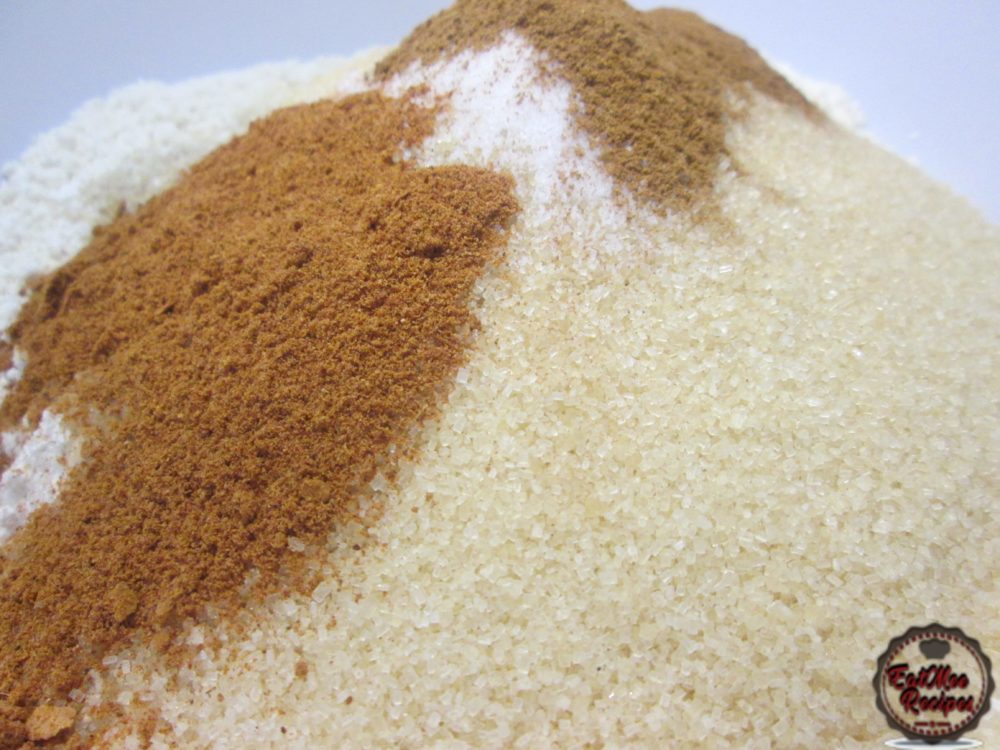
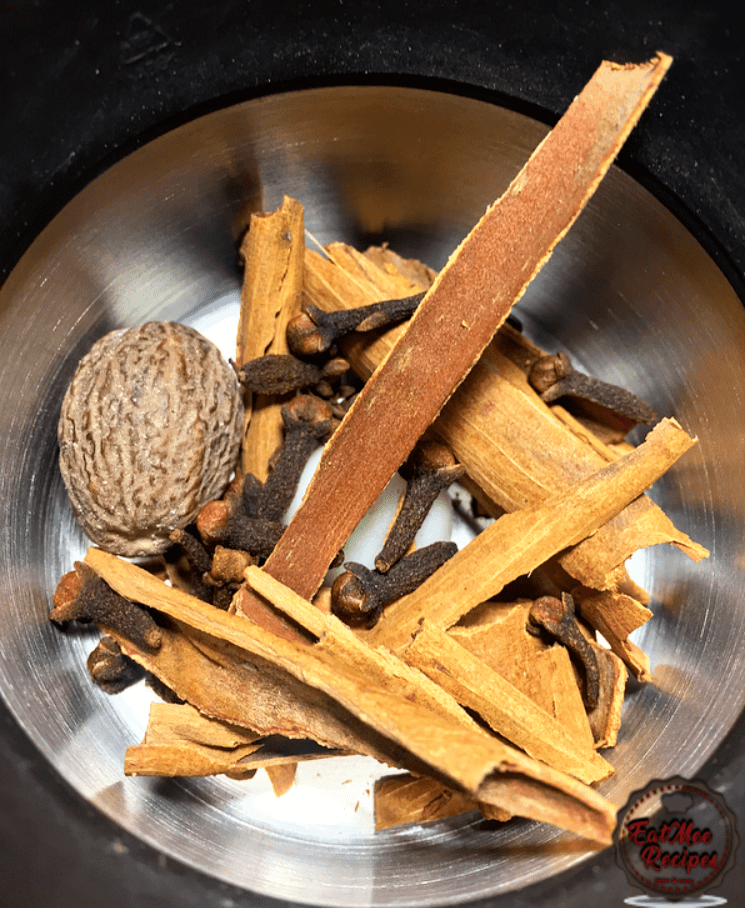
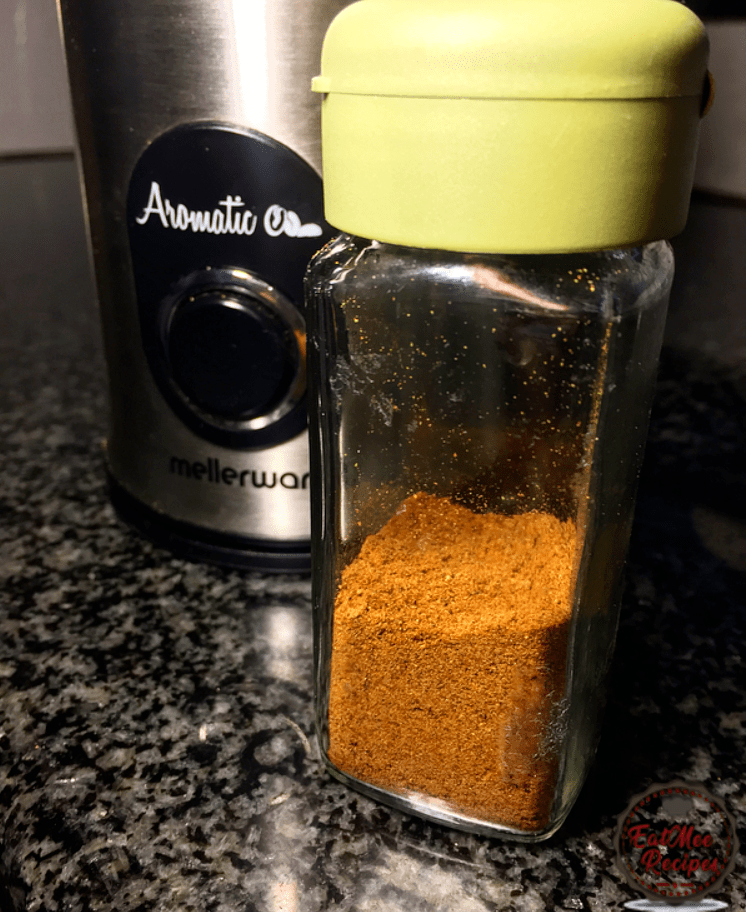
If all spice powder isn’t on hand or available to you, you may omit it from the recipe or simply prepare your own in no time – if you have the ingredients. All you need is 1 whole cinnamon stick, 20 cloves & 1 whole nutmeg. Place these whole ingredients into a coffee grinder.
Blitz until it becomes powder form.
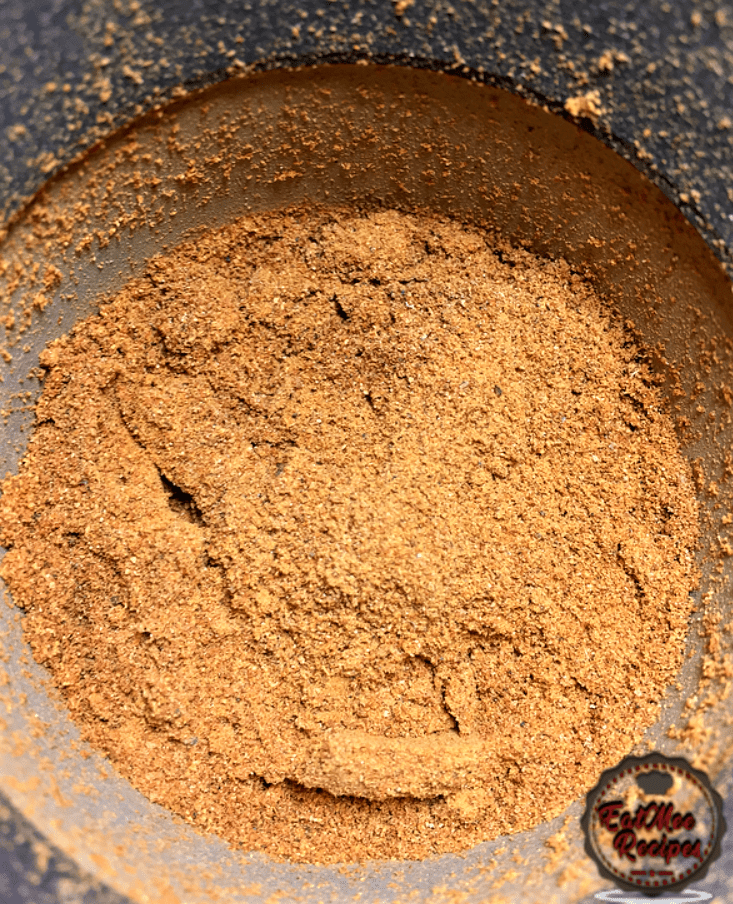
The all spice is done just like that. Store in a small spice jar/bottle.
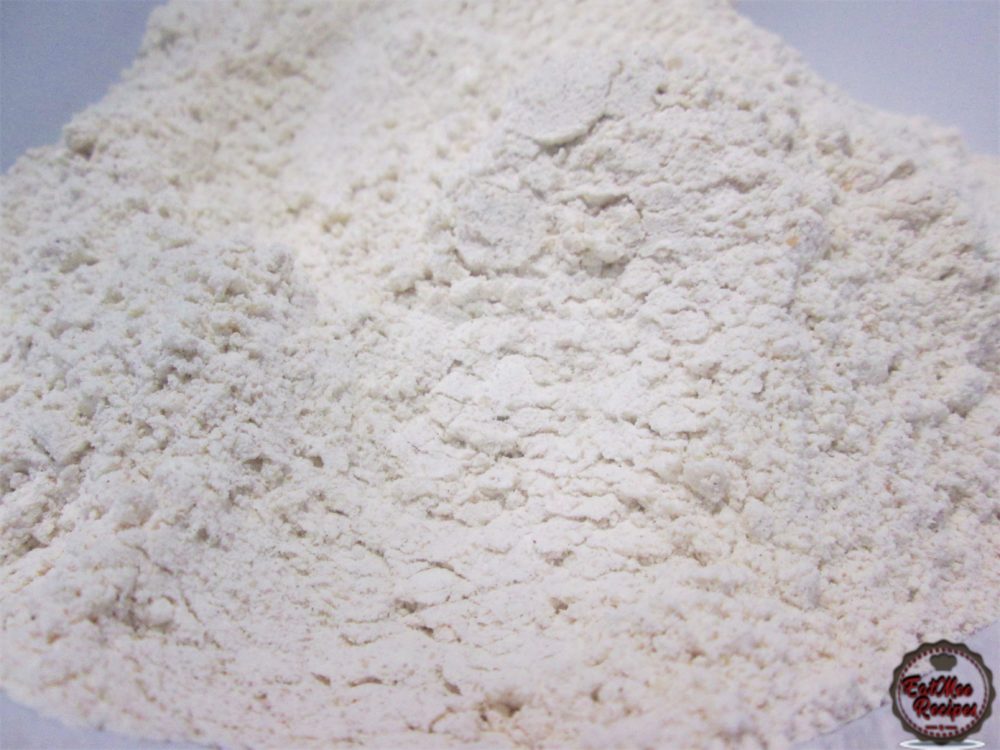
Mix all the dry ingredients together.
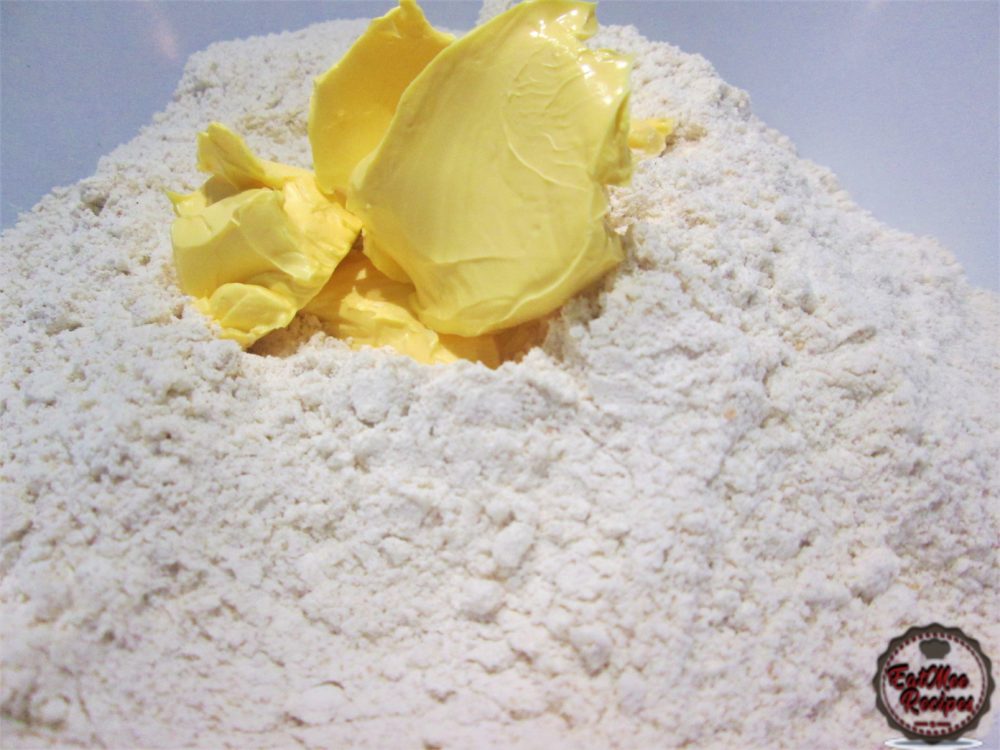
Thereafter, add in the butter.
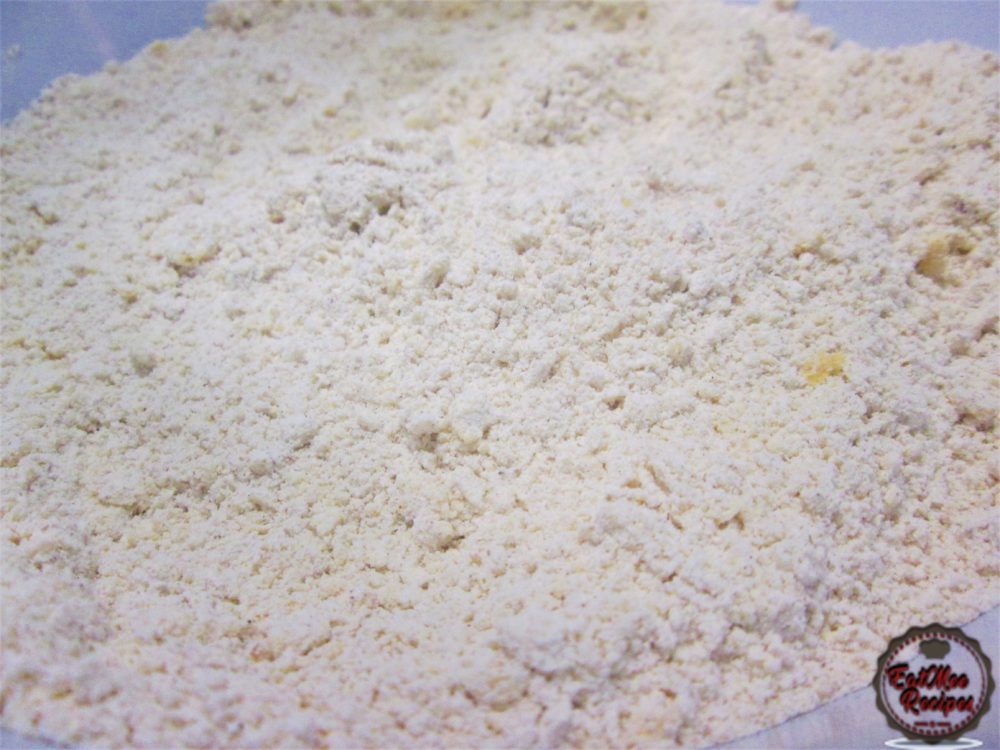
Using your fingers, rub in the butter until the mixture resembles breadcrumbs. At this point, the raisins may be soaked & added in if you prefer them.
In a separate bowl, crack in the eggs.
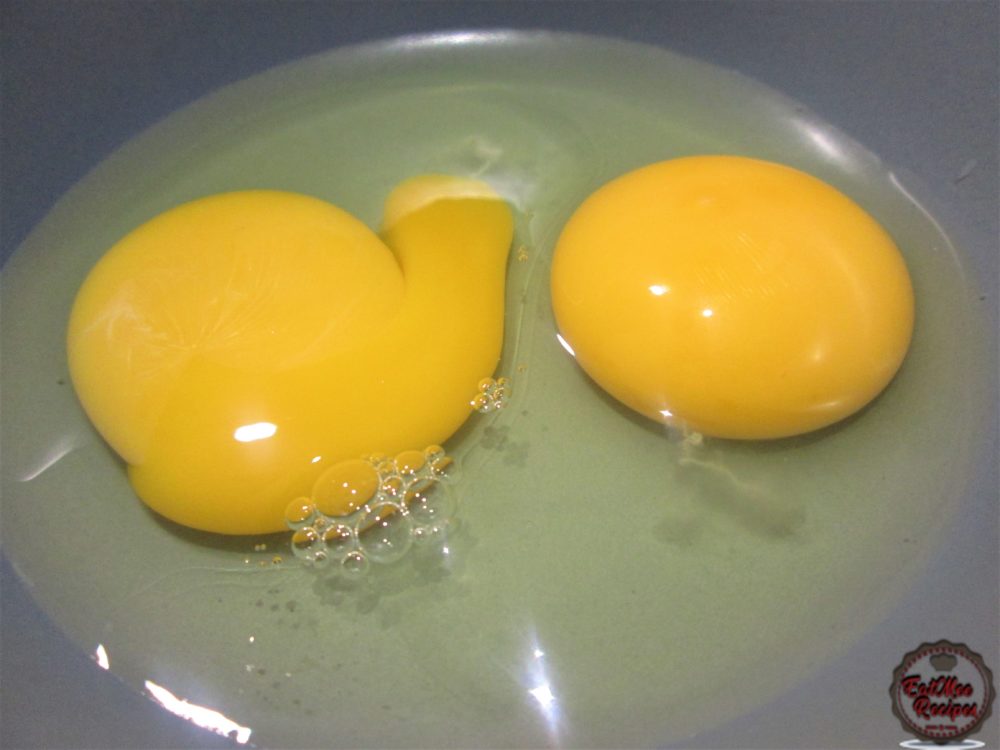
Pour in the vanilla essence.
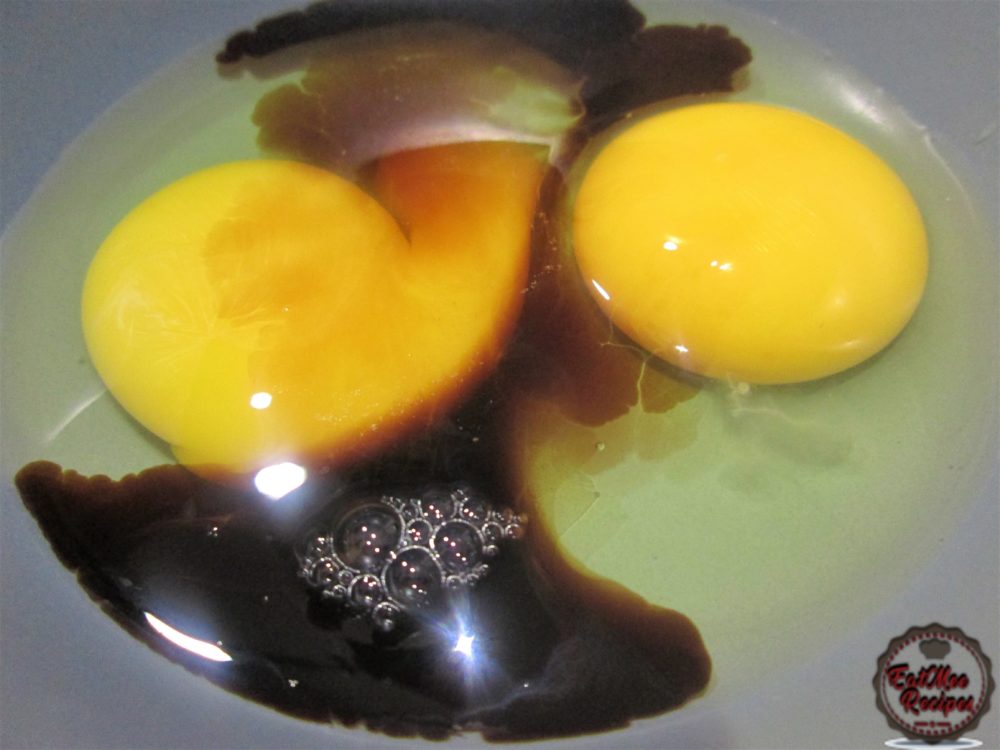
Using a fork, beat the eggs & vanilla essence until combined.
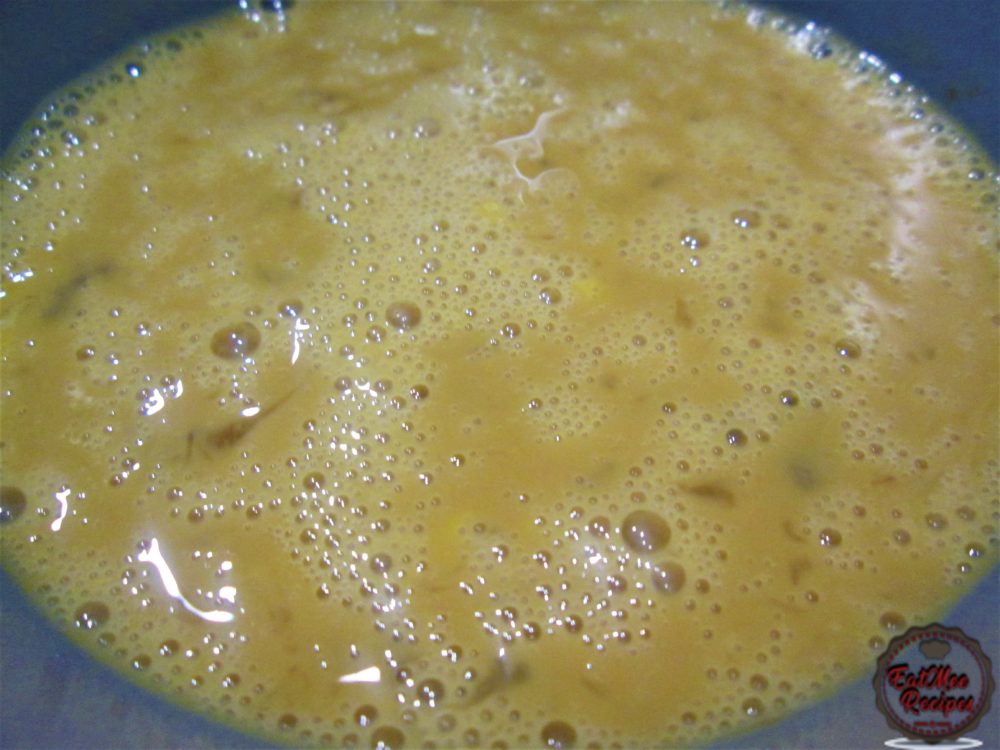
Pour the egg mixture into the flour mixture.
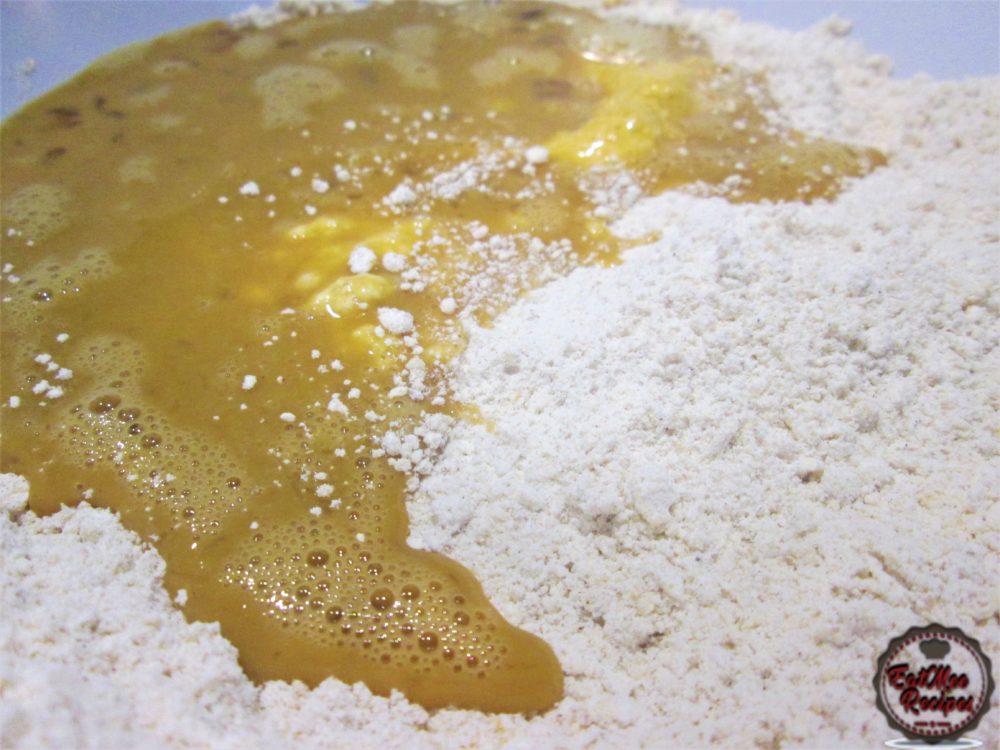
Thereafter pour in the warm water.
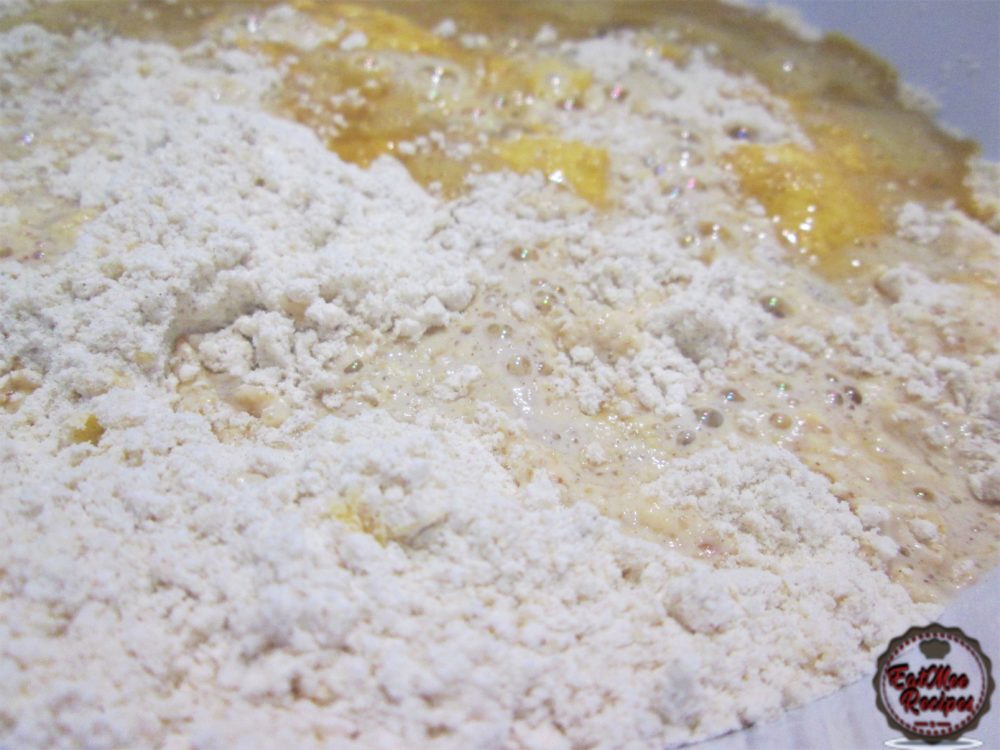
Then pour in the warm milk.
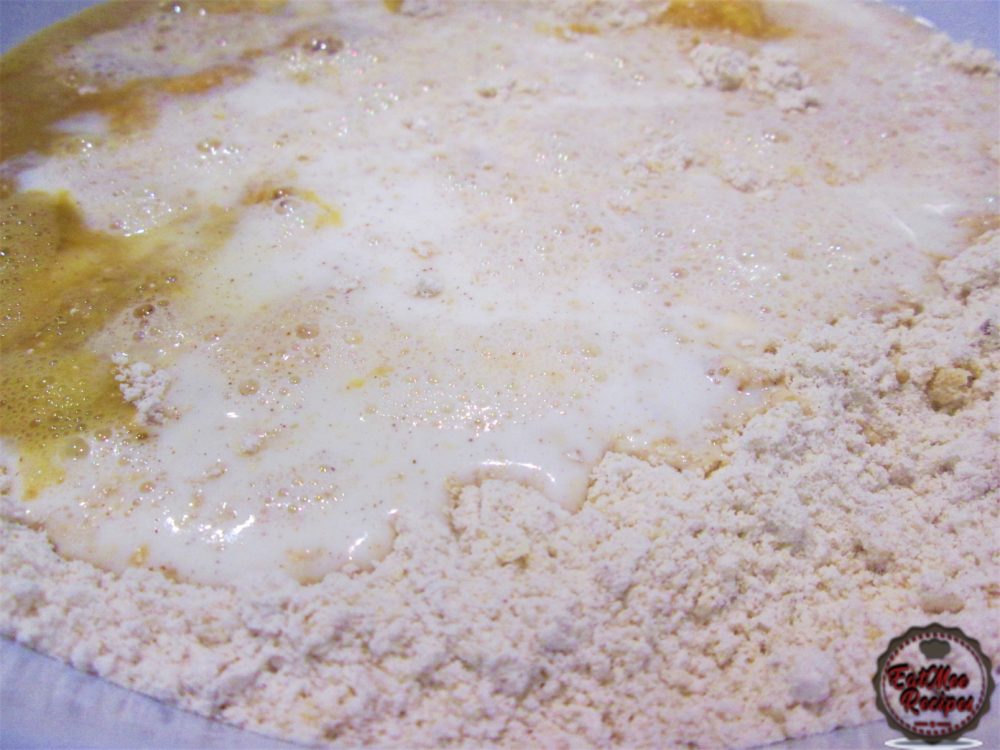
Mix well until the mixture forms a somewhat sticky dough.
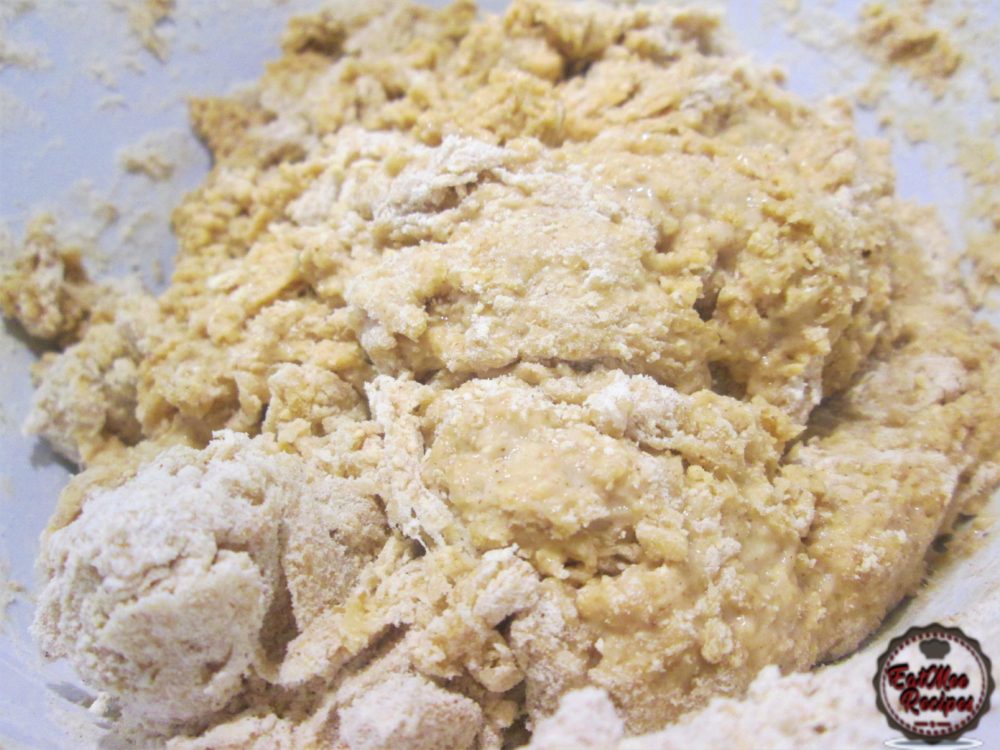
Place the dough onto a floured surface.
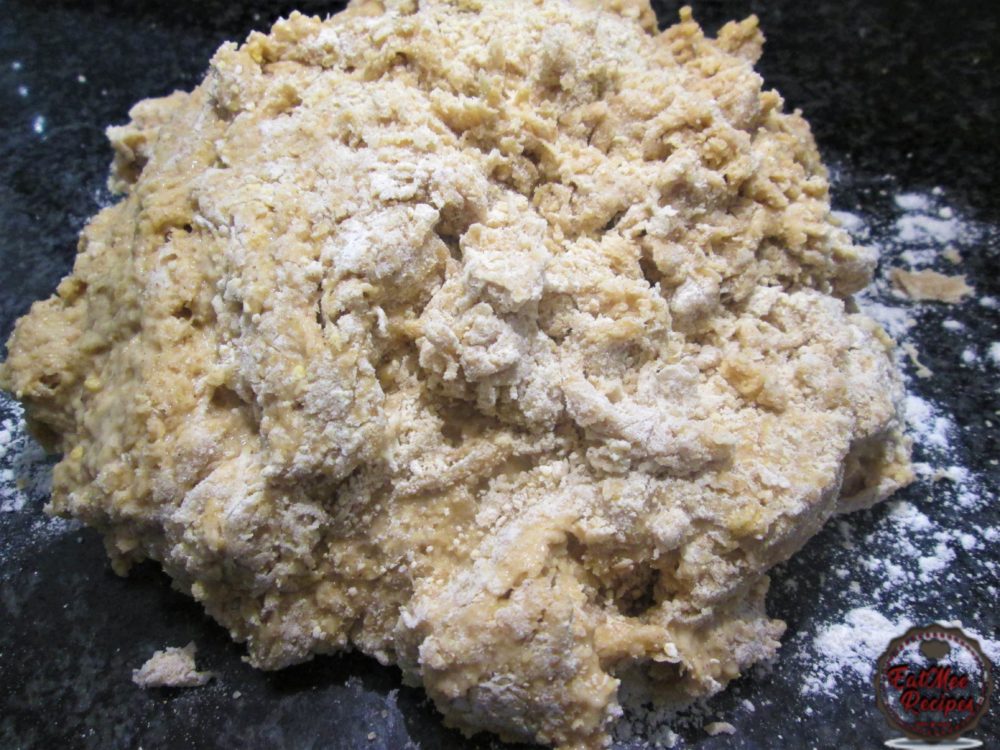
Knead the dough for 10 minutes, adding more flour until the dough becomes smooth, elastic & less sticky.
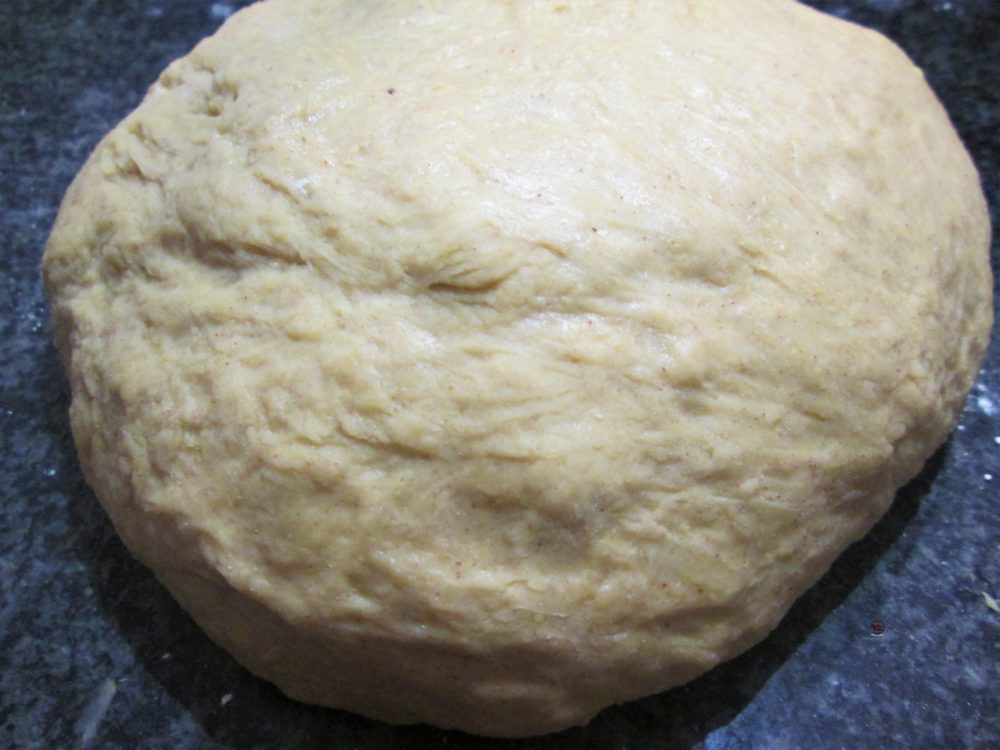
Lightly grease a bowl & pat excess oil from hands onto the dough so that is does not dry out.
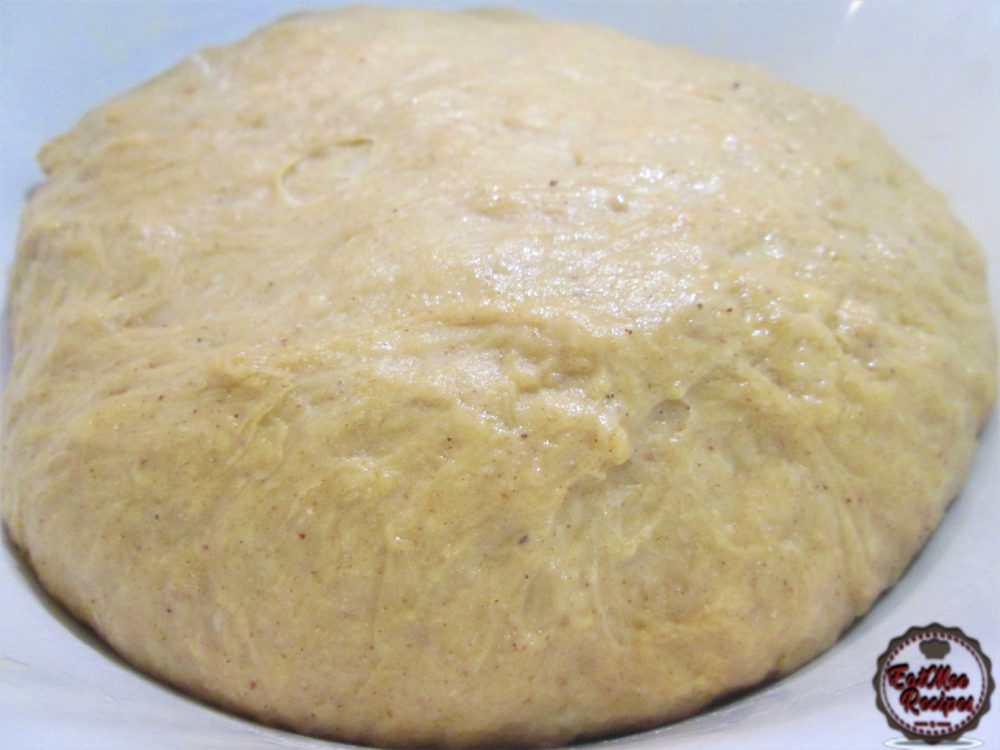
Cover the bowl with cling wrap & set aside in warm area to rise (I leave mine in the oven – without it being switched on) for a minimum of 1 ½ hours.
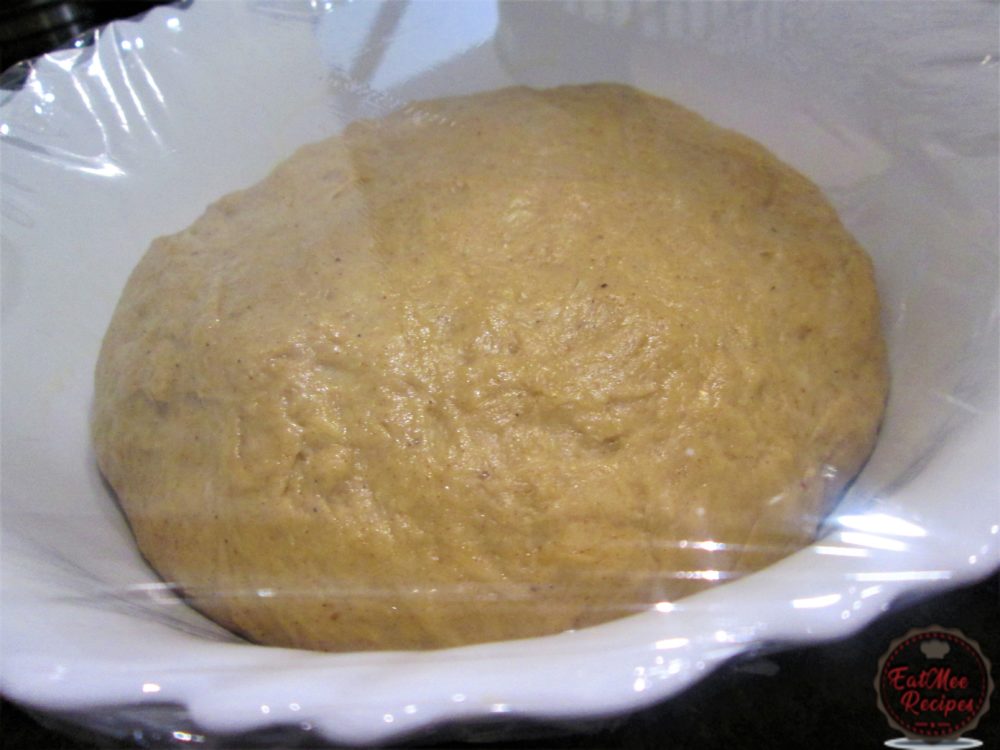
After the dough has rested, you will notice it double in size.
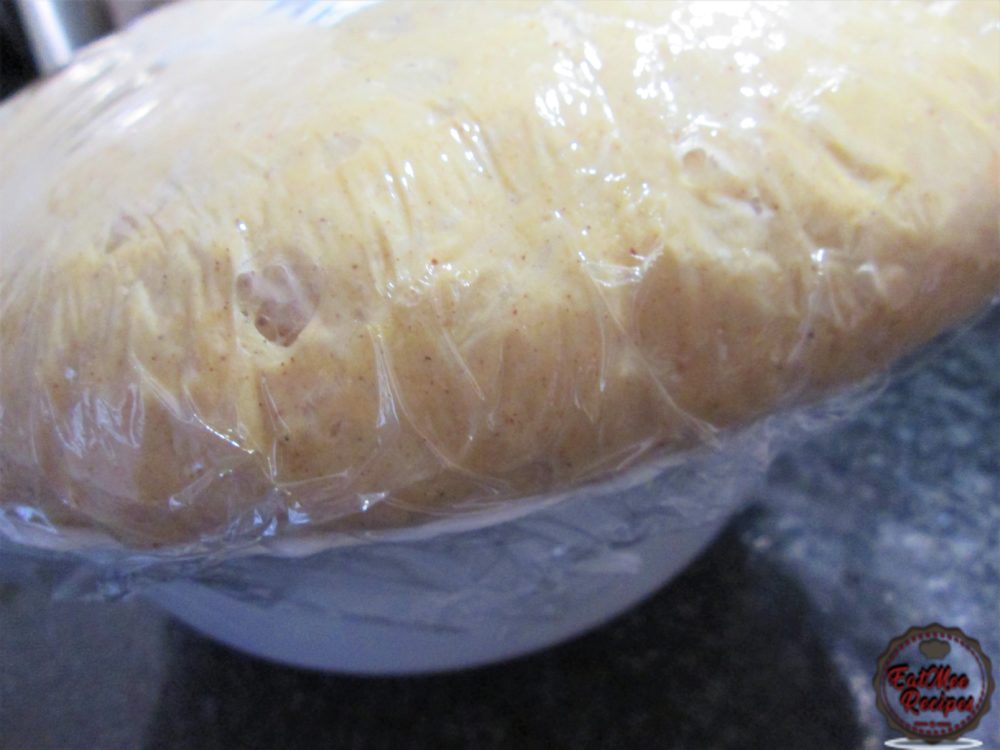
Punch down the dough.
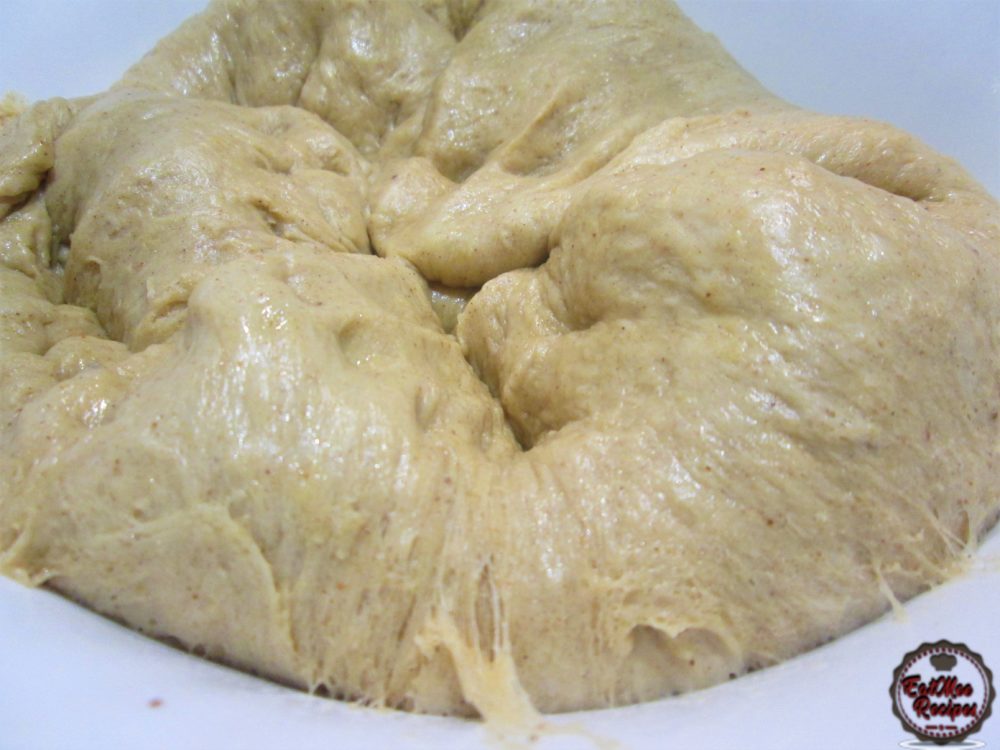
Place onto a lightly floured surface.
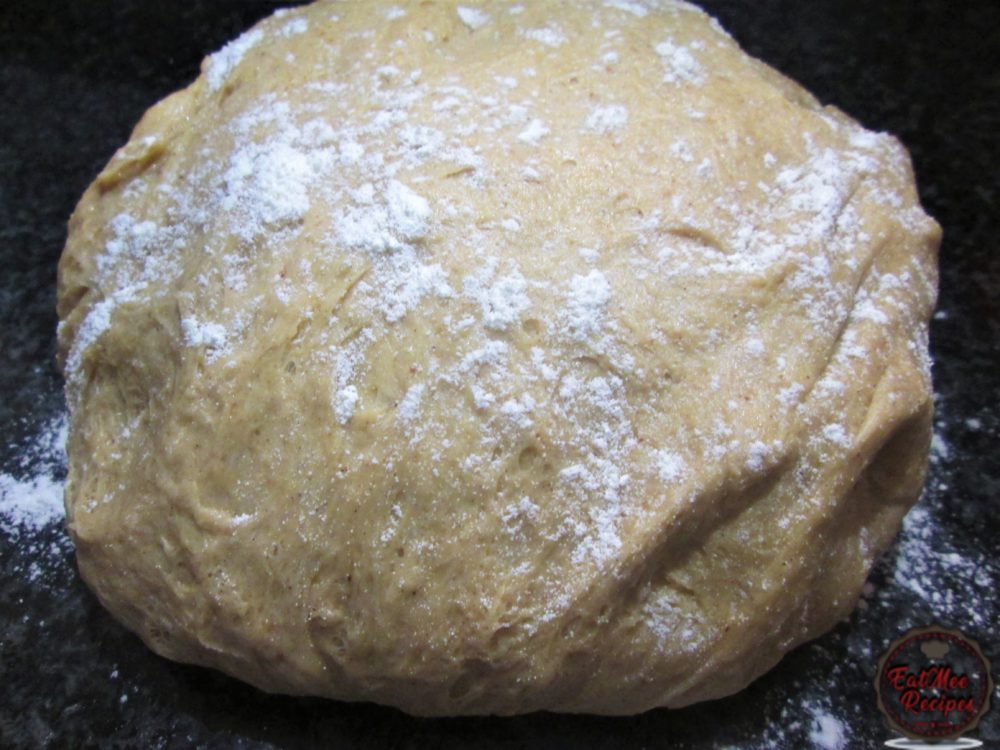
Knead the dough for a few seconds.
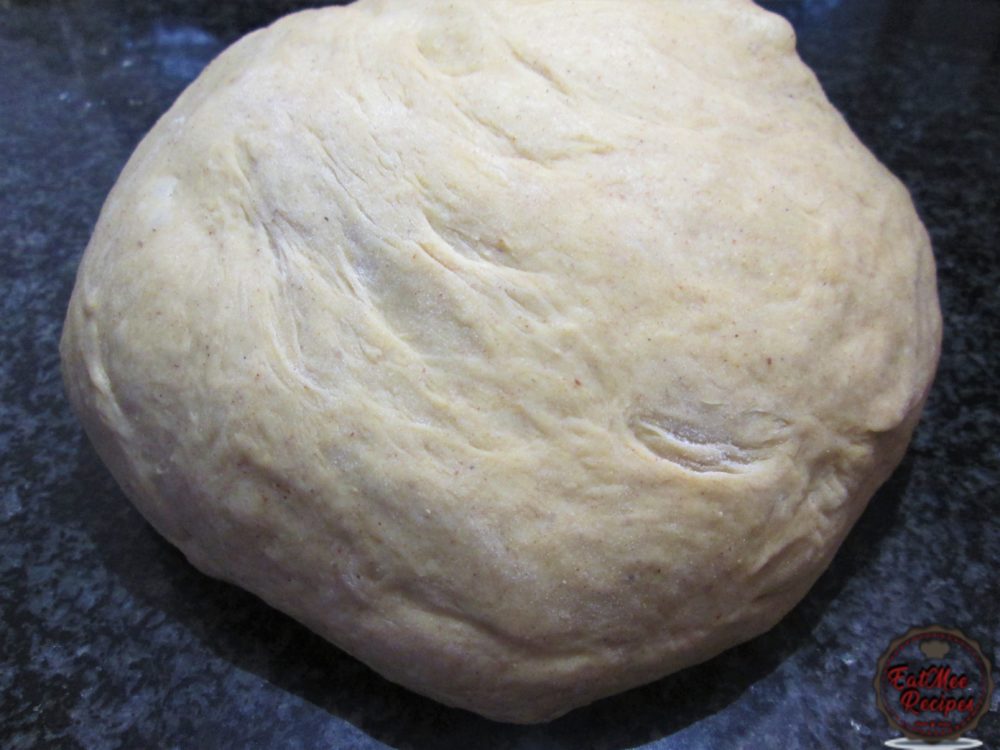
Begin dividing the dough into 16 individual balls. This can also be done by rolling the dough into a log form & simply cutting of 16 even sized sections & then rolling them into balls.
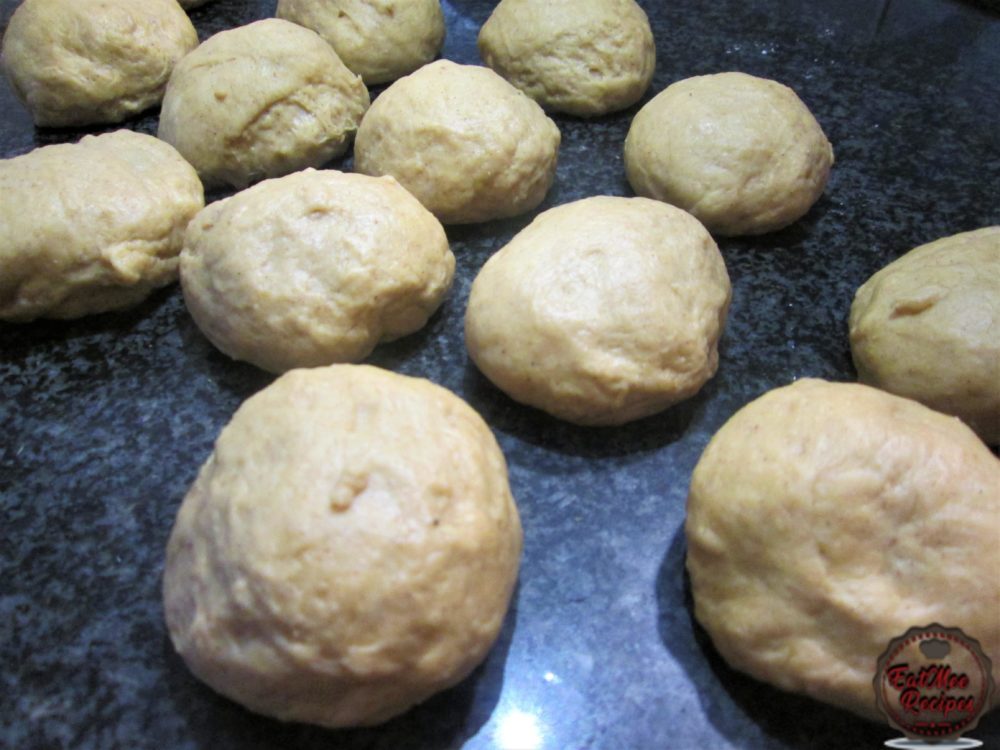
Grease a deep baking pan or casserole with spraying oil.
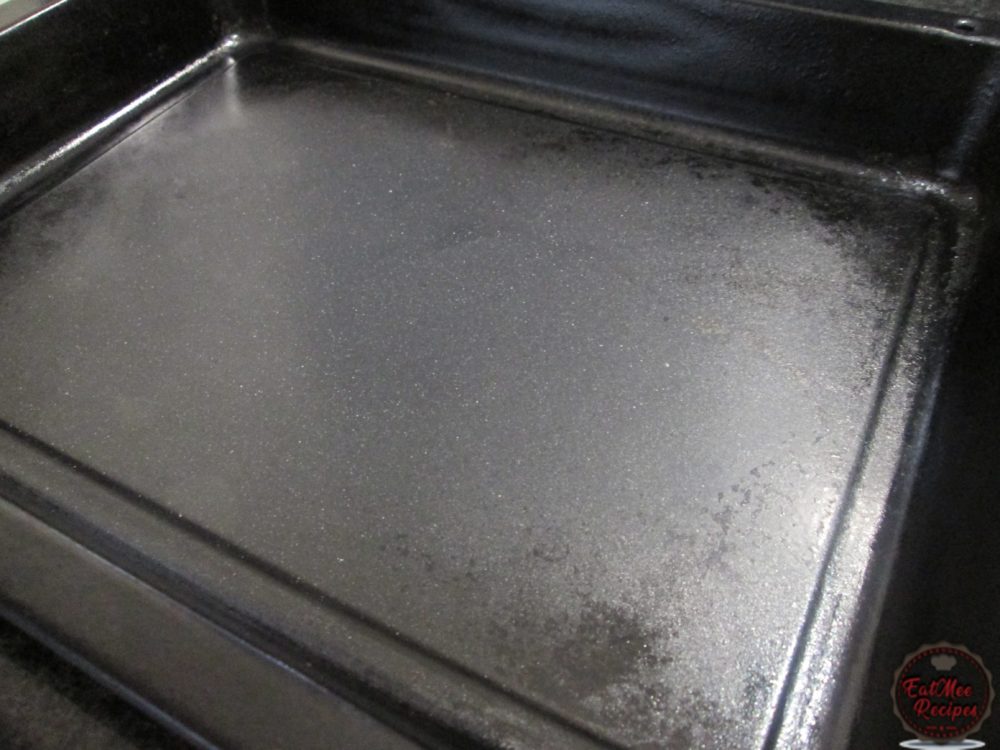
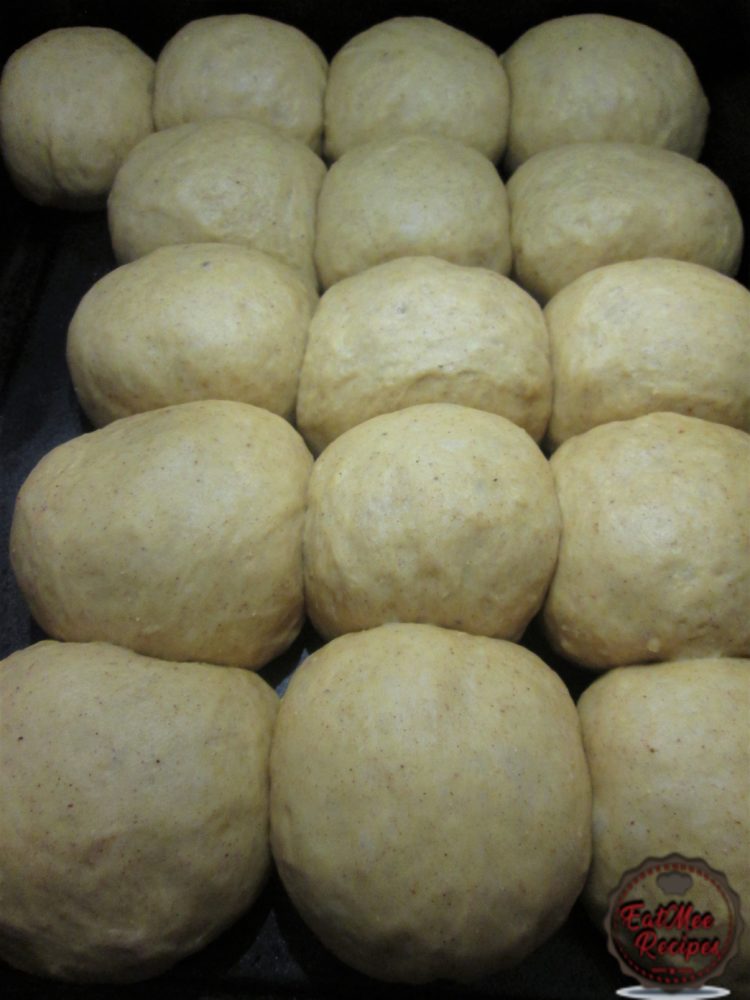
Place the rolled dough balls side by side on the pan, making sure that there are no spaces in between them.
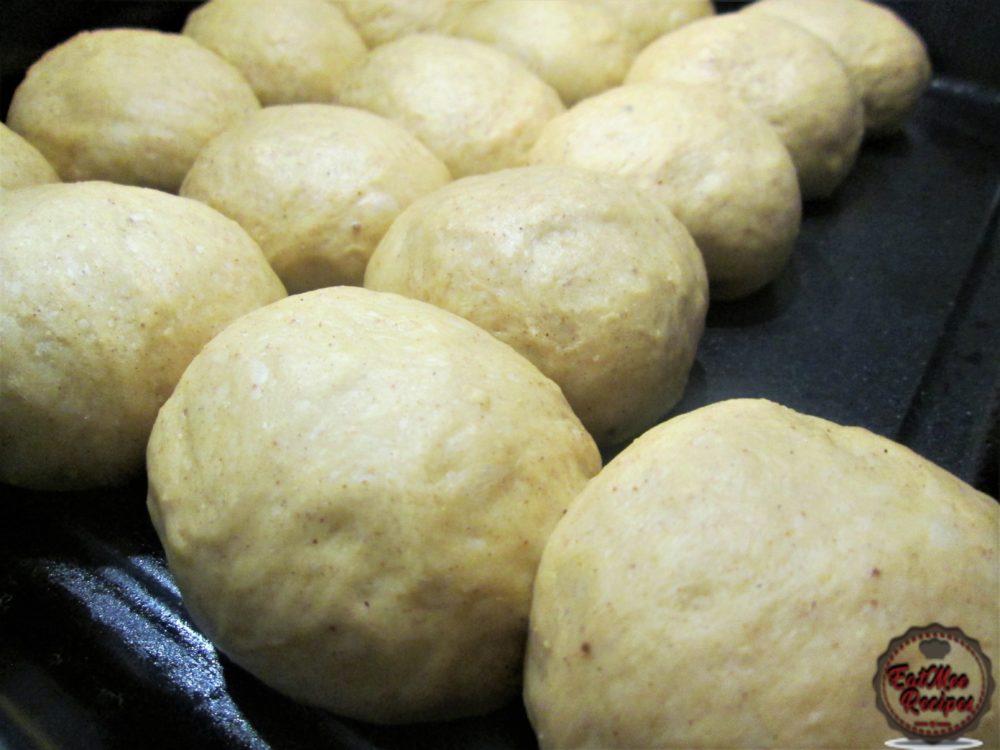
Cover the tray with a dish towel & allow to proof for 30 minutes.
Preheat the oven to 180°C.
Whilst the dough is proofing, begin preparing the mixture for the crosses.
Add the flour & baking powder to a small bowl.
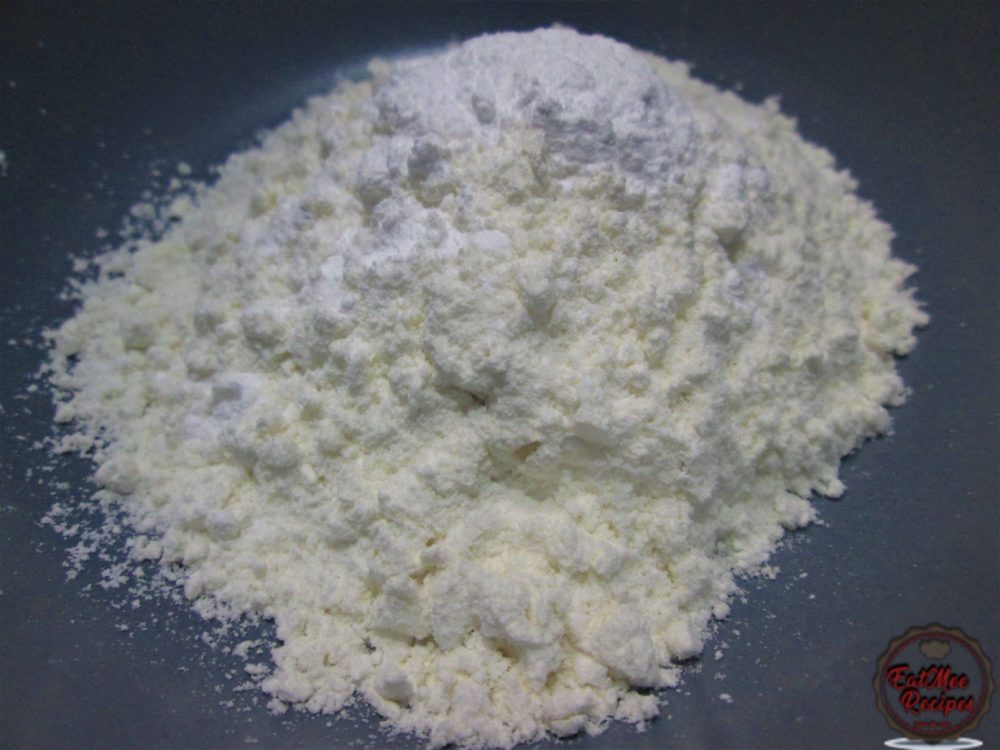
Next, pour in the water.
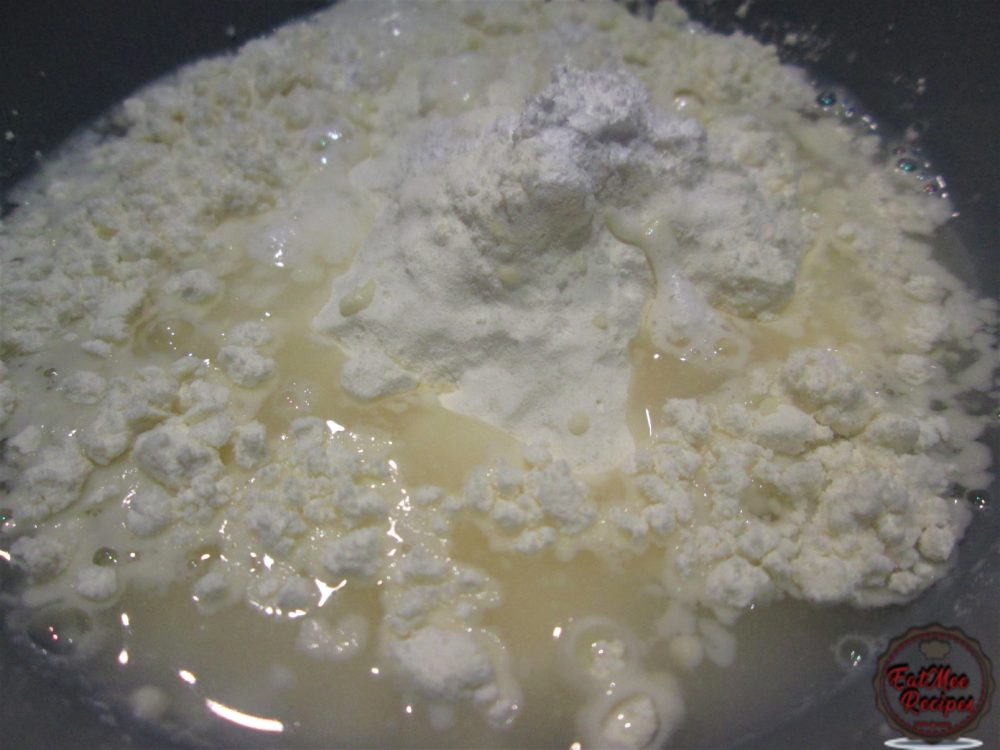
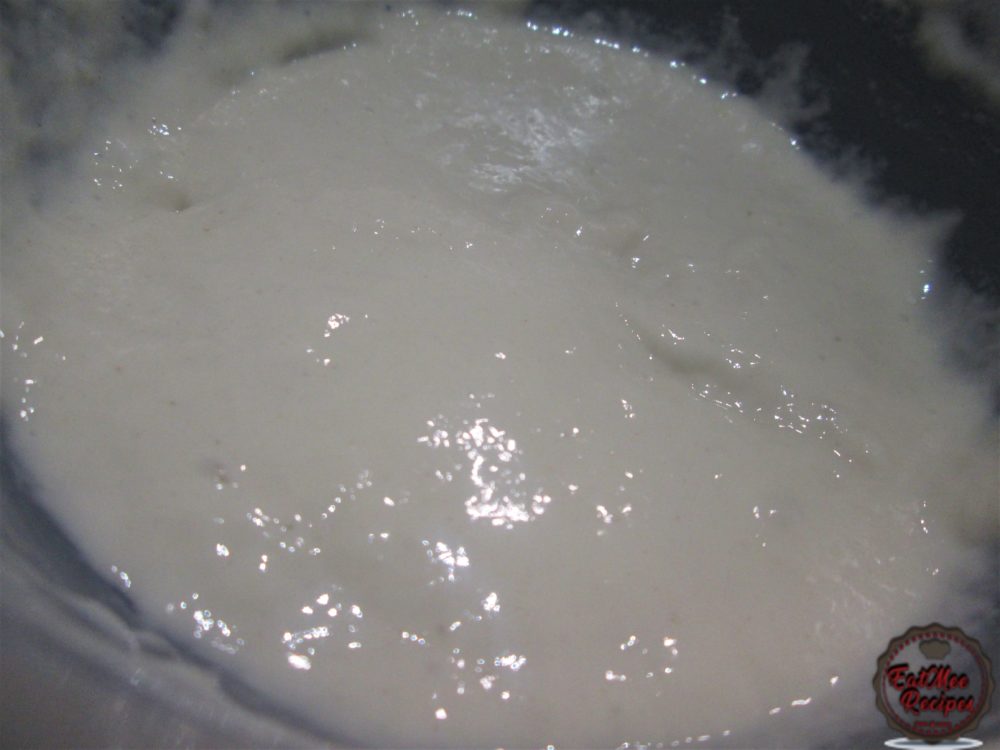
Mix well until it forms a paste. It shouldn’t be too runny or too thick.
Once the dough balls have proofed, notice how they become enclosed together, doubling in their size.
Empty the flour paste to a piping bag, nozzle or a plastic bag, gently drag over the paste forming crosses over the dough balls.
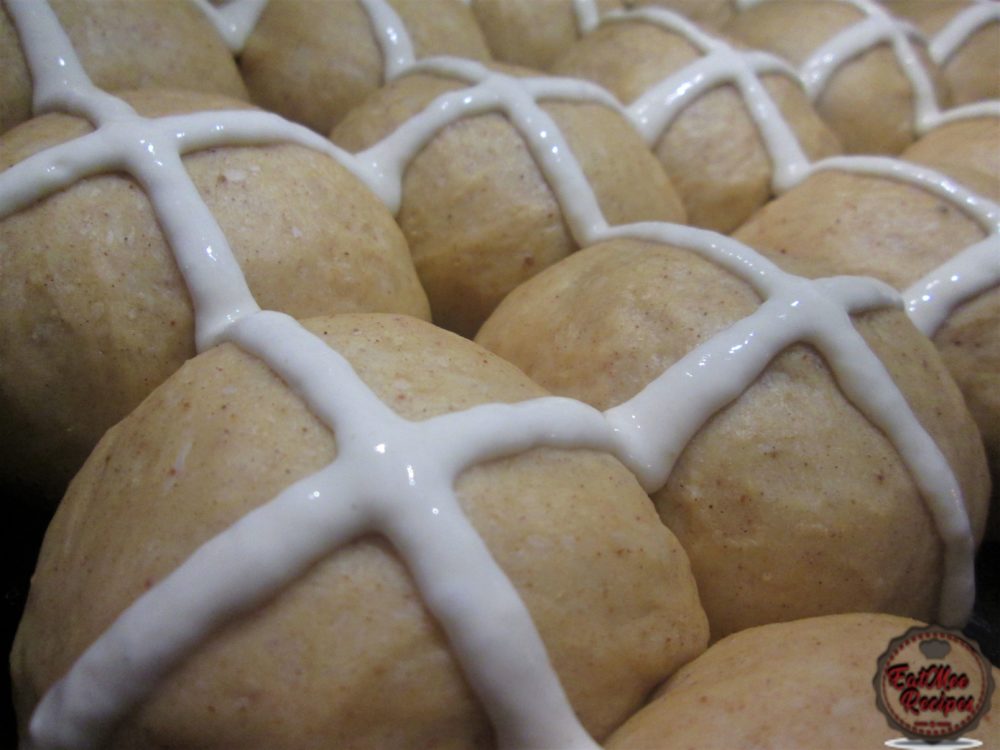
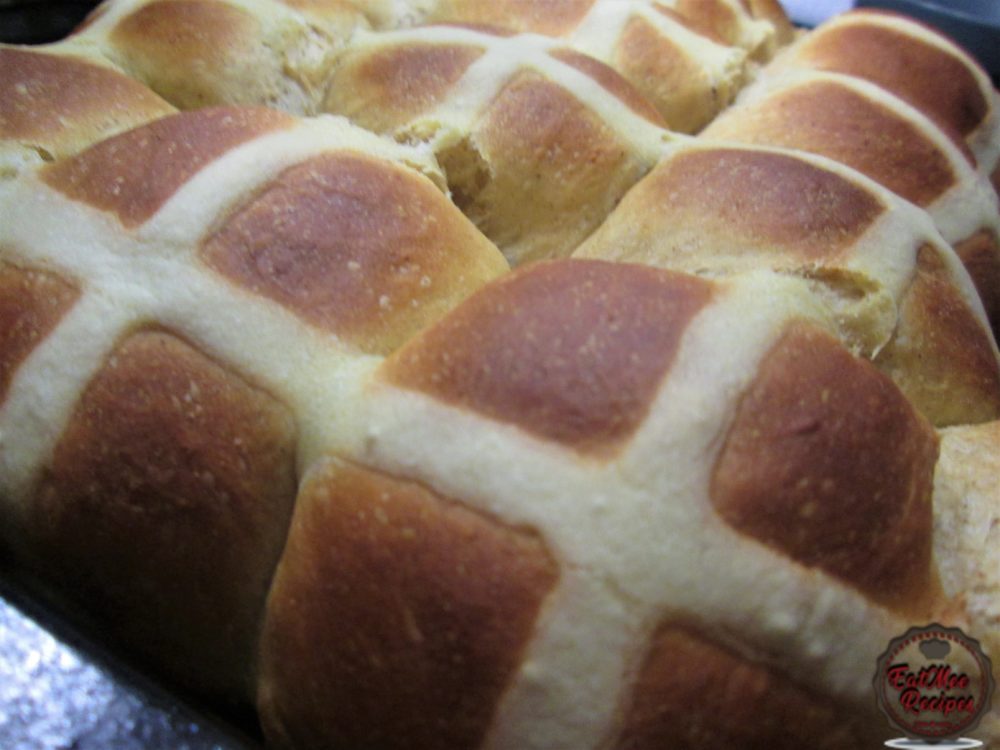
Place the buns into the preheated oven & bake for 15 to 20 minutes until golden.
Now it’s time to prepare the glaze. Add the golden syrup & the hot water to a bowl.
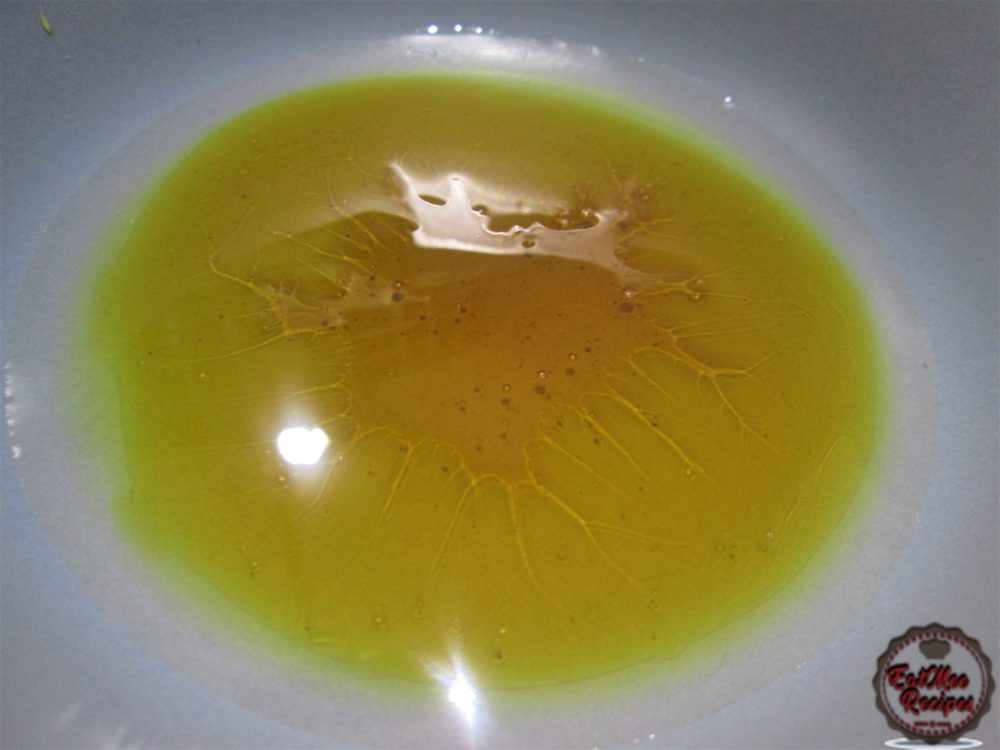
Mix well.
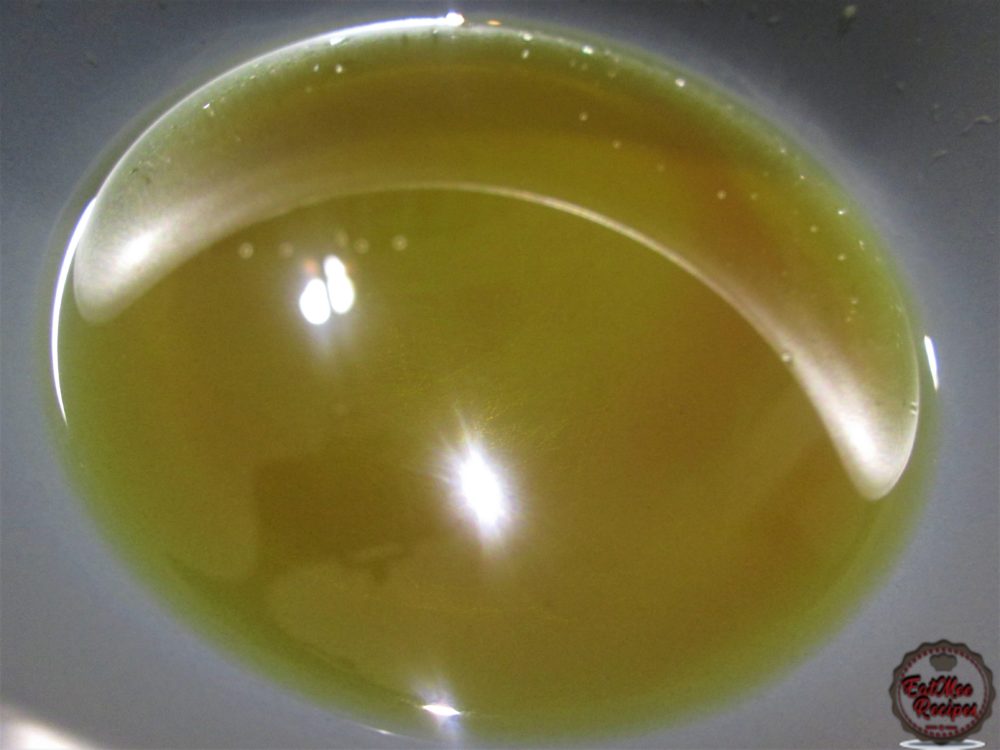
Brush the glaze over the Hot Cross Buns.
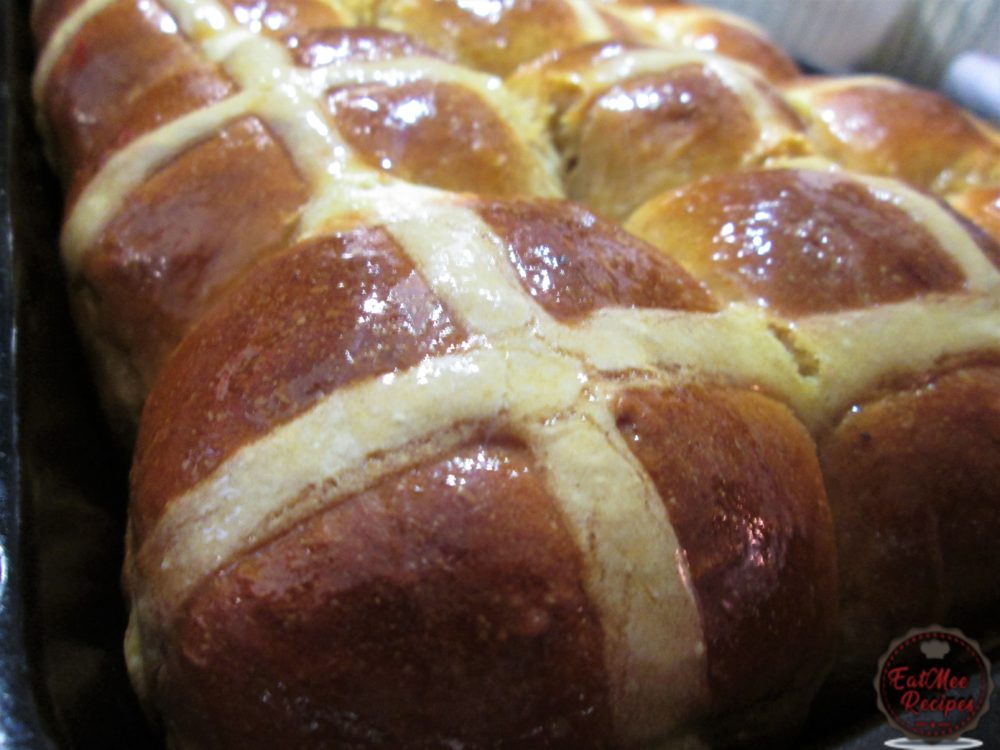
With the oven switched off, place the tray of Hot Cross Buns in the oven with the door slightly open, this will allow the glaze to dry up.
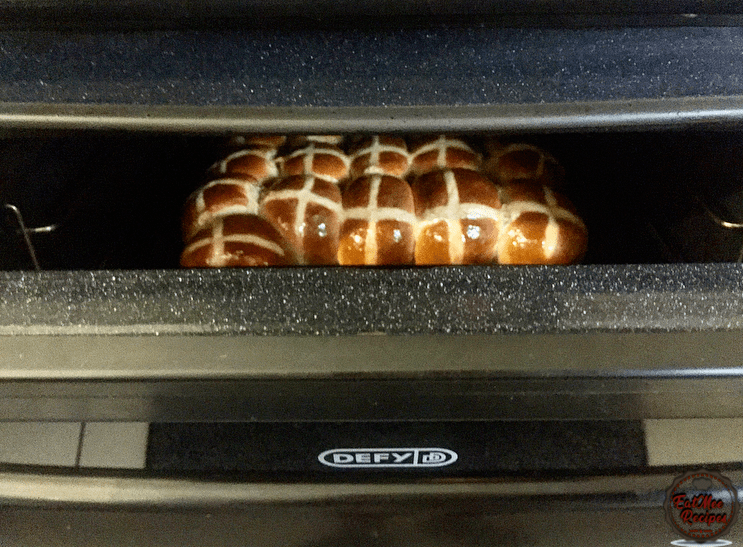
Once the glaze has dried, these Hot Cross Buns are ready to be gobbled.
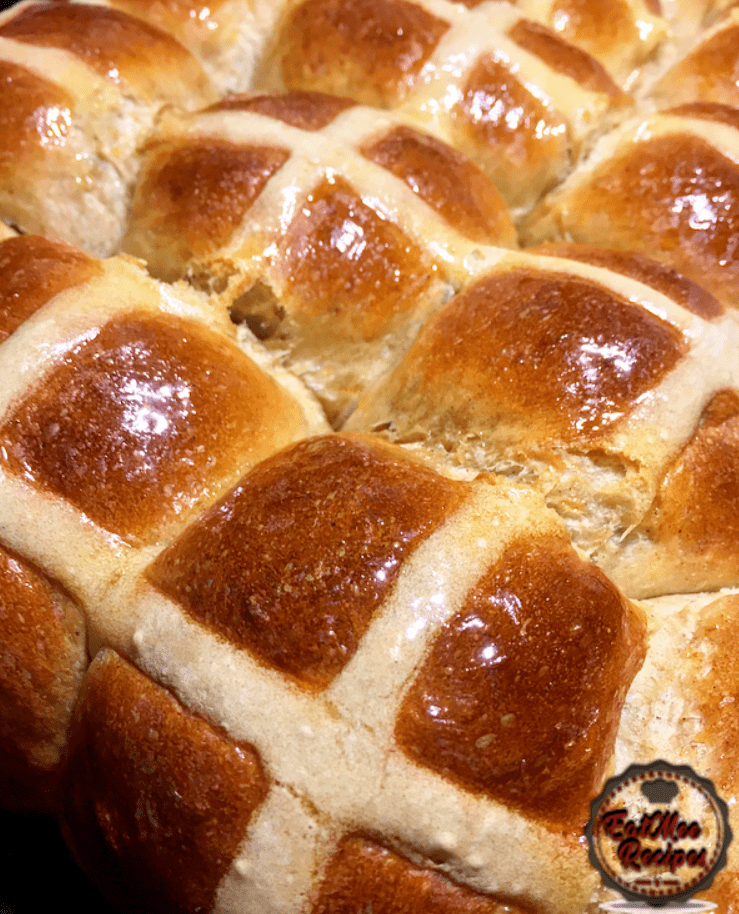
These Hot Cross Buns may be served with a hot drink such as Turkish Coffee.
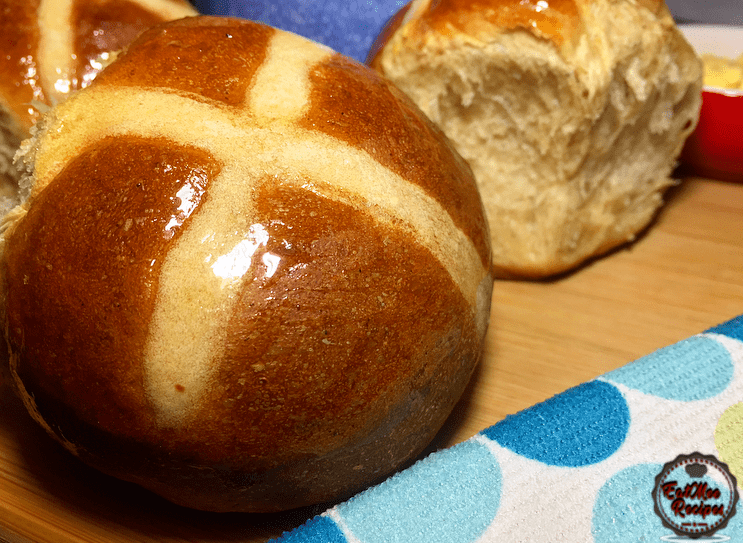
Store in an airtight container for up to a week.
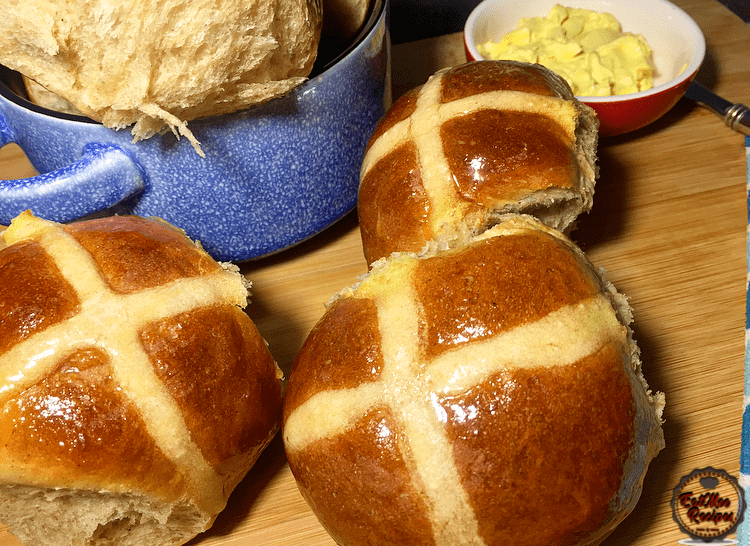
They are best served with a thick layer of butter.
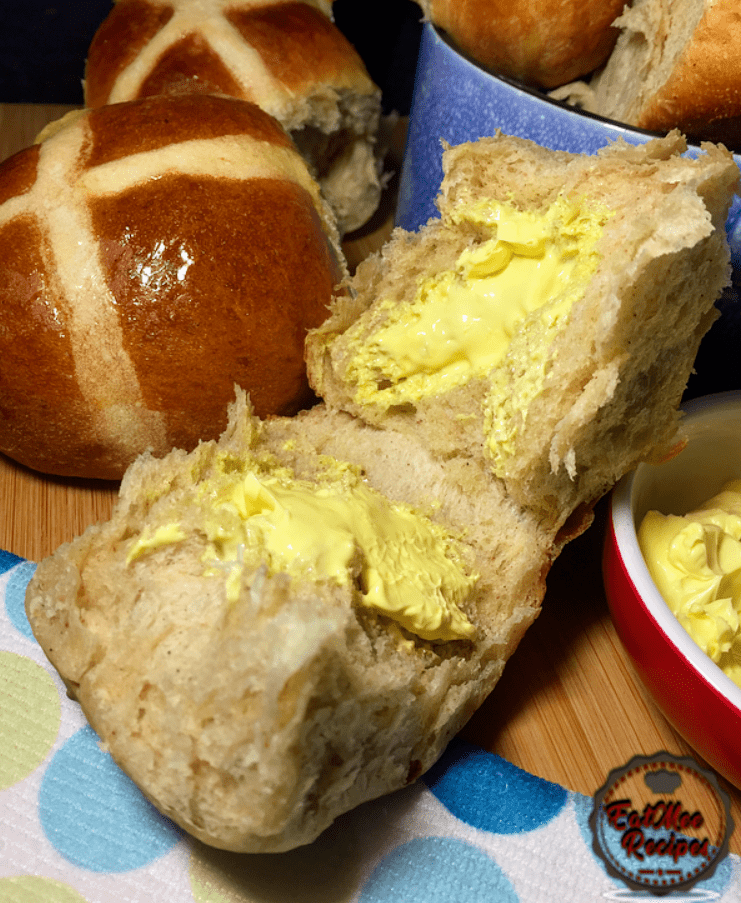
Follow along with Denisiya's step-by-step video guide for Hot Cross Buns.
Expert kitchen guidance and troubleshooting for making the best Hot Cross Buns
Absolutely! You can easily tailor the heat by increasing or reducing the chili powder and fresh chilies to suit your family’s palate without compromising the authentic flavor profile.
Yes, you can freeze Hot Cross Buns in an airtight, freezer-safe container for up to 2 to 3 months. Thaw overnight in the refrigerator before gently reheating.
Reheat gently on the stovetop over low heat with a splash of water, or in the microwave covered with a damp paper towel to retain moisture.
Hi, I'm Denisiya! Food lover, recipe developer, and founder of EatMee Recipes. I specialize in authentic South African Durban Indian cuisine, comforting curries, and modern Instant Pot adaptations. Every recipe on this site is tested in my personal kitchen to ensure you get mouth-watering, foolproof results every time.
Explore more authentic Durban curries, traditional bakes, and comforting family favourites.
 American Food
Battered Fish is so yum, with just a few ingredients, it’s going to taste like it’s straig...
 British Food
The Victoria Sponge Cake also known as the Victoria Sandwich Cake or Sponge is a cake whic...
 British Food
Queen Cakes are a luscious, buttery, sweet & decadent form of cupcakes which were a ninete...
Have you tried this recipe or have questions for Denisiya? Join the conversation below.
No comments yet. Be the first to share your thoughts on this recipe!
Leave a Comment
Your email address will not be published. Required fields are marked *