AIR FRYER PITA BREAD
This Recipe Makes 10 Pitas
Air Fryer Pita Bread – yup you read that correctly! I love pita bread & these are by far the tastiest ones I have ever made.
I have opted to using my Instant Vortex Air Fryer Oven for this recipe, unfortunately I haven’t tried them in the basket air fryer (Instant Vortex Air Fryer) but I am sure they will turn out just as good.
With this recipe, you can also opt to making them on the stovetop or in a regular convention oven. Air fryers are basically mini ovens so they can be used for just about anything. I must admit though that these are time consuming but I made a small batch just for my husband & I, & it was definitely worth it – so if you need to make a larger batch then I suggest placing them onto a baking tray & doing them all in one go (or however many can fit on the tray at a time).
Air Fryer Pita Bread Ingredients:
- 3 cups all-purpose or cake flour
- 1 teaspoon salt
- 1 tablespoon white granulated sugar
- 7 grams instant yeast
- ¼ cup vegetable or olive oil
- ½ cup warm water
- ½ cup warm milk
Method:
- Add the flour, salt, sugar & instant yeast to a mixing bowl.
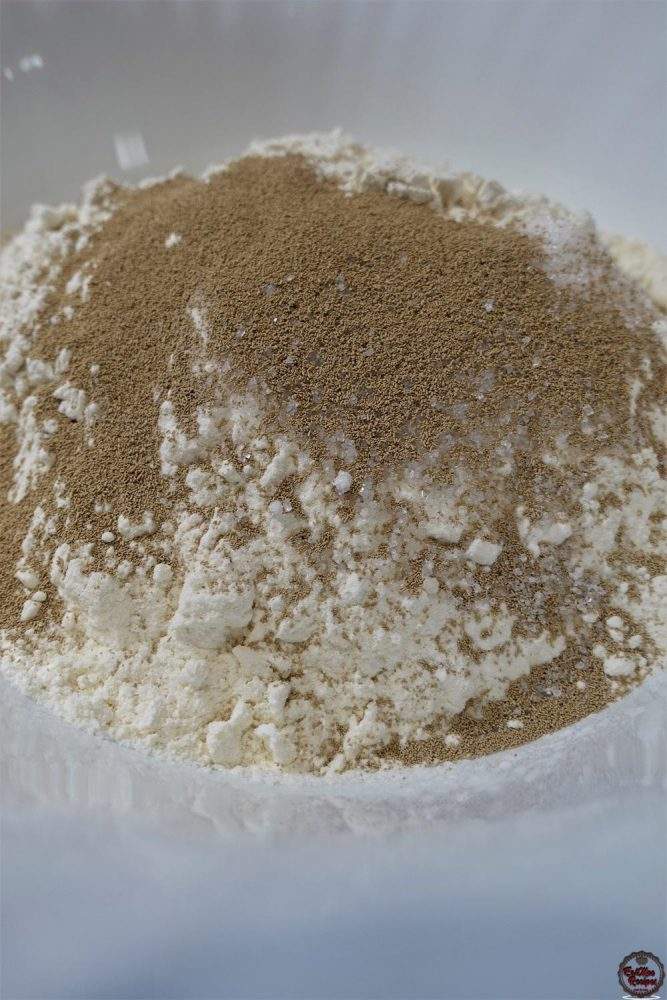
- Give the dry ingredients a mix.
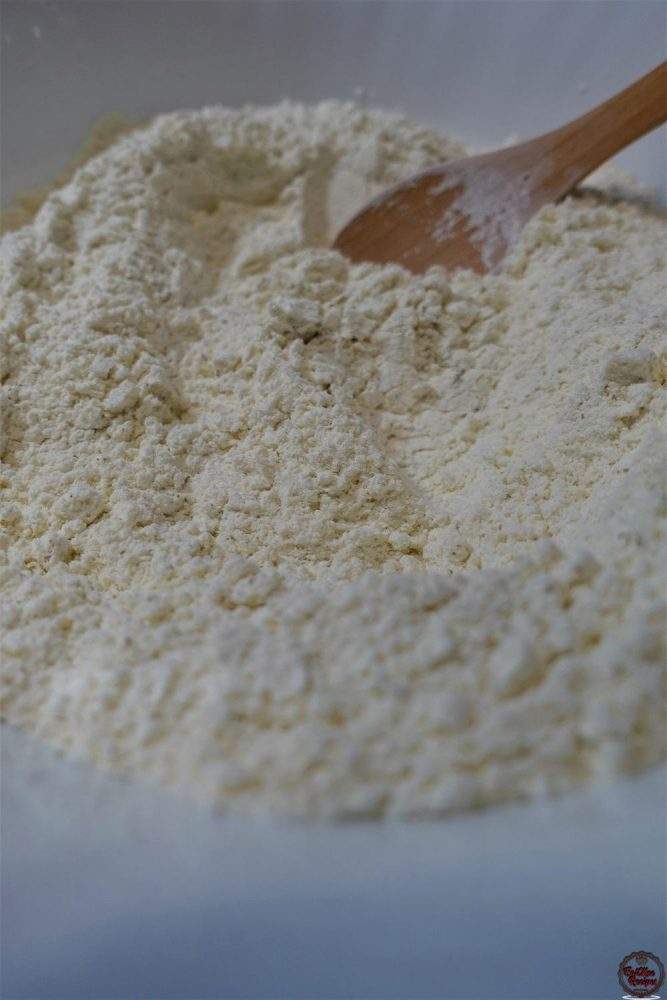
- Pour in the vegetable or olive oil.
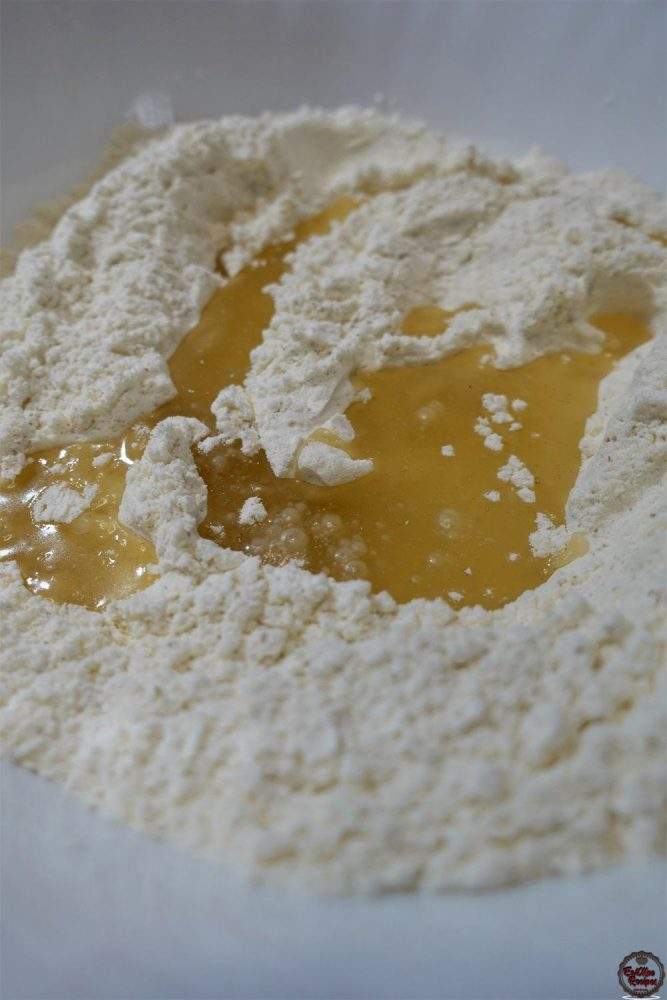
- Pour in the warm water & warm milk.
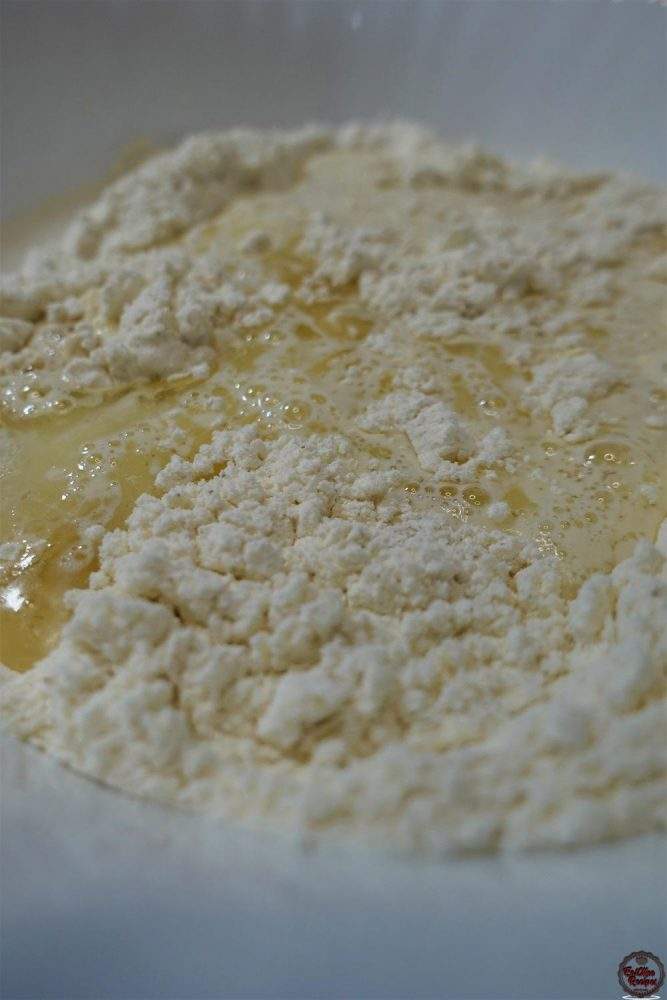
- Mix with a spoon & then with your hands until it forms a dough.
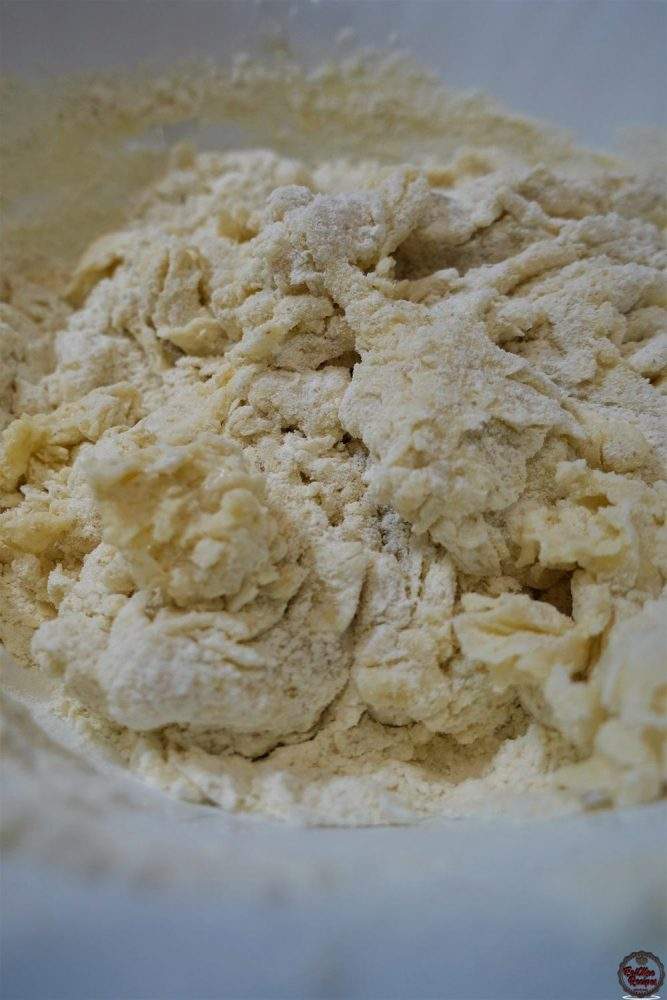
- If the dough is too dry, add in a little warm milk or water & if the dough is too sticky, add in more flour.
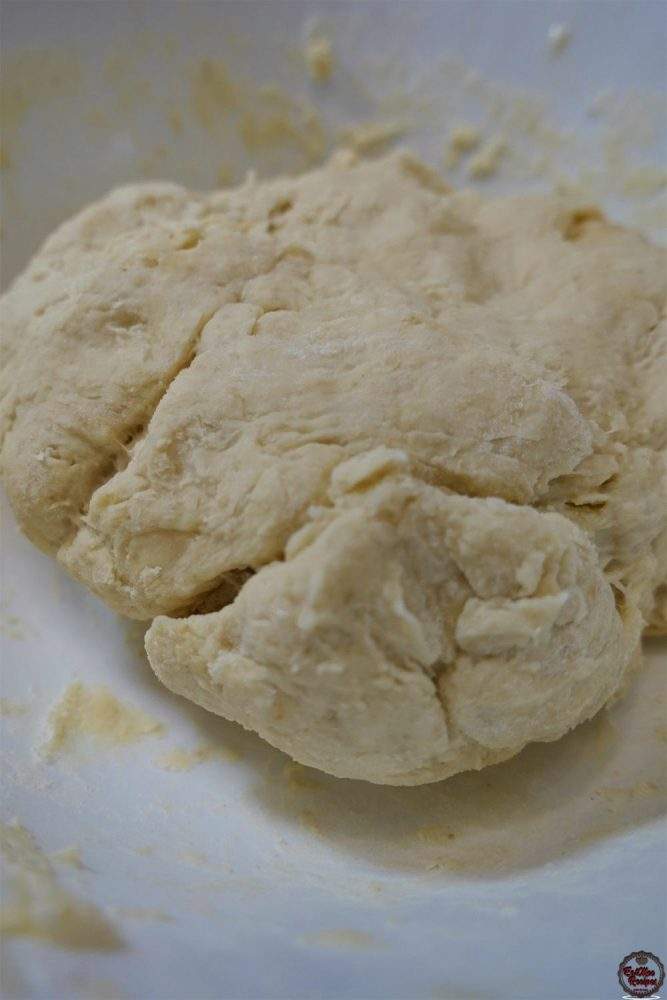
- Place dough onto a floured surface.
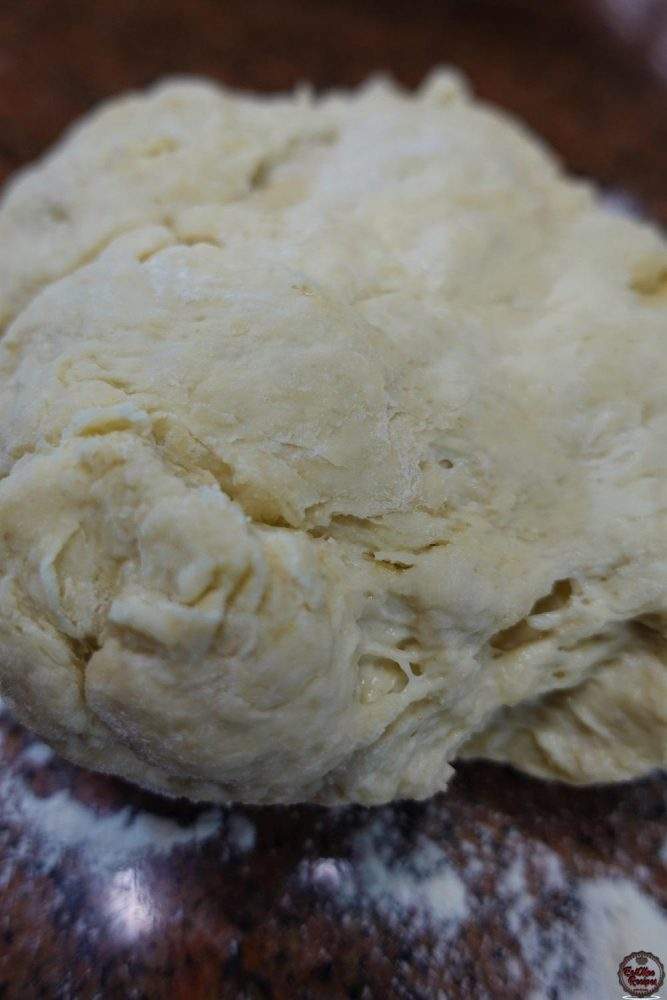
- Knead for 10 minutes. The longer it is kneaded, the softer it will be. This process can be done by hand or with a stand mixer.
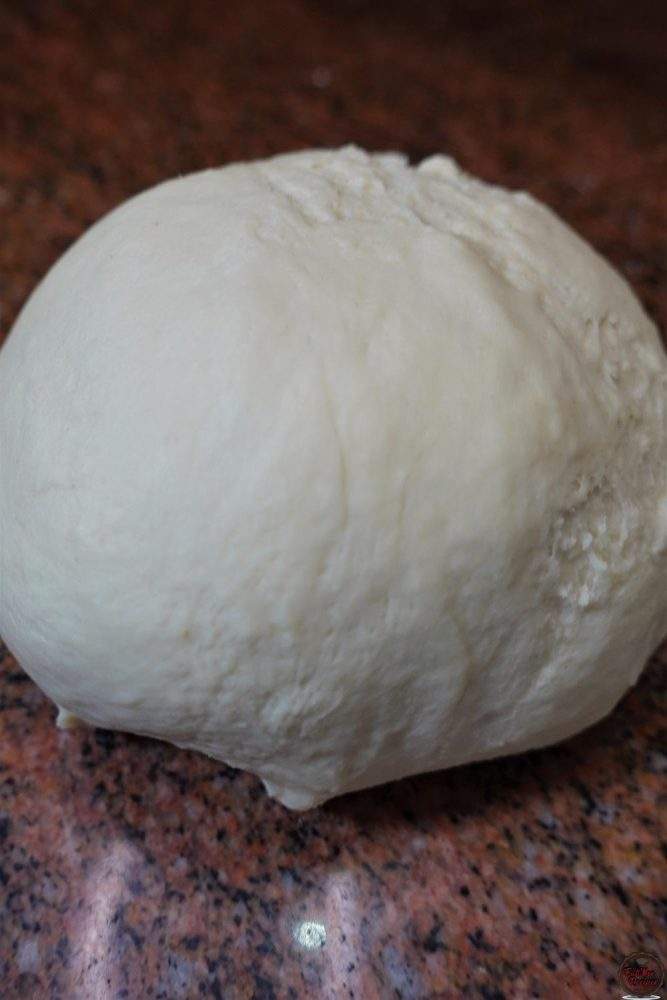
- Lightly oil a bowl & place the dough into the bowl. Rotate the dough in the bowl coating with the oil so it does not dry up.
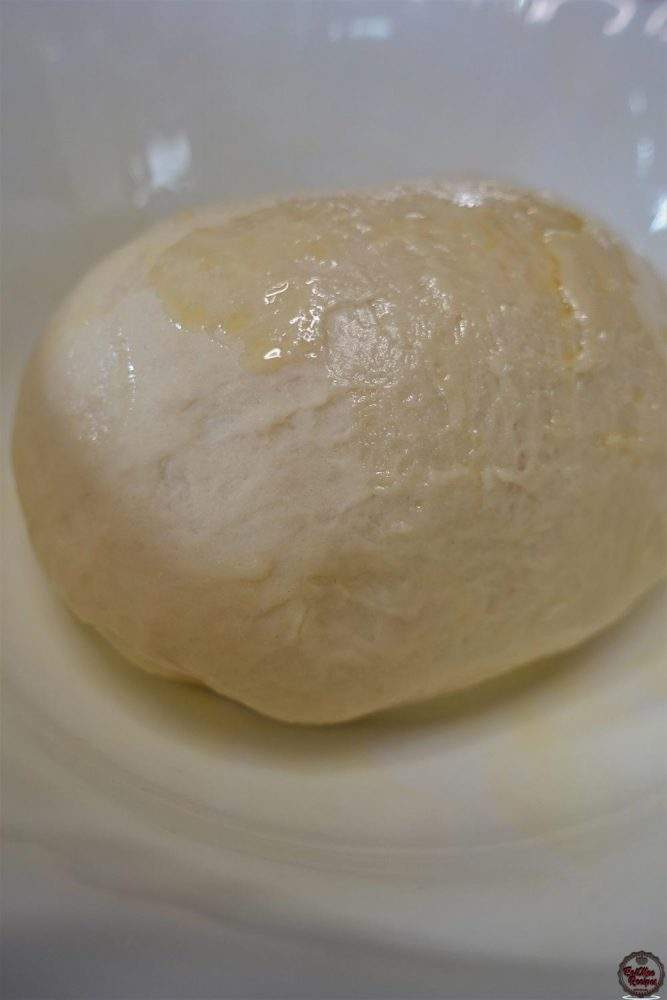
- Cover with cling/plastic wrap & leave in a dark place to rest for 1 hour or more. I usually pop it in a turned off oven or microwave.
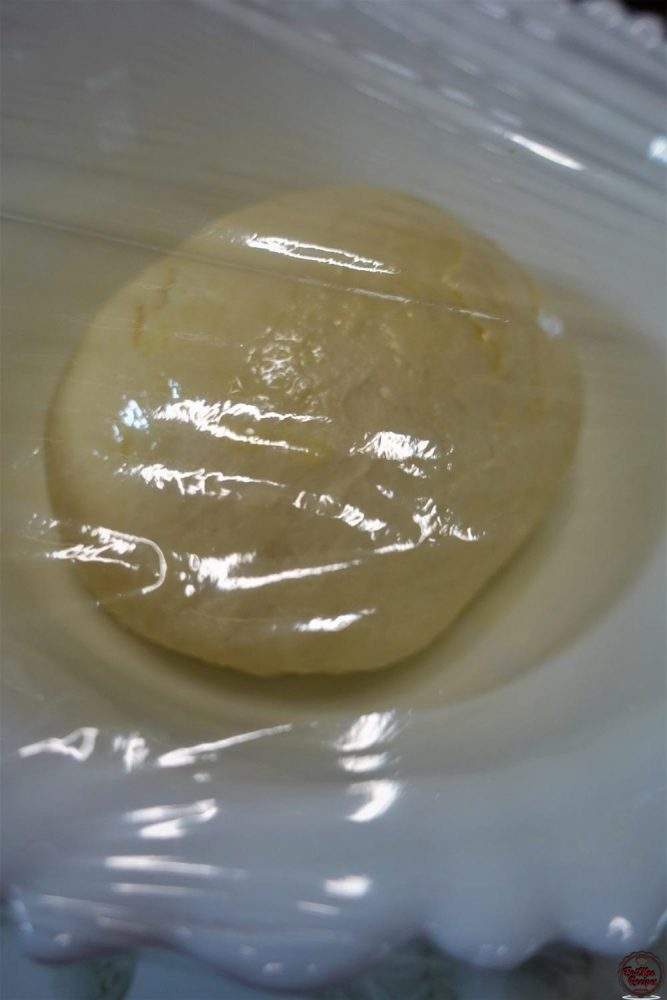
- After an hour, the dough should double in size.
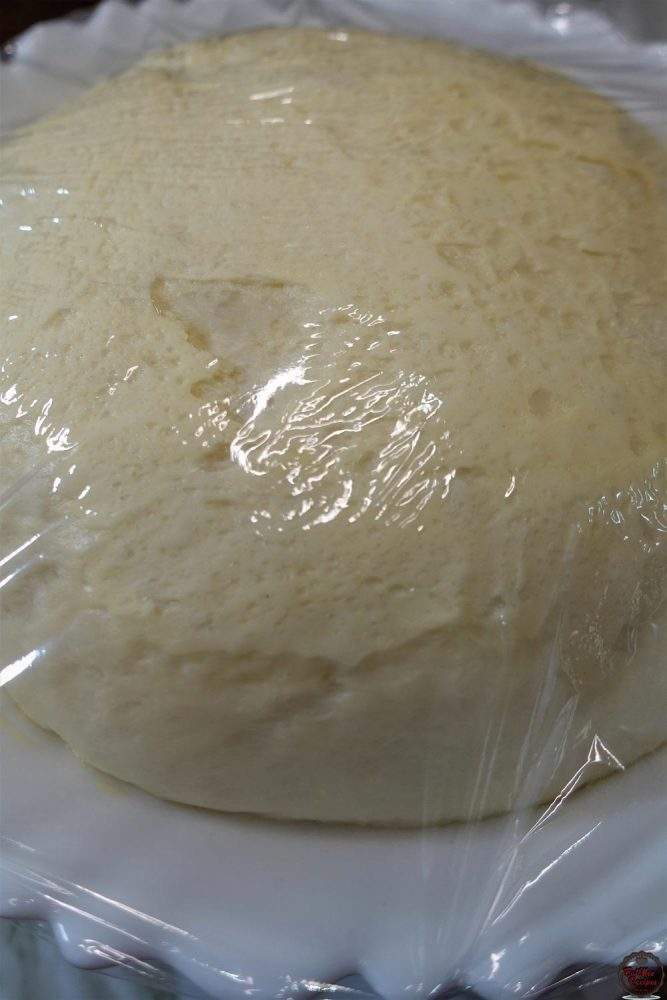
- Remove the cling/plastic wrap.
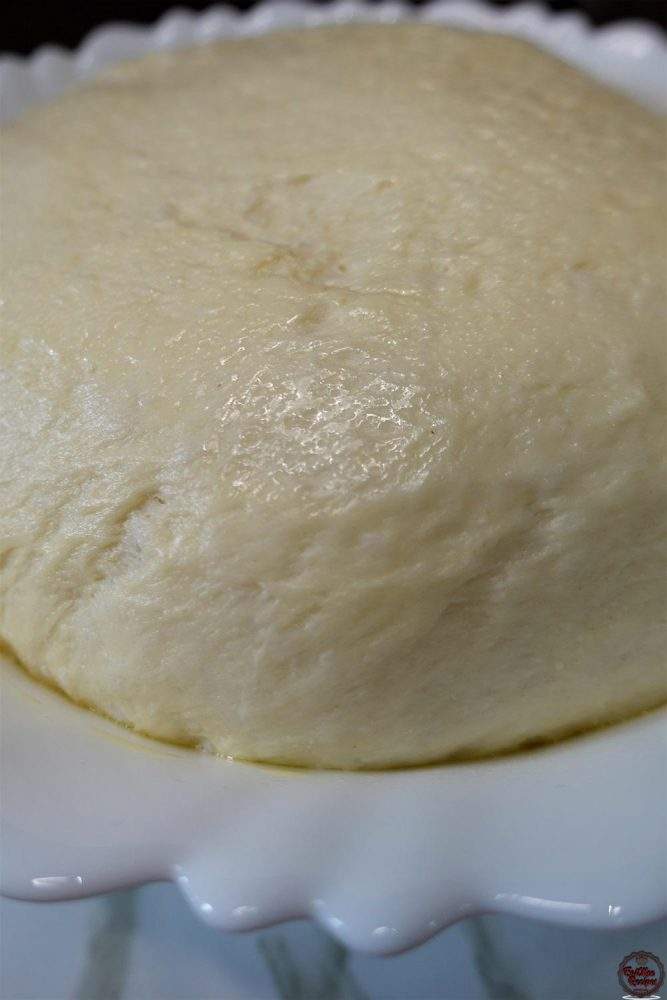
- Punch down dough.
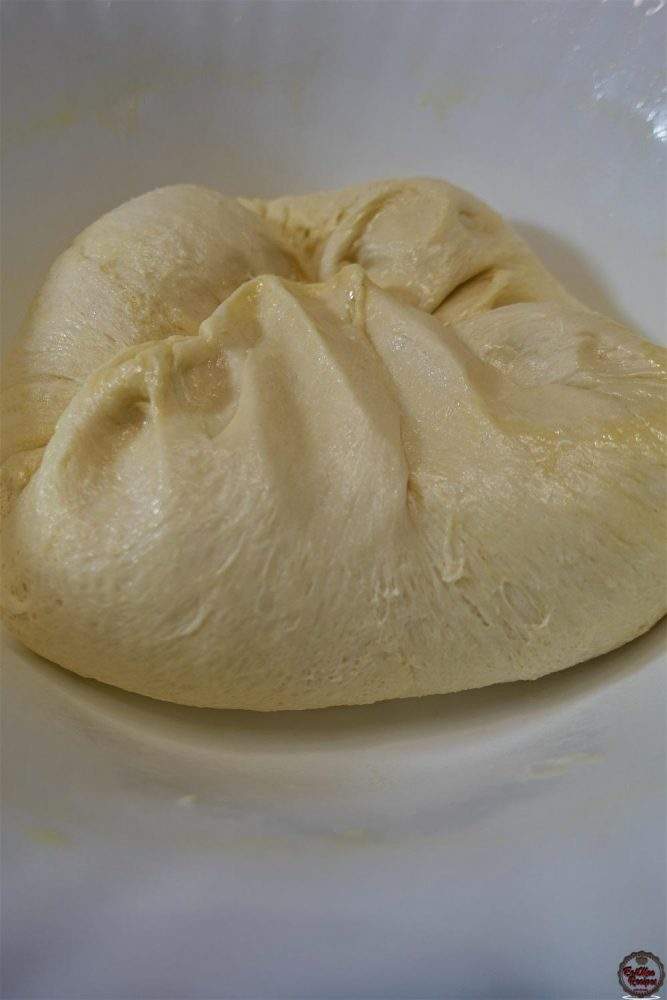
- If using a convection oven – Preheat oven to 260° Celsius or 500° Fahrenheit at this point.
- Roll into a ball & divide into 10 equal parts.
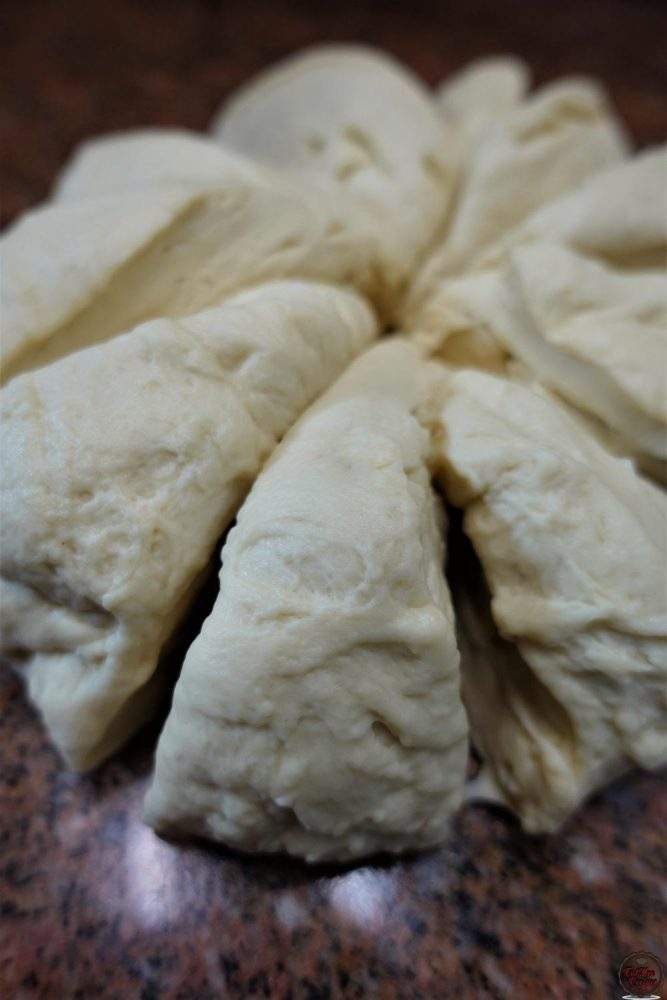
- Roll each portion into balls.
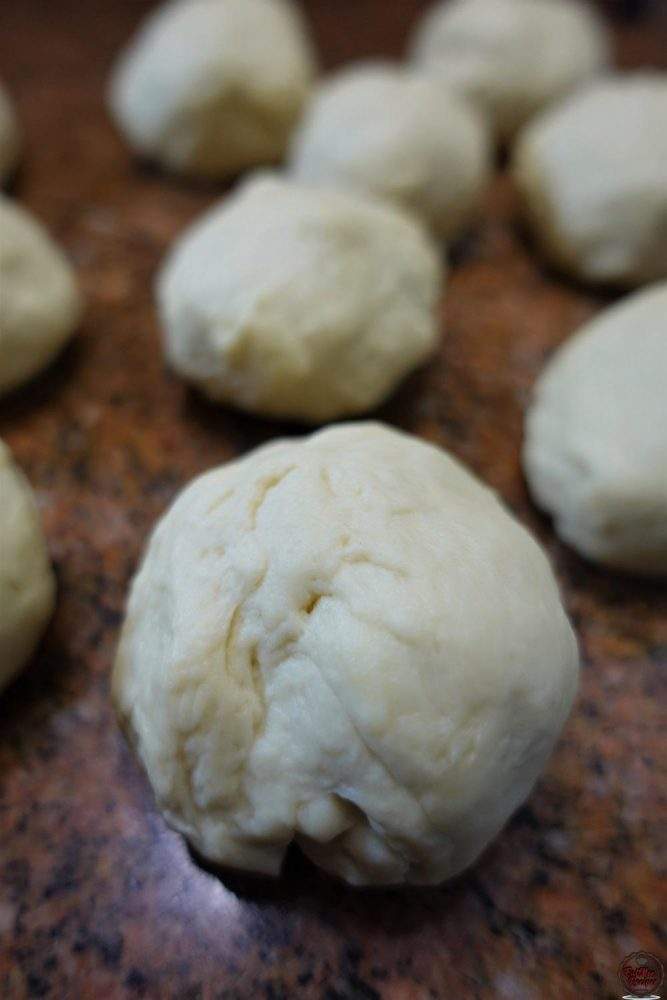
- Working with one ball of dough at a time, tuck, roll into a ball & flatten on the floured surface.
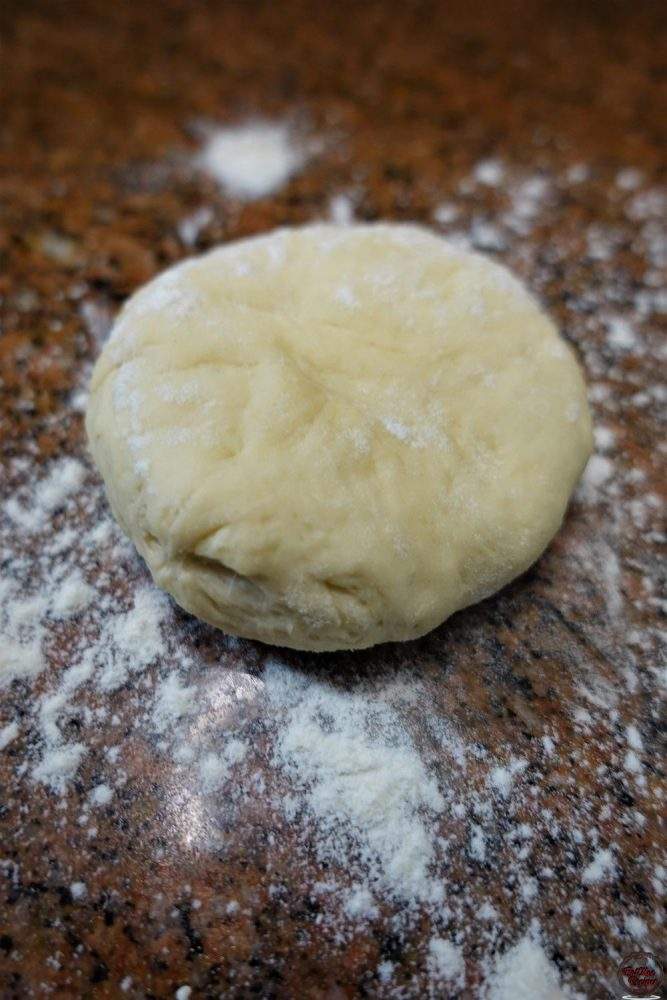
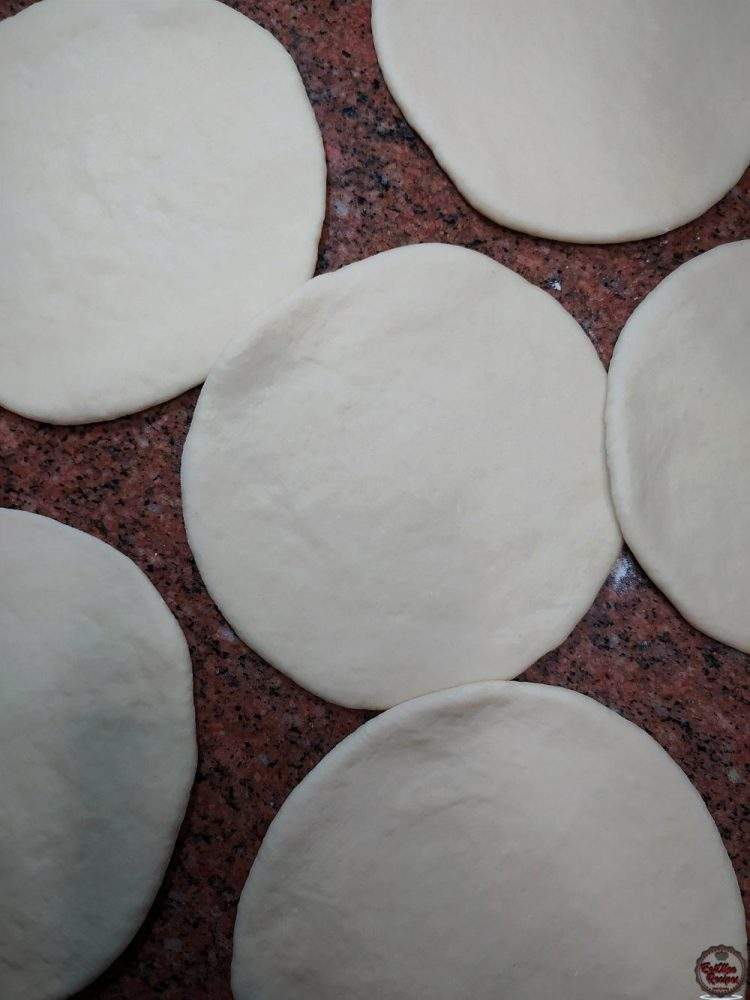
- Using a rolling pin, roll each ball out into a circular shape.
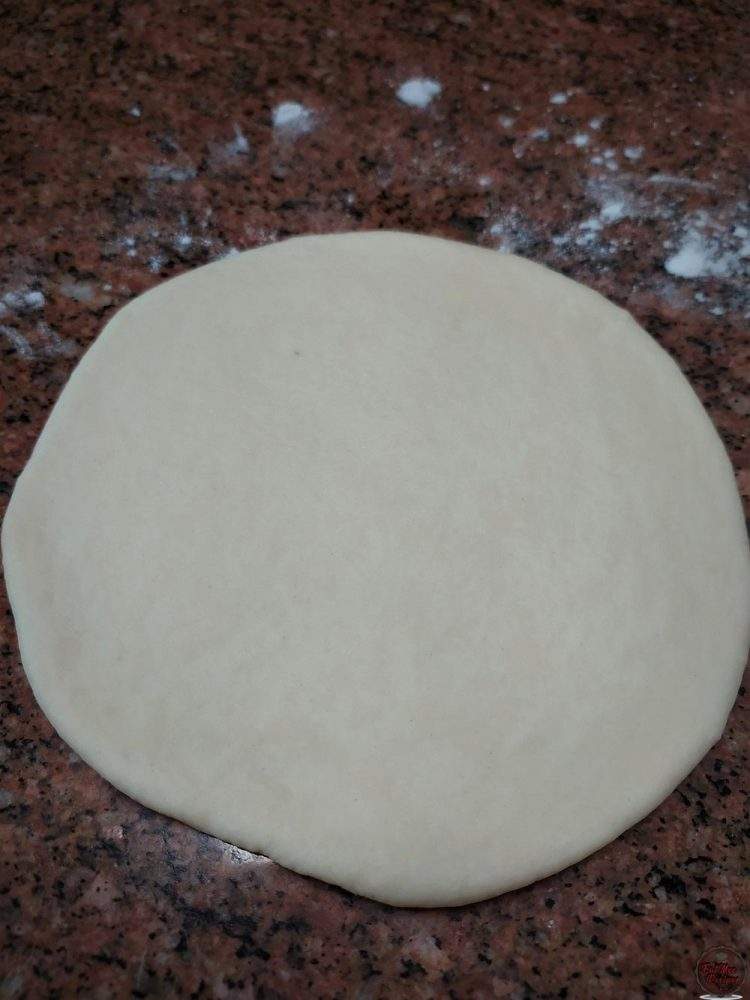
- Continue this process until all the dough is rolled out.
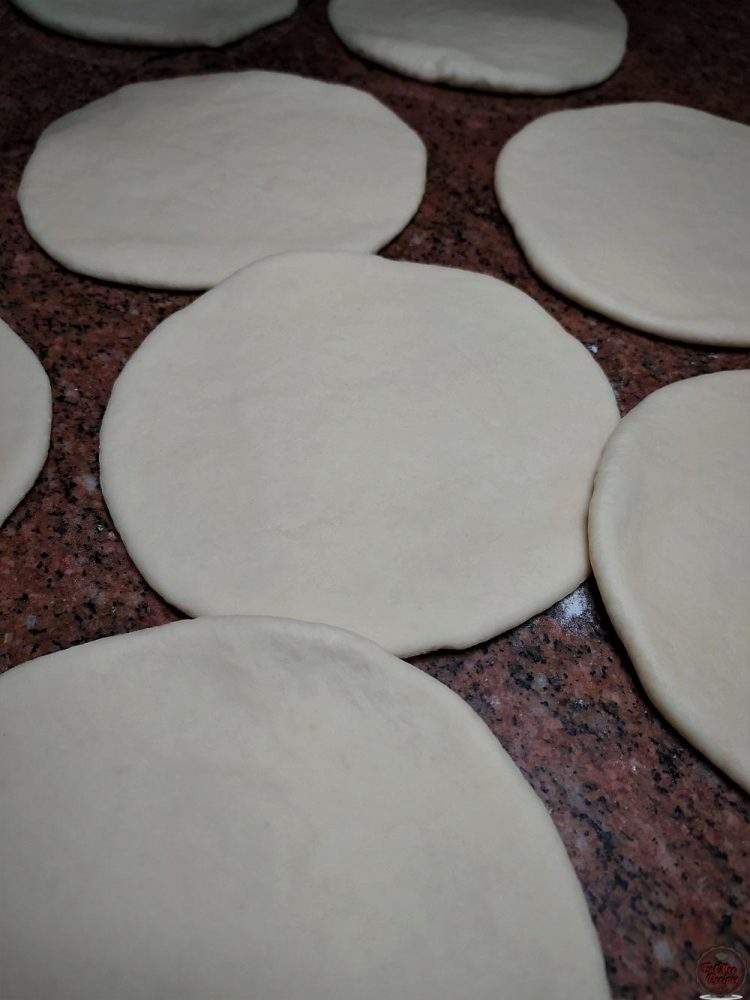
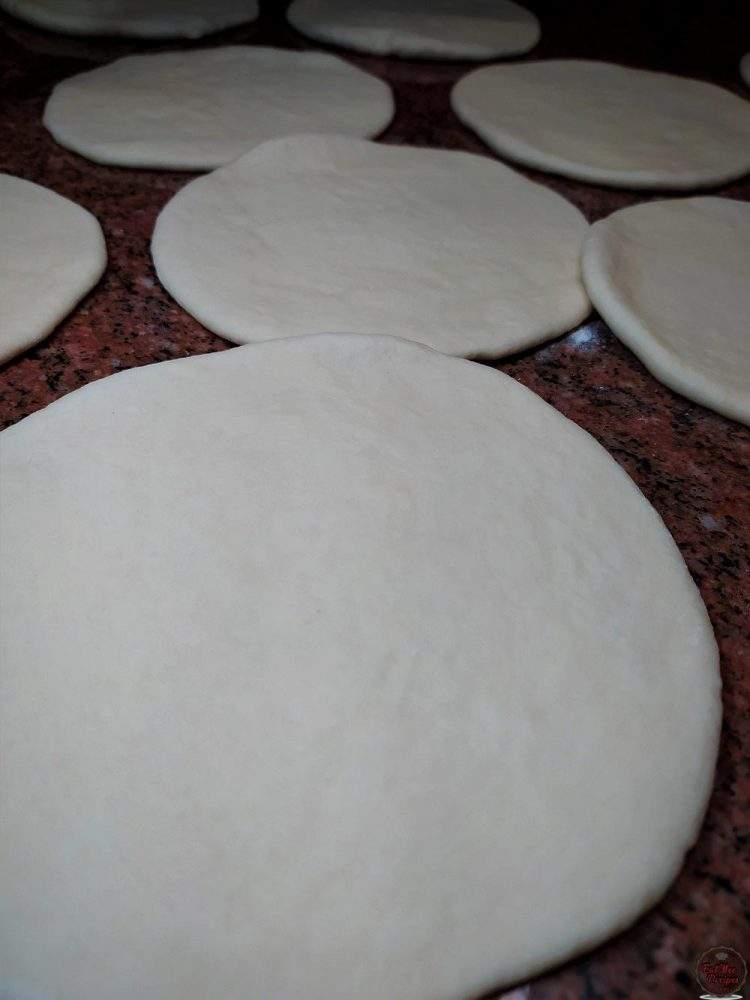
- They should be about ½ centimeter thick.
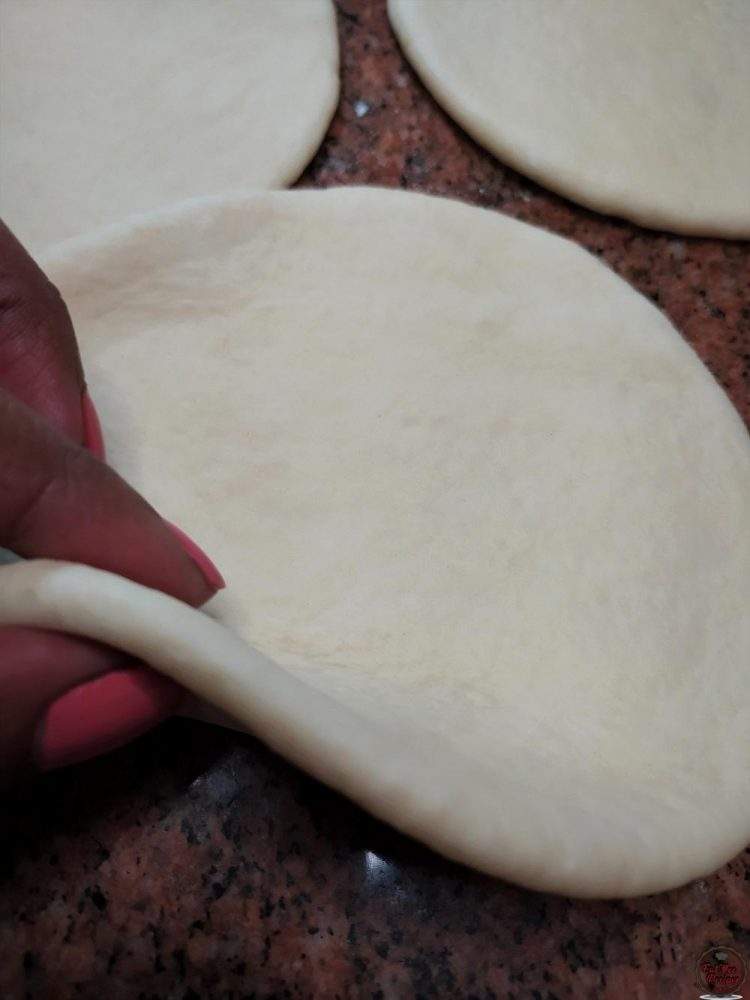
- As they are being rolled out, be sure to cover them with a dish towel to prevent them from drying.
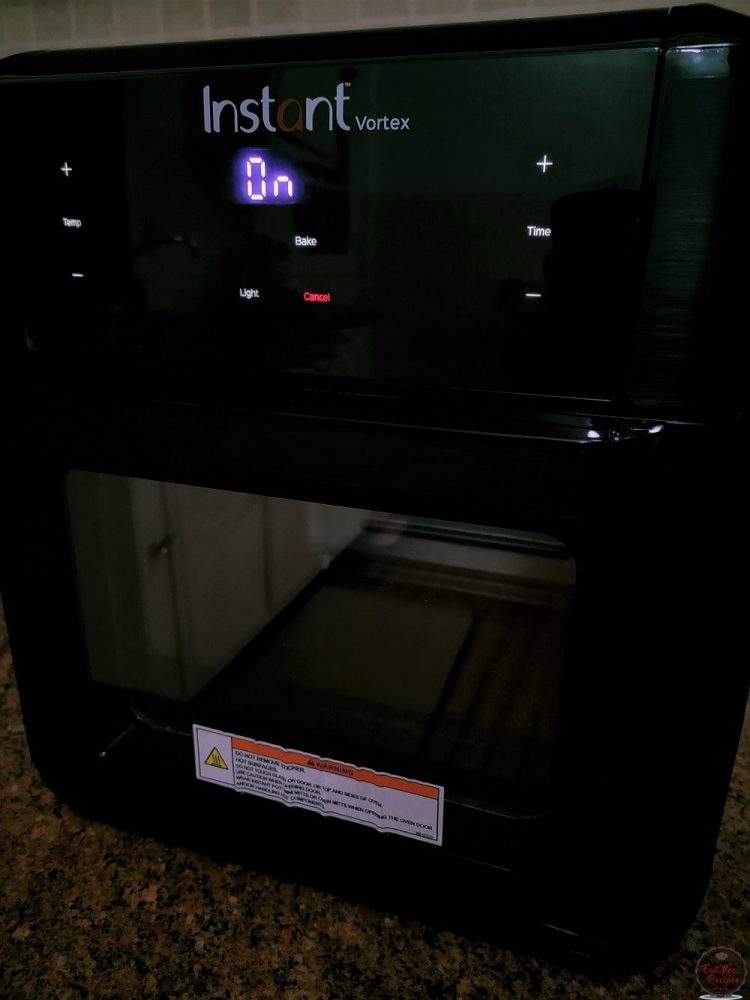
- Turn on your air fryer. I am using my Instant Vortex Air Fryer Oven.
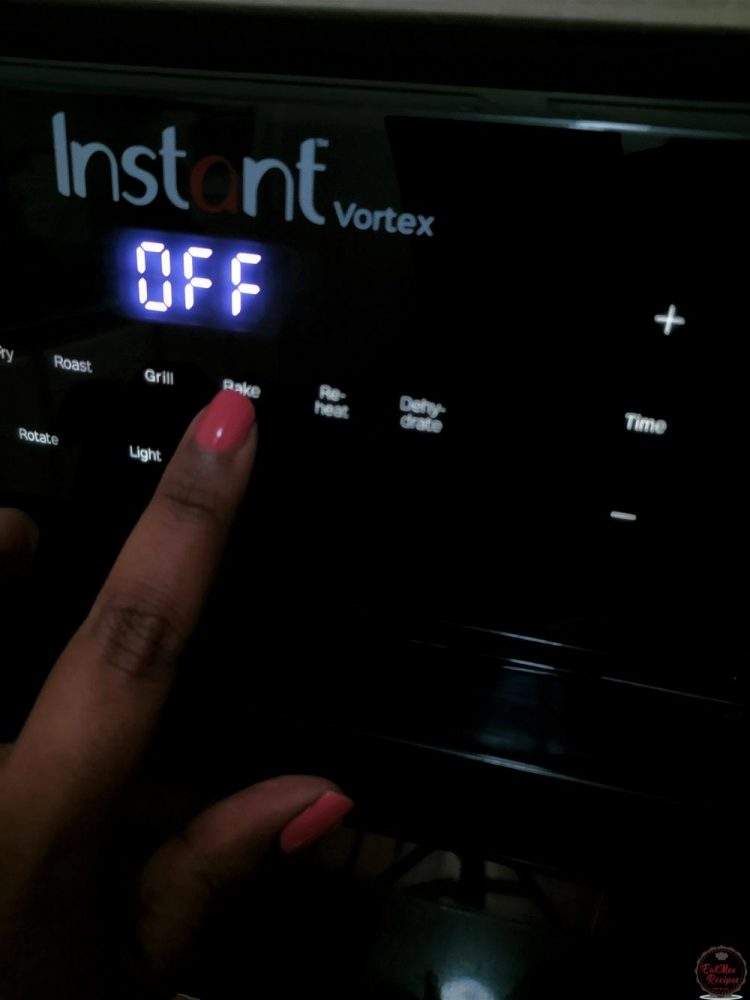
- Press the “Bake” button on the Instant Vortex Air Fryer Oven. Or you can press the “Air Fry” button if your air fryer doesn’t have that option.
- Adjust the “Time” to 00:04 (04 Minutes) & the “Temperature” to 180° Celsius.
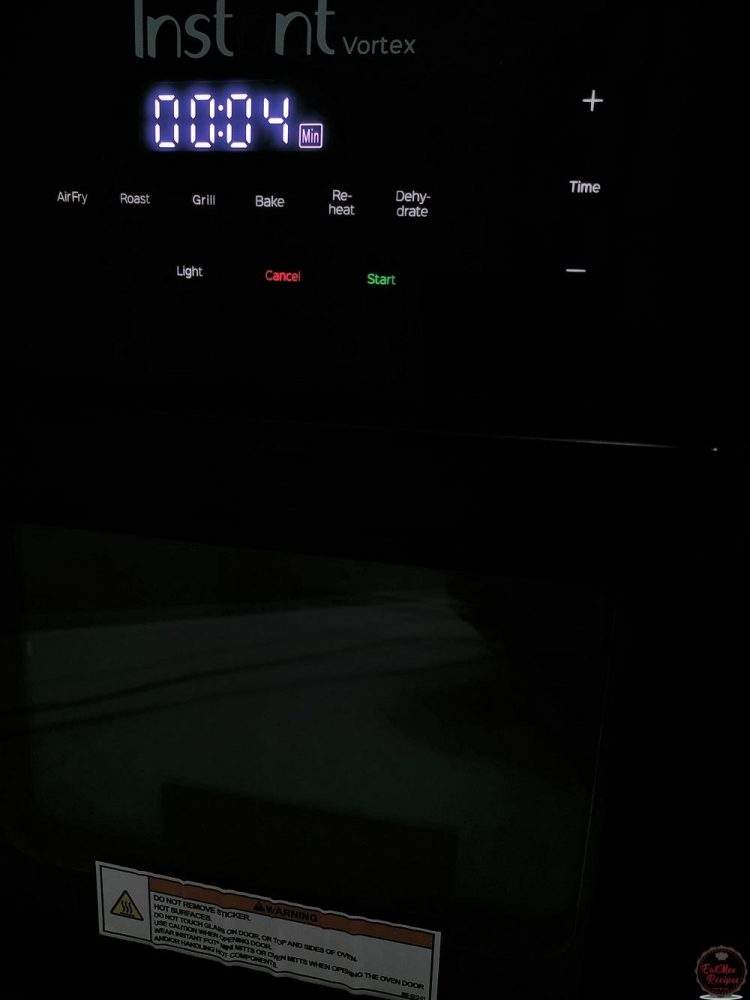
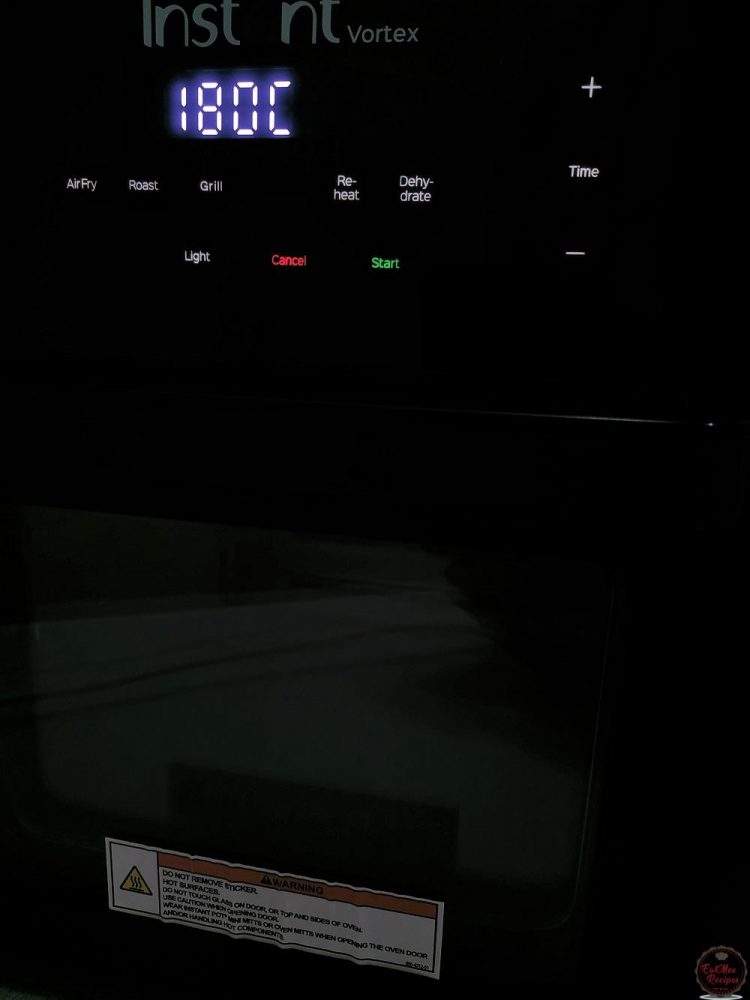
- Press “Start” & allow the air fryer to Preheat.
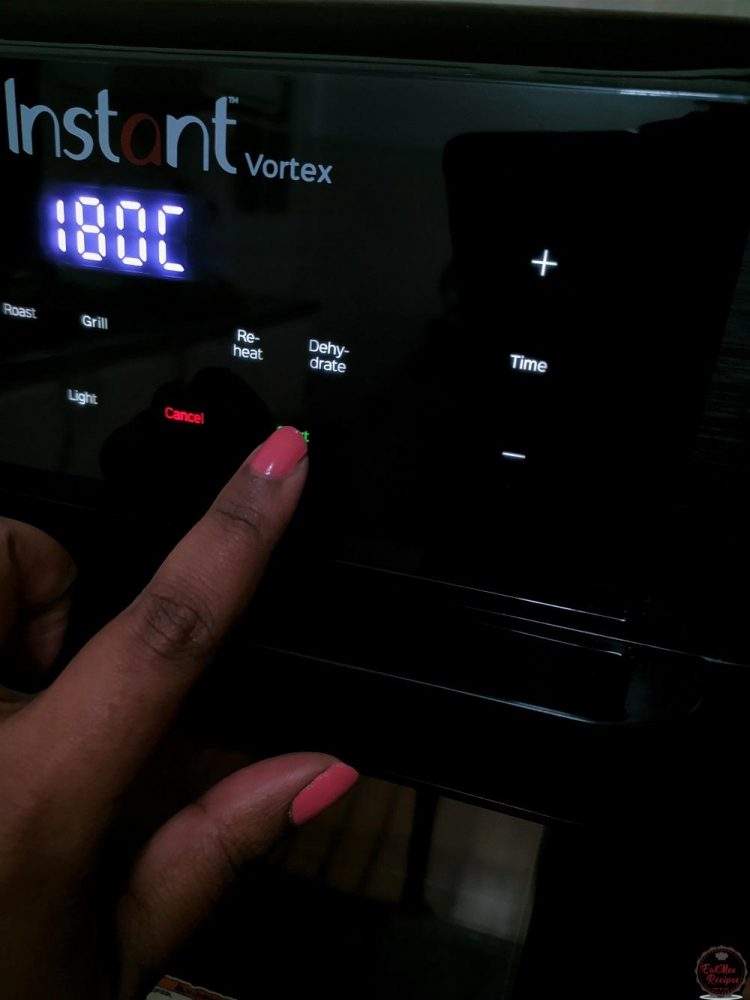
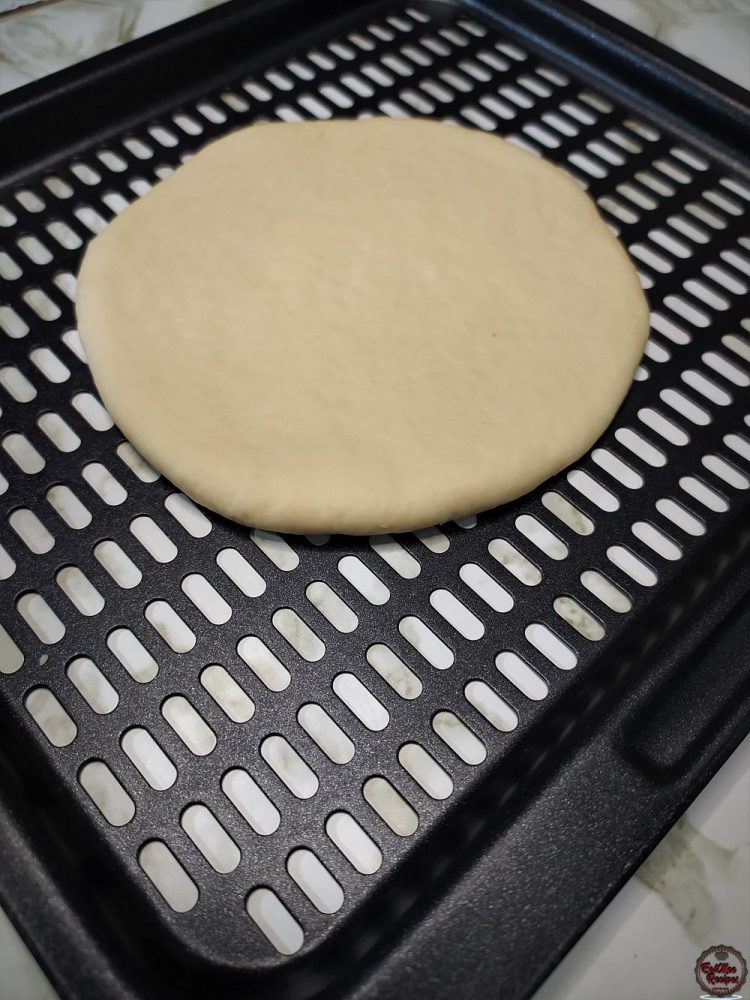
- Place one of the rolled pitas onto the air fryer tray (or into the air fryer basket).
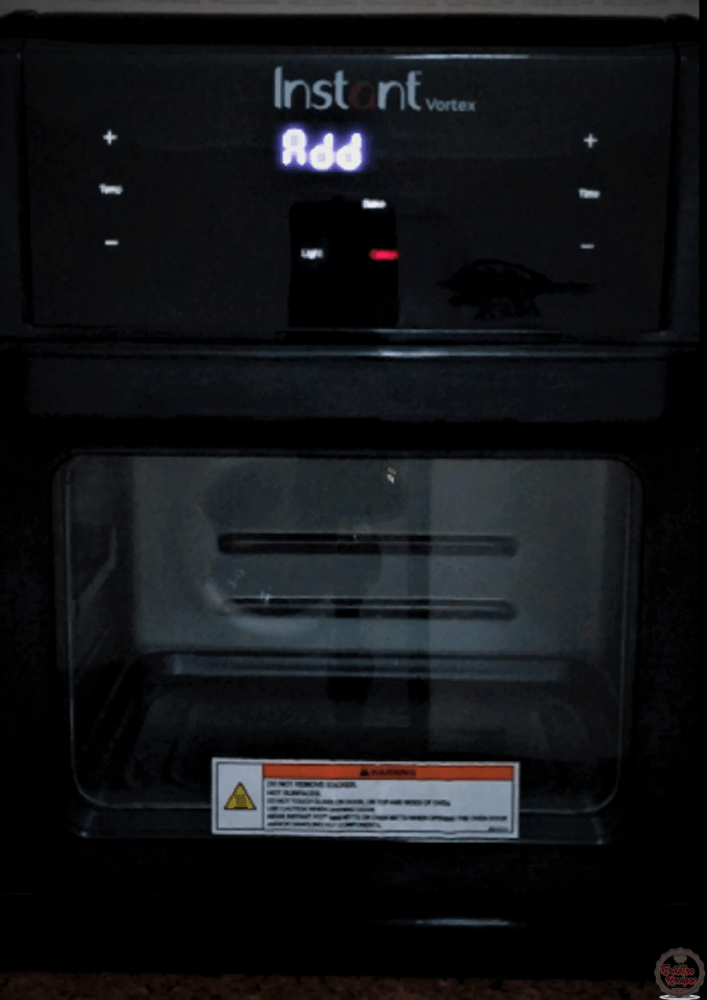
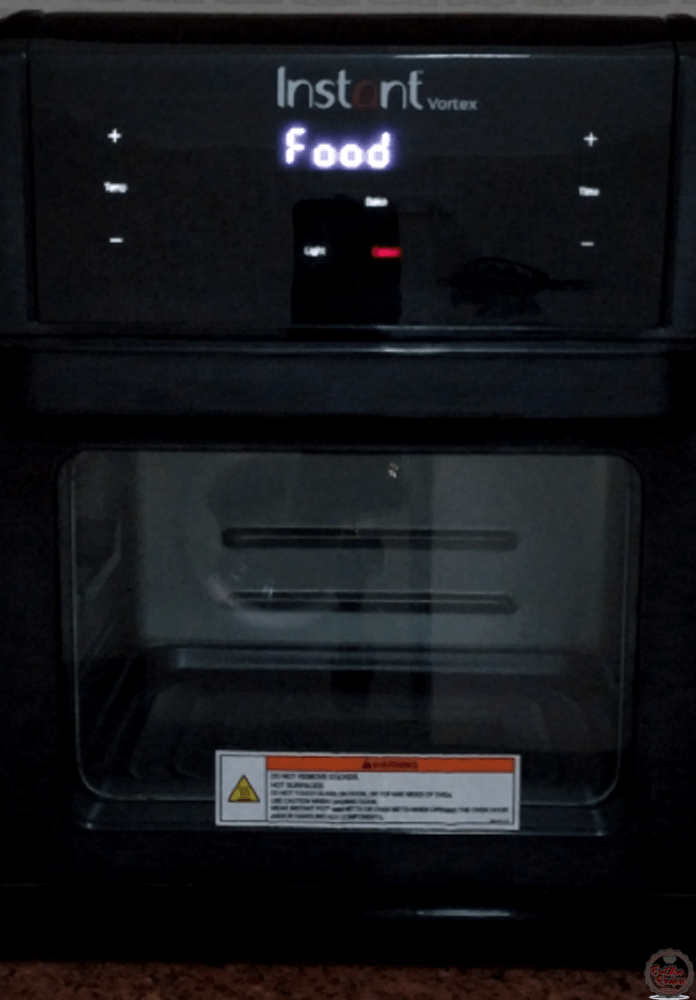
- Once the Air Fryer reads “Add Food”, open it & slide in the tray on the middle rack (or simply pop the air fryer basket in). Alternatively, place the pita dough onto a baking tray & pop it into the preheated oven & bake for about 3 minutes or until golden & puffed.
- For the stovetop, preheat a pan or cast iron skillet over medium high heat. Lay pita on the hot skillet for 30 seconds, once you see it bubbling, flip the pita & toast for 1 minute – it will puff then flip & cook another minute.
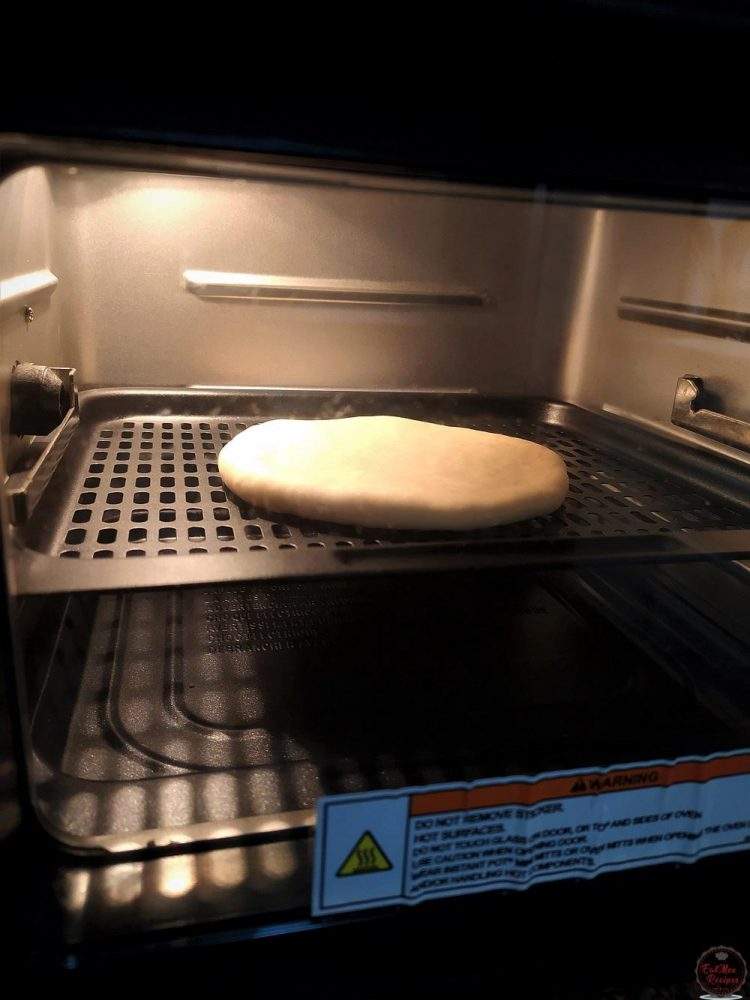
- After 2 minutes, you will notice it start to puff up.
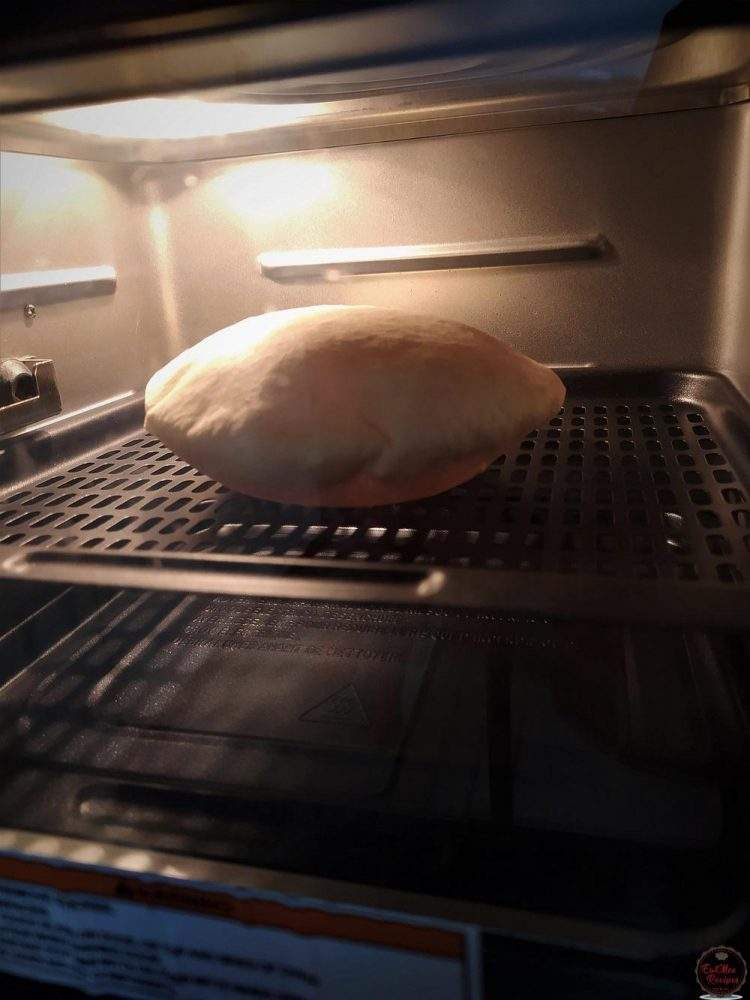
- Pull out the tray (or basket).
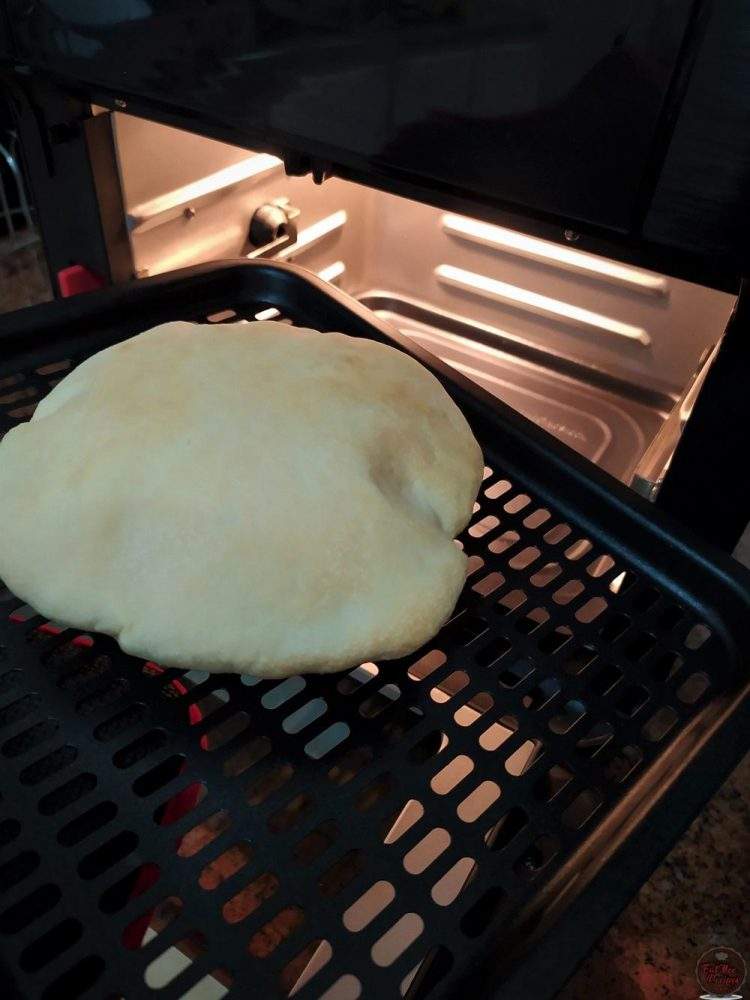
- Carefully flip it over.
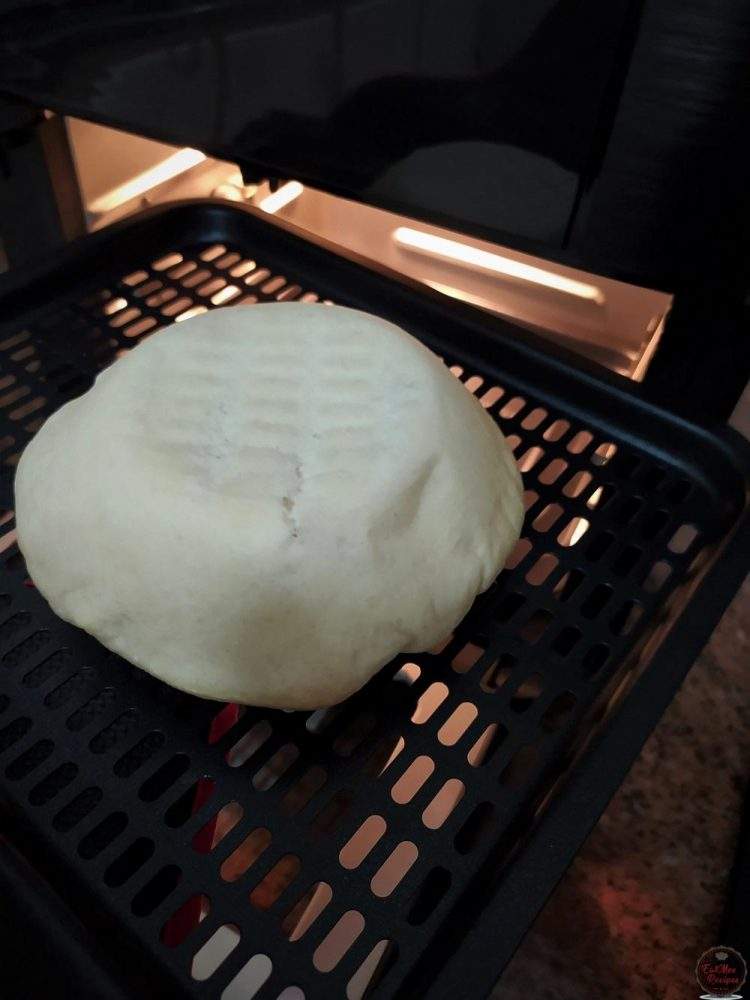
- Pop the tray or basket back into the Air Fryer & allow it to bake for the remaining 2 minutes. Depending on your Air Fryer, keep an eye on it as you don’t want it to get too browned because it will result in hard pitas.
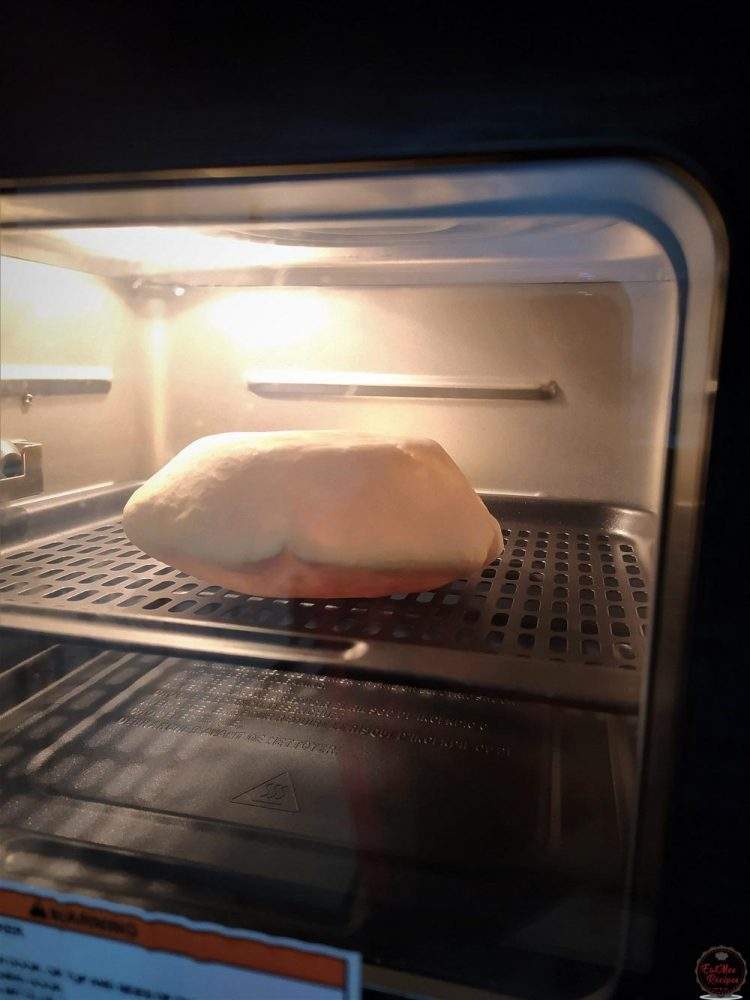
- Once done, they should be perfectly cooked.
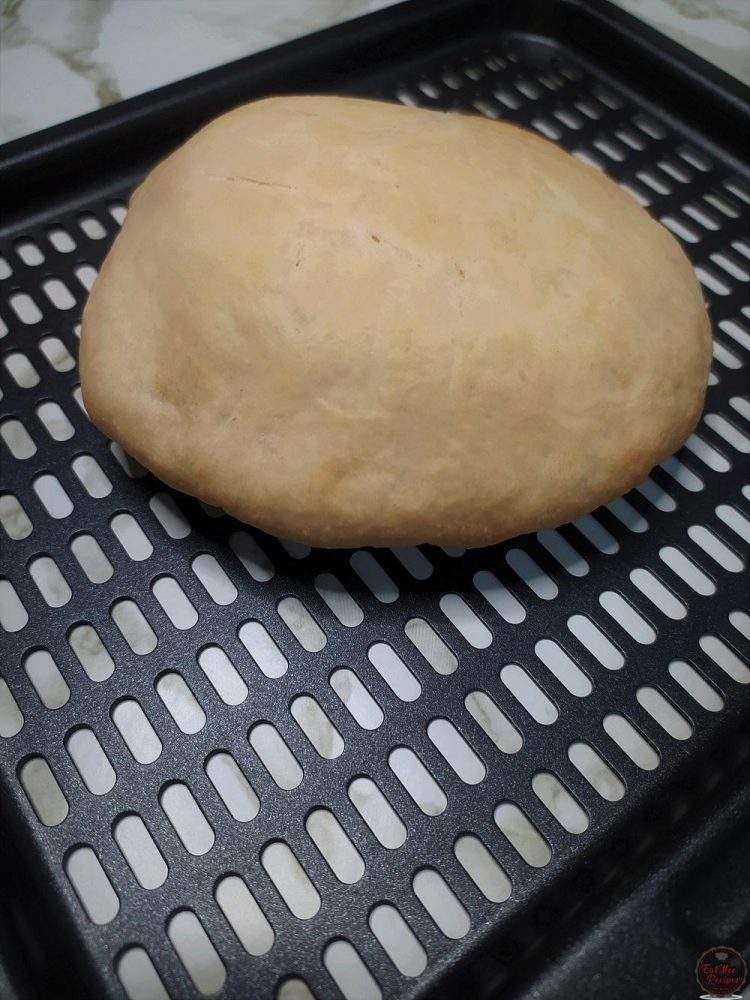
- Serve these Air Fryer Pita Bread however you prefer.
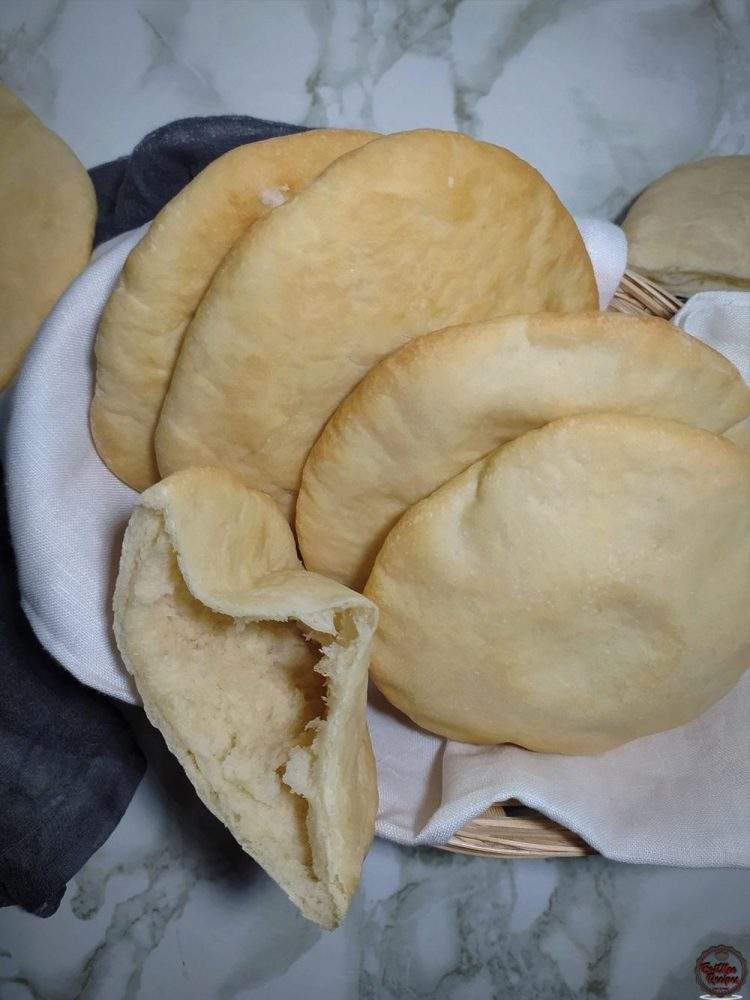
- Usually they are cut in halves or at the tip & it should become a pocket. To this any filling can be added with salads & sauces for a perfect meal.
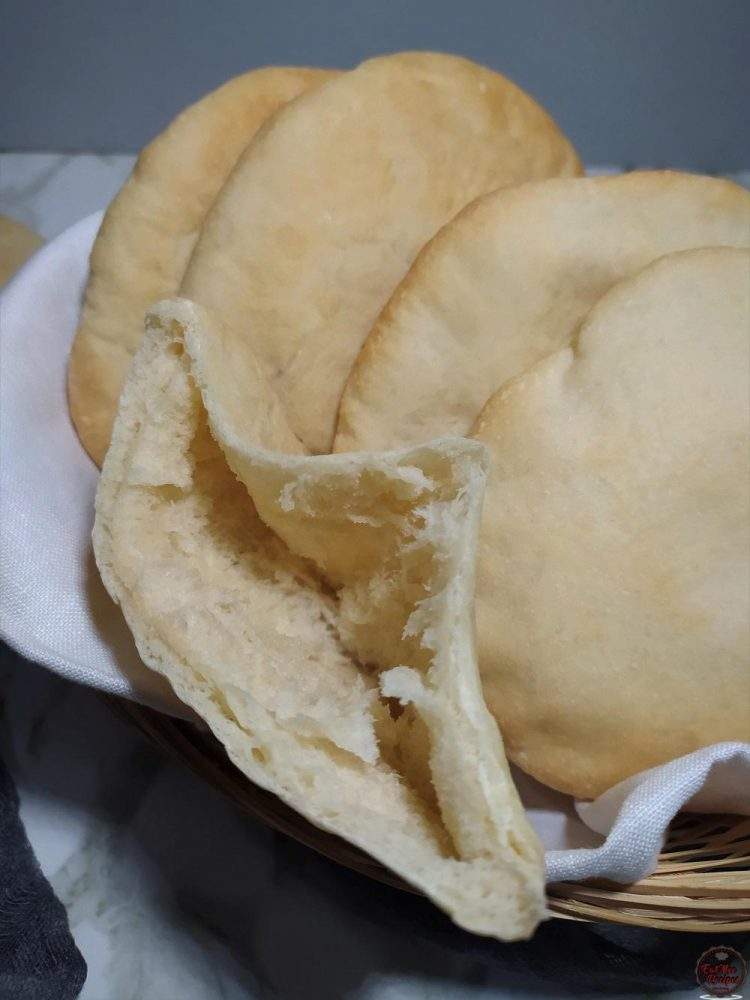
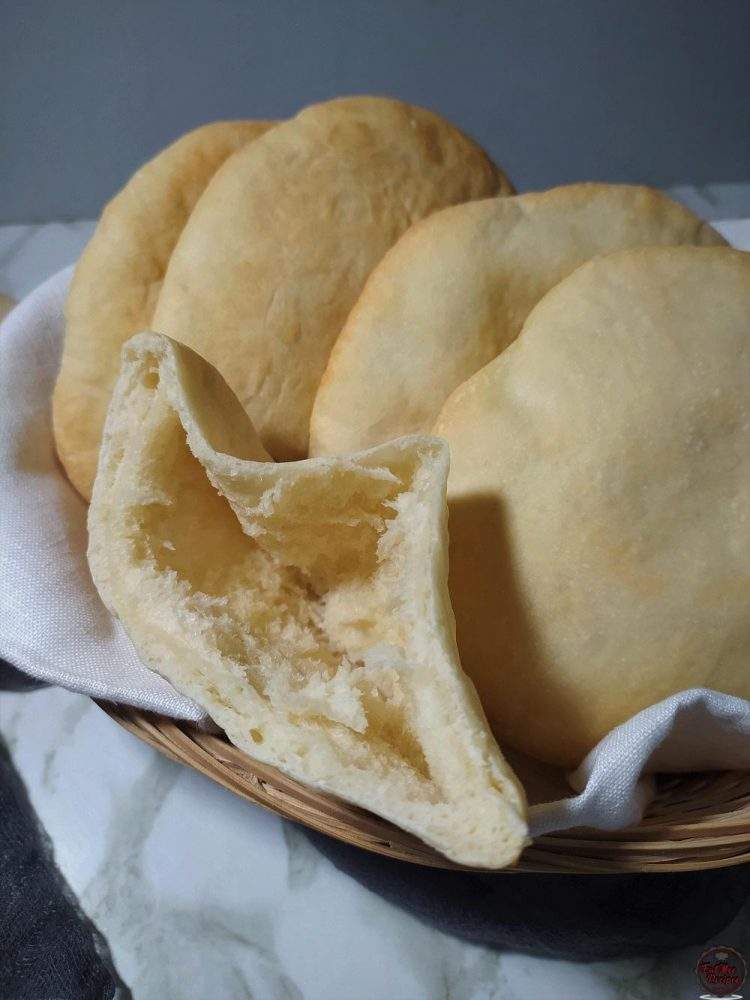
- As you can see, the inside is super fluffy & these pitas are absolutely soft & delicious.
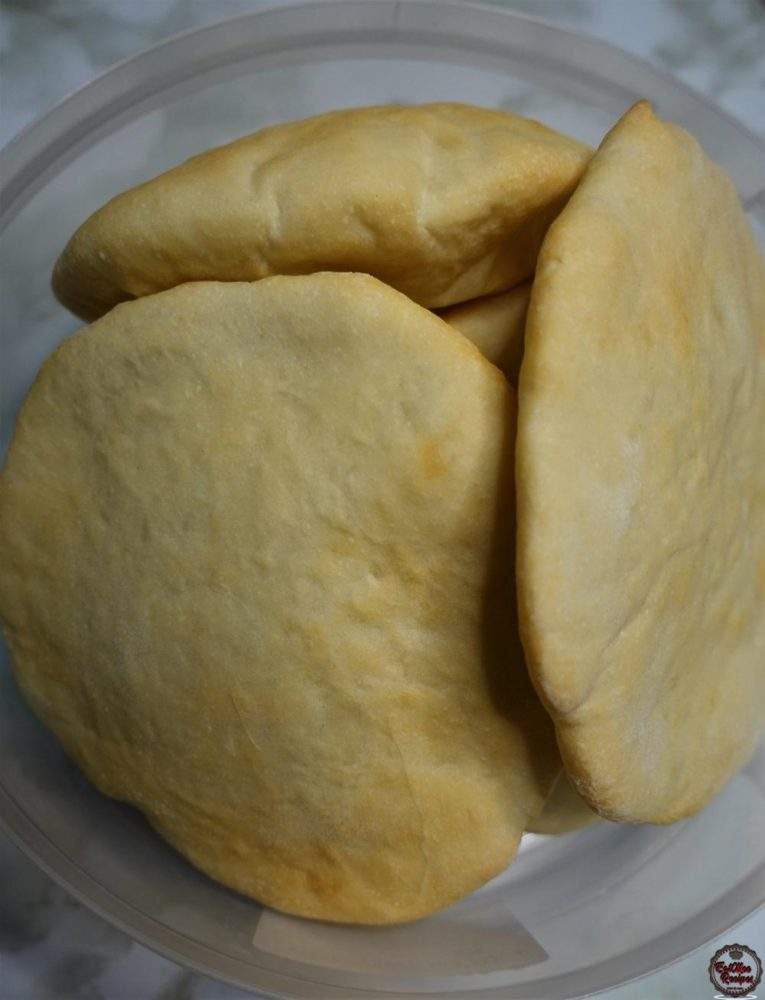
- Store in an air tight container for up to a week.
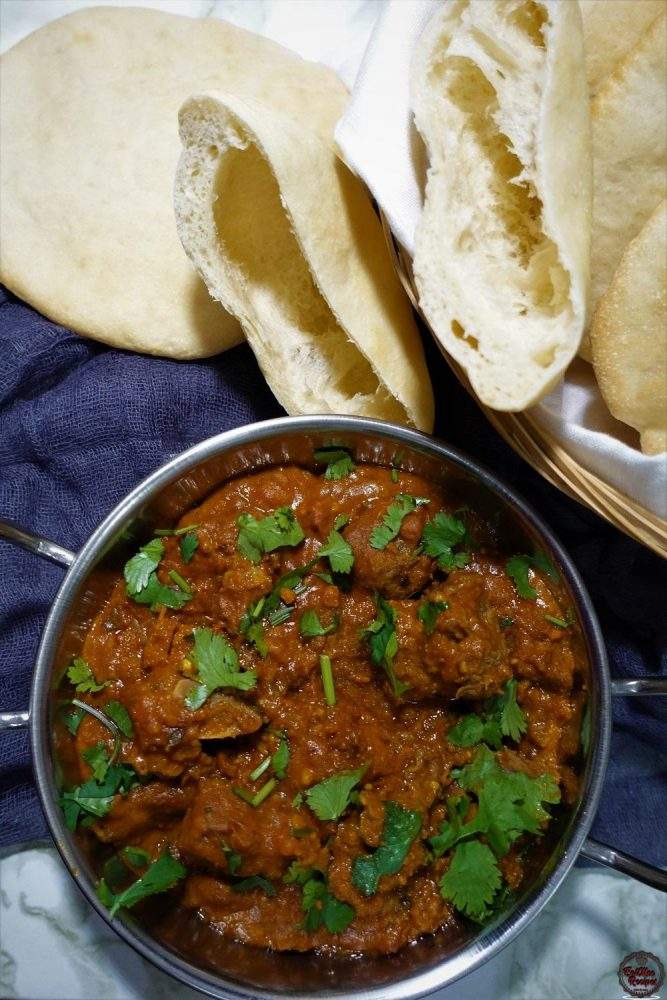
- Apart from serving it as a pocket, I actually love serving it with Dhall Gosht – yes that seems odd but do give it a try, its something will definitely stick because those two just pair so well together.
![]()


