PERI PERI SAUCE
This Recipe Makes ± 500ml
Turn Up the Heat: The Bold, Zesty Magic of Peri Peri Sauce
If you’re looking to add serious flavor to your kitchen game, it’s time to meet your new favorite condiment: Peri Peri Sauce. This fiery, tangy, and utterly addictive sauce hails from a blend of African and Portuguese culinary traditions, and it’s taking over menus and home kitchens for a reason. But what exactly is Peri Peri, and how can you use it? Let’s dive in.
🌶 What Is Peri Peri Sauce?
Peri Peri (also spelled Piri Piri or Pili Pili) means “pepper pepper” in Swahili — and that tells you everything you need to know. The star ingredient is the African bird’s eye chili, a small but mighty pepper known for its intense heat. These chilis are blended with garlic, lemon juice, vinegar, oil, and spices like paprika, oregano, and sometimes smoked flavors.
Originating in southern Africa and popularized globally by Portuguese explorers (and later, restaurants like Nando’s), Peri Peri sauce is a fusion of fire, tang, and bold flavor. It’s a staple in Mozambique, Angola, South Africa, and now kitchens around the world.
🍗 How to Use Peri Peri Sauce
This sauce is more than just heat — it’s a flavor bomb. Here are a few delicious ways to use it:
-
Marinade: Perfect for chicken, shrimp, or tofu. Let it soak overnight for deep flavor.
-
Grill Baste: Brush it on meats or veggies as they sizzle on the grill.
-
Dip: Mix with mayo or yogurt for a spicy dip or sandwich spread.
-
Stir-In: Swirl into pasta, rice bowls, or roasted veggies.
-
Pizza Drizzle: Give your slice a kick with a drizzle of Peri Peri.
Peri Peri Sauce Ingredients:
Roasting:
- 1 red bell pepper
- 1 onion
- 3-4 cloves of garlic
- 1 pimento pepper
- ¼ teaspoon salt
- 2 tablespoons olive oil
Blending:
- roasted ingredients from above
- 1 teaspoon salt
- ½ teaspoon fine black pepper
- 1 tablespoon dried oregano
- 1 tablespoon paprika
- 1 tablespoon cayenne pepper
- zest of 1 large lemon
- 20 bird’s eye chillies
- 4 green chillies
- ¼ cup lemon juice
- ¼ cup white spirit vinegar
Cooking:
- blended ingredients from above
- ½ cup vegetable oil
- ¼ cup lemon juice
- ¼ cup white spirit vinegar
- 1 teaspoon sugar
Method:
- Preheat the oven to 225° Celsius and line a baking tray with baking paper.
- Slice the bell pepper in half, quarter the onions, slice the pimento pepper and add the peeled garlic cloves onto the lined baking tray.
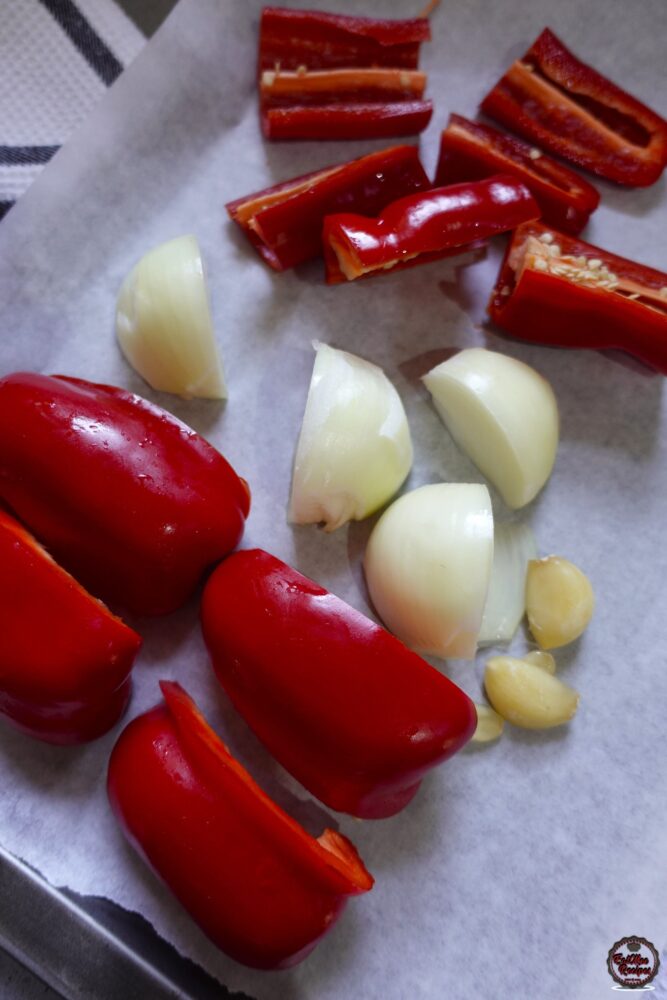
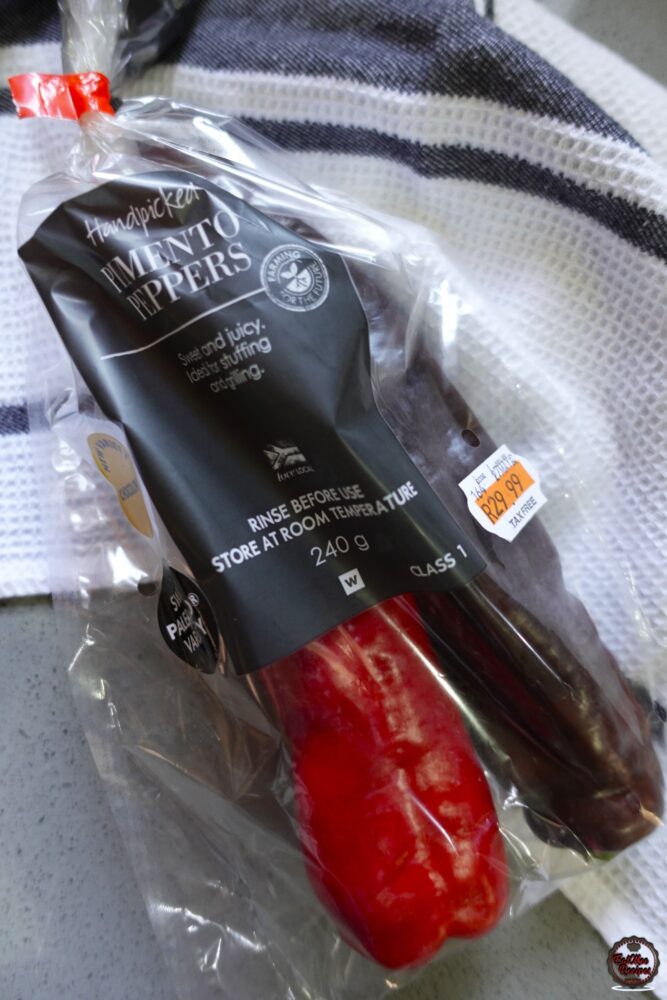
- I found the pimento pepper at Woolworths – if you can’t find it, use an extra ½ of the normal red bell pepper.
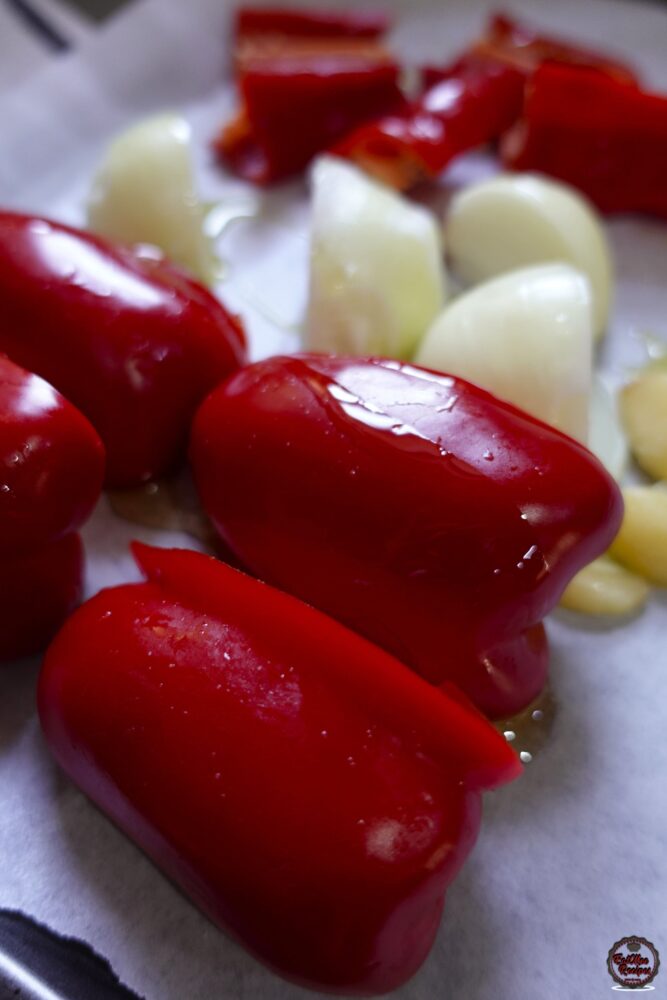
- Add salt and olive oil over the vegetables.
- Toss well and roast in the oven for 30 minutes or until they are nicely charred.
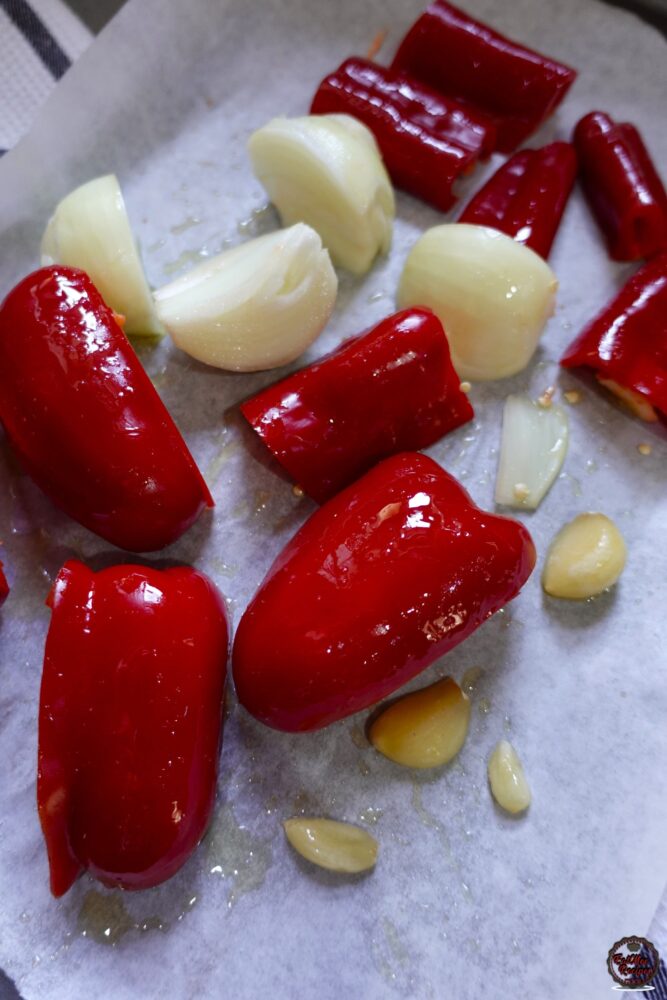
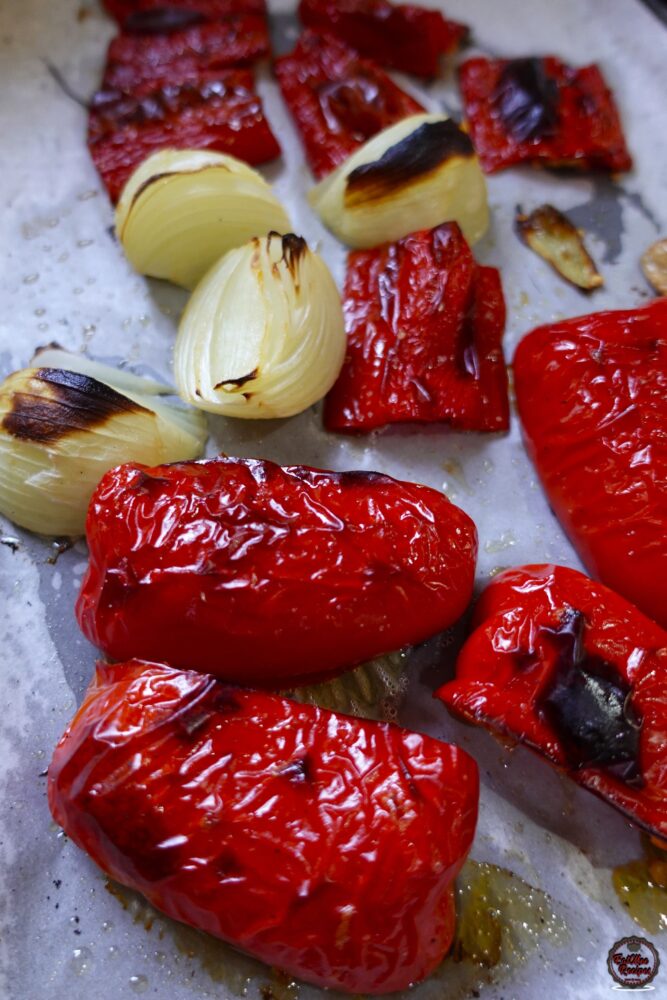
- Allow the roasted vegetables to cool before adding it to the blender as it will make it impossible to open your blender if it’s still too hot.
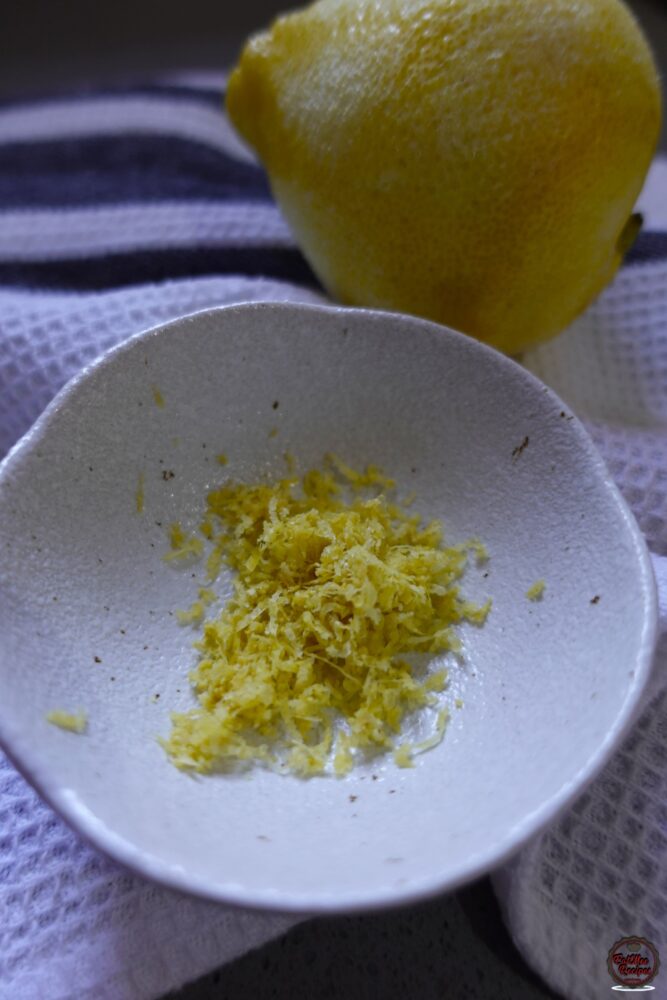
- Whilst waiting for the veggies to cool, zest a large lemon.
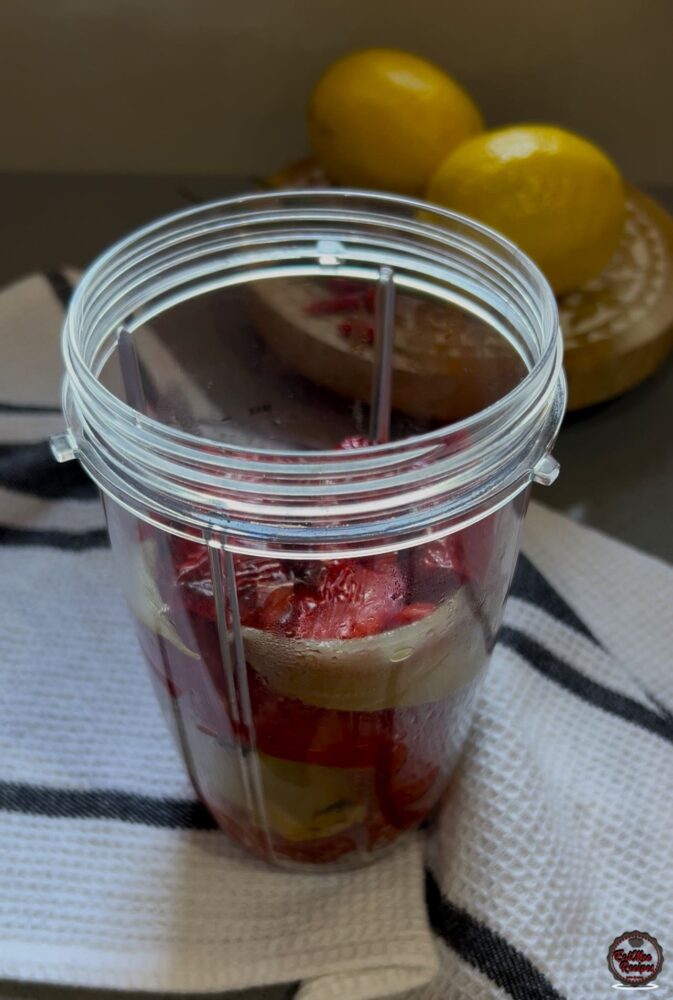
- Once the veggies have cooled, add them to a blender.
- Add salt, fine black pepper, dried oregano, paprika, cayenne pepper and the lemon zest.
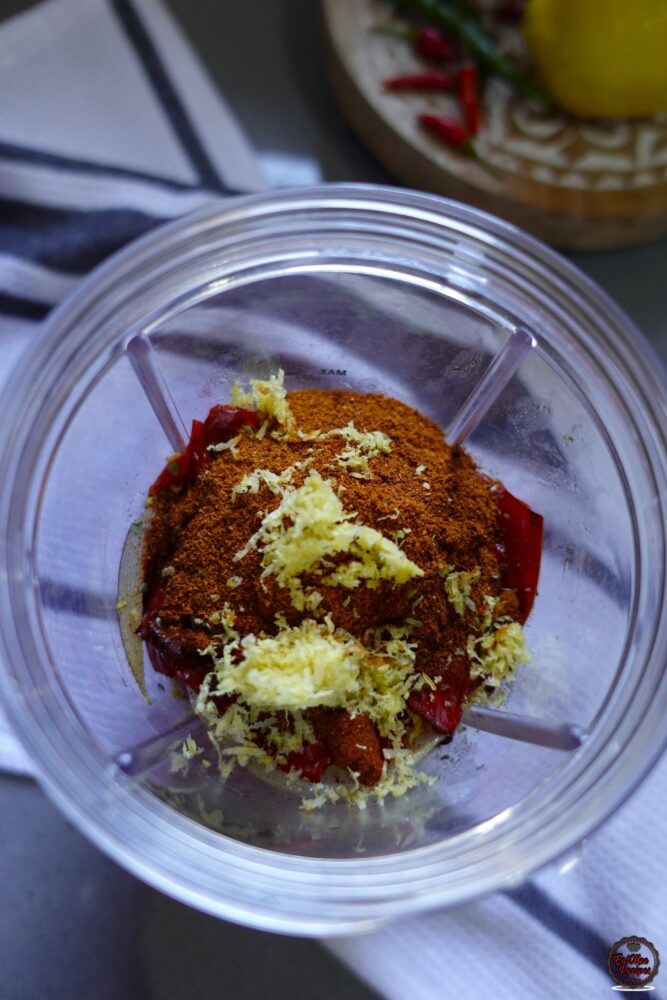
- Next, I have used 4 green cayenne chillies and 20 bird’s eye chillies – this is going to give you a “medium” heat level so you may add more or less depending on your preference. Make sure to remove the stems.
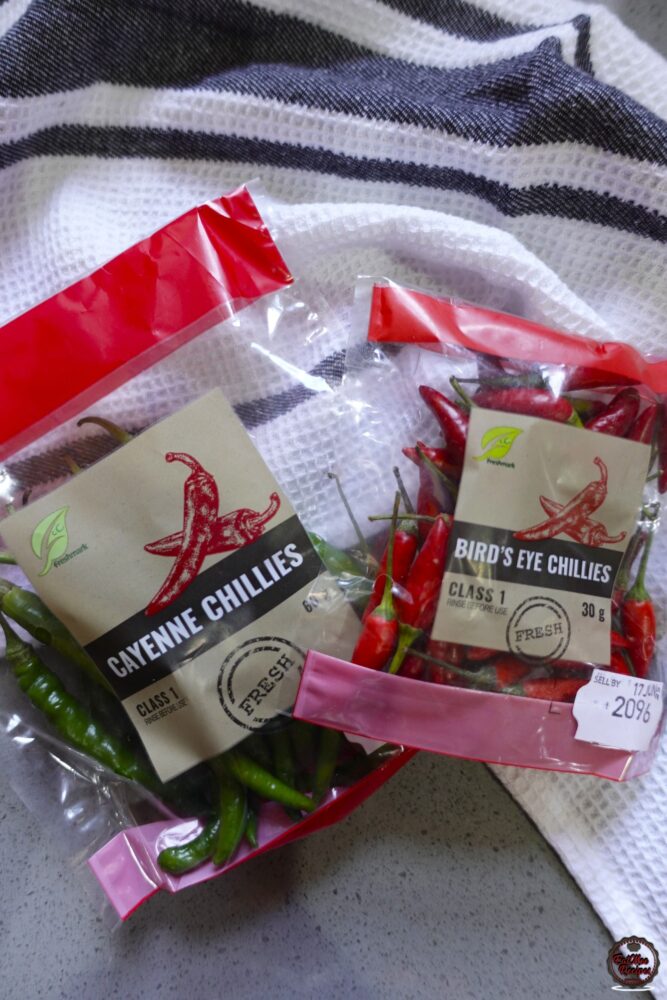
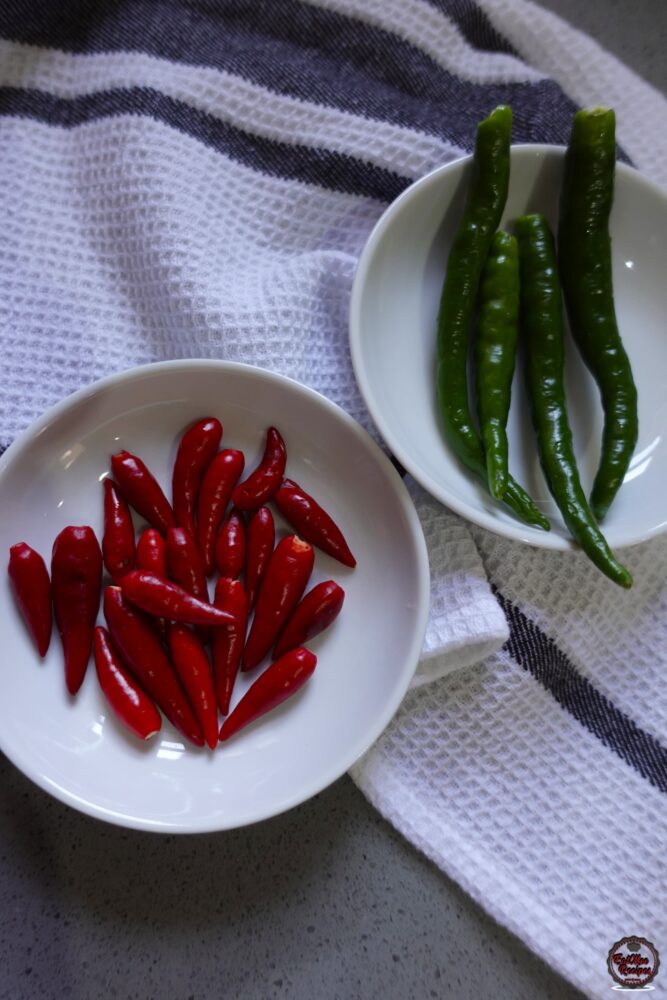
- Add the chillies.
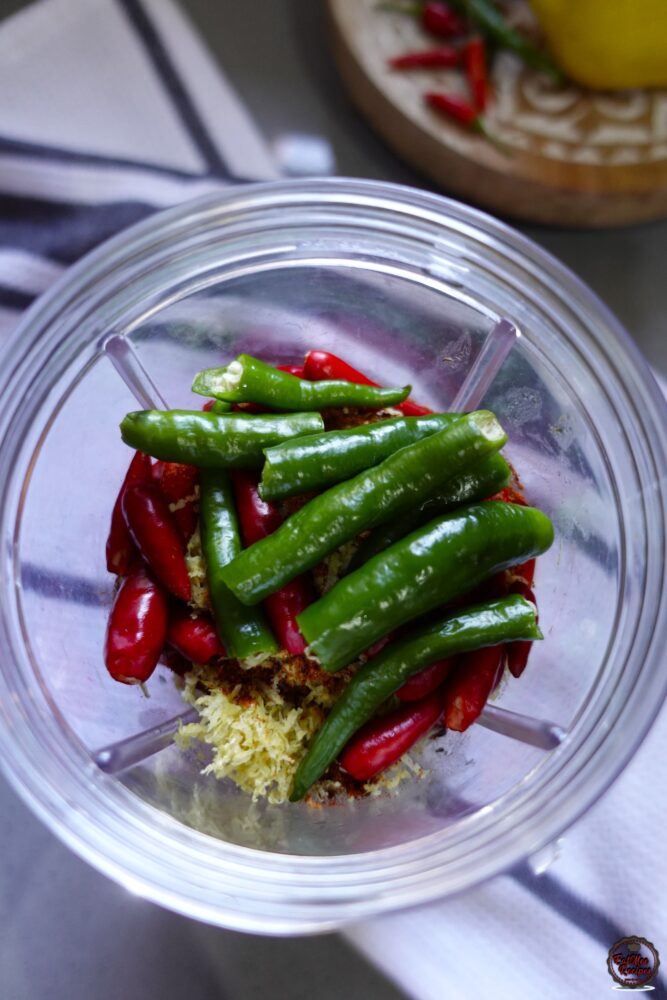
- Pour in the lemon juice and white vinegar.
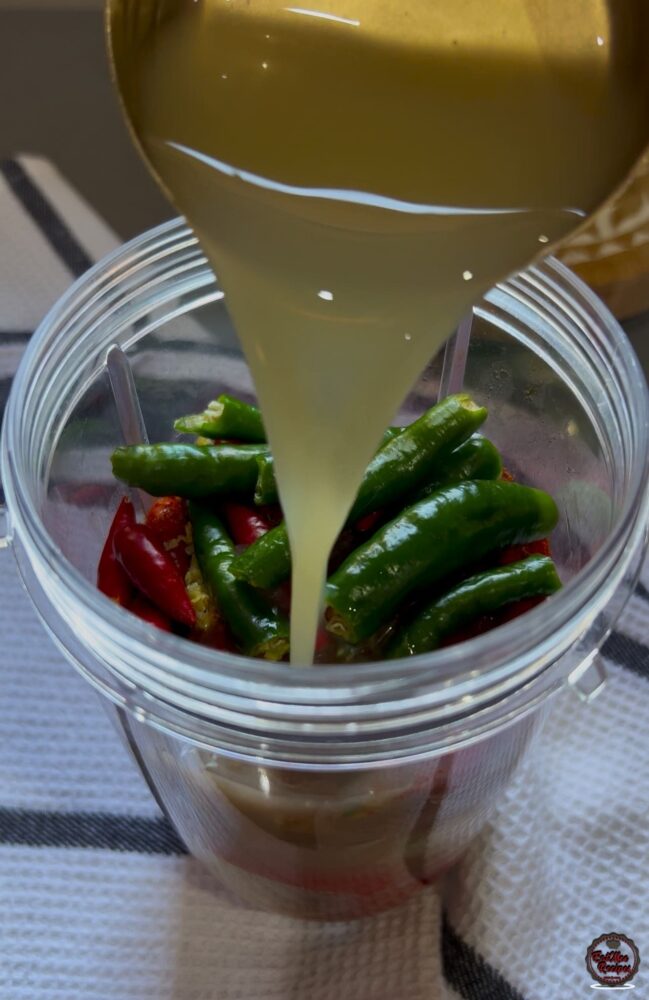
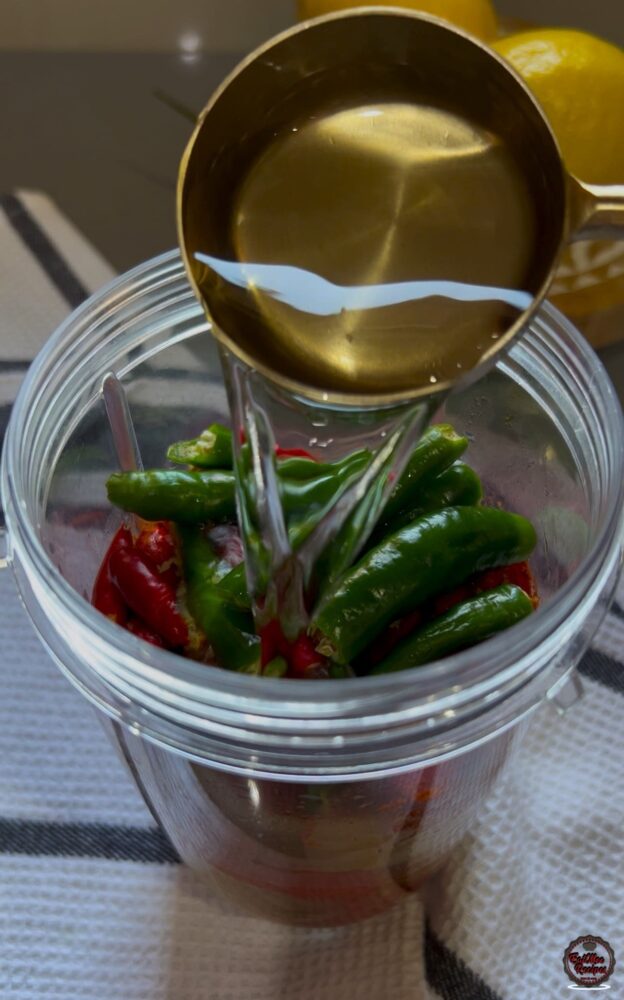
- Most people tend to use sherry vinegar or apple cider vinegar, but I find regular white vinegar works fine.

- Blend together until smooth.
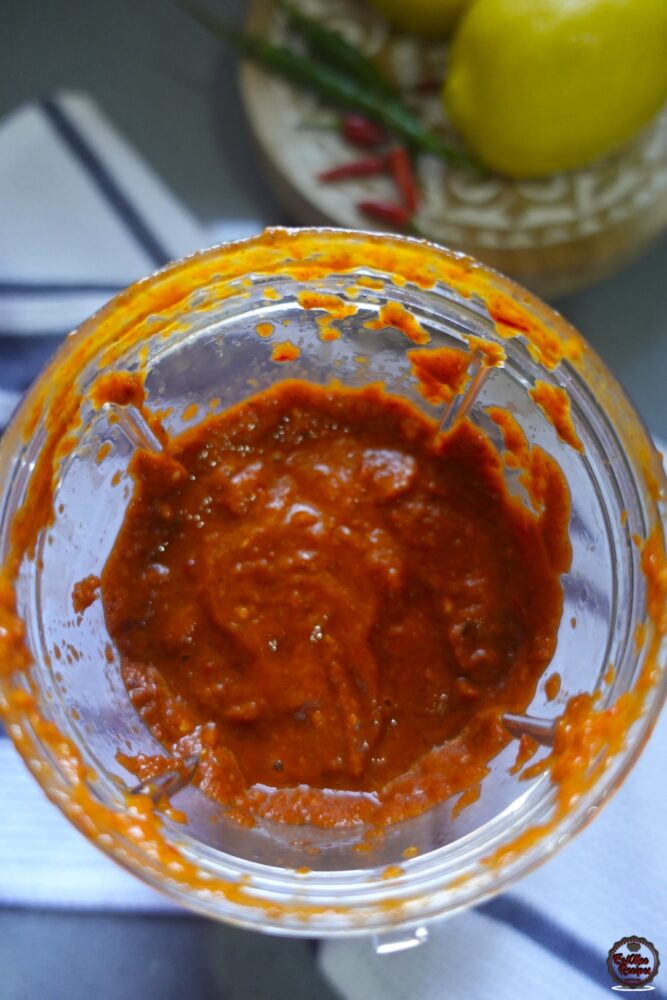
- The consistency should be quite thick once blended.
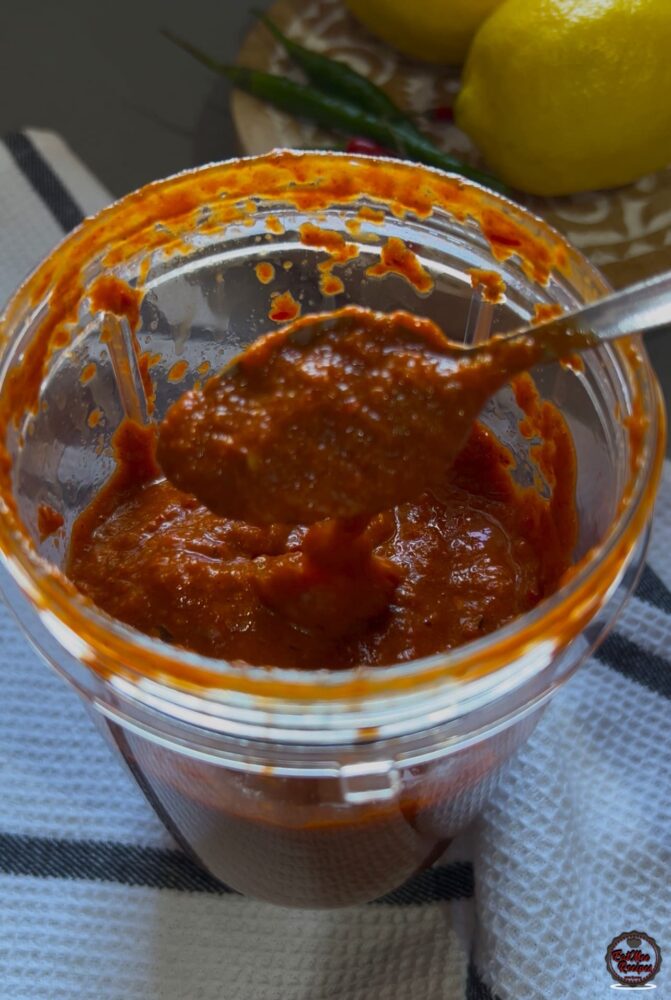
- To a pot on low heat, add in the blended mixture.

- Stir and allow it to simmer for 5 minutes. This will allow the raw spices to cook through.
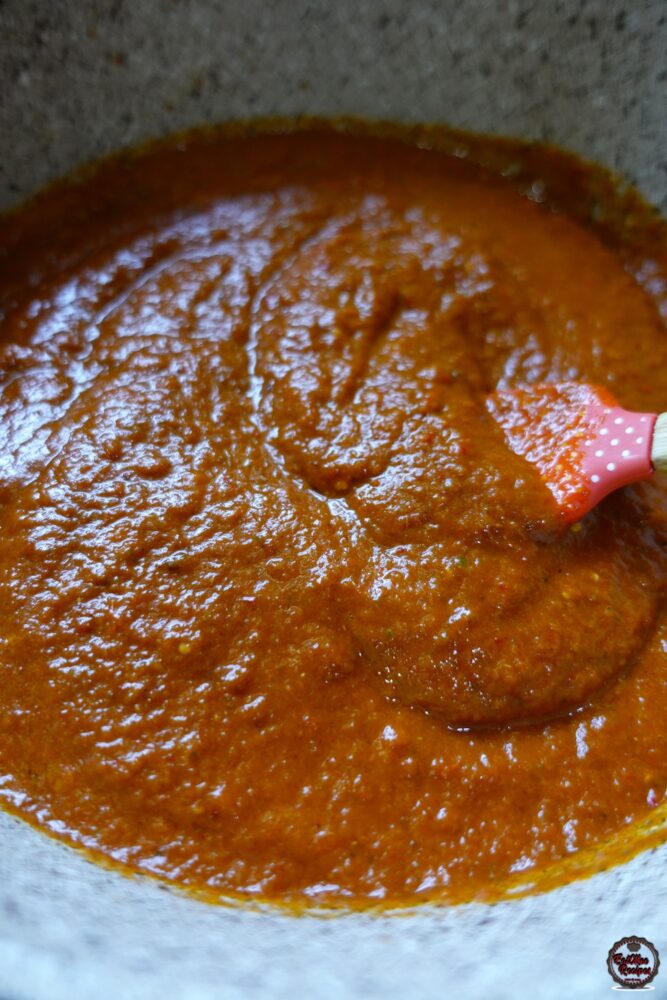
- After 5 minutes, pour in the vegetable oil. Other oils such as olive or avocado can change the taste so it’s better to use vegetable oil instead. Pour in the lemon juice and white vinegar.
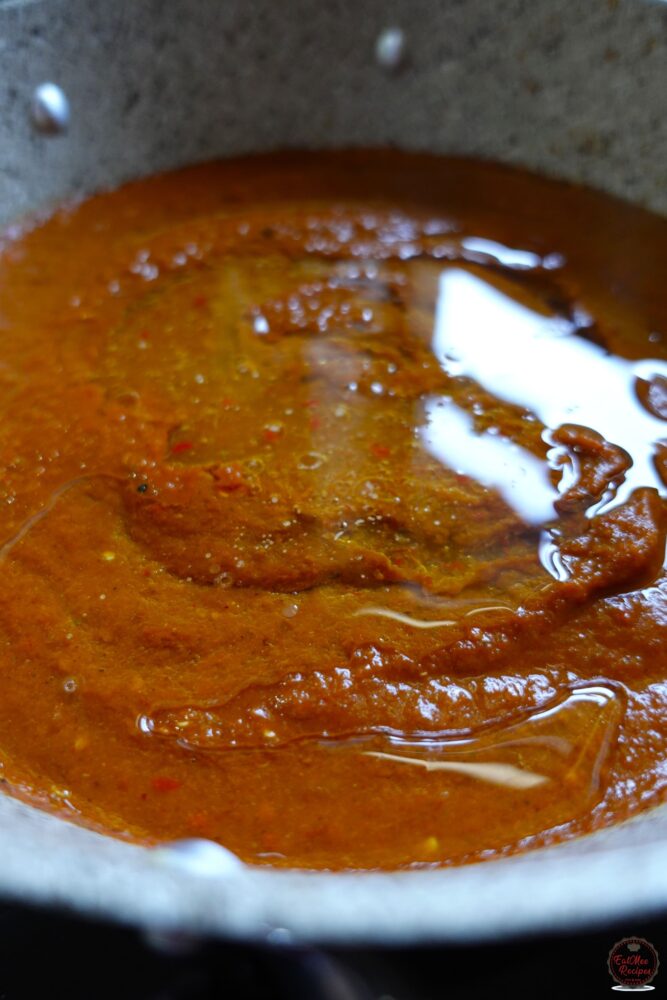
- Stir this until the oil absorbs into the mixture.
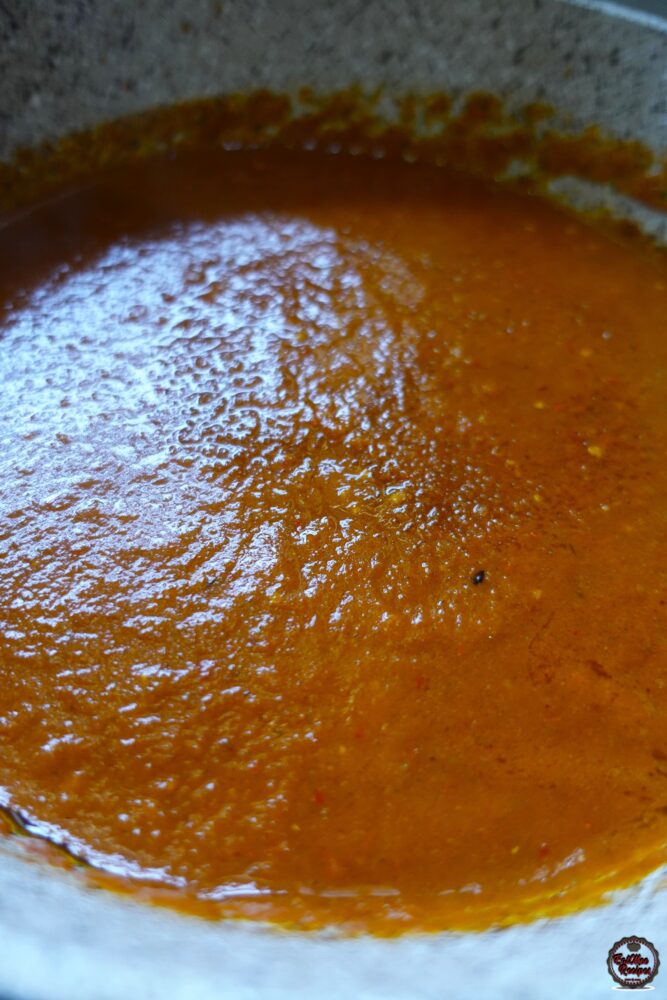
- Add in the sugar to balance out the tanginess, stir and simmer for a further 10 minutes.
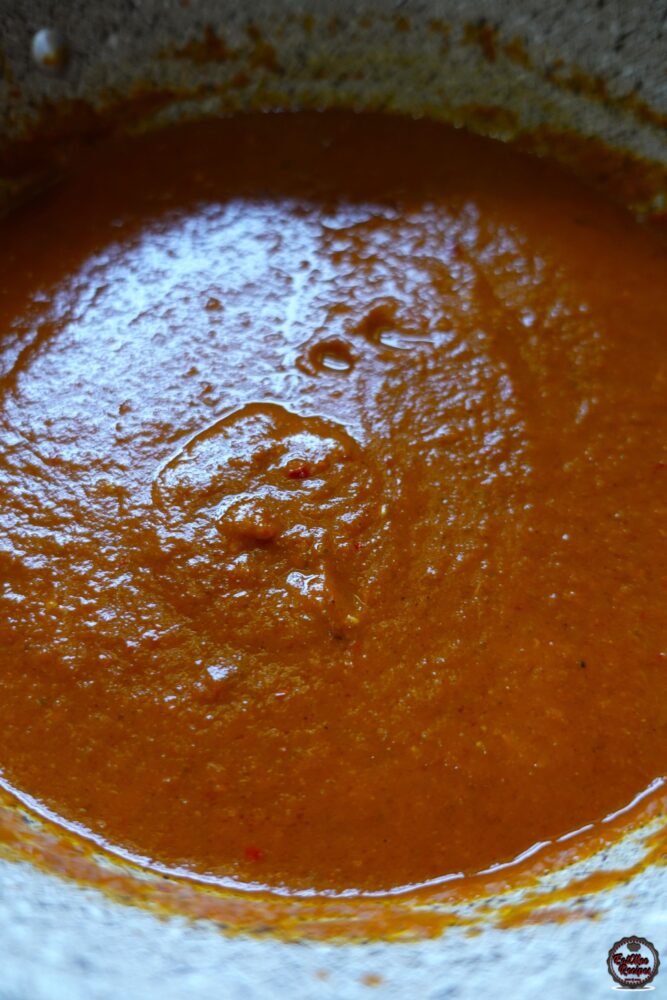
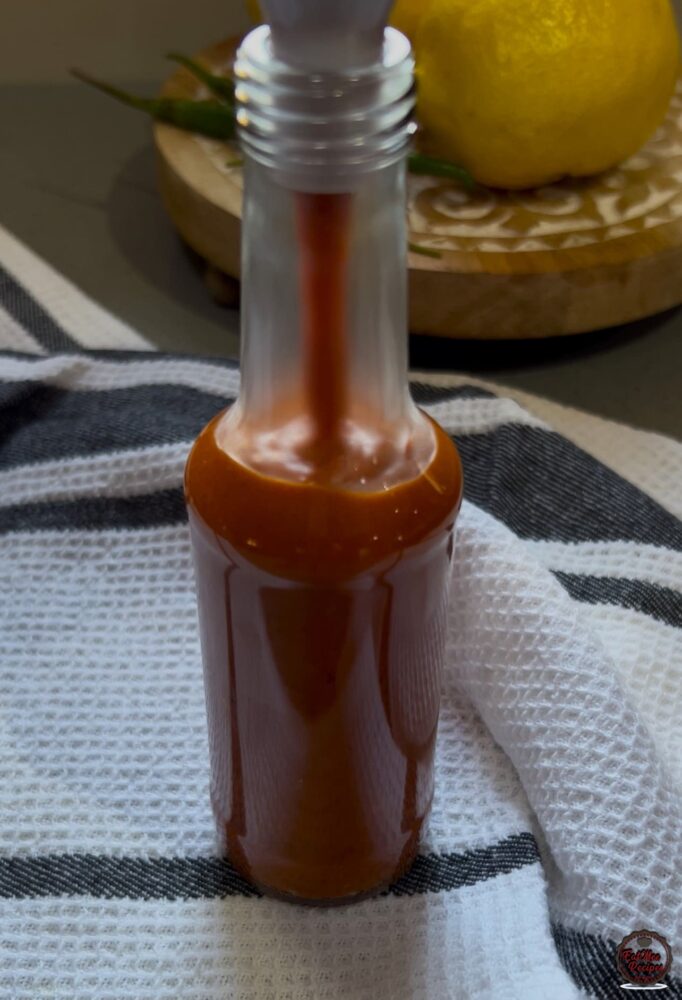
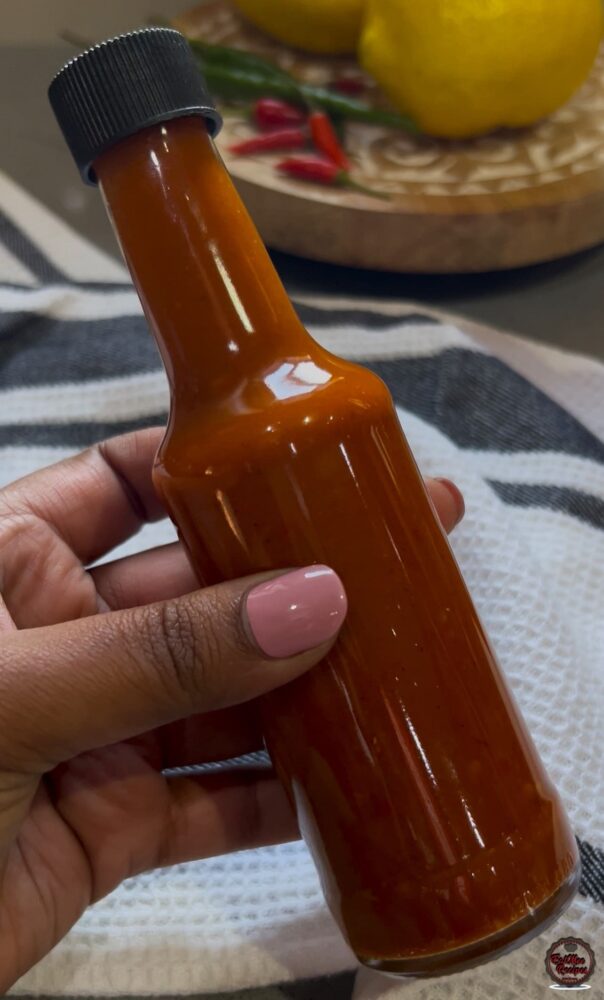
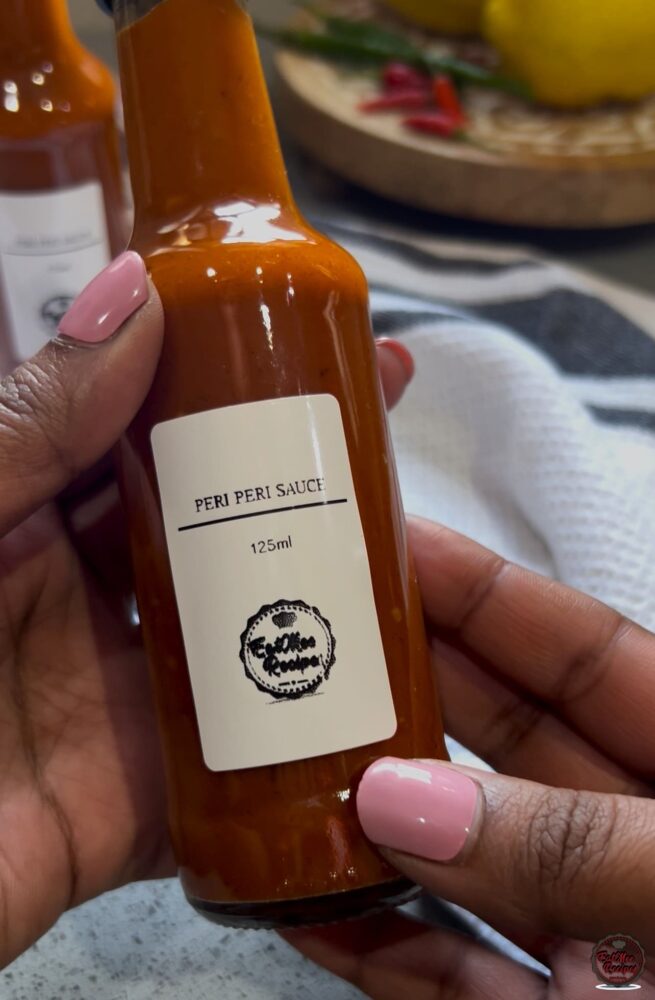
- Allow the sauce to cool and then decant into bottles or jars.
- Add some chopped basil leaves.
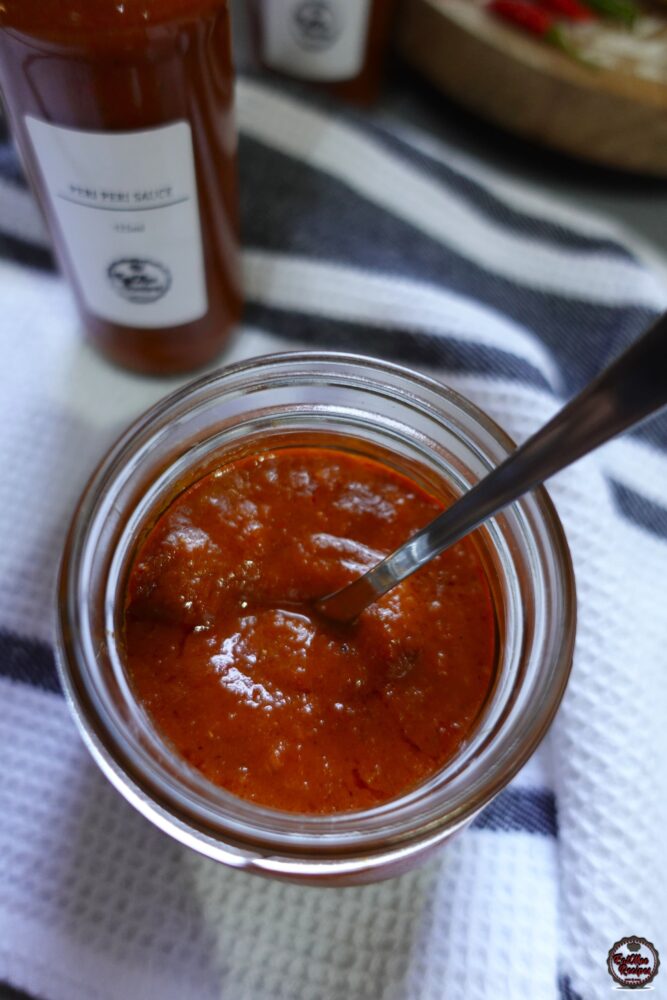
- Refrigerate the sauce overnight for best results as it is going to be very vinegary after it has been made. It needs time to settle and balance out the flavours.

- I also prefer my sauce a bit thick, but you can water it down for a thinner consistency.
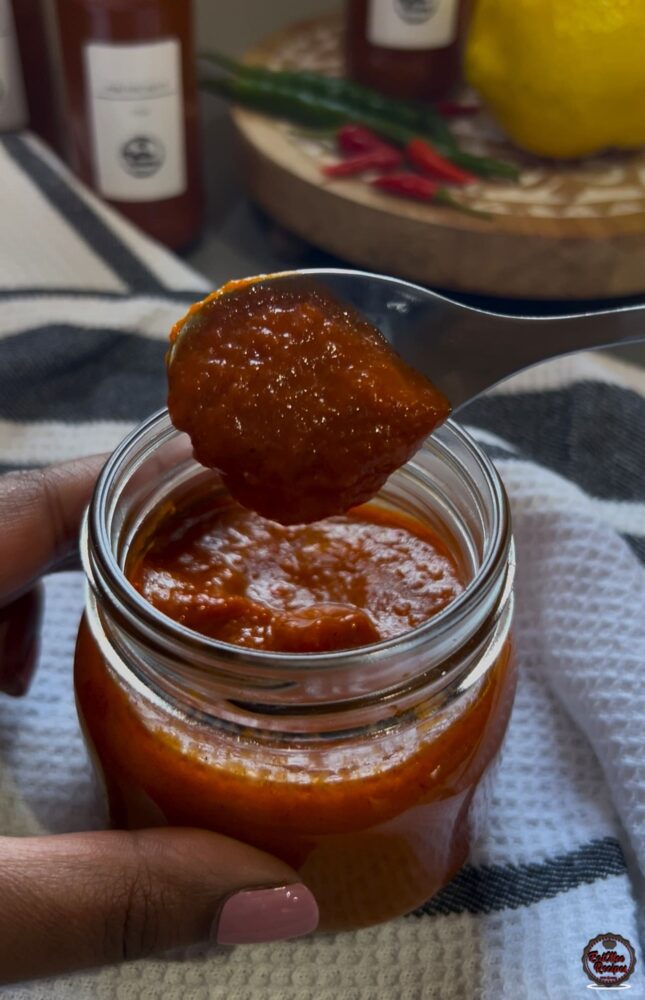
- This sauce can be stored in the fridge for up to 6 months.
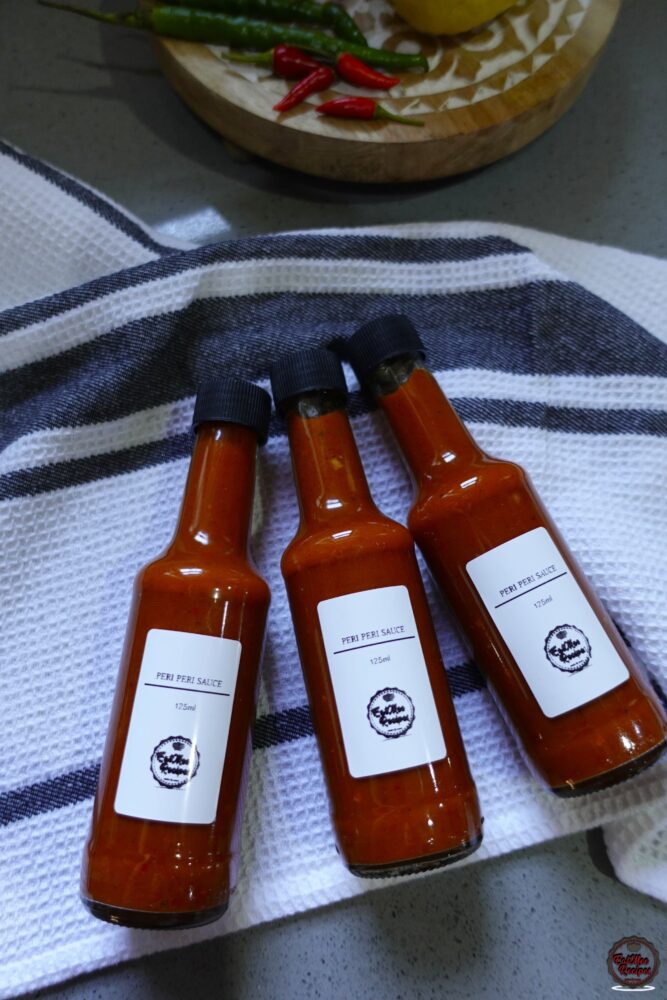
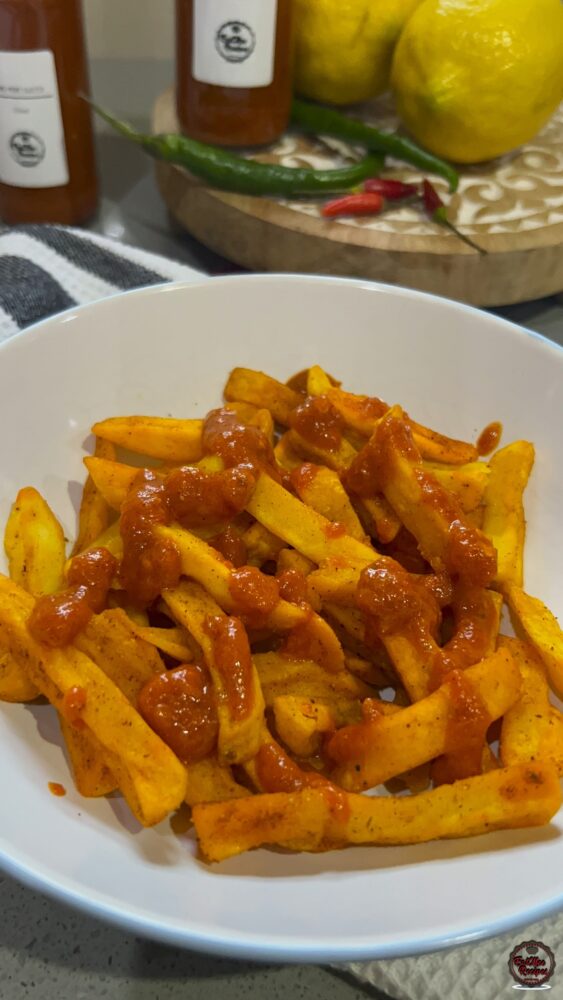
- Serve and enjoy!
![]()


