
We Value Your Culinary Privacy
EatMee Recipes uses cookies to provide a personalized browsing experience, analyze recipe popularity, and serve relevant ads. You can review our full disclosure in our Privacy Policy.
Make authentic Turkish Eggs with this foolproof recipe. Packed with rich traditional flavor, step-by-step photos, and cooking tips by Denisiya on EatMee Recipes.

Join over 60,000+ home chefs for weekly authentic Durban Indian cook-alongs, Instant Pot masterclasses, and family heritage recipes.
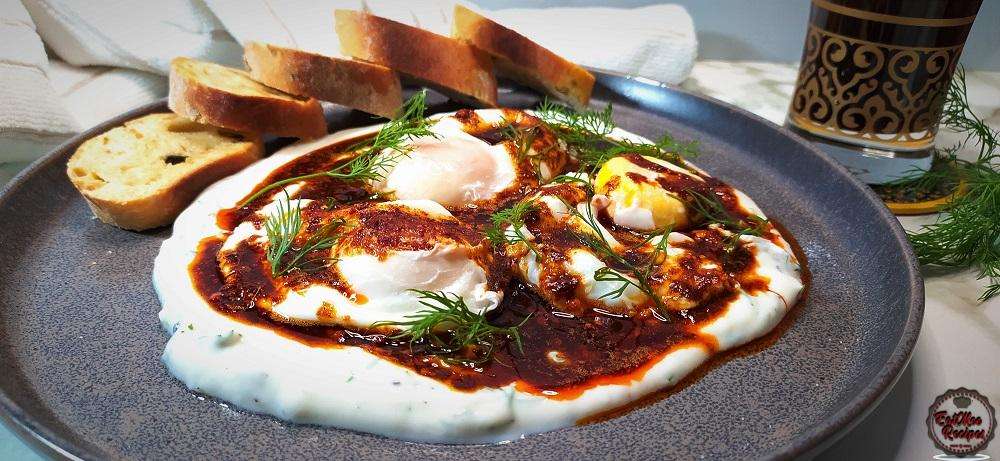
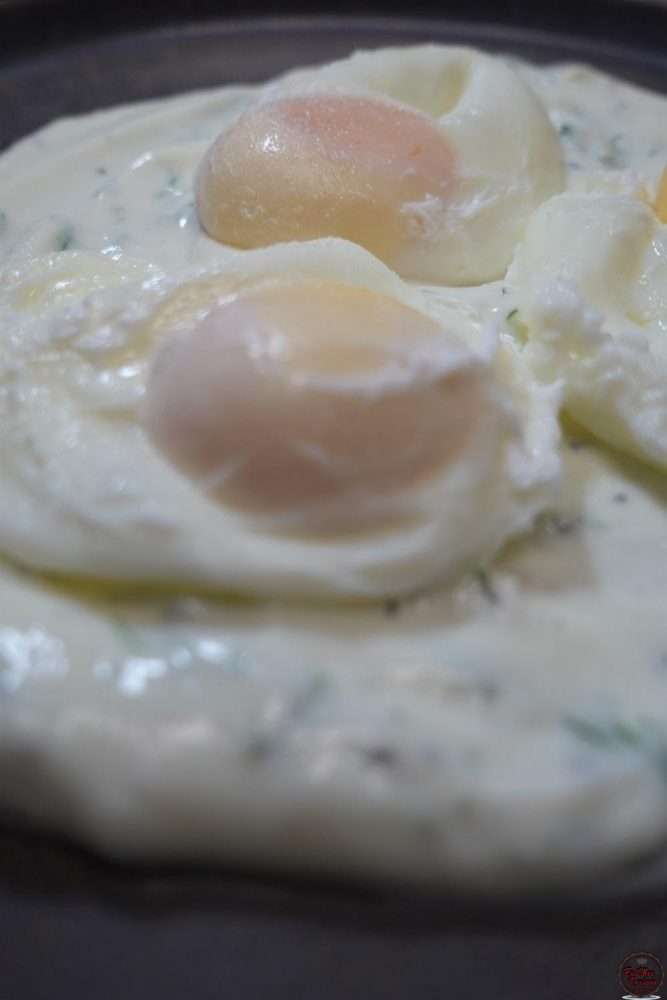
Turkish Eggs which is known as Çilbir (pronounced chil-burr) is a delicious breakfast consisting of a cooling yoghurt base, topped with poached eggs & drizzled with a chili butter oil.
Çılbır is recorded to being eaten by Ottoman sultans as far back as the 15th century.
This Turkish dish is best served immediately with some crispy bread to wipe every last bit of the rich & silky yogurt!
Firstly, start off by preparing the yoghurt base so that the flavours can infuse together.
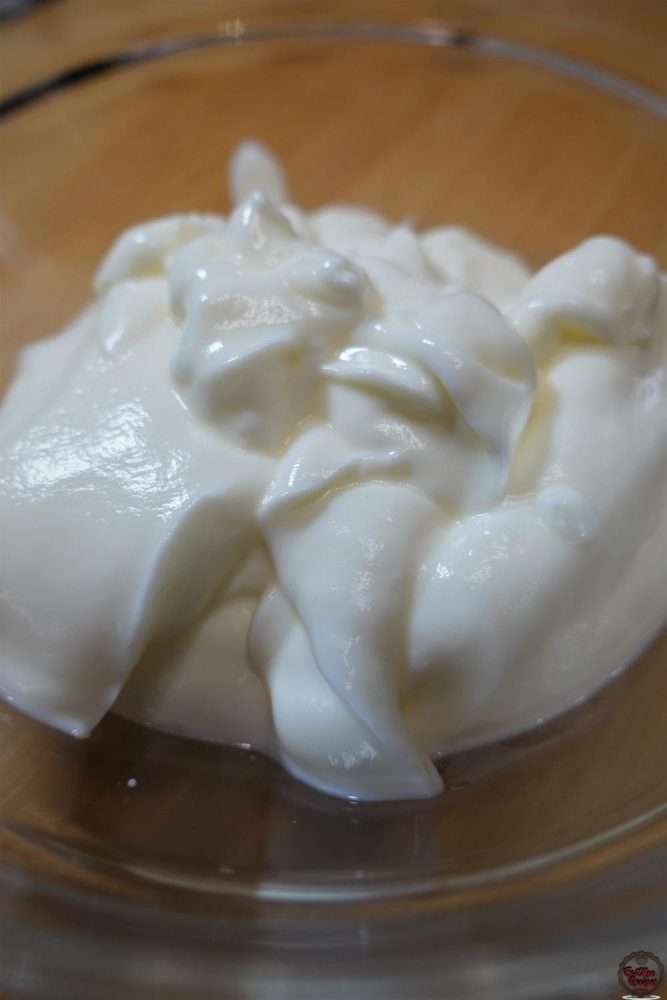
Add the plain yoghurt to a bowl.
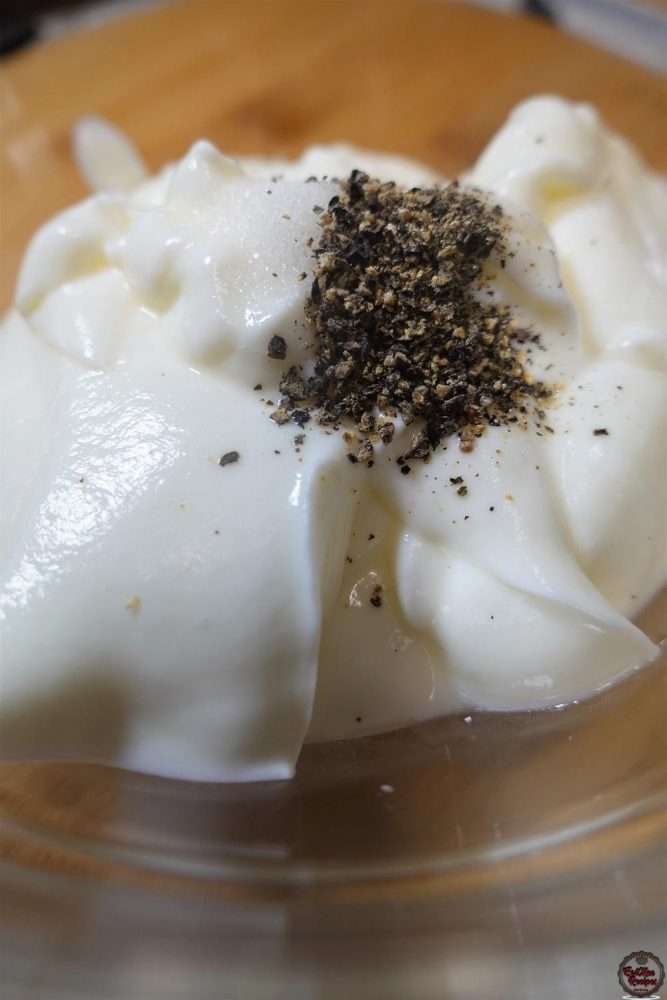
Add in salt & cracked black pepper.
Grate or mince in the clove of garlic.
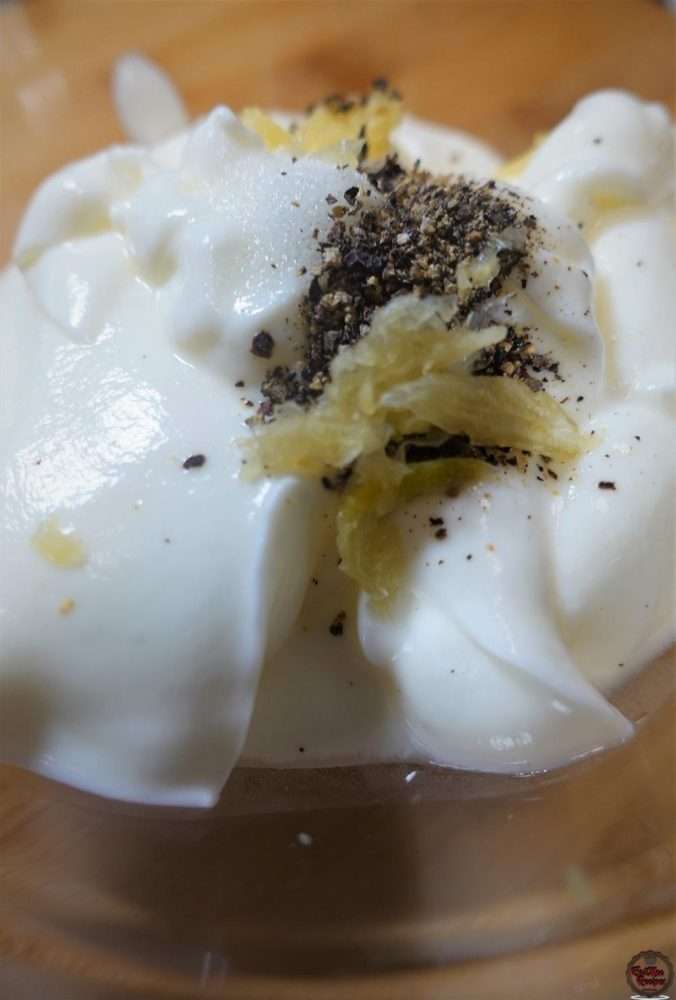
Add in a squeeze of lemon.
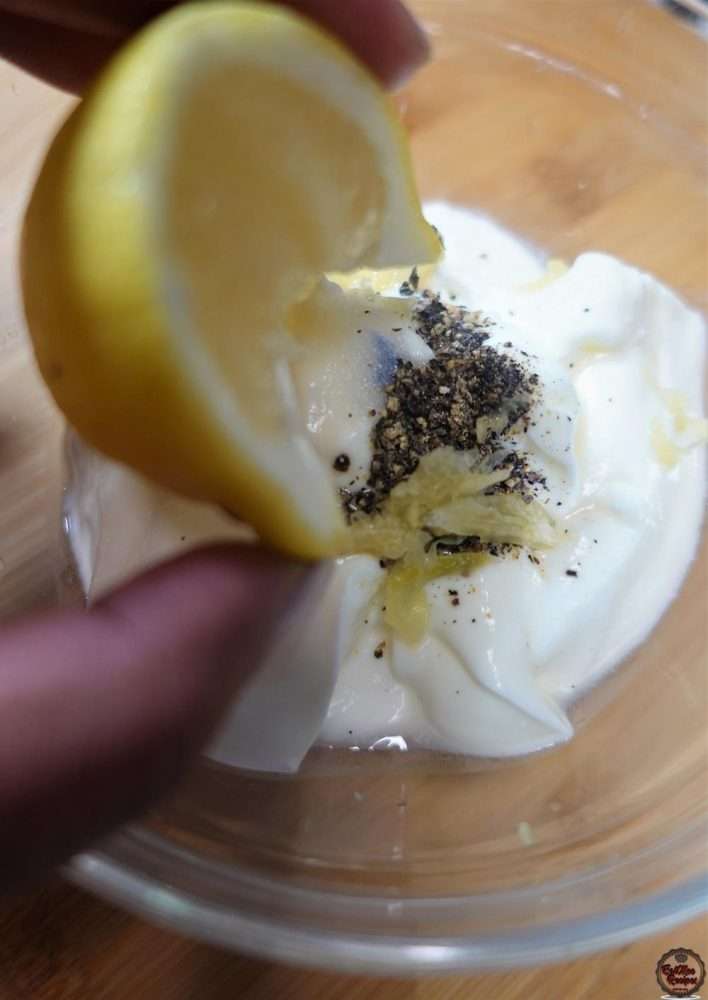
Throw in some freshly chopped dill – as much or as little as you prefer.
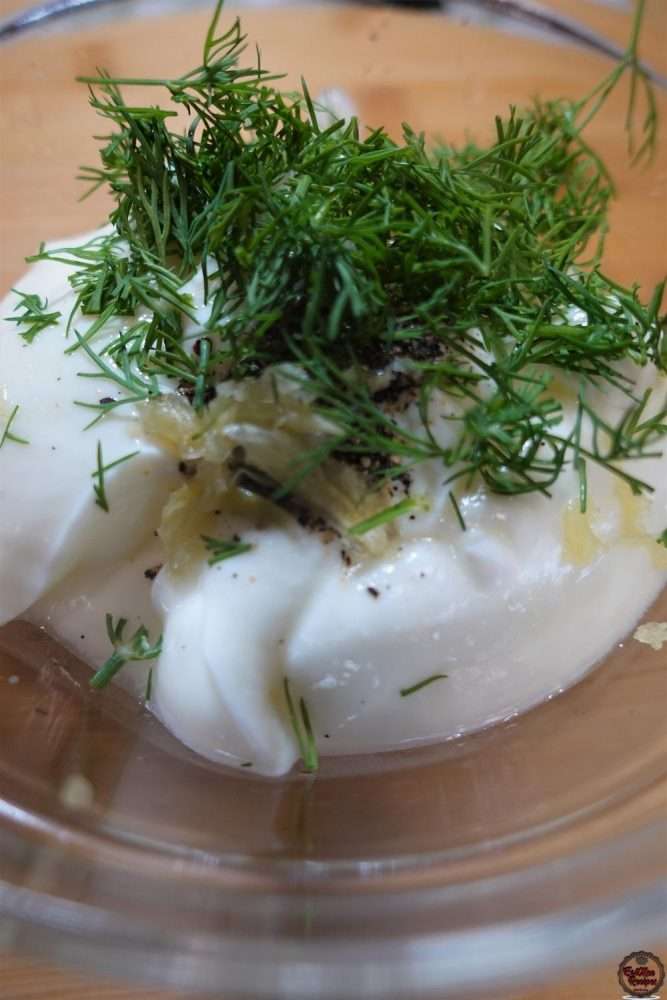
Mix well.
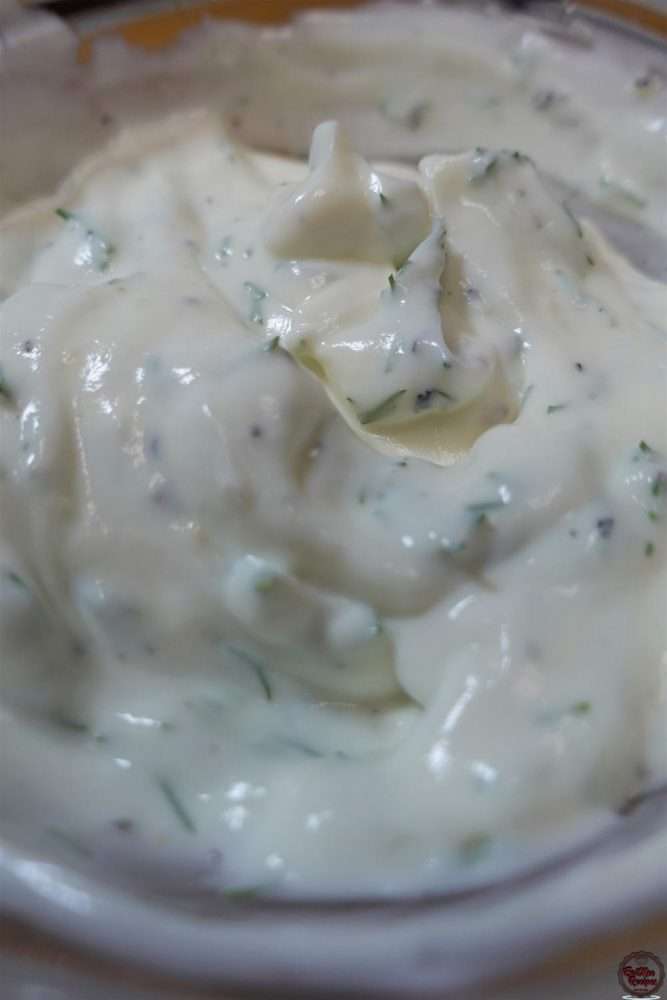
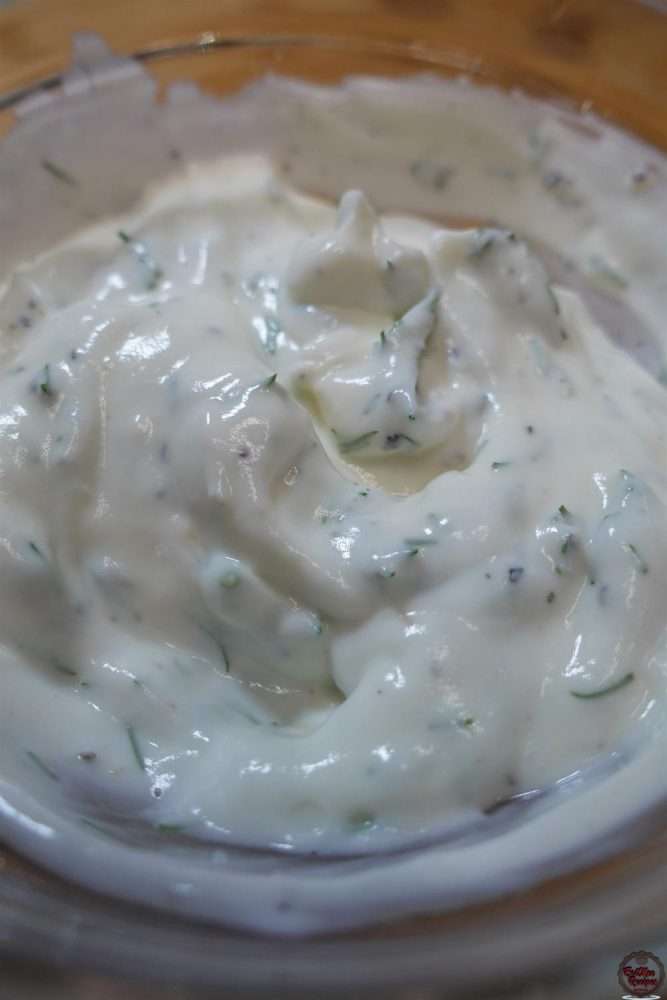
Set the yoghurt aside to infuse flavours.
Now onto the poached eggs. Crack one egg at a time into a small sieve to remove any of the “watery” whites (for better shaped poached eggs).
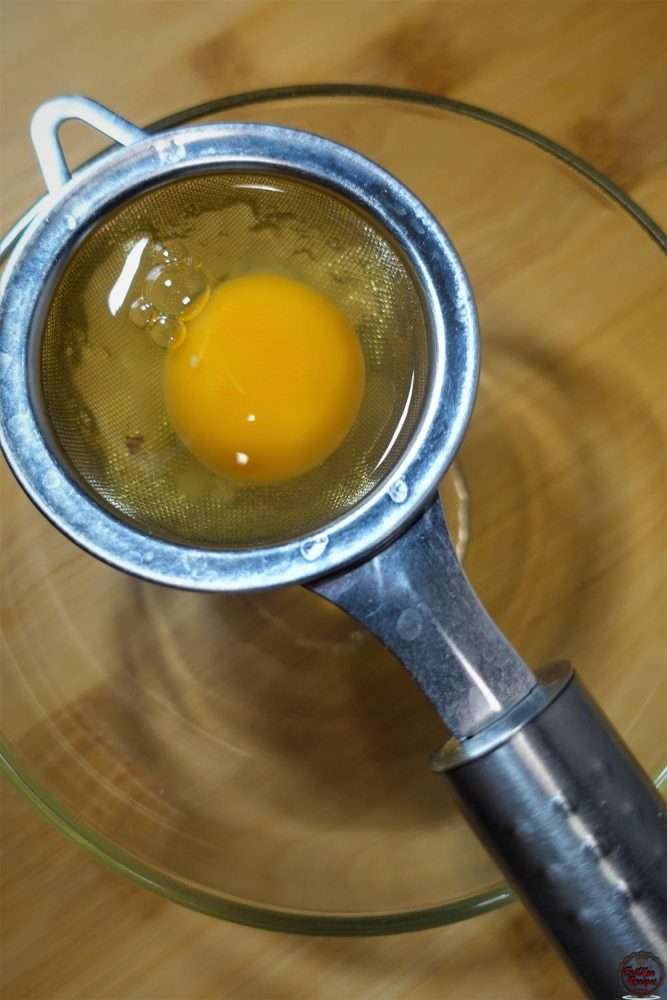
Then transfer the eggs to separate small bowls (which makes it easier to pour them into the water).

Add water to small pot & add in the white vinegar (this will help stop the eggs from dispersing in the water).
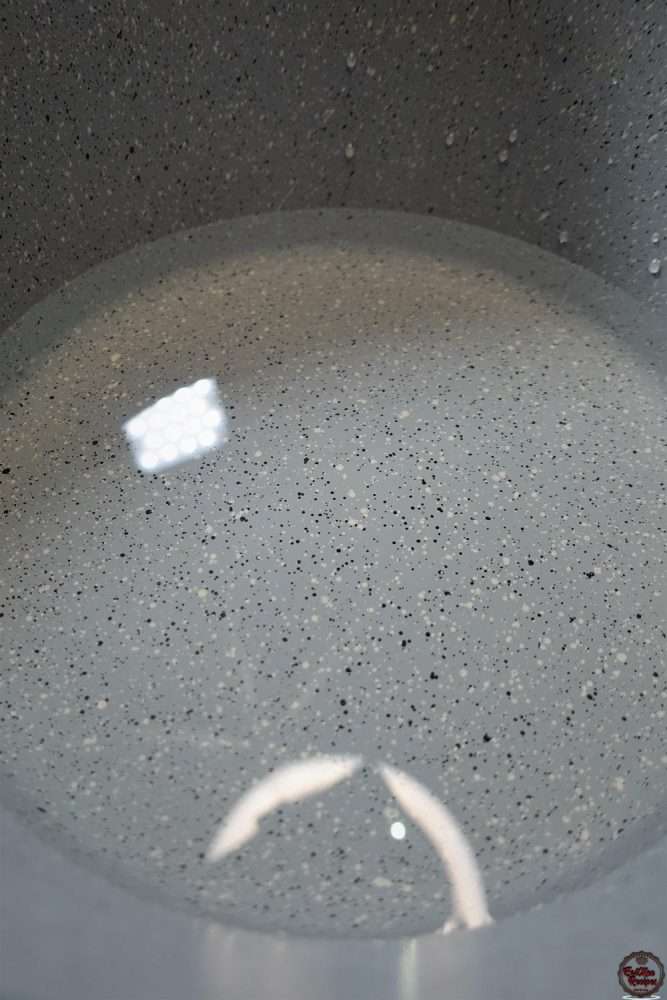
Bring the water to a gentle boil (fine air bubbles begin to rise).
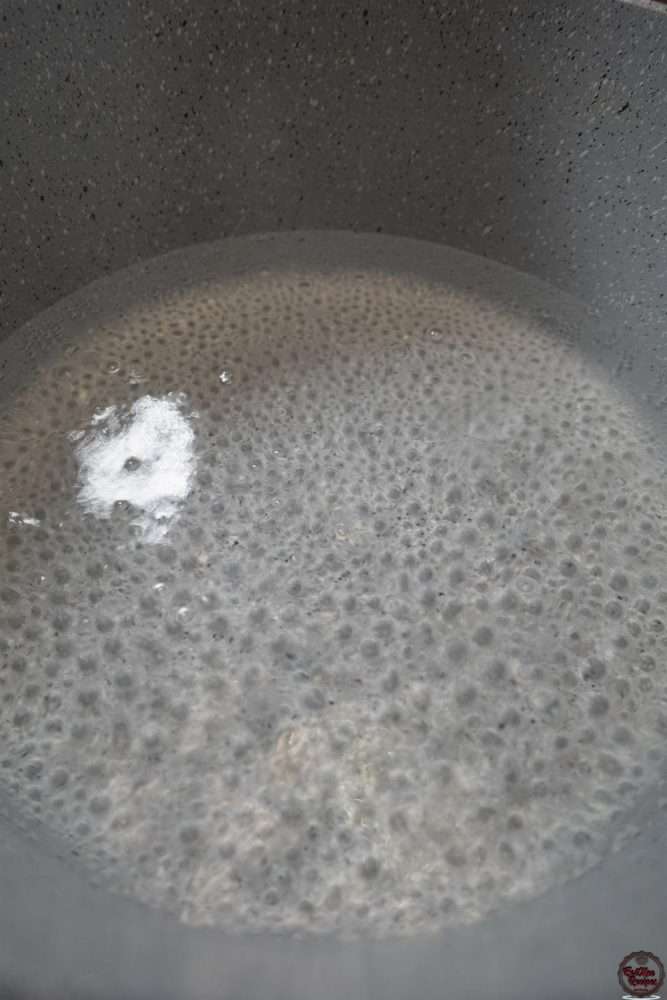
When the water is ready, mix it with a spoon to create a vortex & then pour the first egg into the center of the pan. You can add in more than one egg to the pot – once the first egg move to one side, you may pour in the second egg. I’ve opted to doing them individually but this is completely up to you.
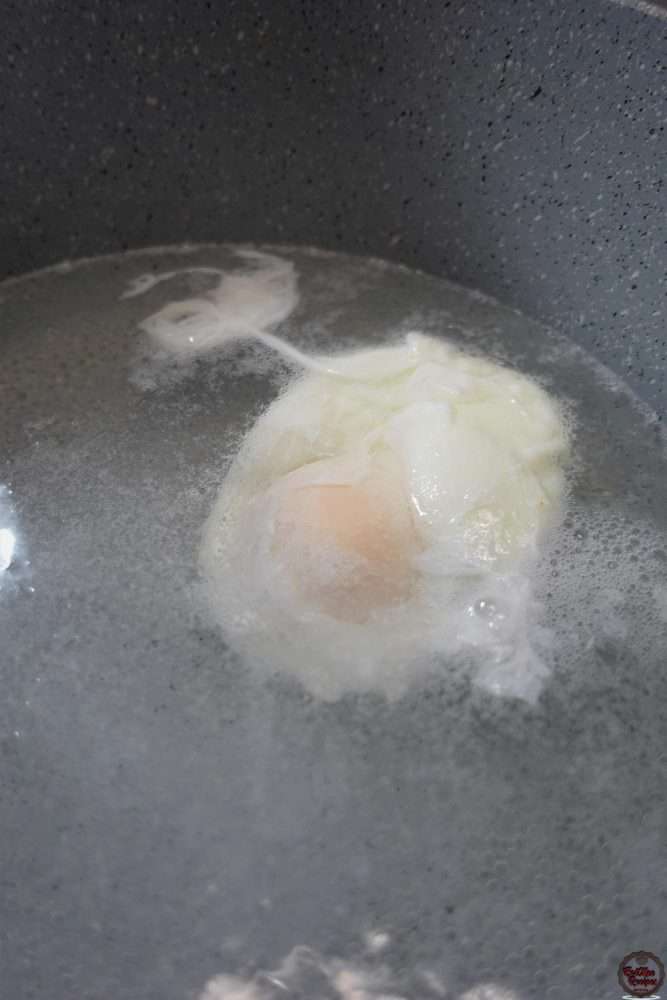
Swirl the water around the egg so it can take form & allow to cook for 2-3 minutes, depending on how soft you want the yolk to be, then use a slotted spoon to remove them from the water to stop them from overcooking & place onto a paper towel.
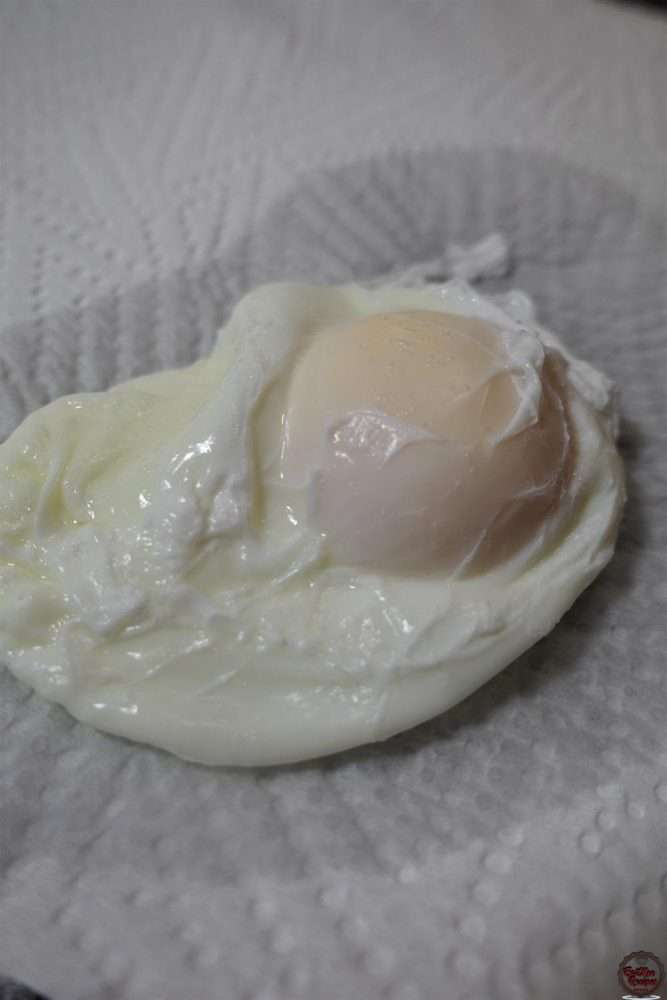
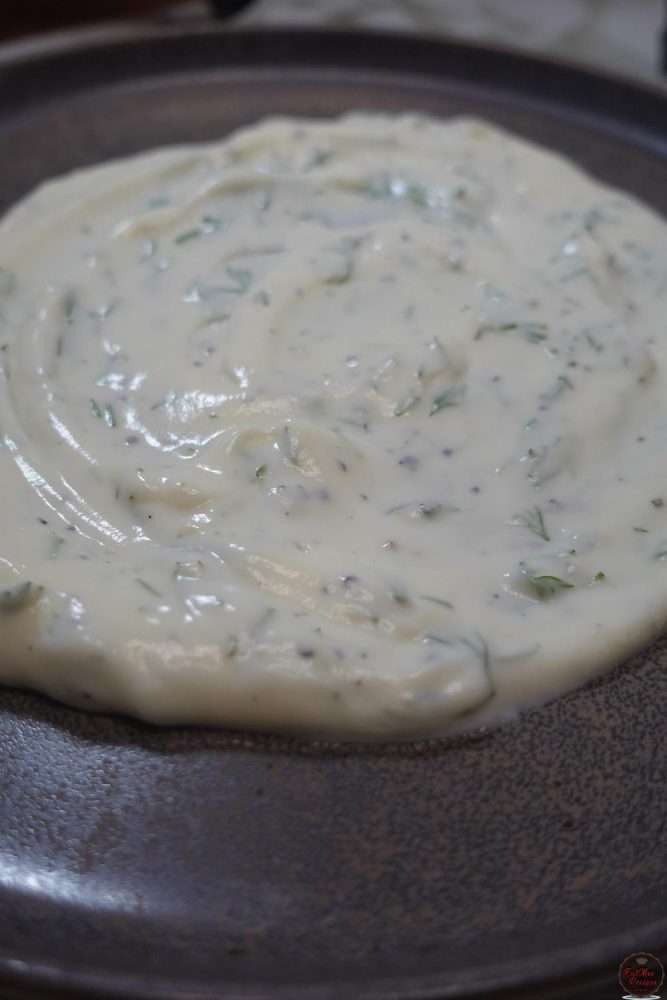
Continue until all the eggs are poached, thereafter bring out a plate & spoon the yoghurt over, spreading it out with back of a spoon.
Place the poached eggs over the yoghurt.
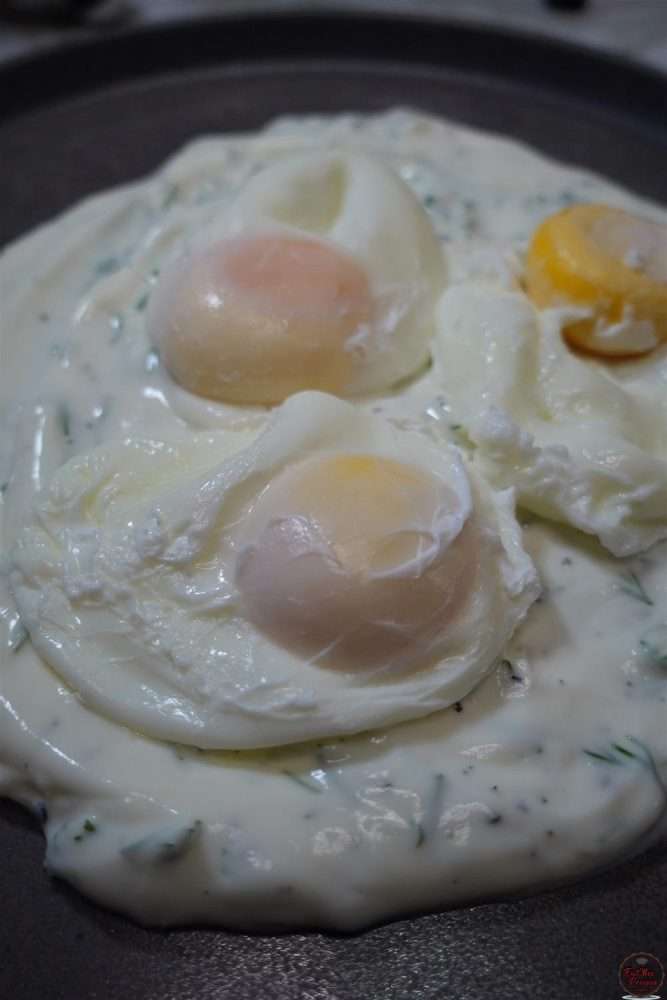
My last egg got a bit too well done so please mind that one – it was still delicious though.
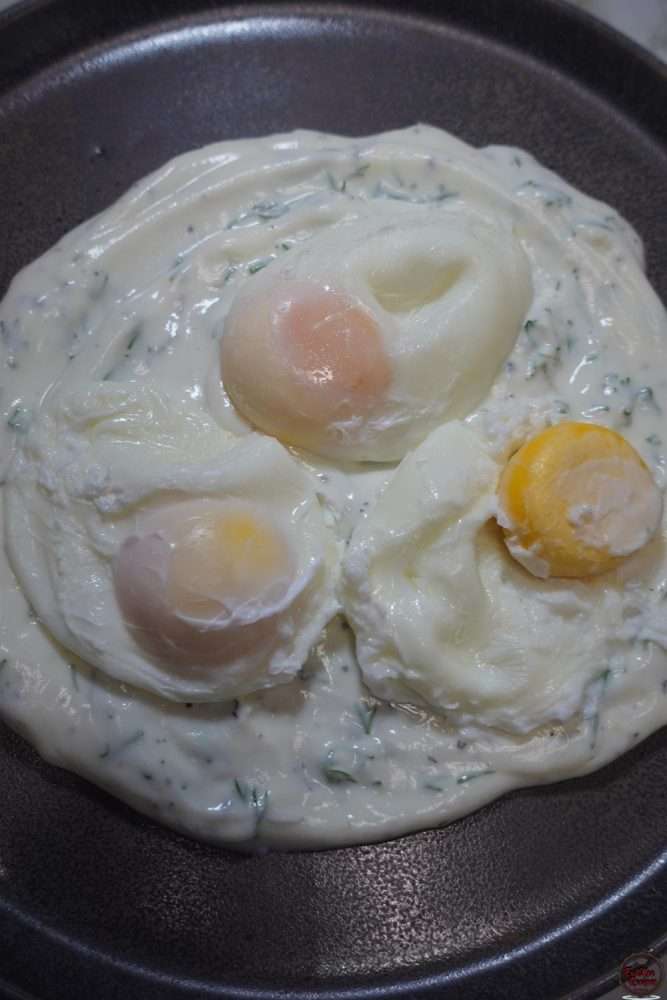
Season the eggs with some salt.
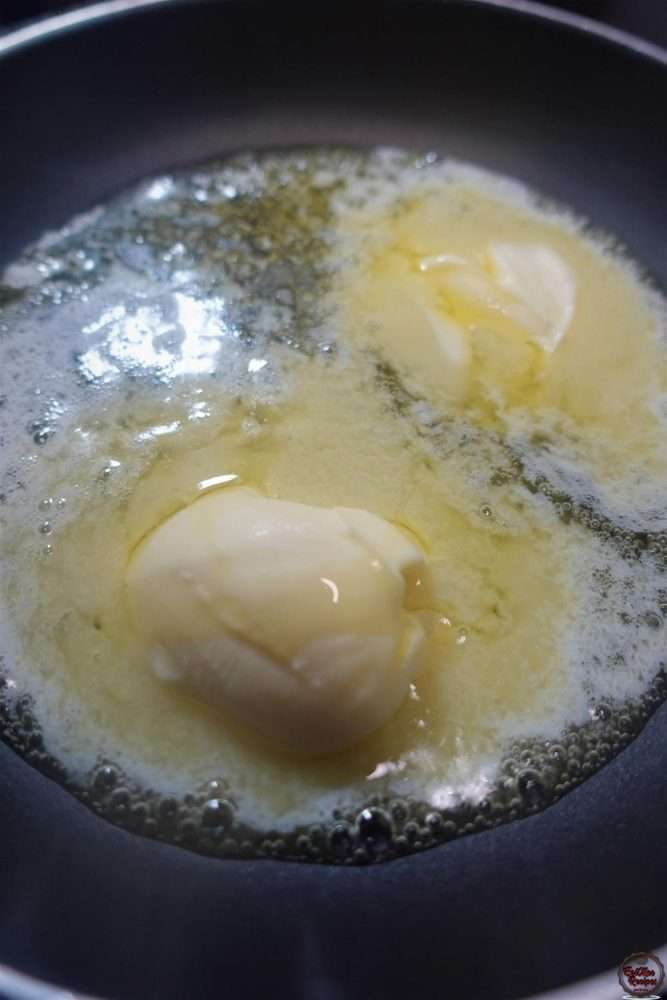
Now, start with the chili butter oil by adding the butter to a pan on medium heat.
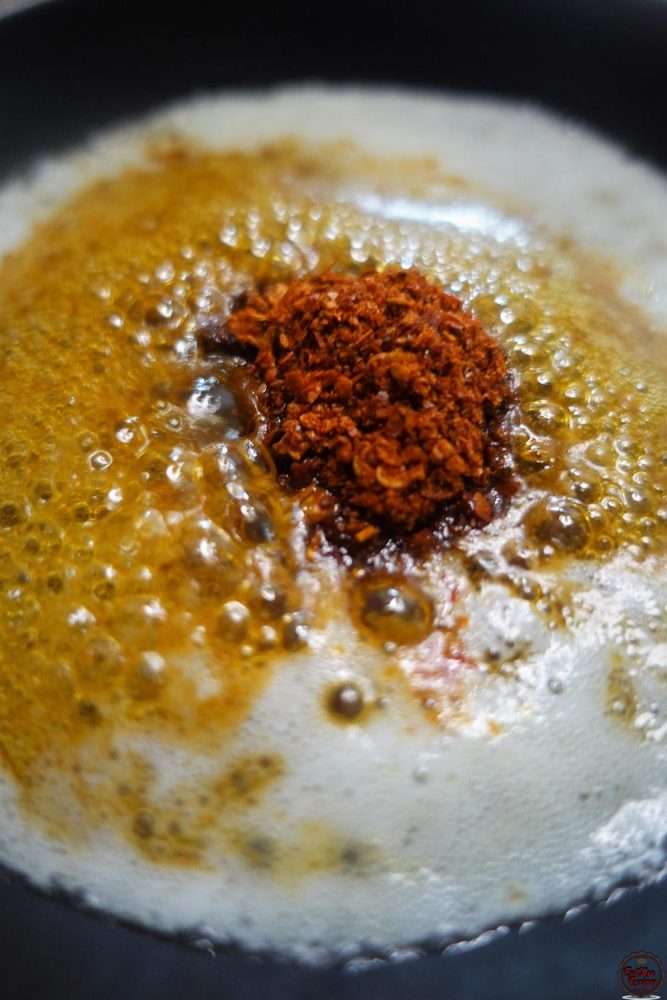
Next, add in olive oil, paprika & Aleppo pepper or chili flakes.
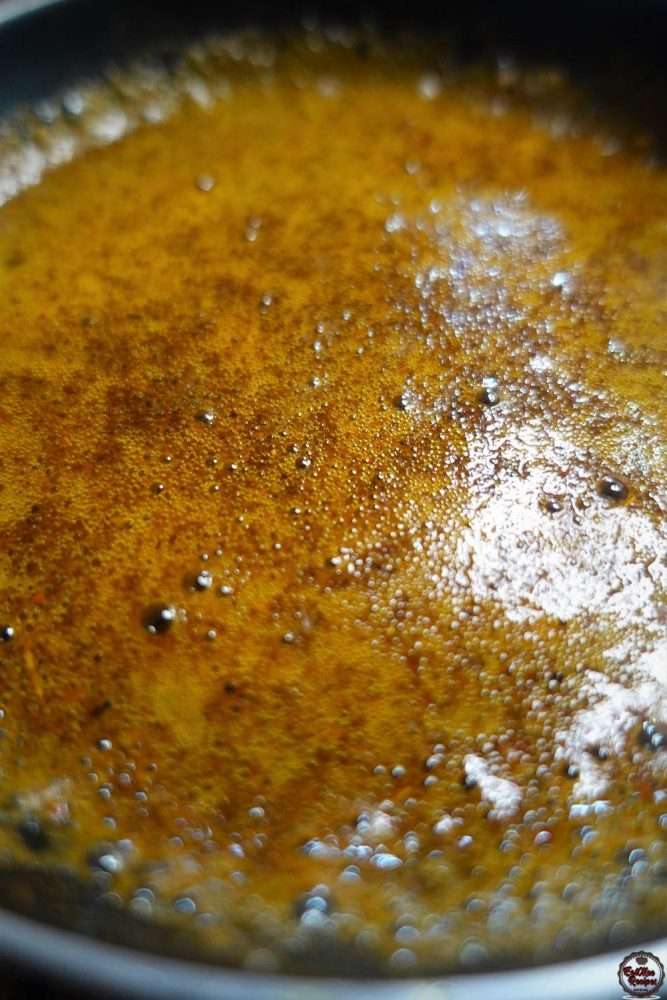
Mix well.
Pour that fragrant chili butter oil over the eggs.
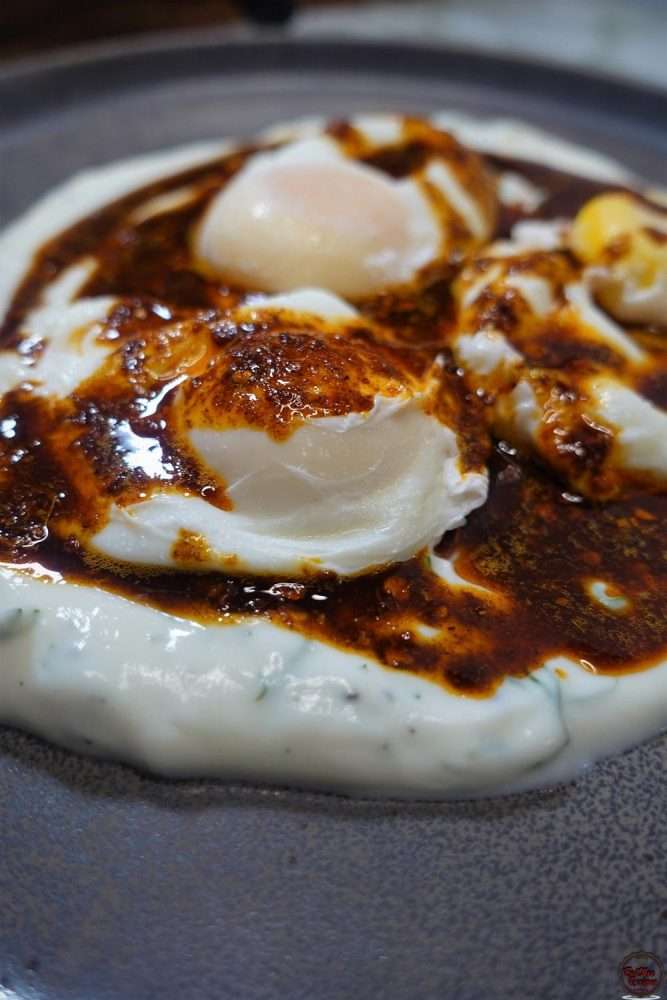
Garnish with fresh dill (optional).
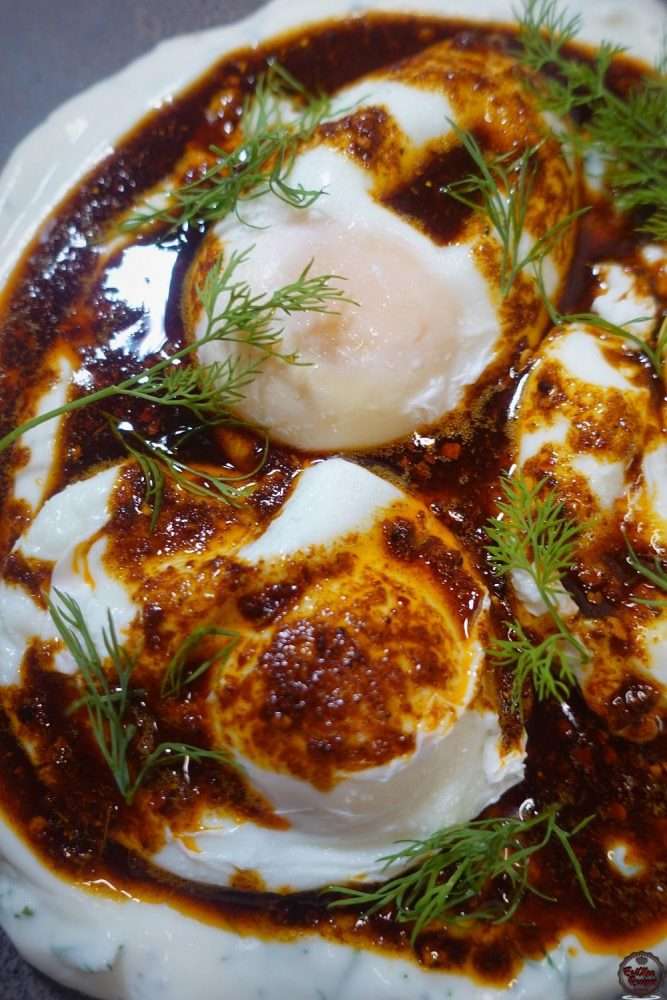
Serve immediately with Simit, pita bread or some chunky rustic bread of your choice.
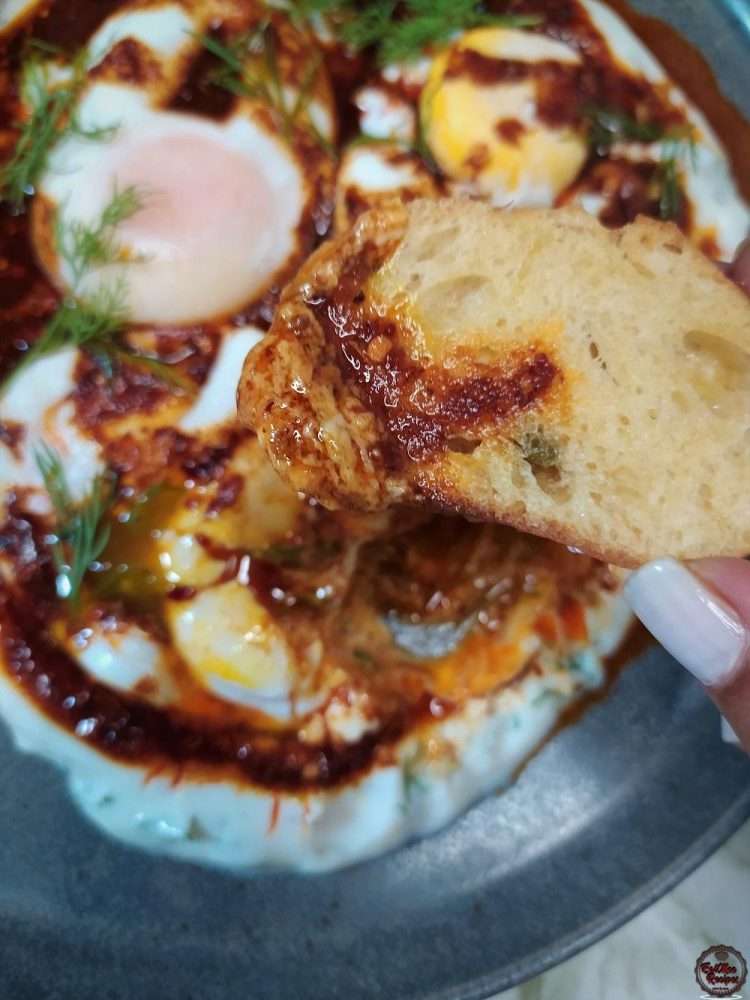
Follow along with Denisiya's step-by-step video guide for Turkish Eggs.
Expert kitchen guidance and troubleshooting for making the best Turkish Eggs
Absolutely! You can easily tailor the heat by increasing or reducing the chili powder and fresh chilies to suit your family’s palate without compromising the authentic flavor profile.
Yes, you can freeze Turkish Eggs in an airtight, freezer-safe container for up to 2 to 3 months. Thaw overnight in the refrigerator before gently reheating.
Reheat gently on the stovetop over low heat with a splash of water, or in the microwave covered with a damp paper towel to retain moisture.
Hi, I'm Denisiya! Food lover, recipe developer, and founder of EatMee Recipes. I specialize in authentic South African Durban Indian cuisine, comforting curries, and modern Instant Pot adaptations. Every recipe on this site is tested in my personal kitchen to ensure you get mouth-watering, foolproof results every time.
Explore more authentic Durban curries, traditional bakes, and comforting family favourites.
 Everyday Meals
Soft, fluffy steamed bread, also known as ujeqe, is a beloved staple that pairs beautifull...
 Everyday Meals
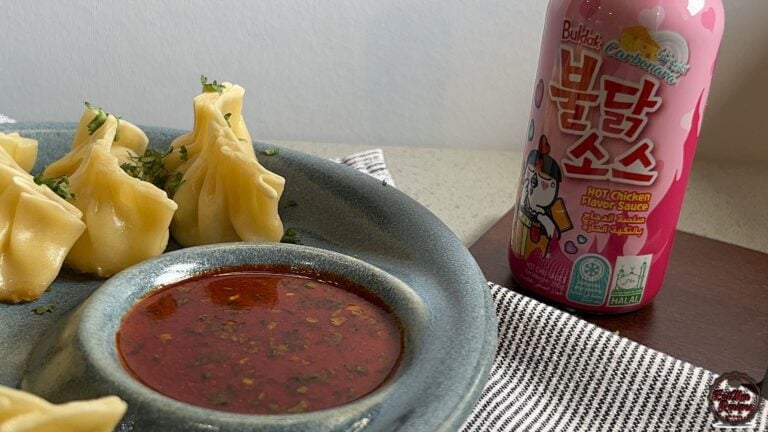
If you enjoy bold, spicy flavours with a creamy twist, this Buldak dipping sauce is one yo...
 Everyday Meals
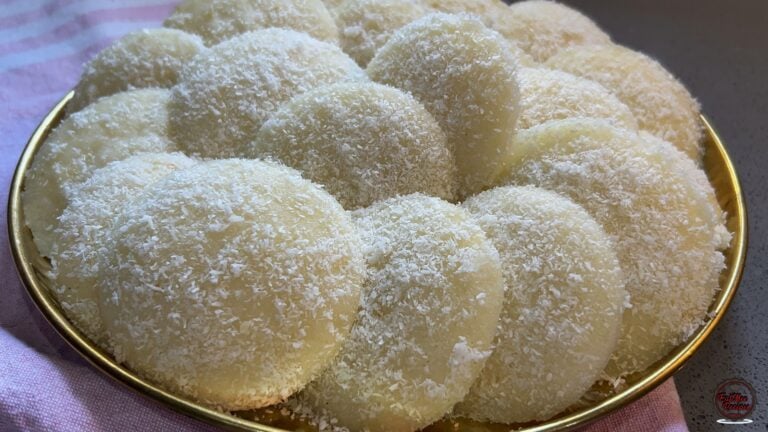
There’s something magical about waking up to the soft aroma of freshly steamed idlis – war...
Have you tried this recipe or have questions for Denisiya? Join the conversation below.
No comments yet. Be the first to share your thoughts on this recipe!
Leave a Comment
Your email address will not be published. Required fields are marked *