
We Value Your Culinary Privacy
EatMee Recipes uses cookies to provide a personalized browsing experience, analyze recipe popularity, and serve relevant ads. You can review our full disclosure in our Privacy Policy.
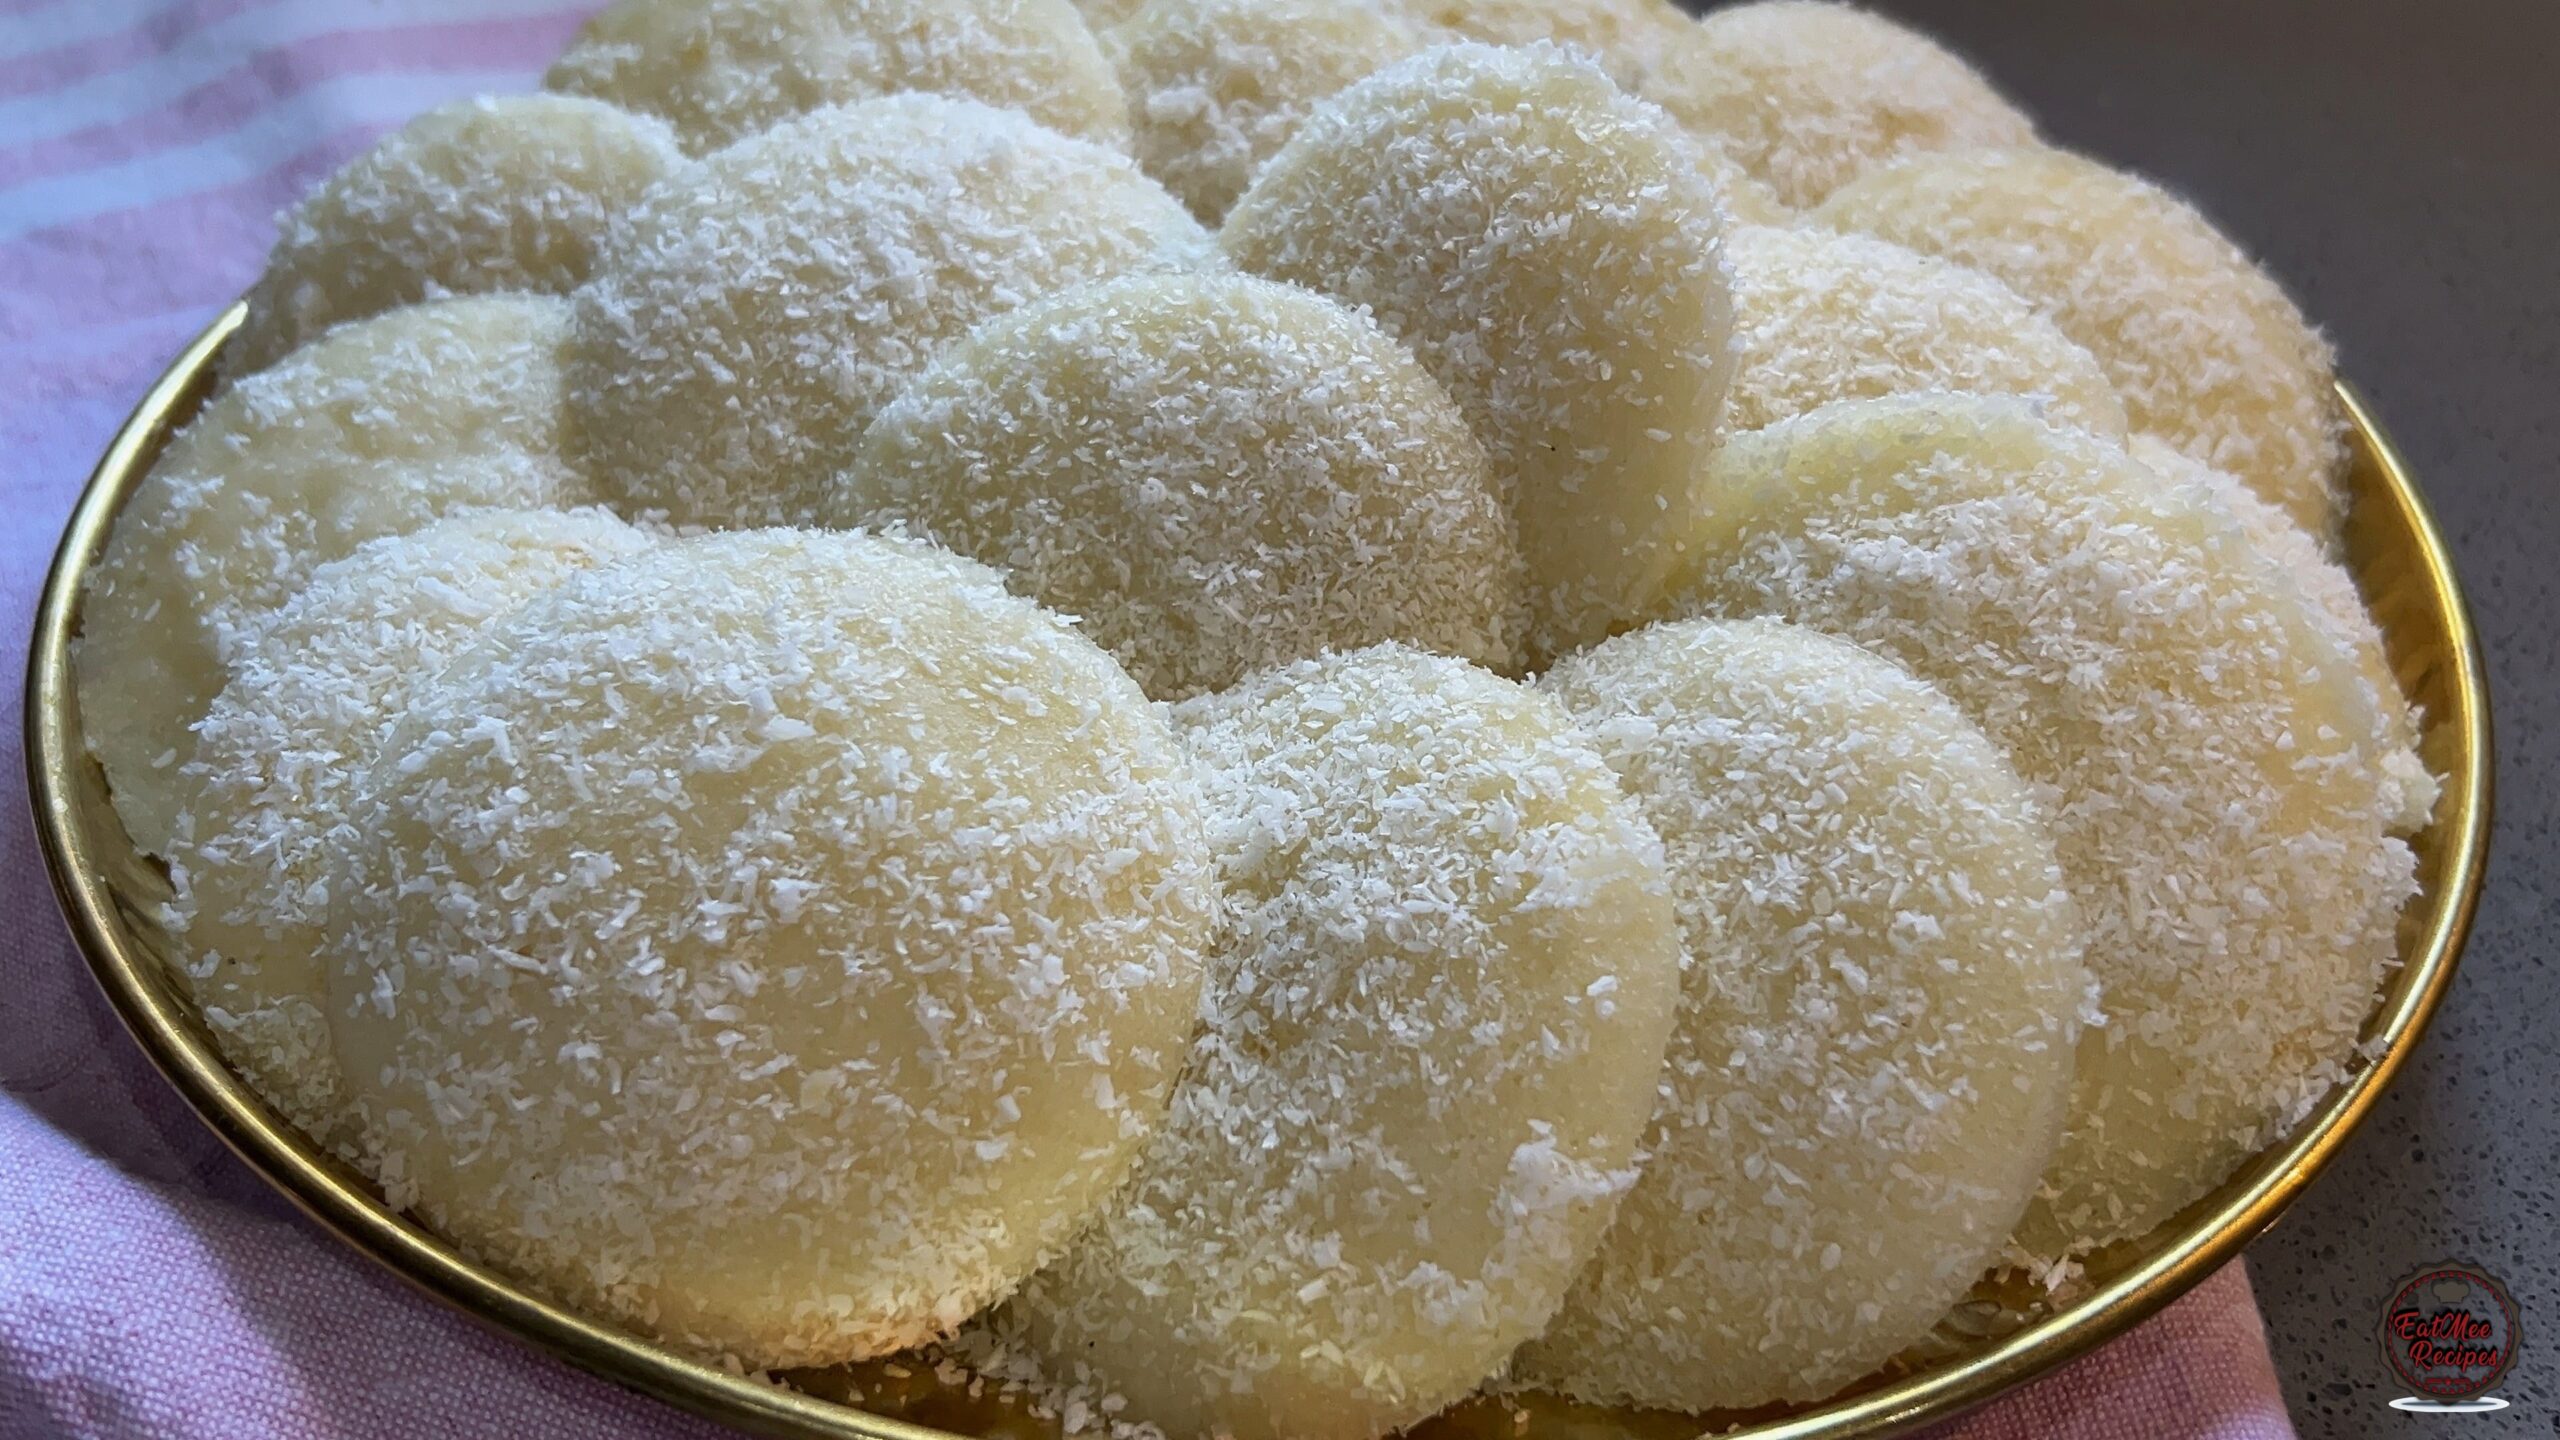
Authentic South African Indian Idlis handed down through generations. Soft, pillowy, and perfectly fermented steamed rice cakes served with sambar and coconut chutney.

Join over 60,000+ home chefs for weekly authentic Durban Indian cook-alongs, Instant Pot masterclasses, and family heritage recipes.
There’s something magical about waking up to the soft aroma of freshly steamed idlis – warm, comforting, and oh-so-fluffy. Growing up, idli wasn’t just breakfast in our home; it was a ritual, one that connected generations and continents.
But I’ll be honest – when I was younger, I didn’t always love idli. Traditional ones sometimes had that slightly sour taste from the fermentation, and I just couldn’t appreciate it the way the adults did. I’d push them around my plate while my mum shook her head, promising that one day I’d understand.
And she was right.
Now, as an adult, I absolutely adore my mum’s version – a South African twist on the South Indian classic. They’re soft, delicate, and full of warmth. Every bite feels like home.
Traditionally, idli is made by soaking and fermenting rice and urad dal (black gram) to create a smooth, airy batter. The process takes time, care, and a bit of instinct, something passed down through generations in Indian kitchens.
To a mixing bowl, add rice flour, semolina, sugar and yeast.

Mix the dry ingredients together.

Gradually pour in the warm water and mix until it forms a batter.

Cover and allow it to rest for 2 hours.

After resting, it should have a few bubbles in the mixture.

Add baking powder and the melted butter.

Mix until combined.

Mum uses an idli pot to steam but you may use silicone moulds if you cannot get an idli pot. The shapes and texture may differ.

Add water to the base of the idli pot and bring it to a gentle boil on medium heat.
Grease the idli moulds lightly with oil or melted butter. Mum used melted butter for this step.

Pour the batter into each mould – almost covering the entire mould.

Place the stands into the idli pot – over the boiling water.

There should be about 3-4 layers.

Cover with the lid and allow to steam for 15 minutes on medium heat, or until a skewer inserted comes out clean.

Carefully remove the stands and allow the idli’s to rest for a minute.

Use a spoon or a knife to gently lift them out.

Whilst still warm, lightly coat each idli in desiccated coconut – it sticks better when the idli’s are slightly moist.

These idli’s are light as clouds, melting gently with every bite.

Serve them as is or cut them in halves and slather on some butter – my favourite way of having them!

You may also skip the coating of the coconut and serve these idli’s plain with your favourite curries, chutneys or sambar.

Leftover idli’s can be stored in an airtight container in the fridge or on the counter (depending on the humidity as the coconut can go bad) for 2-3 days.

Reheat in the microwave or re-steam them to bring back their softness.

Follow along with Denisiya's step-by-step video guide for Mum’s South African Idli.
Expert kitchen guidance and troubleshooting for making the best Mum’s South African Idli
In our kitchen, idli is both simple and soulful. My mum skips the soaking and grinding, opting instead for a quick rice flour batter that’s mixed with a bit of instant yeast and left to ferment for two hours. She then steams the batter in her well-worn idli trays, each one perfectly round, light, and tender. When those soft, white clouds of idli emerge, they fill the house with the smell of home. We always serve them with a slather of butter. Maybe it’s nostalgia, or maybe it’s the gentle, balanced flavor of her recipe, but now, the same idlis I once turned away from are something I crave. It’s funny how taste and time can change how we see the simplest foods.
Absolutely! You can easily tailor the heat by increasing or reducing the chili powder and fresh chilies to suit your family’s palate without compromising the authentic flavor profile.
Yes, you can freeze Mum’s South African Idli in an airtight, freezer-safe container for up to 2 to 3 months. Thaw overnight in the refrigerator before gently reheating.
Hi, I'm Denisiya! Food lover, recipe developer, and founder of EatMee Recipes. I specialize in authentic South African Durban Indian cuisine, comforting curries, and modern Instant Pot adaptations. Every recipe on this site is tested in my personal kitchen to ensure you get mouth-watering, foolproof results every time.
Explore more authentic Durban curries, traditional bakes, and comforting family favourites.
 Everyday Meals
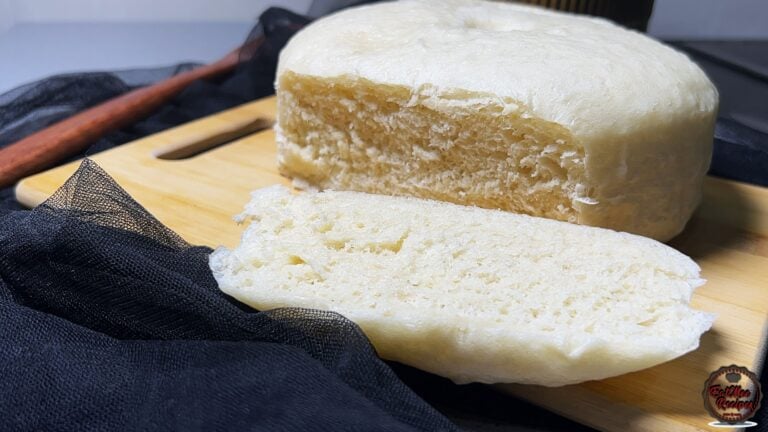
Soft, fluffy steamed bread, also known as ujeqe, is a beloved staple that pairs beautifull...
 Everyday Meals
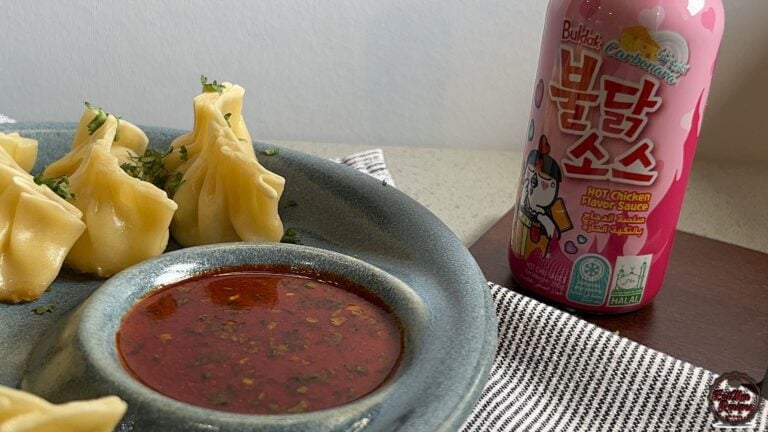
If you enjoy bold, spicy flavours with a creamy twist, this Buldak dipping sauce is one yo...
 Everyday Meals
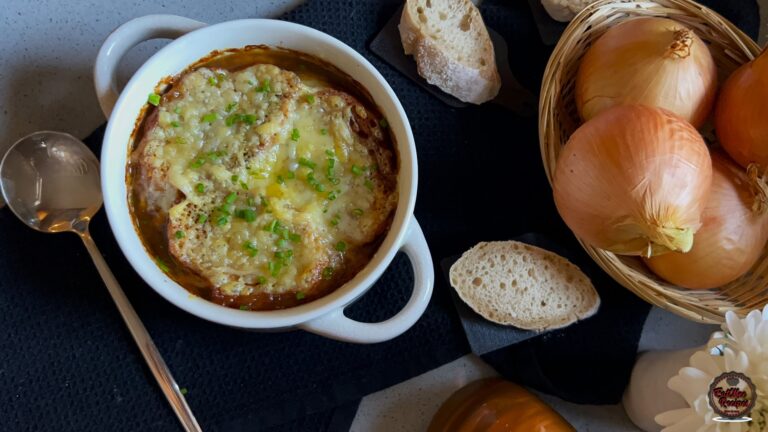
There’s nothing quite like a steaming bowl of French Onion Soup to warm your soul. With it...
Have you tried this recipe or have questions for Denisiya? Join the conversation below.
No comments yet. Be the first to share your thoughts on this recipe!
Leave a Comment
Your email address will not be published. Required fields are marked *