
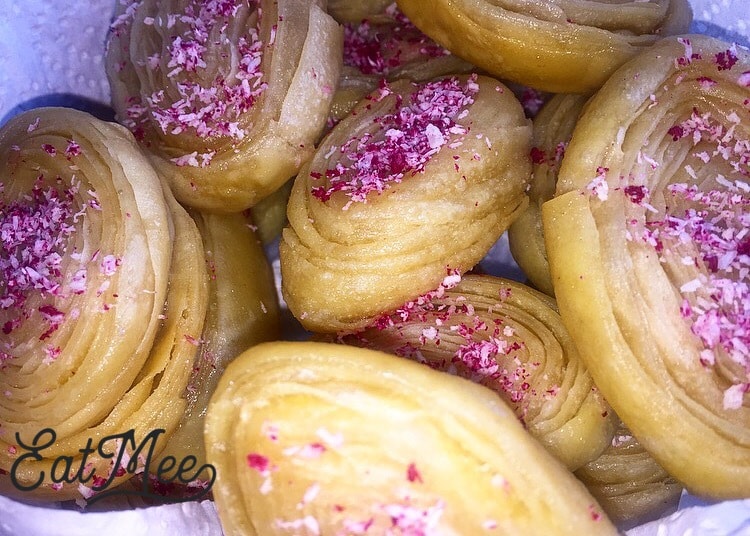
FLAKY BANANA PURI
This Recipe Makes ±18 Banana Puri’s
This Flaky Banana Puri recipe takes some time to prepare, it isn’t difficult & you’re bound to perfect it on the first try. It consists of layers, rolled up like a swiss roll, cut into logs & deep fried to a crispy sweet perfection.
The origin of the name “Banana Puri” is unknown. The thought of the name leaves me wondering, who decided on the term for this layered, sweet & airy treat, considering that they do not consist of bananas in any way, nor do they even faintly resemble a banana.
Banana Puri’s are often prepared during the Diwali/Deepavali festival of lights season & are packed as one of the many treats & given to friends, family members & neighbours.
Flaky Banana Puri Ingredients:
- 2 ½ cups flour
- approximately 1 ½ cups cornflour (cornstarch) for sprinkling
- 1 tablespoon rose essence
- 2 tablespoons melted butter
- approximately ½ cup water
- cooking oil for deep frying
- 3 teaspoons baking powder
- desiccated coconut for decorating (optional)
For the syrup:
- 2 cups water
- 2 cups sugar
Method:
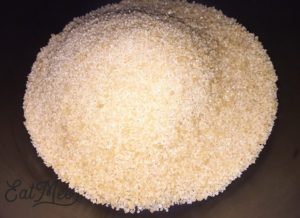
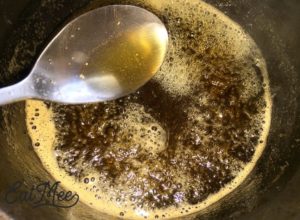
- Firstly, prepare the syrup as you want it to be cool when the Banana Puri’s are ready. Add the sugar to a small pot. I have used brown sugar but white sugar can be used as well.
- Add the water to the sugar & bring it to a boil.
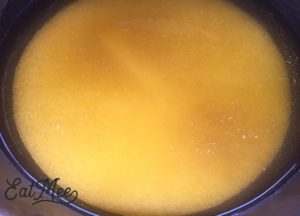
- Mix well.
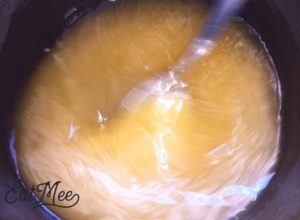
- Allow for the sugar to be completely dissolved.

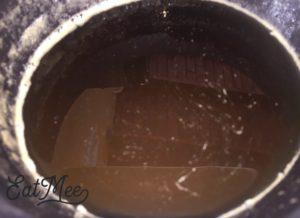
- The syrup should be thick but not of a sticky consistency.
- Remove the syrup from the stove top & set aside to cool.
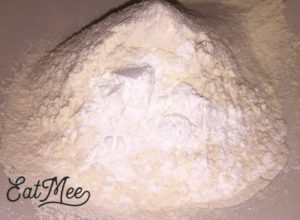
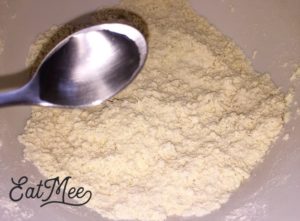
- Next, sift flour into a medium sized bowl/dish.
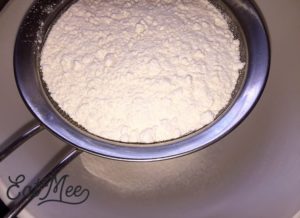
- Add in the baking powder & set aside.
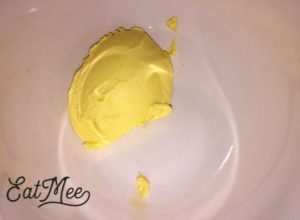
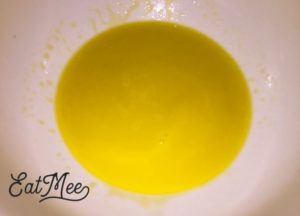
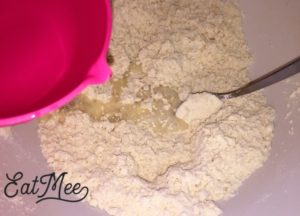
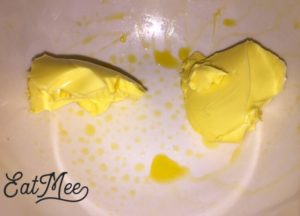
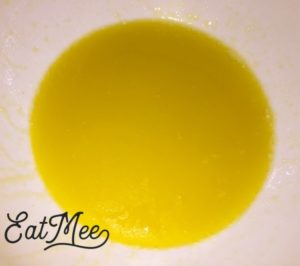
- In a microwavable bowl, add 1 tablespoon butter & microwave for about 10-15 seconds until melted.
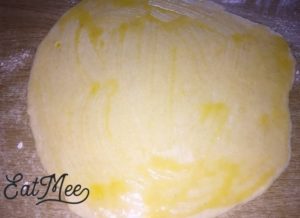
- Pour the melted butter into the bowl/dish of flour.
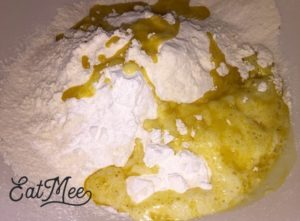
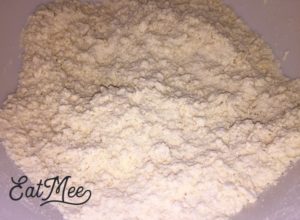
- Mix using your finger tips so that the butter combines well into the flour.
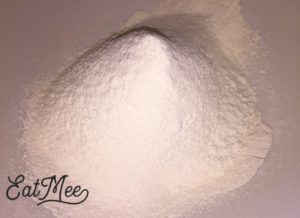
- The flour mixture should now resemble a breadcrumb texture.
- Next, add in the rose essence.
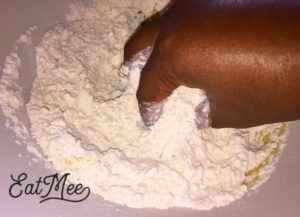
- Thereafter, gradually pour in the water, stirring as you go along.
- Mix the dough with your hands so that you will be able to feel the texture. You want a pliable dough so do not add to much water.
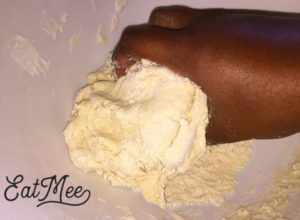
- The dough shouldn’t be sticky. Add a little flour if it’s sticky.
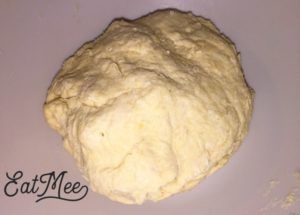
- Begin kneading the dough for about 2-3 minutes.
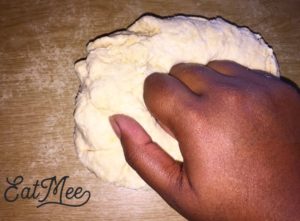
- After kneading, you should have a smooth & pliable dough.
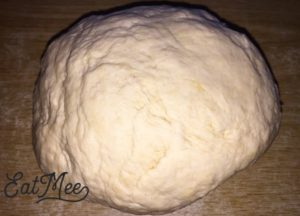
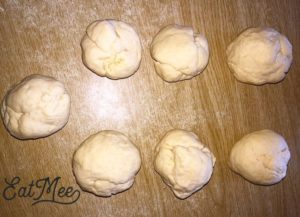
- Divide the dough into equal sized balls, I made 7 of them as this will form more layers. The minimum amount of dough balls should be at least 5.
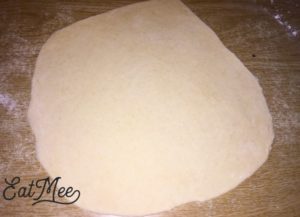
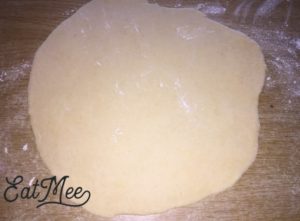
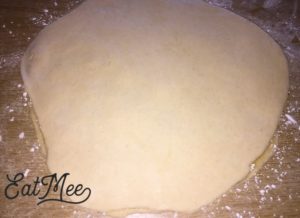
- Next, flour your surface & slightly press down the dough ball.

- Roll out the dough ball into a circular shape, just as you would when making roti’s (chapatti’s).
- It doesn’t have to be a perfect circle.
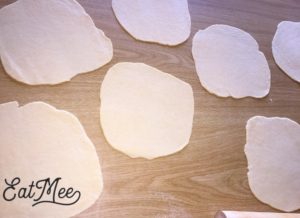
- Do the same for all the dough balls. The diameter of the circles should be around 20 centimeters.
- Go back to the microwavable bowl that you used earlier & add in the other tablespoon of butter. Melt in the microwave.
- Take one of the rolled out dough balls as you will be working with one at a time now.
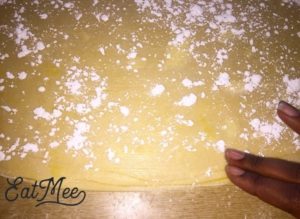
- Using a pastry brush, smear some melted butter over the rolled out dough.
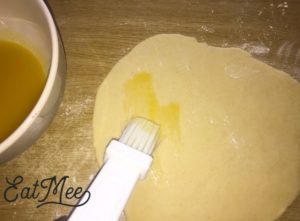
- Now sprinkle some cornflour (cornstarch) over the butter. This helps create the layers.

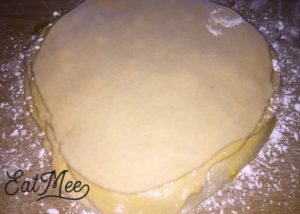
- Next, place another rolled out dough over the one that you had just worked on. Continue with the same process of layering the rolled out dough, smearing butter & sprinkling cornflour until you are done stacking all of them.
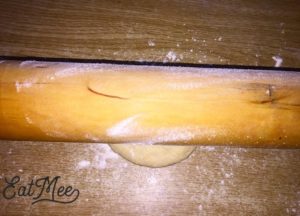
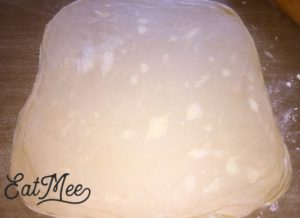
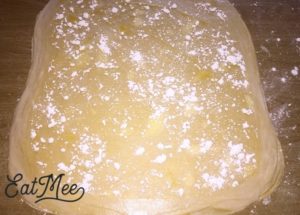
- Once the last circular shaped dough is over, do not add the butter & cornflour just yet. Begin rolling it out with a rolling pin.

- The stacked dough should now be of a larger size after rolling it out. Don’t worry if you can’t get it to be in a circular shape.
- Thereafter, smear butter & sprinkle cornflour over the top layer.

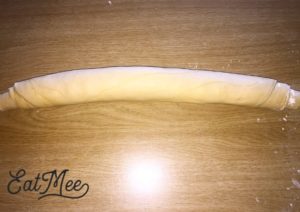
- Using some water, gently apply on the edges of the pastry using your fingertips. This will allow the pastry to seal & not open up when frying.
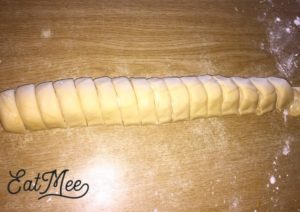
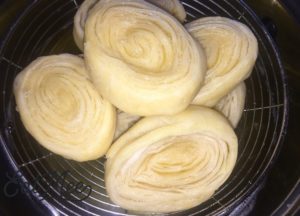
- Now you are going to roll the pastry just as you would a swiss roll.

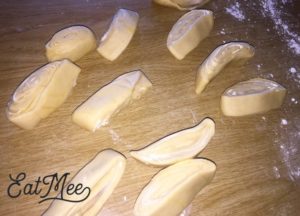
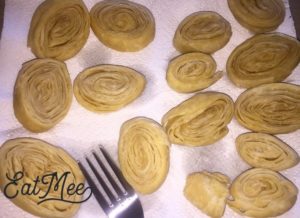
- Using a knife, begin slicing the roll into about 2 centimeters thickness.
-
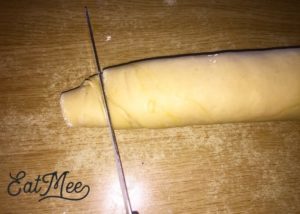
- Roll out slices a little to create length.
- Heat the cooking oil.
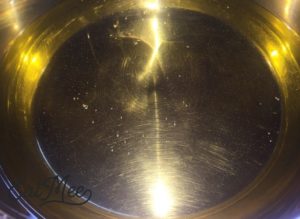
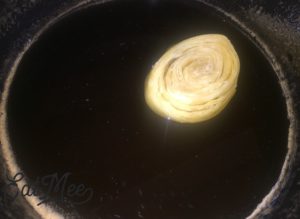
- When the oil is hot enough, fry the pastry’s.
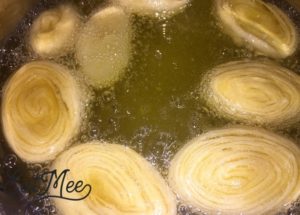
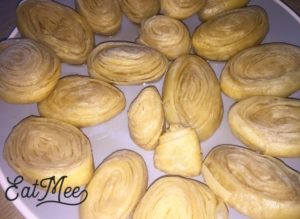
- Use a fork to open up the layers in the dough.
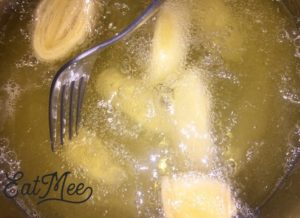
- Fry until crisp but not brown in colour as these Banana Puri’s should be of a creamy white colour. Remove with a strainer.
- Place on a paper towel to drain out excess oil.
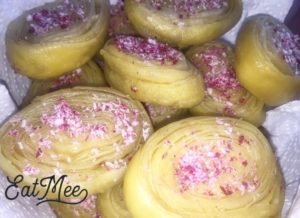
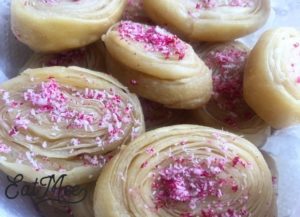
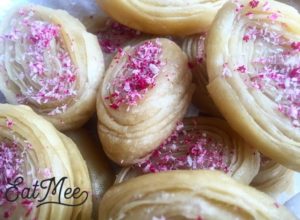
- When the pastry’s are oil free, dunk each one into the cooled syrup & set aside on a plate or wire rack.
- This step is completely optional but I personally feel that it gives a great appearance to these Banana Puri’s. You can either sprinkle the desiccated coconut over the soaked Banana Puri’s or you can add some food colouring to the desiccated coconut before decorating like I have.

- Serve with coffee or tea.
- Store in an air-tight container so that they can remain fresh for a few days.
- This Flaky Banana Puri may also be sprinkled icing sugar instead of soaking them in the sugar syrup & may be decorated with almonds, pistachios or any other ingredients you prefer.


![]()
