
We Value Your Culinary Privacy
EatMee Recipes uses cookies to provide a personalized browsing experience, analyze recipe popularity, and serve relevant ads. You can review our full disclosure in our Privacy Policy.
Make authentic Semolina Cake with this foolproof recipe. Packed with rich traditional flavor, step-by-step photos, and cooking tips by Denisiya on EatMee Recipes.

Join over 60,000+ home chefs for weekly authentic Durban Indian cook-alongs, Instant Pot masterclasses, and family heritage recipes.
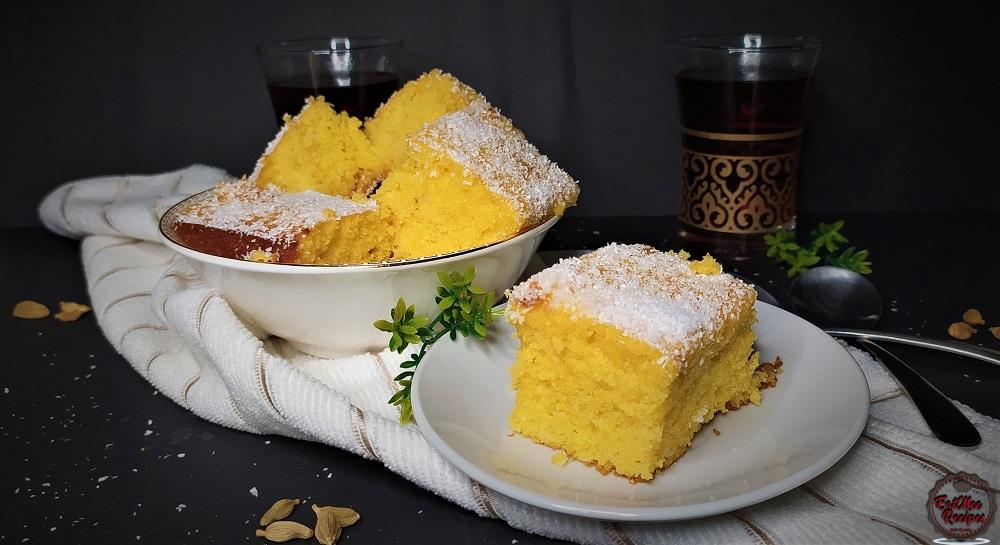
This Semolina Cake is scrumptiously simple to make, yet extraordinarily great. Semolina cakes have a fluffy texture that is particularly unique in relation to cakes made with plain flour.
It is also referred to as Soji cake in South Africa, Basbousa or Hareesa in the Middle East, Shamali in Armenia, Gabelouze or Kalbelouz in France, & Revani or Ravani in Turkey.
Semolina is the coarse, refined wheat middlings of durum wheat for the most part utilized as a part of making pasta & couscous. The word semolina can likewise allude to sweet treat produced using milk & semolina, known to many as Soji.
Preheat oven to 180° Celsius or 356° Fahrenheit.
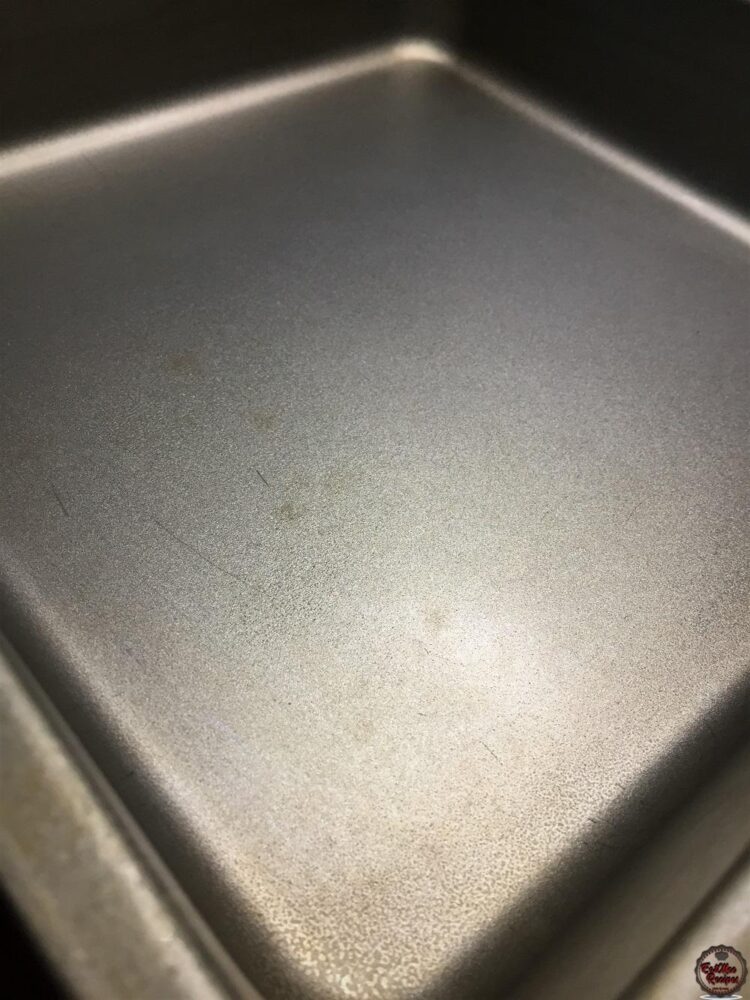
Grease a baking pan with spraying oil & set aside.
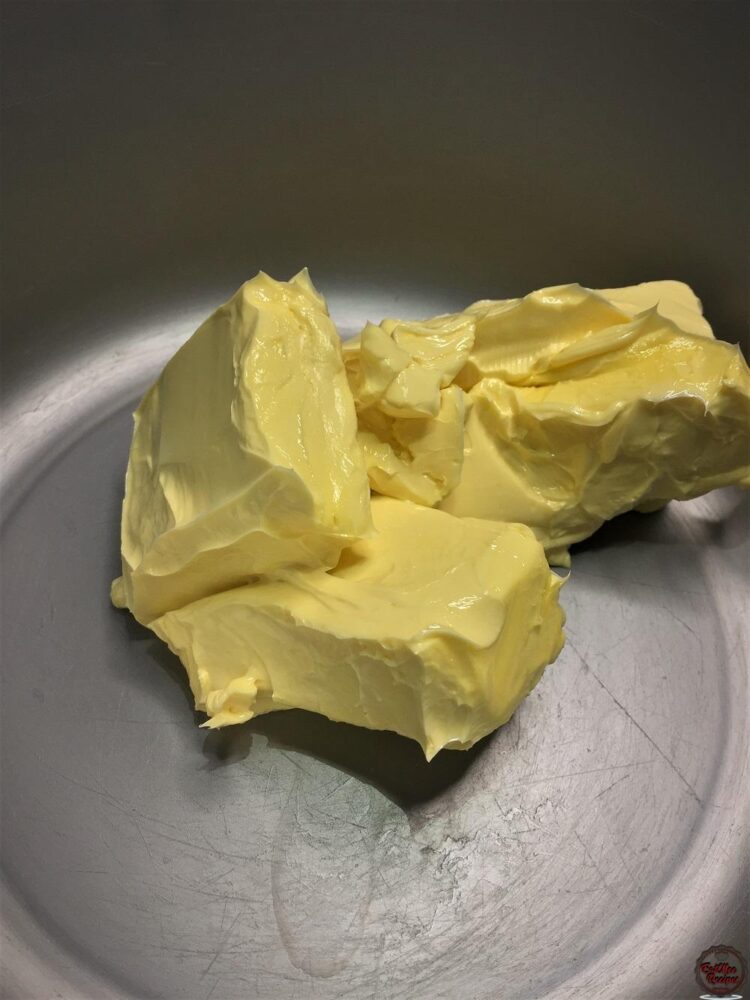
Make sure that the butter or margarine is at room temperature.
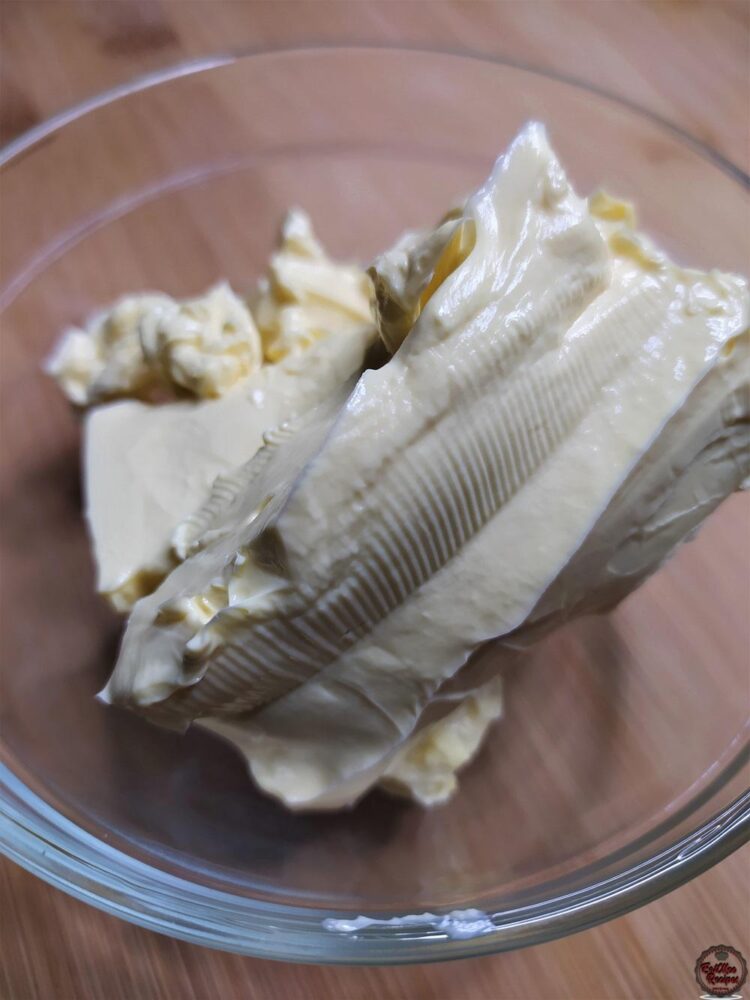
Add the butter or margarine to a mixing bowl.
Add in the castor sugar.
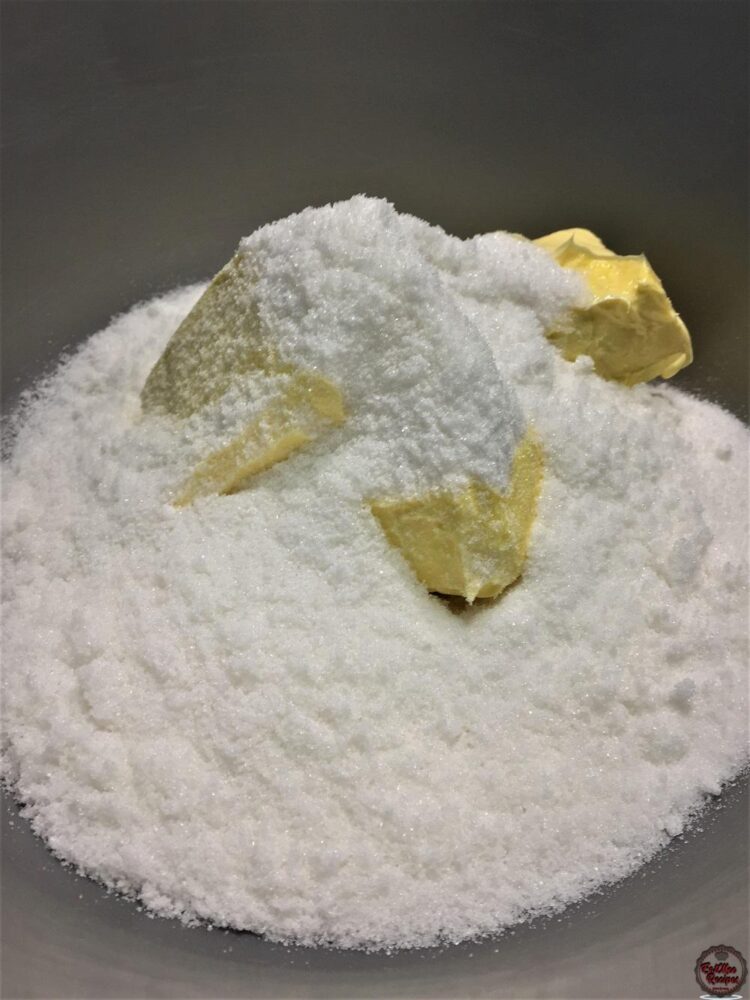
Cream together using a wooden spoon or an electric mixer.
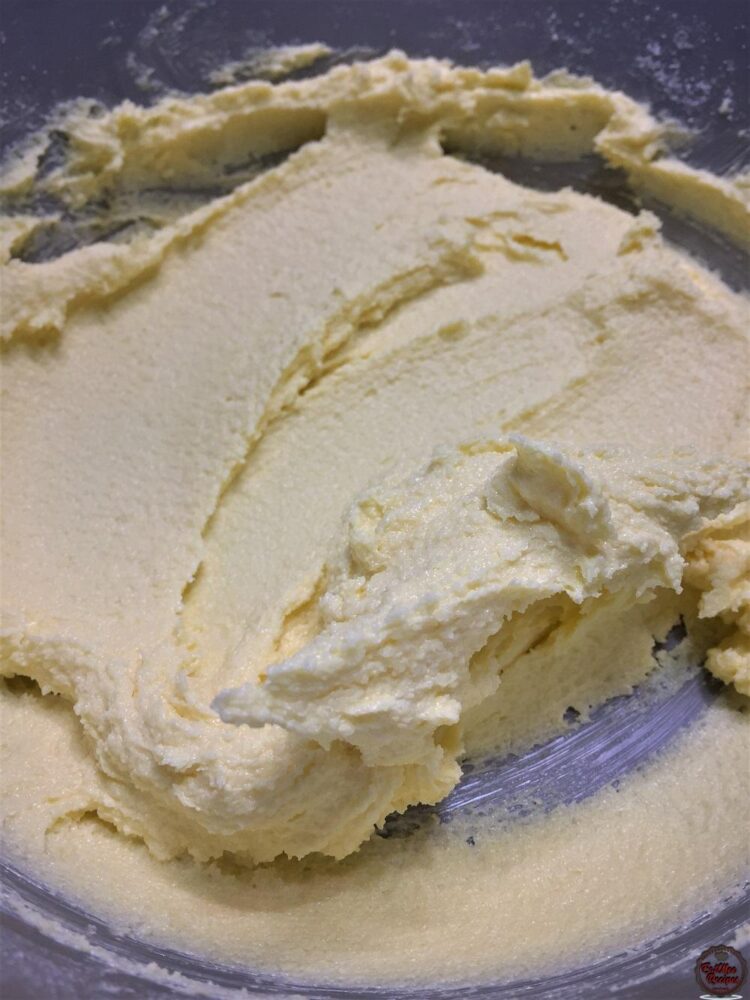
Once the mixture is of a creamy texture, crack in one egg.
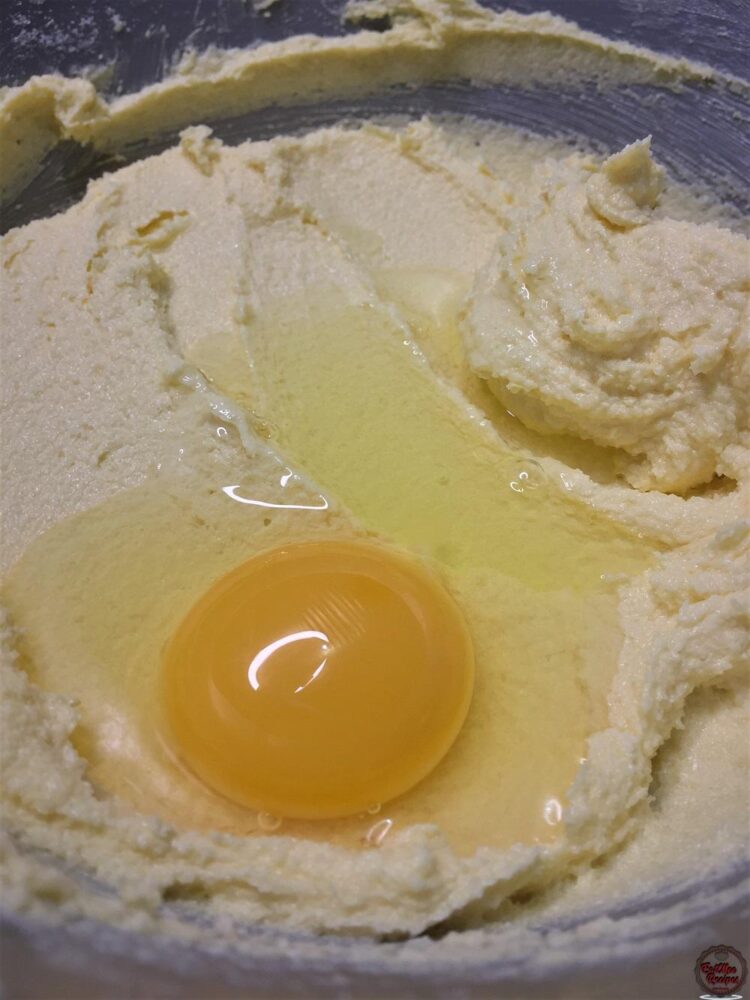
Give it a good mix.
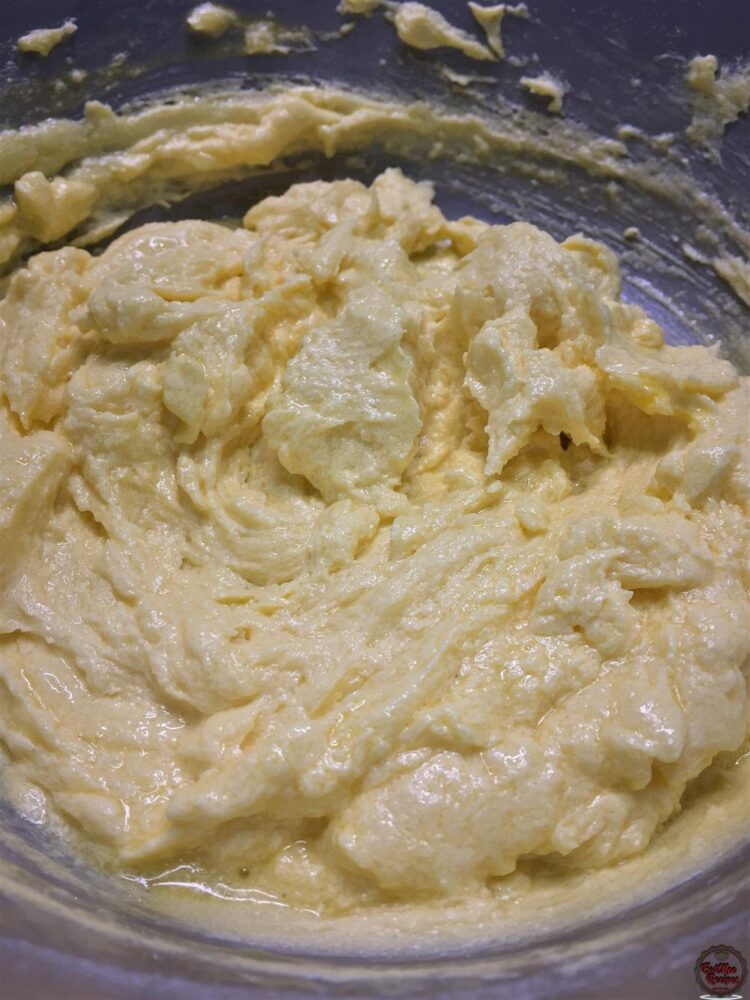
Thereafter, crack in the second egg.
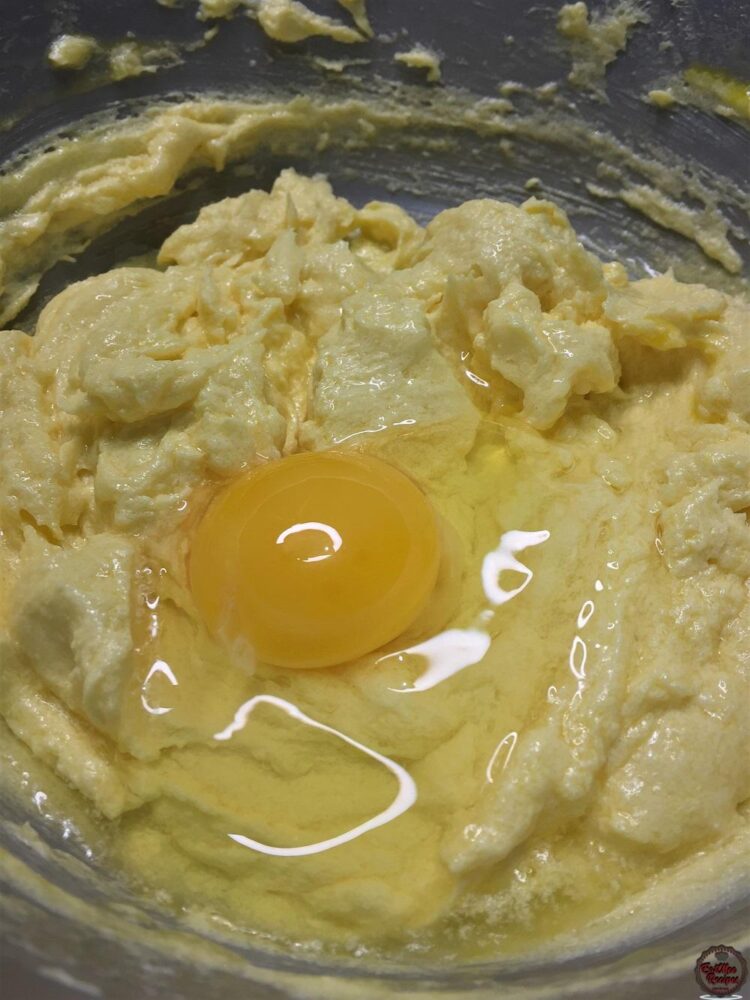
Mix well.
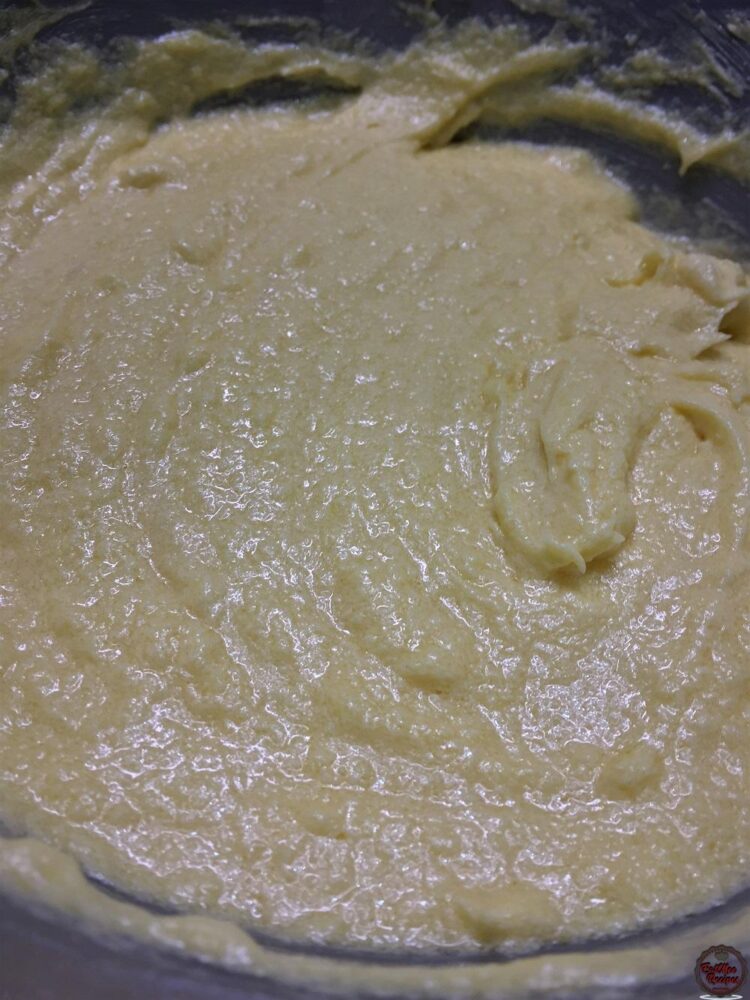
Next, add in the flour.
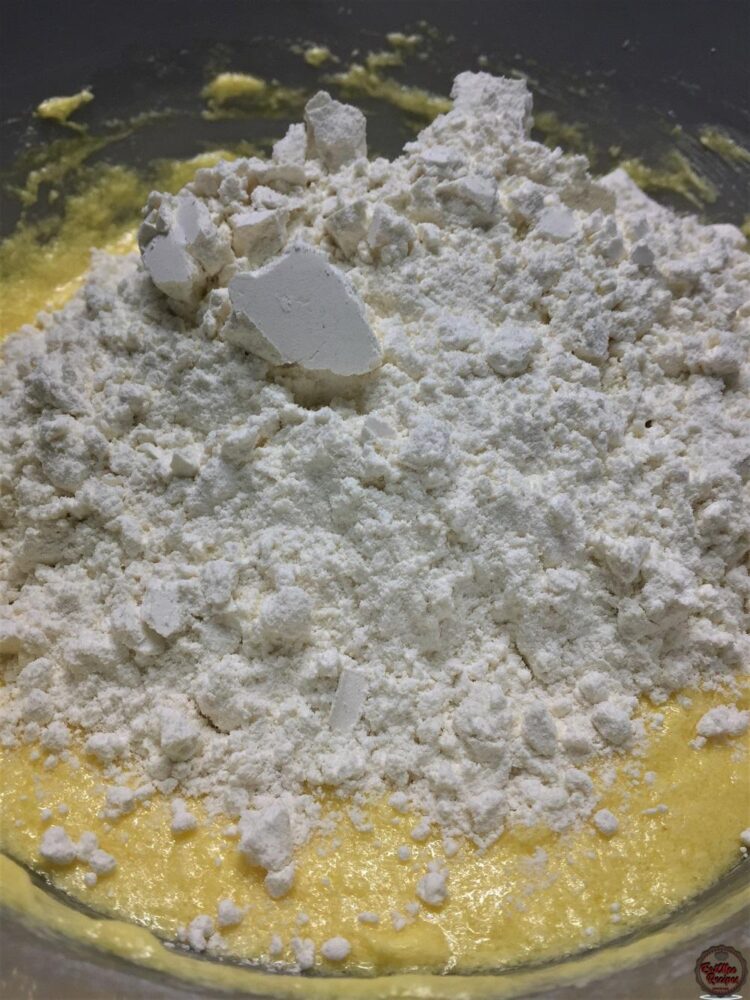
Add in the baking powder.
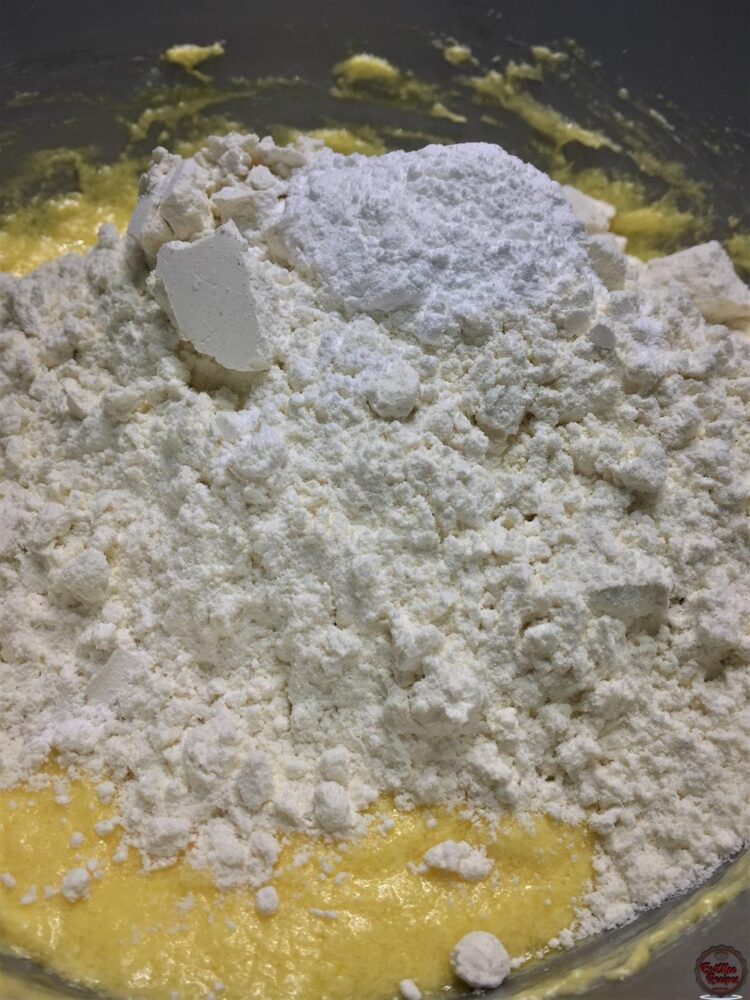
Thereafter, add in the desiccated coconut.
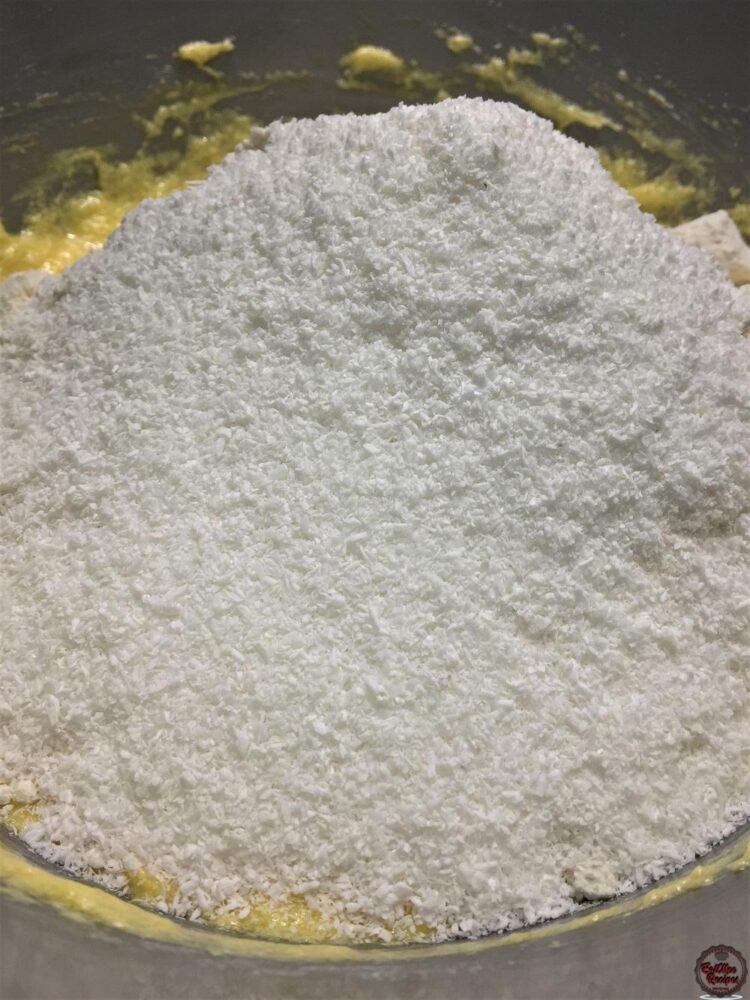
Next, add in the main ingredient which is the semolina.
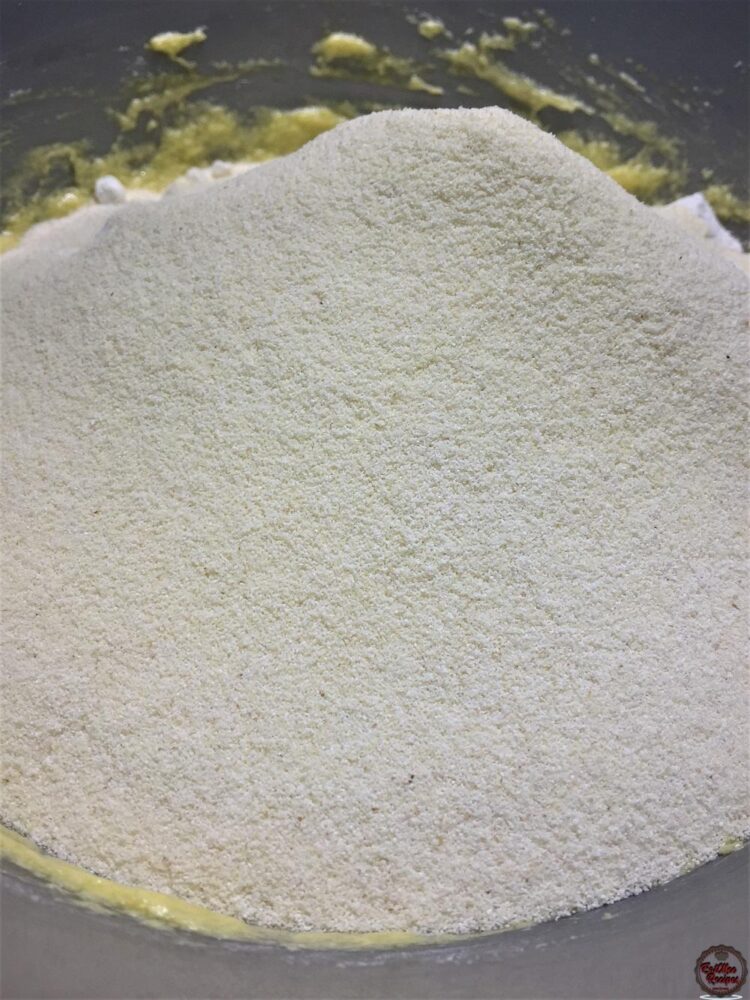
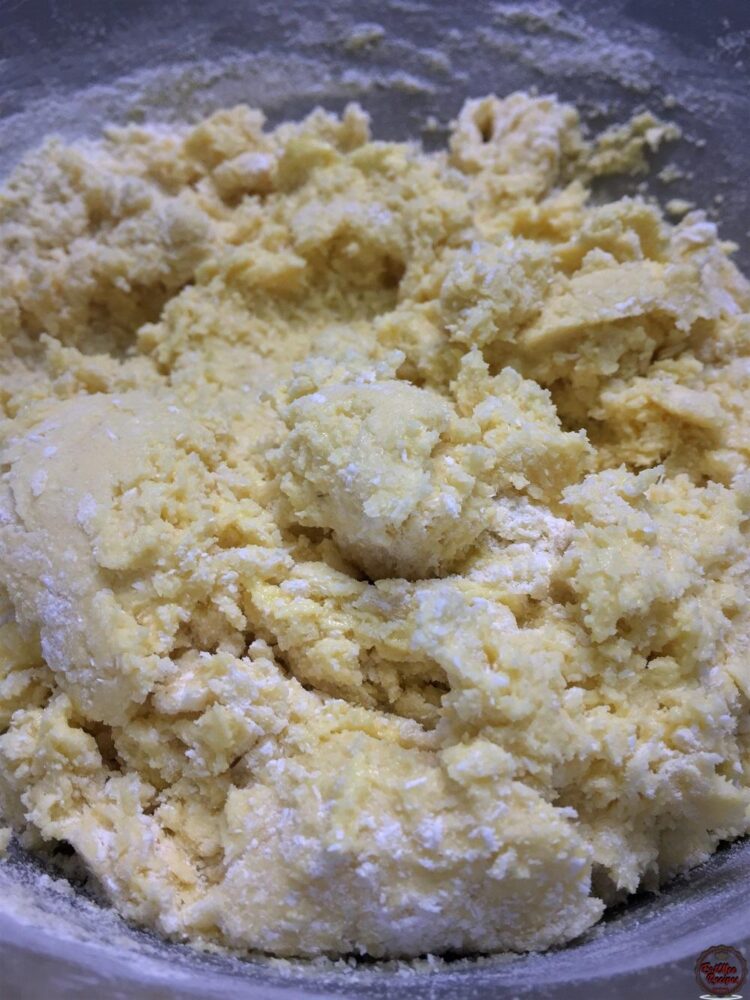
Roughly mix until combined.
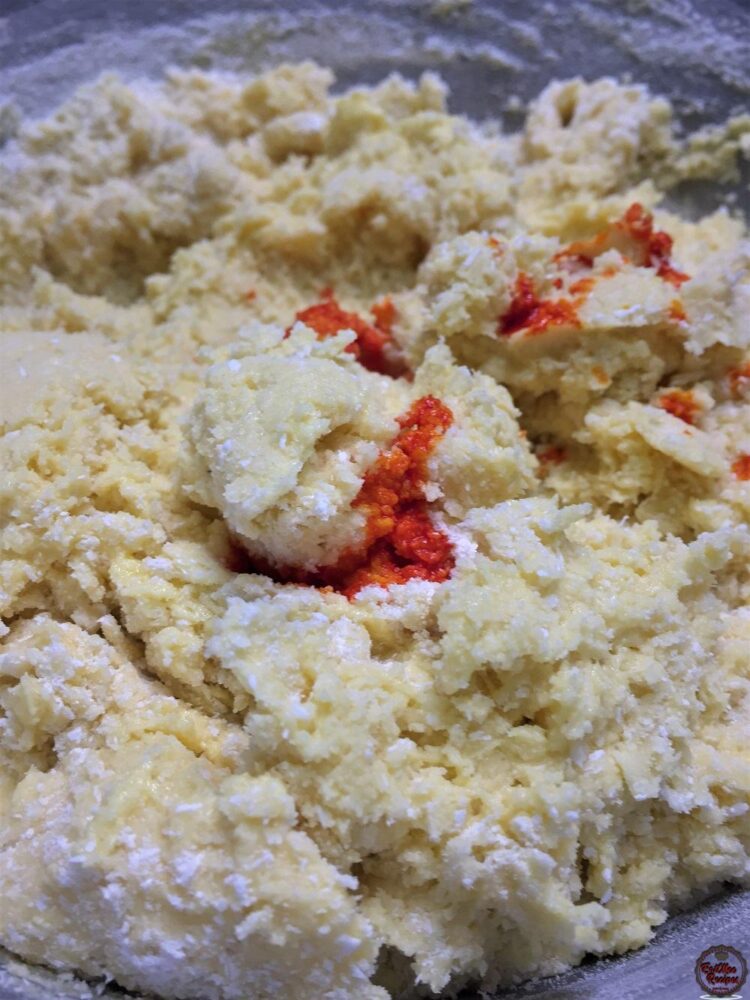
Then add in the yellow food colouring (egg yellow).
Finally, pour in the milk.
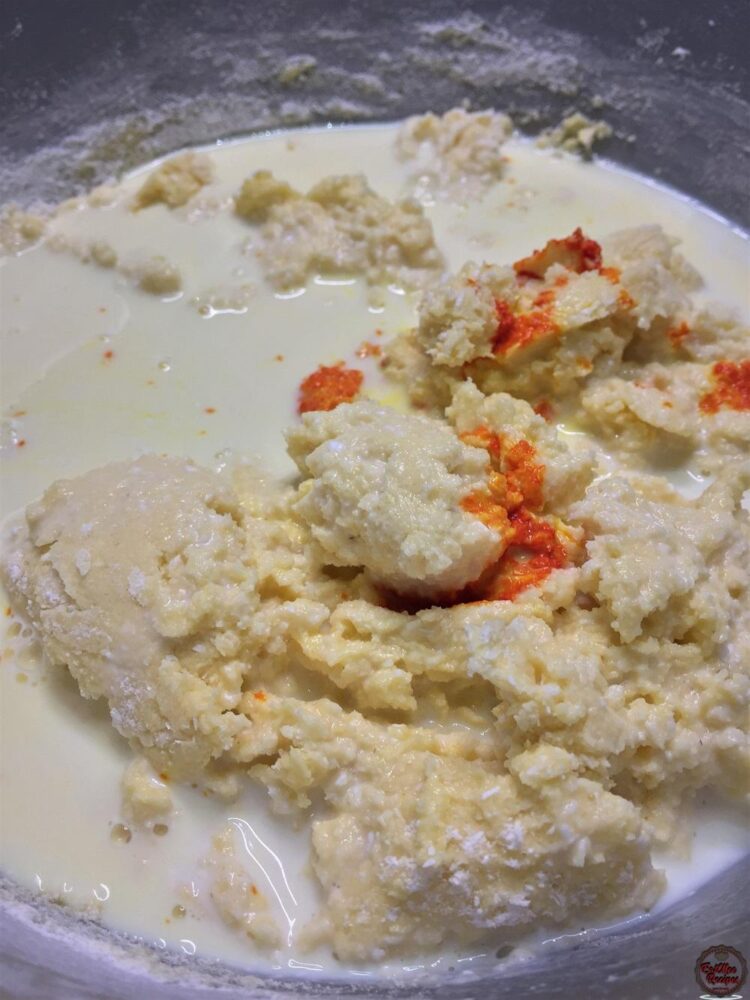
Mix well, the batter should be thick in consistency.
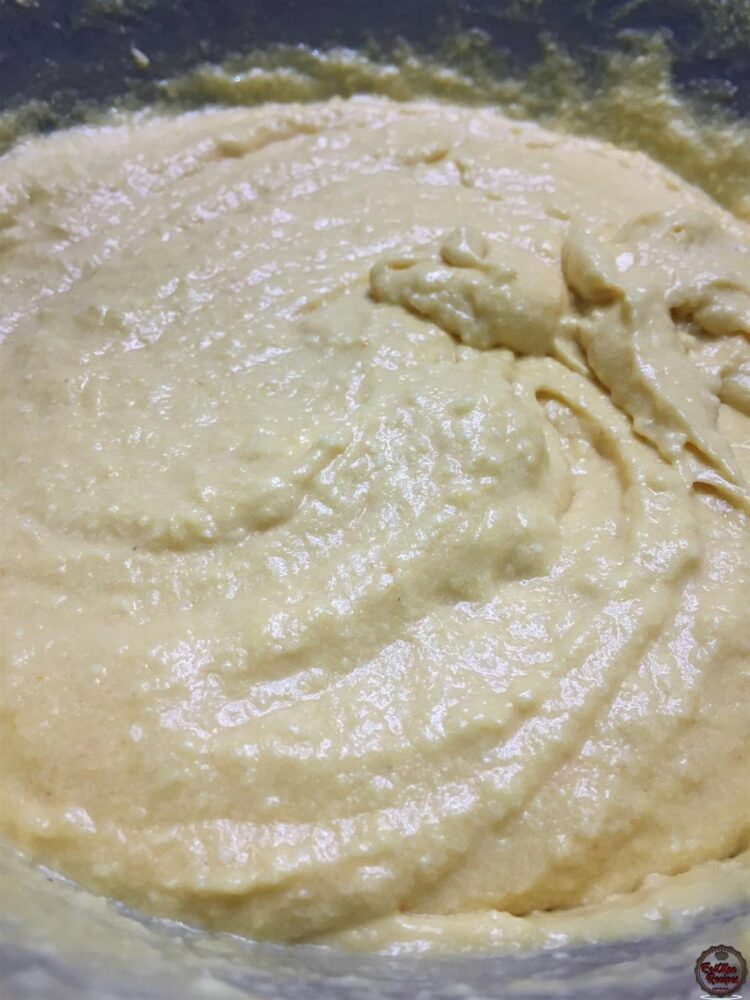
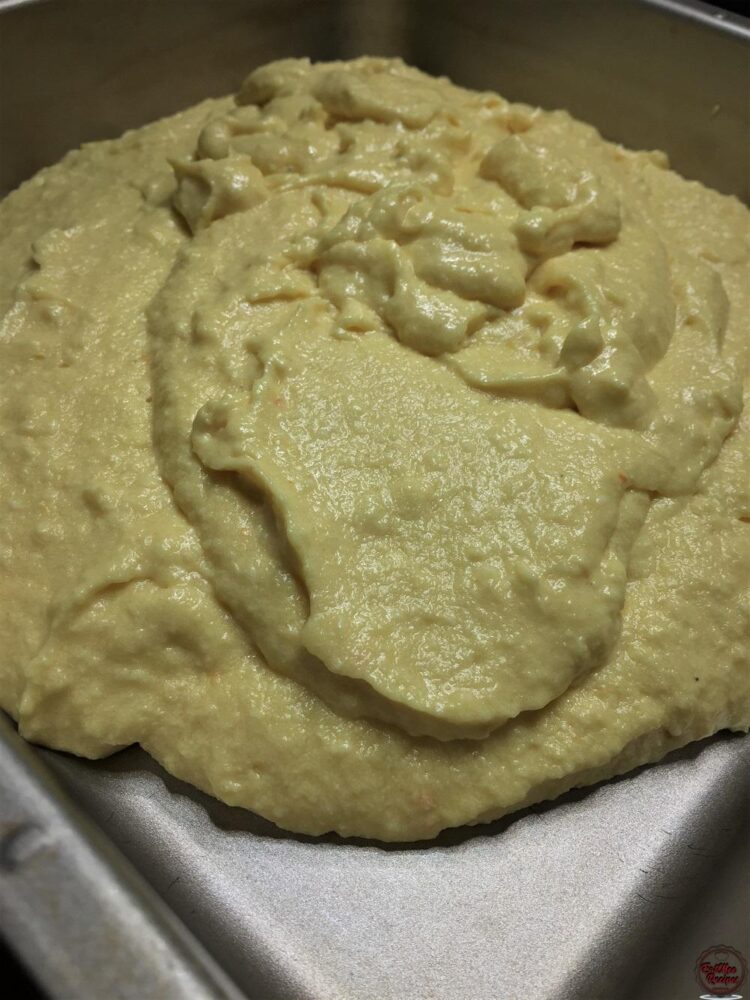
Pour the batter into the prepared baking pan.
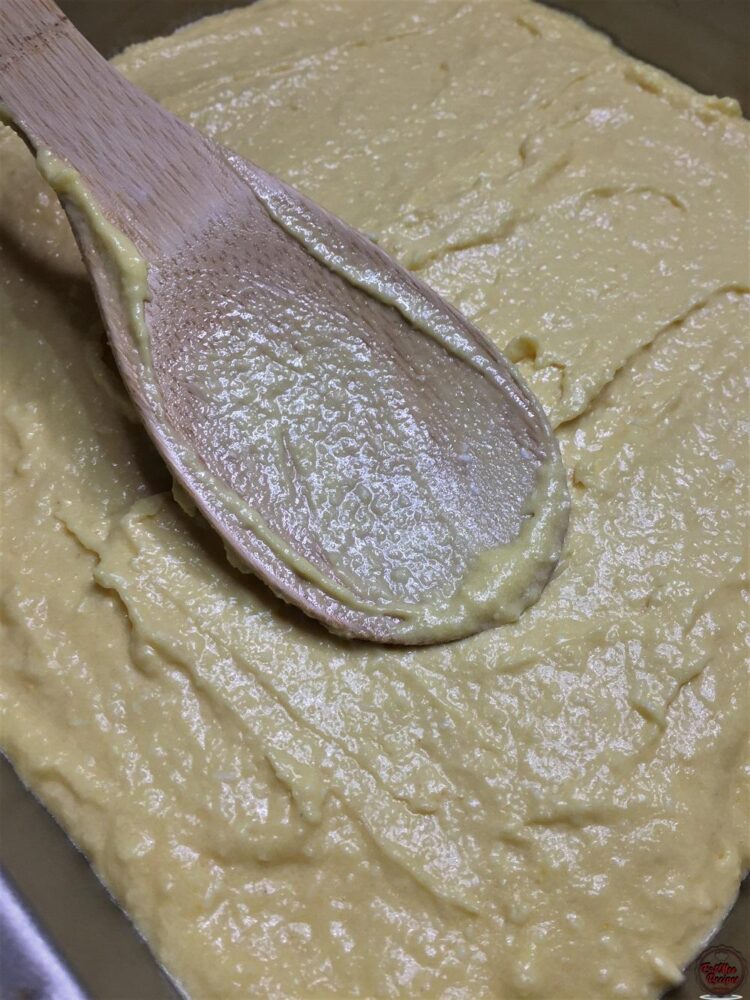
Use the back of a spoon to even out the batter.
Place the baking pan into the preheated oven & bake for 30 minutes.
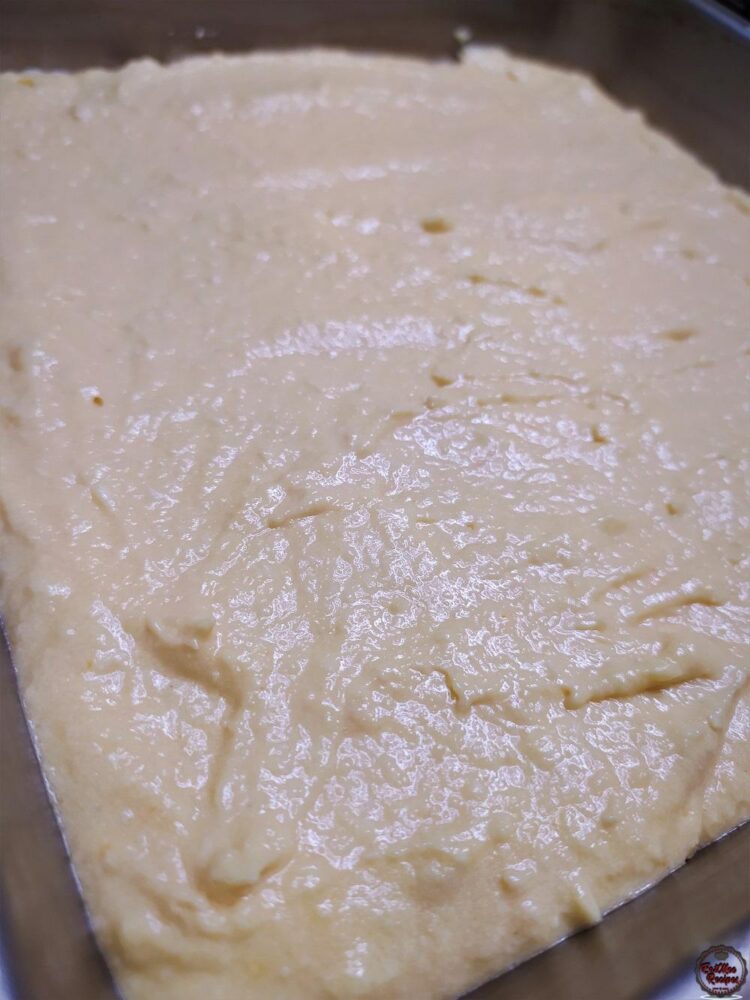
About 10 minutes before the Semolina Cake is baked, begin making the syrup.
Place a pot on the stovetop on medium low heat & add in the castor sugar.
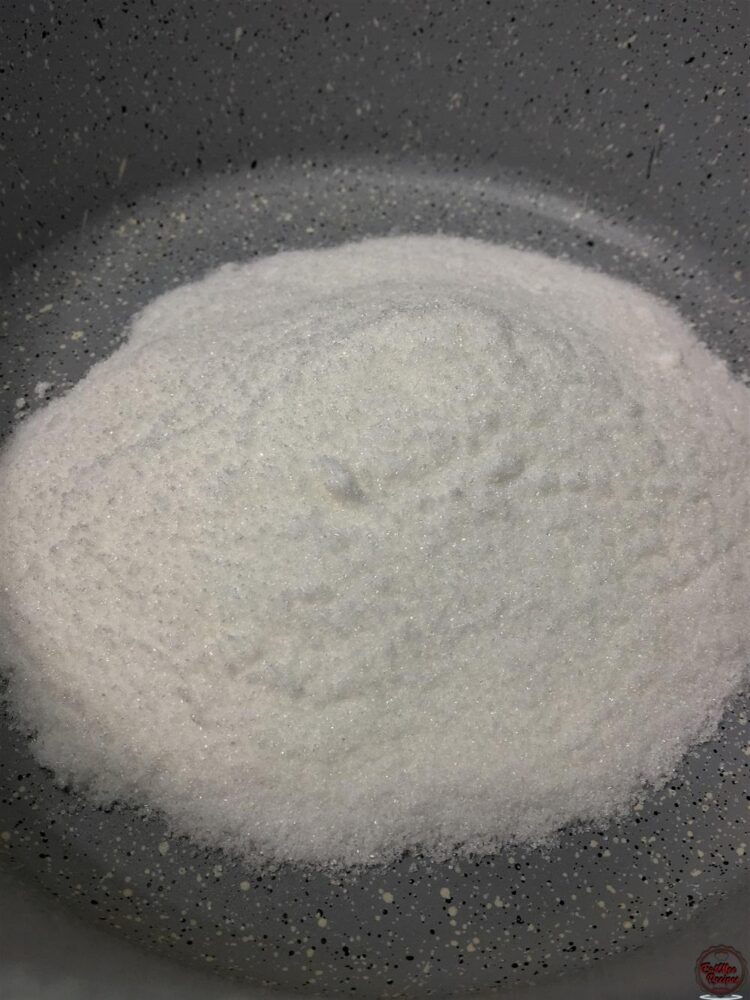
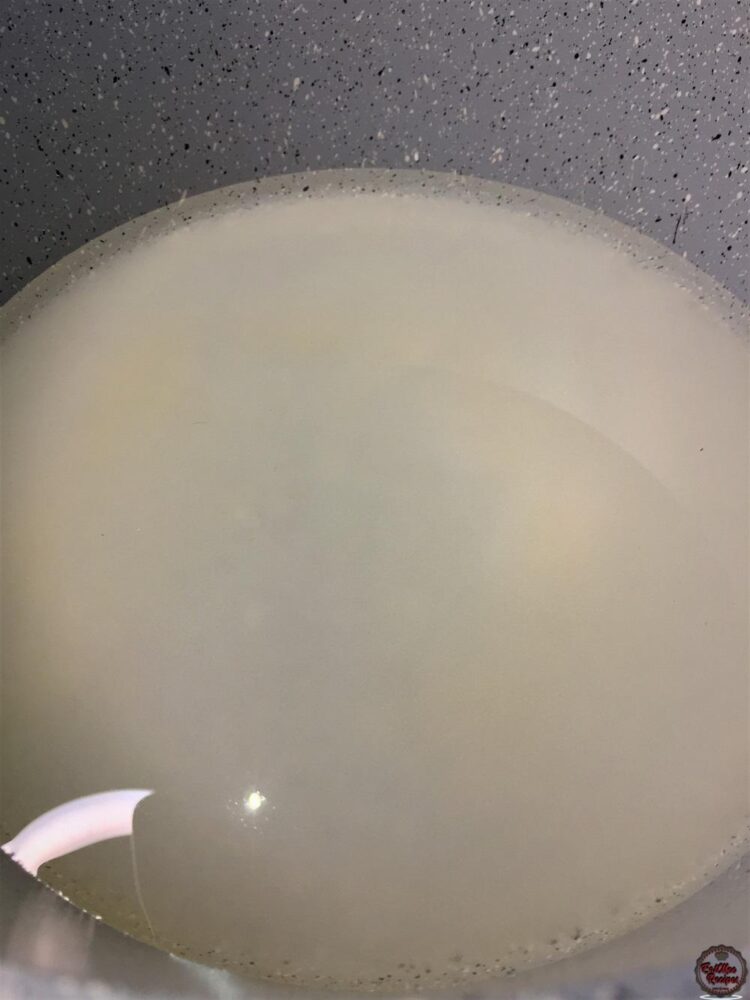
Thereafter, pour in the water.
Next, add in the elachie pods & cinnamon stick.
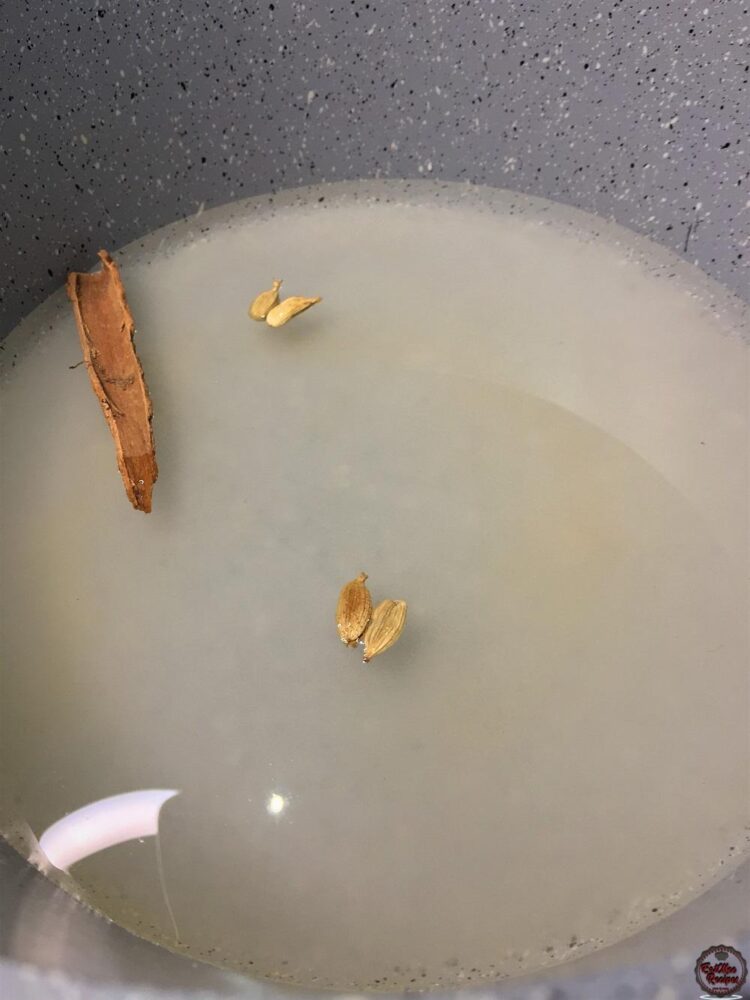
Keeping the heat on medium low, stir until all the sugar dissolves.
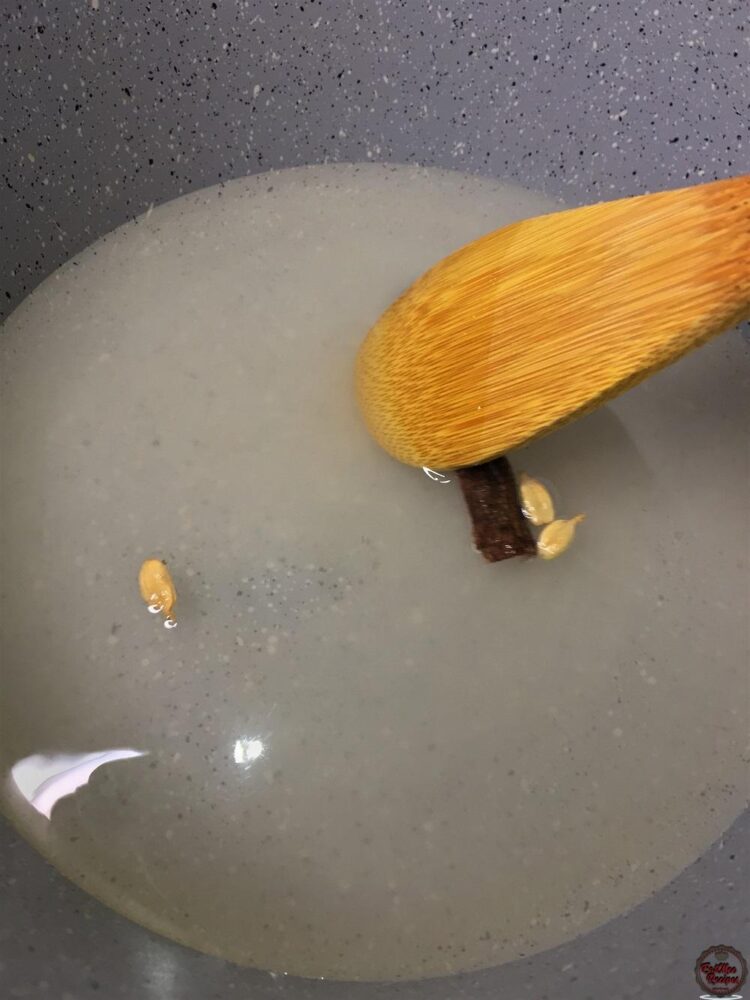
Once the sugar has dissolved, turn up the heat to high.
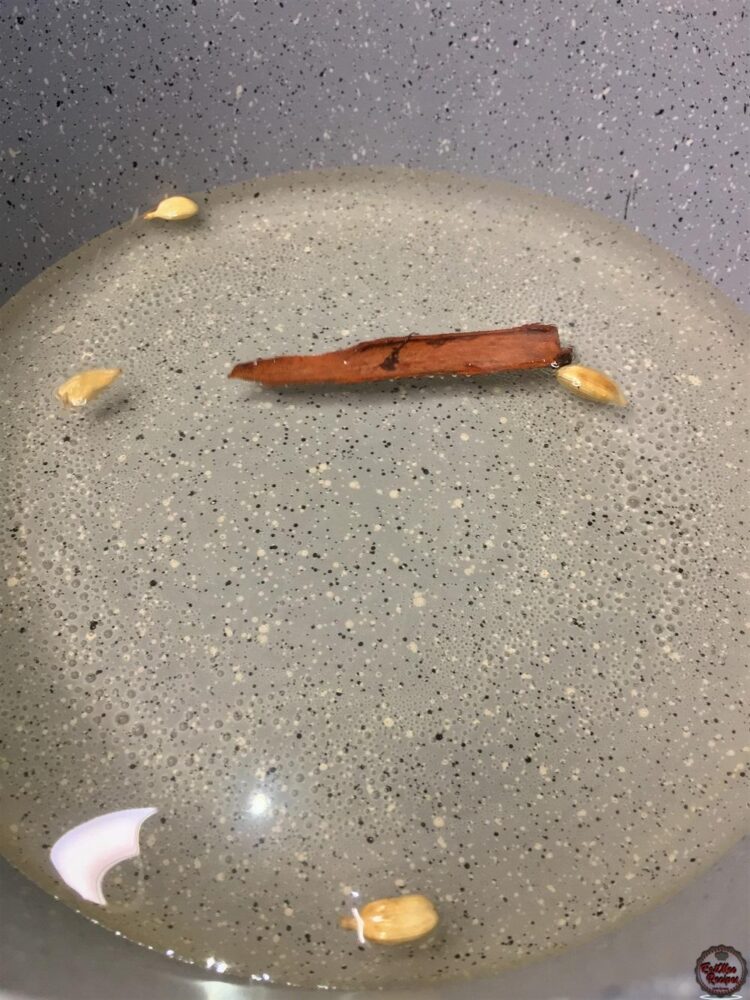
Allow the mixture to come to a boil.
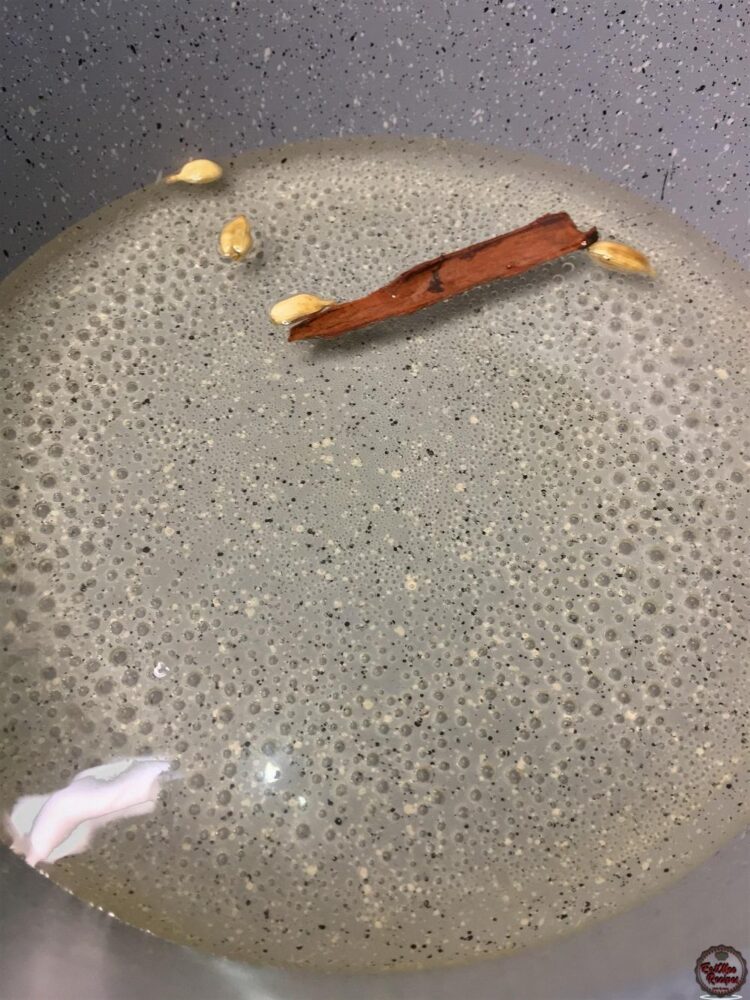
Leave it to boil for 5 minutes without stirring, it should thicken a bit.
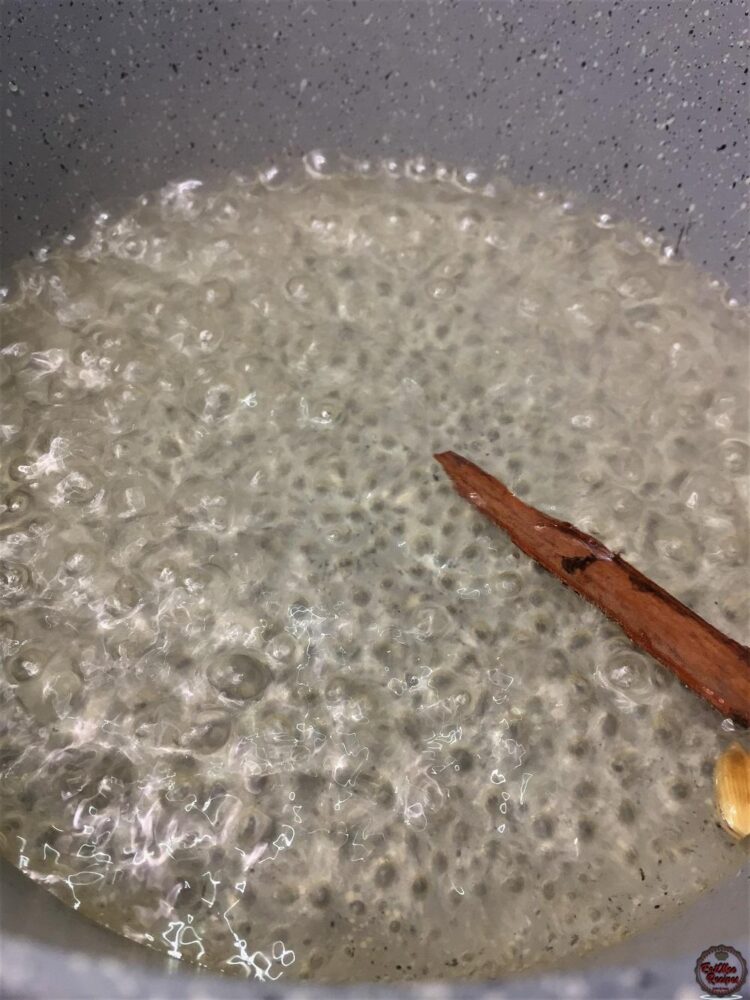
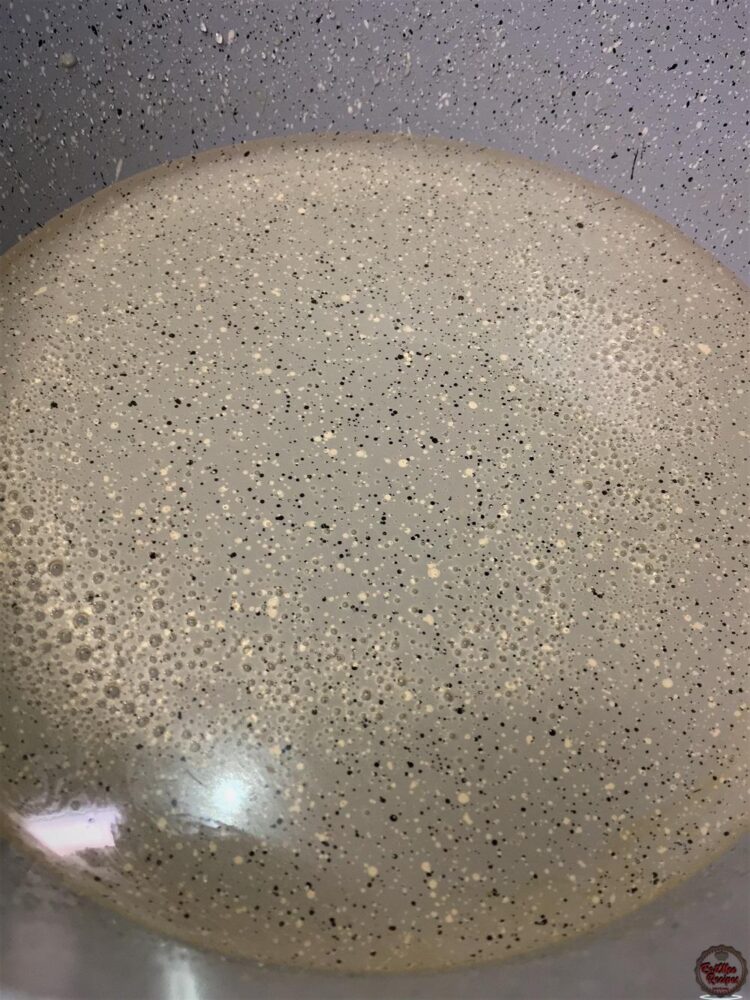
Once the syrup has thickened, turn off the heat & add in the rosewater.
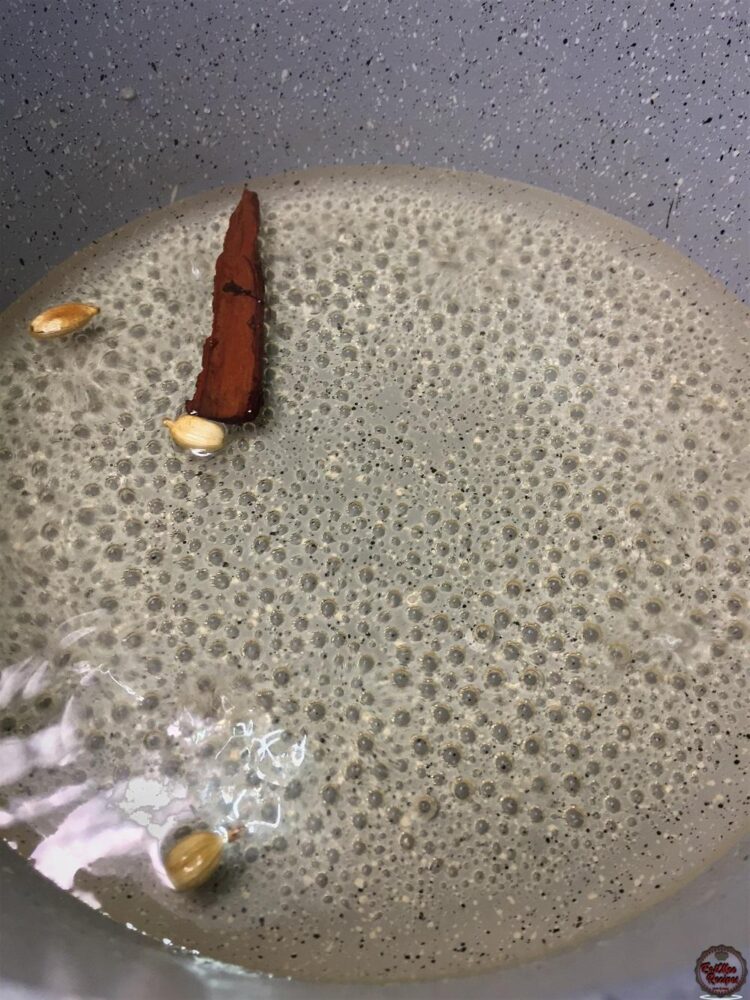
Give it a stir.
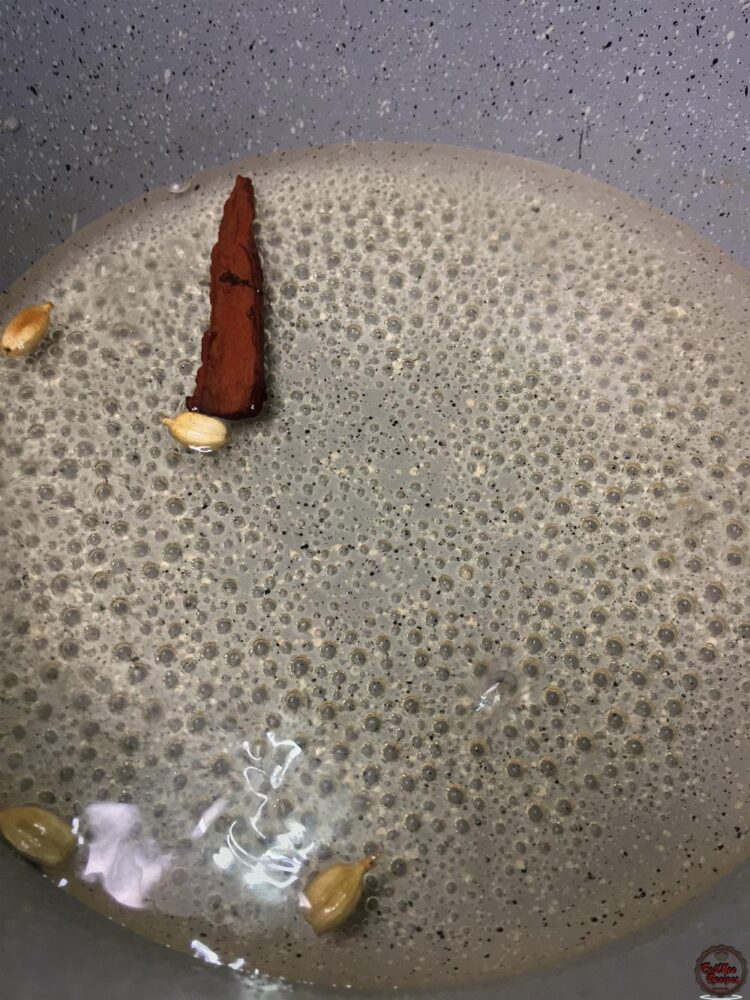
At this point, the whole spices can be removed & discarded.
Once the cake is baked, insert a skewer or a knife to check if it comes out clean. If there is runny batter on the skewer or knife, bake for a few minutes longer.
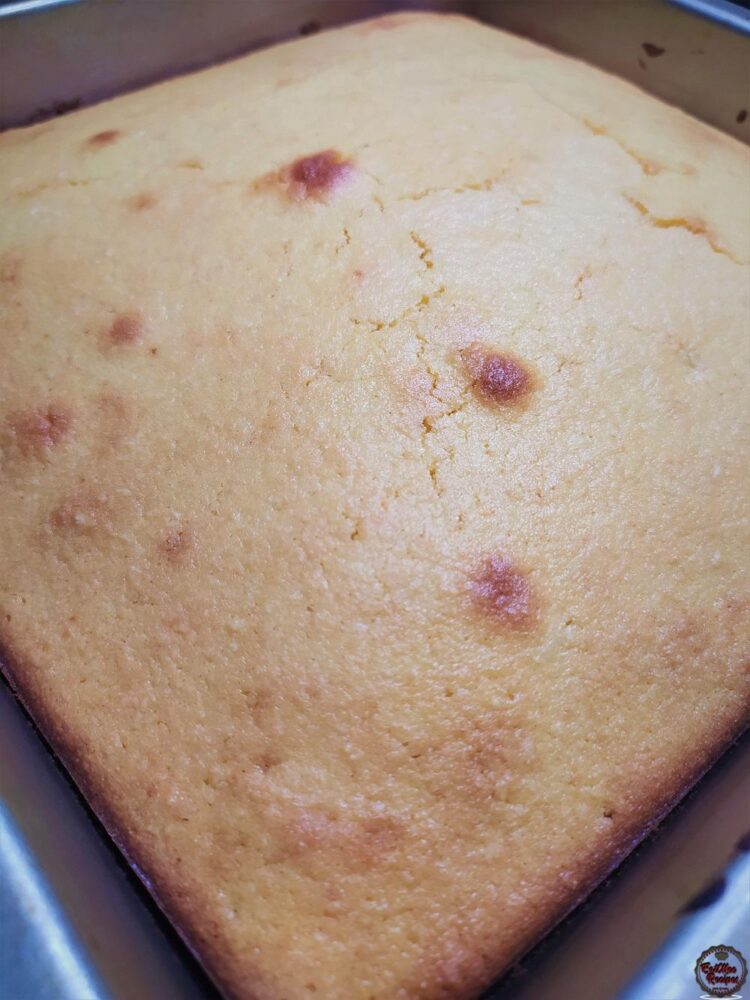
Whilst the cake is still hot, pour the hot syrup over.
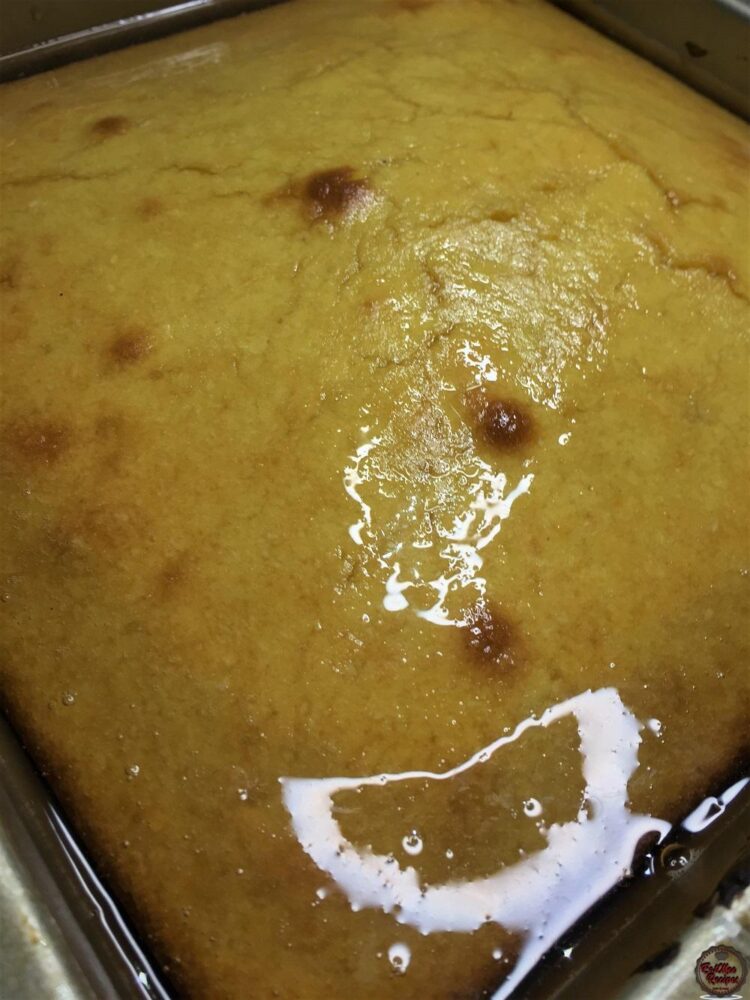
Allow the syrup to soak into the cake.
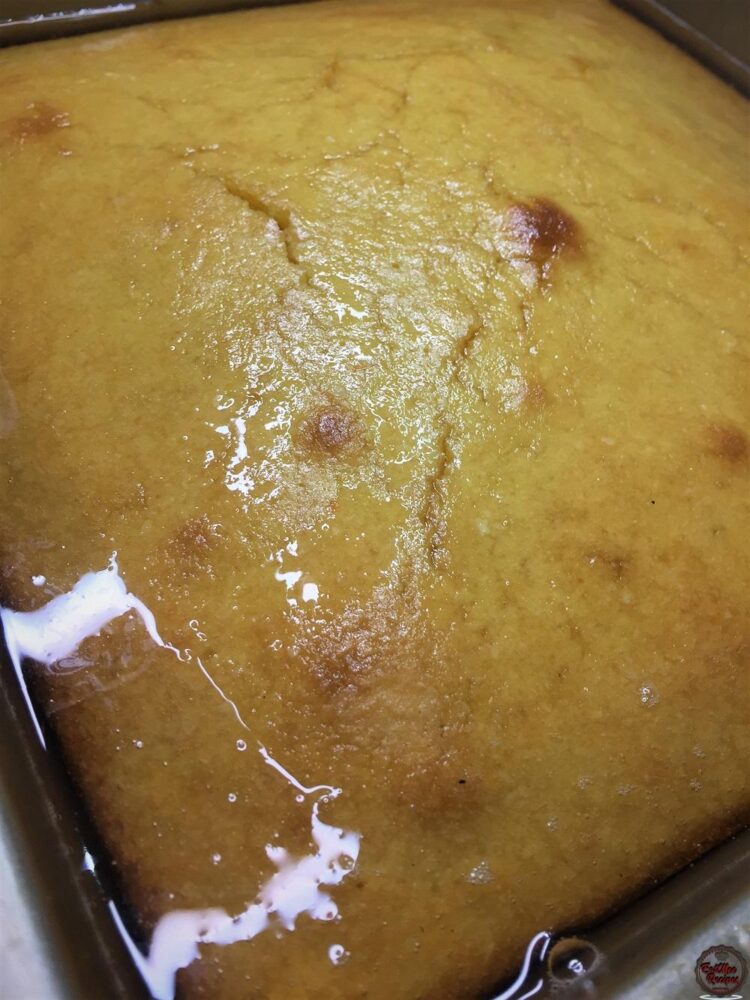
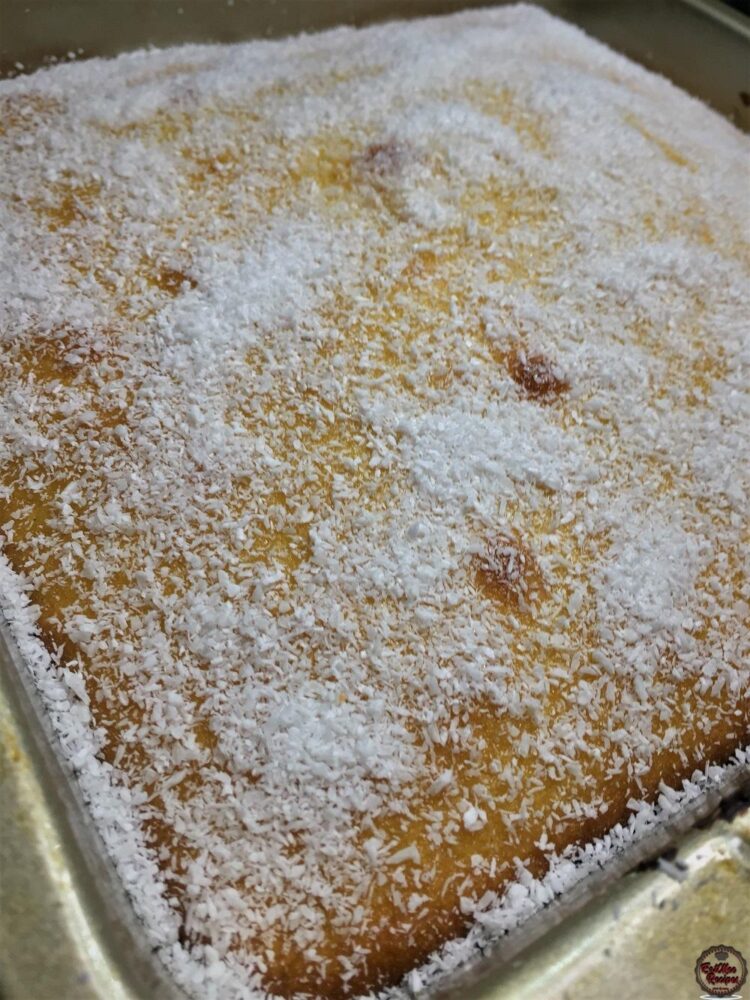
Once the syrup has soaked into the cake, top with whatever you prefer. I personally like to sprinkle over desiccated coconut.
Slice & enjoy.
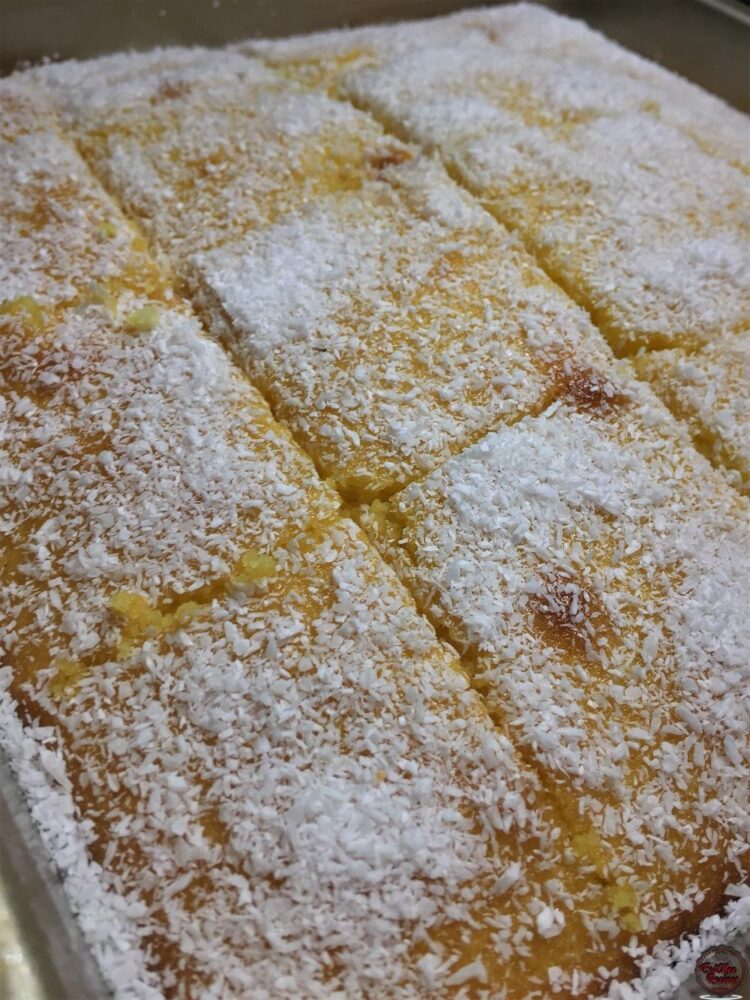
The soft, rich texture on the inside is amazing & I guarantee that you will love every bite.
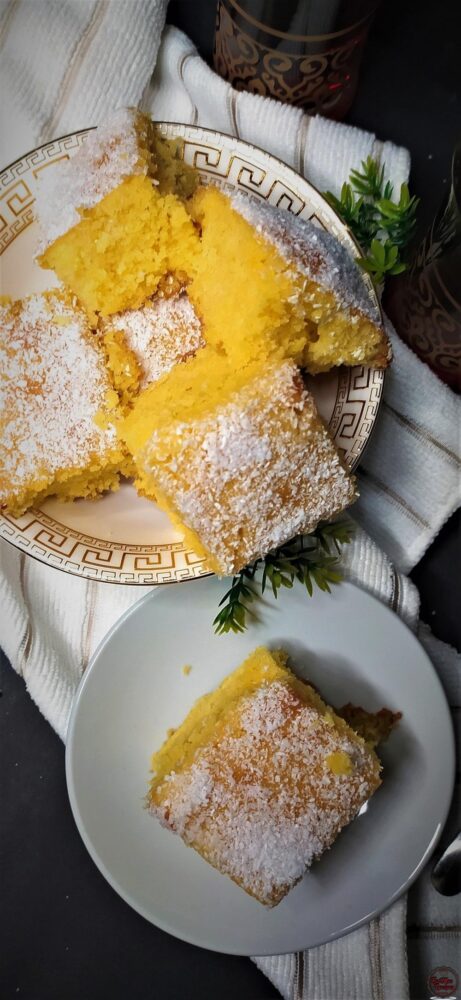
Goes well with a hot cup of tea, cocoa or coffee.
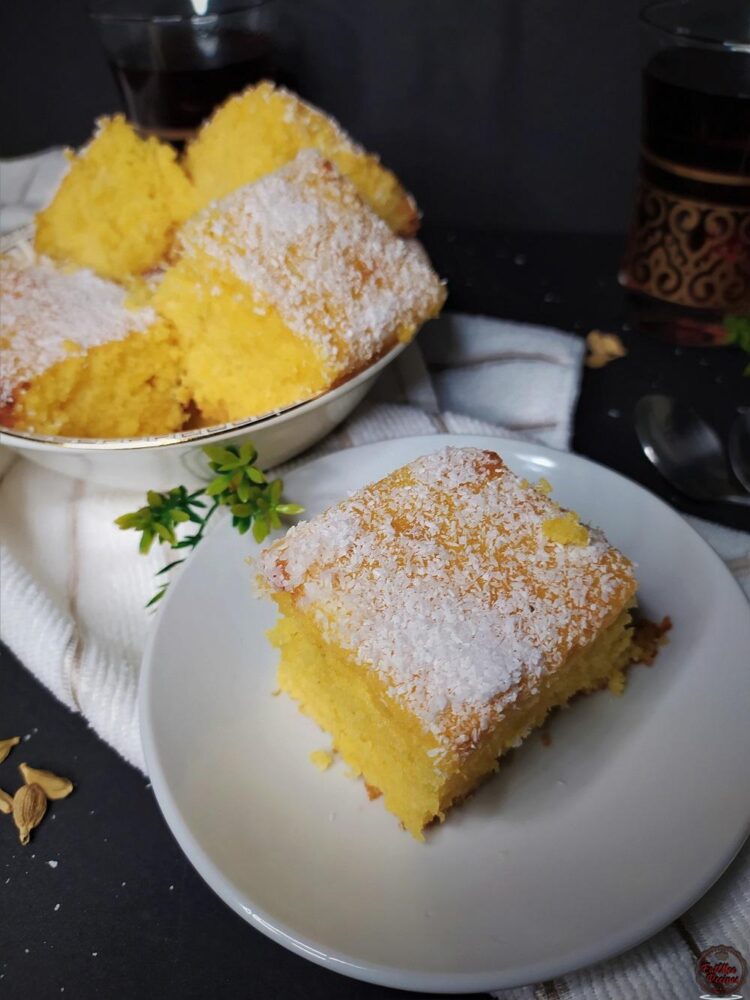
This Semolina Cake can be stored in a cool, dry place in an airtight container for up to one week.
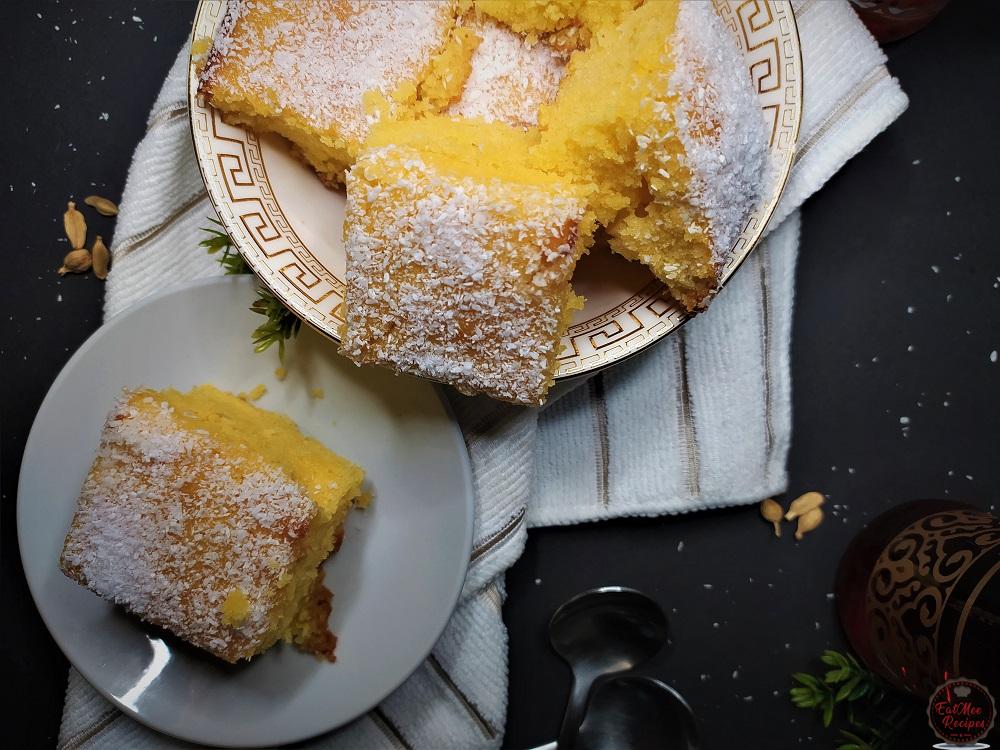
Follow along with Denisiya's step-by-step video guide for Semolina Cake.
Expert kitchen guidance and troubleshooting for making the best Semolina Cake
Store in an airtight container at room temperature for up to 1 to 2 weeks. For milk-based sweetmeats like burfee or soji, refrigerate in an airtight container for up to 7 to 10 days.
Pure butter or ghee provides the authentic rich aroma and texture characteristic of traditional Indian sweetmeats and bakes. Margarine can be used in a pinch, but butter delivers superior flavor.
Hi, I'm Denisiya! Food lover, recipe developer, and founder of EatMee Recipes. I specialize in authentic South African Durban Indian cuisine, comforting curries, and modern Instant Pot adaptations. Every recipe on this site is tested in my personal kitchen to ensure you get mouth-watering, foolproof results every time.
Explore more authentic Durban curries, traditional bakes, and comforting family favourites.
 Desserts
If you love traditional South African sweet rice but want an easier, hands-off method, thi...
 Desserts
Light, crisp, and delicately sweet biscuit sticks dipped in chocolate
 Desserts
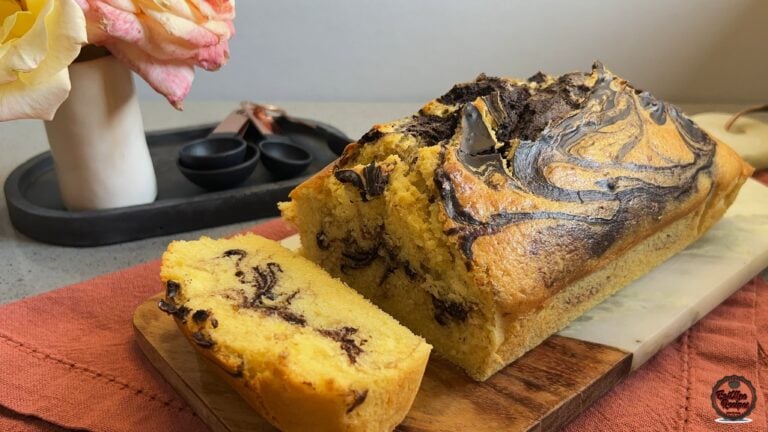
There’s something comforting about a marble loaf cake fresh from the oven, especially when...
Have you tried this recipe or have questions for Denisiya? Join the conversation below.
No comments yet. Be the first to share your thoughts on this recipe!
Leave a Comment
Your email address will not be published. Required fields are marked *