

We Value Your Culinary Privacy
EatMee Recipes uses cookies to provide a personalized browsing experience, analyze recipe popularity, and serve relevant ads. You can review our full disclosure in our Privacy Policy.
Make authentic Kaju Katli with this foolproof recipe. Packed with rich traditional flavor, step-by-step photos, and cooking tips by Denisiya on EatMee Recipes.

Join over 60,000+ home chefs for weekly authentic Durban Indian cook-alongs, Instant Pot masterclasses, and family heritage recipes.
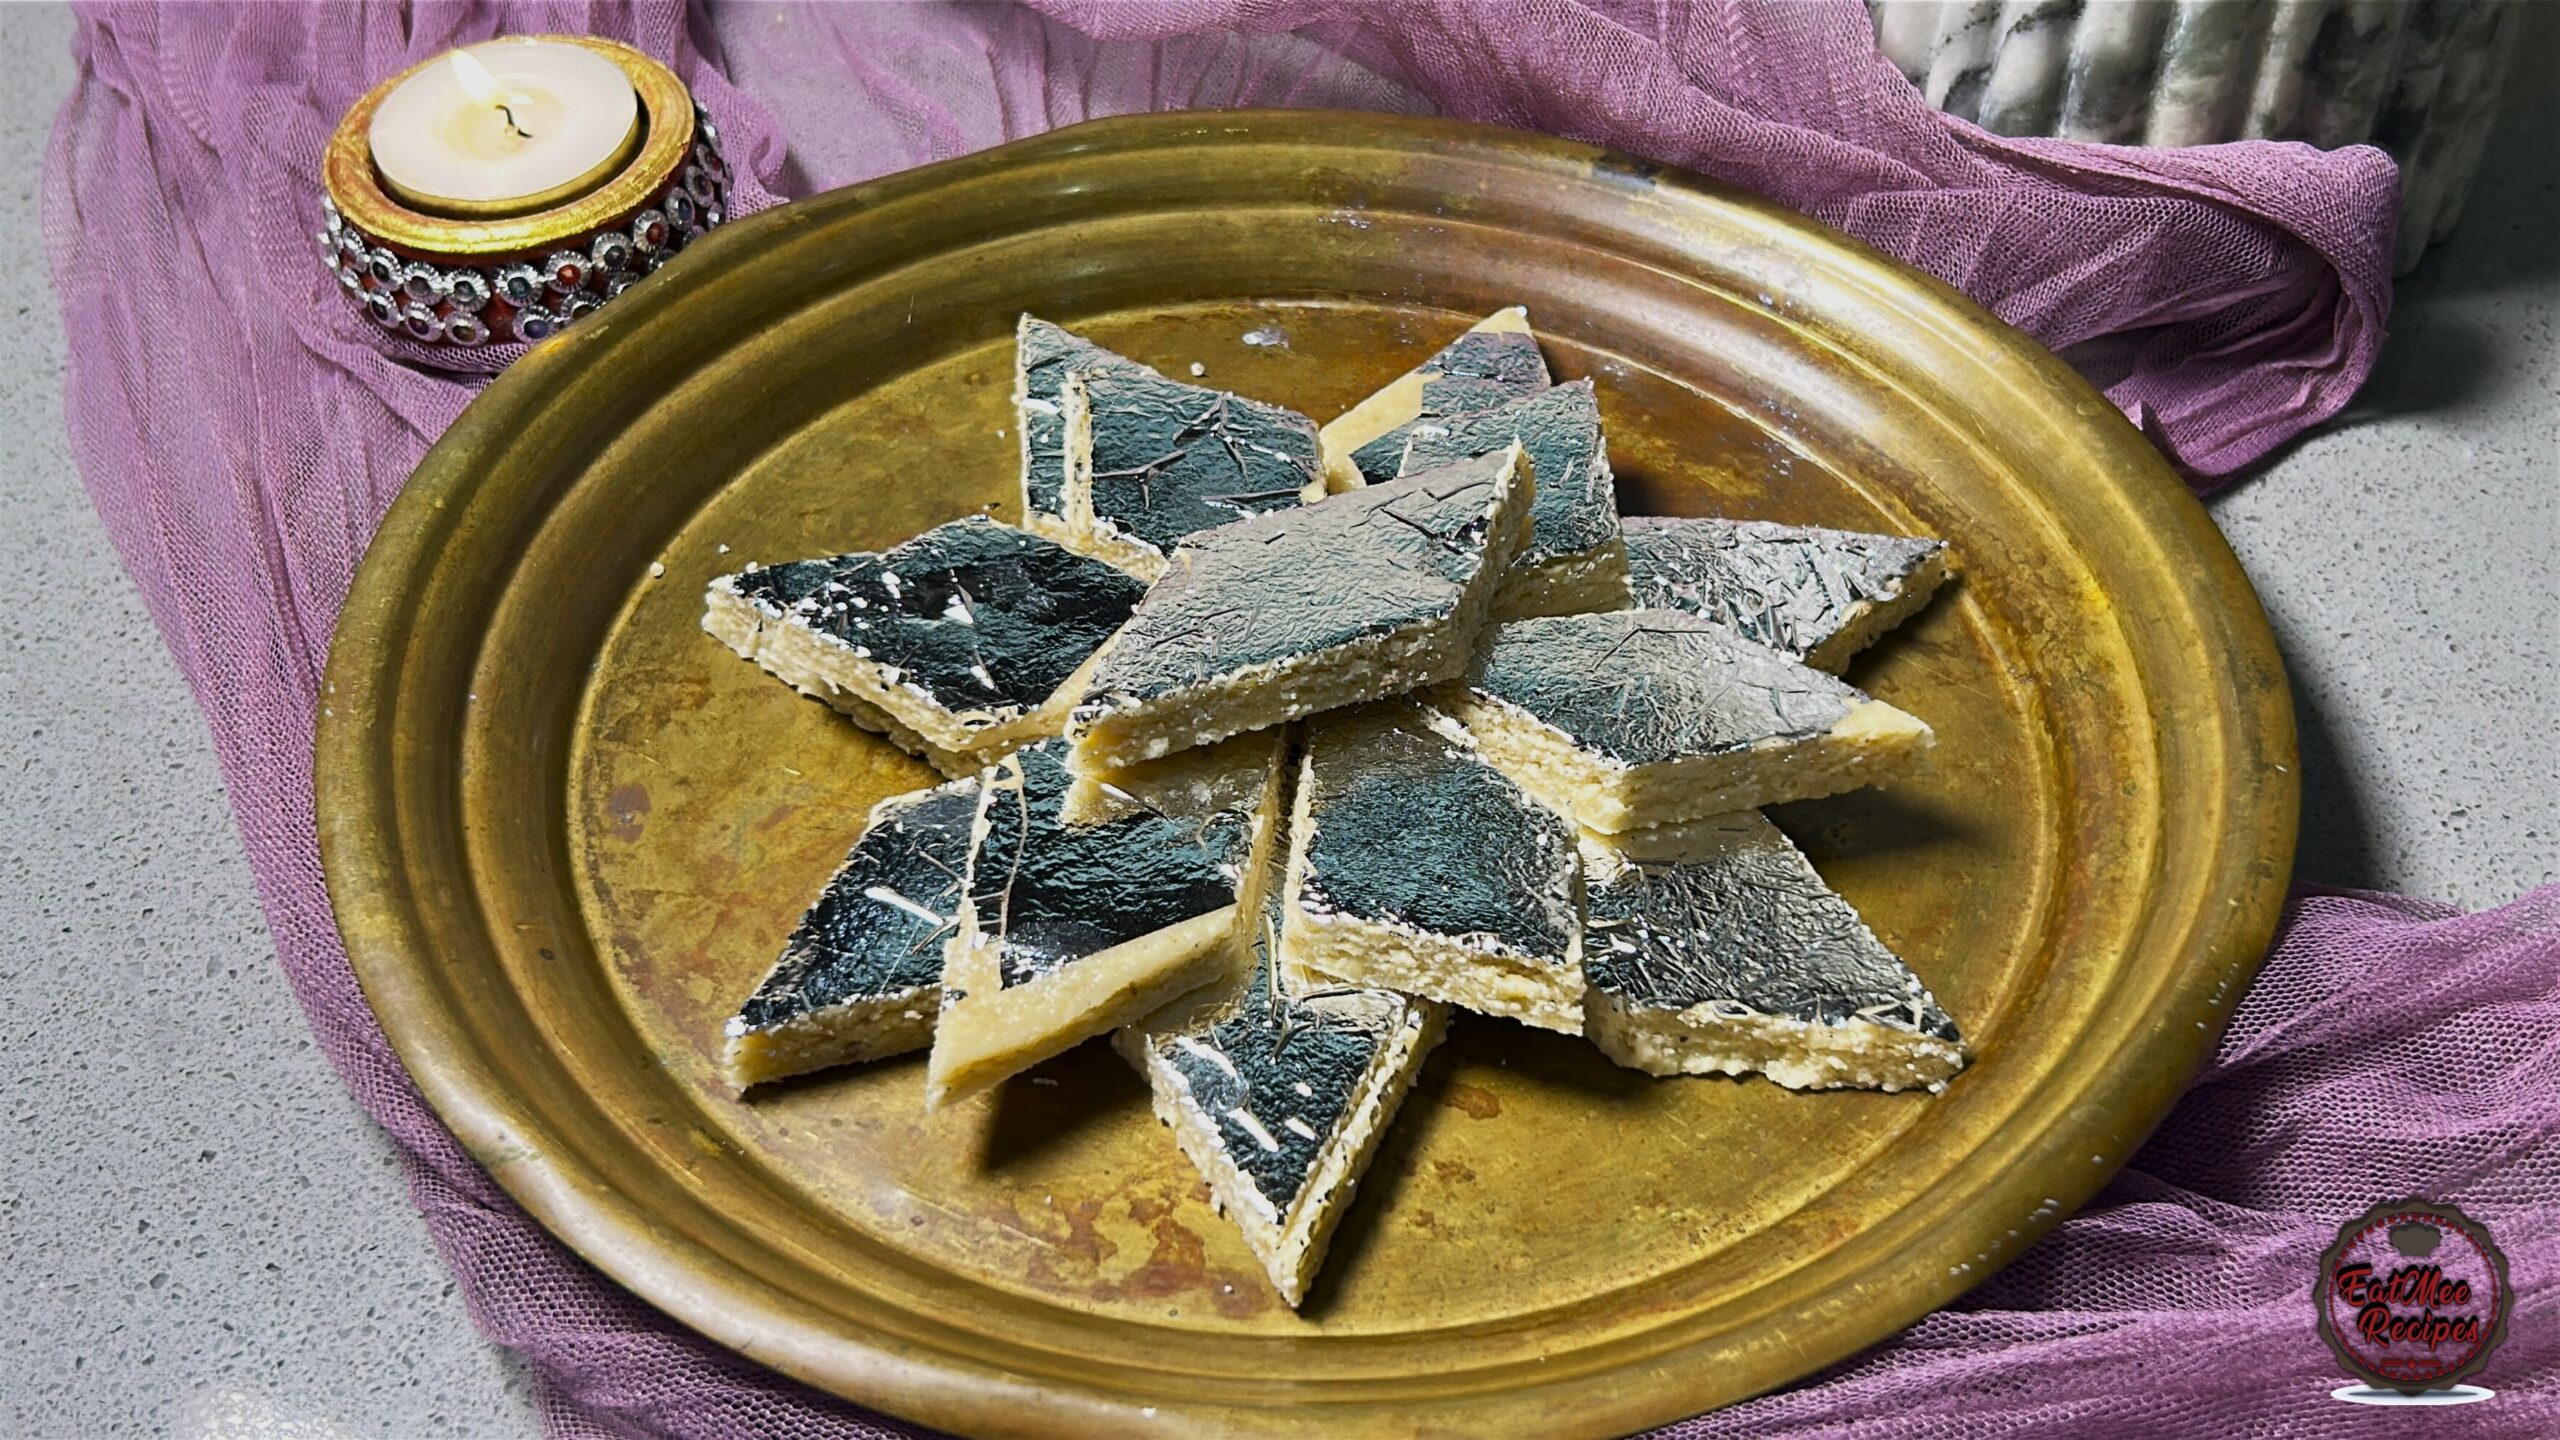
Kaju Katli, also fondly known as Kaju Barfi is the undisputed jewel of Indian sweetmeats (mithai). The name translates quite literally to what it is: in Hindi, “Kaju” means cashew and “Katli” refers to thin, flat slices. Traditionally cut into iconic diamond shapes and adorned with delicate edible silver leaf (varak), this smooth, melt-in-the-mouth cashew fudge is a staple on festive Diwali platters, wedding trays, and celebratory tables across South Africa and the world.
While shop-bought Kaju Katli is often overly sweet or bulked up with fillers, homemade Kaju Katli tastes of pure, roasted-sweet cashew luxury. Better yet, because it relies solely on cashews, sugar, and water, it is naturally gluten-free, dairy-free, and vegan (provided you use neutral oil or plant-based butter for greasing). If you have ever felt intimidated by sugar-syrup temperatures or ended up with either chewy toffee or crumbly cashew sand, this foolproof method removes the guesswork so you get silky, bakery-style slices on your very first try.
A Note on Cookware: Because cashew paste is delicate and prone to sticking or catching if the heat isn’t distributed evenly, a quality non-stick pan makes all the difference in this recipe. I use my Cuisinart ClickSmart Cookware – the even heat distribution and superior non-stick surface allow the cashew dough to glide effortlessly without scorching, and the detachable handle makes transferring the warm dough onto baking paper a breeze! Want to upgrade your kitchen? Use my discount code Denisiya10 at checkout to get 10% off your Cuisinart order!
Never use cold cashews: If you store your nuts in the fridge or freezer, bring them to room temperature on a dry tray for at least 2 hours before grinding. Cold cashews attract moisture from the air, causing them to clump and release oil in the blender.
Pulse, don’t blend: 2-second pulses keep the friction low. Sifting is non-negotiable – it guarantees that velvety, store-bought texture with zero grainy bits.
Use reliable non-stick cookware & low heat: Cashews scorch quickly and will turn yellow if cooked on medium or high heat or in a thin pan. Using a pan with even heat retention, like the Cuisinart ClickSmart pan on the lowest flame ensures the paste releases cleanly from the sides while preserving Kaju Katli’s signature ivory-white colour.
How to fix dry, crumbly dough: If you accidentally cooked the mixture a minute too long and it cracks when rolled, simply sprinkle 1 to 2 teaspoons of warm water or warm milk over the warm dough and knead it through the baking paper until supple again.
How to fix overly soft, sticky dough: If the dough feels too wet to hold its shape when sliced, return it to the non-stick pan over low heat and stir for another 2-3 minutes until it firms up.
Room Temperature: Store Kaju Katli in an airtight container, separating layers with sheets of baking paper, in a cool, dry cupboard for up to 7 days.
Refrigerator: In humid weather or for longer storage, keep the airtight container in the fridge for up to 3 to 4 weeks. Remove the pieces 15 minutes before serving so they soften back to their melt-in-the-mouth texture.
Freezer: Freeze in a freezer-safe airtight container (layered with baking paper) for up to 3 months. Thaw overnight in the refrigerator before bringing to room temperature.
Ensure your cashews are completely dry and at room temperature.
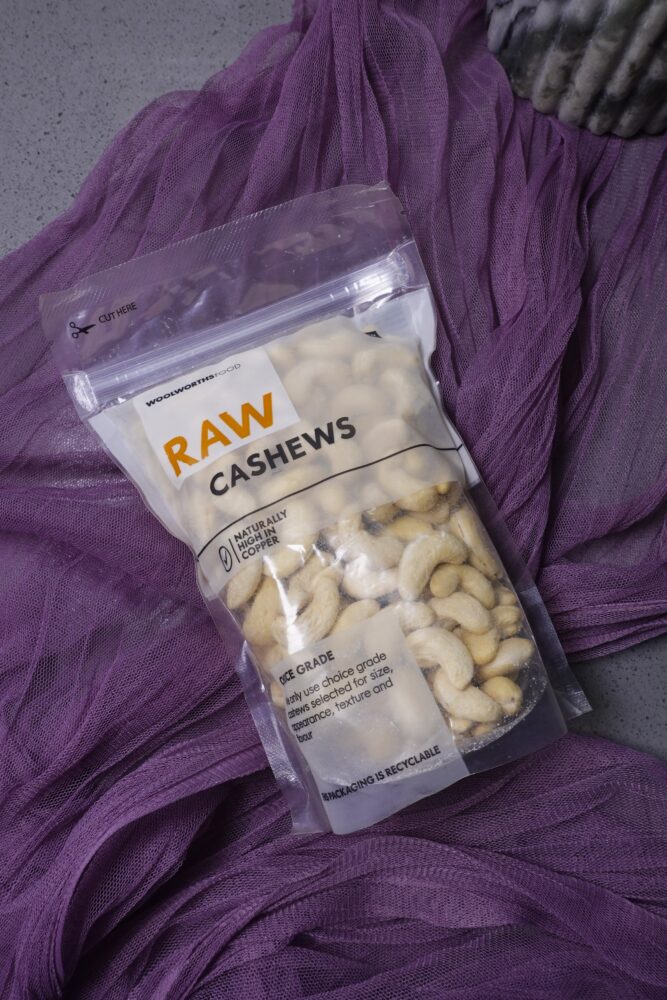
Add the cashews to a dry spice grinder or food processor. I’ve used my Nutribullet for this step.
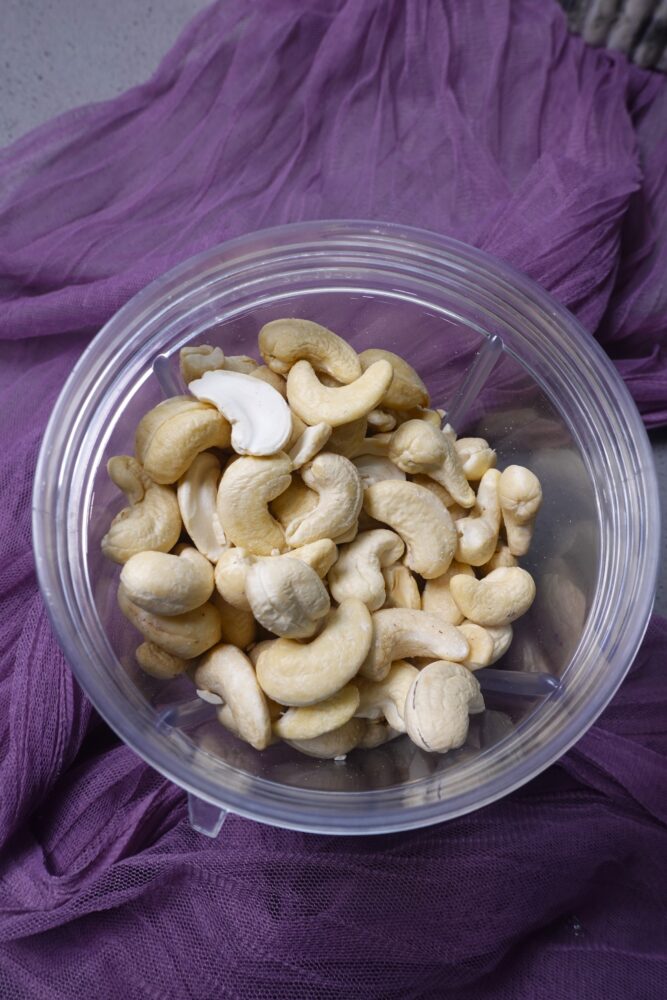
Pulse in short 2-second bursts, stopping to shake the bowl between pulses until a fine powder forms.
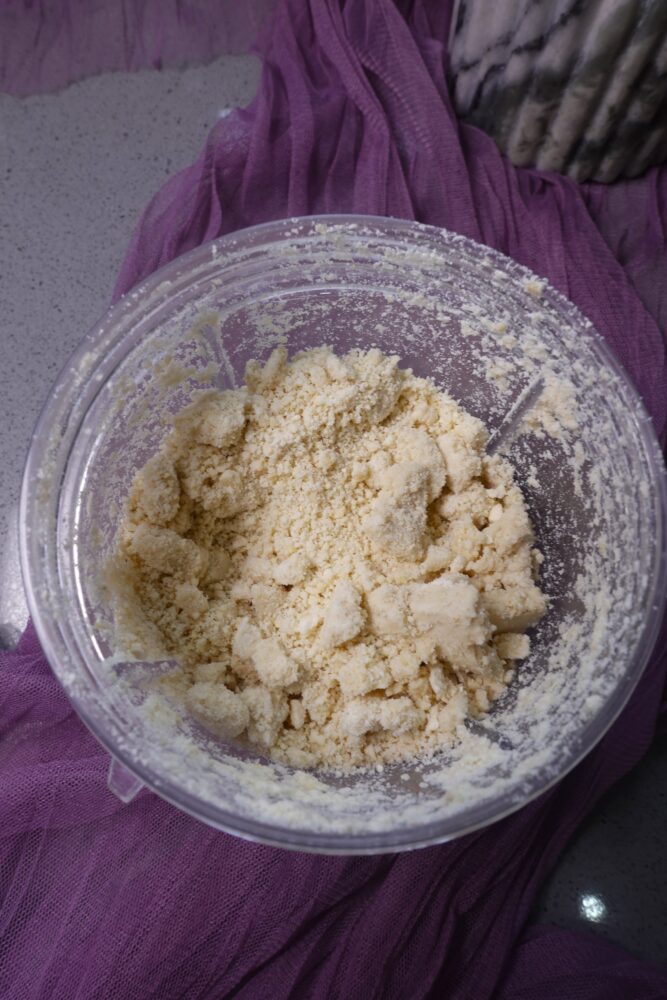
Never blend continuously, or the blades will heat up and turn the cashews into an oily paste.
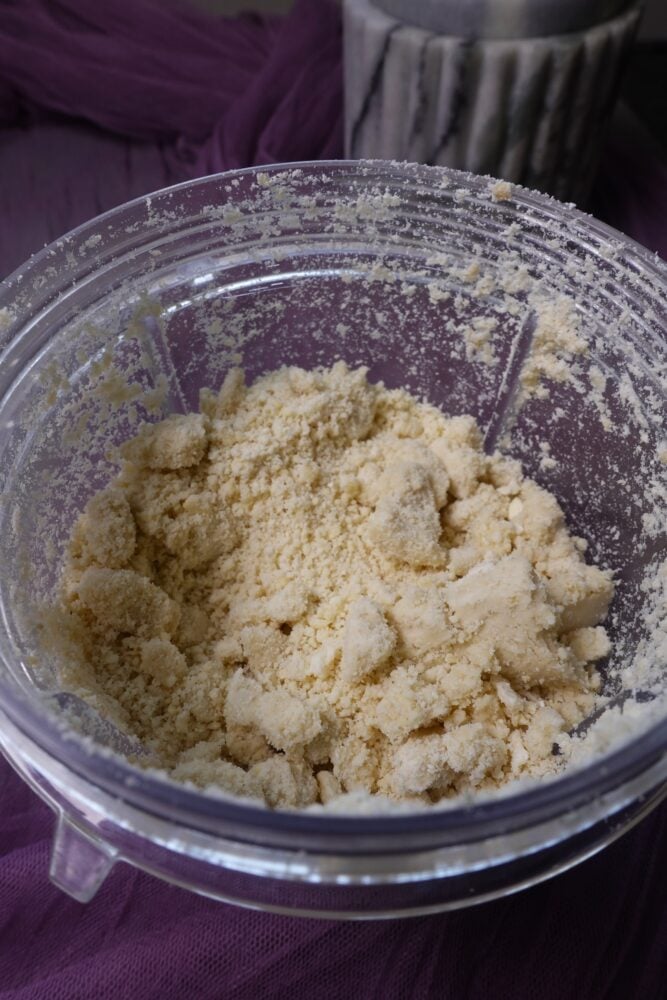
Sift the ground cashews through a medium-mesh sieve into a mixing bowl.
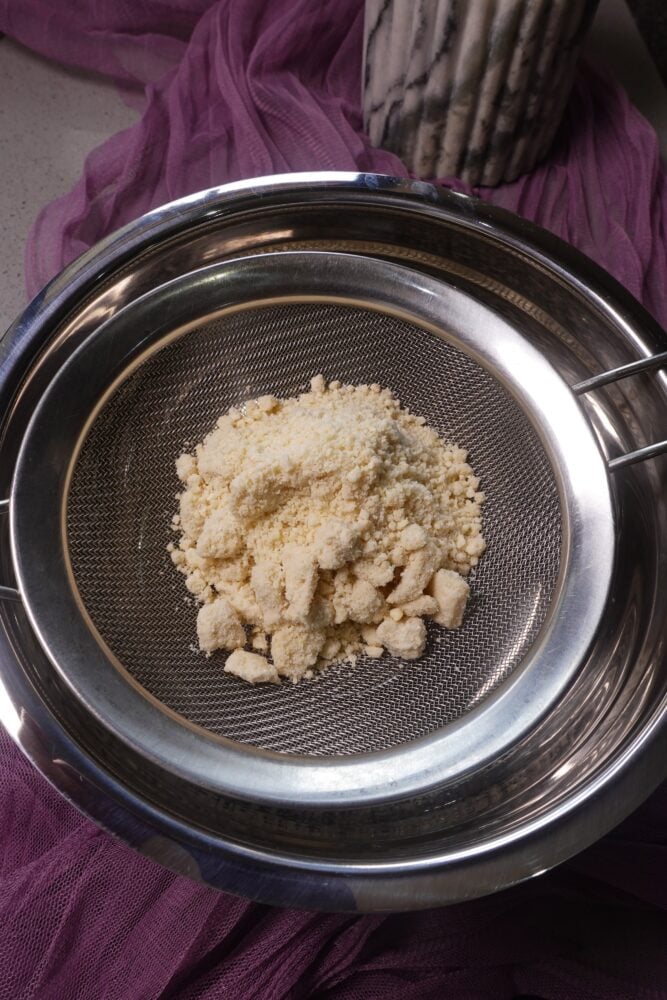
Because cashew flour is naturally rich and slightly dense, it can be quite difficult to shake through the mesh on its own, use your fingers to gently rub and press the flour through the sieve. If the mesh feels too tight to force all the powder through, simply use your clean hands to work through the flour and feel for any unblended chunks.
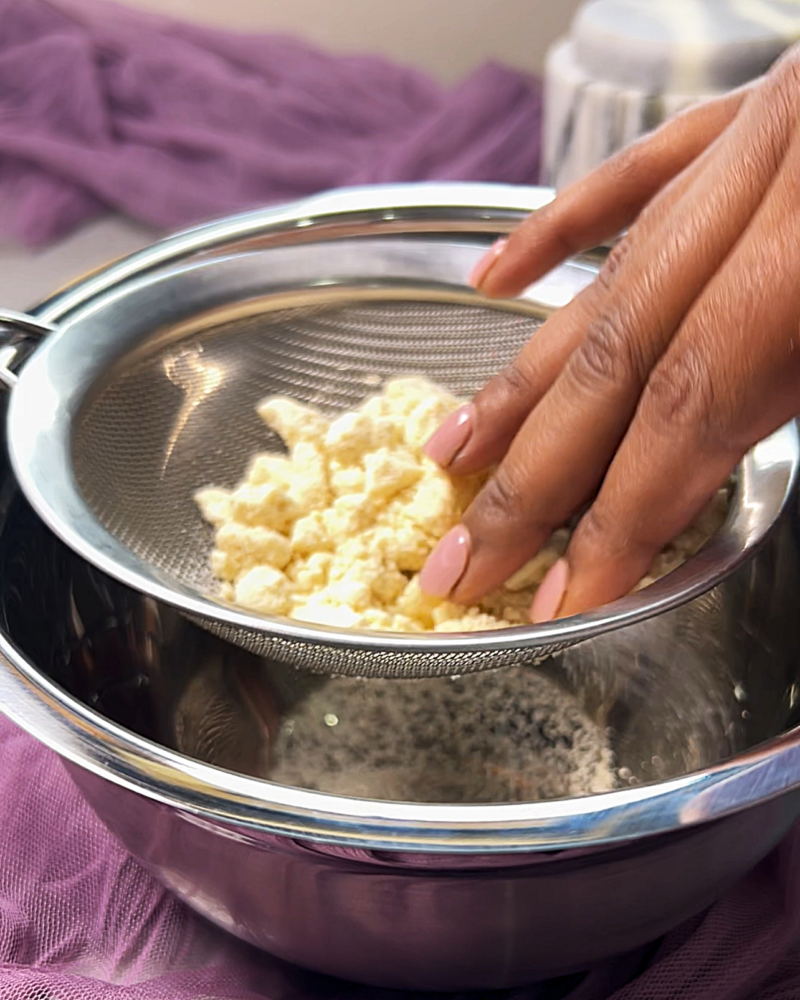
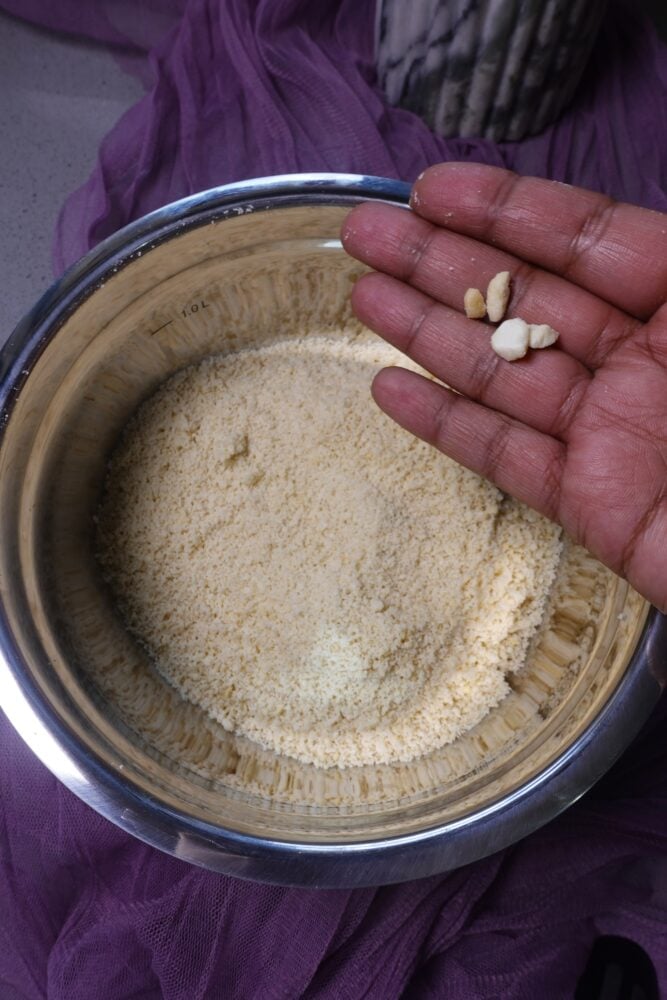
This sifting and hand-checking process is primarily to catch any whole or large pieces of cashew that escaped the blades. Set aside, eat or discard those leftover coarse bits so you are left with a bowl of soft, lump-free cashew flour.
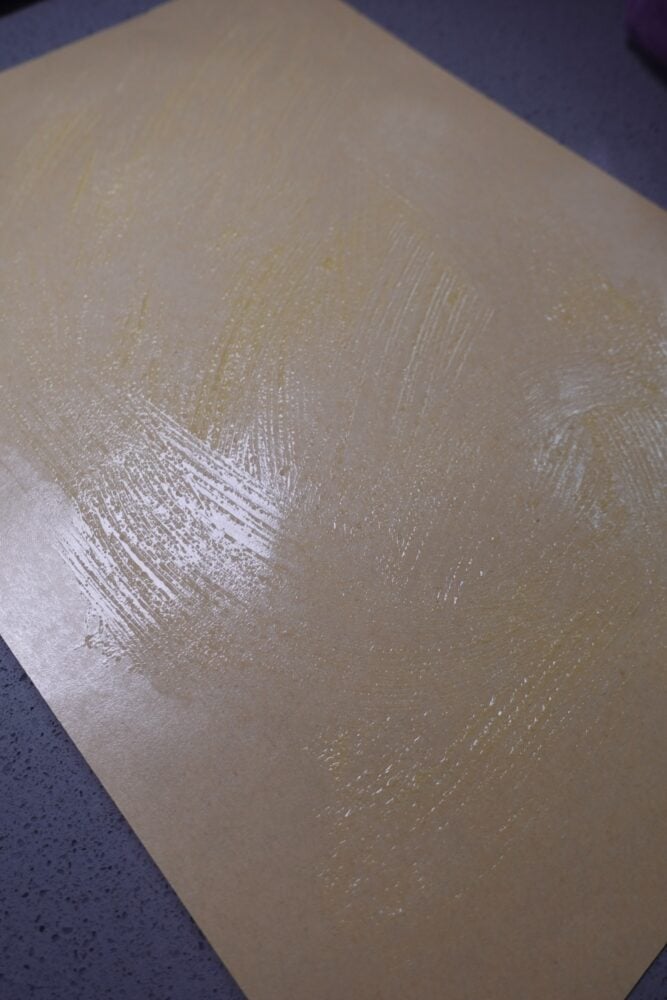
Before turning on the stove, lightly grease a large sheet of baking paper with ½ teaspoon of neutral oil, melted butter, or buttere ghee and set it aside on your work surface. Having your greased paper prepped and waiting is essential, as the warm cashew dough needs to be transferred off the heat immediately once cooked.
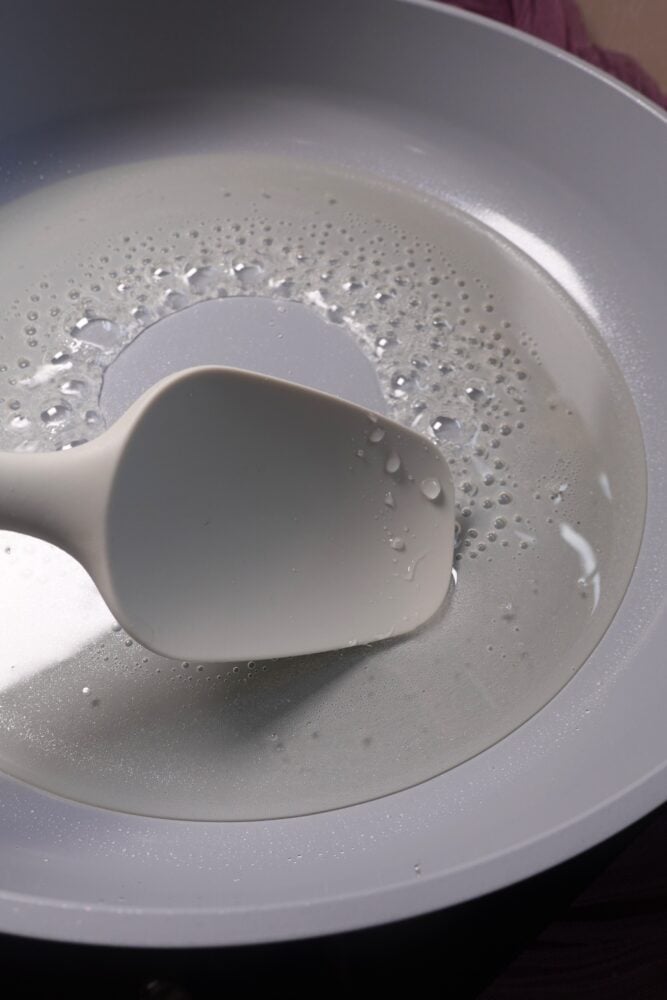
Pour the sugar and water into your Cuisinart ClickSmart non-stick pan over medium-low heat (a quality heavy-bottomed non-stick pan is essential here so the sugar and cashew paste cook evenly without sticking).
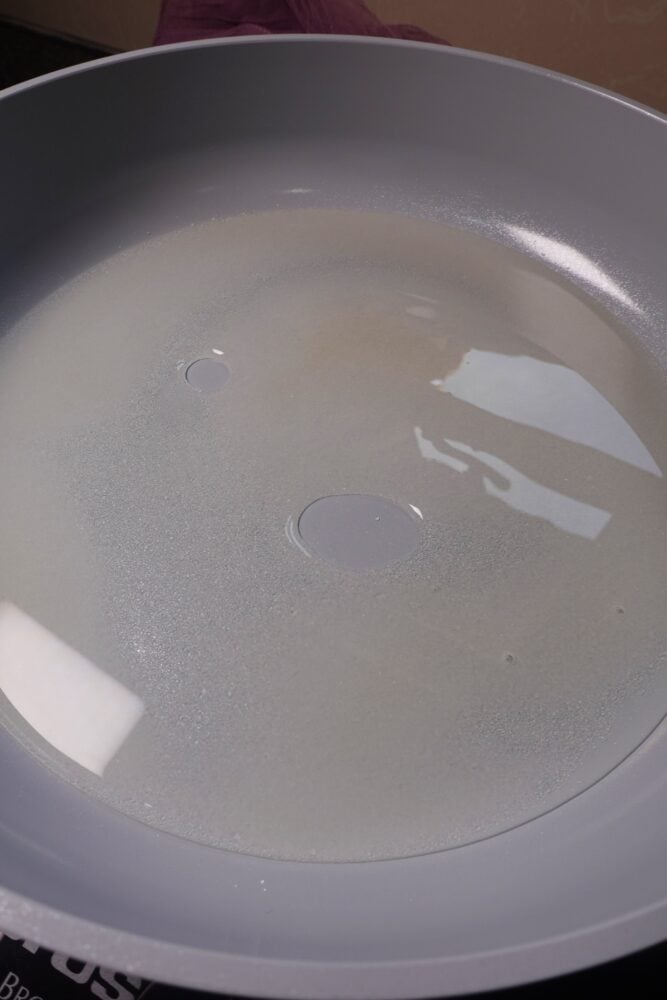
Stir until the sugar dissolves completely.
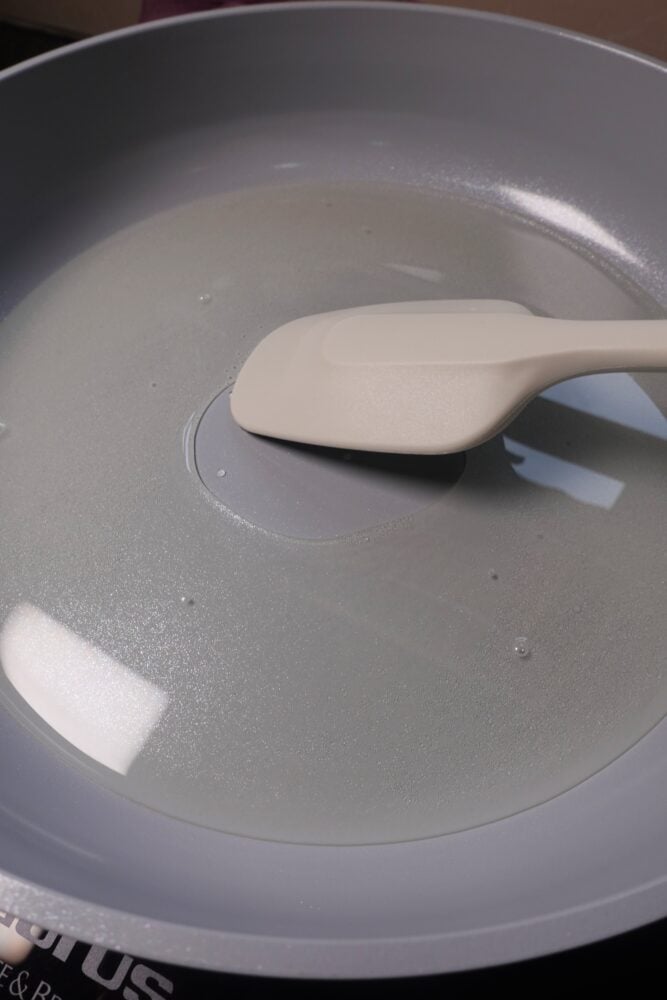
Then allow the syrup to come to a gentle bubble for 2 minutes until slightly sticky (you do not need to wait for a strict one-string consistency).
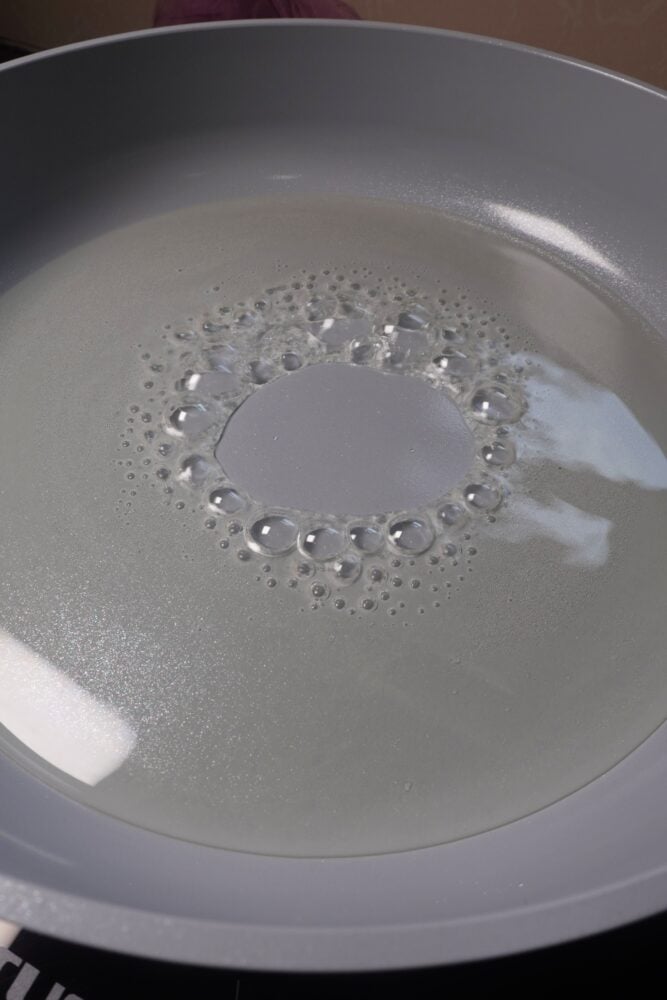
Turn the stove down to its lowest heat setting immediately.
Pour in the prepared cashew flour and cardamom (elachi) powder.
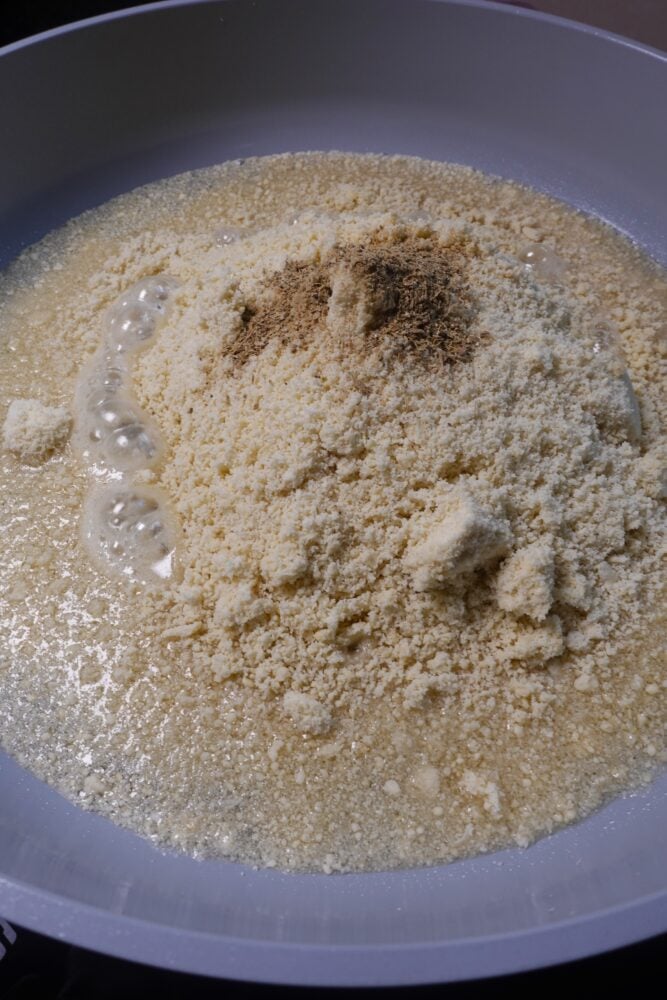
Stir continuously with a silicone spatula, pressing out any small lumps against the base of the pan. Within 2-3 minutes, the mixture will hydrate into a thick, glossy paste.
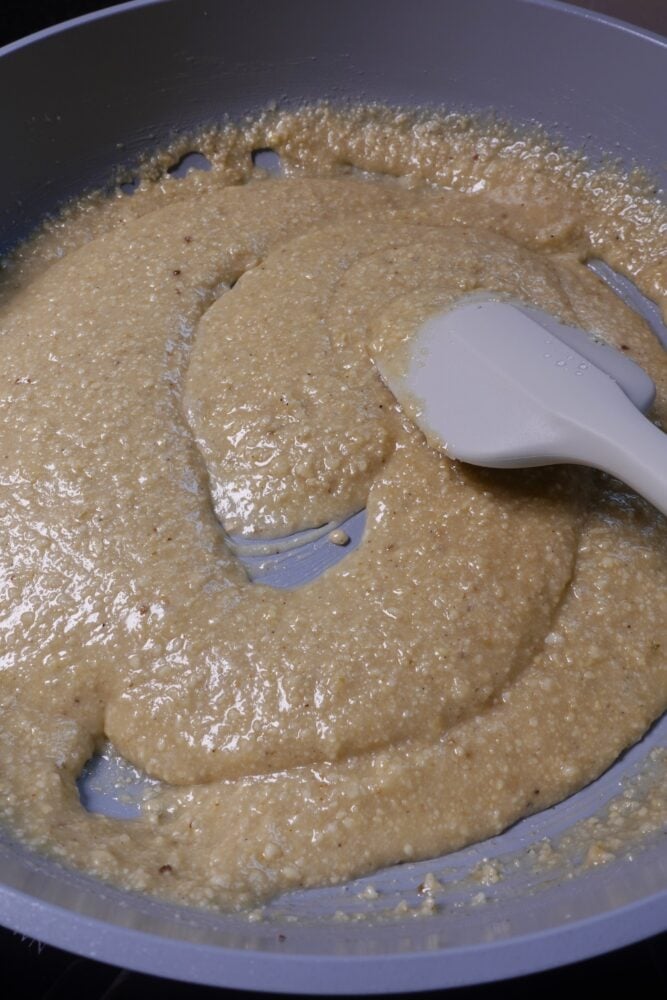
Continue cooking and stirring constantly over low heat for 81-0 minutes, scraping the sides and bottom of the pan so it never browns. The mixture is ready when it pulls away from the pan as a unified mass. To be 100% sure, pinch a tiny pea-sized piece off the spatula, let it cool for 10 seconds, and roll it between greased fingers and if it forms a smooth, non-sticky ball that doesn’t cling to your skin, remove the pan from the heat immediately.
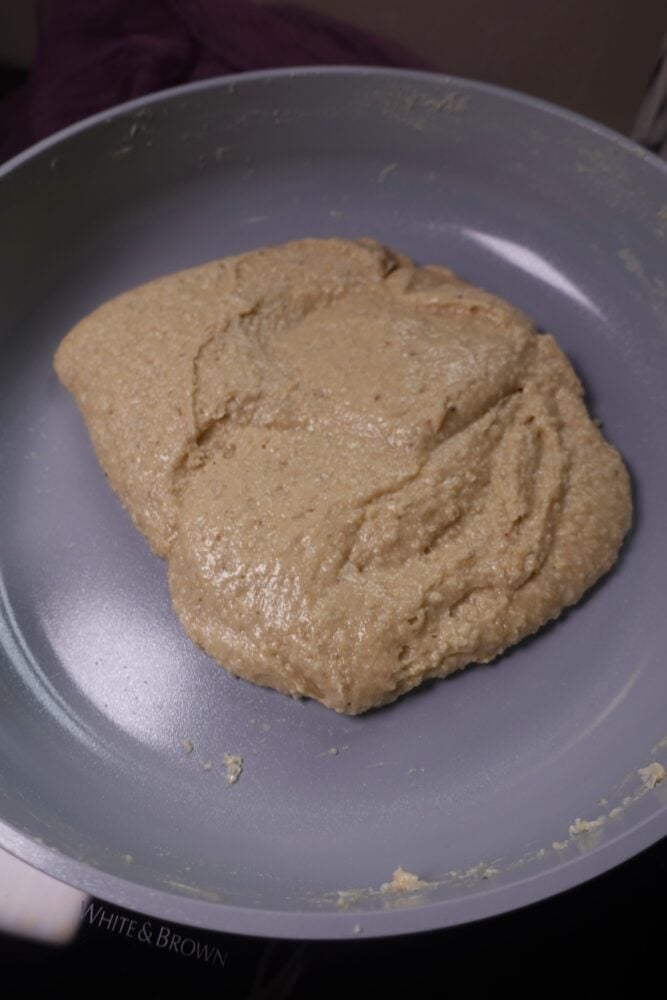
Transfer the hot cashew dough straight onto your prepared greased baking paper. Let it rest for 3-4 minutes until warm (not piping hot).
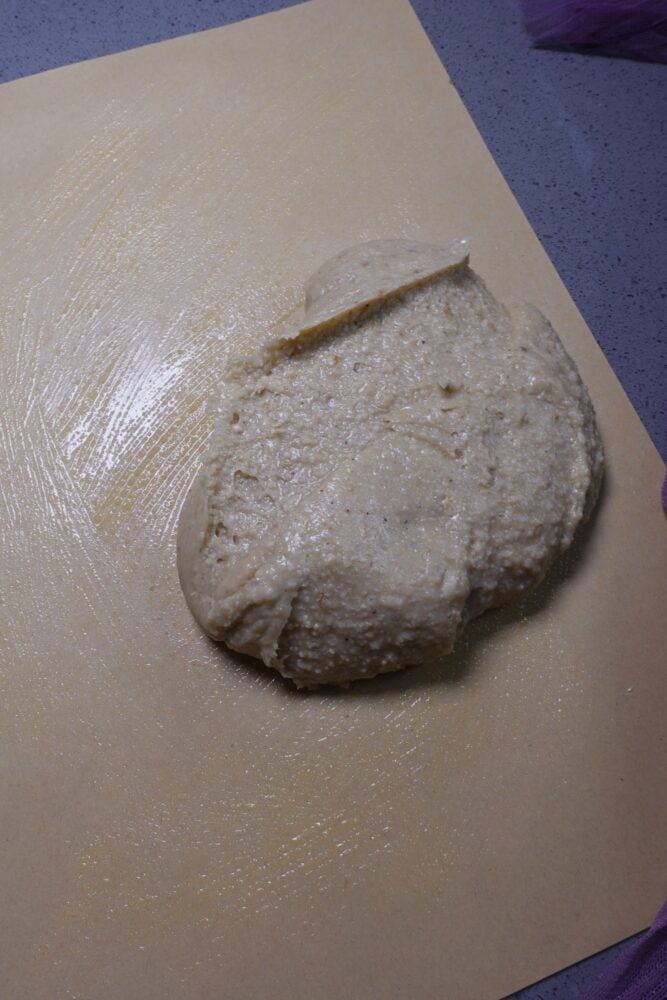
Fold the baking paper over the dough from side to side, pressing down gently with the heel of your hand for 1–2 minutes until the ball becomes satin-smooth, glossy, and crack-free.
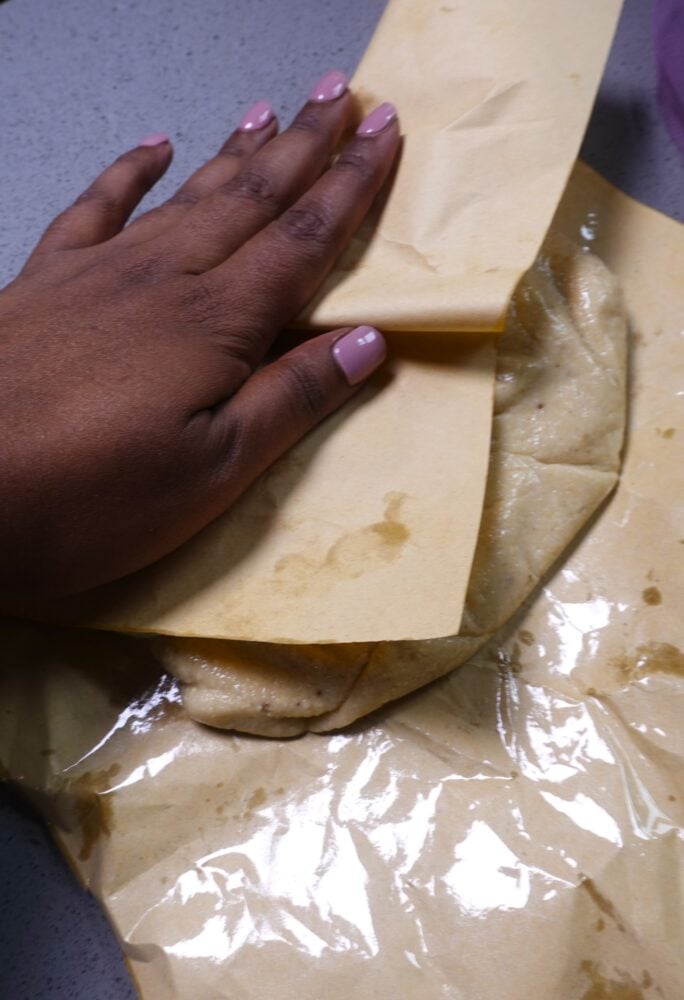
After kneading, the cashew dough will transform into a completely smooth, glossy, and crack-free ball that is ready to be rolled out.
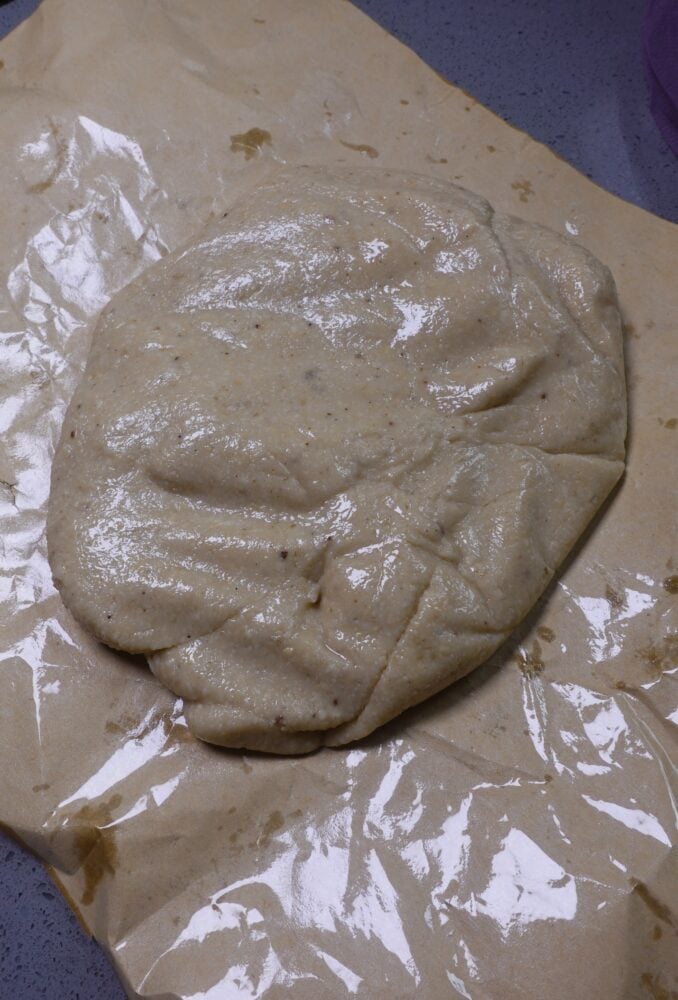
Place a second sheet of baking paper on top of the smooth dough (or fold the large sheet over it).

Using a rolling pin, roll the dough out evenly to a 4-5 mm (¼-inch) thickness, rotating the paper as you go for an even slab.
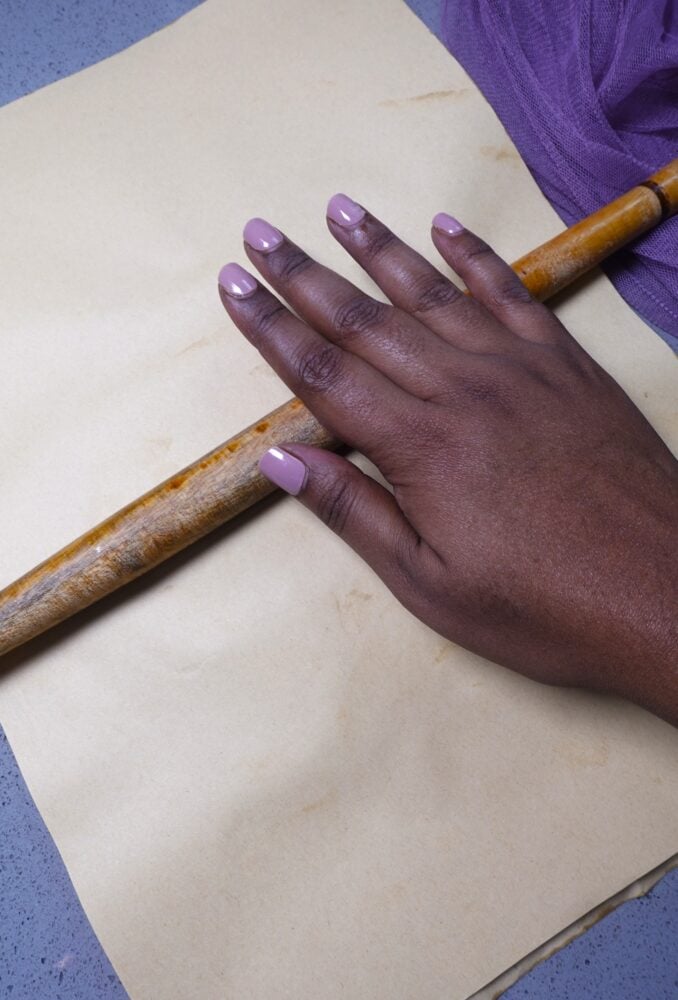
Peel off the top sheet of baking paper.
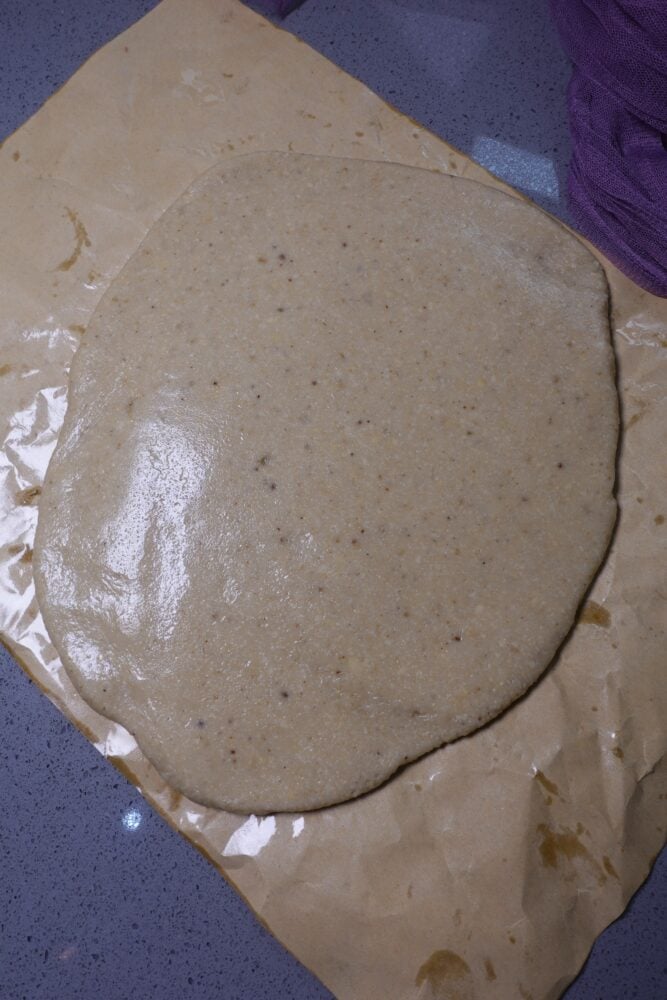
Gently press the edible silver leaf (varak) directly from its backing paper onto the warm slab, if using. I got mine off Amazon.
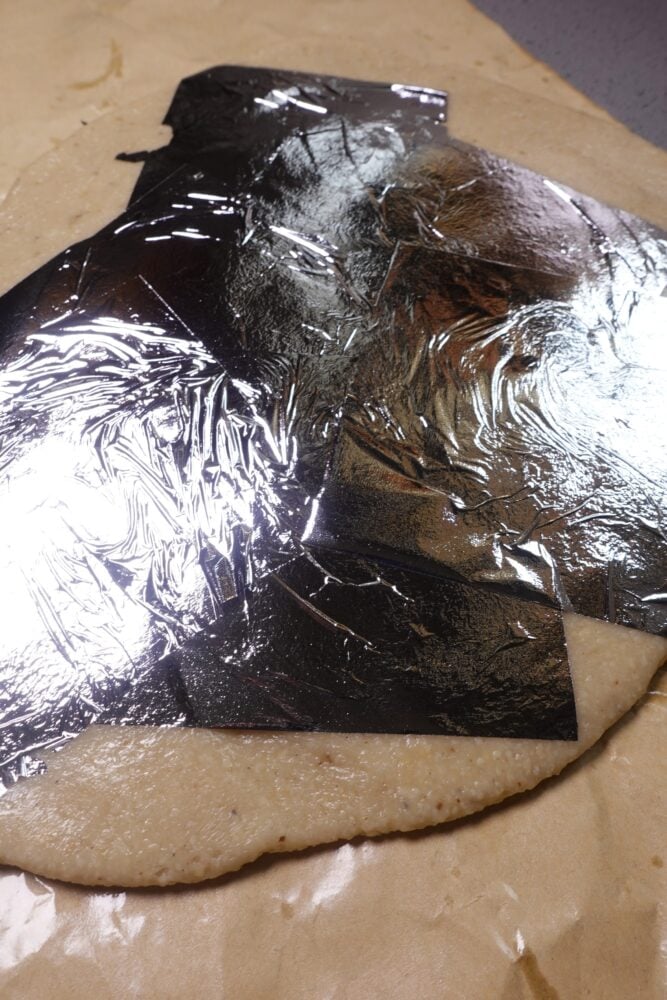
Let the slab cool uncovered for 15-20 minutes until firm to the touch. Place a clean ruler along the edge of the slab and use a sharp knife to make small notch marks 3 cm apart as a cutting guide for even slices.
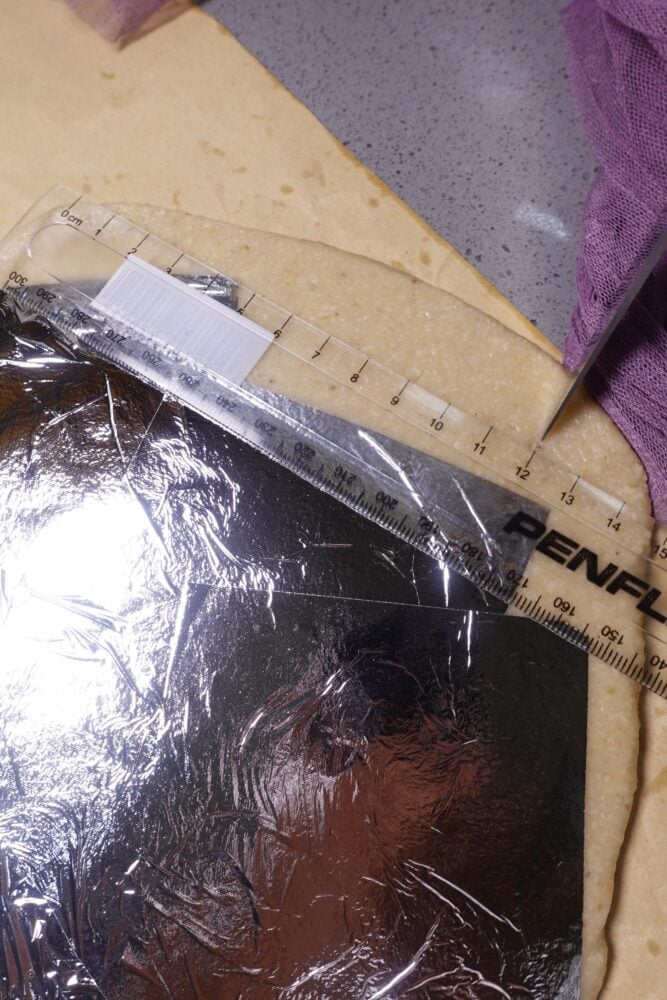
Line the ruler up with your guide marks and run a lightly greased pizza wheel or sharp chef’s knife along the edge of the ruler to cut clean, straight vertical strips all the way down the slab.
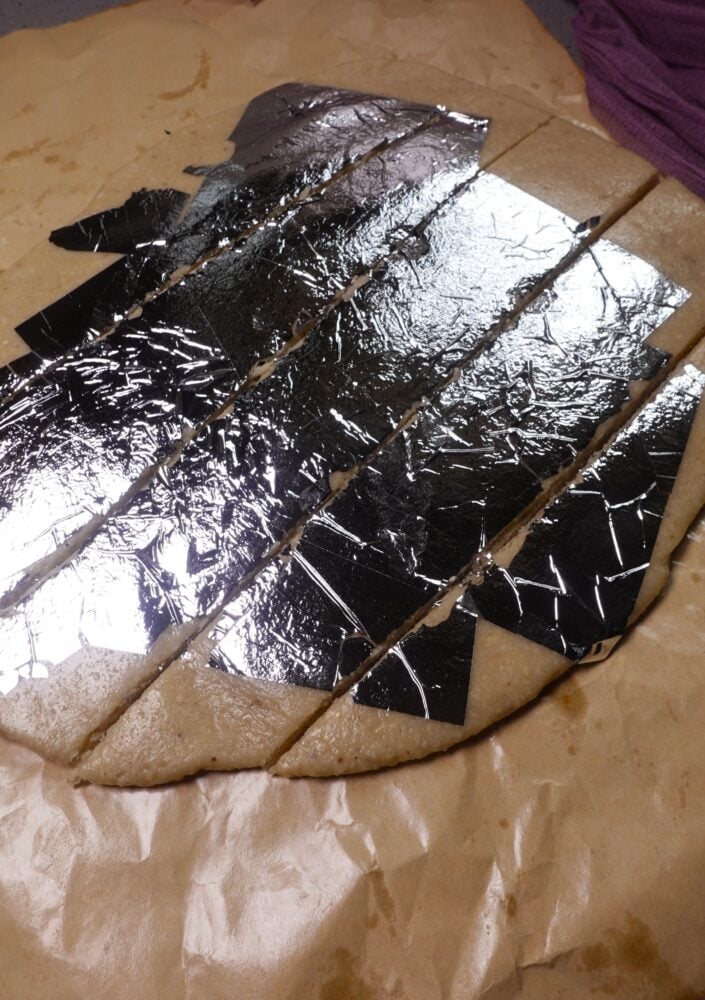
Turn the ruler at a 45-degree diagonal angle across the vertical strips and slice through to form classic diamond-shaped Kaju Katli pieces.
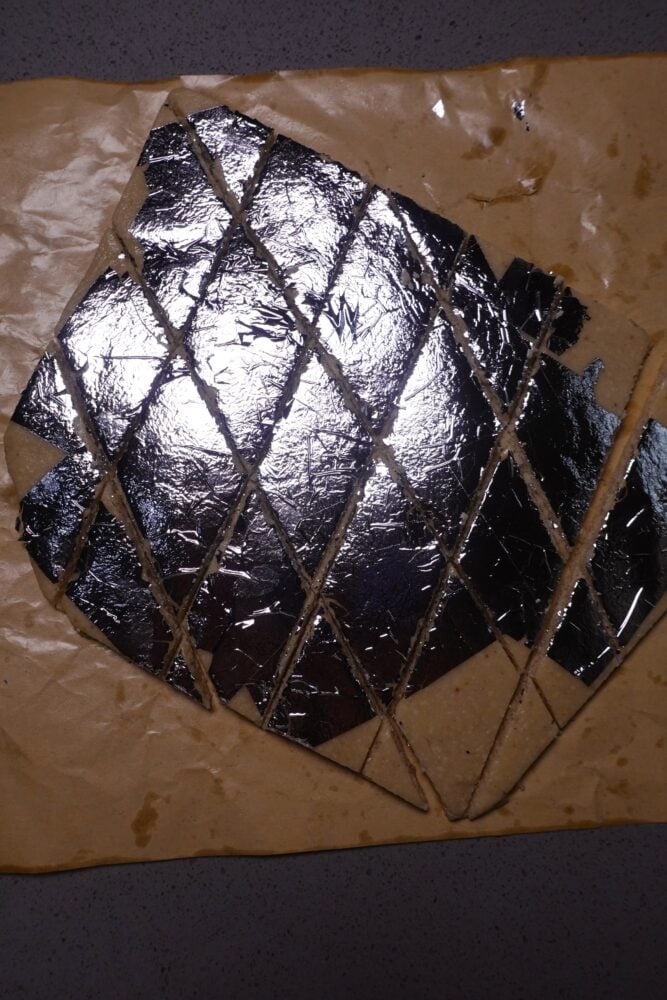
Gently lift a diamond piece out from the cut slab using the tip of your knife or your fingers, the edges should be crisp and clean, and the slice should hold its shape firmly without sticking to the baking paper.
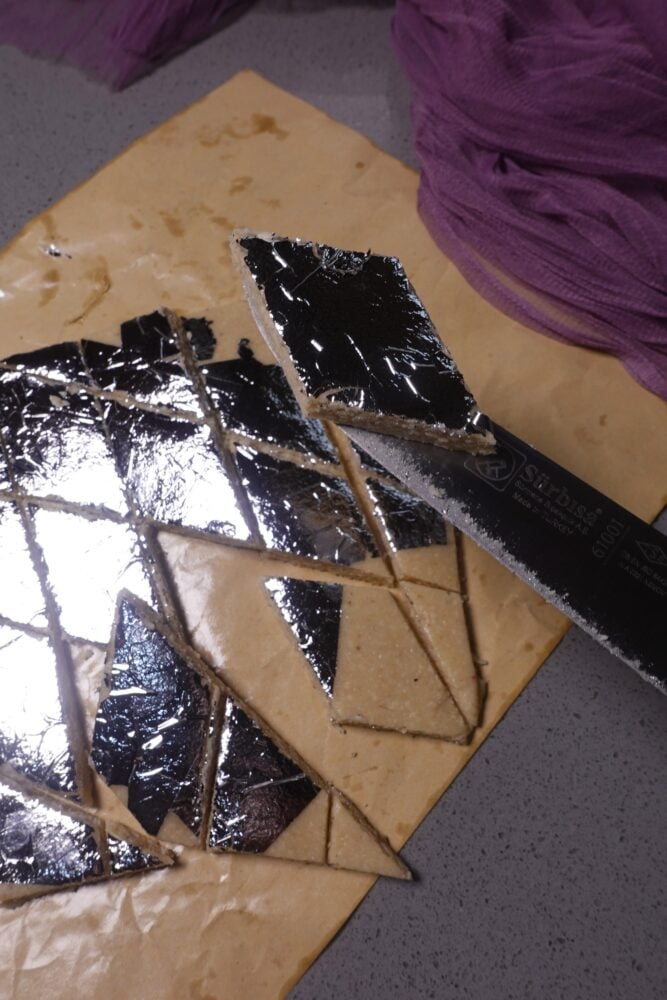
Separate the remaining diamonds and arrange them neatly on a serving platter or festive sweetmeat tray.
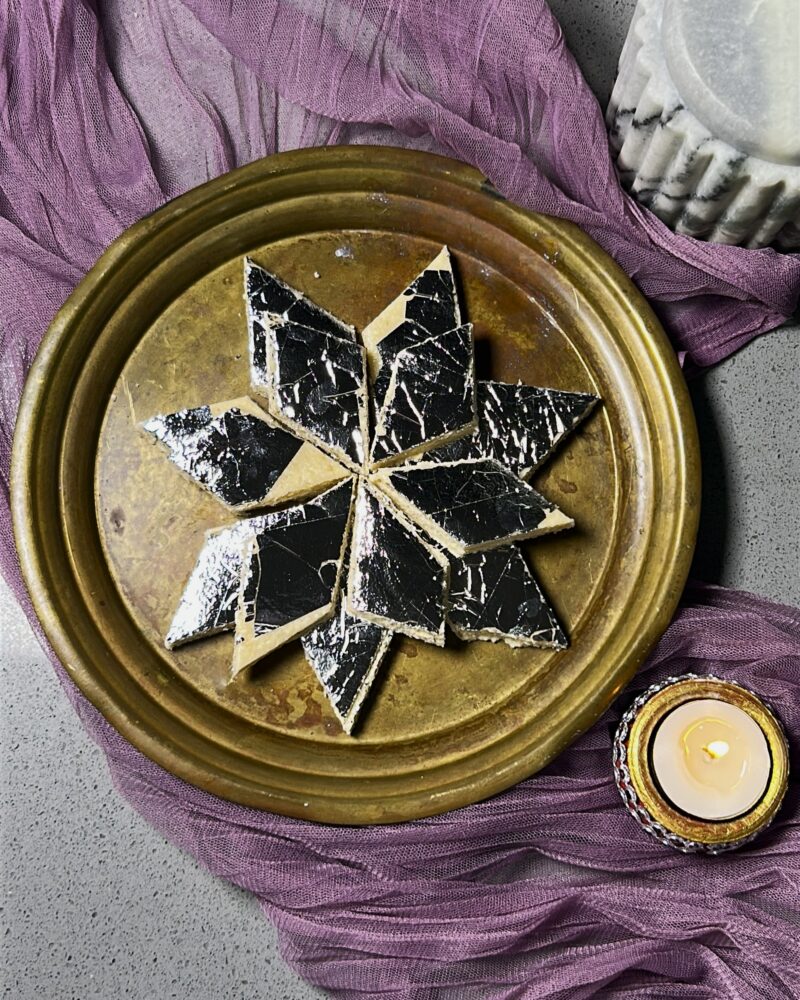
You can nibble on the small triangular edge trimmings right away as the chef’s treat!
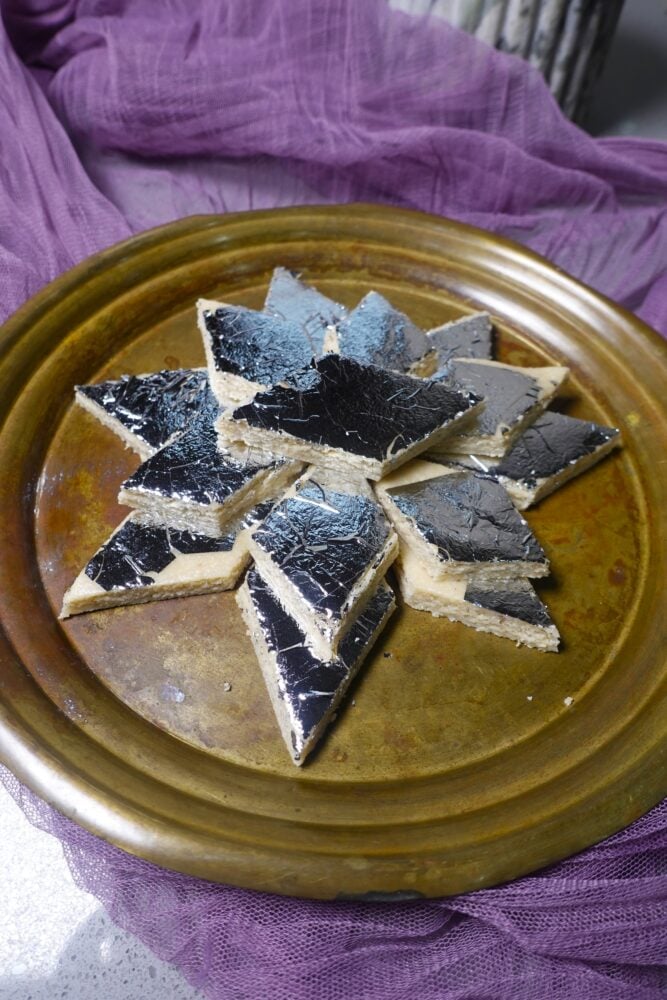
Serve your homemade Kaju Katli immediately at room temperature and enjoy that silky, melt-in-the-mouth cashew texture, or pack them into an airtight container layered with baking paper for gifting and festive tables.
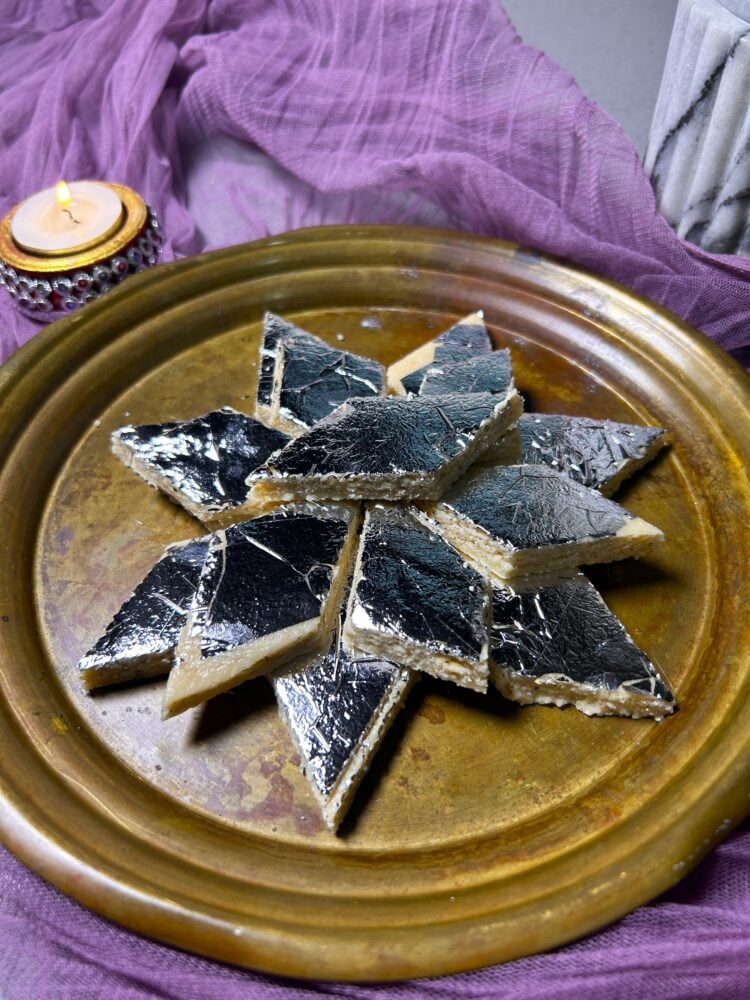
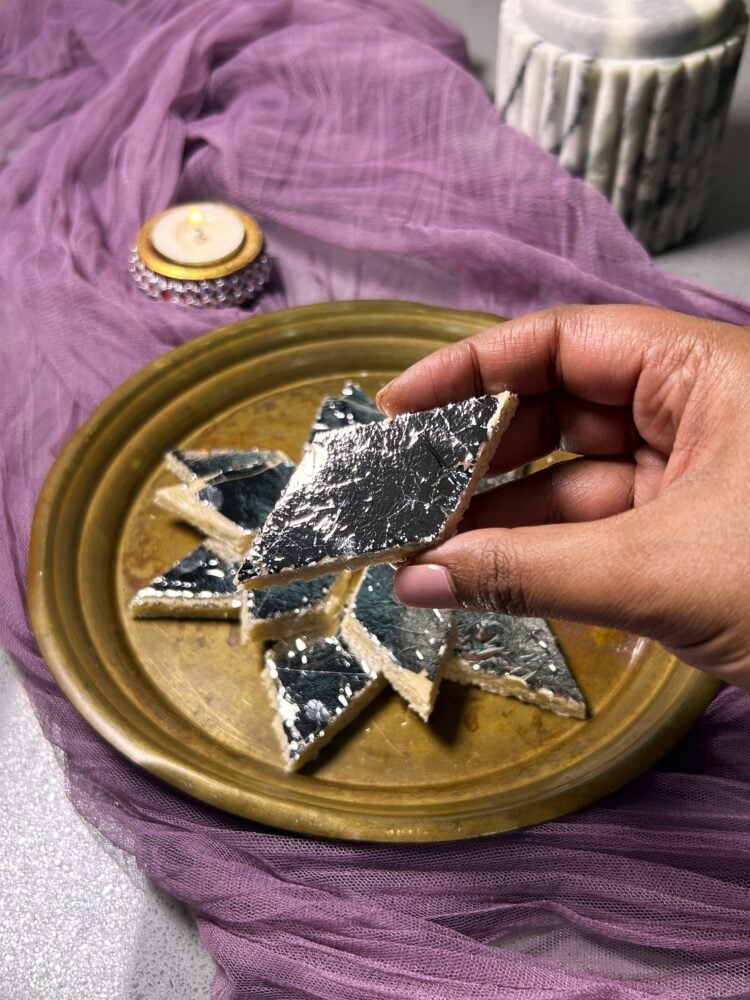
A piece up close will have you admiring the crisp, clean diamond edges, even thickness, and delicate shimmer of the edible silver leaf on top.
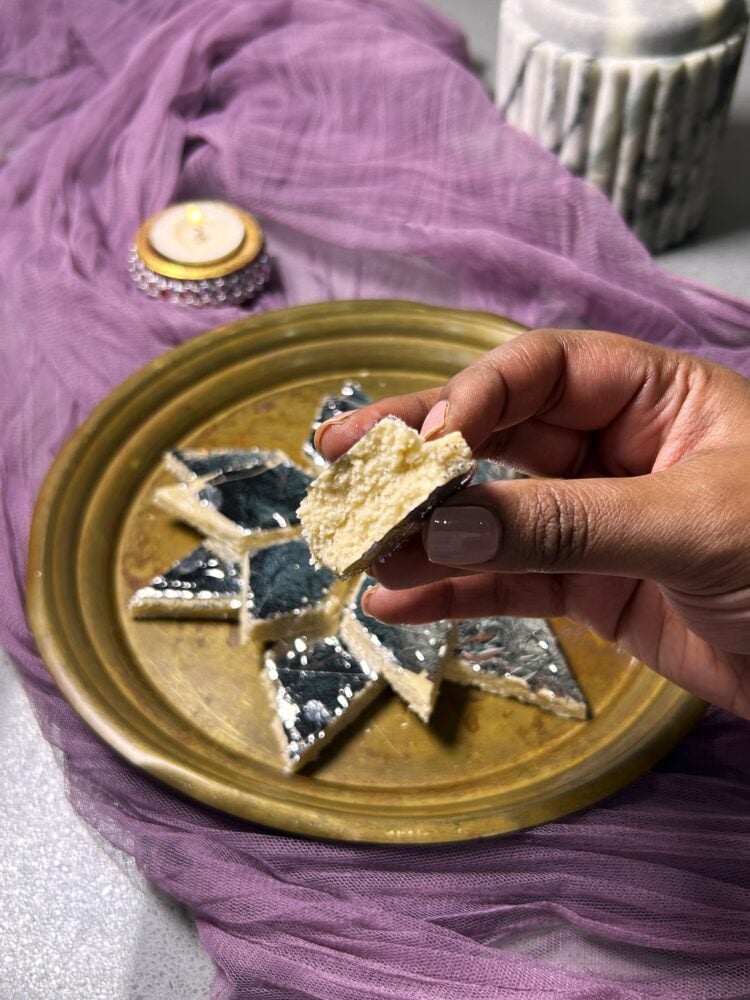
Break the piece in half to reveal that signature melt-in-the-mouth texture, the inside should be velvety, soft, and completely smooth with zero graininess or dry crumbs.
Follow along with Denisiya's step-by-step video guide for Kaju Katli.
Expert kitchen guidance and troubleshooting for making the best Kaju Katli
The cashews were either blended continuously for too long, causing heat friction to release their natural oils, or they were cold from the fridge and damp with condensation. Always use dry, room-temperature cashews and pulse in short 2-second bursts.
Because cashews have a high natural fat content, the ground powder is slightly dense and can cling together inside a fine mesh sieve. Simply use your fingertips to gently rub and press the flour through the mesh, or run your clean fingers through the bowl to feel for and remove any unblended whole cashew pieces.
Chewy Kaju Katli happens when the sugar syrup is boiled too long before adding the cashews, or when the cashew paste is cooked on high heat. Stick to simmering the sugar syrup gently for just 2 minutes after dissolving, and cook the cashew paste strictly on the lowest heat setting.
Crumbling means the mixture lost slightly too much moisture in the pan. While the dough is still warm, knead in 1 to 2 teaspoons of warm water or warm milk a few drops at a time using your greased baking paper until the dough binds smoothly, then roll it out again.
No! Traditional recipes require a strict one-string (ek taar) consistency, which can easily over-crystallize in seconds. Dissolving the sugar and letting it bubble gently for 2 minutes allows the cashew flour to thicken gradually in the pan, making this method completely foolproof.
Yes, authentic Kaju Katli contains no milk or milk powder, its rich creaminess comes entirely from cashews. Simply grease your baking paper with a neutral cooking oil or plant-based butter instead of dairy ghee to keep it 100% vegan.
Hi, I'm Denisiya! Food lover, recipe developer, and founder of EatMee Recipes. I specialize in authentic South African Durban Indian cuisine, comforting curries, and modern Instant Pot adaptations. Every recipe on this site is tested in my personal kitchen to ensure you get mouth-watering, foolproof results every time.
Explore more authentic Durban curries, traditional bakes, and comforting family favourites.
 Desserts
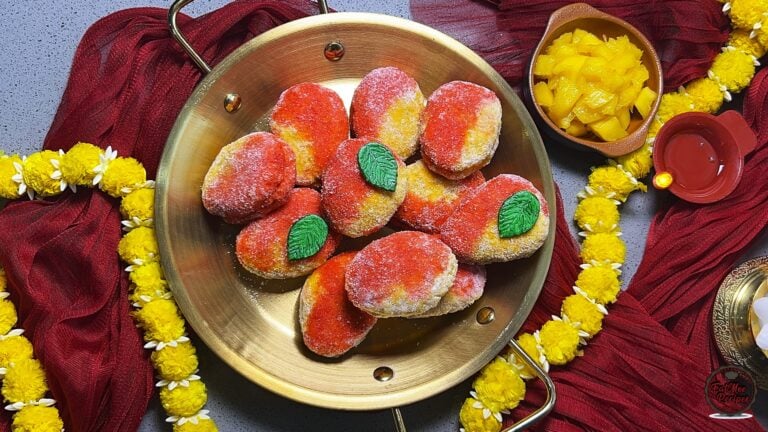
What if you could turn your favourite chilled mango lassi into a showstopping festive swee...
 Desserts
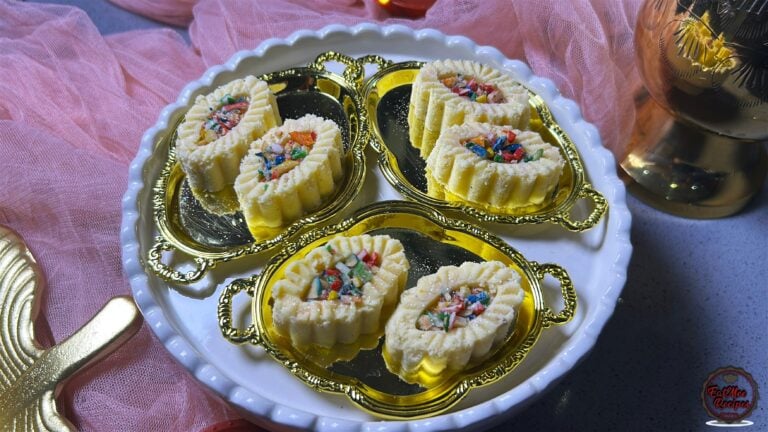
Classic Burfee (Soft, Silky & Melt-in-Your-Mouth): Diwali and special family celebrations ...
 Desserts
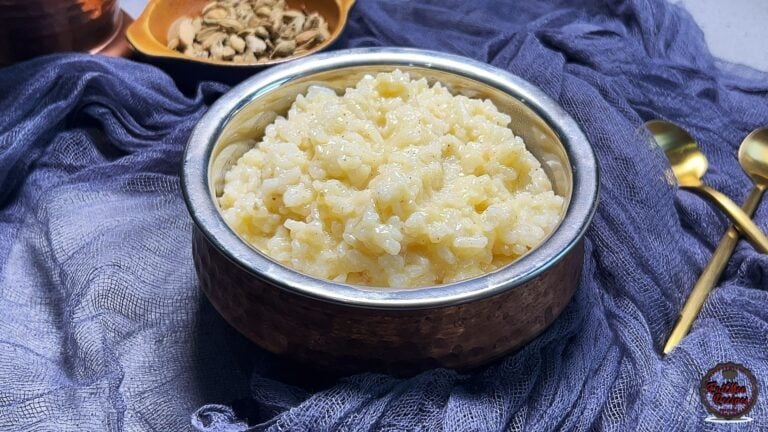
If you love traditional South African sweet rice but want an easier, hands-off method, thi...
Have you tried this recipe or have questions for Denisiya? Join the conversation below.
No comments yet. Be the first to share your thoughts on this recipe!
Leave a Comment
Your email address will not be published. Required fields are marked *