

We Value Your Culinary Privacy
EatMee Recipes uses cookies to provide a personalized browsing experience, analyze recipe popularity, and serve relevant ads. You can review our full disclosure in our Privacy Policy.
Make authentic Classic Burfee (Soft, Silky & Melt-in-Your-Mouth) with this foolproof recipe. Packed with rich traditional flavor, step-by-step photos, and cooking tips by Denisiya on EatMee Recipes.

Join over 60,000+ home chefs for weekly authentic Durban Indian cook-alongs, Instant Pot masterclasses, and family heritage recipes.
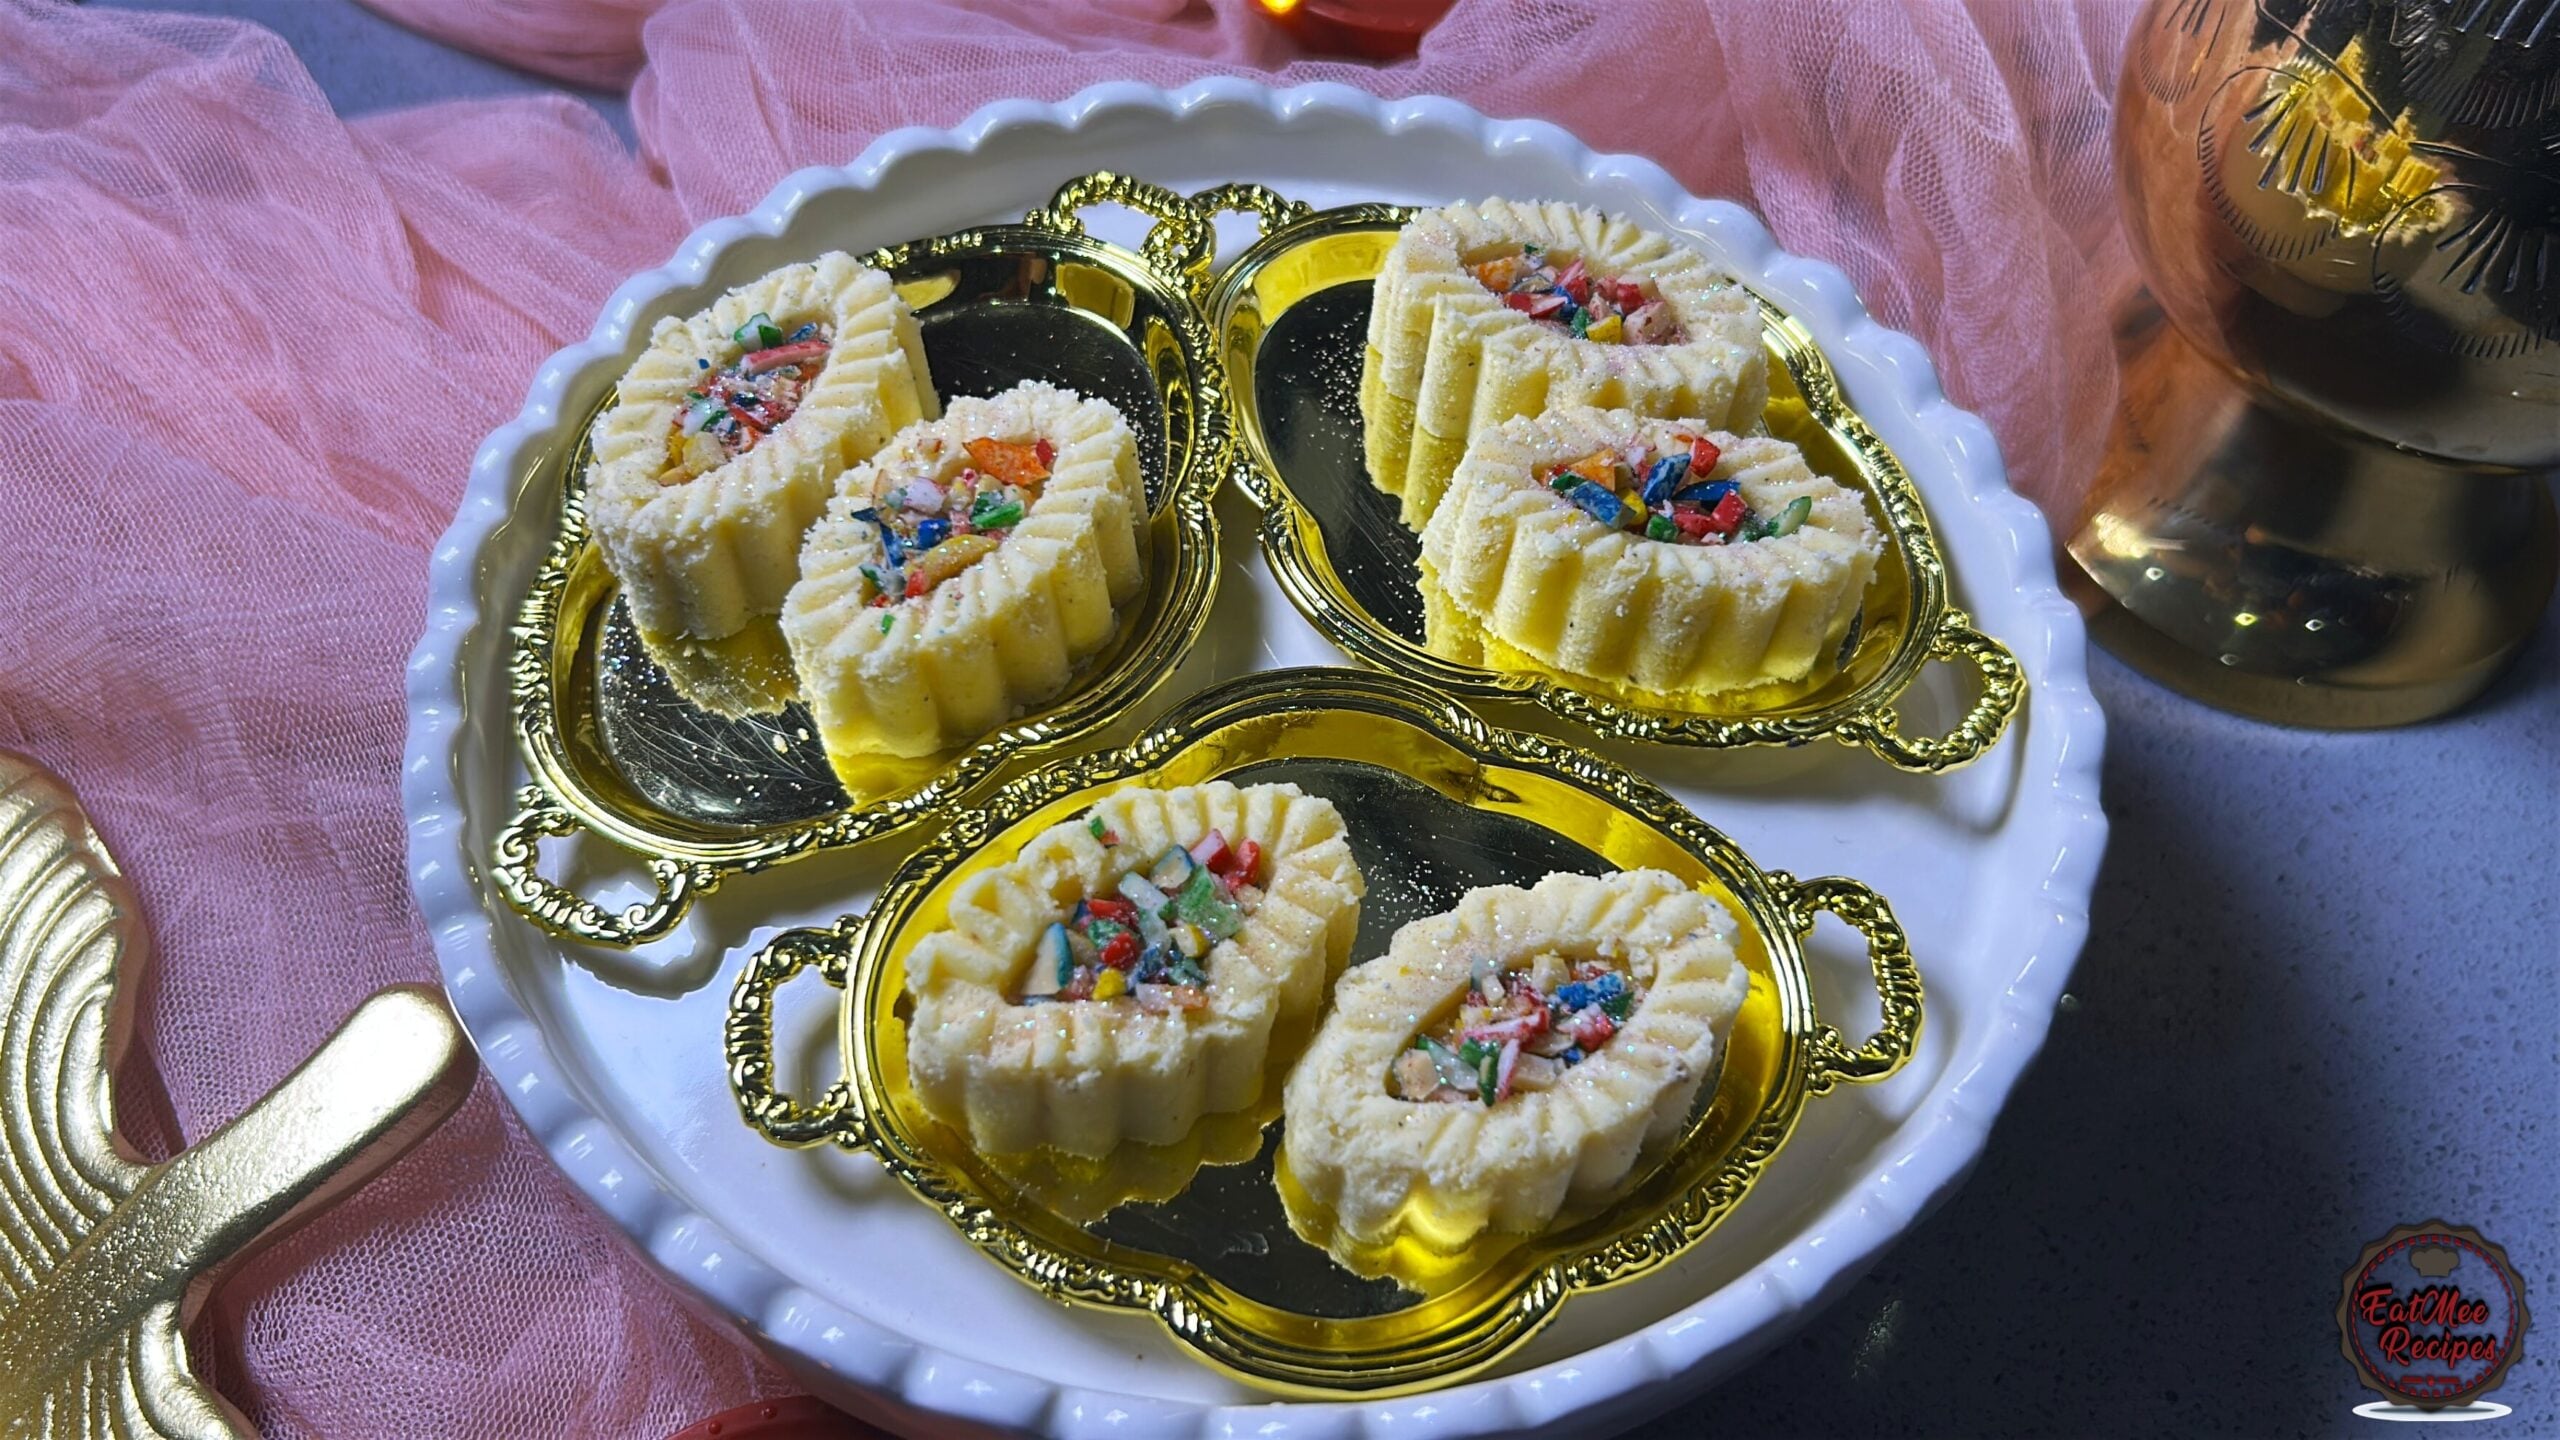
Classic Burfee (Soft, Silky & Melt-in-Your-Mouth): Diwali and special family celebrations in a South African Indian home are simply incomplete without a platter of homemade Classic Burfee. Known as the undisputed queen of Indian sweetmeats, a truly great burfee should have a rich, milky depth, a gentle warmth from freshly ground elachi (cardamom), and a velvety texture that melts effortlessly on the tongue.
Everyone has their own favourite style when it comes to burfee texture. If you aren’t a fan of the ultra-soft, smooth style and prefer a more traditional, slightly grainy texture, you can make my Milk Burfee Balls as a delicious alternative! However, if you love that luxurious, soft-set bakery finish that is completely smooth on the palate, this recipe is designed to give you that velvety result every single time. By hydrating the milk powder with fresh cream and warm melted ghee before blending and sifting, the milk solids swell and soften before they even touch the stove. To make festive prep effortless and budget-friendly, I picked up my core baking staples—including my Klim full-cream milk powder, fresh cream, and icing sugar – straight from Shoprite.
Whether you shape yours using traditional Malaysian spring cutters or press the batch into a square dish to slice into neat pieces, this step-by-step guide will walk you through making a showstopping batch of Classic Burfee from scratch.
Silky, Non-Grainy Texture: Rubbing, resting, and blitzing the hydrated milk powder creates a snow-fine base that melts seamlessly into the cream syrup.
Pure Dairy Richness: Made with 100% real fresh cream and pure butter ghee rather than tinned substitutes, giving you a clean, authentic milky flavour.
Moulds Like a Dream: The warm dough melds smoothly in your hands and releases cleanly from intricate moulds without needing extra greasing.
Foolproof Rescue Tip Included: Even if your sugar syrup boils for a minute too long on the stove, my simple chef’s rescue tip brings the dough straight back to a supple, satin consistency.
Measure out all your ingredients using a digital kitchen scale before you begin. I grabbed my Klim milk powder, fresh cream, and icing sugar from Shoprite so everything was fresh and ready for my Diwali sweetmeat prep.
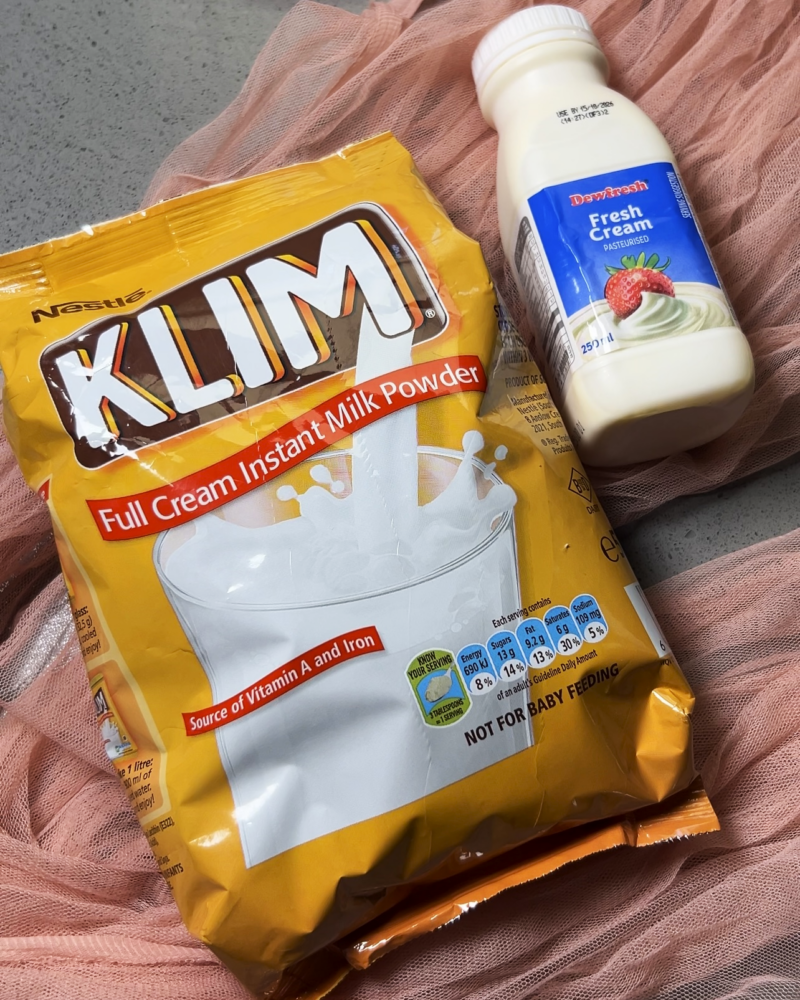
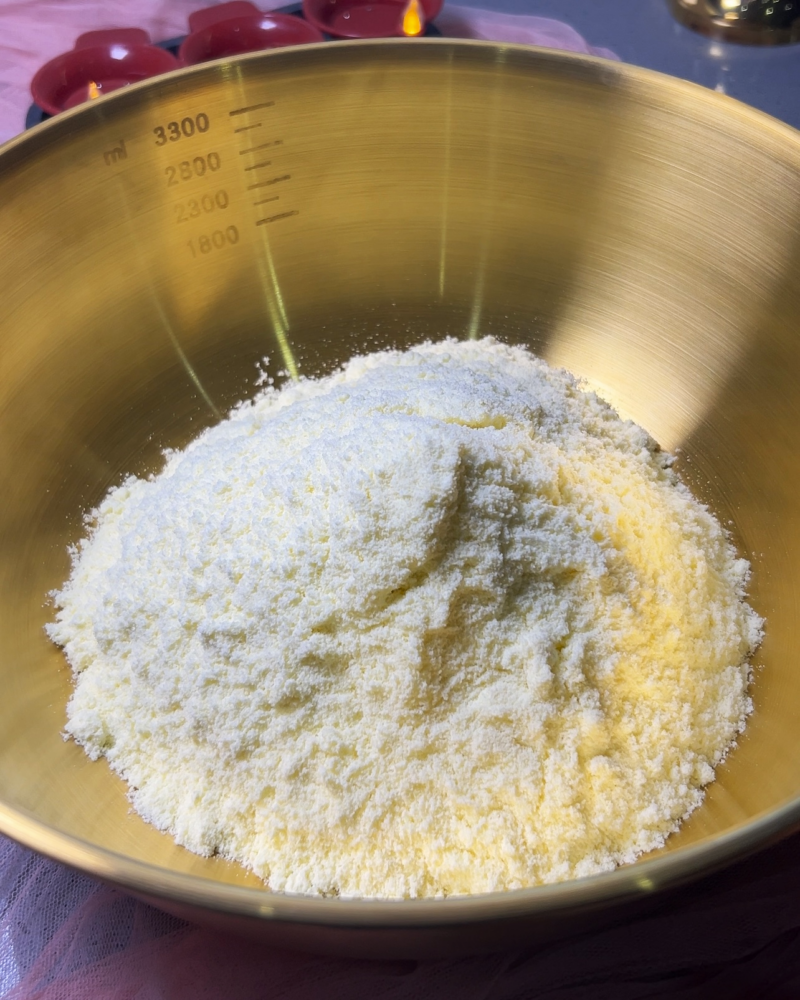
Add the 350g of Klim milk powder to a large, wide mixing bowl.
Pour in the 60g of room-temperature fresh cream.
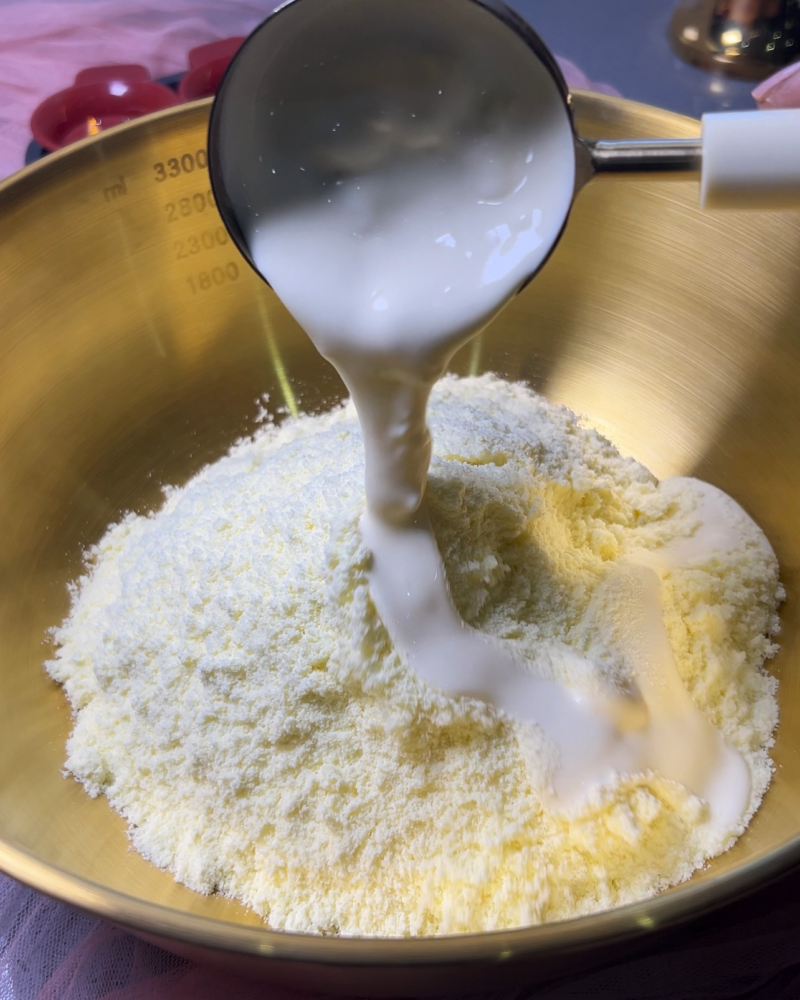
Then 20g of warm melted ghee.
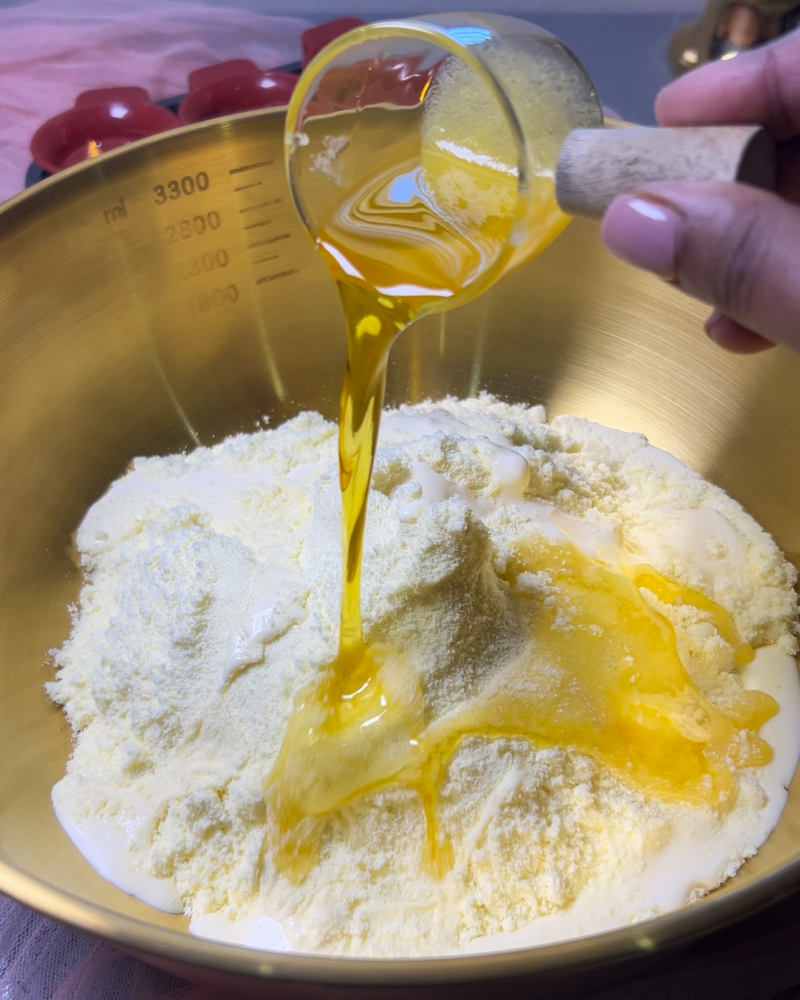
Using your fingertips, lightly rub the fresh cream and melted ghee into the milk powder for 3 to 4 minutes.
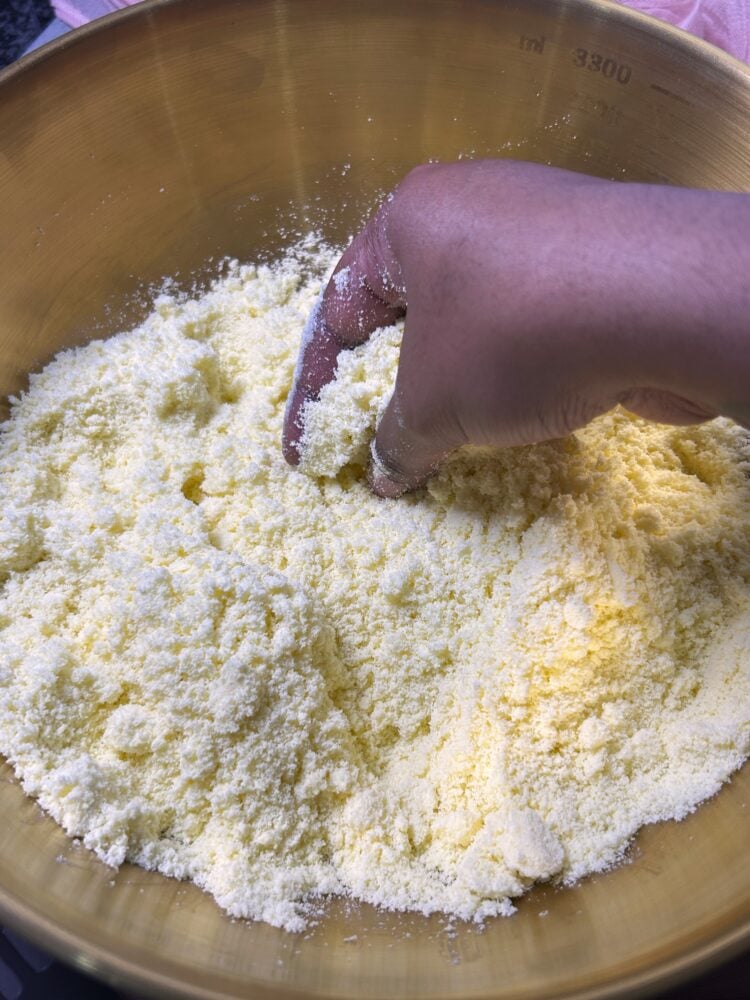
No dry pockets should remain and the mixture resembles damp beach sand.
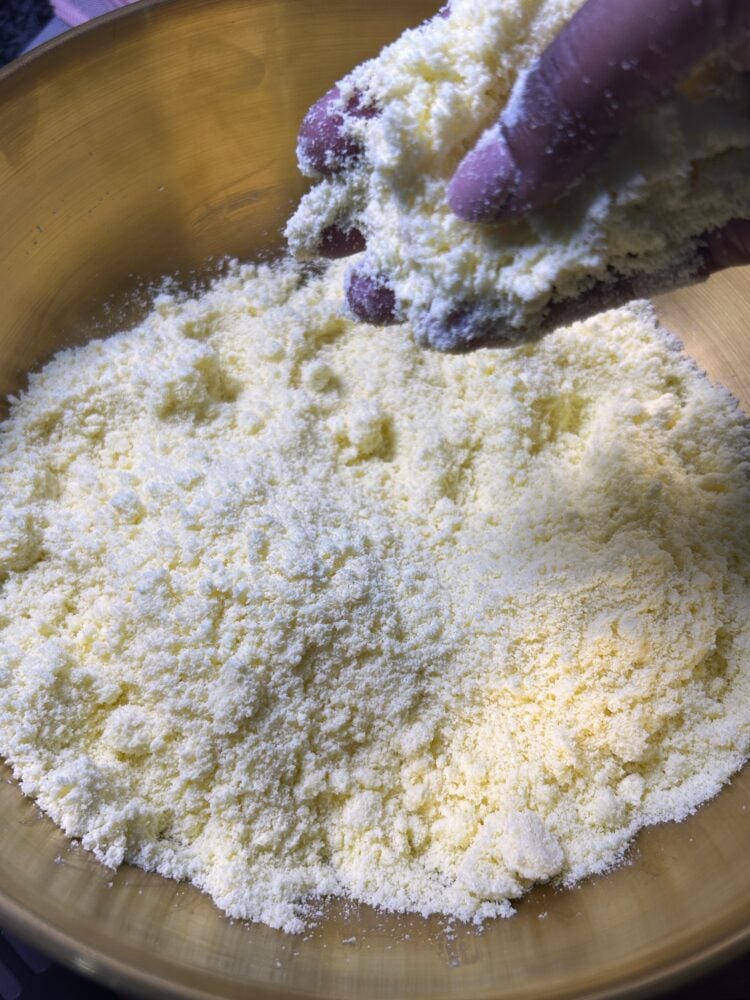
Cover the bowl and allow it to rest at room temperature for 30 minutes so the milk granules absorb the moisture.
Transfer the rested milk crumb into a food processor.
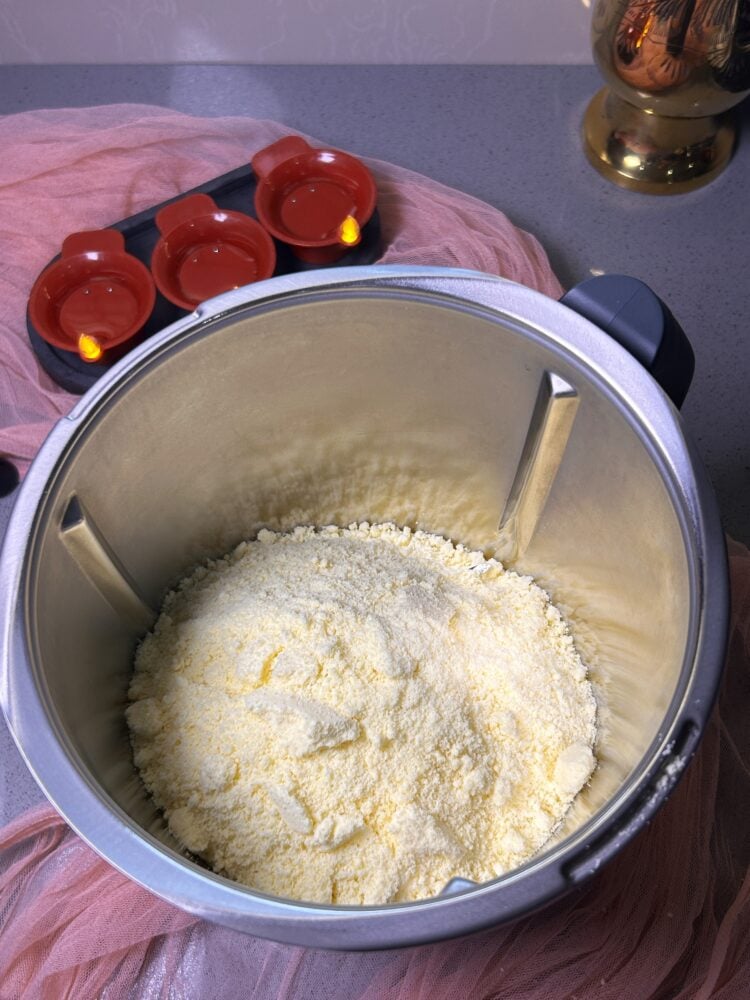
I’m using my Thermomix TM6 but feel free to use whichever brand you have.
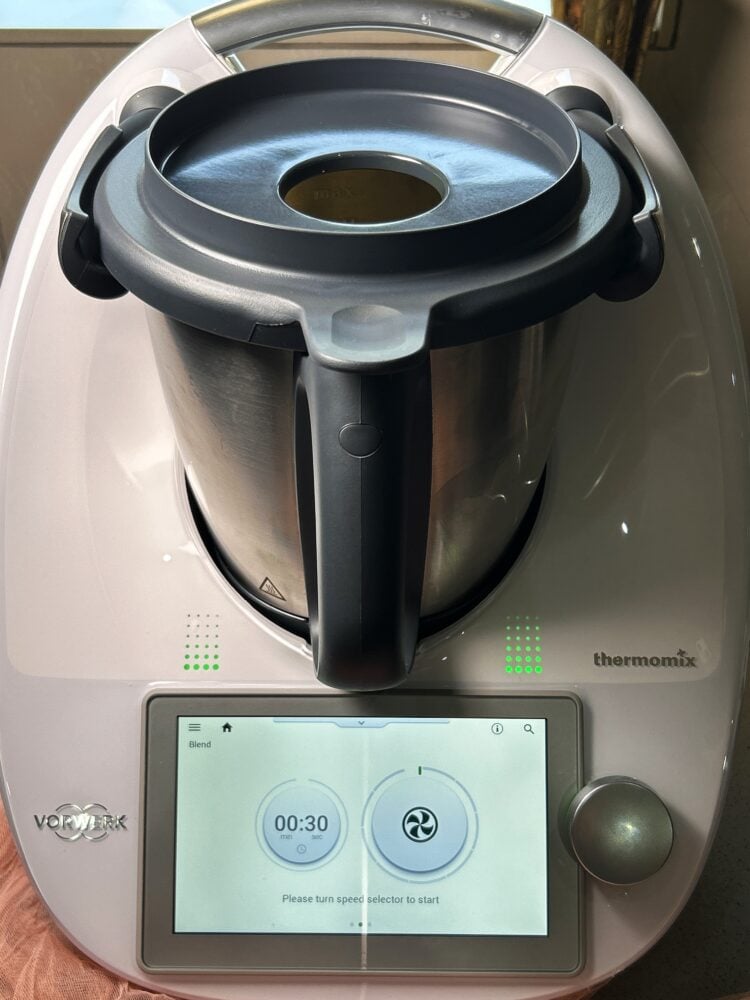
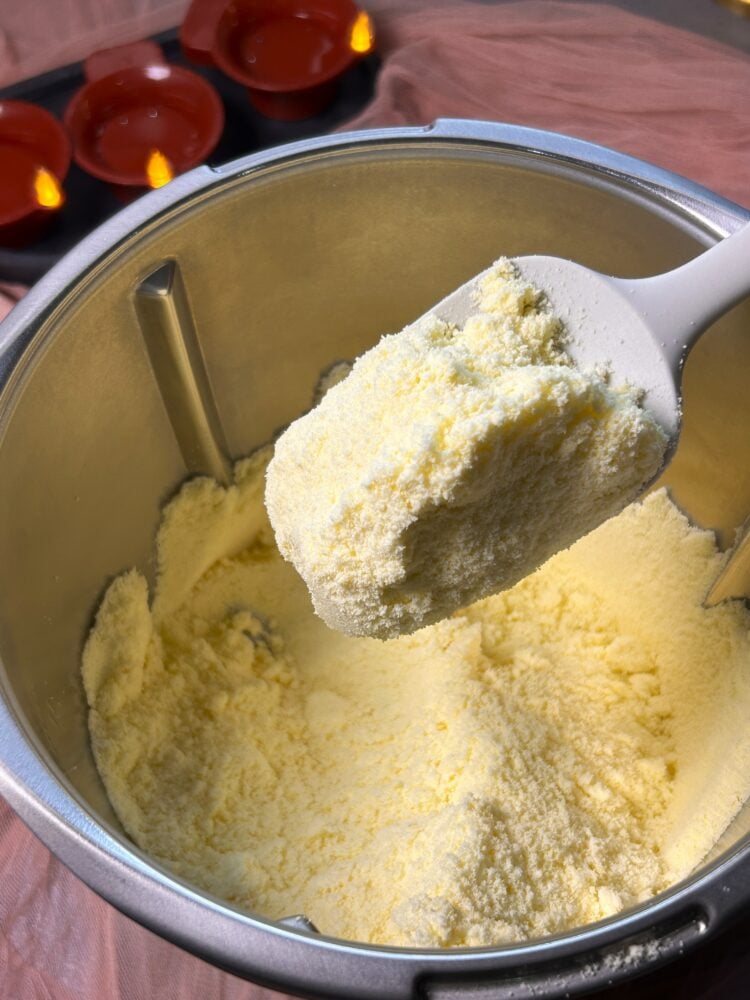
Blitz for 30 to 40 seconds until it transforms into a light, fluffy powder
Pass this mixture through a sieve into a clean mixing bowl to ensure there are zero lumps.
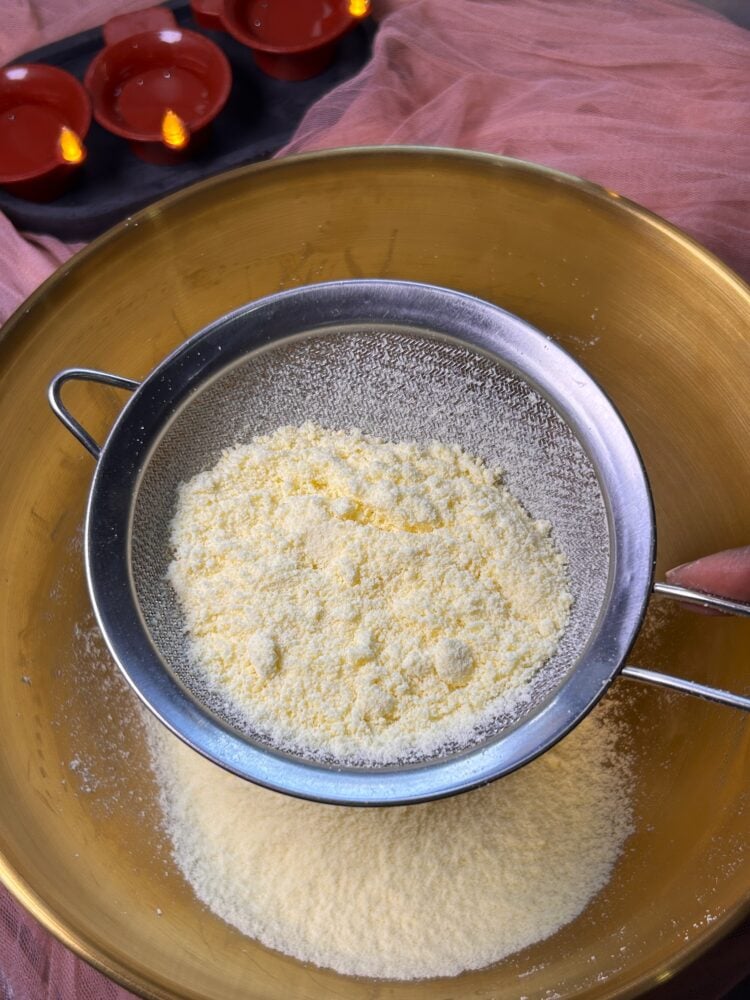
If you find this step taking longer than usual, simply use your fingers to pass the powder through the sieve.
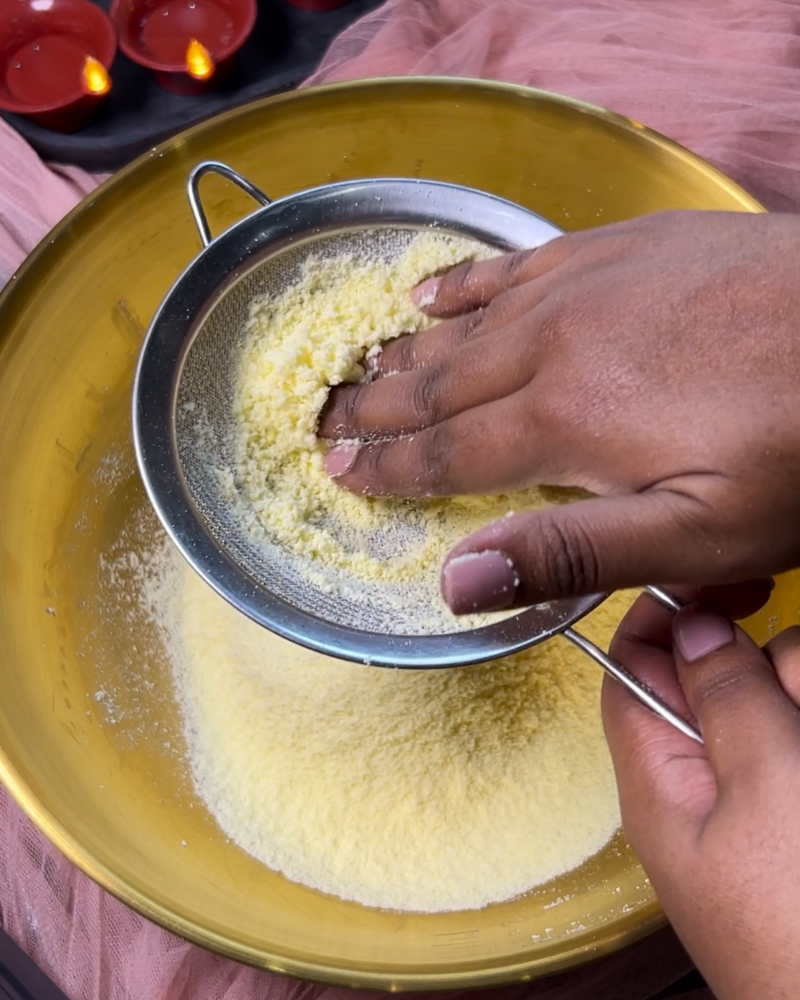
Add the cardamom powder directly into the bowl of sifted milk crumb.
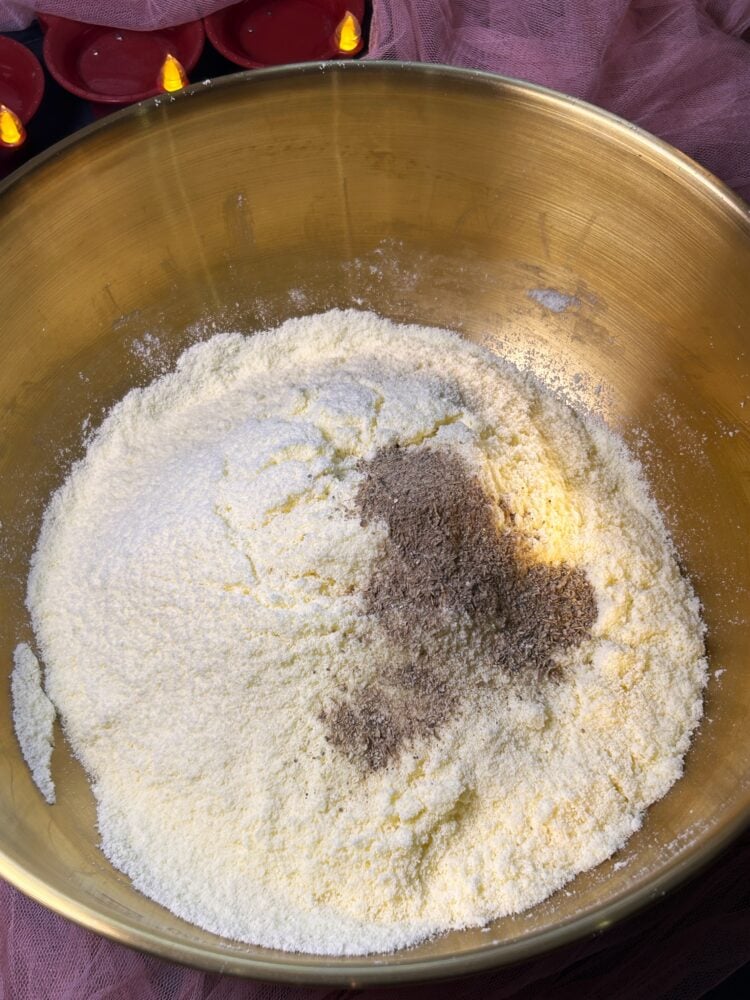
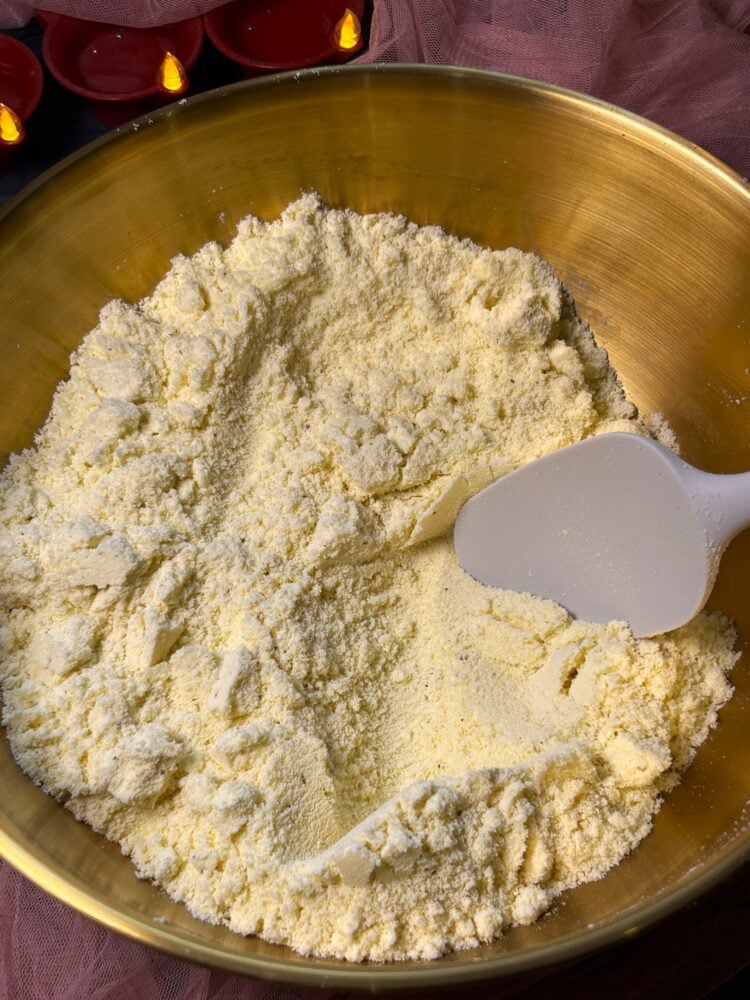
Mix well so the warm spice is evenly distributed throughout the base.
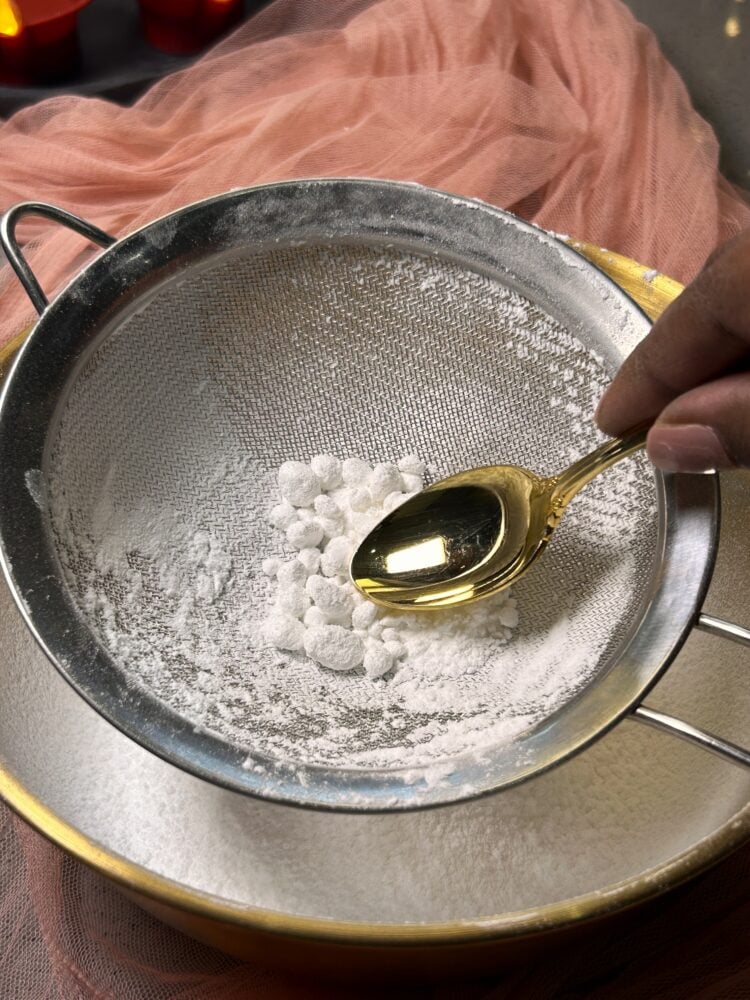
Before making the syrup, place your sieve over a clean bowl and add the 220g of Shoprite icing sugar. Sift it through to break up any compacted pockets.
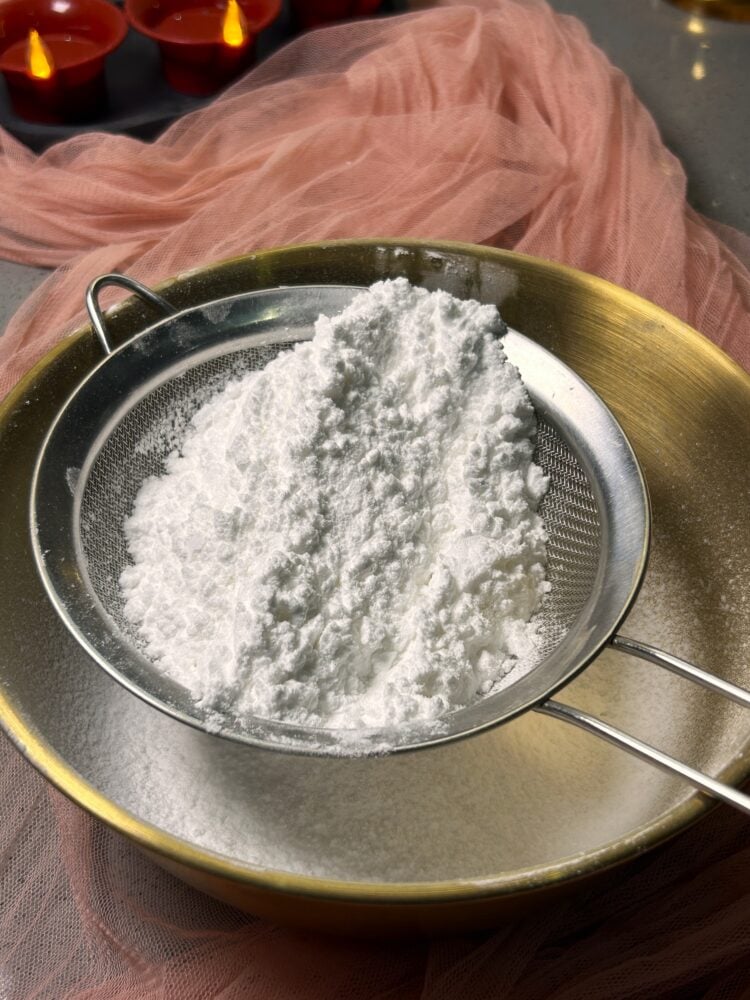
Run the back of a spoon across the mesh of the sieve to press the remaining icing sugar through, removing any hard little sugar granules left behind so your syrup dissolves effortlessly.
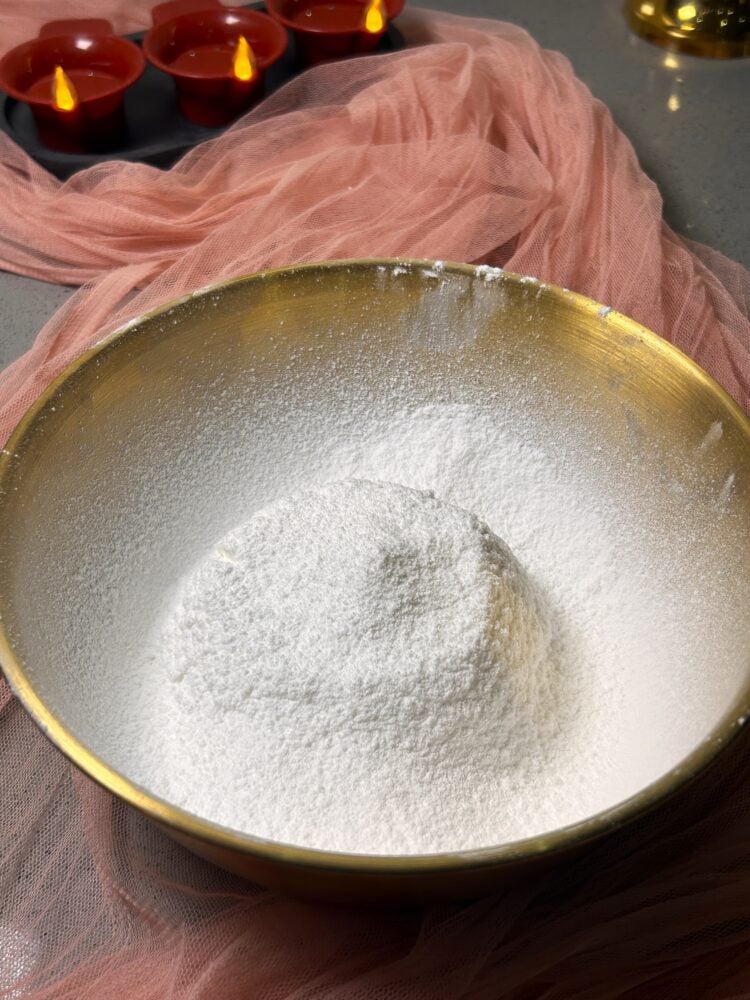
Set your bowl of fluffy, lump-free icing sugar aside, ready for the pot.
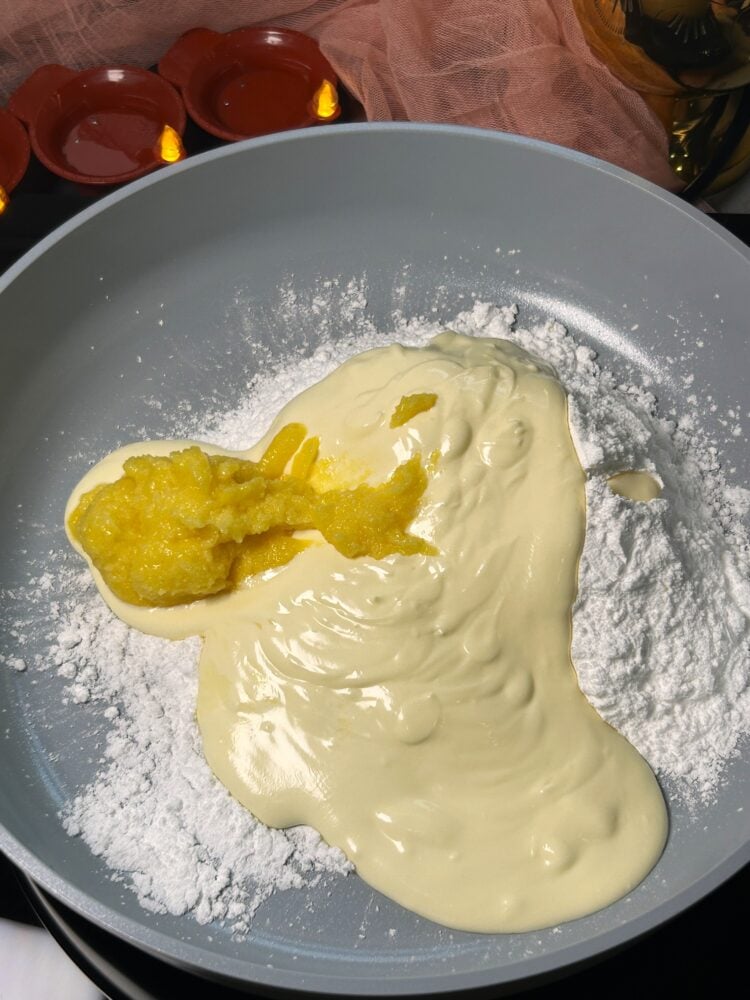
In a wide, heavy-bottomed pot, add the sifted icing sugar, pour in the 140g of fresh cream and add the 50g of softened ghee (and ¼ teaspoon rose water, if using)
Place the pot over medium heat and stir until the ghee melts and the sugar dissolves completely.
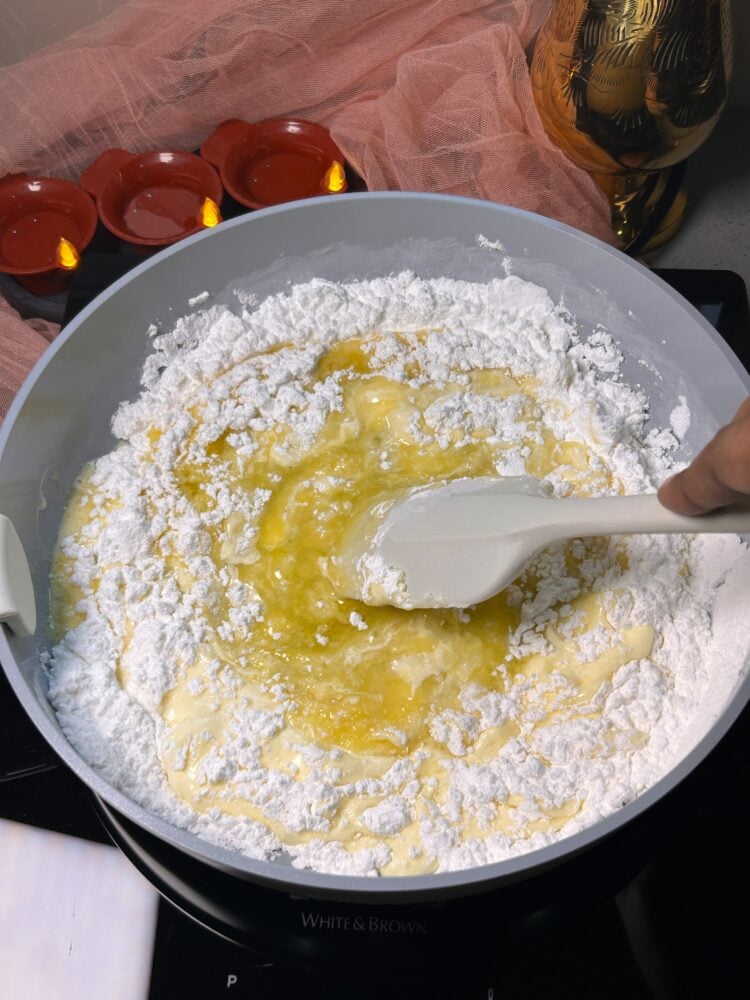
Continue stirring for a minute or two until the ghee melts completely and the icing sugar dissolves into a smooth, glossy liquid with no lumps remaining.
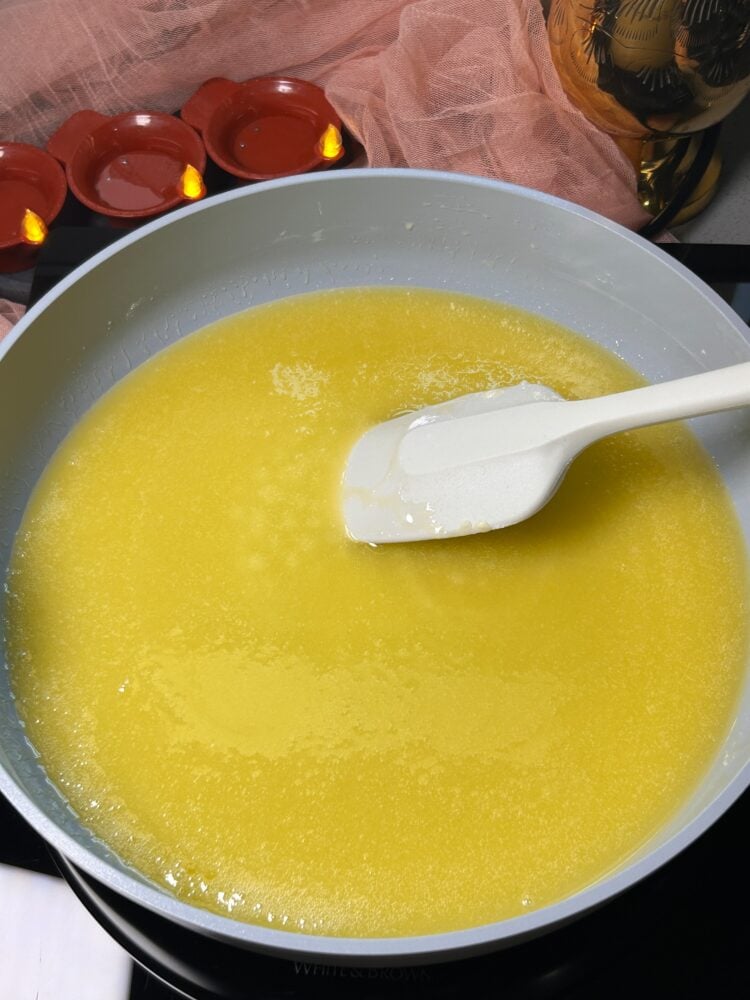
Once fully dissolved, bring the mixture to a steady, foamy boil while stirring continuously with a silicone spatula for 2½ to 3 minutes.
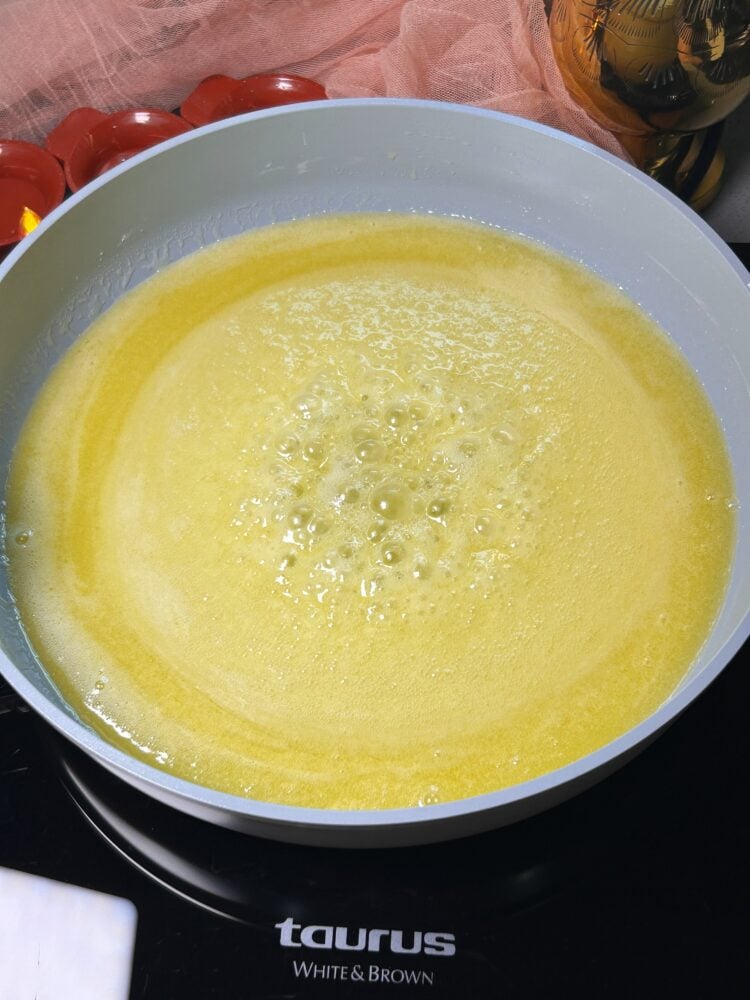
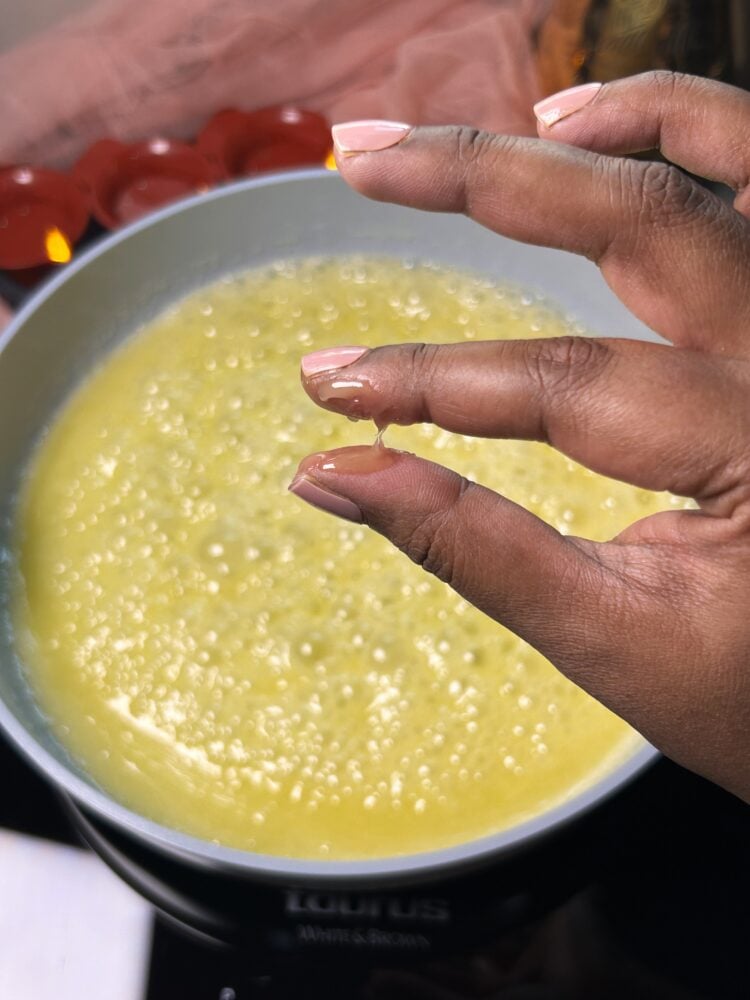
Carefully test a cooled drop of syrup between your thumb and index finger. When you gently pull your fingers apart, it should feel tacky and form a short, single sticky thread (about ½ cm). Be careful not to over-boil the syrup past this stage.
Immediately reduce the stove heat to its lowest setting and tip the sifted cardamom-milk powder mixture into the pot all at once.
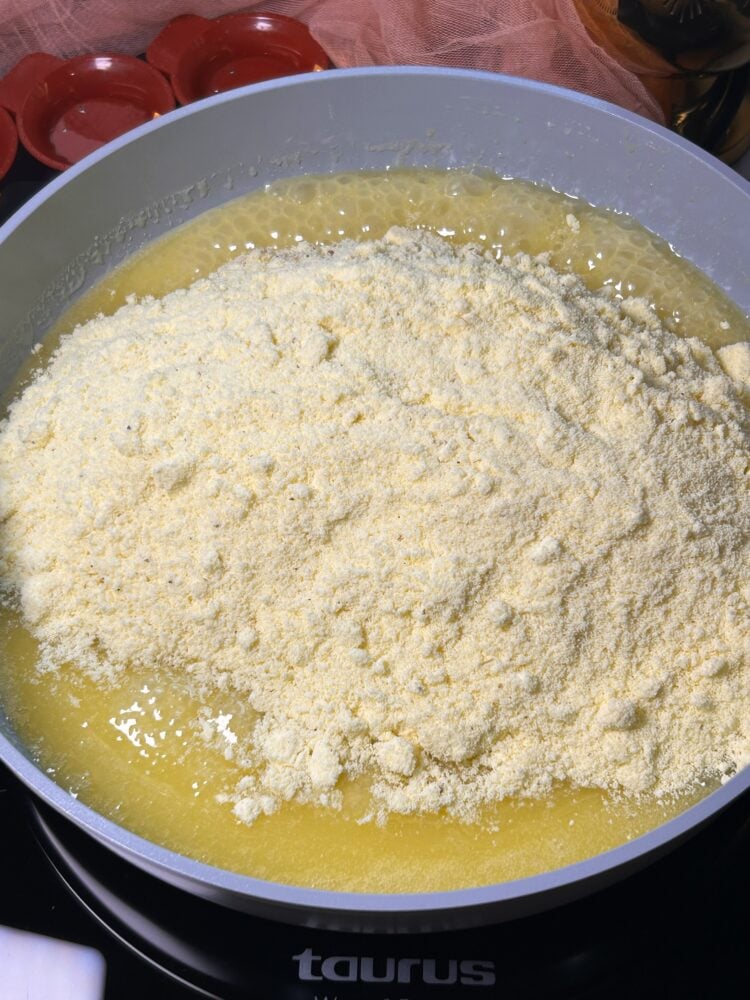
Fold vigorously with your spatula until the powder melts into the hot syrup to form a thick, glossy paste.
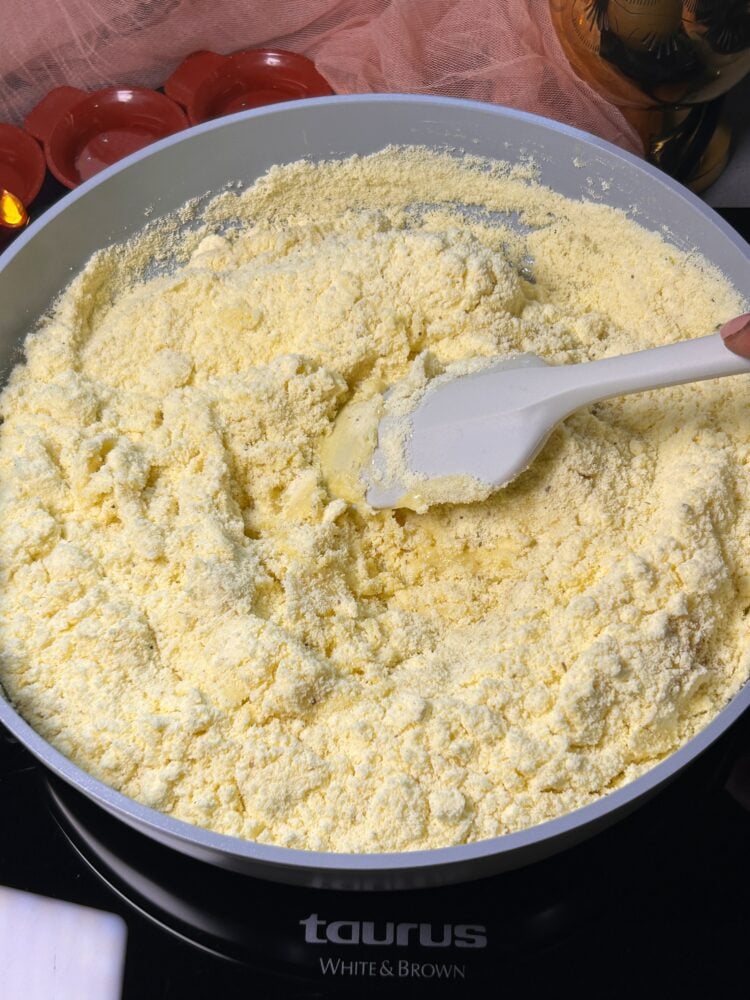
Continue stirring over low heat for 60 to 90 seconds just until it pulls cleanly away from the sides of the pot.
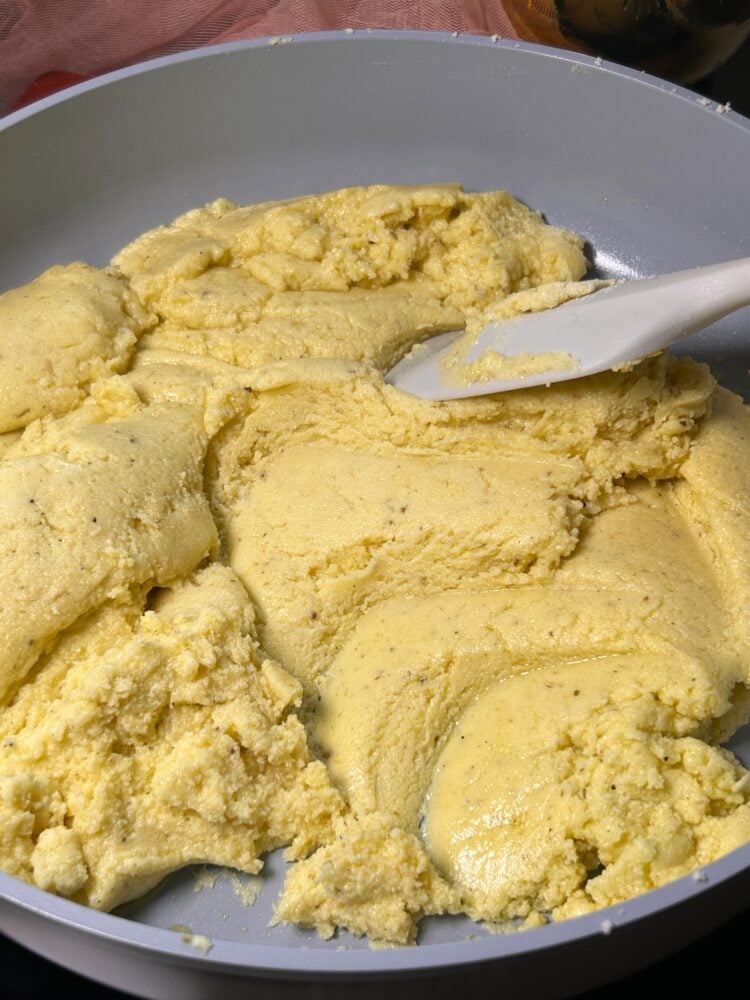
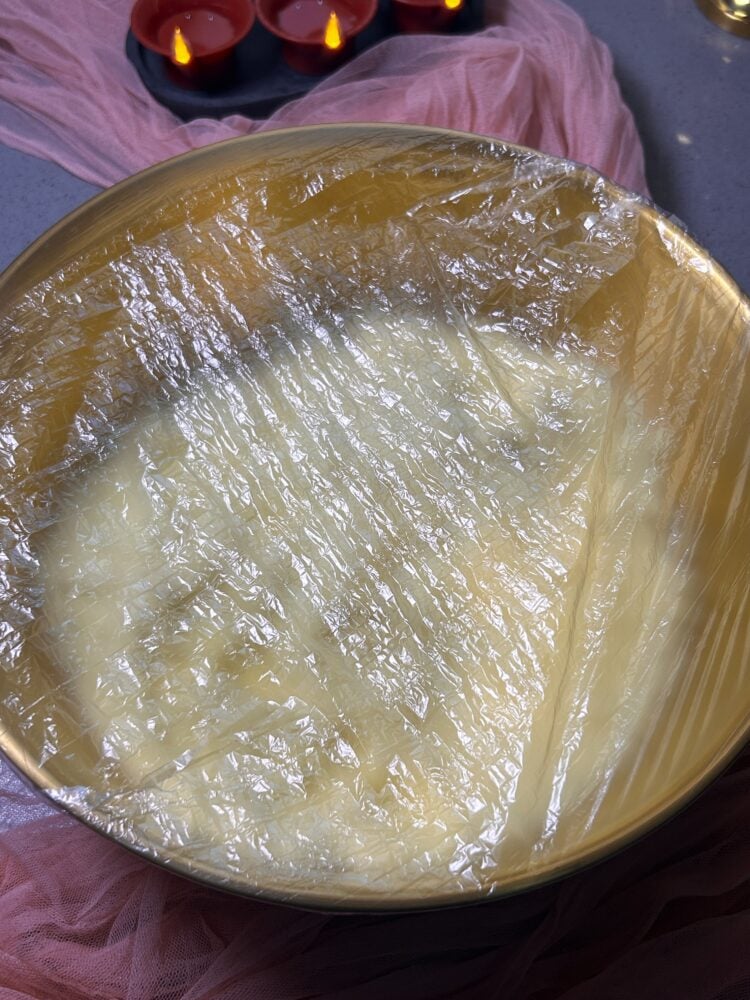
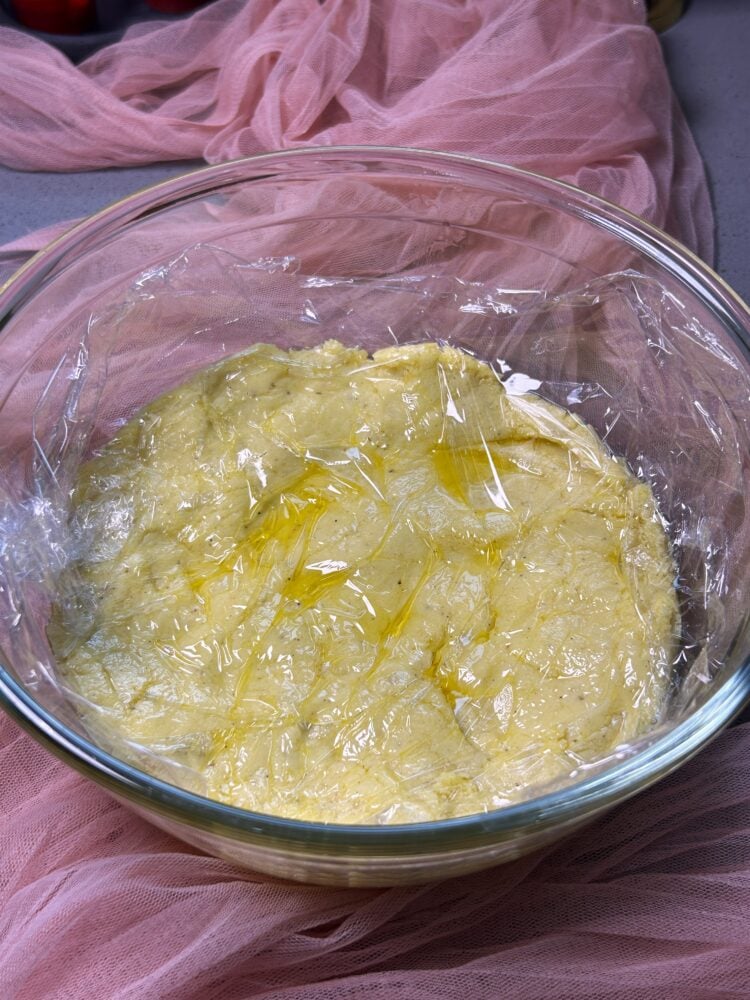
Transfer the mixture into a bowl and cover the surface with plastic wrap. Let it sit for just 10 to 15 minutes until warm to the touch – do not let it cool completely or dry out.
Grease your hands lightly with a touch of soft ghee and knead the warm dough for 2 to 3 minutes until it comes together into a smooth, velvety ball.
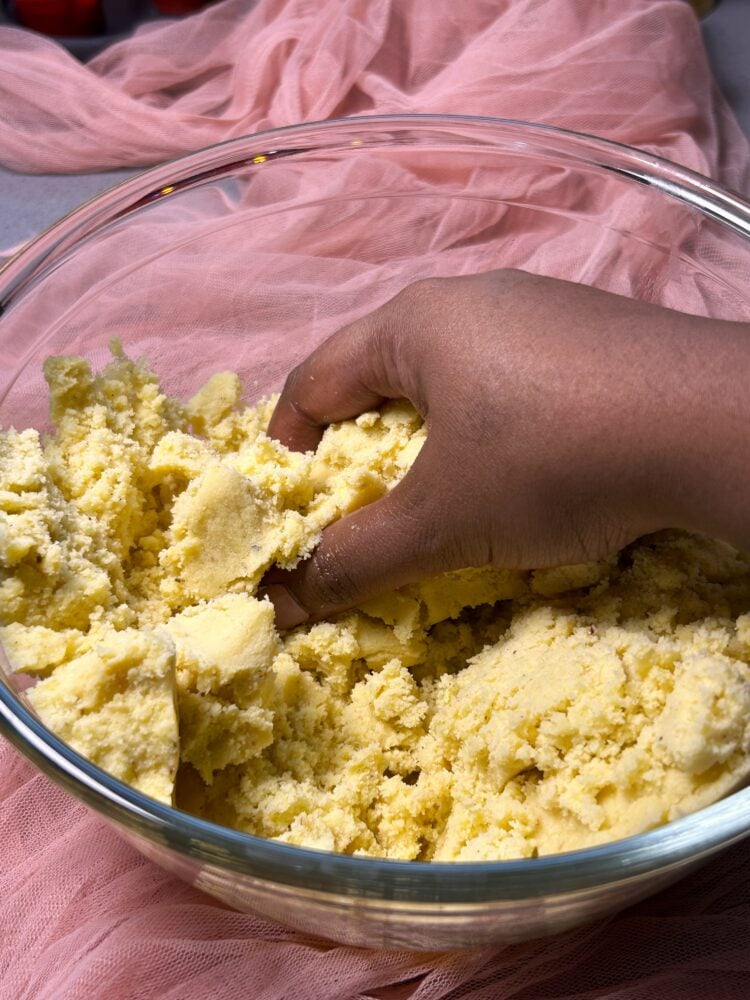
Note: If your syrup cooked slightly too far and the mixture feels dry and crumbly instead of coming together like soft playdough, simply work in 1 tablespoon of soft ghee and a splash of boiling water, 1 teaspoon at a time, while kneading until it binds into a silky, pliable dough.
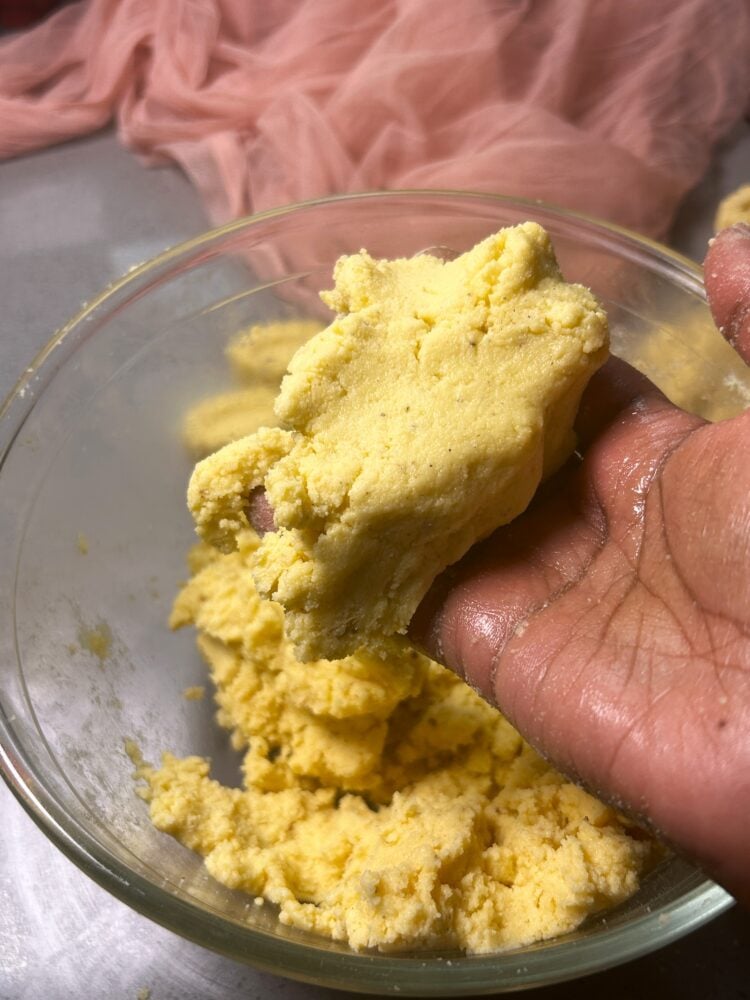
Once smooth, take portions of the warm dough (around 30g each) and press them firmly inside your palms to meld together before moulding.
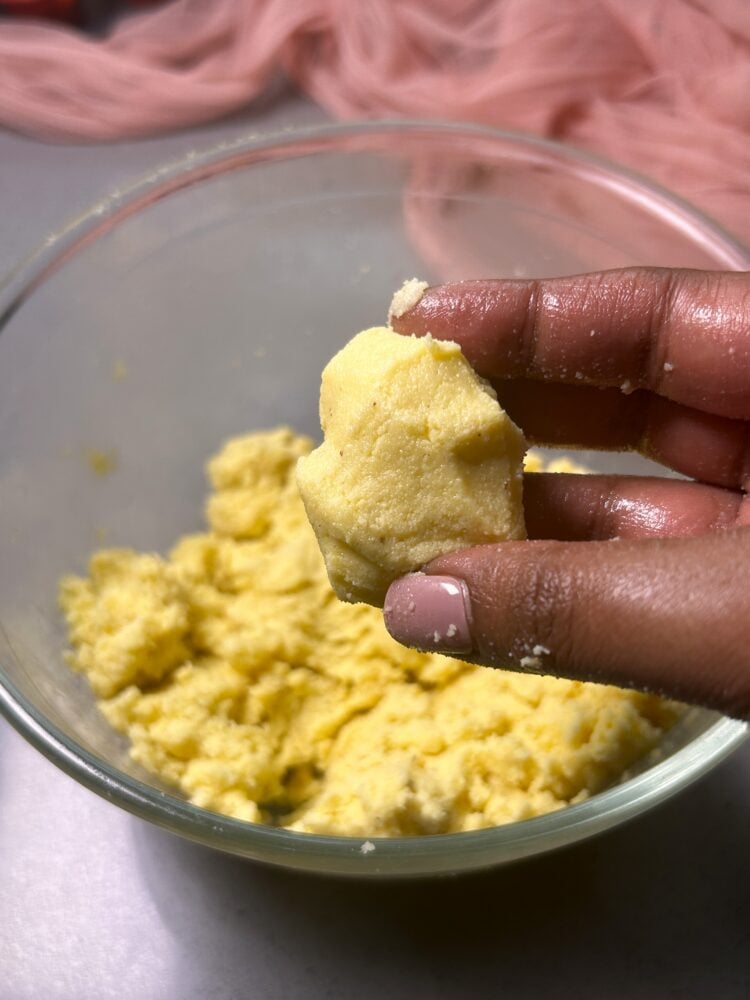
Press each smooth portion of dough directly onto a clean, flat work surface and flatten it slightly.
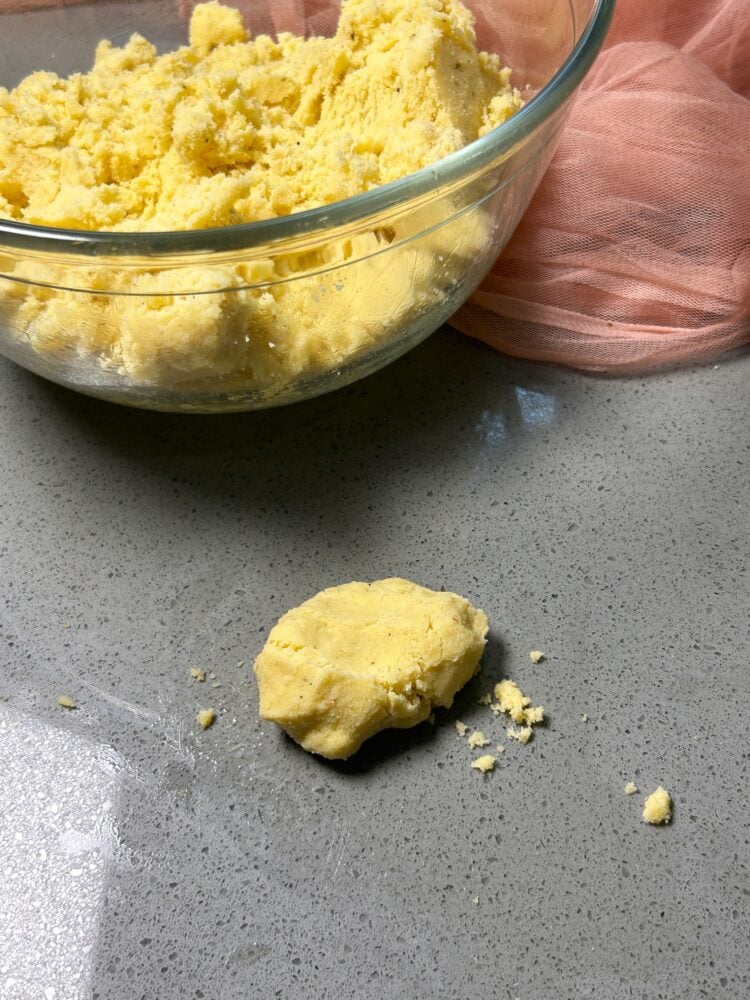
Four the Malaysian cutter – I’m using this oval design but feel free to use any design of cutters you have (you may also skip this part and transfer it directly into a greased casserole).
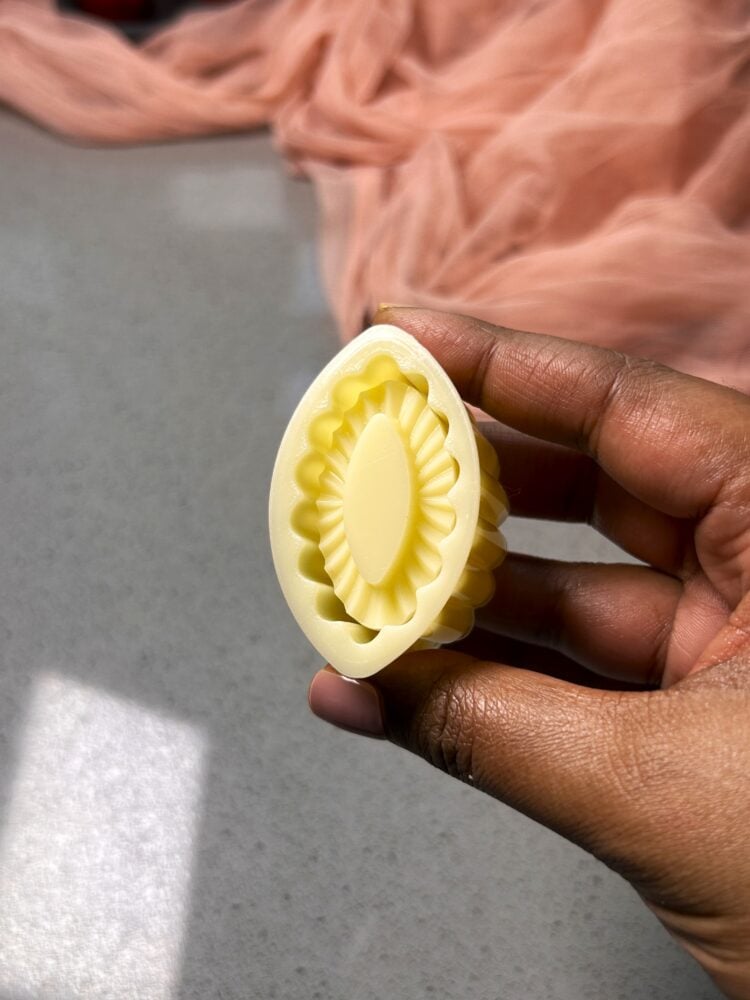
Place your ungreased Malaysian cutter directly over the dough and press the outer rim firmly down to cut out the shape.
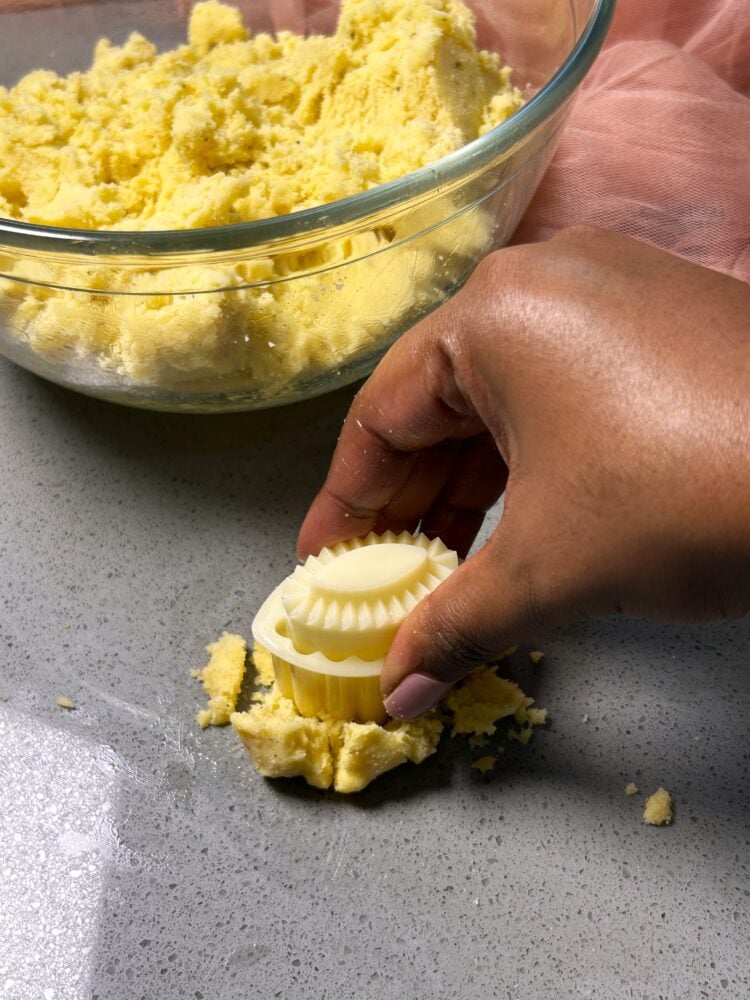
Press the inner pattern insert firmly down onto the dough to imprint the indented oval design.
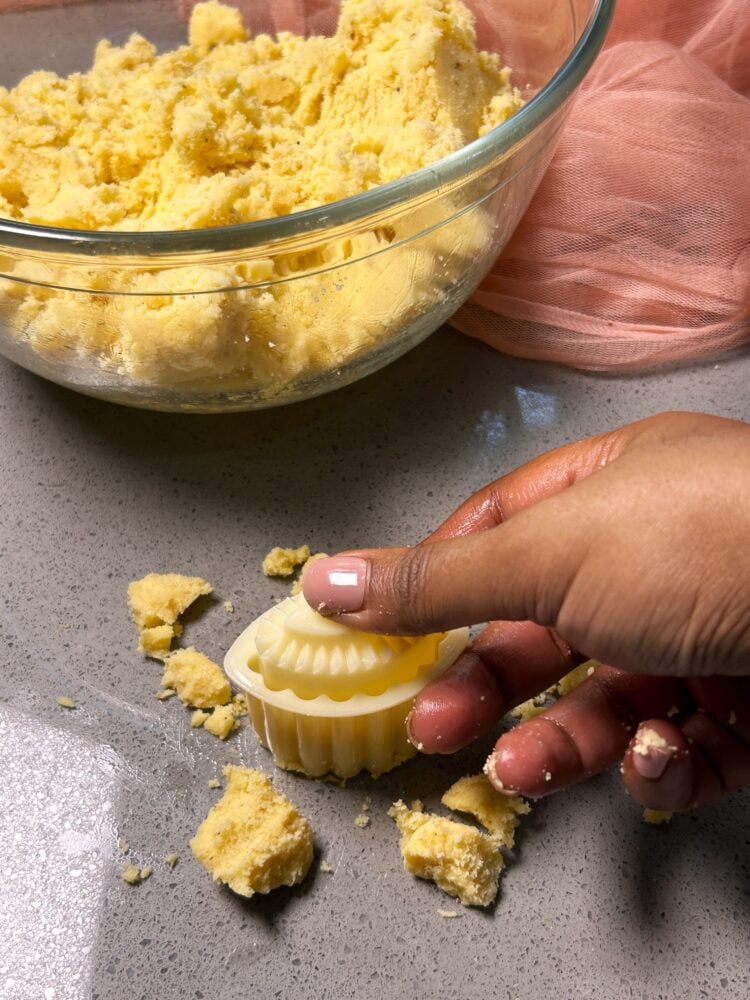
Lift the cutter off the surface, gently push the inner design insert down with one hand, and carefully release the shaped burfee into your other hand.
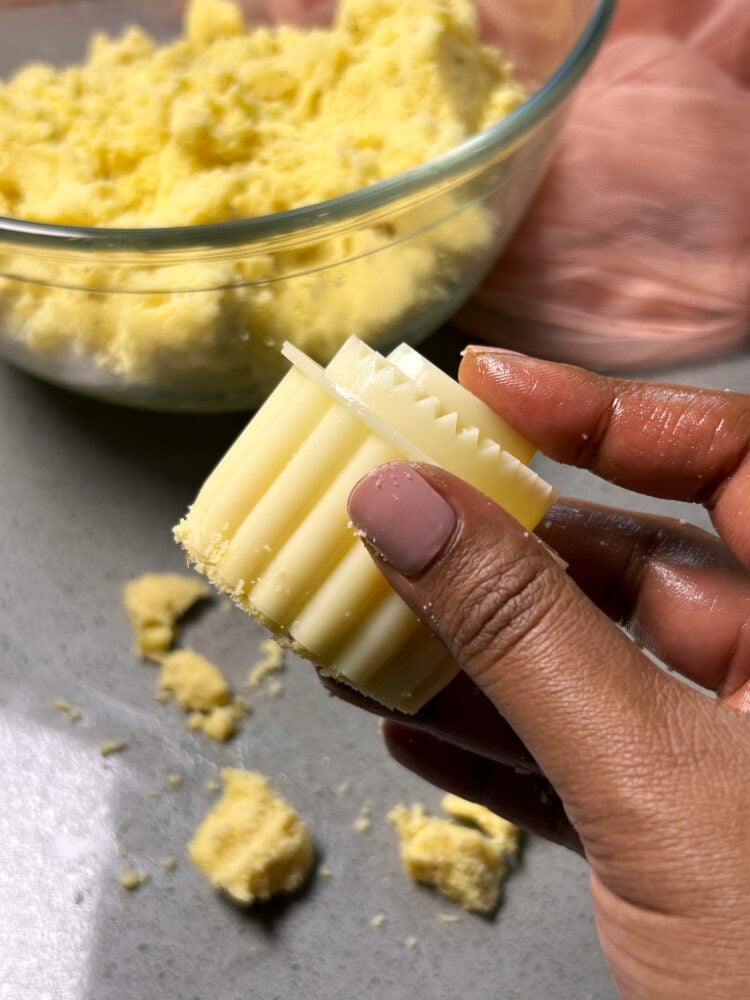
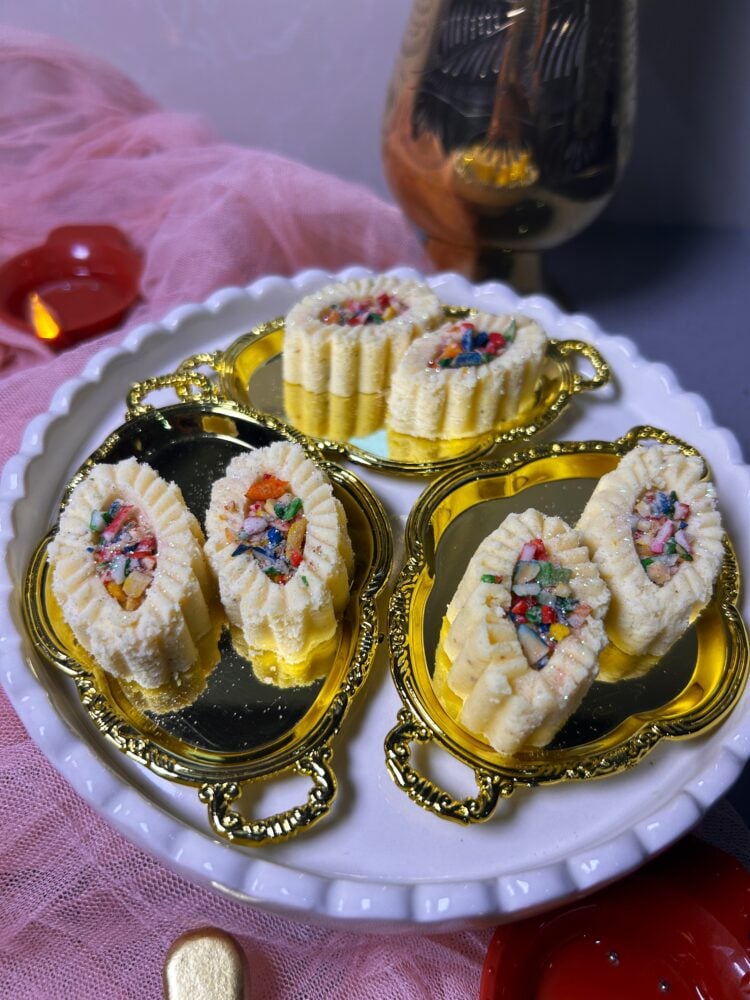
Unmould the piece in your hands to reveal those crisp, fluted oval edges and the neat centre well.
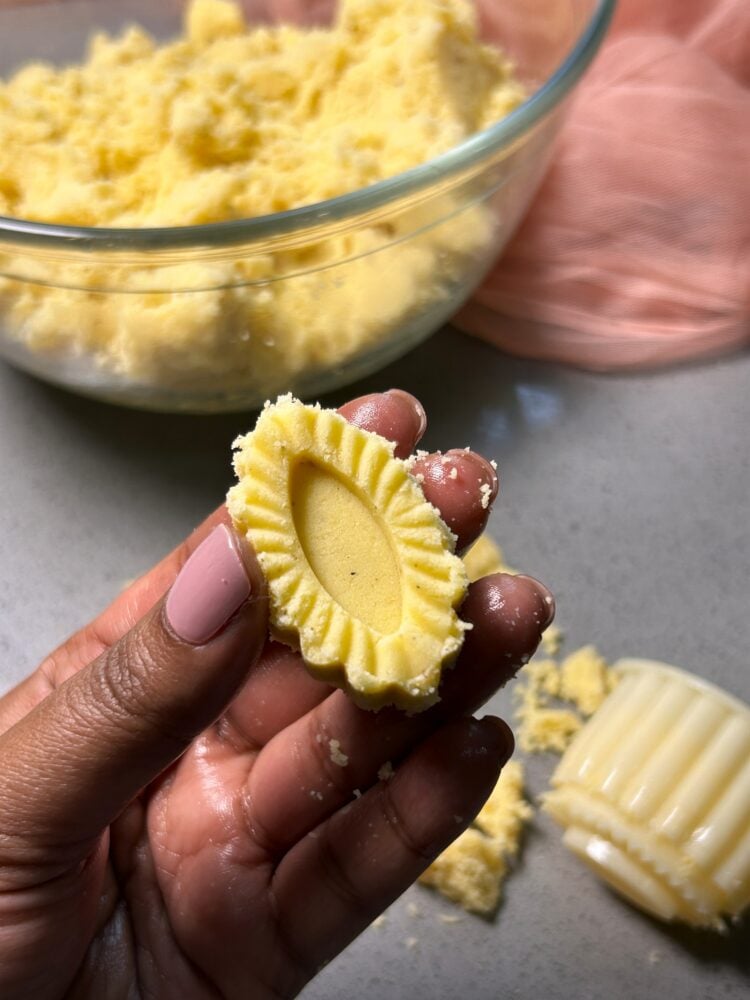
Set the moulded pieces onto a tray.
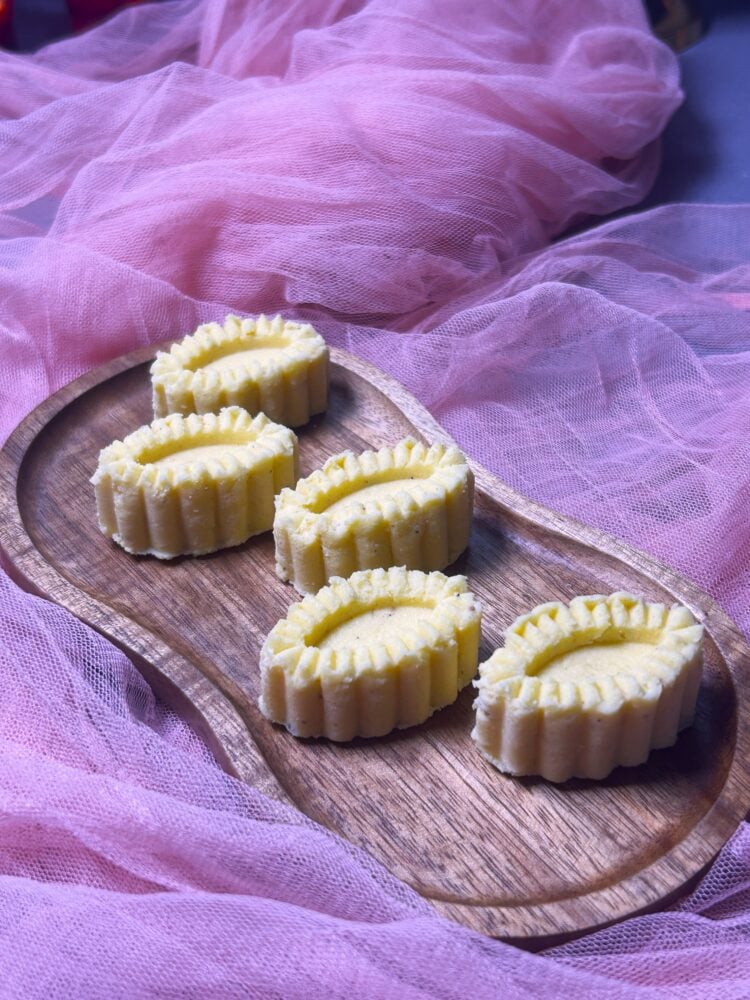
Add finely chopped coloured almonds neatly into the indented centre well of each piece.
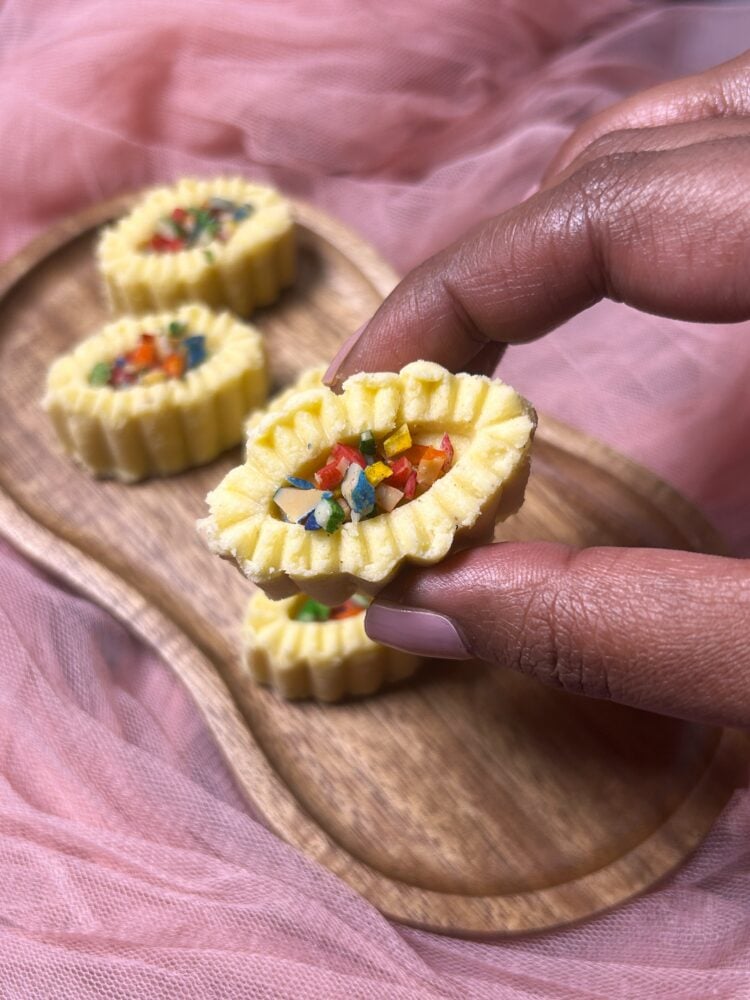
Arrange the finished burfee onto a festive serving platter and finish with a light dusting of edible glitter for a touch of sparkle.
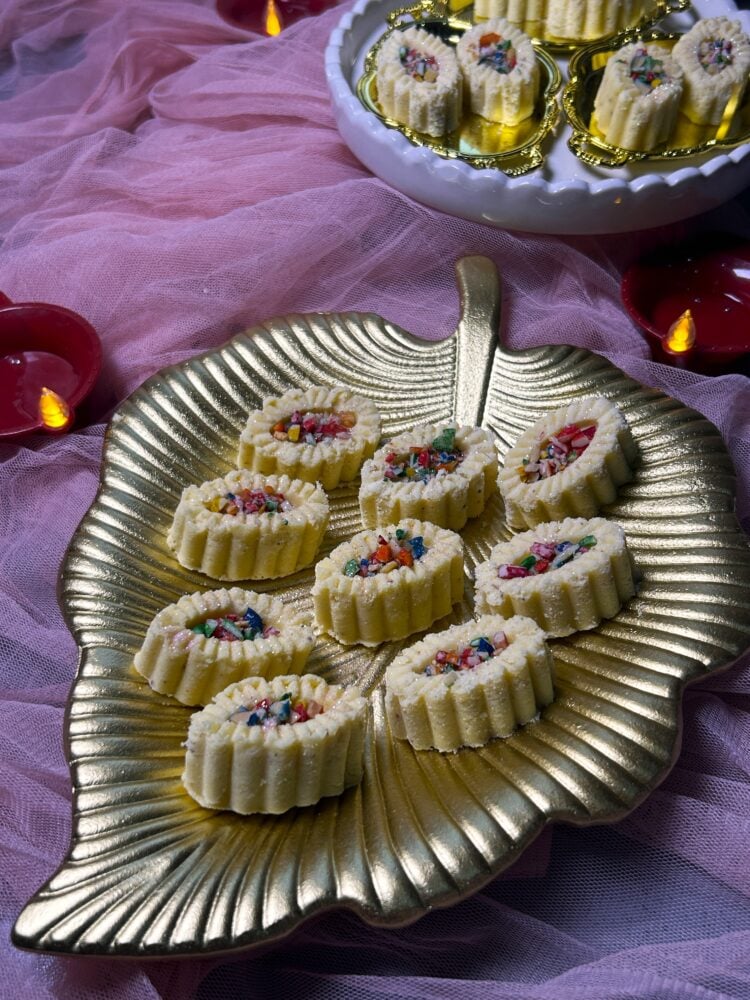
Allow the burfee to set at room temperature for 1 hour before serving.
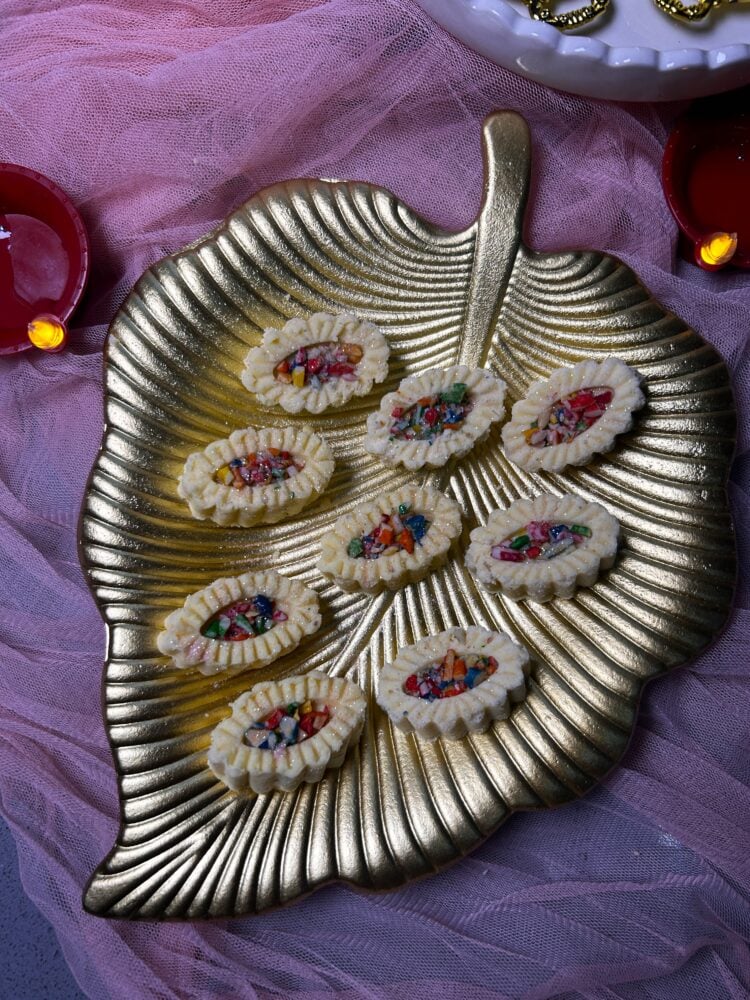
When shopping for your Diwali sweetmeat ingredients at Shoprite, don’t forget to swipe your Shoprite Xtra Savings card at the till to unlock instant savings on all your festive baking essentials!

Your Classic Burfee is now ready to serve and enjoy, or store in an airtight container until your celebrations begin!
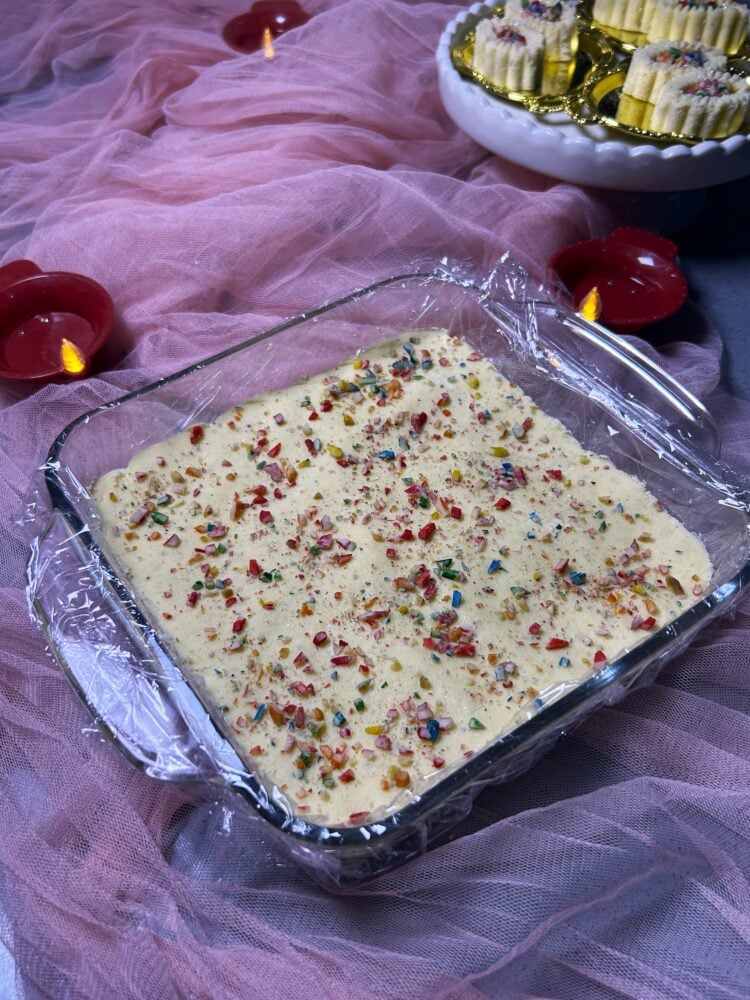
If you don’t have a sweetmeat cutter on hand, simply press the warm, kneaded burfee dough evenly into a baking-paper-lined or plastic lined square dish, scatter the coloured almonds over the top, and slice into neat squares once set!
Follow along with Denisiya's step-by-step video guide for Classic Burfee (Soft, Silky & Melt-in-Your-Mouth).
Expert kitchen guidance and troubleshooting for making the best Classic Burfee (Soft, Silky & Melt-in-Your-Mouth)
Burfee becomes crumbly if the sugar and cream syrup boiled slightly too long and lost too much moisture, or if the cooked mixture was left to cool completely before kneading. Always cover the bowl with plastic wrap and knead the mixture after 10 to 15 minutes while it is still warm to the touch. If it feels dry or crumbly, knead in 1 tablespoon of soft ghee and 1 to 2 teaspoons of boiling water at a time until it binds into a smooth, playdough-like consistency.
No! Because this dough is made with pure butter ghee and fresh cream, it naturally contains enough fat to release cleanly from a dry, ungreased cutter while keeping those crisp, fluted edges intact.
If you prefer a traditional, slightly grainy bite rather than a silky, melt-in-your-mouth finish, try my Milk Burfee Balls recipe instead.
Yes! Simply press the warm, kneaded burfee dough evenly into a square casserole dish lined with baking paper, scatter the finely chopped coloured almonds over the top, press them in lightly, and slice into neat squares once set.
Store your burfee in an airtight container at room temperature for up to 4 days, or in the refrigerator for up to 2 weeks. If refrigerated, let the burfee sit at room temperature for 15 to 20 minutes before serving so the texture softens back up.
Yes, burfee freezes very well. Layer the shaped pieces between sheets of baking paper in a freezer-safe airtight container and freeze for up to 2 months. Thaw overnight in the refrigerator, bring to room temperature, and finish with your finely chopped coloured almonds and edible glitter just before plating or packing into gift boxes.
Hi, I'm Denisiya! Food lover, recipe developer, and founder of EatMee Recipes. I specialize in authentic South African Durban Indian cuisine, comforting curries, and modern Instant Pot adaptations. Every recipe on this site is tested in my personal kitchen to ensure you get mouth-watering, foolproof results every time.
Explore more authentic Durban curries, traditional bakes, and comforting family favourites.
 Desserts
If you love traditional South African sweet rice but want an easier, hands-off method, thi...
 Desserts
Light, crisp, and delicately sweet biscuit sticks dipped in chocolate
 Desserts
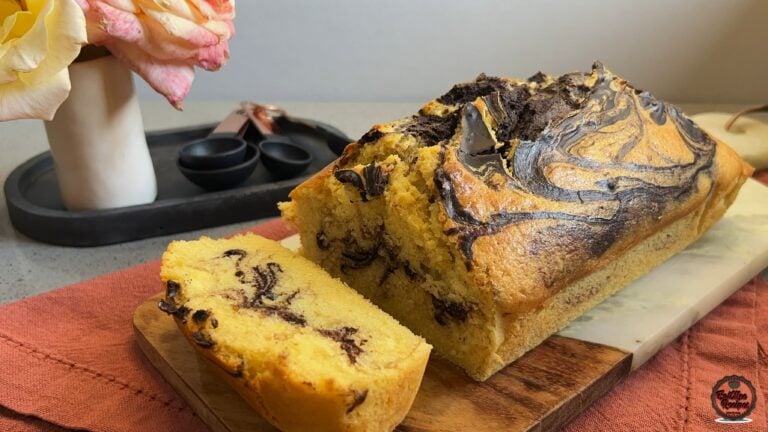
There’s something comforting about a marble loaf cake fresh from the oven, especially when...
Have you tried this recipe or have questions for Denisiya? Join the conversation below.
No comments yet. Be the first to share your thoughts on this recipe!
Leave a Comment
Your email address will not be published. Required fields are marked *