
We Value Your Culinary Privacy
EatMee Recipes uses cookies to provide a personalized browsing experience, analyze recipe popularity, and serve relevant ads. You can review our full disclosure in our Privacy Policy.
Make authentic Qatayef with this foolproof recipe. Packed with rich traditional flavor, step-by-step photos, and cooking tips by Denisiya on EatMee Recipes.


Join over 60,000+ home chefs for weekly authentic Durban Indian cook-alongs, Instant Pot masterclasses, and family heritage recipes.
Qatayef is a decadent Middle Eastern dessert which is also referred to as katayef, qata’if or atayef. These sweet treats are often prepared during the month of Ramadan & served for Iftar.
They are arabic style pancakes, similar to crumpets but they are only cooked on one side & then filled with either cream, cheese or nuts. For this recipe I am using nuts, specifically almonds, but feel free to switch it up according to your preference.
Qatayef was traditionally prepared by street vendors as well as households in the Levant & Egypt.
Firstly, start off by preparing the almond filling. A mixture of nuts may be used if preferred.
I am using whole almonds – if ground almonds are available, they may be used.
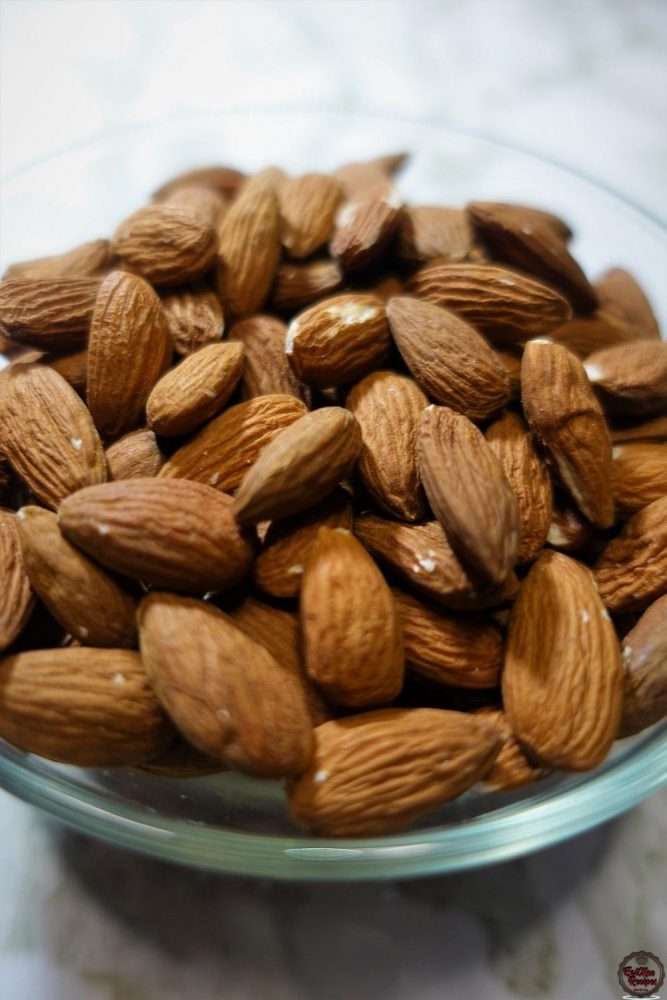
Place the whole almonds into a blender & pulse until crushed but not in powder form.
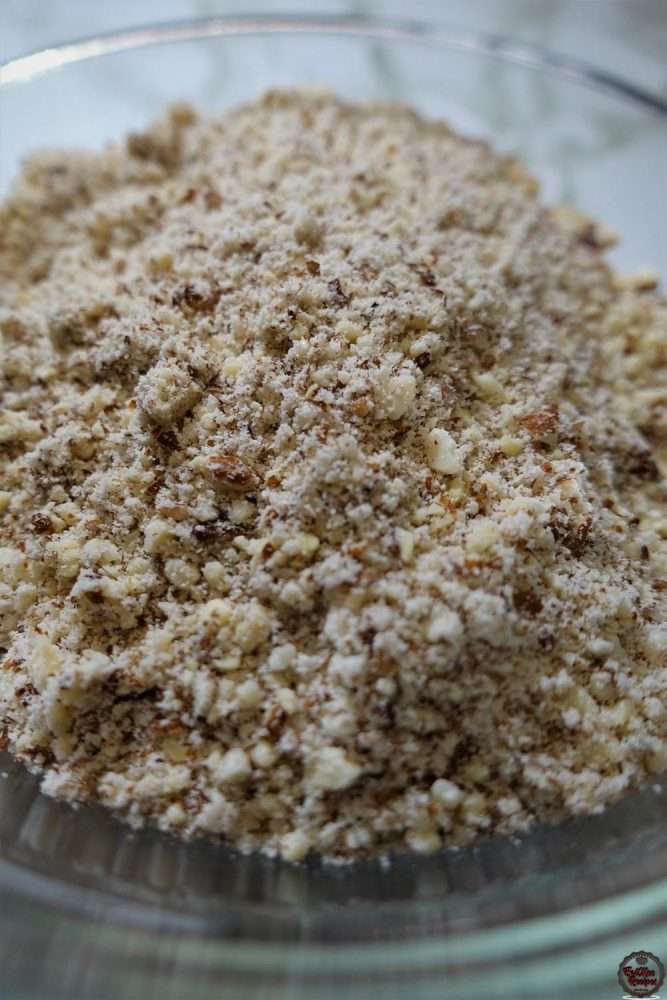
To the ground nuts, add cinnamon powder, granulated sugar & rose water.
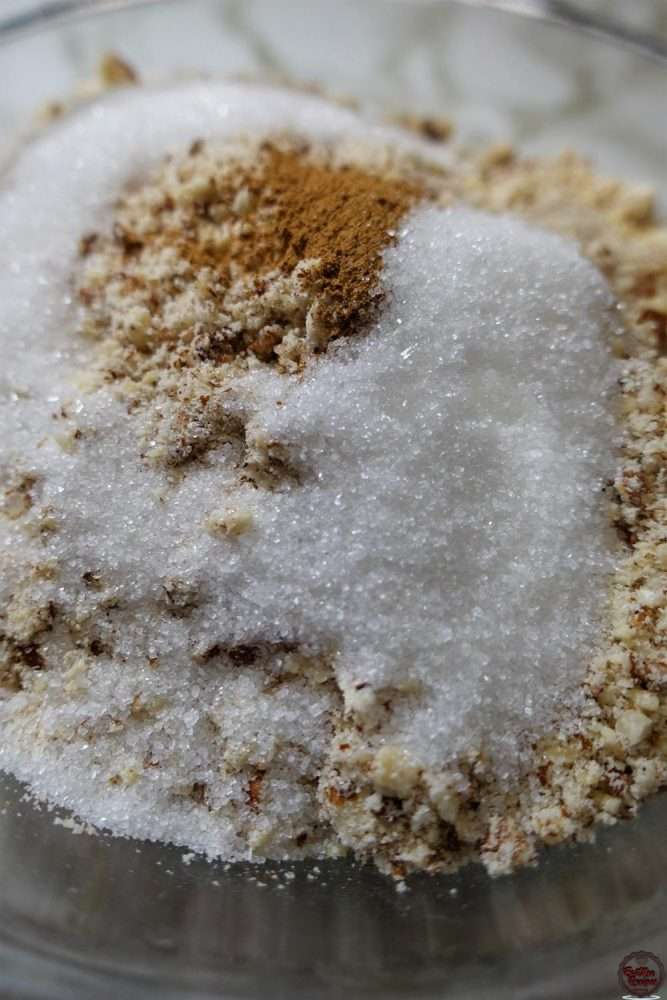
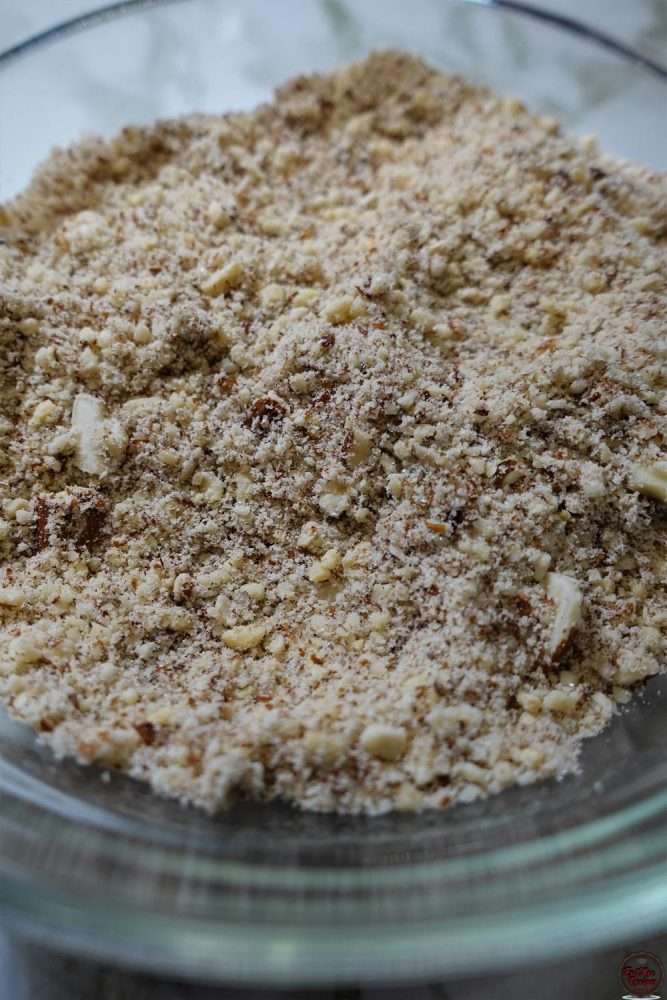
Mix well & set aside until ready to use.
Now it’s time to prepare the pancakes.
To a mixing bowl, add in the all-purpose or cake flour.
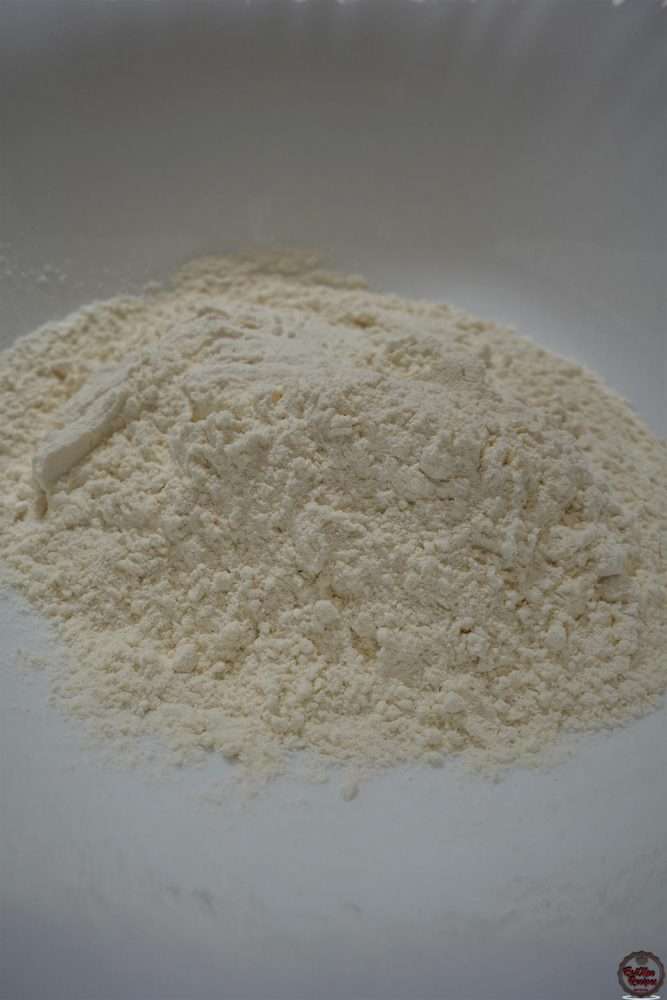
Add in salt, granulated sugar, baking powder & instant yeast.
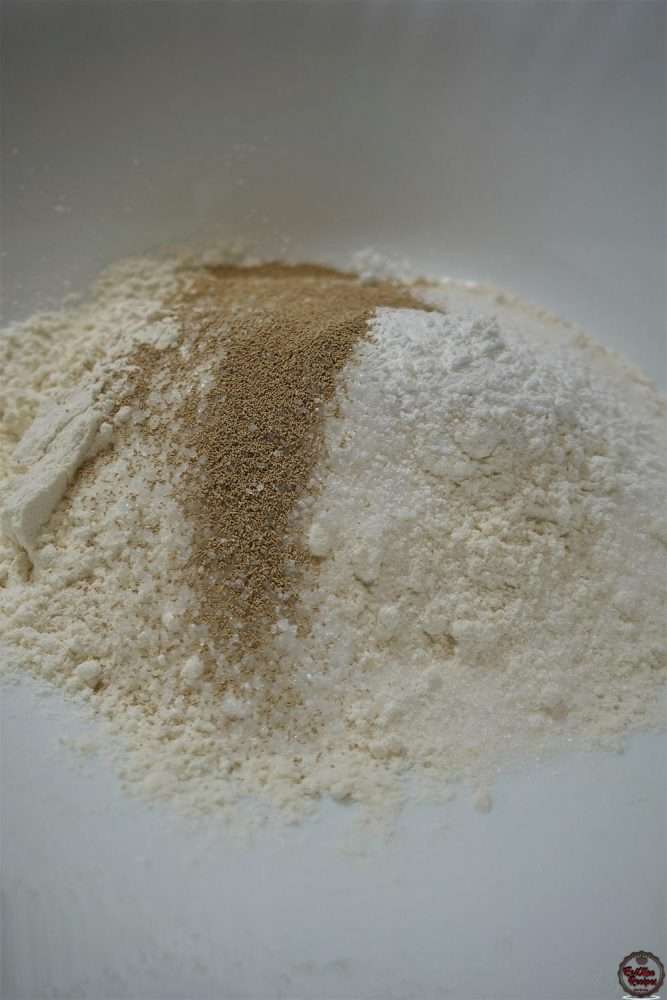
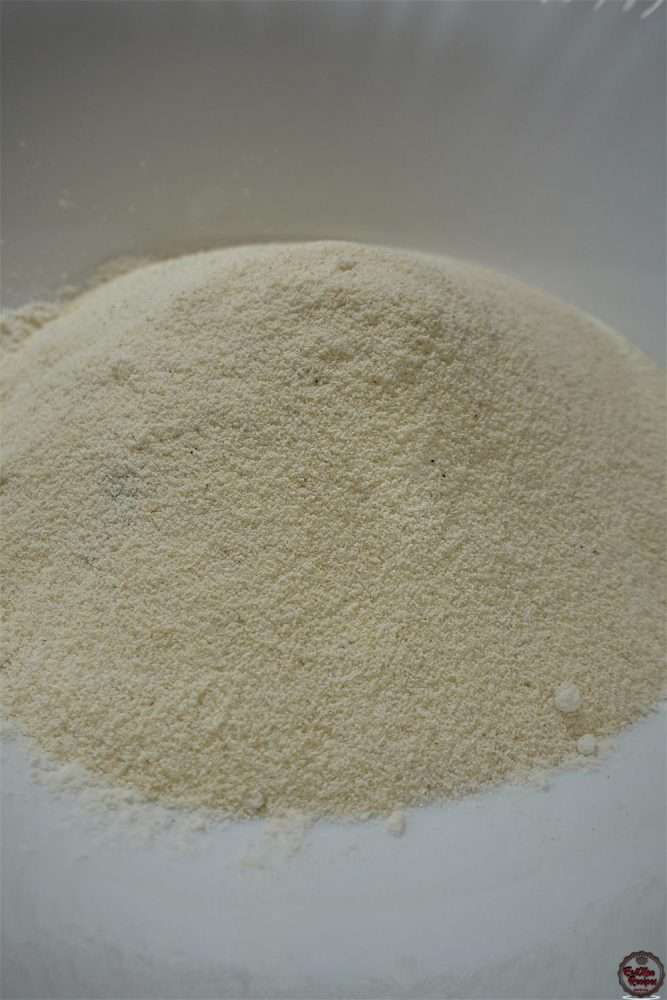
Thereafter, add in the semolina.
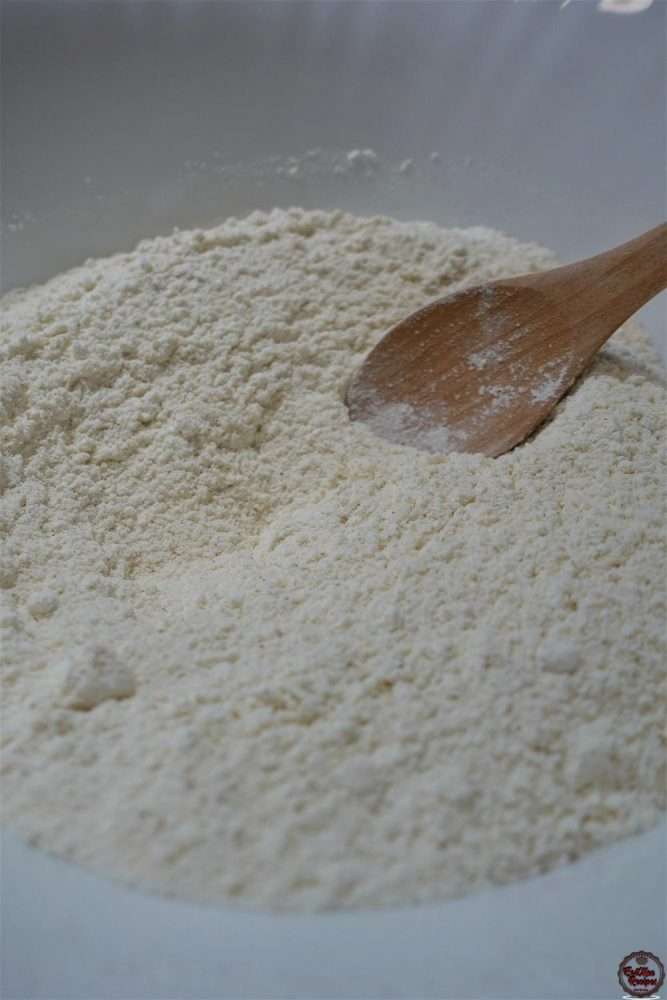
Mix all the dry ingredients until combined.
Heat 1 cup of milk in the microwave for 30 seconds or until warm – be sure it is not too hot as it will kill the yeast. Pour in the warm milk & vanilla essence.
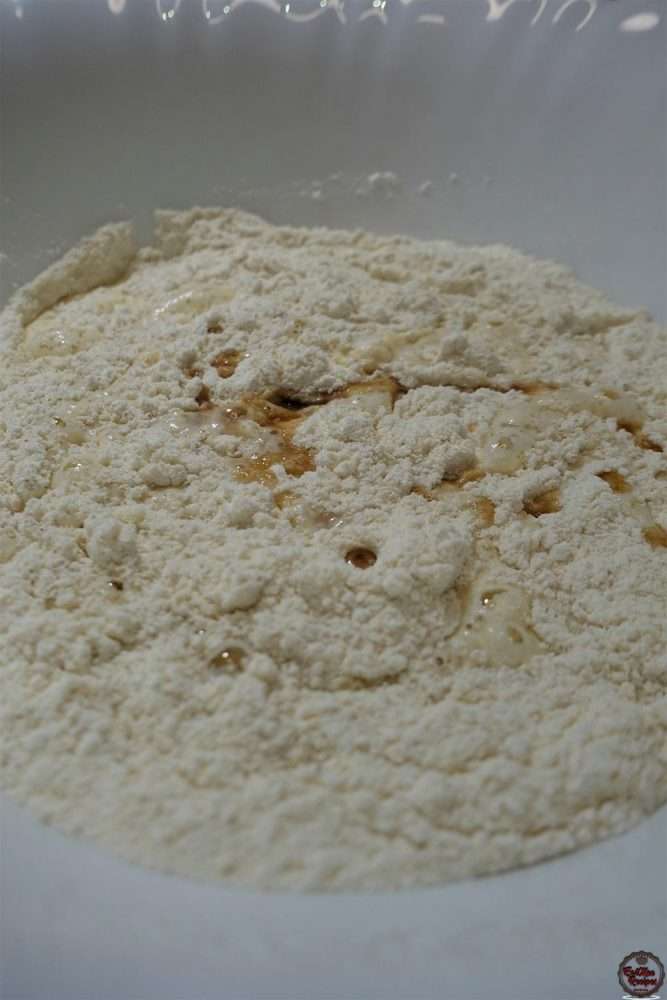
Whisk well until combined & there are no lumps. The batter should be thick.
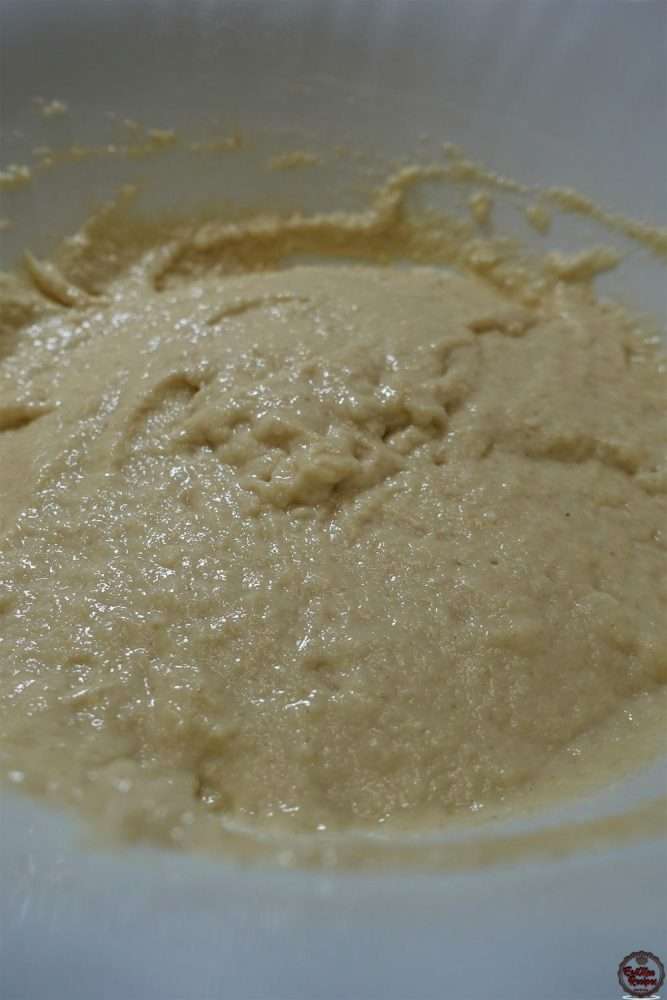
Cover the bowl with plastic (cling) wrap & allow it to rest for 20 minutes.
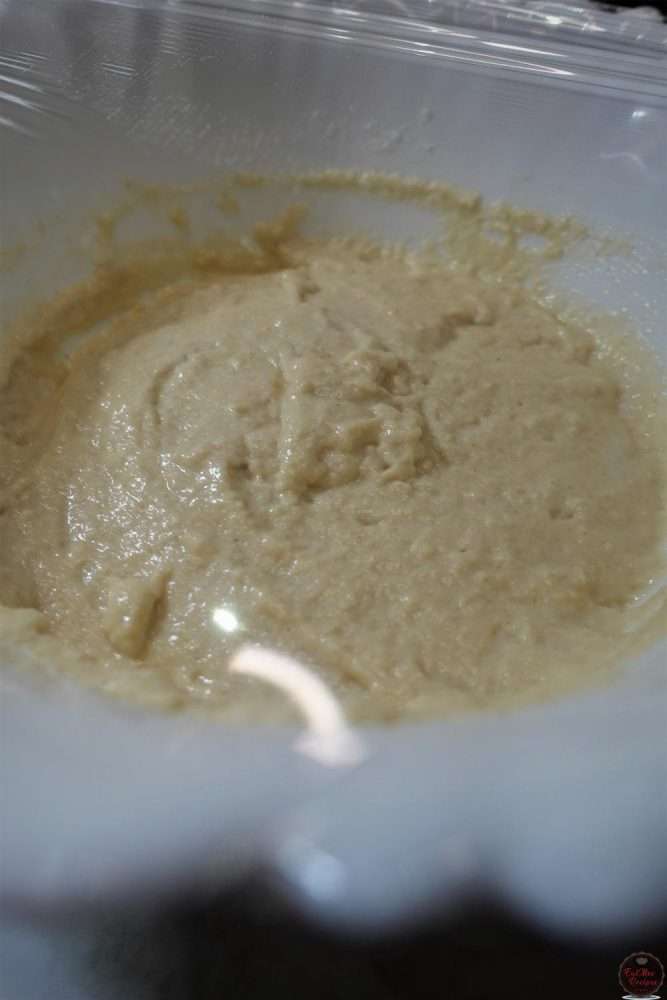
Whilst the batter is resting, get started on the syrup.
To a pot on medium-low heat, add in water & white granulated sugar.
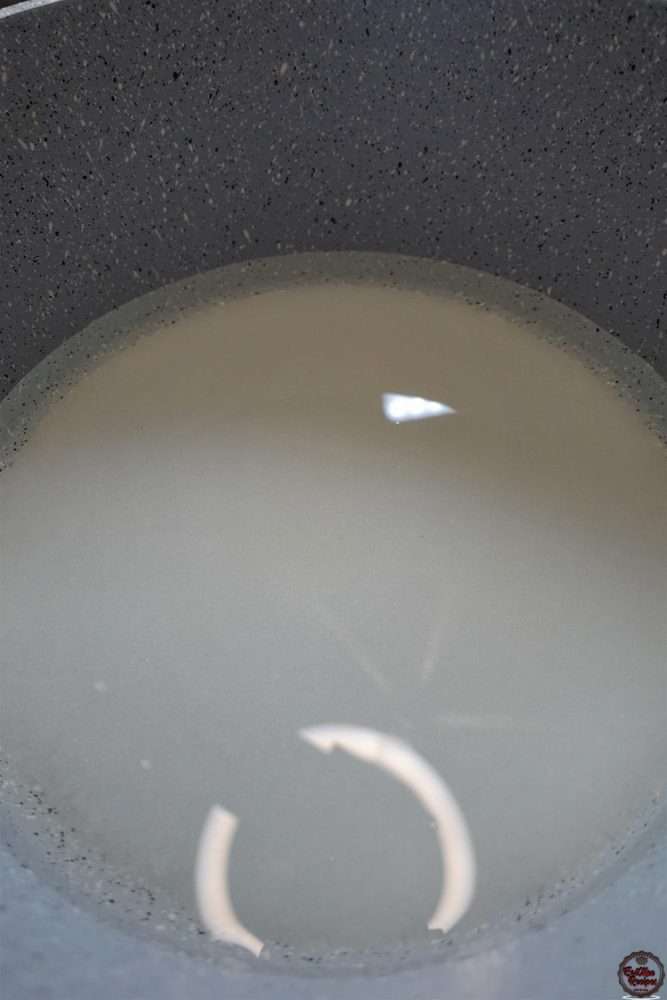
Keeping the heat on medium low, stir until all the sugar dissolves.
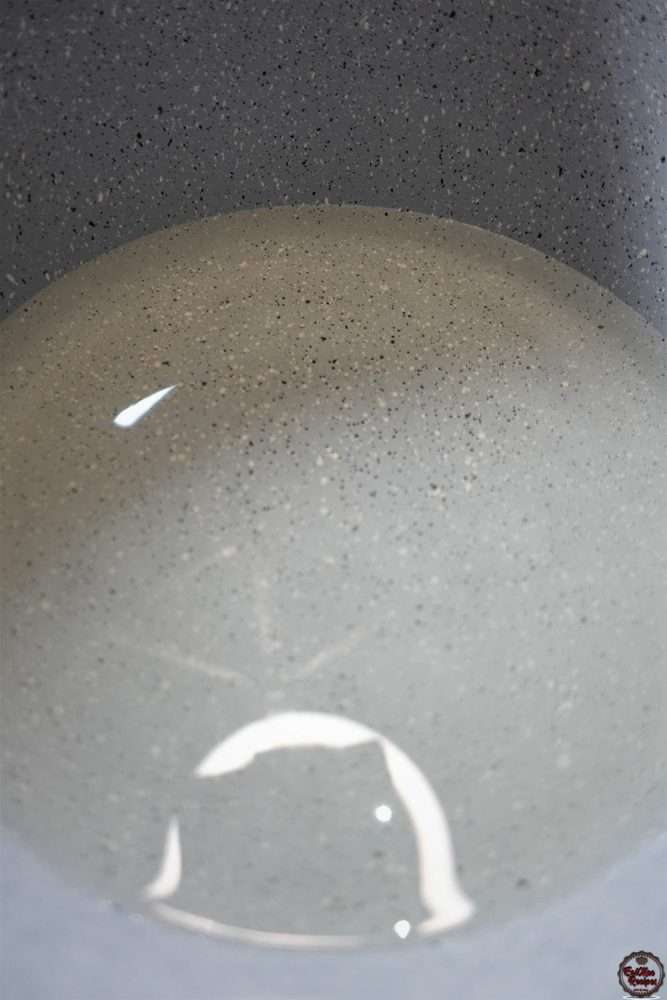
Once the sugar has dissolved, turn up the heat to high & allow the mixture to come to a boil.
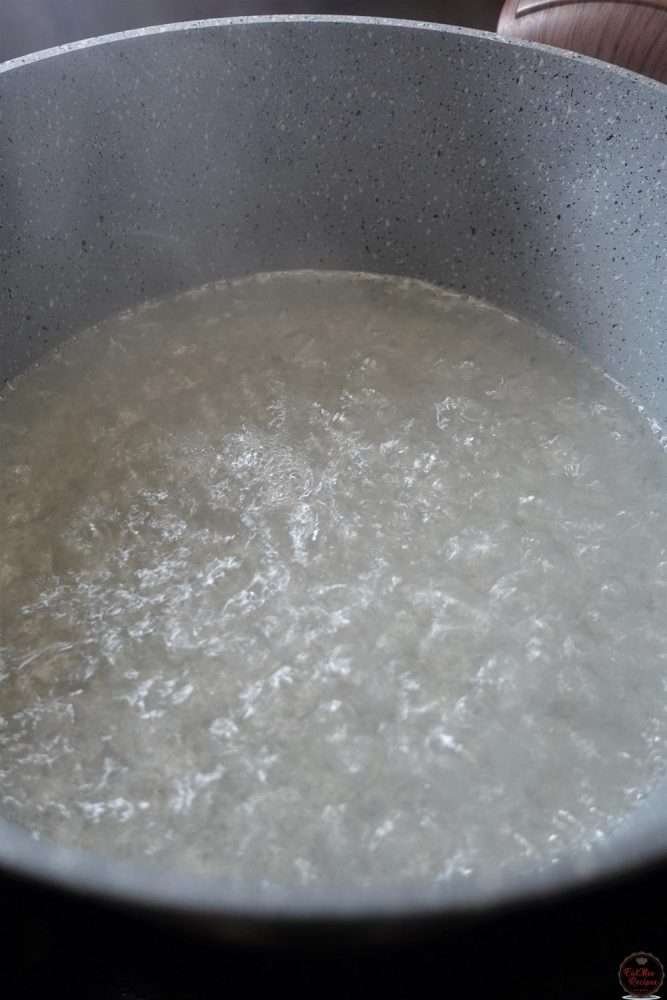
Once it comes to a boil, turn the heat down to low & simmer for 10 minutes until the syrup thickens.
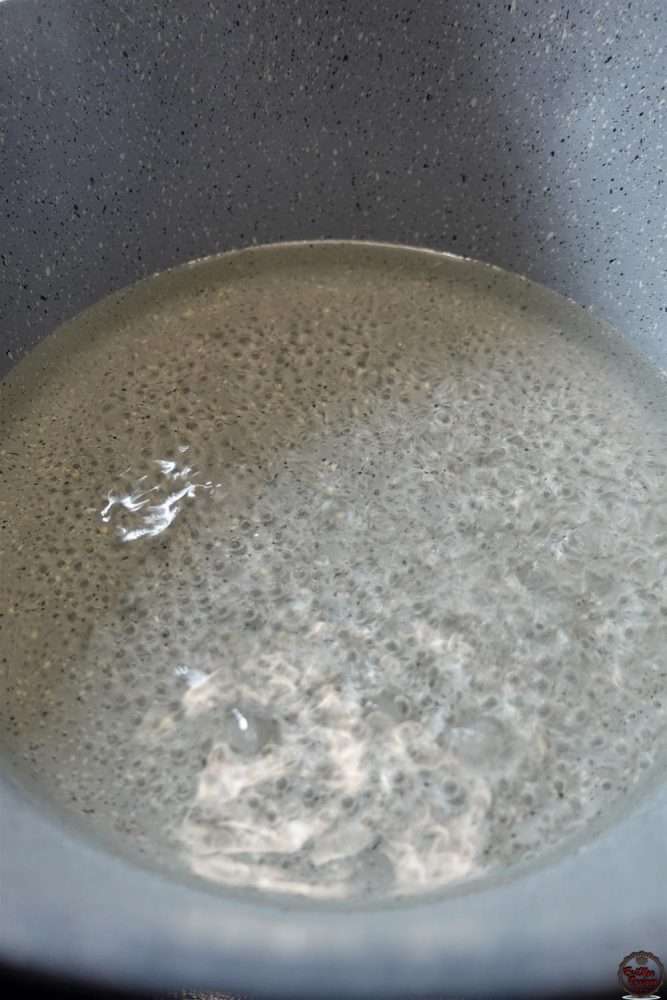
The consistency shouldn’t be too thick. After 10 minutes, turn off the heat.
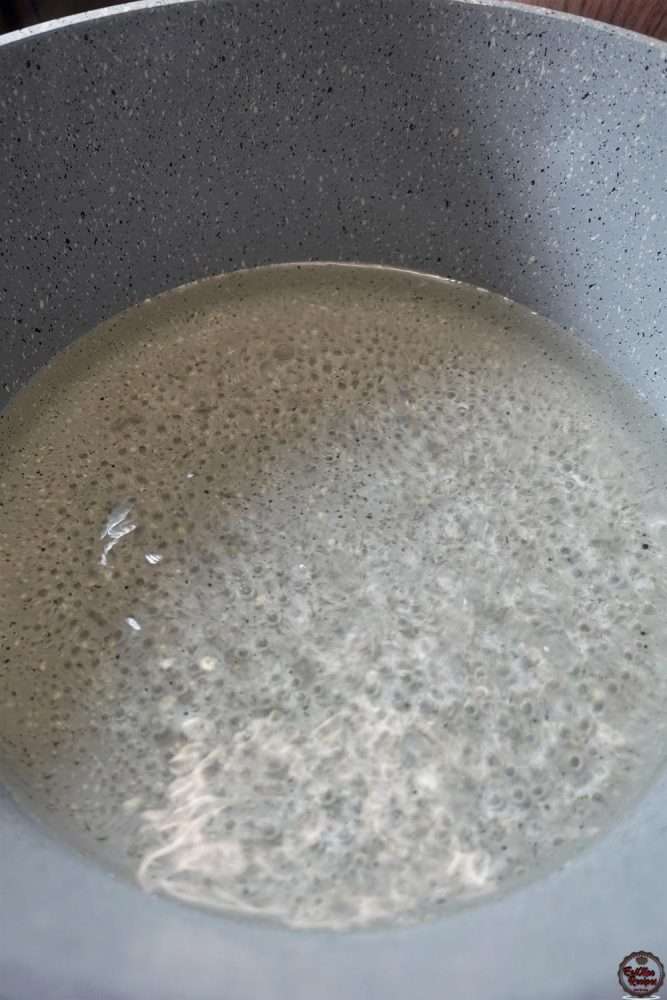
Add in the rose water & mix. Set aside & allow to cool completely.
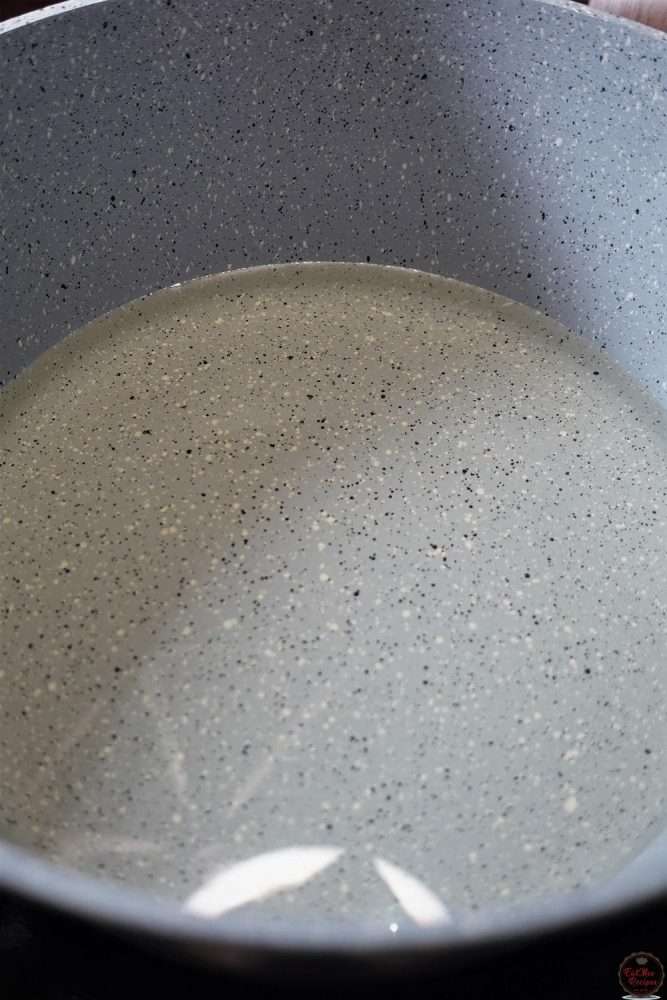
After 20 minutes, the batter would have gotten fluffier.
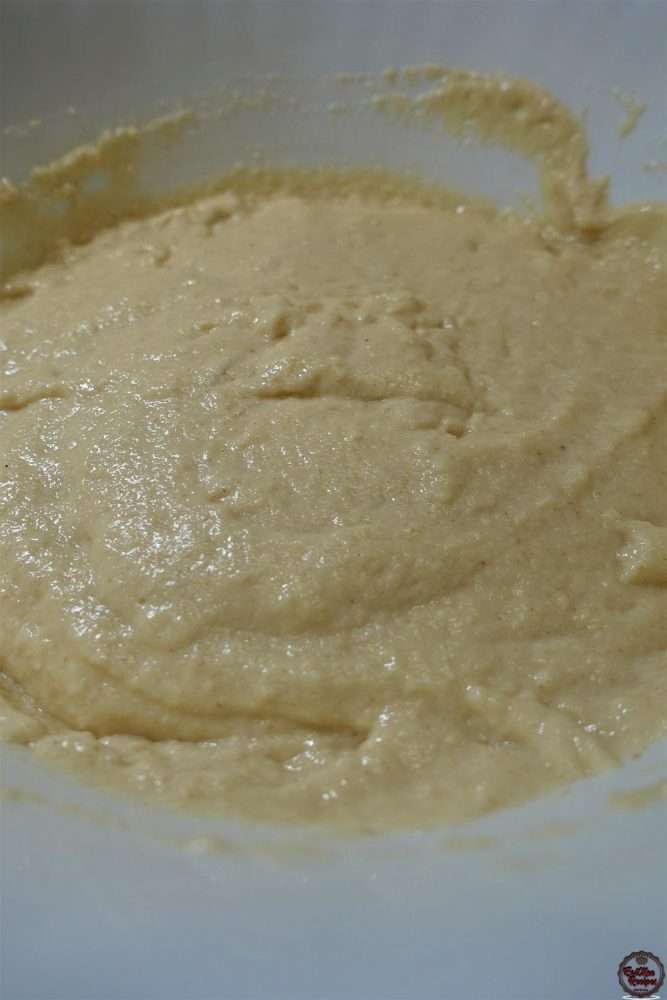
Warm the remaining ½ cup of milk & add it to the batter.
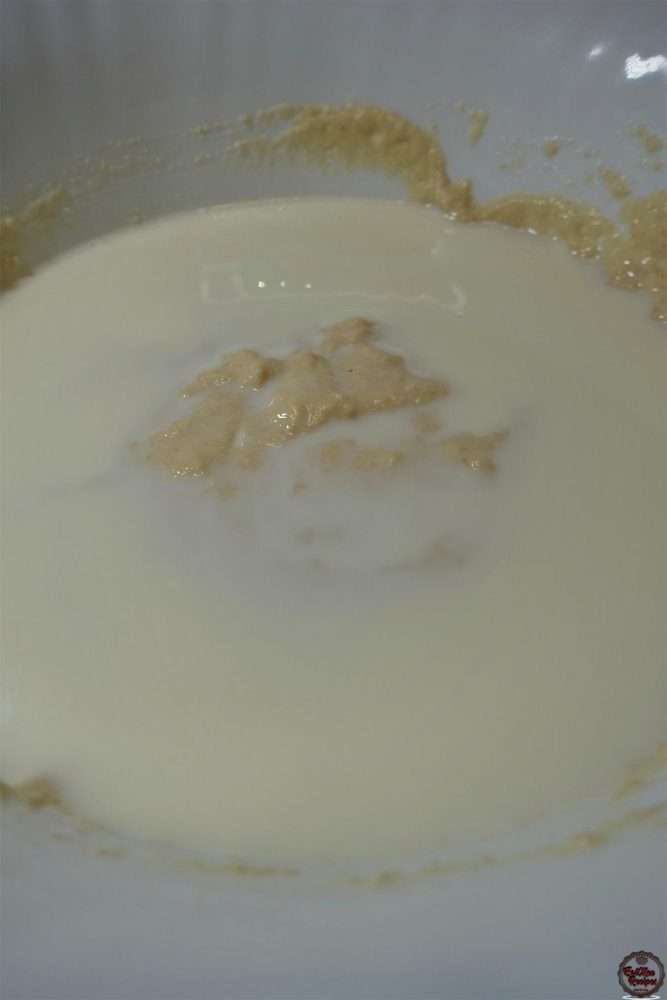
Mix well. It should be of a pancake batter consistency.
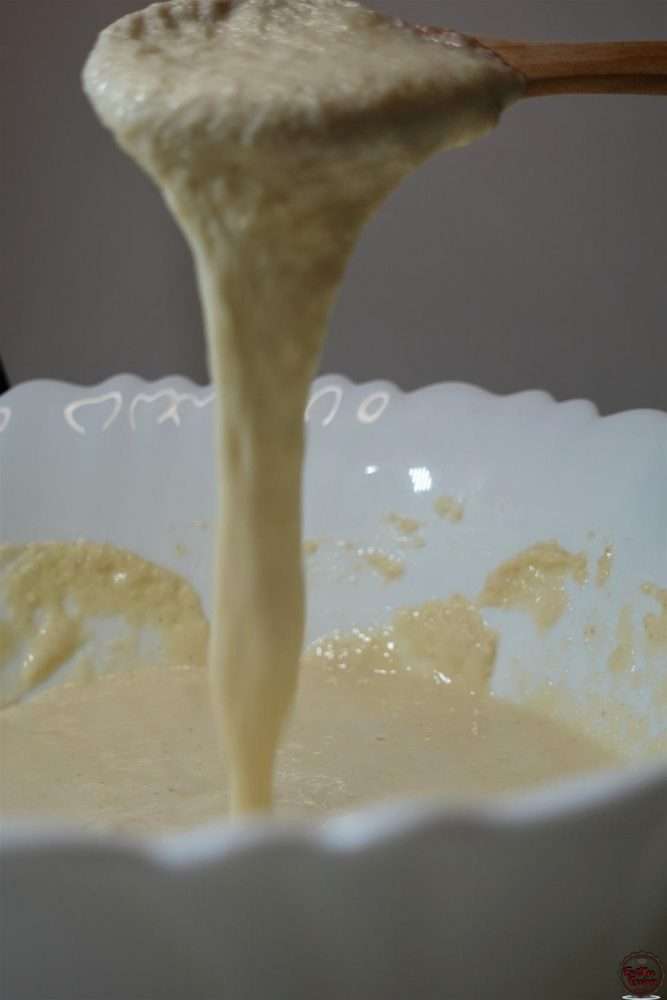
Transfer the batter to a jug for easier & mess free pouring.

To a pan on medium-low heat, pour in some of the batter.
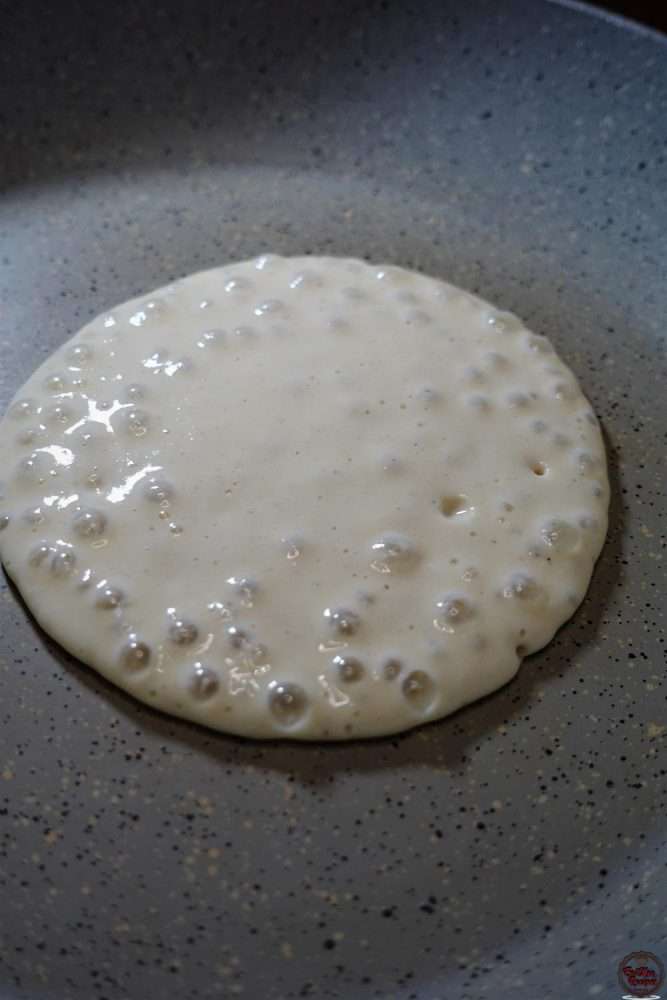
Allow it to cook until the air bubbles all dry out – do not flip them!
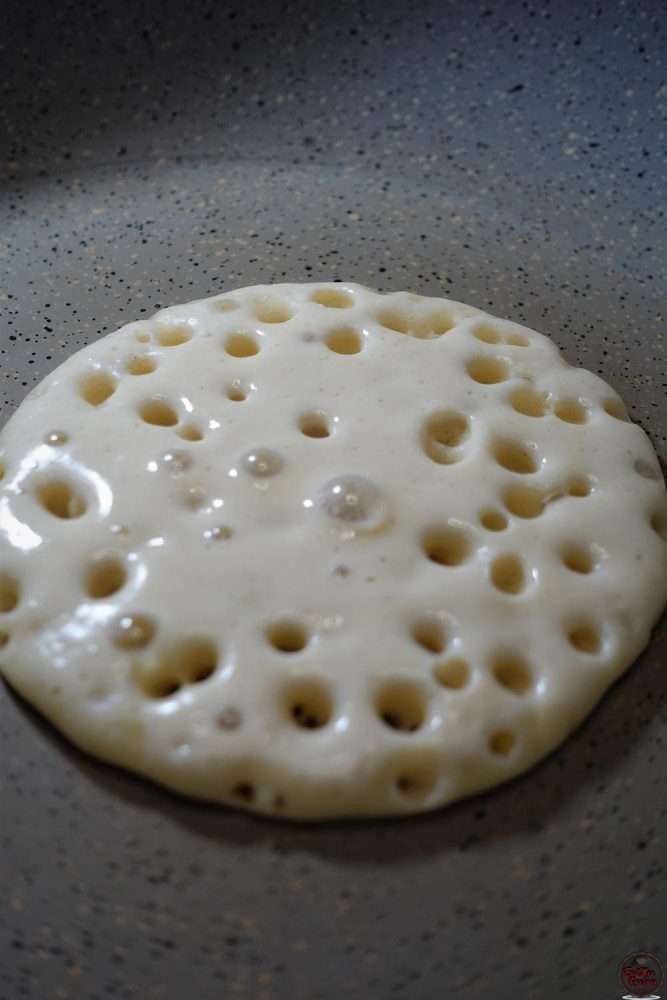
Once the air bubbles dry out, remove the pancake with a spatula & place them cooked side down onto parchment or wax paper.
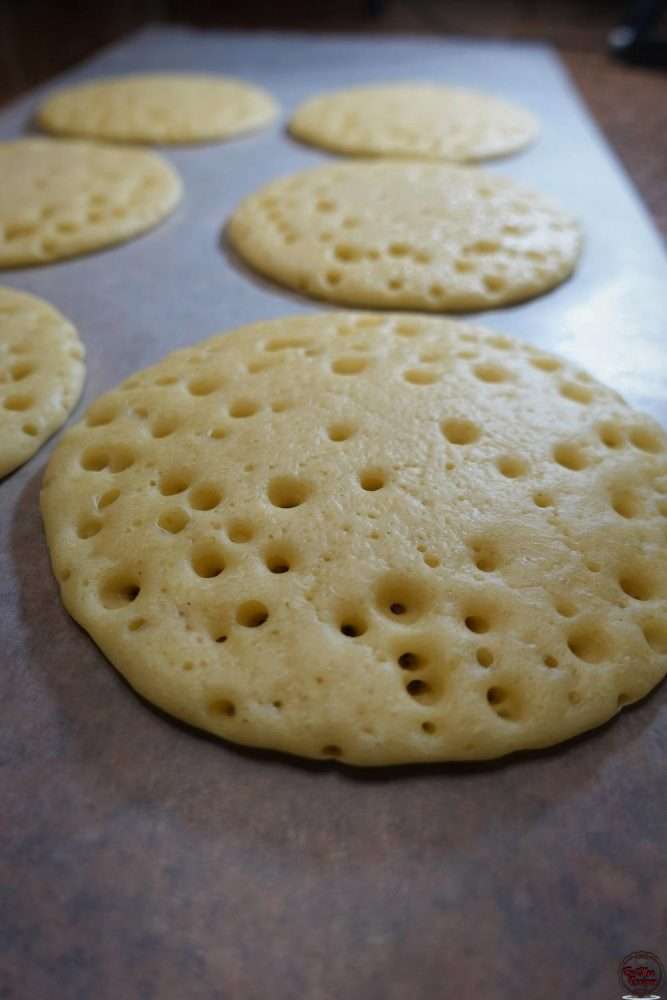
Be sure to cover them with a dish towel to prevent them fry drying out.
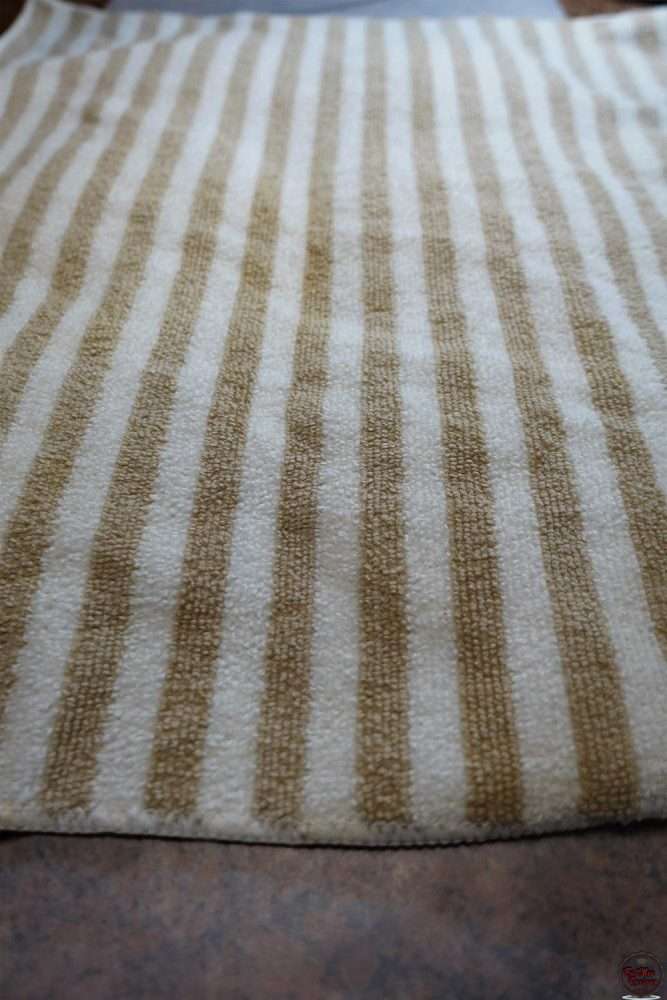
This is what the cooked side should look like.
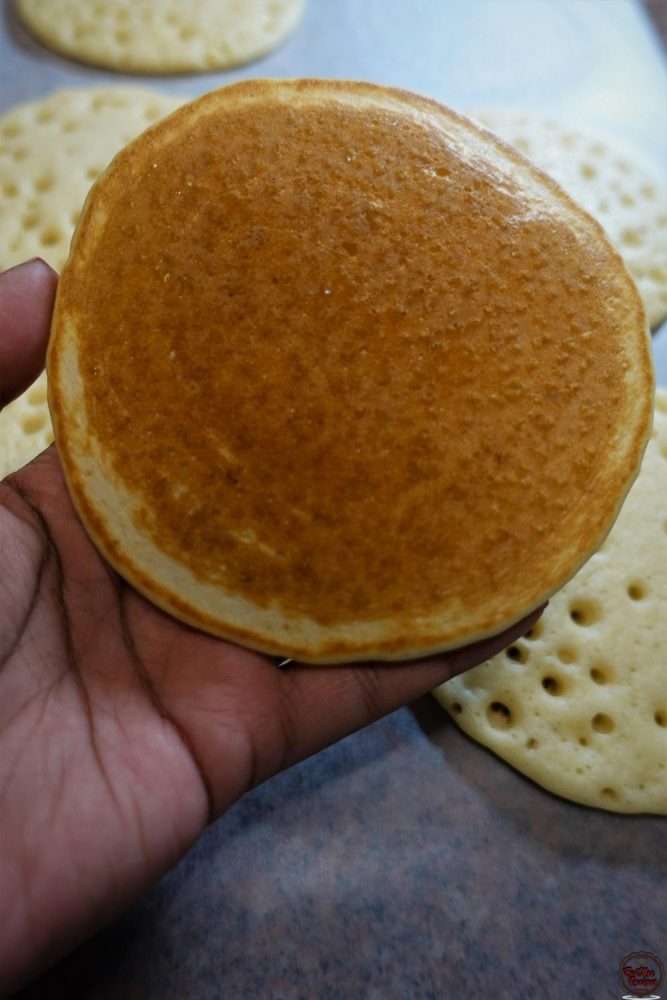
Now it’s time to fill them up, bring out the almond filling.
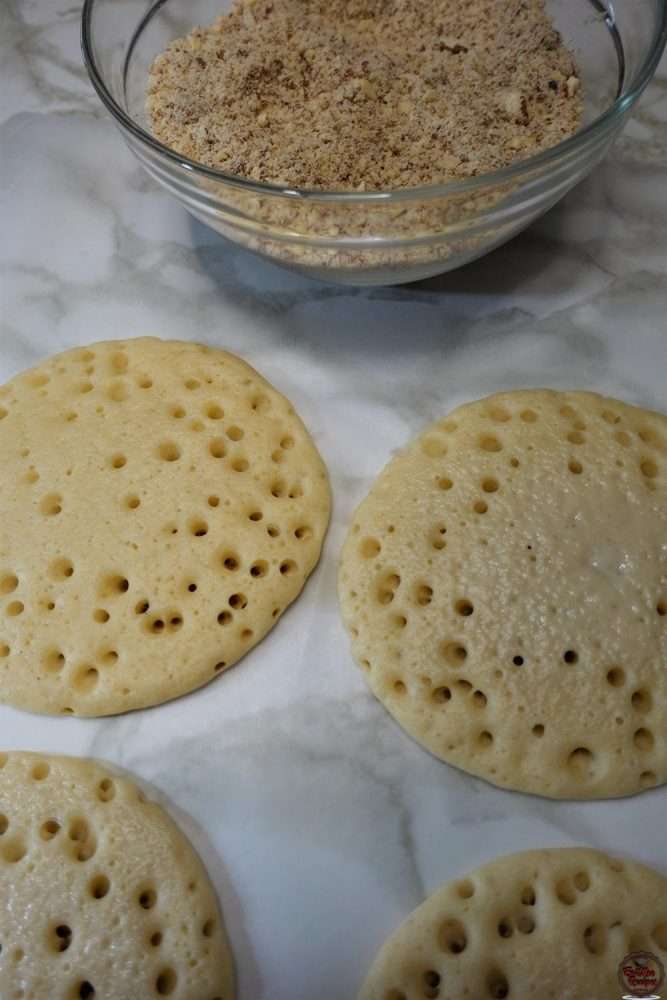
Hold each pancake in your hand, then spoon in 2-3 teaspoons of the filling. Make sure that you don’t overfill the Qatayef so that you can seal them.
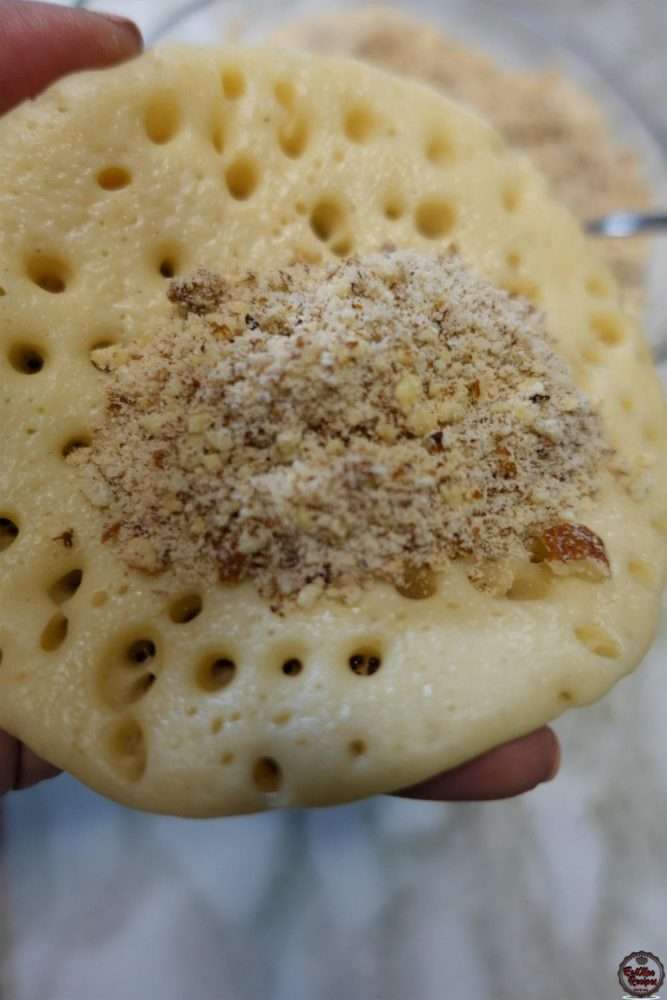
Fold it into a half-moon shape.
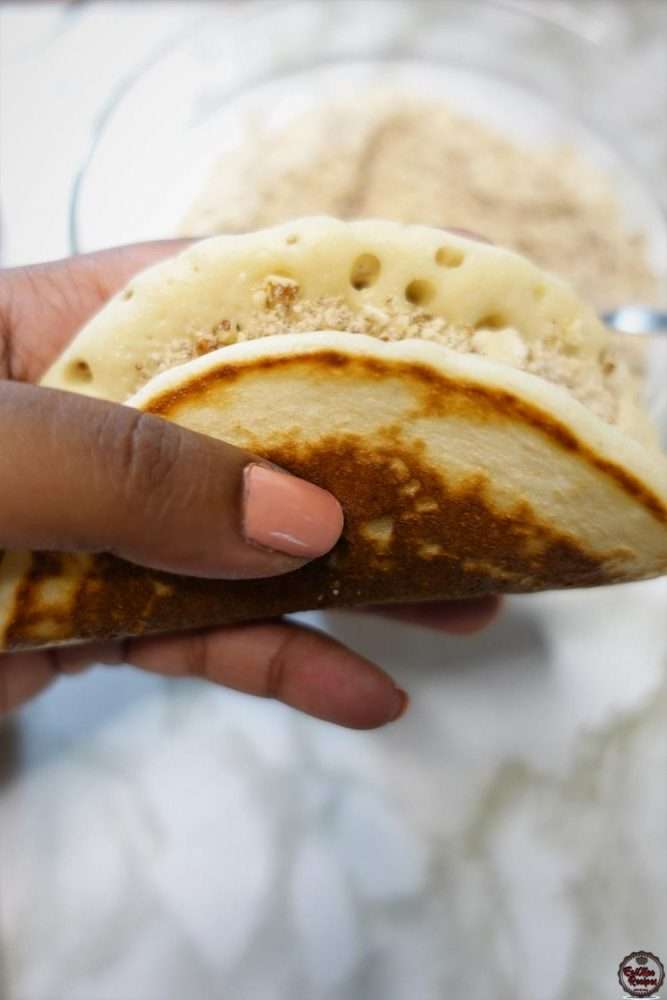
Pinch the edges of the pancake with your fingers to seal the pancake like a parcel until it’s fully sealed.
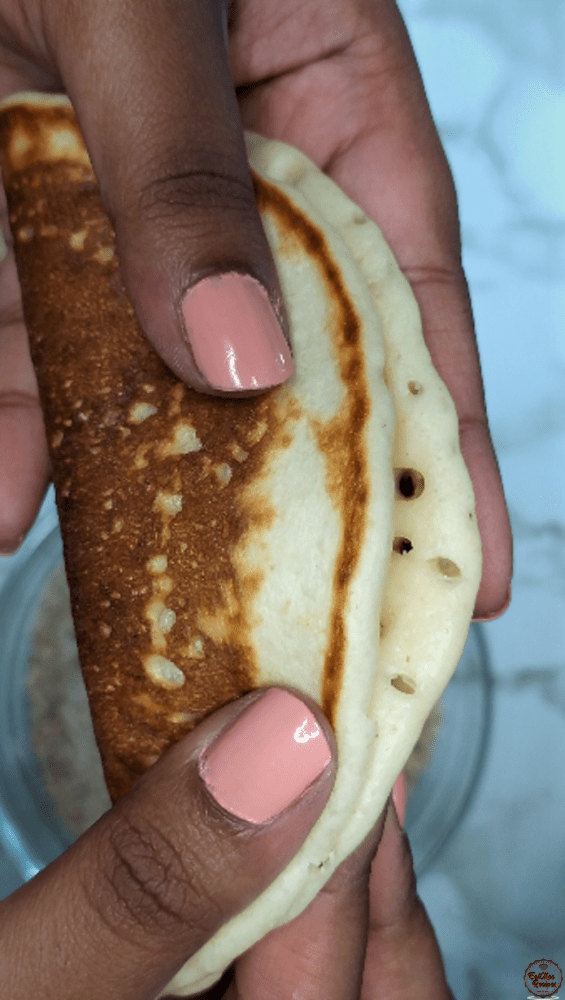
One all the pancakes are folded, it’s time to fry them.

Add vegetable oil to a pan on medium heat.
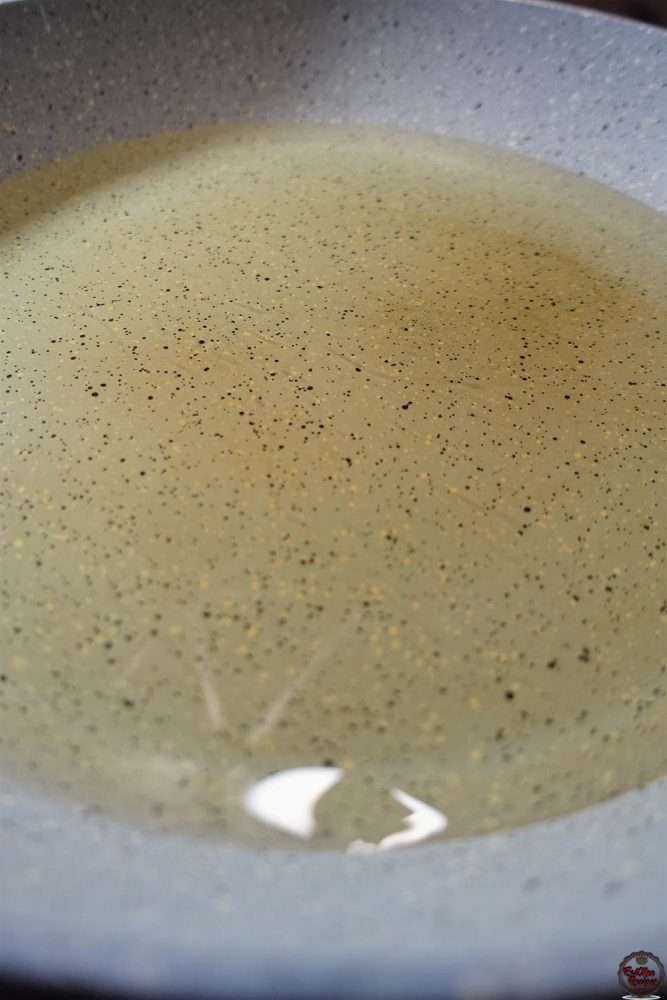
Allow the oil to heat up & then carefully add in the filled pancakes.

Fry them for 2 minutes on each side.

Once fried, place them onto paper towels to drain off any excess oil.

Whilst they are still warm, dunk them into the cold syrup. Allow them to soak in the syrup for about 3 minutes on each side.

Thereafter, go ahead & plate them.

I’ve topped them off with more of the ground almond mixture & added some flowers for aesthetics.
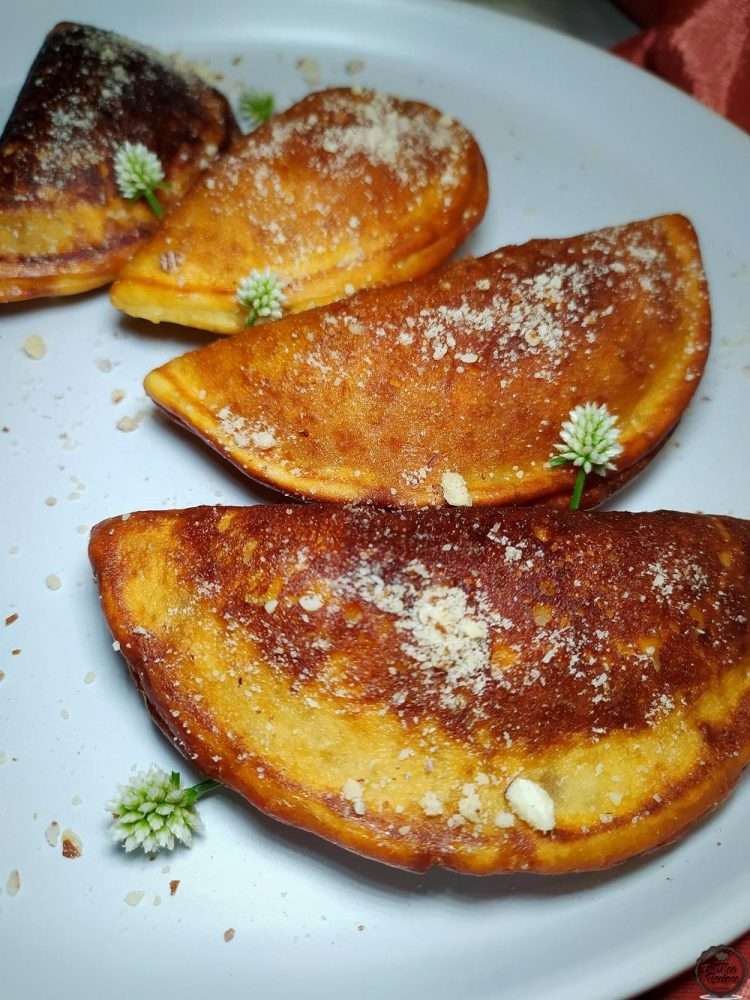
These Qatayefs are best eaten fresh but can be stored in an airtight container for up to a week.
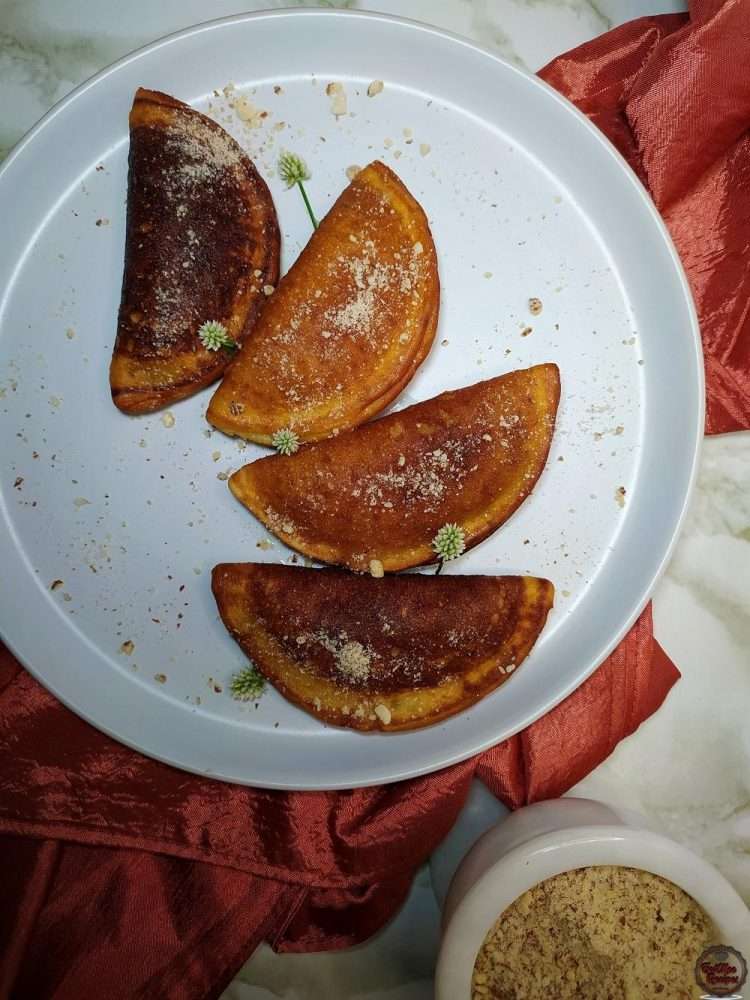
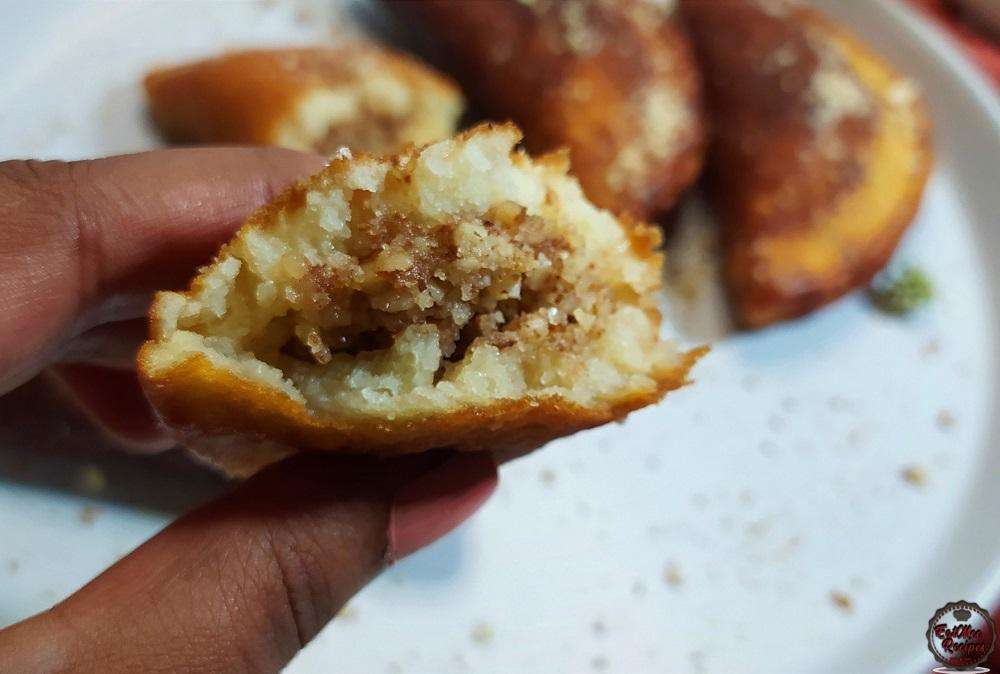
The inside is soft & fluffy. The nut filling is moist due to it being soaked in syrup.
Follow along with Denisiya's step-by-step video guide for Qatayef.
Expert kitchen guidance and troubleshooting for making the best Qatayef
Store in an airtight container at room temperature for up to 1 to 2 weeks. For milk-based sweetmeats like burfee or soji, refrigerate in an airtight container for up to 7 to 10 days.
Pure butter or ghee provides the authentic rich aroma and texture characteristic of traditional Indian sweetmeats and bakes. Margarine can be used in a pinch, but butter delivers superior flavor.
Hi, I'm Denisiya! Food lover, recipe developer, and founder of EatMee Recipes. I specialize in authentic South African Durban Indian cuisine, comforting curries, and modern Instant Pot adaptations. Every recipe on this site is tested in my personal kitchen to ensure you get mouth-watering, foolproof results every time.
Explore more authentic Durban curries, traditional bakes, and comforting family favourites.
 Desserts
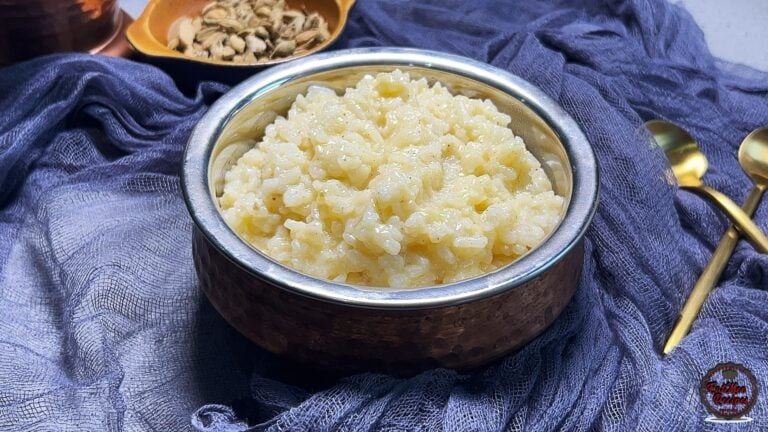
If you love traditional South African sweet rice but want an easier, hands-off method, thi...
 Desserts
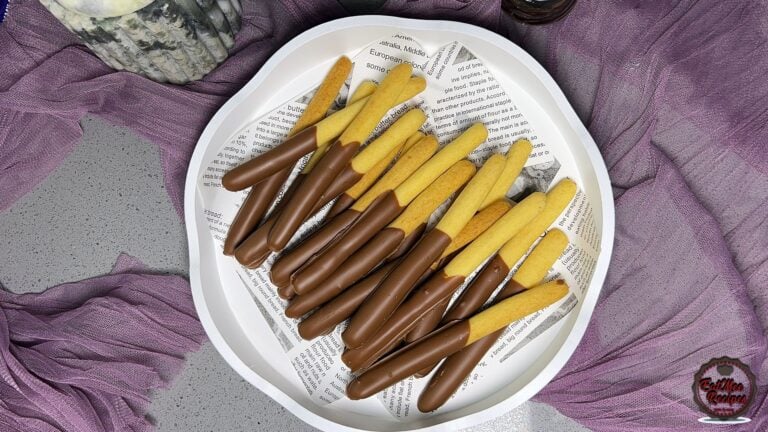
Light, crisp, and delicately sweet biscuit sticks dipped in chocolate
 Desserts
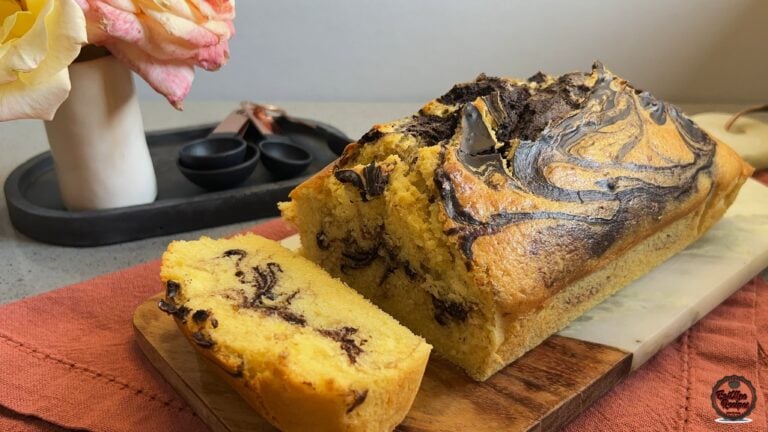
There’s something comforting about a marble loaf cake fresh from the oven, especially when...
Have you tried this recipe or have questions for Denisiya? Join the conversation below.
No comments yet. Be the first to share your thoughts on this recipe!
Leave a Comment
Your email address will not be published. Required fields are marked *