
We Value Your Culinary Privacy
EatMee Recipes uses cookies to provide a personalized browsing experience, analyze recipe popularity, and serve relevant ads. You can review our full disclosure in our Privacy Policy.
Make authentic No-Bake Banana Pudding with this foolproof recipe. Packed with rich traditional flavor, step-by-step photos, and cooking tips by Denisiya on EatMee Recipes.

Join over 60,000+ home chefs for weekly authentic Durban Indian cook-alongs, Instant Pot masterclasses, and family heritage recipes.
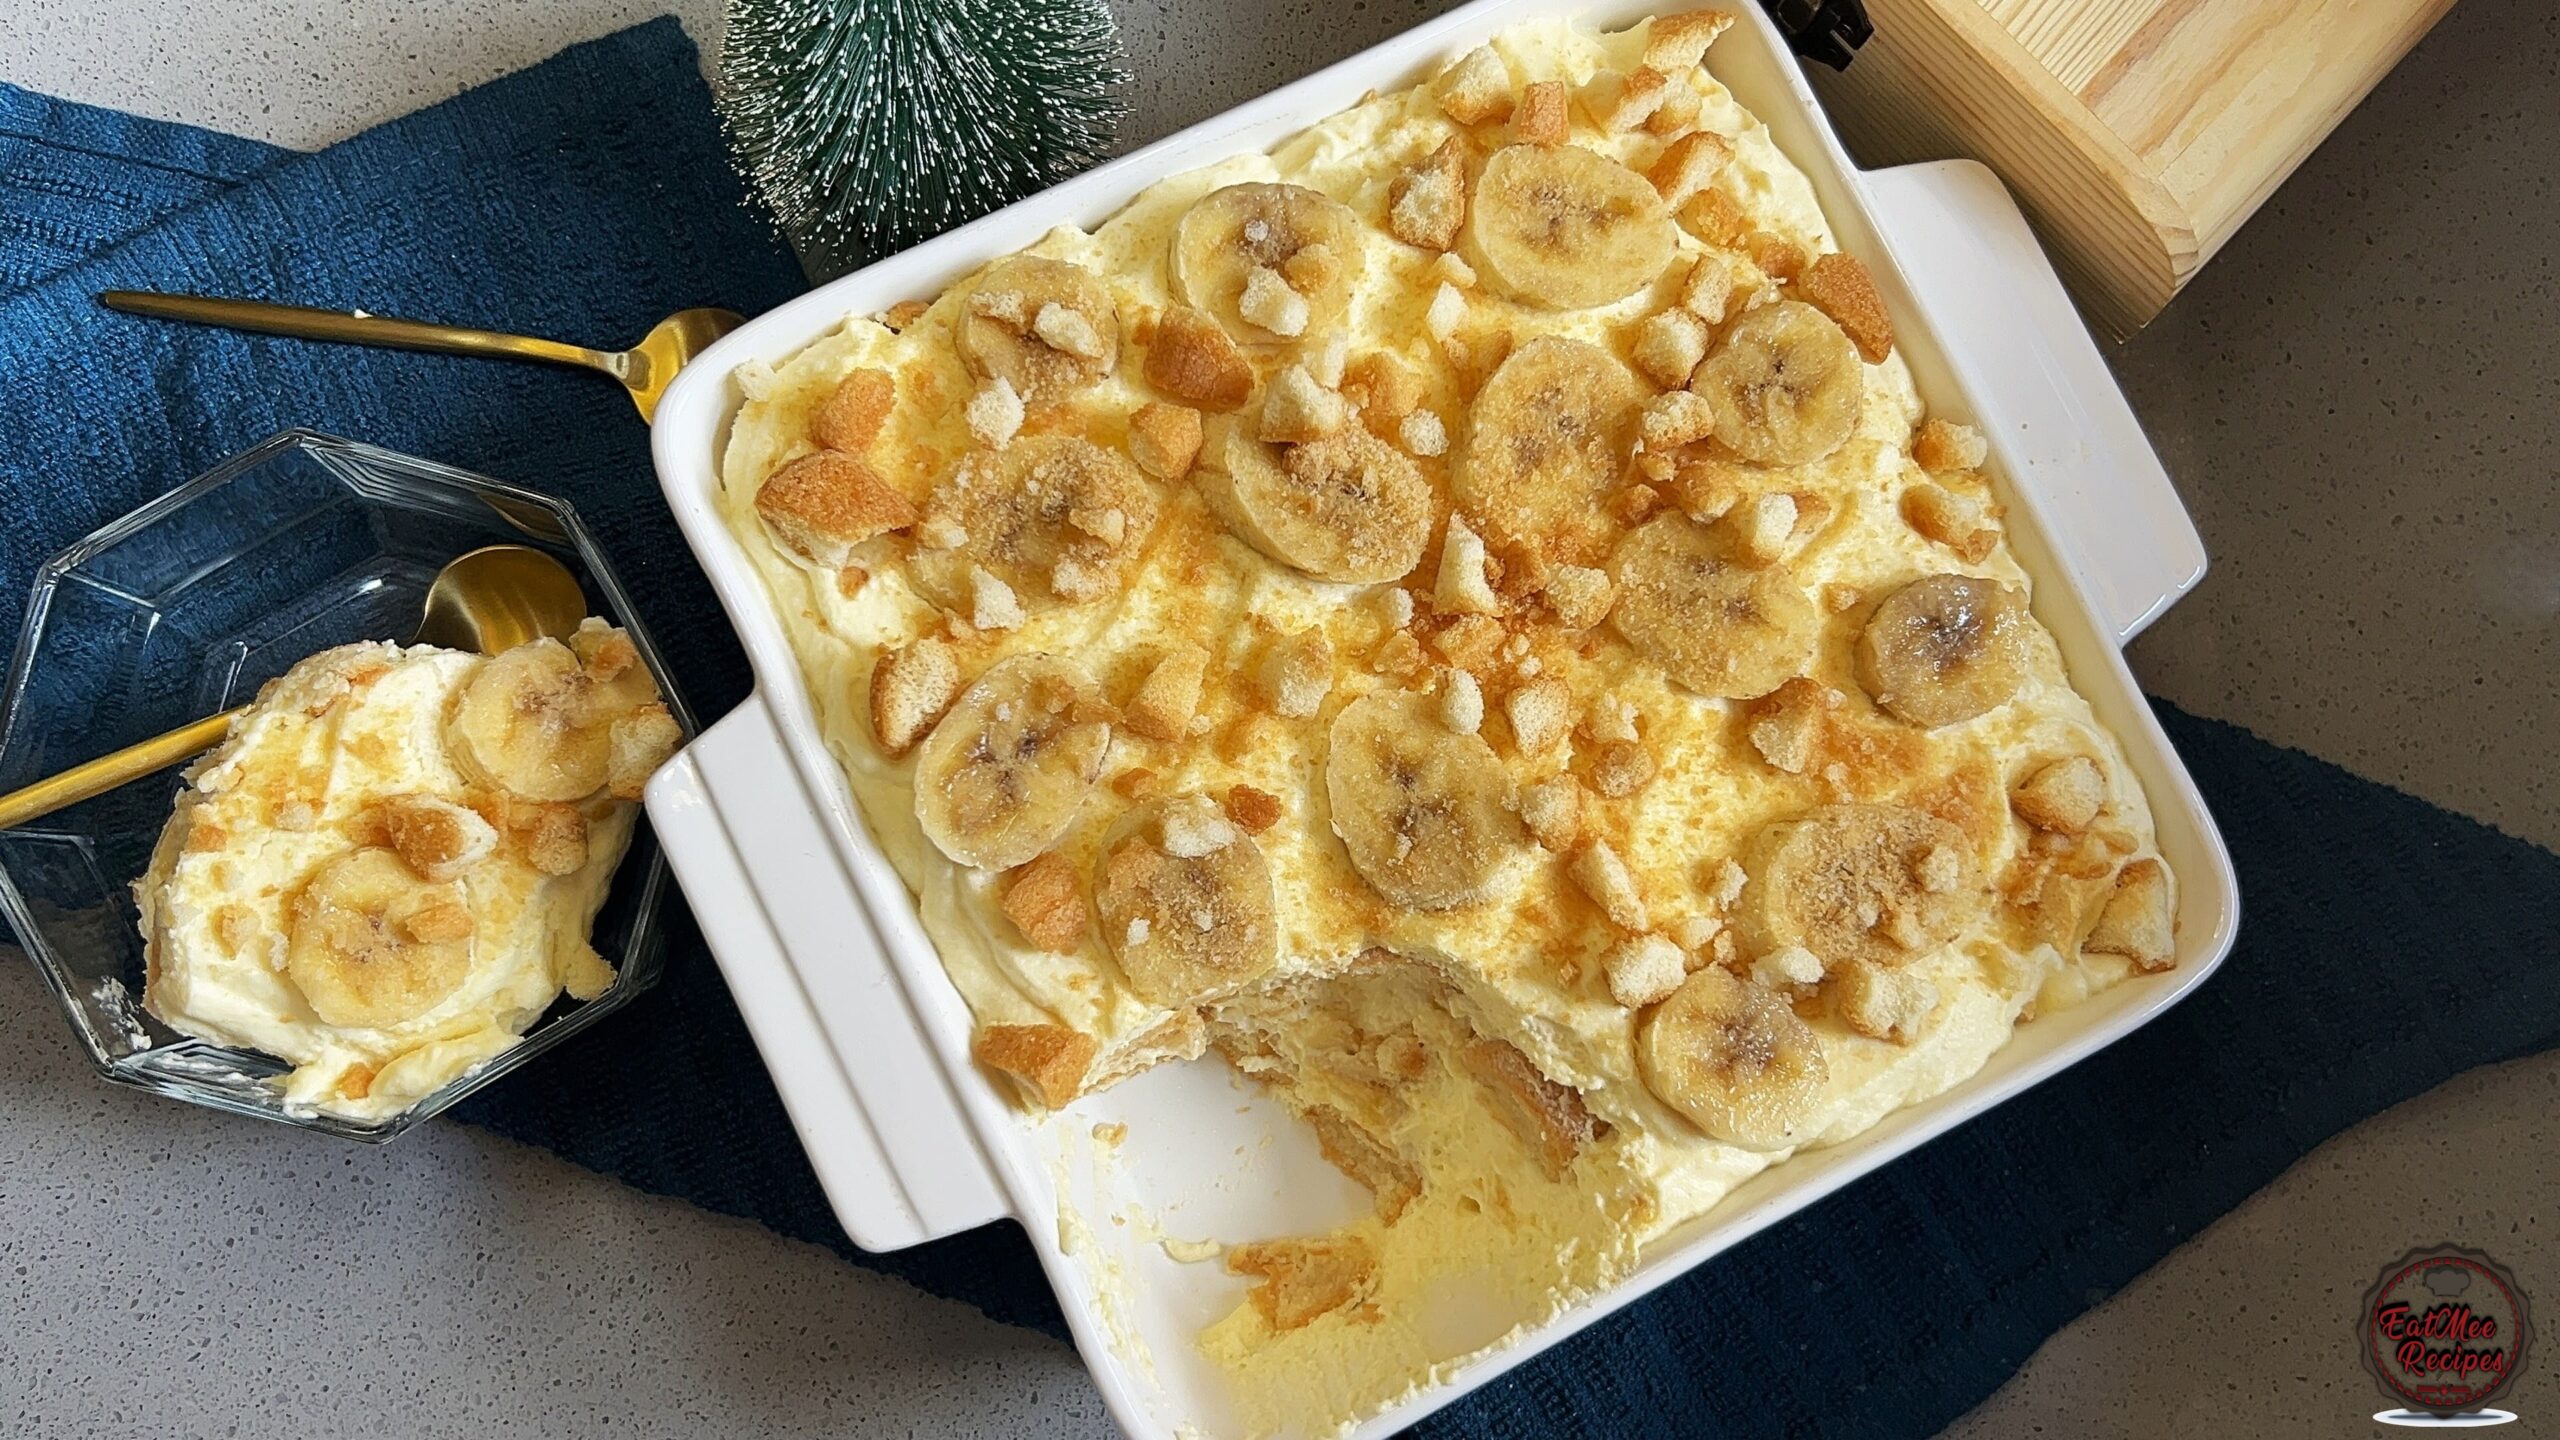
When the festive season rolls around, desserts should be delicious, comforting, and let’s be honest, easy to make. That’s where no-bake banana pudding steals the spotlight. Creamy, sweet, and layered with nostalgic flavors, this classic dessert is the perfect addition to your Christmas table without adding extra stress to your holiday cooking.
One of the best things about banana pudding is that it requires no oven time at all. With Christmas already filled with baking cookies, roasting dinners, and hosting guests, a no-bake dessert feels like a gift. Simply layer ripe bananas, vanilla wafers, lady fingers (or sponge cake), and smooth vanilla pudding mixed with whipped cream, then let it chill to perfection.
This dessert is ideal for the festive season because it’s light yet indulgent. After a hearty Christmas meal, banana pudding offers a refreshing sweetness that doesn’t feel too heavy. Plus, it can be made ahead of time, allowing the flavors to meld beautifully while freeing you up to enjoy the celebrations.
Whether served in a large trifle dish for a Christmas gathering or in individual cups for a cozy family dessert, banana pudding brings warmth and comfort to the holidays. Its creamy layers and familiar flavors evoke a sense of nostalgia – exactly what Christmas desserts should do.
So if you’re looking for a no-bake Christmas dessert that’s crowd-pleasing, stress-free, and irresistibly delicious, banana pudding deserves a spot on your festive menu.
No problem at all. This dessert is incredibly versatile and can easily be transformed into a tiramisu-style treat without the mascarpone. Simply skip the bananas and dip the biscuits or sponge cake with coffee, add the vanilla pudding to the whipped cream, and a dusting of cocoa powder. You’ll still get those beautiful, creamy layers and festive elegance, which is budget friendly, making it a perfect alternative Christmas dessert for guests who prefer something less fruity.
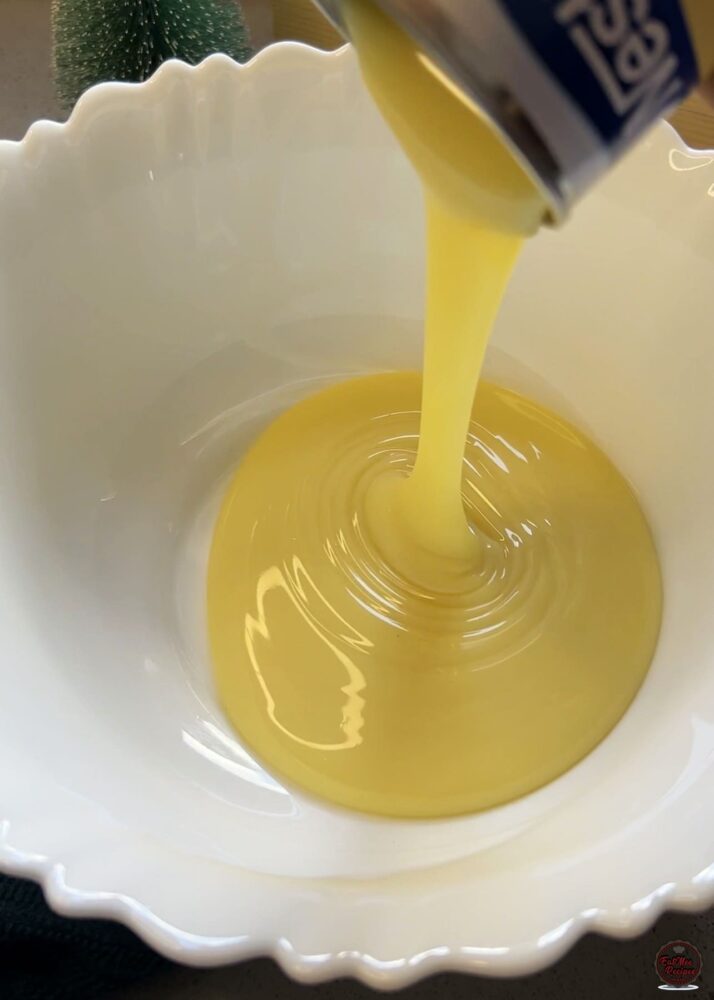
Pour the condensed milk into a bowl.
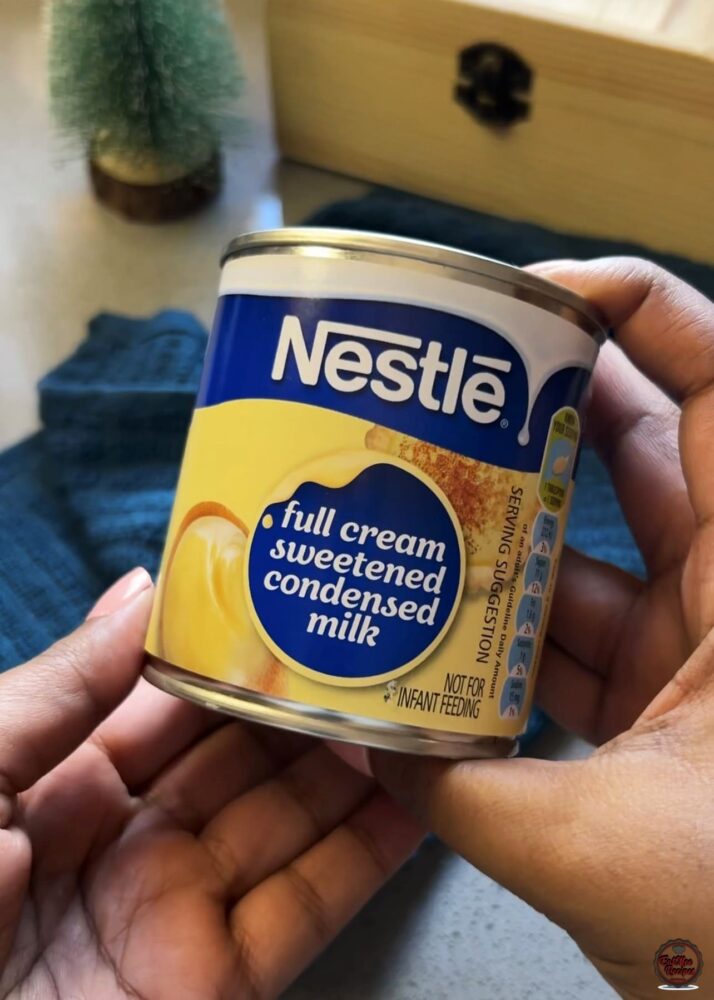
Although it may seem like a generous amount, it balances out perfectly in the finished dessert and doesn’t result in an overly sweet pudding.
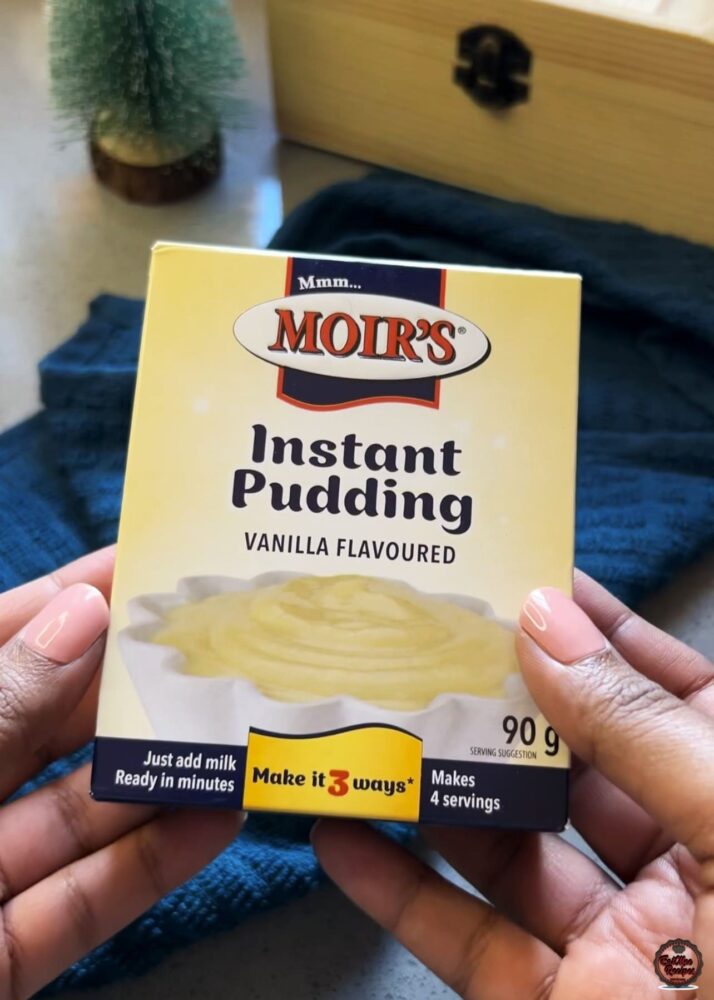
Next, add in the instant vanilla pudding. This is what sets the mixture and brings everything together, creating a smooth, rich filling without the need for eggs or stovetop cooking.
Pour in cold the water next. While the pudding packaging typically calls for milk, using water keeps the dessert light and prevents it from becoming overly rich, especially since the condensed milk already adds plenty of creaminess.
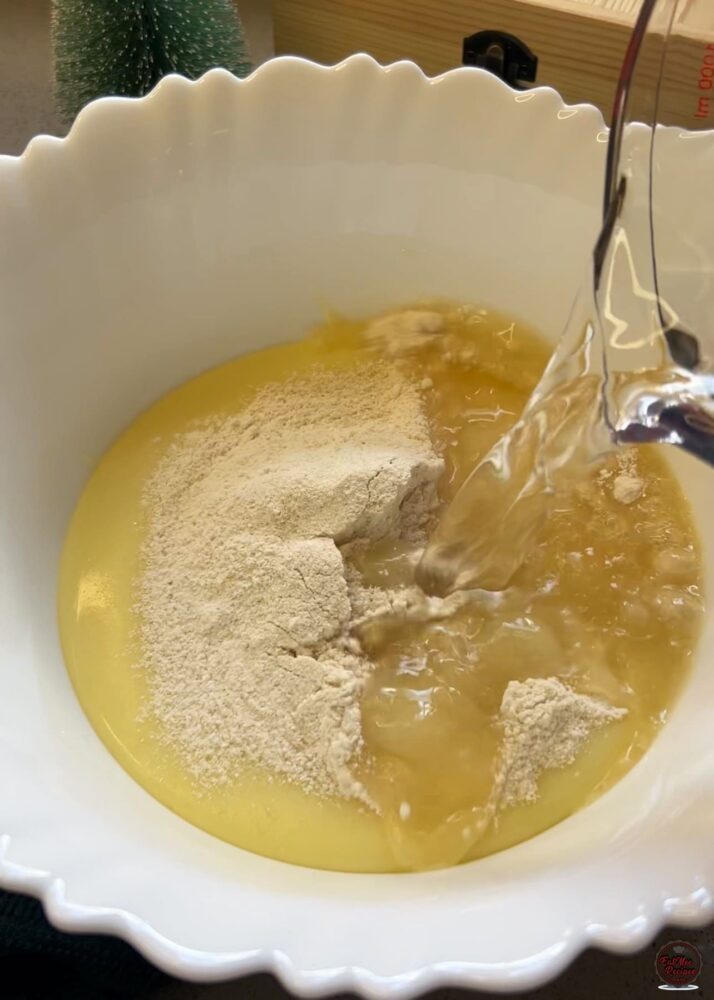
Use an electric whisk to mix everything together. This ensures the pudding dissolves properly and creates a smooth, lump-free mixture. If you don’t have an electric whisk, you can mix by hand with a spoon or whisk – just be prepared to stir well until completely smooth.
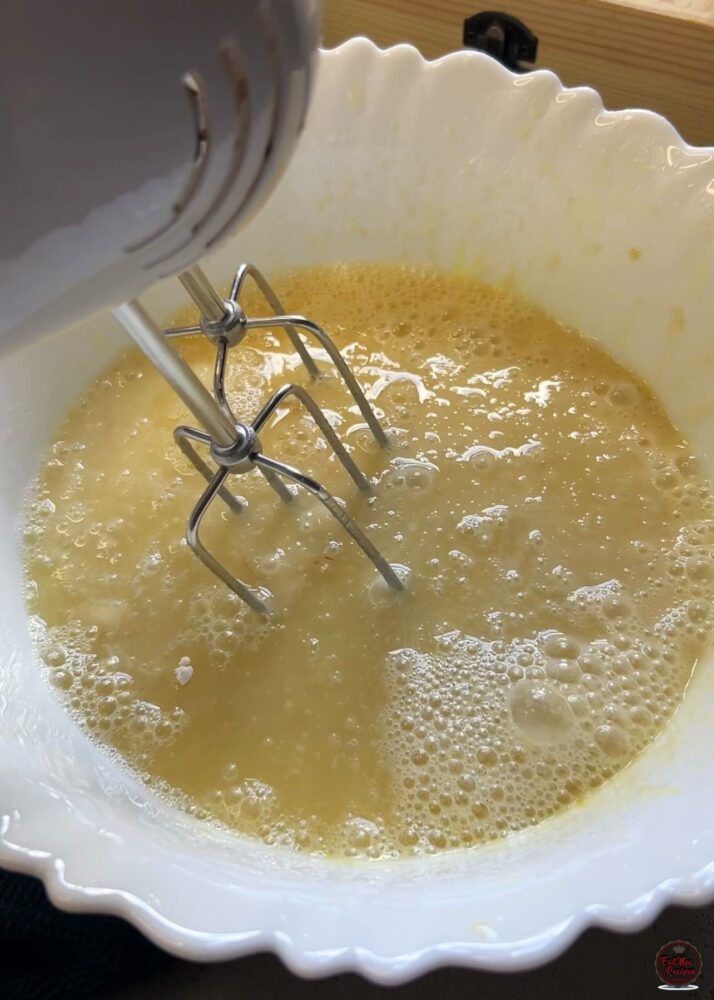
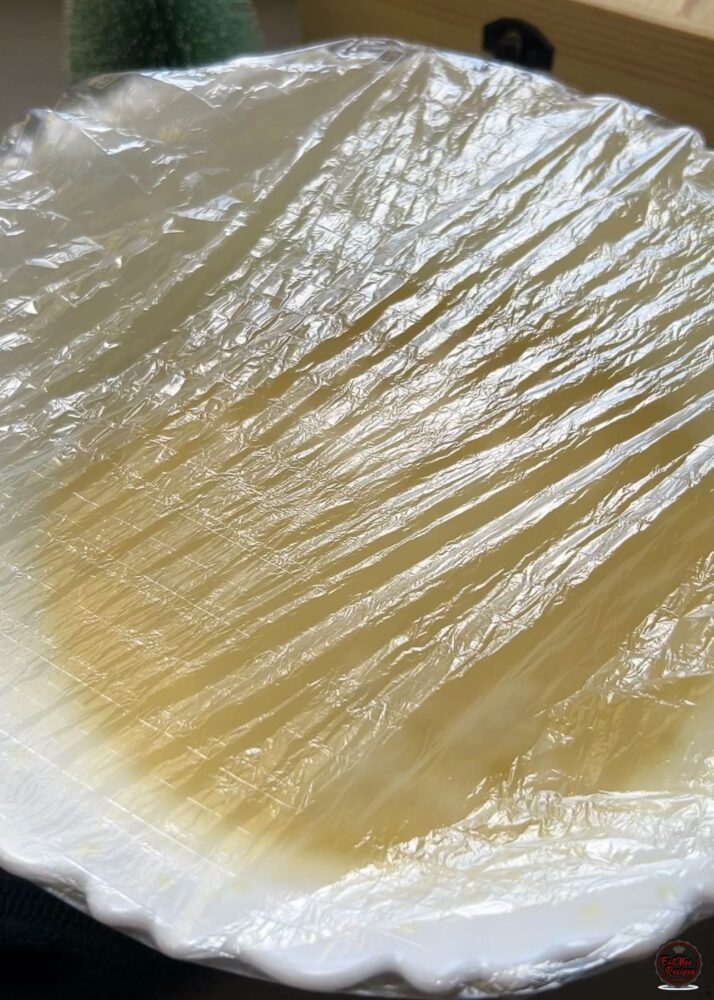
Cover the bowl and place it in the fridge for 1½ hours. This chilling time allows the pudding to fully set and thicken to the perfect consistency.
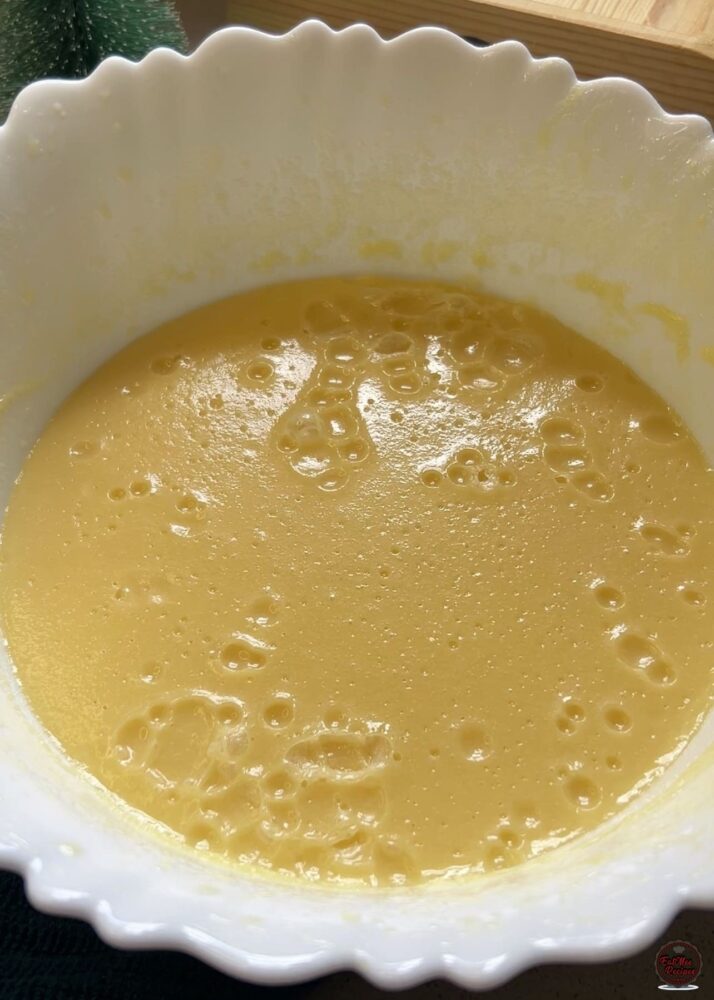
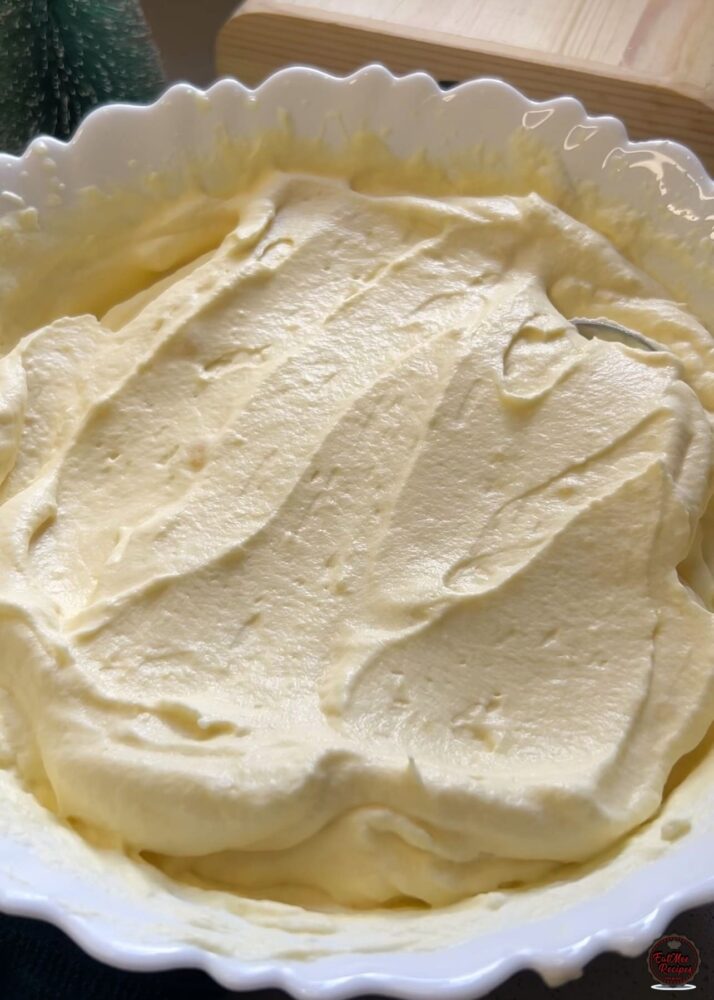
Once set, the pudding transforms into a thick, velvety cream with a smooth, luxurious texture. It’s rich without being heavy, perfectly spoonable, and holds its shape beautifully.
To another bowl, pour in the fresh cream.
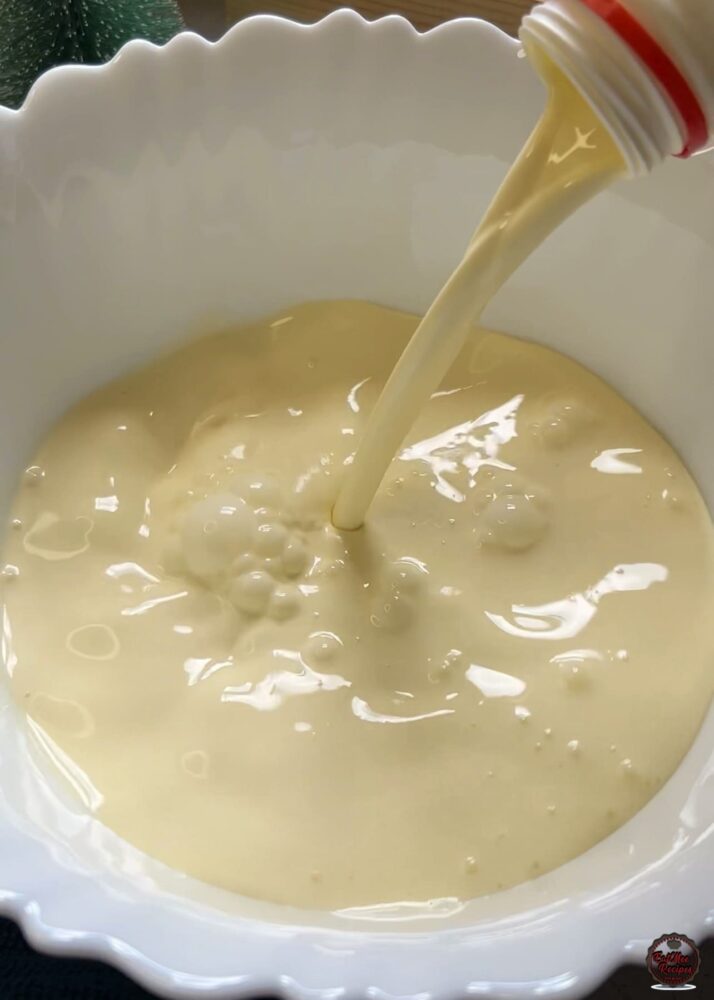
Whisk until it forms stiff peaks.
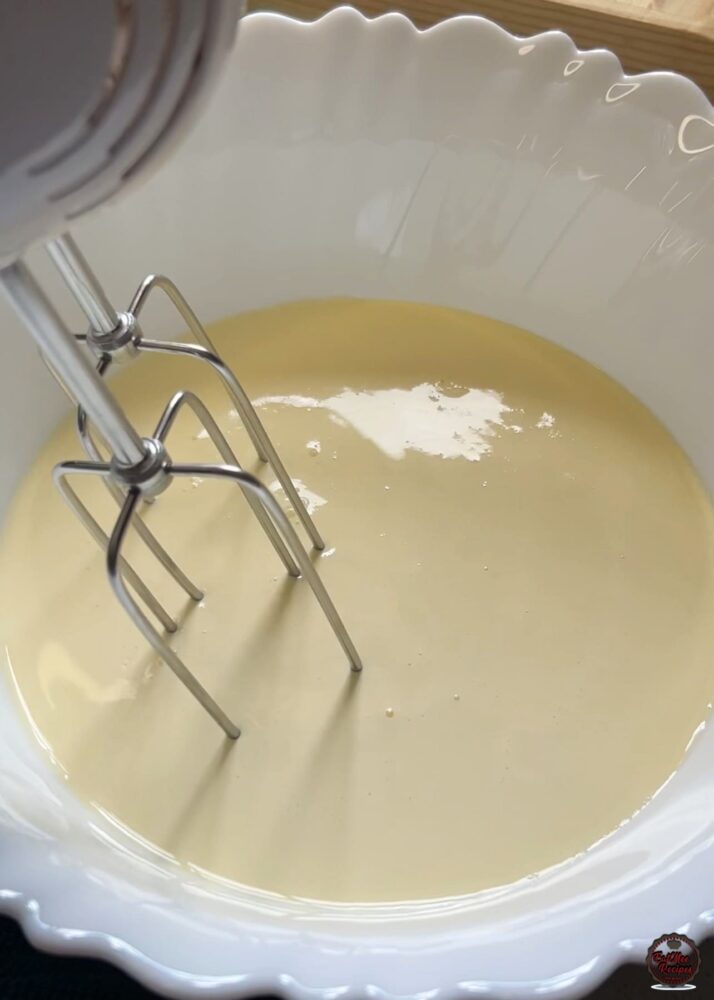
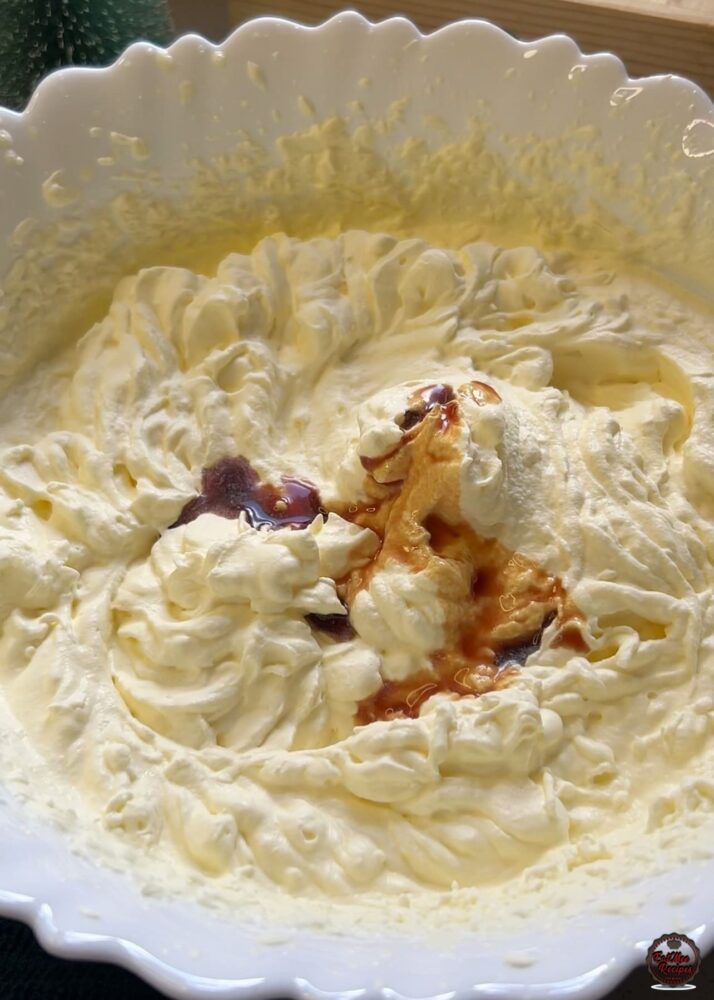
To the cream, add vanilla essence.
Add the set vanilla pudding to the whipped cream.
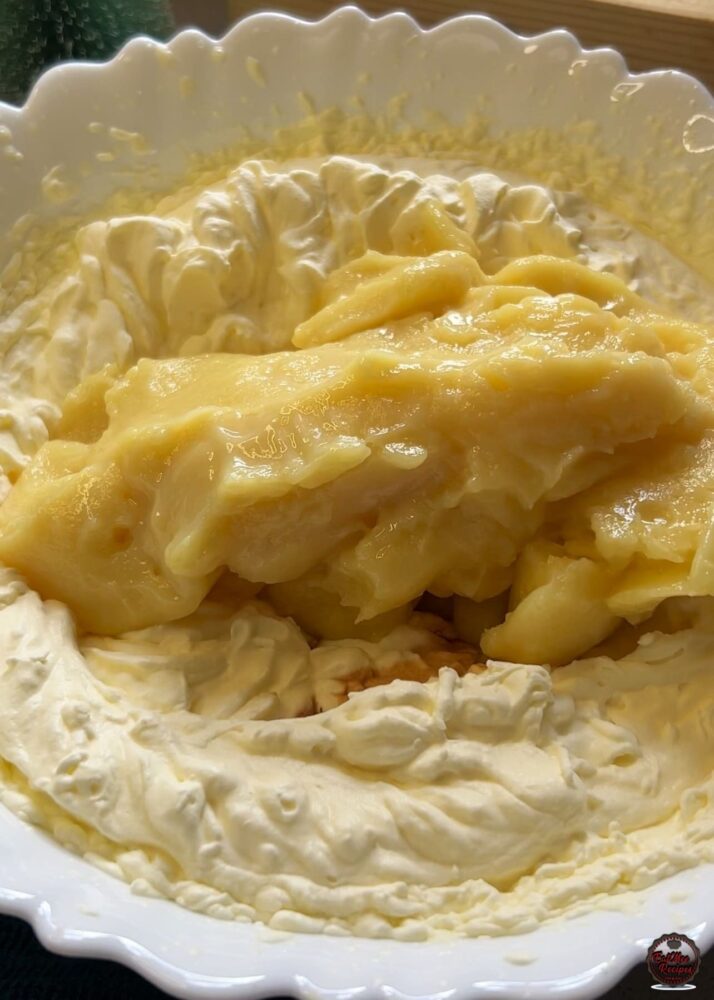
Gently fold together. This combines the rich, creamy pudding with the light, airy texture of the whipped cream, creating a smooth, luscious filling that’s perfect for layering. Take care not to overmix – folding preserves the fluffiness while ensuring the flavors meld beautifully.
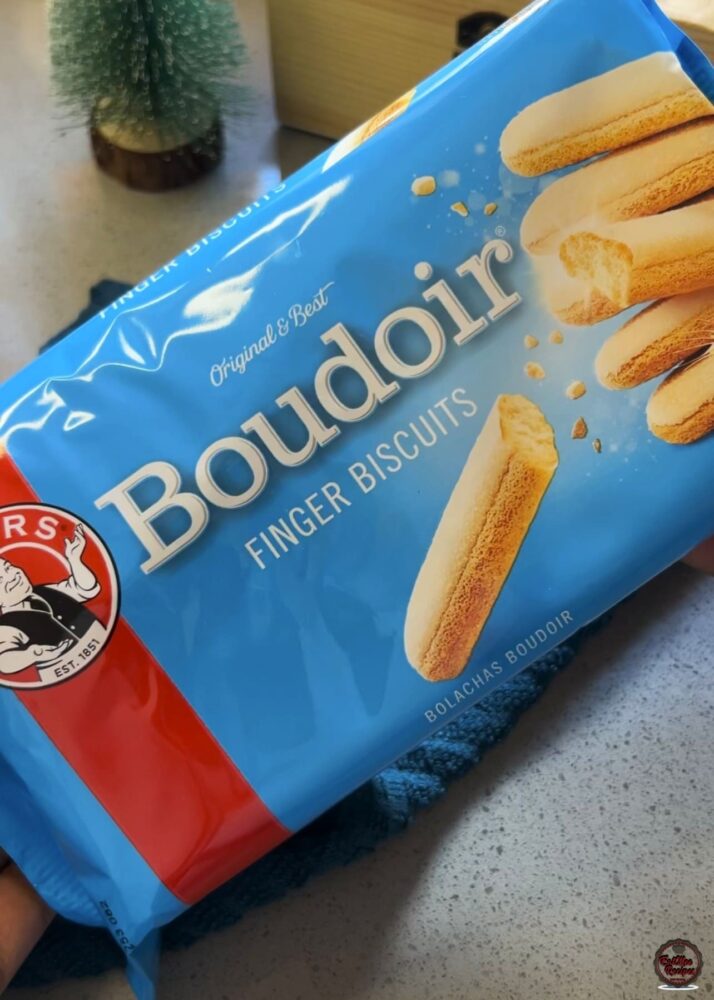
Traditionally, banana pudding is layered with Nilla wafers, but since they aren’t available in South Africa, I’m using boudoir biscuits instead. They work beautifully, they’re light, slightly sweet, and soak up the creamy pudding perfectly, adding a delicate texture that complements the dessert without overpowering it.
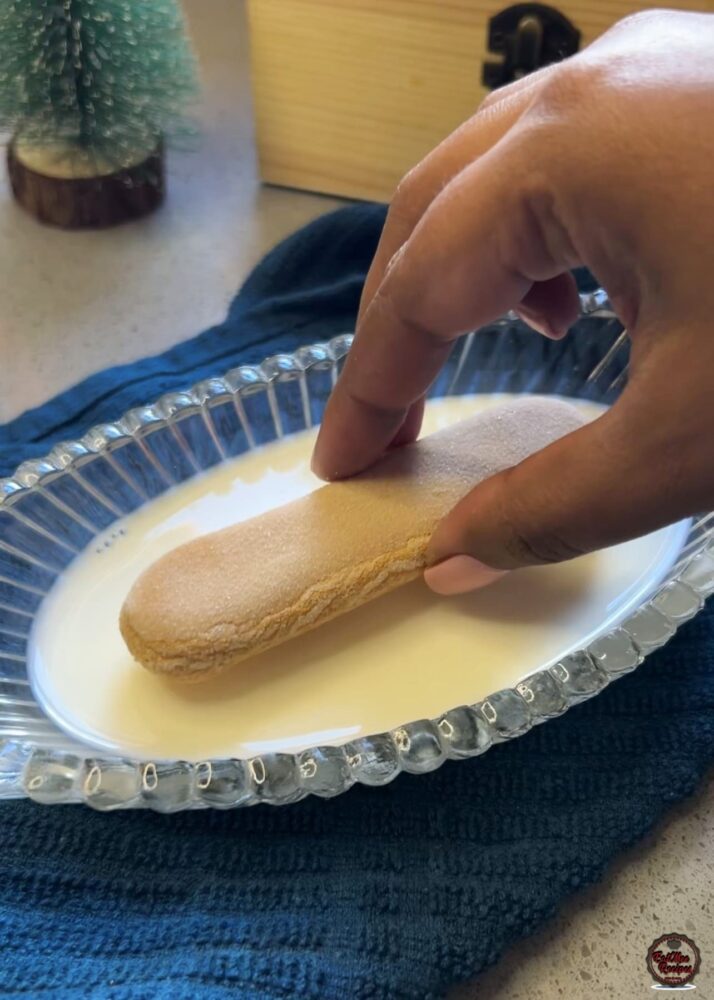
Since boudoir biscuits are quite dry, it’s a good idea to quickly dip them in milk before layering. This softens them just enough so they soak up the creamy pudding without falling apart, giving your dessert the perfect tender, melt-in-your-mouth texture.
Add the milk-dipped boudoir biscuits to a casserole dish, arranging them in an even layer at the bottom (I’ve used a 21x21x5.5 cm casserole). This forms the base of your dessert, ready for the luscious pudding and whipped cream mixture to be layered on top.
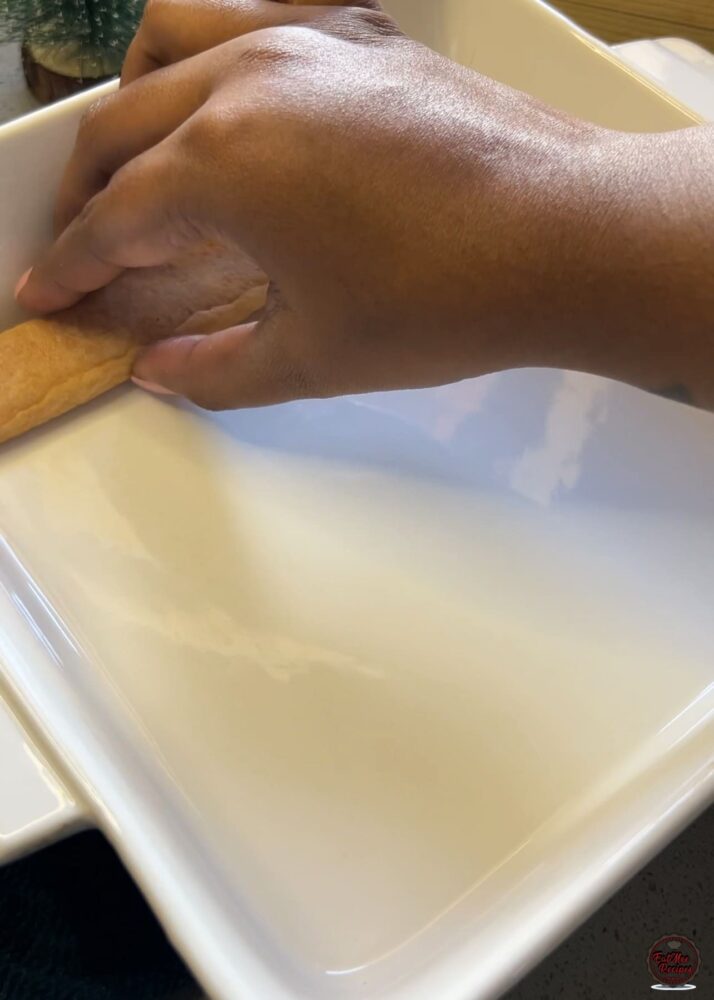
If some of the boudoir biscuits don’t fit perfectly in the casserole, go ahead and cut them to size to fill the gaps.
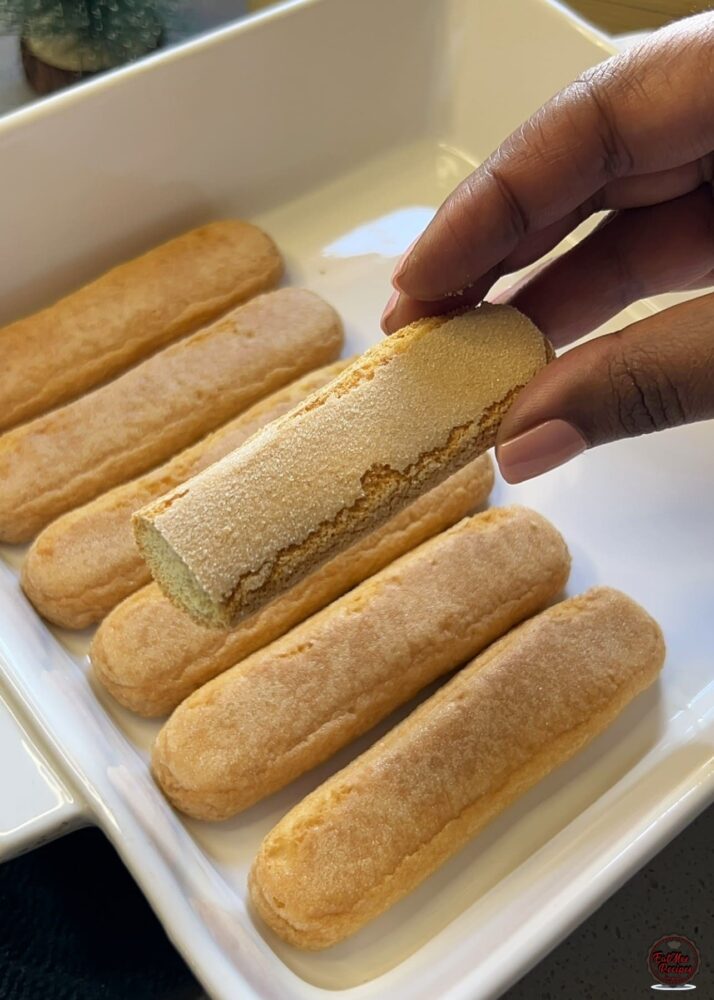
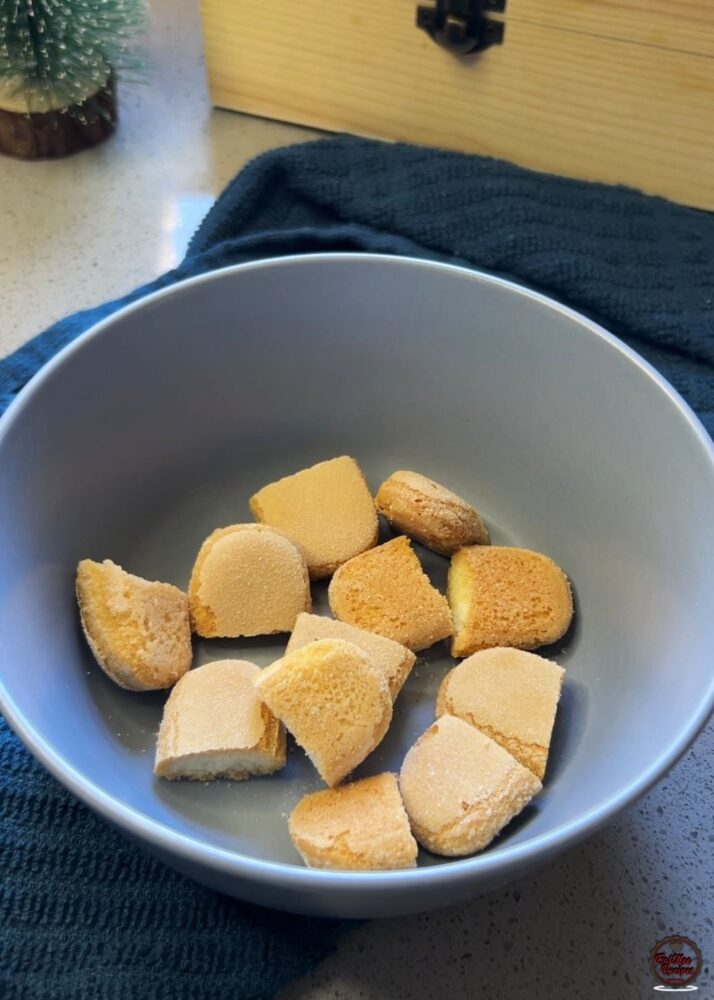
For the biscuits you need to cut to fit the casserole, don’t dip them in milk beforehand. Only dip them after they’ve been cut, as you want the to save leftover pieces.
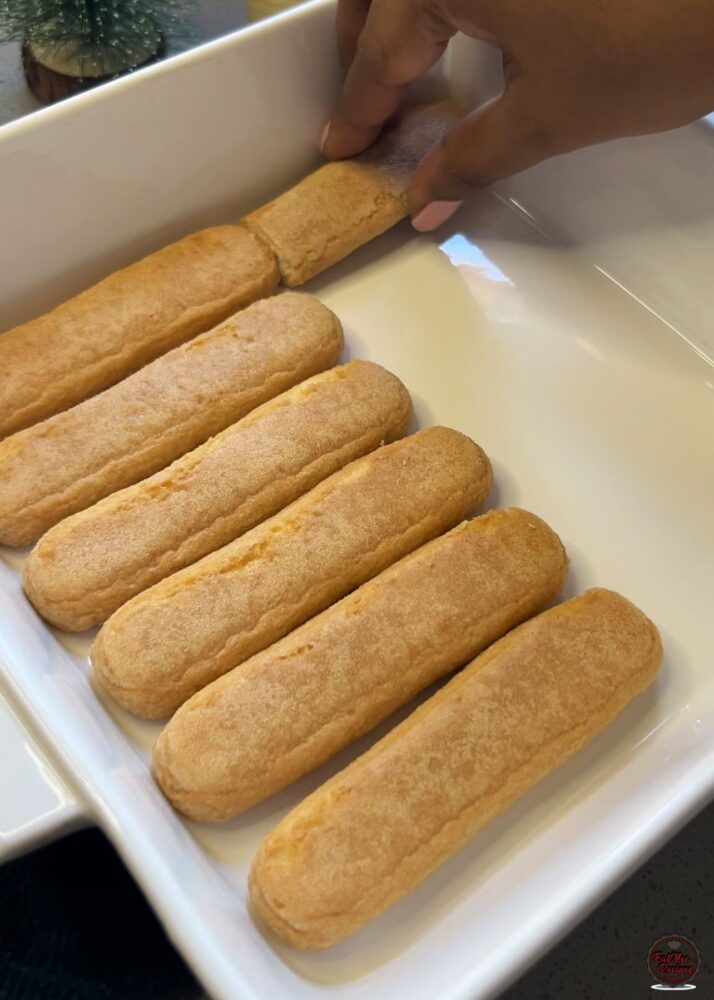
Keep the leftover pieces, they can be saved to sprinkle on top at the end, adding a lovely decorative and crunchy touch to your dessert.
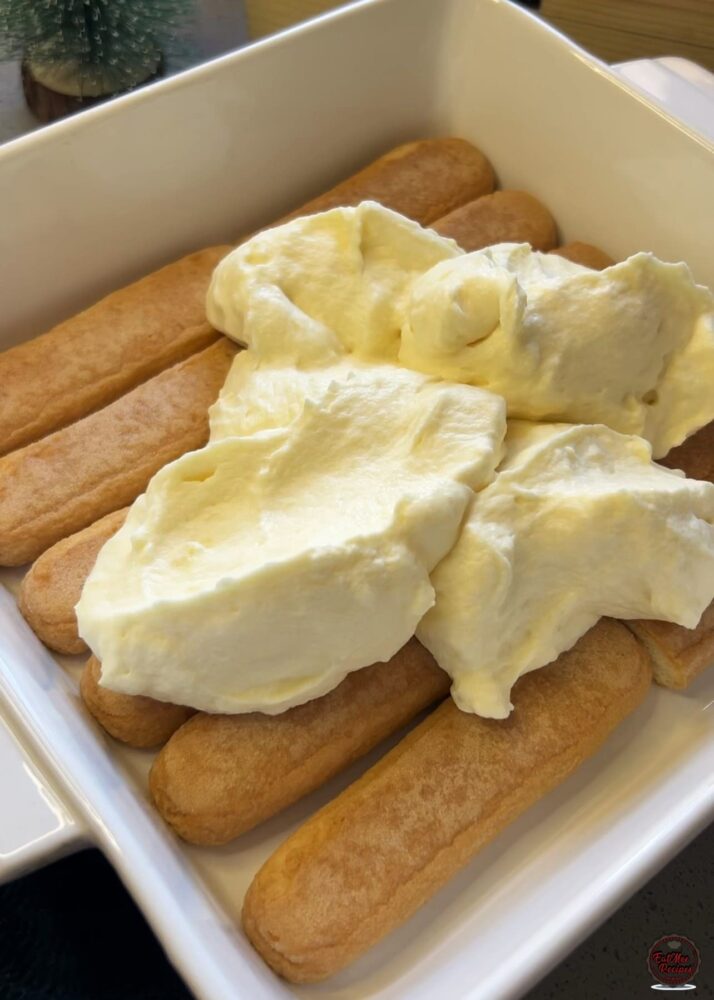
Spoon half of the pudding and cream mixture evenly over the layer of biscuits in the casserole. Spread it gently so every biscuit is covered, creating a creamy base for the next layer. This ensures each bite has the perfect balance of biscuit and luscious pudding.
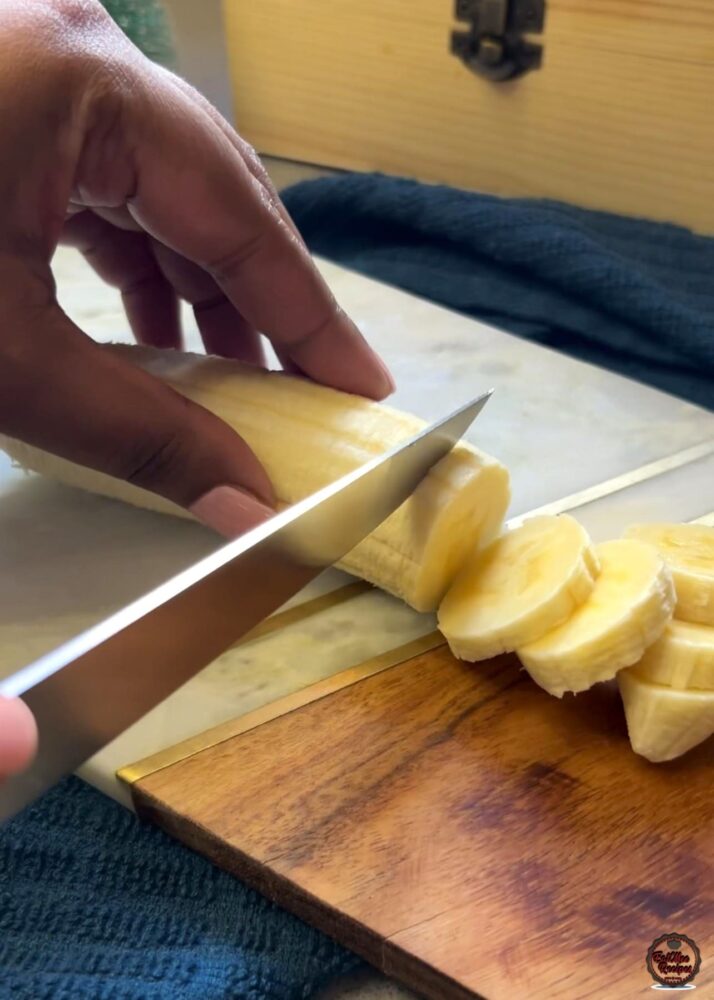
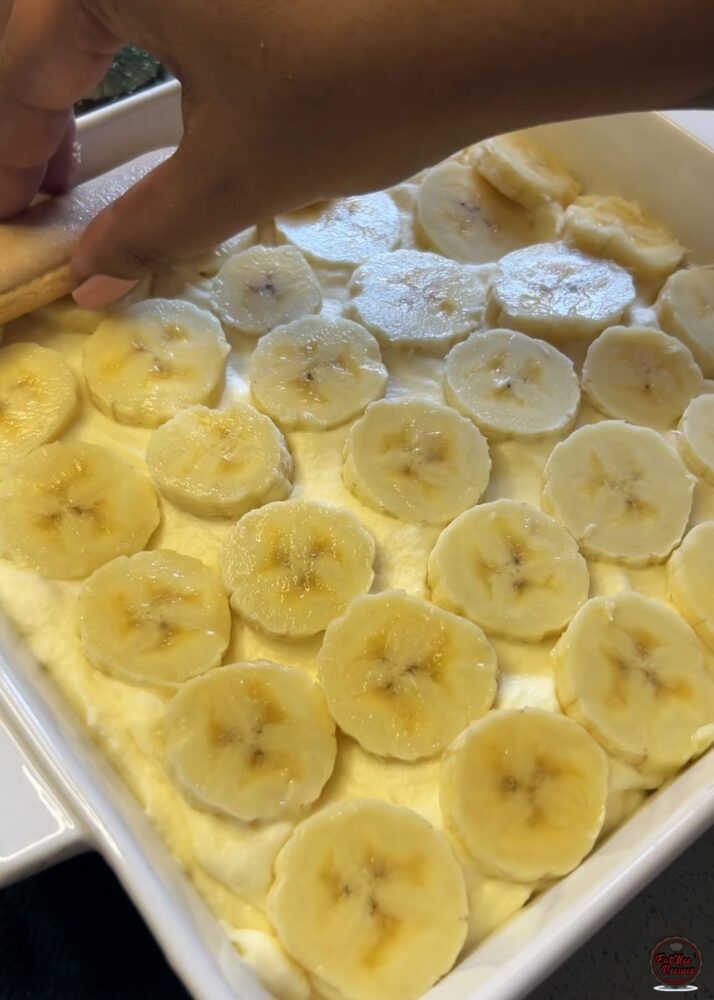
Next, slice the bananas and arrange a layer over the pudding and cream mixture. This adds natural sweetness and a soft, fruity texture that pairs perfectly with the creamy filling and light biscuits. If you’re making the tiramisu-style version, you can skip the bananas and move straight to the next layer of biscuits.
Add another layer of the milk-dipped biscuits on top of the banana layer (or directly on the pudding mixture for the tiramisu-style version – be sure to dip this version in coffee instead of milk). This creates structure and ensures every bite has that delightful combination of soft biscuits and creamy filling. Make sure the biscuits are evenly arranged for a neat, layered dessert.
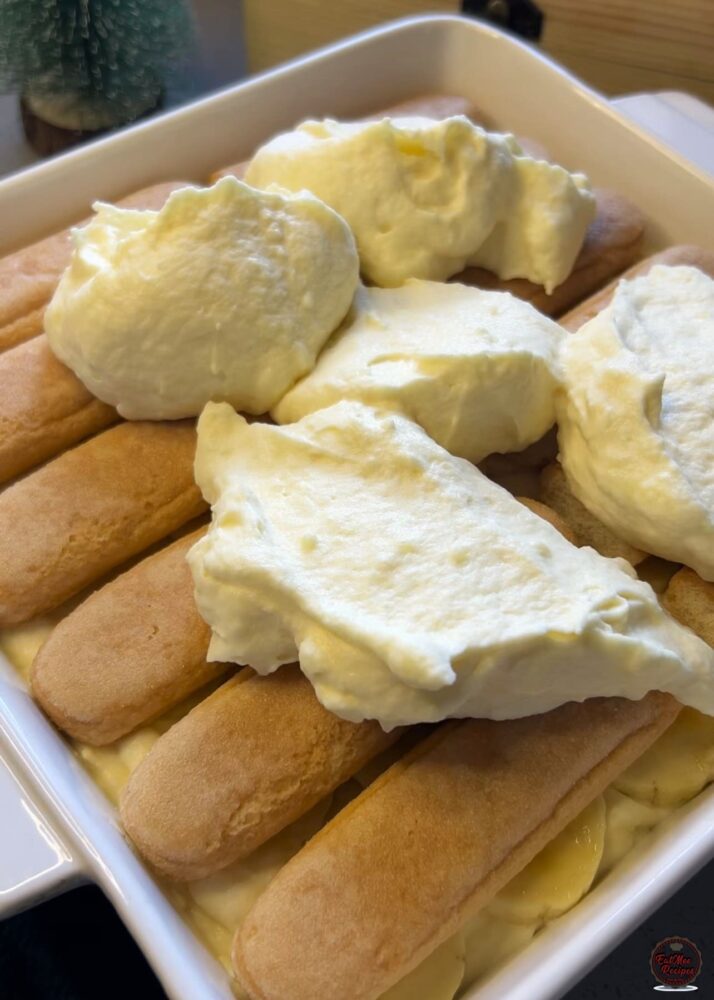
Spoon the remaining pudding and cream mixture evenly over the top layer of biscuits. Use a spatula or the back of a spoon to smooth it out, creating a beautiful, even surface ready for the finishing touches. This layer locks in the biscuits and bananas while giving the dessert a creamy, polished look.
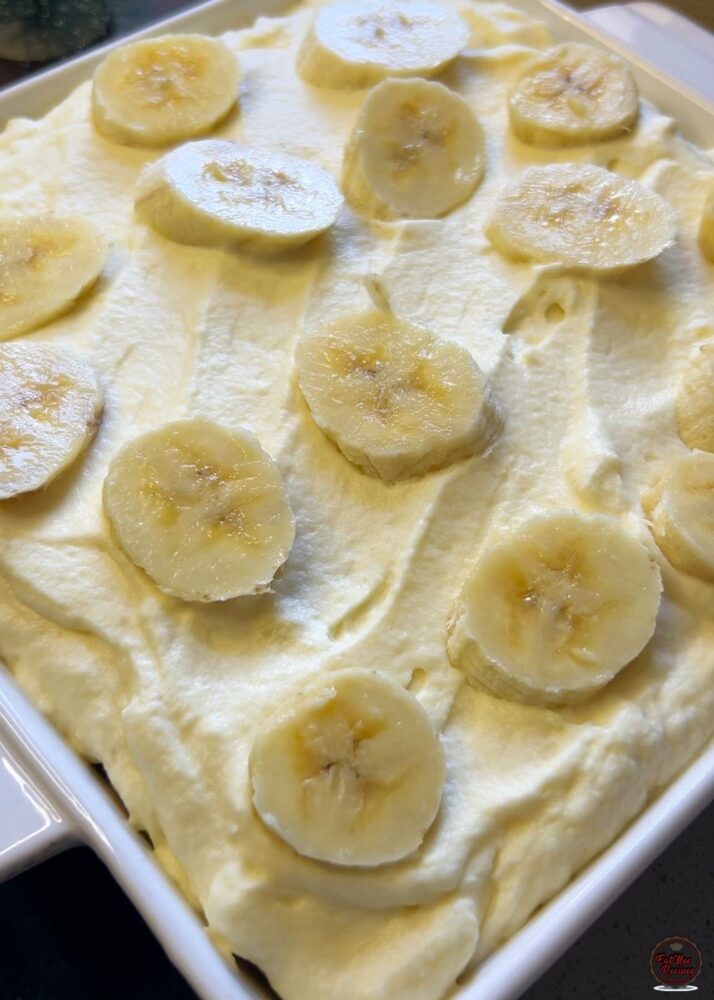
Arrange the remaining banana slices over the top of the smooth pudding layer. This not only adds extra flavor and freshness but also makes the dessert look inviting and festive. For the tiramisu-style version, you can skip this step or use cocoa powder or a dusting of chocolate instead.
Finally, sprinkle the reserved cut biscuit pieces over the top of the dessert. This adds a delightful crunch and a decorative finish, giving your no-bake pudding a beautiful, festive look that’s perfect for Christmas. When adding the reserved biscuit pieces, try to sprinkle them over the banana slices right away. This helps slow down the oxidation of the bananas and keeps them looking fresh and appealing, while also adding that satisfying crunch to the top layer.
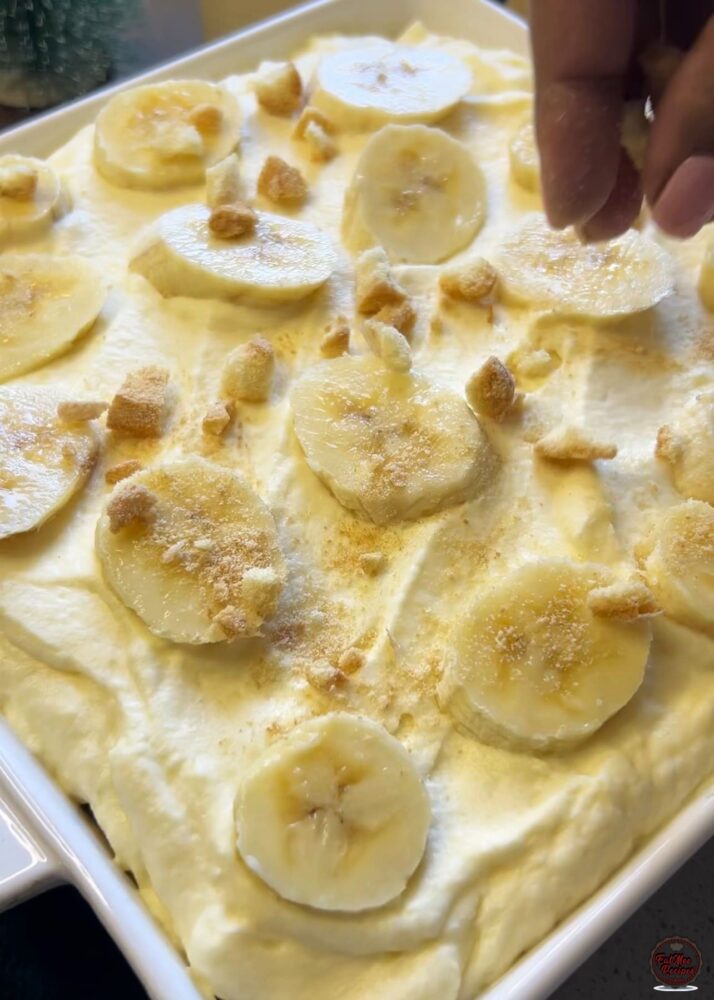
Once assembled, cover the casserole and refrigerate overnight. This allows the flavors to meld, the biscuits to soften perfectly, and the pudding to set into a creamy, luscious dessert that’s ready to serve for Christmas or any festive occasion.
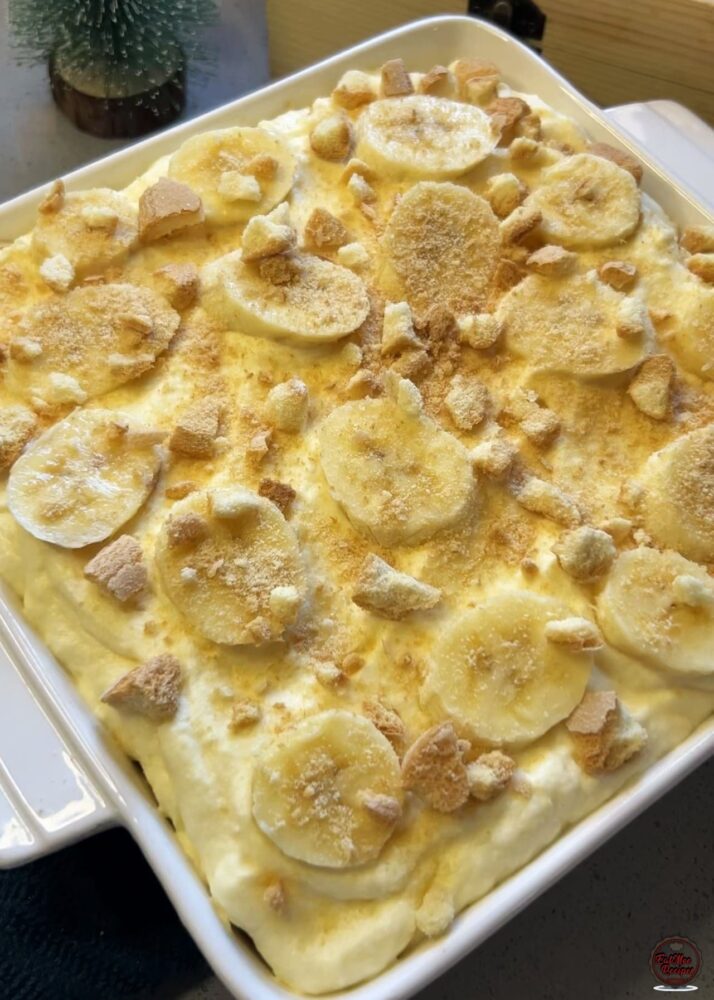
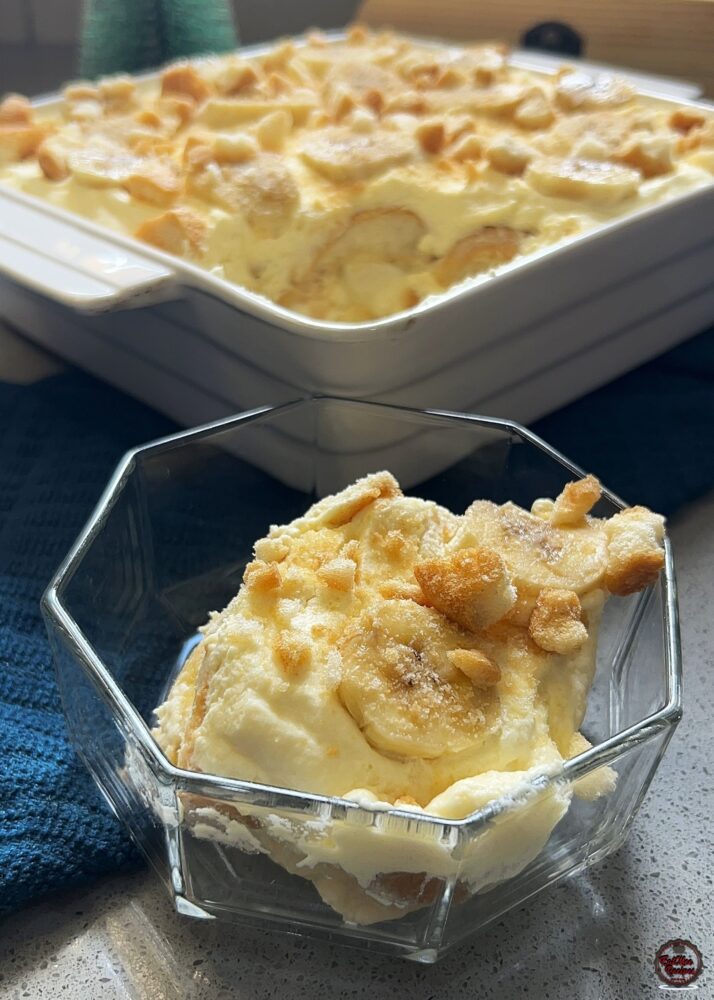
The next day, spoon the banana pudding into serving bowls and serve.
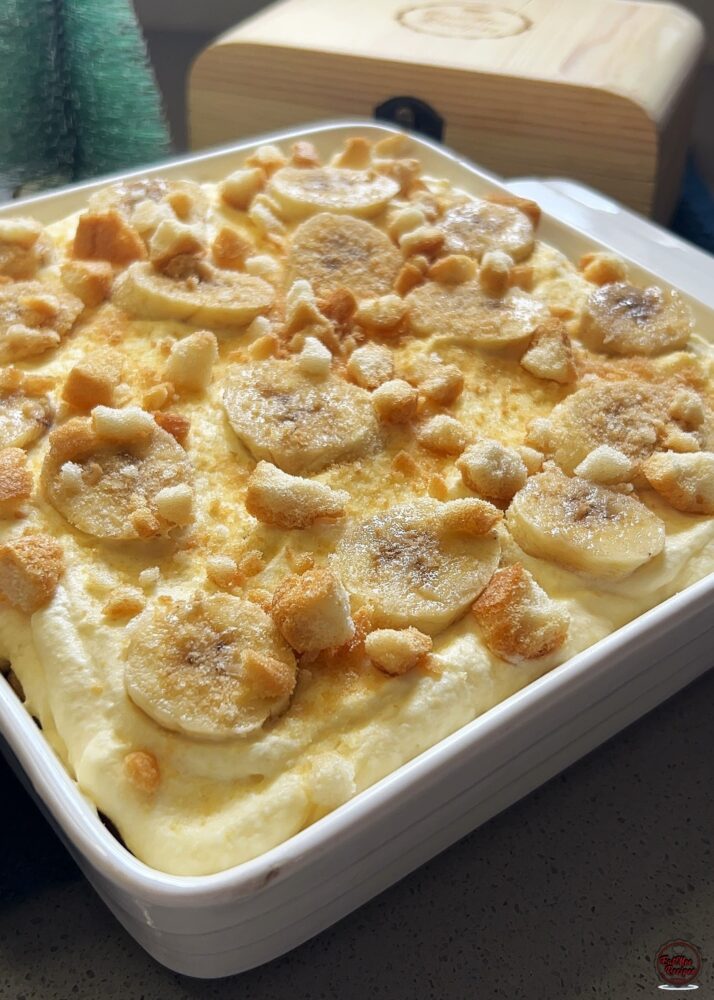
Each portion will have layers of creamy pudding, soft biscuits, and sweet bananas, making it a comforting and festive treat that’s perfect for Christmas or any holiday celebration.
Cover any leftover banana pudding tightly and refrigerate for up to 2-3 days. The dessert is best enjoyed fresh, as the bananas may start to brown over time, but the creamy layers will remain delicious. Avoid freezing, as the texture of the pudding and bananas can be affected.
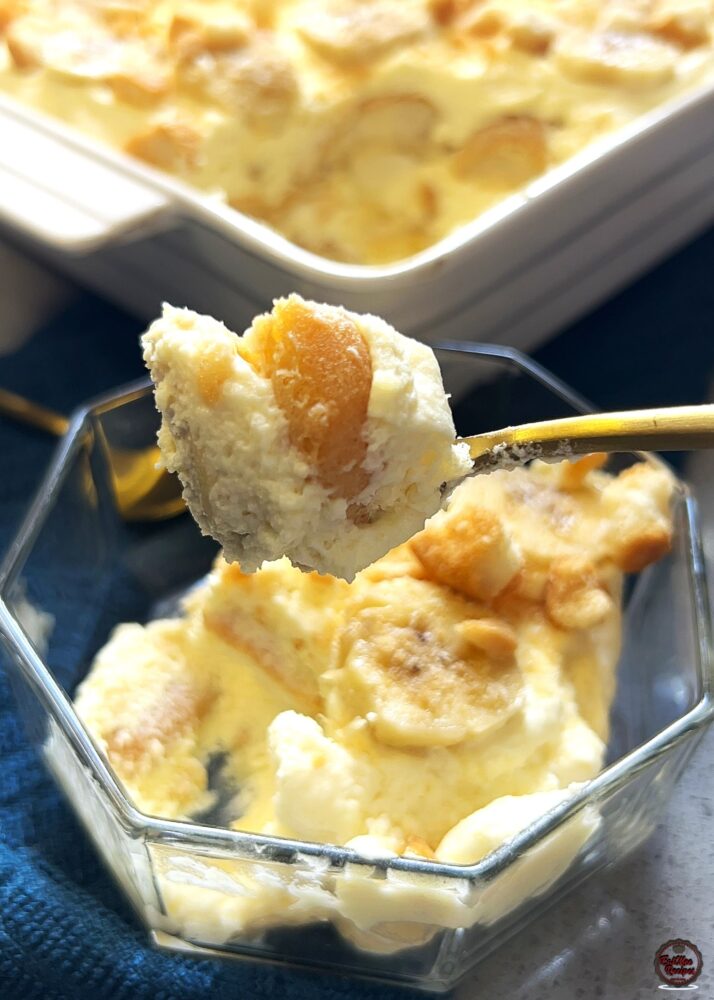
Follow along with Denisiya's step-by-step video guide for No-Bake Banana Pudding.
Expert kitchen guidance and troubleshooting for making the best No-Bake Banana Pudding
No problem at all. This dessert is incredibly versatile and can easily be transformed into a tiramisu-style treat without the mascarpone. Simply skip the bananas and dip the biscuits or sponge cake with coffee, add the vanilla pudding to the whipped cream, and a dusting of cocoa powder. You’ll still get those beautiful, creamy layers and festive elegance, which is budget friendly, making it a perfect alternative Christmas dessert for guests who prefer something less fruity.
Store in an airtight container at room temperature for up to 1 to 2 weeks. For milk-based sweetmeats like burfee or soji, refrigerate in an airtight container for up to 7 to 10 days.
Pure butter or ghee provides the authentic rich aroma and texture characteristic of traditional Indian sweetmeats and bakes. Margarine can be used in a pinch, but butter delivers superior flavor.
Hi, I'm Denisiya! Food lover, recipe developer, and founder of EatMee Recipes. I specialize in authentic South African Durban Indian cuisine, comforting curries, and modern Instant Pot adaptations. Every recipe on this site is tested in my personal kitchen to ensure you get mouth-watering, foolproof results every time.
Explore more authentic Durban curries, traditional bakes, and comforting family favourites.
 Desserts
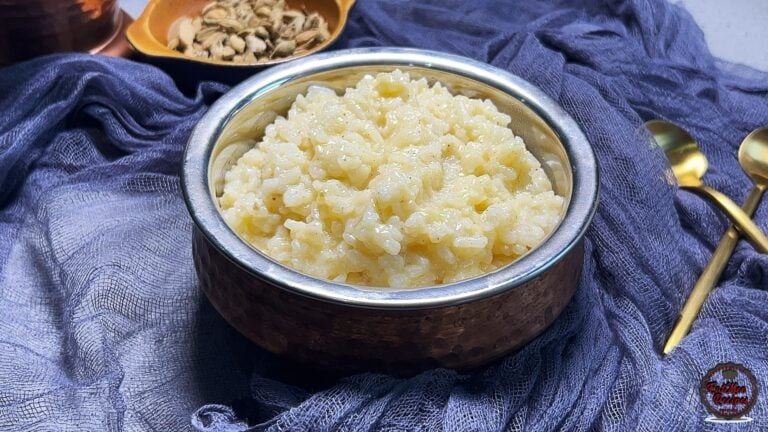
If you love traditional South African sweet rice but want an easier, hands-off method, thi...
 Desserts
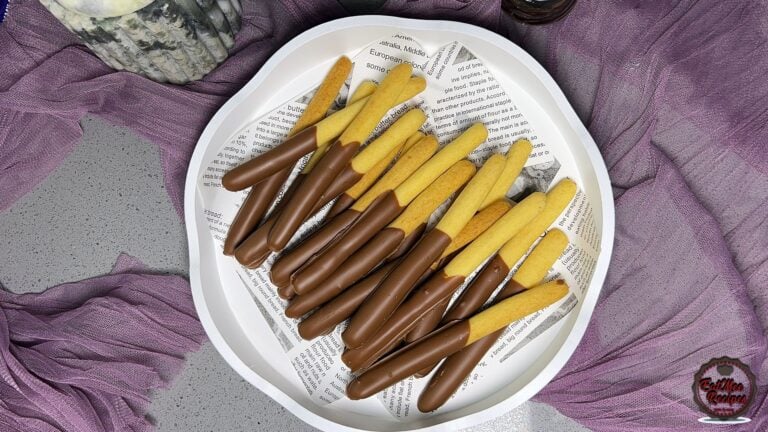
Light, crisp, and delicately sweet biscuit sticks dipped in chocolate
 Desserts
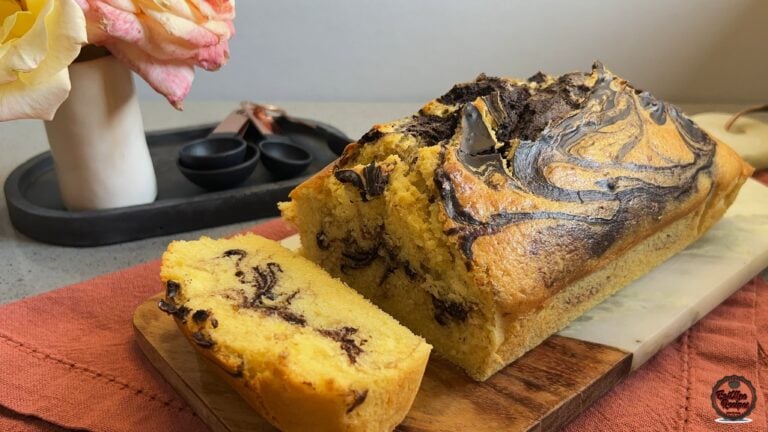
There’s something comforting about a marble loaf cake fresh from the oven, especially when...
Have you tried this recipe or have questions for Denisiya? Join the conversation below.
No comments yet. Be the first to share your thoughts on this recipe!
Leave a Comment
Your email address will not be published. Required fields are marked *