
We Value Your Culinary Privacy
EatMee Recipes uses cookies to provide a personalized browsing experience, analyze recipe popularity, and serve relevant ads. You can review our full disclosure in our Privacy Policy.
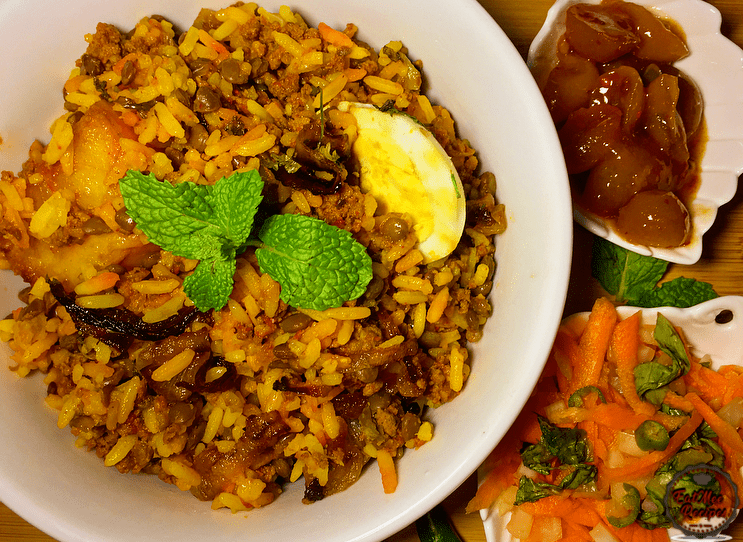
This Mince Biryani recipe is a traditional South African biryani. It cooks quickly & doesn’t require much cooking effort.

Join over 60,000+ home chefs for weekly authentic Durban Indian cook-alongs, Instant Pot masterclasses, and family heritage recipes.
This Mince Biryani recipe is a traditional South African biryani. It cooks quickly & doesn’t require much cooking effort.
It is also known to be called Keema or Queema biryani which is from the Indian subcontinent.
Biryani otherwise called biriyani or biriani, is a blended rice dish with its origins among the Muslims of the Indian subcontinent. It is mainstream all through the subcontinent & among the diaspora from the area. It is made with flavors, rice, meat &/or vegetables.
South Africans usually prepare biryanis’ with parboiled rice although most prefer to cook with basmati rice.
“Biryani” is a Urdu word got from the Persian dialect, which was utilized as an official dialect as a part of various parts of medieval India, by different Islamic administrations.
Pronunciation: Bee-r-ya-nee
Rinse mince (ground beef or lamb).
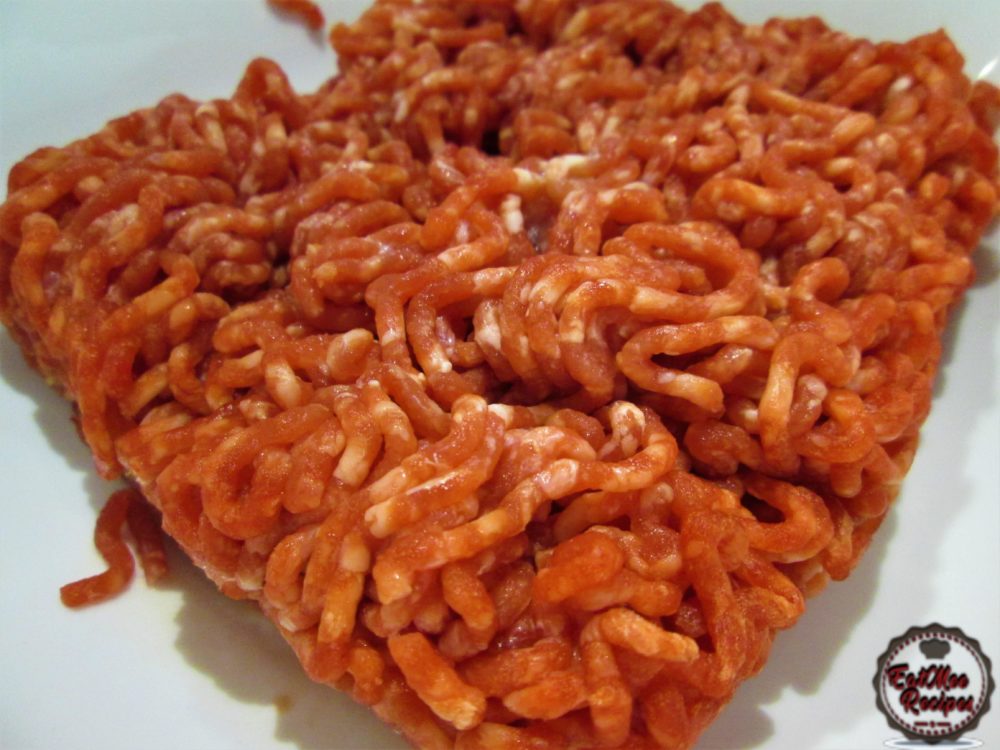
To the mince, add salt to taste, ½ teaspoon turmeric powder, 1 teaspoon garam masala, 1 teaspoon dhania (coriander) powder, ½ teaspoon jeera (cumin) powder & 1 ½ tablespoons chili powder.
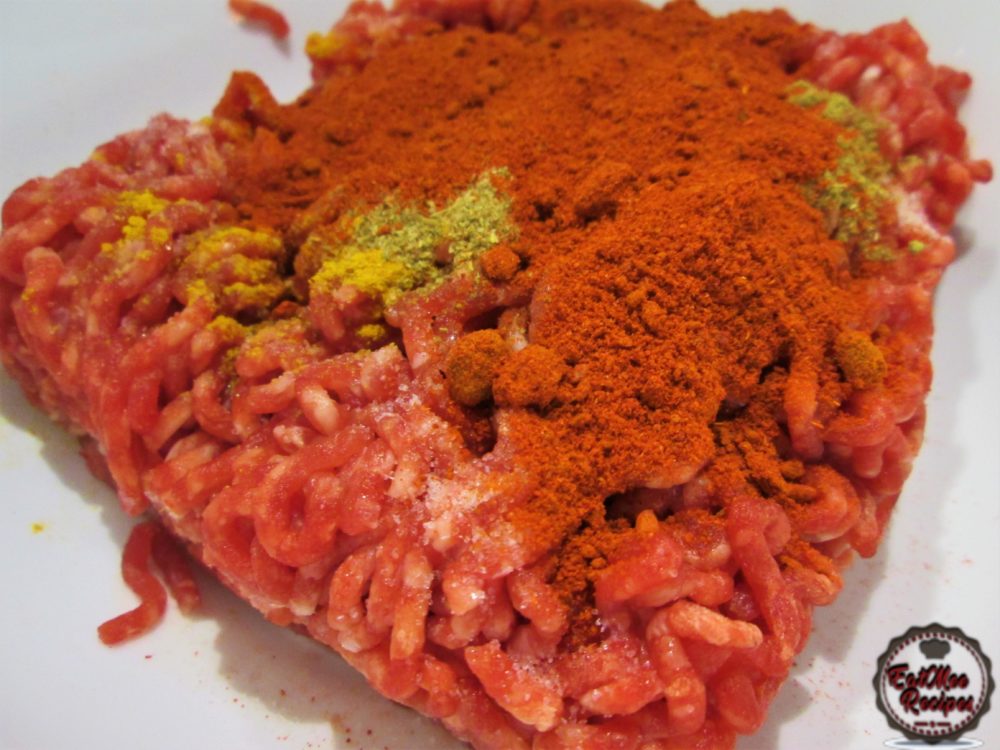
Add the ginger & garlic paste.
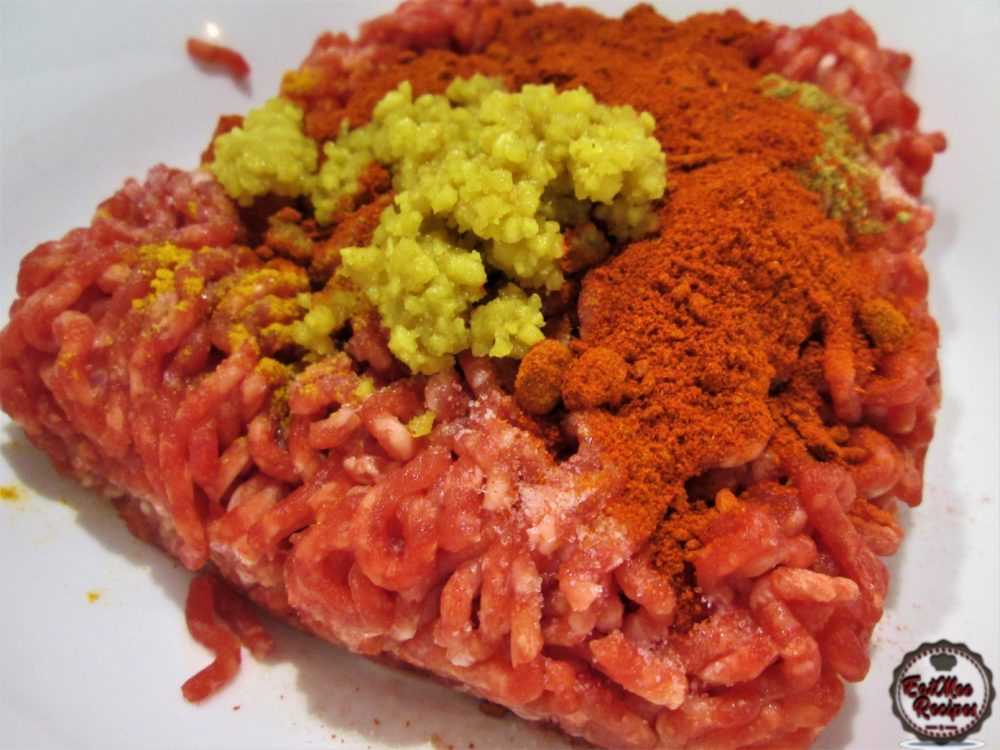
Next, add in ¼ cup chopped dhania (coriander), ¼ cup chopped mint & the sourmilk (maas).
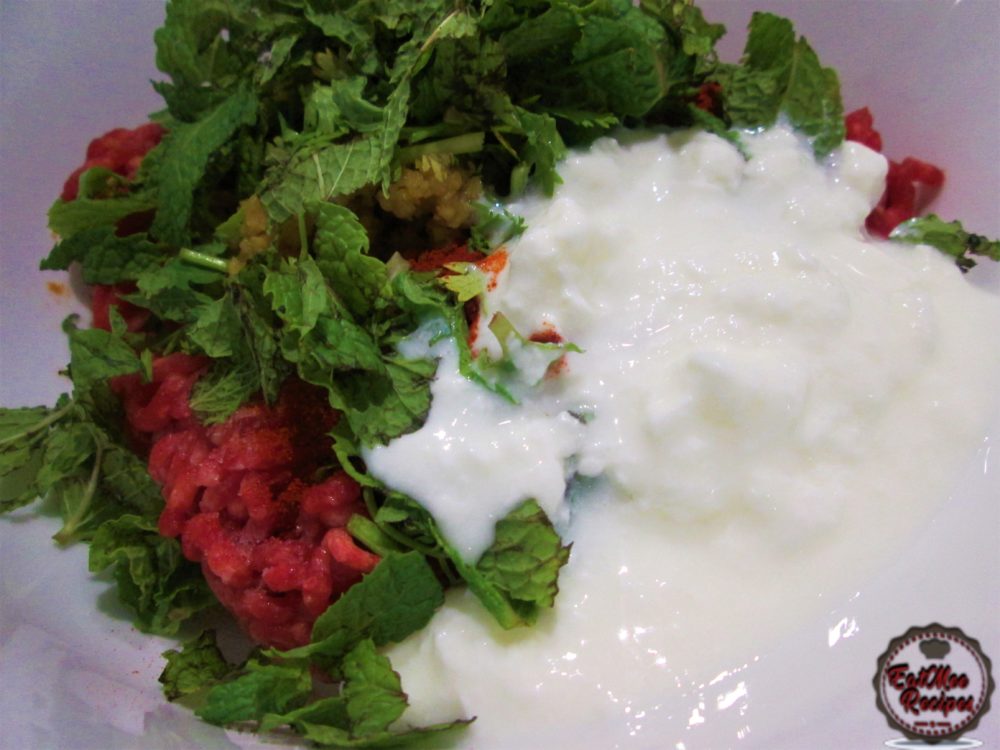
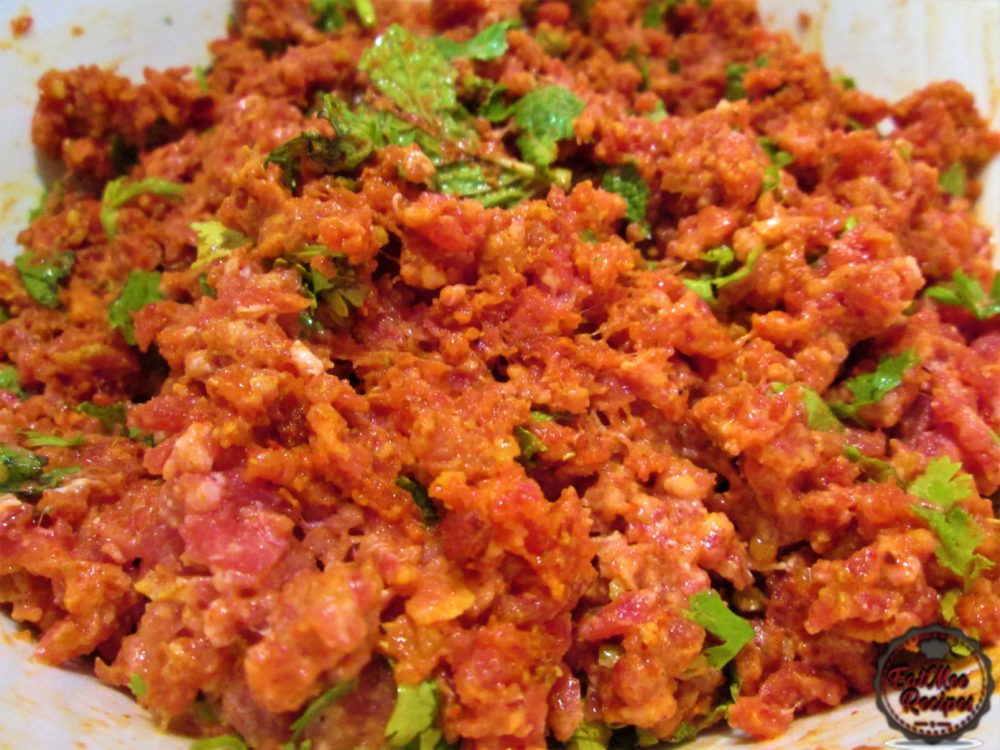
Mix well using your hands. Cover & set aside until ready to use.
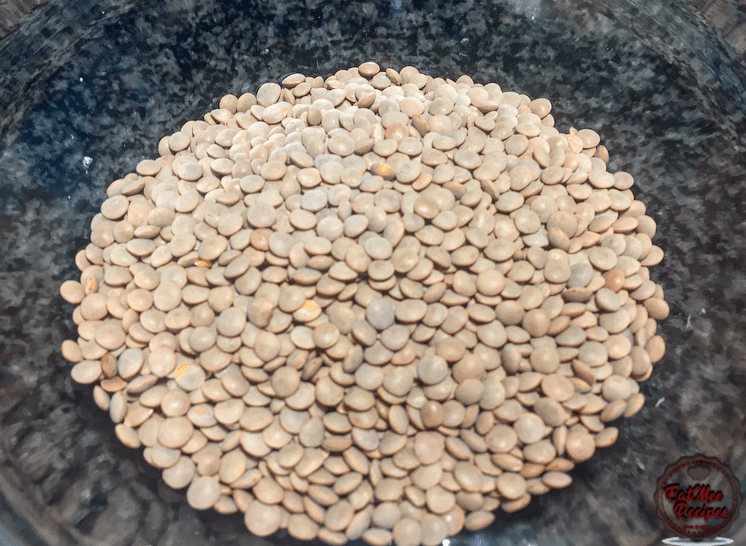
Place the biryani dhall (masoor) into a small bowl. Remove any blemishes or stones.
Rinse a few times.
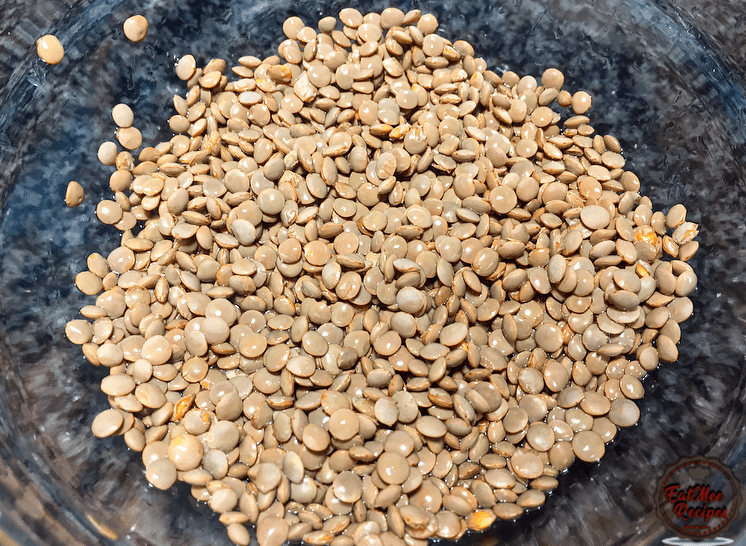
Add the biryani dhall (masoor) to a small pot, fill the pot with water & add a teaspoon of oil.
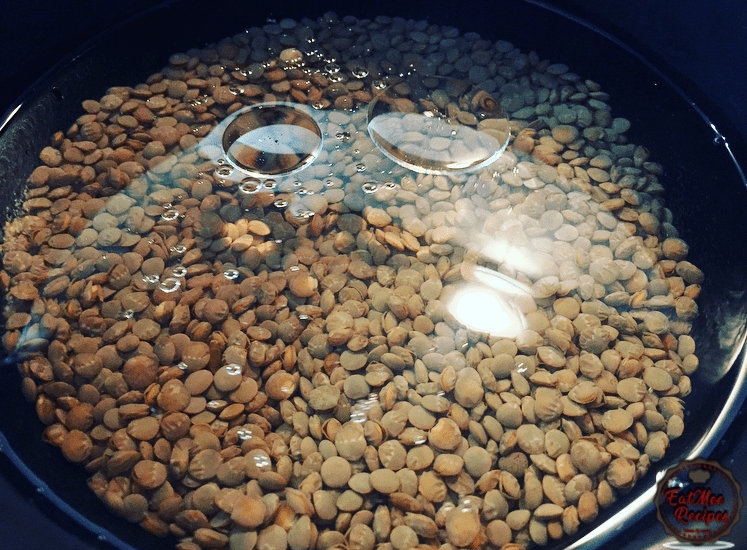
Bring the biryani dhall (masoor) to a boil on medium heat until soft but not mushy.
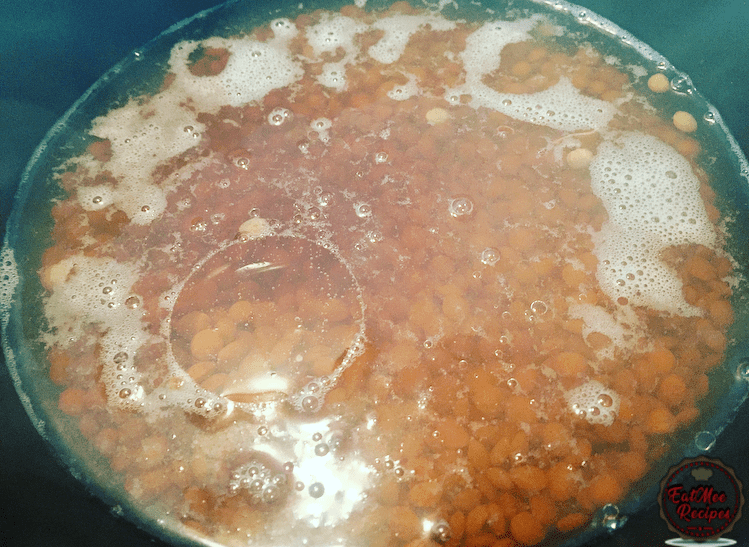
Once the biryani dhall (masoor) is soft, drain the excess water out.
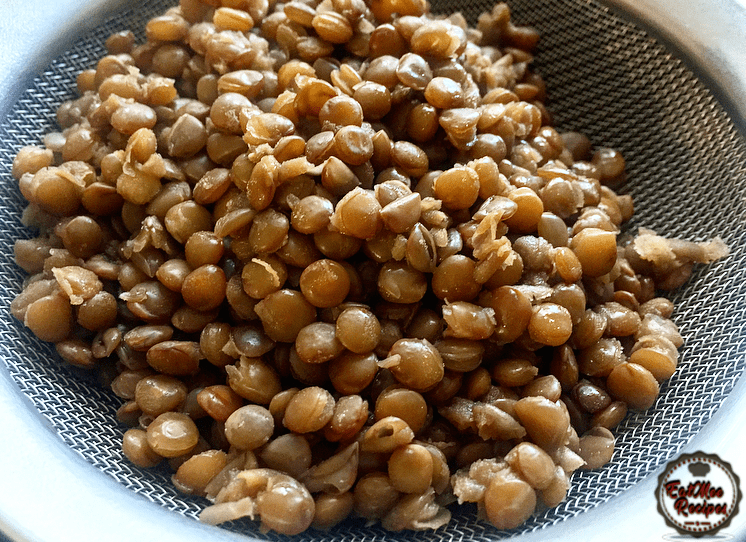
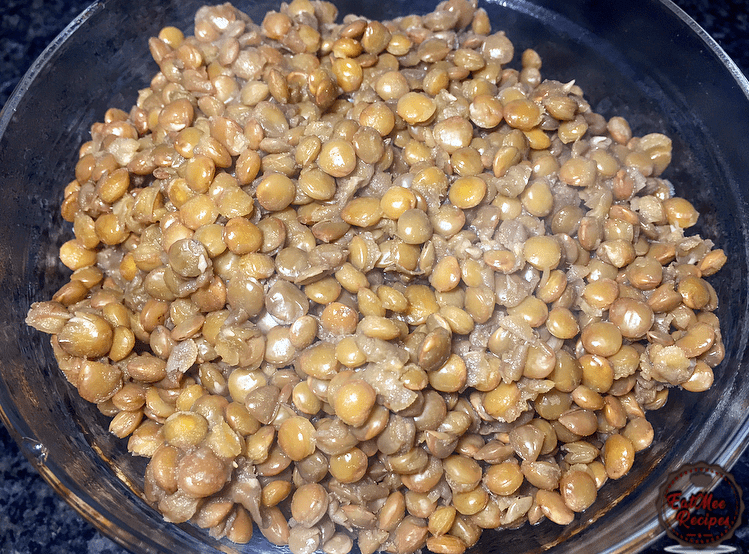
Empty into a bowl & set aside until ready to use.
Add the rice to a bowl.
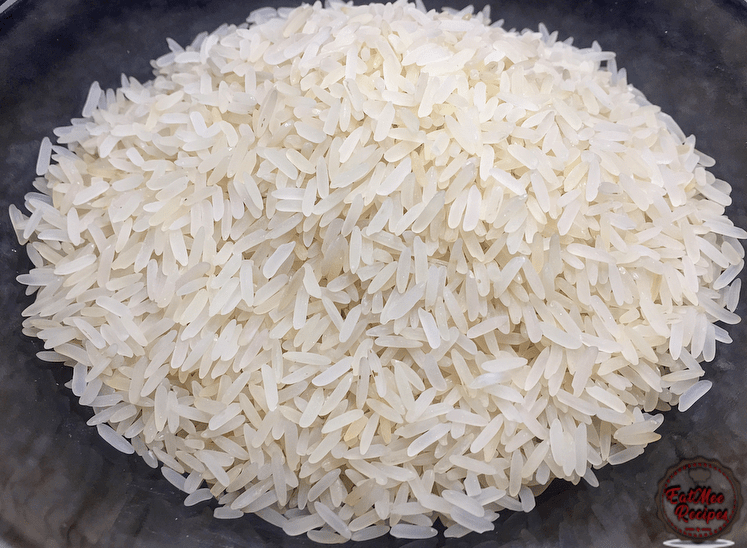
Rinse the rice until water runs clear.
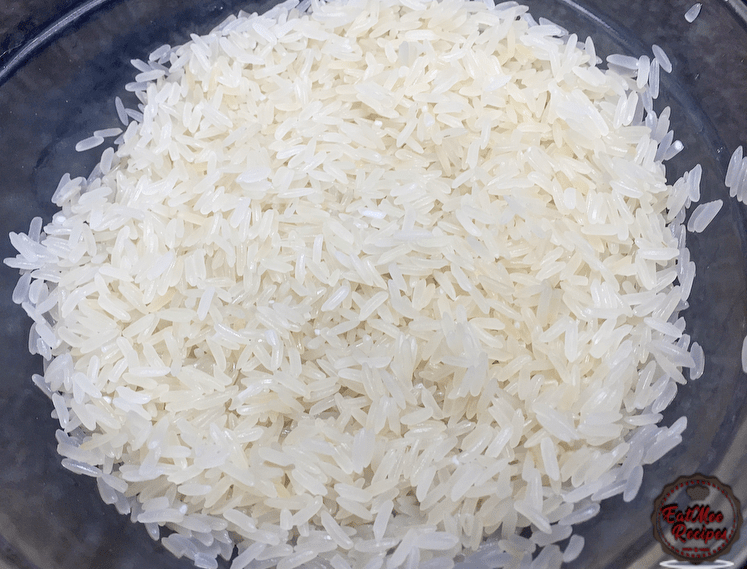
Add the rice to a medium pot. Fill the pot with water & place on the stove-top on medium heat.
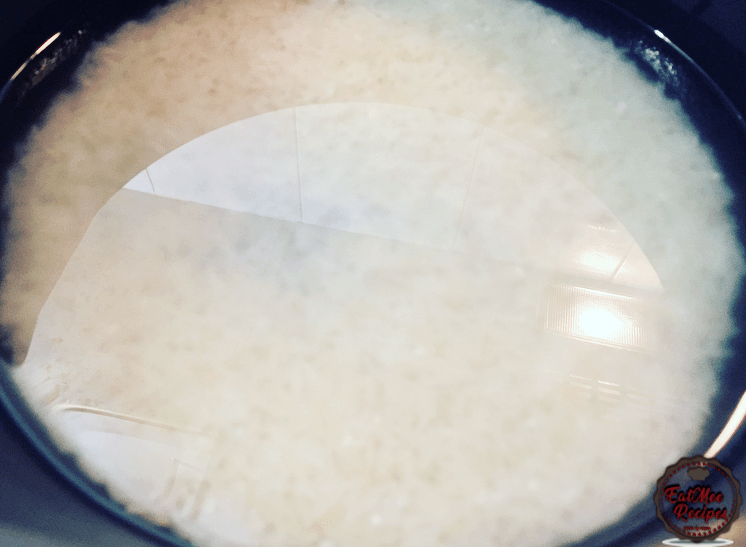
Bring the rice to a boil.
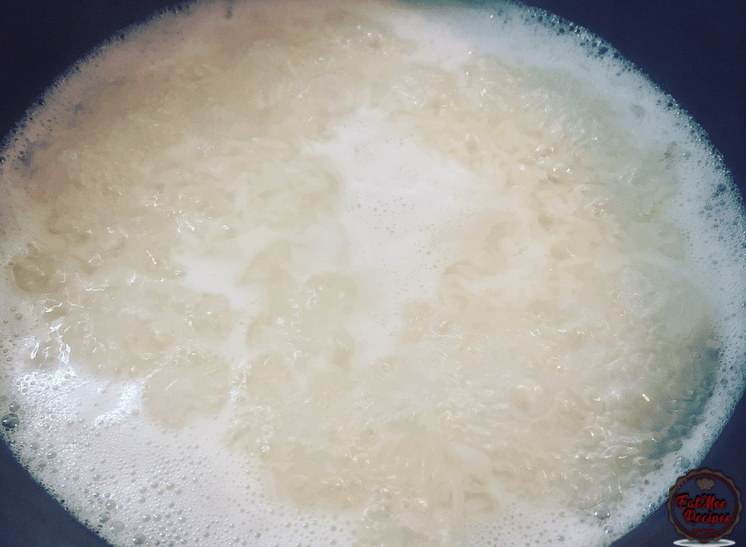
When you notice a lot of starch build-up (white foam) on the rice, empty out the water, give the rice a quick rinse & fill with more water. This step can be skipped, if you prefer a more sticky, starchier rice. I tend to rinse mine as I do not like it too starchy.
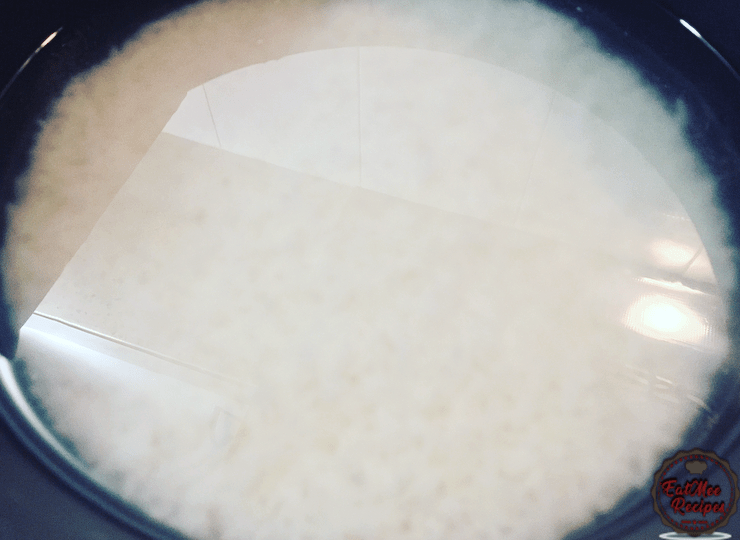
Place the pot back onto the heat & add in 2 bay leaves, 1 star aniseed, ½ cinnamon stick & salt to taste.
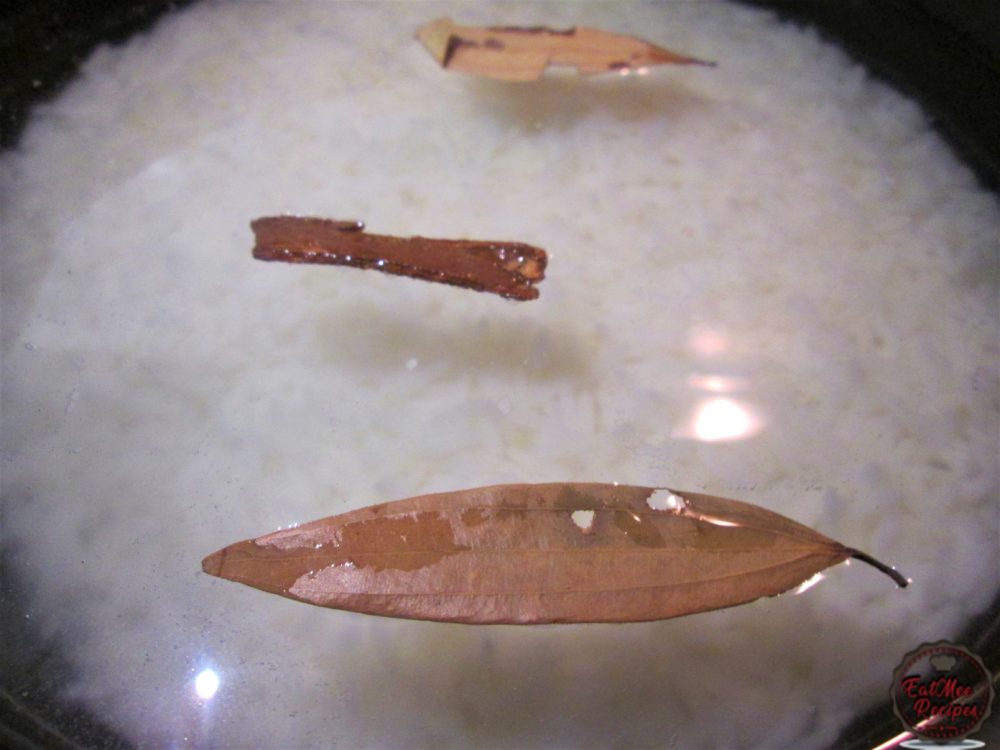
Add 1 teaspoon turmeric powder.
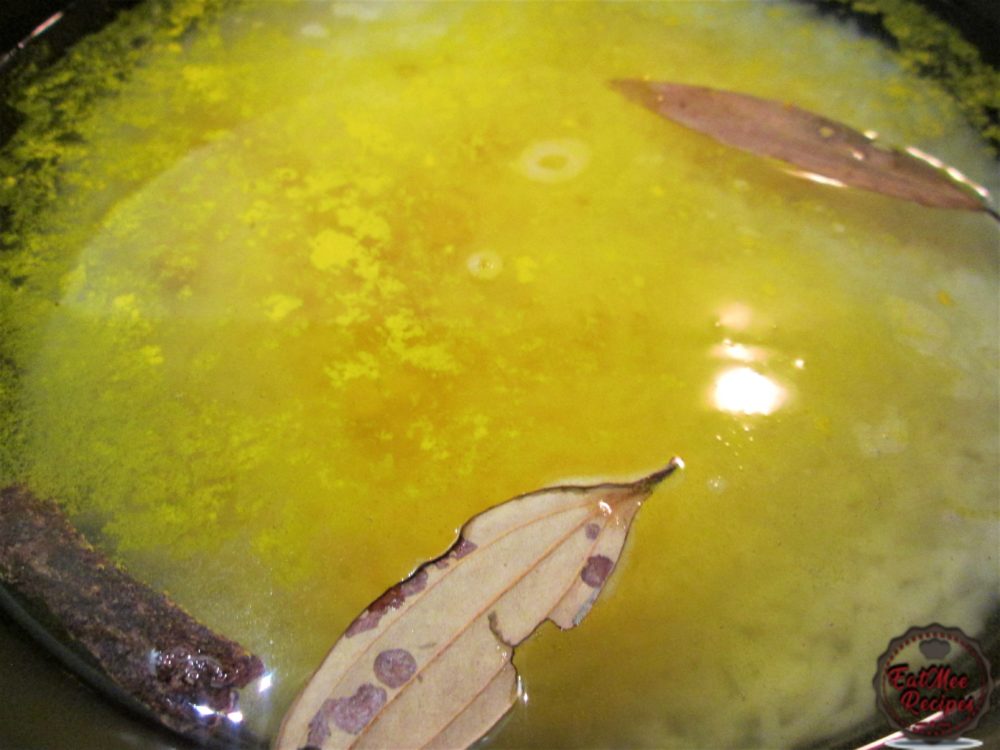
Mix & boil until soft.
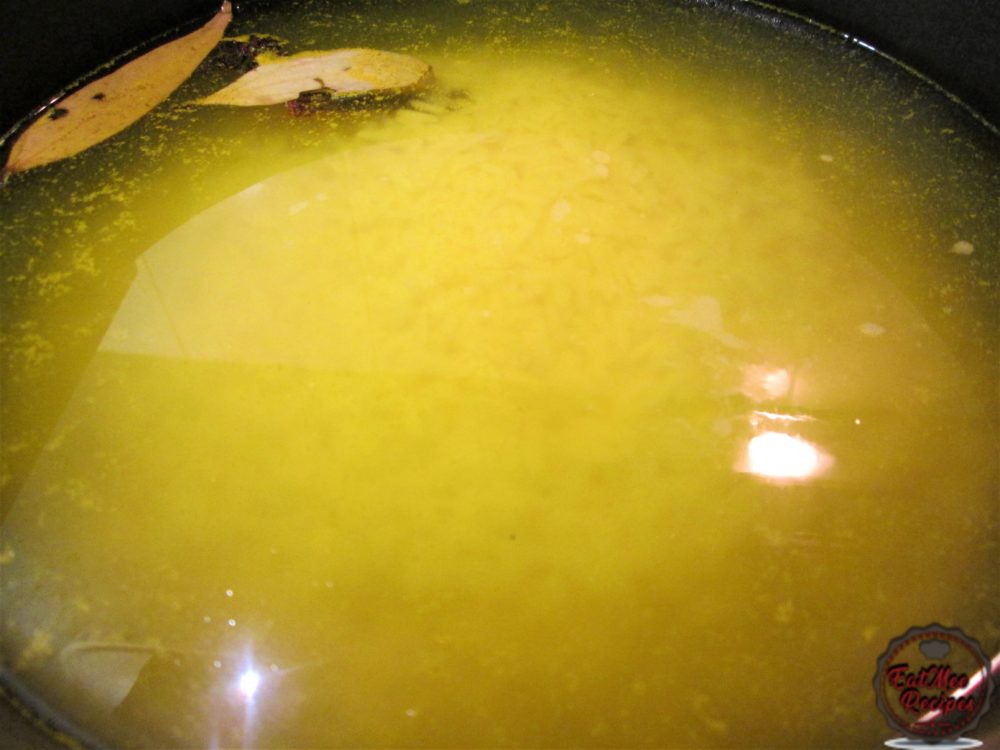
Once the rice is cooked, drain in a colander & set aside.
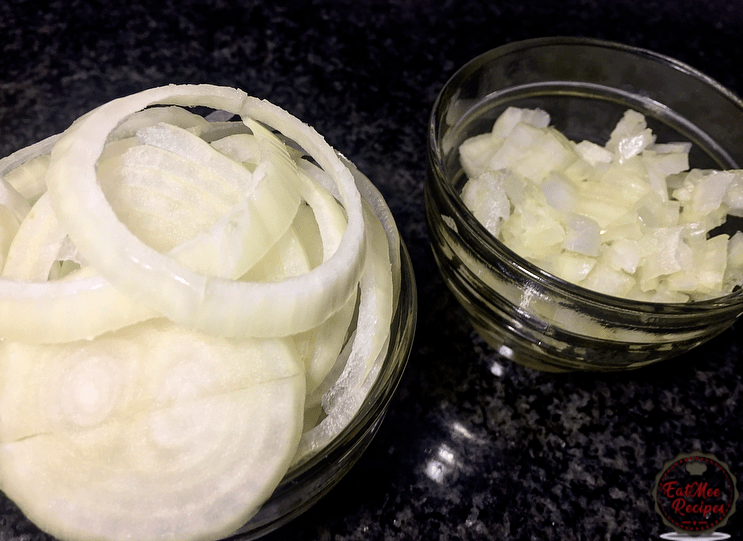
Peel both onions. Chop 1 onion & cut the other onion into rings.
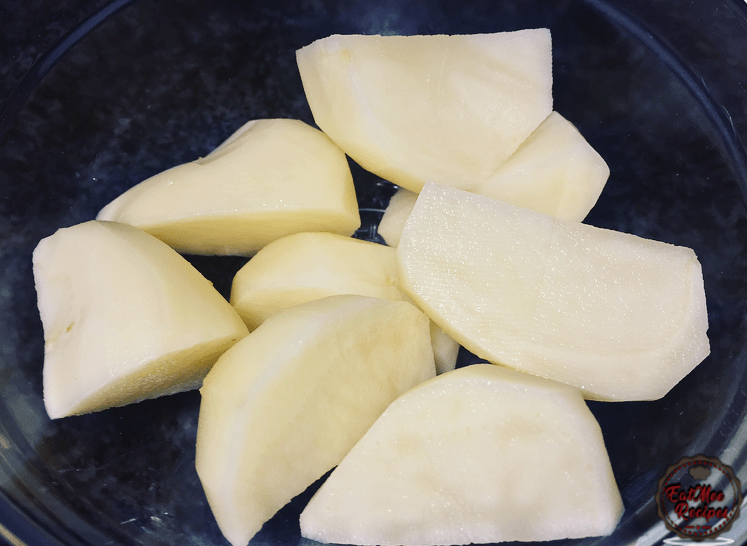
Peel & cut potatoes into quarters.
Place the potatoes into a microwave safe bowl & steam for 4 minutes.
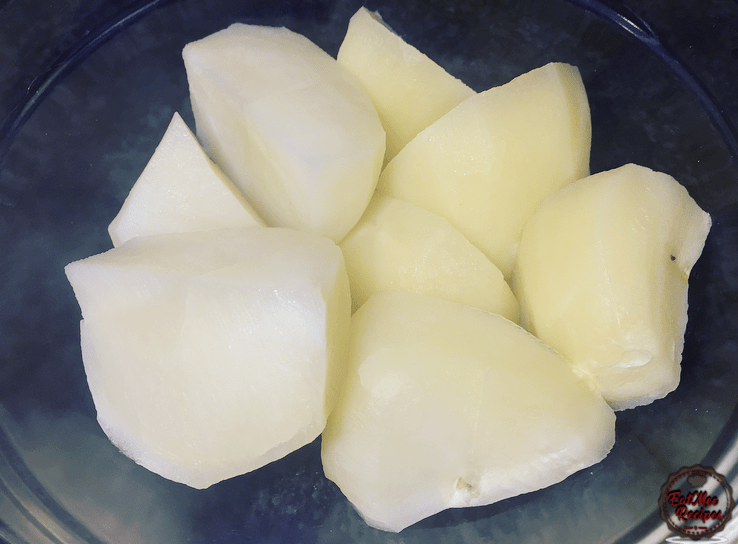
Once the potatoes have steamed, add in ¼ teaspoon yellow food colouring (egg yellow).
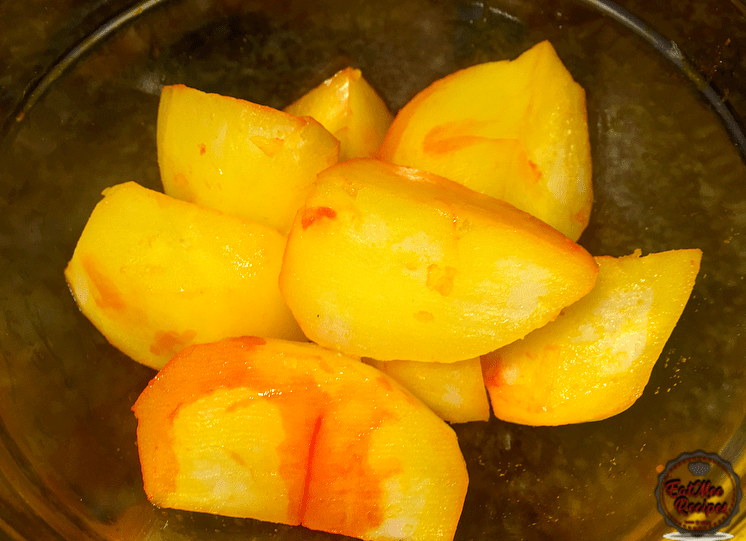
Place the potatoes into a pot of hot shallow oil.
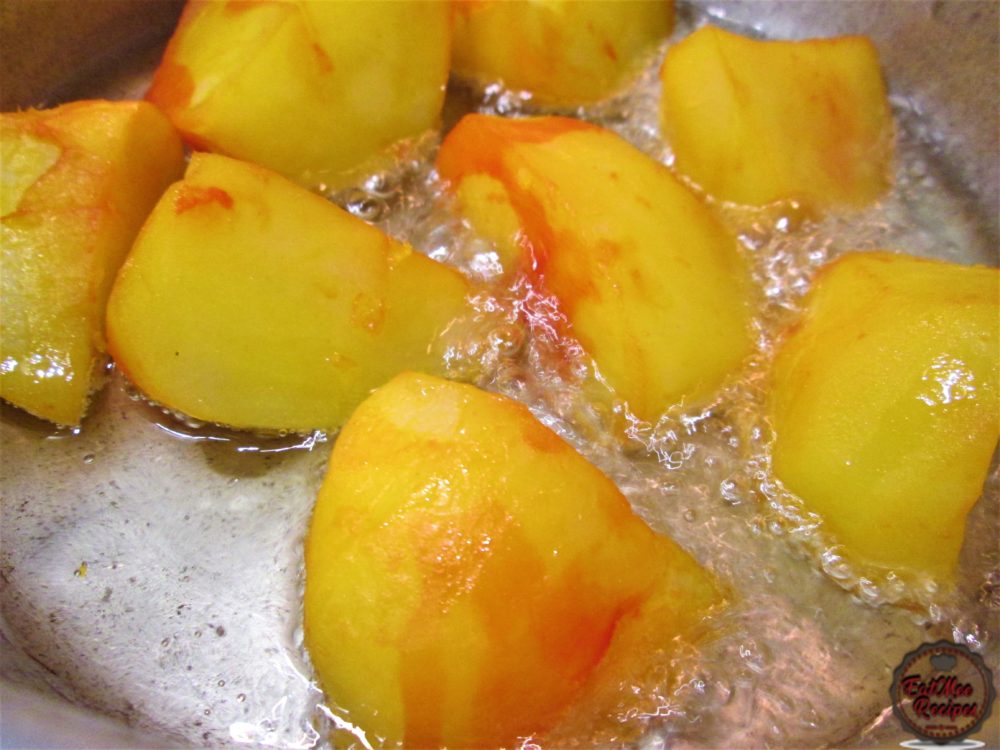
Fry the potatoes until soft & golden.
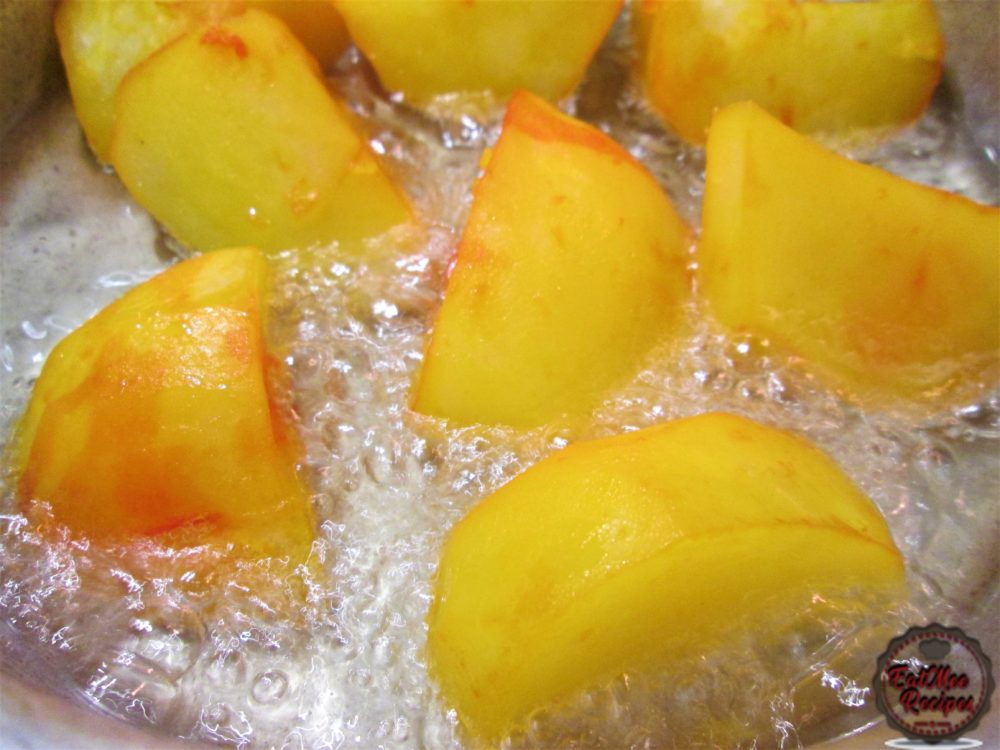
Once the potatoes are cooked, remove from heat & set aside.
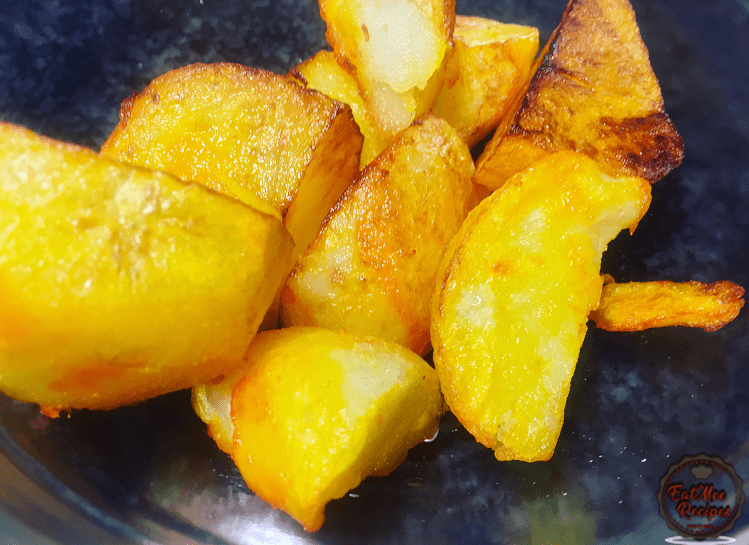
In the same oil that the potatoes were frying in, add in the onion rings.
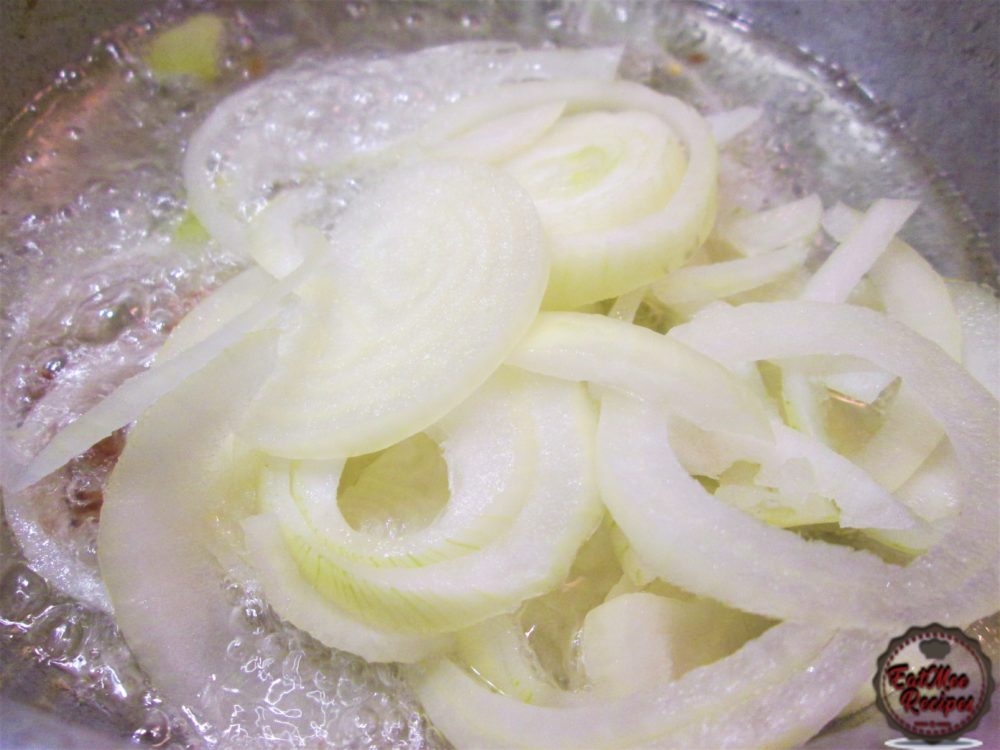
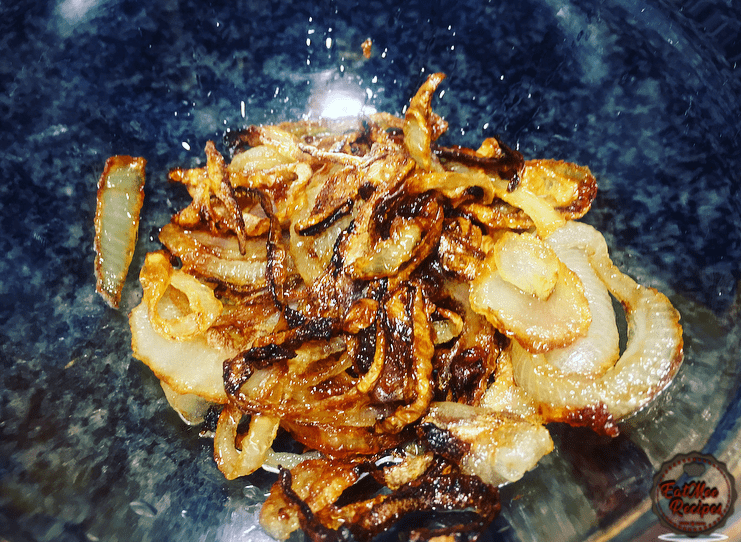
Fry the onions until golden.
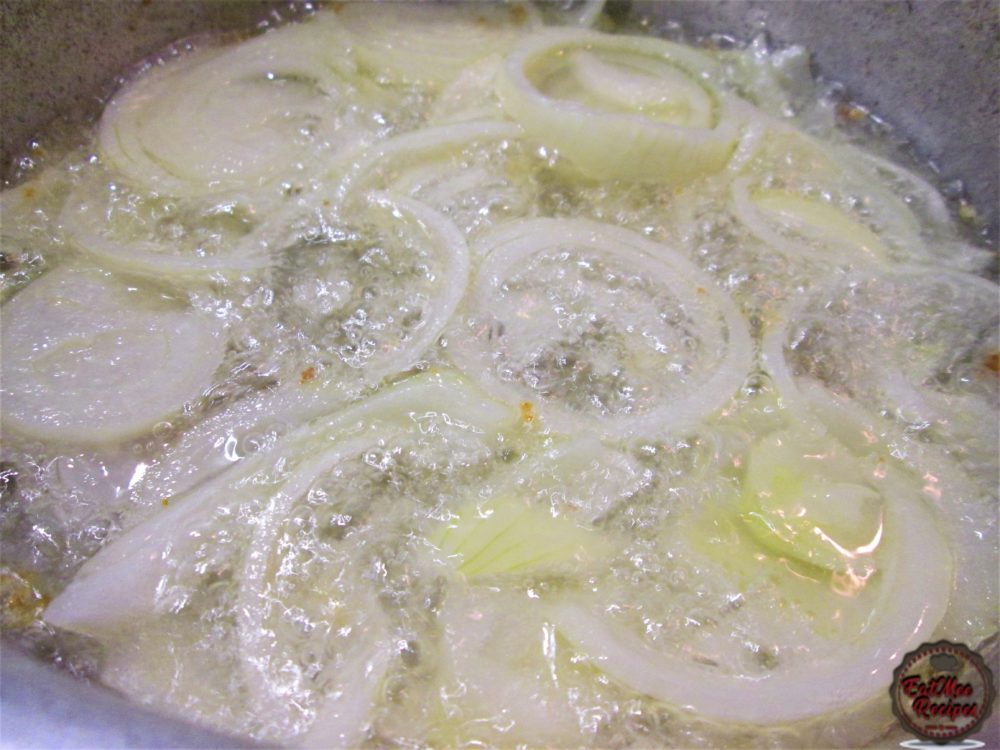
Remove onions from heat & set aside.
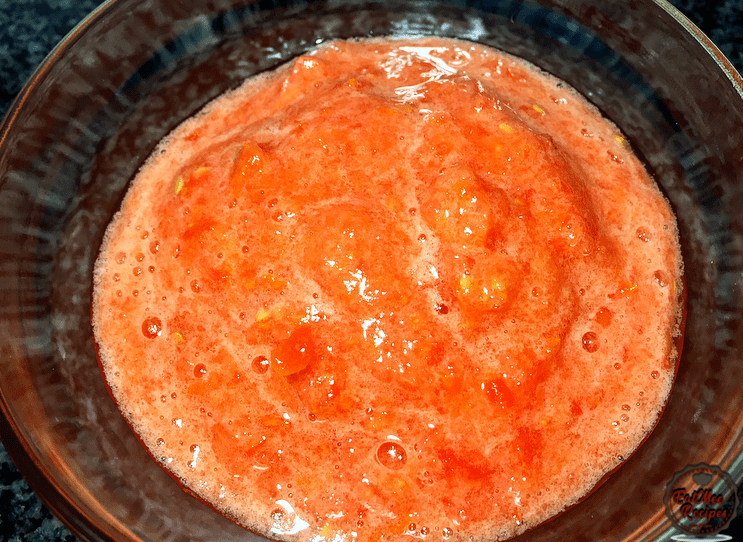
Blend or grate tomatoes & set aside.
Place eggs in a small pot, fill with water & a pinch of salt. Bring to a boil. (Click here to find out how to properly hard boil eggs).
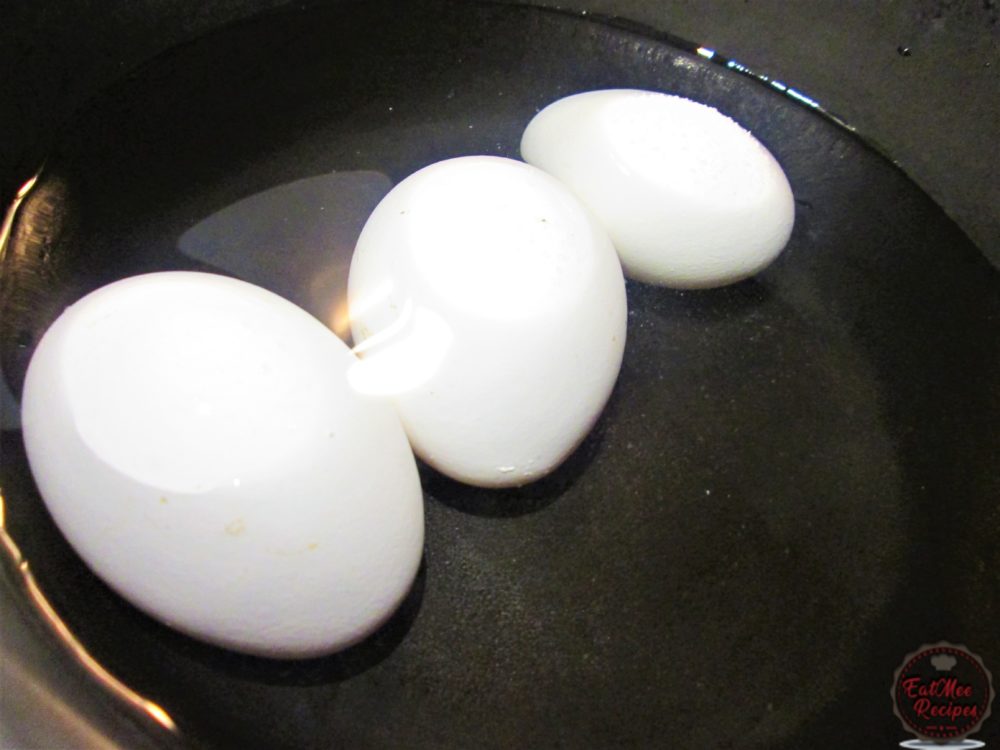
Once the eggs have boiled, remove the shells & set into a bowl.
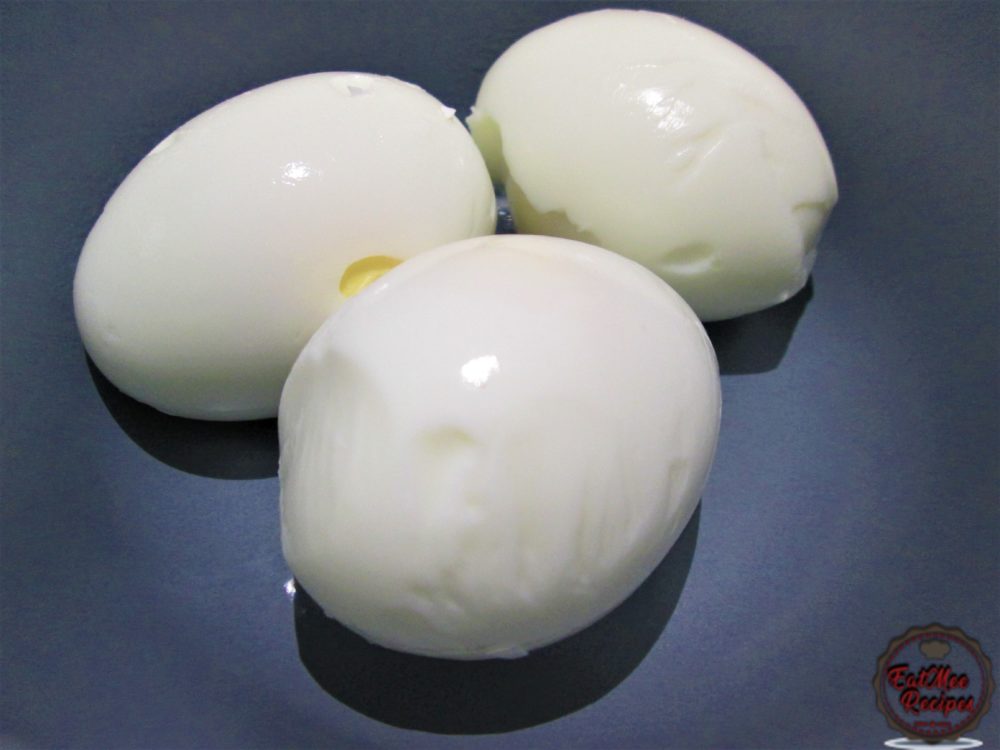
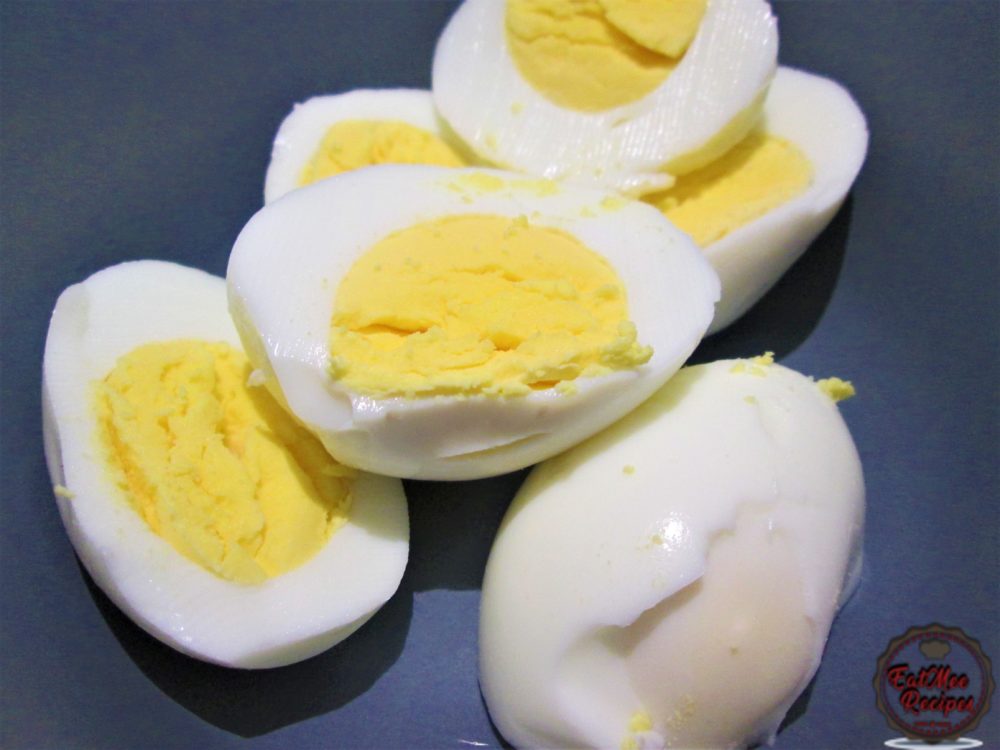
Slit eggs into halves & set aside.
Heat 2 tablespoons oil in a large pot. Add in the chopped onion, 1 star aniseed, ½ cinnamon stick, 2 bay leaves, curry leaves, jeera (cumin) seeds & soomph (fennel) seeds.
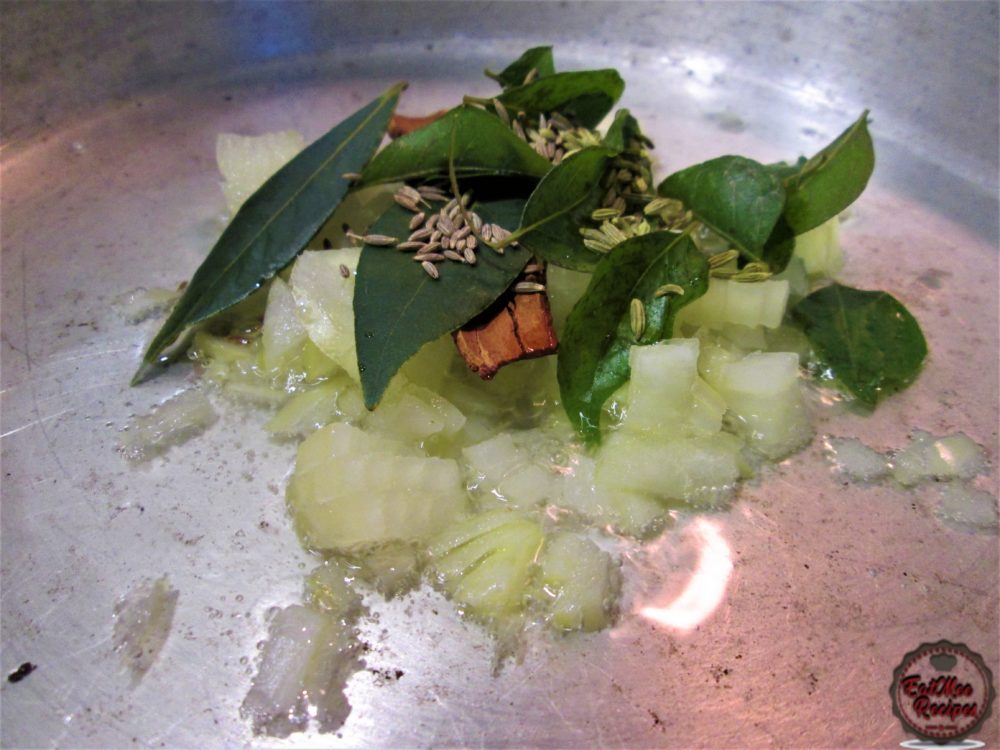
Mix & simmer until onions are translucent.
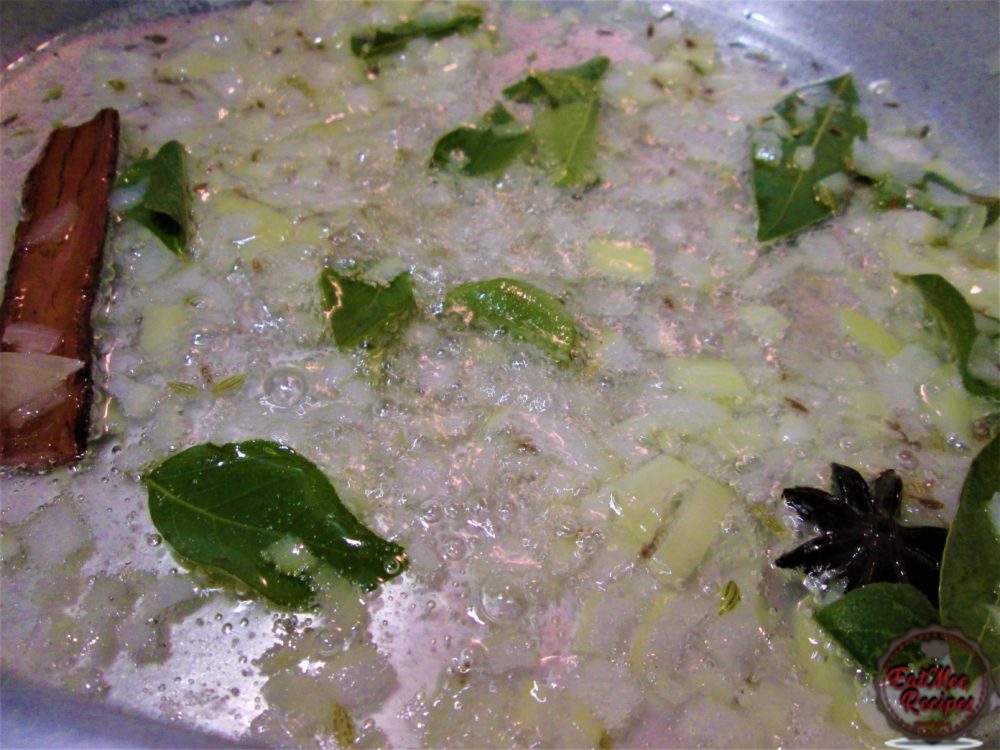
Thereafter, add in ¼ teaspoon turmeric powder, elachi (cardamom) powder – note that the elachi pods may be used but I prefer using the powder as it won’t be a disturbance to bite into the pods later on. Add 1 teaspoon garam masala, 1 teaspoon dhania (coriander) powder, ½ teaspoon jeera (cumin) powder & 1 ½ tablespoons chili powder.
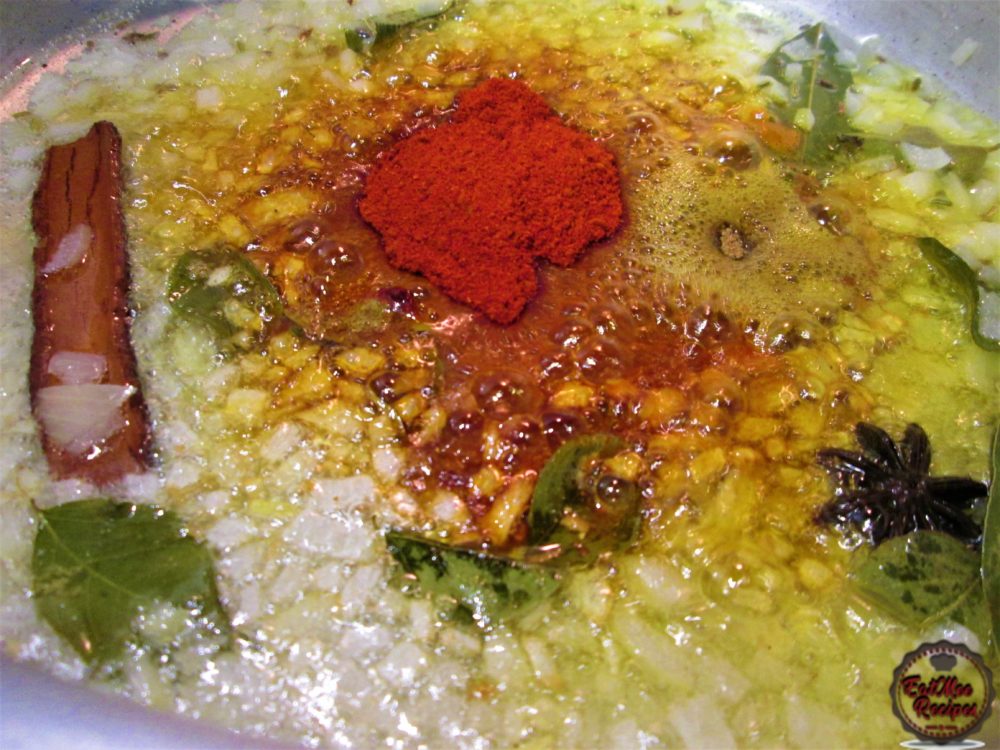
Mix well.
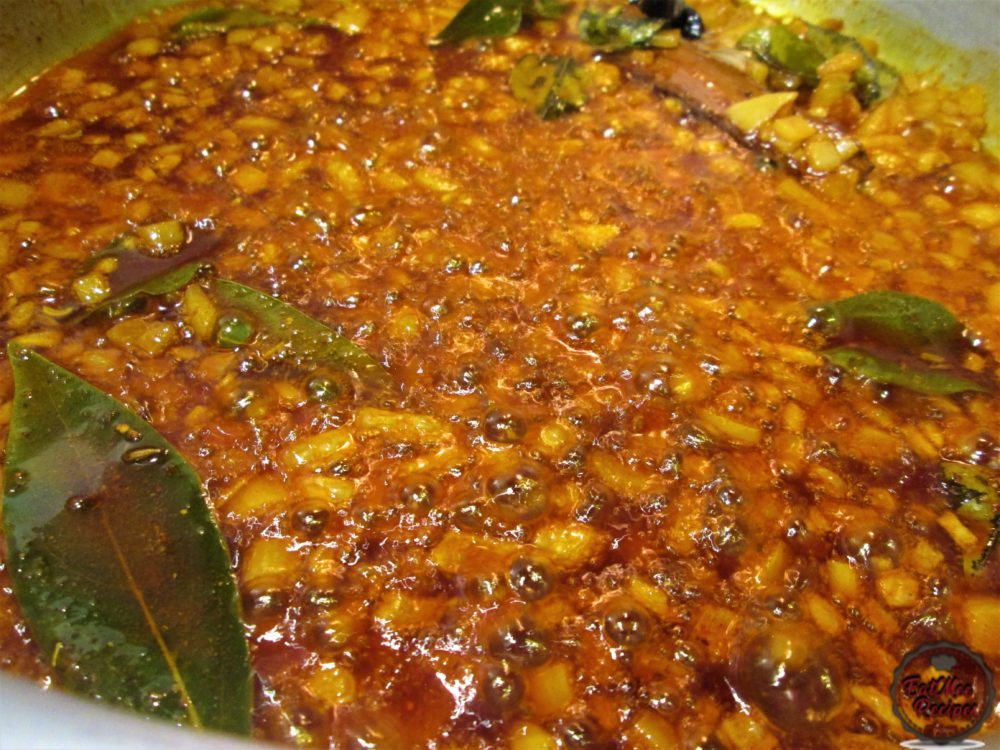
Add in the blended or grated tomatoes.
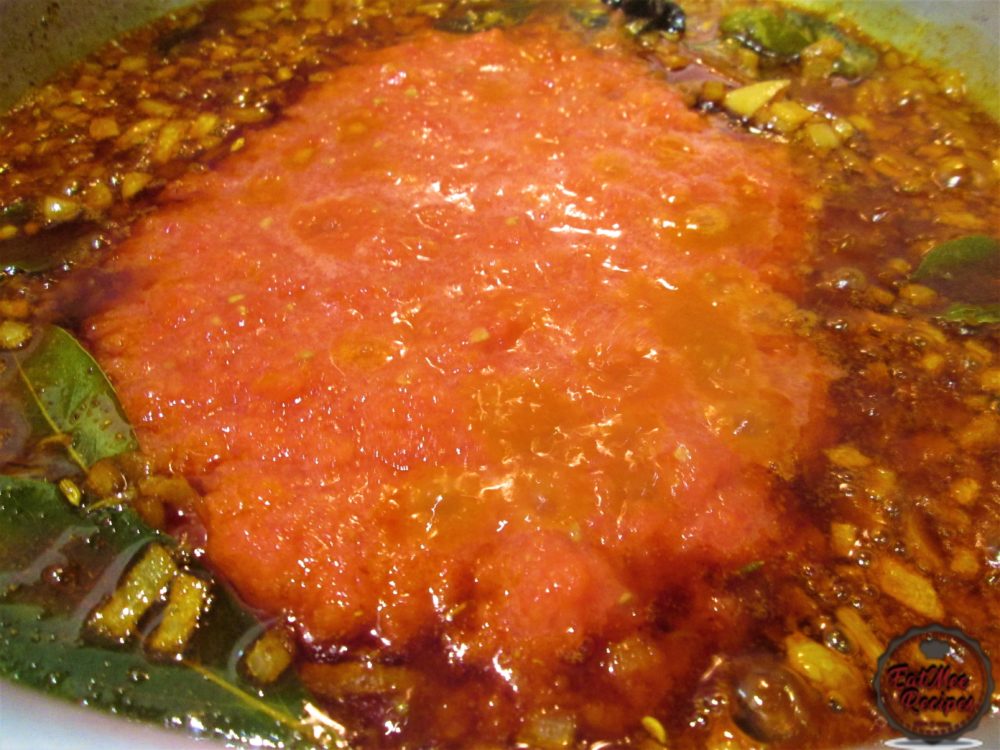
Mix well & allow tomatoes to cook for 10 minutes.
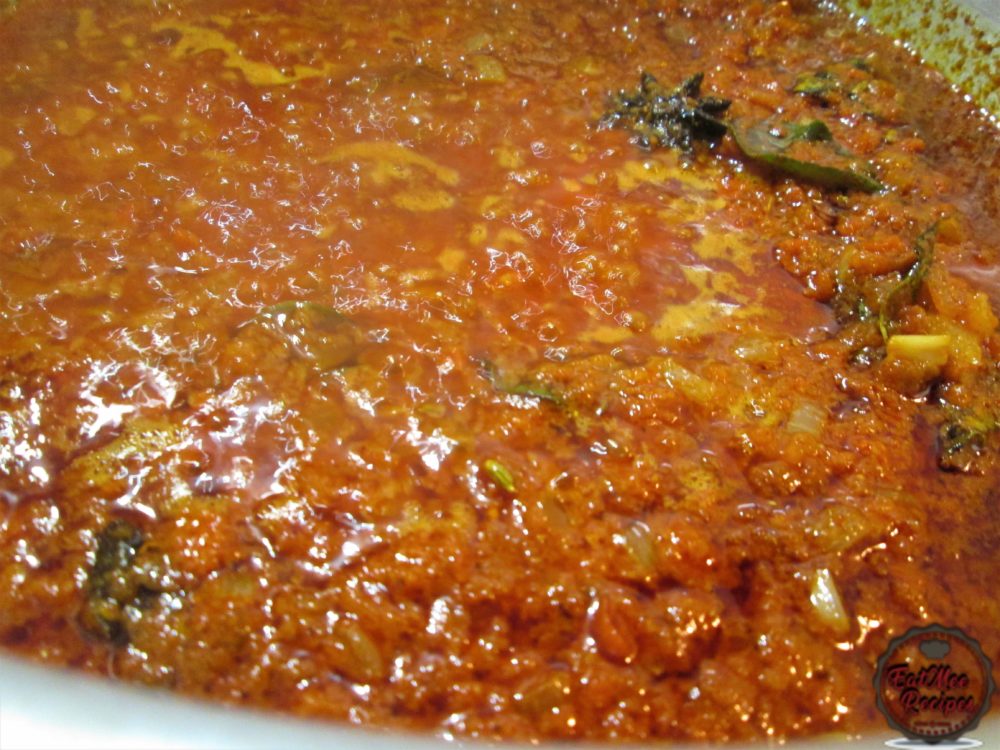
Once the tomatoes have cooked, drop in the marinated mince (ground beef or lamb) & add salt to taste.
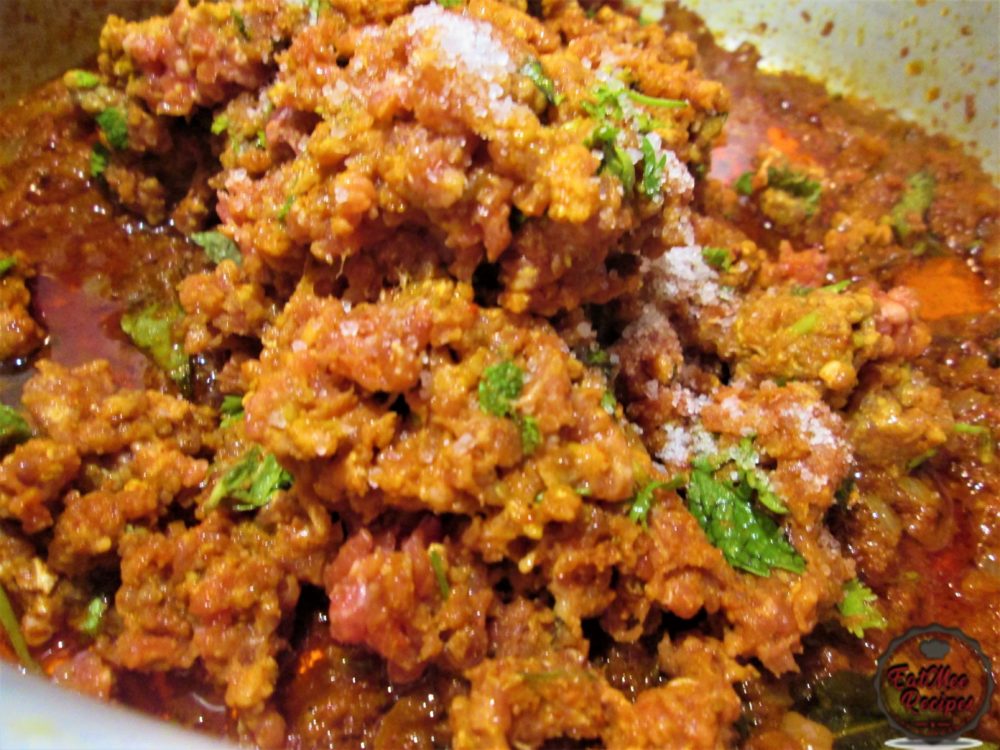
Mix well.
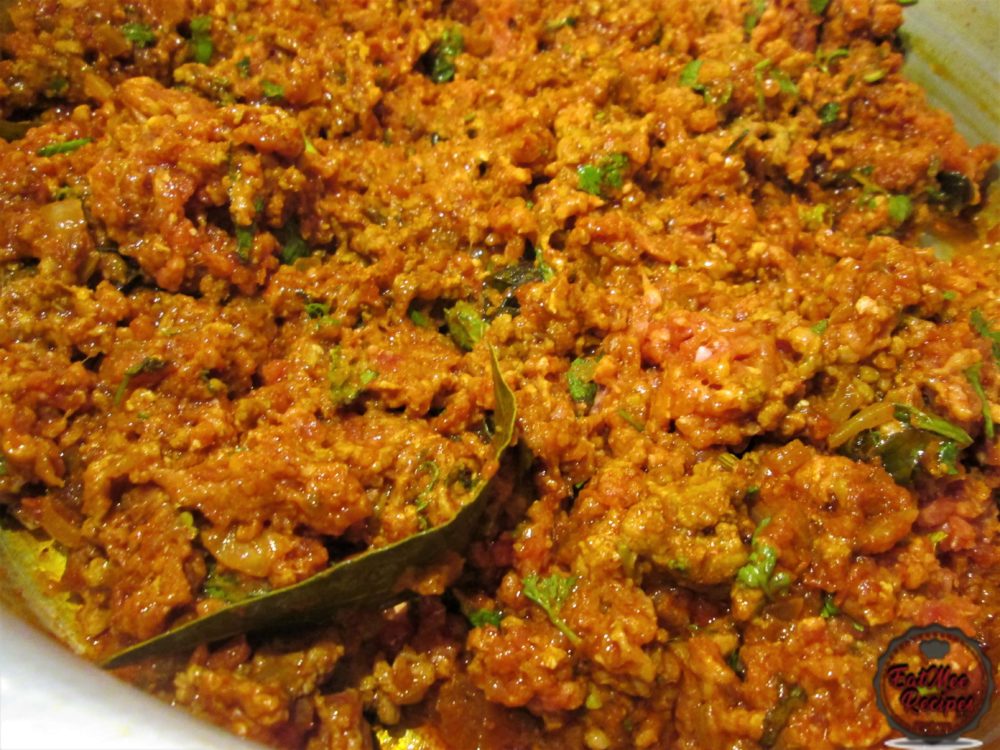
Allow the mince to cook for 10 minutes until browned. Turn off the heat.
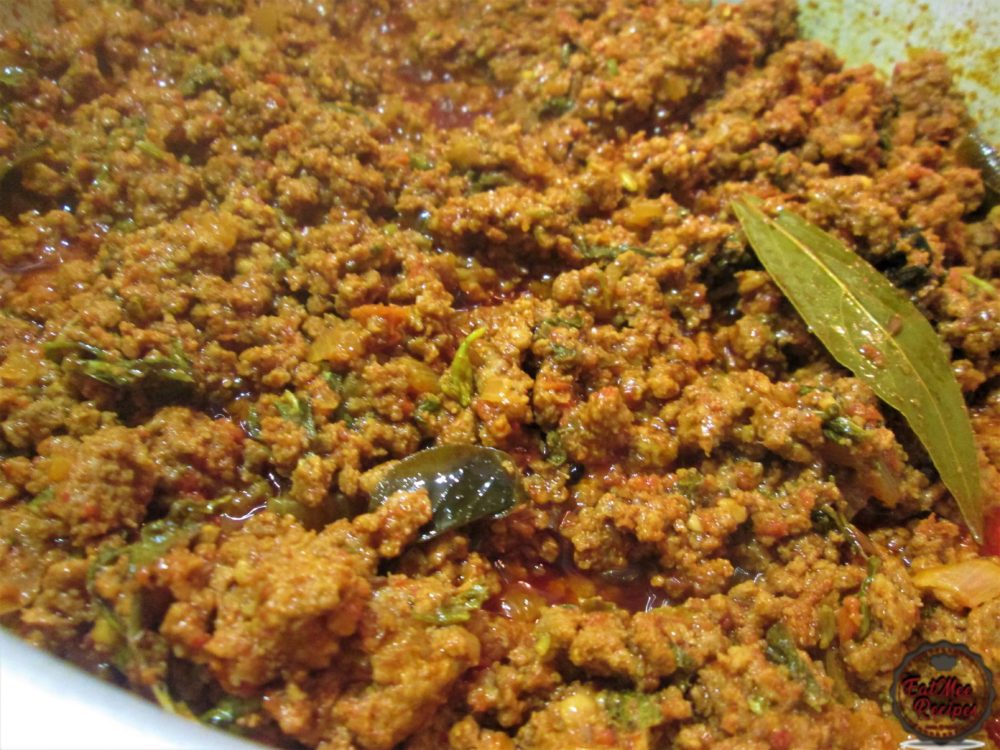
Add the rice from the colander into a bowl.
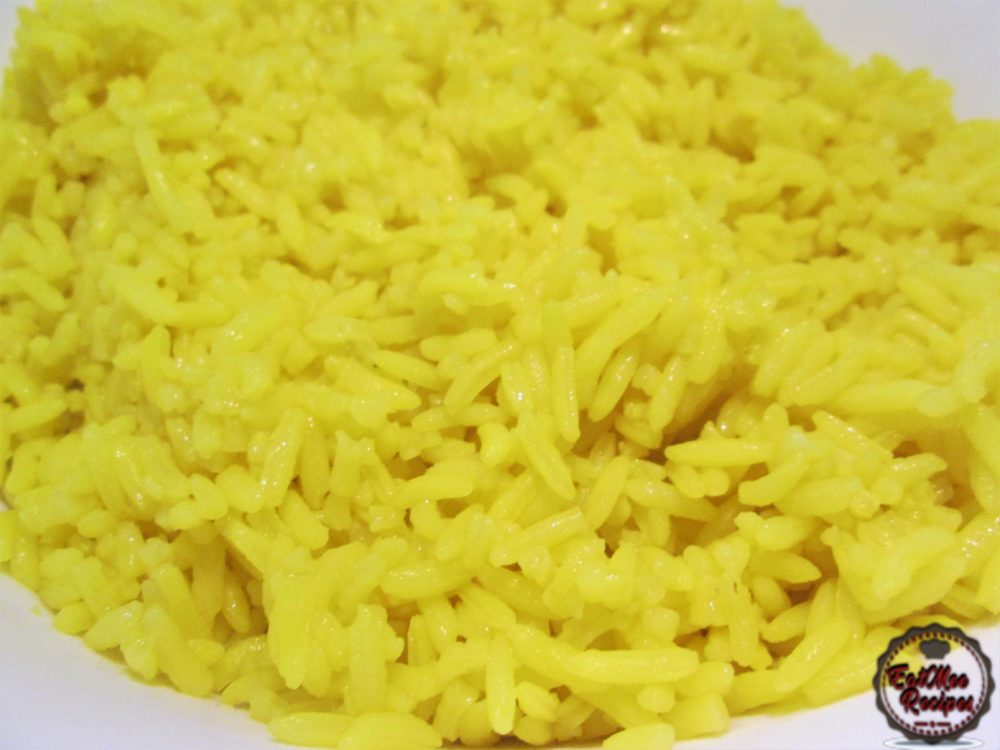
Add in a few drops of yellow food colouring (egg yellow) & mix well.
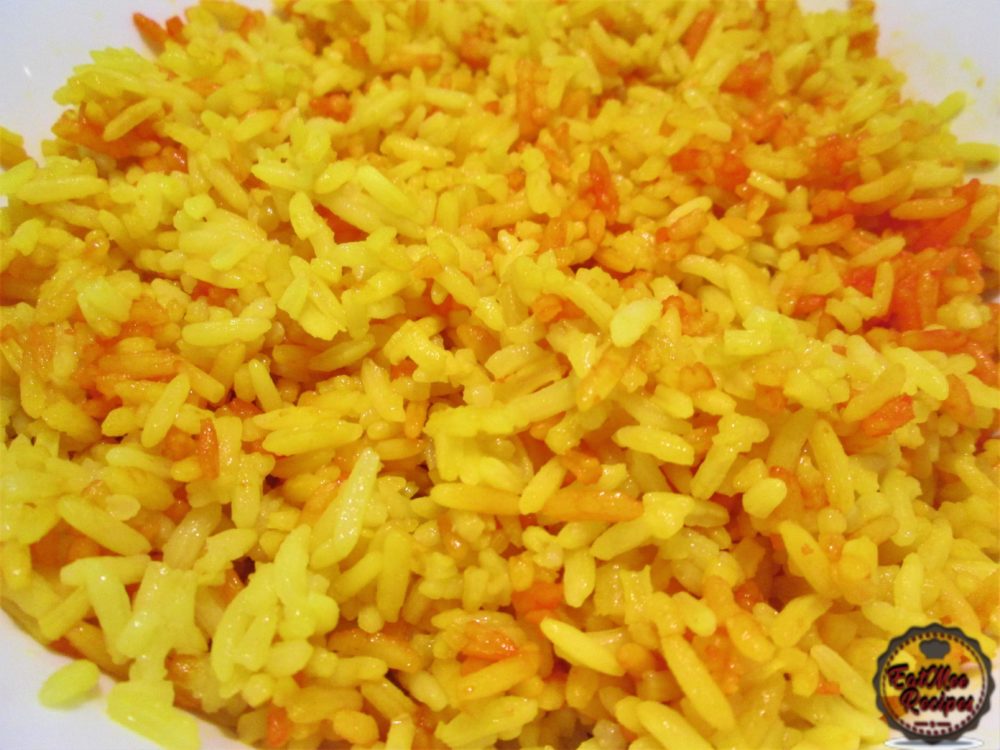
Next, add the cooked biryani dhall (masoor) to the rice.
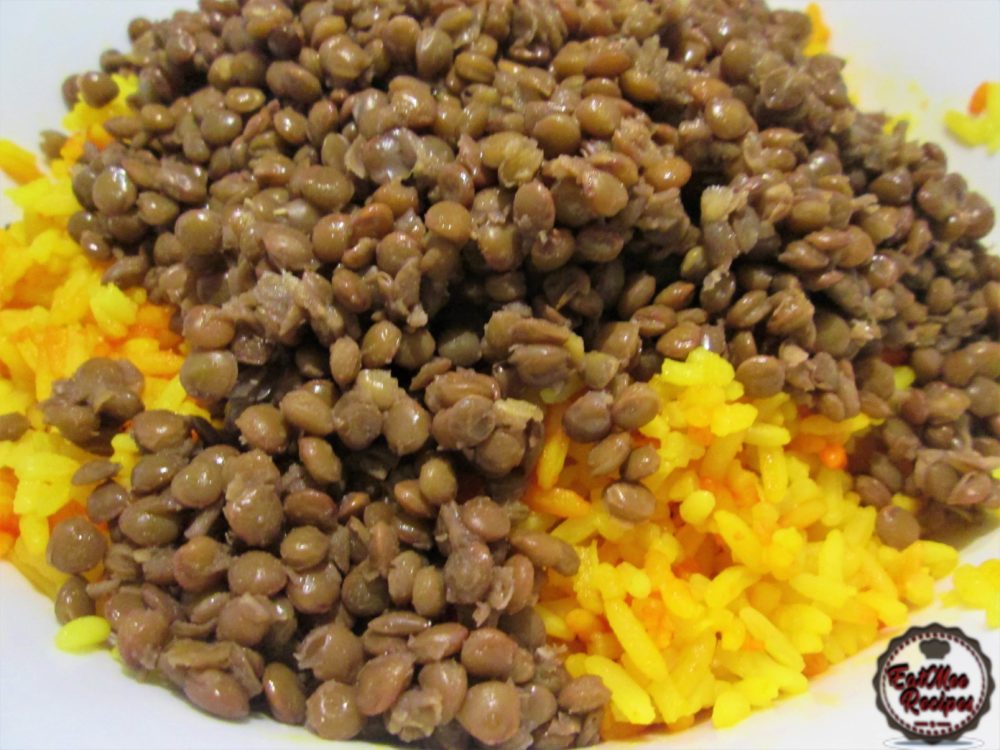
Mix well.
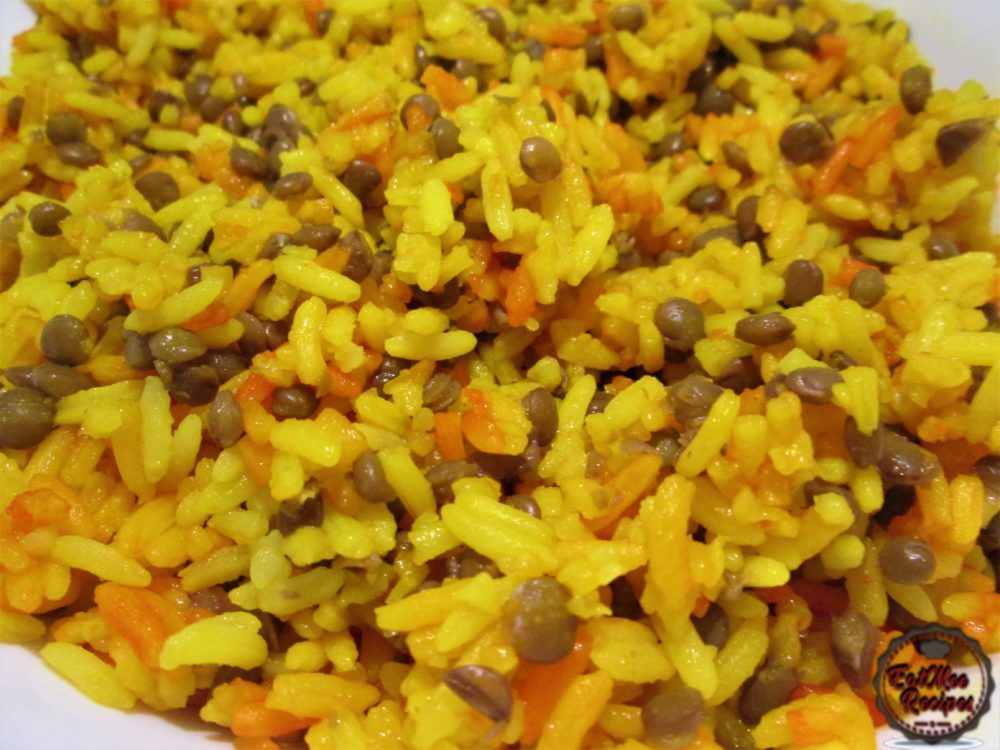
Add a little of the rice to the mince.
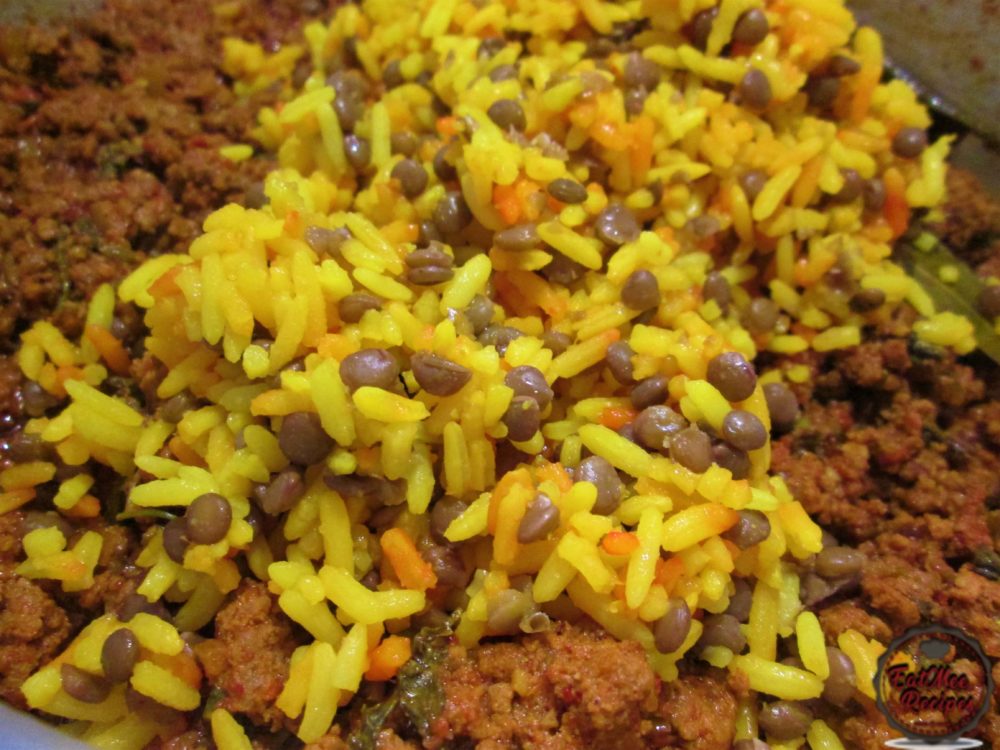
Mix well.
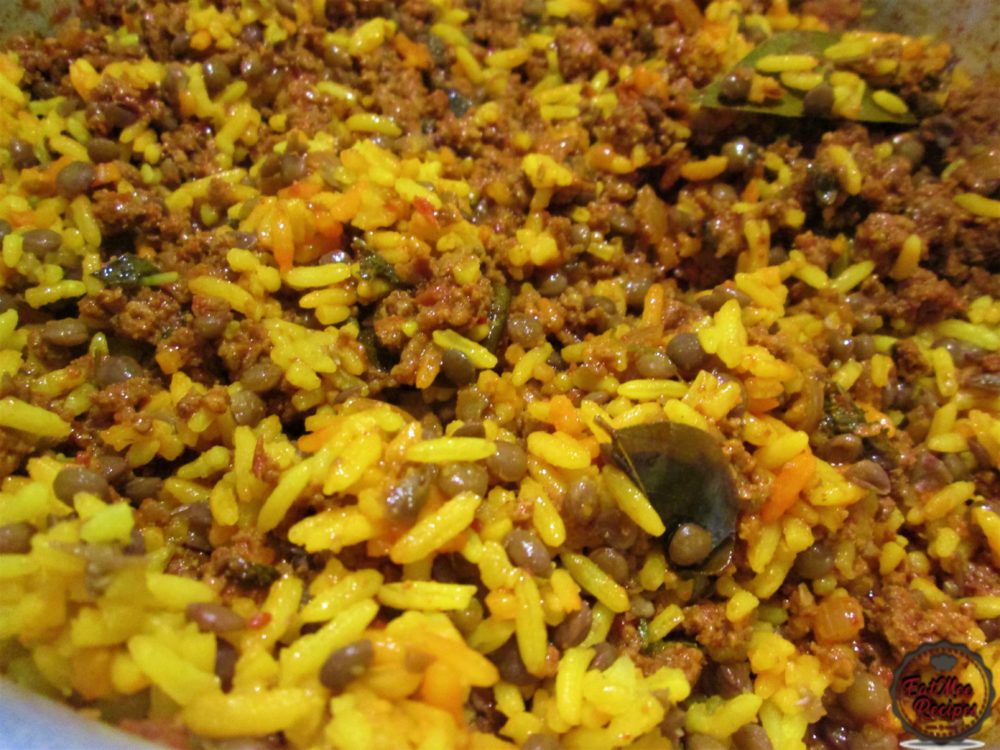
Continue this process until you have a little of the rice left behind.
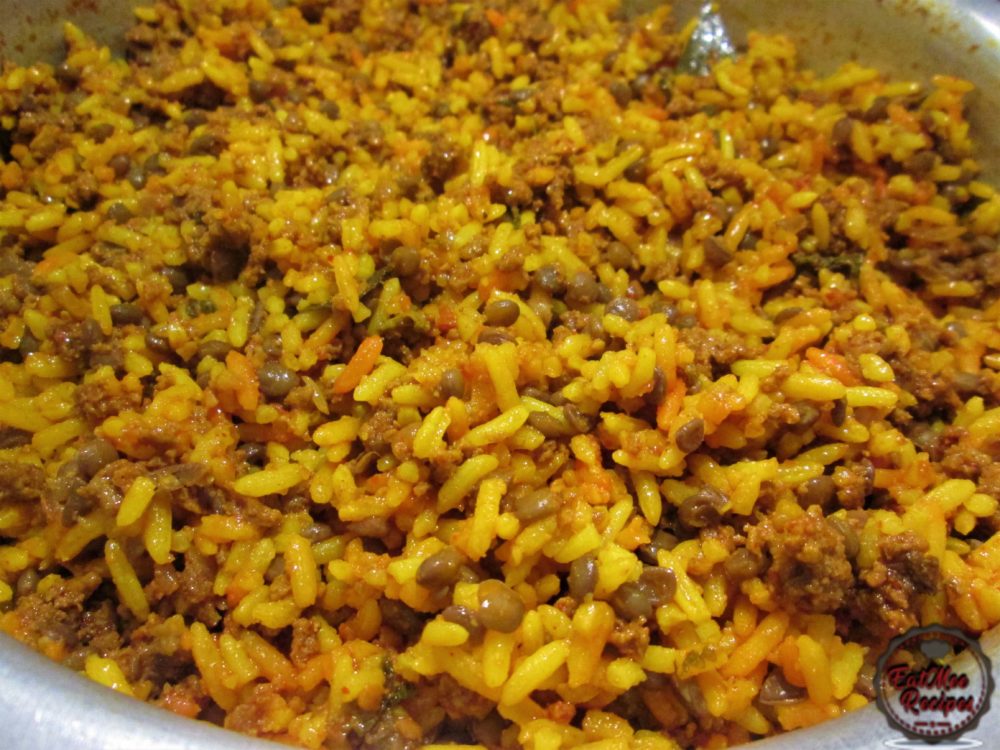
The extra rice will be used in the end, so keep about a cup of the cooked rice aside.
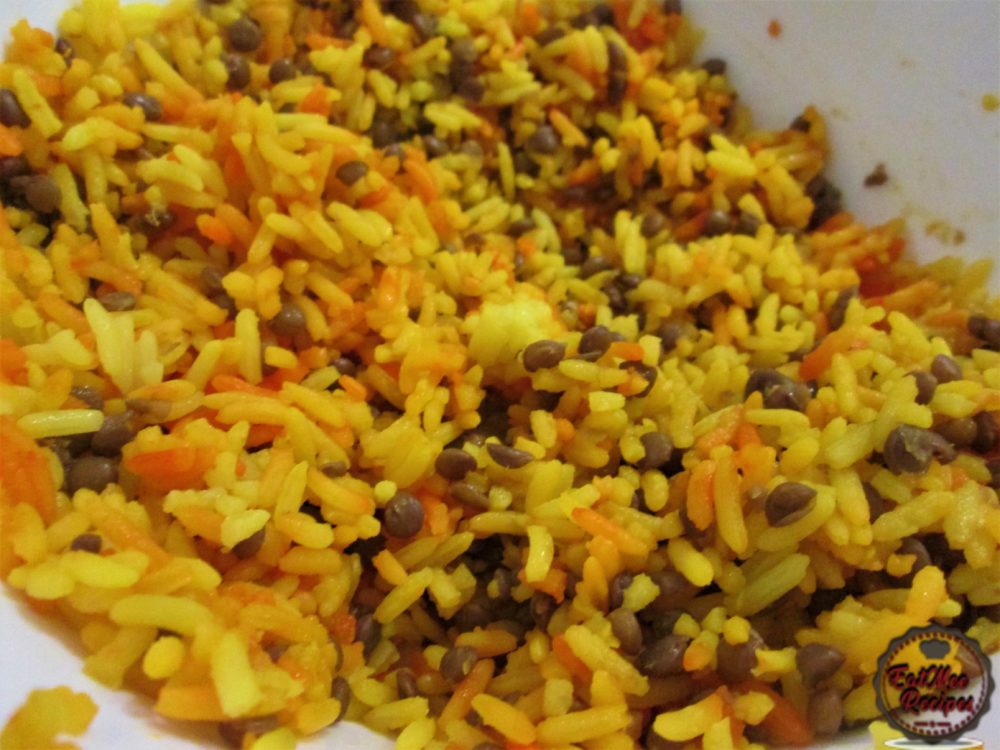
Tuck the fried potatoes into the mince/rice mixture.
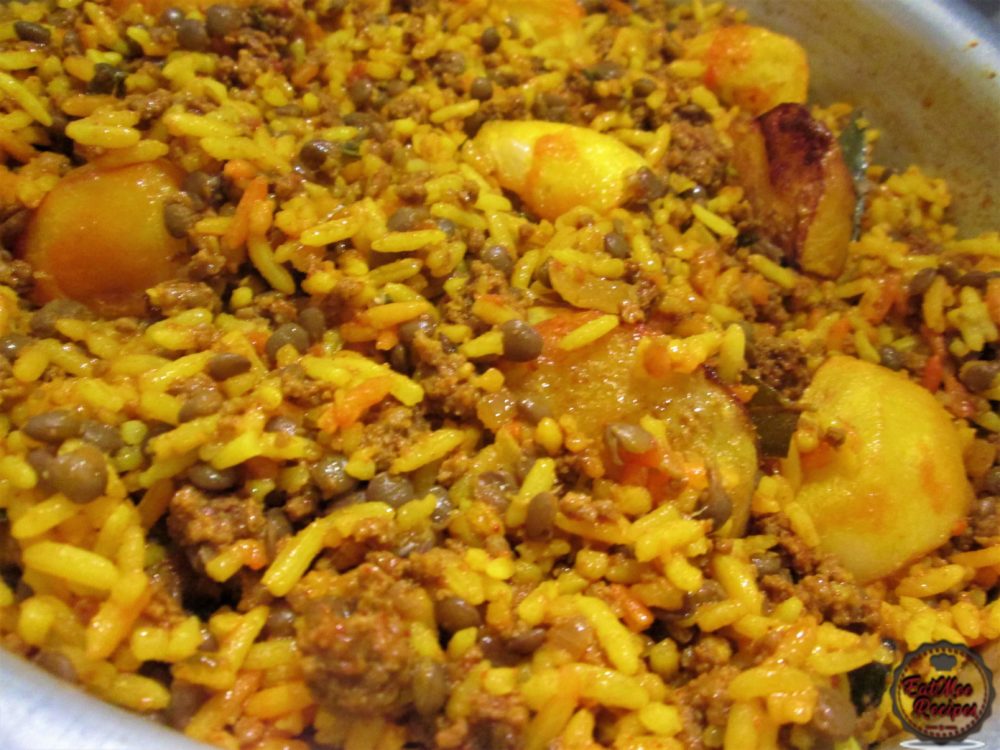
Spread over the extra rice that was left aside.
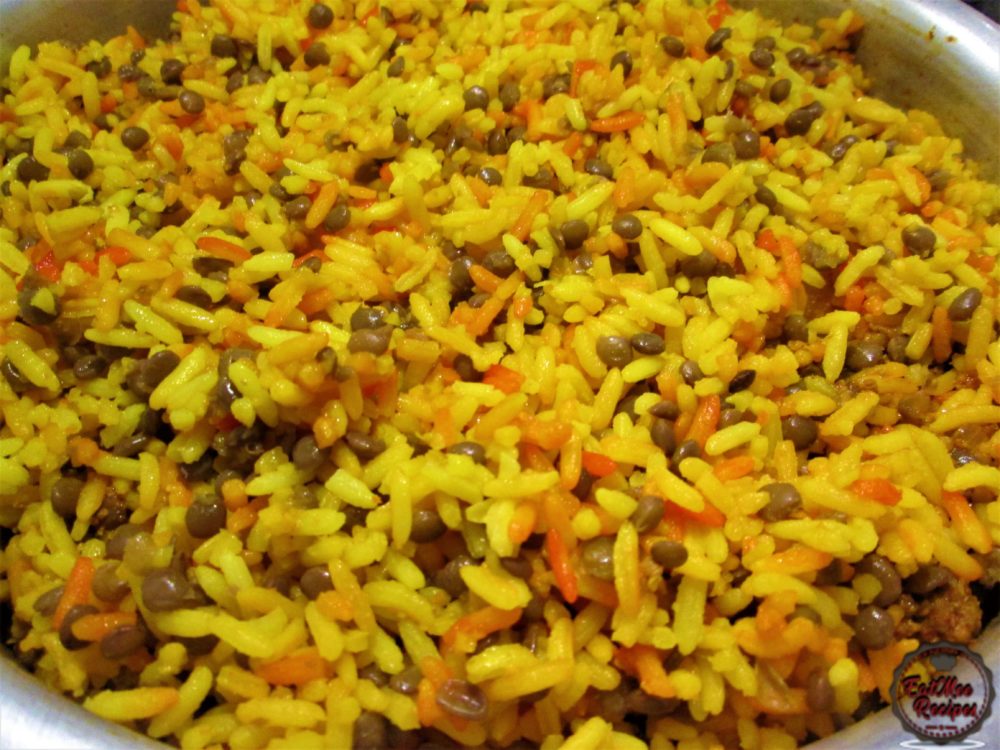
Spread the fried onions over.
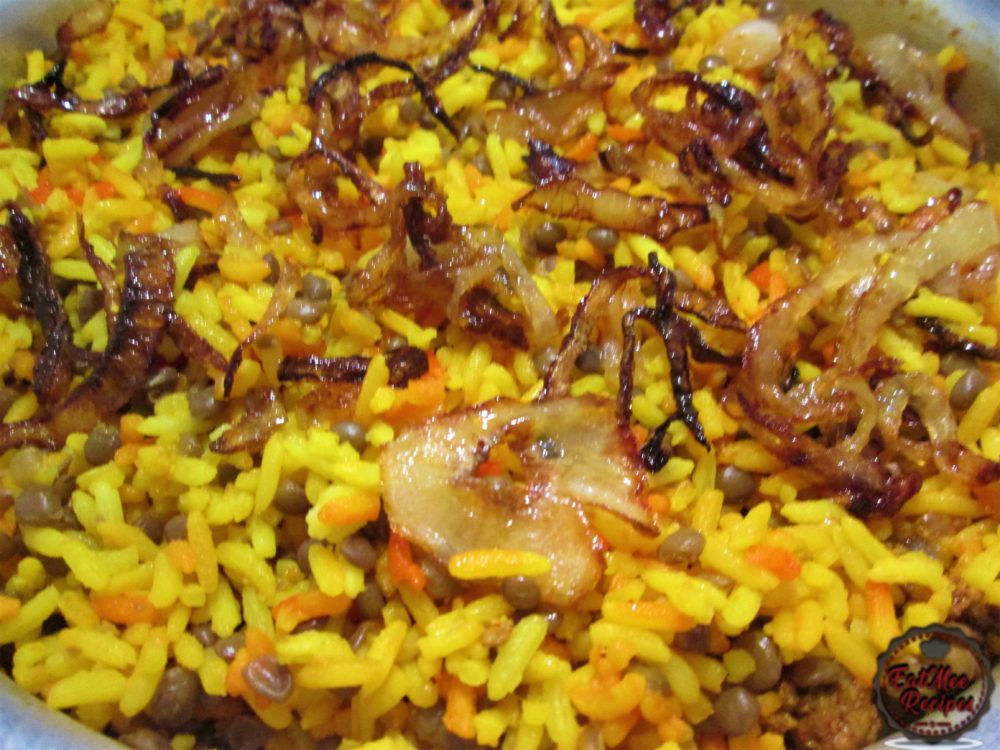
Next, place over the halved boiled eggs.
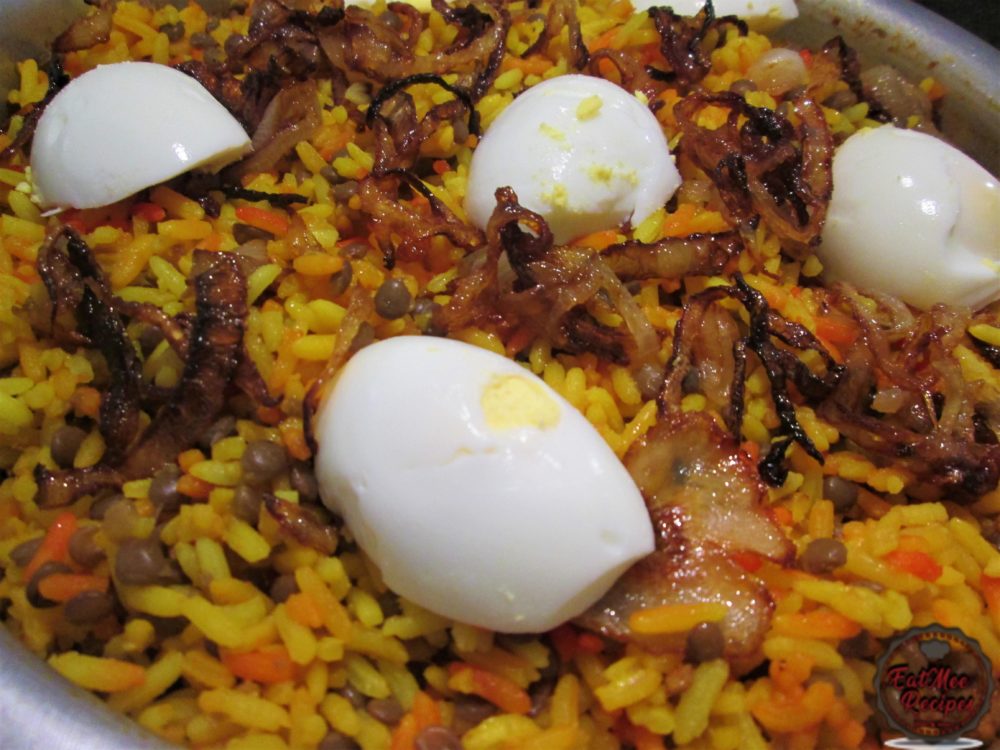
Garnish with dhania (coriander).
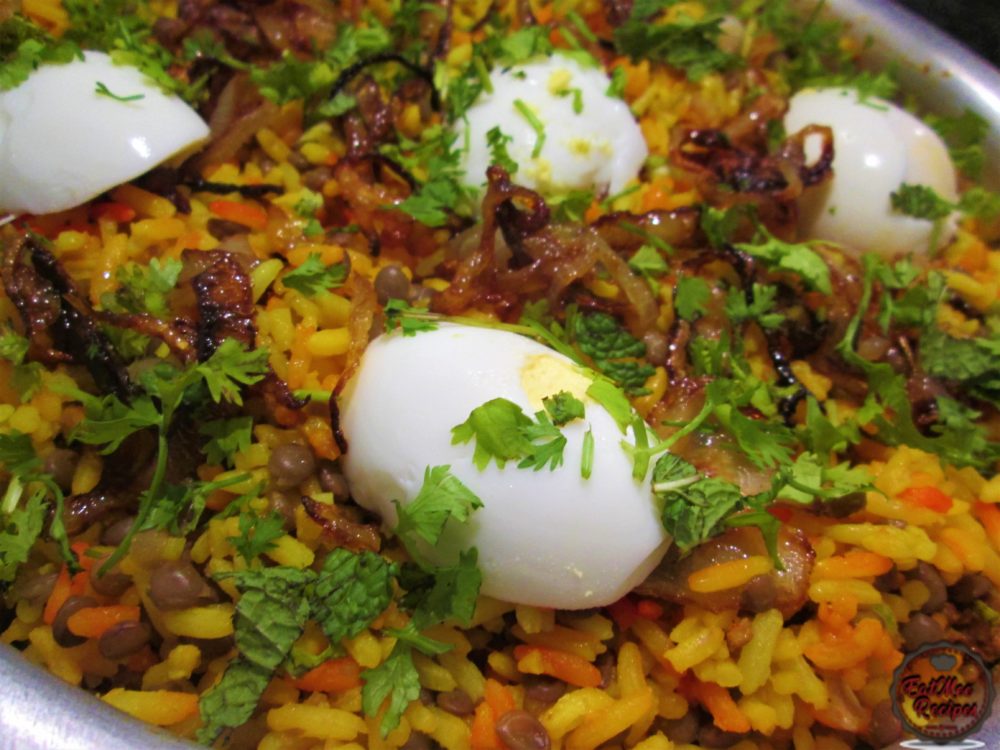
Add a few dollops of butter here & there.
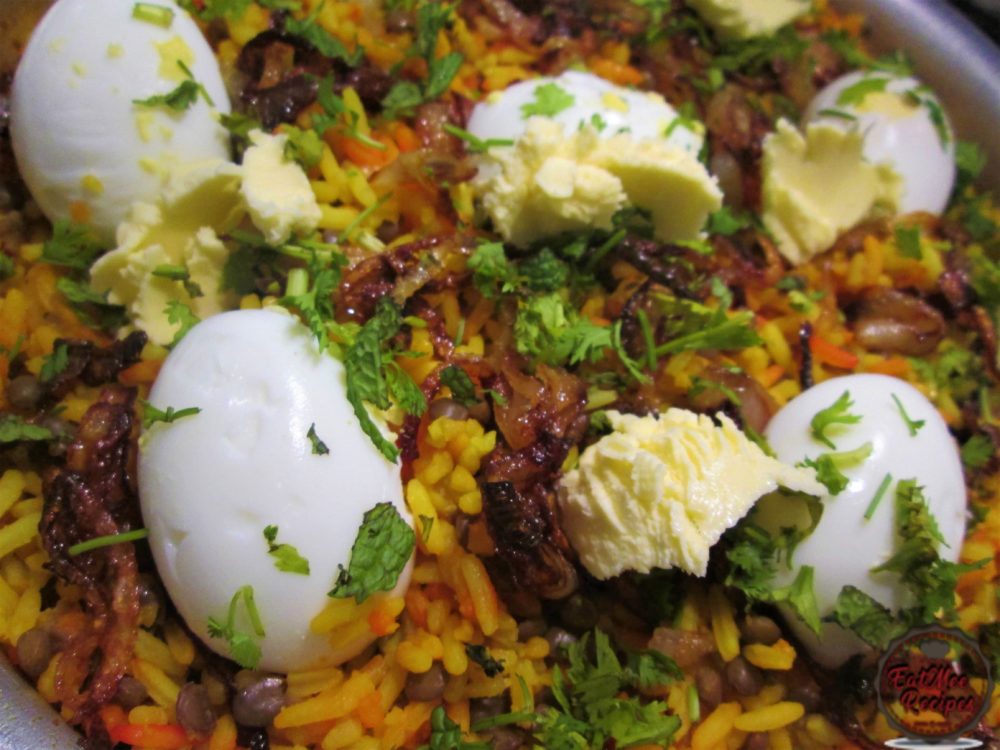
Cover with the lid & steam in the oven for 20 minutes at 180° Celsius.
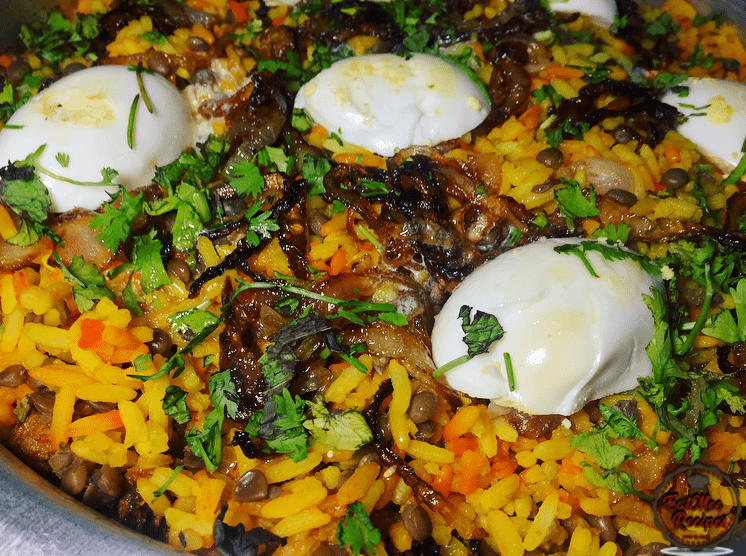
Plate & serve.
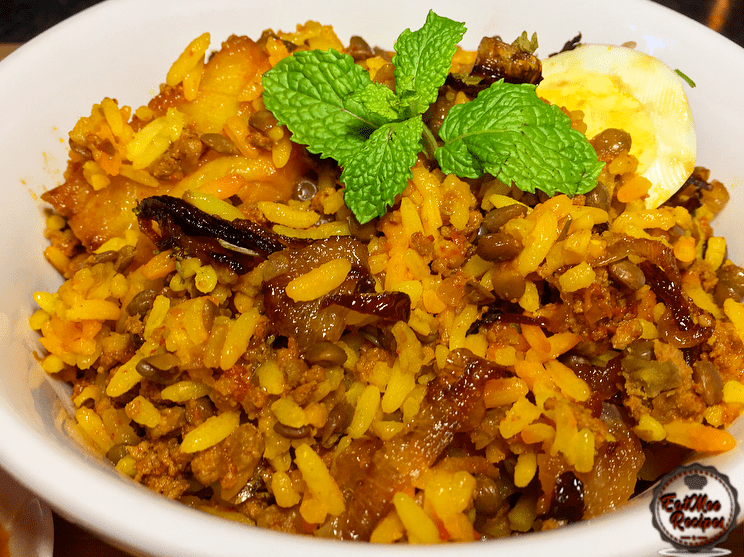
Serve this mince biryani with pea dhall, curried dhall, carrot salad, carrot sour milk salad or pickles.
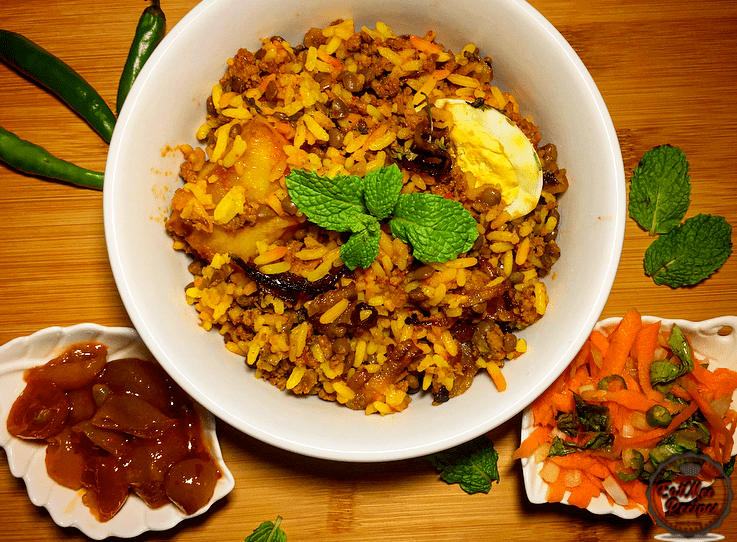
This Mince Biryani stores in the refrigerator for up to a week.
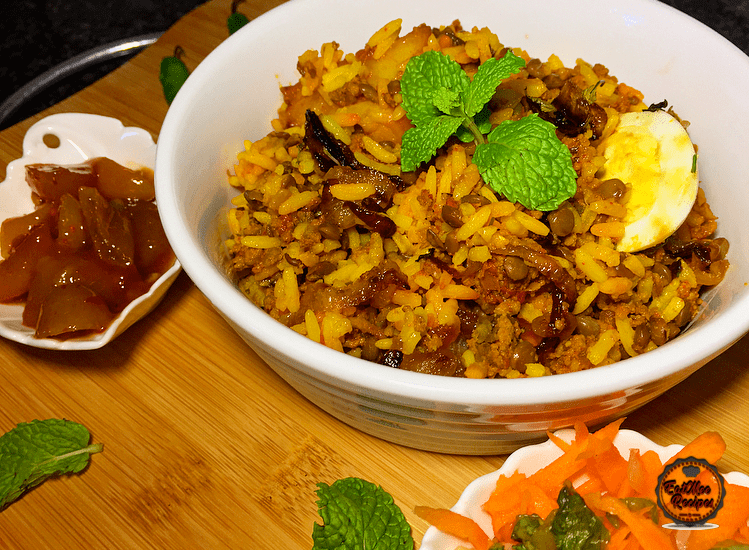
Follow along with Denisiya's step-by-step video guide for Mince Biryani.
Expert kitchen guidance and troubleshooting for making the best Mince Biryani
Always par-boil your basmati rice with whole spices until it is only about 70% cooked (firm with a slight bite). The rice finishes steaming to fluffy perfection during the layered dum (steaming) stage.
Yes, marinating the meat overnight in yogurt, ginger, garlic, and spices tenderizes the meat and allows the deep aromatic flavors to permeate fully before cooking.
Traditionally, serve this with fresh sour milk salad (raita), a side of homemade yellow dhal, and a spicy vegetable or mango pickle.
Hi, I'm Denisiya! Food lover, recipe developer, and founder of EatMee Recipes. I specialize in authentic South African Durban Indian cuisine, comforting curries, and modern Instant Pot adaptations. Every recipe on this site is tested in my personal kitchen to ensure you get mouth-watering, foolproof results every time.
Explore more authentic Durban curries, traditional bakes, and comforting family favourites.
 Afrikaner Cuisine
There’s something undeniably comforting about a warm, flaky sausage roll. They’re nostalgi...
 Cape Malay Cuisine
Chicken Khaliya also spelled Chicken Kalia or Chicken Kalya is a chicken curry from Maurit...
 Afrikaner Cuisine
Who else goes to Nandos & orders the livers? I know I do but sometimes we just want to sta...
Have you tried this recipe or have questions for Denisiya? Join the conversation below.
No comments yet. Be the first to share your thoughts on this recipe!
Leave a Comment
Your email address will not be published. Required fields are marked *