
We Value Your Culinary Privacy
EatMee Recipes uses cookies to provide a personalized browsing experience, analyze recipe popularity, and serve relevant ads. You can review our full disclosure in our Privacy Policy.
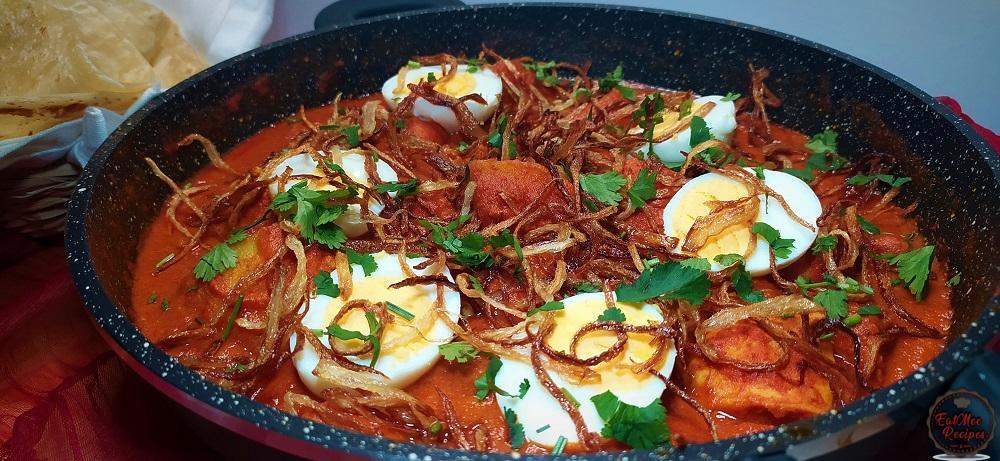
Chicken Khaliya also spelled Chicken Kalia or Chicken Kalya is a chicken curry from Mauritius that is made with yogurt & loads of spices.

Join over 60,000+ home chefs for weekly authentic Durban Indian cook-alongs, Instant Pot masterclasses, and family heritage recipes.
Chicken Khaliya also spelled Chicken Kalia or Chicken Kalya is a chicken curry from Mauritius that is made with yogurt & loads of spices.
This dish is also popular in South Africa in Cape Malay culture. It is a whole different way of preparing chicken curry & if you’re a chicken curry fan like I am then you will thoroughly enjoy this recipe.
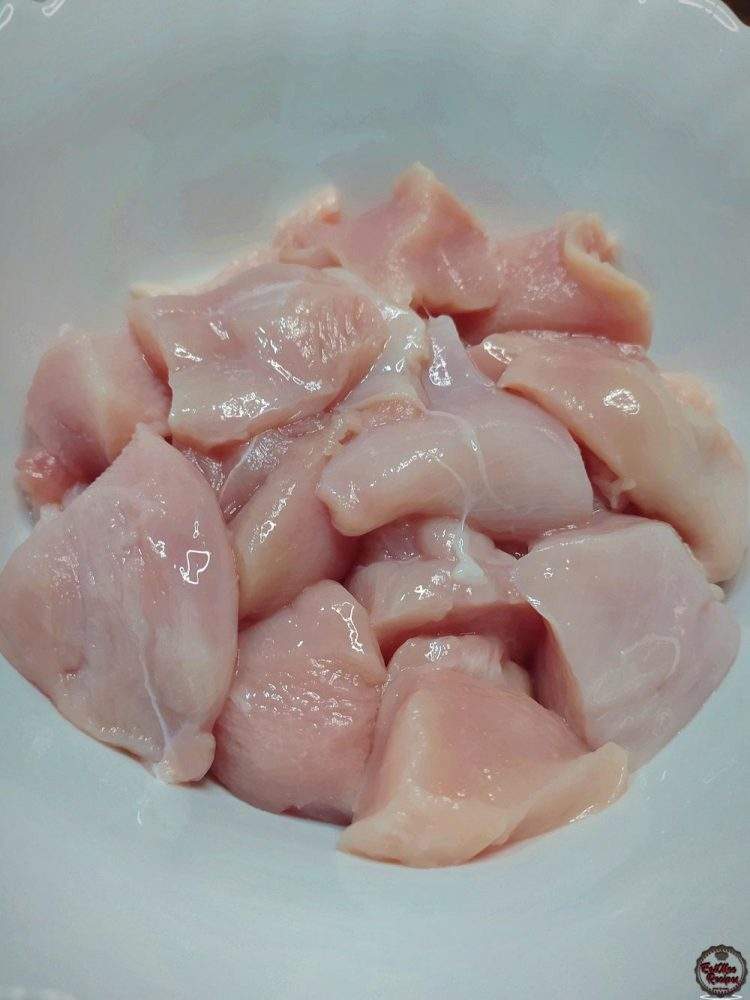
Rinse & cut chicken fillets. Place into a bowl.
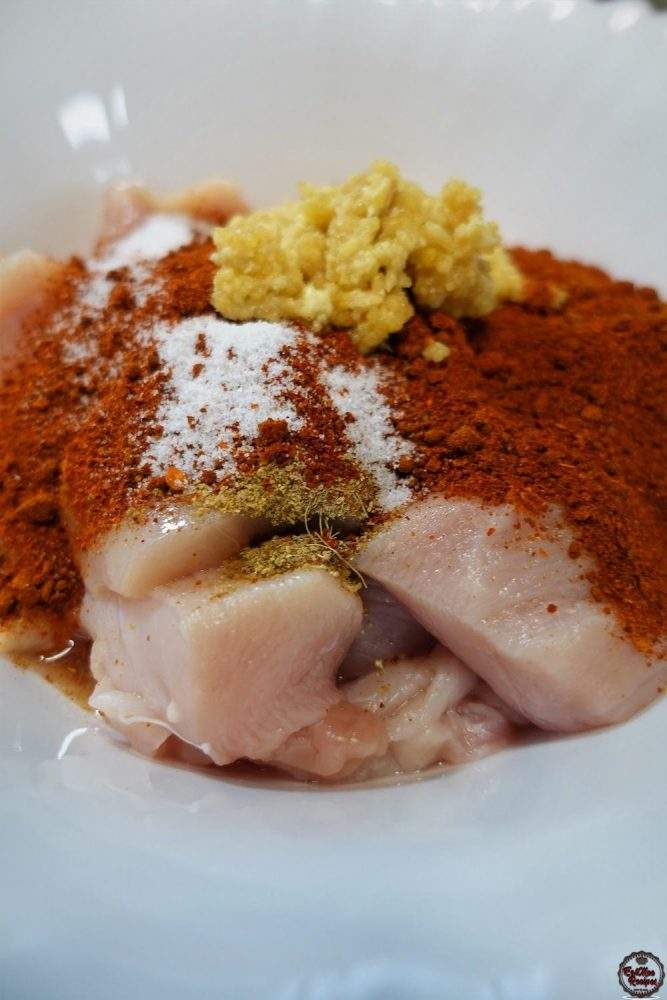
Marinate the chicken with the salt, turmeric powder, garam masala, cumin (jeera) powder, coriander (dhania) powder, cardamom (elachi) powder, red chilli flakes, chilli powder or masala, salt & ginger & garlic paste.
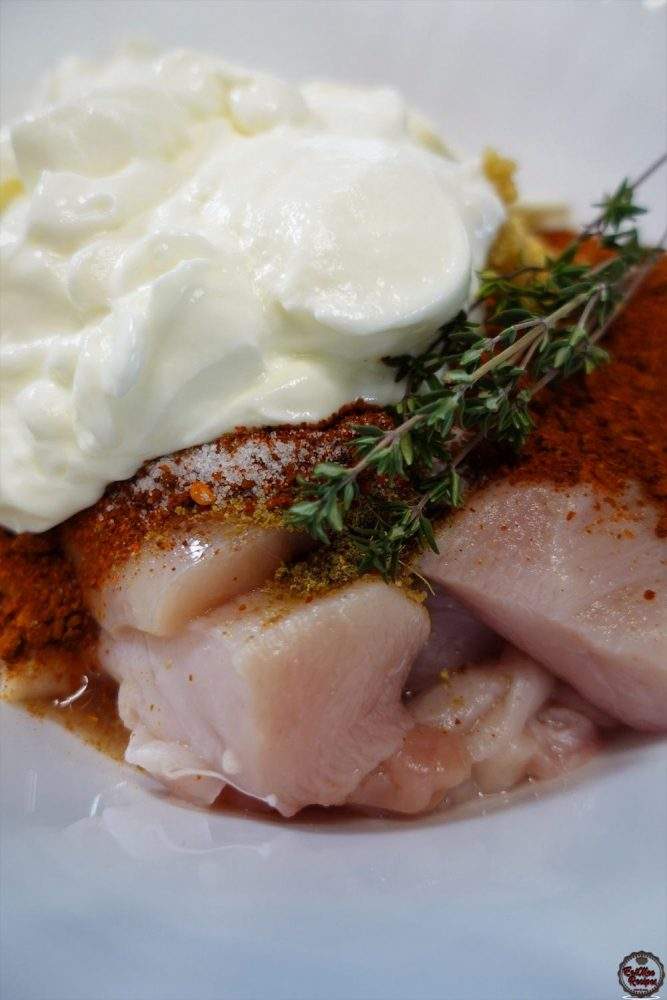
Add in the thyme & plain yoghurt or sour milk (maas).
Thereafter, add in the tomato puree.
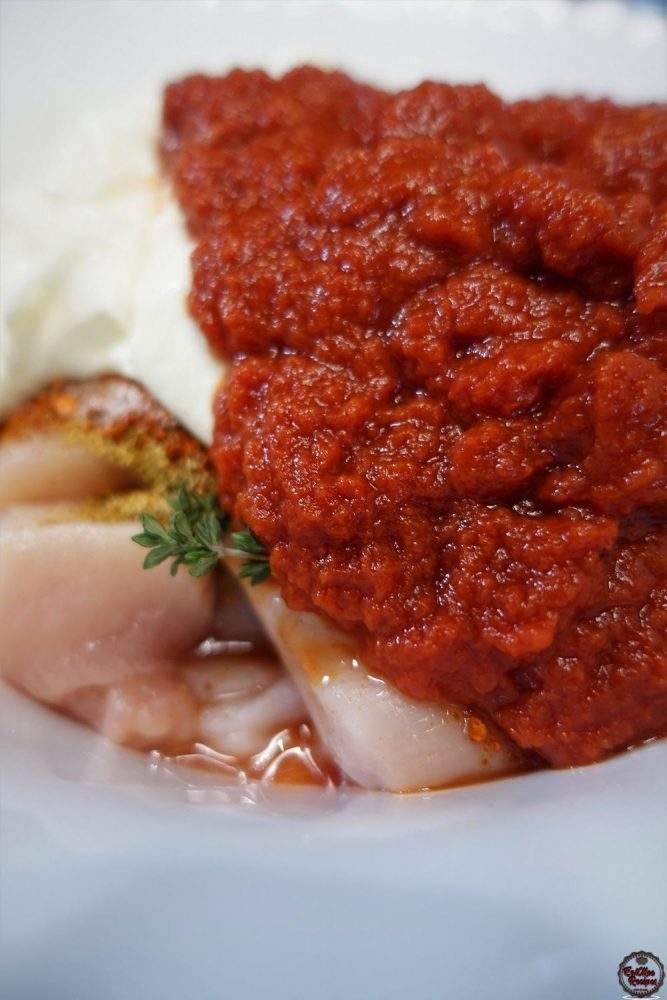
Mix using a spoon & go in with your hands to make sure that the chicken & spices are well combined.
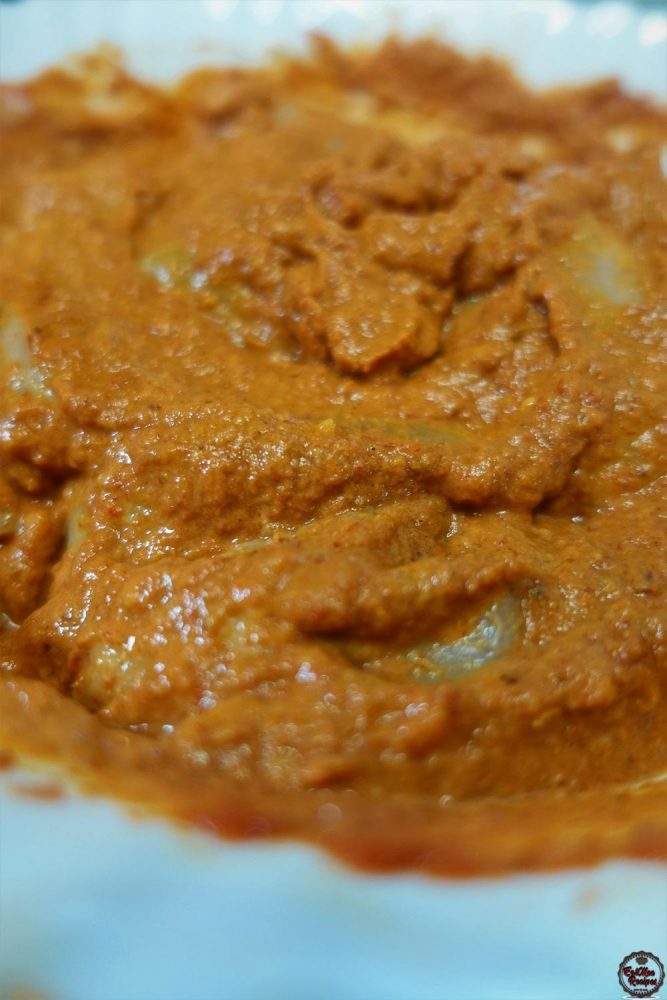
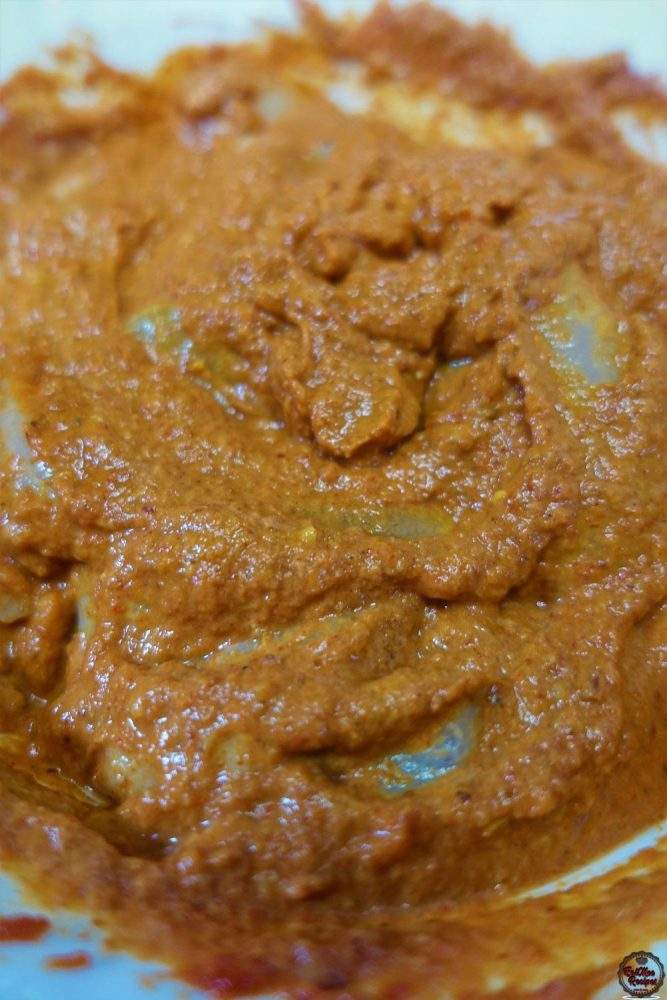
Allow it to marinate for a minimum of 30 minutes.
Whilst waiting for the chicken to soak up all the spices, prep the other ingredients. Start off by boiling the eggs – pour enough water to a pot on medium heat.
Add in ¼ teaspoon salt. The salt is not to season the eggs, but it actually increases the temperature of boiling water. Adding salt raises the boiling point of the water slightly. It also helps seal any cracks or leaks. If a crack develops in the egg, the salt will aid in coagulation. That basically means it will seal faster when it hits the salt water. It also makes the eggs easier to peel.
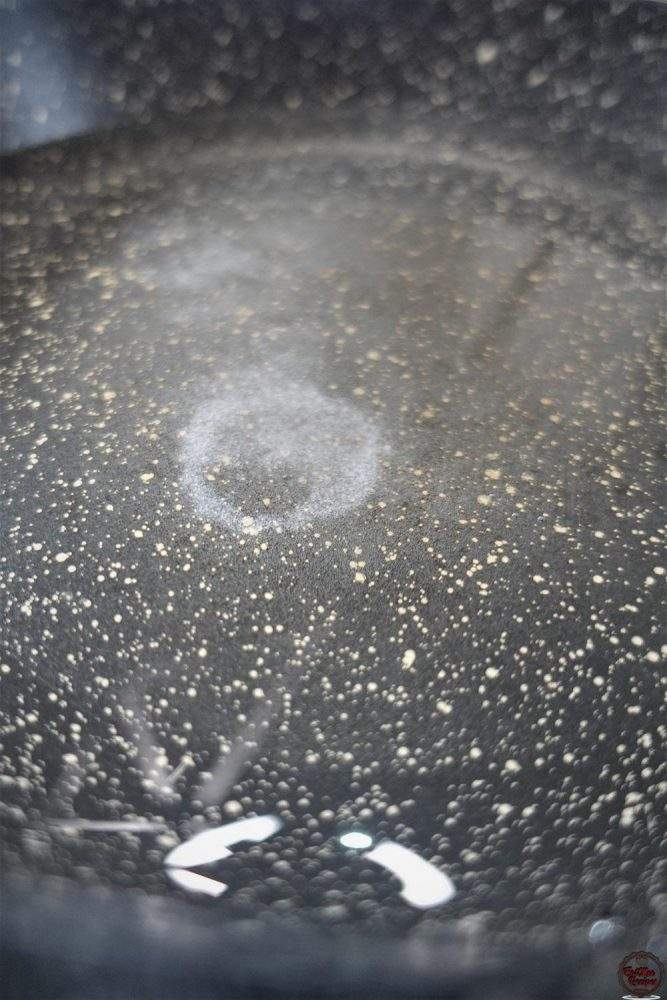
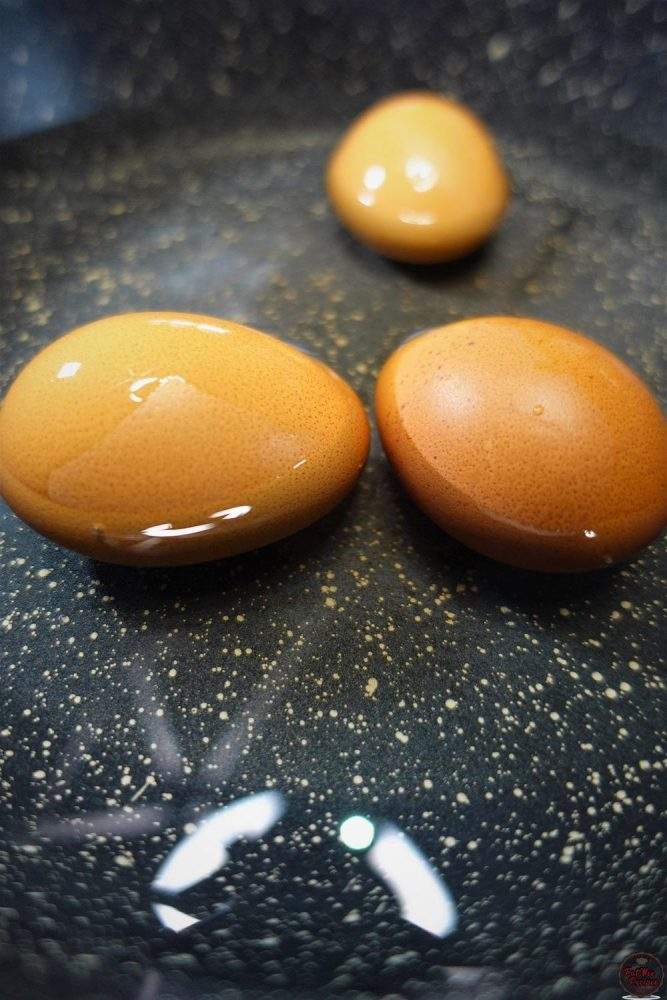
Thereafter, place the eggs into the water.
Cover the pot with a lid & allow the water to come to a boil.
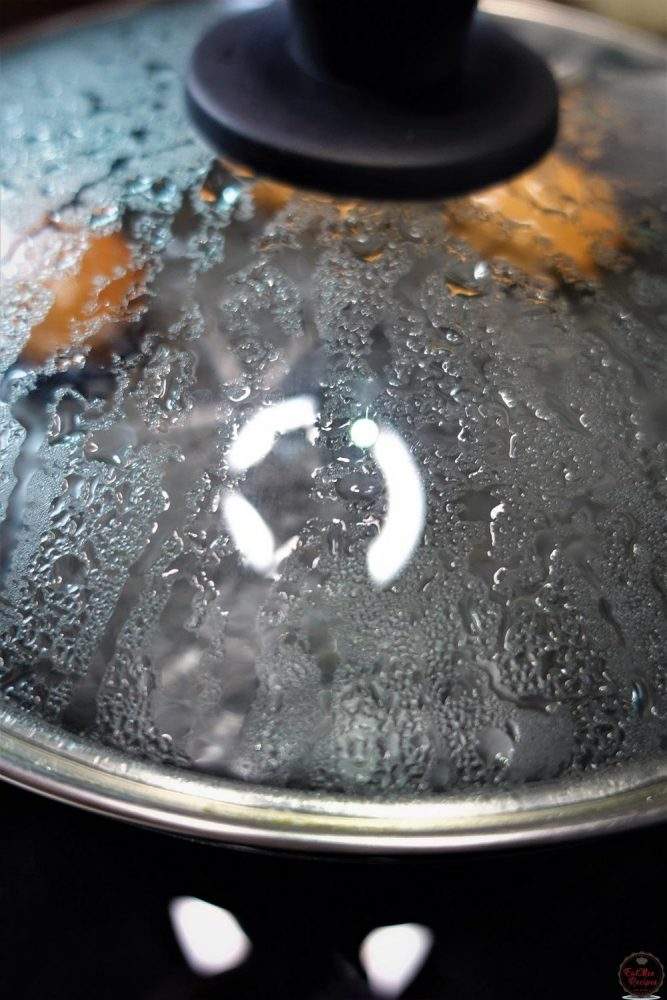
Once it reaches a boil, remove the pot from the heat & set aside for 10 minutes – do not open the lid.
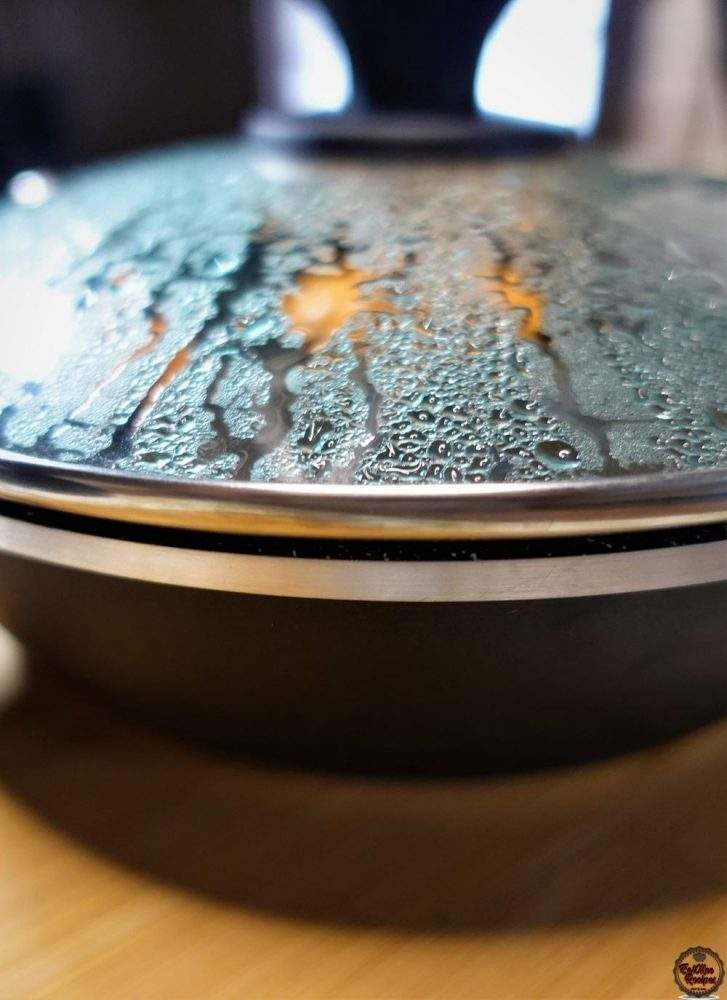
After 10 minutes, carefully remove the eggs from the hot water & place into a bowl of cold water to stop the cooking process.
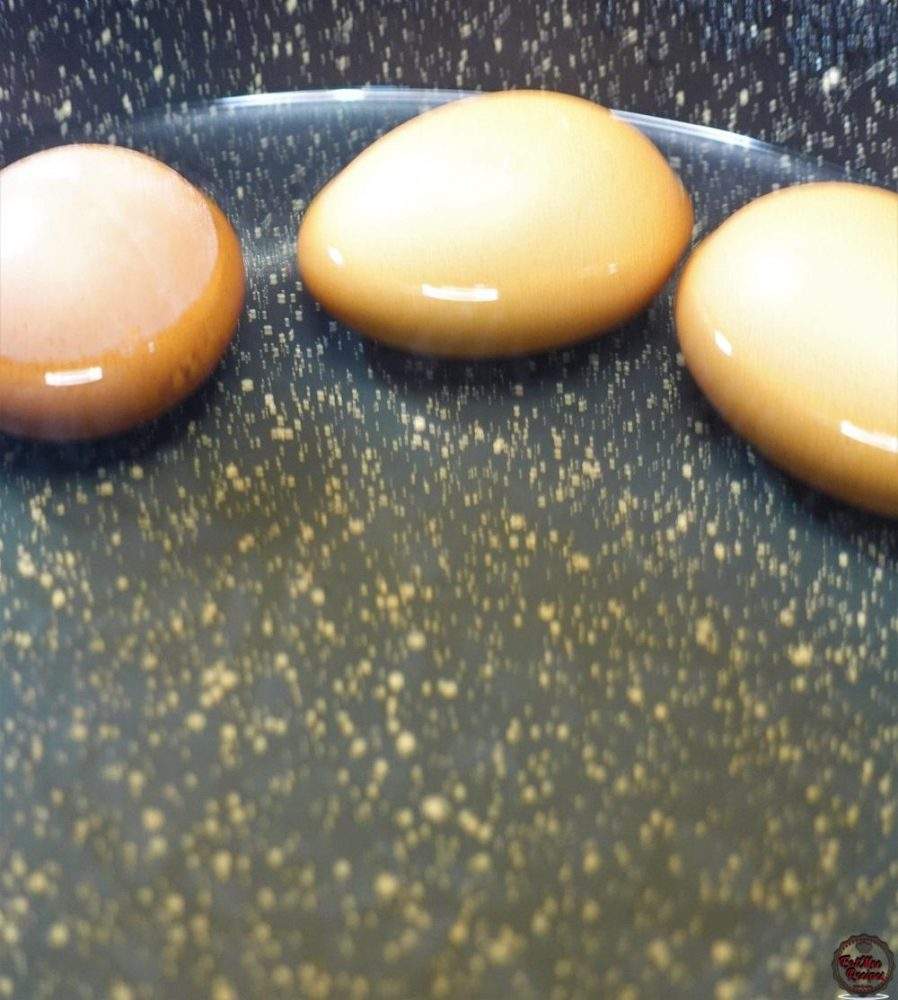
Carefully peel the eggs.
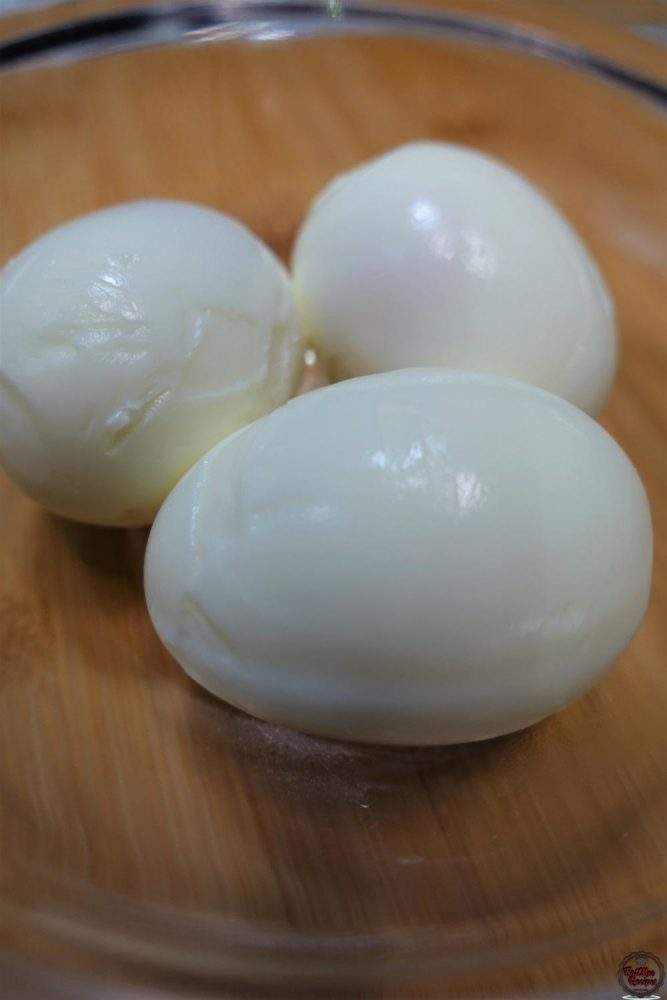
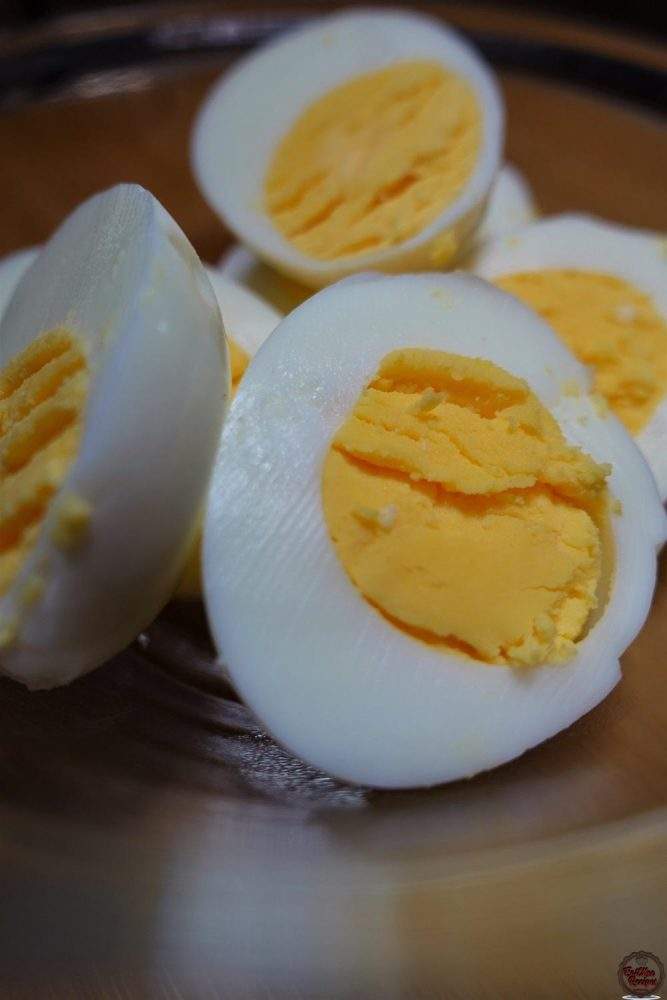
Slice the eggs in halves & set aside until ready to use.
Next, peel & cut the potatoes into quarters & place into a microwave safe bowl.
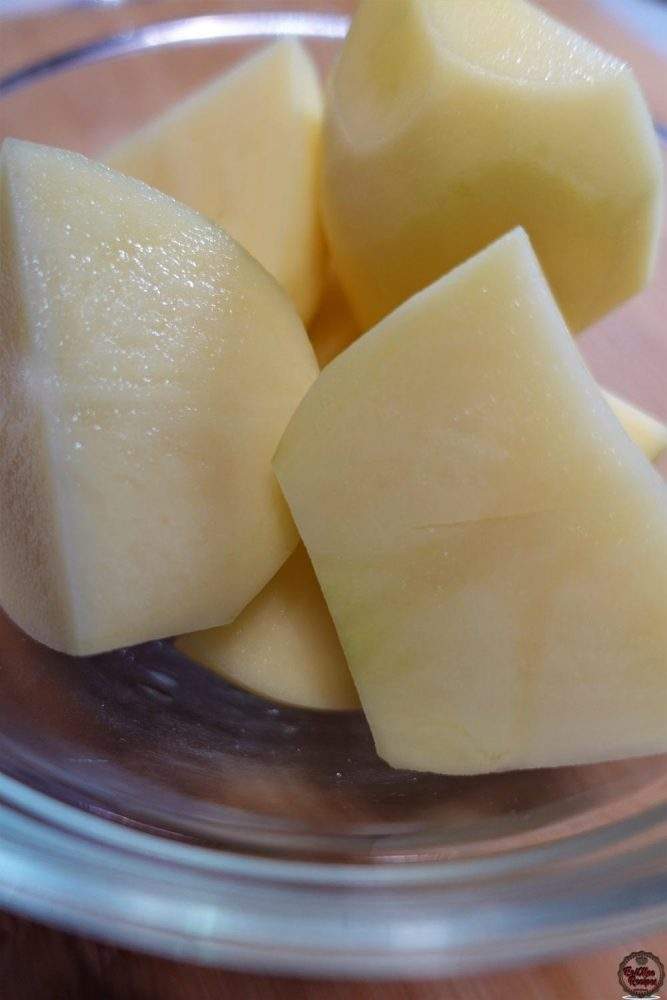
Steam in the microwave for 5 minutes.
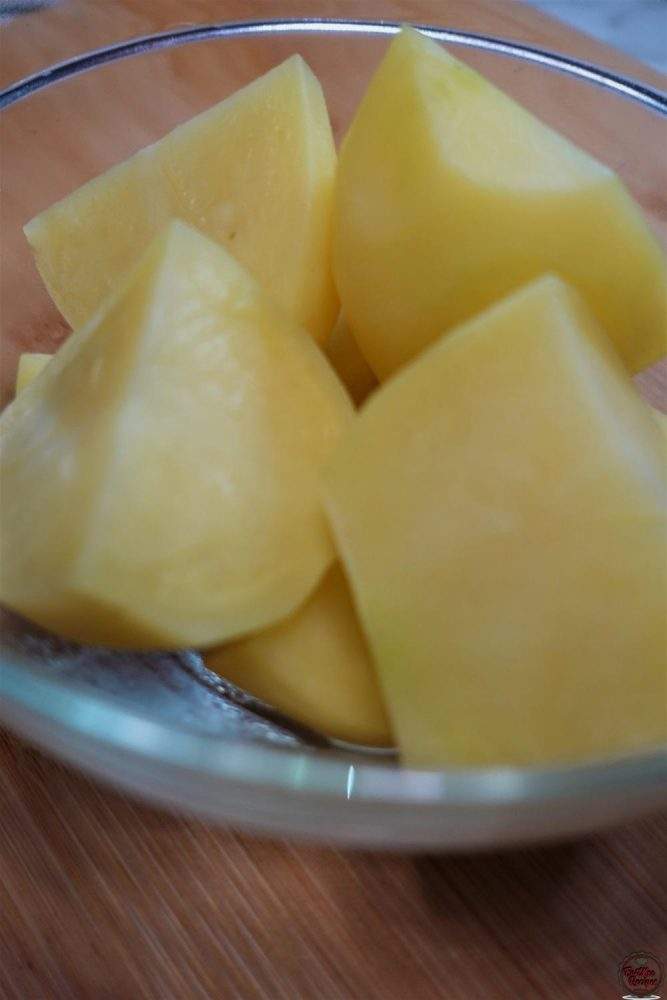
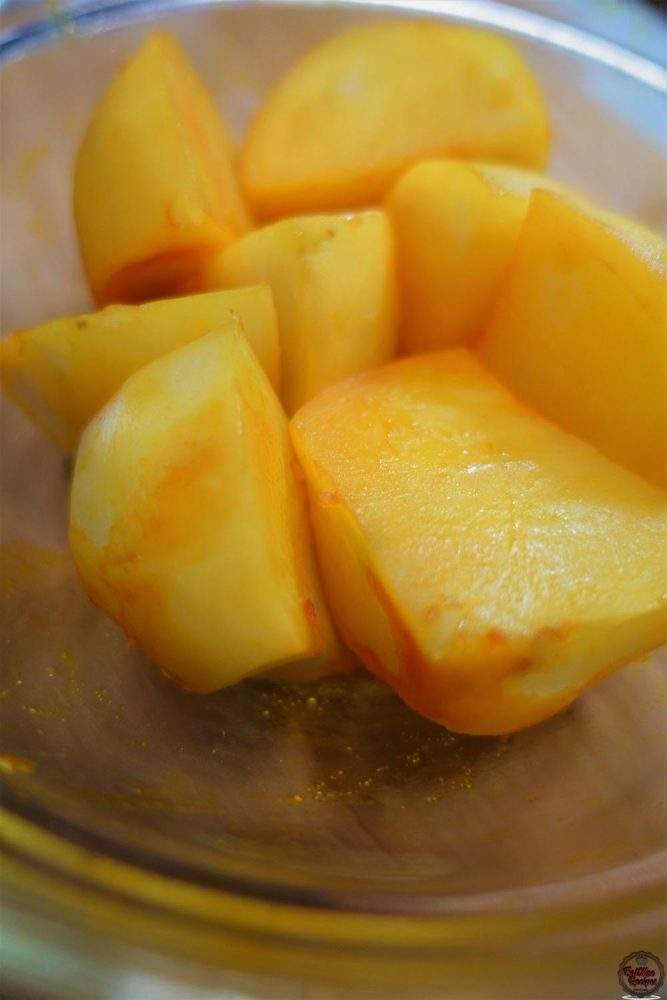
Once the potatoes have steamed, add in the yellow food colouring. Toss potatoes in the colouring so that they are evenly coated.
Add the vegetable oil to a pot on medium heat.
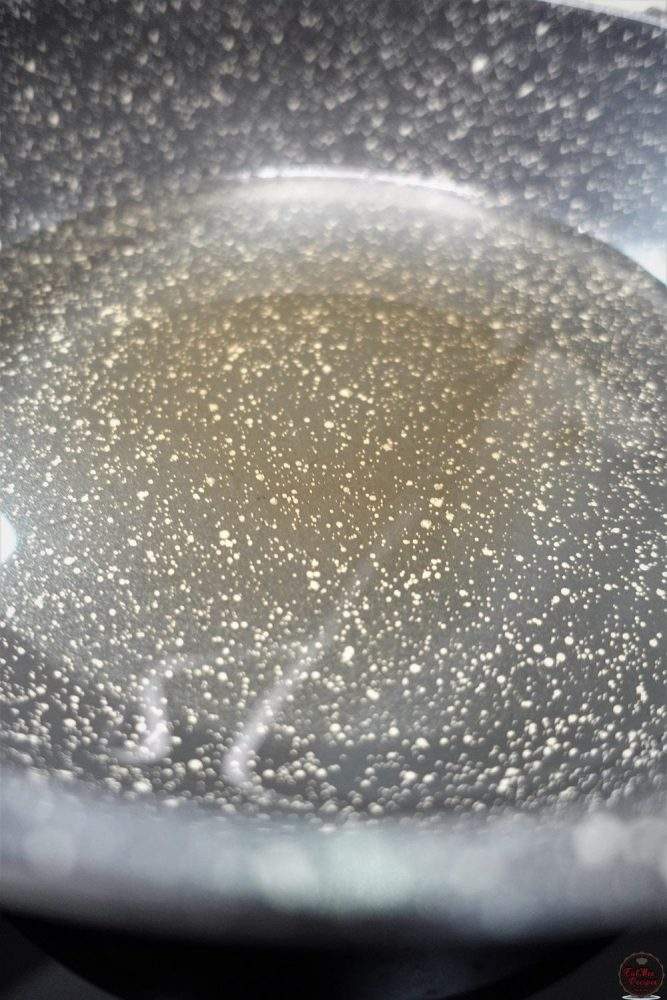
Allow the oil to heat up & then carefully add in the steamed potatoes.
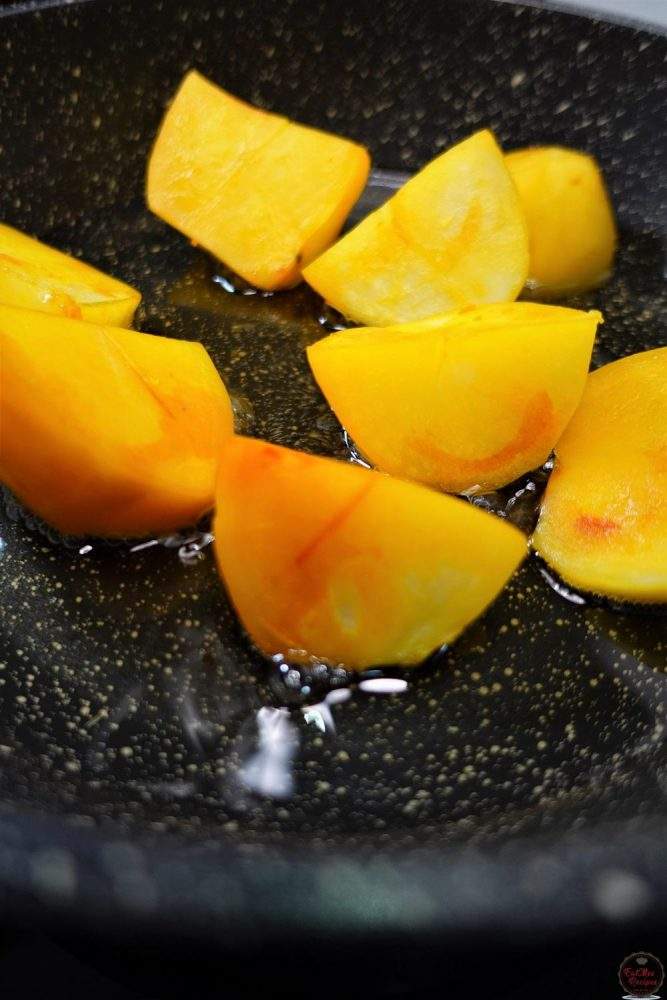
Allow them to fry until crispy & give them a toss after every few minutes so they don’t burn.
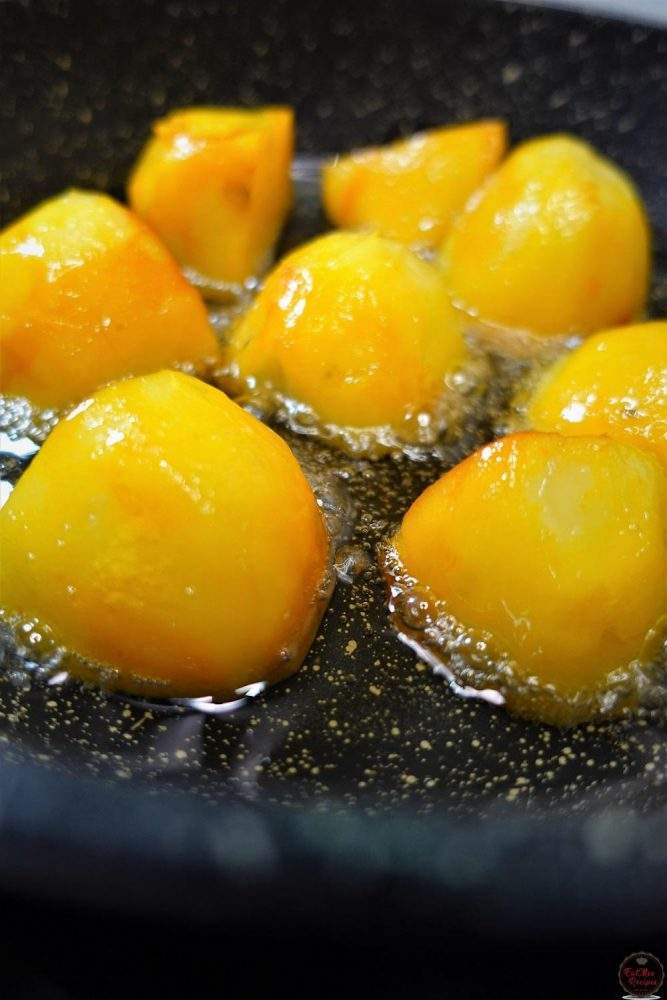
To check if the potatoes are cooked throughout, simply poke with a fork & it should go through easily.
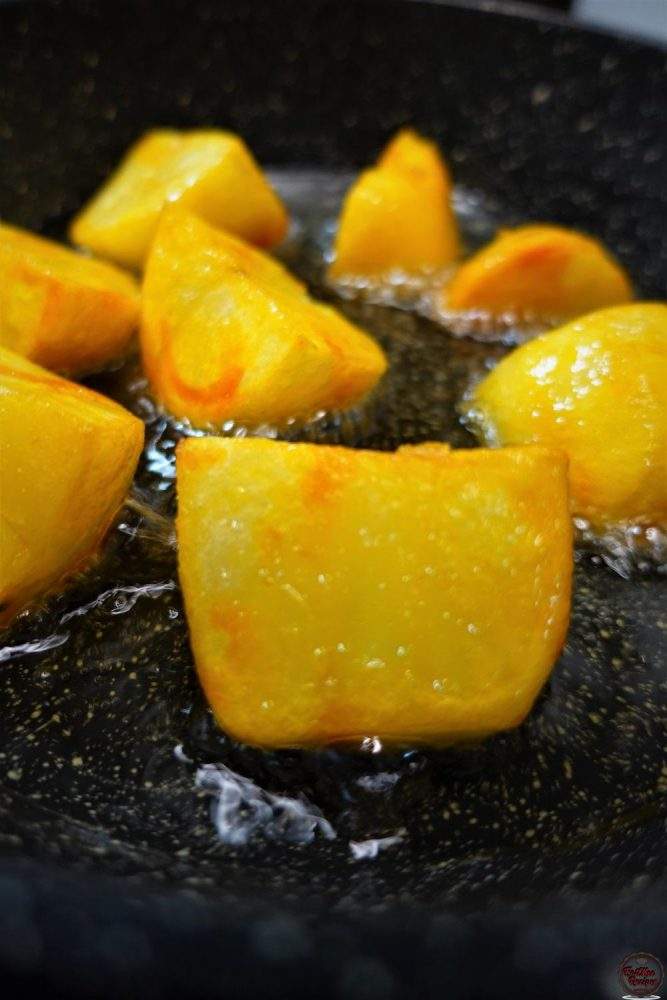
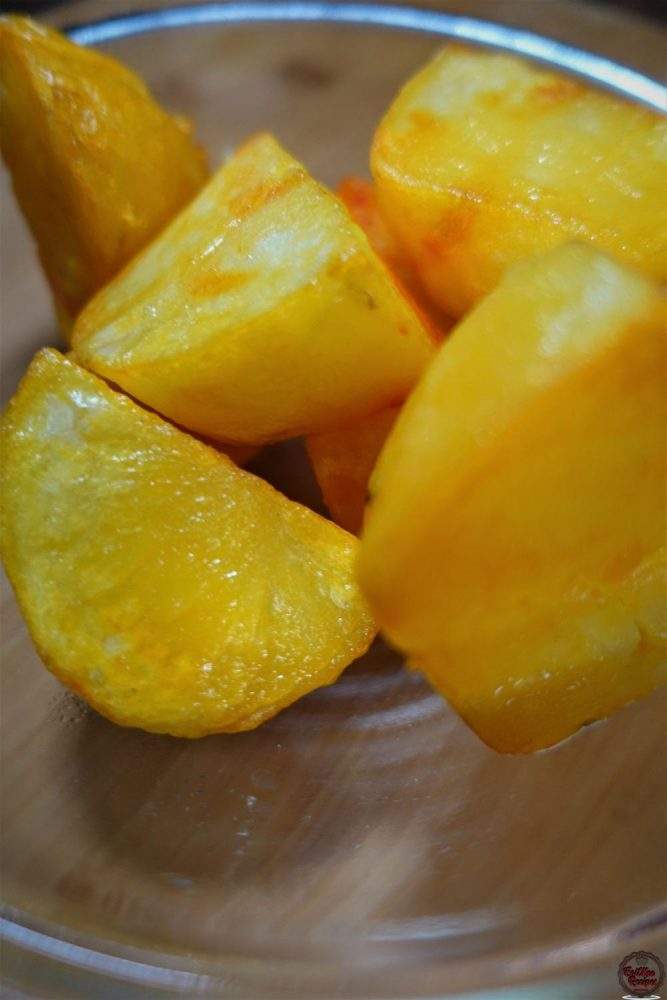
Once golden remove from the oil & set aside.
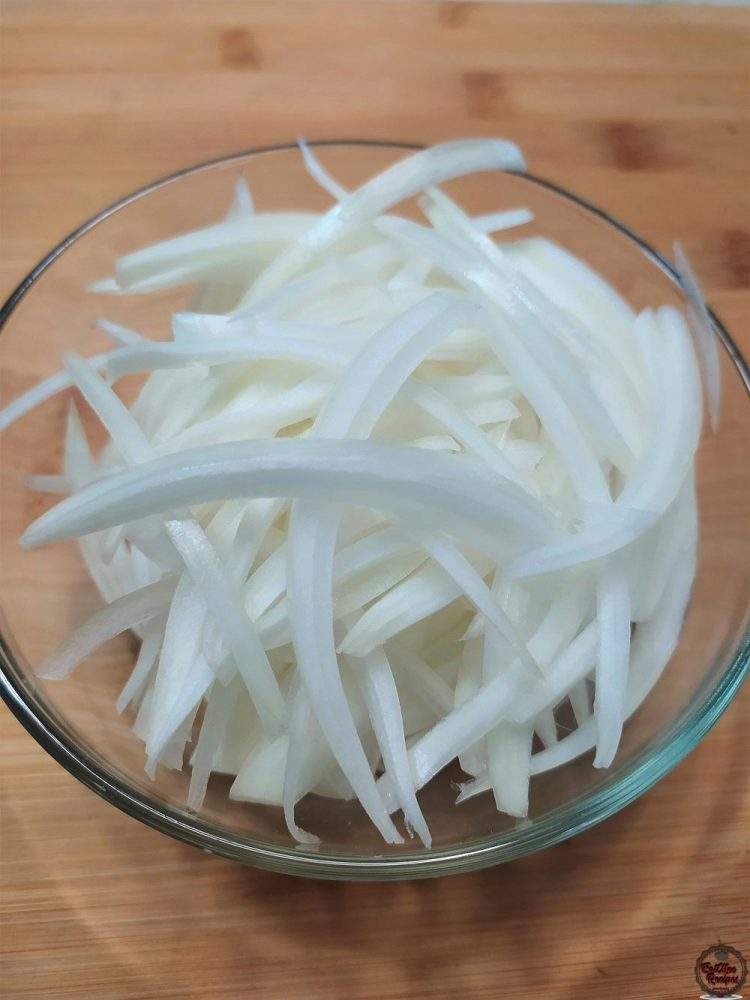
Next, peel & sliver the onion.
Add the onions to the pot of oil that the potatoes had fried in.
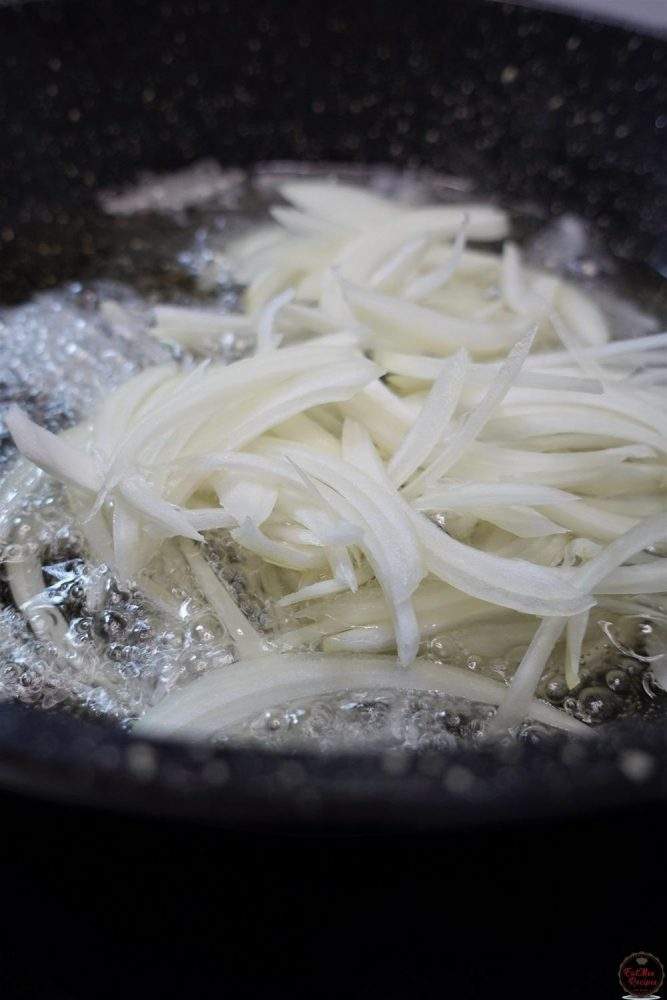
Spread the onions so they fry evenly.
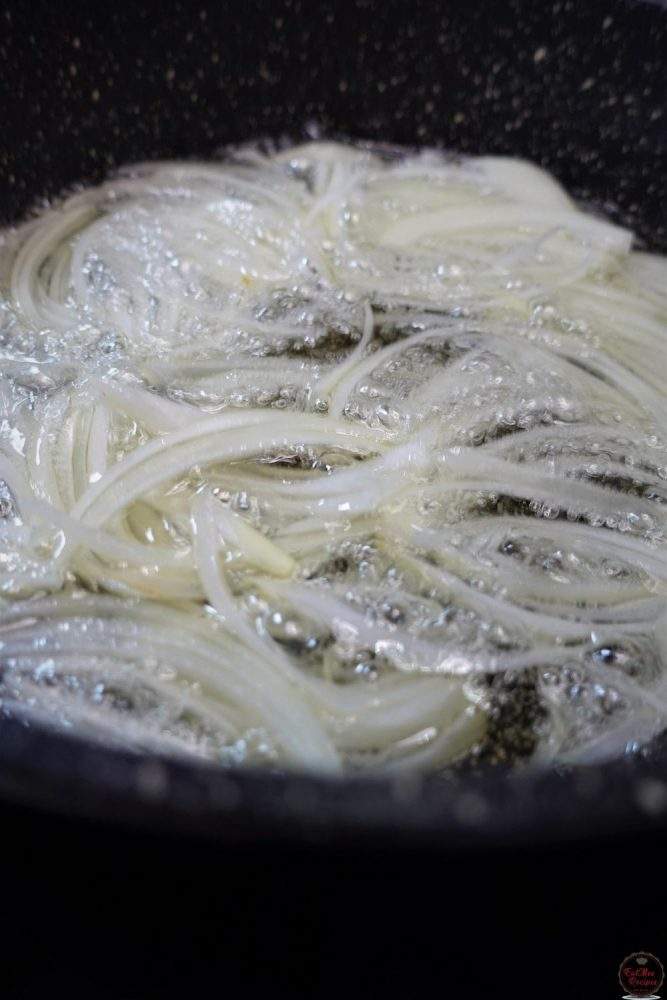
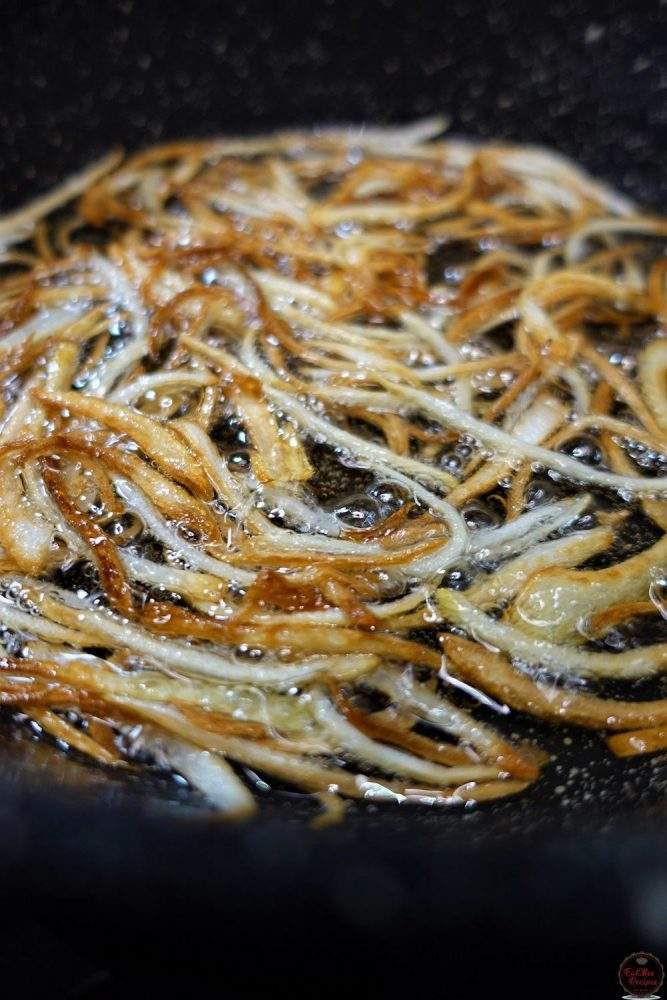
Allow the onions to fry until browned. Give it a toss every now & again as they turn colour.
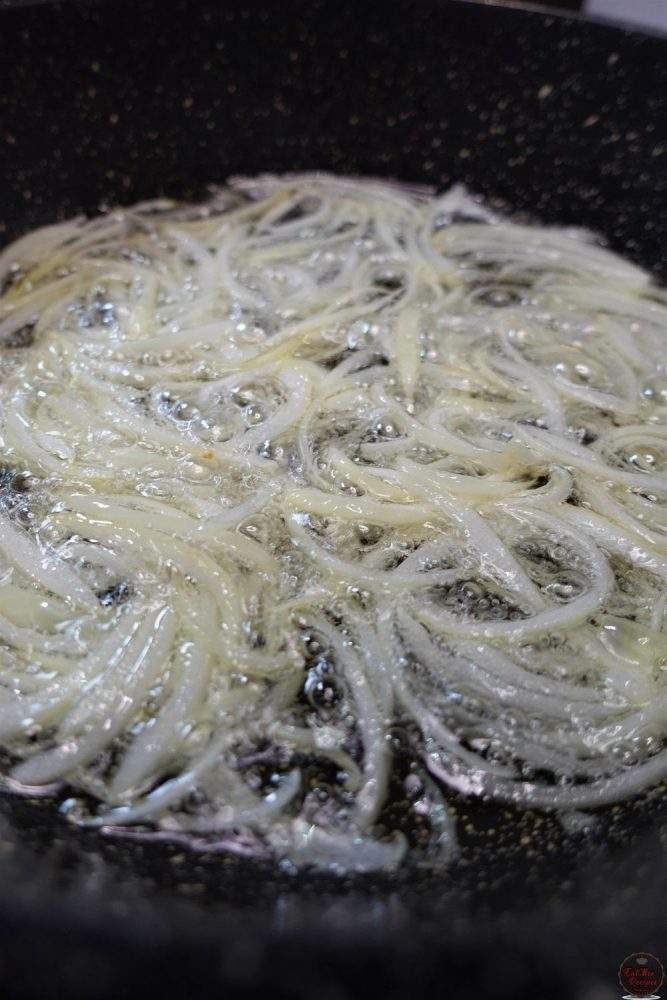
Once the onions are browned, remove from the oil & set aside.
To another pot on medium-high heat, add in the butter or margarine.
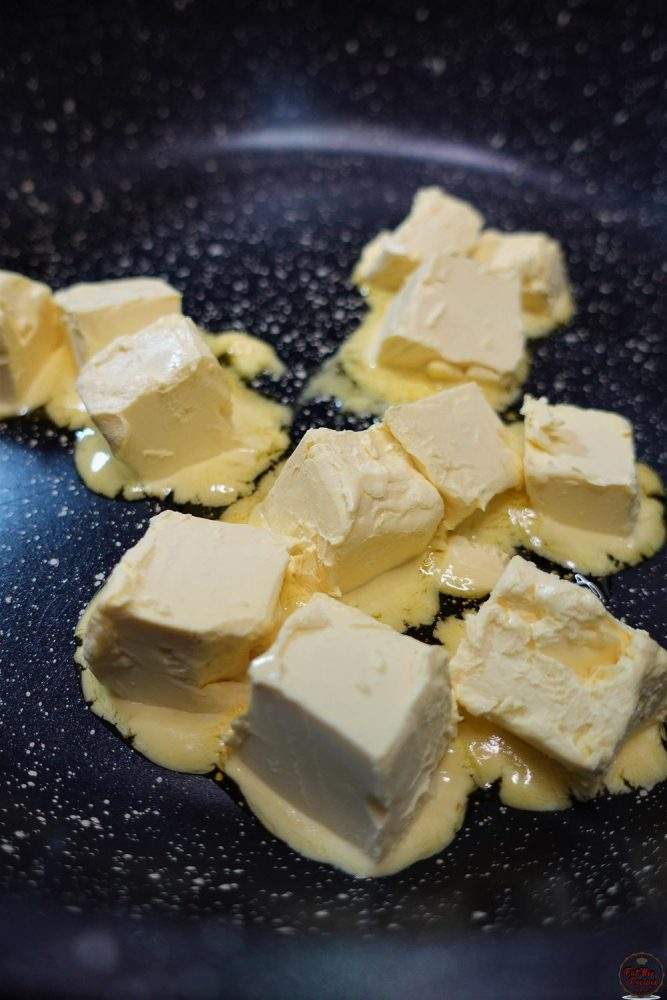
Allow it to melt. Oil may be used if you do not want to add butter.
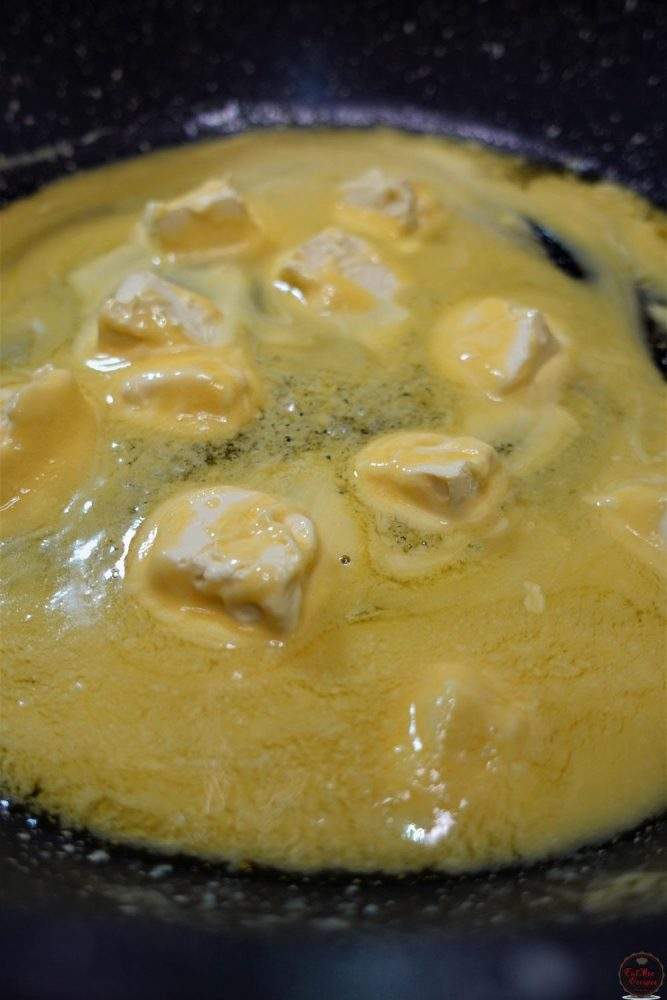
Once melted, add in the marinated chicken.
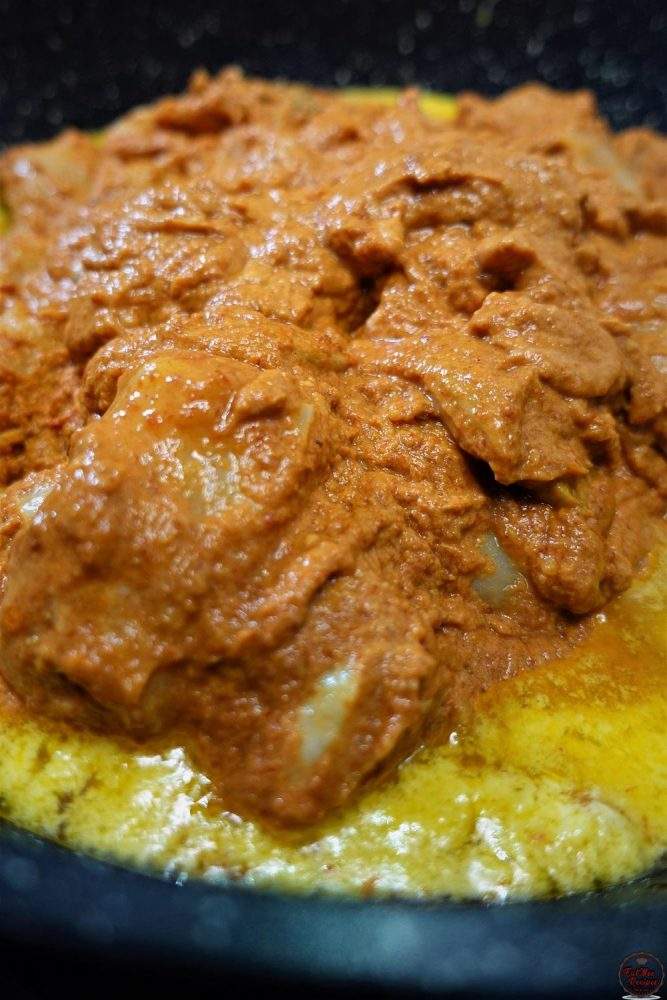
Pour in some boiling water.
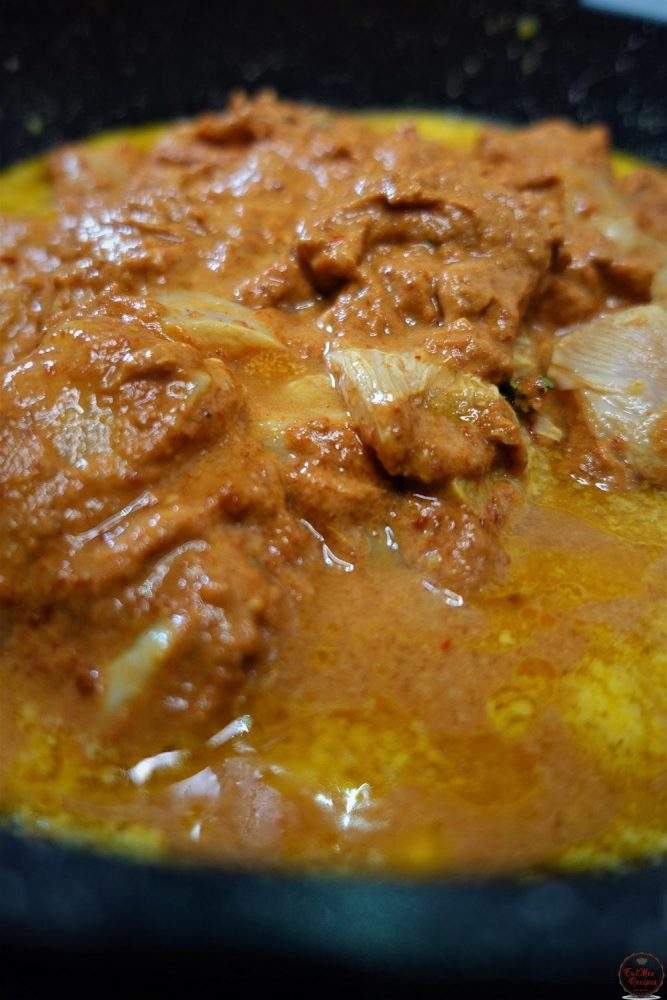
Mix until well combined.
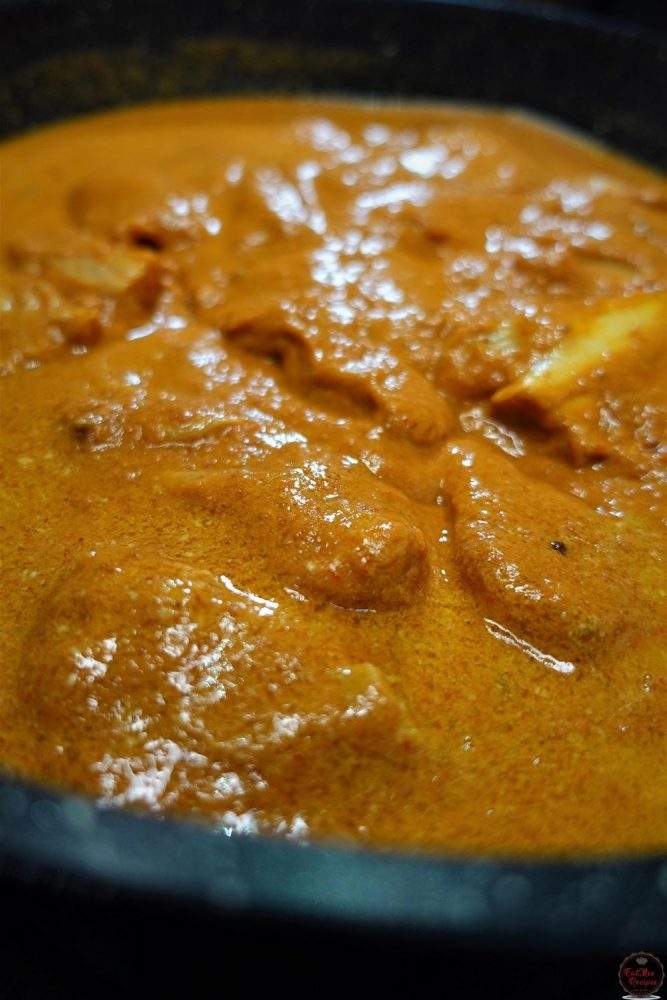
Cover & allow to cook for 20 minutes.
After 20 minutes, give it a quick stir.
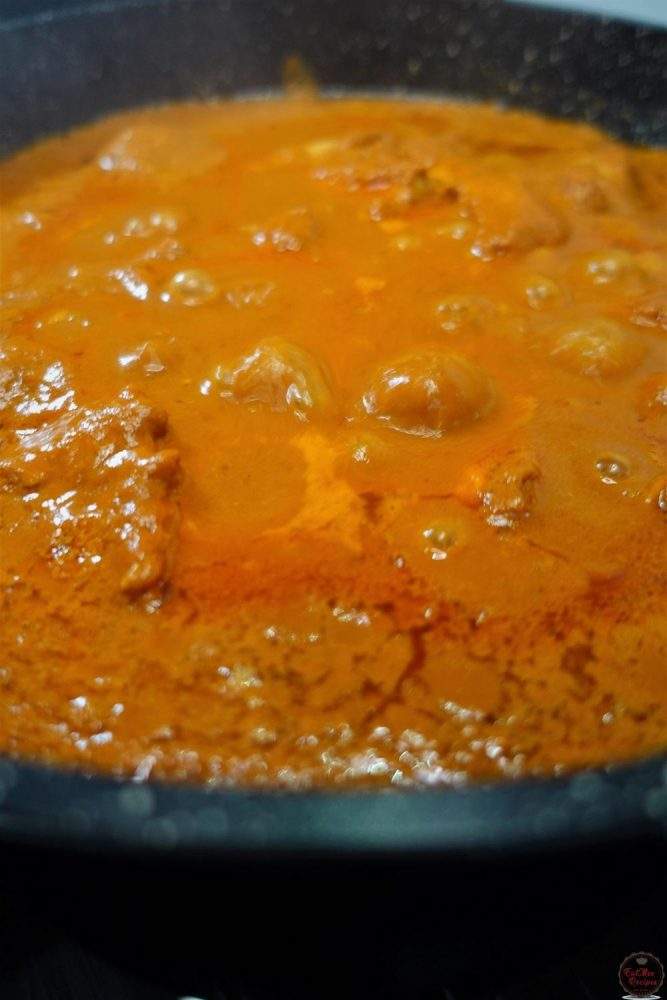
Add in salt to taste, sugar & the fried potatoes.
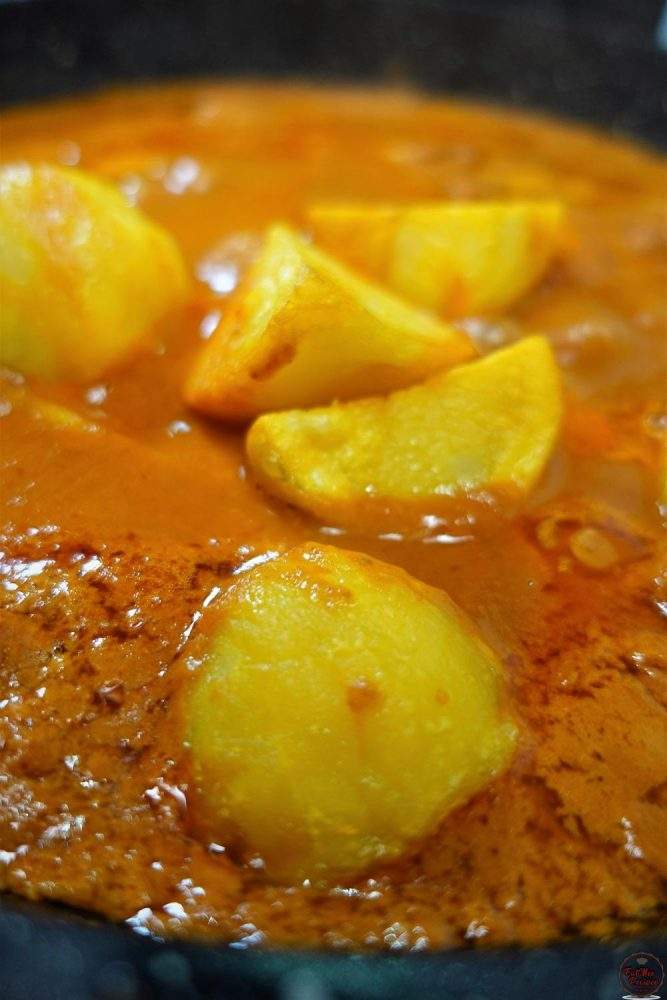
Mix well.
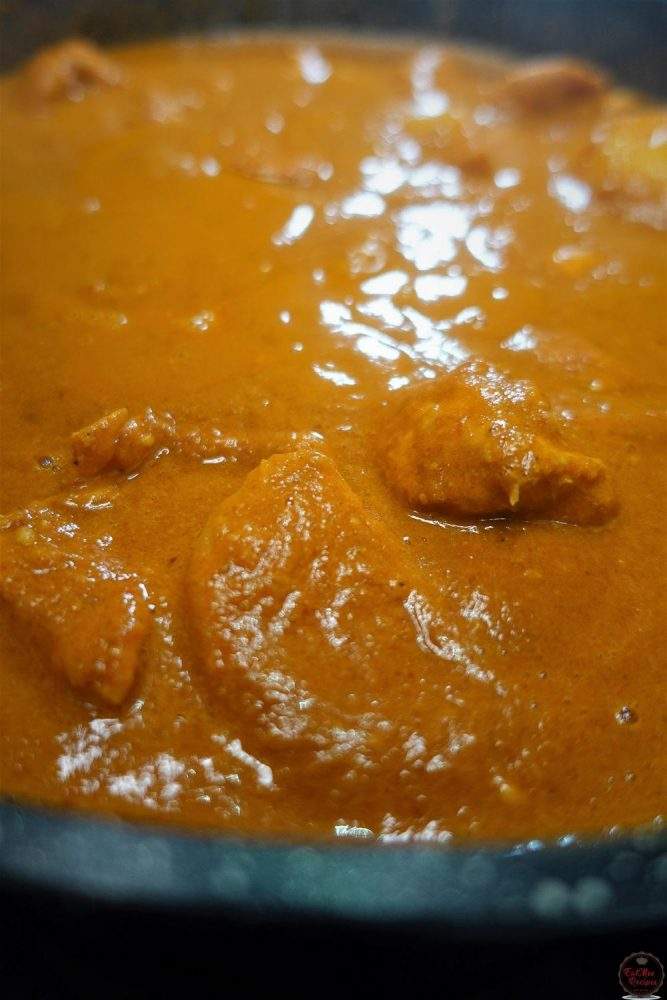
Cover & cook for a further 10 minutes.
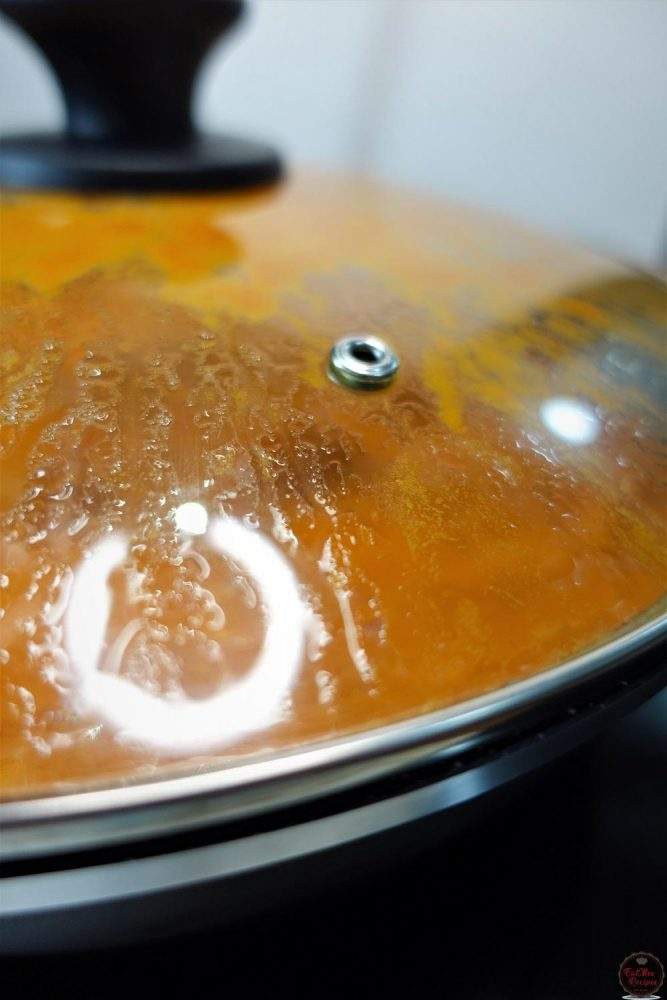
Thereafter, turn off the heat.
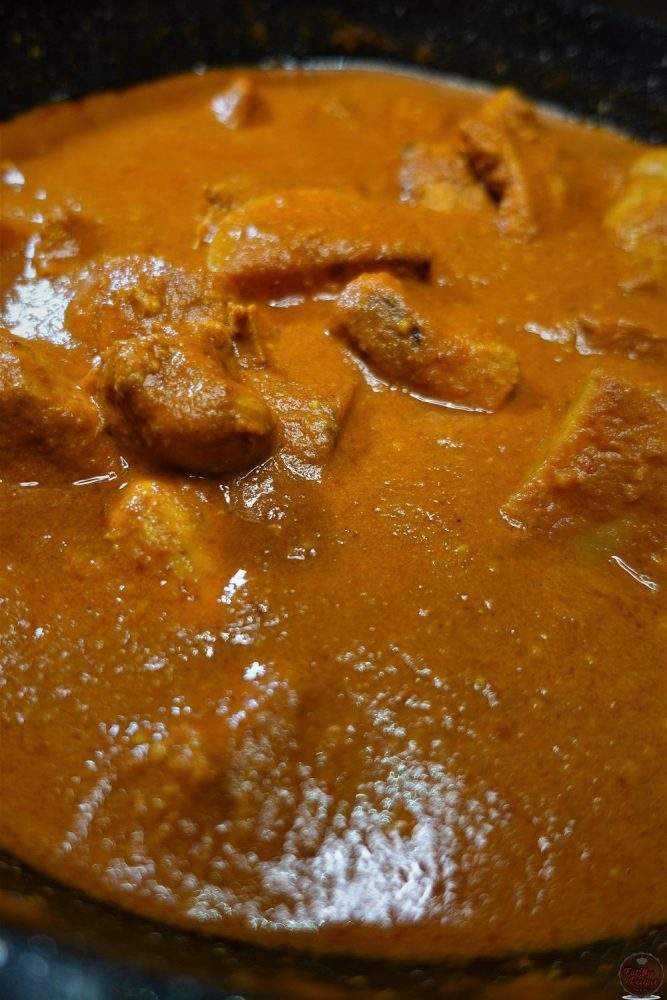
Add the sliced boiled eggs over.
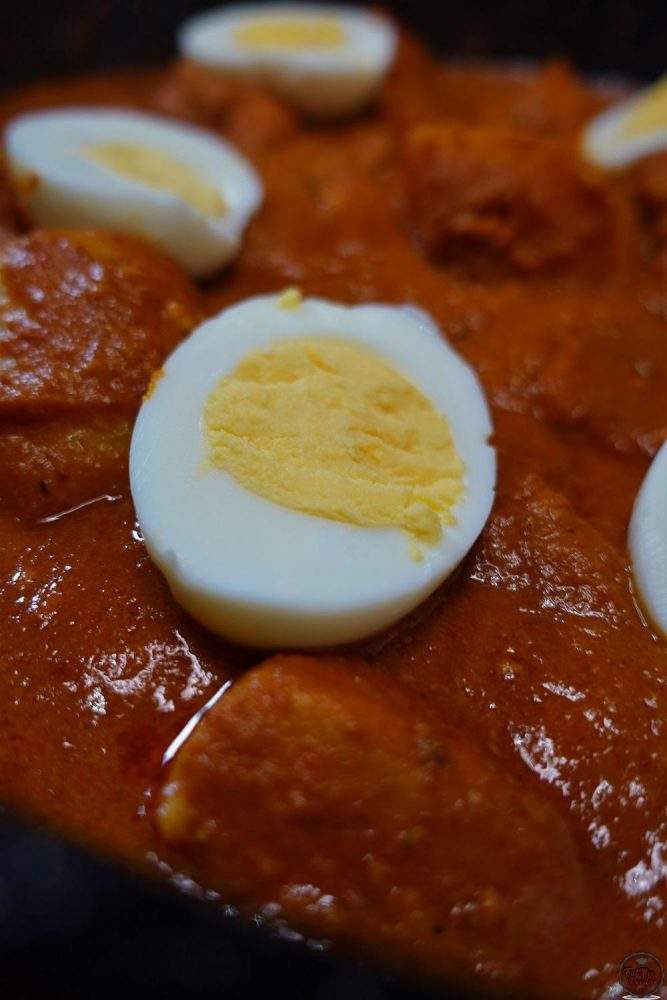
Spread over the fried onions.
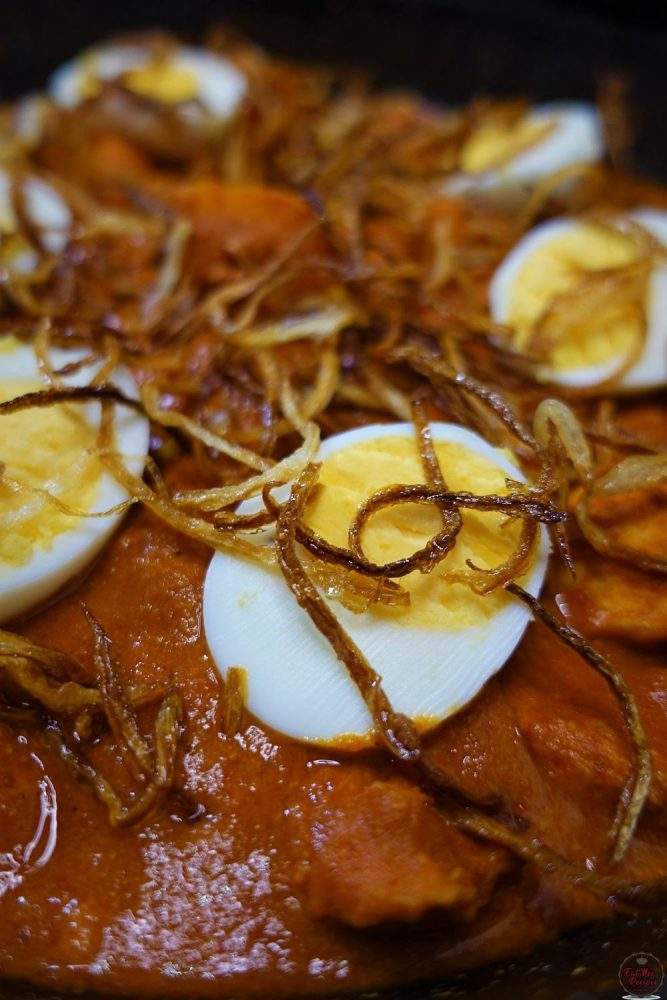
Garnish with freshly chopped coriander (dhania).
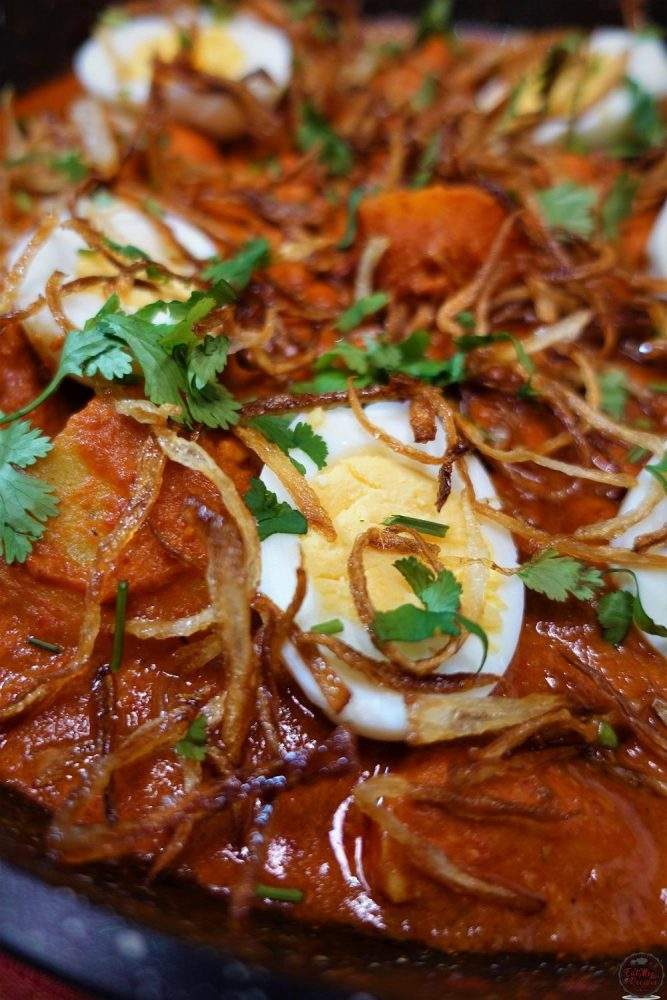
This Chicken Khaliya is ready to be served.
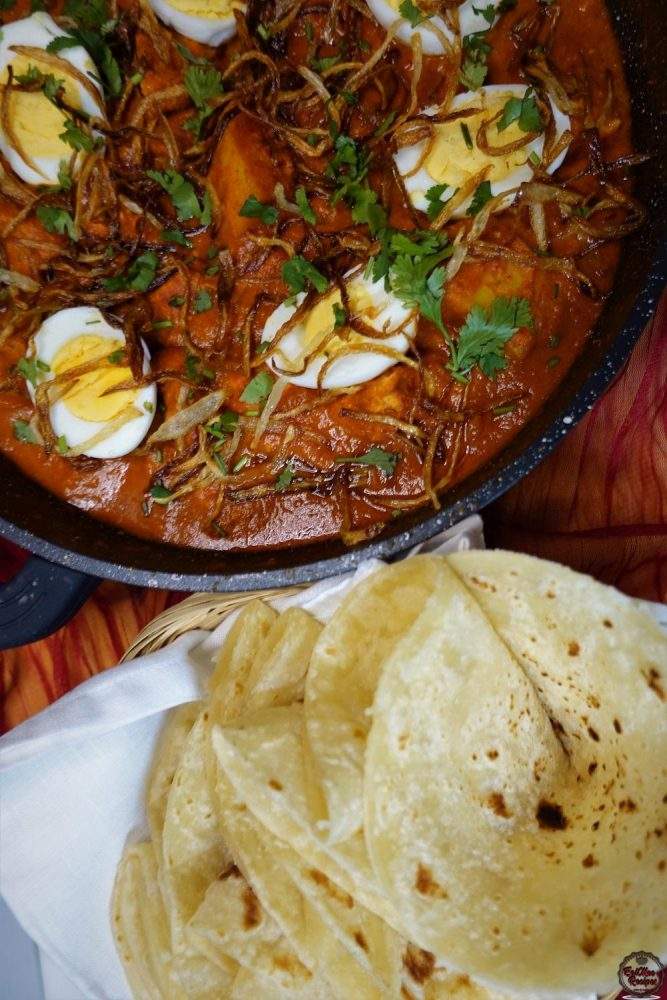
Enjoy with roti, rice, naan bread, bread, garlic naan, or butter naan.
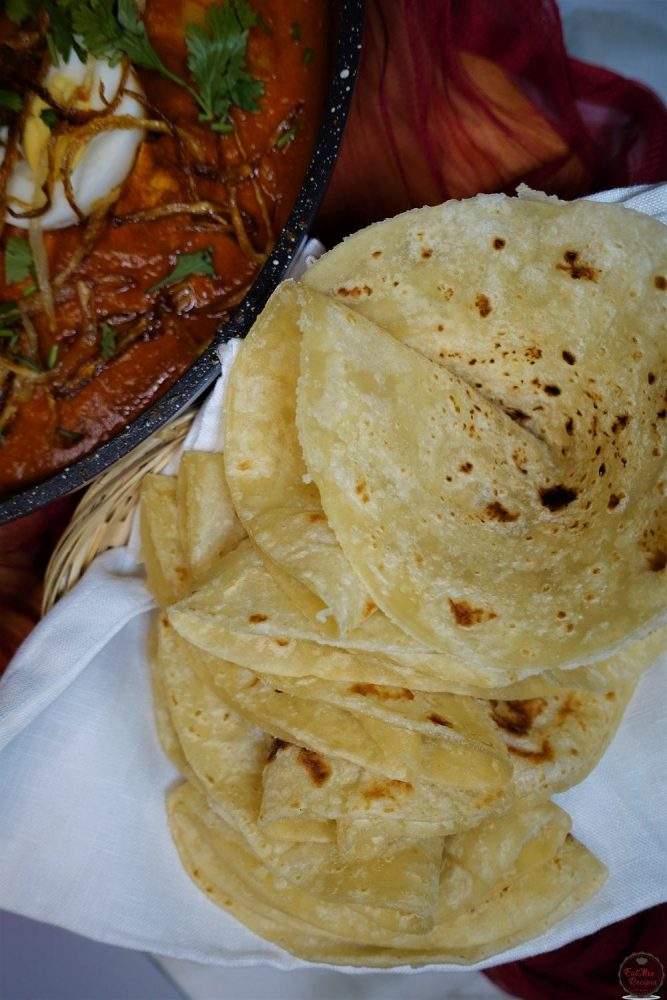
Follow along with Denisiya's step-by-step video guide for Chicken Khaliya.
Expert kitchen guidance and troubleshooting for making the best Chicken Khaliya
Absolutely! You can easily tailor the heat by increasing or reducing the chili powder and fresh chilies to suit your family’s palate without compromising the authentic flavor profile.
Yes, you can freeze Chicken Khaliya in an airtight, freezer-safe container for up to 2 to 3 months. Thaw overnight in the refrigerator before gently reheating.
Reheat gently on the stovetop over low heat with a splash of water, or in the microwave covered with a damp paper towel to retain moisture.
Hi, I'm Denisiya! Food lover, recipe developer, and founder of EatMee Recipes. I specialize in authentic South African Durban Indian cuisine, comforting curries, and modern Instant Pot adaptations. Every recipe on this site is tested in my personal kitchen to ensure you get mouth-watering, foolproof results every time.
Explore more authentic Durban curries, traditional bakes, and comforting family favourites.
 Afrikaner Cuisine
There’s something undeniably comforting about a warm, flaky sausage roll. They’re nostalgi...
 Afrikaner Cuisine
Who else goes to Nandos & orders the livers? I know I do but sometimes we just want to sta...
 Afrikaner Cuisine
This version of my Nandos Chicken Burger is simply divine. Nandos Burgers are enjoyed by m...
Have you tried this recipe or have questions for Denisiya? Join the conversation below.
No comments yet. Be the first to share your thoughts on this recipe!
Leave a Comment
Your email address will not be published. Required fields are marked *