
We Value Your Culinary Privacy
EatMee Recipes uses cookies to provide a personalized browsing experience, analyze recipe popularity, and serve relevant ads. You can review our full disclosure in our Privacy Policy.
Make authentic Mielie Cake with this foolproof recipe. Packed with rich traditional flavor, step-by-step photos, and cooking tips by Denisiya on EatMee Recipes.

Join over 60,000+ home chefs for weekly authentic Durban Indian cook-alongs, Instant Pot masterclasses, and family heritage recipes.
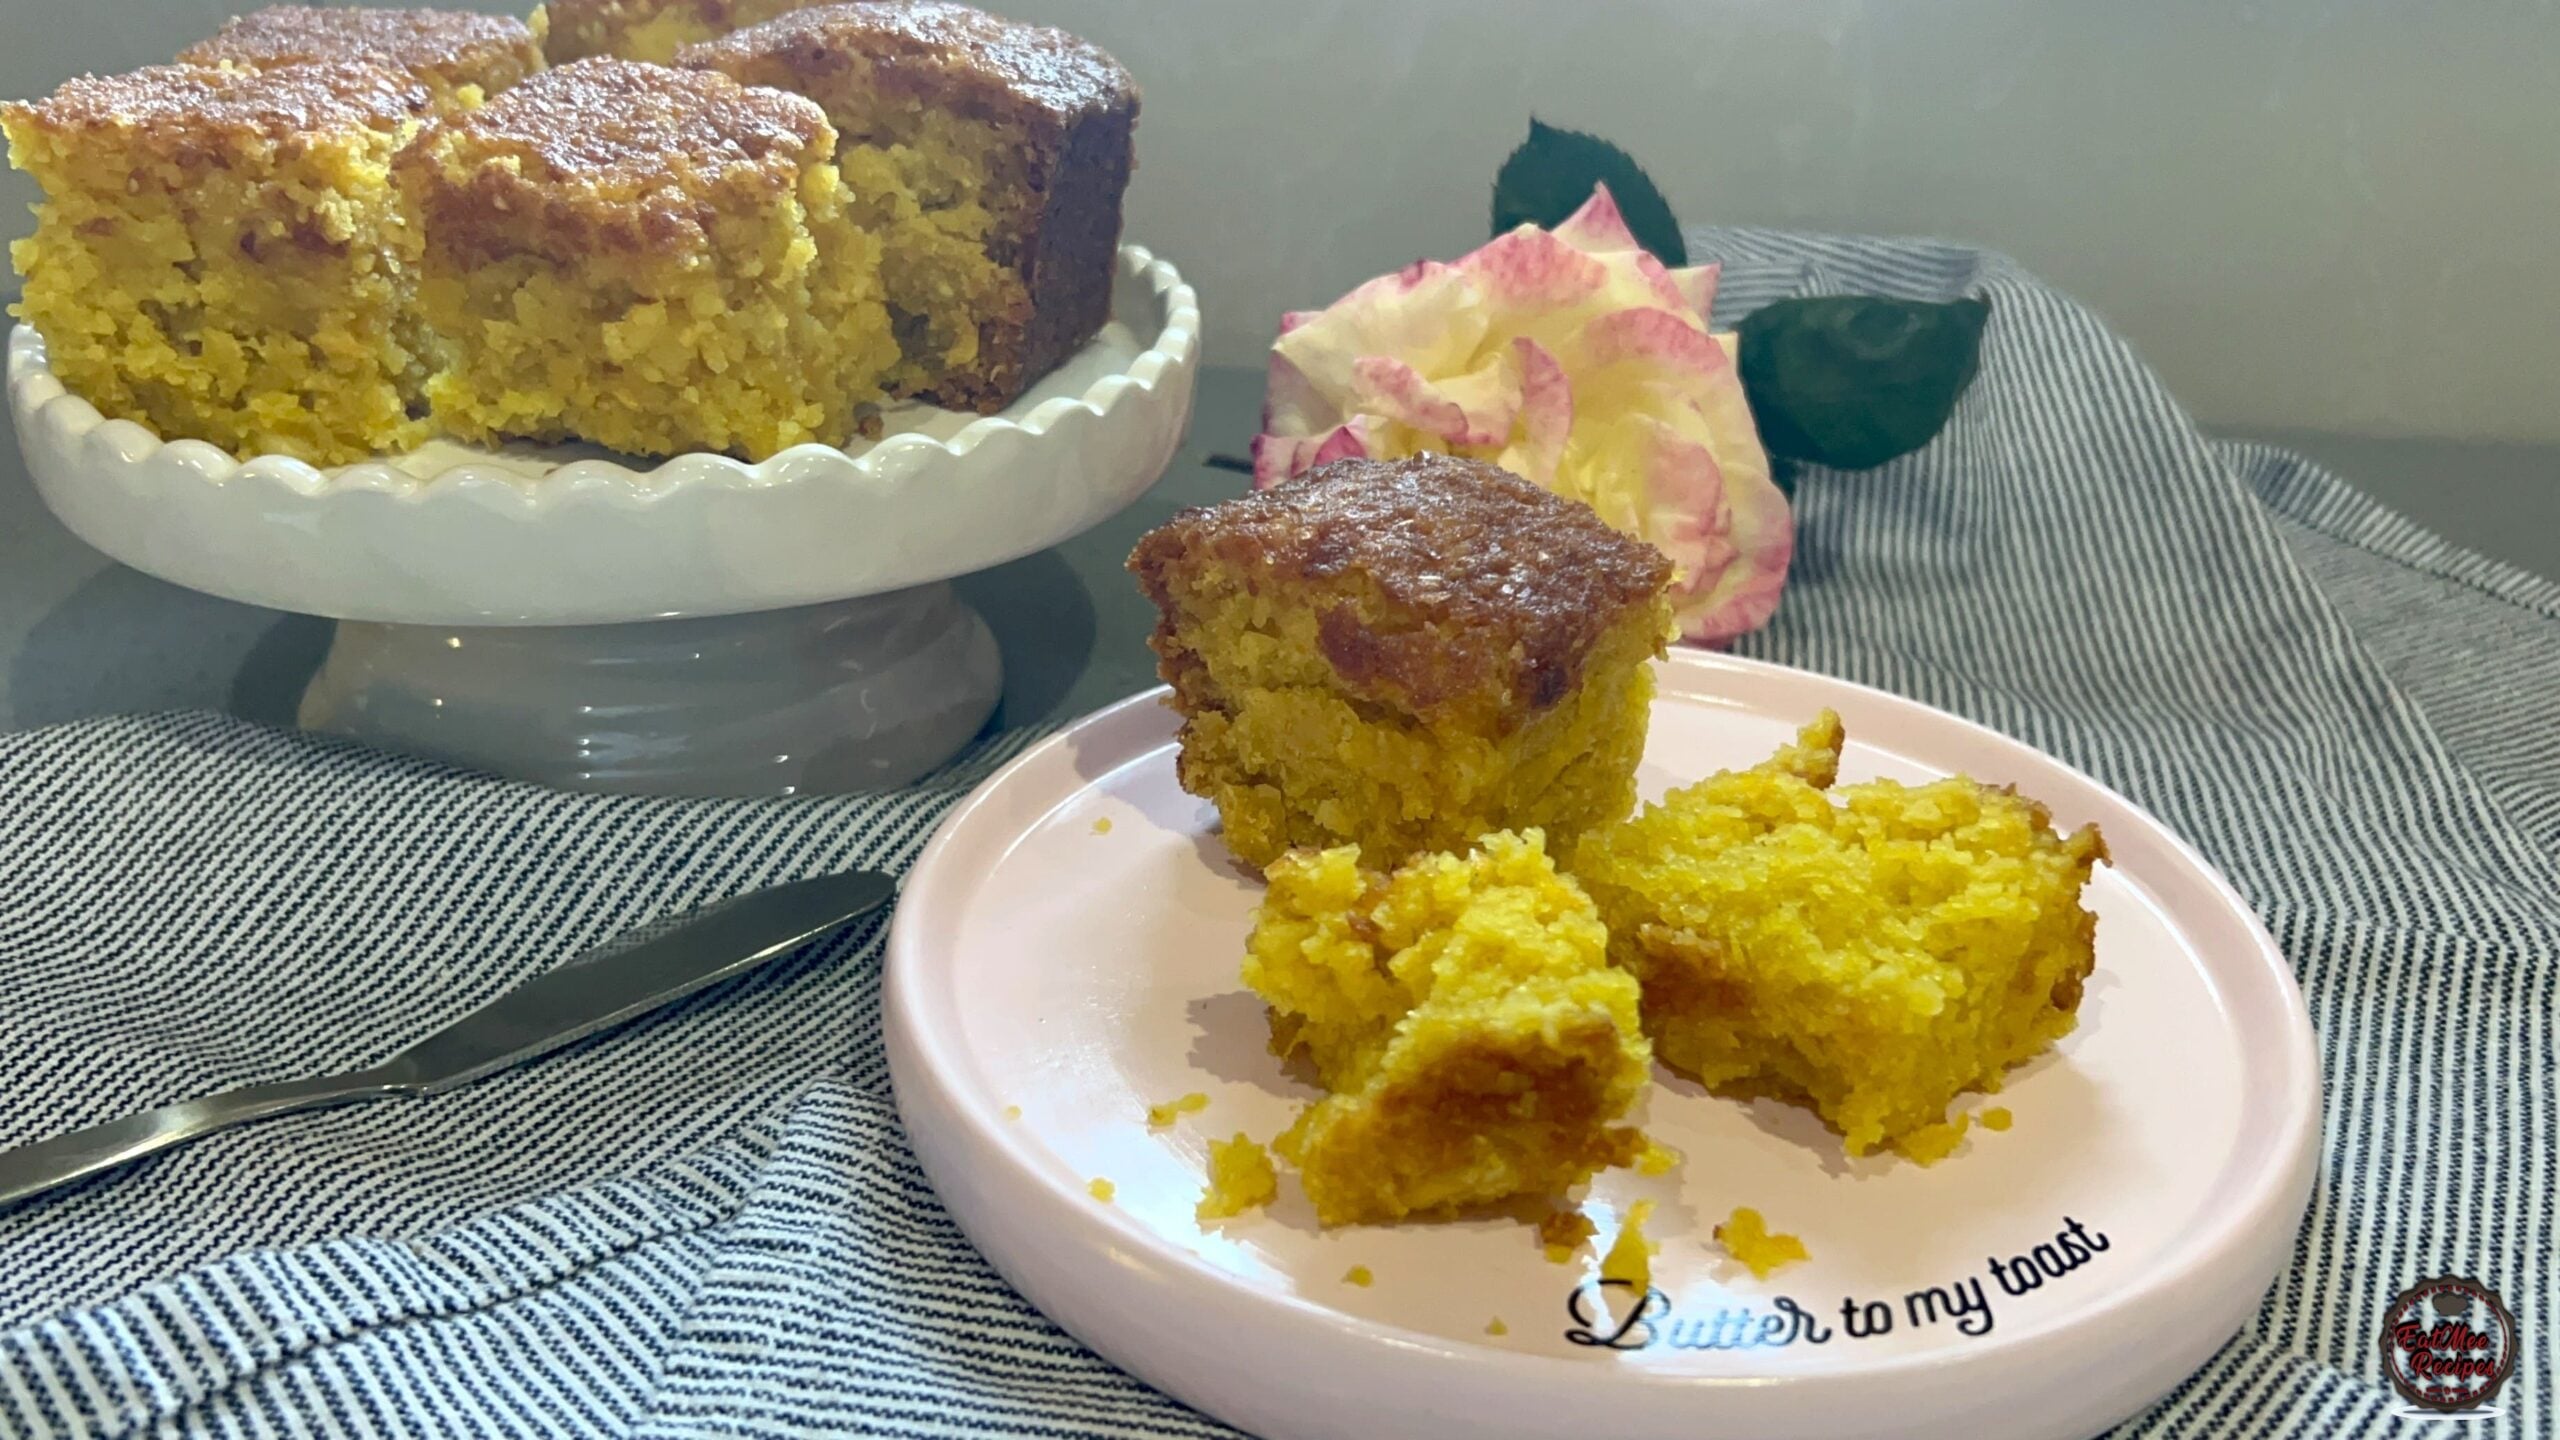
If you’ve never tried mielie cake, you’re in for a treat – quite literally. This deliciously dense, slightly sweet cornmeal cake is a staple in many South African kitchens. It’s rich in flavor, easy to make, and carries with it a taste of tradition that’s both nostalgic and nourishing.
“Mielie” is the Afrikaans word for corn or maize. Mielie cake is essentially a cornmeal-based cake that can lean sweet or savory depending on your preference. It’s a cousin of cornbread, but with more moisture, more flavor, and often a touch of spice or sweetness to elevate it.
This cake can be prepared using sweetcorn, but I prefer the fresh corn. It is sweet, moist & super delicious – if you haven’t tried it yet, I highly recommend you do so.
Whether you serve it for breakfast with a smear of butter or as a dessert with a drizzle of syrup, mielie cake fits in beautifully. It’s the kind of recipe that brings people together – easy to share, simple to make, and filled with love.
Mielie cake isn’t just a recipe, it’s a memory, a moment, a warm kitchen on a rainy day. For South Africans abroad, it’s a taste of home. For newcomers, it’s an invitation to experience a culinary tradition that’s stood the test of time.
Preheat oven to 180° Celsius or 356° Fahrenheit.
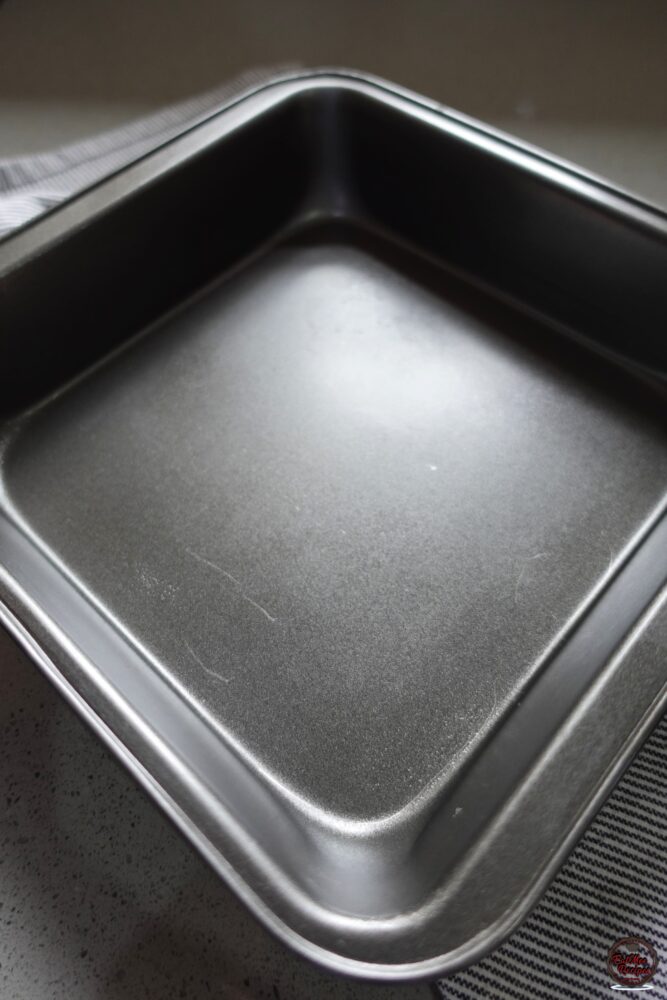
Grease a 22x23cm cake pan. This is the Millini pan. Note: The smaller the baking pan, the thicker the cake will be, which means it’ll need more time in the oven. With this particular pan, the cake takes about an hour to bake through completely.
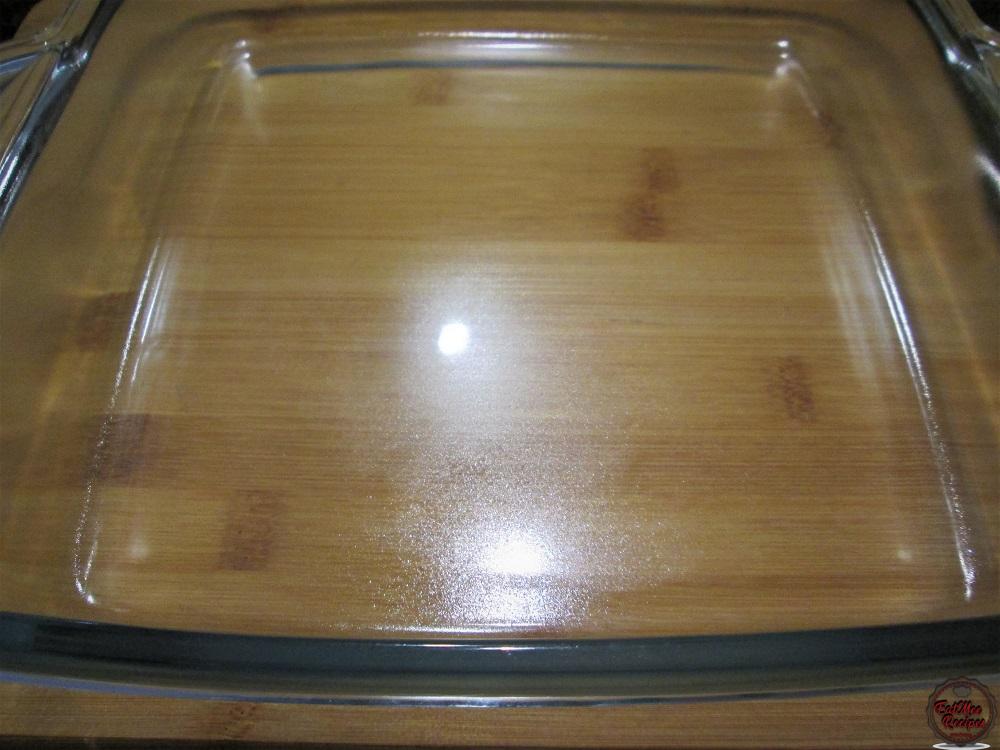
If you’re using a 27cm casserole dish or baking tray (like this Guzzini casserole), the cake will take about 25 to 30 minutes to bake.
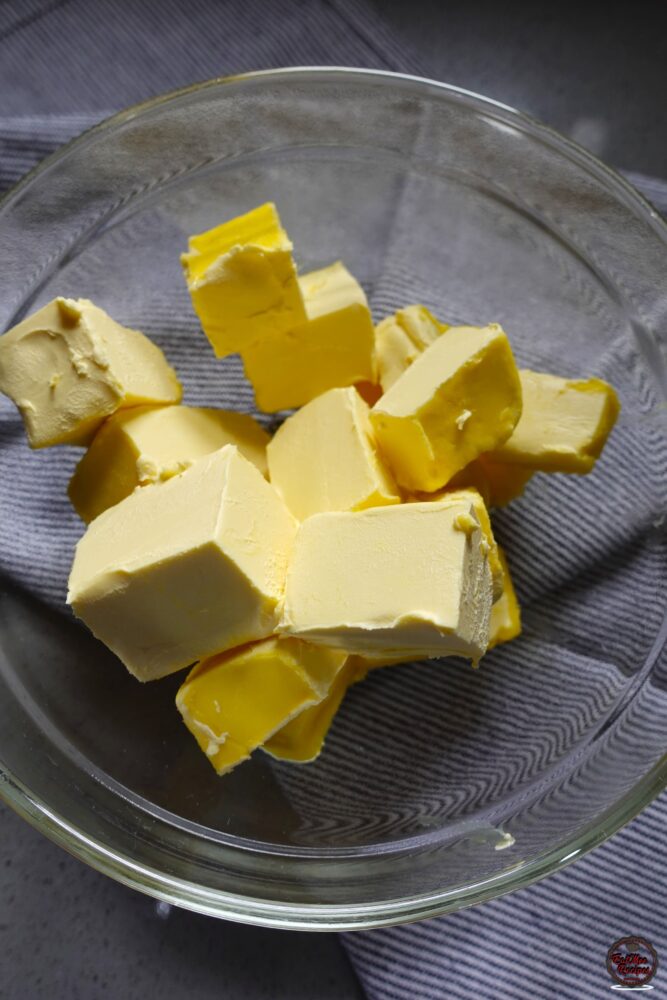
To a microwavable bowl, add in 250 grams of butter or margarine.
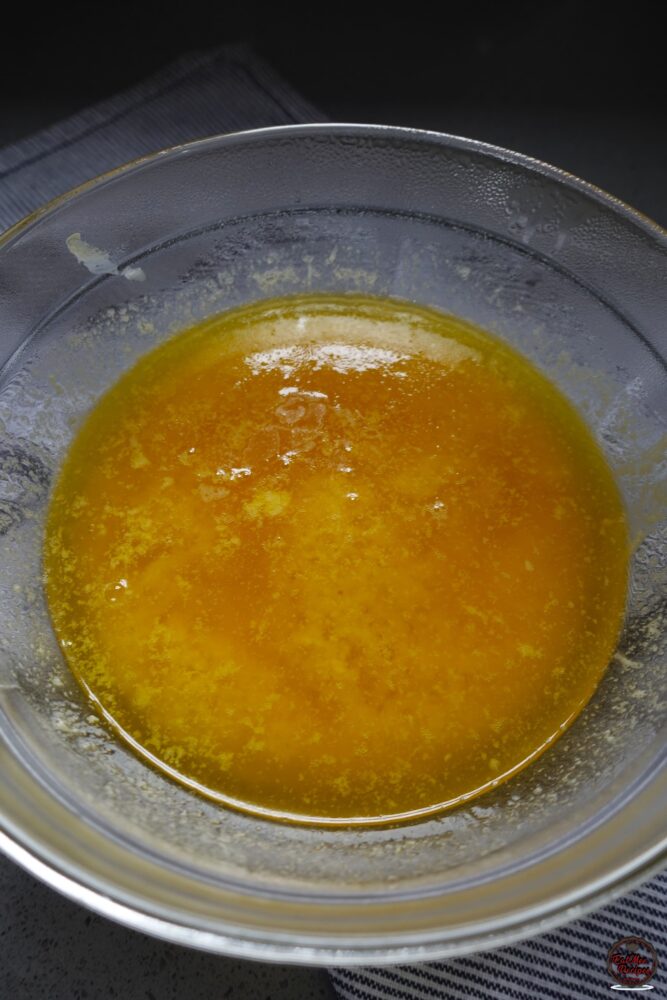
Place the bowl of butter in the microwave and heat until fully melted. Set it aside to cool slightly while you prepare the other ingredients.
Bring out those mielies and peel off the leaves by gently pulling on them.
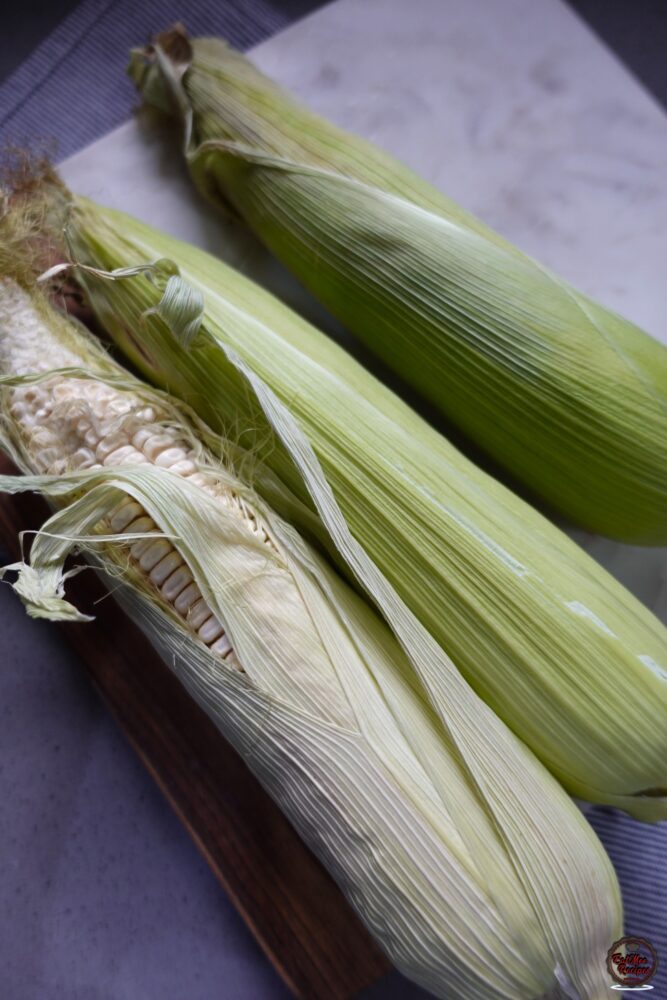
Cut off any dried parts of the mielies and discard – this usually happens to the tips.
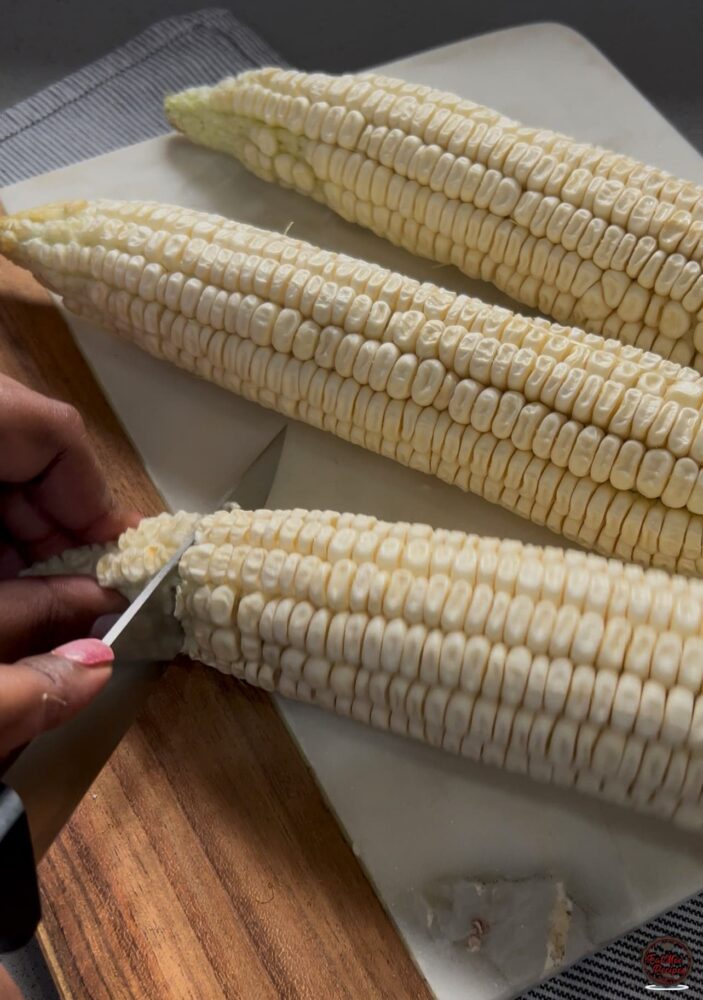
Decob the mielies by slicing the kernels off with a sharp knife. I place the knife in the vertical indent, press down firmly and scrape the kernels off.
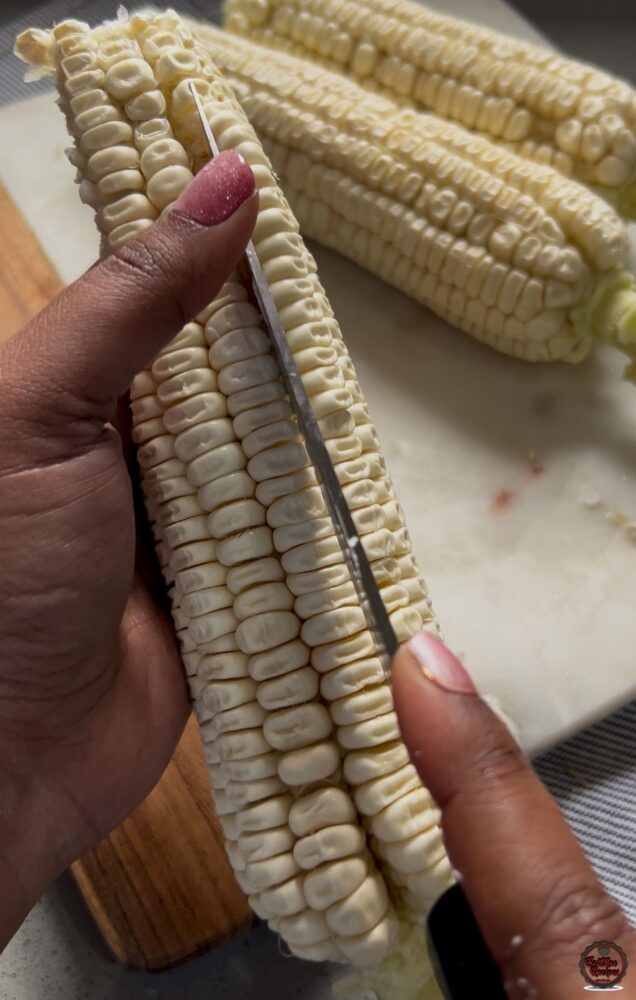
Once done, you should have about 430 grams of kernels.
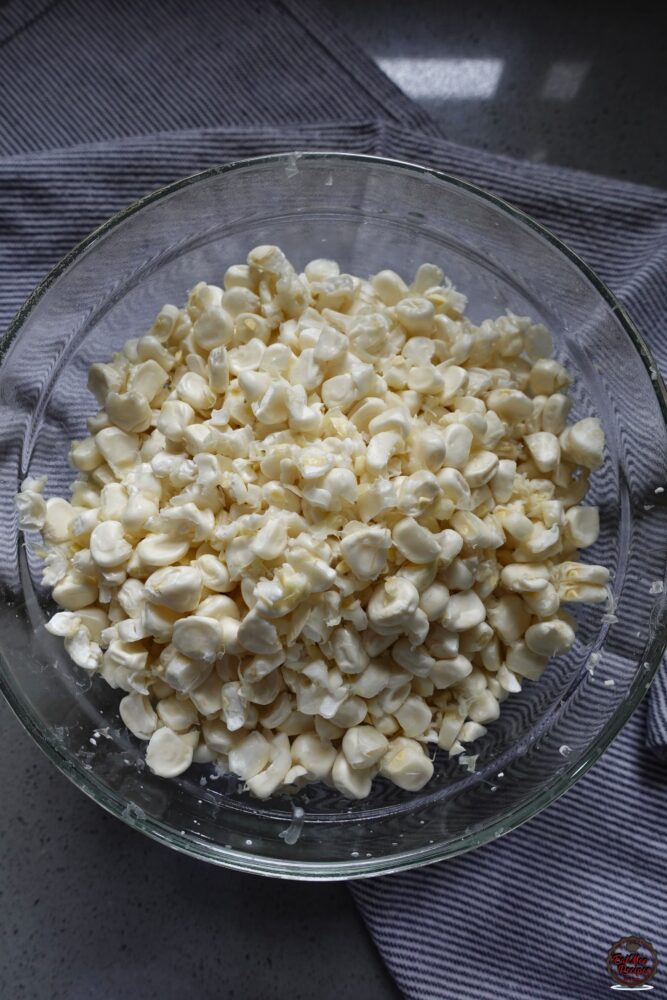
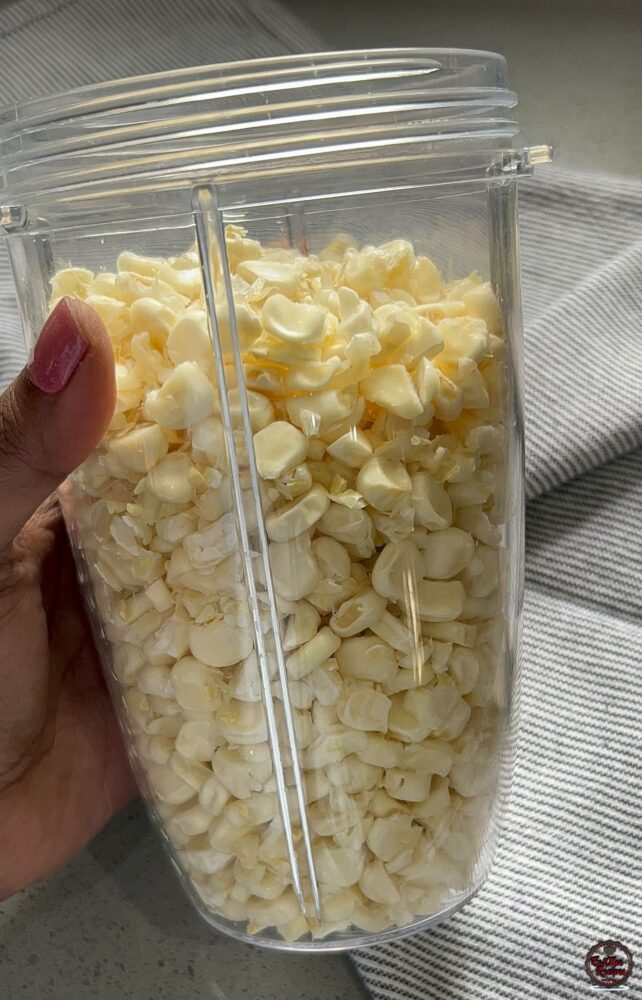
Place the kernels into a food processor or blender & pulse until the kernels are ground but not too fine.
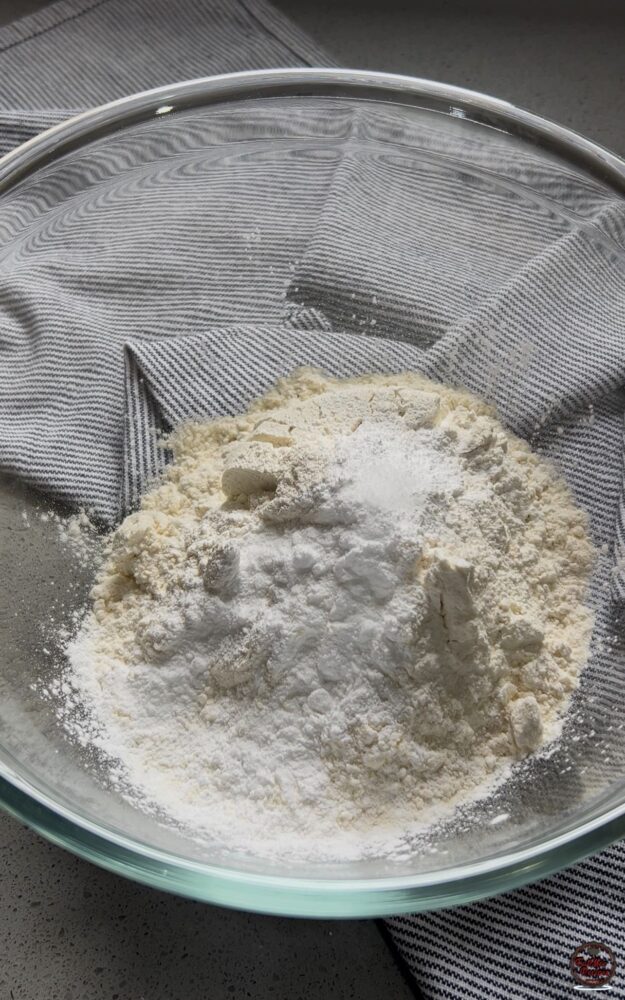
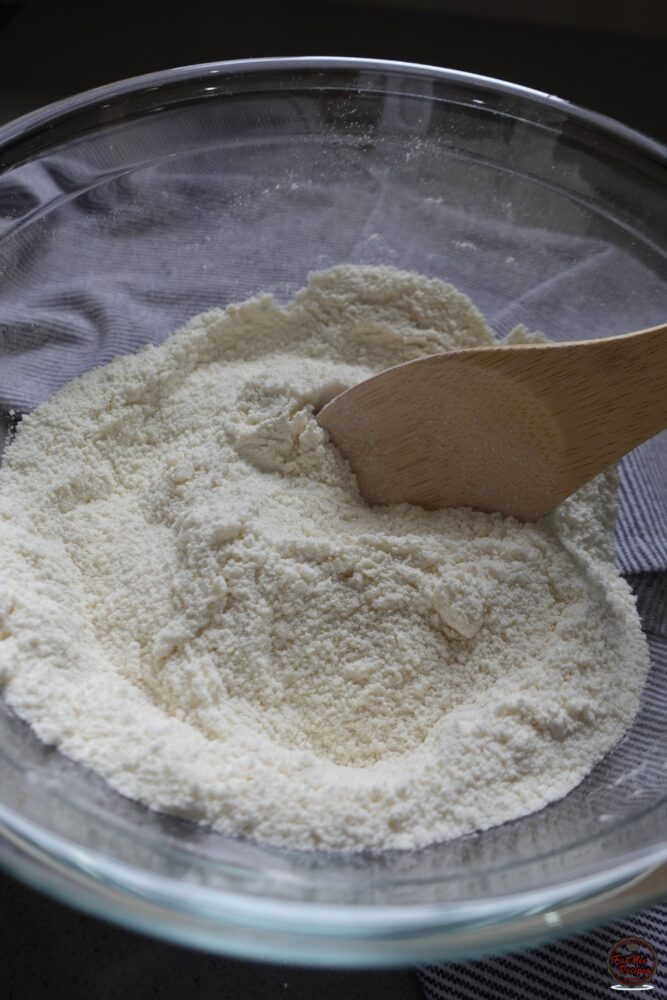
To a mixing bowl, add in the all-purpose or cake flour, baking powder, bicarbonate of soda and salt.
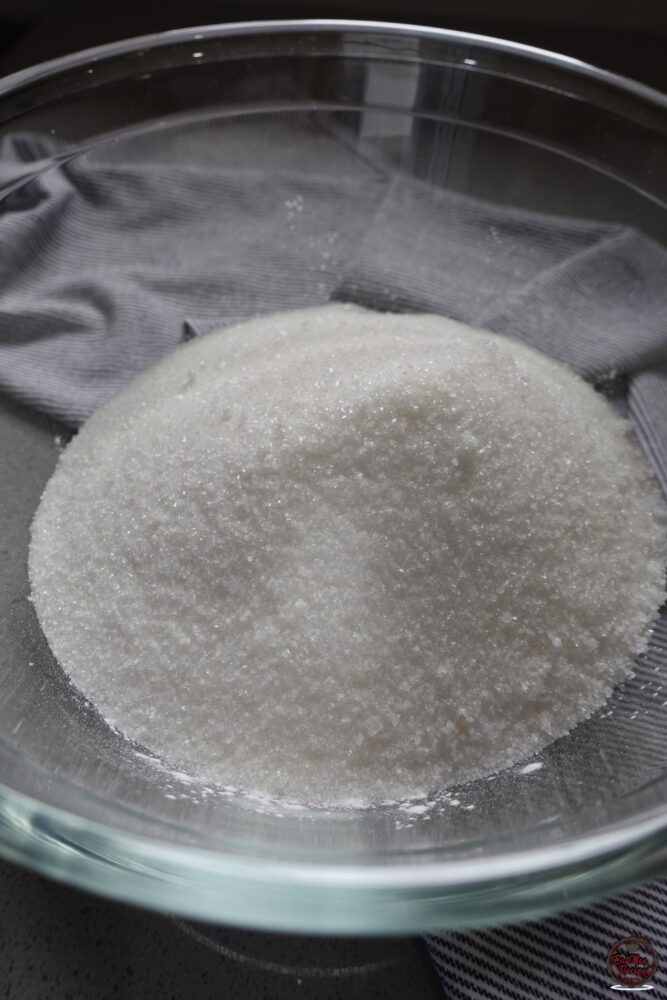
Thereafter, add in the white sugar.
Mix until combined.
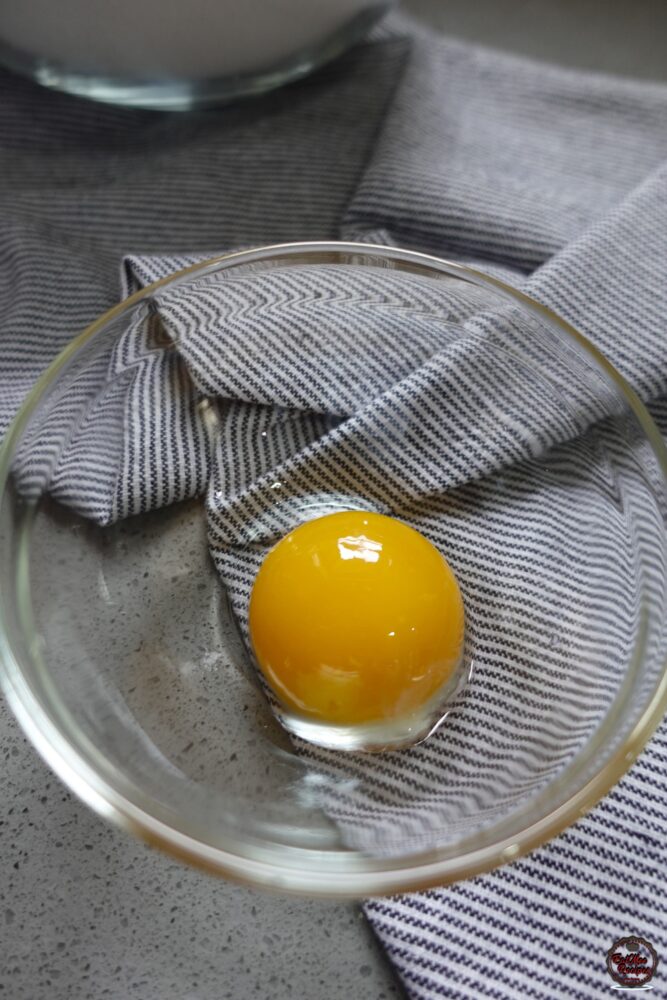
Separate the egg, keeping only the yolk. You can discard the egg white or save it for another use, like breakfast.
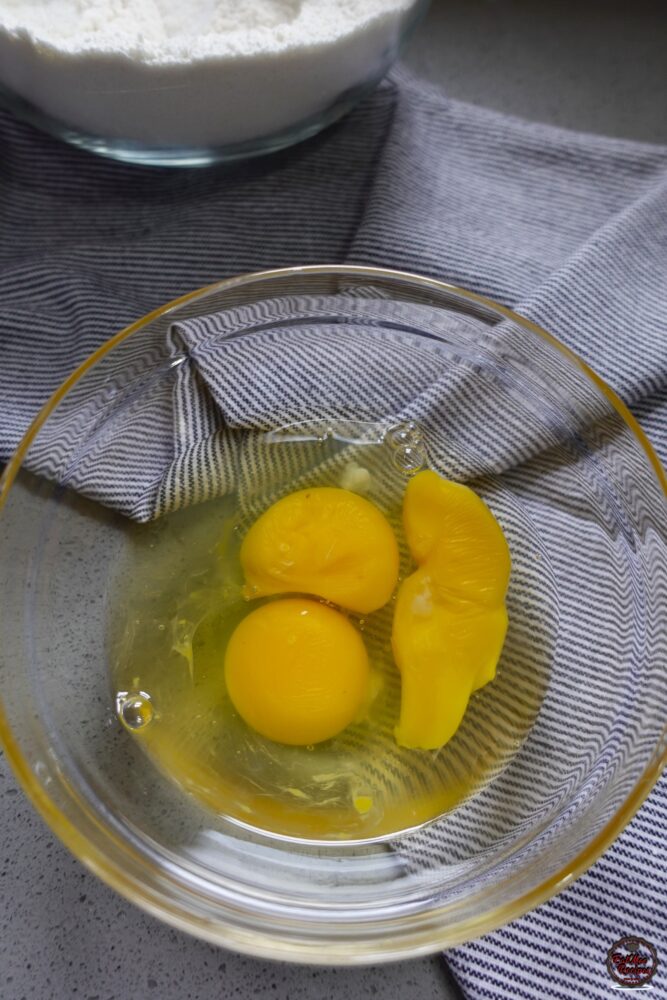
To another bowl, crack in 3 eggs.
Next, add the egg yolk to the bowl of eggs. Whole eggs build the cake’s structure, while the extra yolk boosts richness, moisture, and tenderness.
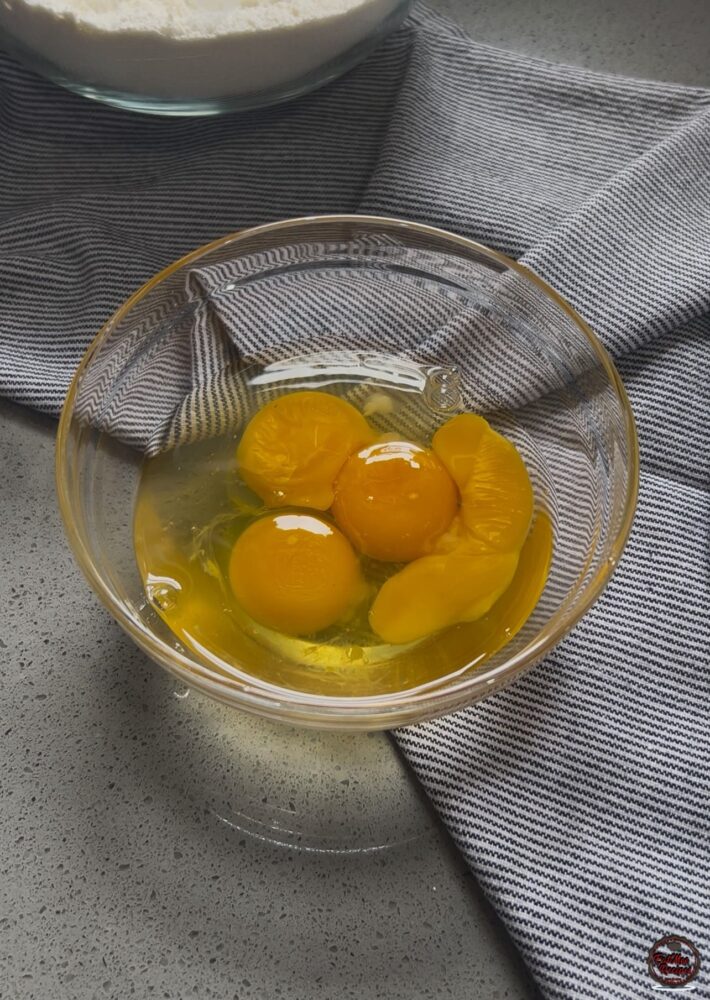
Add the vanilla essence and a few drops of yellow food coloring (egg yellow) to the eggs. This step is optional, it simply gives the cake a warm, golden hue. If you prefer a lighter or white cake, feel free to skip the coloring.
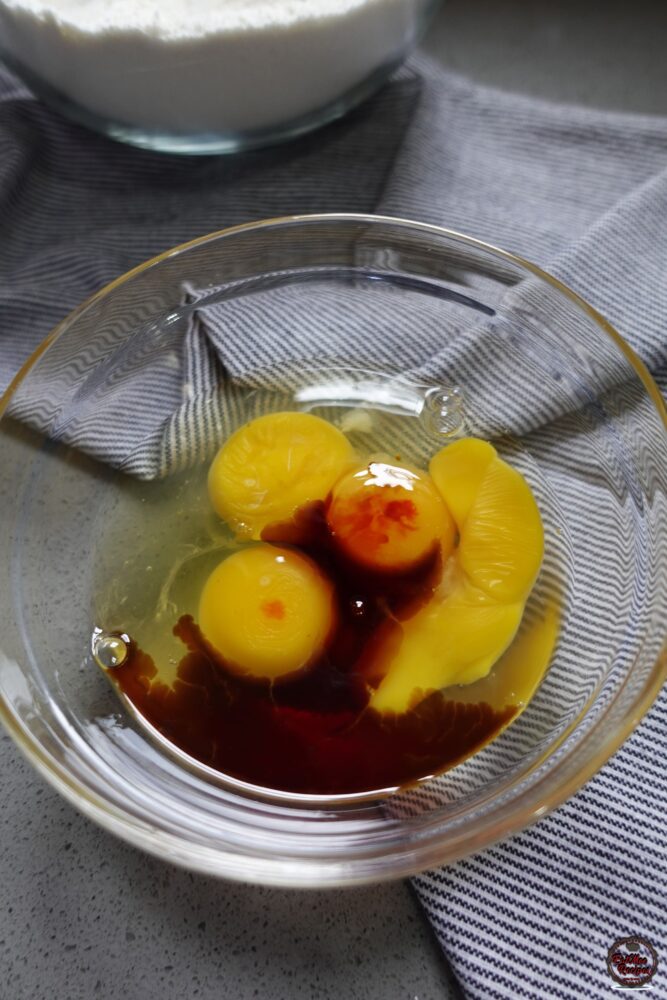
Whisk the eggs using a whisk or fork until well beaten.
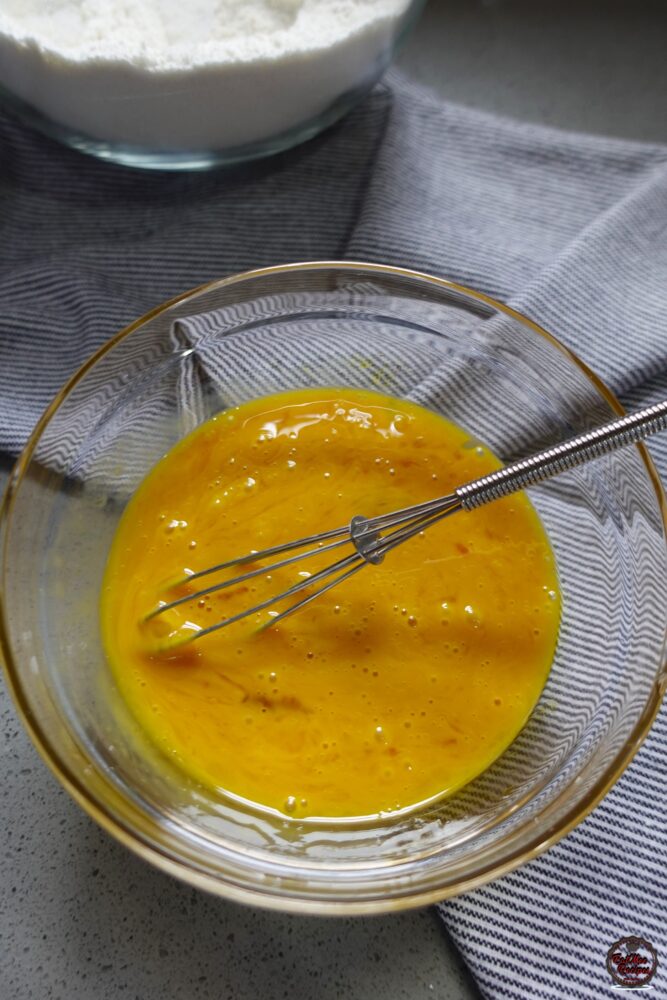
Pour the egg mixture into the bowl of dry ingredients (flour mixture).
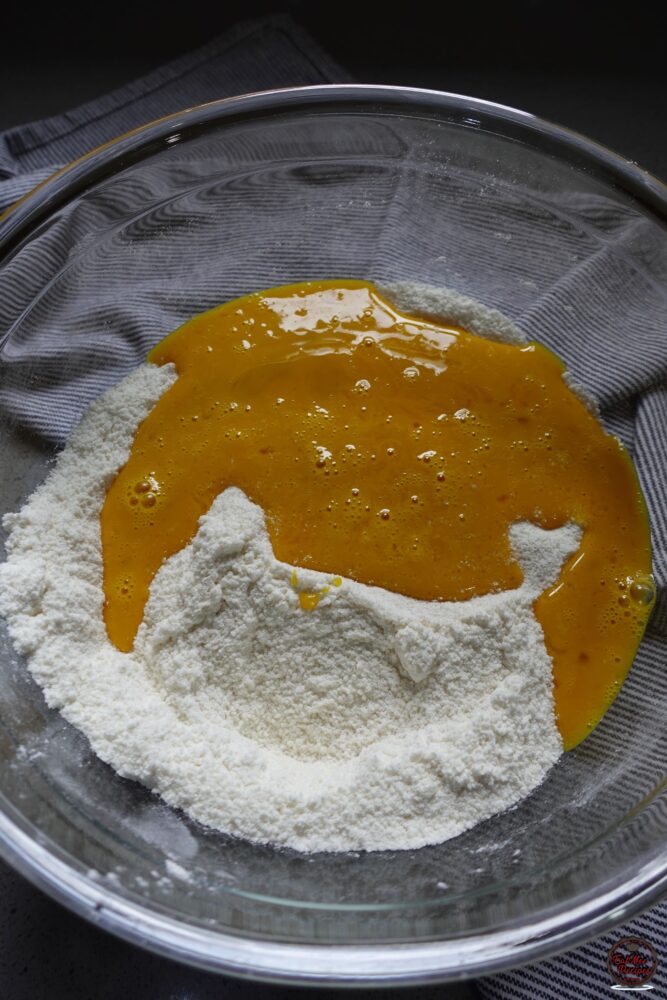
The melted butter should be a bit cooler now, pour it into the bowl.
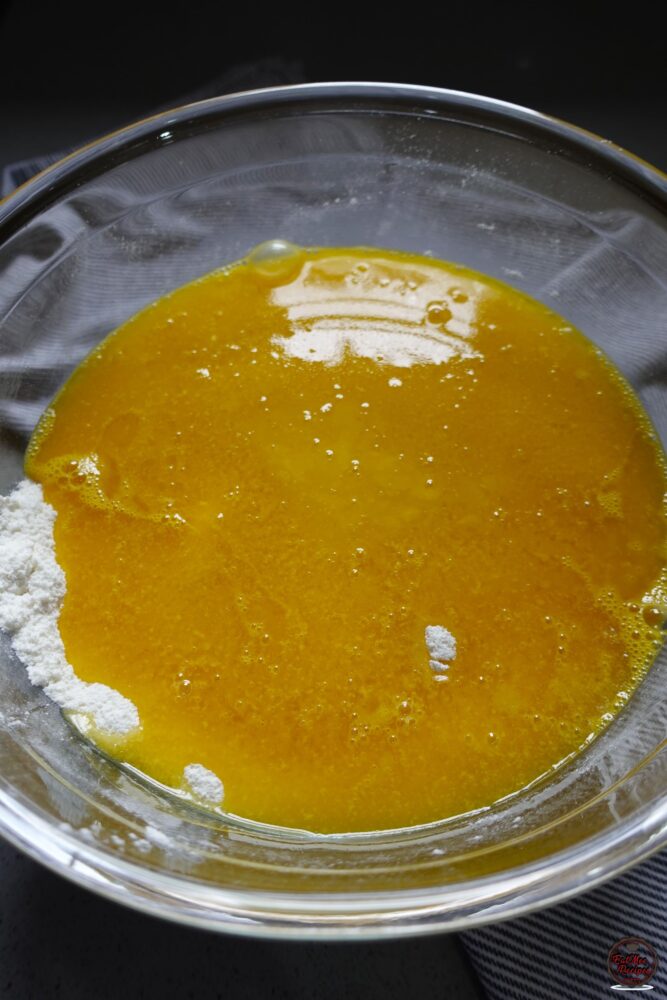
Add in the blended mielies.
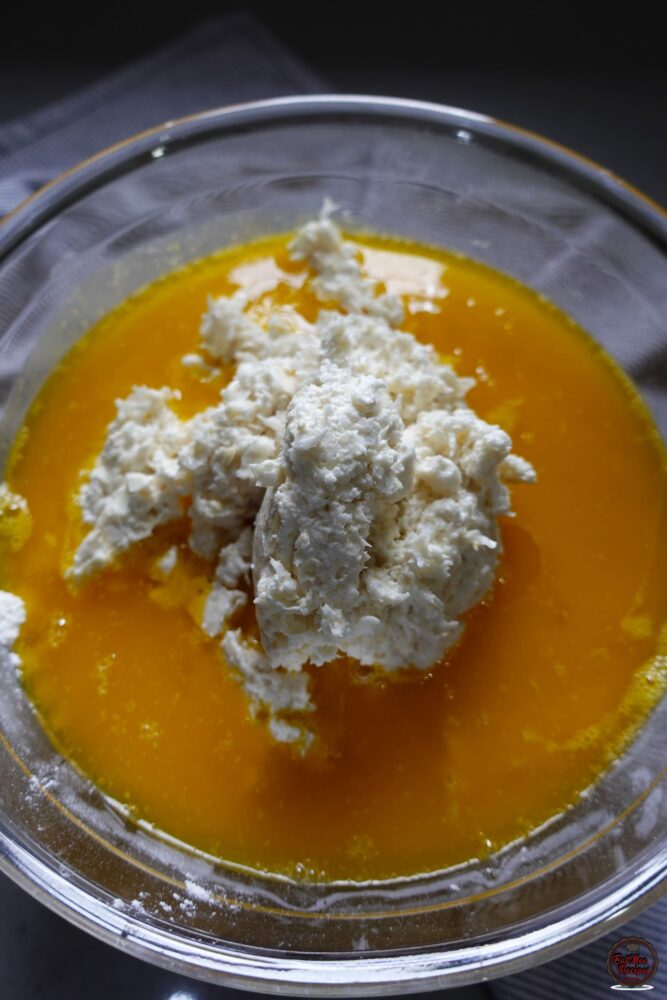
Gently fold until combined.
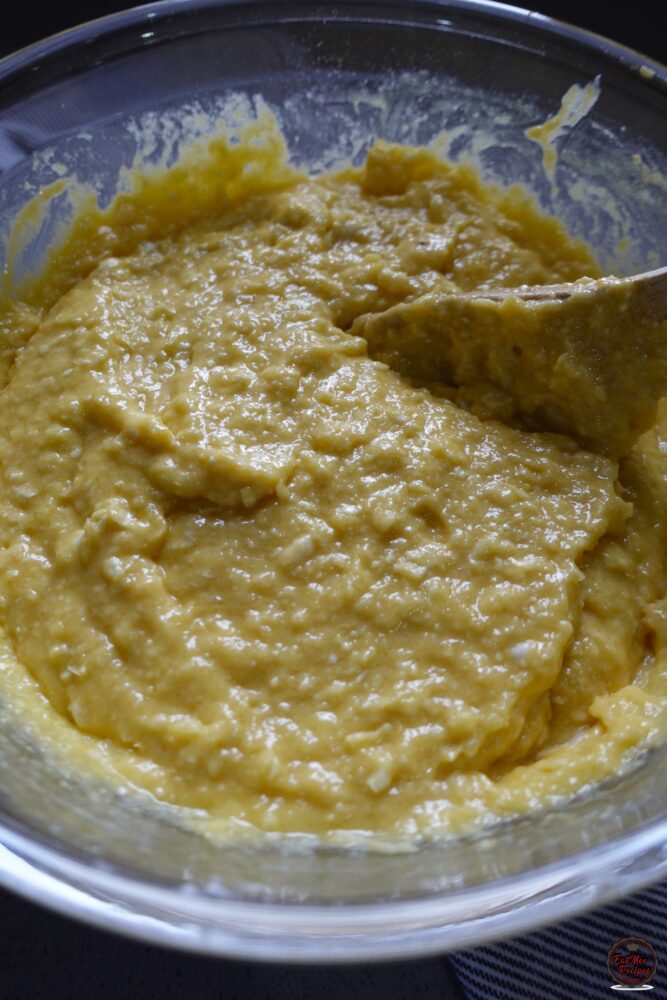
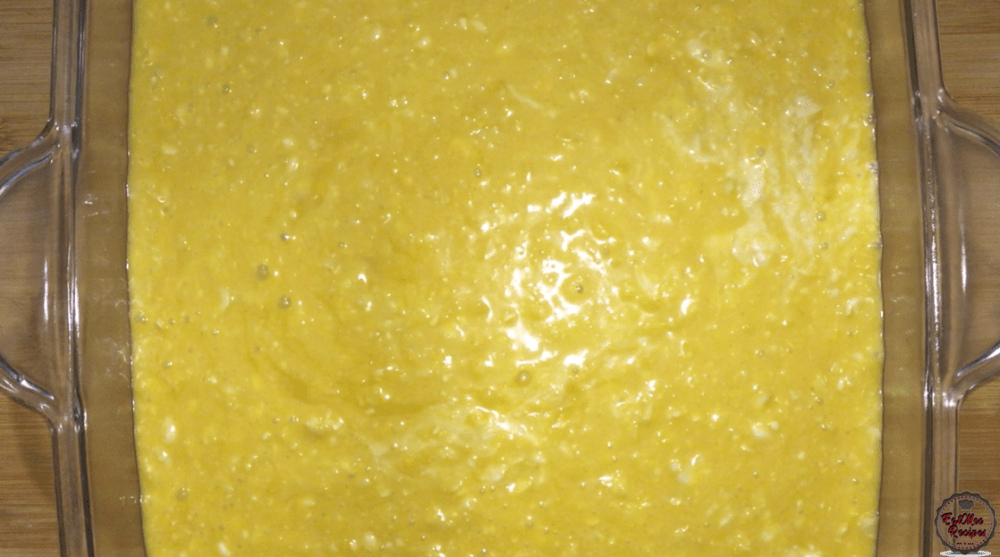
Pour the batter into the greased casserole/baking tray.
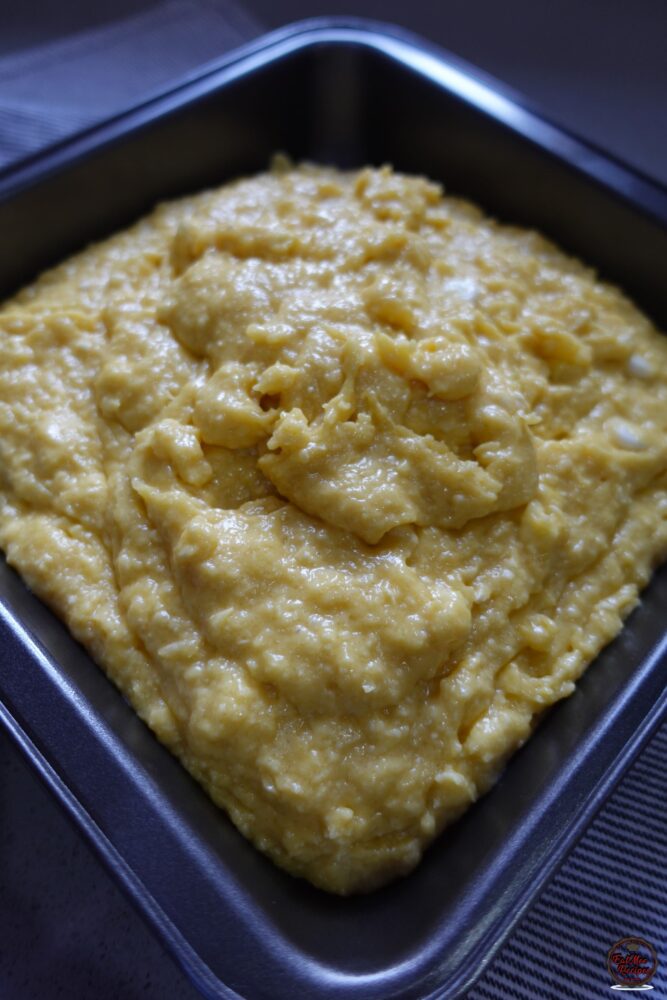
Use the back of a spoon to smoothen it out.
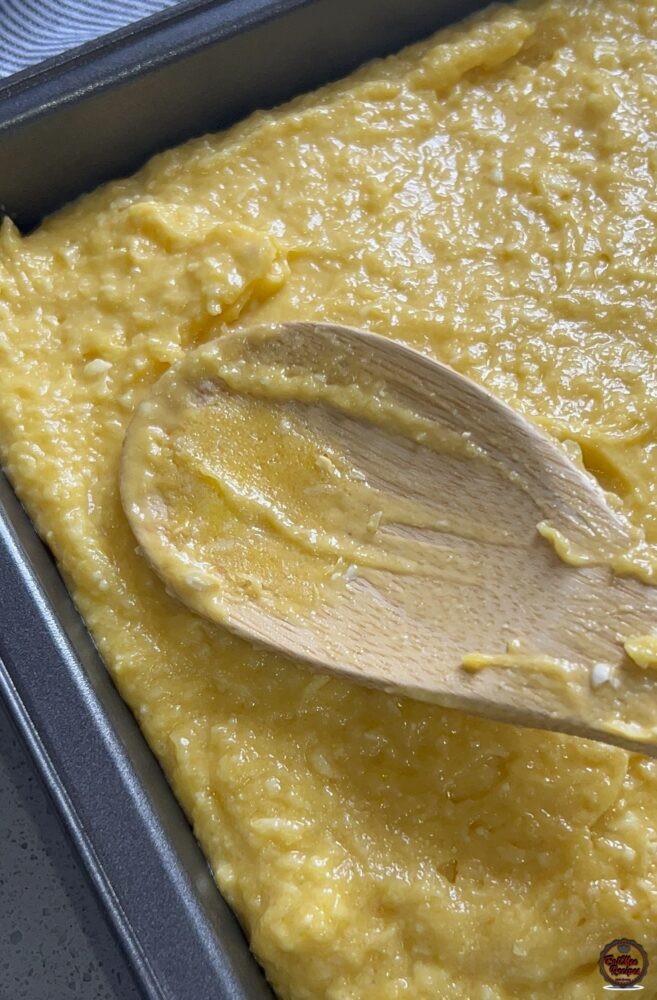
If using the 22x23cm cake pan – bake for ± 1 hour at 180° Celsius or until fully baked. Test the cake by inserting a skewer; it’s done when the skewer comes out clean, free of runny batter.
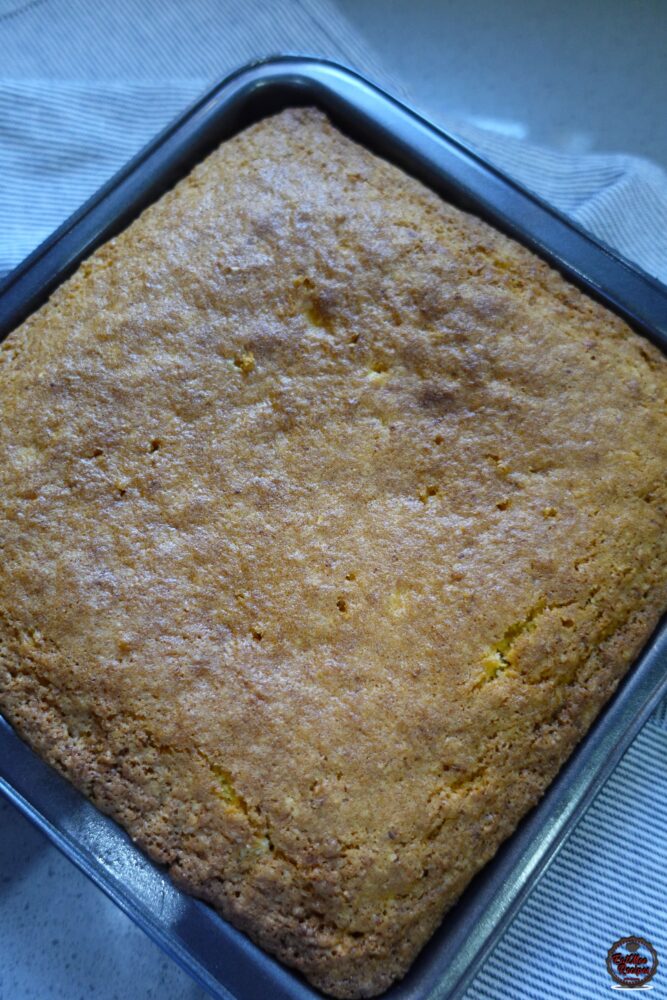
If using the 27cm cake pan – bake for ± 1 hour at 180° Celsius or until fully baked.
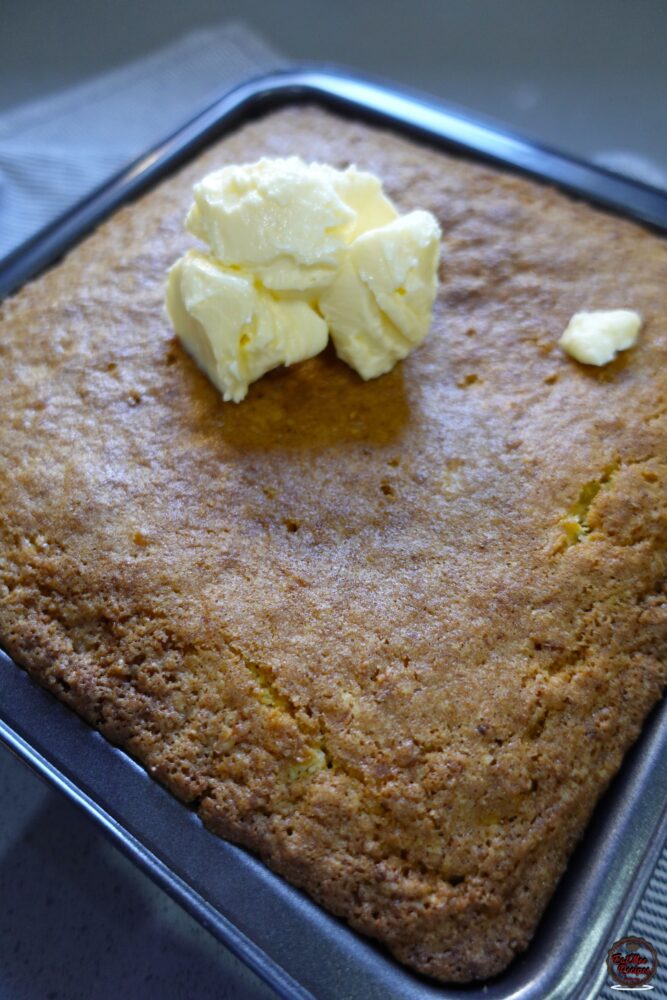
While the cake is still warm, spread the remaining 50 grams of butter over the top using a brush. This adds extra richness and a buttery finish, but feel free to use less if you prefer.
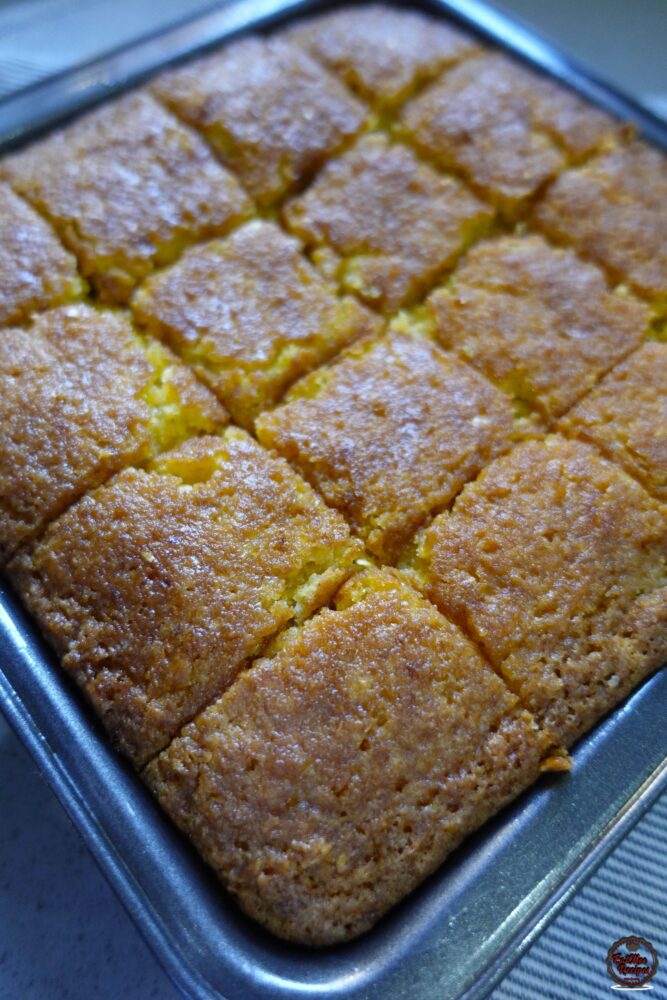
Slice in squares and serve.
Follow along with Denisiya's step-by-step video guide for Mielie Cake.
Expert kitchen guidance and troubleshooting for making the best Mielie Cake
“Mielie” is the Afrikaans word for corn or maize. Mielie cake is essentially a cornmeal-based cake that can lean sweet or savory depending on your preference. It’s a cousin of cornbread, but with more moisture, more flavor, and often a touch of spice or sweetness to elevate it. This cake can be prepared using sweetcorn, but I prefer the fresh corn. It is sweet, moist & super delicious – if you haven’t tried it yet, I highly recommend you do so.
Store in an airtight container at room temperature for up to 1 to 2 weeks. For milk-based sweetmeats like burfee or soji, refrigerate in an airtight container for up to 7 to 10 days.
Pure butter or ghee provides the authentic rich aroma and texture characteristic of traditional Indian sweetmeats and bakes. Margarine can be used in a pinch, but butter delivers superior flavor.
Hi, I'm Denisiya! Food lover, recipe developer, and founder of EatMee Recipes. I specialize in authentic South African Durban Indian cuisine, comforting curries, and modern Instant Pot adaptations. Every recipe on this site is tested in my personal kitchen to ensure you get mouth-watering, foolproof results every time.
Explore more authentic Durban curries, traditional bakes, and comforting family favourites.
 Desserts
If you love traditional South African sweet rice but want an easier, hands-off method, thi...
 Desserts
Light, crisp, and delicately sweet biscuit sticks dipped in chocolate
 Desserts
There’s something comforting about a marble loaf cake fresh from the oven, especially when...
Have you tried this recipe or have questions for Denisiya? Join the conversation below.
The mealie cake is in the oven for more than an hour and is still very runny
Why?
Hi Jacinta, did you preheat your oven to 180° Celsius or 356° Fahrenheit. Also have you used raw corn from the cob? I feel like ovens would be different as well and it could also be runny if you have used sweetcorn instead. This recipe worked fine for me – maybe also check if you followed the liquid quantities properly.
Leave a Comment
Your email address will not be published. Required fields are marked *