
We Value Your Culinary Privacy
EatMee Recipes uses cookies to provide a personalized browsing experience, analyze recipe popularity, and serve relevant ads. You can review our full disclosure in our Privacy Policy.
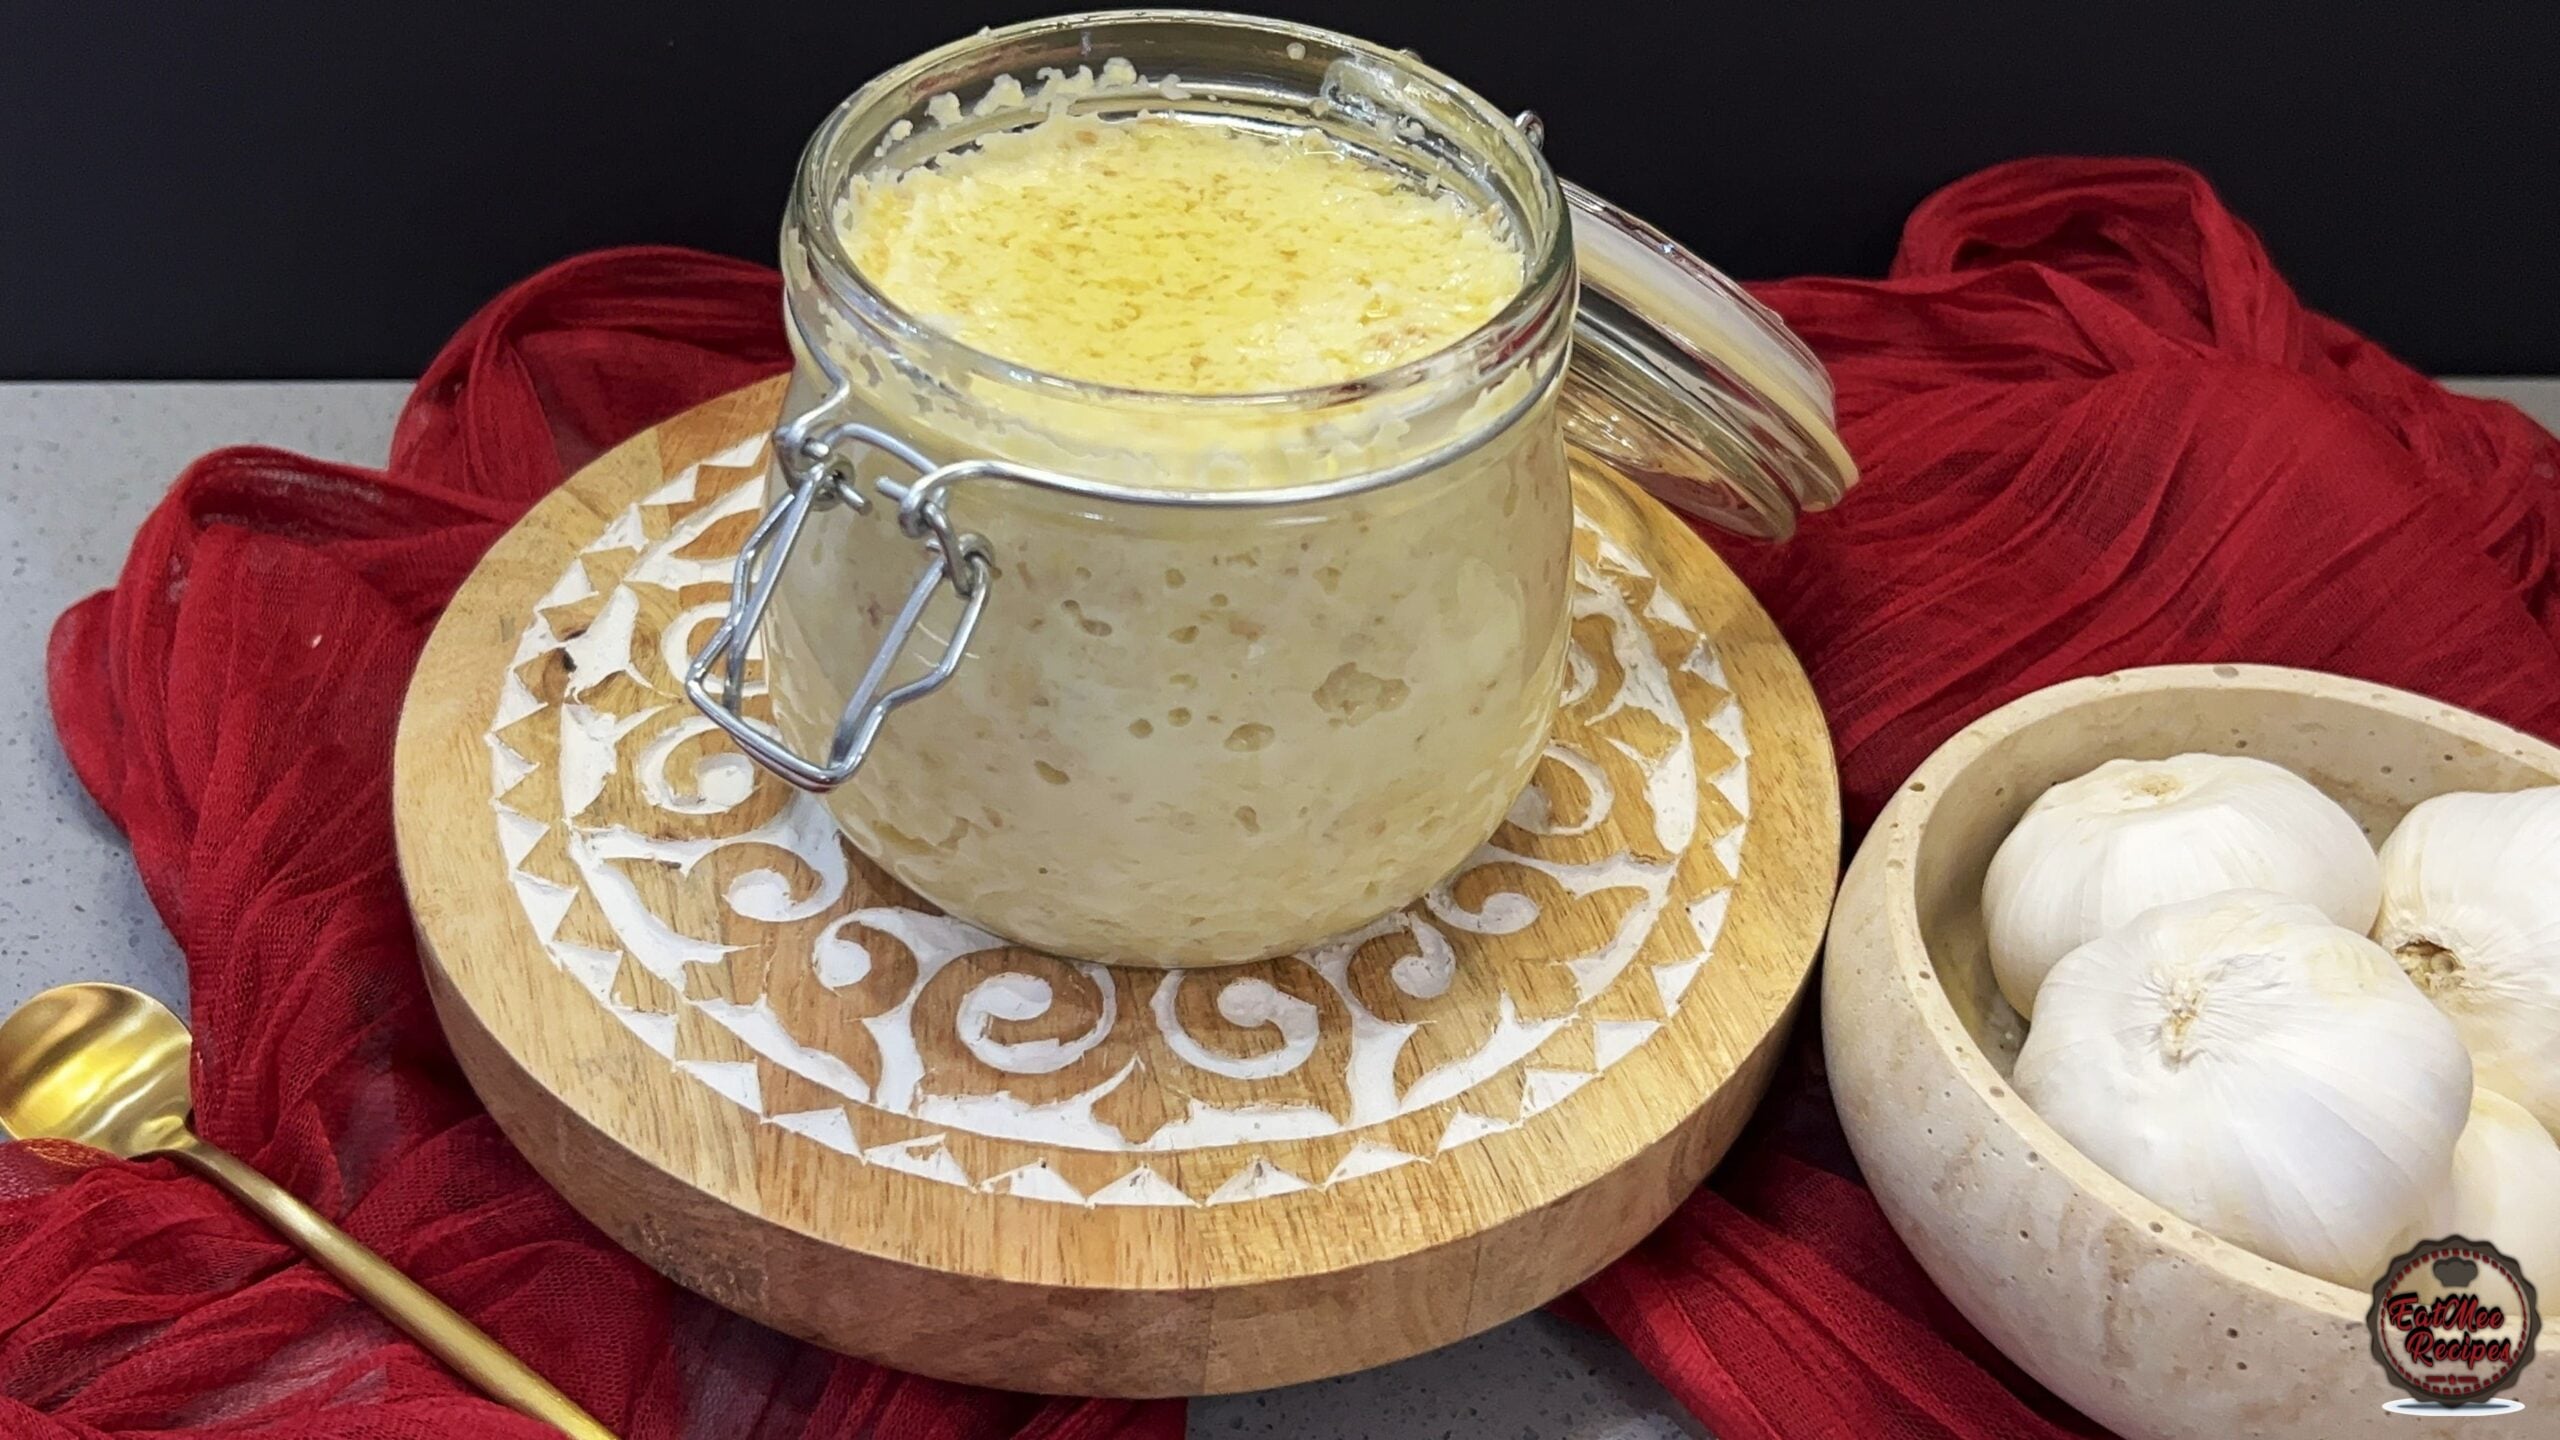
Make authentic Homemade Ginger And Garlic Paste with this foolproof recipe. Packed with rich traditional flavor, step-by-step photos, and cooking tips by Denisiya on EatMee Recipes.

Join over 60,000+ home chefs for weekly authentic Durban Indian cook-alongs, Instant Pot masterclasses, and family heritage recipes.
If there’s one ingredient that quietly powers Indian cooking, it’s ginger and garlic paste. From curries and breyanis to marinades and masalas, this humble paste forms the base of countless dishes.
Making it at home not only saves time, but gives you better flavour, better texture, and full control over freshness. This method uses ginger with the peel on, canola oil, and no water, resulting in a paste that lasts months when stored correctly.
Stronger, fresher flavour than store-bought
No preservatives or additives
More economical in the long run
Freezer-friendly and meal-prep approved
Customised to your cooking style
Leaving the ginger peel on adds depth and aroma, and using oil instead of water dramatically improves shelf life.
Using ginger with the peel on might seem unusual, but it actually adds flavour, nutrition, and convenience:
The peel contains essential oils that add an extra layer of aroma and warmth to your paste, making curries, masalas, and marinades more fragrant.
Ginger peel contains antioxidants and fibre that are usually lost when peeled. Leaving it on boosts the nutritional value of your paste.
You don’t have to spend time peeling every piece, which makes prep faster especially useful when making larger batches.
The peel adds a subtle texture that makes the paste taste more “homemade” and authentic, without affecting smoothness too much when blended properly. Tip: If you prefer a perfectly smooth paste, you can peel, but leaving the peel on is traditional and helps the paste last longer in the fridge or freezer.
I used 653g of ginger and 638g of whole garlic. The quantities don’t need to be exact – ginger and garlic paste works best at roughly equal parts, so anything close to a 1:1 ratio will give you excellent results.
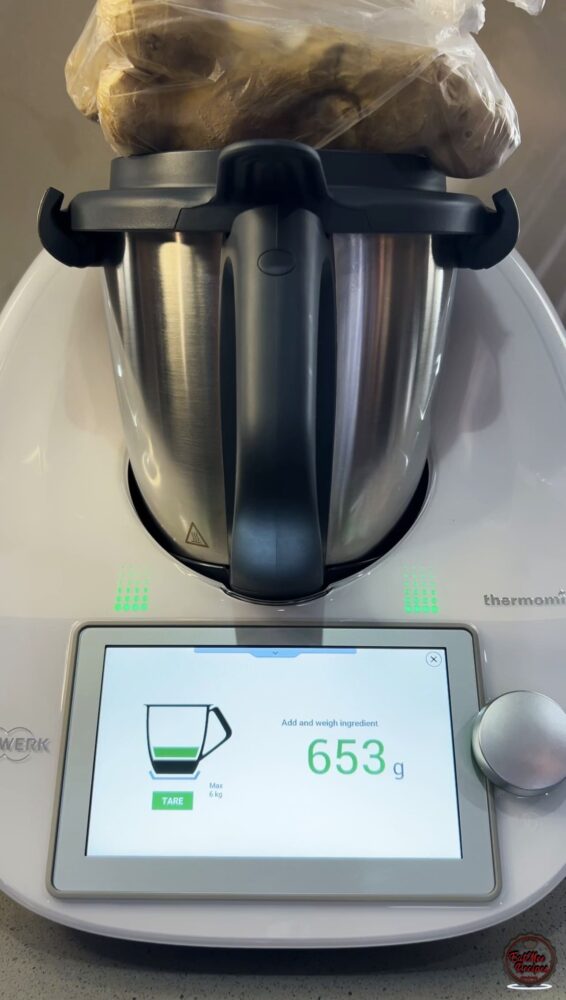
Start with the ginger and scrub and rinse the ginger thoroughly to remove all dirt.
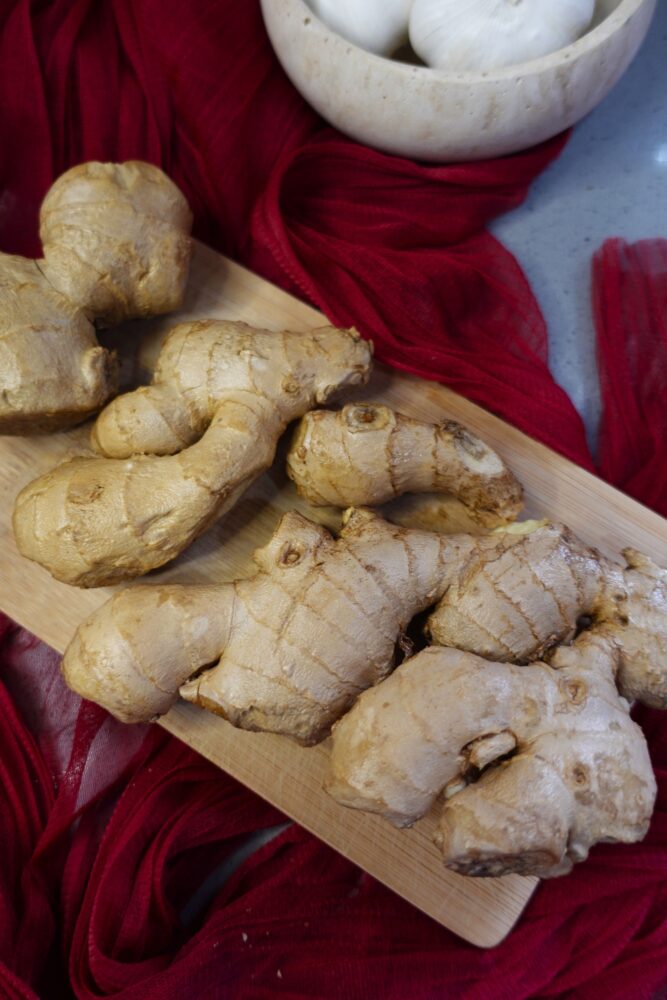
Rinse the ginger well, then pat it completely dry. Any excess moisture can shorten the shelf life of the paste. Break into pieces
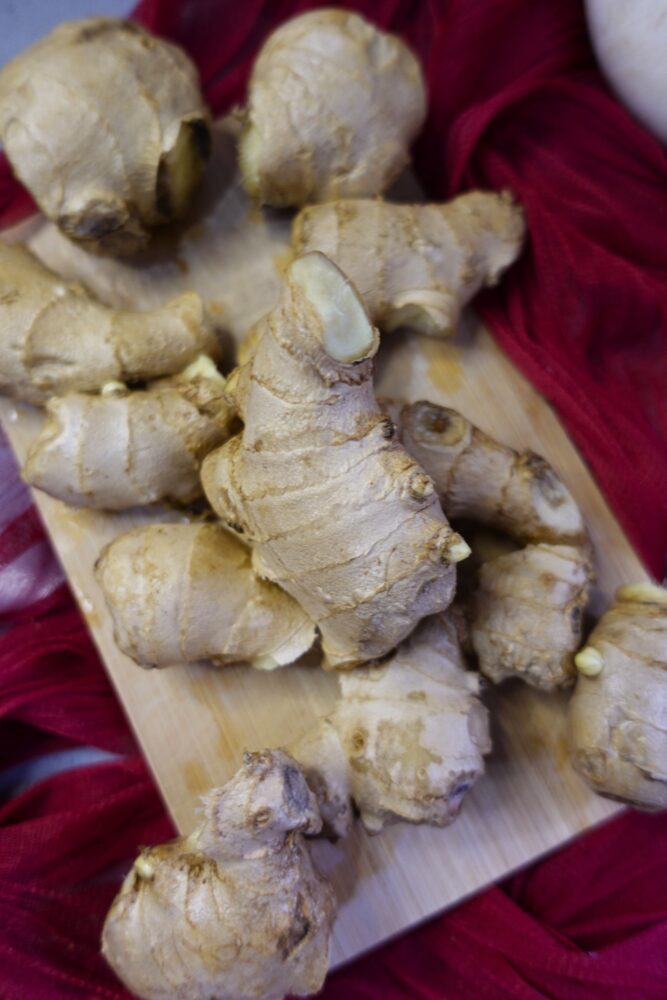
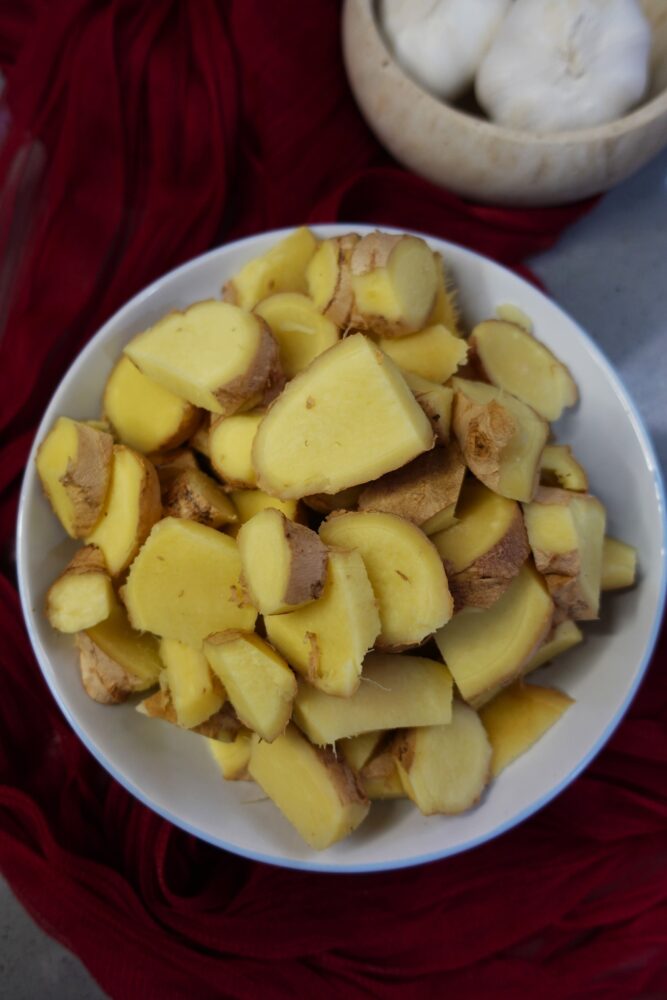
Trim off any dark, woody ends or tough nodes from the ginger. Slice into smaller pieces so the blender can process it more easily.
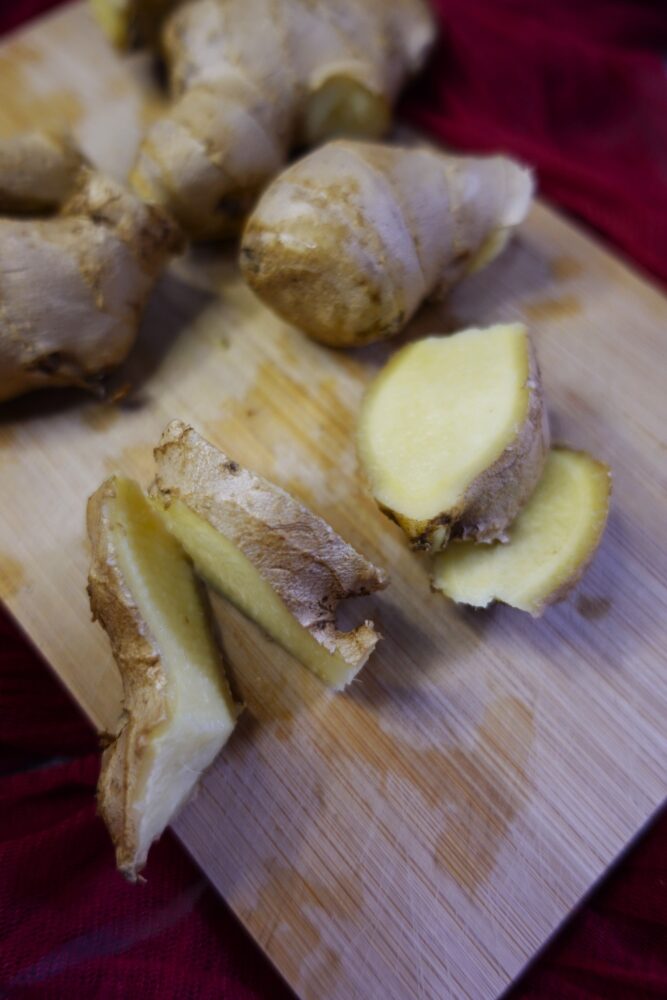
Once the ginger is prepped, move on to the garlic – which can take a bit more time.
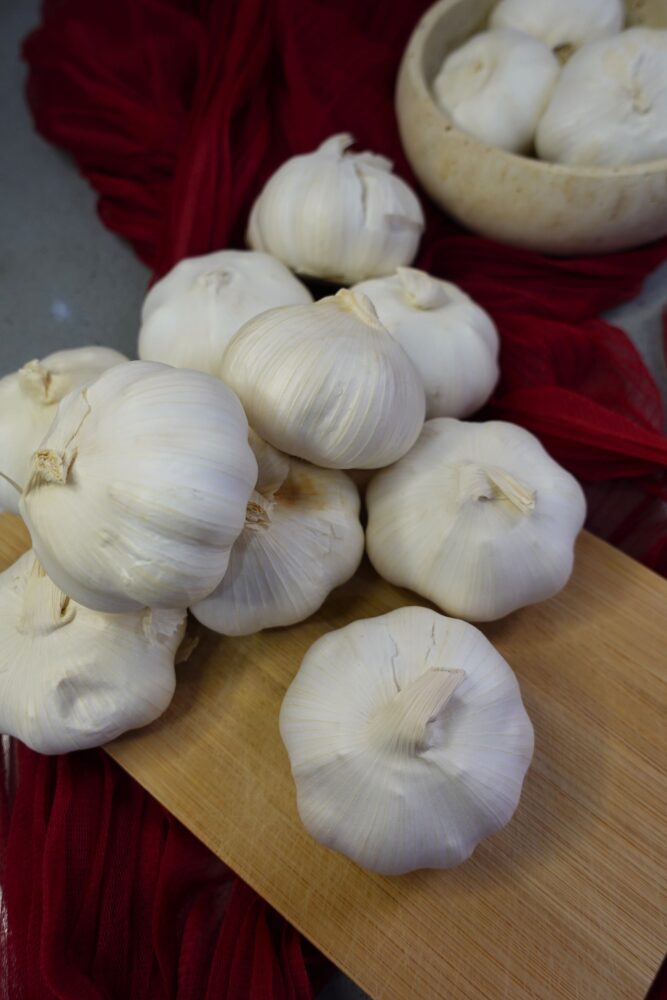
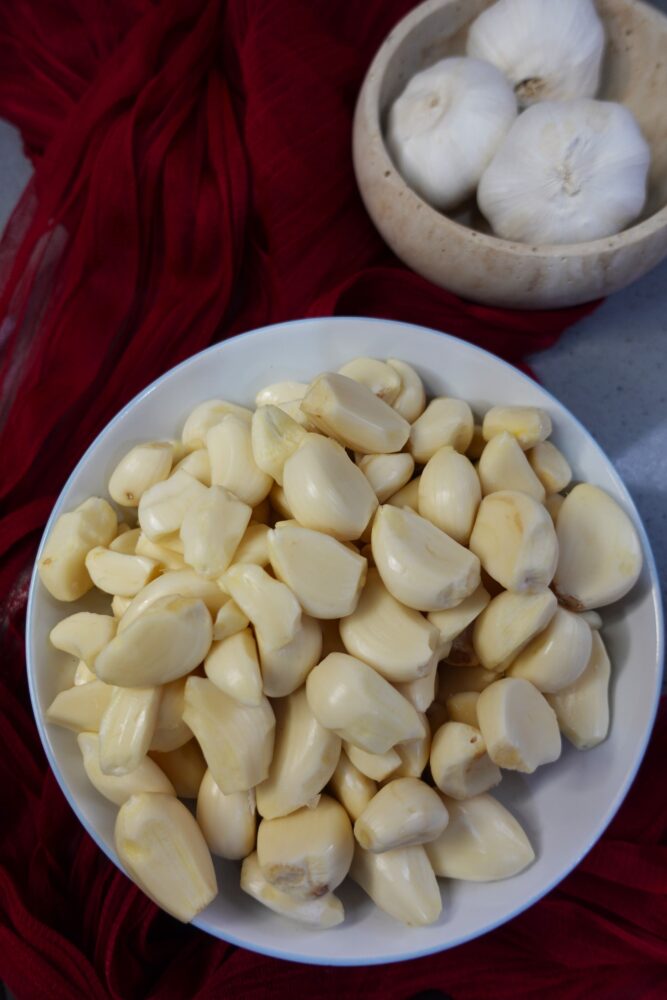
When using whole garlic, peel away the outer papery layers and separate the bulbs into individual cloves.
Peel each clove and discard the skins.
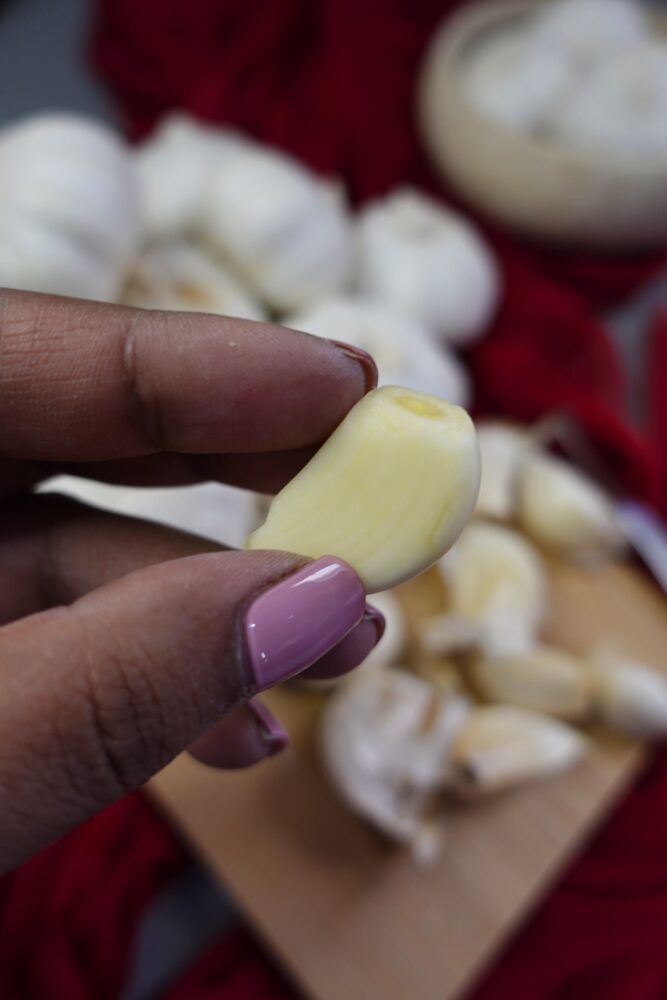
Once all the garlic is prepped, we can begin the blending.
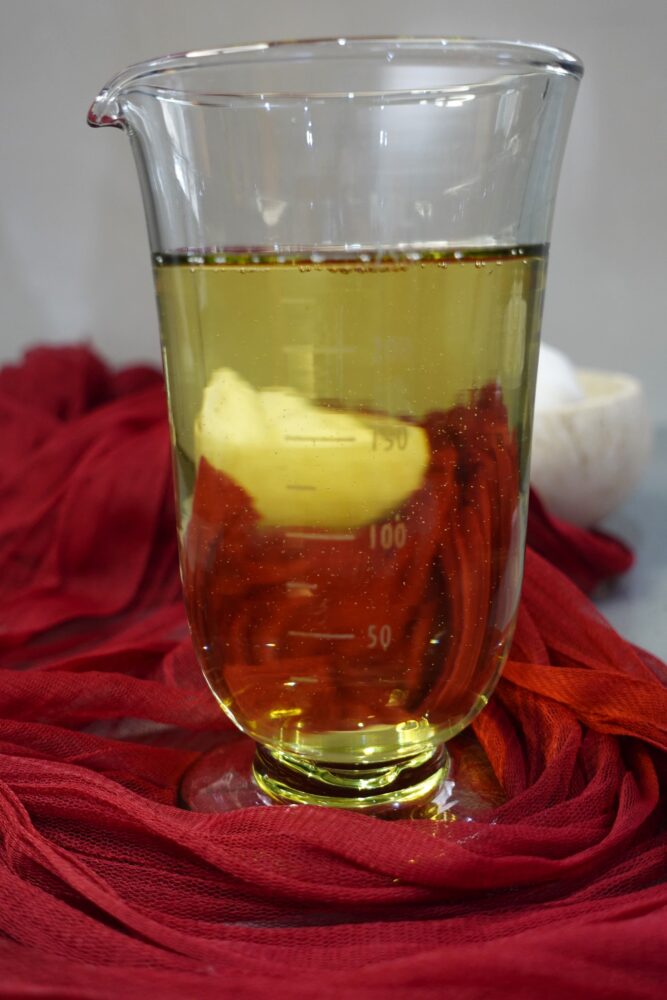
For this recipe, I recommend neutral seed oils like canola, sunflower, or grapeseed oil and here’s why: Seed oils don’t compete with the strong taste of ginger and garlic. Using olive oil or coconut oil can alter the flavour of your paste, making it less versatile in curries, masalas, and marinades. Seed oils are stable at low temperatures and don’t go rancid quickly in the fridge. They help preserve the paste for months without any additives. Unlike butter, ghee, or extra virgin olive oil, seed oils don’t solidify hard in the fridge or separate. This ensures a smooth, spoonable paste even after long storage.
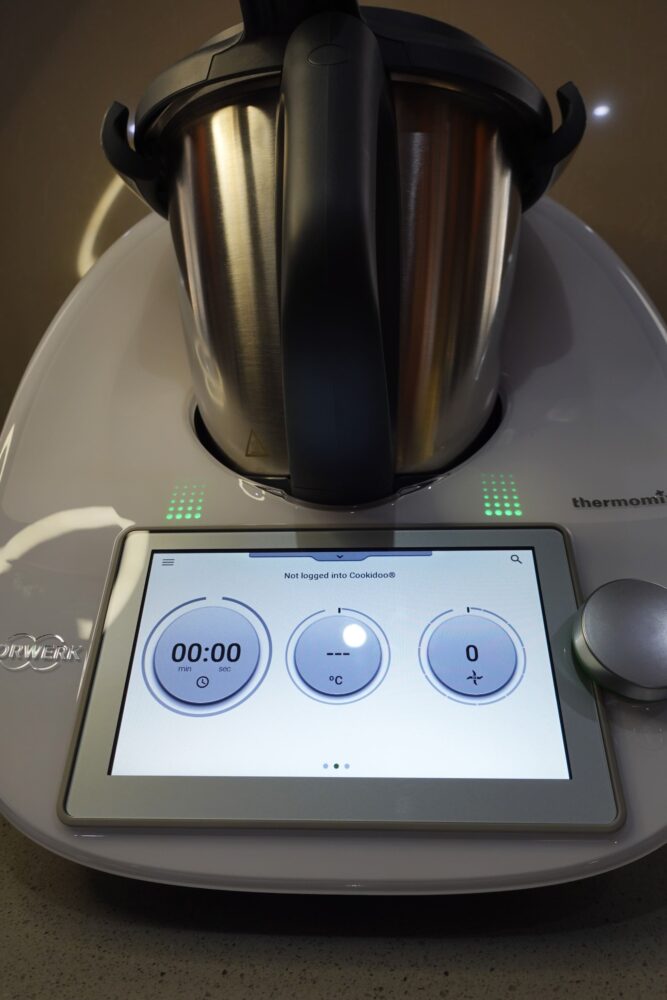
You can use any blender you have on hand. I’m using my Thermomix TM6, which makes the process super quick and easy. It effortlessly turns the ginger and garlic into a smooth, glossy paste in seconds.
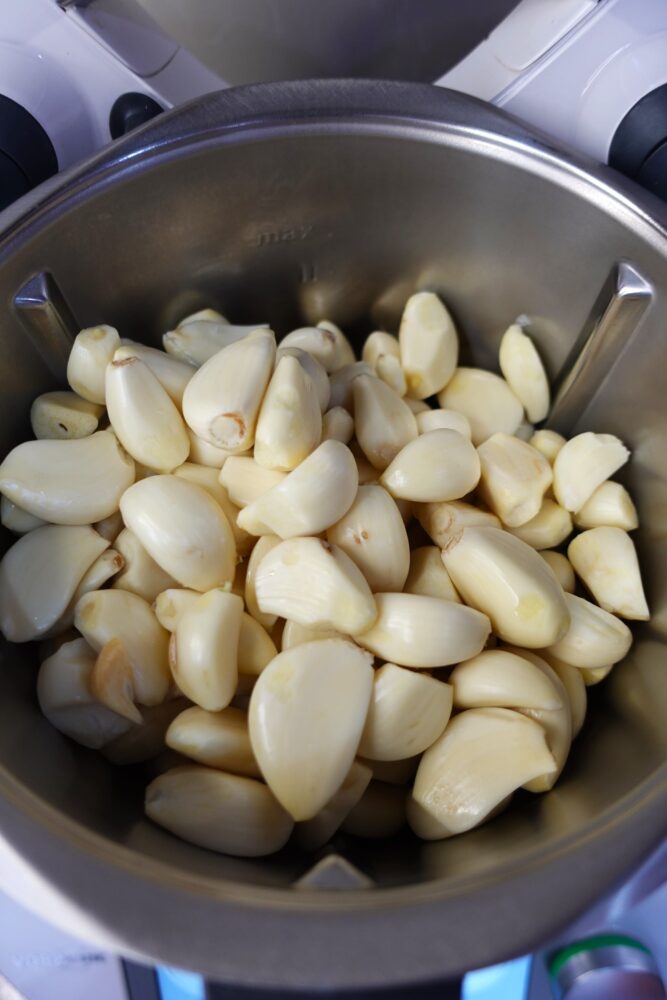
Add the prepped ginger and garlic to the blender.
Add in the salt and seed oil – I’m using Canola. Salt acts as a preservative, slowing down spoilage, while the oil keeps the paste smooth and extends its shelf life.
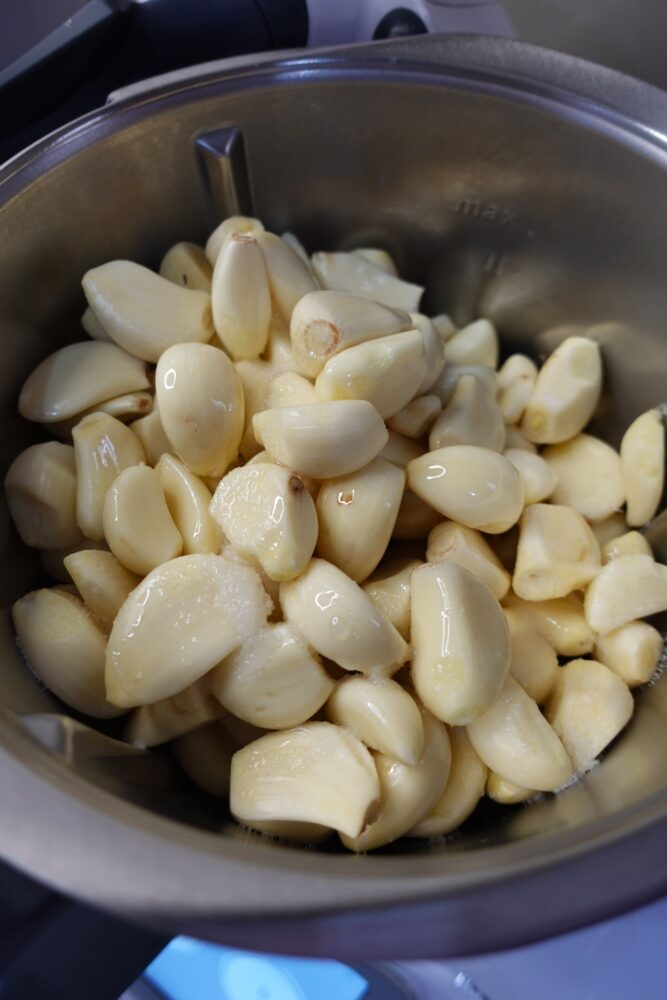
Secure the lid and blend. Stop occasionally to scrape the sides of the blender or food processor. This prevents bits from sticking and ensures an even texture. I’m not even kidding when I tell you, mine was done in 10 seconds with my Thermomix.
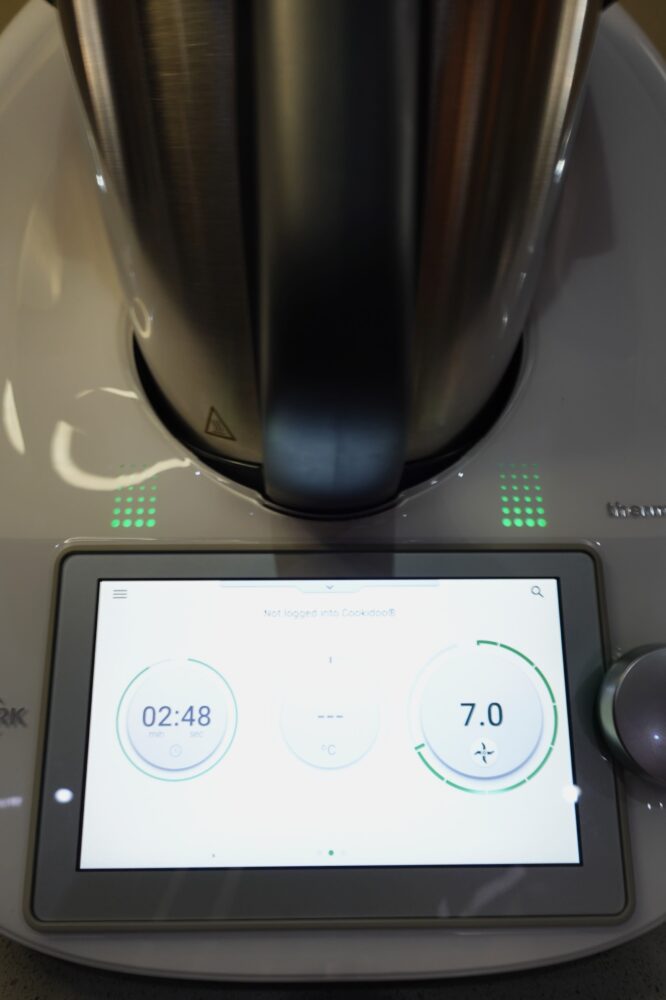
Once blended, the paste should be thick, glossy, and smooth, with a pale beige to light yellow colour.
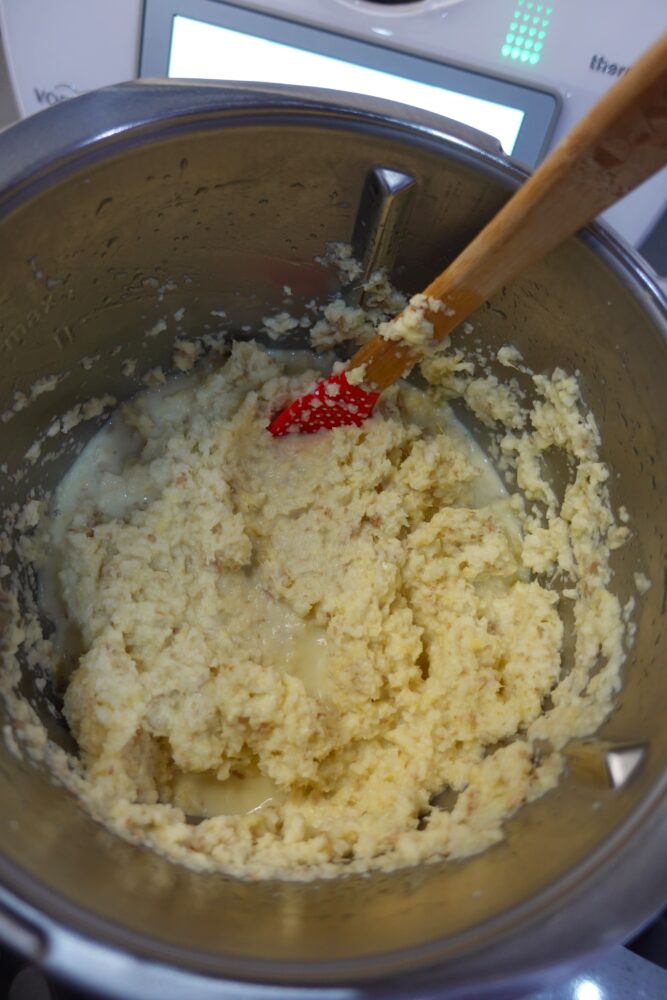
Slight graininess from the ginger peel is normal and adds texture. The aroma is strong, fresh, and slightly spicy, with the unmistakable punch of garlic balanced by the warmth of ginger. It should smell clean and vibrant, not sour or dull. Tip: If the paste looks dull or dry, you can drizzle a little more canola oil and blend briefly to restore shine.
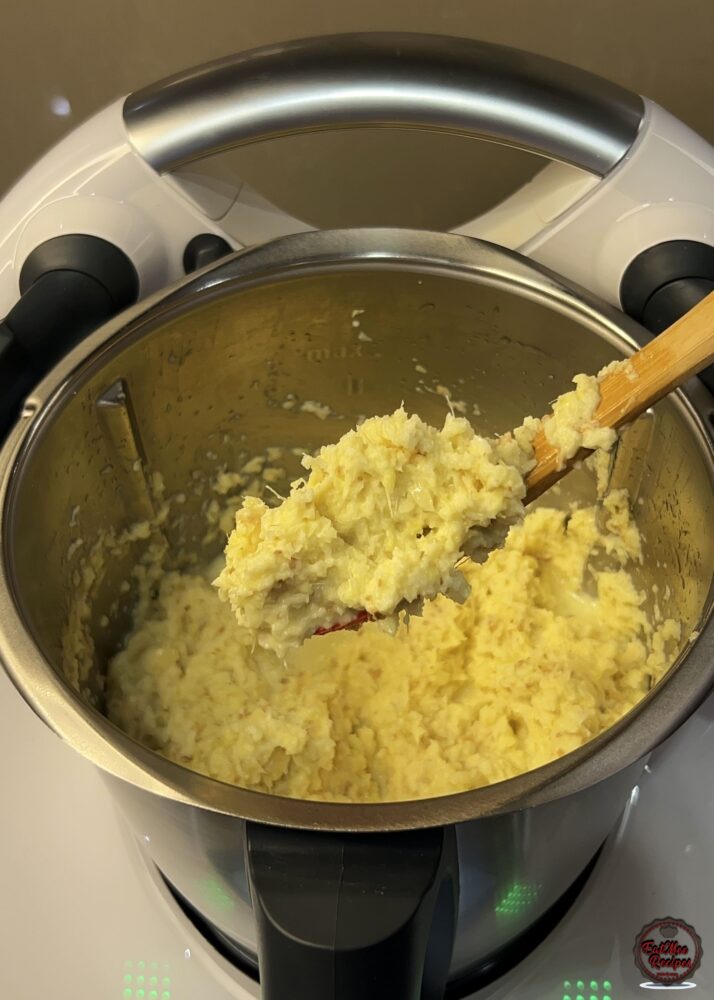
Transfer the ginger and garlic paste to clean, sterilised jars. Use a spoon or spatula to move the paste without leaving any on the blender sides.
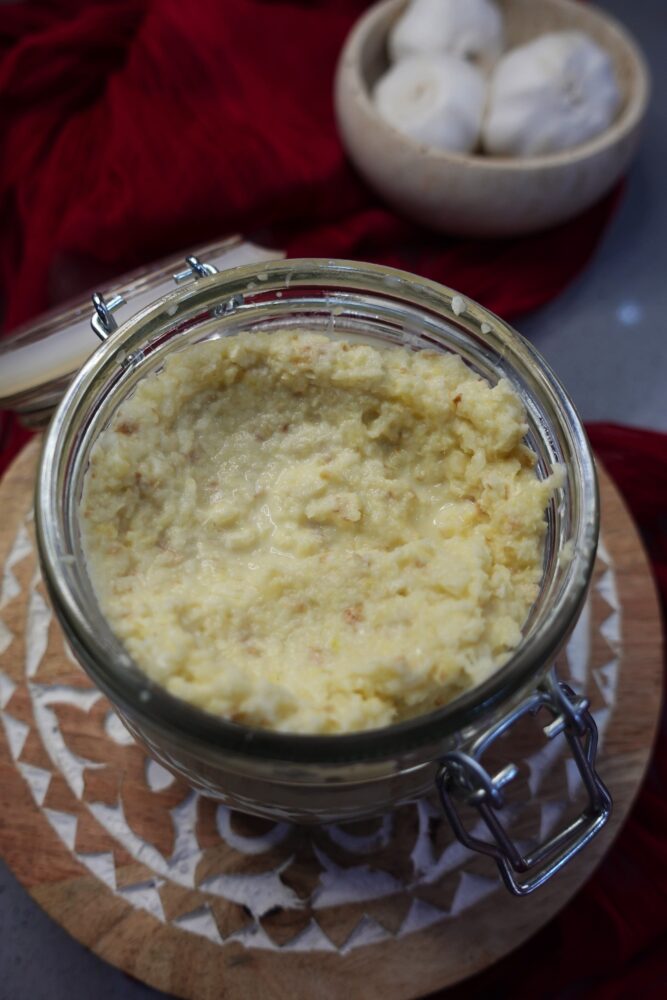
Use a spoon to smooth the top to remove air pockets.
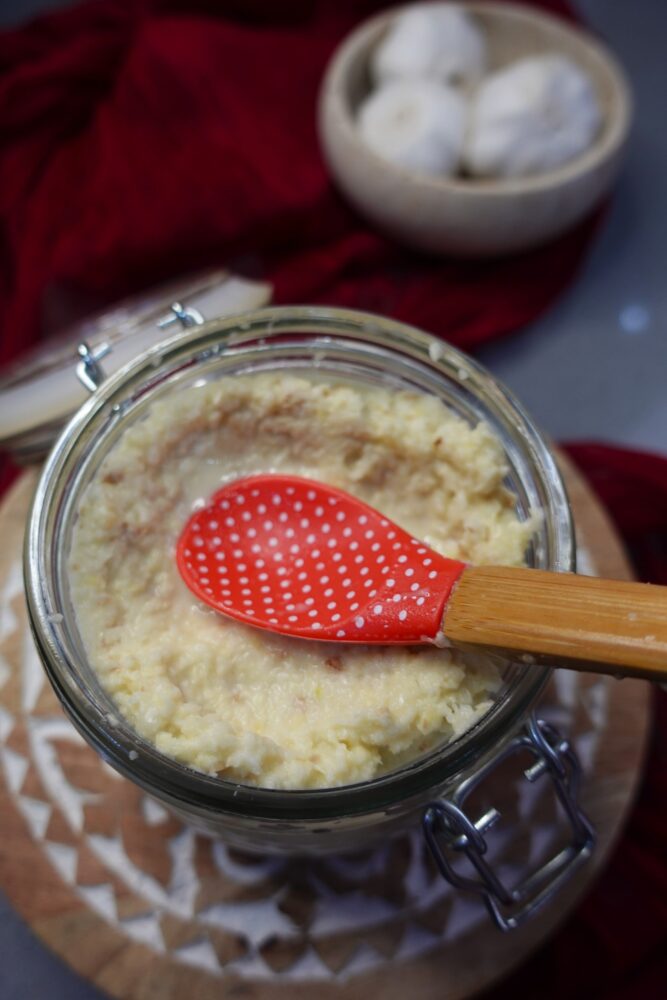
Top with a thin layer of oil.
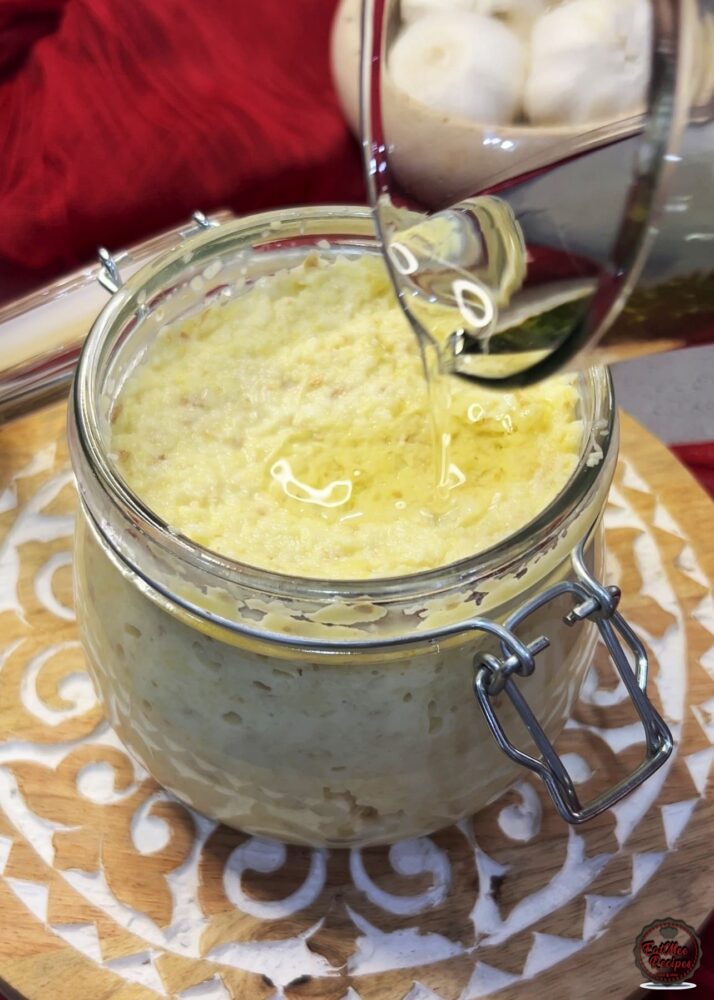
This extra layer of canola oil seals the paste, preventing oxidation and helping it last longer.
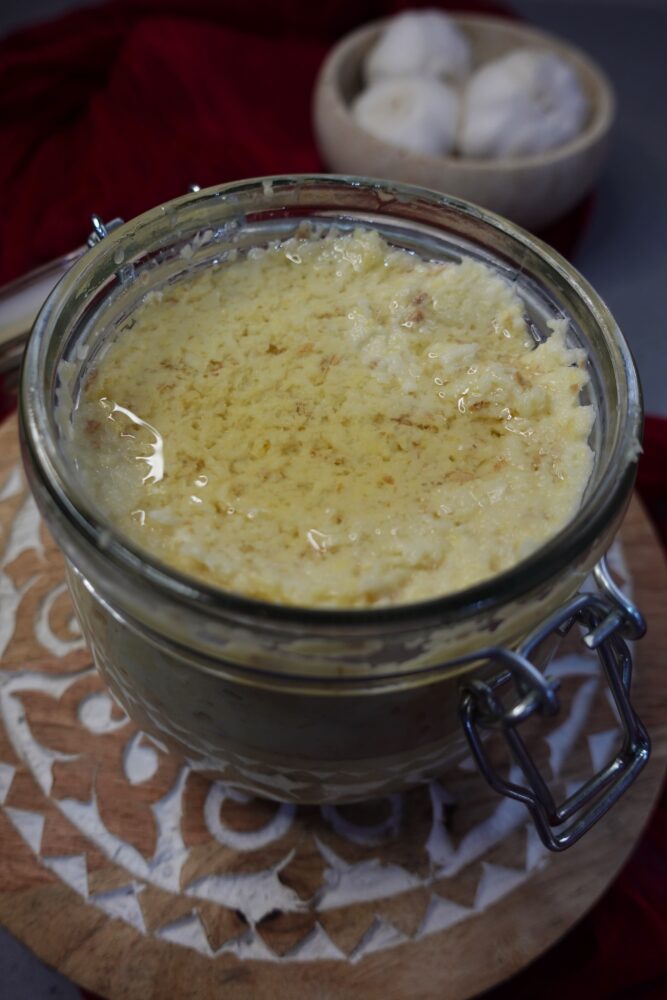
If you’re storing the paste in other containers, follow the same steps: top the surface with a thin layer of oil to prevent oxidation and help the paste stay fresh longer.
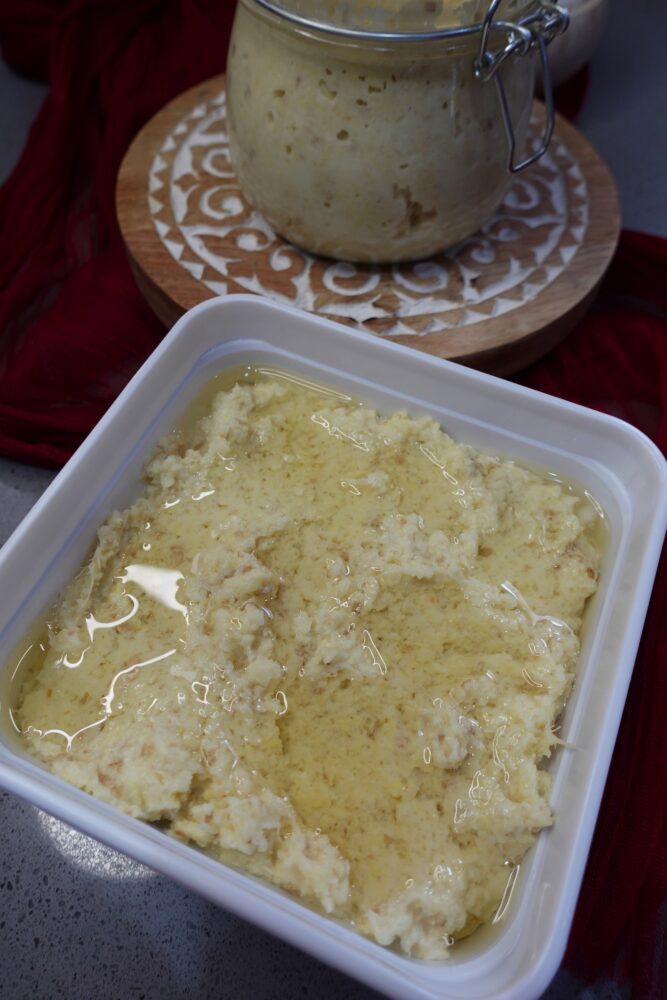
Seal the jars tightly. Store in the back of the fridge for 5-6 months, or freeze for longer storage (6–9 months (best flavour & aroma) or Up to 12 months if kept frozen solid and unopened) Tip: Always use a dry spoon when scooping out the paste to prevent moisture from shortening shelf life.
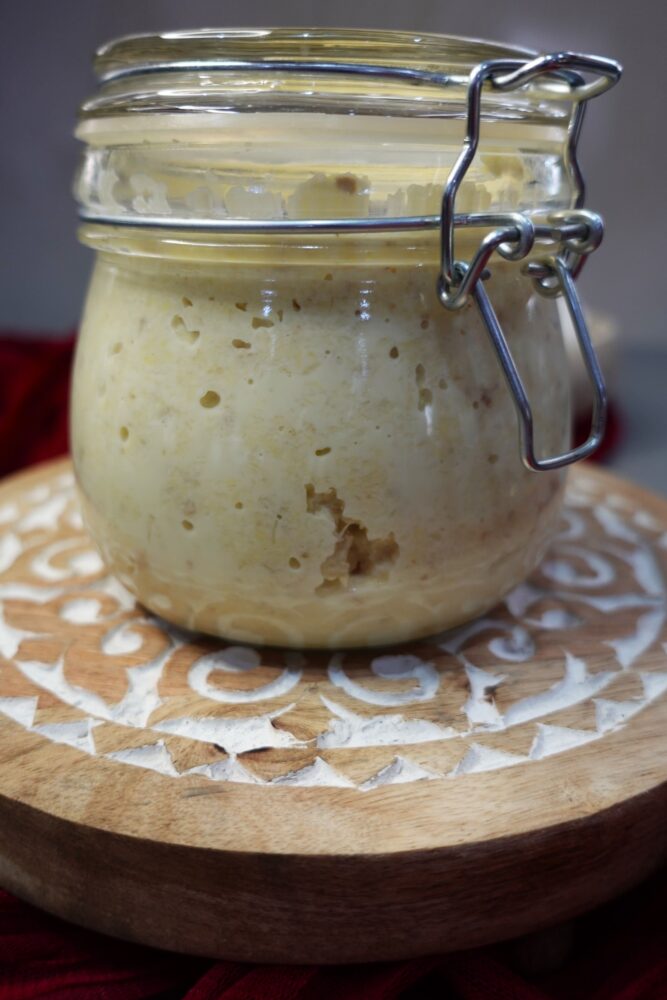
For frozen paste stored in jars, thaw in the fridge rather than on the counter. If you’ve frozen it in portioned bags or ice cube trays, simply drop the cubes straight into hot oil when cooking – so convenient!
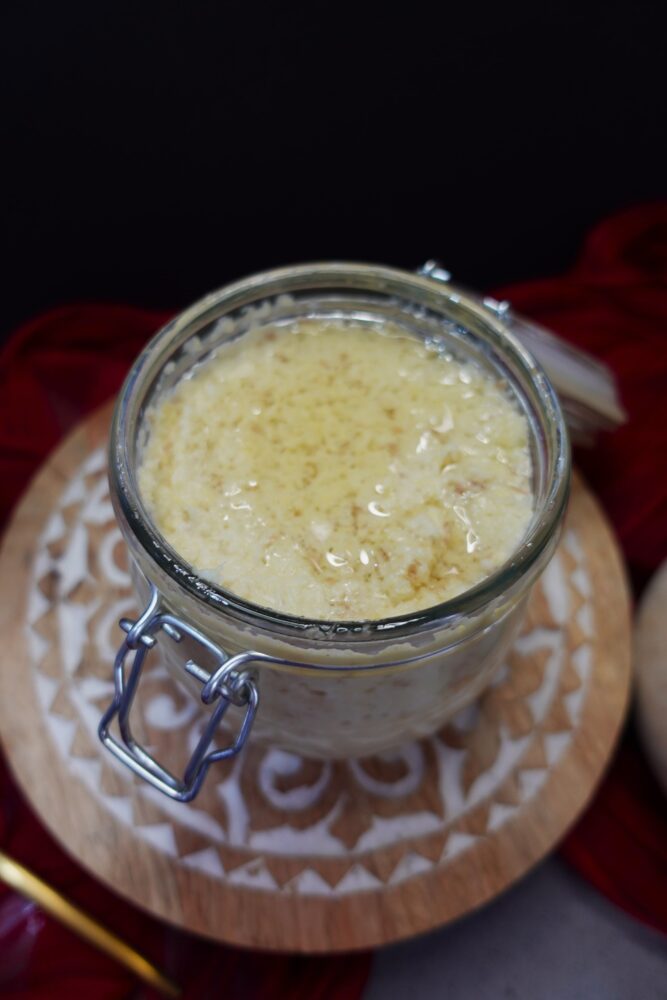
This homemade ginger and garlic paste is a true kitchen essential. Once you start making it this way, it becomes second nature and you’ll never want to go back to store-bought again. Simple ingredients, done properly, make all the difference.
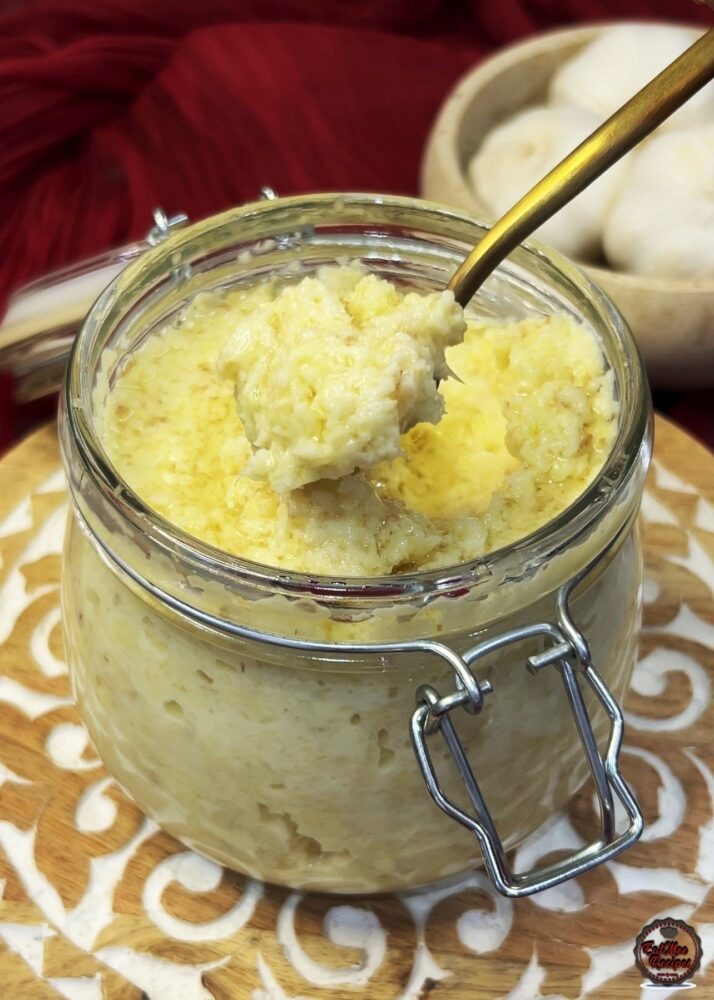
Follow along with Denisiya's step-by-step video guide for Homemade Ginger And Garlic Paste.
Expert kitchen guidance and troubleshooting for making the best Homemade Ginger And Garlic Paste
Using ginger with the peel on might seem unusual, but it actually adds flavour, nutrition, and convenience:
Absolutely! You can easily tailor the heat by increasing or reducing the chili powder and fresh chilies to suit your family’s palate without compromising the authentic flavor profile.
Yes, you can freeze Homemade Ginger And Garlic Paste in an airtight, freezer-safe container for up to 2 to 3 months. Thaw overnight in the refrigerator before gently reheating.
Hi, I'm Denisiya! Food lover, recipe developer, and founder of EatMee Recipes. I specialize in authentic South African Durban Indian cuisine, comforting curries, and modern Instant Pot adaptations. Every recipe on this site is tested in my personal kitchen to ensure you get mouth-watering, foolproof results every time.
Explore more authentic Durban curries, traditional bakes, and comforting family favourites.
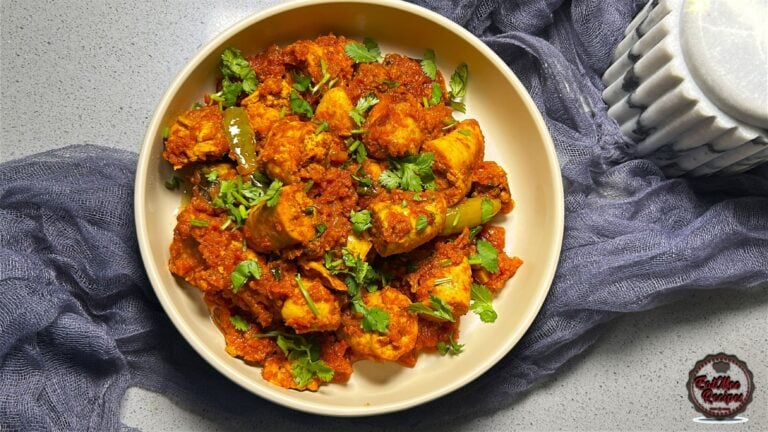 Indian Cuisine
My mum is sharing another one of her much-loved traditional South African Indian recipes. ...
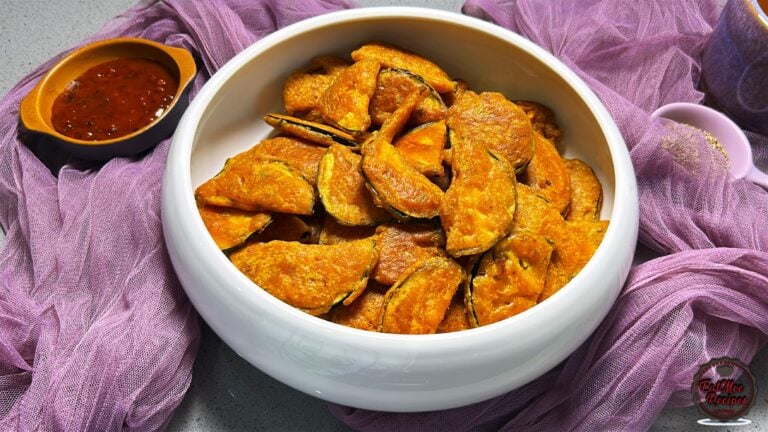 Indian Cuisine
Crispy, golden and delicious, these Brinjal Pakoras are made with thin slices of brinjal c...
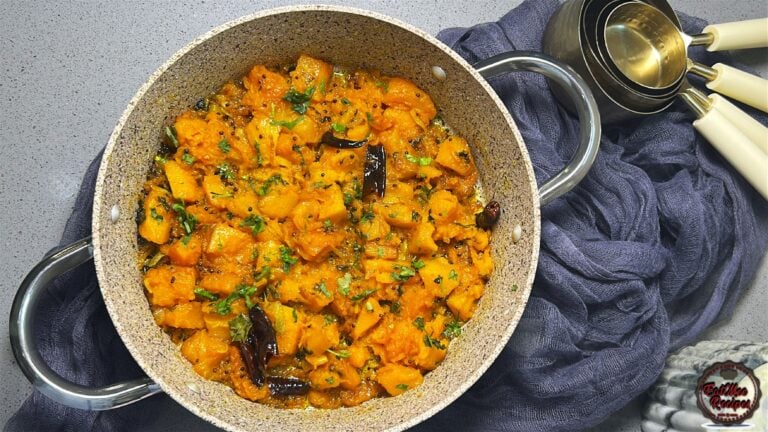 Indian Cuisine
Mum’s Pumpkin Curry is a simple, comforting vegetarian dish that proves you don’t need a l...
Have you tried this recipe or have questions for Denisiya? Join the conversation below.
Thank you so much this looks amazing l will surely be making this. The grams measurements is a bit confusing for me but will figure it out. Much love
You're most welcome Lorna. The grams does not have to be precise, you can eyeball it. Hope you enjoy.
Leave a Comment
Your email address will not be published. Required fields are marked *