
We Value Your Culinary Privacy
EatMee Recipes uses cookies to provide a personalized browsing experience, analyze recipe popularity, and serve relevant ads. You can review our full disclosure in our Privacy Policy.
Make authentic Fried Butternut Squash with this foolproof recipe. Packed with rich traditional flavor, step-by-step photos, and cooking tips by Denisiya on EatMee Recipes.

Join over 60,000+ home chefs for weekly authentic Durban Indian cook-alongs, Instant Pot masterclasses, and family heritage recipes.
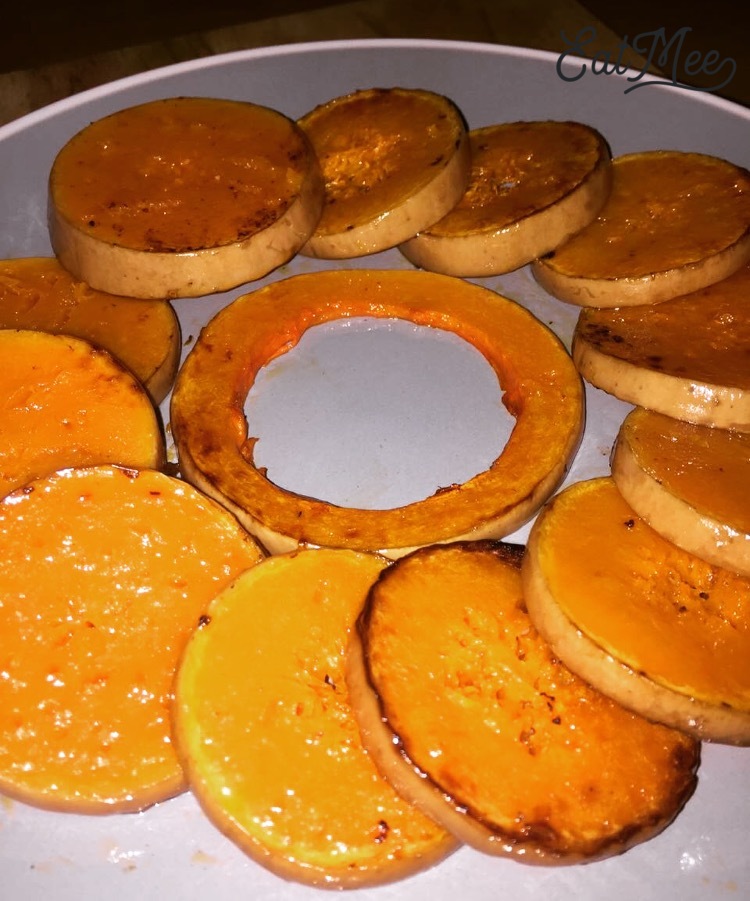
Fried Butternut Squash is a delicious way of preparing it. It is by far my favourite way of enjoying the butternut. It can be served as a starter or a side to any meal & it is even great in salad dishes.
If you haven’t tried this method of preparing butternut squash then I highly suggest that you do.
Butternut squash (Cucurbita moschata), is a sort of winter squash that develops on a vine. It has a sweet, nutty taste like that of a pumpkin. It has tan-yellow skin & orange beefy mash with a compartment of seeds in the base. Whenever ready, it turns progressively profound orange, & gets to be sweeter & richer in taste. It is a decent wellspring of fiber, vitamin C, manganese, magnesium, & potassium; & it is a superb wellspring of vitamin A & vitamin E.
When eating the fried butternut squash, consume the skin as well. The skin holds most of the nutrition & between the skin & the flesh is the sweetest part of the butternut squash.
Wash the whole butternut squash thoroughly.

Using a big, sharp knife, slice of either ends of the butternut squash.
Begin to cut thick slices of the butternut squash. (Horizontally – if the butternut is positioned like the above image).
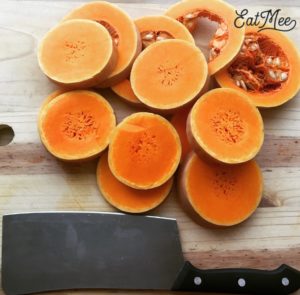
Once you have the circular slices of butternut squash, use a small knife & cut of the seeded slices.

After cutting off the seeded slices, it should look like the image above.
Heat a wide pan or electric pan. (I have used an electric pan).
Scoop 3 tablespoons of butter & lather it on the surface of the heated pan or electric pan.
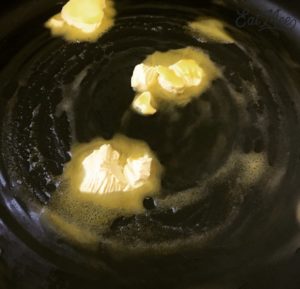
When the butter is halfway melted, place the butternut squash slices over the butter.
Coat one side of all the butternut slices so that butter gets on to it & then turn over the butternut again to allow to fry. This way both sides are coated & there is no need to add anymore butter.
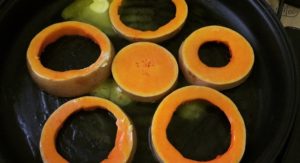
Cover with a lid & allow to cook on low heat.

Check on the butternut every 4-5 minutes so that it does not burn.
When one side has browned, turn them over to cook & brown the other side of the butternuts.
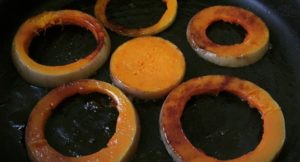
The butternut is cooked when it is soft on both ends. Stick a fork through the flesh of the butternut, if the fork slides right through easily, then it is cooked.

Remove from pan onto a plate. Do not drain them on paper towels because then you will drain all the juiciness off the butternuts.
I have managed to fit 6 butternut squash slices at a time on the electric pan & therefore I used 3 tablespoons of butter.
Add the remaining 3 tablespoons of butter & the remaining butternut squash slices & follow the same process above.

Serve the fried butternut squash hot.
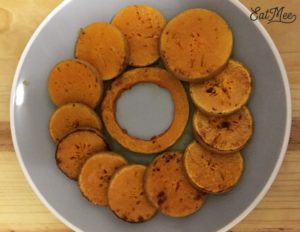
It can be served as a side to steaks & burger dishes. Or it can be used to make a salad.
Expert kitchen guidance and troubleshooting for making the best Fried Butternut Squash
Absolutely! You can easily tailor the heat by increasing or reducing the chili powder and fresh chilies to suit your family’s palate without compromising the authentic flavor profile.
Yes, you can freeze Fried Butternut Squash in an airtight, freezer-safe container for up to 2 to 3 months. Thaw overnight in the refrigerator before gently reheating.
Reheat gently on the stovetop over low heat with a splash of water, or in the microwave covered with a damp paper towel to retain moisture.
Hi, I'm Denisiya! Food lover, recipe developer, and founder of EatMee Recipes. I specialize in authentic South African Durban Indian cuisine, comforting curries, and modern Instant Pot adaptations. Every recipe on this site is tested in my personal kitchen to ensure you get mouth-watering, foolproof results every time.
Explore more authentic Durban curries, traditional bakes, and comforting family favourites.
 American Food
Bagels are something we South Africans watched on American television shows…it isn’t very ...
 American Food
Being South African, I’ve never come across the famous Everything But The Bagel Seasoning ...
 American Food
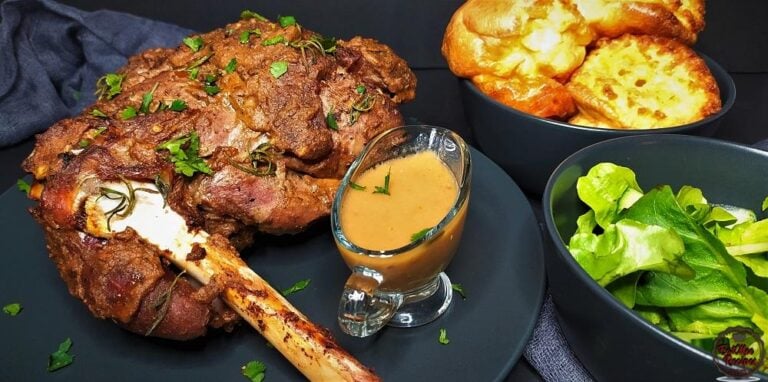
This Spiced Roast Leg Of Lamb is so delicious, once you try it, you will never go back to ...
Have you tried this recipe or have questions for Denisiya? Join the conversation below.
No comments yet. Be the first to share your thoughts on this recipe!
Leave a Comment
Your email address will not be published. Required fields are marked *