
We Value Your Culinary Privacy
EatMee Recipes uses cookies to provide a personalized browsing experience, analyze recipe popularity, and serve relevant ads. You can review our full disclosure in our Privacy Policy.
Make authentic Fresh Cream Doughnuts with this foolproof recipe. Packed with rich traditional flavor, step-by-step photos, and cooking tips by Denisiya on EatMee Recipes.


Join over 60,000+ home chefs for weekly authentic Durban Indian cook-alongs, Instant Pot masterclasses, and family heritage recipes.
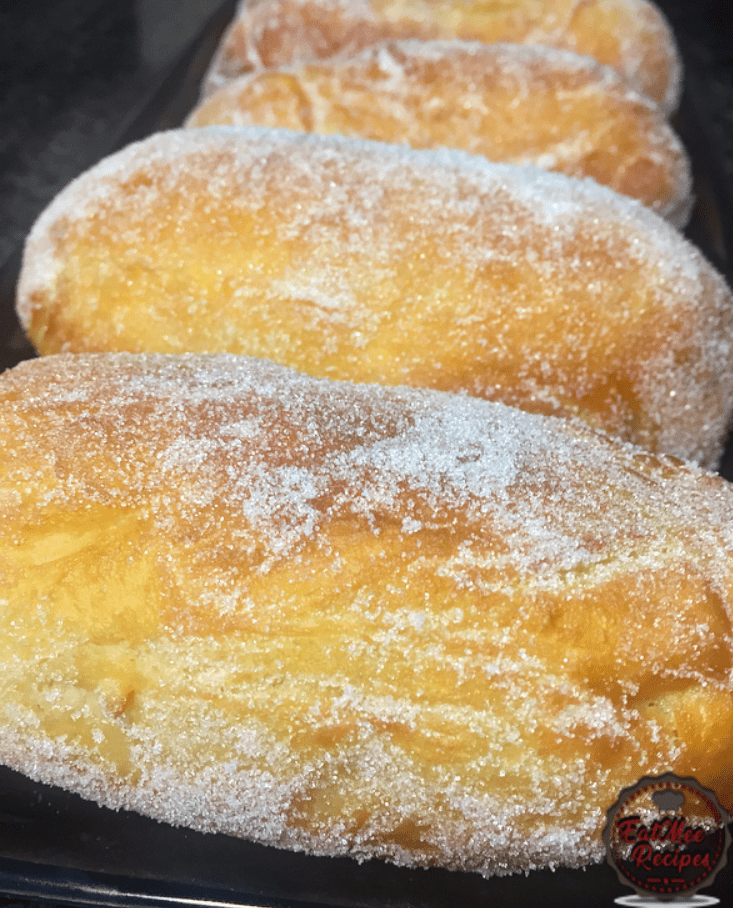
These mouthwatering Fresh Cream Doughnuts brings back childhood memories. The soft, sweet & fluffy fried dough filled with cream is definitely hard to resist.
They can be found in almost every South African bakery & often they are filled with buttercream instead of whipped cream as it keeps their shelf life longer. Traditionally, doughnuts come in round or ring form but these Fresh Cream Doughnuts are actually cylindrical – shaped much like hot dog rolls. They are also topped with either a cherry or a dollop of jam but that is completely optional if you’re making them yourself.
Nothing beats getting these scrumptious doughnuts from your local bakery but making them at home makes them even more delicious.
Add the butter to a microwave safe bowl.
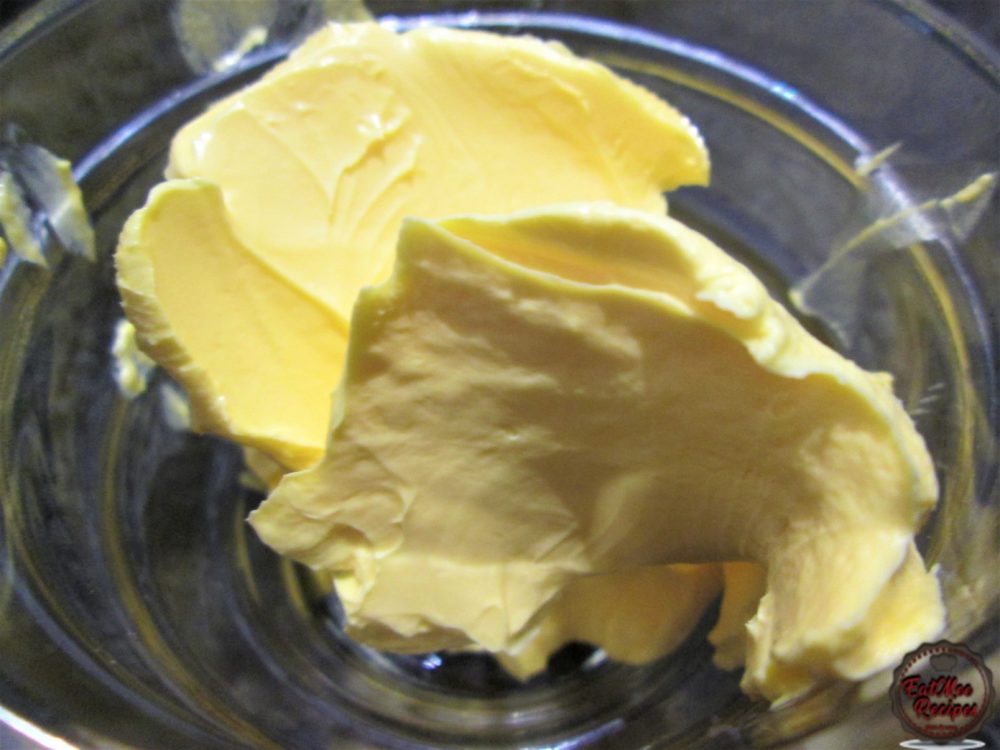
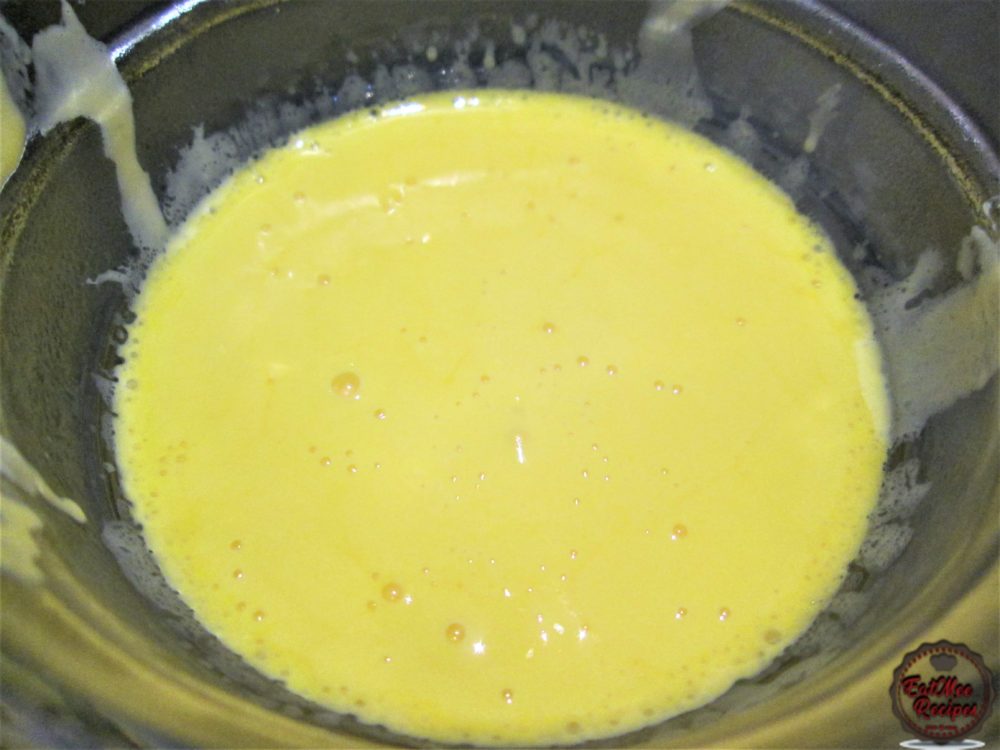
Microwave butter for a few seconds until melted & set aside.
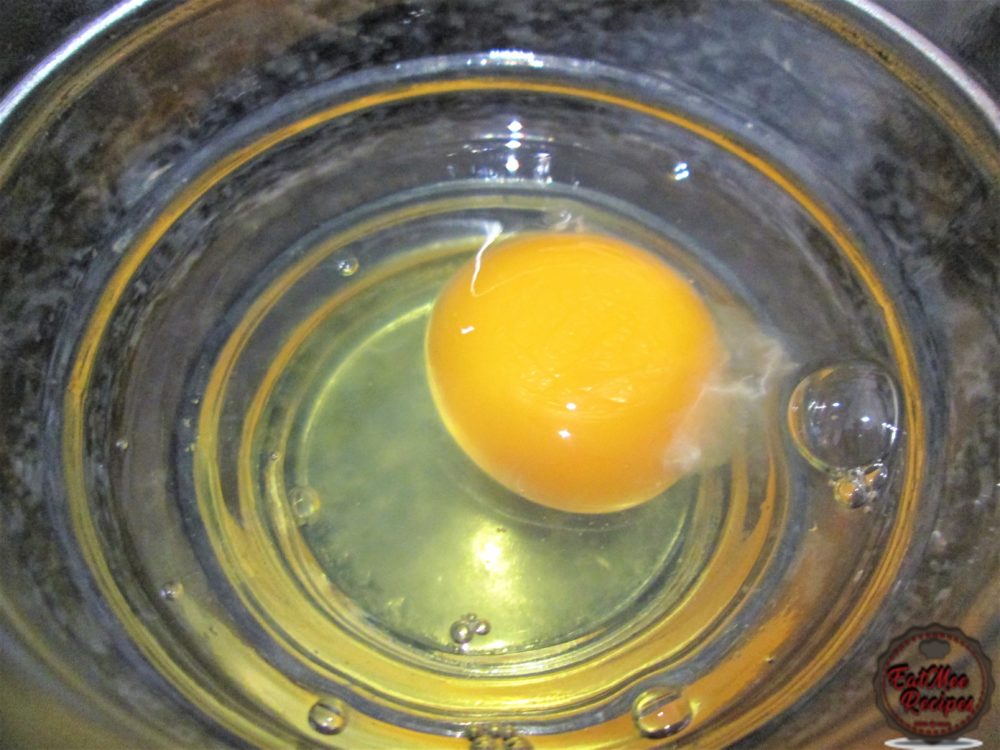
Crack the egg into a small bowl.
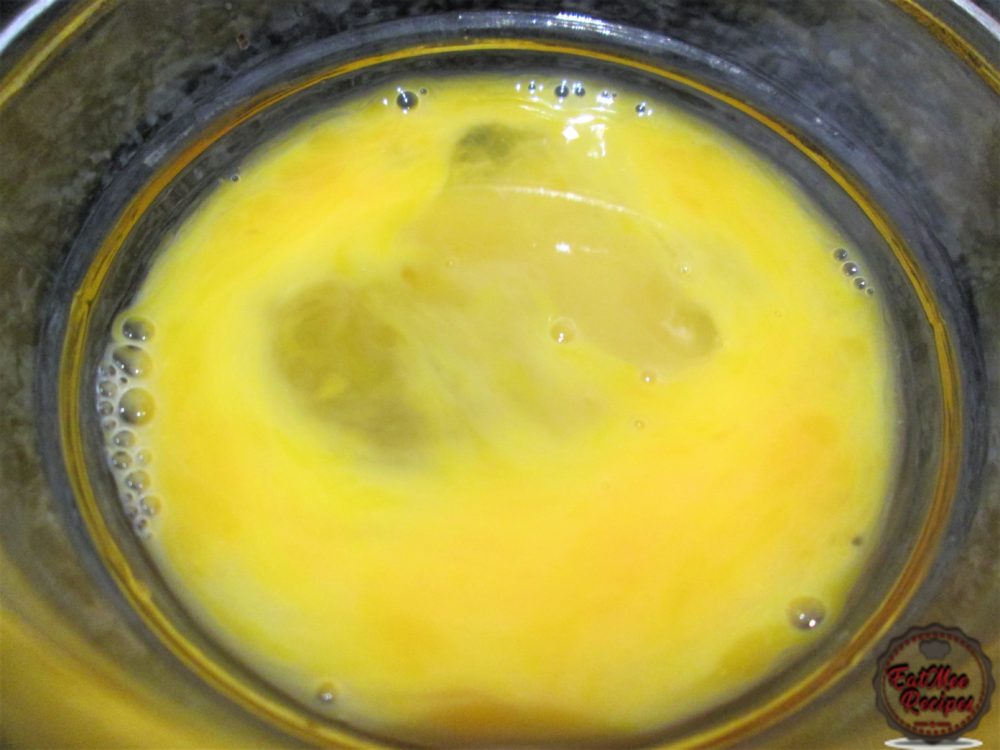
Beat the egg using a fork or whisk & set aside.
To a mixing bowl, add the all-purpose flour, salt, 4 tablespoons of castor sugar & the yeast.
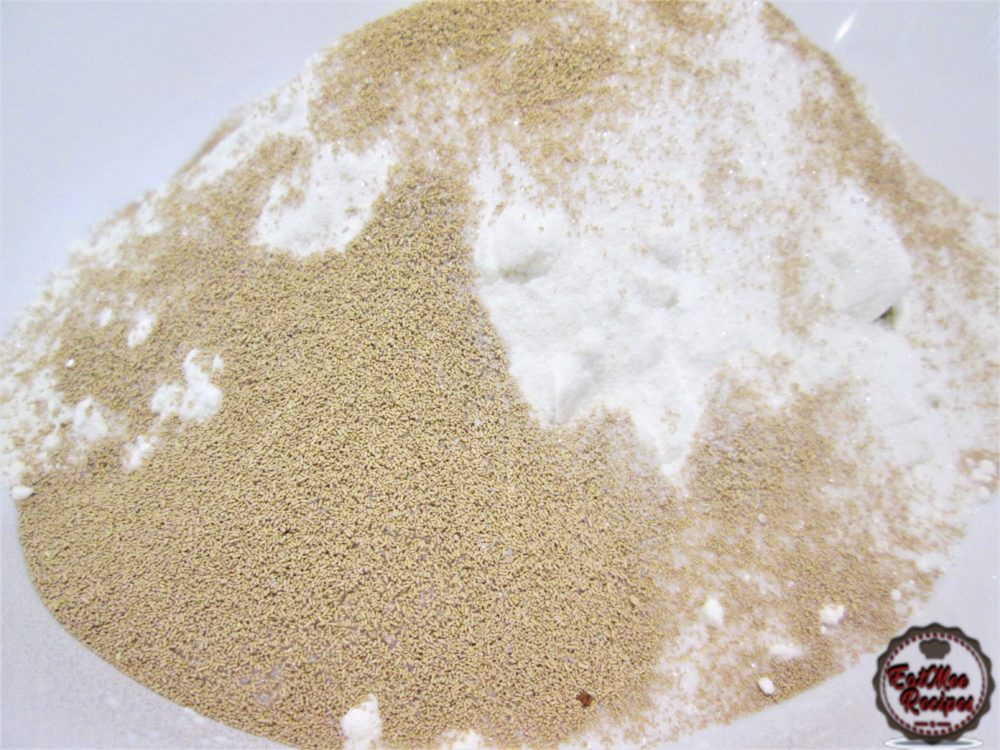
Next, add in the milk powder. This is optional but I find it makes for a much softer doughnut.
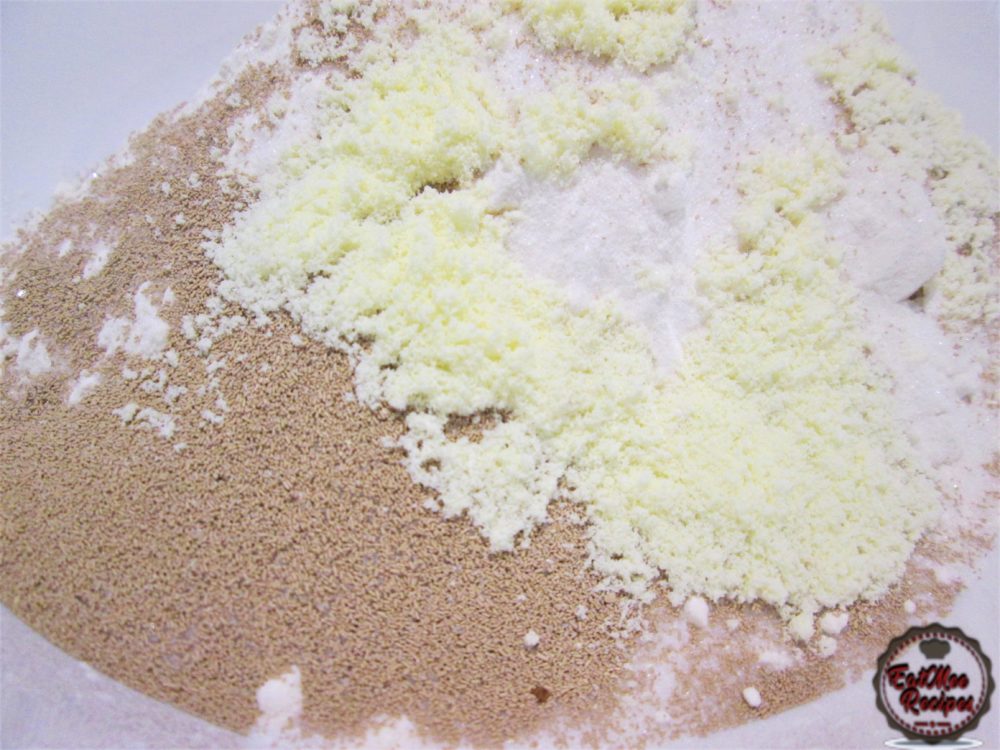
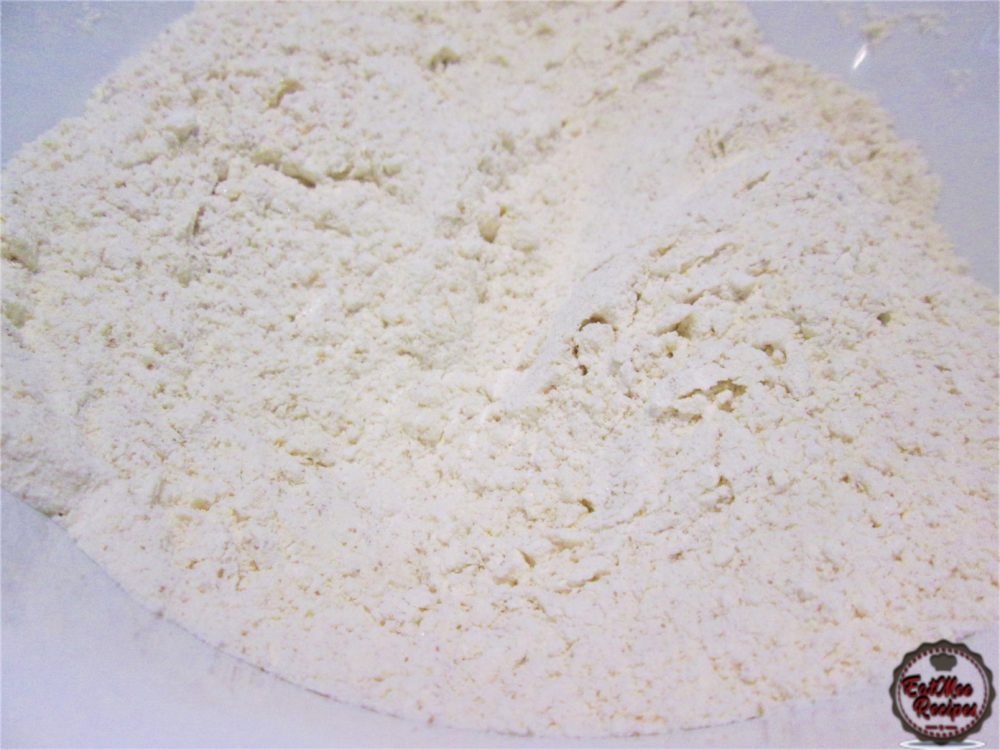
Mix up all the dry ingredients.
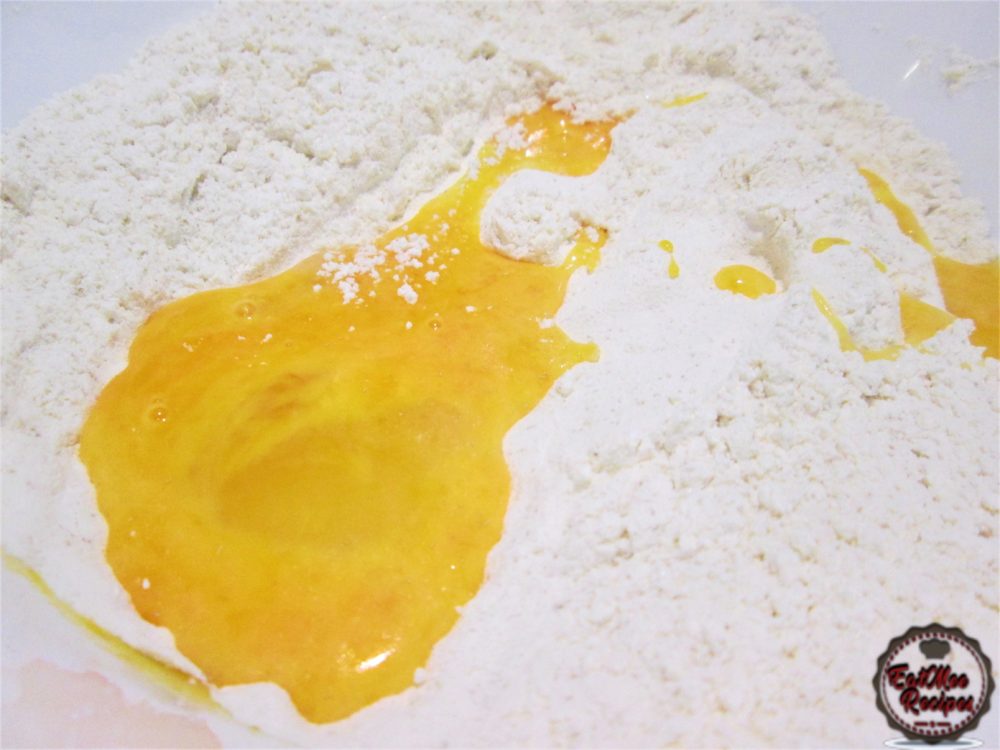
Thereafter, add in beaten egg.
Pour in the lukewarm water, lukewarm milk & the melted butter.
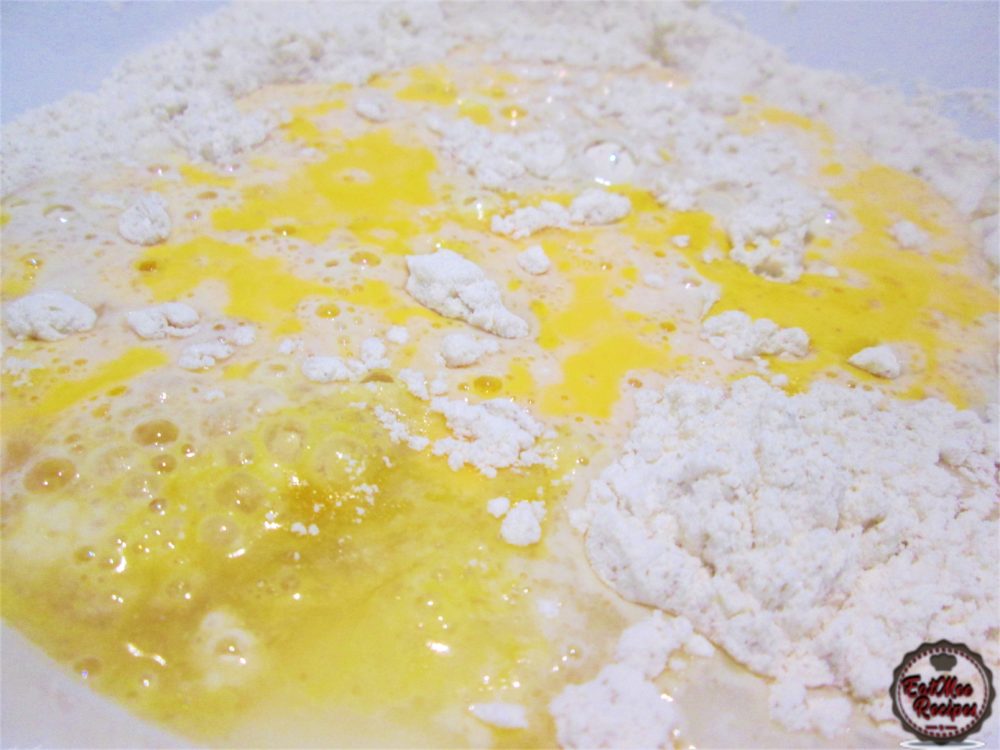
Mix well until it forms into a dough.
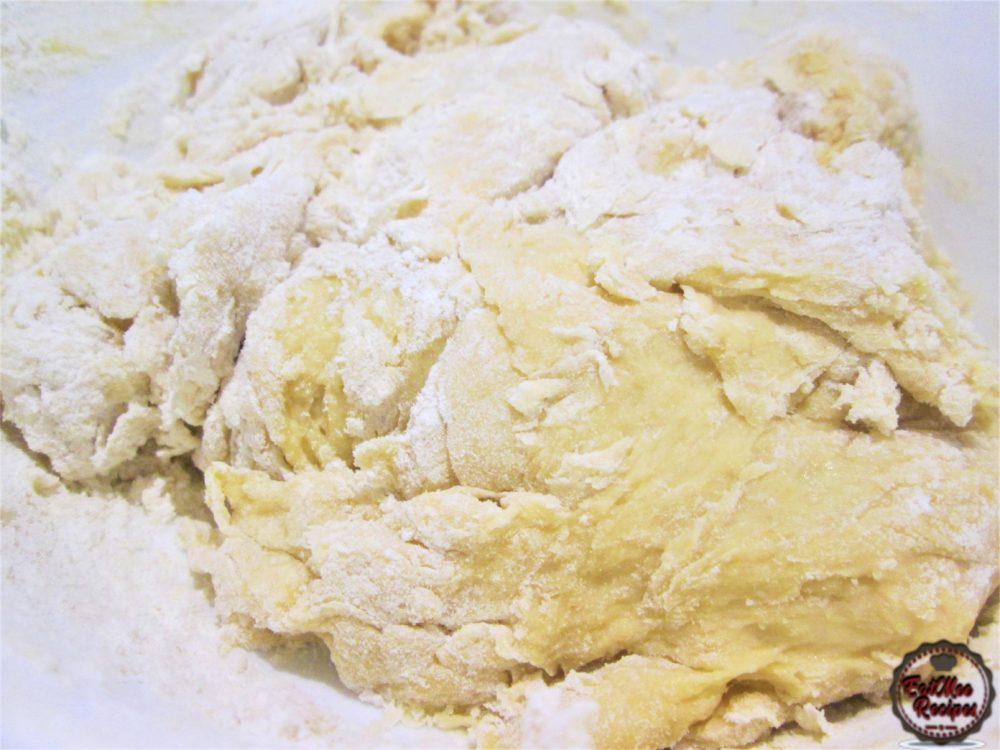
Place the dough onto a floured surface.
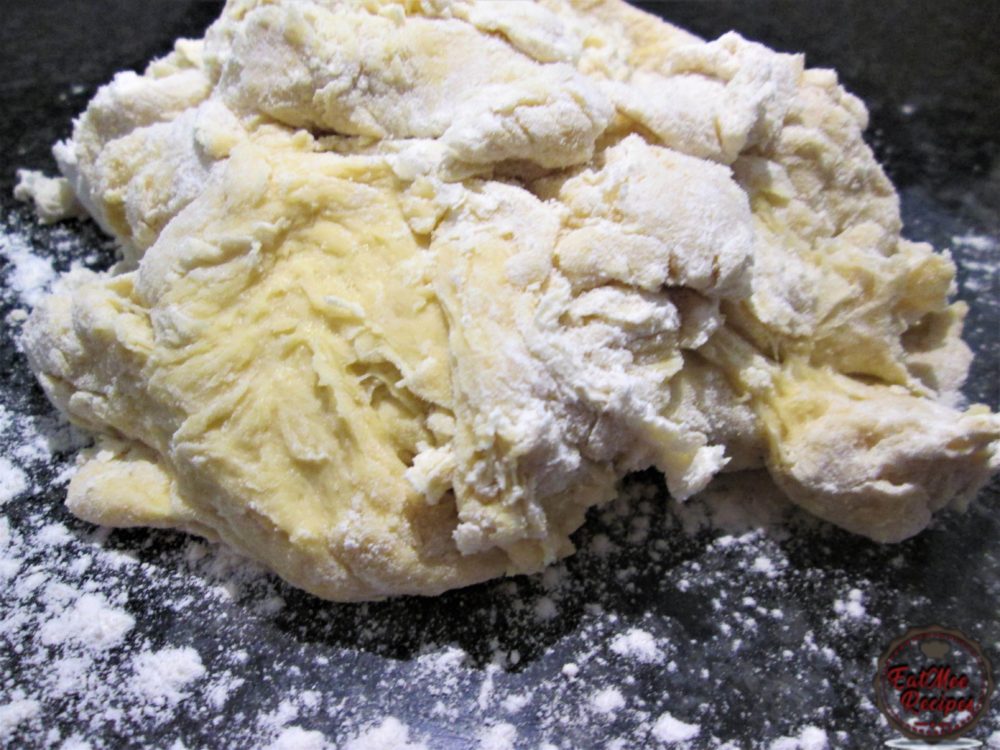
Knead for 10 minutes until the dough is smooth & soft.
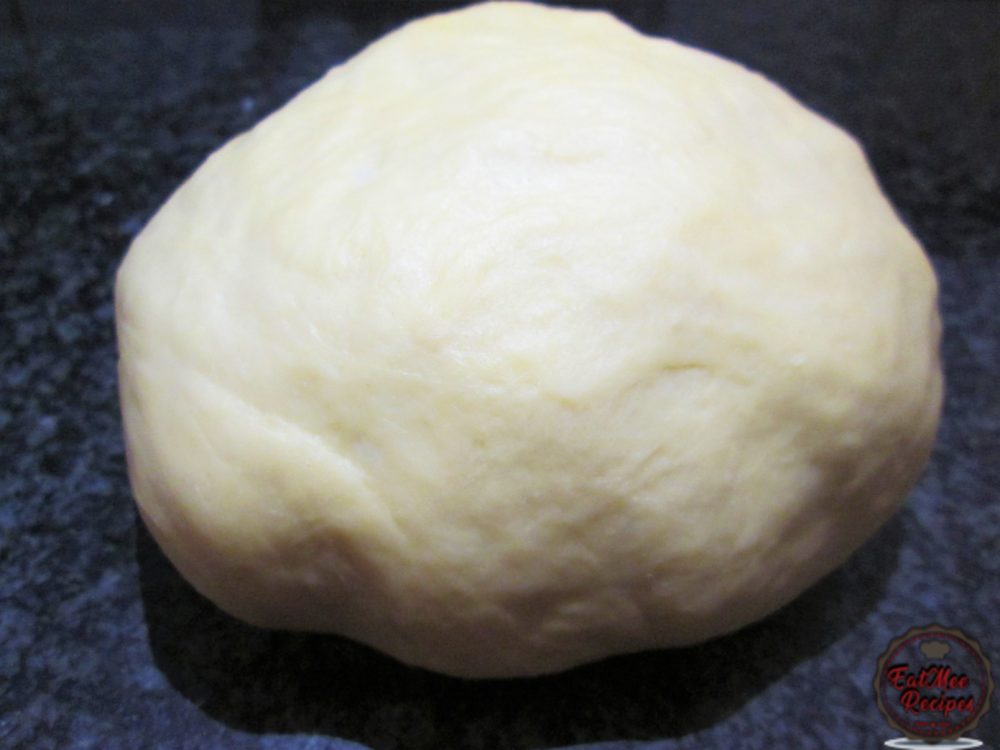
Lightly grease a bowl with a little vegetable oil using your hands & pat the excess oil over onto the dough. This will prevent the dough from drying & forming a crusty outer layer.
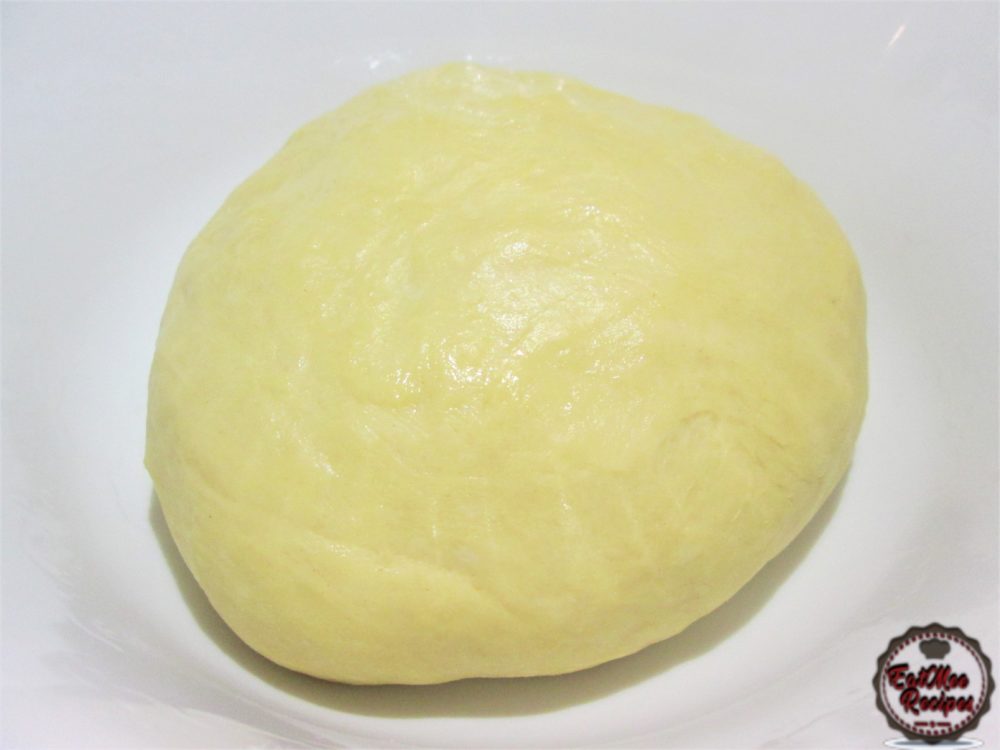
Cover the bowl with cling wrap. Place into a dark place – either a turned off oven or microwave & allow it to rest for 1 hour or up to 3 hours if you have the time & patience.
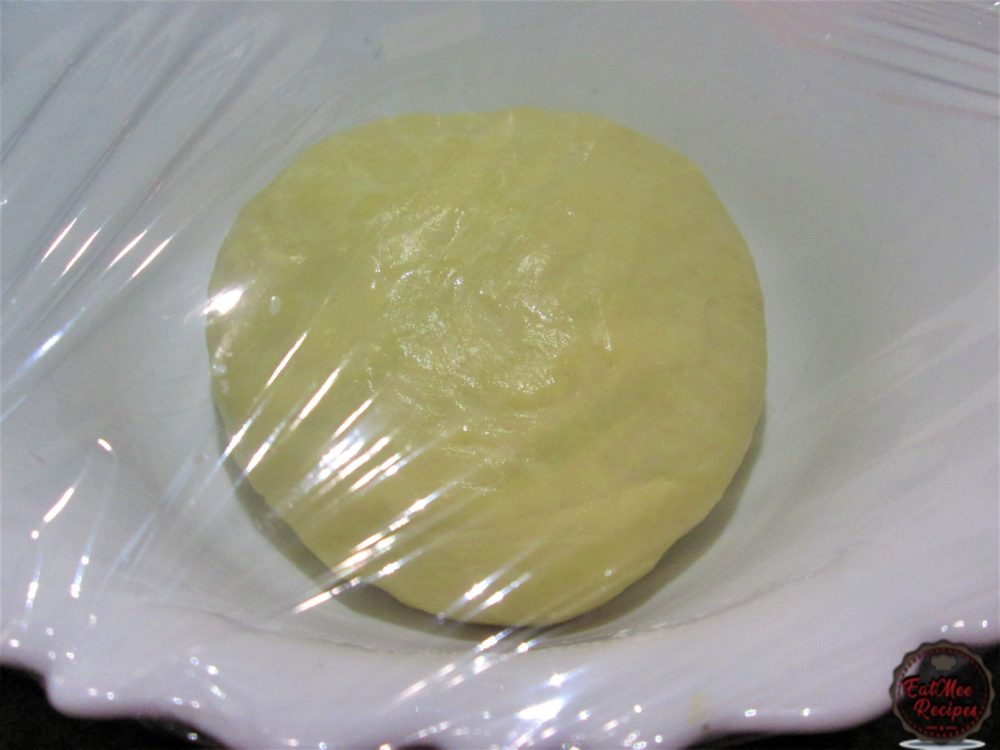
After an hour of resting, the dough should have doubled in size.
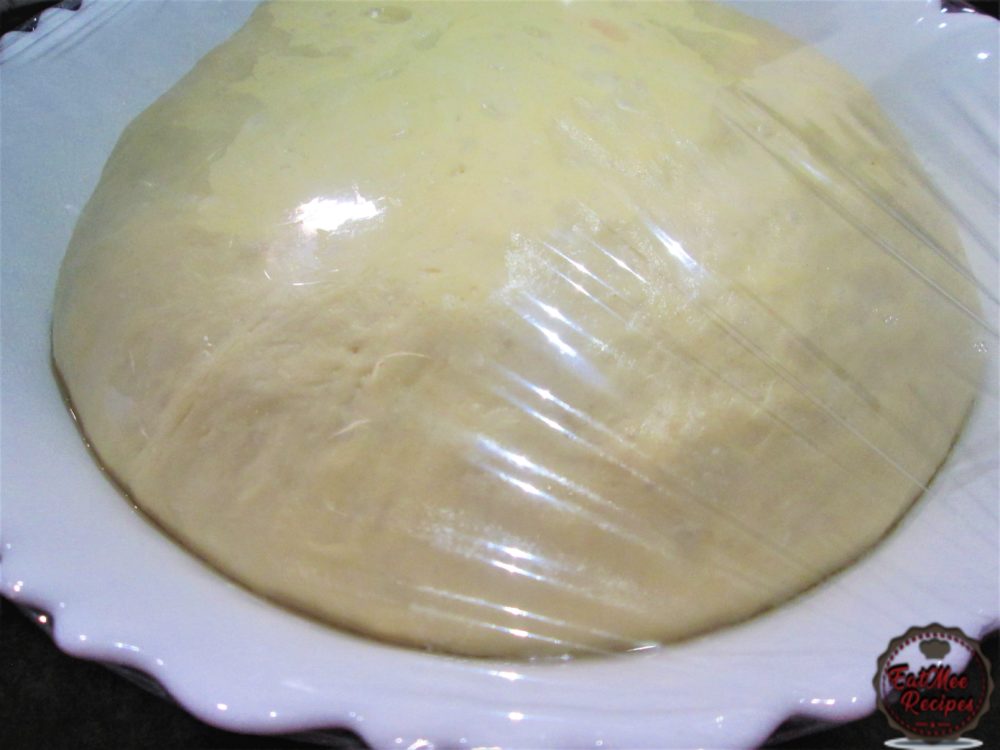
Punch down the dough.
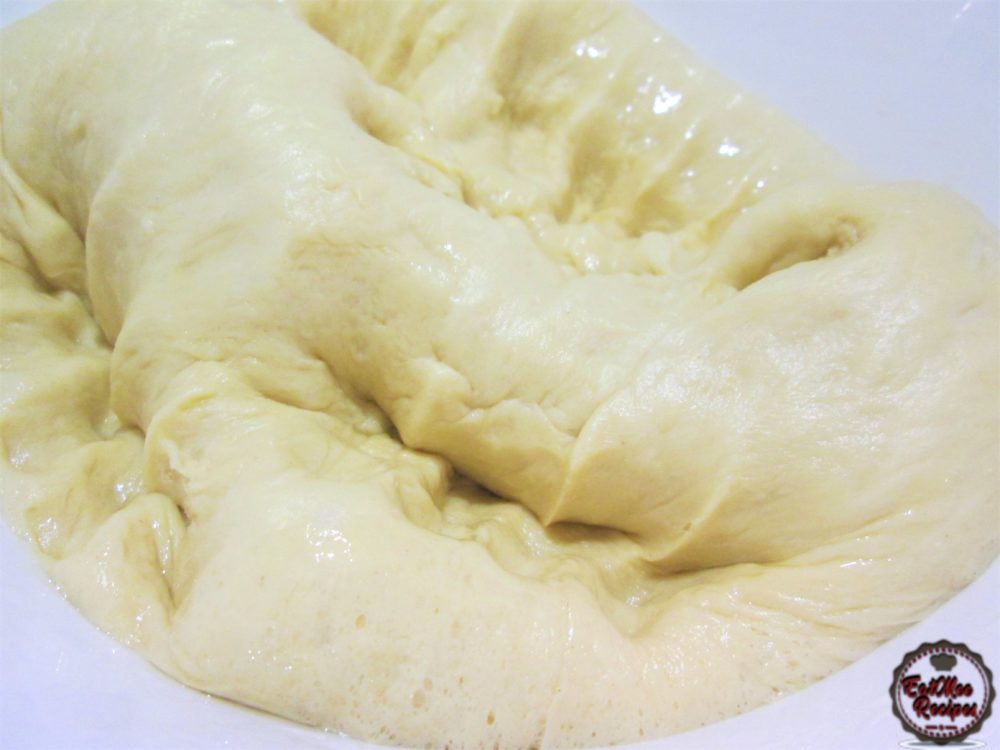
Place the dough onto a lightly floured surface.
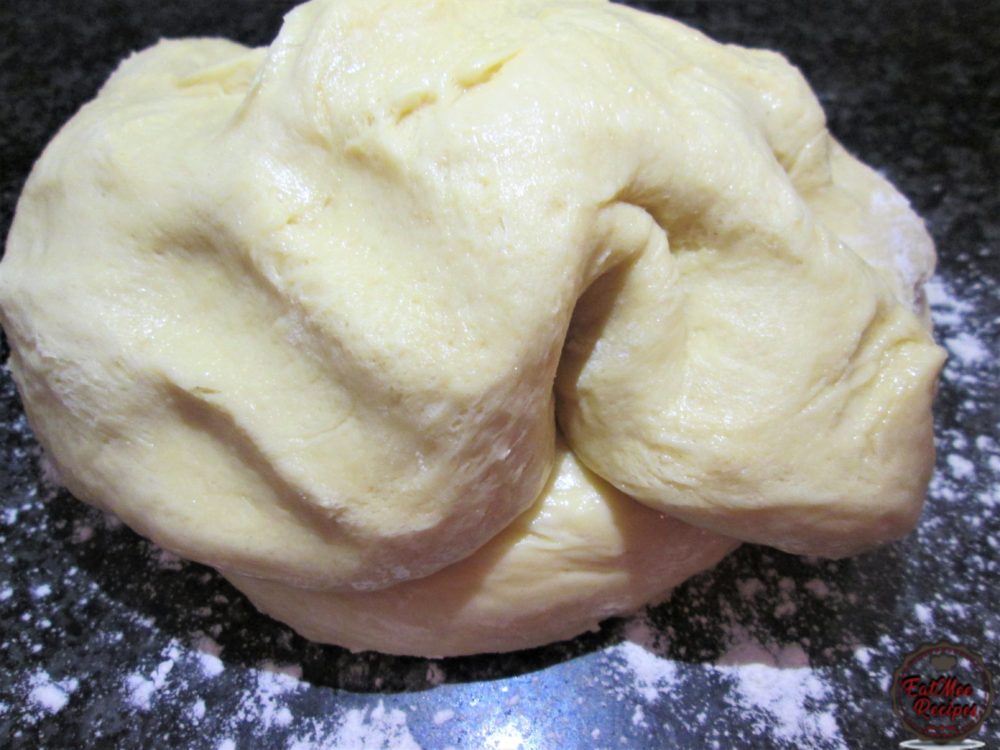
Knead for a minute.
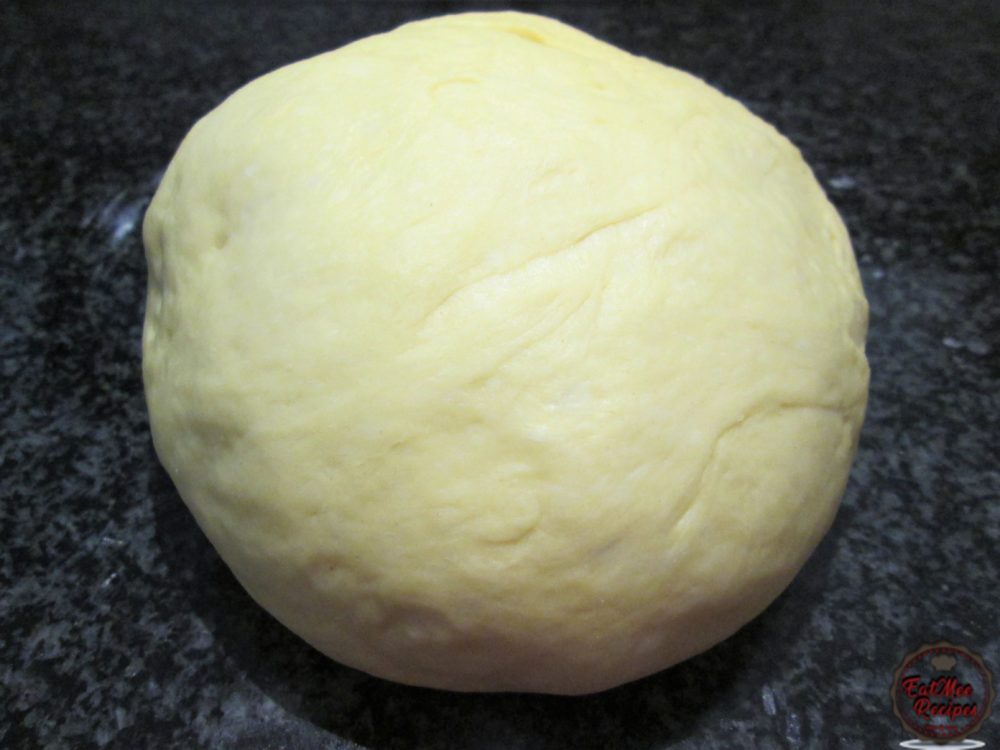
Keeping the dough in a ball – divide it into 4 pieces.
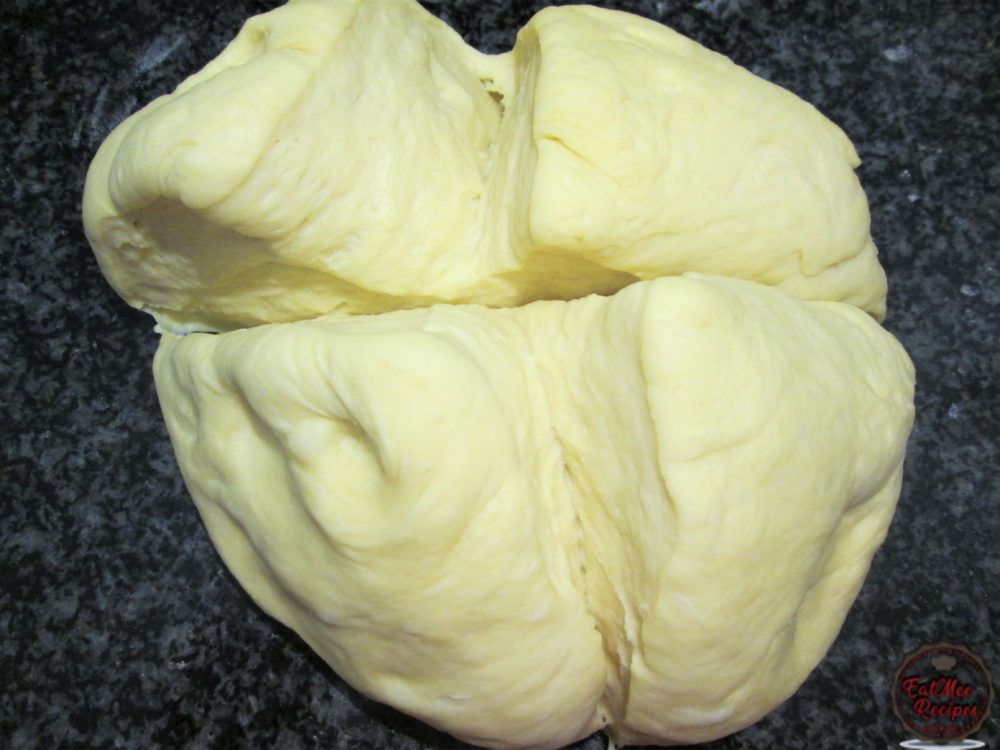
Thereafter, divide each of those 4 pieces into 2. You should have 8 pieces of dough altogether.
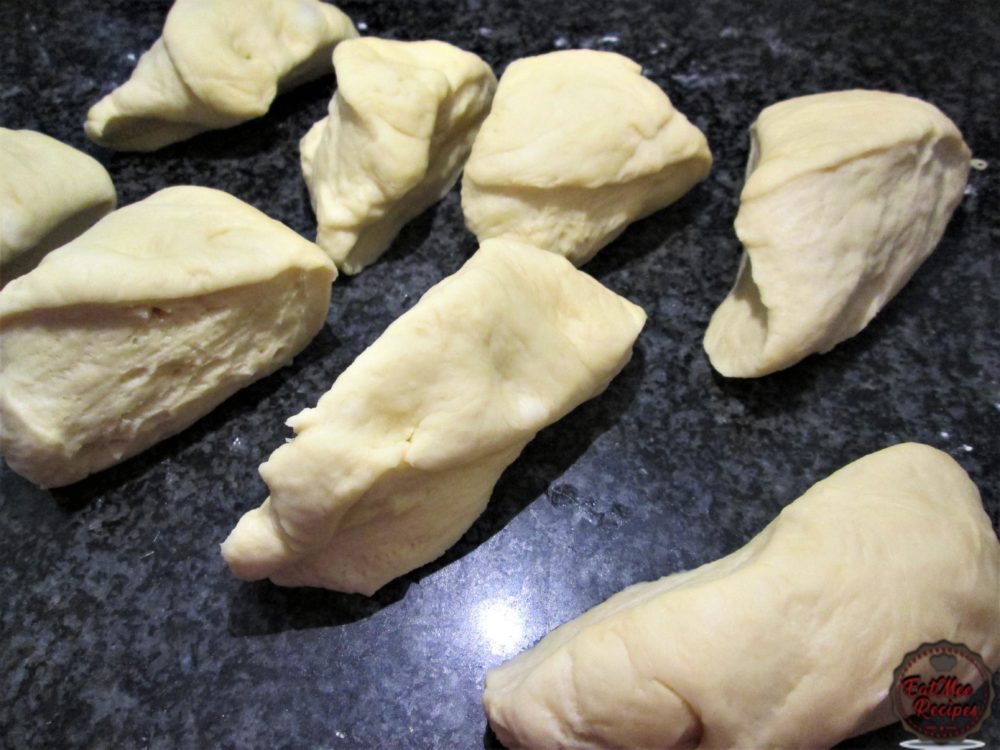
Taking one piece of dough at a time – roll into a ball & then roll between your palms to form a long doughnut. Place these onto a wax paper.
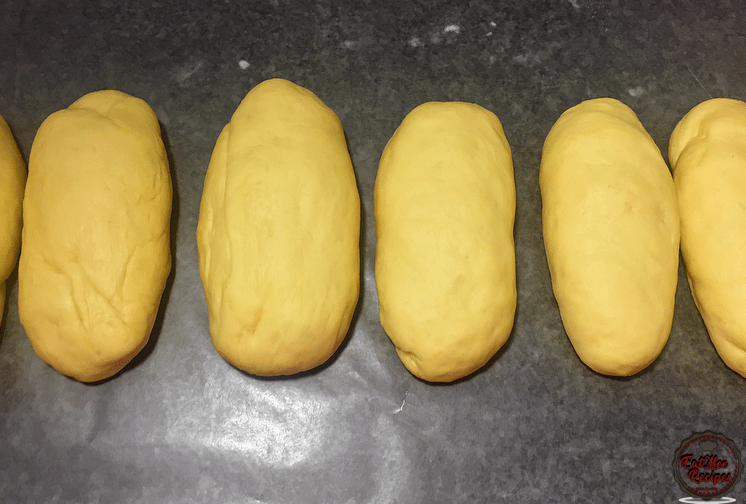
Cover with a dish towel & allow to rest for a further 30 minutes.
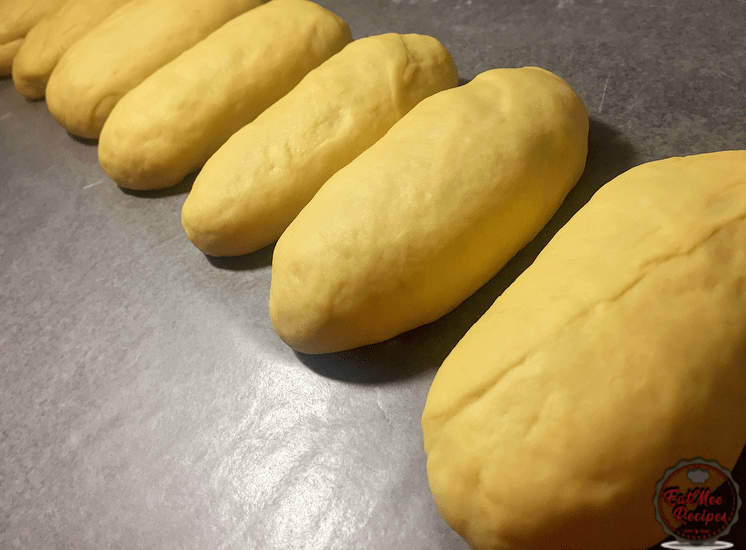
After 30 minutes, the doughnuts are ready to be fried.
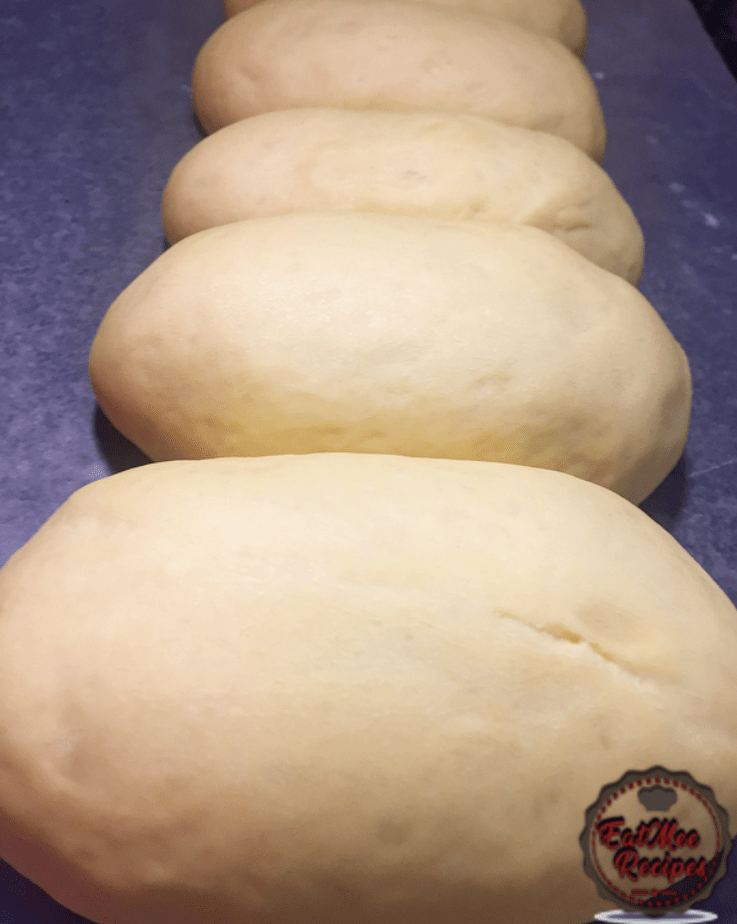
Heat enough cooking oil in a pot for deep frying on medium-high heat. Carefully place the dough into the oil – do not overcrowd the pot.
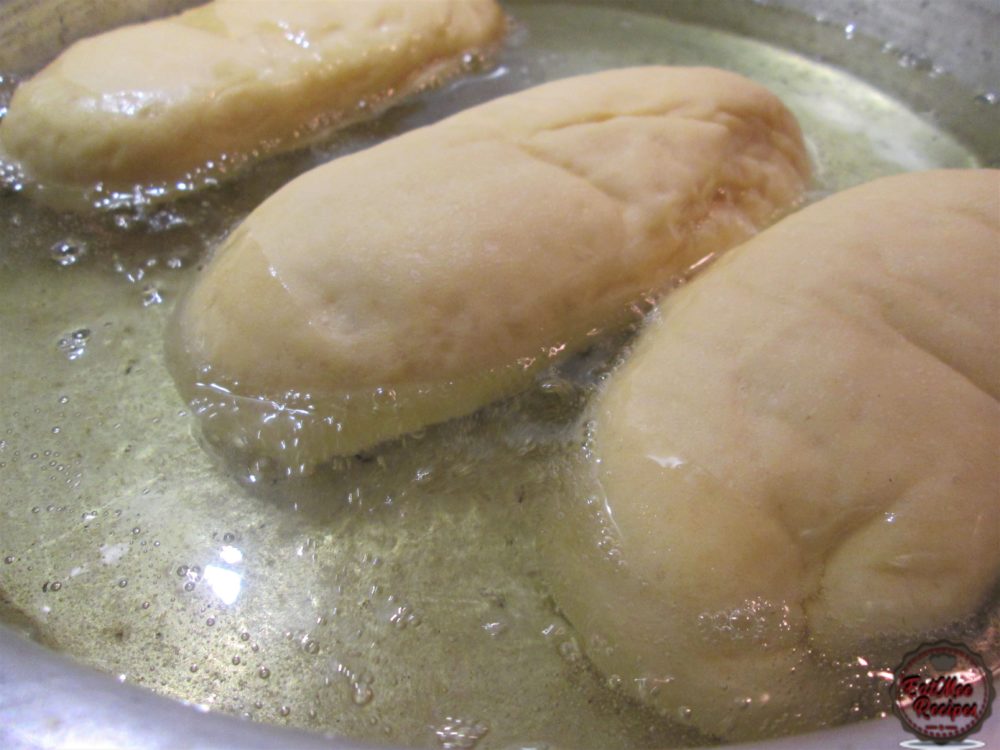
Fry for a few minutes until golden & then flip over.
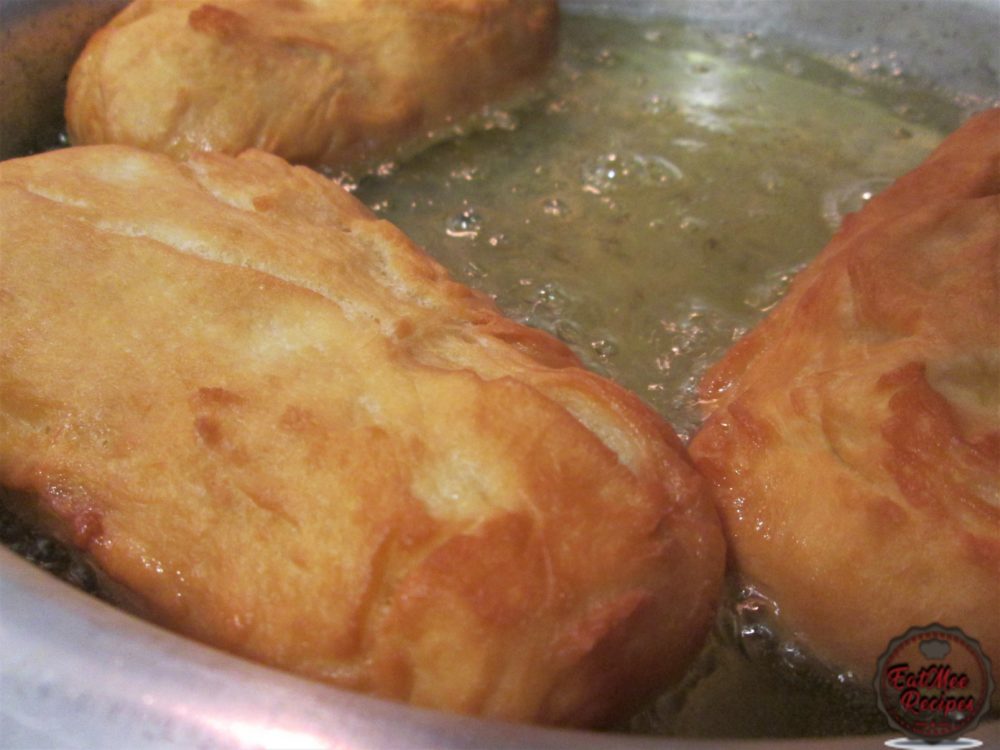
Once they are golden, remove from oil & drain on paper towels.

In a wide plate/casserole, add the cup of castor sugar.
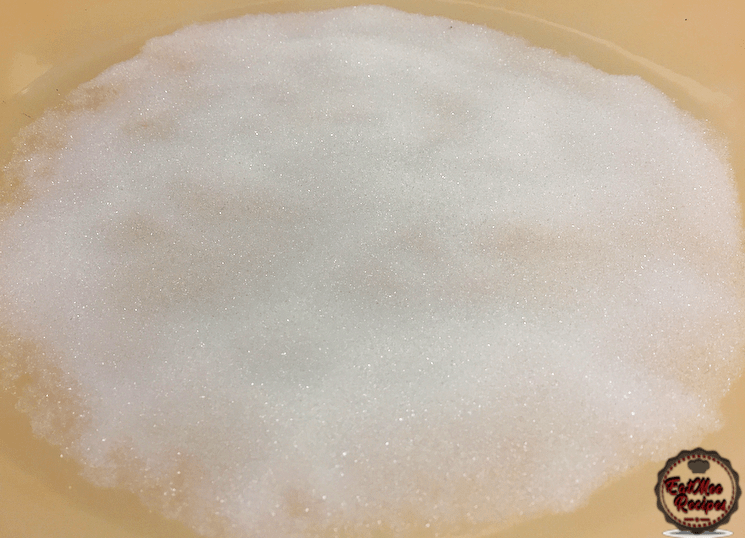
When the doughnuts are warm, place one at a time into the castor sugar.
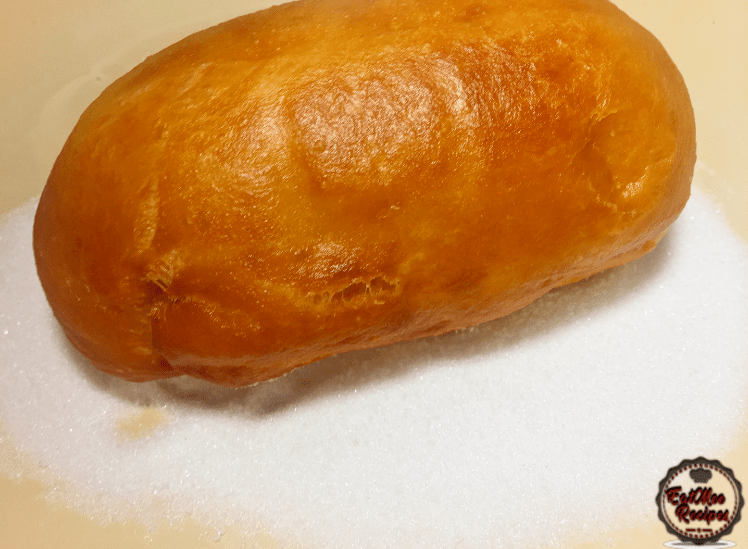
Toss it into the castor sugar making sure to coat the doughnut well.
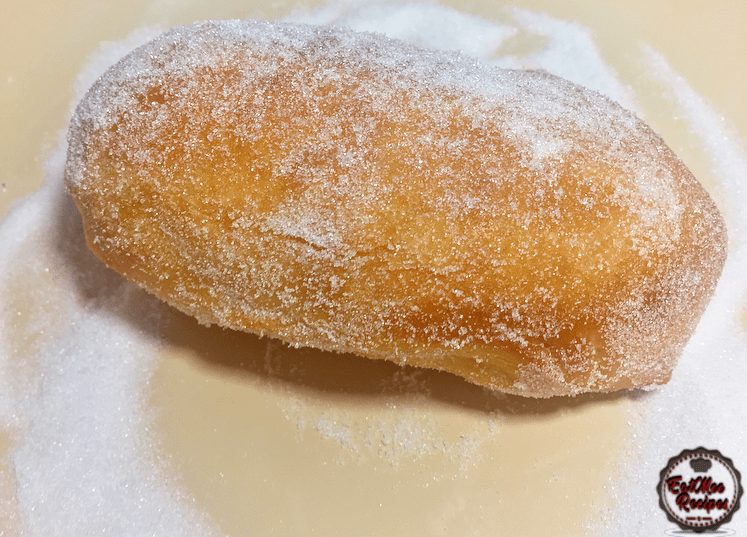
Once their all sugar coated, set aside & allow them to cool completely.
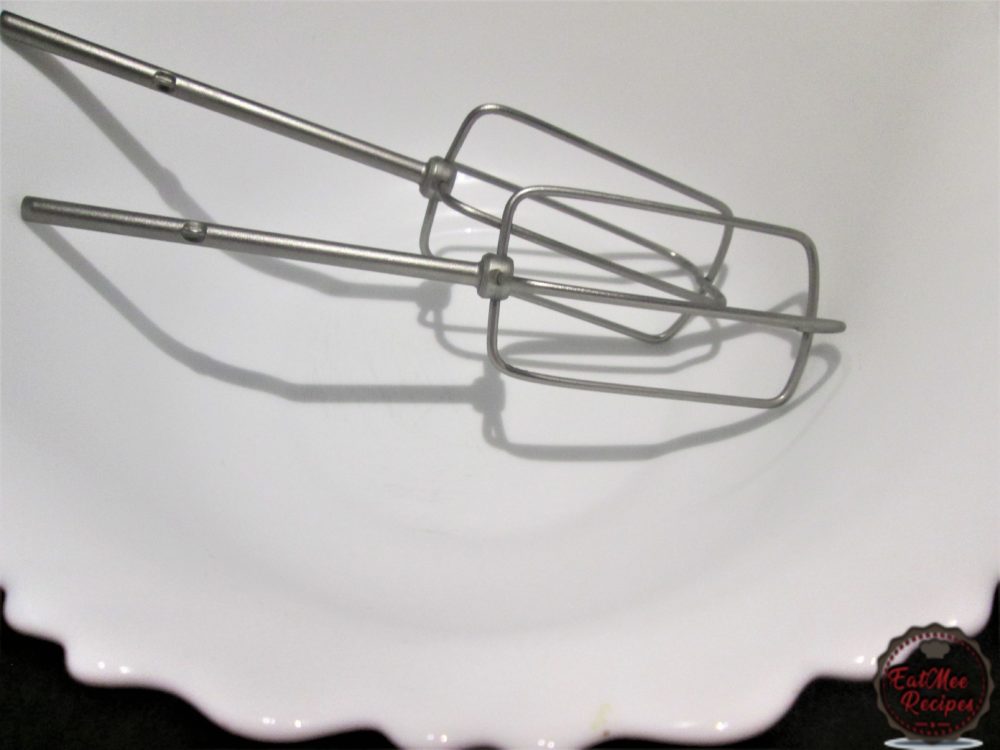
Whilst the doughnuts are cooling, place a glass bowl & the whisks into the freezer for around 15 minutes.
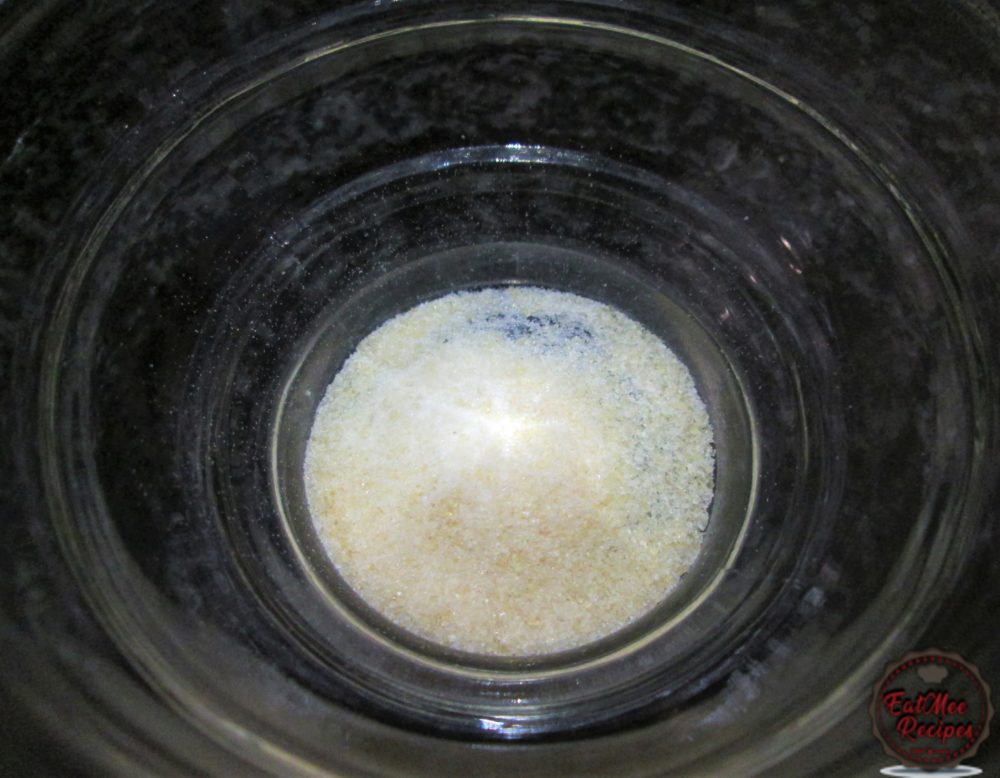
In a microwave safe bowl, add the gelatin powder.
Pour in the water & allow it to crystallize for a minute.
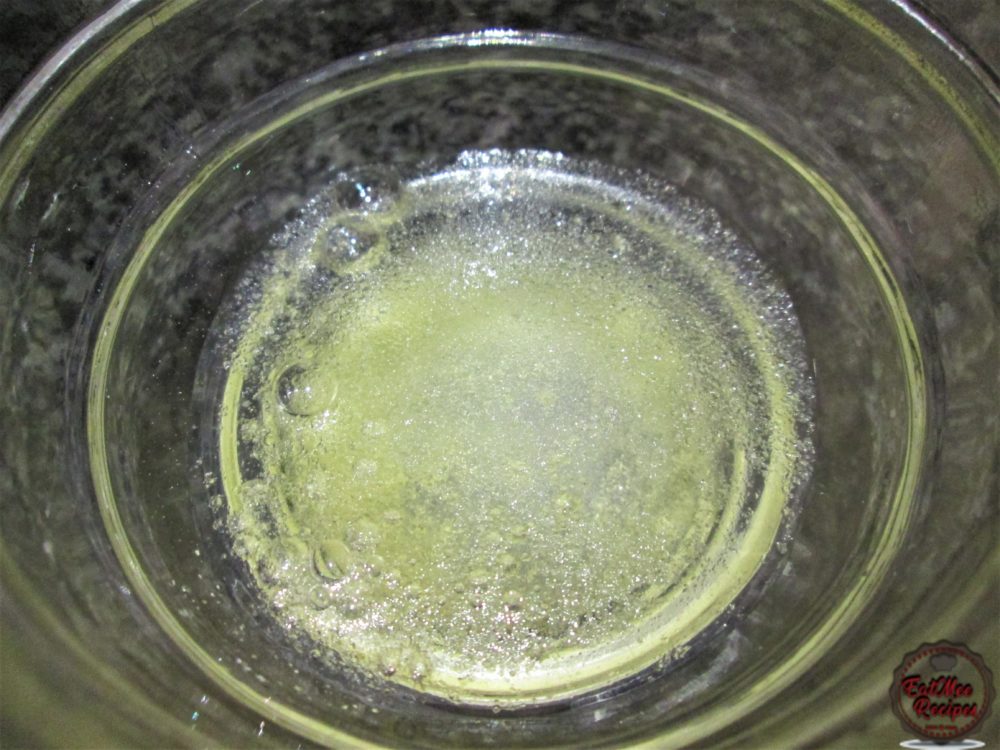
Microwave for 30 seconds until the gelatin is completely dissolved.
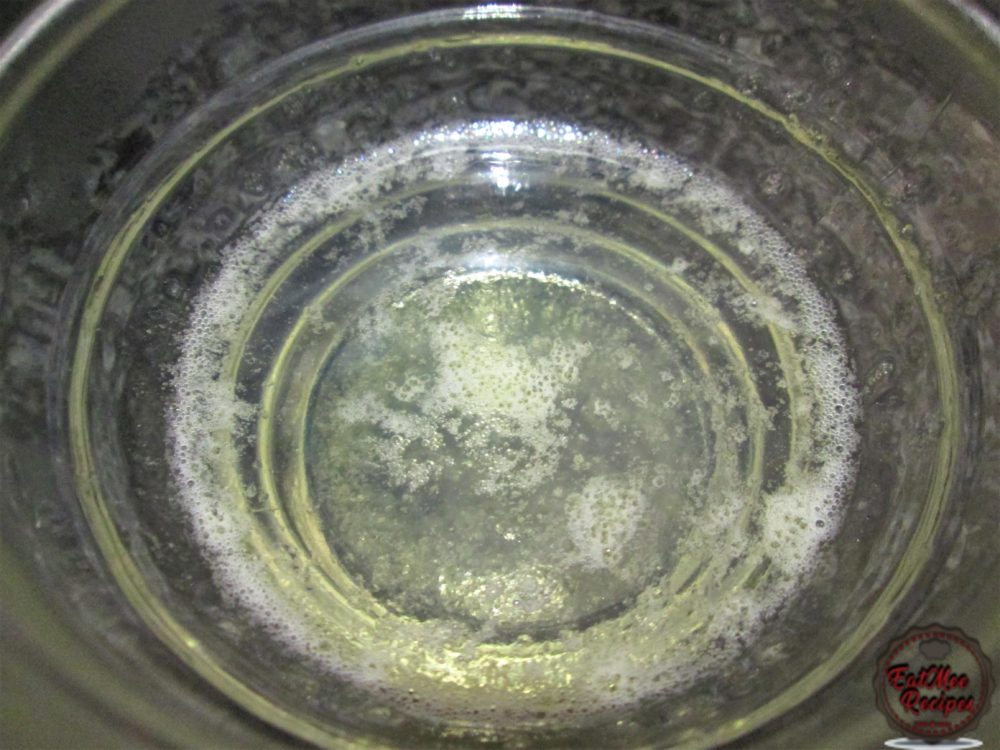
After 15 minutes, remove the bowl & whisks from the freezer. Pour in the cold whipping cream.
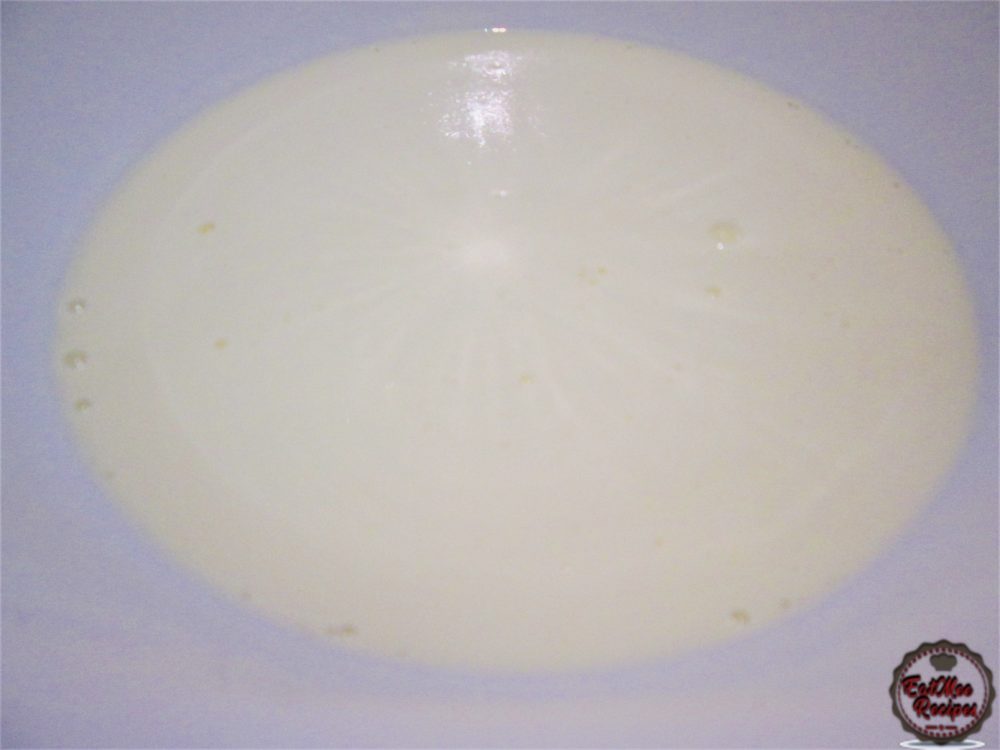
Add in the icing (confectionery) sugar.
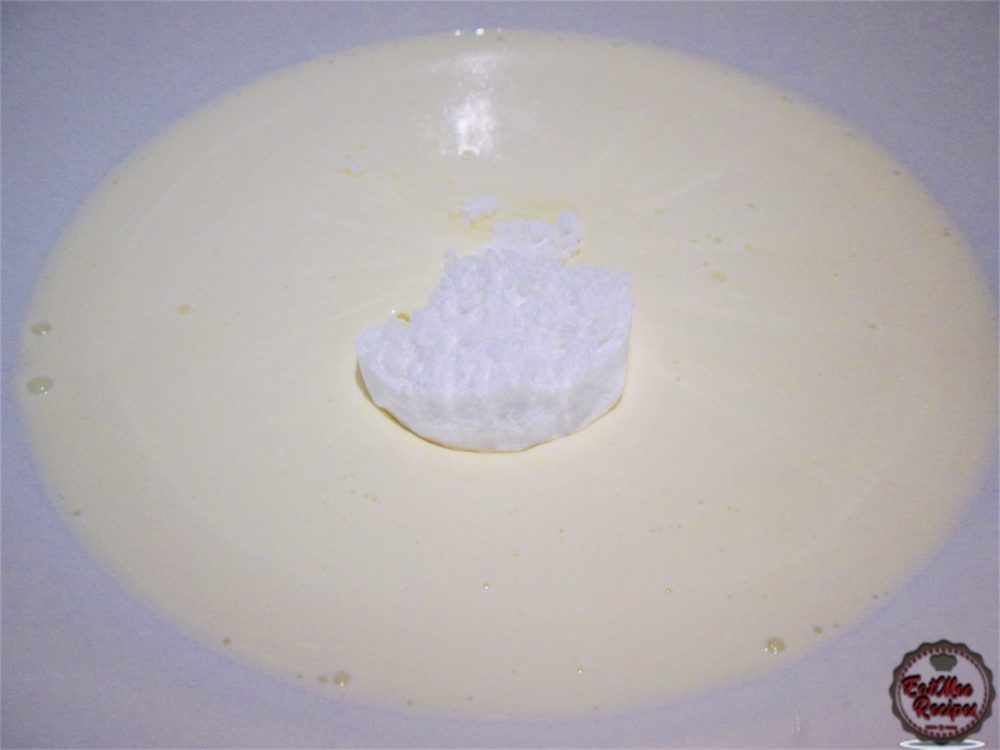
Whisk until soft peaks form.
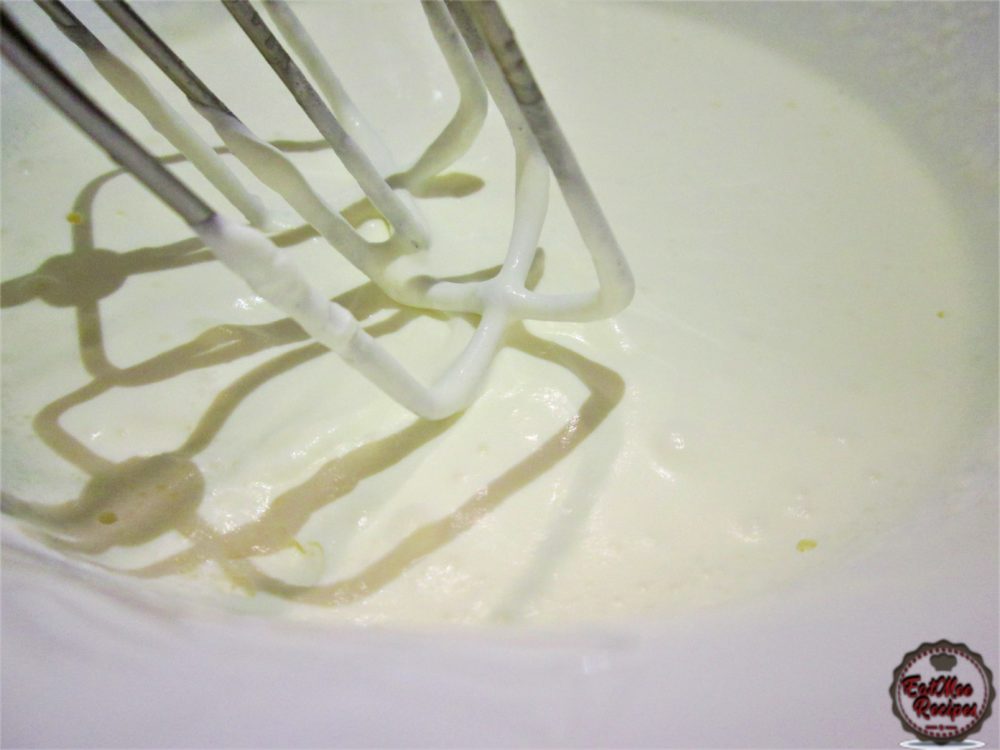
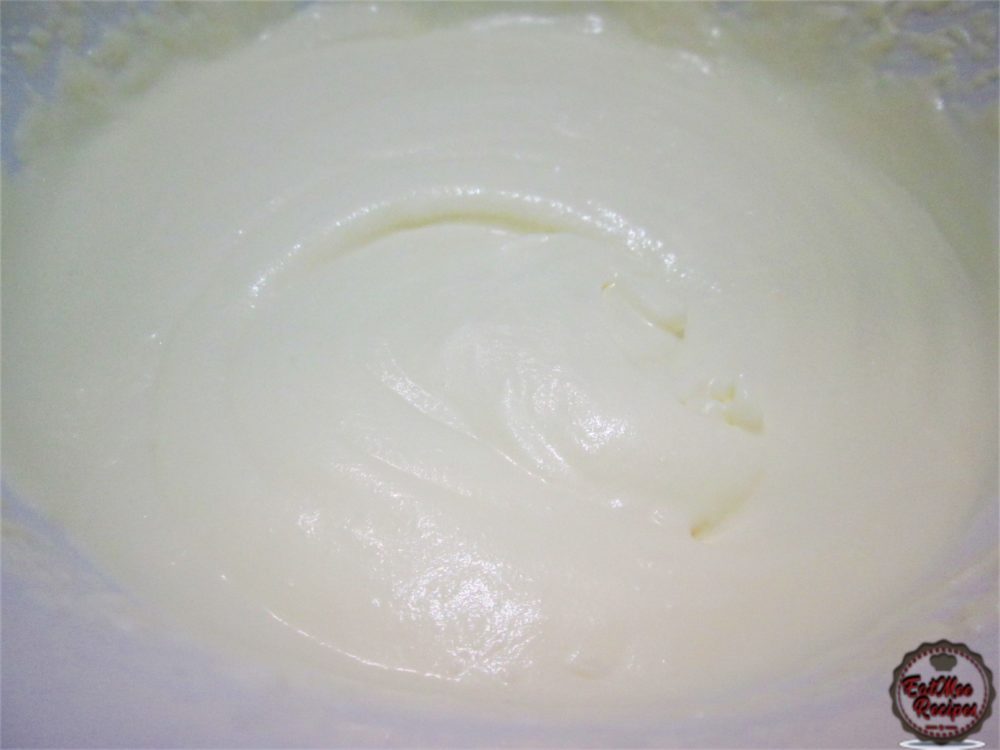
Pour in the gelatin mixture. This helps stabilize the cream, keeping it firmer for longer.
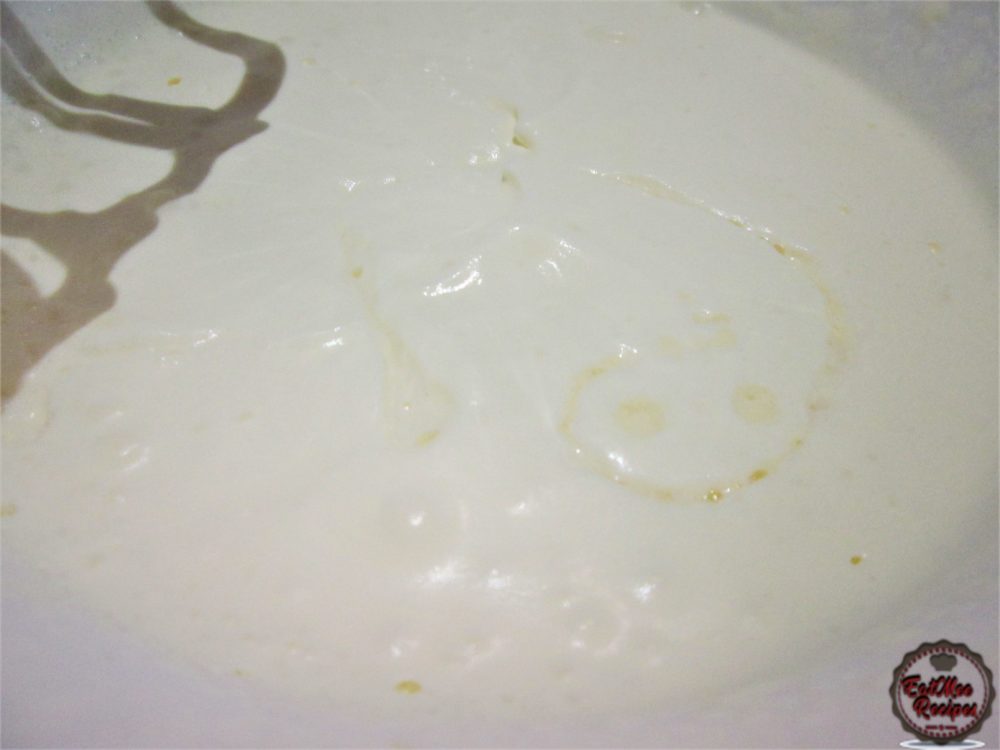
Whisk until stiff peaks form.
Once the doughnuts have cooled, slit each one down the middle – like you would a hot dog roll (not all the way through)
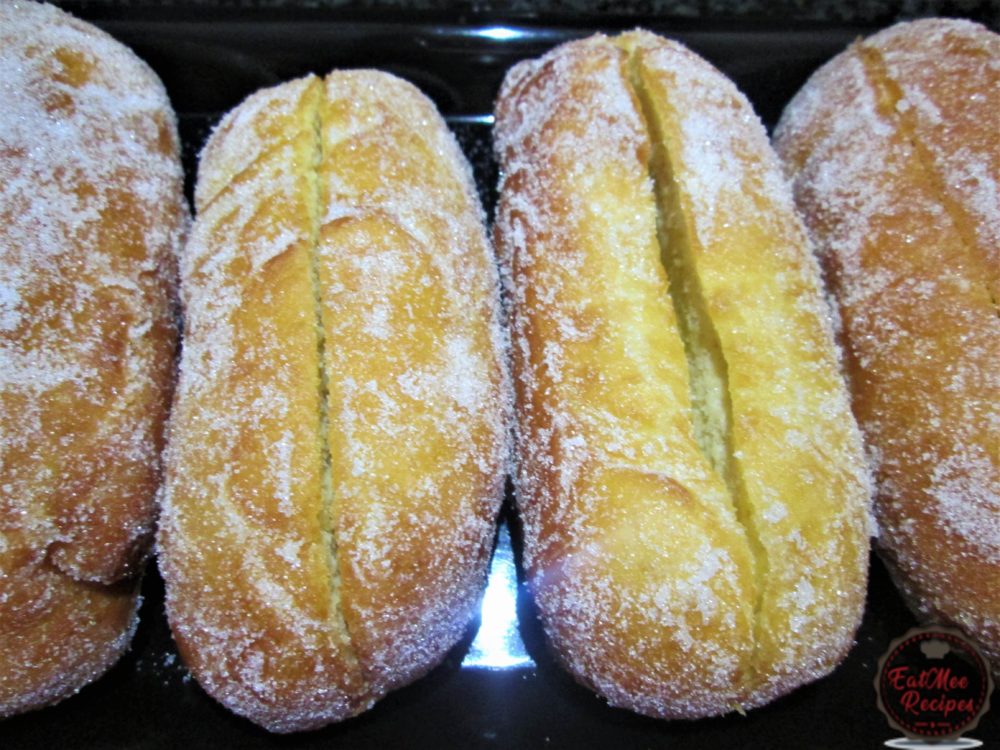
Fill a piping bag with the whipped cream & pipe the cream into the doughnuts. If you do not have a piping bag, the cream can be spooned in but it won’t look aesthetically pleasing.

Best served right away as is or finish it off with a dollop of jam or a cherry.

Store in an airtight container for up to a day or in the refrigerator for a few days more.

Follow along with Denisiya's step-by-step video guide for Fresh Cream Doughnuts.
Expert kitchen guidance and troubleshooting for making the best Fresh Cream Doughnuts
The golden secret is kneading the flour with boiling hot water, which pre-gelatinizes the starches. Roll thin, cook on a hot tawa with a light brush of butter or ghee, and stack inside a covered container wrapped in a clean kitchen cloth.
Yes! Cooked rotis freeze exceptionally well. Place sheets of wax paper between each cooked roti, wrap in foil or a zip-top bag, and freeze for up to 2 months. Reheat directly on a hot pan for 30 seconds.
Stiff rotis are caused by rolling the dough with too much dry flour, rolling too thick, or cooking on too low heat for too long, which dries out the moisture. Cook on medium-high heat quickly.
Hi, I'm Denisiya! Food lover, recipe developer, and founder of EatMee Recipes. I specialize in authentic South African Durban Indian cuisine, comforting curries, and modern Instant Pot adaptations. Every recipe on this site is tested in my personal kitchen to ensure you get mouth-watering, foolproof results every time.
Explore more authentic Durban curries, traditional bakes, and comforting family favourites.
 Desserts
If you love traditional South African sweet rice but want an easier, hands-off method, thi...
 Desserts
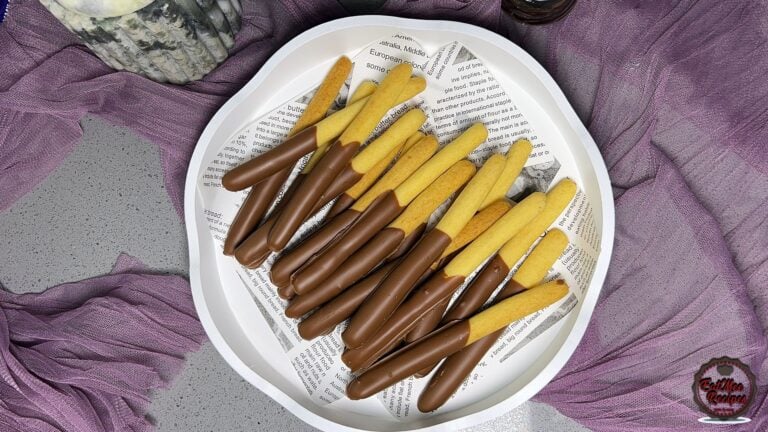
Light, crisp, and delicately sweet biscuit sticks dipped in chocolate
 Desserts
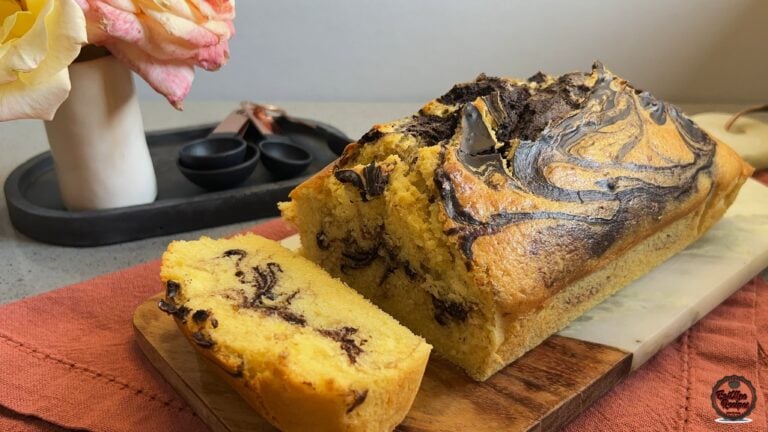
There’s something comforting about a marble loaf cake fresh from the oven, especially when...
Have you tried this recipe or have questions for Denisiya? Join the conversation below.
My favourite. I need to start a business help me please
Must use geletin
You don’t have to use the gelatin but it makes the cream firm & fluffy & prevents it from turning to liquid.
Hi. So excited to try this. But I wanted to know what you mean by milk powder?
Hi Lisa, milk powder is a dairy product made by turning evaporating milk into a powder form. Search it on the net to get more clarification and brands that are available to you. If you cannot get it, simply omit it from the recipe. Enjoy!
I love doughnuts very much. You have added the recipe in this article along with the snaps of the procedures on how to make it. Thank you for sharing it. Keep sharing
Thank you Francesco
Leave a Comment
Your email address will not be published. Required fields are marked *