

We Value Your Culinary Privacy
EatMee Recipes uses cookies to provide a personalized browsing experience, analyze recipe popularity, and serve relevant ads. You can review our full disclosure in our Privacy Policy.
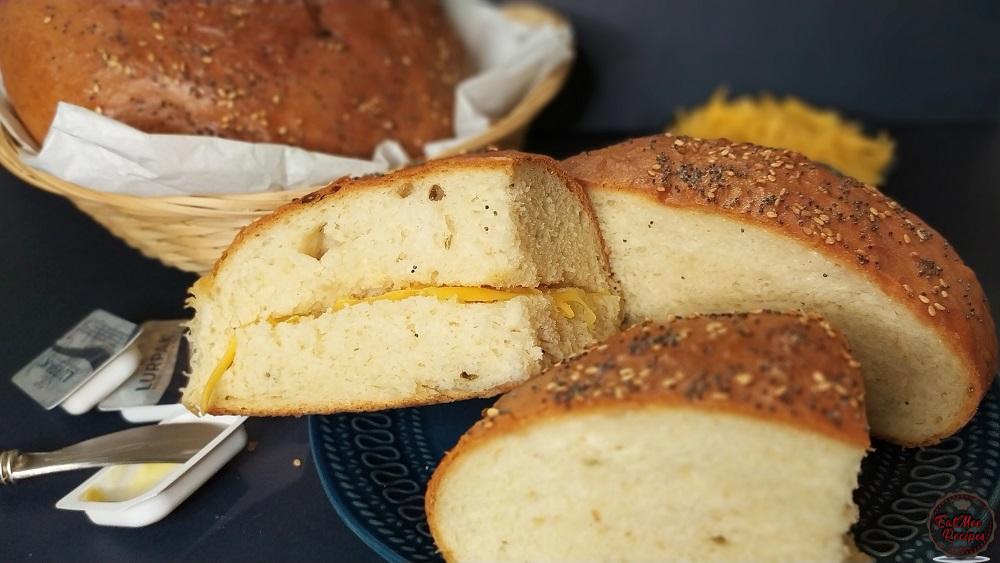
The authentic South African Durban Naan Bread recipe! Traditional soft, slightly sweet, aromatic spiced naan loaf with aniseed and sesame seeds.

Join over 60,000+ home chefs for weekly authentic Durban Indian cook-alongs, Instant Pot masterclasses, and family heritage recipes.
What is Durban Naan Bread exactly? Well, this remarkable treat is a soft loaf of bread (most often prepared in a circular shape) that has a little fennel seeds in it – also known as soomph to many. It was founded in Durban, South Africa & until this day is it is still enjoyed by many.
This Naan bread shouldn’t be mistaken for the other style of Indian flat bread which is also referred to as Naan. This naan loaf is soft, airy & has the fragrance of the fennel seeds.
Once baked, this Durban Naan Bread is smeared in butter that gives it the extra softness, which makes it so irresistible.
This recipe was originally developed in Durban, where the climate is humid and close to sea level. When baking in coastal areas like Cape Town or Gqeberha, the dough usually behaves very similarly to the original recipe because the humidity helps keep the dough soft and hydrated.
However, if you are baking inland in higher altitude areas such as Johannesburg, Pretoria, or Bloemfontein, you may notice the dough feels slightly firmer or drier. This is because inland areas tend to have drier air and higher altitude.
To compensate for this, you may need to add a little more water to your dough so it reaches the same soft consistency as it would in Durban, I’ve also increased the yeast amount slightly. Below you will find two separate ingredient lists, labeled Coastal and Inland (only use one of them depending on where you live).
Add 35 grams (3 tablespoons) butter into a microwavable bowl.

Microwave the butter for about 30 seconds until melted & set aside.

Add the all purpose flour to a large mixing bowl.

Next, add in the granulated sugar, salt & instant yeast.

Next, add in the milk powder.

Thereafter, add in the fennel (soomph) seeds.

Mix until all the dry ingredients are combined.

Next, pour in the warm milk & the warm water.

Pour in the bowl of melted butter.

Mix well using a wooden spoon until the liquids have absorbed into the flour. The mixture should be tacky.

Empty the dough out onto a floured working surface.

Begin adding a handful of flour at a time & bring the dough together until it isn’t sticky or tacky.

Knead the dough for 10 minutes using your hands or simply use an electric kneader.

Grease a bowl with vegetable oil, pat the excess oil from your hands all over the dough & place it into the greased bowl.

Next, cover the bowl with plastic (cling/seran) wrap. Allow the dough to rise in a warm, dark place for 1 hour. I usually place the bowl into a microwave or oven which is turned off.

After an hour, the dough should be doubled in size.

Remove the plastic (cling/seran) wrap & punch down the dough. Thereafter, divide the dough into two portions.

Lightly flour a baking tray.

Tuck the bottoms of the dough portions, form them into balls & place them side by side on the floured baking tray.

Using the palm of your hands, gently press down the dough to flatten them a bit.

Next, cover the dough with a dish towel & allow to proof for 30 minutes.

At this point, preheat the oven at 180° Celsius or 356° Fahrenheit.
Once the dough has proved, notice how they have increased in size.

Fill a small bowl with warm water.

Using a pastry brush, brush the warm water over one of the dough pieces – make sure to get the water all over especially on the sides.

Sprinkle poppy seeds over the freshly brushed dough.

Sprinkle some sesame seeds over.

Next, brush the warm water over the other piece of dough. Do this one at a time as the water tends to dry out & your seeds won’t stick as well.

Finally, add over the poppy seeds & the sesame seeds.

Bake the naan breads for 35 minutes in the preheated oven. I’ve also noticed that I had to bake these in Pretoria (Inland) for a further 20 minutes – maybe it’s my oven so be sure to check on it as needed and cover loosely with foil so that it doesn’t over brown.

Once their baked & golden, remove them from the oven.

When you tap on the Naan Breads, they should be hard.

Add the remaining 35 grams (3 tablespoons) of butter to a microwavable bowl.

Once again, microwave for about 30 seconds until the butter has melted.

Brush the melted butter over the baked naans whilst their still hot.

Keeping the naan’s on the same baking tray, simply use a clean dish towel & cover the buttered naans, tucking the dish towel under the baking tray to allow butter to soak into the breads & make them soft & delicious. Keep them wrapped like that for about 5 minutes.

Remove the dish towel to reveal your very own homemade Durban Naan Breads.

They should now be super soft to the touch.

This Durban Naan Bread can be eaten as is or with a meal.

Alternatively, they pair really well with a thick slather of butter.

Cheese also goes exceptionally well with these naans.

Store this Durban Naan Bread in an airtight container for up to a week in a cool dry place.

Follow along with Denisiya's step-by-step video guide for Durban Naan Bread.
Expert kitchen guidance and troubleshooting for making the best Durban Naan Bread
The golden secret is kneading the flour with boiling hot water, which pre-gelatinizes the starches. Roll thin, cook on a hot tawa with a light brush of butter or ghee, and stack inside a covered container wrapped in a clean kitchen cloth.
Yes! Cooked rotis freeze exceptionally well. Place sheets of wax paper between each cooked roti, wrap in foil or a zip-top bag, and freeze for up to 2 months. Reheat directly on a hot pan for 30 seconds.
Stiff rotis are caused by rolling the dough with too much dry flour, rolling too thick, or cooking on too low heat for too long, which dries out the moisture. Cook on medium-high heat quickly.
Hi, I'm Denisiya! Food lover, recipe developer, and founder of EatMee Recipes. I specialize in authentic South African Durban Indian cuisine, comforting curries, and modern Instant Pot adaptations. Every recipe on this site is tested in my personal kitchen to ensure you get mouth-watering, foolproof results every time.
Explore more authentic Durban curries, traditional bakes, and comforting family favourites.
 Everyday Meals
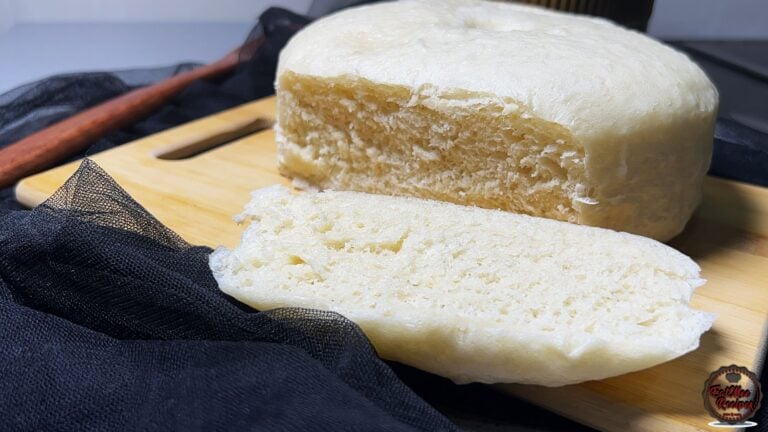
Soft, fluffy steamed bread, also known as ujeqe, is a beloved staple that pairs beautifull...
 Everyday Meals
If you enjoy bold, spicy flavours with a creamy twist, this Buldak dipping sauce is one yo...
 Everyday Meals
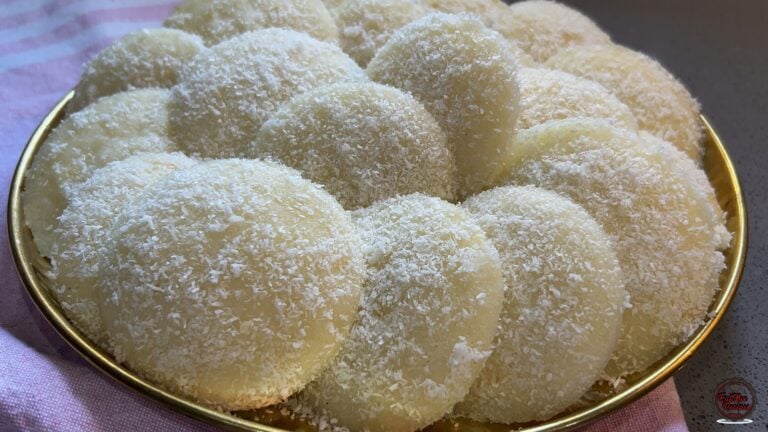
There’s something magical about waking up to the soft aroma of freshly steamed idlis – war...
Have you tried this recipe or have questions for Denisiya? Join the conversation below.
This recipe is definitely a keeper. Had to adjust liquid measurements. Family loved it said it’s better than store bought naan. 🌹
Hi
I tried your naan bread recipe today. It was a serious flop. The first 10 minute knead proved to be very very tight as if I had too much flour. Is it really 4 and a half cups of flour with only 1.5 cups liquid and 4 tablespoons butter? Where did I go wrong. Needless to say it hasn’t risen one bit! Please help!
Hi Mary, I am so sorry that it didn’t work for you. The amounts are correct as I give specific quantities as to how I make it. As you can see in the recipe, the dough needed to be tacky so if it was too dry then you can add more warm water or warm milk. This recipe was also done in Durban, different regions and temperatures can alter any baked recipe, you will need to adjust as you go.
Leave a Comment
Your email address will not be published. Required fields are marked *