
We Value Your Culinary Privacy
EatMee Recipes uses cookies to provide a personalized browsing experience, analyze recipe popularity, and serve relevant ads. You can review our full disclosure in our Privacy Policy.
This Deep Fried Doughnuts recipe is simple, easy & delicious.


Join over 60,000+ home chefs for weekly authentic Durban Indian cook-alongs, Instant Pot masterclasses, and family heritage recipes.
This Deep Fried Doughnuts recipe is simple, easy & delicious.
A doughnut or donut is a kind of deep fried sweet nourishment. The doughnut/donut is prevalent in numerous nations & arranged in different structures as a sweet nibble that can be custom made or acquired in bread shops, markets, & more. Doughnuts/donuts are normally deep fried from a flour mixture, although they can be baked as well & ordinarily either ring-formed or without a hole, & frequently filled.
The two most basic sorts are the ring doughnut/donut & the filled doughnut/donut—which is infused with natural product jam, cream, custard, or other sweet fillings. A little circular bit of batter might be cooked as a doughnut/donut gap. When doughnuts/donuts have been deep fried, they might be coated with a sugar icing, spread with glaze or chocolate, or finished with powdered sugar or sprinkles or desiccated coconut. Different shapes incorporate rings, balls, & smoothed circles, & in addition ear shapes, turns and different structures. Doughnut/donut assortments are likewise partitioned into cake & yeast-risen sort doughnuts/donuts. Doughnuts/donuts are regularly joined by espresso when they are bought at doughnut/donut shops or fast food eateries.
Place butter & milk in a microwavable jug/container.
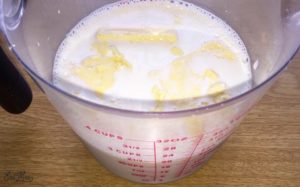
Microwave butter & milk for 1-2 minutes on high, until butter has melted. Do not allow the milk to boil.
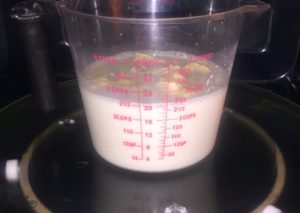
Once the butter has melted, remove from microwave, give it a good stir & set aside, allowing the mixture to cool.

In a bowl, crack in the eggs.

Using a fork or a whisk, beat the eggs.

In a large bowl, add in the flour, yeast, salt & sugar.
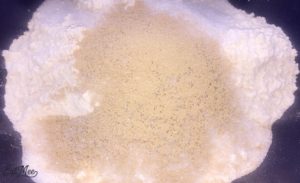
Mix well.
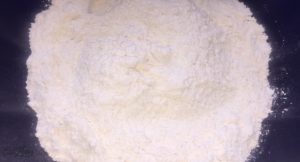
Make sure the milk & butter mixture is cool before continuing as the eggs will be added & you do not want them scrambling in the mixture. – Nobody wants egg fried doughnuts/donuts!
Add in the beaten eggs to the flour, along with the butter & milk mixture.
Mix well forming a soft dough. Add more flour if the dough is too weak & runny.
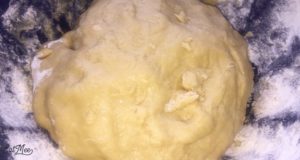
Place the dough in a bowl & cover with cling wrap or a damp kitchen towel & allow for it to rise for about an hour or two. I allowed the dough to rest for an hour.
Once the resting time is over, notice the dough double in size.
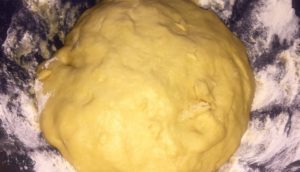
Place the rested dough on a floured surface & sprinkle a bit of flour on the dough.
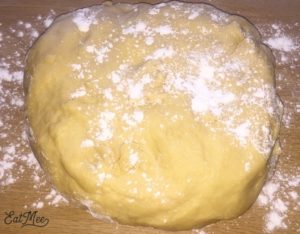
Divide the dough into quarters.
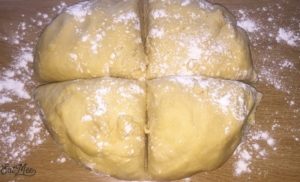
Working with one quarter at a time, roll out using a rolling pin.
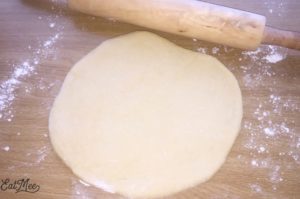
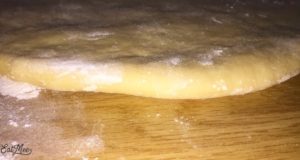
Do not roll the dough too flat. There should be about an inch thickness.
Using a round cookie cutter or anything circular that will be able to make a shape in the dough, begin placing it on the dough to form your doughnut shapes. A glass may also be used.
I did not have a round cookie cutter so I utilized a mug holder that I had available.
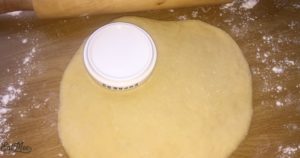
Continue doing the same for the other quarter dough that was left aside earlier.
The offcuts of dough can be rolled out again & shaped.
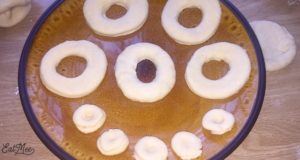
Next, using a smaller sized circular cutter or any other small round device you have in your kitchen, place in the middle of the already shaped dough. A tot glass can also be used. I used a piping tube.
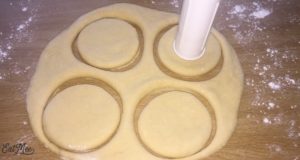
Once the dough has been shaped for all, set aside. The doughnut/donut holes can be fried as well so do not get rid of them.
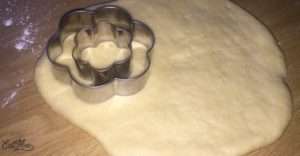
Other shapes of cookie cutters may be used as well if you want to change it up a bit.
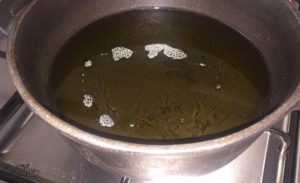
Add vegetable oil to a medium sized pot, filling it about halfway.
Allow the oil to heat, the oil is ready when the dough surfaces to the top when placed in oil – test by using a small piece of dough first before dunking a whole doughnut/donut in.
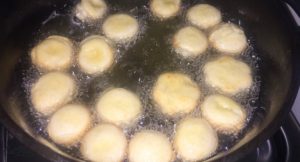
When the oil is ready, carefully place the shaped dough into the oil. Do not over crowd the pot as the doughnuts/donuts need space to rise & occasionally flip over by themselves. Also by over crowding the pot, the oil gets cooled & will not be able to cook the doughnuts/donuts evenly.
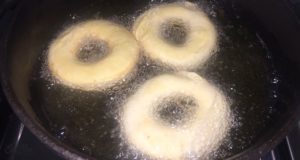
Brown each side for about 3 minutes or longer depending.

Once golden brown, remove from the oil.

Place the deep fried doughnuts on paper towels or paper to drain off excess oil.

Whilst the doughnuts/donuts are still a bit hot, you can coat them in sugar & cinnamon.
Just add about ¼ cup sugar & a teaspoon of ground cinnamon.
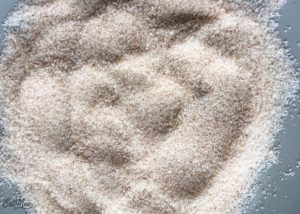
Alternatively allow them to cool & add a glaze over.
Do not forget to deep fry the doughnut/donut holes as well.
I prepared a glaze & dunked the doughnuts/donuts in when they cooled down.

These deep fried doughnuts are soft & delicious with every bite.

Enjoy with a cup of coffee.
Expert kitchen guidance and troubleshooting for making the best Deep Fried Doughnuts
The golden secret is kneading the flour with boiling hot water, which pre-gelatinizes the starches. Roll thin, cook on a hot tawa with a light brush of butter or ghee, and stack inside a covered container wrapped in a clean kitchen cloth.
Yes! Cooked rotis freeze exceptionally well. Place sheets of wax paper between each cooked roti, wrap in foil or a zip-top bag, and freeze for up to 2 months. Reheat directly on a hot pan for 30 seconds.
Stiff rotis are caused by rolling the dough with too much dry flour, rolling too thick, or cooking on too low heat for too long, which dries out the moisture. Cook on medium-high heat quickly.
Hi, I'm Denisiya! Food lover, recipe developer, and founder of EatMee Recipes. I specialize in authentic South African Durban Indian cuisine, comforting curries, and modern Instant Pot adaptations. Every recipe on this site is tested in my personal kitchen to ensure you get mouth-watering, foolproof results every time.
Explore more authentic Durban curries, traditional bakes, and comforting family favourites.
 American Food
Bagels are something we South Africans watched on American television shows…it isn’t very ...
 American Food
Being South African, I’ve never come across the famous Everything But The Bagel Seasoning ...
 American Food
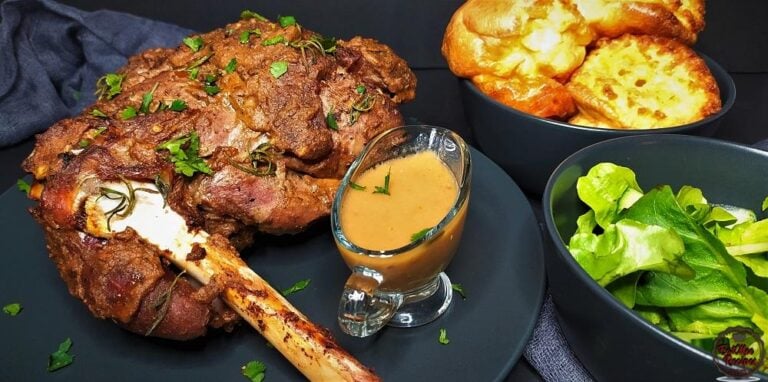
This Spiced Roast Leg Of Lamb is so delicious, once you try it, you will never go back to ...
Have you tried this recipe or have questions for Denisiya? Join the conversation below.
No comments yet. Be the first to share your thoughts on this recipe!
Leave a Comment
Your email address will not be published. Required fields are marked *