
We Value Your Culinary Privacy
EatMee Recipes uses cookies to provide a personalized browsing experience, analyze recipe popularity, and serve relevant ads. You can review our full disclosure in our Privacy Policy.
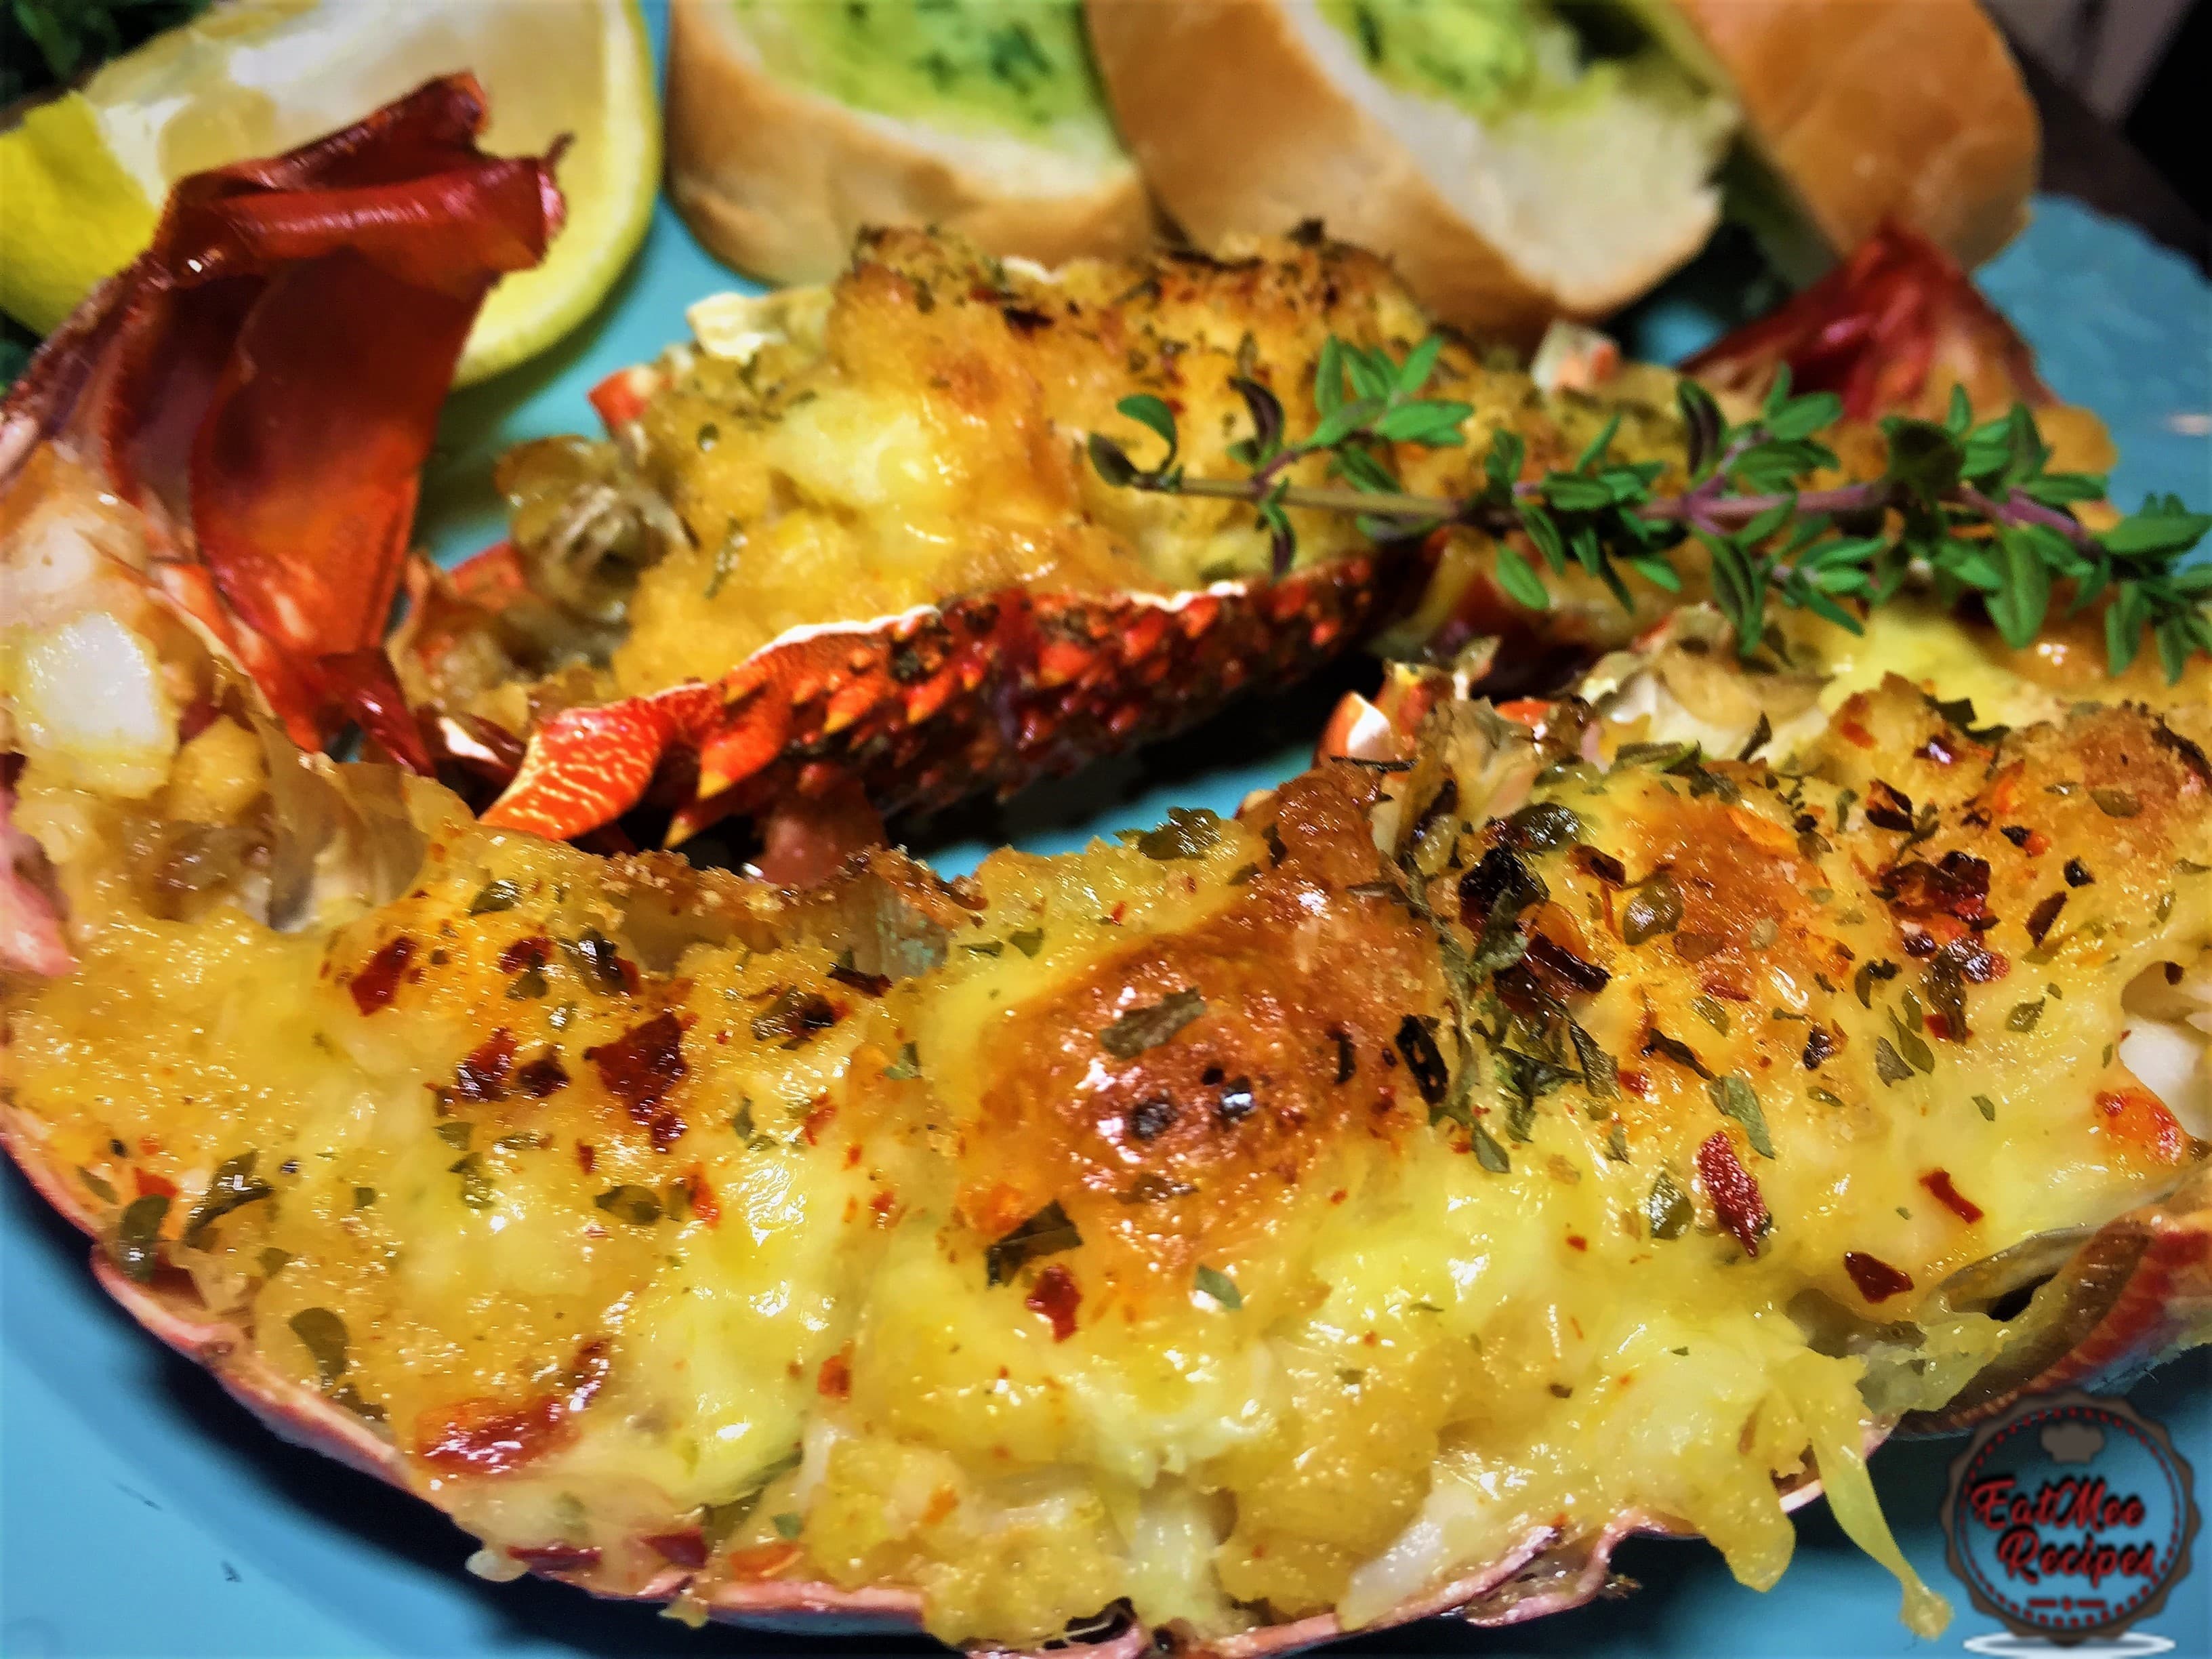
Crayfish Thermidor is a classic French preparation that was very popular in upscale restaurants during the early to mid-1920’s.

Join over 60,000+ home chefs for weekly authentic Durban Indian cook-alongs, Instant Pot masterclasses, and family heritage recipes.
Crayfish Thermidor is a classic French preparation that was very popular in upscale restaurants during the early to mid-1920’s.
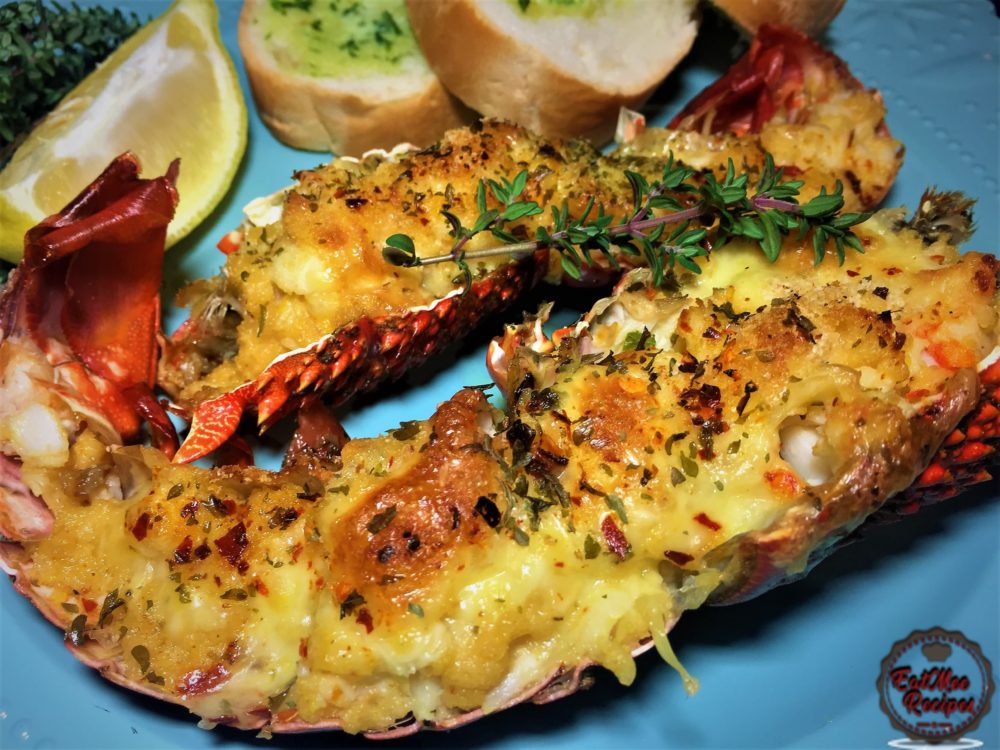
In the dish, the crayfish meat is combined into a rich heavy cream based sauce. The crayfish & sauce mixture is spooned back into the shells, topped with more cheese, & baked until golden brown.
Crayfish Thermidor is surprisingly simple to make & if Crayfish is not available then Lobster may be used instead.
Rinse the Crayfish & set onto a chopping board.
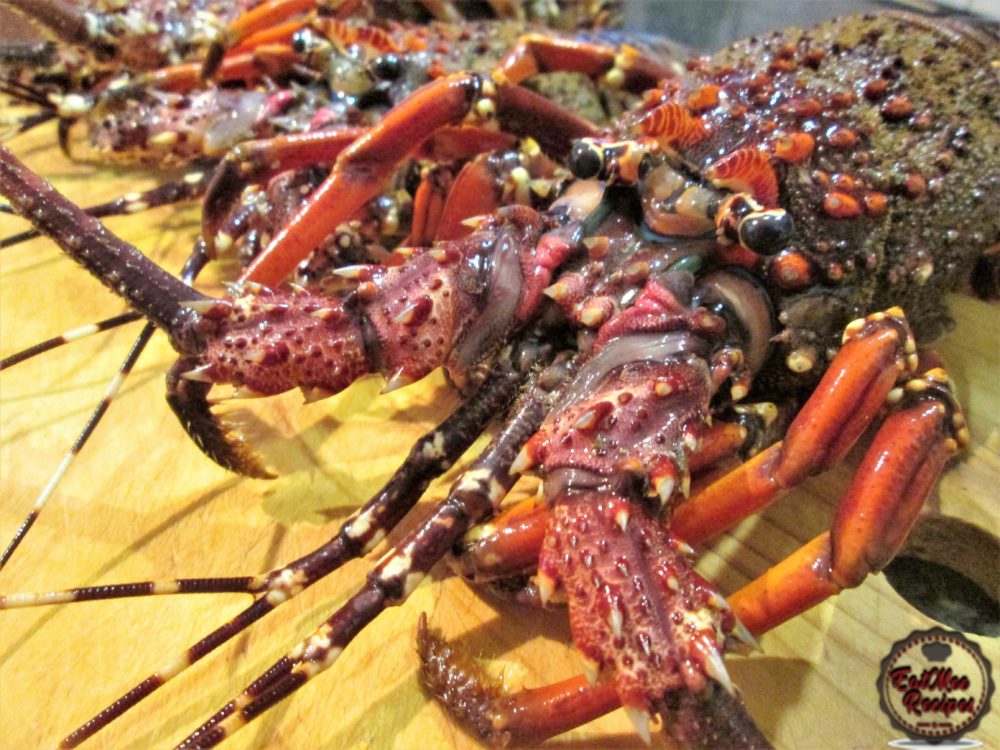
Fill a large pot with water & place the Crayfish in the water.
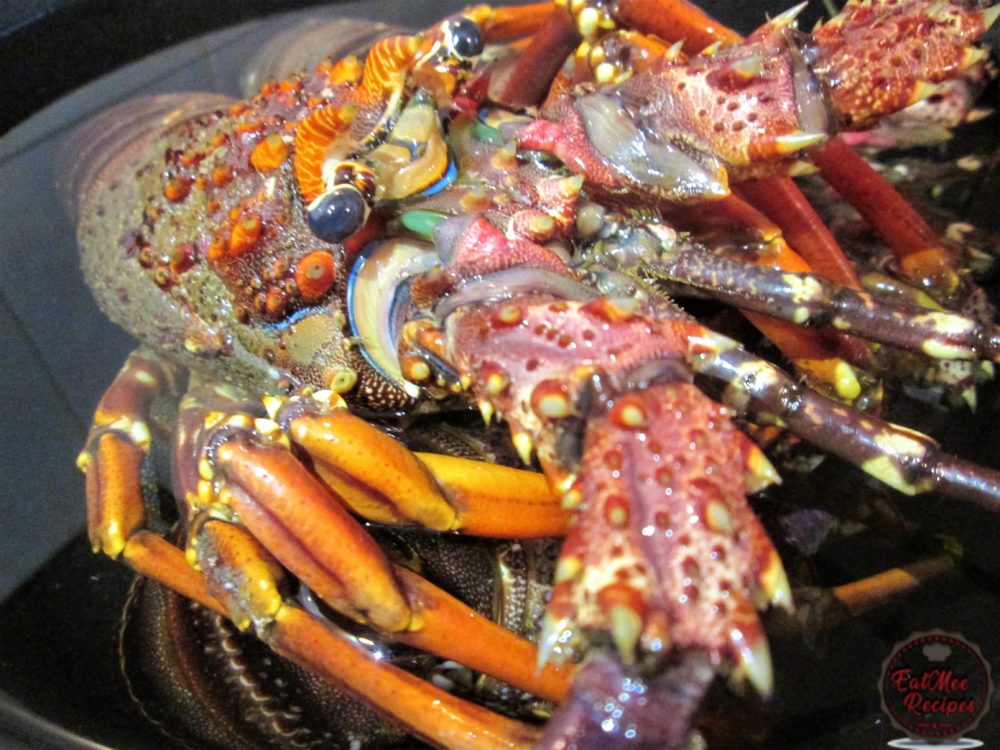
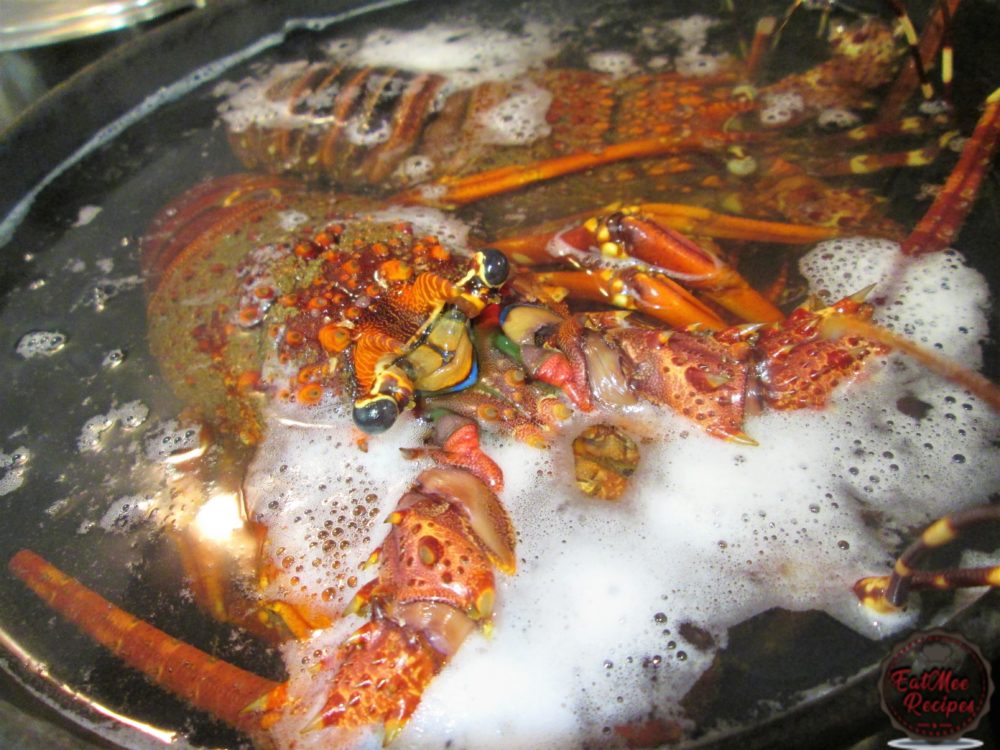
Allow the crayfish to steam on medium-high heat on the stove-top for 15 minutes. Notice the colour change on the Crayfish turn into a bright orange.
Once the Crayfish is done steaming, remove from the pot & submerge them into a bowl of ice water to stop the cooking process. Keep the Crayfish in the cold water for about 2 minutes.
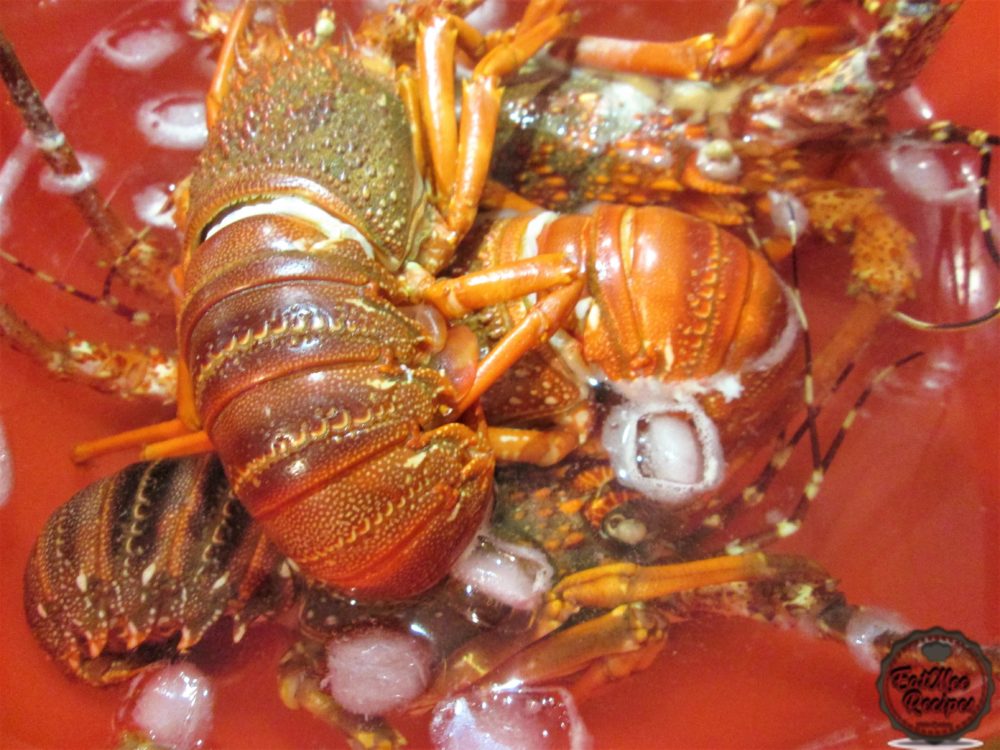
Place the cold Crayfish onto a board, working with one at a time.
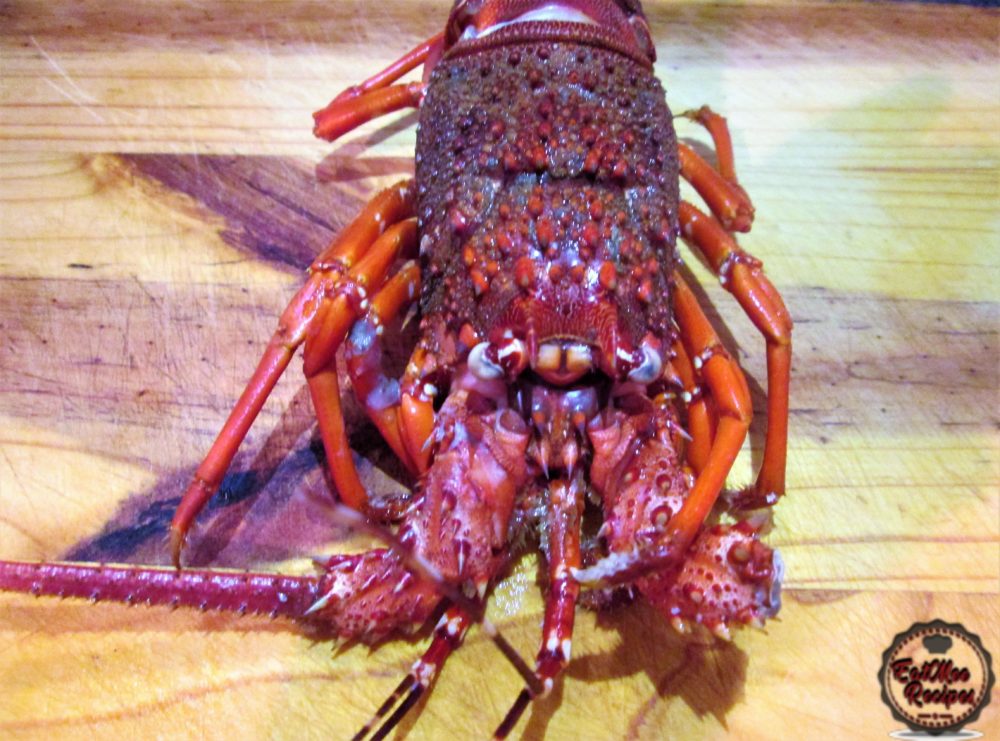
Carefully remove the legs & the claws off.
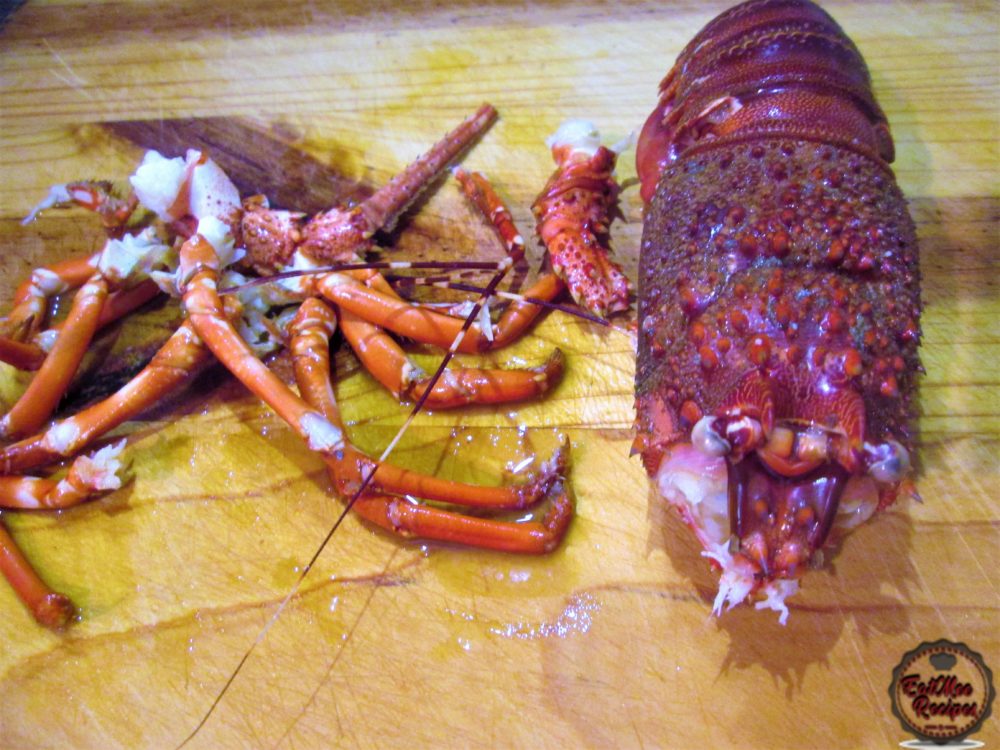
Cut the Crayfish down the middle using a sharp knife, splitting it in half.
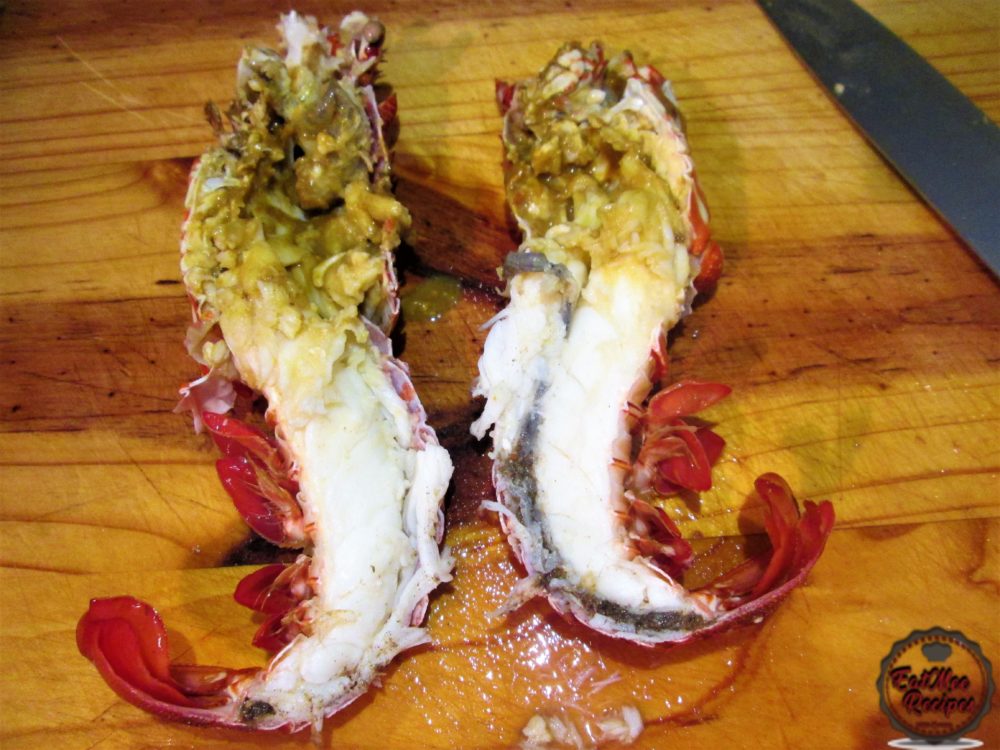
Remove the intestinal thread (black tube down the tail part of the Crayfish). Also remove all of the muck in the head. Discard of this as it cannot be digested.
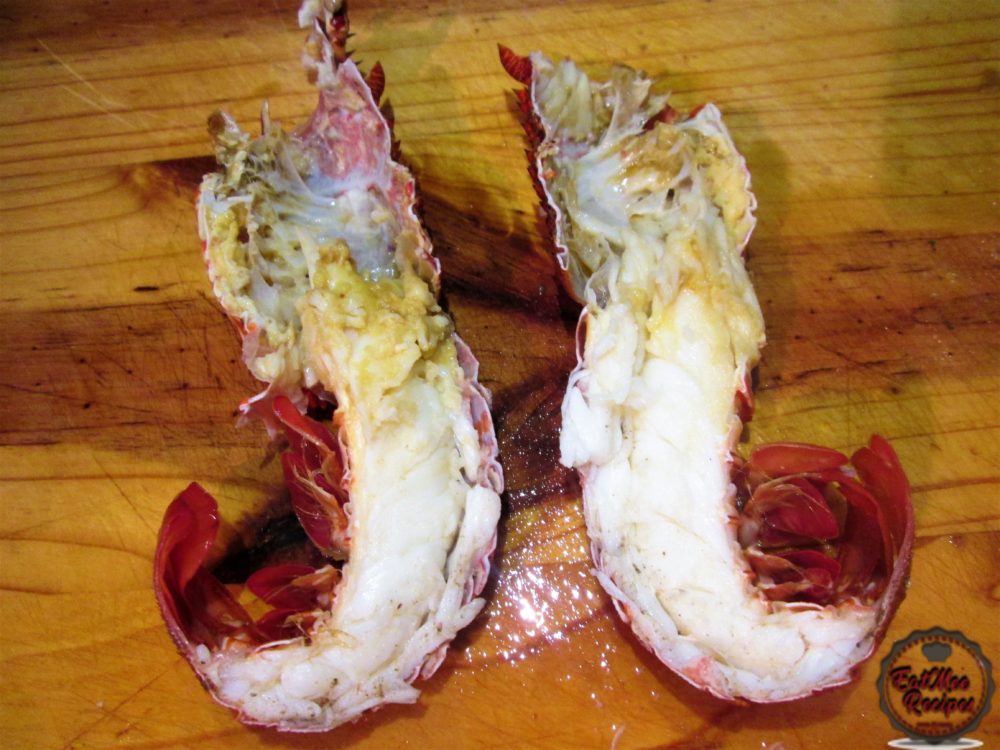
Next, remove the tail meat & set aside.
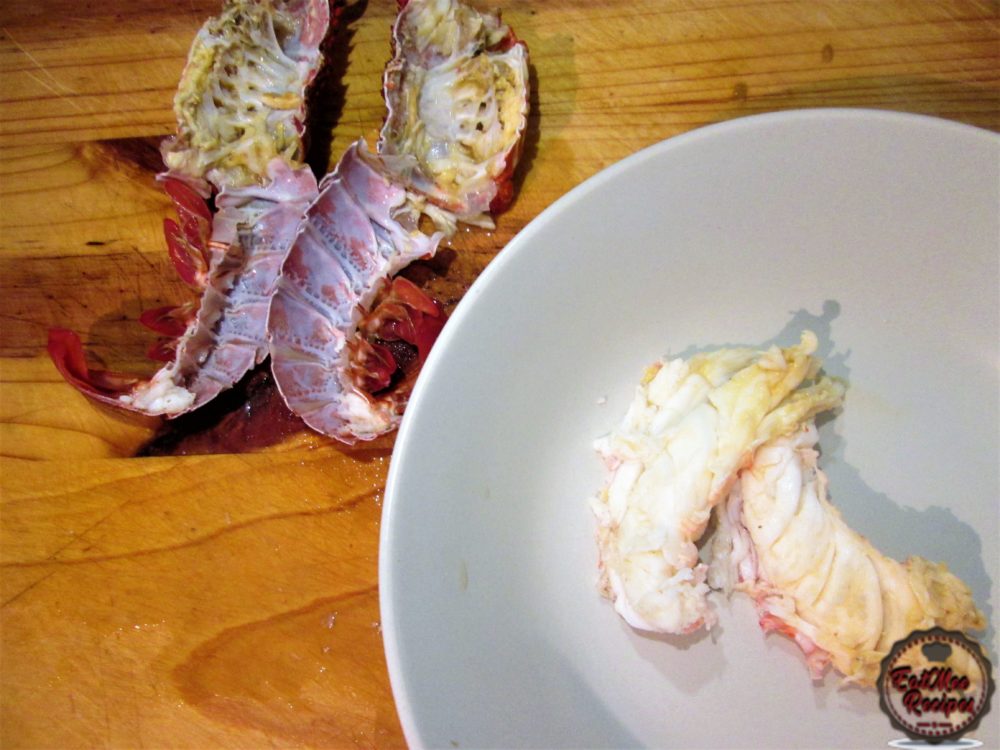
Do the same for all the Crayfish. Be sure to keep the shells as this will be used later on in the recipe.
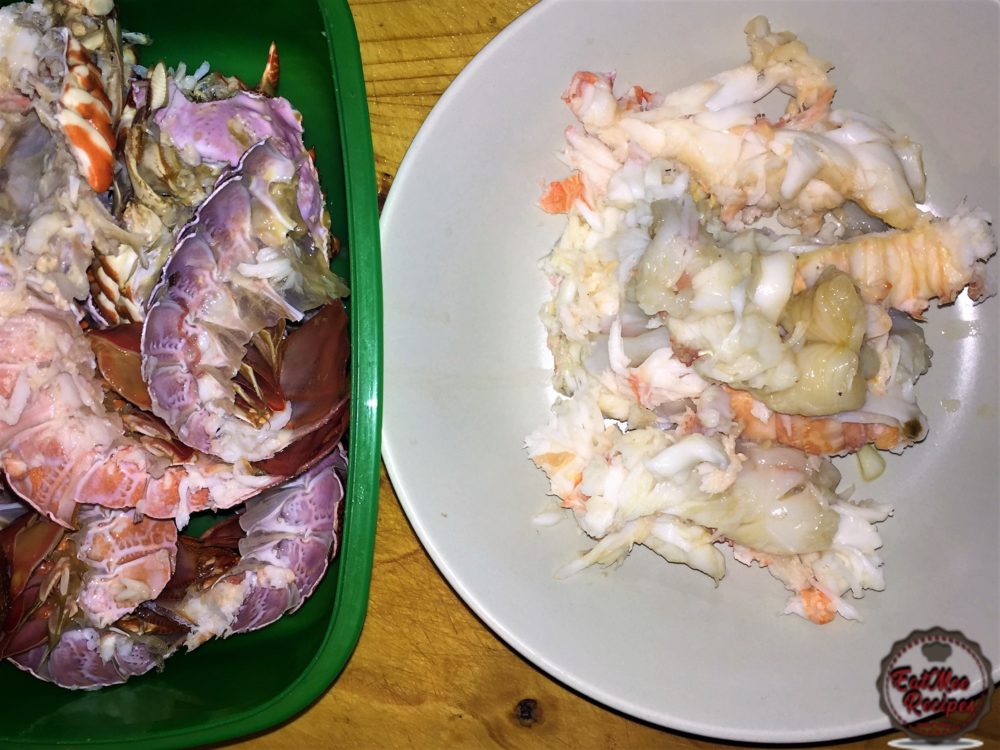
Place the Crayfish meat onto a chopping board.
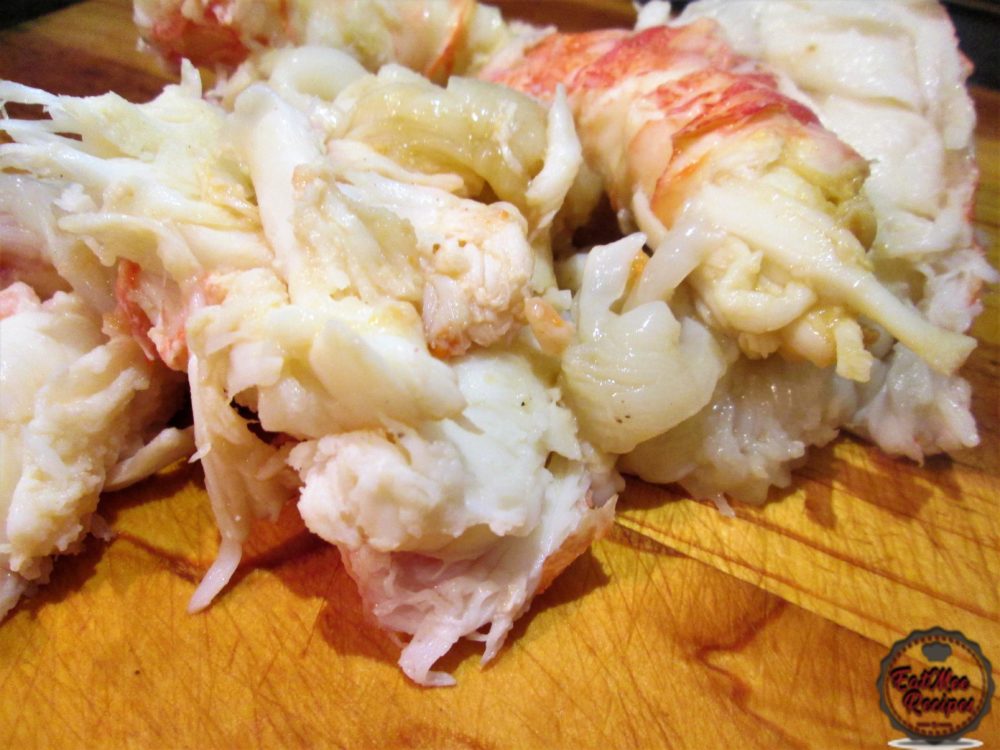
Chop up the meat.
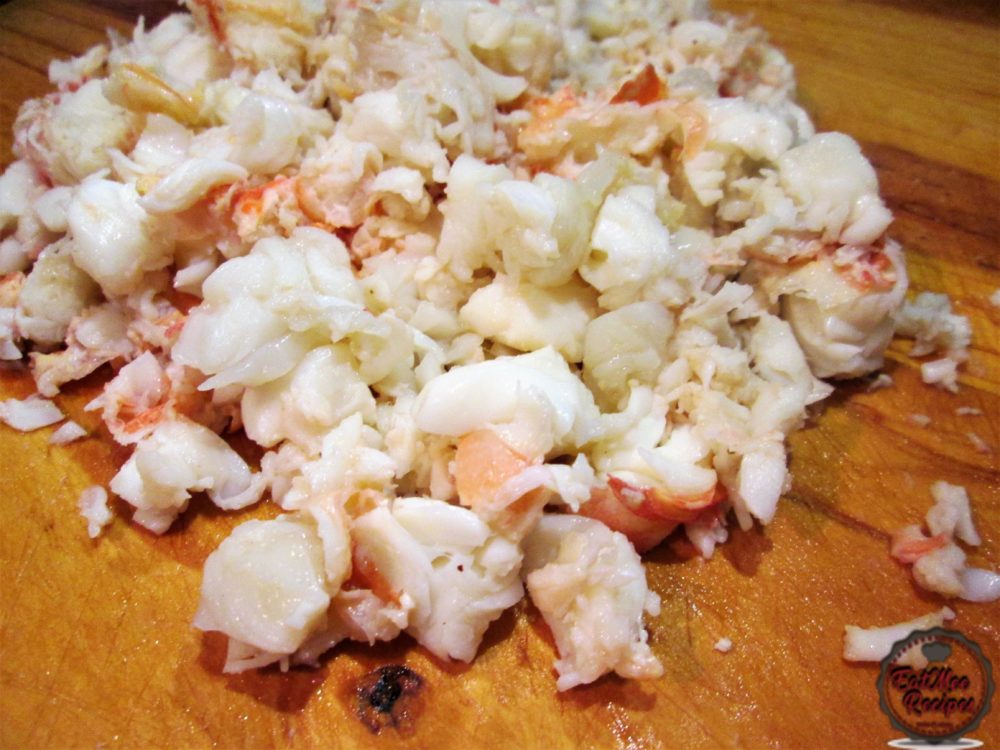
Set aside.
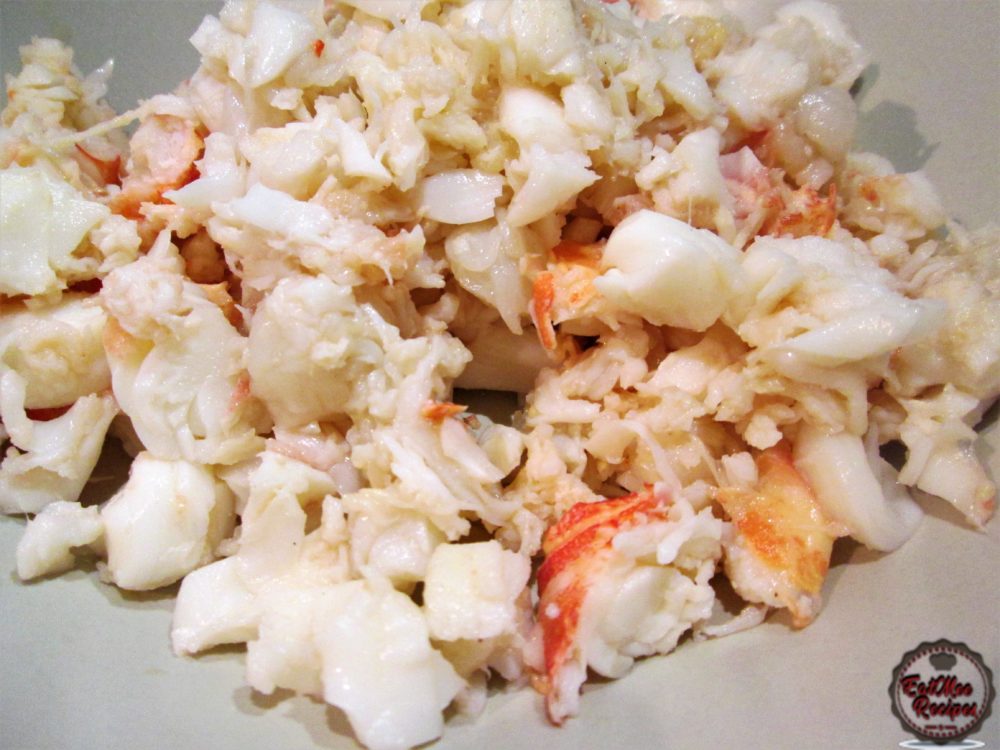
Next up, it’s time to prepare the sauce. Have all of your ingredients ready.
First up is the butter.
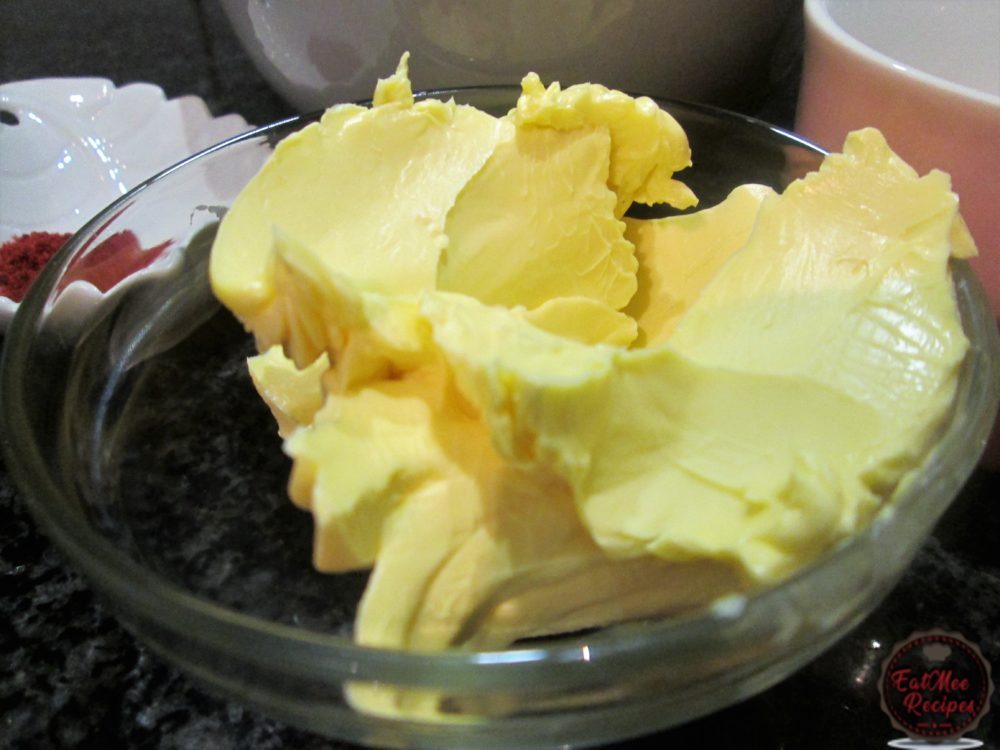
Next, the flour.
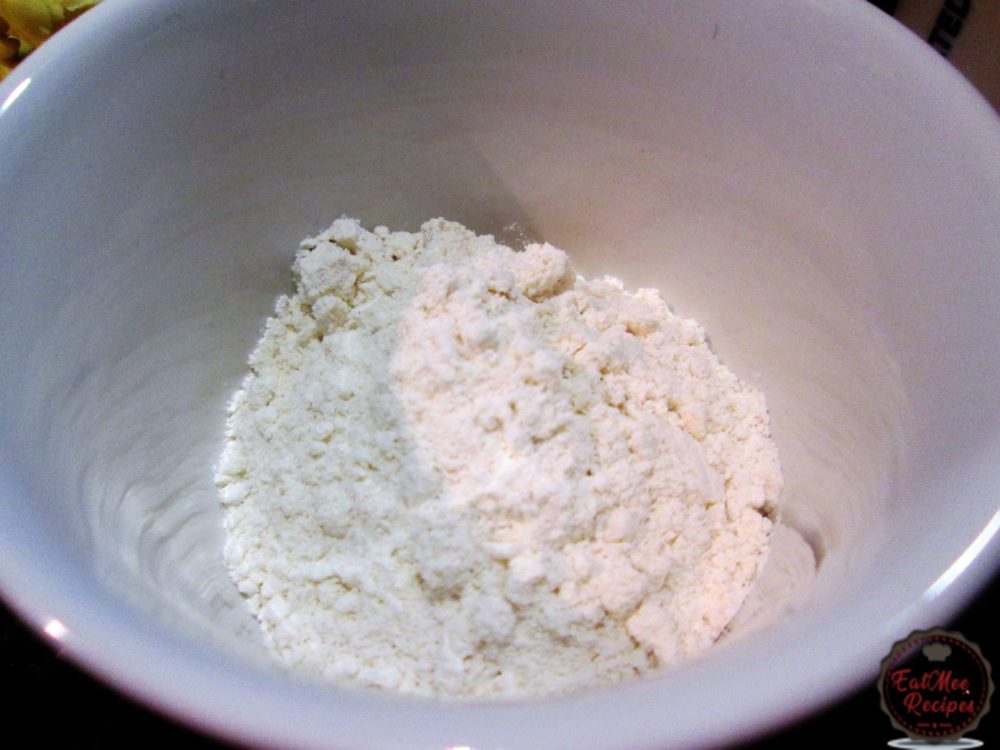
Garlic powder & the double thick cream.

Cayenne or chilli powder.
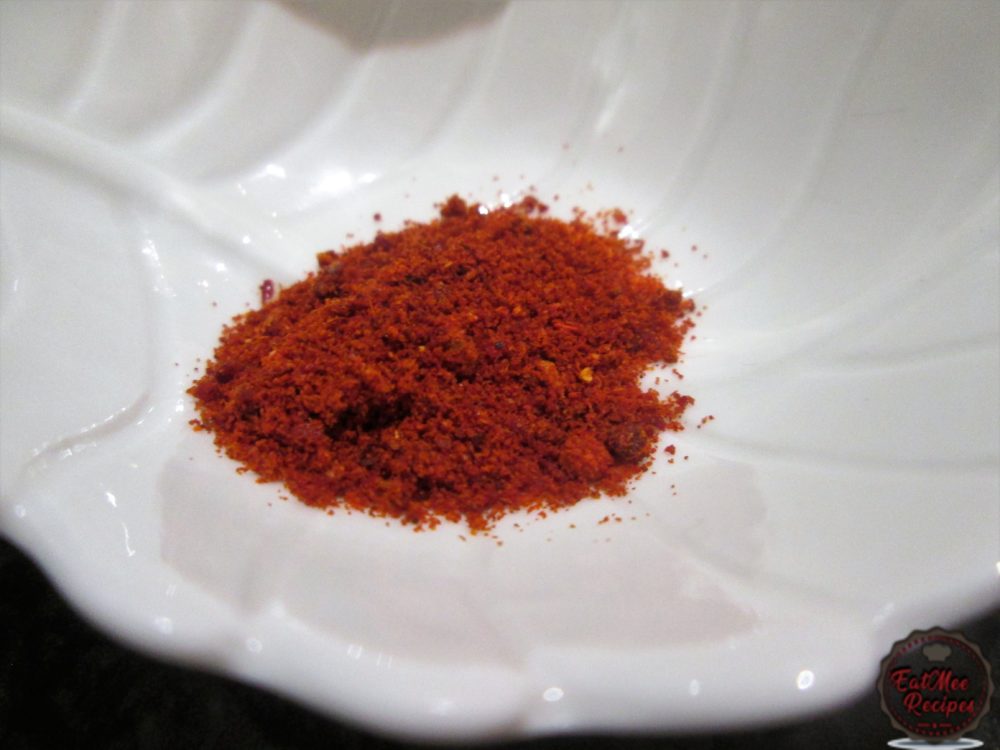
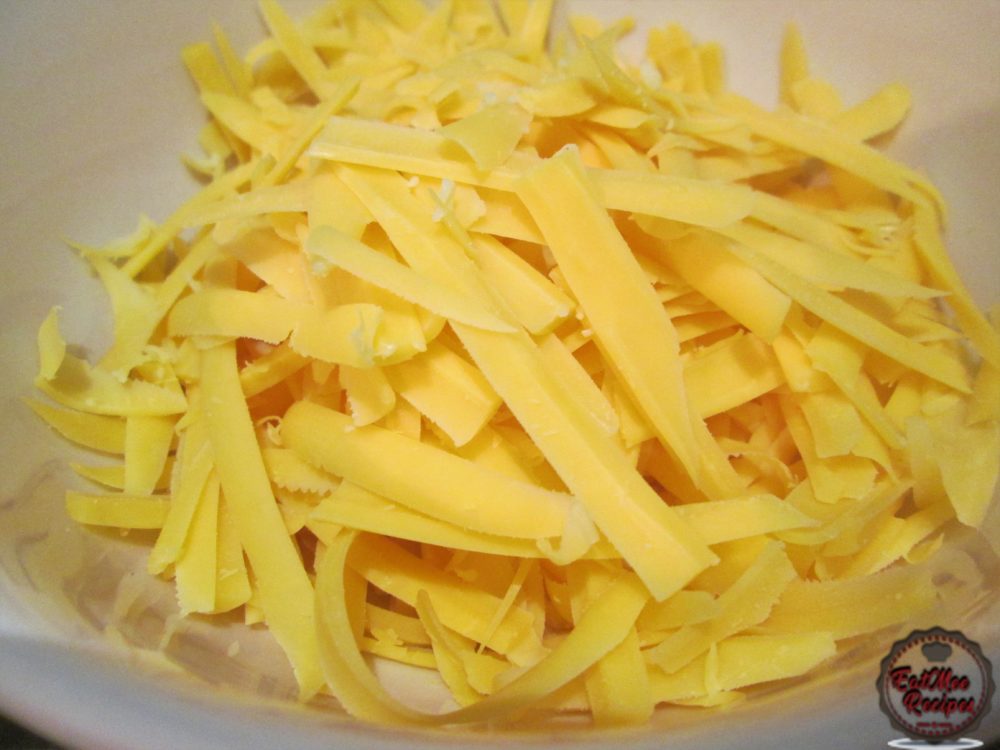
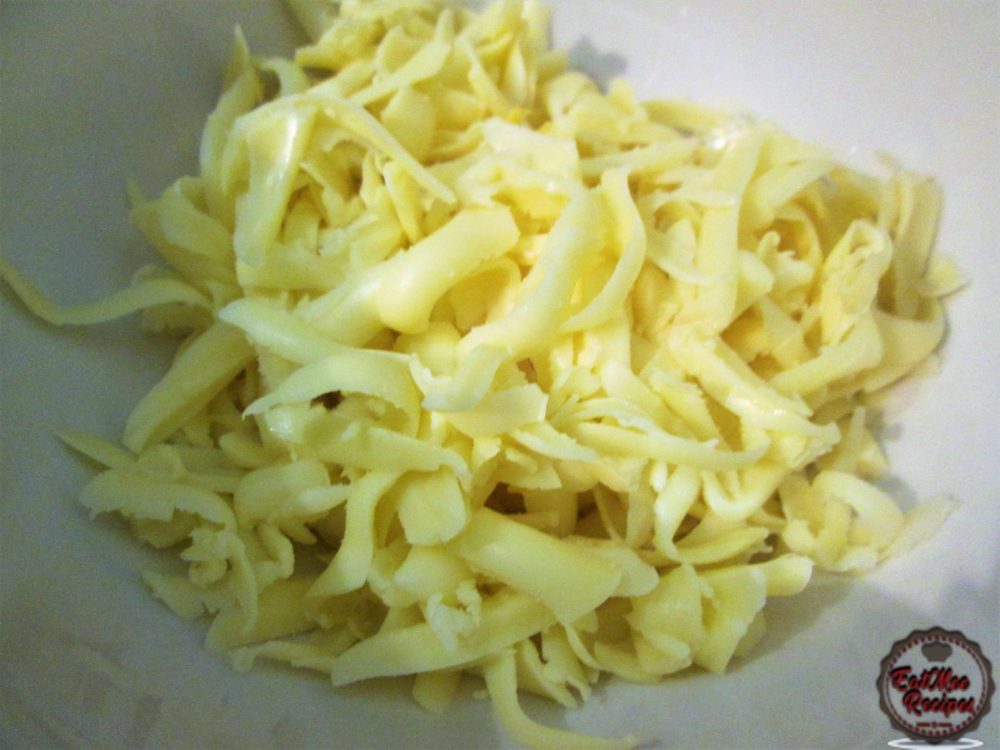
Grate the cheese of your choice, I used Gouda.
Have your egg yolks ready in a bowl.

Heat a pot on the stove-top & add in the butter.
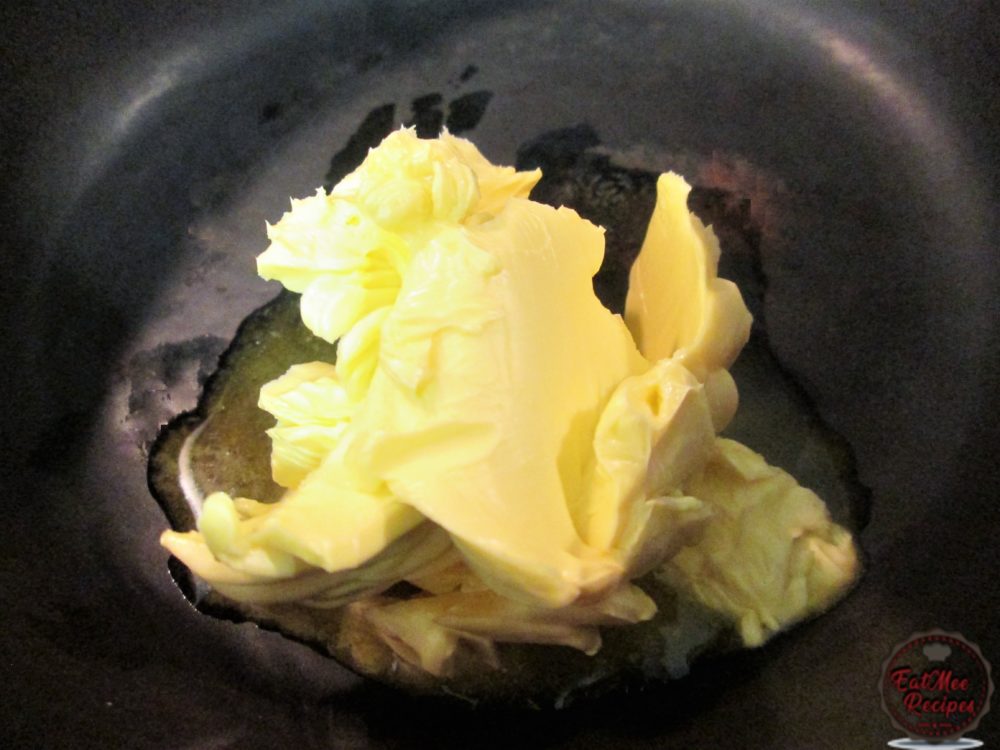
Allow the butter to melt.
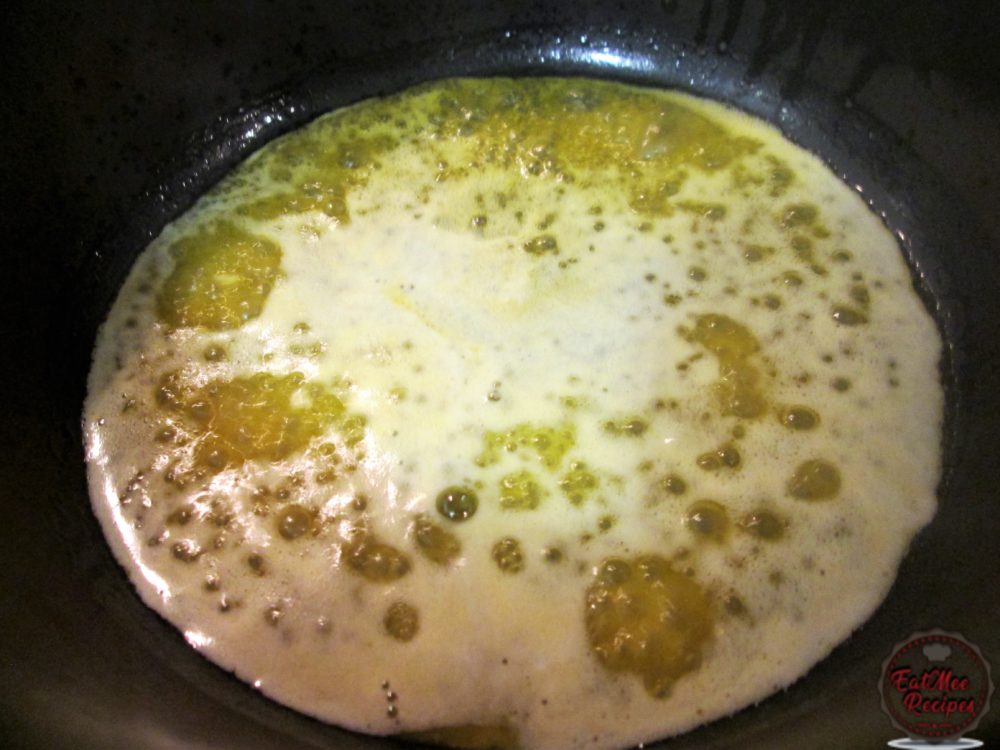
Thereafter, add in the flour.
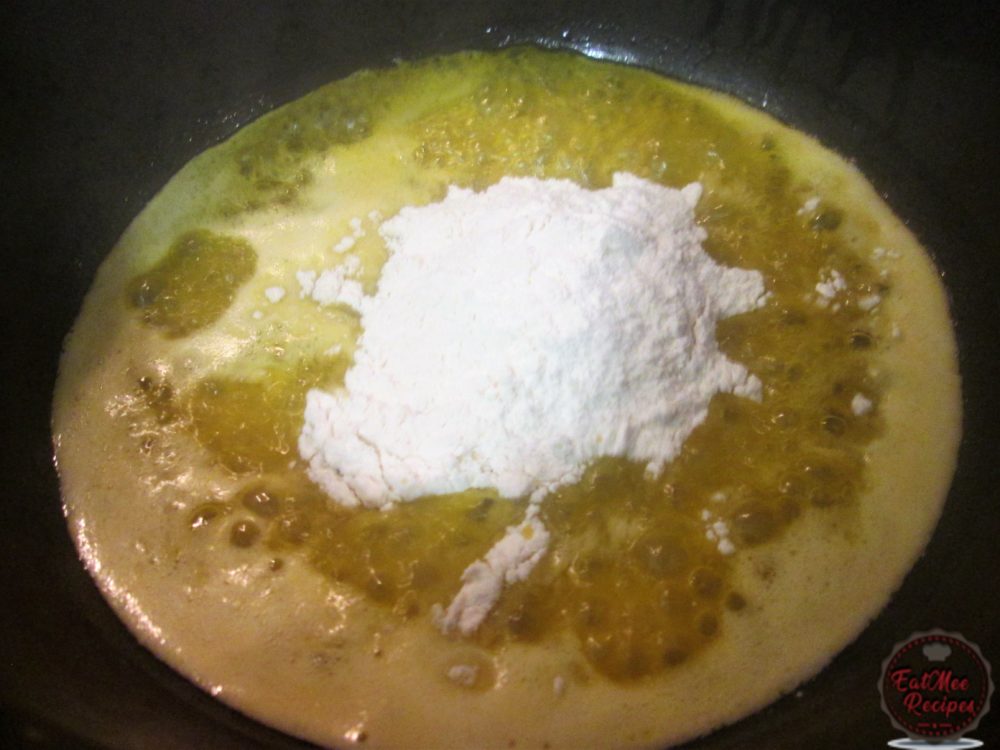
Mix well.
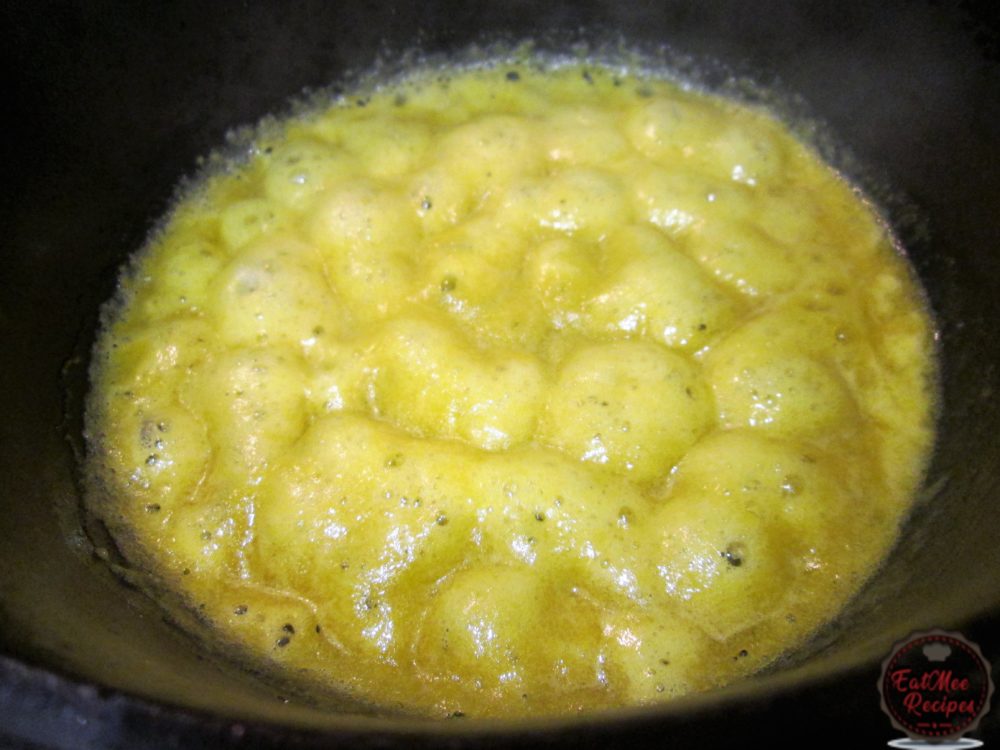
Drop in the double thick cream.
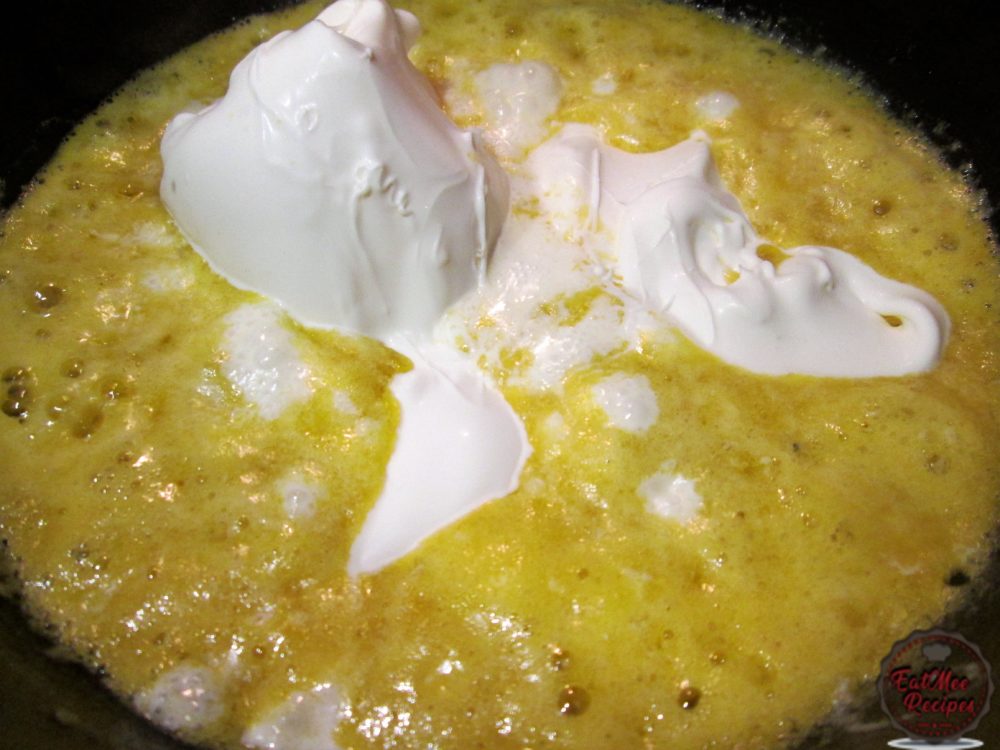
Mix well.
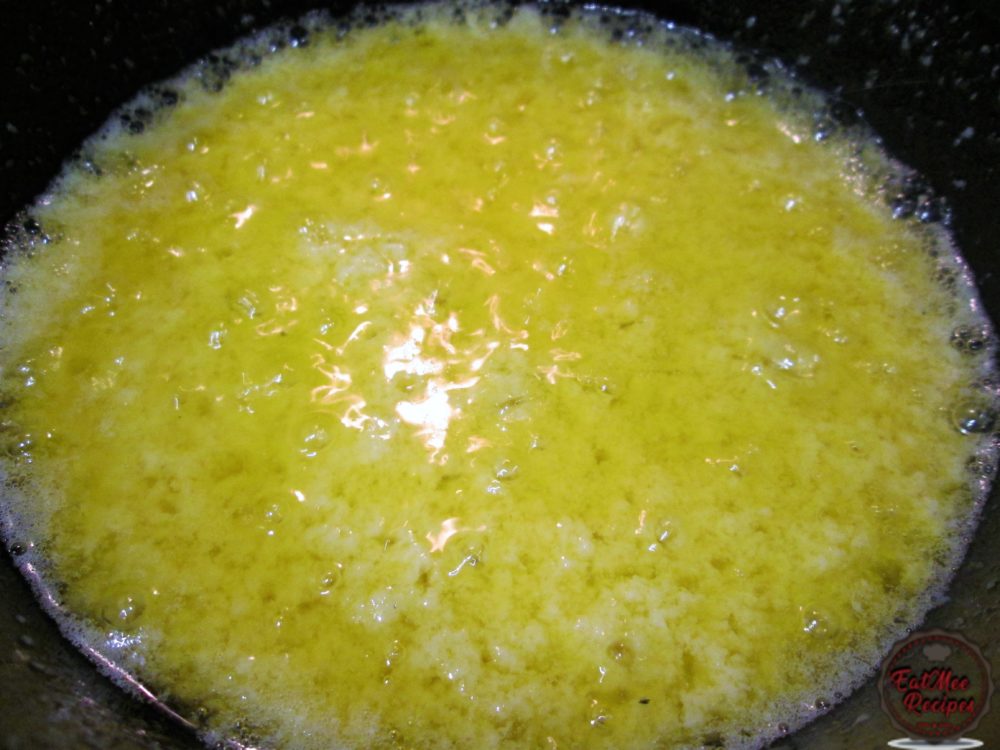
Add in the cayenne or chilli powder & the garlic powder.
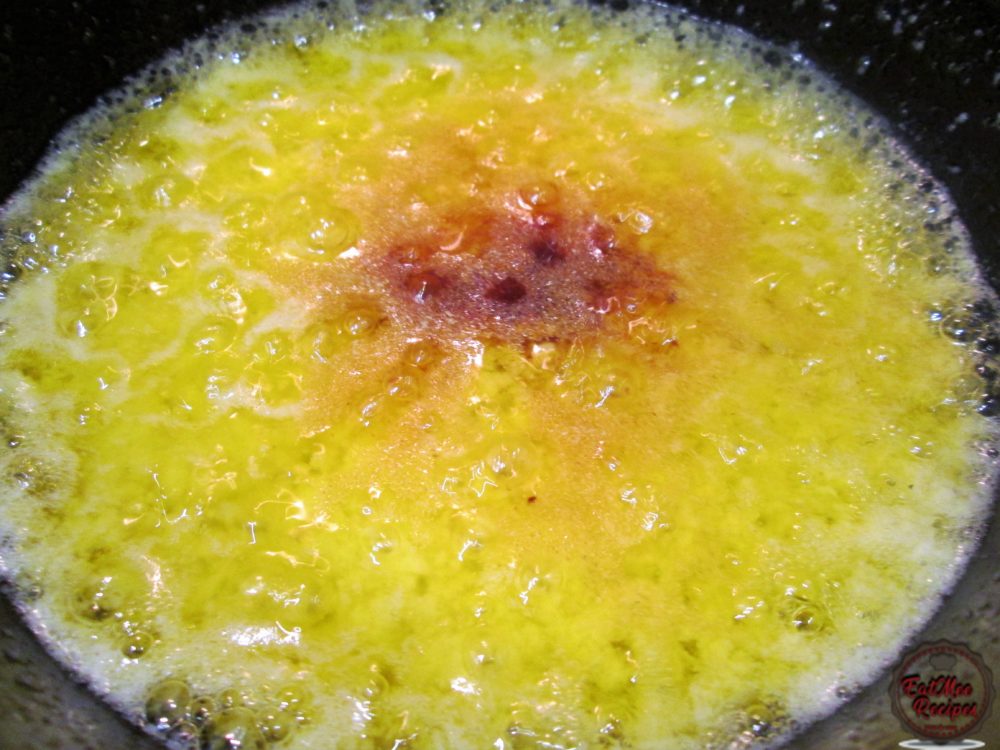
Mix well & add in the egg yolks.
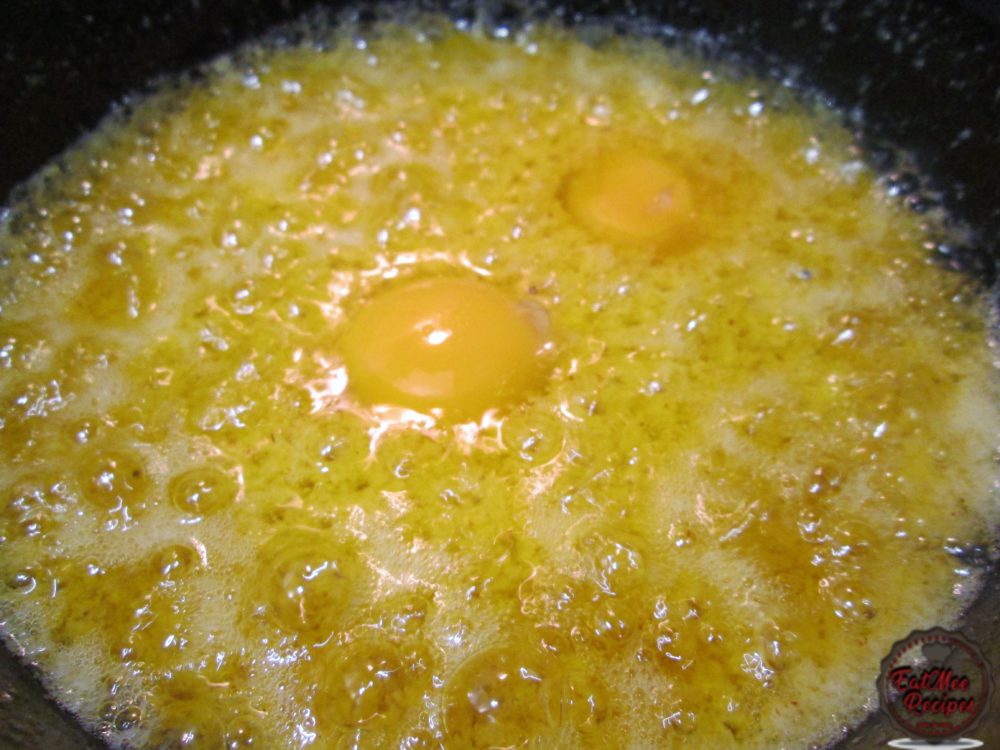
Mix & turn off the heat.
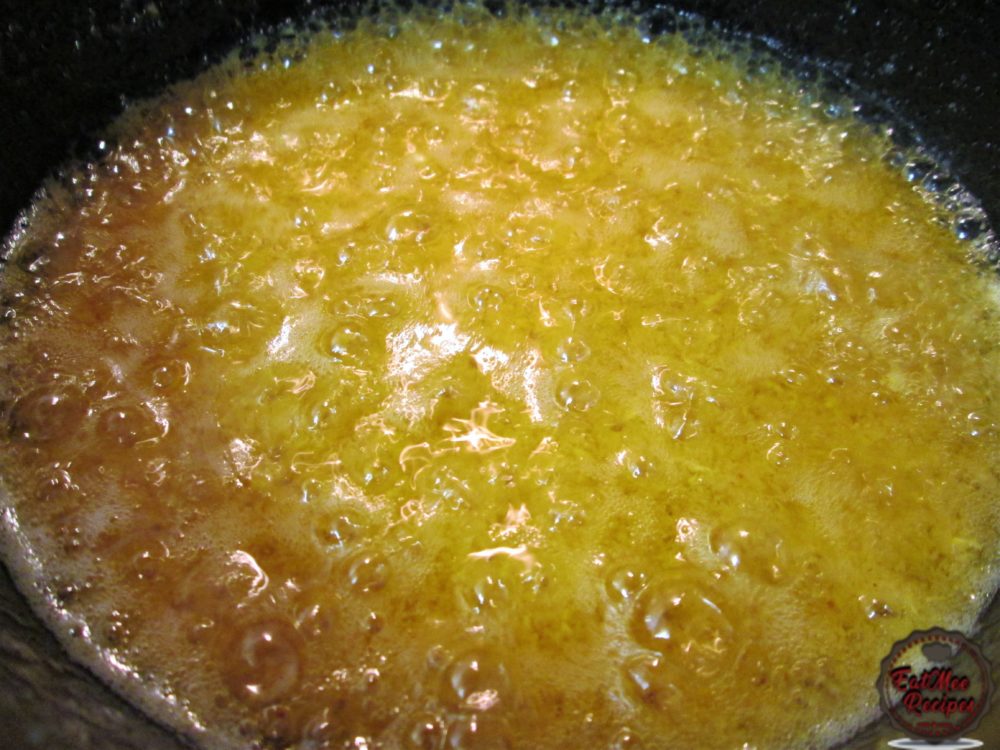
Add in the grated cheese.
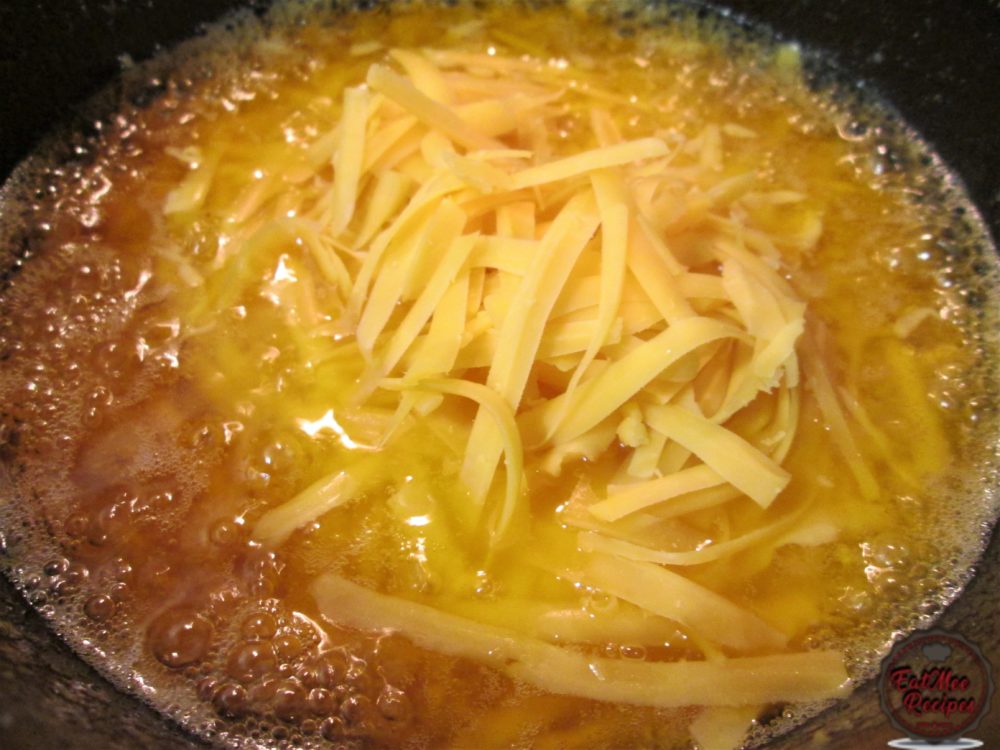
Mix & add in the Crayfish meat. The sauce is very buttery so if you prefer a thicker sauce, add 2 tablespoons of butter instead of 4.
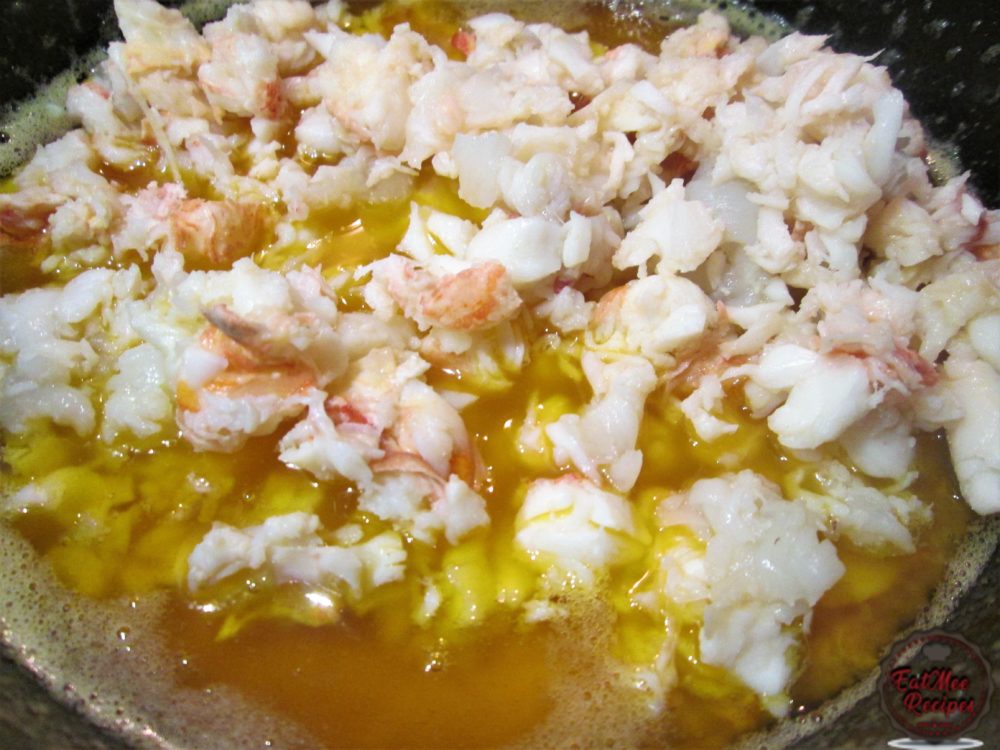
Combine & set aside.
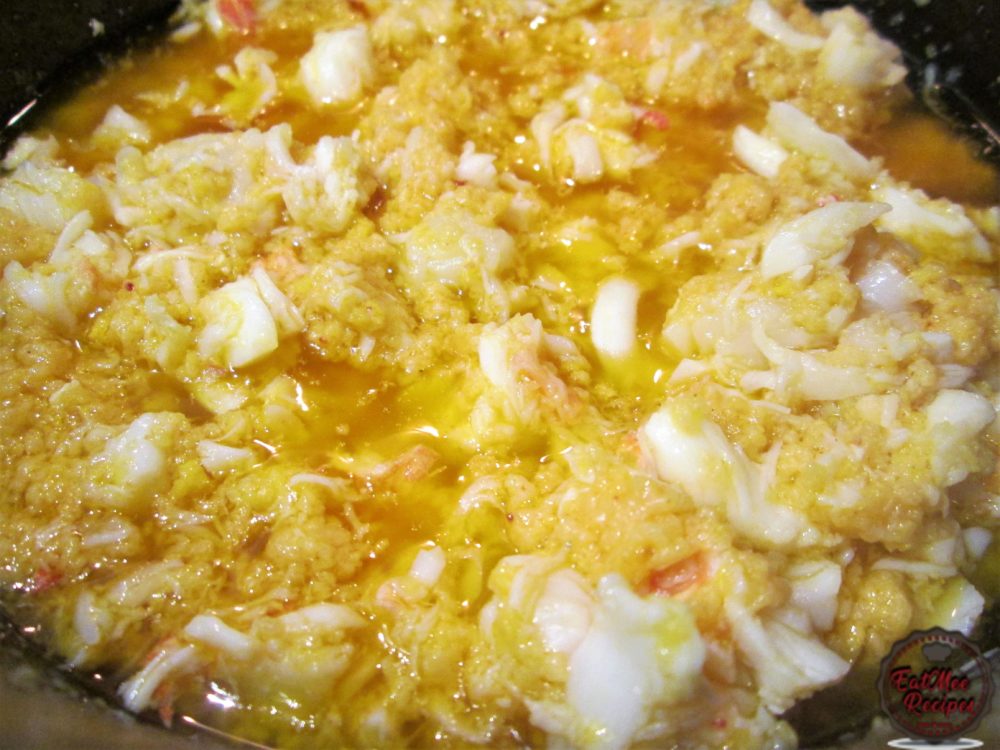
Next, preheat the oven to 180° Celsius.
Grate the mozzarella cheese & set aside.
Line a baking tray with foil & place the shells of the Crayfish onto it.
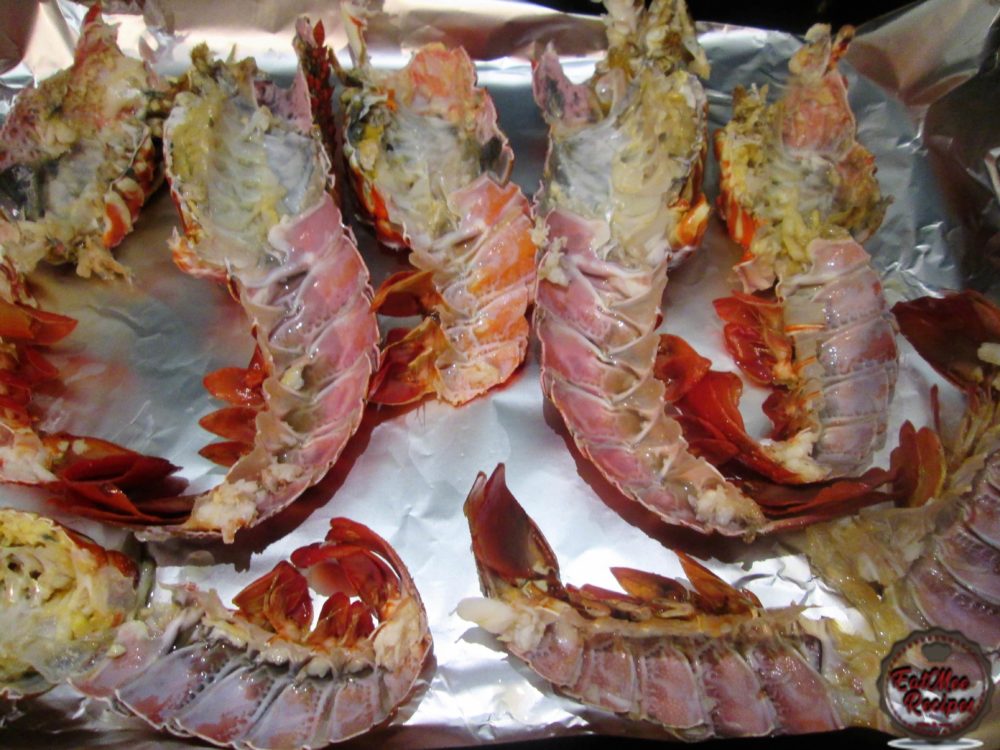
Spoon the Crayfish & sauce mixture into the shells.
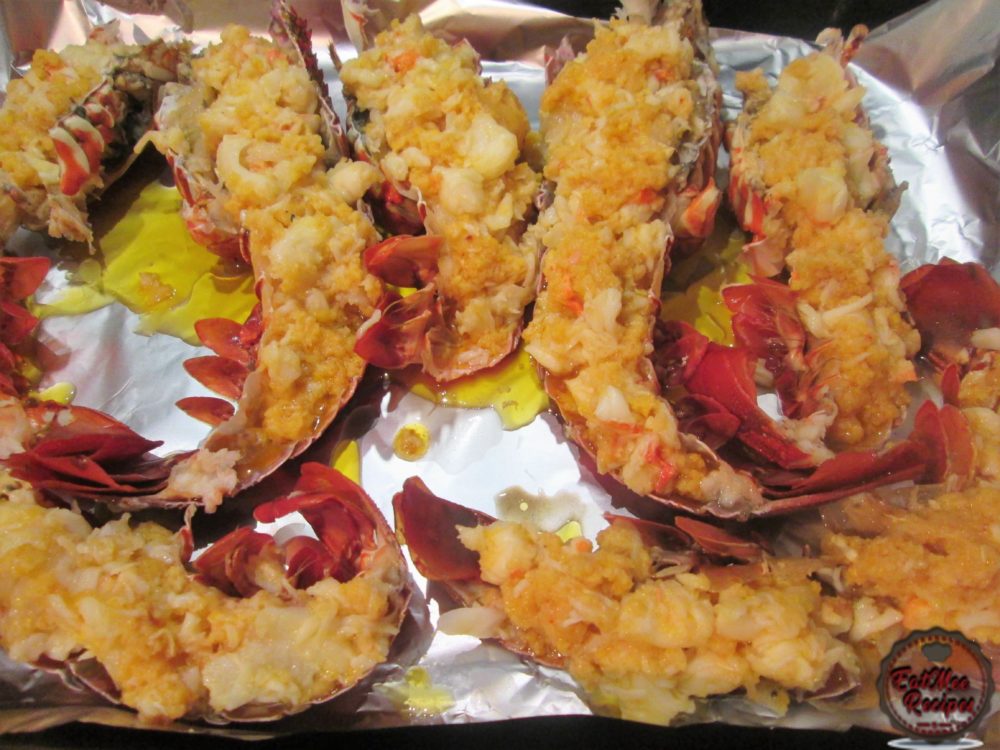
Top with breadcrumbs & the mozzarella cheese.
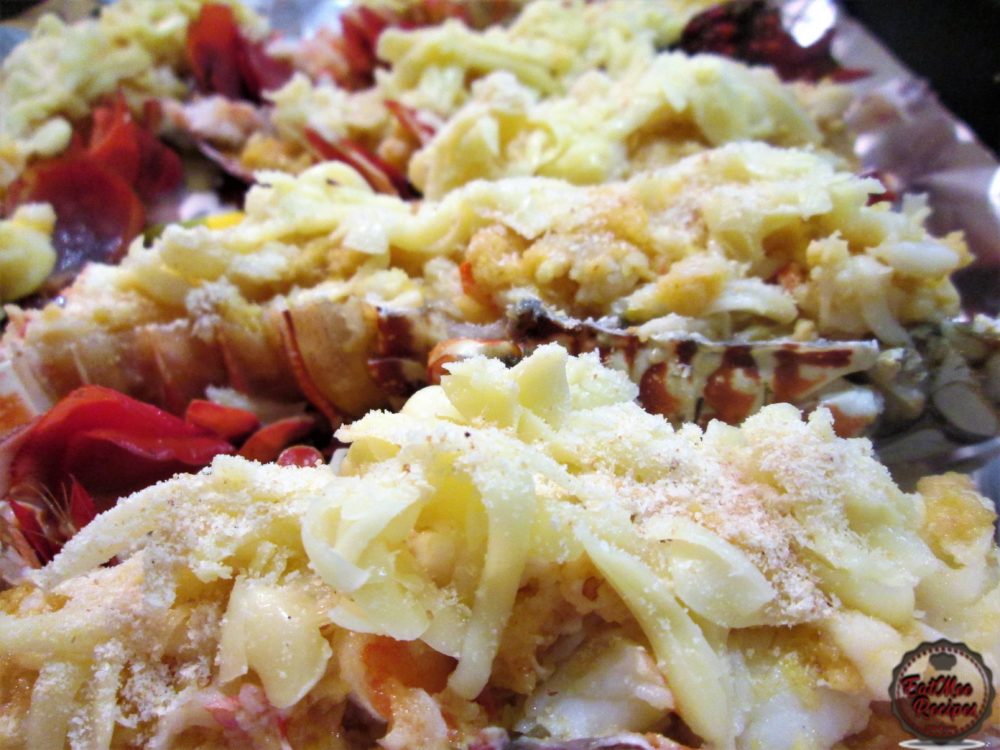
Sprinkle over some red chilli flakes & dried or fresh parsley.
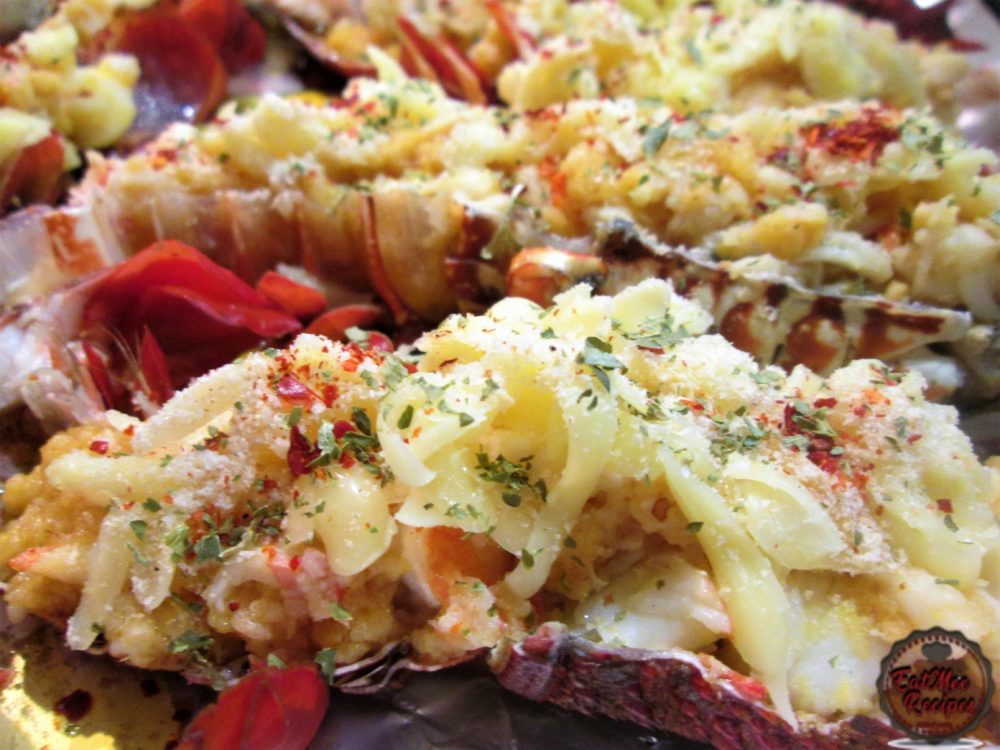
Bake in the preheated oven for 10-15 minutes at 180° Celsius.until golden.
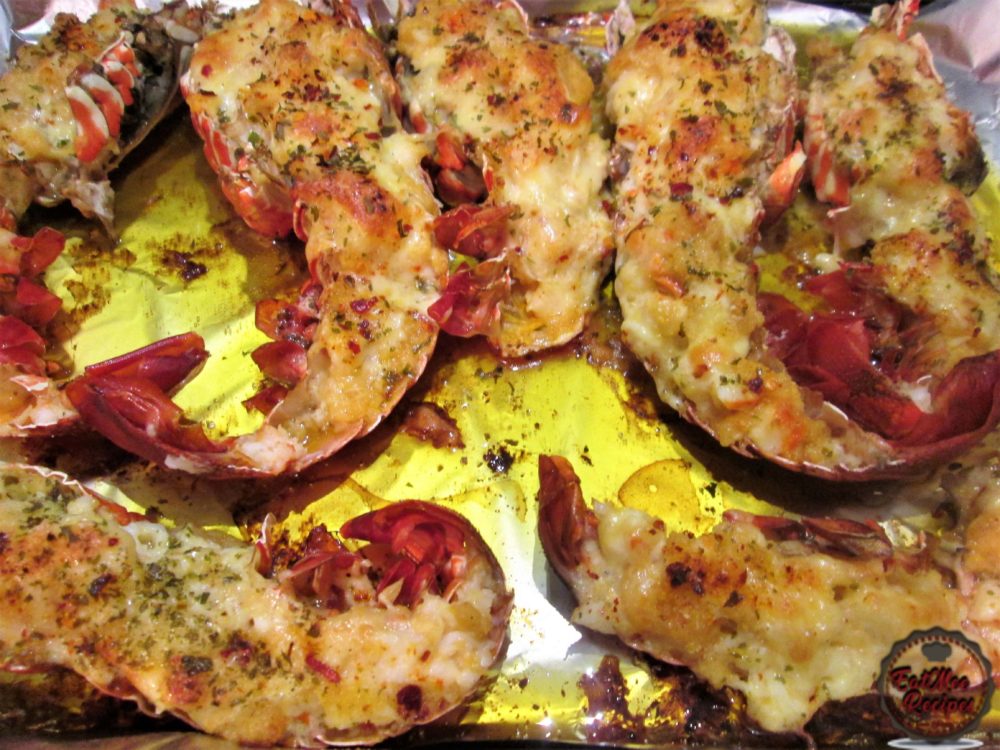
Carefully remove from the baking tray.
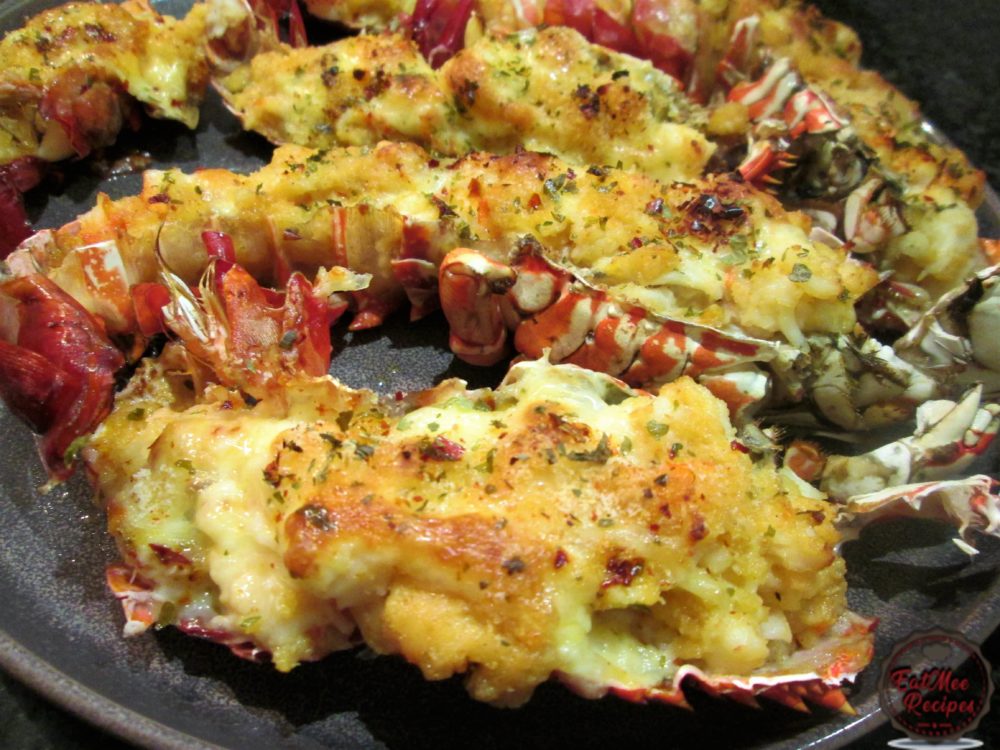
Plate & garnish with fresh thyme (optional).
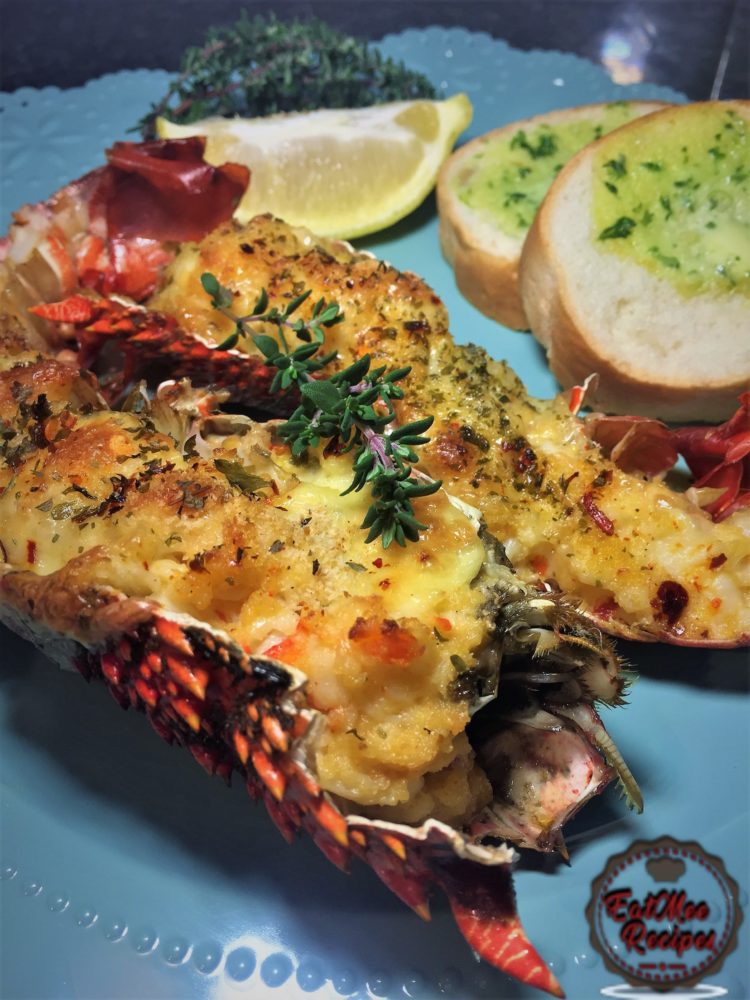
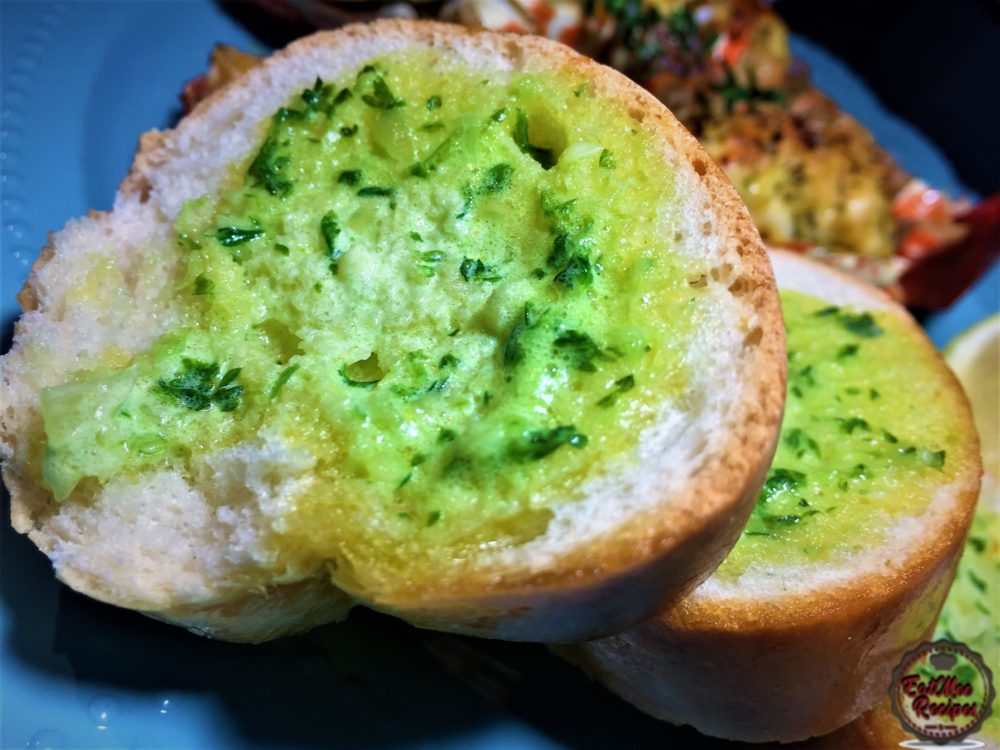
Serve this Crayfish Thermidor with buttery garlic bread & lemon wedges.
Best served immediately.
Follow along with Denisiya's step-by-step video guide for Crayfish Thermidor.
Expert kitchen guidance and troubleshooting for making the best Crayfish Thermidor
Absolutely! You can easily tailor the heat by increasing or reducing the chili powder and fresh chilies to suit your family’s palate without compromising the authentic flavor profile.
Yes, you can freeze Crayfish Thermidor in an airtight, freezer-safe container for up to 2 to 3 months. Thaw overnight in the refrigerator before gently reheating.
Reheat gently on the stovetop over low heat with a splash of water, or in the microwave covered with a damp paper towel to retain moisture.
Hi, I'm Denisiya! Food lover, recipe developer, and founder of EatMee Recipes. I specialize in authentic South African Durban Indian cuisine, comforting curries, and modern Instant Pot adaptations. Every recipe on this site is tested in my personal kitchen to ensure you get mouth-watering, foolproof results every time.
Explore more authentic Durban curries, traditional bakes, and comforting family favourites.
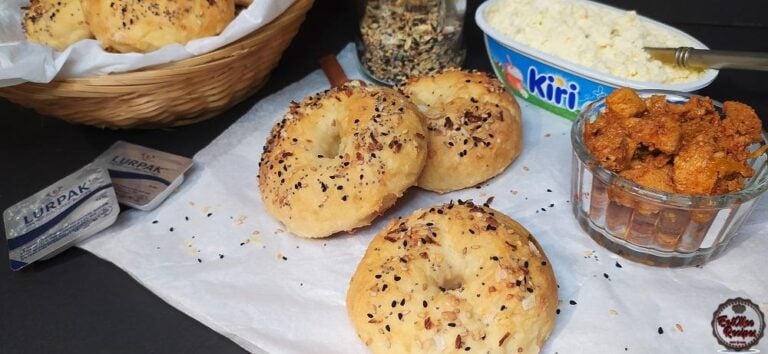 American Food
Bagels are something we South Africans watched on American television shows…it isn’t very ...
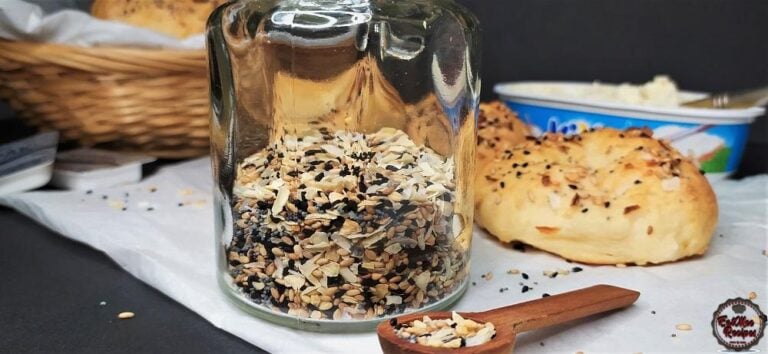 American Food
Being South African, I’ve never come across the famous Everything But The Bagel Seasoning ...
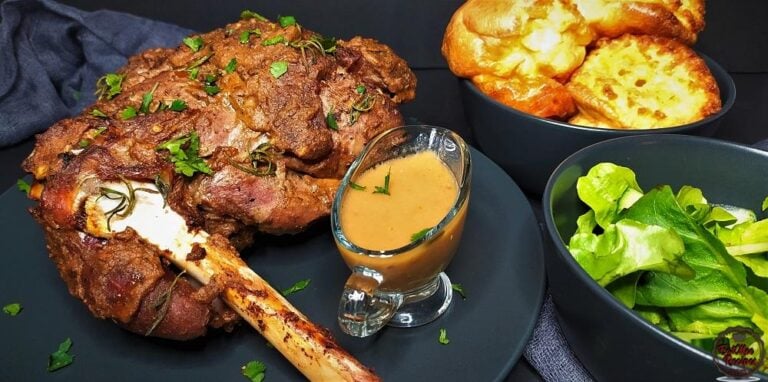 American Food
This Spiced Roast Leg Of Lamb is so delicious, once you try it, you will never go back to ...
Have you tried this recipe or have questions for Denisiya? Join the conversation below.
No comments yet. Be the first to share your thoughts on this recipe!
Leave a Comment
Your email address will not be published. Required fields are marked *