
We Value Your Culinary Privacy
EatMee Recipes uses cookies to provide a personalized browsing experience, analyze recipe popularity, and serve relevant ads. You can review our full disclosure in our Privacy Policy.
Make authentic Coconut Coated Lamingtons with this foolproof recipe. Packed with rich traditional flavor, step-by-step photos, and cooking tips by Denisiya on EatMee Recipes.

Join over 60,000+ home chefs for weekly authentic Durban Indian cook-alongs, Instant Pot masterclasses, and family heritage recipes.
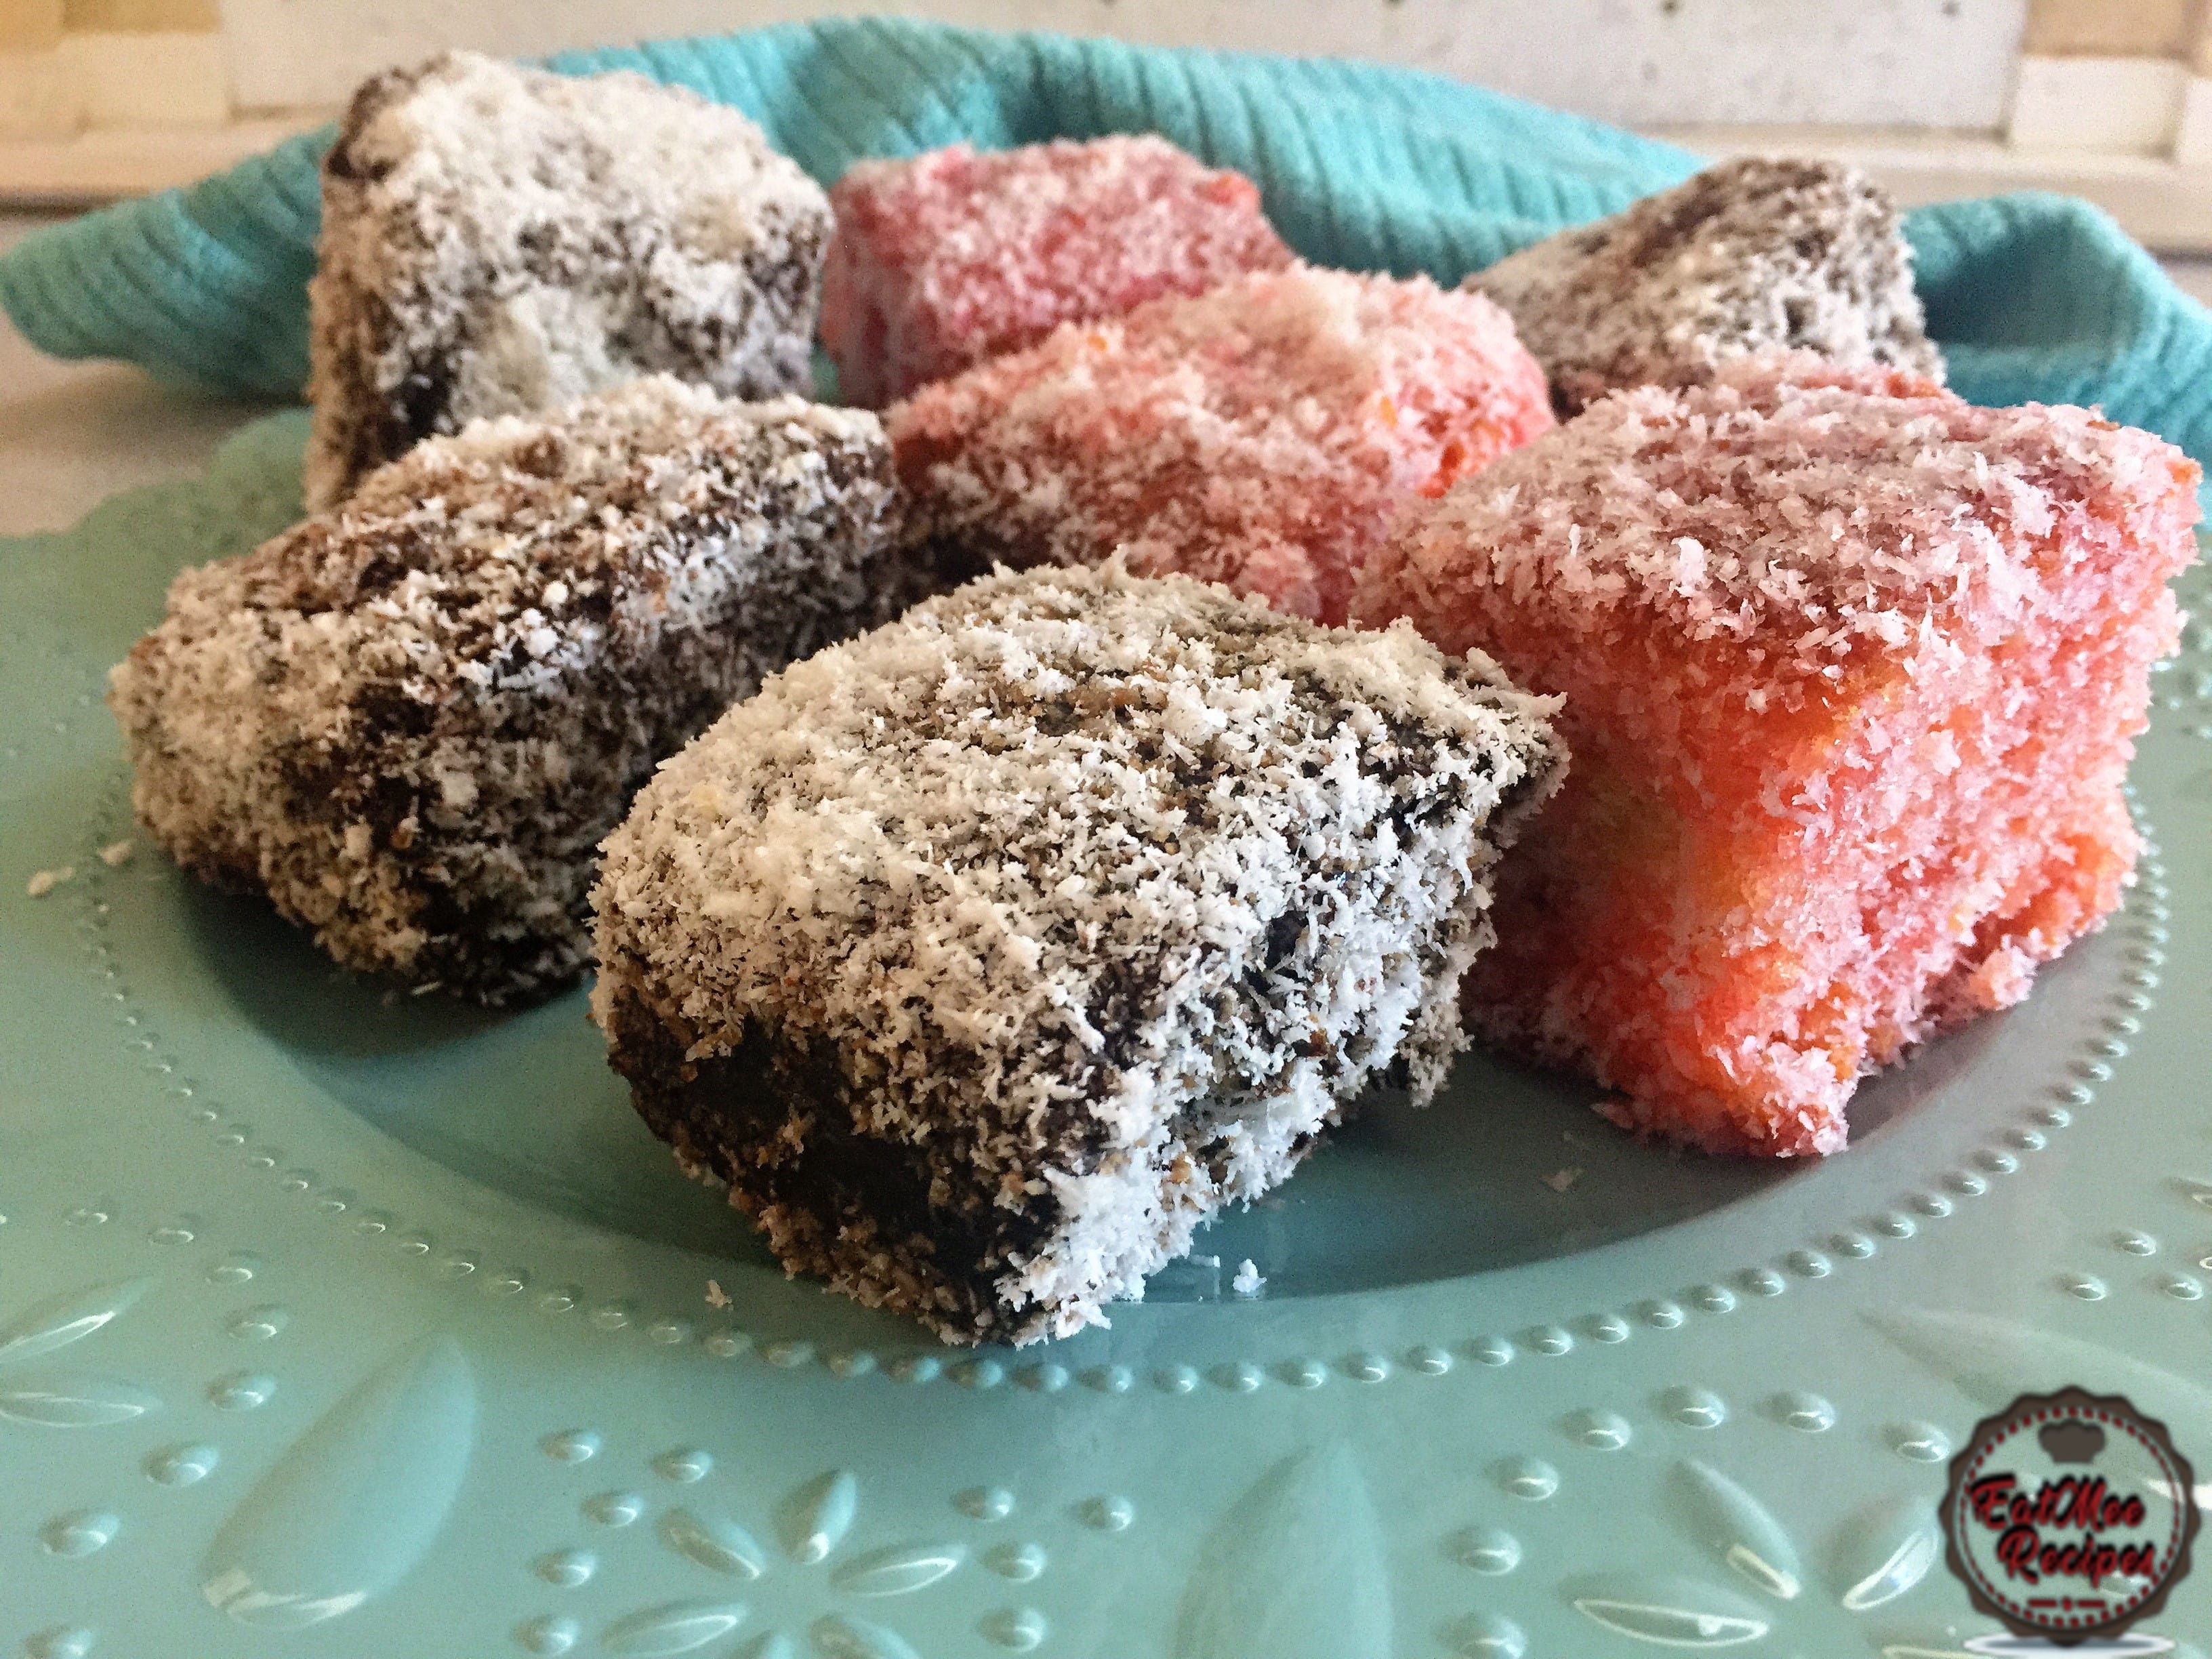
Coconut Coated Lamingtons were originated in Australia. It is a sponge or butter cake, covered in either a pink syrup or a chocolate syrup & then tossed into desiccated coconut,
These Coconut Coated Lamingtons are great for tea time snacks, events or just as a simple dessert for any occasion.
Most people prefer either just the pink syrup or chocolate syrup, I am a fan of both so below I have both syrup recipes.
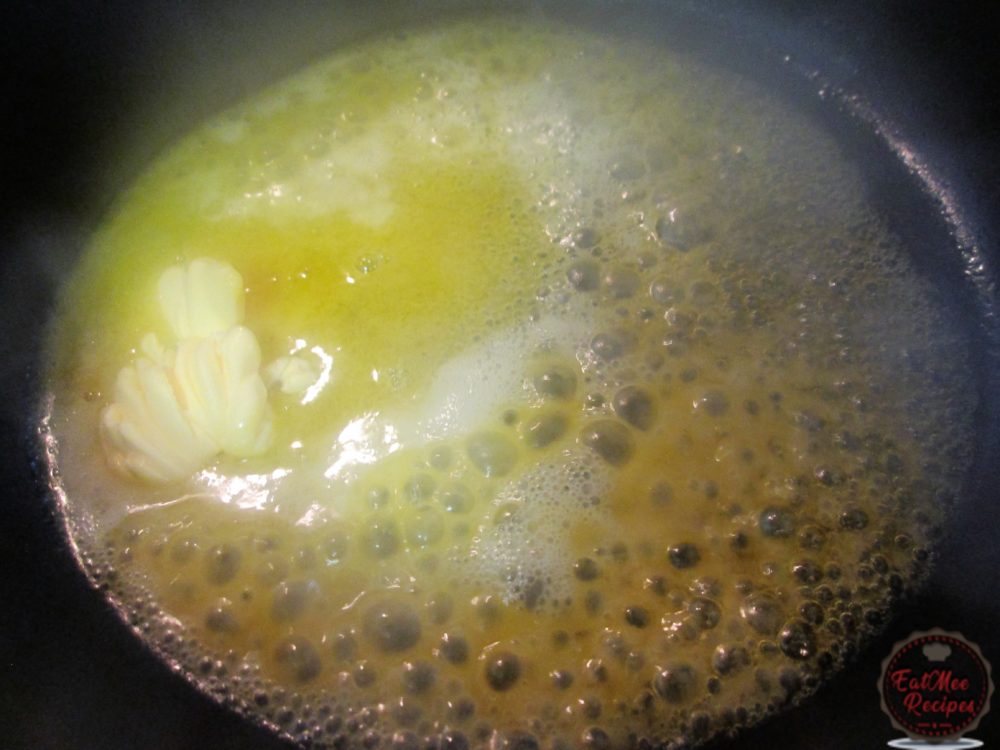
Firstly, prepare the chocolate syrup. Add the butter to a pot or saucepan & allow to melt on medium heat.
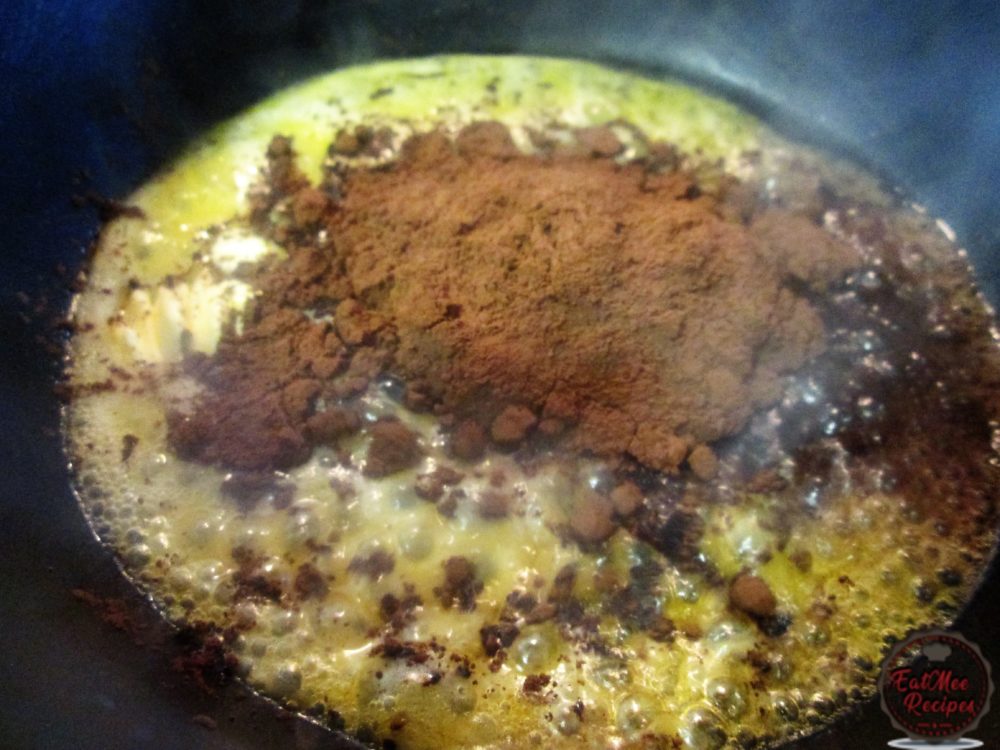
Next, add in the cocoa powder.
Add in the icing sugar & the milk.
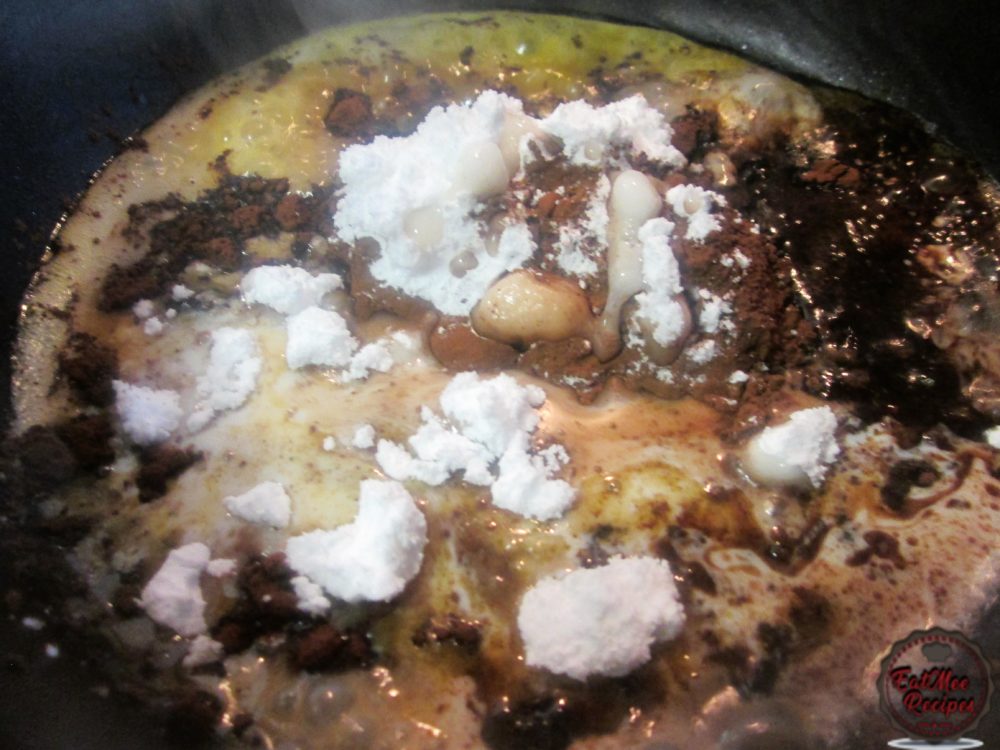
Mix well until combined. Lower the heat & stir continuously until the syrup thickens. Turn off heat & set aside.
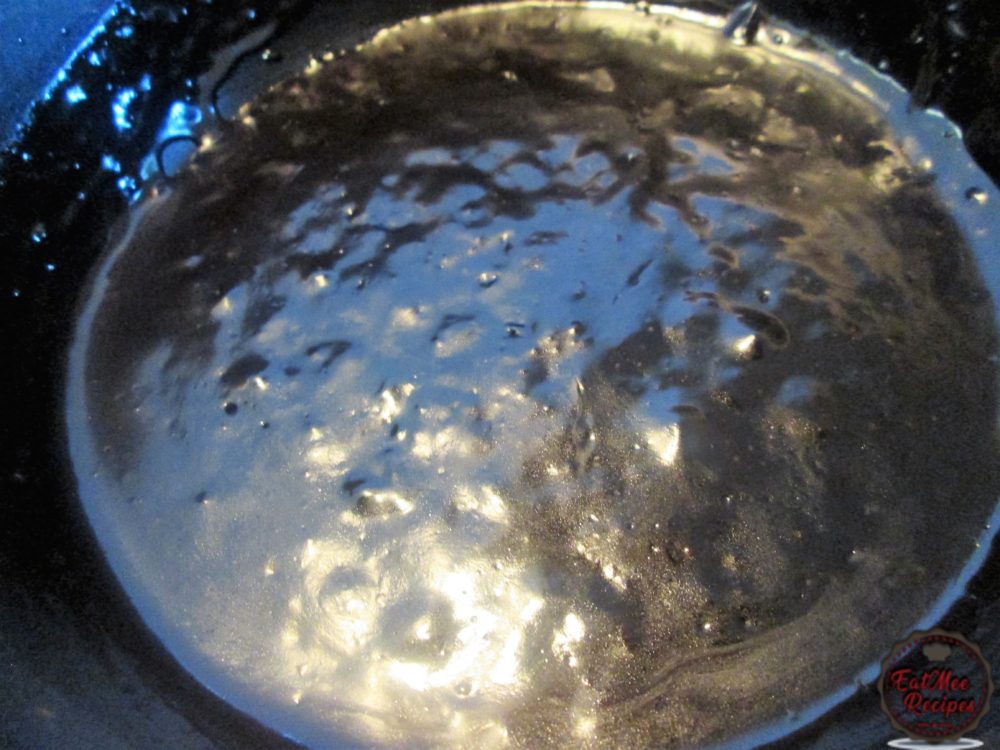
Next, prepare the pink syrup. Add the water & sugar to a pot or saucepan on medium heat.
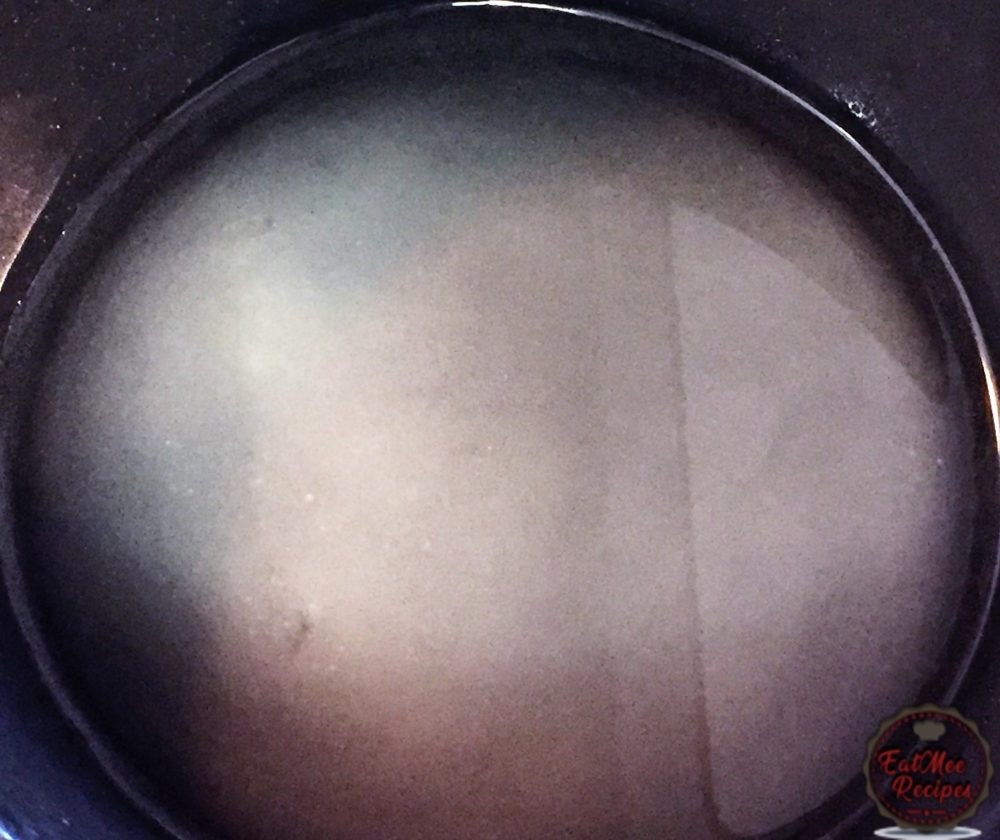
Stir until sugar dissolves & then bring the mixture to a boil for 10 minutes.
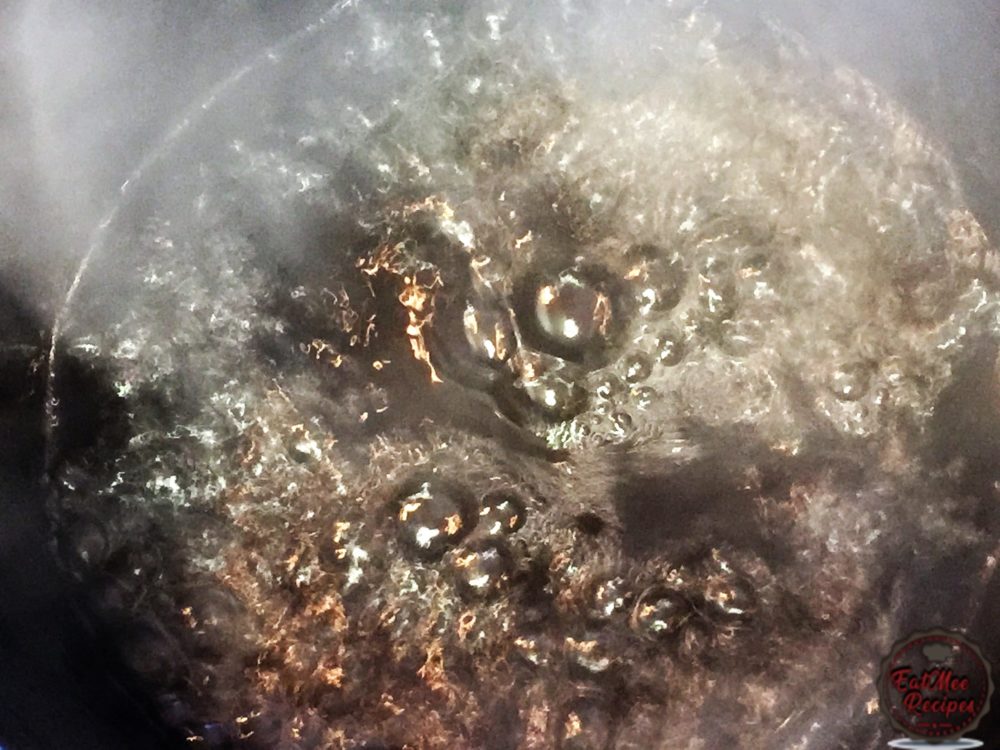
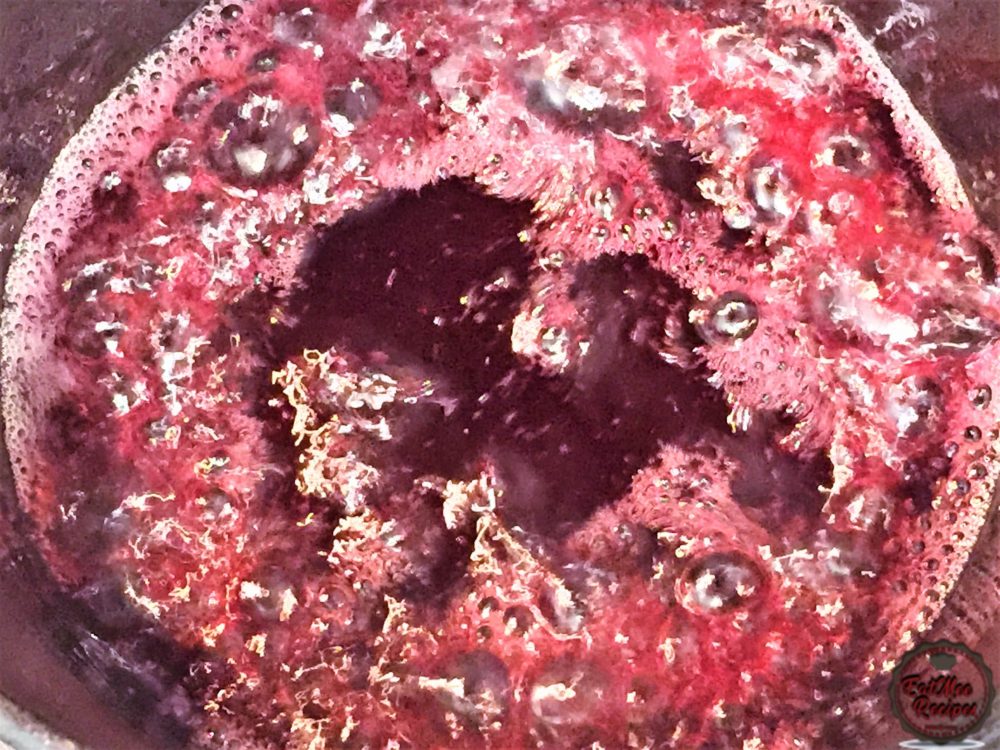
Once the mixture is done boiling for 10 minutes, it should be slightly thicker. Turn off the heat & add in the rose water & the pink food colouring. Stir & set aside.
Preheat oven to 180° Celsius or 356° Fahrenheit.
Prepare the cake batter by firstly adding the butter to a mixing bowl.
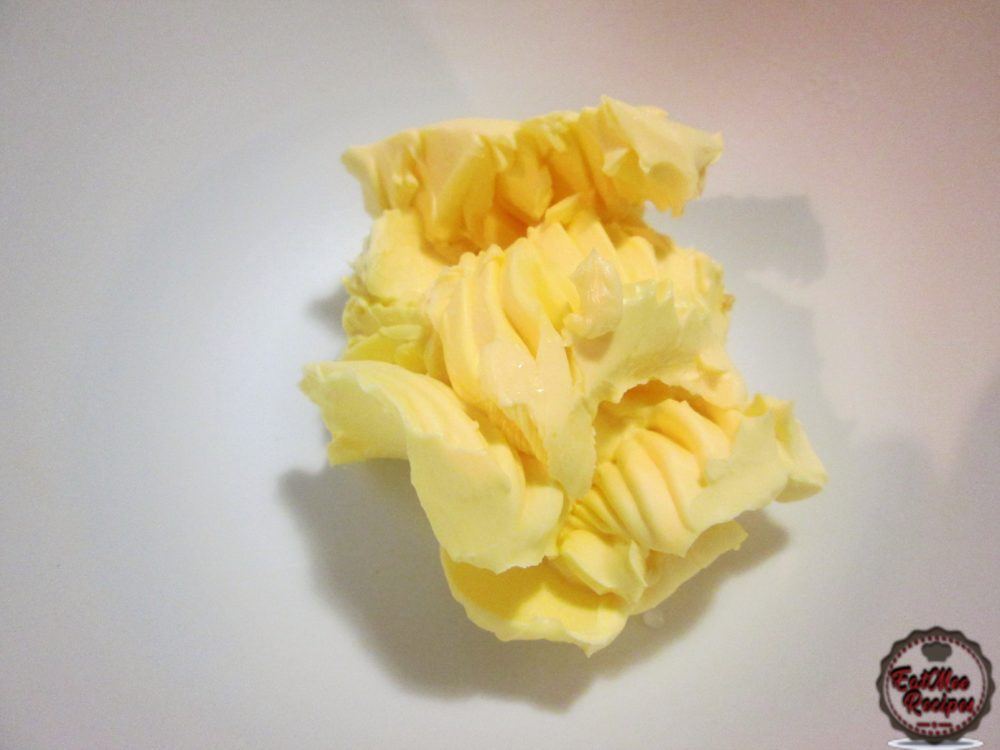
Next, add in the castor sugar.
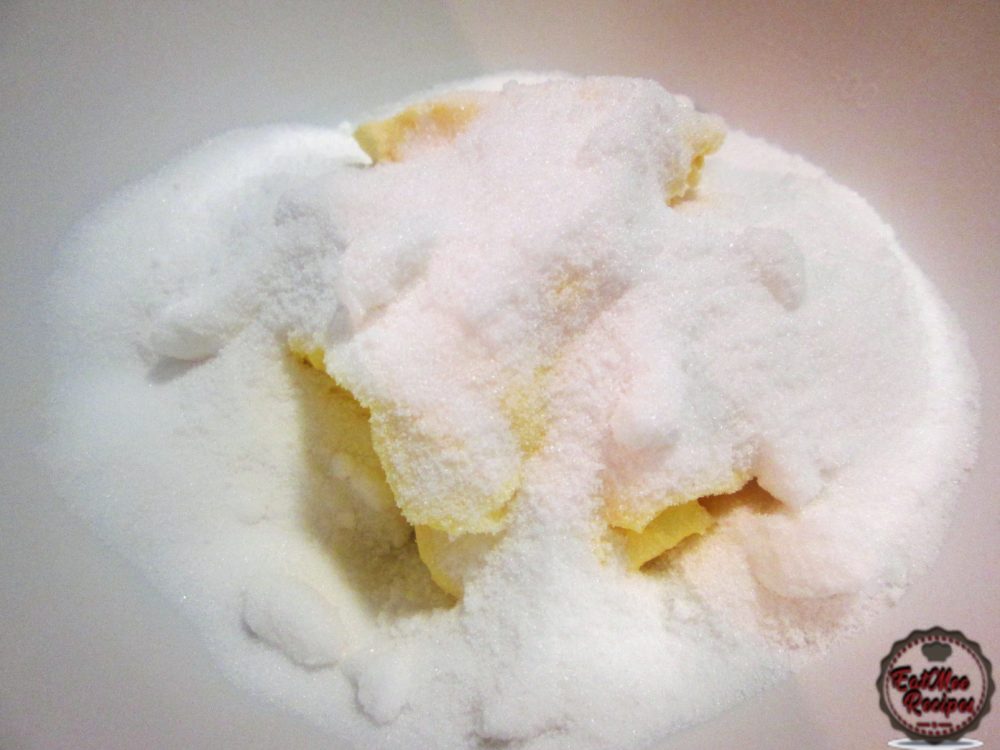
Cream the butter & the castor sugar using either a hand mixer or a wooden spoon.
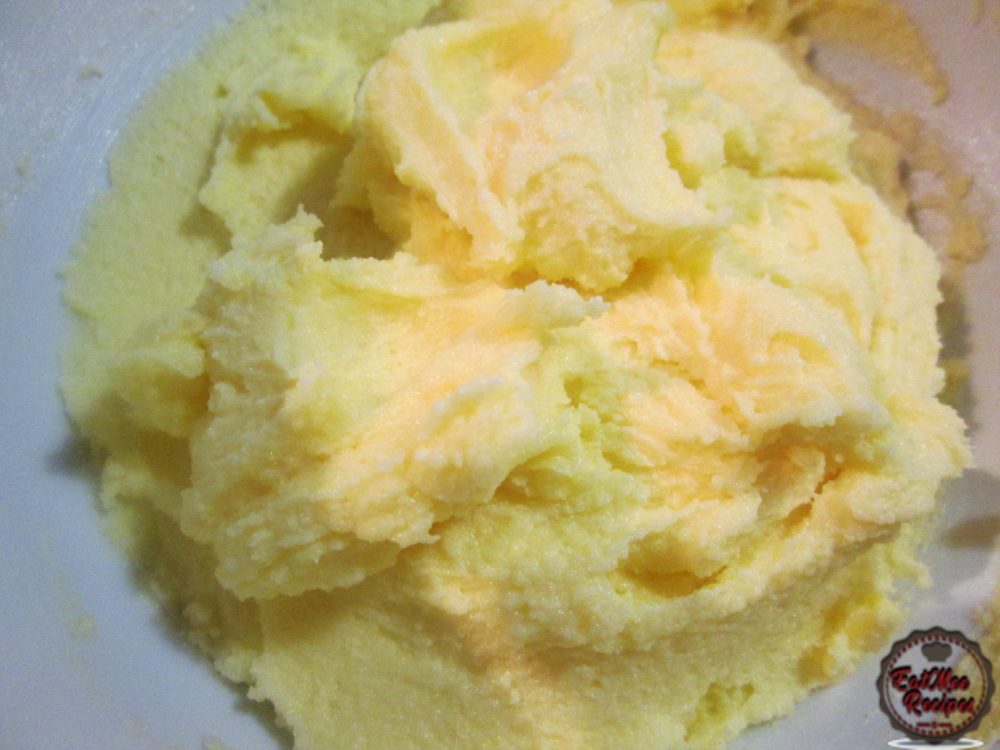
Crack in one egg.
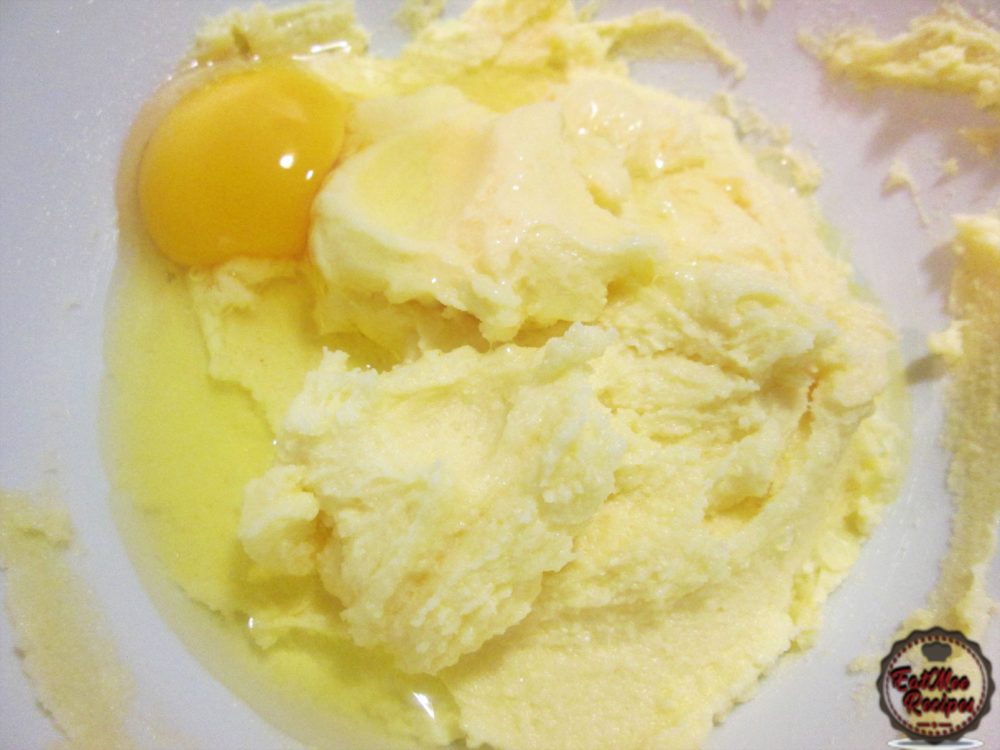
Mix until combined.
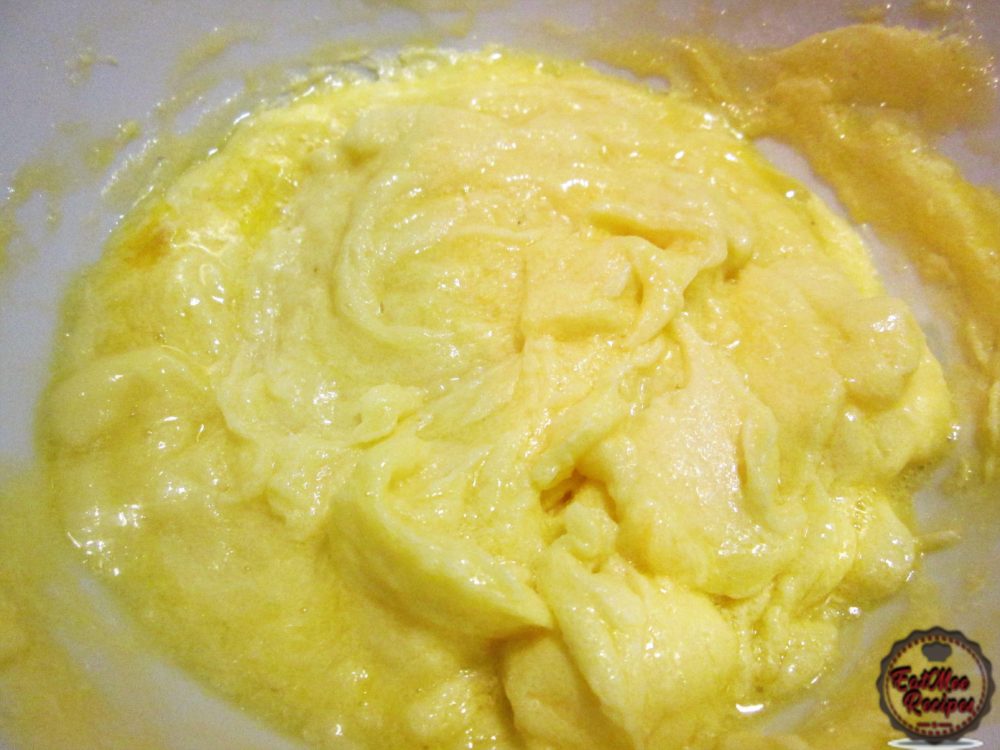
Crack in the other egg.
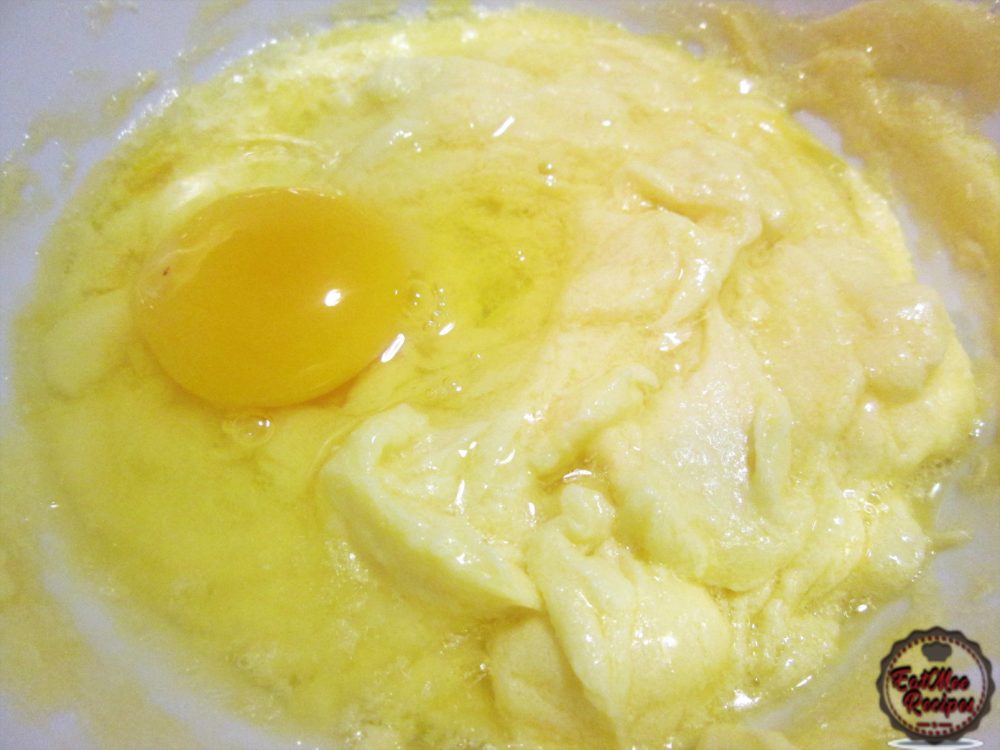
Mix until combined.
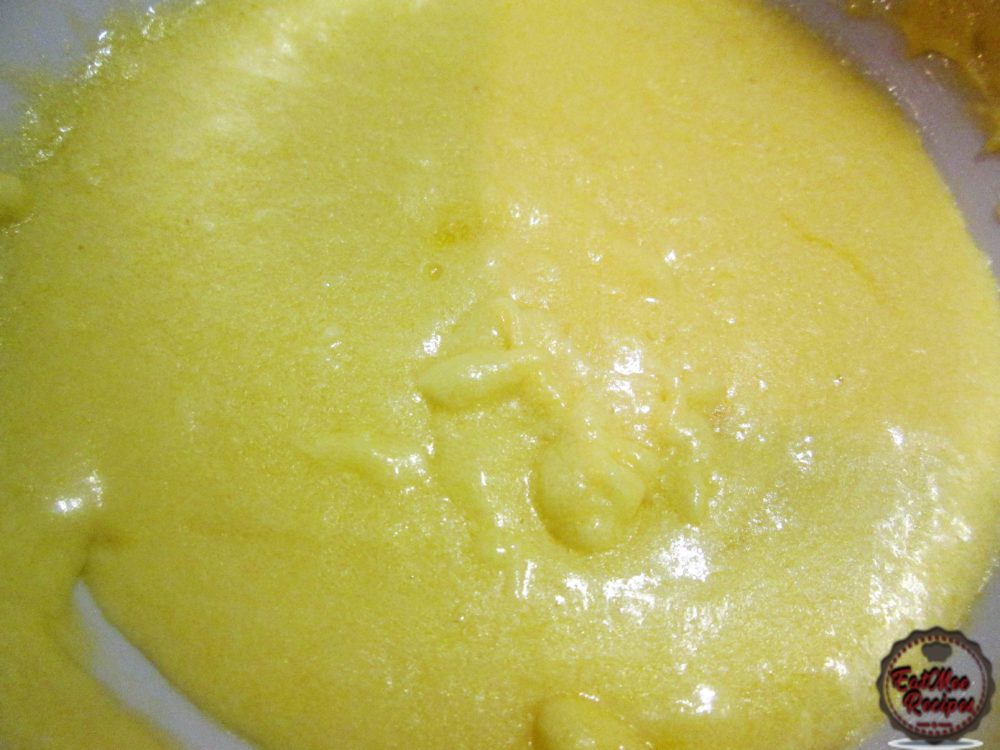
Add in the all purpose flour, baking powder, bicarbonate of soda & the salt.
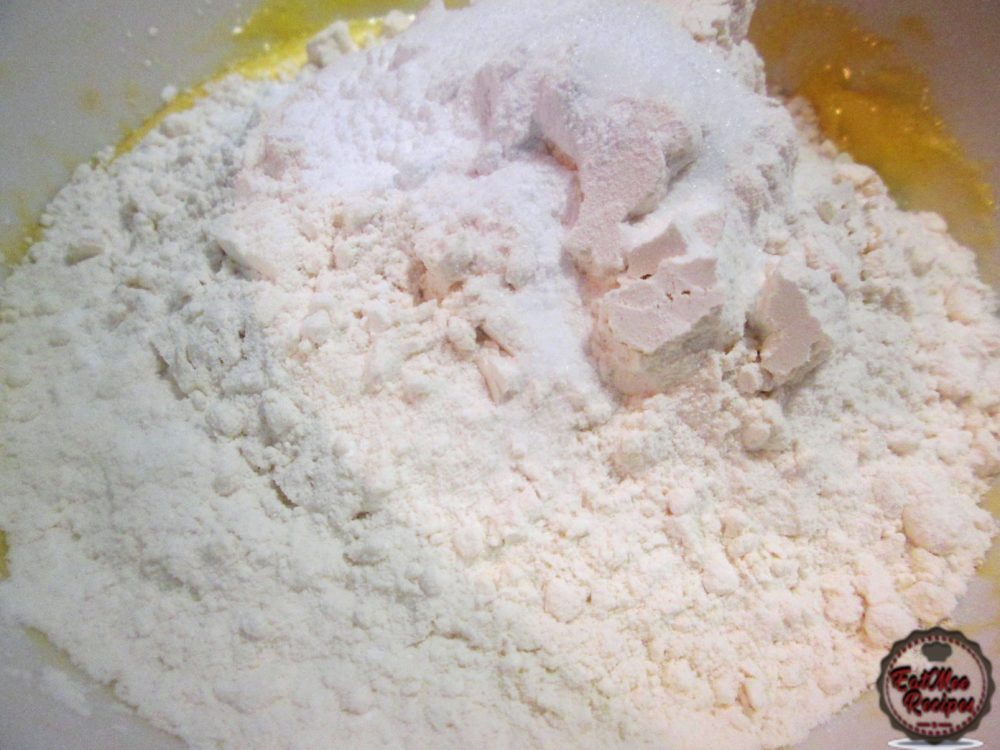
Lightly fold together until somewhat combined – do not over mix.
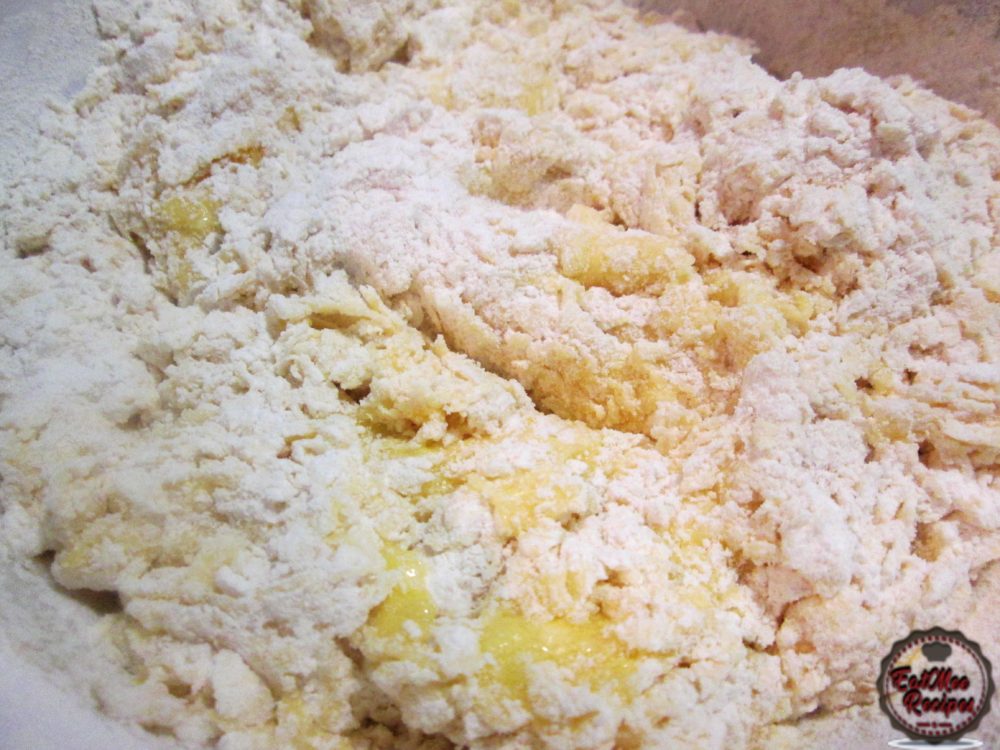
Thereafter, add in the vegetable oil, vanilla essence & the milk.
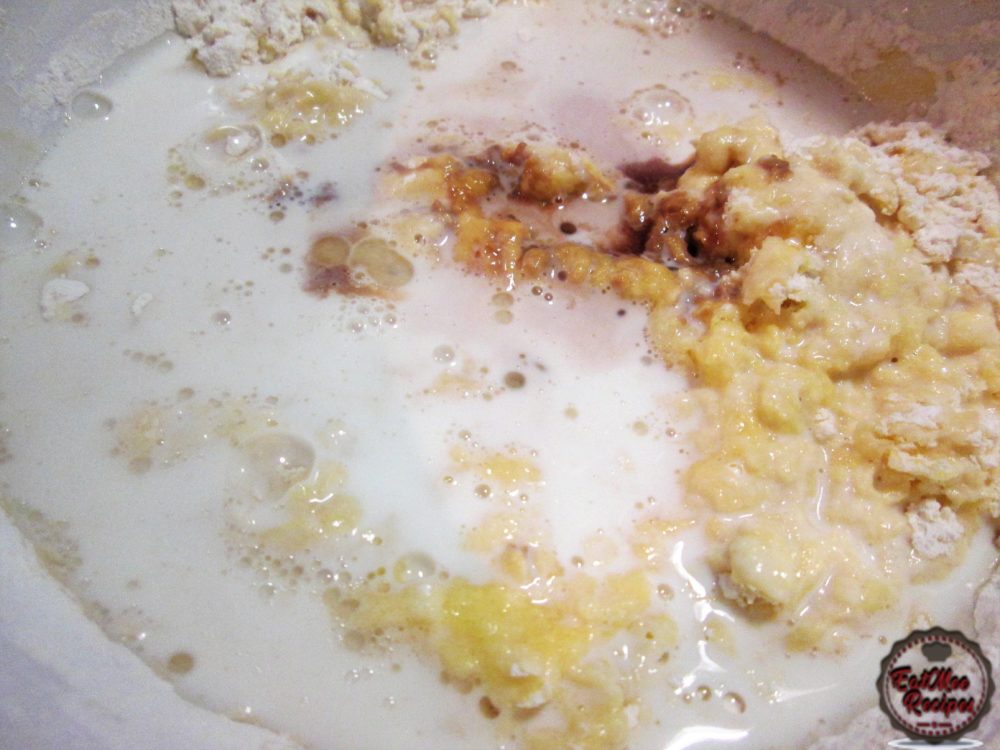
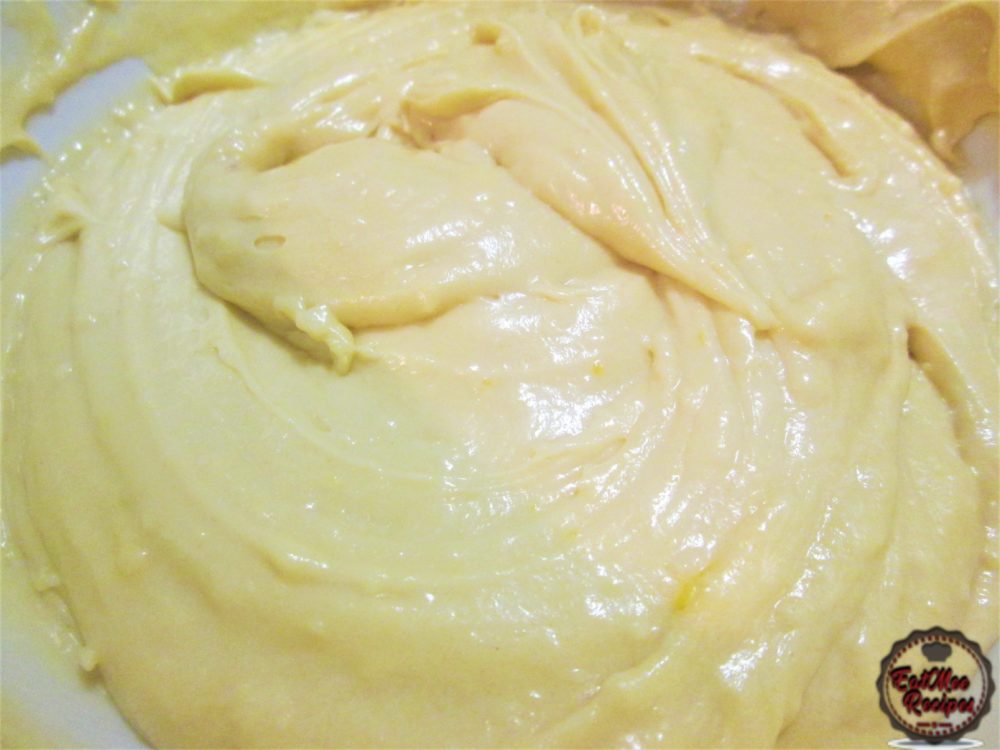
Mix until all the ingredients are combined & forms a cake batter without over mixing.
Prepare a baking tin by greasing it with a little spray & bake or butter.
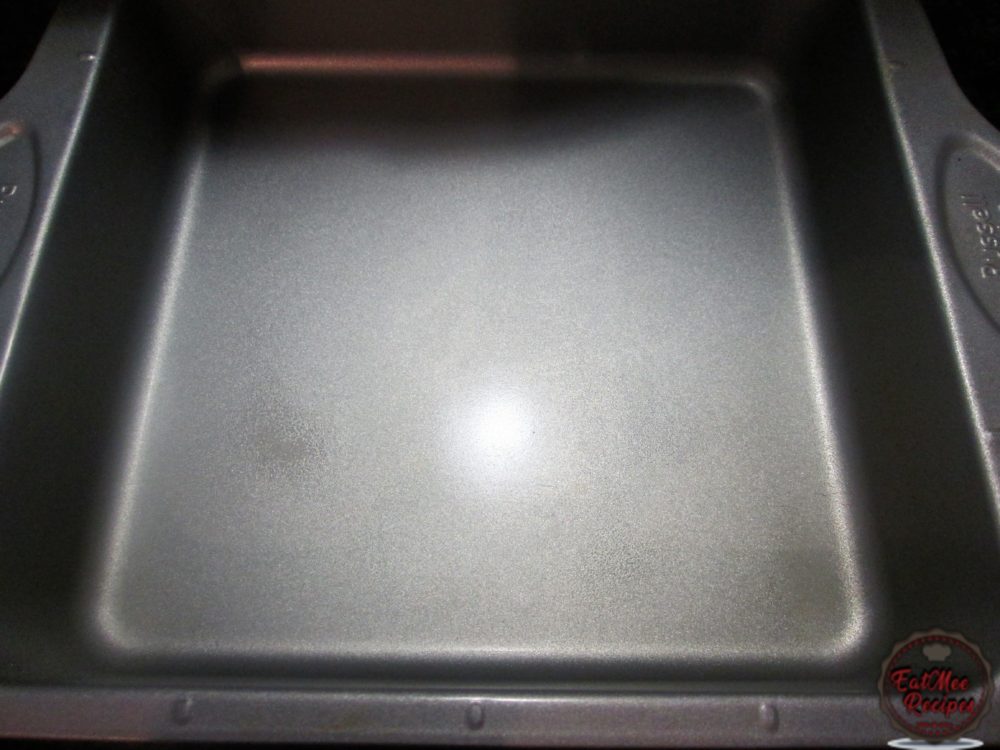
Next, pour the cake batter into the prepared baking tin.
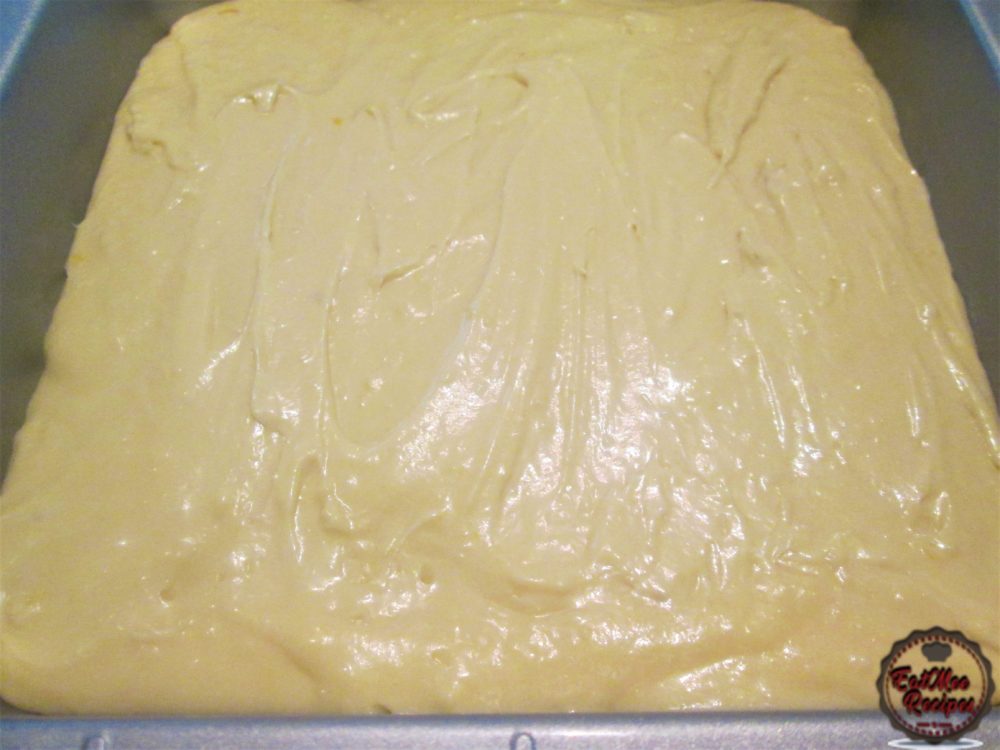
Bake for 30-35 minute at 180° Celsius or 356° Fahrenheit.
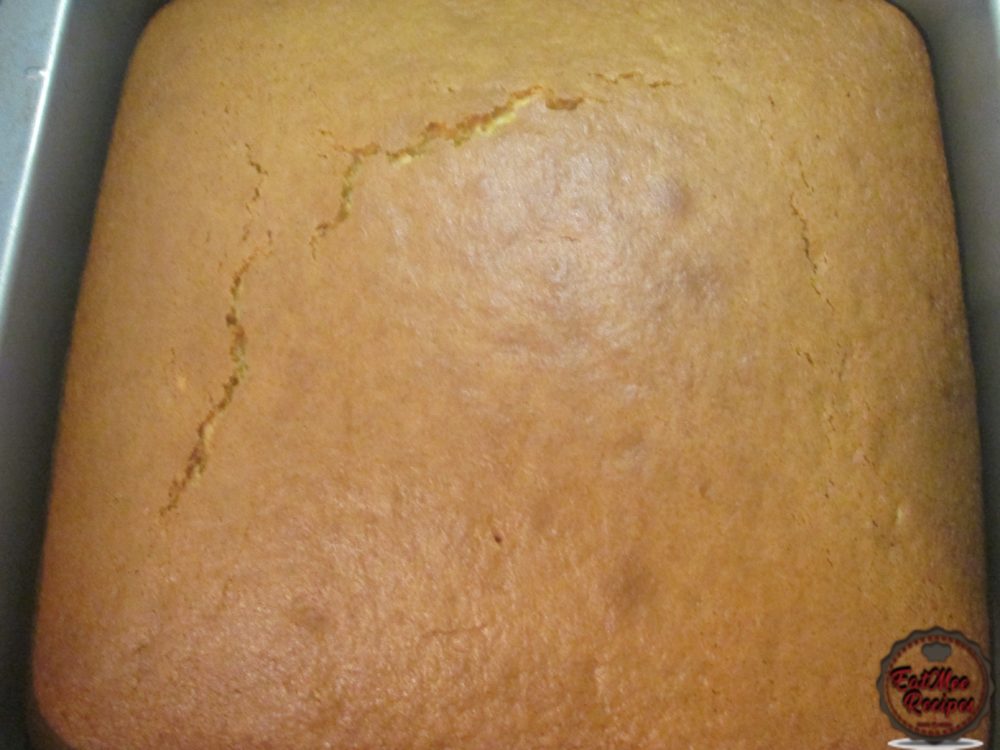
Allow the cake to cool before removing it from the baking tin. Once cooled, place onto a board.
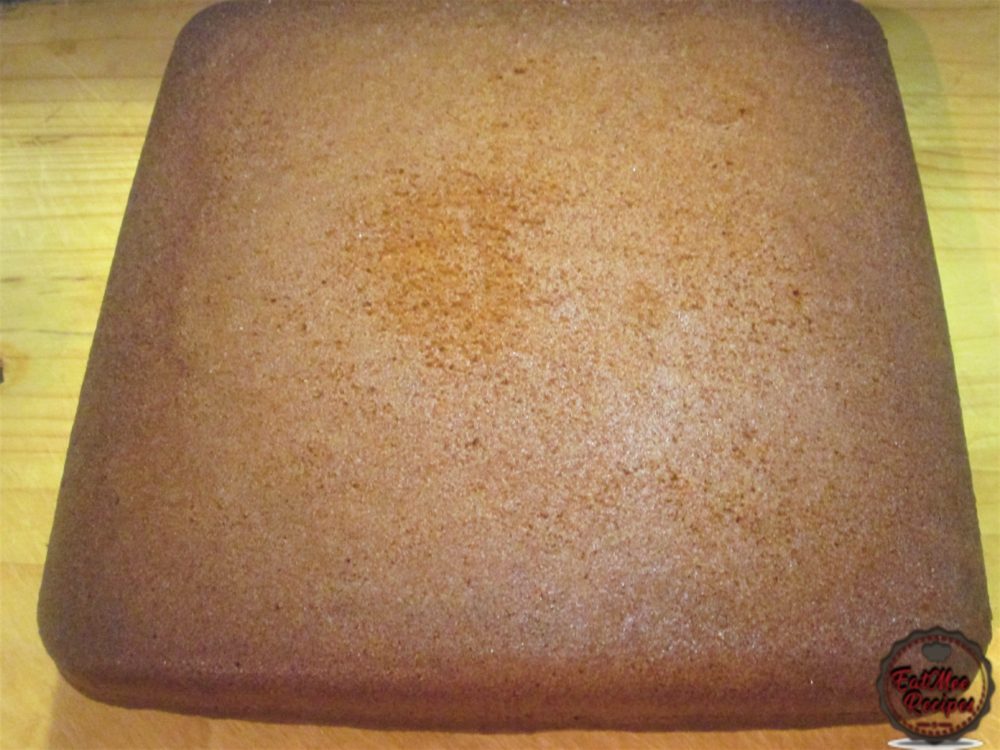
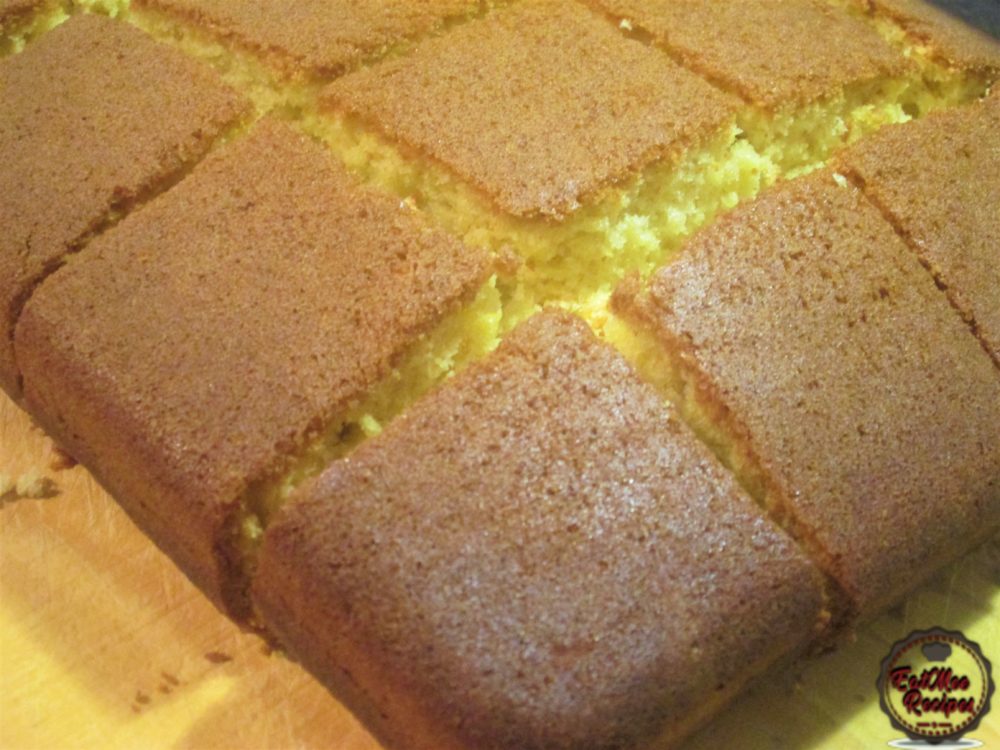
Using a big knife, carefully cut the cake vertically into long strips.
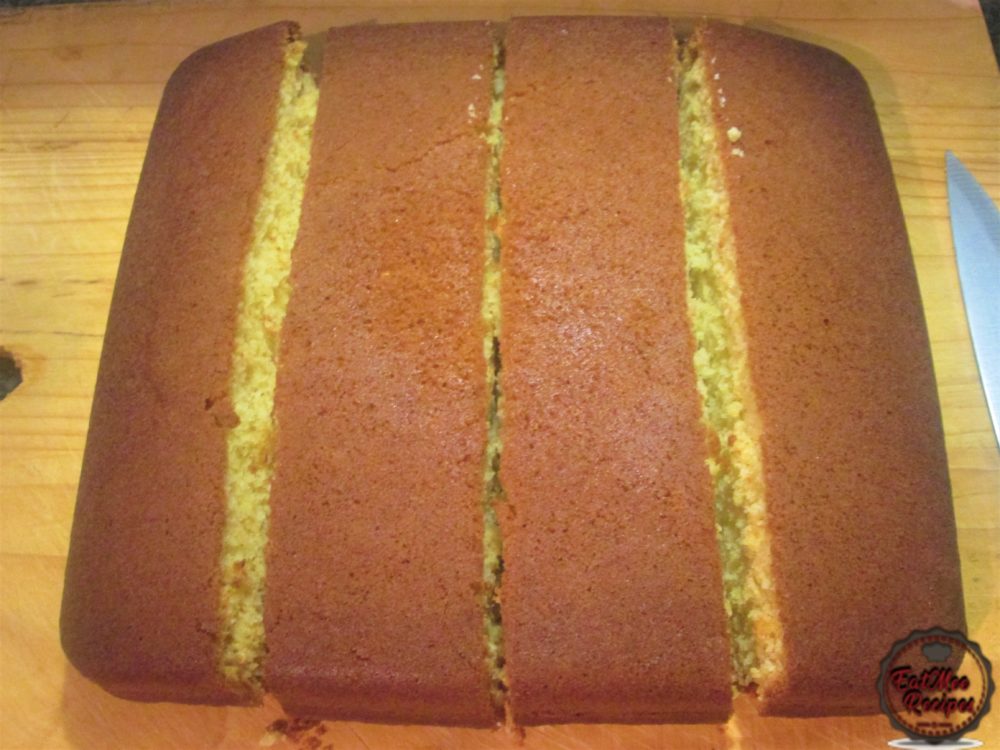
Then, cut it horizontally to create small squares.
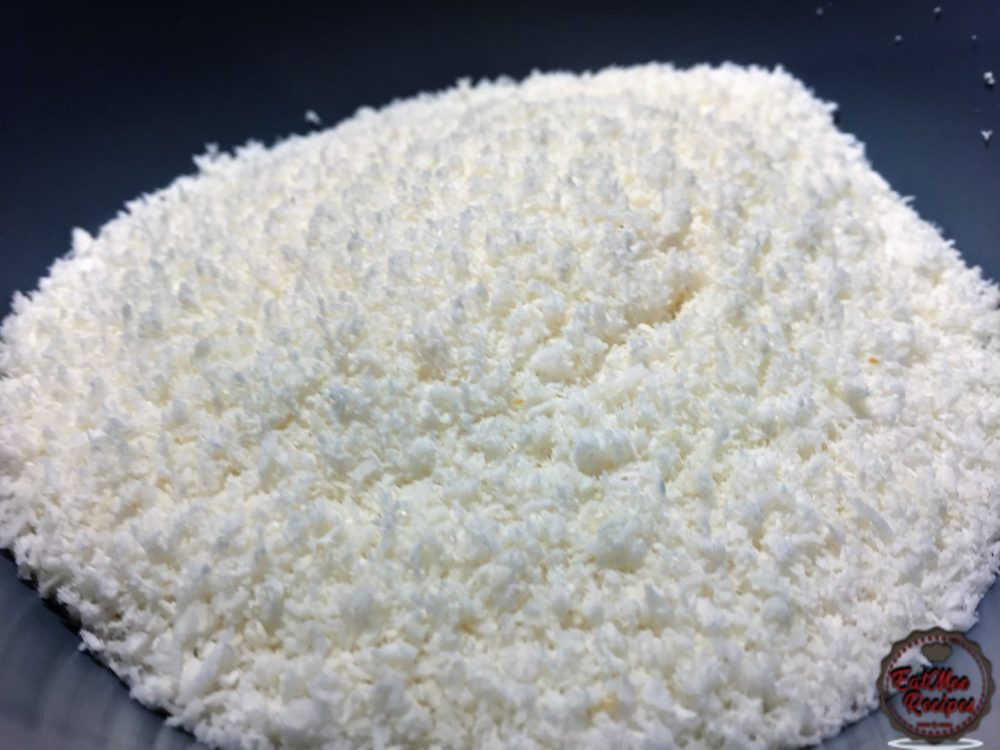
Add some dessicated coconut to a bowl.
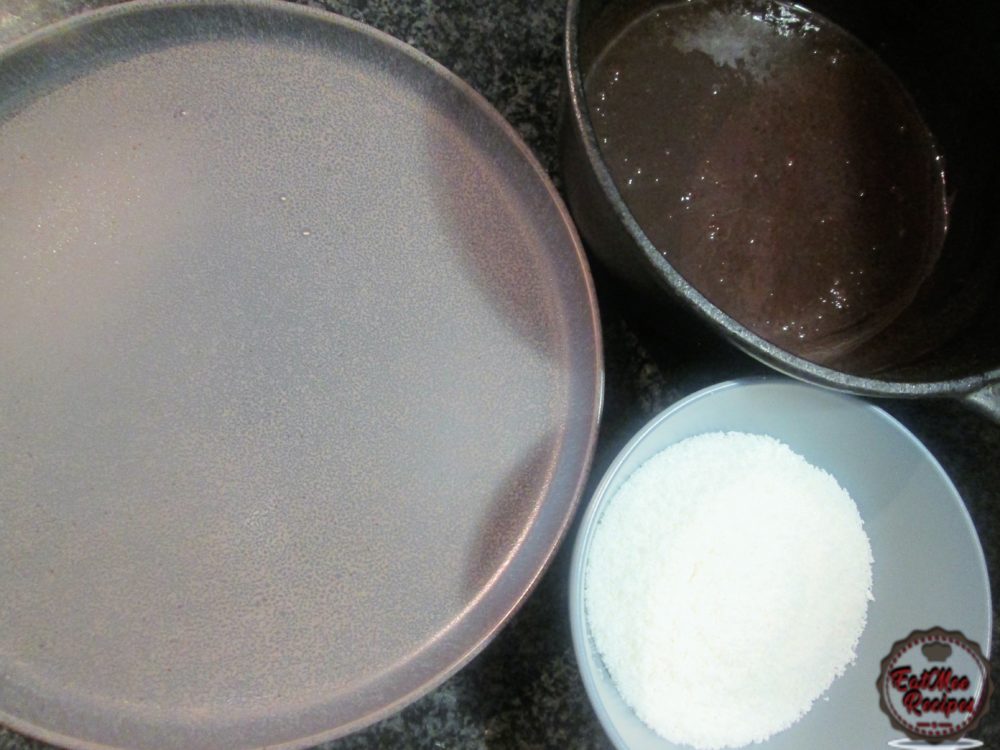
Prep the dessicated coconut, the chocolate syrup & a plate on your working station.
Pierce a fork through one of the cake squares or you may simply use your hands for this process & dunk the cake into the chocolate syrup.
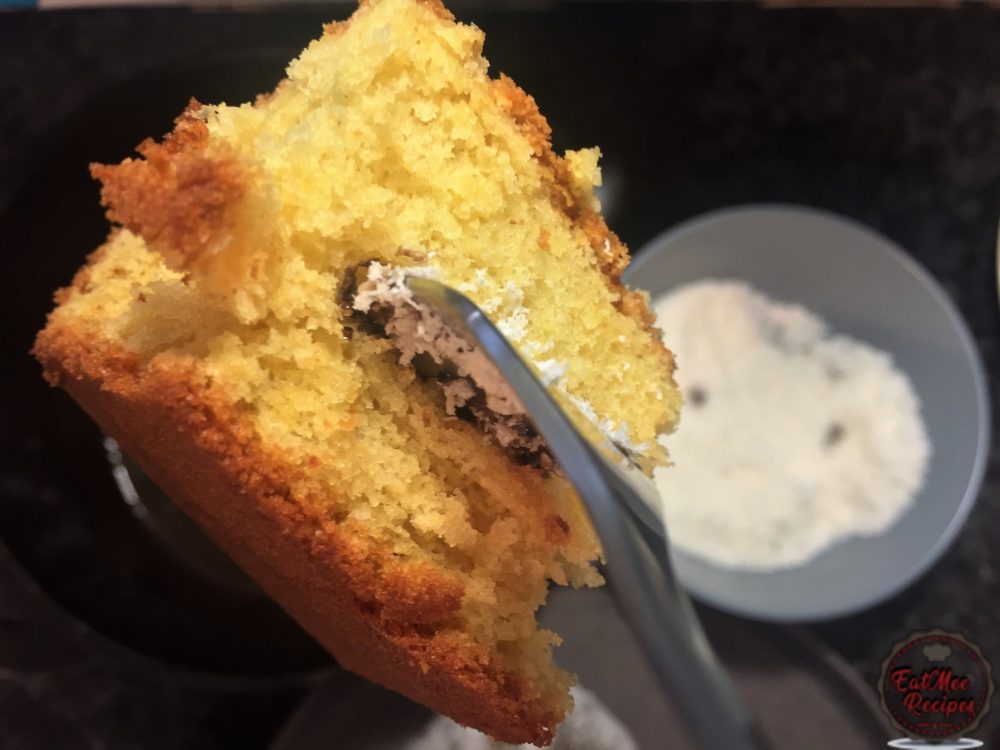
Thereafter, dunk the chocolate coated cake into the dessicated coconut, covering it on all sides.
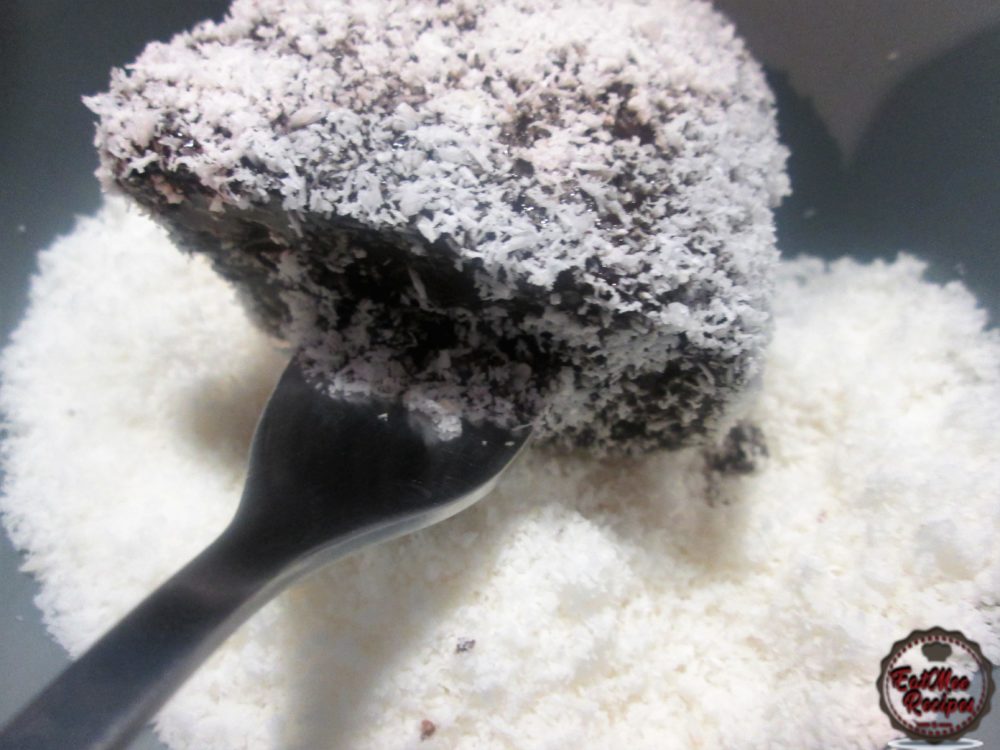
Set aside on a plate & continue the same process for half of the cake to coat in chocolate syrup or you can double the chocolate syrup recipe & coat all the cake in chocolate if you do not want to make the pink coated lamingtons.
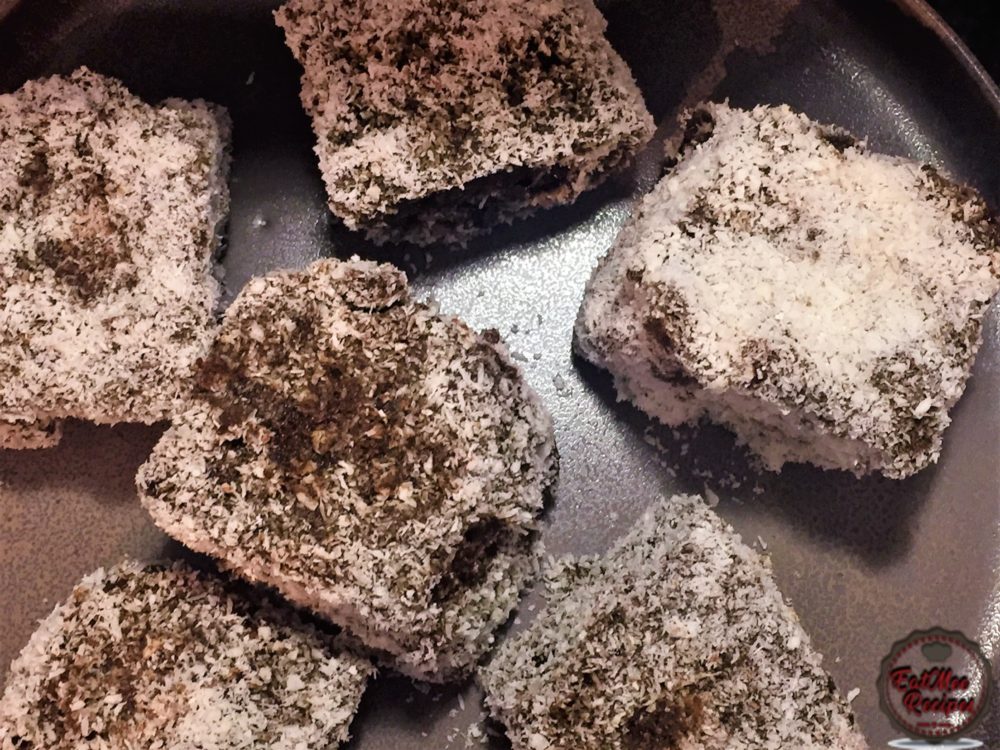
Next, it’s time to make the pink lamingtons. Prep the pink syrup, the dessicated coconut & a plate on your working station.
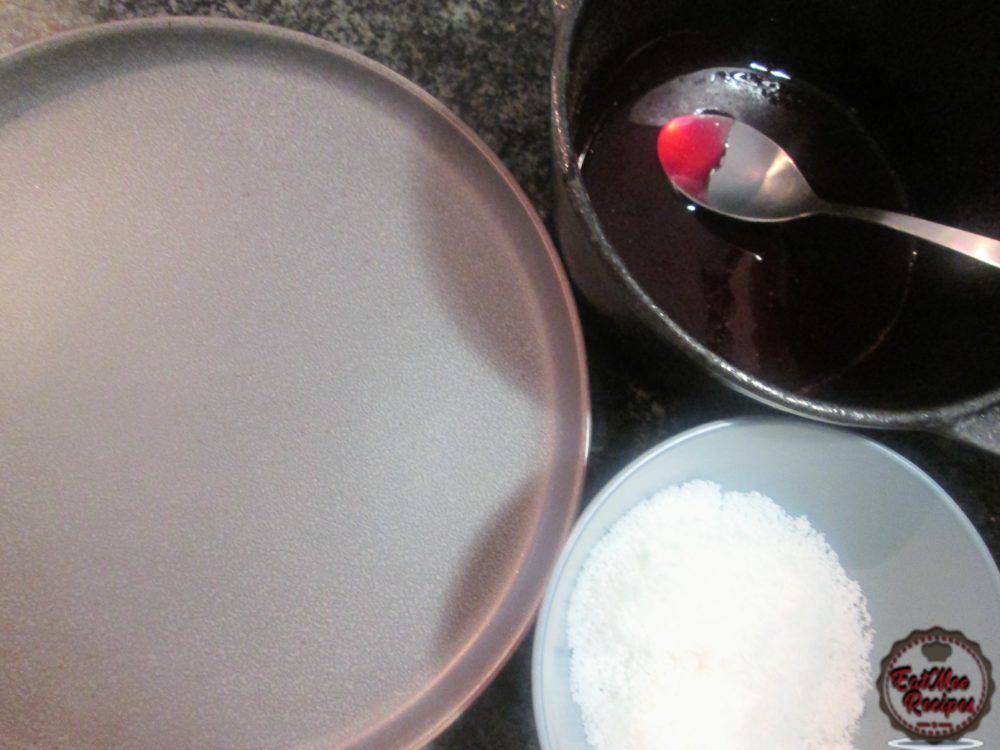
Pierce a fork through one of the cake squares or you may simply use your hands for this process & dunk the cake into the pink syrup.
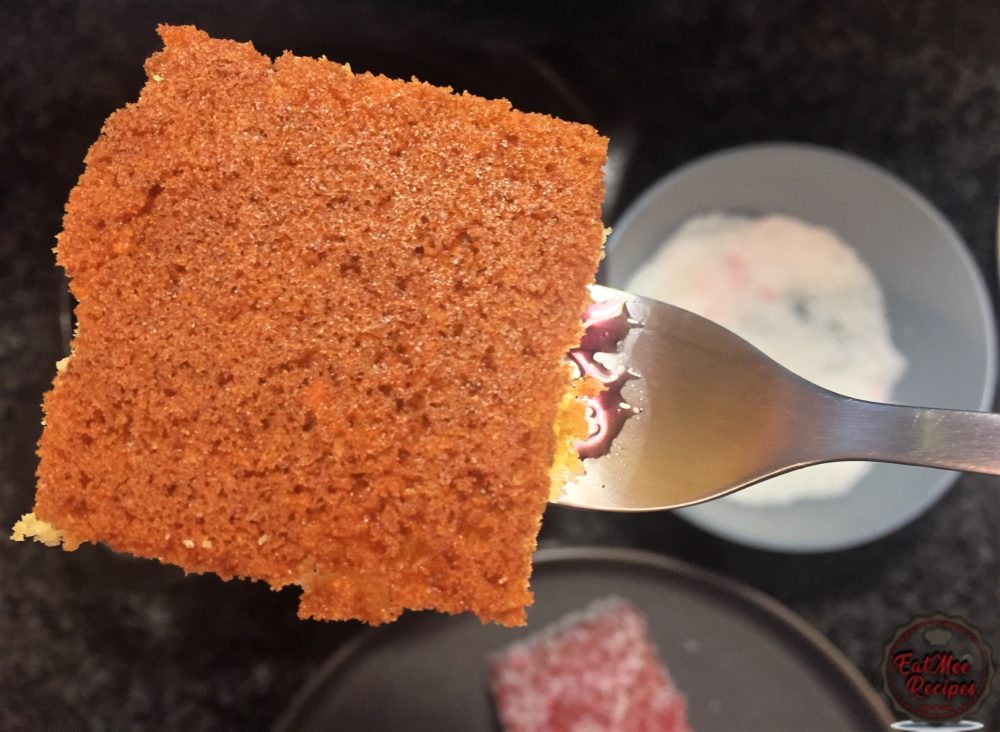
Set aside on a plate & continue the same process for the remaining cake to coat in pink syrup or you can double the pink syrup recipe & coat all the cake in pink if you do not want to make the chocolate coated lamingtons.
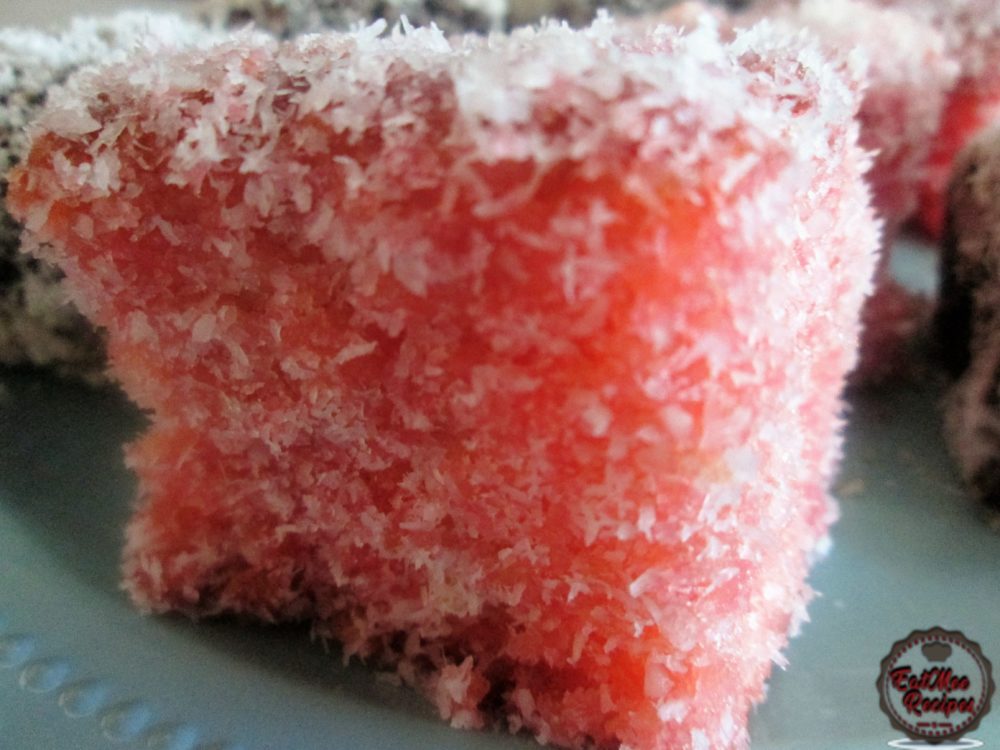
Plate & serve this delicious Coconut Coated Lamingtons with a glass of milk or a beverage of your choice.
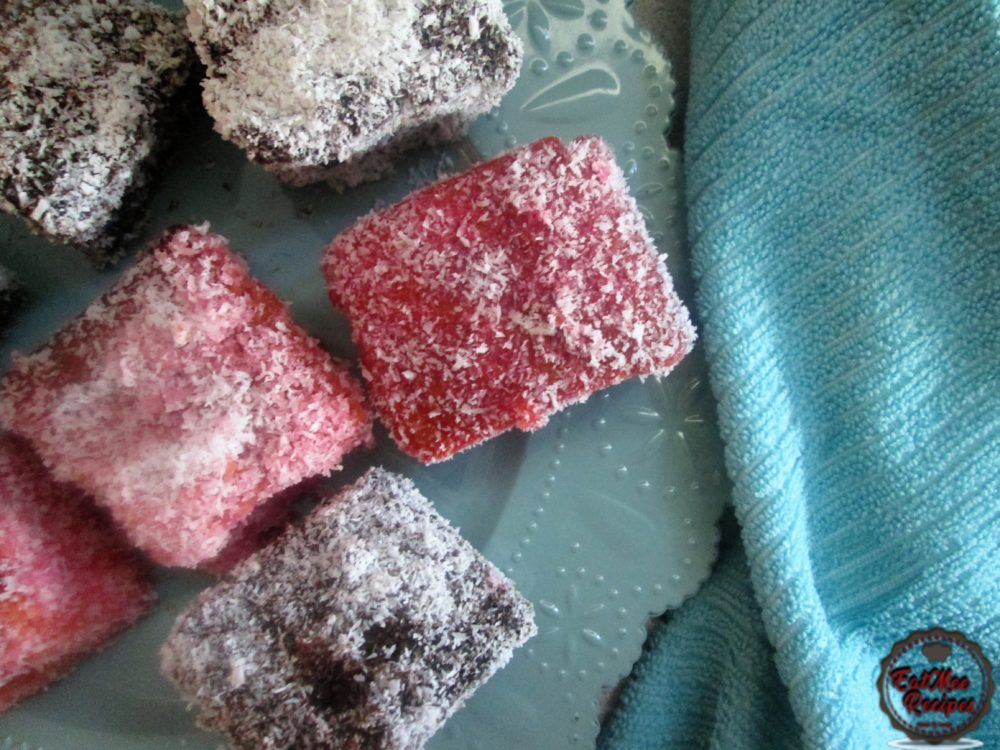
Store this Coconut Coated Lamingtons in an airtight container in a cool place for up to 1 week.
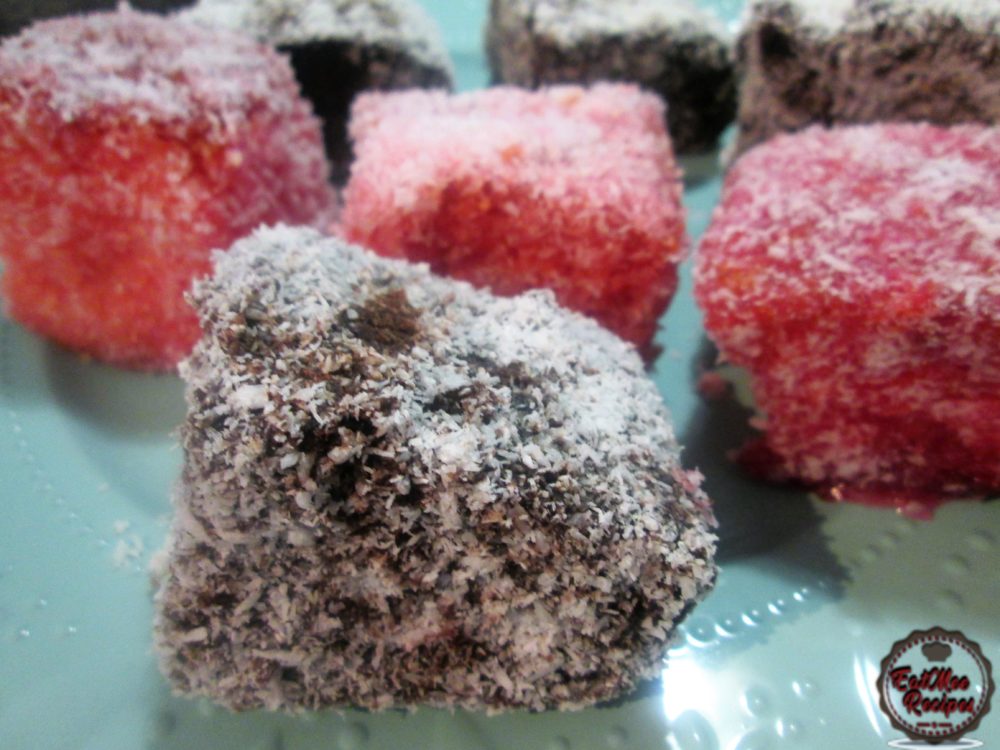
Follow along with Denisiya's step-by-step video guide for Coconut Coated Lamingtons.
Expert kitchen guidance and troubleshooting for making the best Coconut Coated Lamingtons
Store in an airtight container at room temperature for up to 1 to 2 weeks. For milk-based sweetmeats like burfee or soji, refrigerate in an airtight container for up to 7 to 10 days.
Pure butter or ghee provides the authentic rich aroma and texture characteristic of traditional Indian sweetmeats and bakes. Margarine can be used in a pinch, but butter delivers superior flavor.
Hi, I'm Denisiya! Food lover, recipe developer, and founder of EatMee Recipes. I specialize in authentic South African Durban Indian cuisine, comforting curries, and modern Instant Pot adaptations. Every recipe on this site is tested in my personal kitchen to ensure you get mouth-watering, foolproof results every time.
Explore more authentic Durban curries, traditional bakes, and comforting family favourites.
 Desserts
If you love traditional South African sweet rice but want an easier, hands-off method, thi...
 Desserts
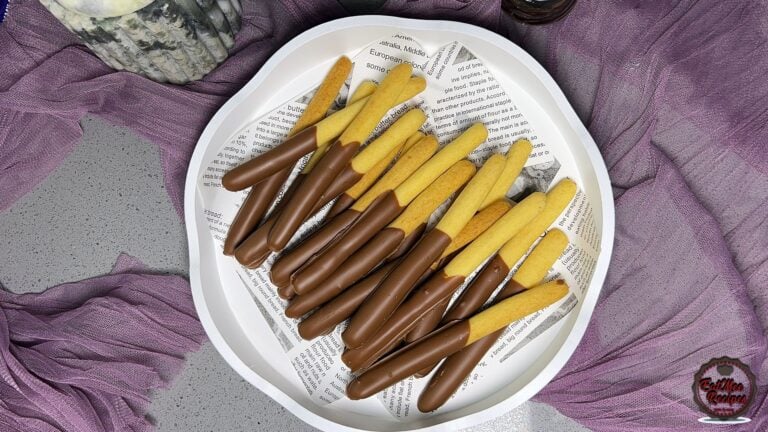
Light, crisp, and delicately sweet biscuit sticks dipped in chocolate
 Desserts
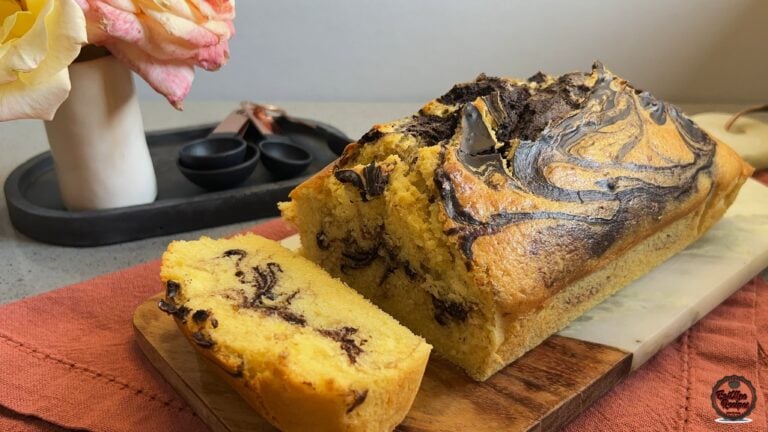
There’s something comforting about a marble loaf cake fresh from the oven, especially when...
Have you tried this recipe or have questions for Denisiya? Join the conversation below.
No comments yet. Be the first to share your thoughts on this recipe!
Leave a Comment
Your email address will not be published. Required fields are marked *