
We Value Your Culinary Privacy
EatMee Recipes uses cookies to provide a personalized browsing experience, analyze recipe popularity, and serve relevant ads. You can review our full disclosure in our Privacy Policy.
Make authentic Chicken Tikka Pizza In Electric Pan with this foolproof recipe. Packed with rich traditional flavor, step-by-step photos, and cooking tips by Denisiya on EatMee Recipes.

Join over 60,000+ home chefs for weekly authentic Durban Indian cook-alongs, Instant Pot masterclasses, and family heritage recipes.
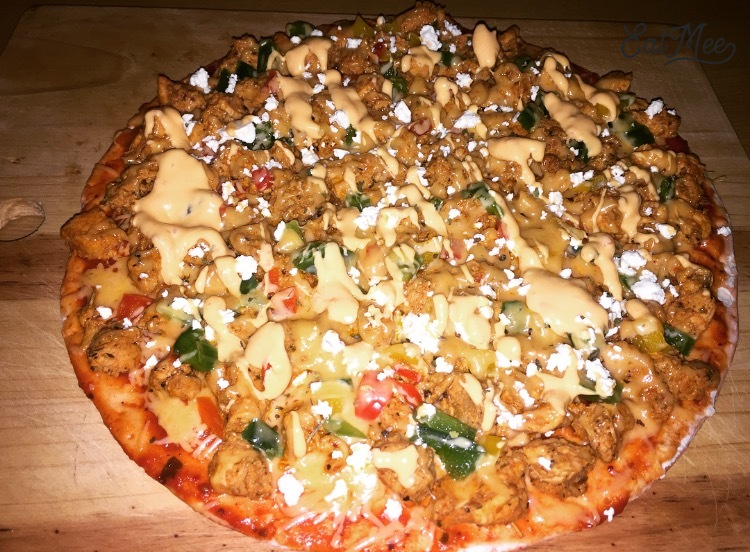
Chicken Tikka Pizza in electric pan is one of the quickest & easiest ways of cooking a pizza. The electric pan is non-stick & so much easier to clean out afterwards. It cooks the pizza in under 10 minutes.
If you do not have an electric pan, the oven will do. But I highly recommend that you invest in one of these electric pans. It’s great for other dishes as well.
There are a variety of toppings that may be used, but my favourite has got to be chicken tikka topping as it is a bit spicy. The word tikka signifies “bits” or “pieces“.
Chicken tikka is a standout amongst the most well known sustenance from South Asia, where it stays well known in India, Bangladesh, & Pakistan. Here we utilize that South Asian most loved & join it with an Italian & American top choice – Pizza!
Rinse chicken breast pieces.
Cut the breast pieces into small cubes.
Marinate the chicken cubes in Amina’s chicken tikka marinate for atleast an hour. (If you are in a hurry, marinate for up to 15 minutes).
Heat the butter in a pot on medium high heat.
Add in the ginger & garlic paste, dhania powder, chicken spice & Kashmiri chilli powder.
Mix well & then add in the marinated chicken pieces.
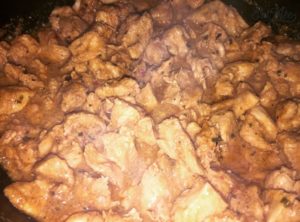
Mix well & cover the pot with a lid & allow the chicken to cook.
Frequently check on the chicken & make sure it does not burn.
Add in 1 teaspoon of the dried mixed herbs & salt to taste.
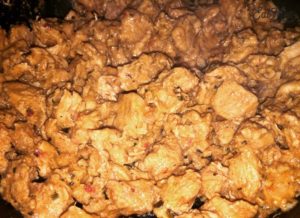
Stir well. Chicken should be cooked in 15-20 minutes.
The chicken is cooked when the meat is tender & water has completely evaporated.
When chicken is cooked, remove from heat & allow to cool.
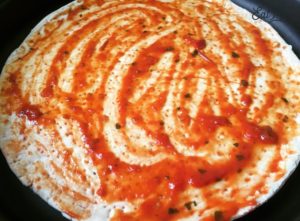
Place the pizza base in the electric pan. (Do not switch the electric pan on as yet).
Apply the layer of pasta sauce using a tablespoon.
Thereafter, apply the layer of chicken tikka sauce.
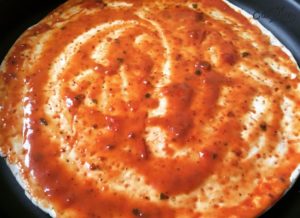
Grate cheese using the smaller grater side as this will allow the cheese to melt faster.
Sprinkle ½ cup cheese over the sauce.
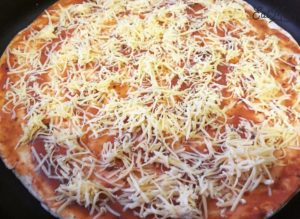
Place the cooked chicken pieces over the cheese.
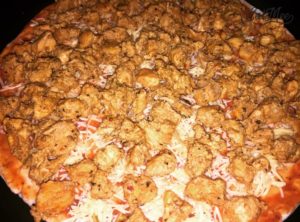
Spread over the chopped bell peppers.
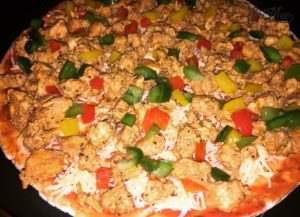
Sprinkle over the remaining 1 ½ cups of grated cheese.
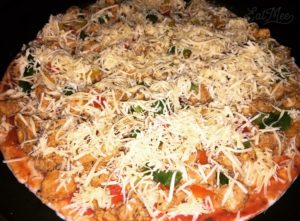
Switch on the electric pan on low heat.
Cover the pan with a lid & allow the pizza to cook.
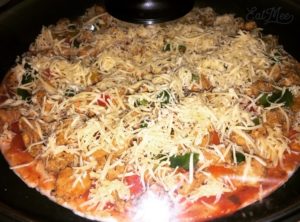
(For a more crispier base, toast the pizza base a few minutes before adding the toppings).
Allow the pizza to cook for about 5-7 minutes on low heat.
Thereafter turn the heat up a notch just for a minute.
The pizza is ready when the base is cooked & the cheese has melted.
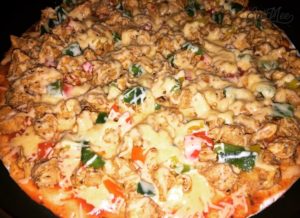
Remove the lid & sprinkle over the feta cheese cheese (optional).
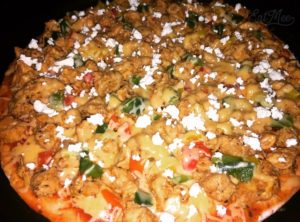
Sprinkle over the remaining dried mixed herbs.
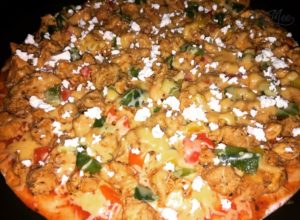
I additionally added a zinger sauce of my own, but you can add on as many sauces/toppings as you prefer.
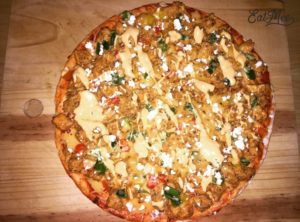
Slice & serve hot.
Expert kitchen guidance and troubleshooting for making the best Chicken Tikka Pizza In Electric Pan
Absolutely! You can easily tailor the heat by increasing or reducing the chili powder and fresh chilies to suit your family’s palate without compromising the authentic flavor profile.
Yes, you can freeze Chicken Tikka Pizza In Electric Pan in an airtight, freezer-safe container for up to 2 to 3 months. Thaw overnight in the refrigerator before gently reheating.
Reheat gently on the stovetop over low heat with a splash of water, or in the microwave covered with a damp paper towel to retain moisture.
Hi, I'm Denisiya! Food lover, recipe developer, and founder of EatMee Recipes. I specialize in authentic South African Durban Indian cuisine, comforting curries, and modern Instant Pot adaptations. Every recipe on this site is tested in my personal kitchen to ensure you get mouth-watering, foolproof results every time.
Explore more authentic Durban curries, traditional bakes, and comforting family favourites.
 American Food
Bagels are something we South Africans watched on American television shows…it isn’t very ...
 American Food
Being South African, I’ve never come across the famous Everything But The Bagel Seasoning ...
 American Food
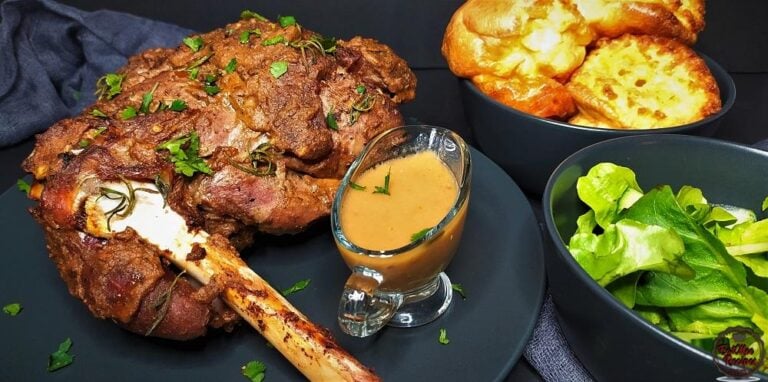
This Spiced Roast Leg Of Lamb is so delicious, once you try it, you will never go back to ...
Have you tried this recipe or have questions for Denisiya? Join the conversation below.
No comments yet. Be the first to share your thoughts on this recipe!
Leave a Comment
Your email address will not be published. Required fields are marked *