
We Value Your Culinary Privacy
EatMee Recipes uses cookies to provide a personalized browsing experience, analyze recipe popularity, and serve relevant ads. You can review our full disclosure in our Privacy Policy.
Make authentic Chana Magaj with this foolproof recipe. Packed with rich traditional flavor, step-by-step photos, and cooking tips by Denisiya on EatMee Recipes.

Join over 60,000+ home chefs for weekly authentic Durban Indian cook-alongs, Instant Pot masterclasses, and family heritage recipes.
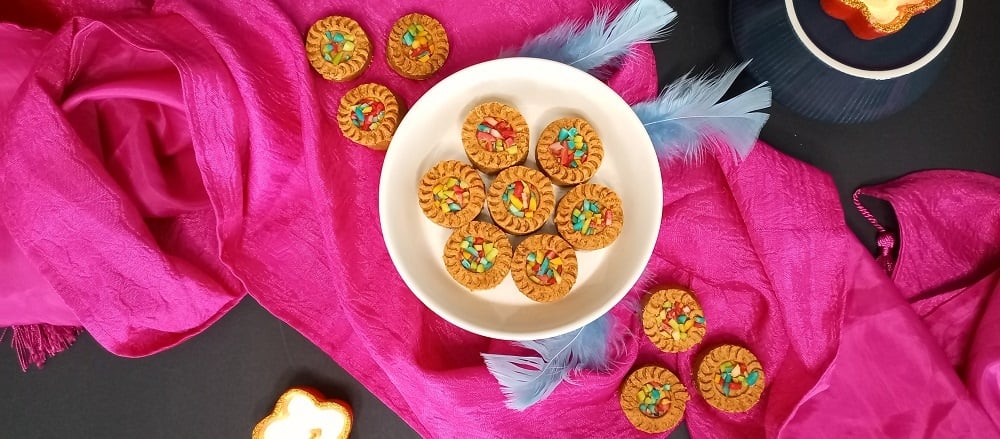
Chana Magaj also known as Besan Burfee is a North Indian fudge with the main ingredient being Chana flour which is Chickpea flour or Gram flour.
This sweet, Indian treat is made with a few ingredient’s but it does take some patience. It has a nutty flavour with a crumbly texture that is sure to melt in your mouth.
It can be moulded into beautiful shapes or cut into traditional squares. These treats are perfect for gifting especially for Diwali.
Firstly, bring out the almonds.
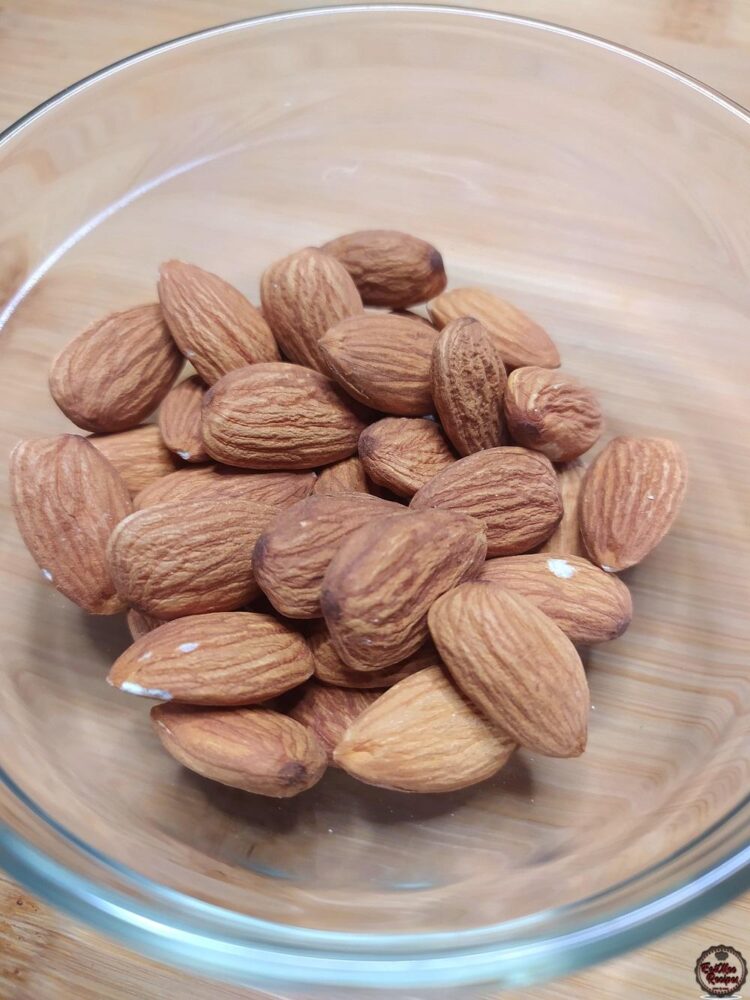
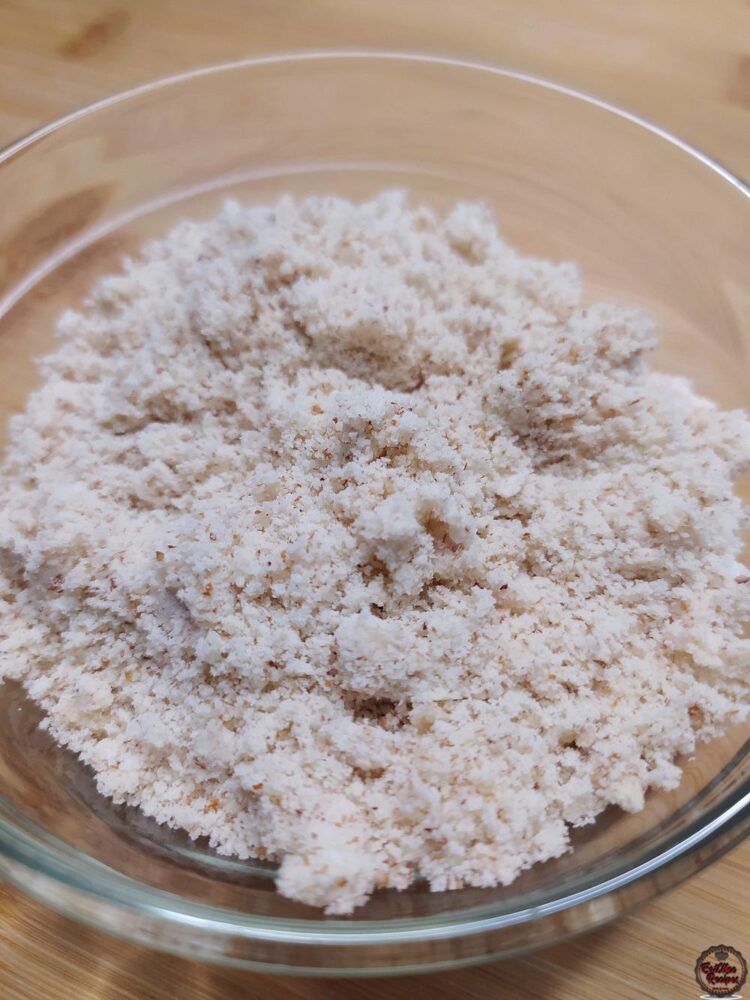
Grind the almonds until it becomes powder.
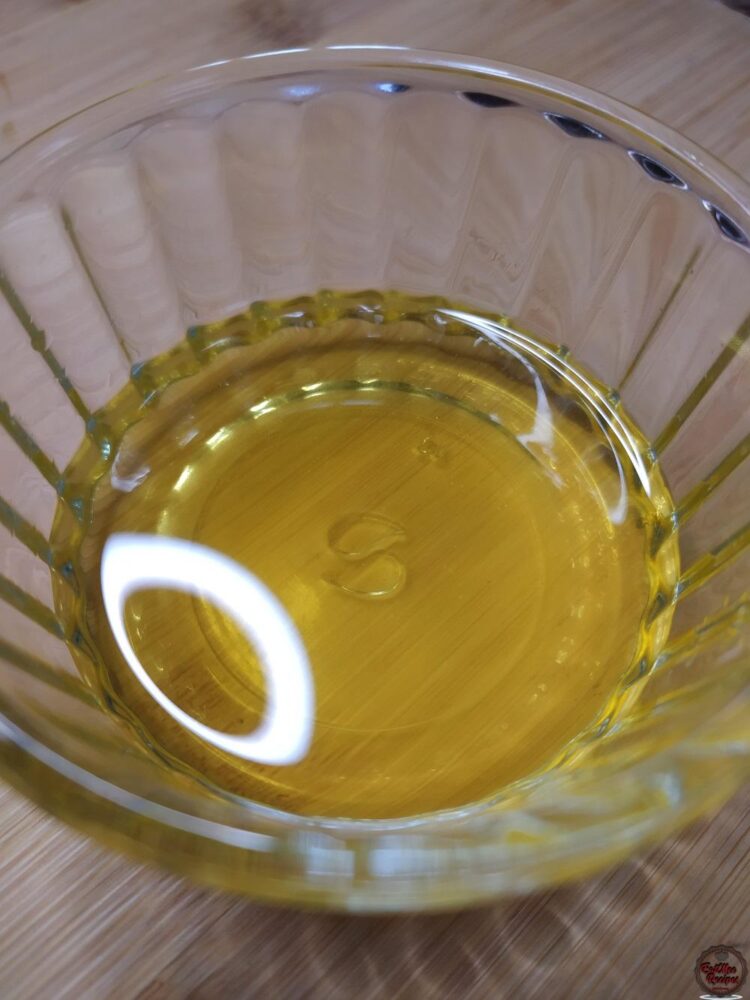
The 2 tablespoons of butter ghee (clarified butter) can be solid or semi solid, place it into a microwave safe bowl.
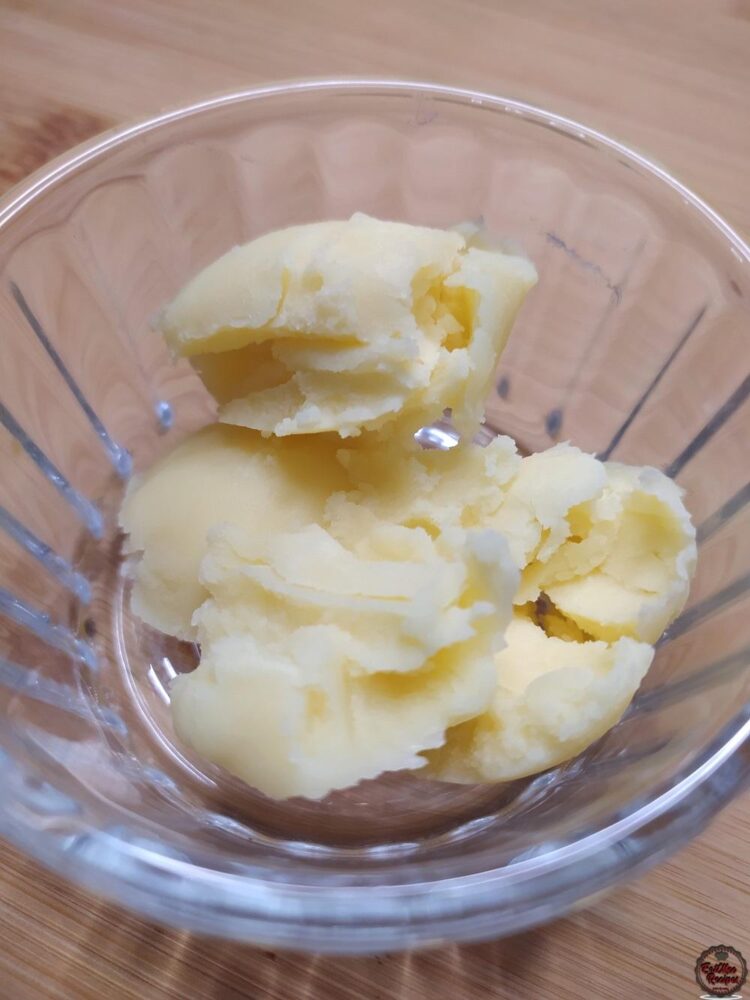
Microwave until the butter ghee has melted.
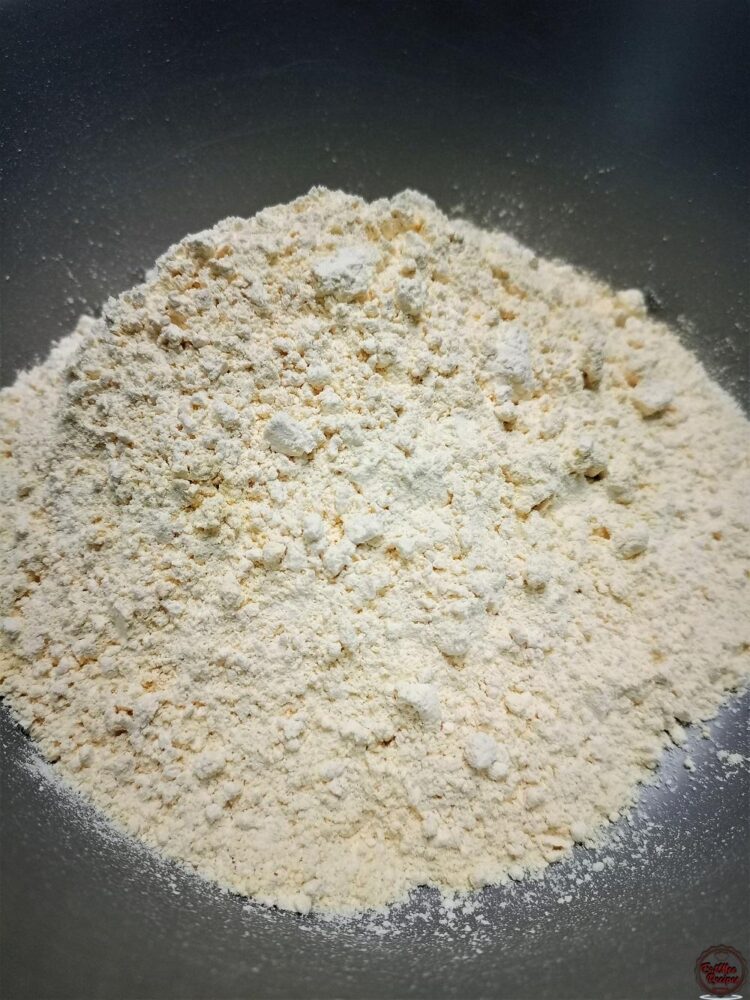
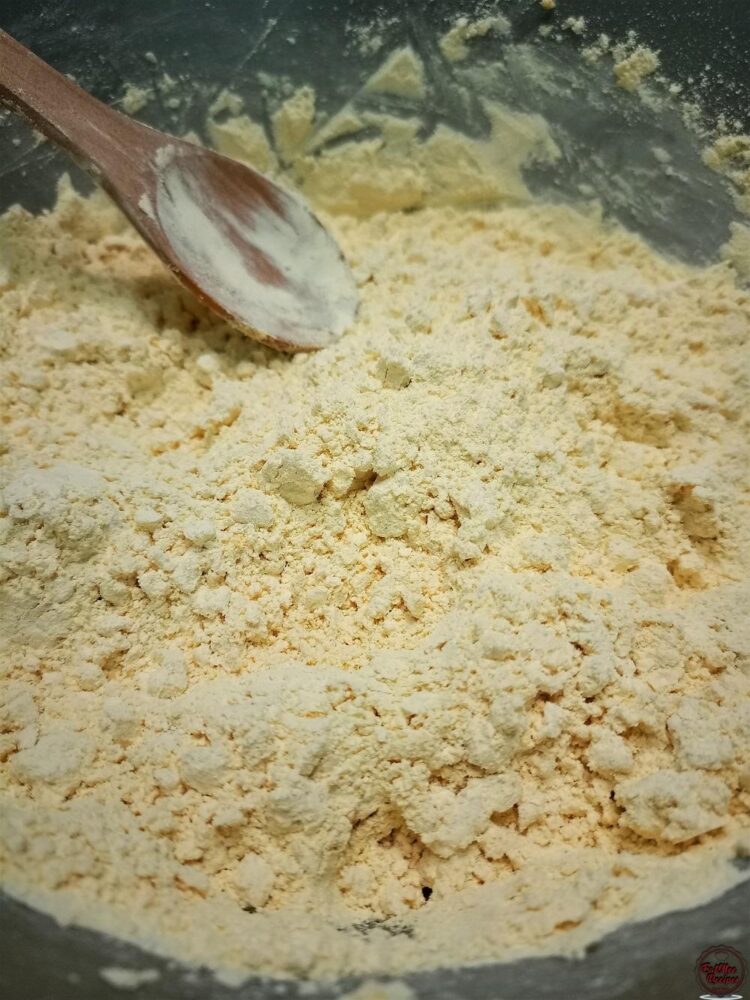
Add the chickpea flour (chana / gram flour) to a bowl.
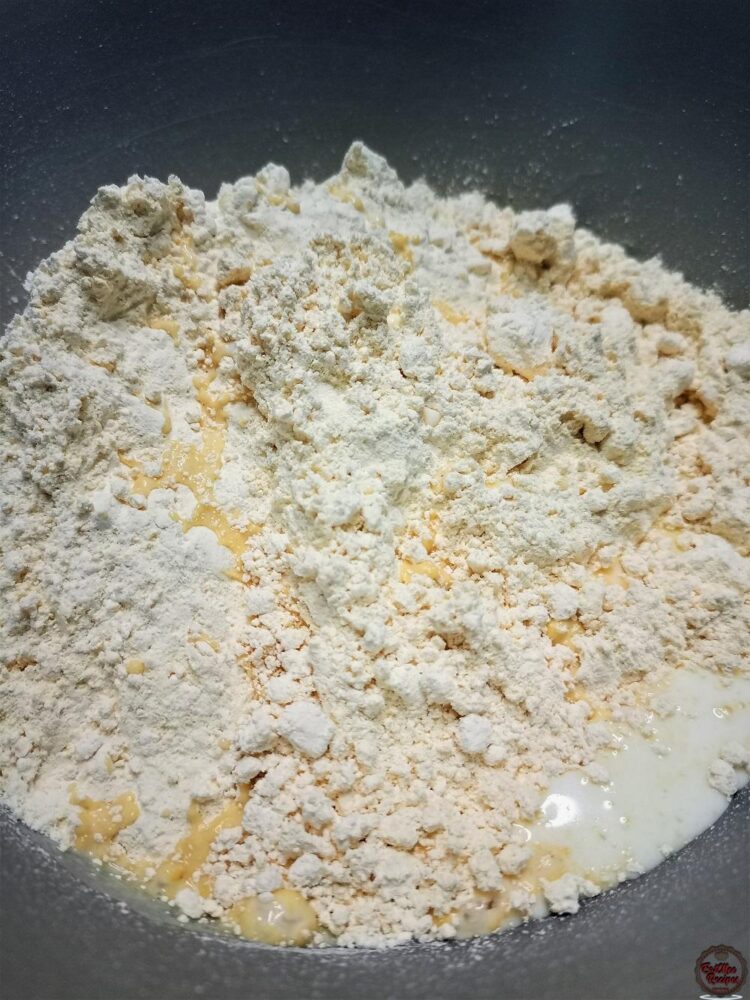
To the flour, add in the cold milk.
Add in the melted butter ghee.
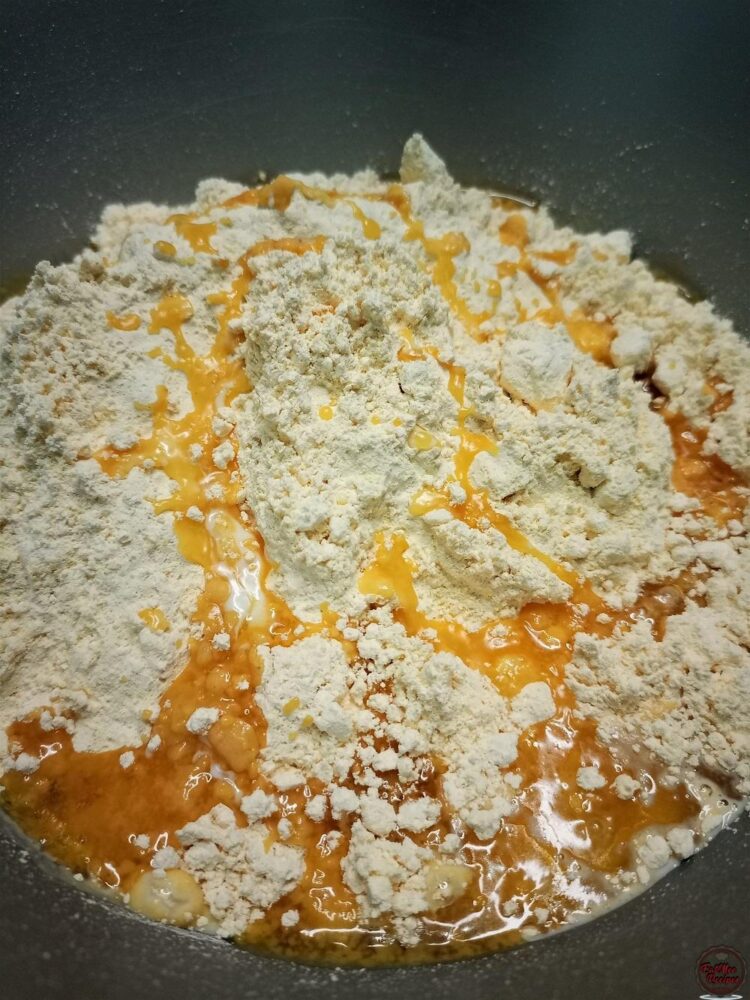
Mix well until it resembles a breadcrumb texture.
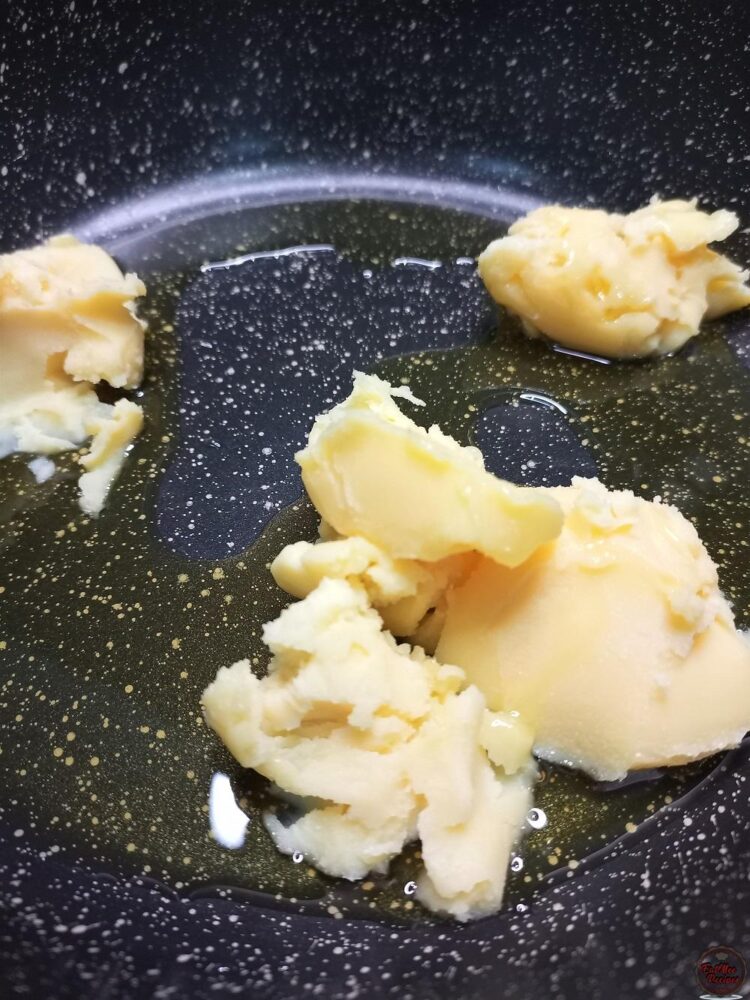
On medium-low heat, add the 1 ¼ cup of butter ghee to a pot.
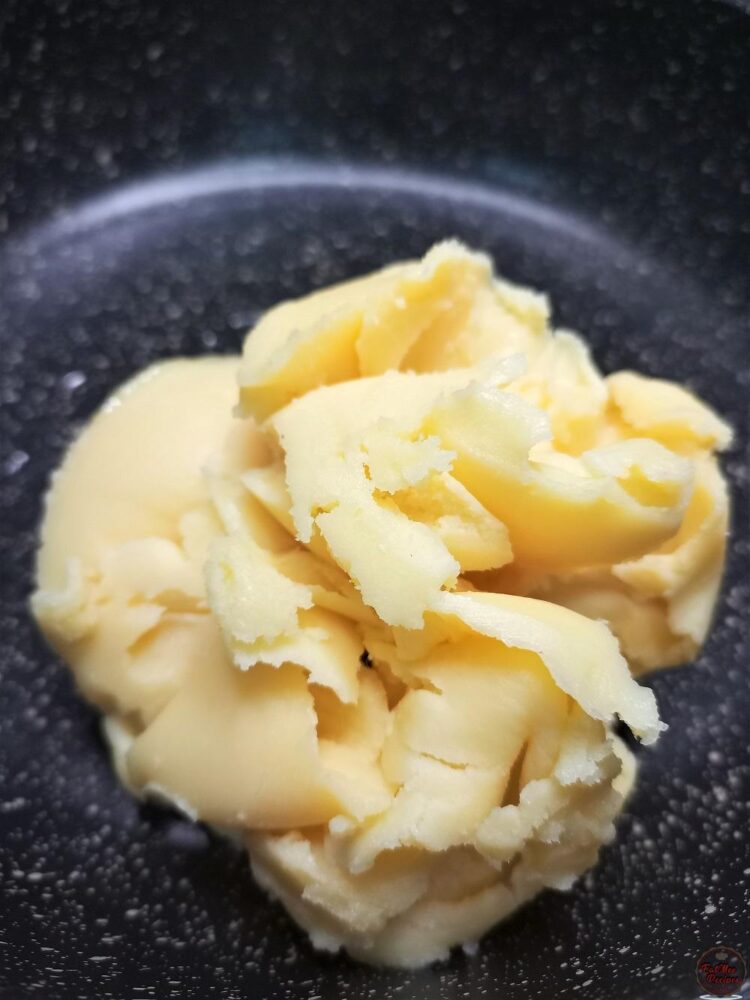
Allow it to melt.
Once the butter ghee has melted, add in the chickpea flour (chana / gram flour).
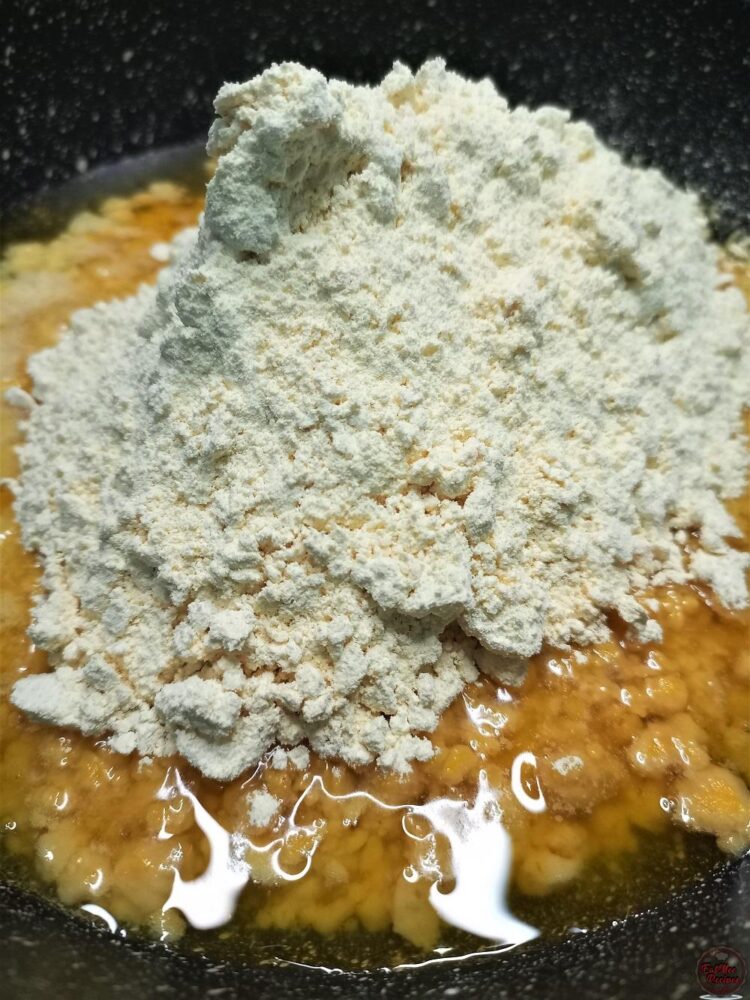
Mix well until all the flour is incorporated into the butter ghee.
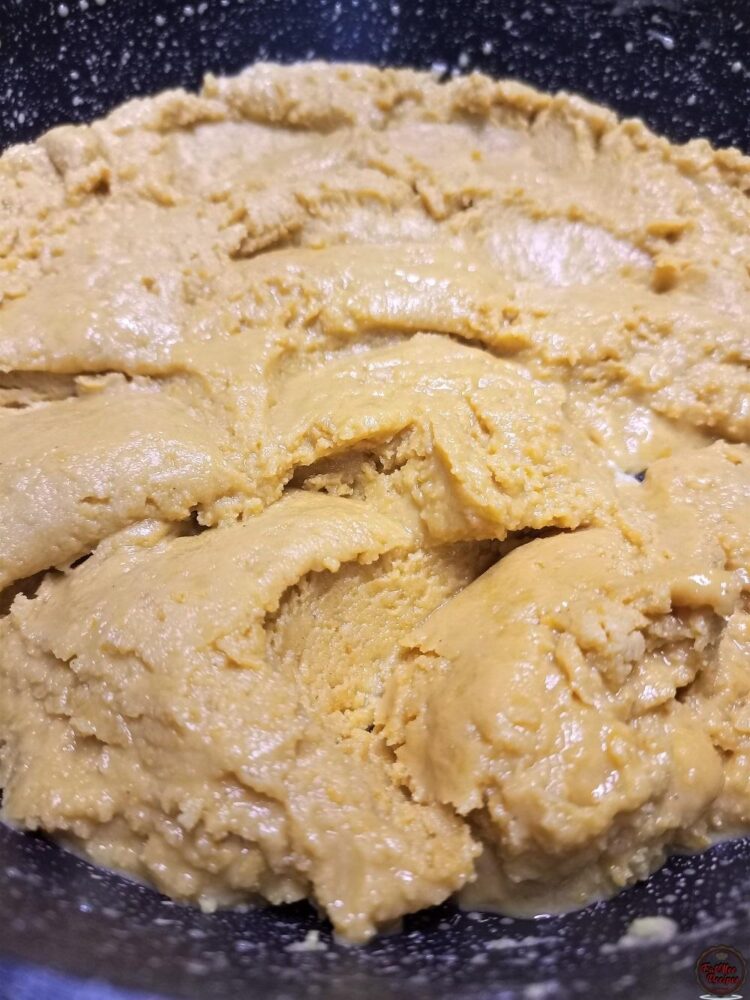
Keep an eye on the mixture & mix every few minutes to prevent it from burning.
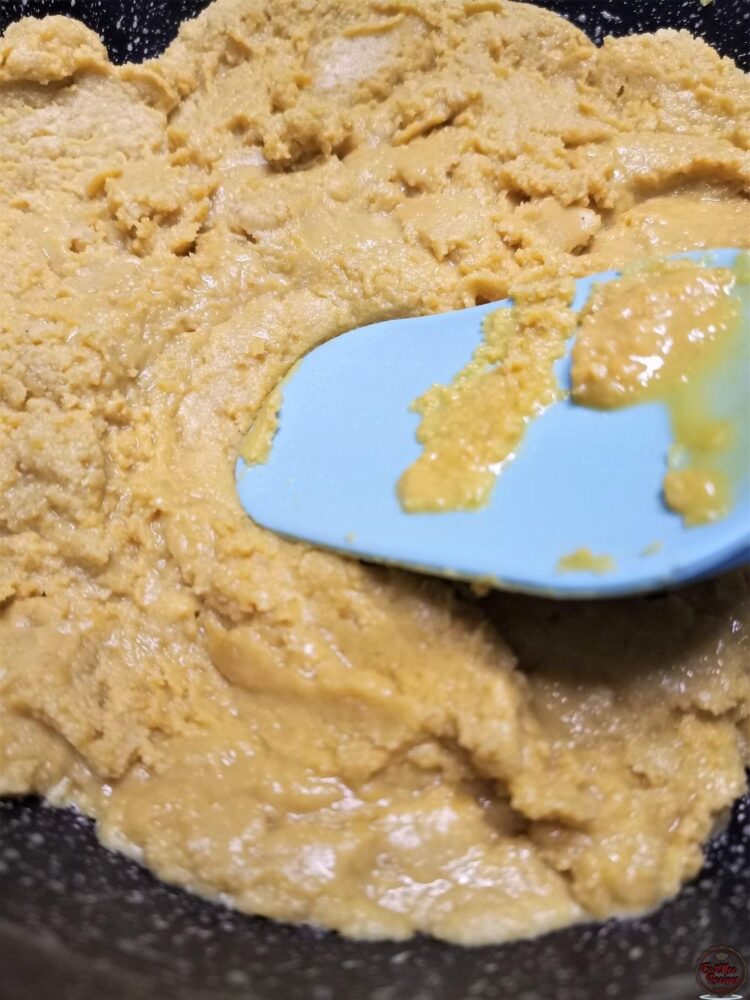
After about 10 minutes, you will notice the mixture starts to foam.
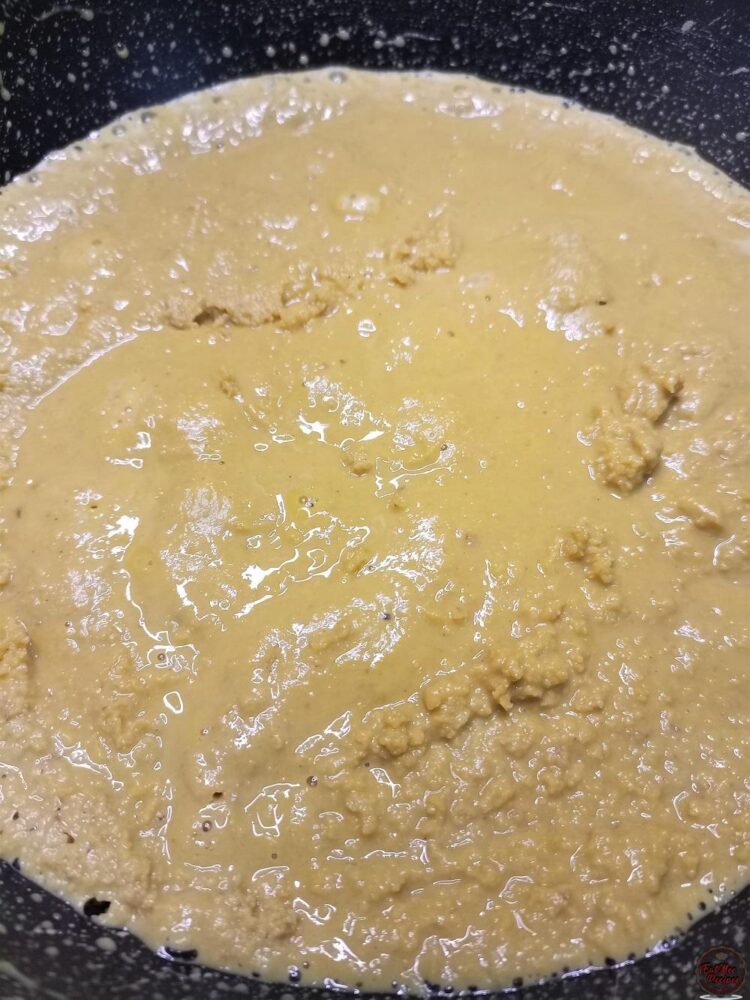
Keep mixing until it turns a light brown shade. This whole process takes ±30 minutes.
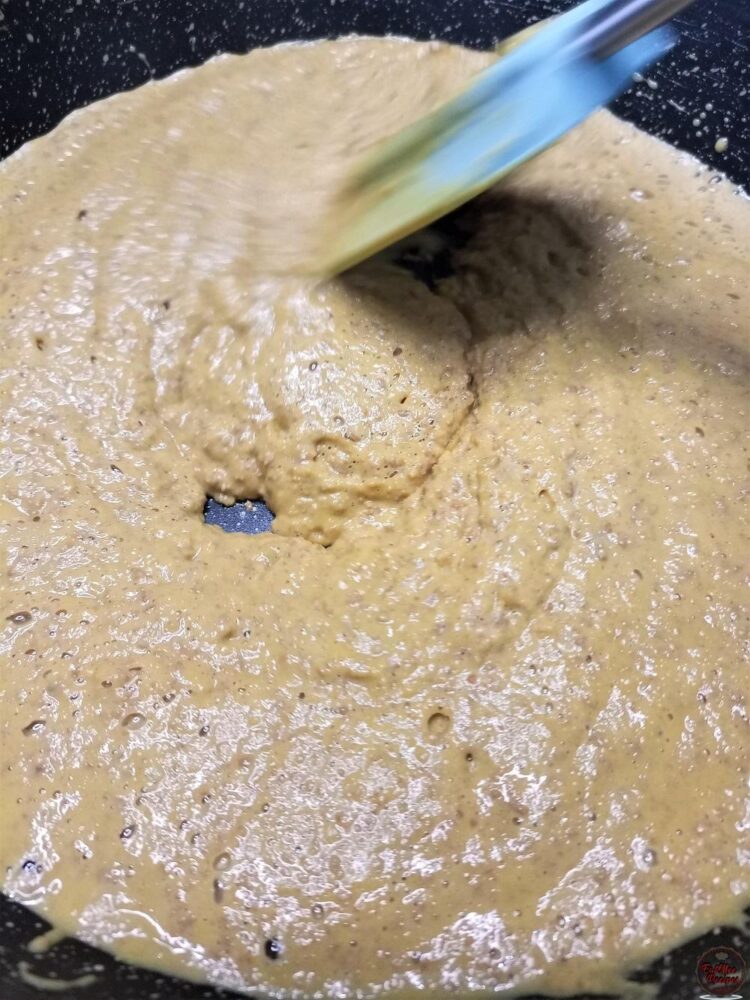
Once the mixture has darkened, add in the ground almonds.
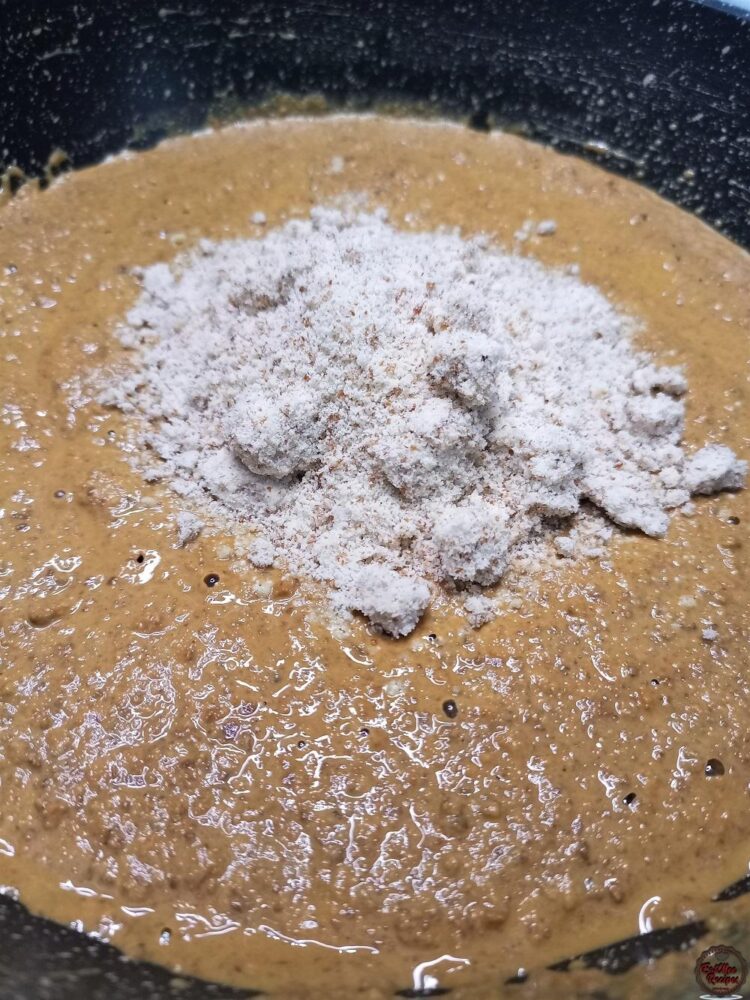
Mix well & allow to simmer for 1 minute.
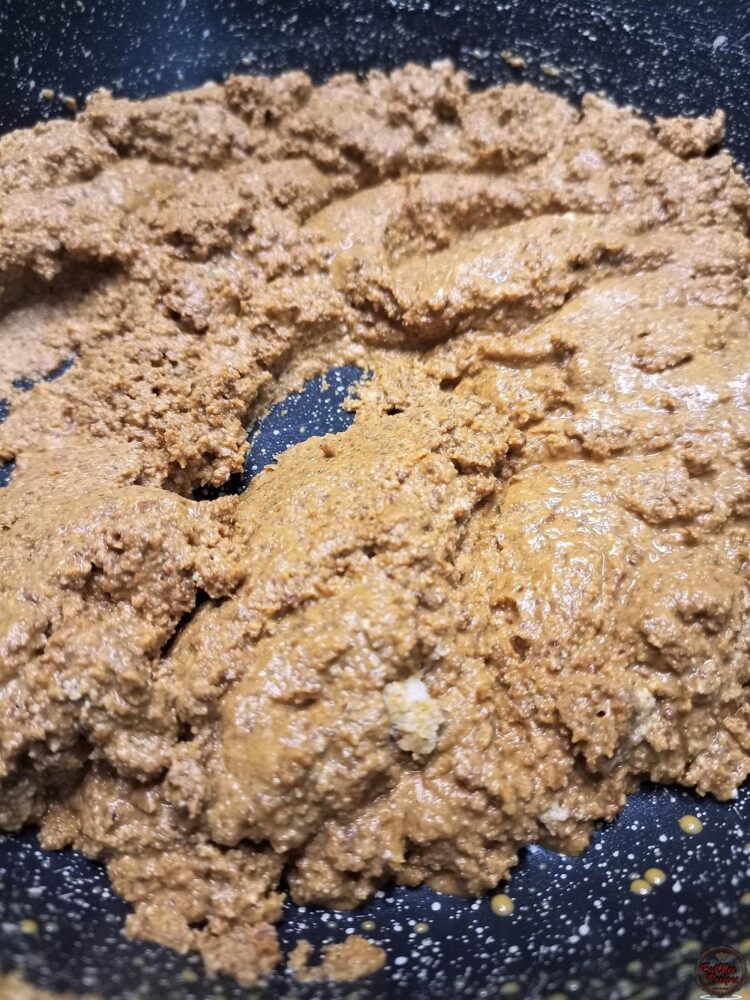
After 1 minute, give it a mix & turn off the heat.
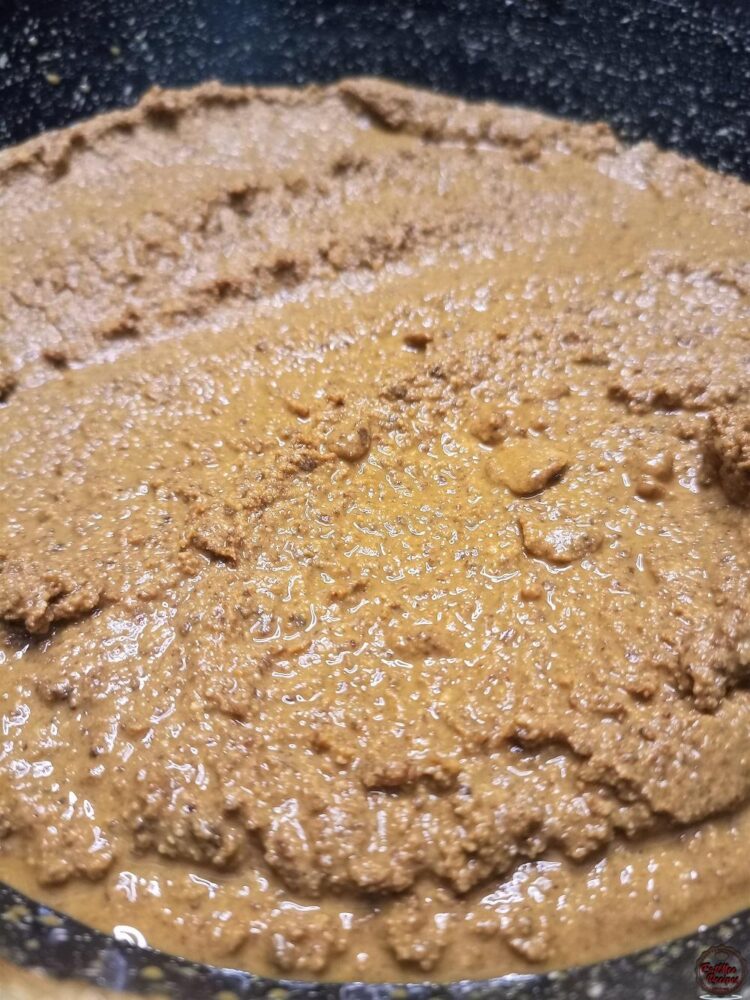
Remove the pot from the heat & allow the mixture to cool.
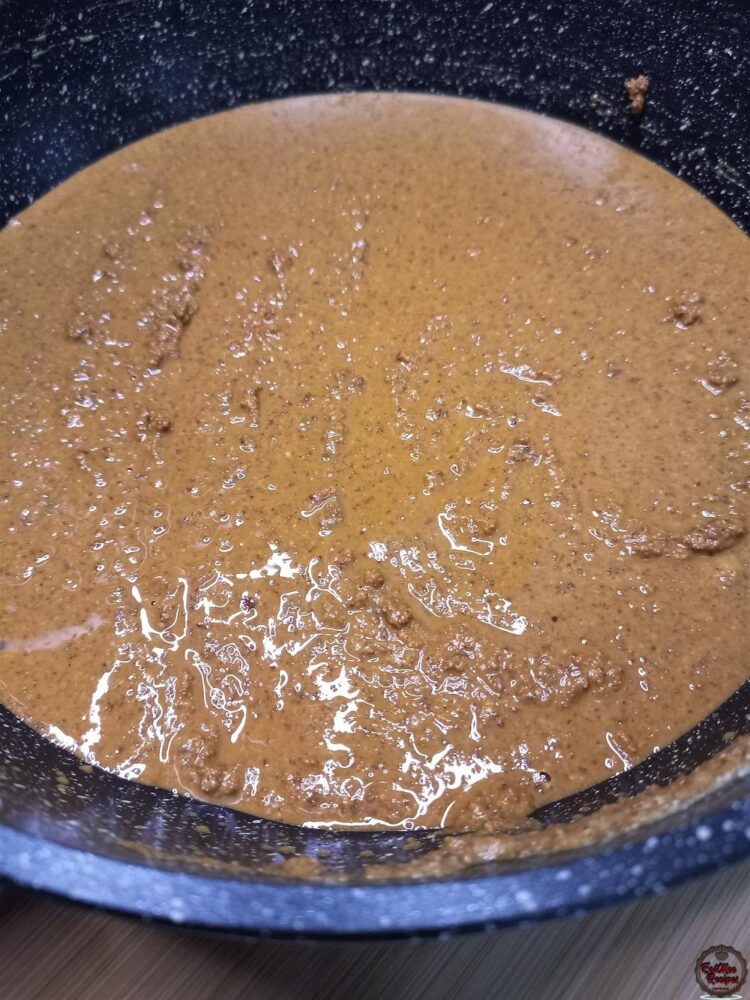
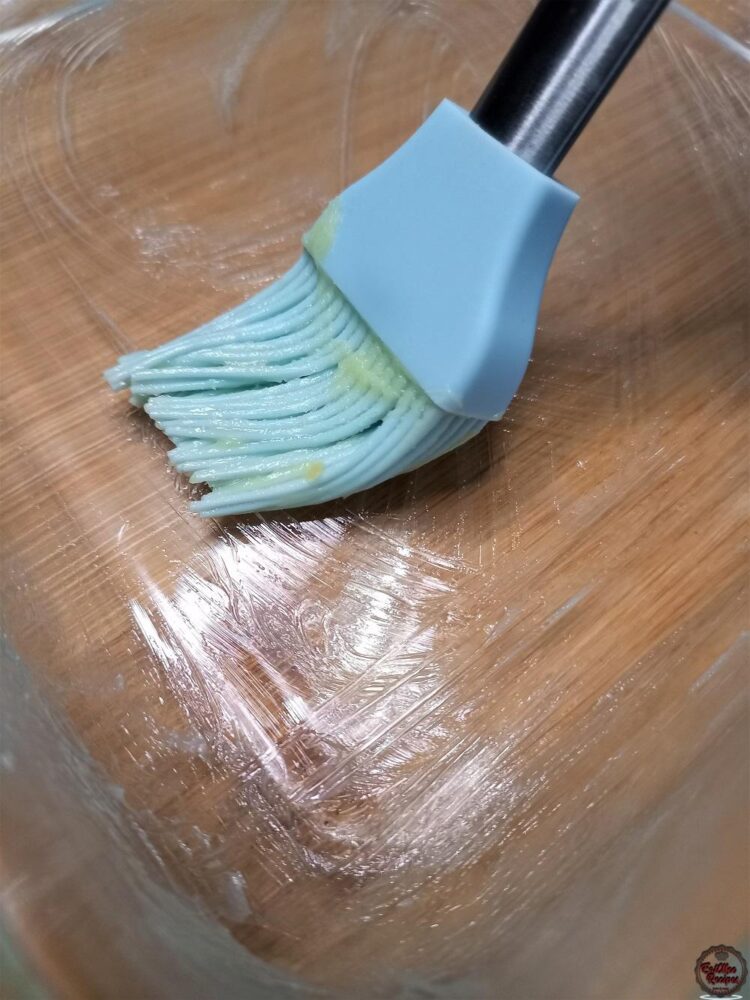
Whilst the mixture cools, bring out a casserole & grease it with 1 teaspoon of butter ghee. I used a 27 centimeter casserole.
Once the mixture has cooled, notice how it gets much thicker.
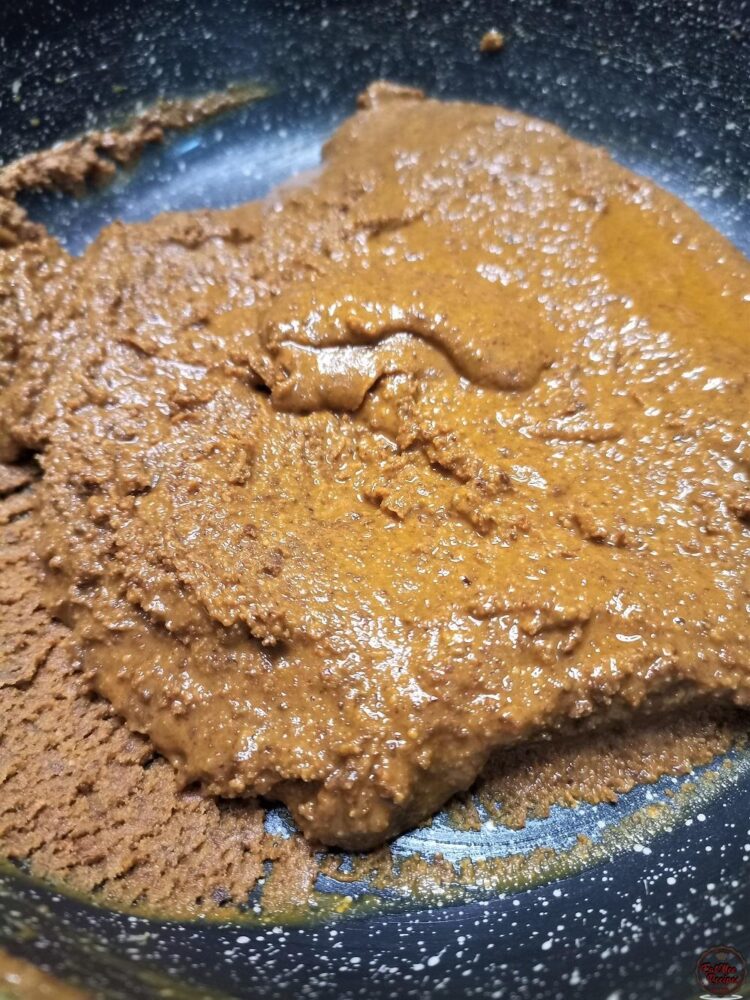
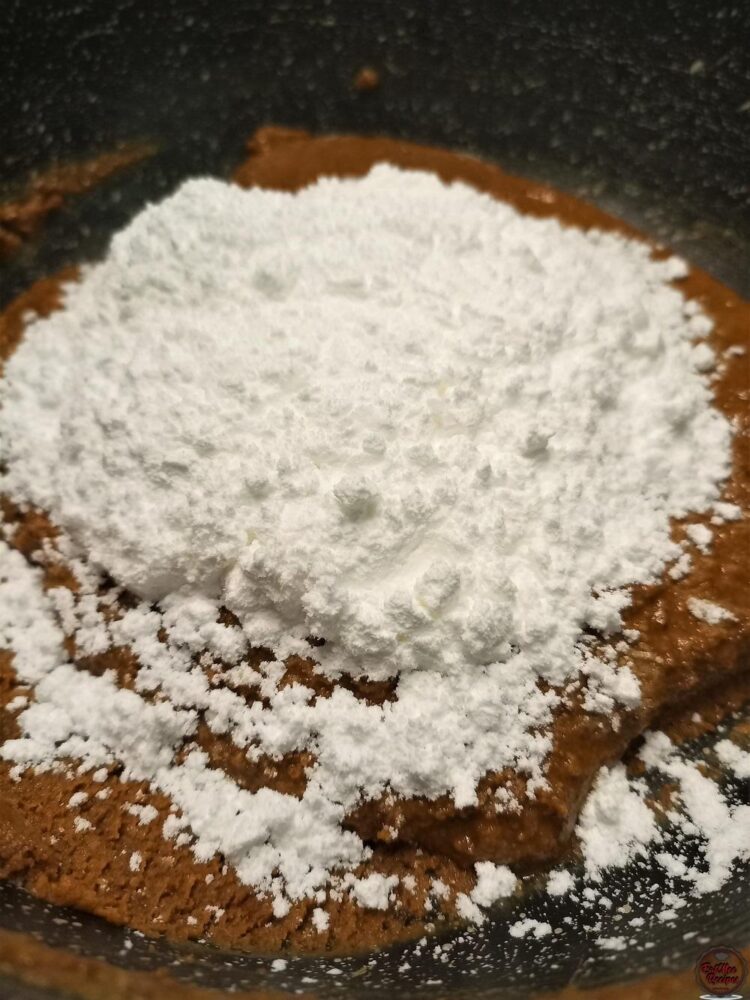
Add in the icing (confectionery) sugar.
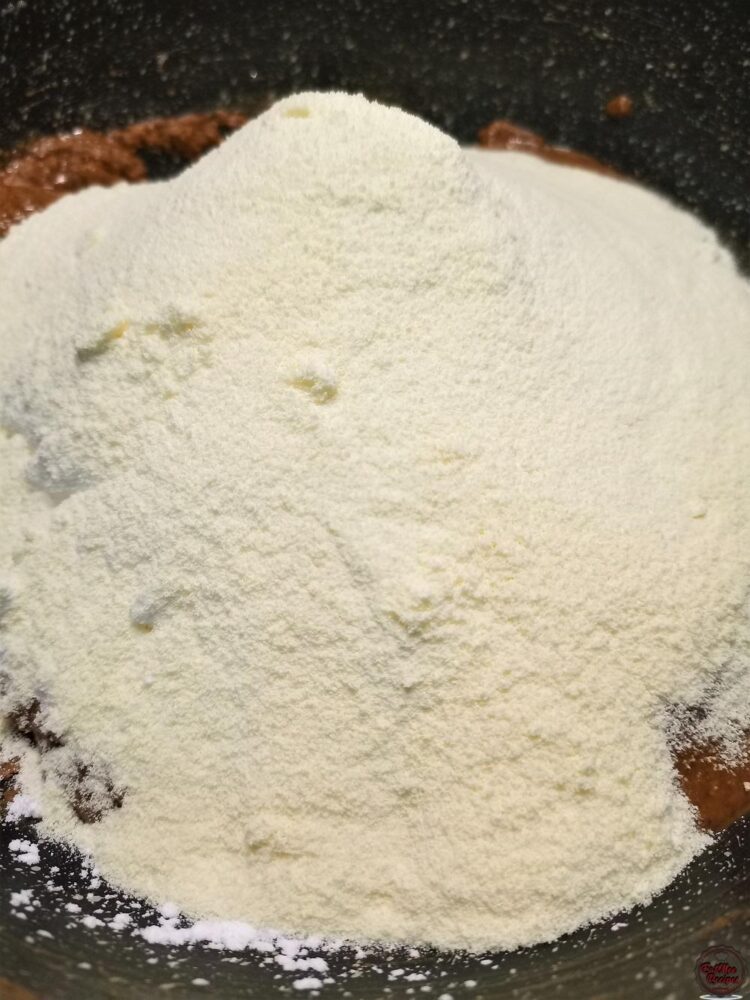
Add in the milk powder.
Add in the nutmeg powder & the cardamom (elachi) powder.
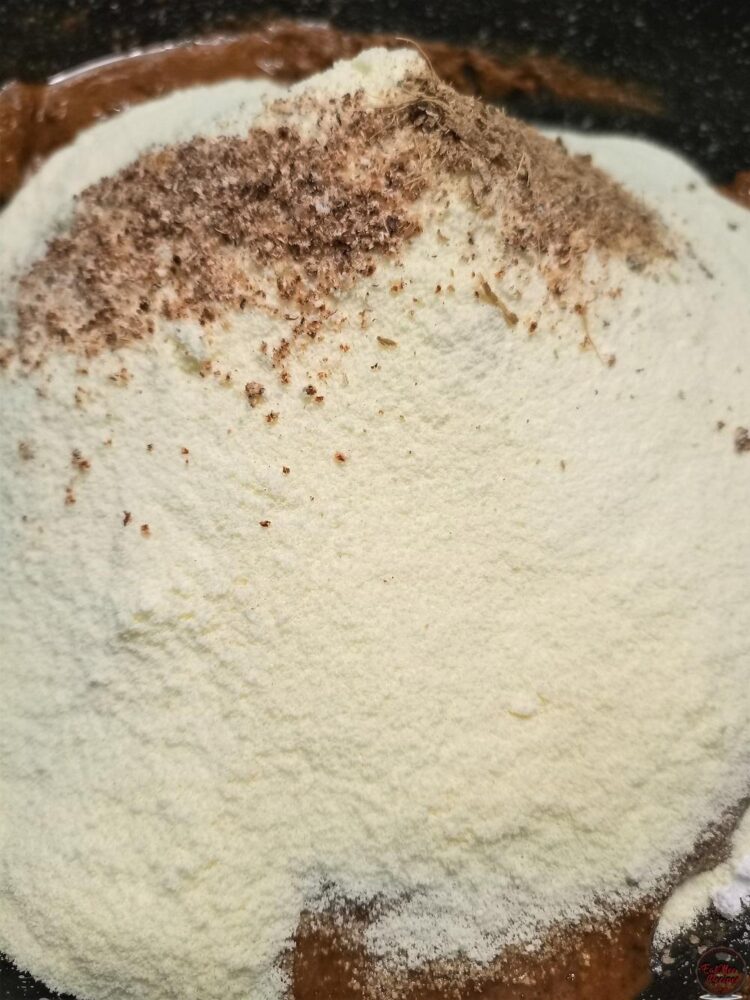
Mix well until most of the ingredients are combined. It will be fairly hard to mix.
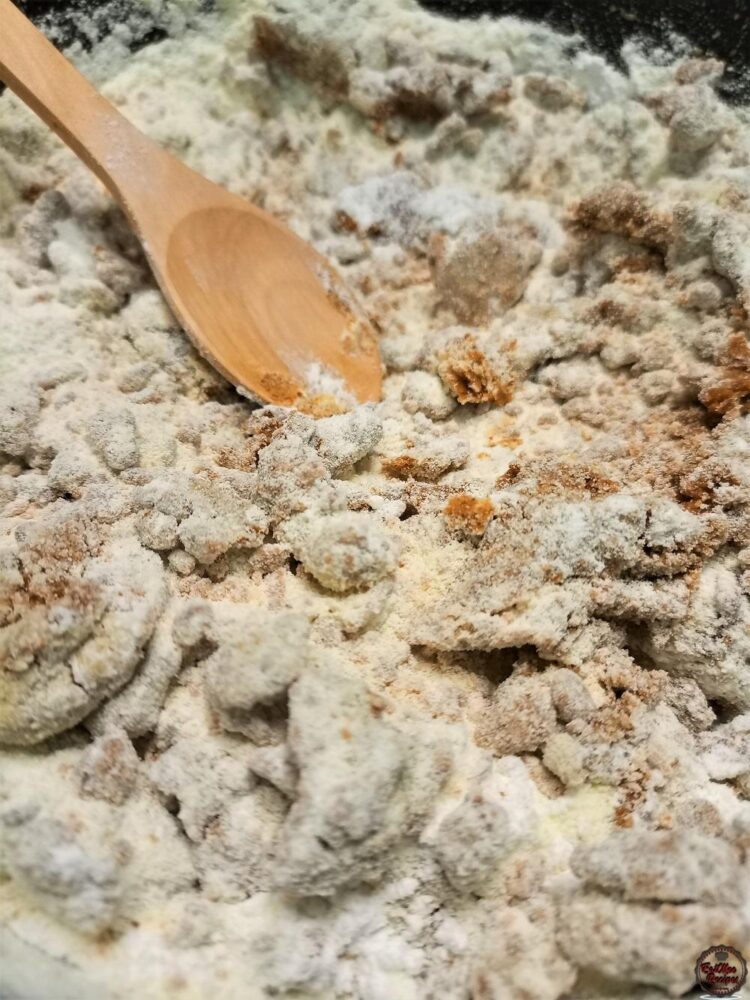
Thereafter, use your hands to thoroughly mix the ingredients.
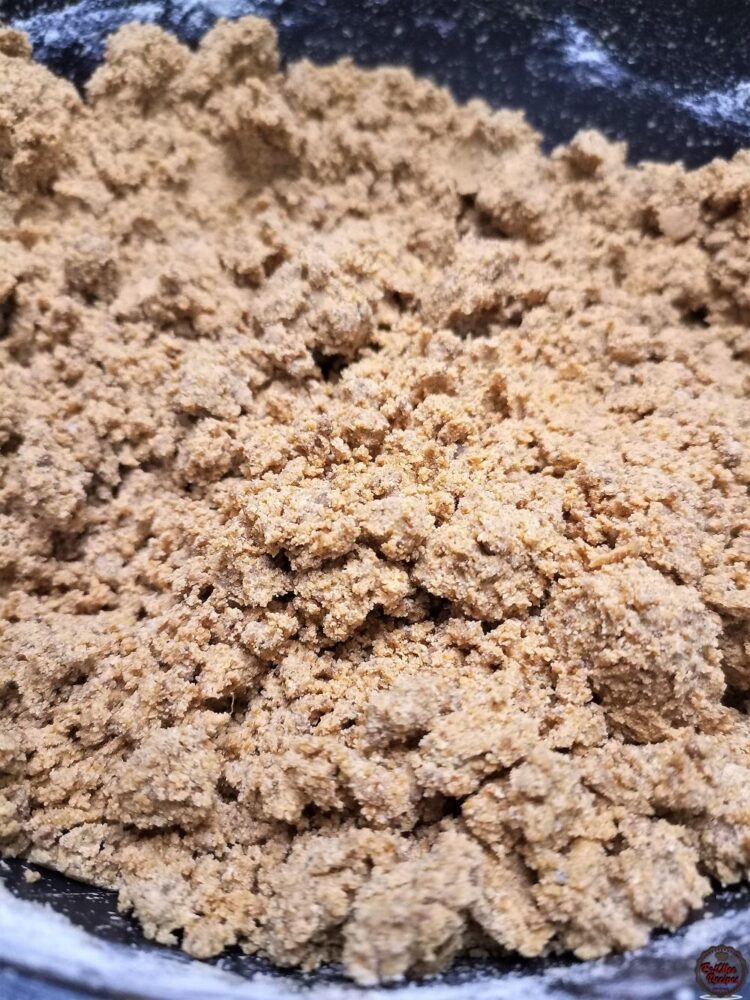
Once combined, empty the mixture into the greased casserole.
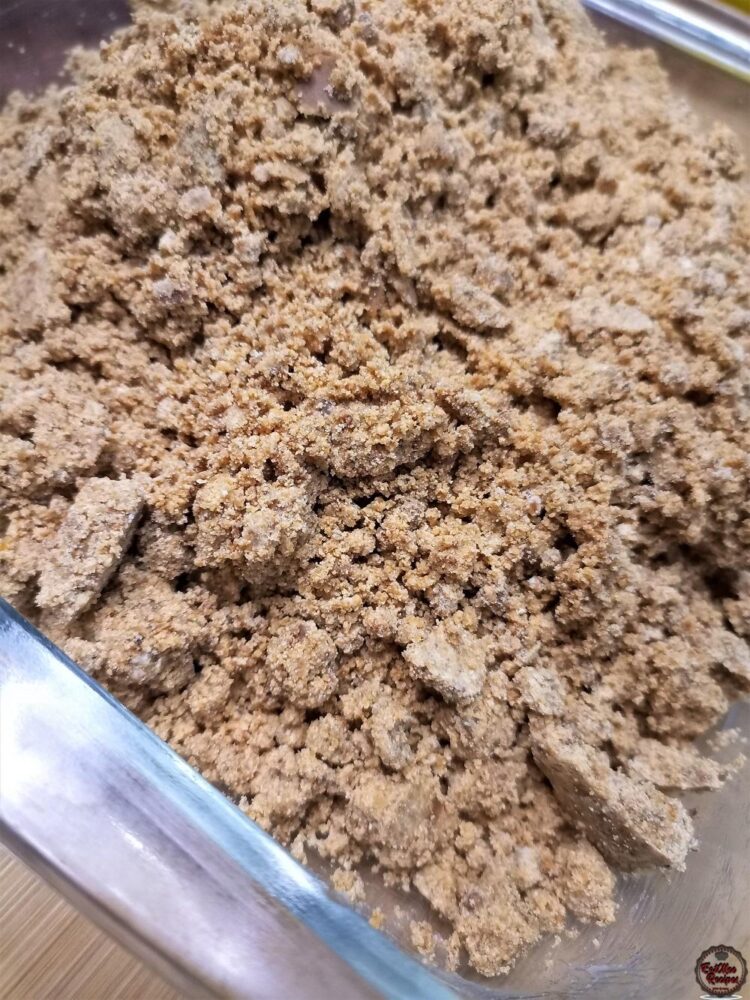
Use the back of a spatula or your hands to compress the mixture into the casserole. If you are shaping them into cubes, you may go ahead & top them with coloured almonds.
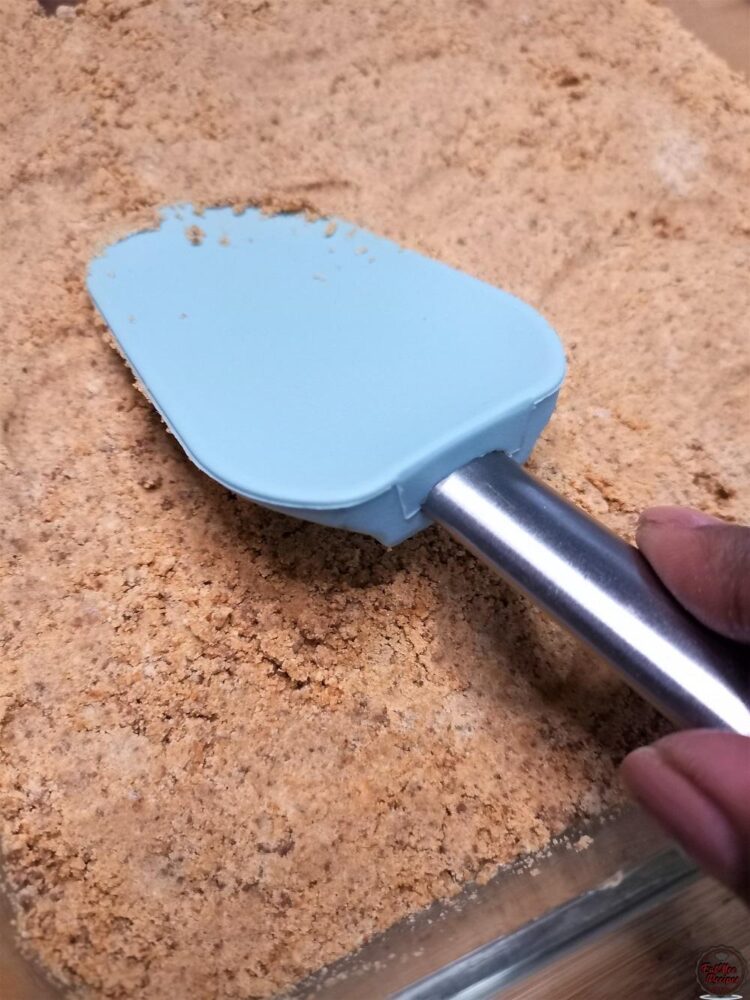
Place the casserole into the refrigerator & allow to set for 2 hours.
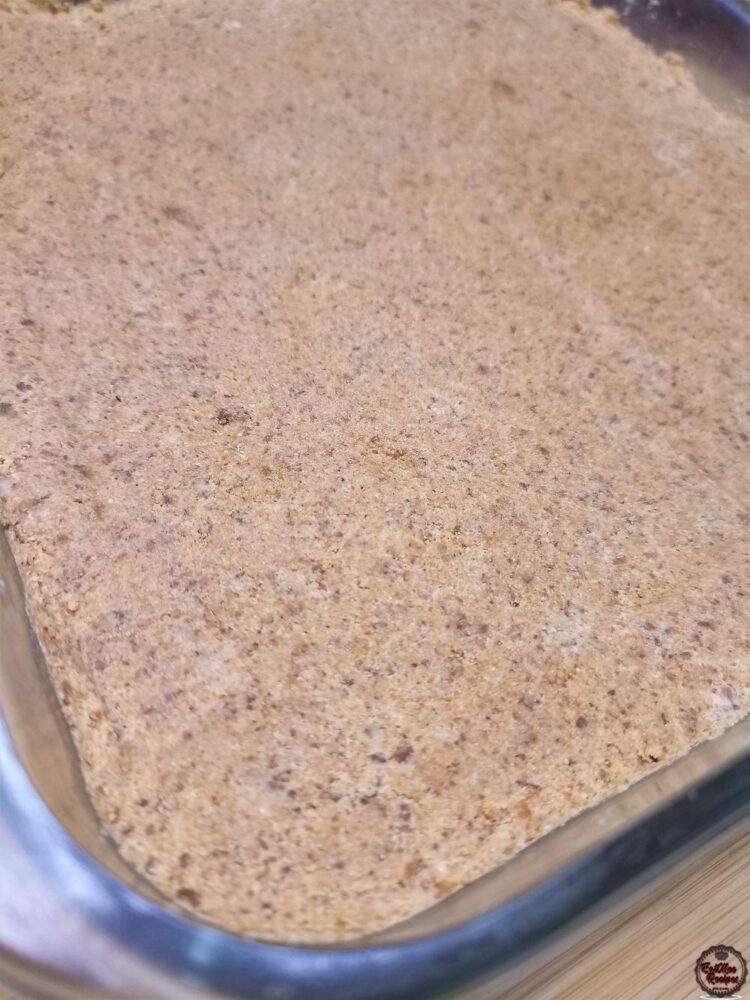
After 2 hours, the mixture would have hardened.
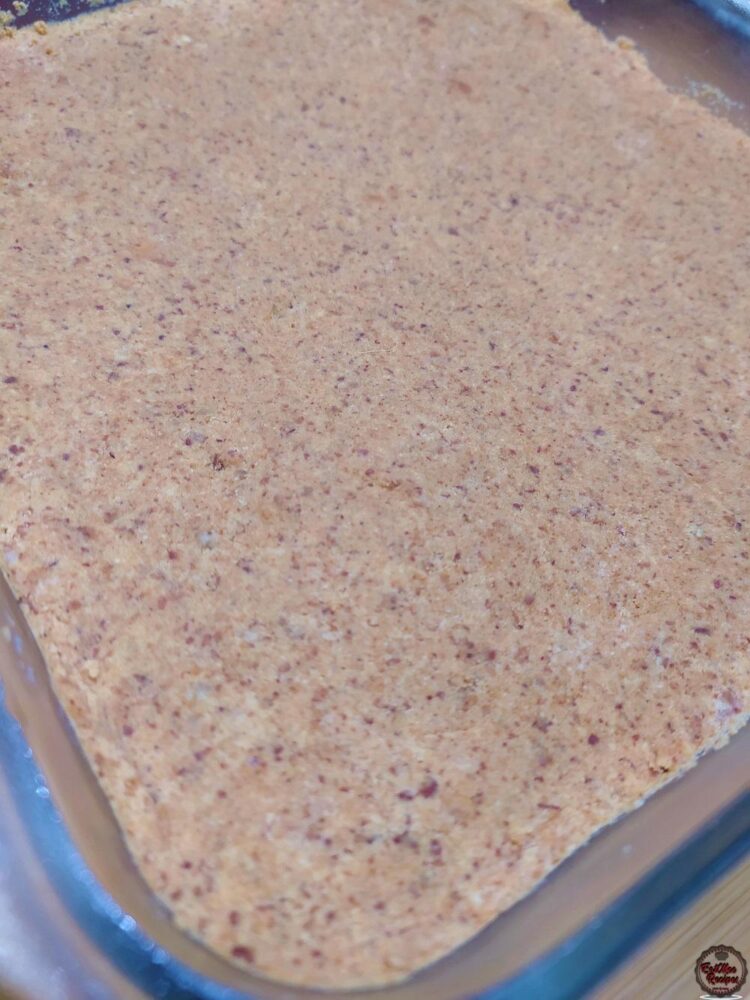
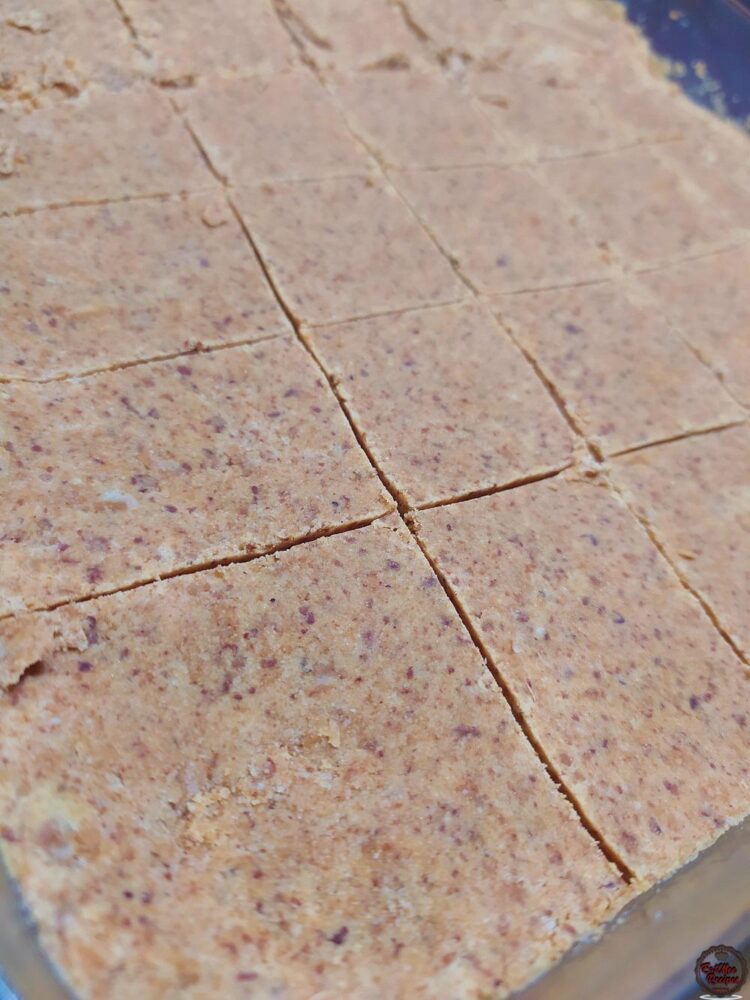
Slice them into cubes if preferred.
Since I am not keeping the traditional square shapes, I personally prefer allowing the mixture to come to room temperature & then crumbling it up with my hands – this will allow for a more crumbly texture.
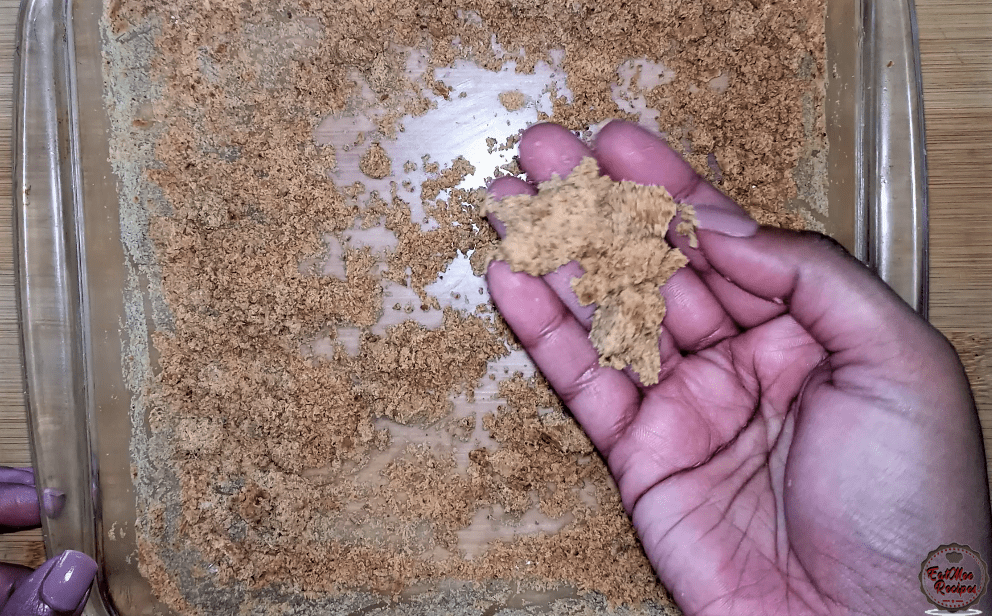
When it is at room temperature, the mixture becomes soft & easier to mould. However if you wish to skip the setting & crumbling, simply mould them at step 55 (without refrigerating).
I am using the Malaysian cutters – to get your shapes, grab portions of the mixture in your hands, compress it into a thick disc, place it onto a surface & use the cutter to firstly cut out the shape. Thereafter, press the middle design cutter in the middle to create the design.
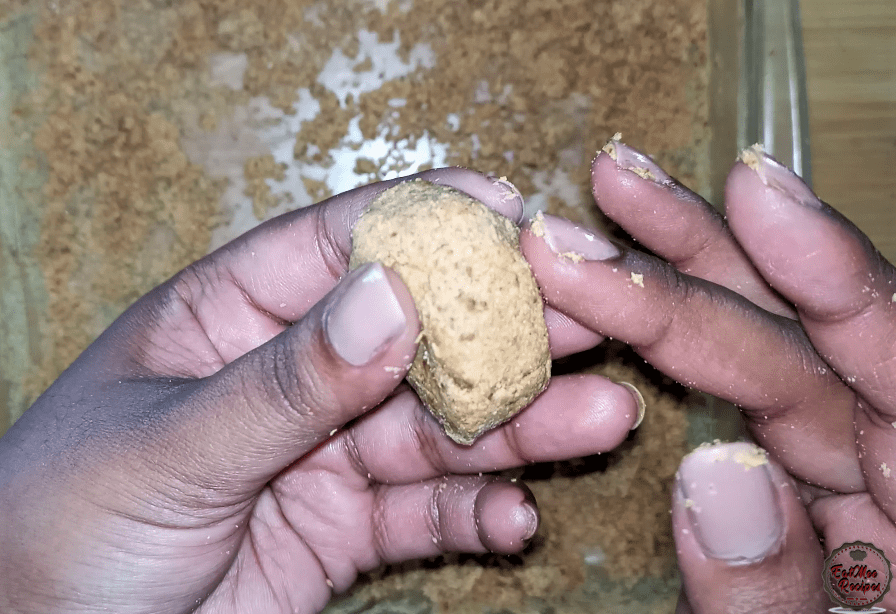
Gently push out the mixture & carefully pull out the mixture from the cutter (patience is key as the mixture is soft & rushing it won’t give you perfect designs).
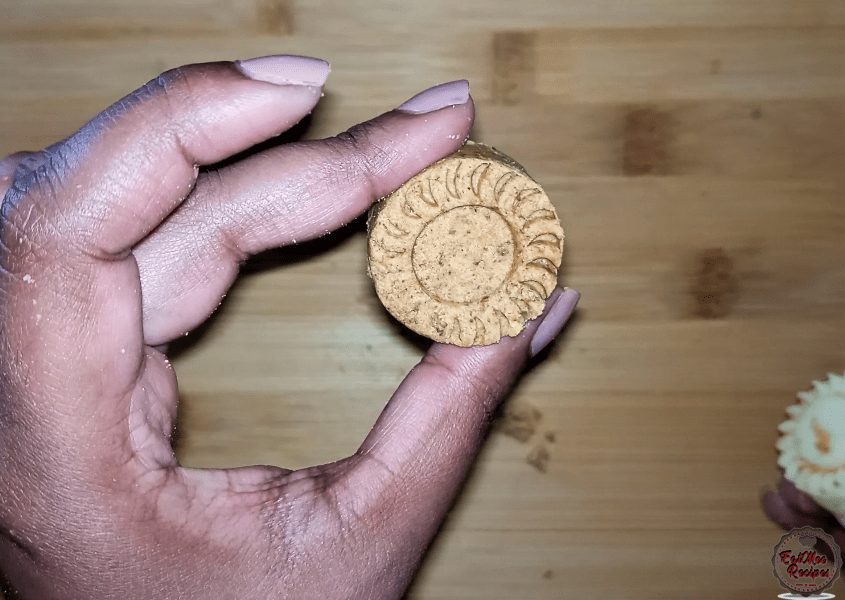
Once all your shapes are done, top it with the coloured almonds. I placed them in the indent of the design. Gently press the almonds down using your fingers.
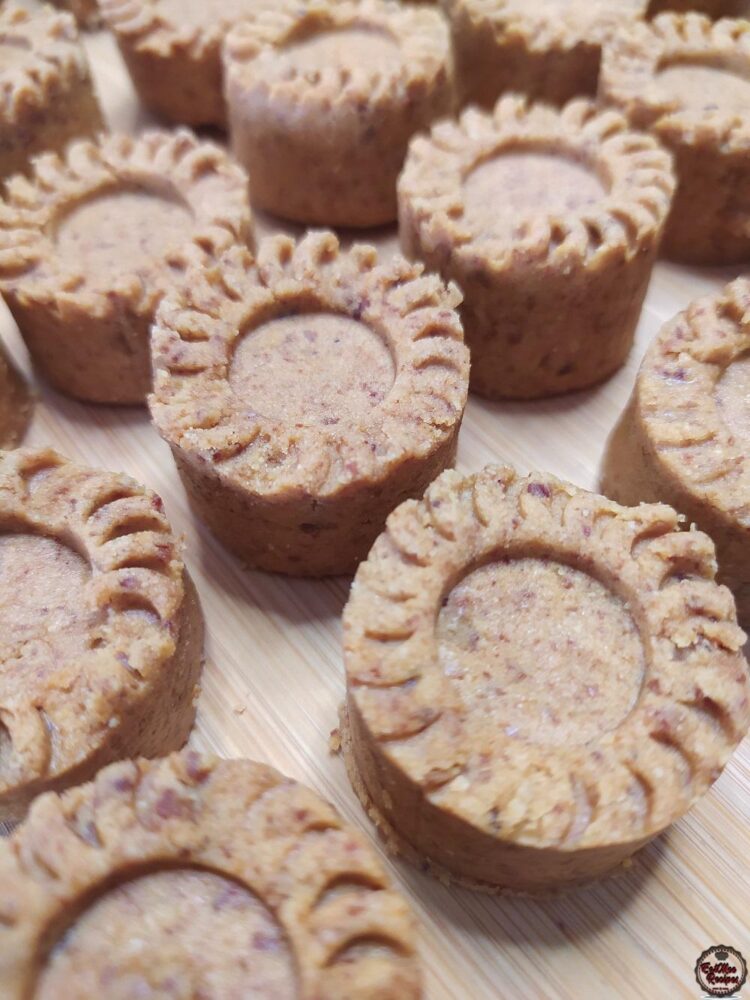
You can also top the square shapes with almonds when they are at room temperature if you did not add them before setting. Once again, press the almonds down gently into the squares using your fingers.
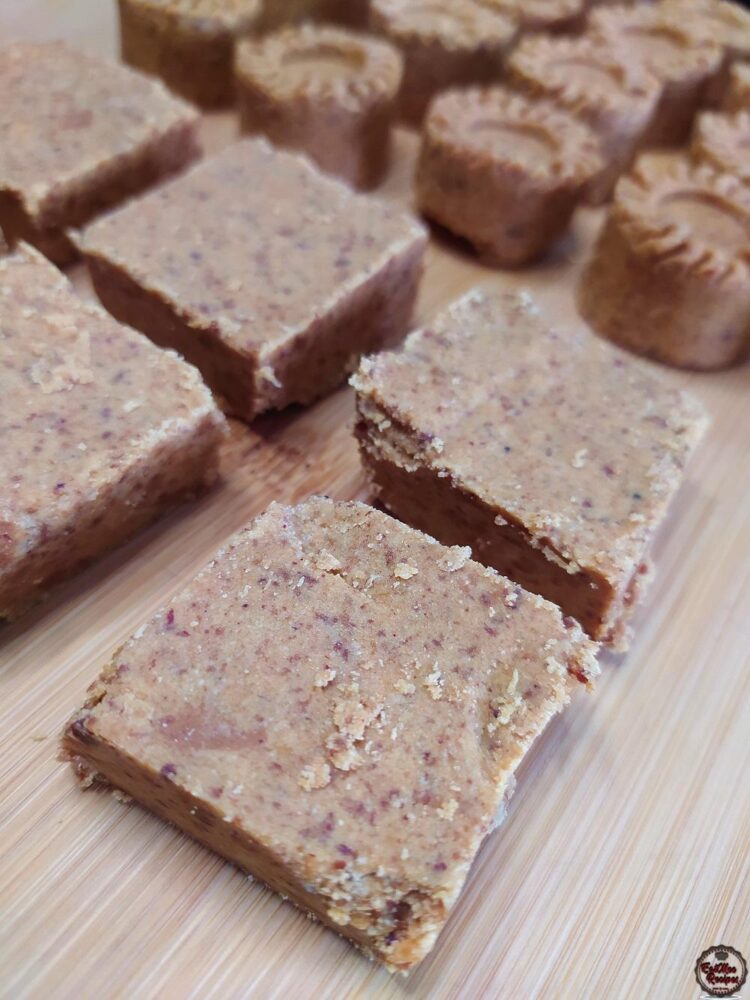
These Chana Magaj is ready to be served.
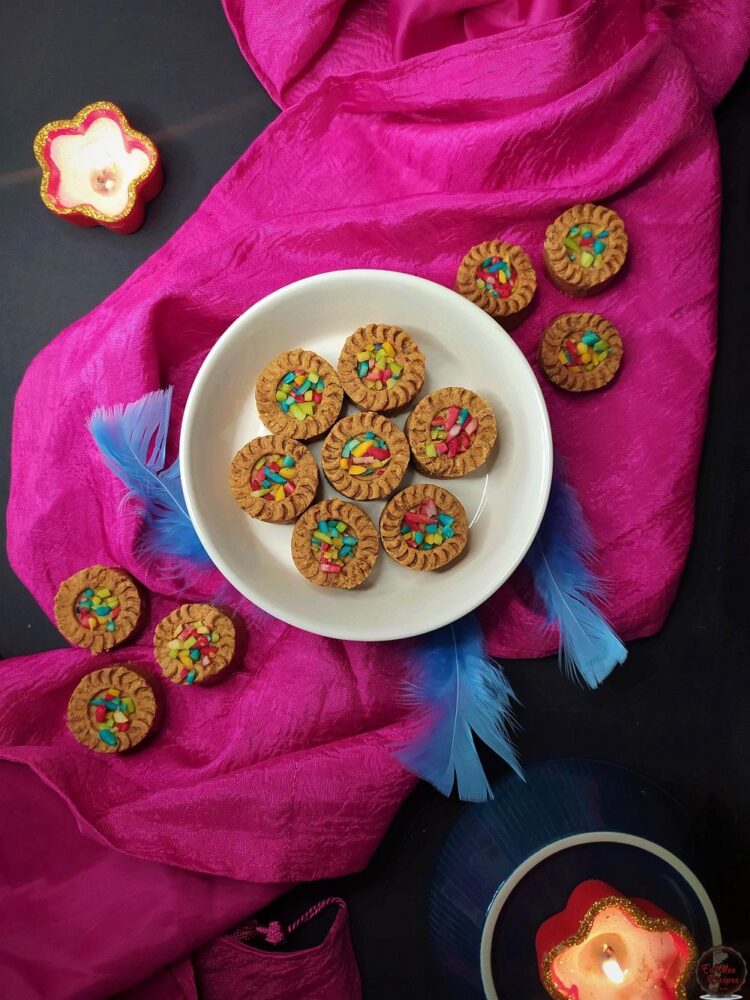
They are creamy, crumbly & melt in your mouth with every bite.

Store them in an airtight container for up to a week or refrigerate for up to a month.
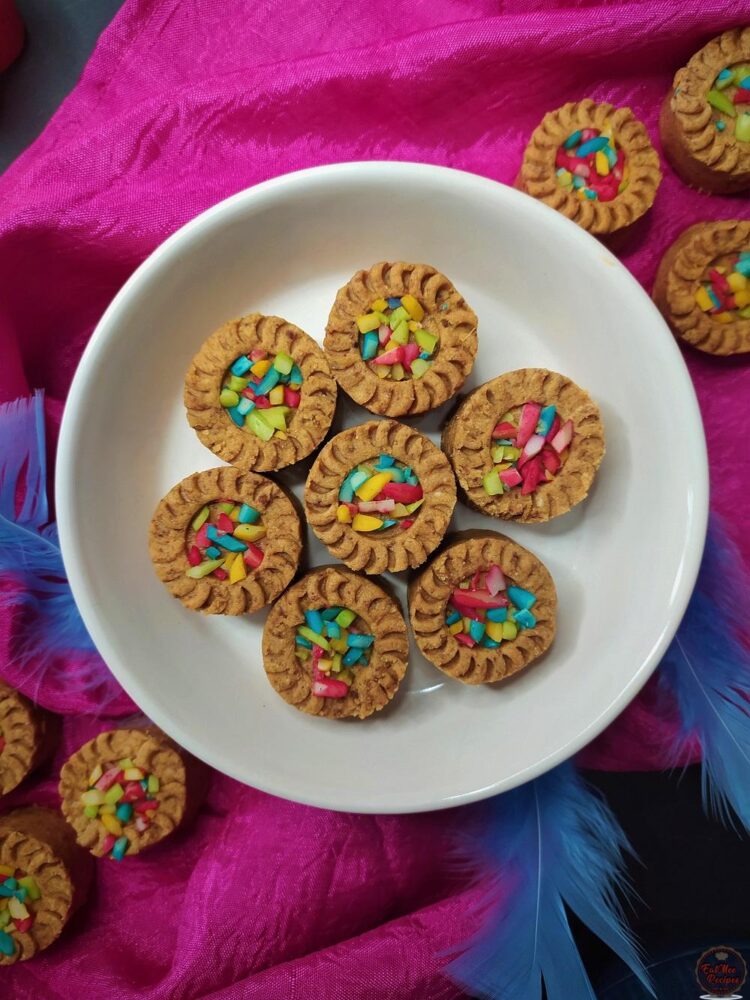
Follow along with Denisiya's step-by-step video guide for Chana Magaj.
Expert kitchen guidance and troubleshooting for making the best Chana Magaj
Store in an airtight container at room temperature for up to 1 to 2 weeks. For milk-based sweetmeats like burfee or soji, refrigerate in an airtight container for up to 7 to 10 days.
Pure butter or ghee provides the authentic rich aroma and texture characteristic of traditional Indian sweetmeats and bakes. Margarine can be used in a pinch, but butter delivers superior flavor.
Hi, I'm Denisiya! Food lover, recipe developer, and founder of EatMee Recipes. I specialize in authentic South African Durban Indian cuisine, comforting curries, and modern Instant Pot adaptations. Every recipe on this site is tested in my personal kitchen to ensure you get mouth-watering, foolproof results every time.
Explore more authentic Durban curries, traditional bakes, and comforting family favourites.
 Desserts
If you love traditional South African sweet rice but want an easier, hands-off method, thi...
 Desserts
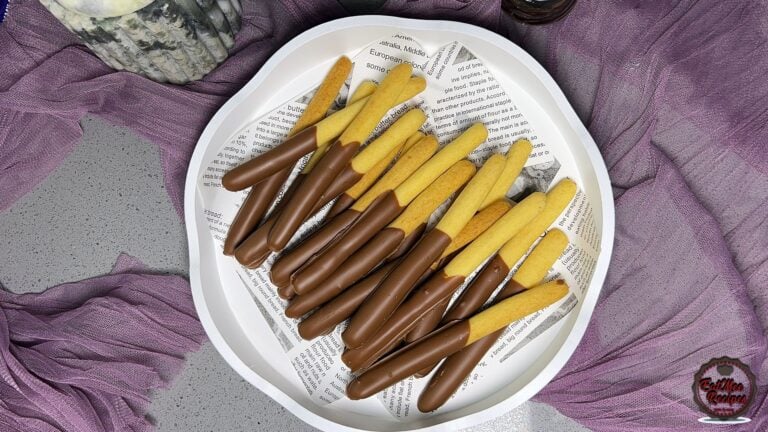
Light, crisp, and delicately sweet biscuit sticks dipped in chocolate
 Desserts
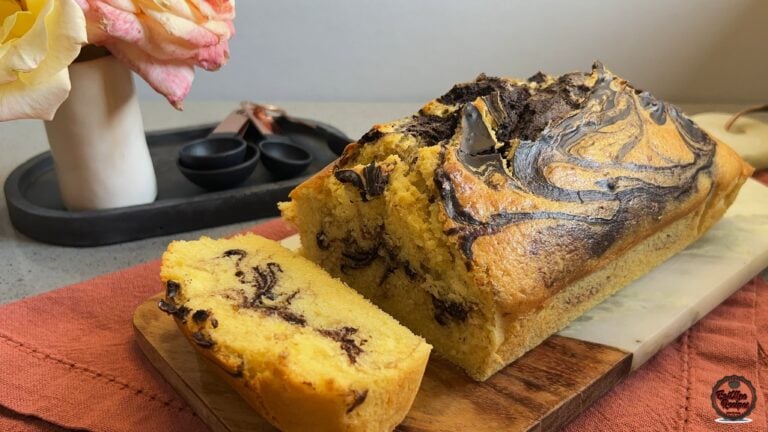
There’s something comforting about a marble loaf cake fresh from the oven, especially when...
Have you tried this recipe or have questions for Denisiya? Join the conversation below.
I want to try your recipe but I don’t understand why there are 2 times milk powder ? So need to put 1 1/2 cup milk powder total ? Please
I am so sorry about that, it was a typo error from my side. I just corrected it – it’s just 1 cup milk powder. My sincere apologies.
With the Channa magaj can it be less crumby? And how would I go about it. Thank you for the simple recipe definitely going to be using this as I seem to flop the rest.
If you want it less crumbly, do not allow it to set in the fridge, just shape whilst cool. Thank you, I hope this recipe works out for you 🙂
Leave a Comment
Your email address will not be published. Required fields are marked *