
We Value Your Culinary Privacy
EatMee Recipes uses cookies to provide a personalized browsing experience, analyze recipe popularity, and serve relevant ads. You can review our full disclosure in our Privacy Policy.
Make authentic Bread Rolls with this foolproof recipe. Packed with rich traditional flavor, step-by-step photos, and cooking tips by Denisiya on EatMee Recipes.

Join over 60,000+ home chefs for weekly authentic Durban Indian cook-alongs, Instant Pot masterclasses, and family heritage recipes.
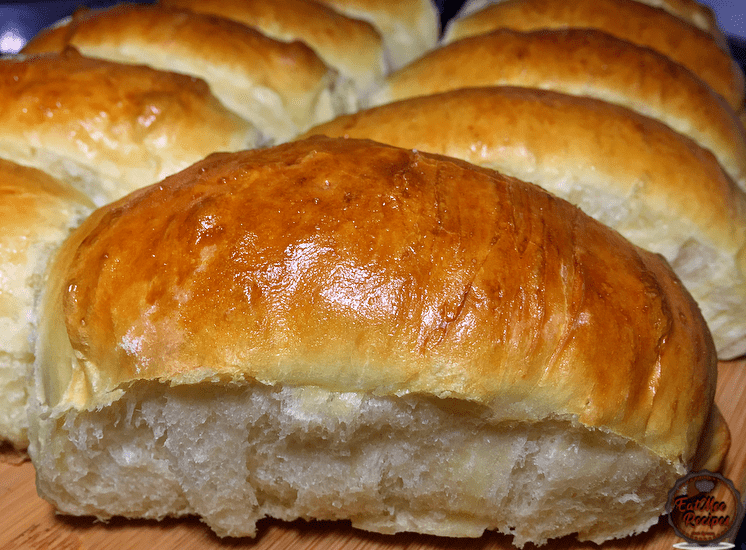
Bread Rolls are a staple in most countries. They are cylindrical in shape which makes them perfect for hot dogs, dipping into soups or as a side to many roast dishes.
These rolls are easy to prepare & their even more delicious when hot with a thick layer of butter. If you’re a beginner at baking, try this recipe out & test your skills – I promise it is a flop proof recipe that will leave you wanting to bake more often.
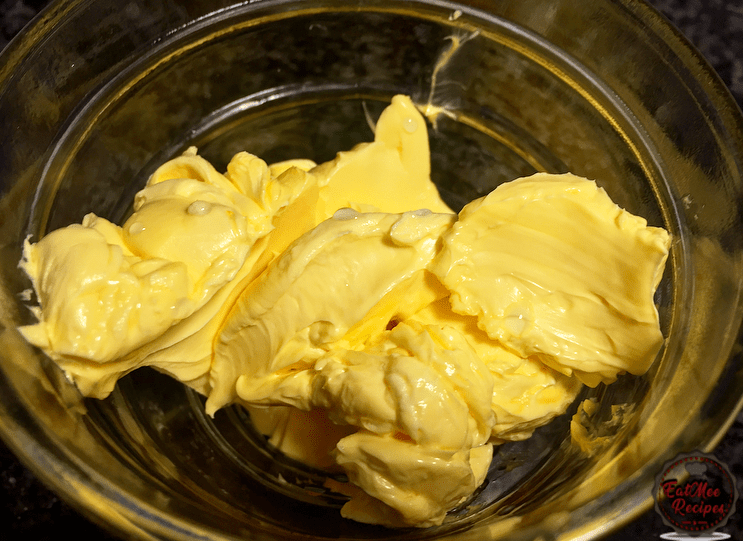
Firstly, be sure that the butter or margarine is soft at room temperature.
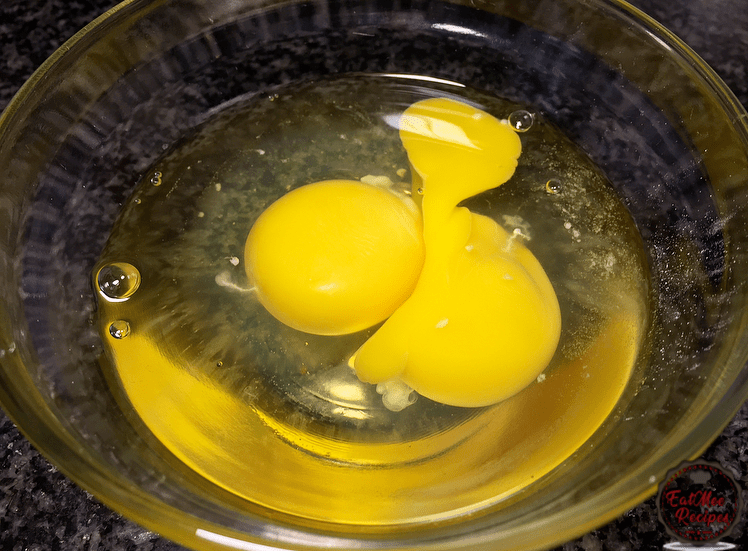
Crack 2 eggs into a bowl.
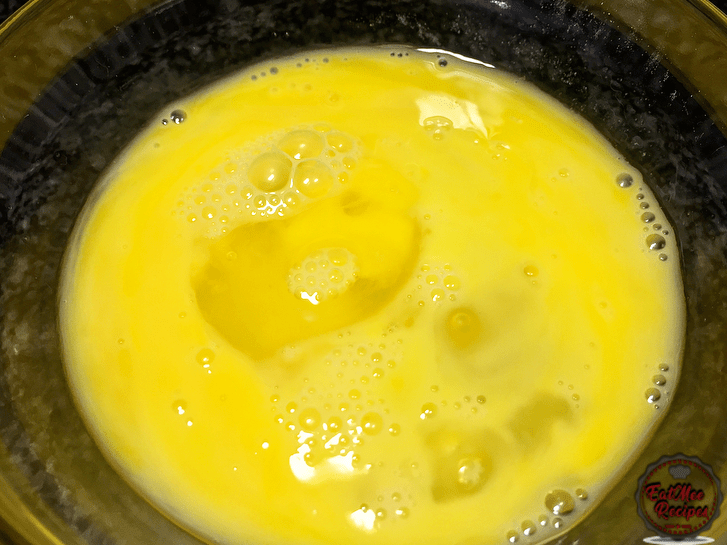
Beat eggs using a fork or a whisk & set aside.
Add the flour & butter to a mixing bowl.
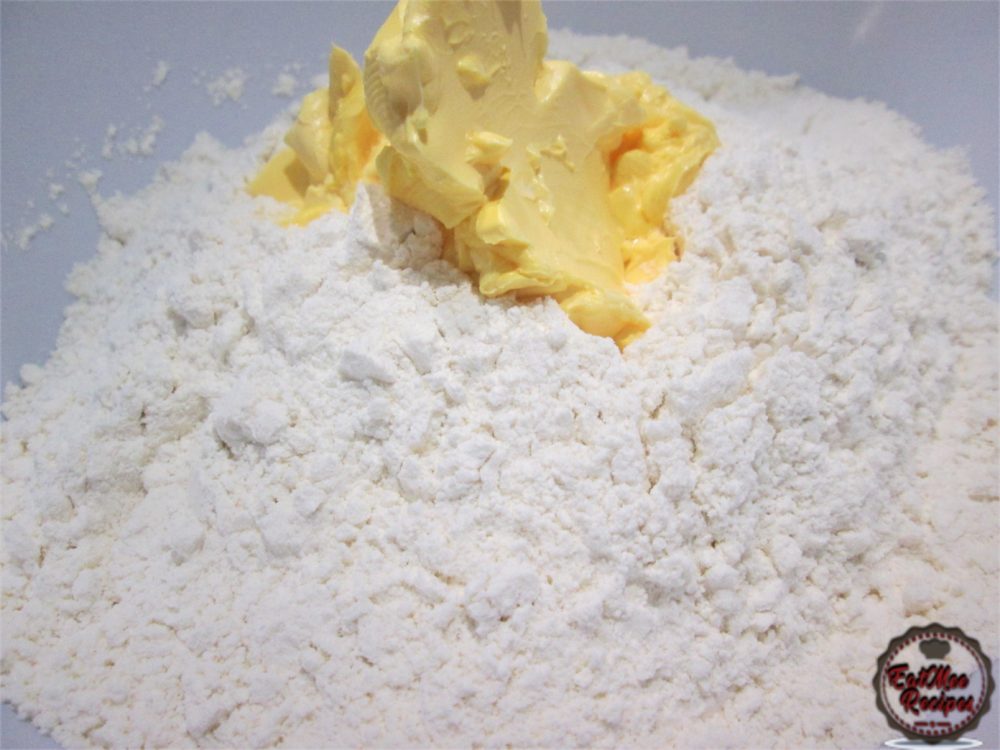
Rub the butter into the flour using your fingertips. It should resemble breadcrumbs.
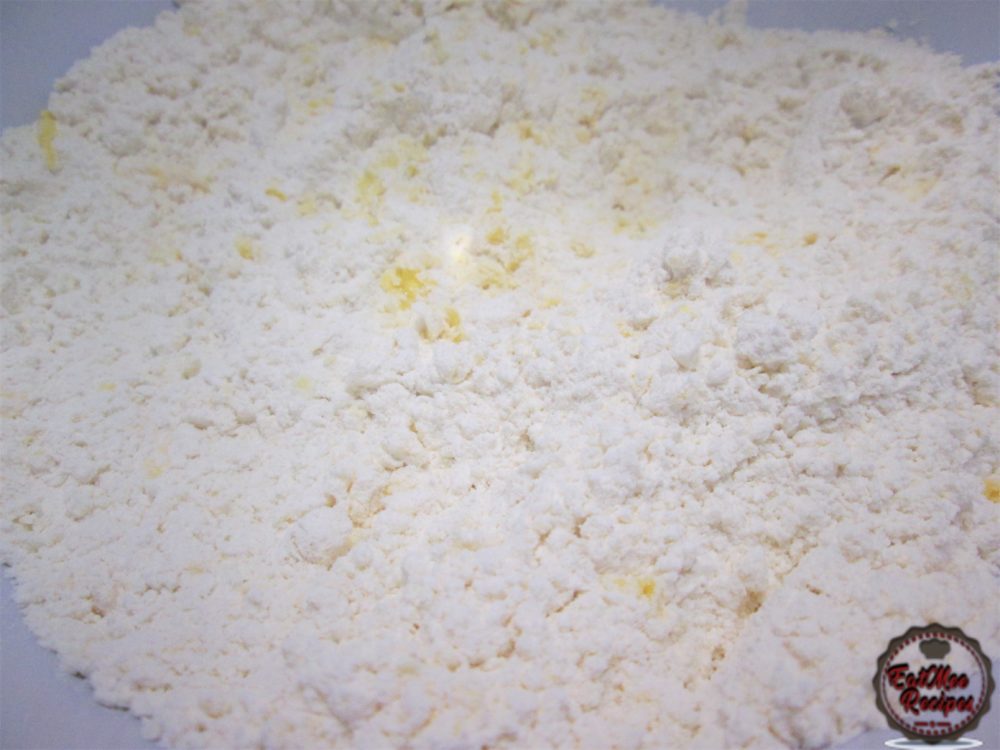
Add in the sugar, salt & the yeast.
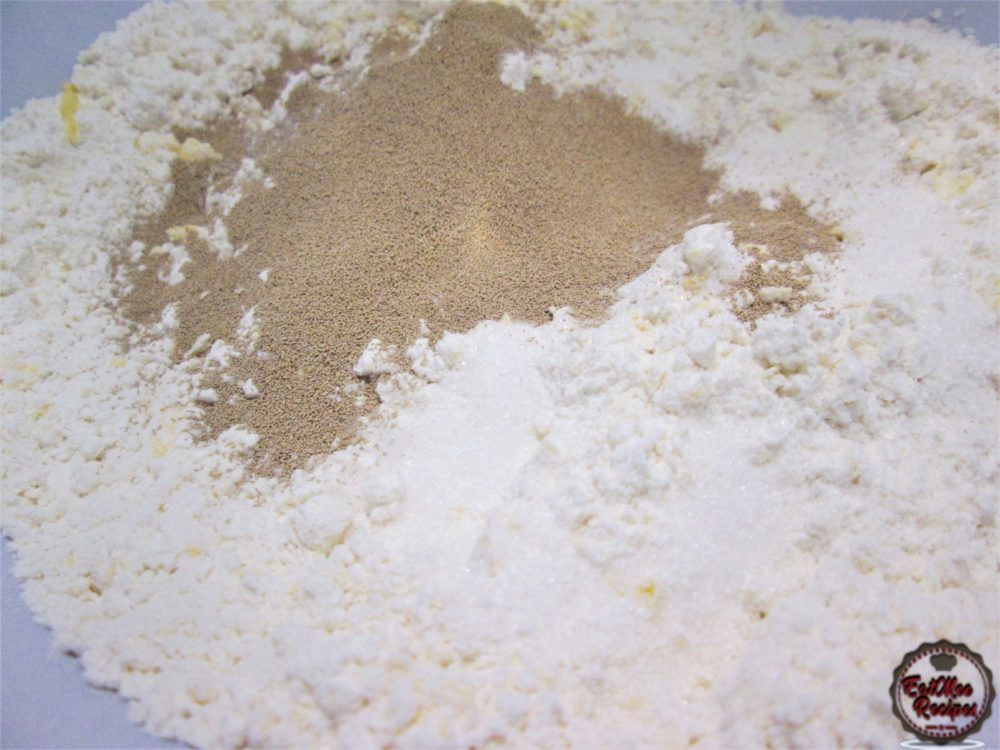
Mix well.
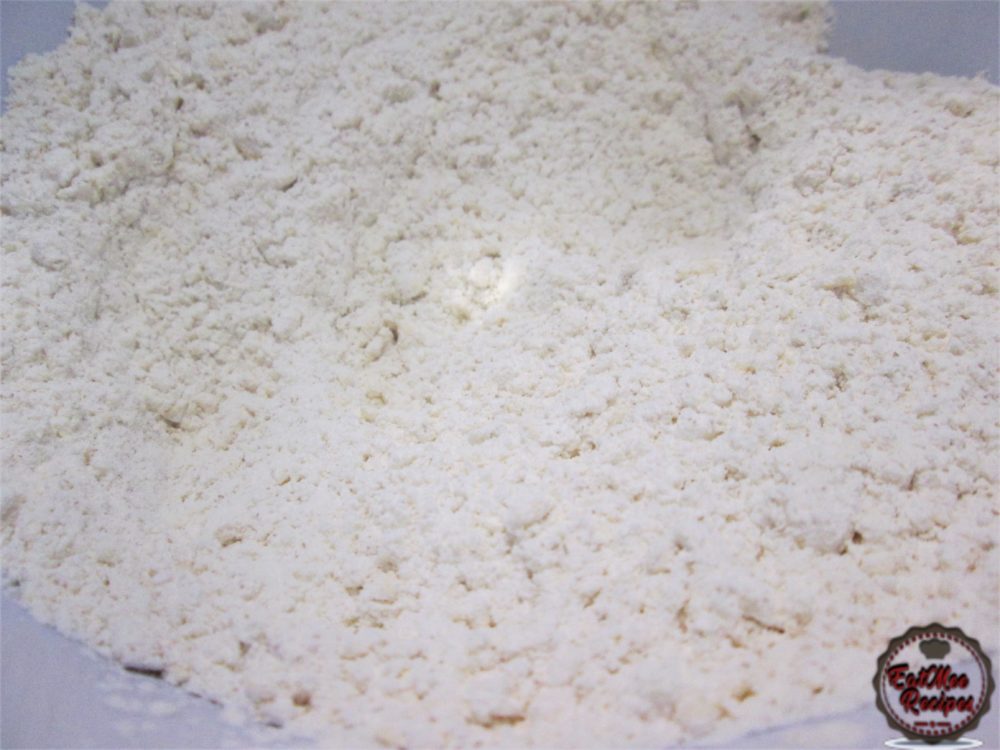
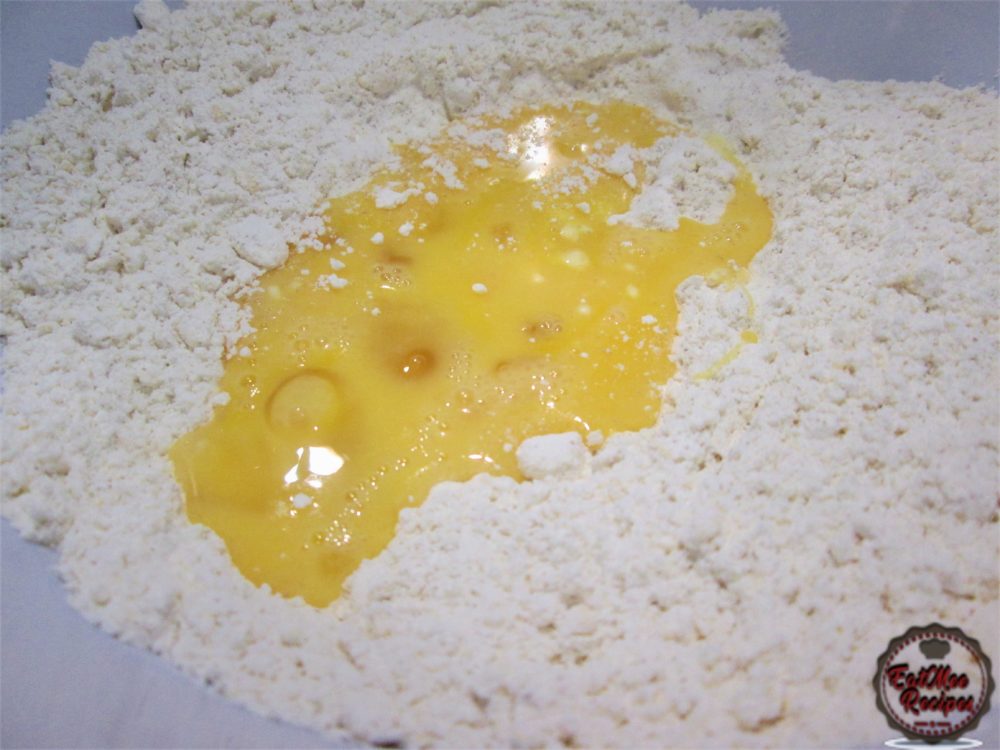
Add in the beaten eggs.
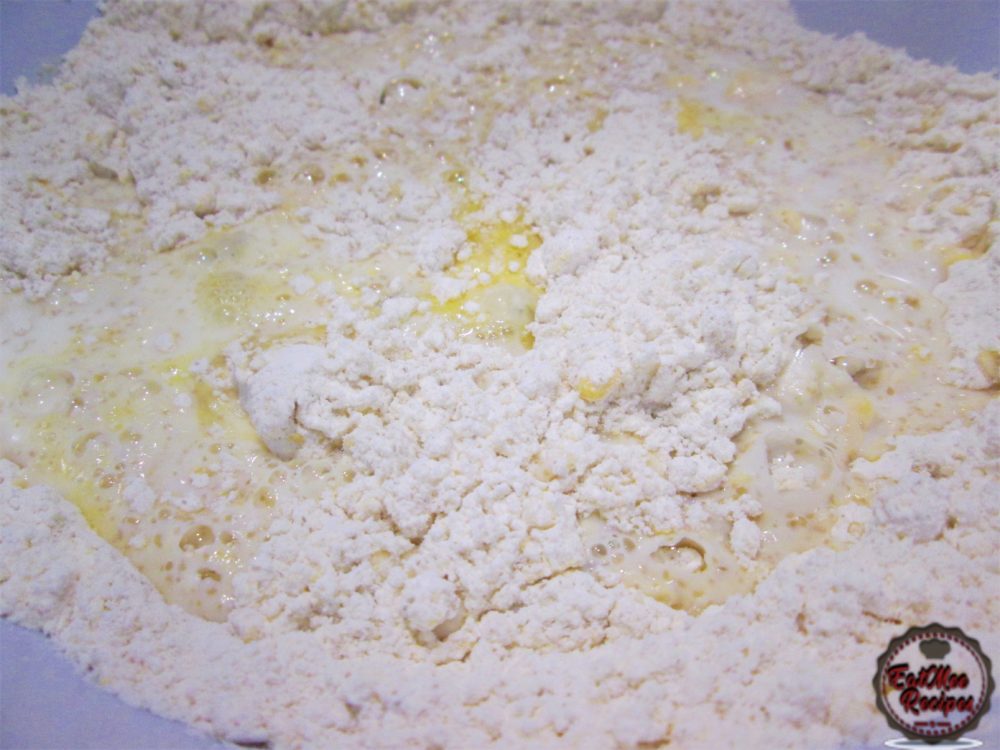
Pour in the lukewarm milk.
Pour in the lukewarm water.
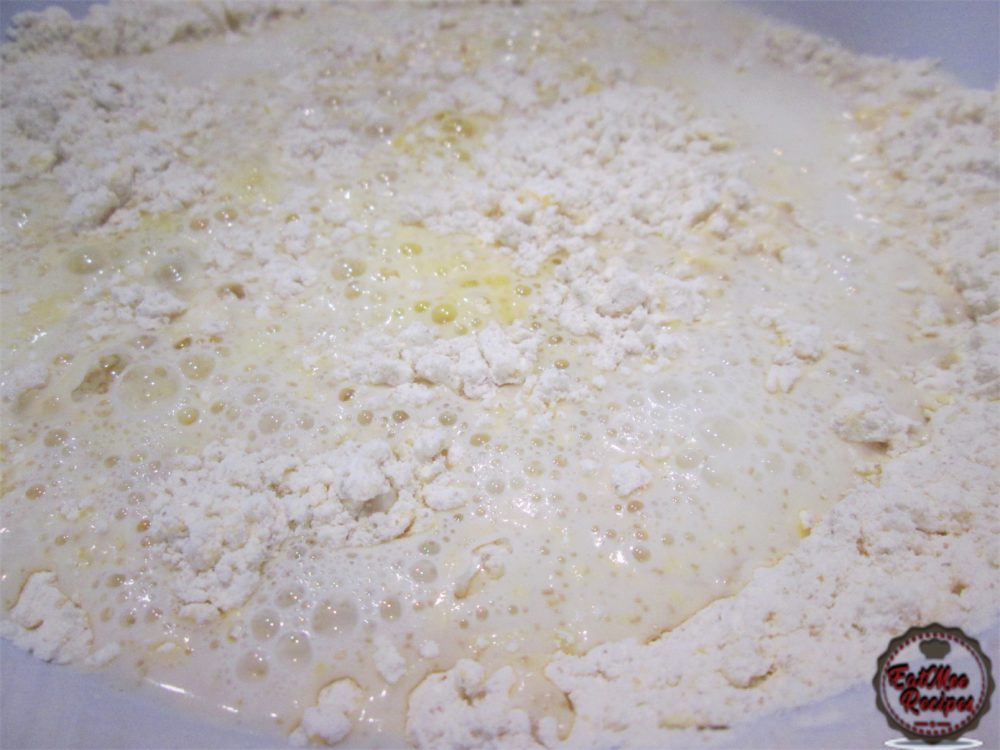
Mix until it forms a dough.
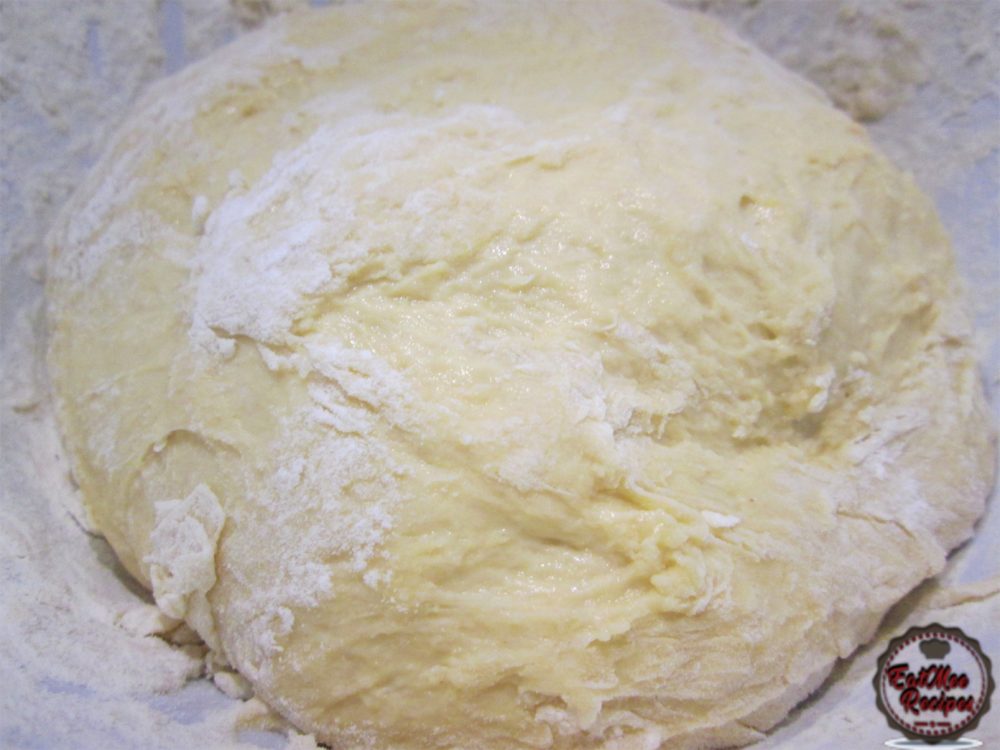
Place dough onto a floured surface.
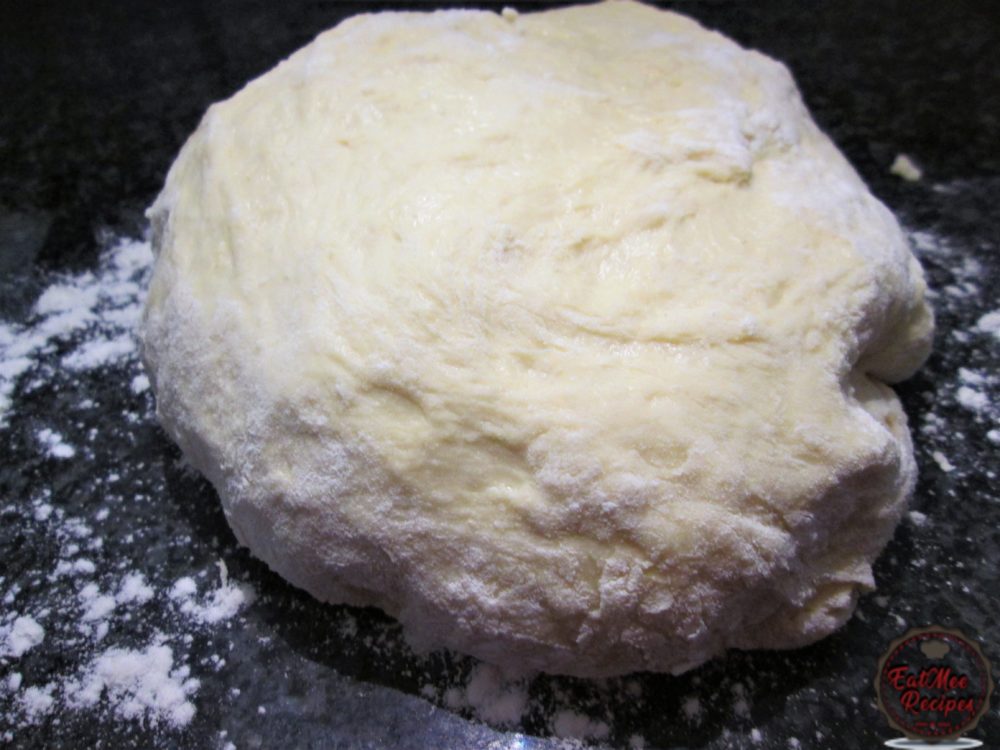
Knead for 10 minutes. The longer it is kneaded, the softer it will be.
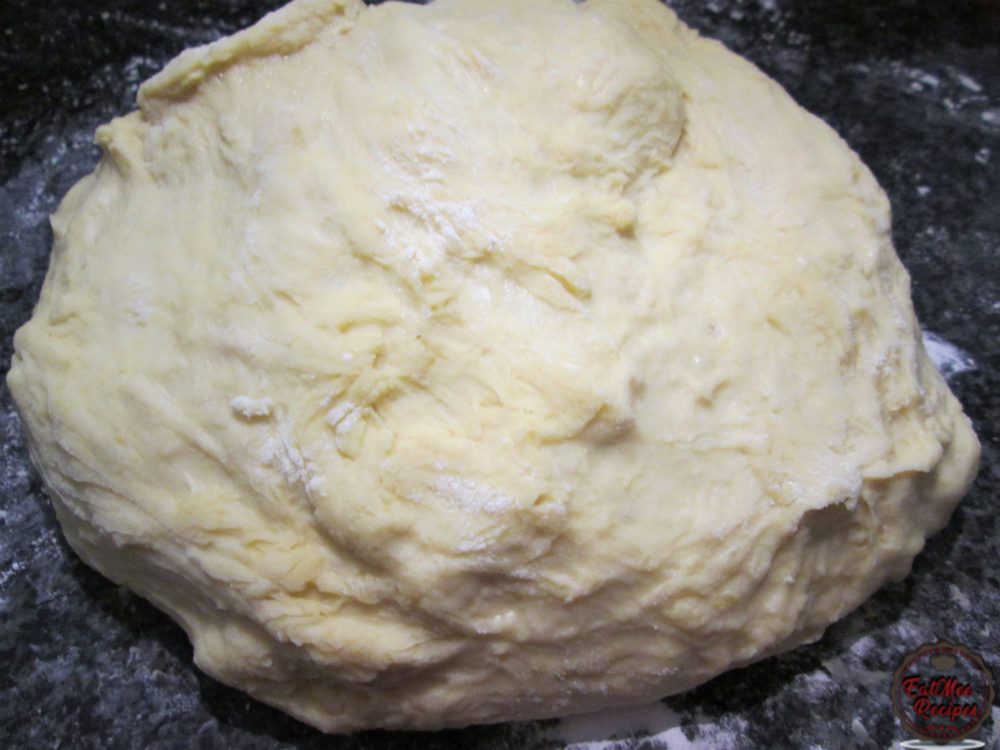
Lightly oil a bowl & pat excess oil onto the dough so it does not dry up. Place the dough into the bowl.
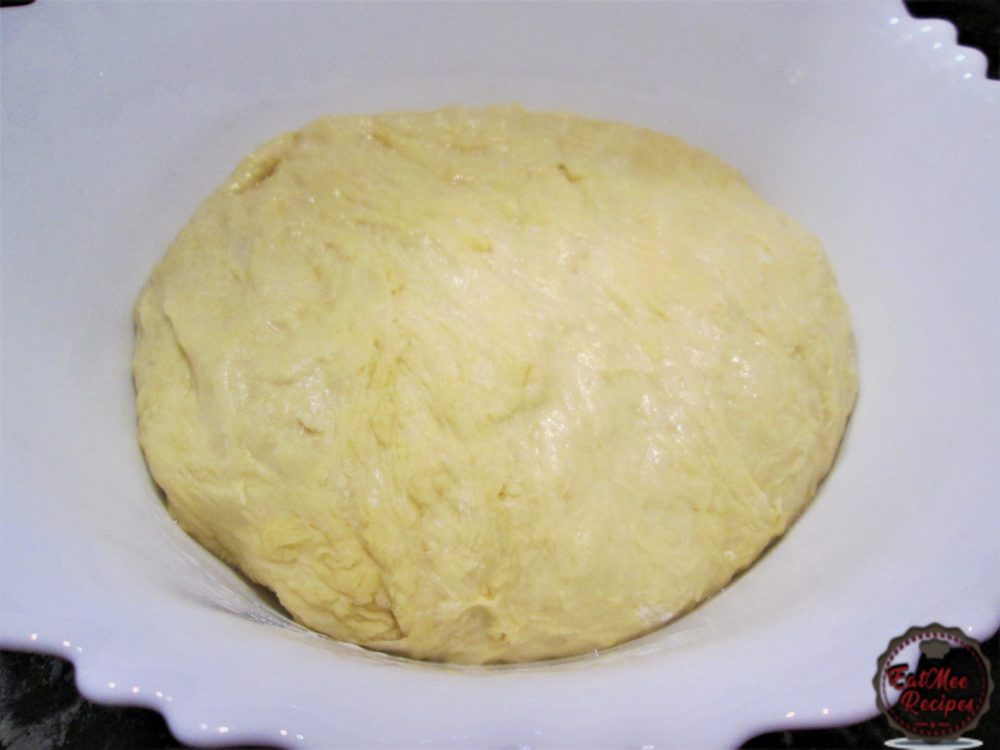
Cover with cling/plastic wrap & leave in a dark place to rest for 1 hour or more. I usually pop it in a turned off oven or microwave.
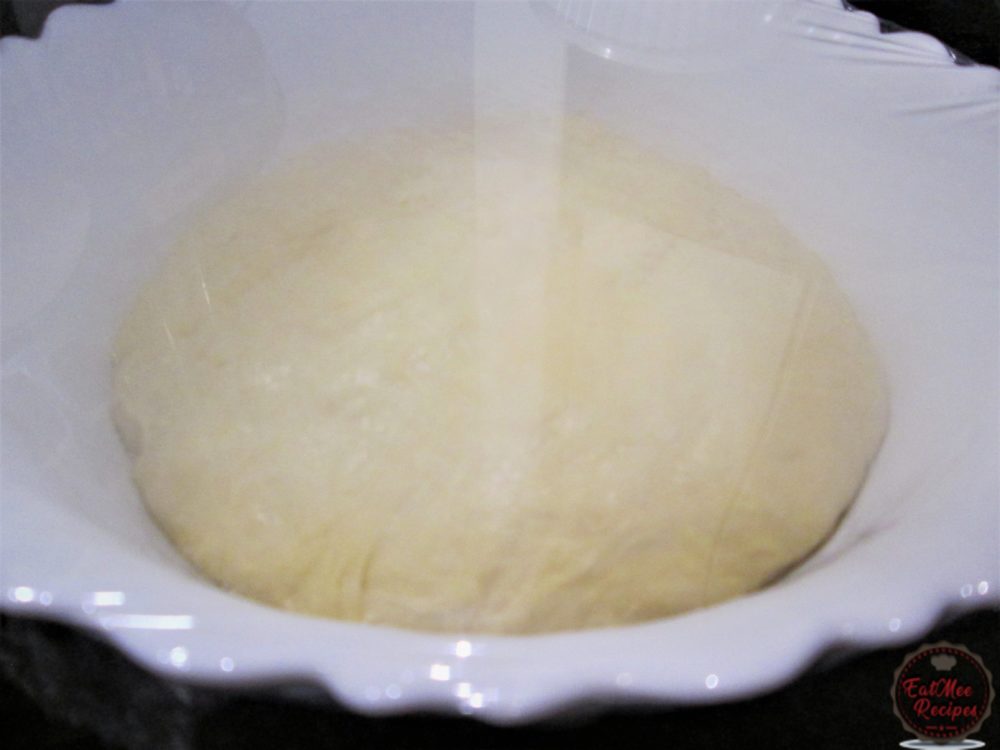
After an hour, the dough should double in size.
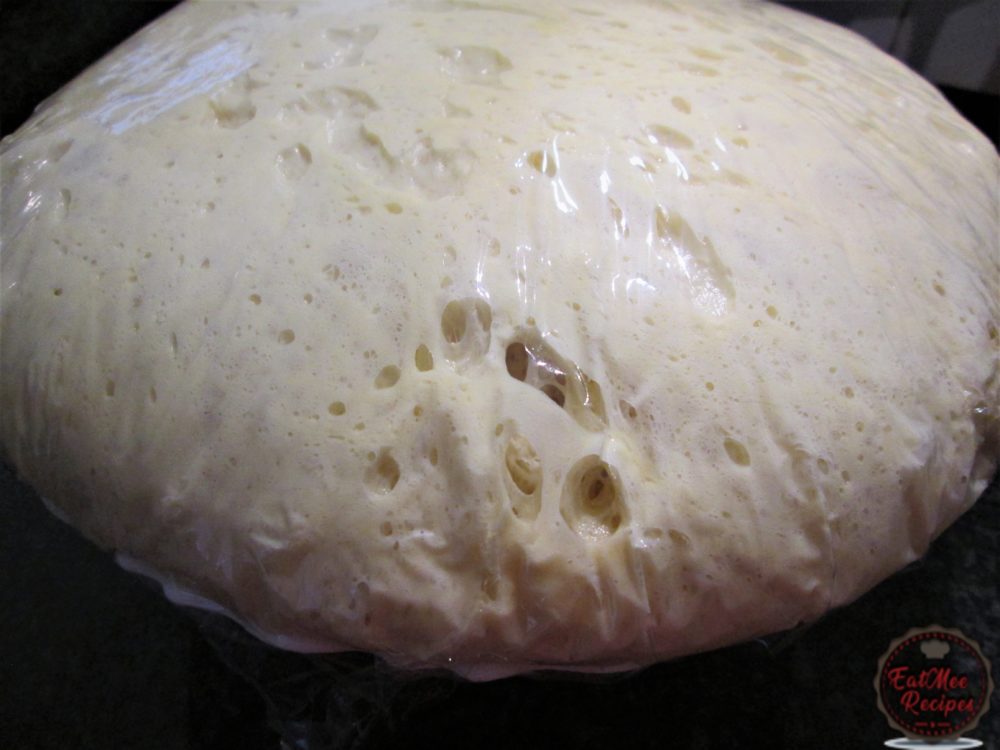
Punch down dough & place onto a floured surface.
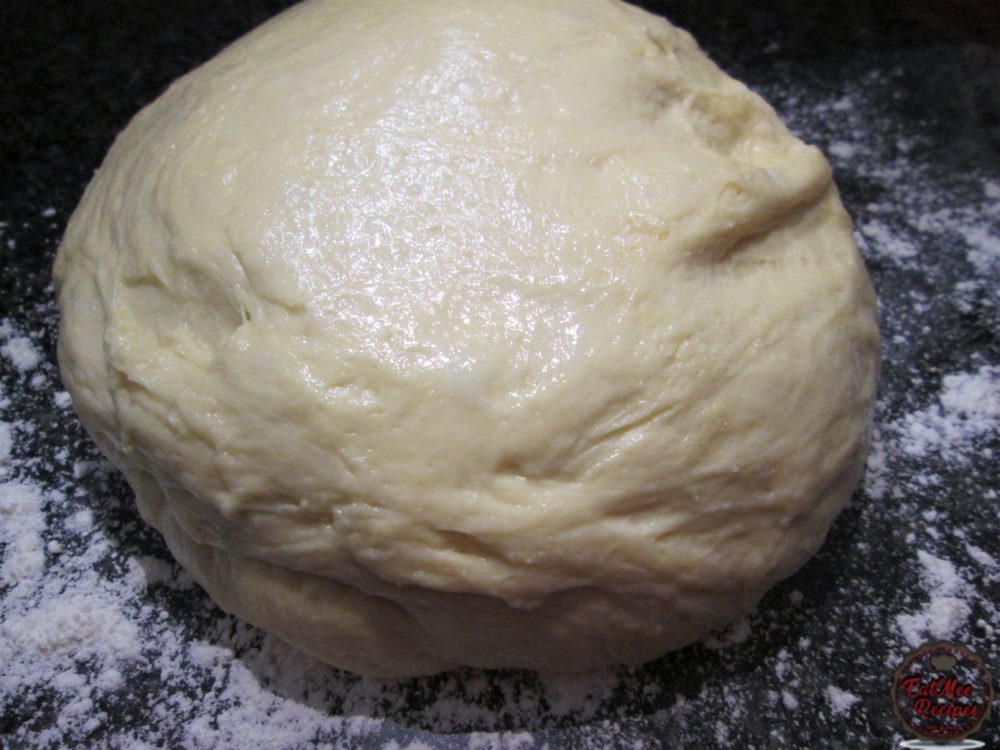
Knead for a minute.
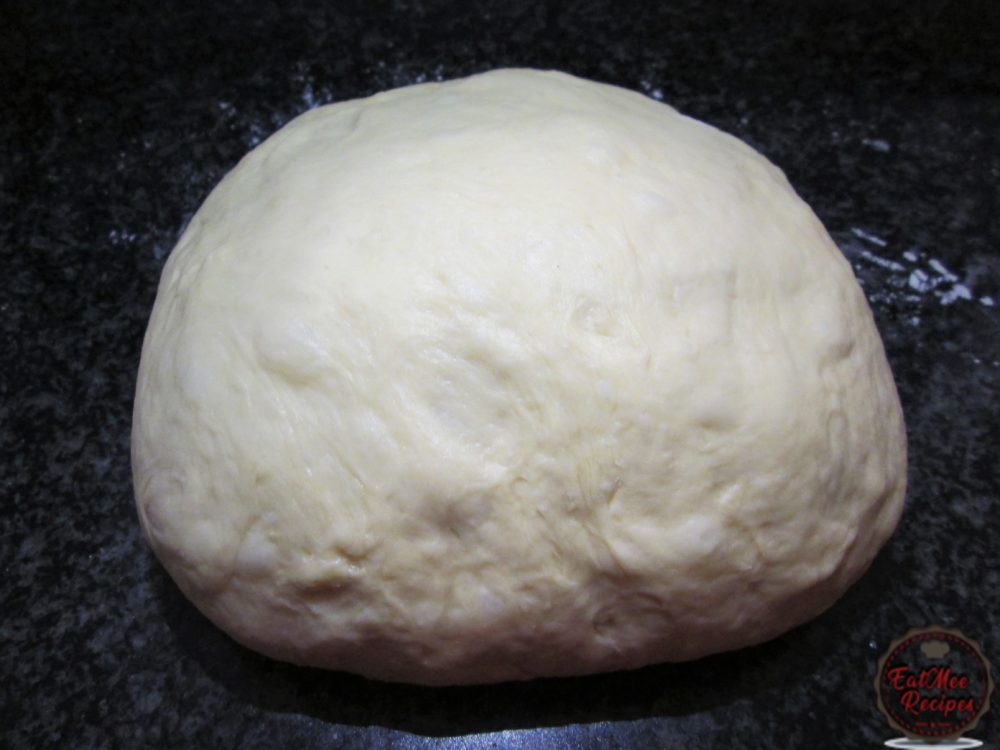
Roll the dough into a log shape.
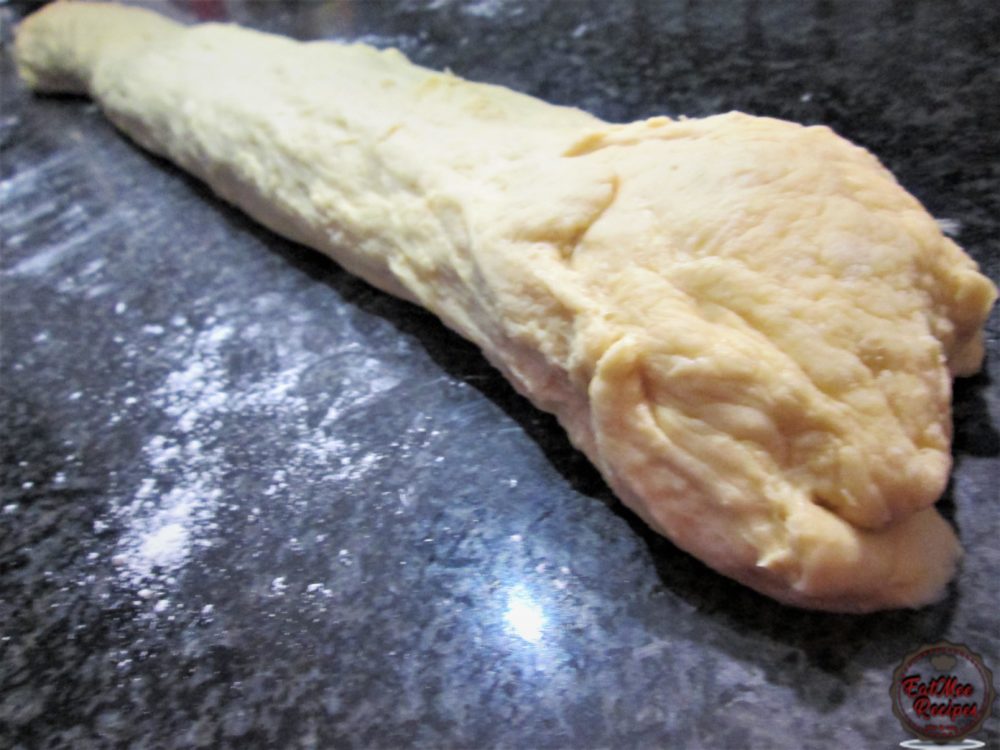
Cut into 12 equal parts.
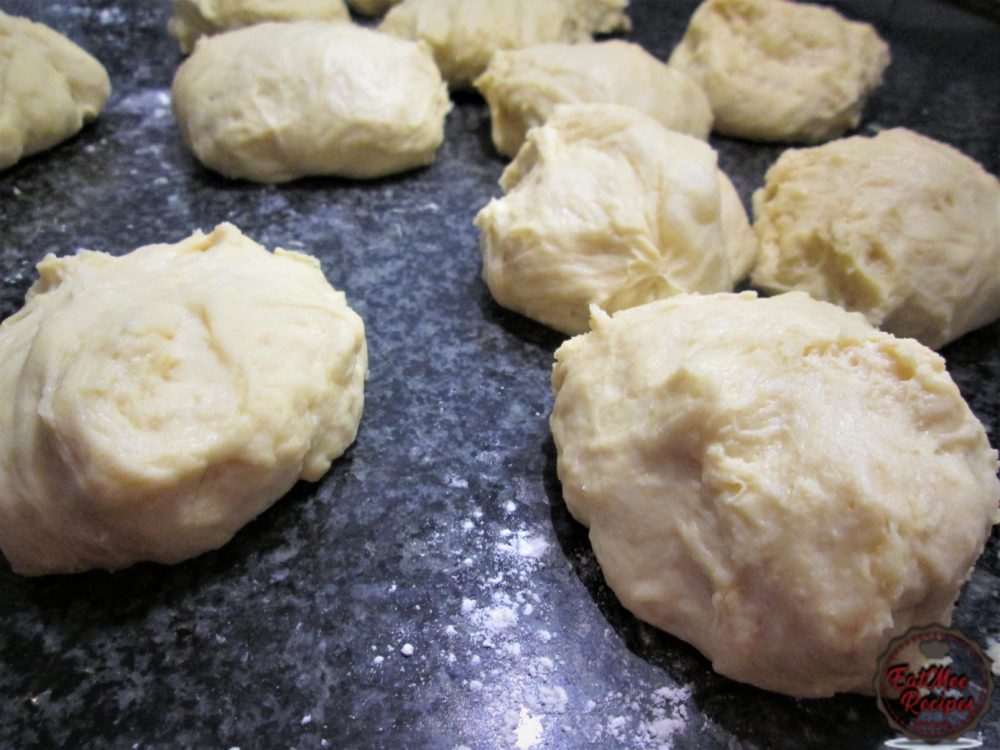
Line a baking tray with wax/parchment paper.
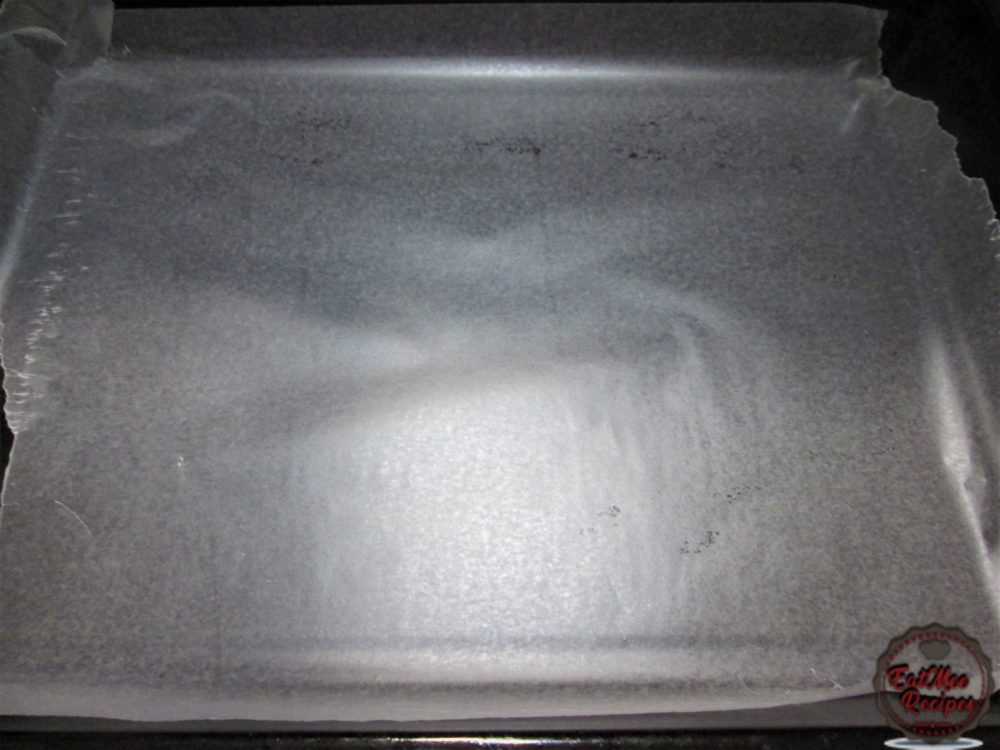
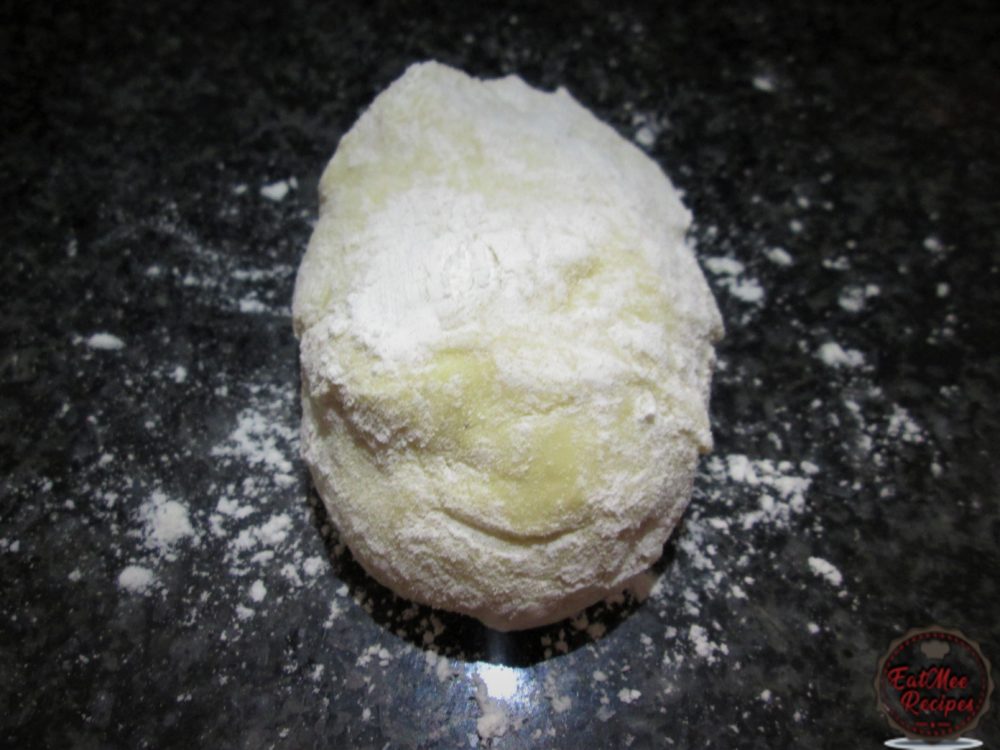
The dough should be a bit tacky, take one piece at a time & dunk it into some flour.
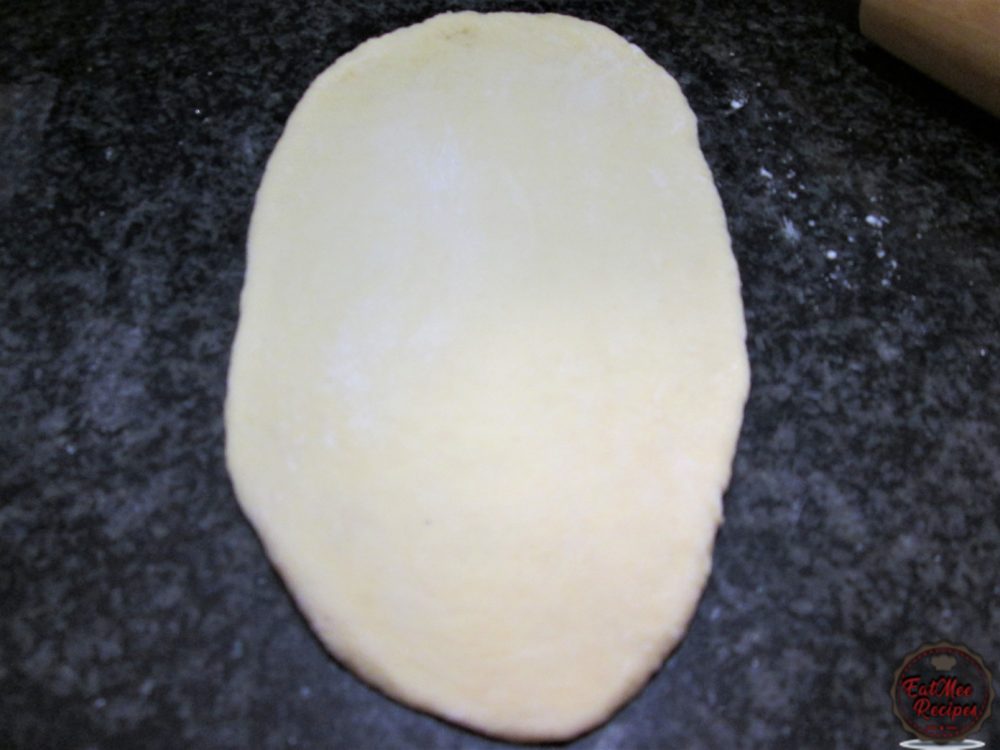
Roll the dough out using a rolling pin.
Fold & roll the dough in an upward motion – like a Swiss roll effect.
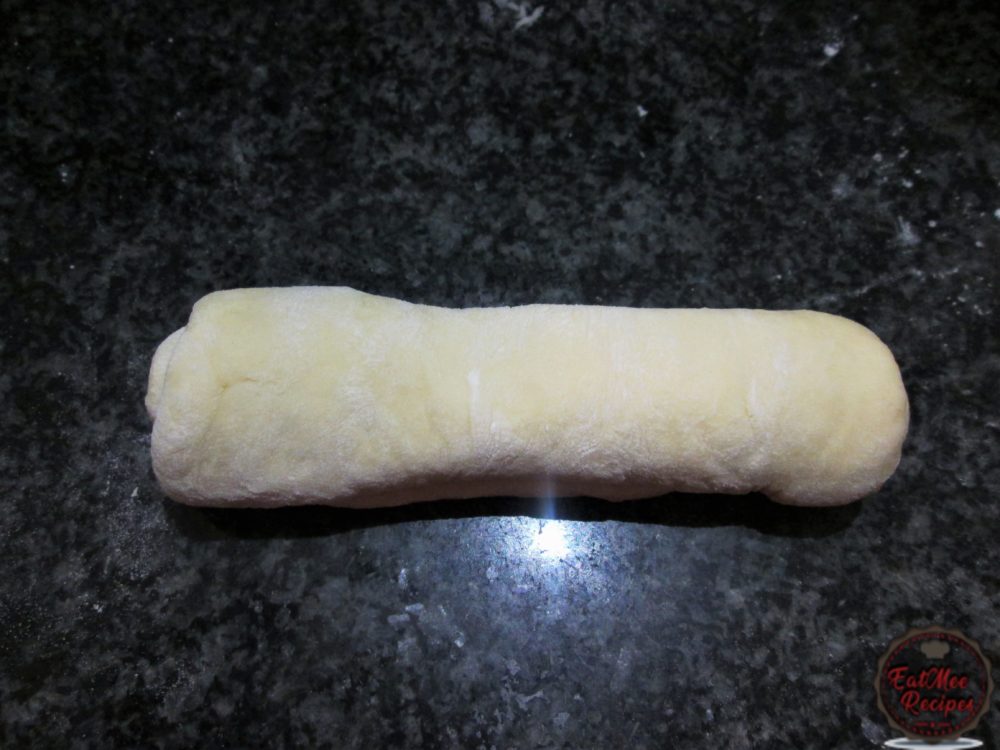
Continue the same process for the rest of the dough pieces & place onto the prepared baking tray.
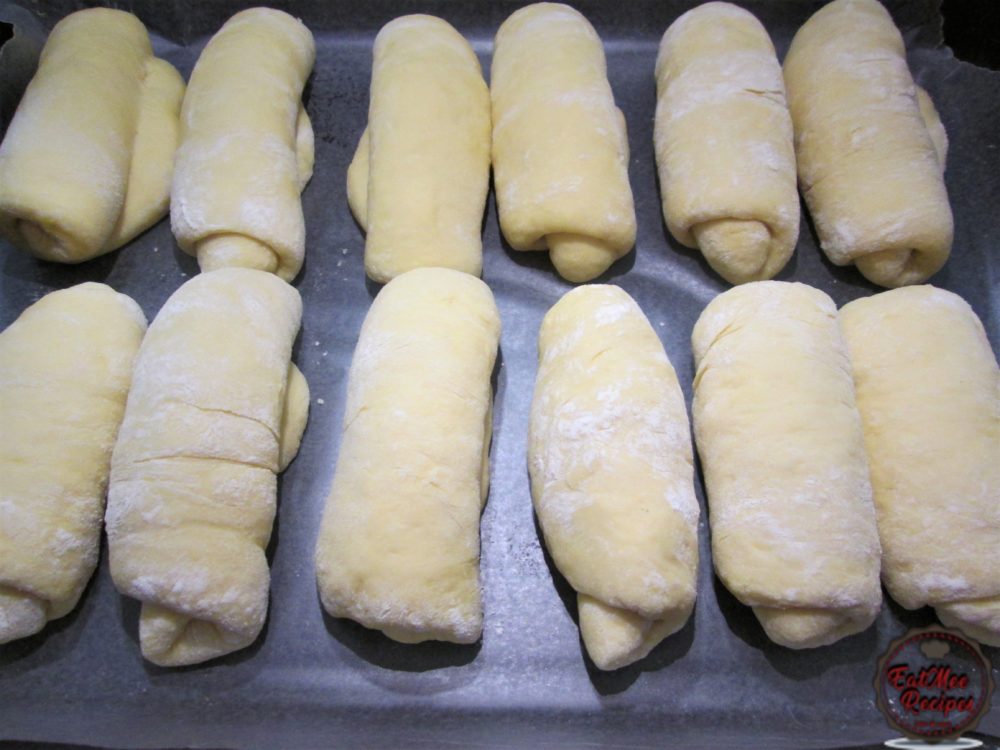
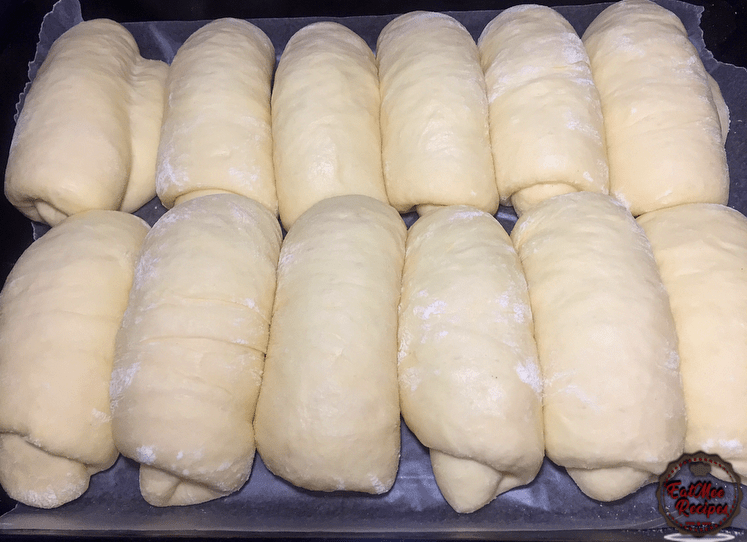
Cover with a dish towel & allow to rest for 30 minutes.

Preheat oven to 180° Celsius or 356° Fahrenheit.
After 30 minutes of resting the rolls, they should be nice & puffy.
Crack 1 egg into a bowl.
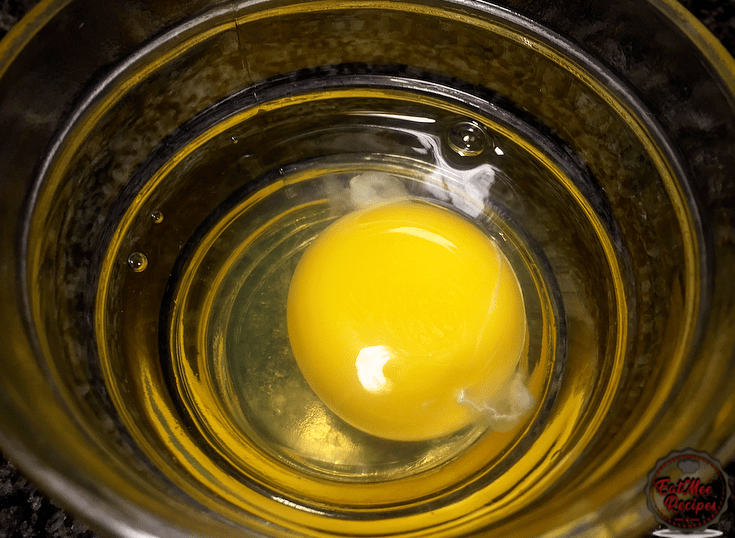
Beat with a fork or a whisk.
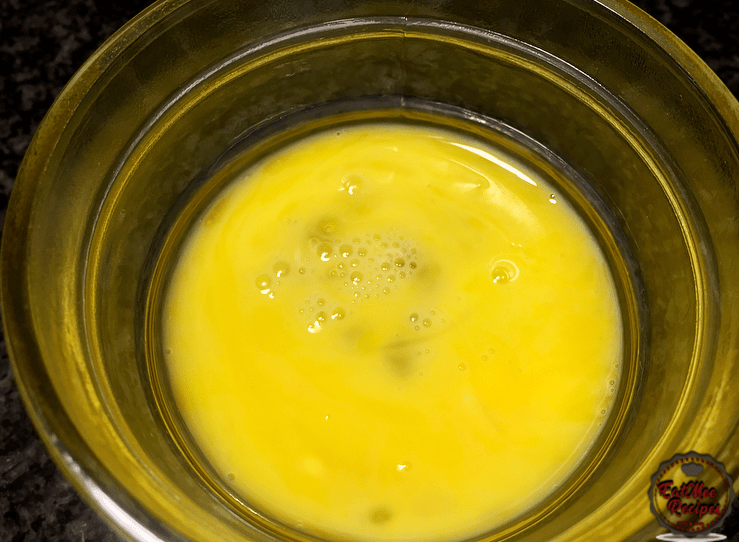
Brush the egg over the rolls.
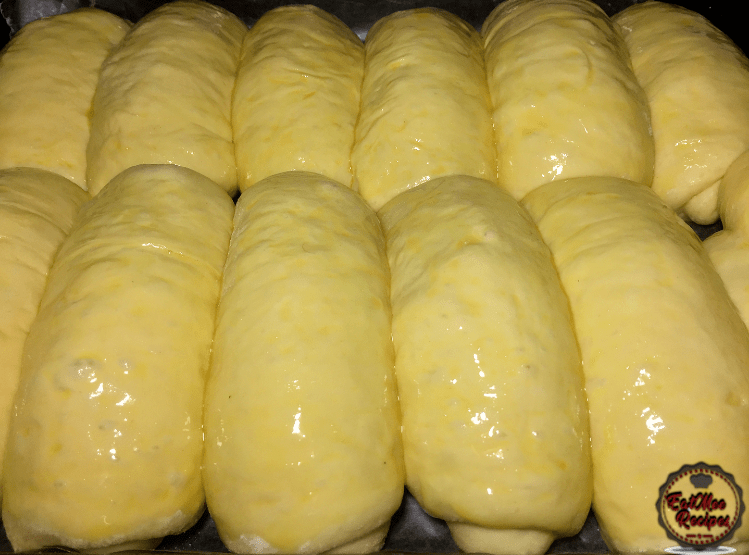
Bake for 20-25 minutes until golden.
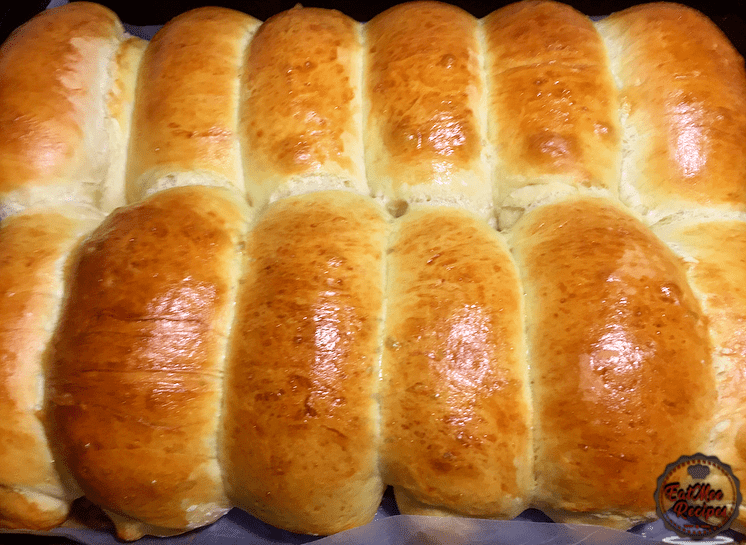
Enjoy with a cup of hot tea, coffee or cocoa.
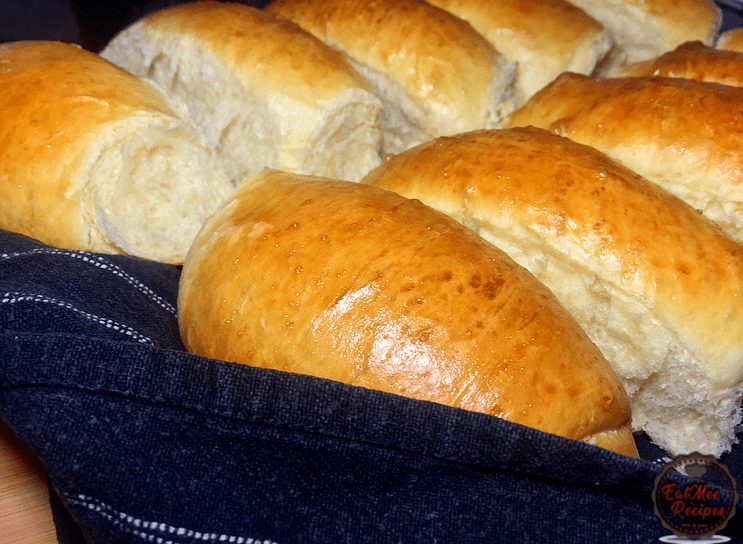
These Bread Rolls are also perfect for hot dogs, Philly cheese steak rolls, Debonairs Chicken & Mushroom Subs or as a side.
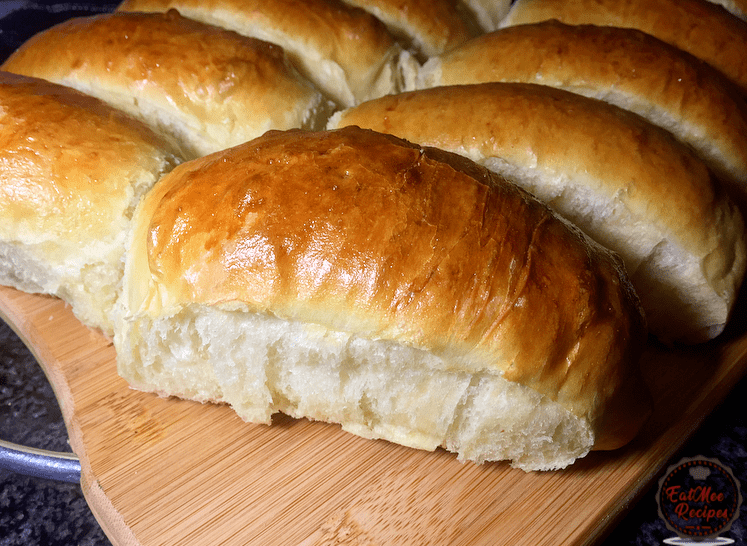
The inside of these rolls are super soft & fluffy.
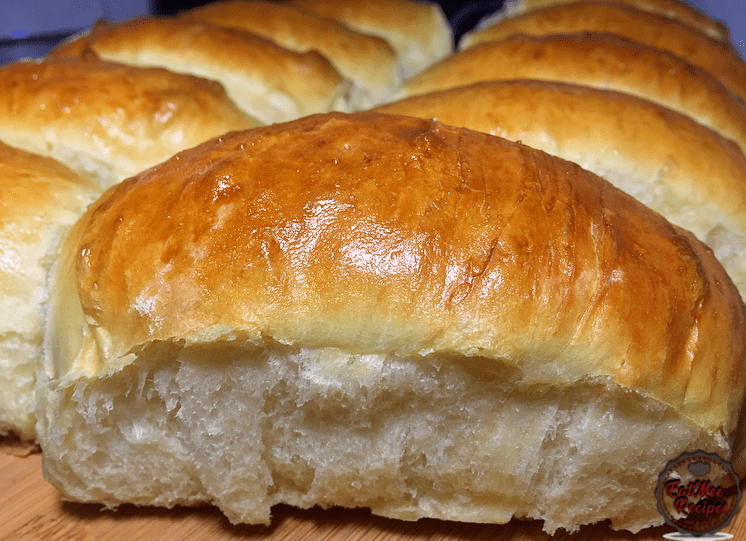
Store these buns in an airtight container for up to a week.
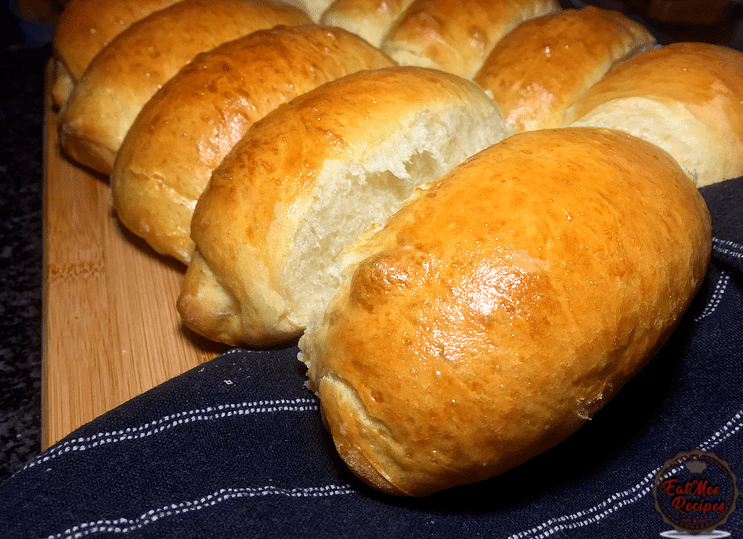
Follow along with Denisiya's step-by-step video guide for Bread Rolls.
Expert kitchen guidance and troubleshooting for making the best Bread Rolls
The golden secret is kneading the flour with boiling hot water, which pre-gelatinizes the starches. Roll thin, cook on a hot tawa with a light brush of butter or ghee, and stack inside a covered container wrapped in a clean kitchen cloth.
Yes! Cooked rotis freeze exceptionally well. Place sheets of wax paper between each cooked roti, wrap in foil or a zip-top bag, and freeze for up to 2 months. Reheat directly on a hot pan for 30 seconds.
Stiff rotis are caused by rolling the dough with too much dry flour, rolling too thick, or cooking on too low heat for too long, which dries out the moisture. Cook on medium-high heat quickly.
Hi, I'm Denisiya! Food lover, recipe developer, and founder of EatMee Recipes. I specialize in authentic South African Durban Indian cuisine, comforting curries, and modern Instant Pot adaptations. Every recipe on this site is tested in my personal kitchen to ensure you get mouth-watering, foolproof results every time.
Explore more authentic Durban curries, traditional bakes, and comforting family favourites.
 Everyday Meals
Soft, fluffy steamed bread, also known as ujeqe, is a beloved staple that pairs beautifull...
 Everyday Meals
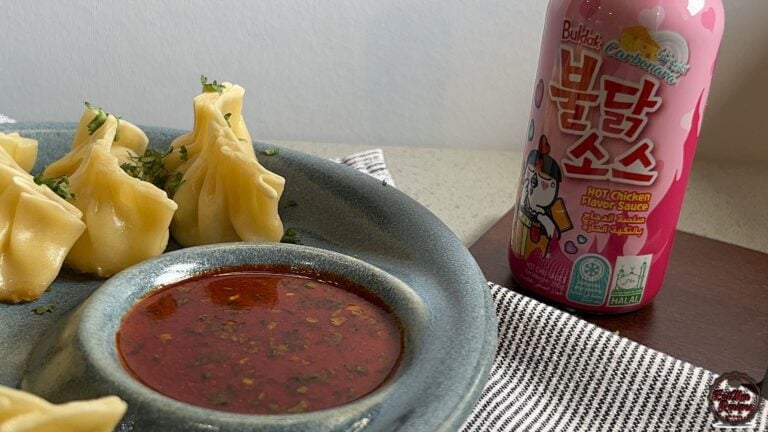
If you enjoy bold, spicy flavours with a creamy twist, this Buldak dipping sauce is one yo...
 Everyday Meals
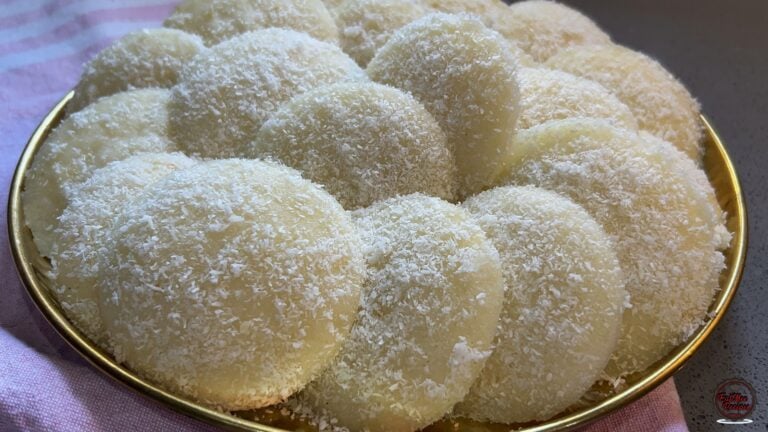
There’s something magical about waking up to the soft aroma of freshly steamed idlis – war...
Have you tried this recipe or have questions for Denisiya? Join the conversation below.
Can’t wait to try this recipe
Just wanted to say thank u for be so informative with ur recipes it’s so hard to find someone who will even take the time to post picz step by step making it so easy to follow
keep up the gud work👌
Thank you so much Sharon. Really appreciate your support & feedback 🙂
Hi! Was wondering if I can use this recipe to make buns instead of hot dog rolls .. do you think it will work?
Hi, yes you may use the recipe to make buns, also – there is a buns recipe up the site as well.
Fantastic recipe. The entire family enjoyed it. Once baked, remainder was kept in an air tight container. We warmed them up when we wanted to have them again. Delicious!
Thank you so much Preshaan. Glad to hear that you and your family enjoyed the rolls.
hi lovely blog
do u send email updates
Thank you, I used to but will start again soon 🙂
Leave a Comment
Your email address will not be published. Required fields are marked *