
We Value Your Culinary Privacy
EatMee Recipes uses cookies to provide a personalized browsing experience, analyze recipe popularity, and serve relevant ads. You can review our full disclosure in our Privacy Policy.
Make authentic Banana Puri with this foolproof recipe. Packed with rich traditional flavor, step-by-step photos, and cooking tips by Denisiya on EatMee Recipes.

Join over 60,000+ home chefs for weekly authentic Durban Indian cook-alongs, Instant Pot masterclasses, and family heritage recipes.
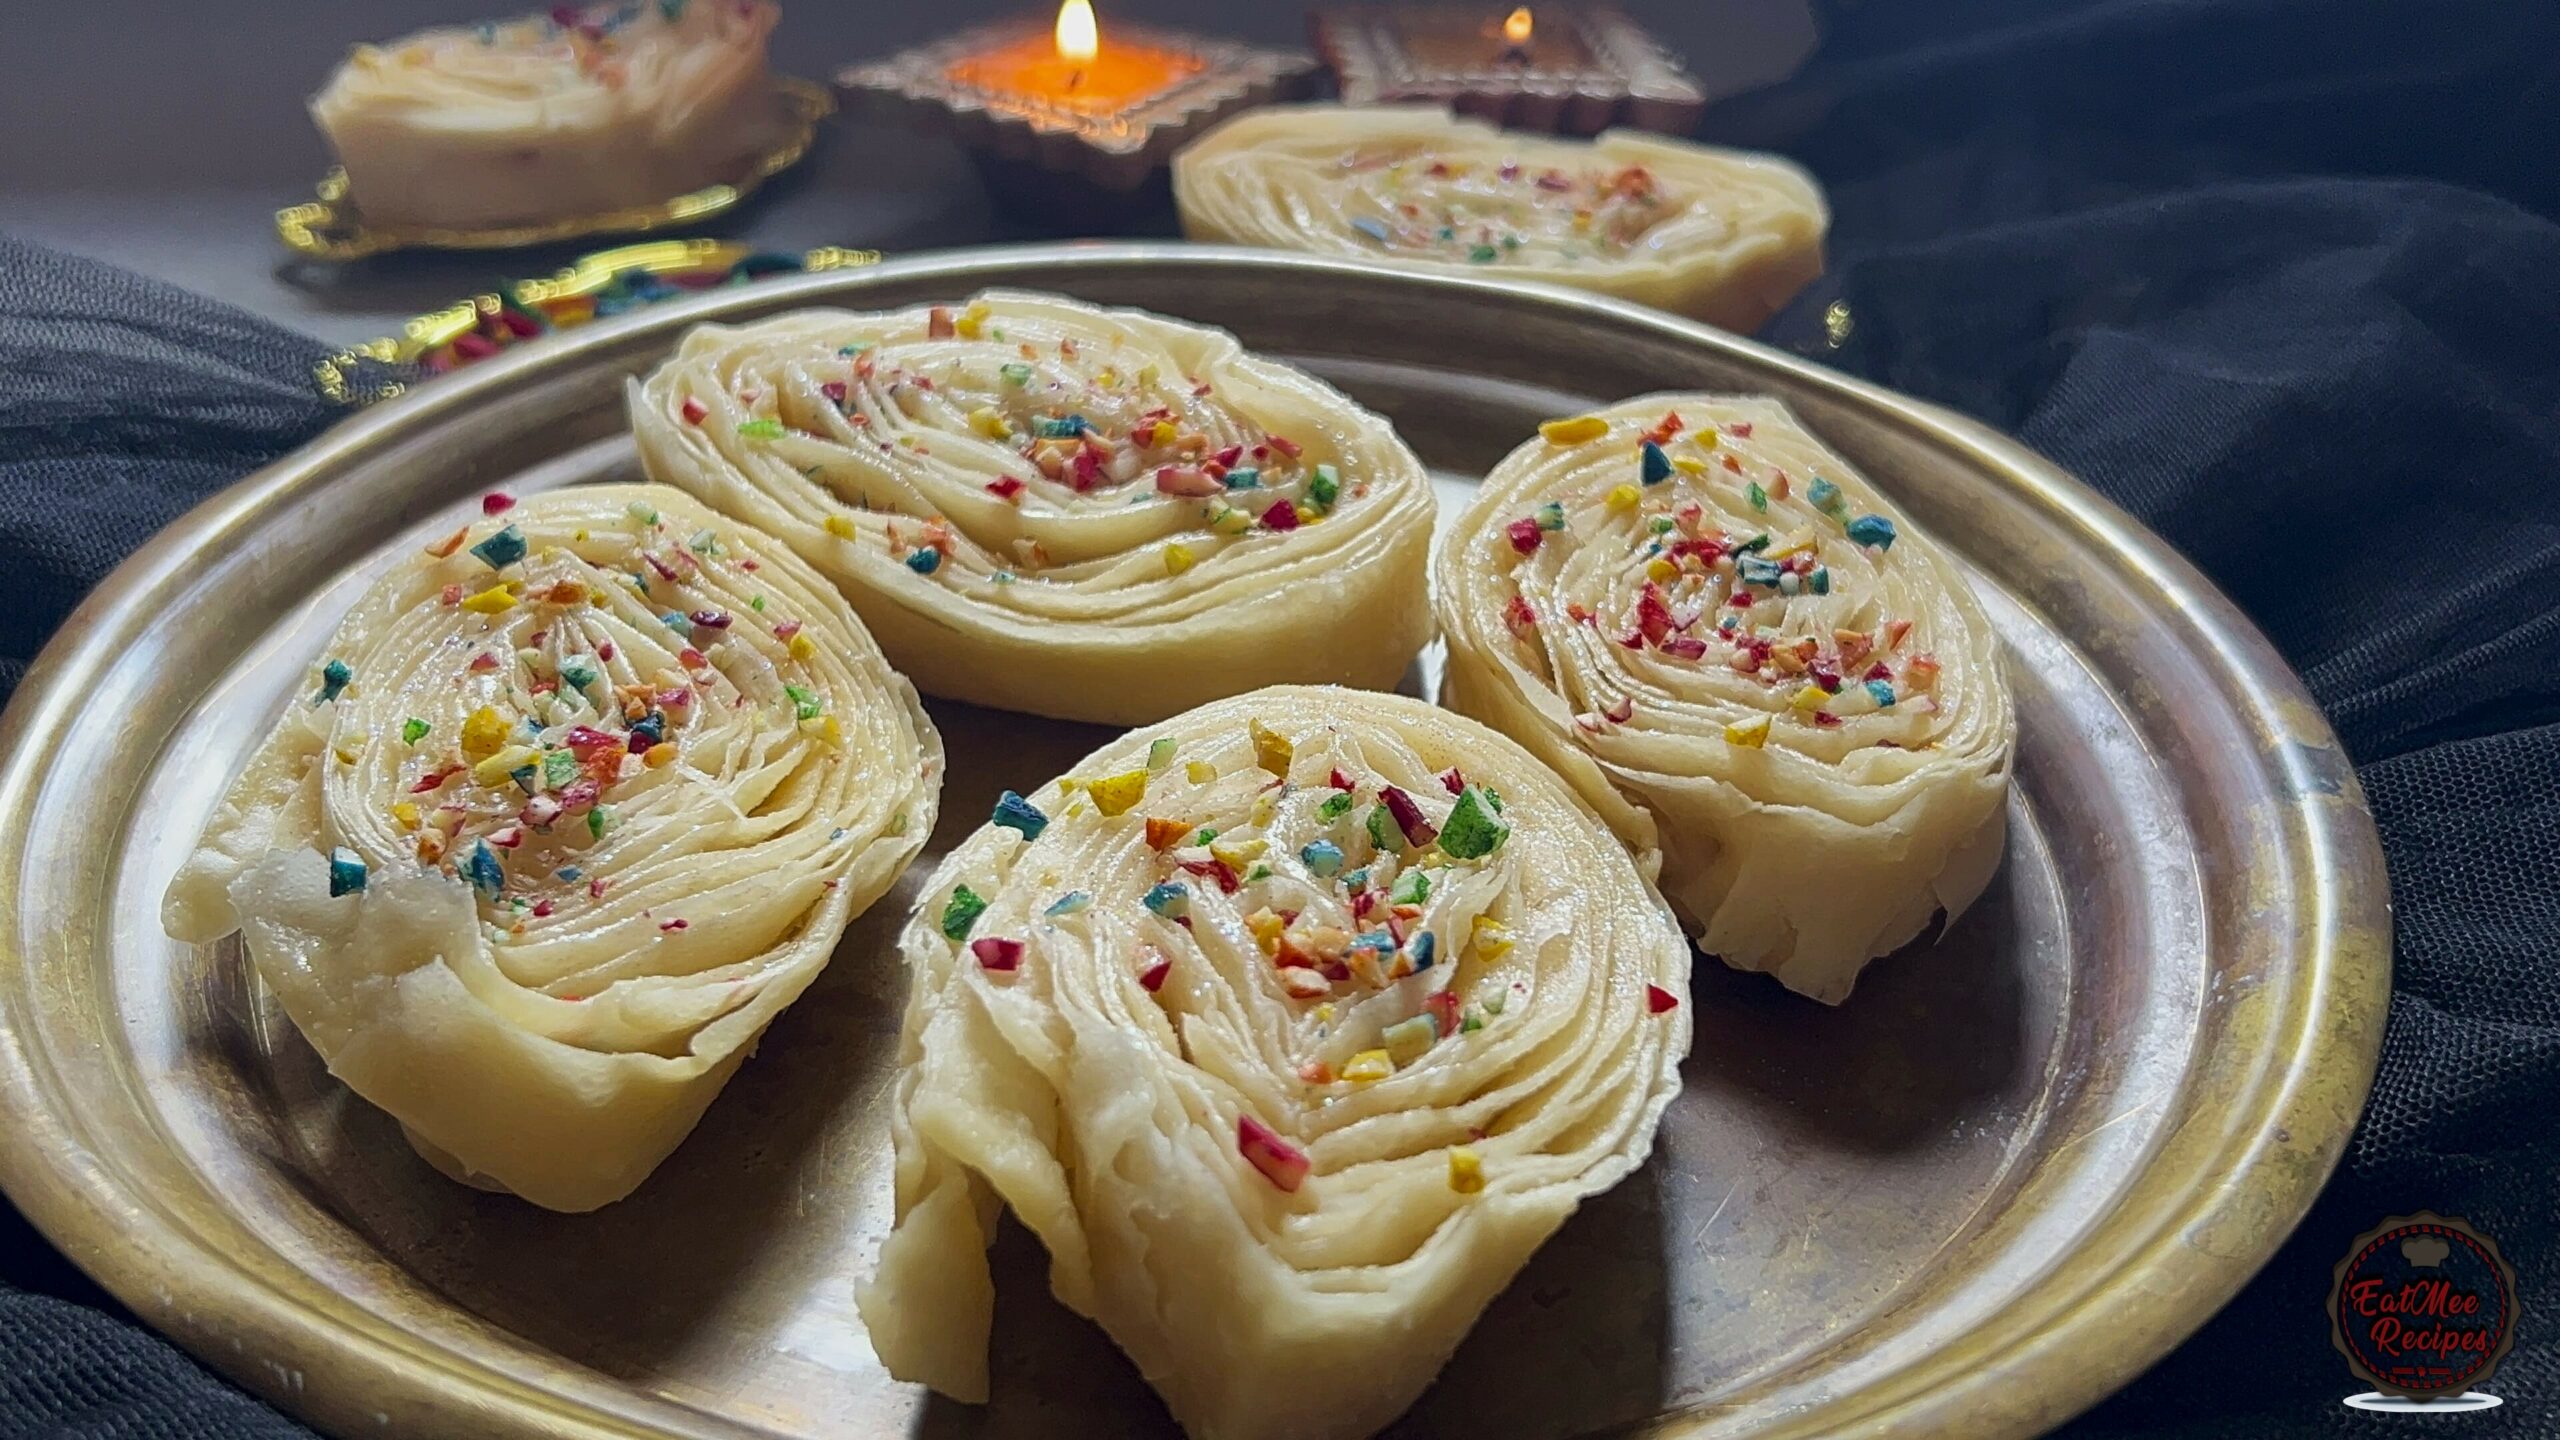
When it comes to traditional Indian sweets & snacks, khaja holds a special place in our hearts. Often referred to as banana puri, this delectable treat offers a unique blend of flavors & textures, making it a beloved delicacy. Let’s delve into the preparation & charm of khaja, & why it deserves a spot in your culinary repertoire.
This delightful snack is deep-fried on low heat until crisp & often enjoyed as a sweet treat during festivals & celebrations. Its distinct crunch combined with the subtle sweetness of a sugar syrup makes it a favorite among people of all ages.
The name “khaja” itself is derived from the Sanskrit word “khajaka,” meaning “crispy.” In South Africa, we refer to it as “banana puri”, however, there are no banana’s used in this sweet treat.
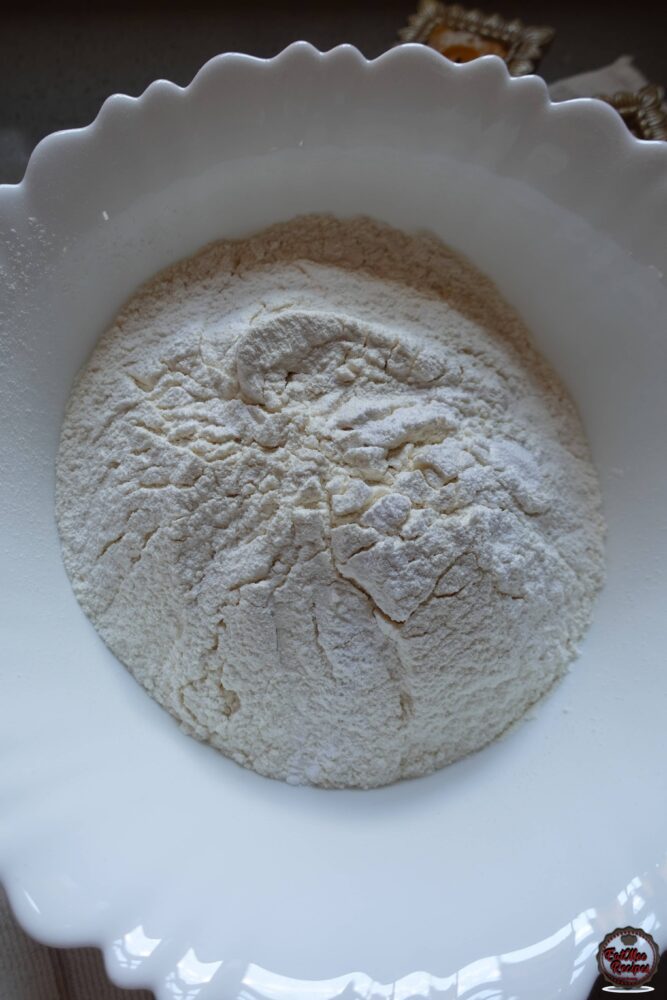
Sift the flour into a mixing bowl & add in the baking powder & salt.
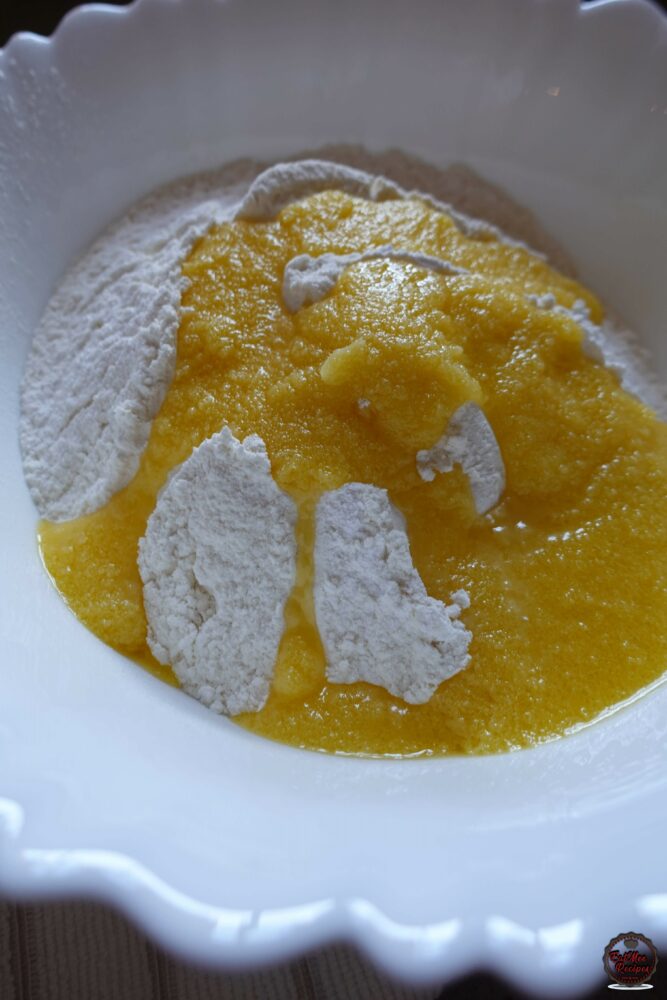
Add in the butter ghee.
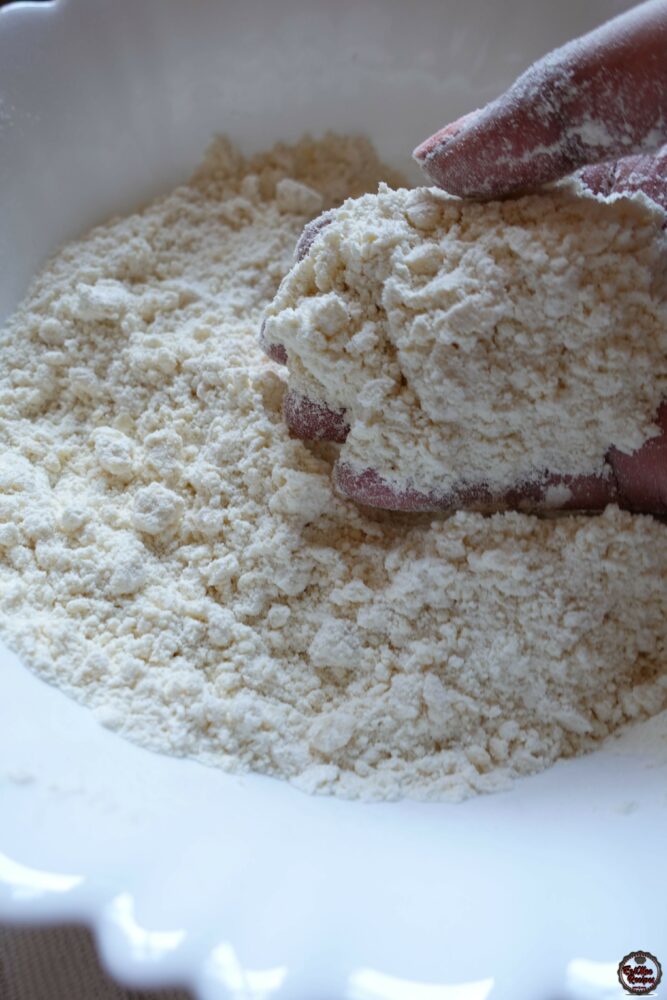
Rub the ghee into the flour using your fingertips until it resembles a breadcrumb texture.
Pour in the warm water.
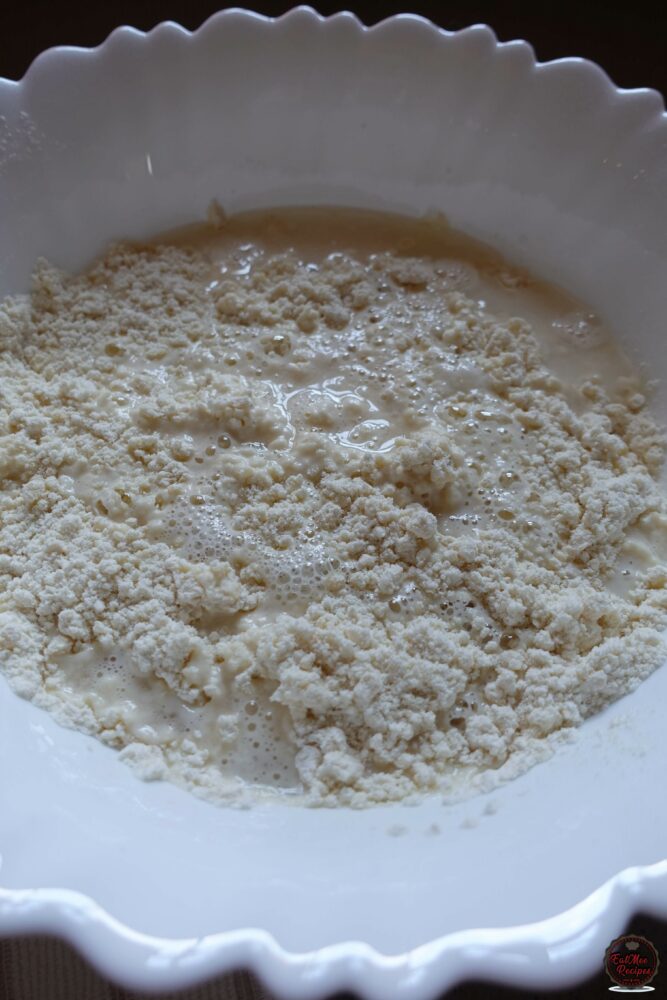
Use your hands to bring the dough together.
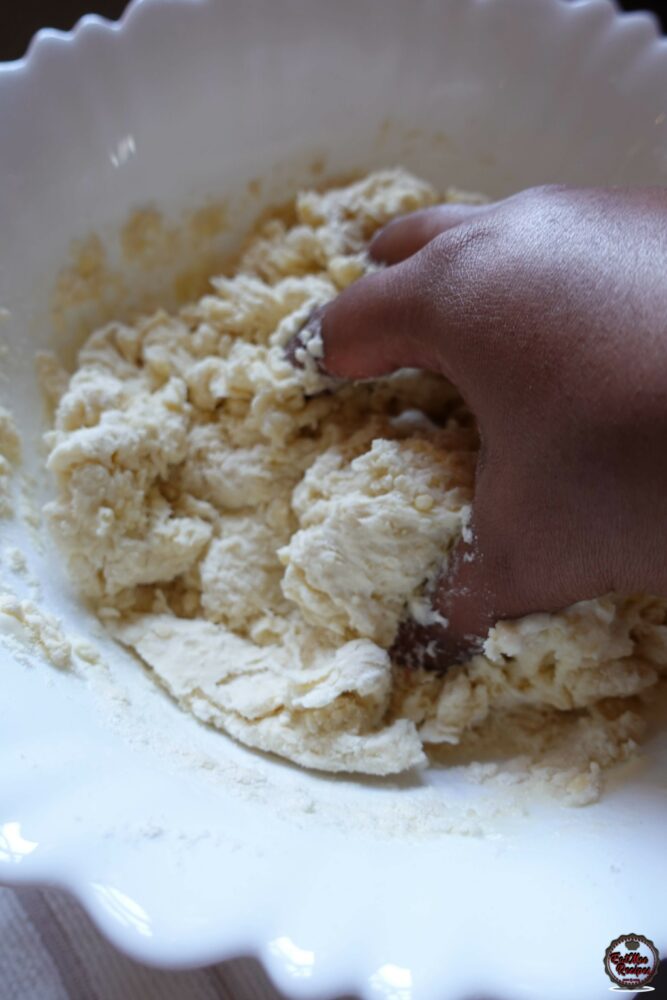
At first the dough should be tacky, knead it for 1-2 minutes until smooth.
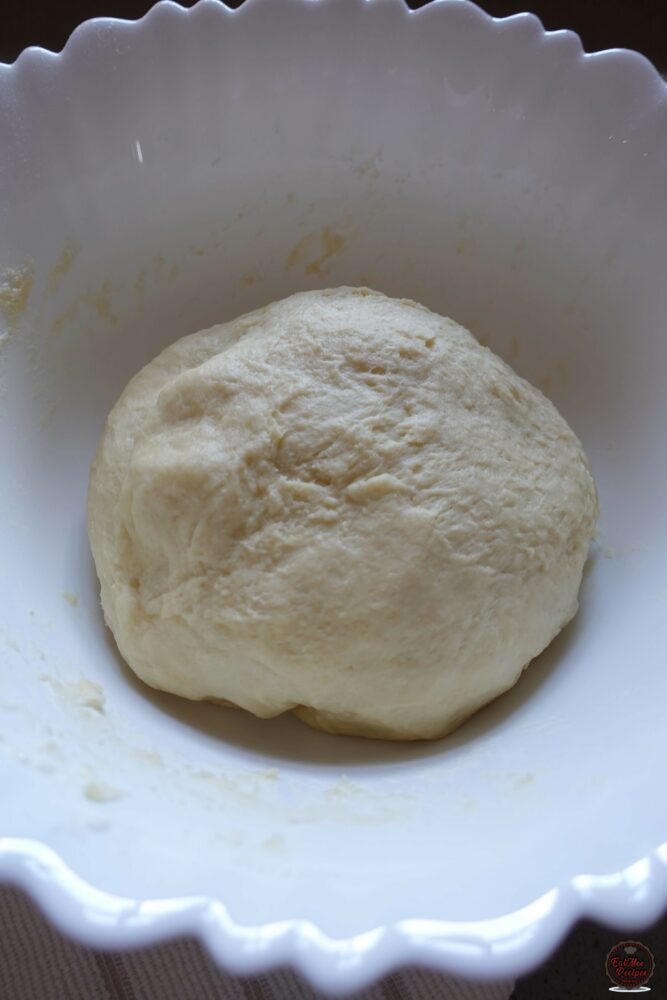
There is no need to add more flour or ghee, the dough should knead well & come together.
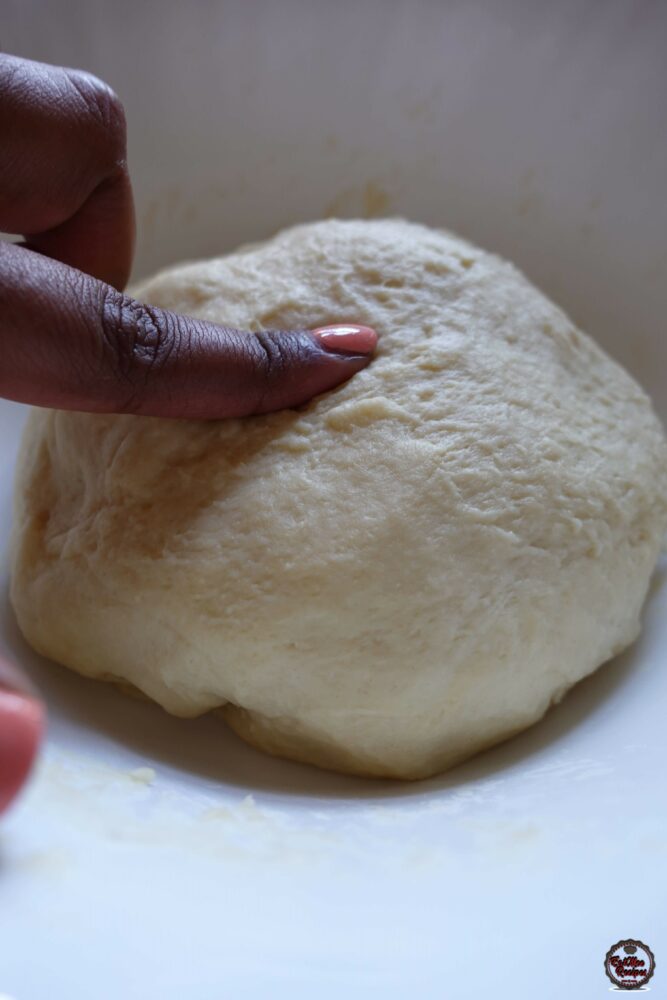
Place the dough onto a working surface & cut into 8 equal parts.
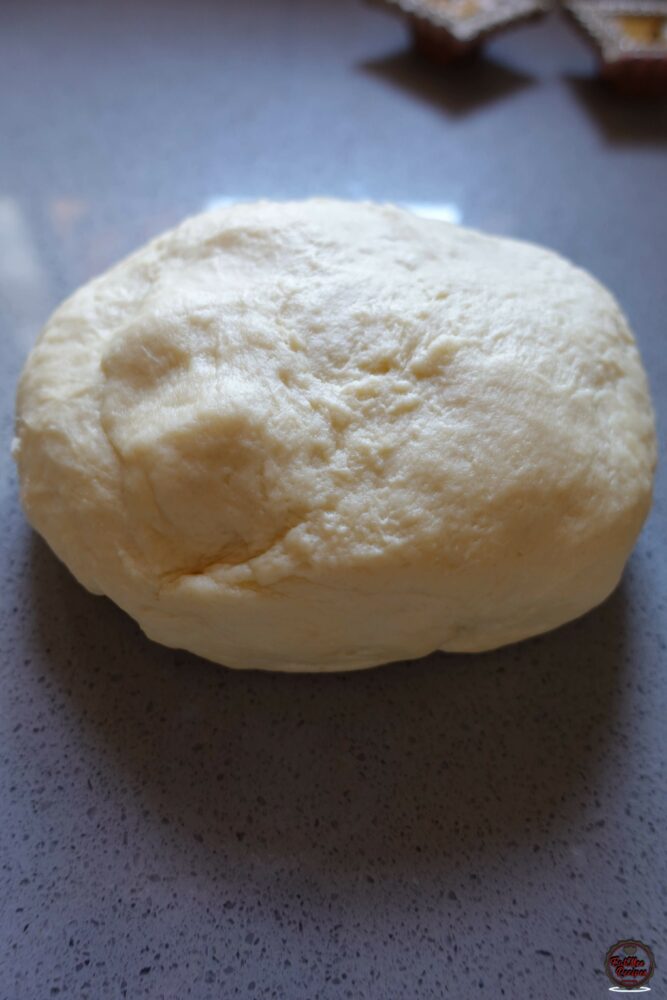
Working with one portion at a time, roll into a ball.
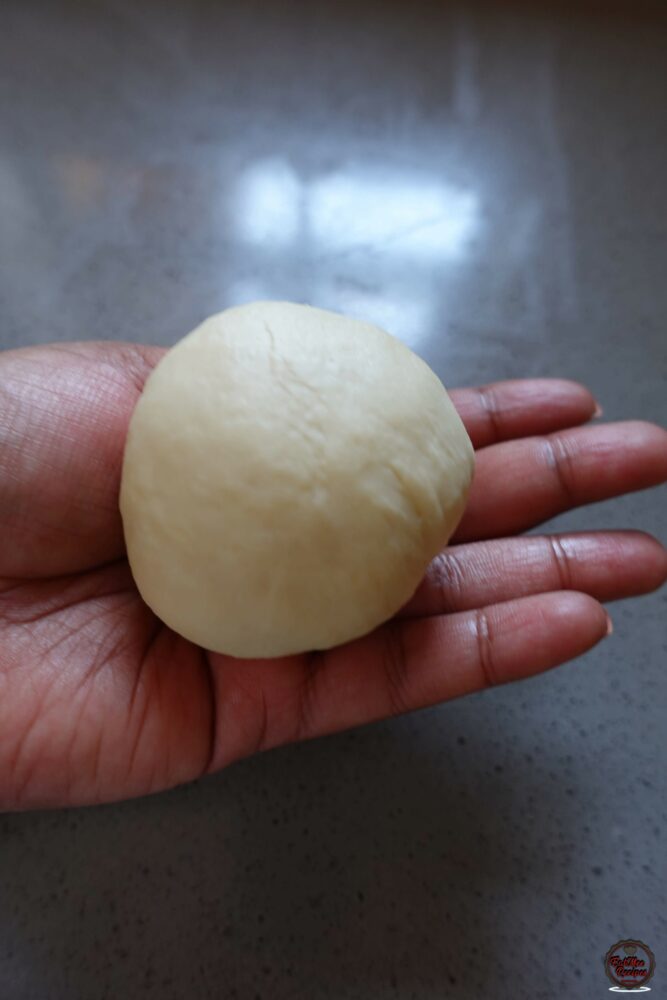
Flatten & roll out into 25-27 centimeter disc. Roll out all the portions & cover each one with a dish towel so they don’t dry out. This will make it easier for assembling.
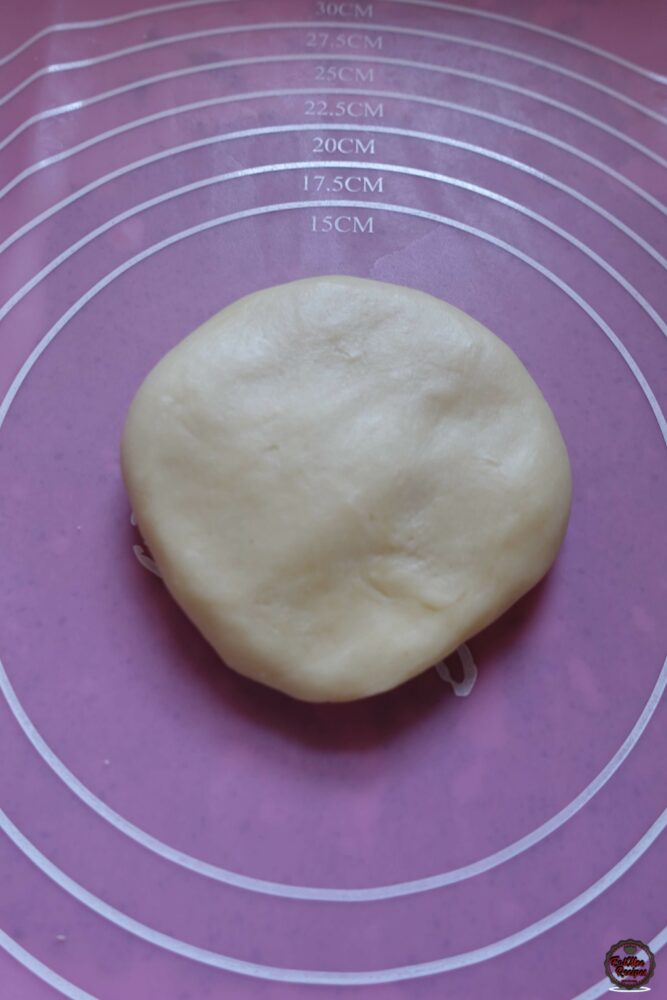
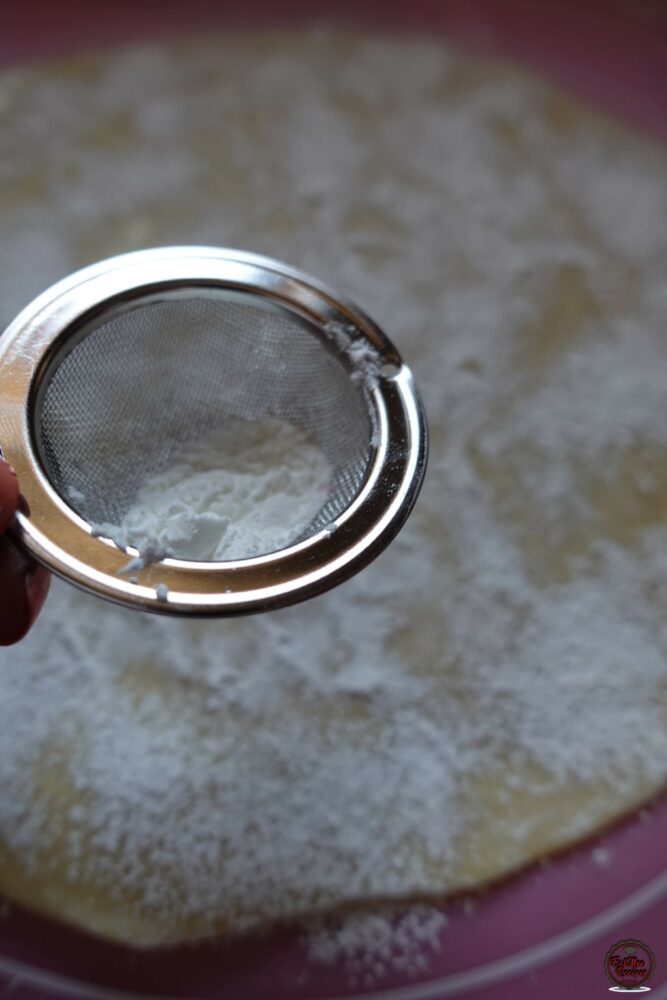
Use a small strainer or sieve & dust corn flour over the ghee. Be sure to cover the entire disc.
Place another rolled out disc over. NOTE: the edges can be brushed with water to seal it & prevent it from opening when frying – I forgot this step but I will show you a hack below on how to prevent them from opening up if you forget to seal them.
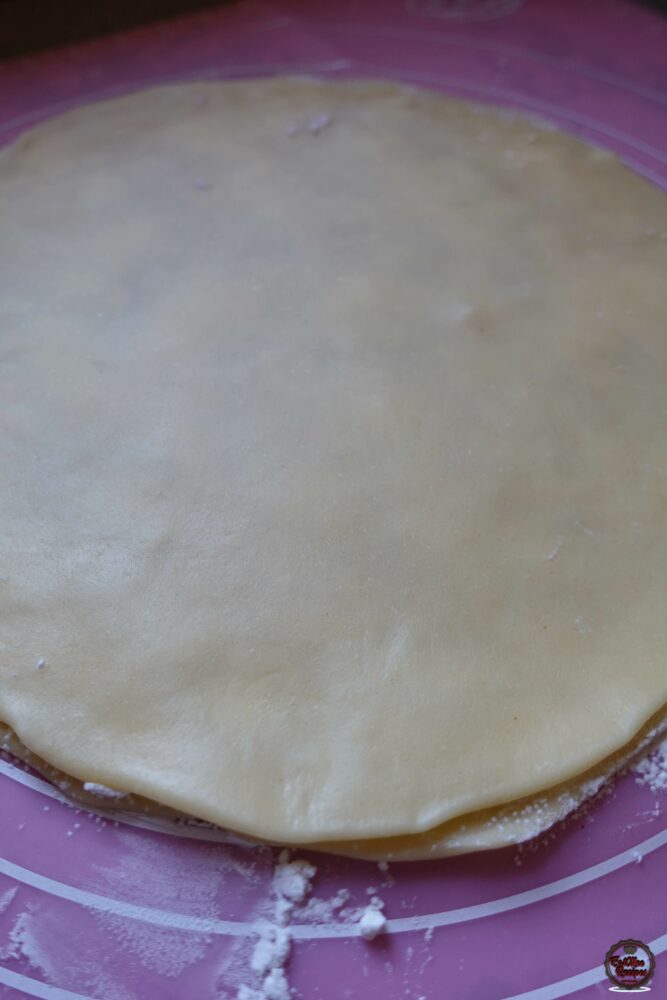
Repeat the process by brushing with ghee, dusting with corn flour & placing another disc over.
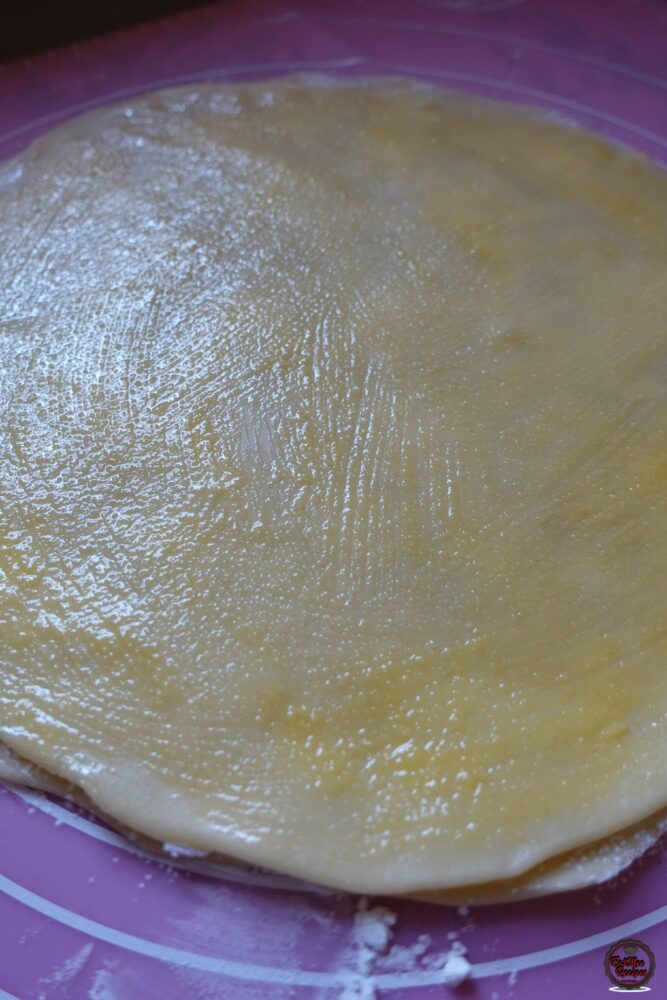
Once the last one disc has been dusted with corn flour, lift the bottom & roll tightly into a swiss roll.

Cut off the ends of the log.
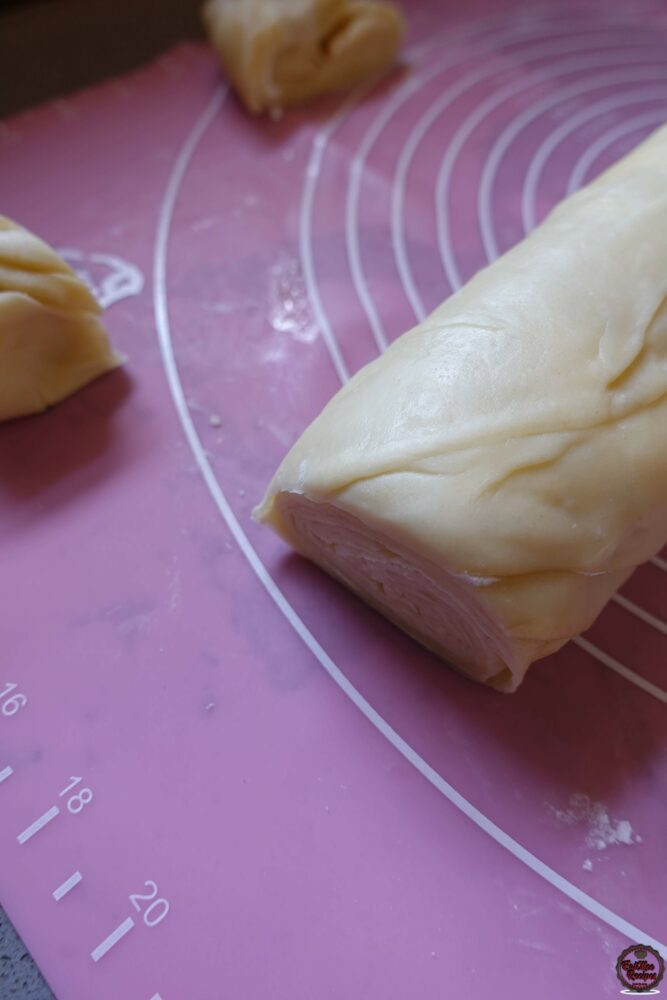
Cut out 2 centimeter slices.
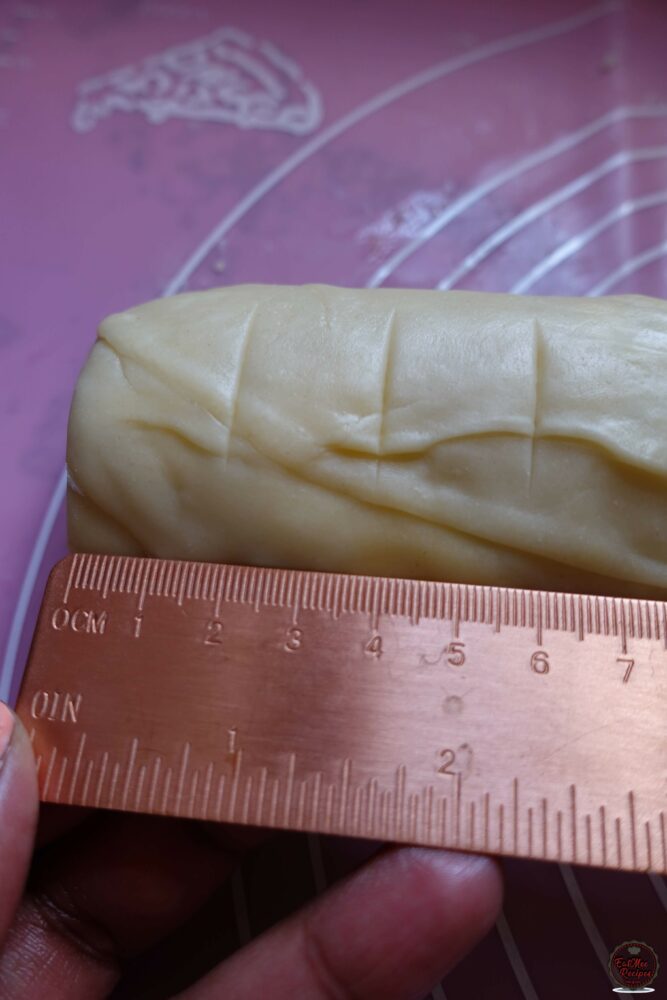
Separate the slices.
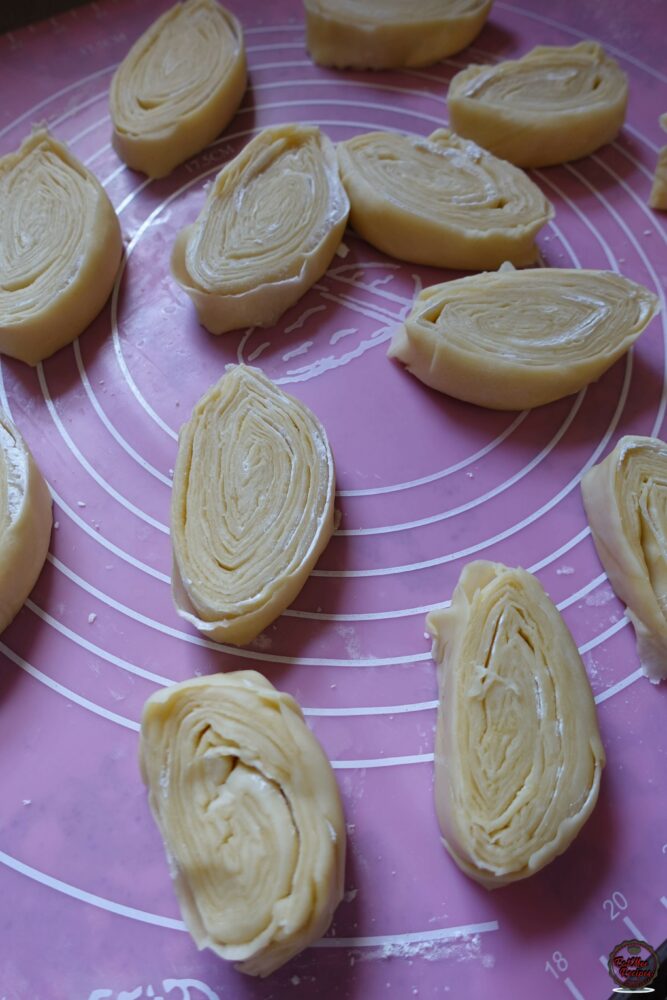
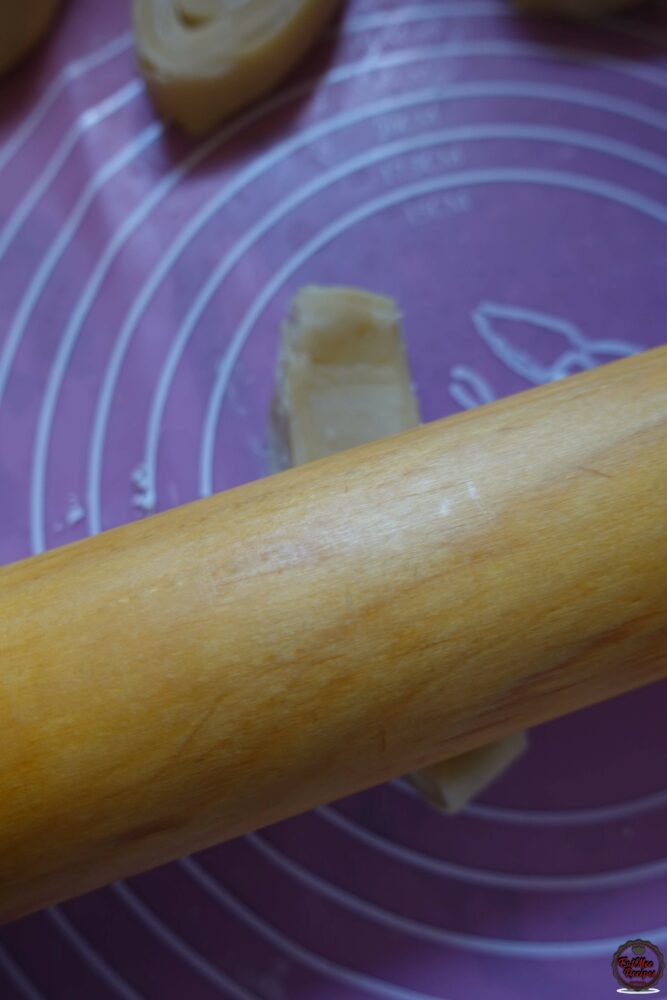
Take one slice at a time & flatten with a rolling pin before rolling it out. The layers should be as it was when slicing the log & the thicker side towards the surface.
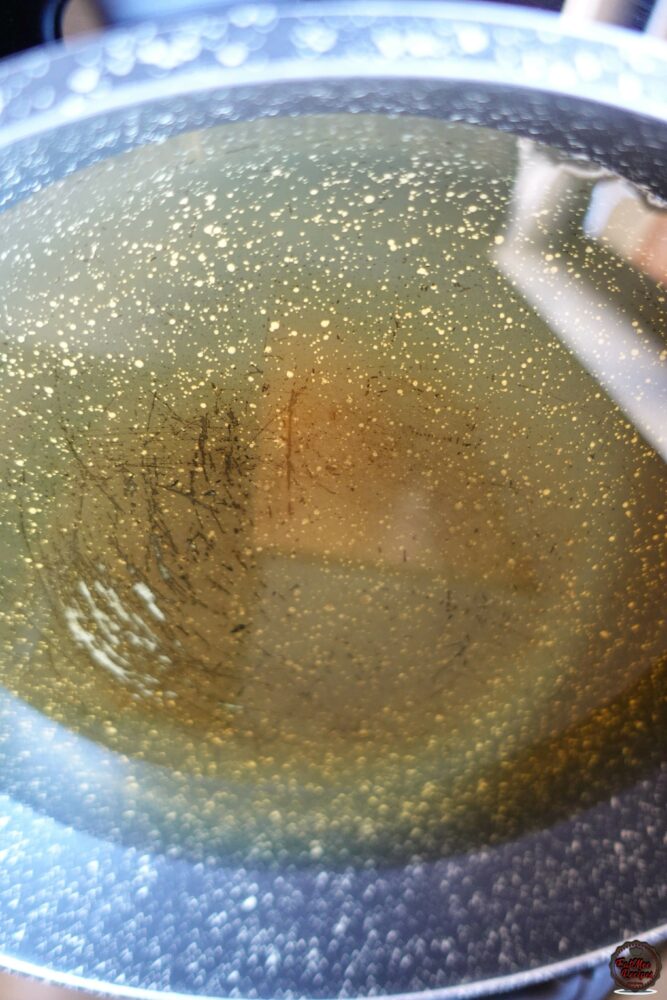
Add enough vegetable oil to a pot on low heat.
Once the oil is hot, carefully place the flattened puri’s in. Only add a few at a time as they will puff up.
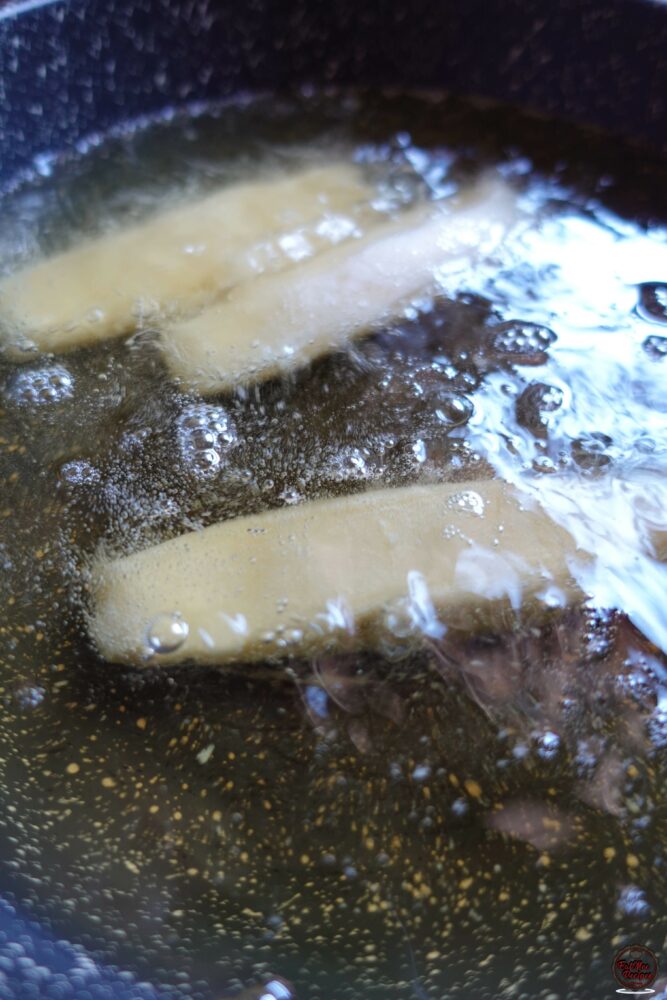
Leave the puri’s in the oil without turning it for at least 2 minutes.
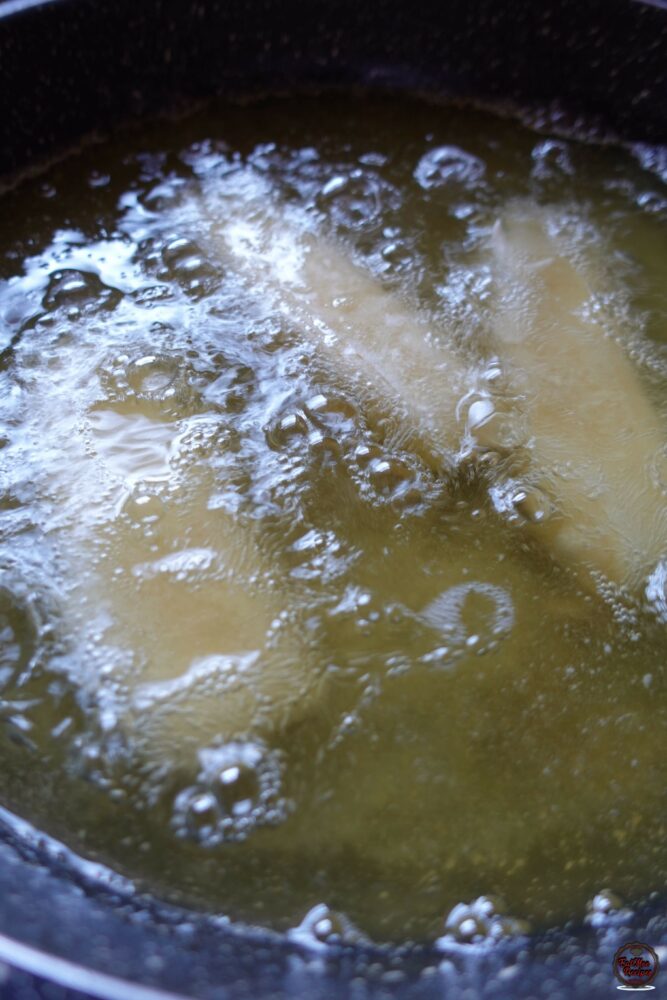
After 2 minutes, start turning them around & they should begin to open up. Remember the hack I mentioned above – if the puri’s start to unravel if you forgot to seal them then simply stick a toothpick at that end, once fried, the toothpicks can be removed.
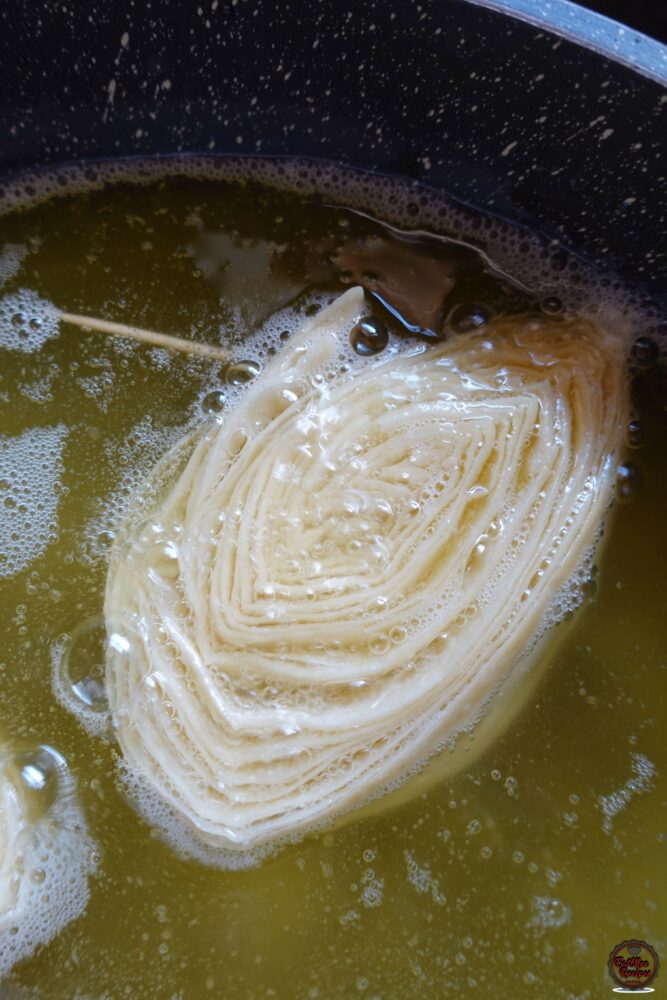
Use two forks to gently open up the layers as they are frying.
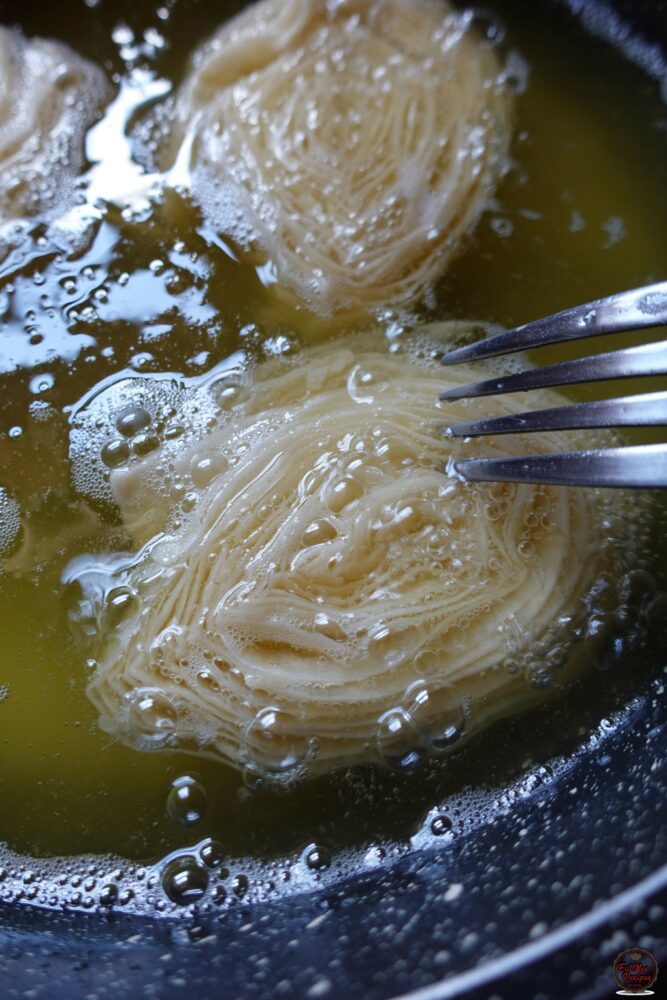
The puri’s should fry for about 4 minutes on each side, try not to make them brown as they should still be white in colour. Once fried, drain them on paper towels.
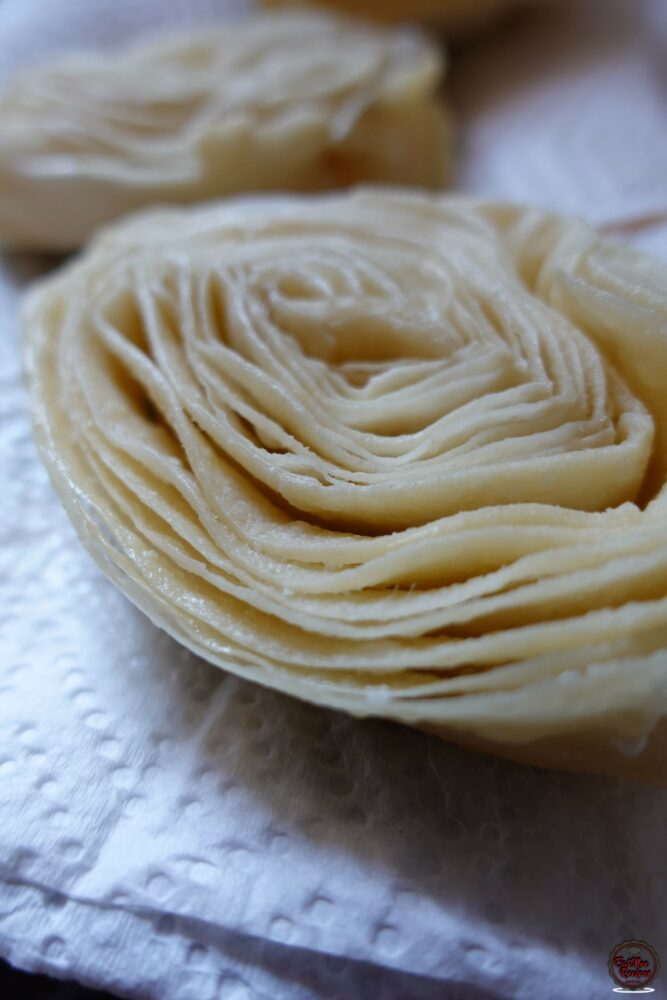
Thereafter, place them onto a wire rack to cool down.
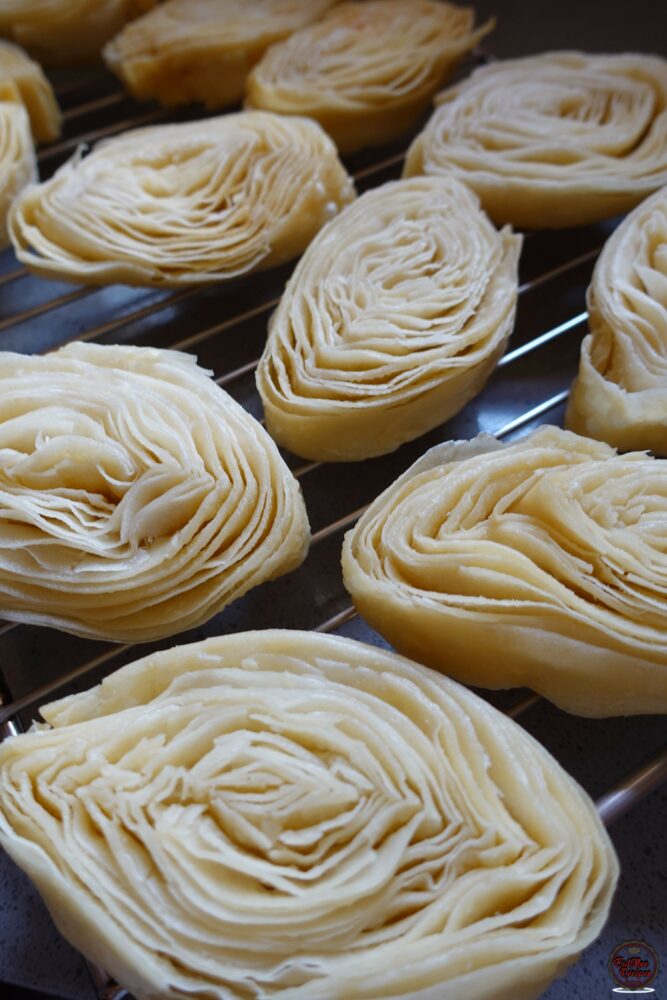
Next you want to place them back onto paper towels & allow them to drain out the oil for at least a day. Keep changing the paper towels as these Banana Puri’s absorb a lot of oil.
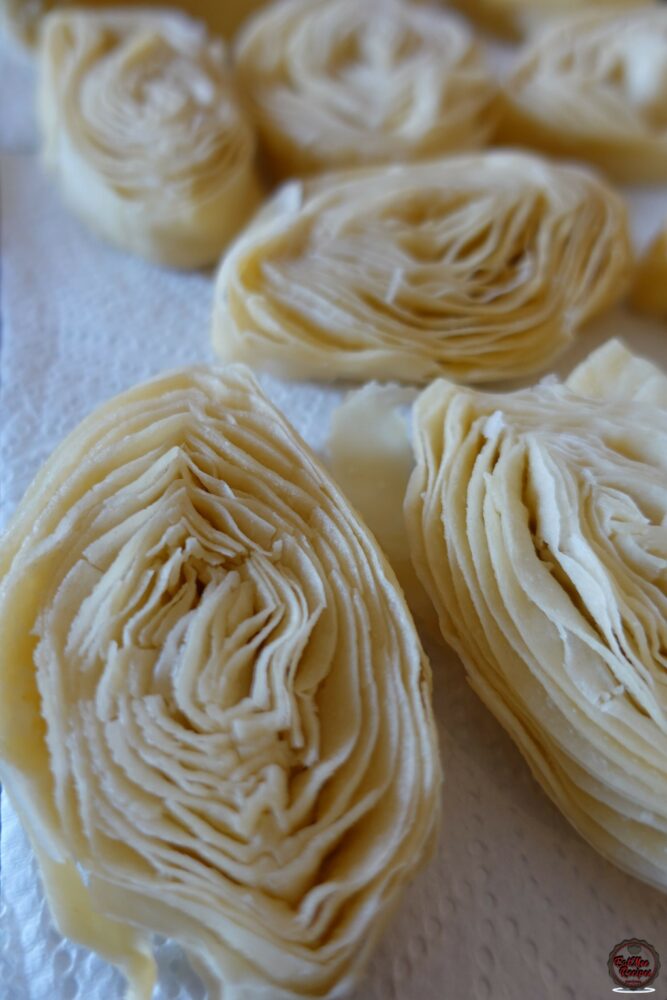
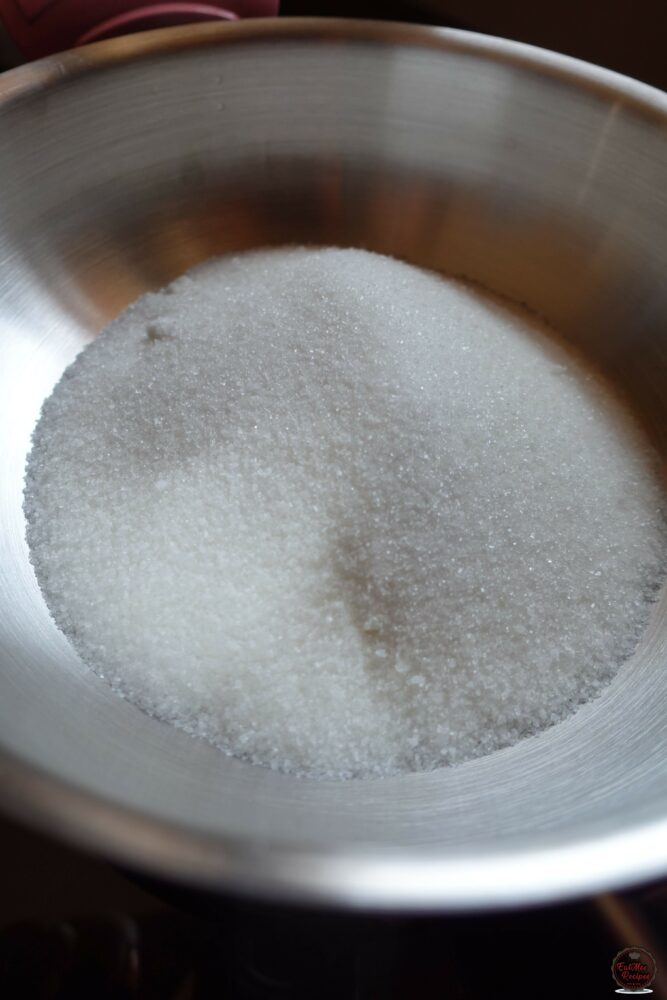
After a day or two, once you are done draining the Banana Puri’s, start making the syrup by adding the sugar to a pot.
Pour in the water.
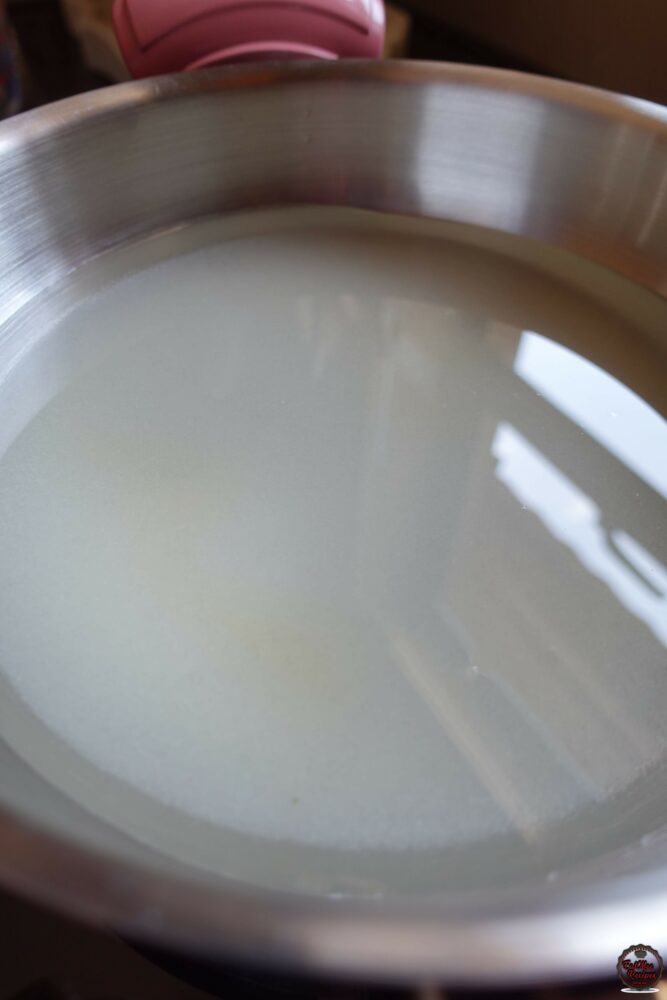
Stir on medium heat until the sugar dissolves.
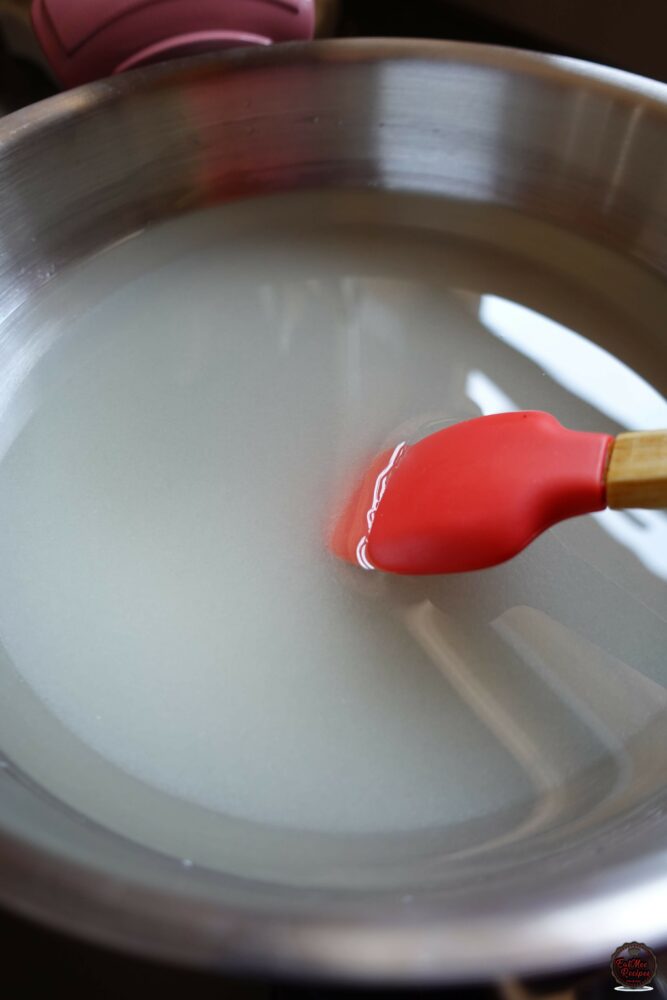
Once the sugar has dissolved, add in the cardamom (elachi) pods, turn up the heat & allow it to come to a boil.
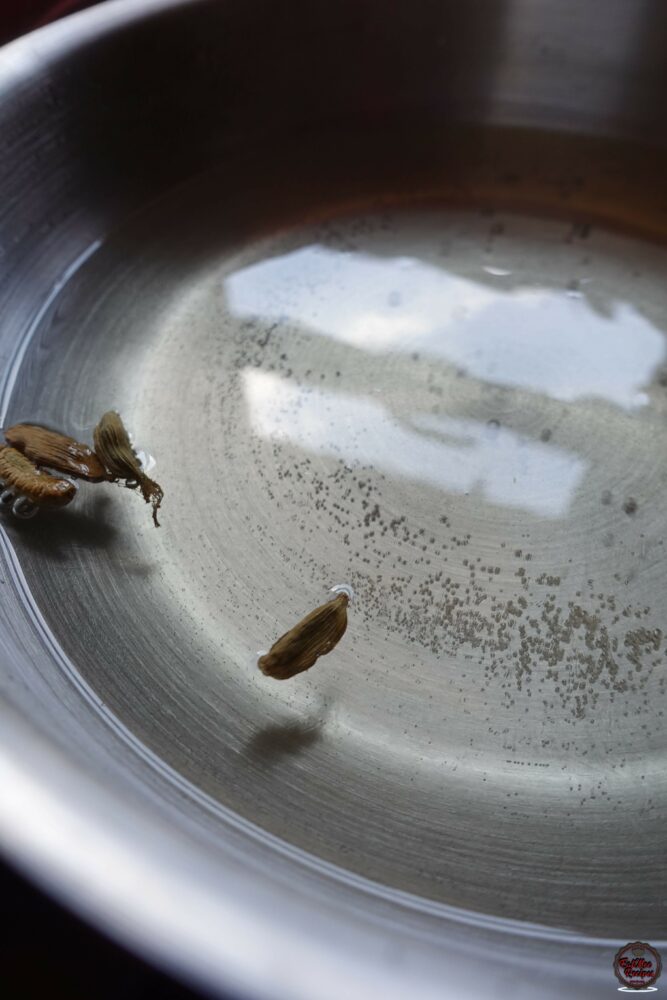
Once the mixture reaches a boil, turn the heat down to low & allow it to simmer for 5 minutes without stirring.
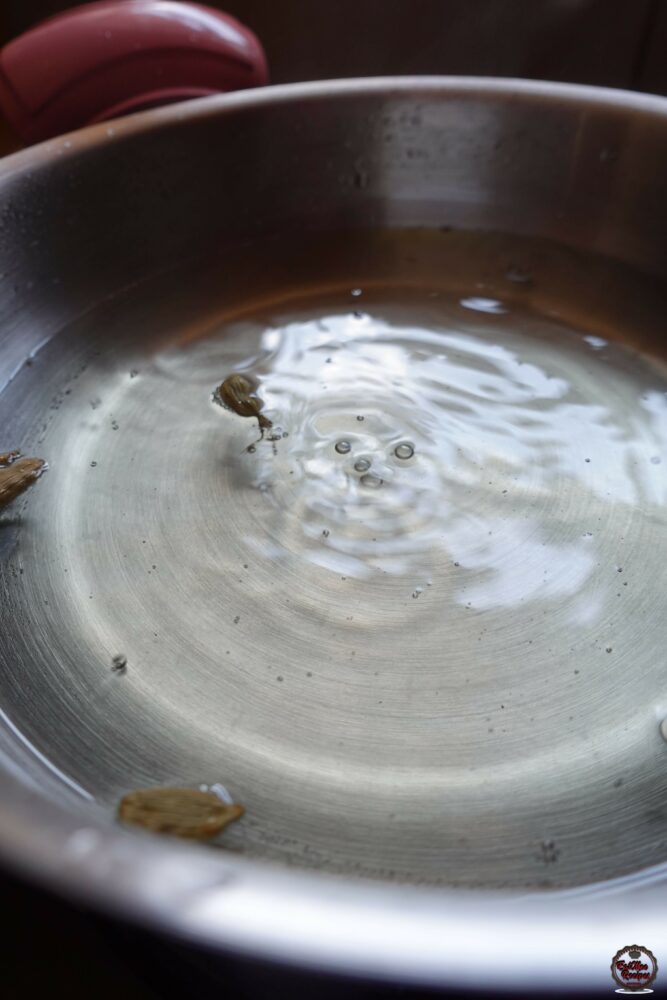
The syrup should be slightly thick.
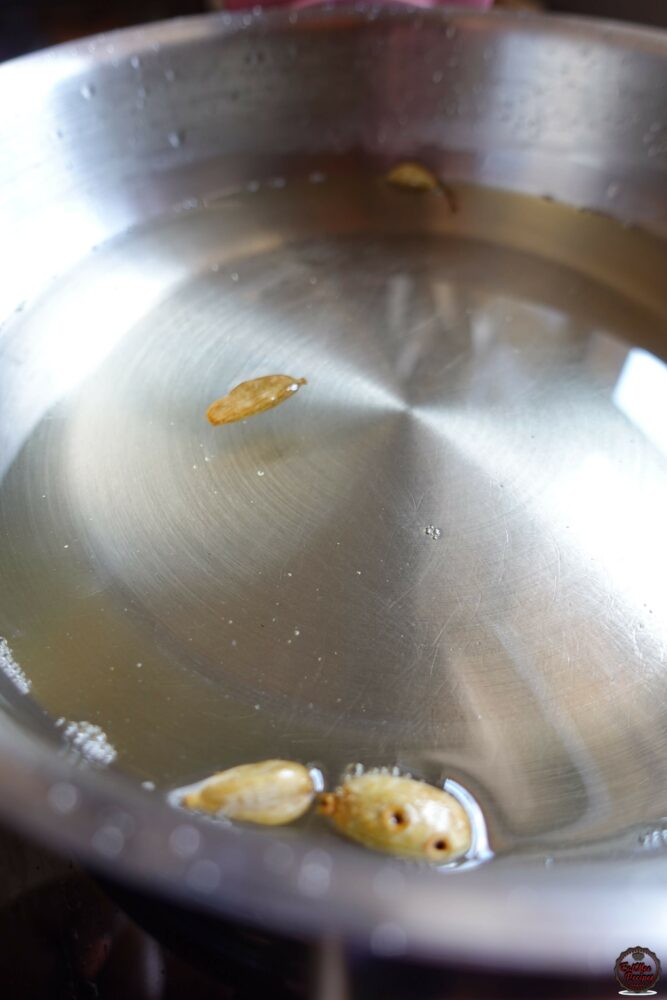
When the syrup is rubbed between your fingers, there should be no thread.
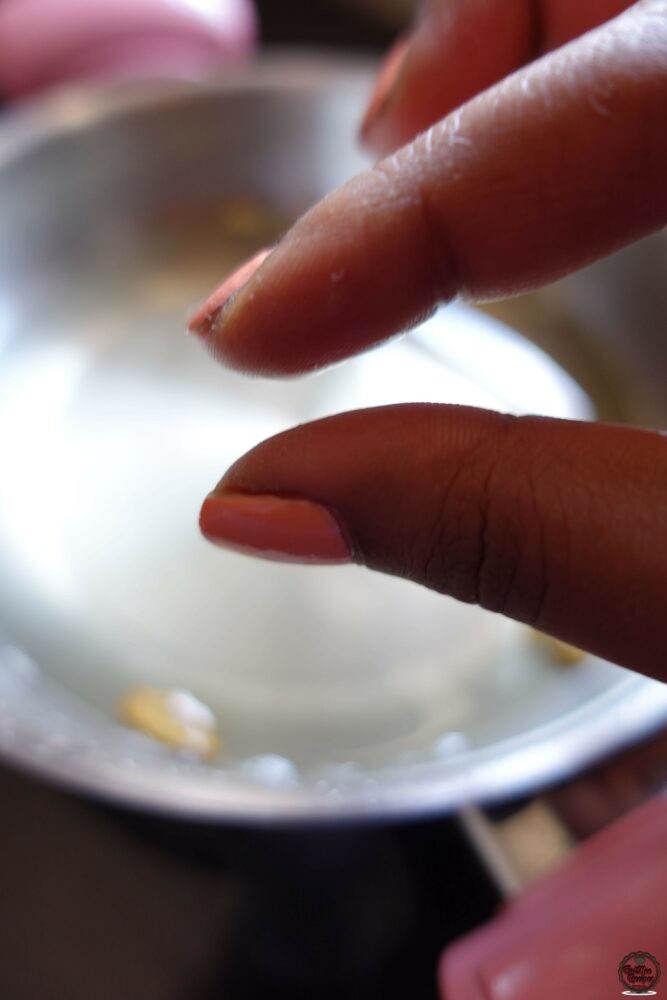
Remove the cardamom pods & pour the syrup into a heat resistant bowl or jug & allow it to cool.
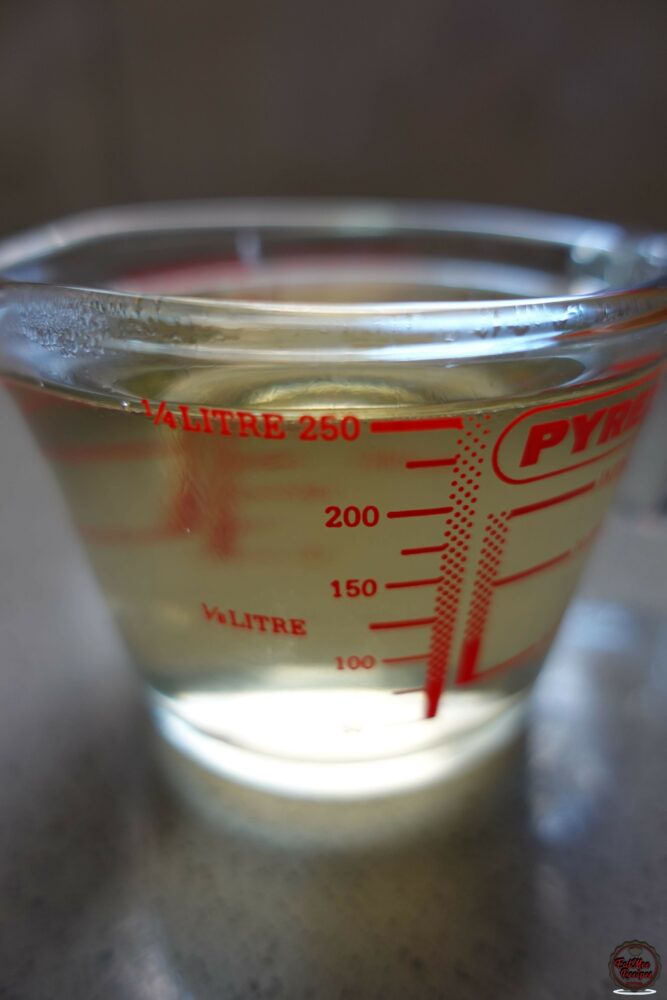
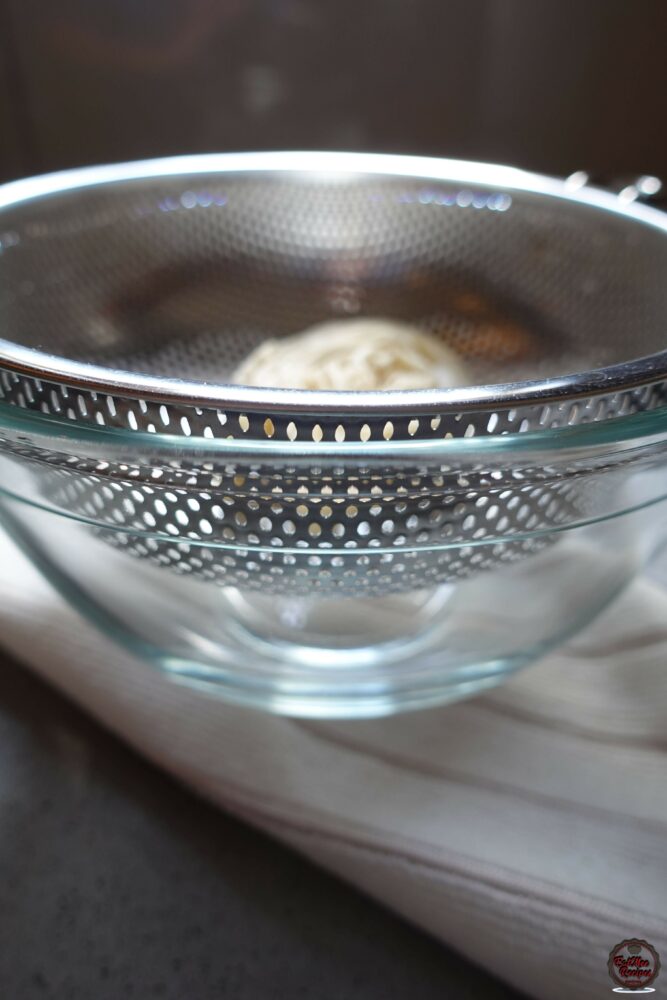
Once the syrup has cooled, place a strainer into a bowl & place one of the Banana Puri’s onto the strainer.
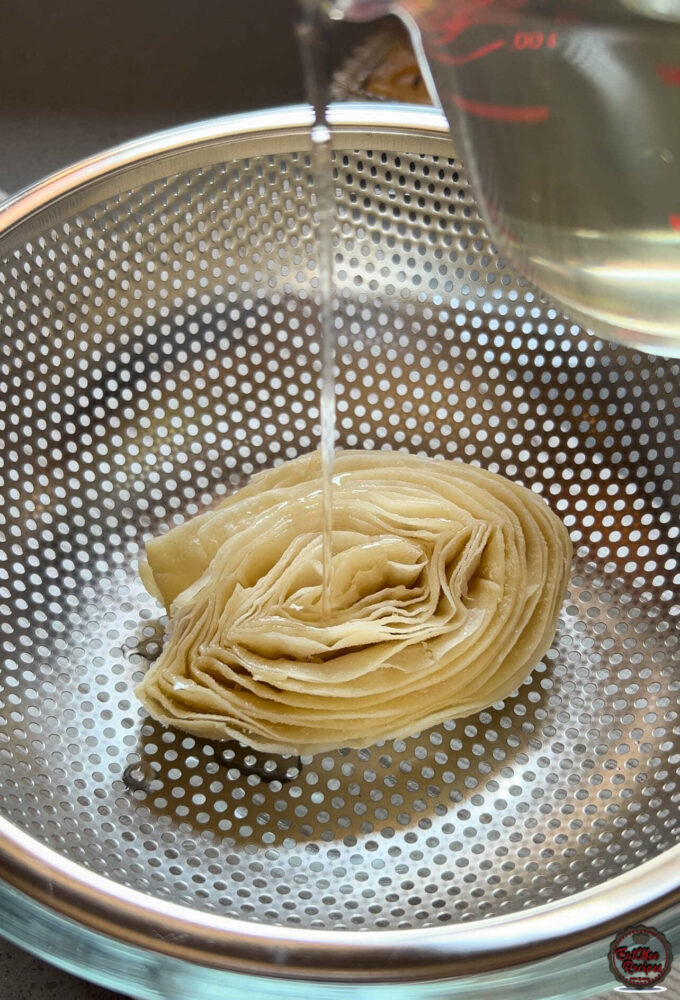
Pour the syrup over the Banana Puri.
After the puri’s have been soaked, place them all onto a wire rack. Add some parchment paper below it to catch excess syrup.
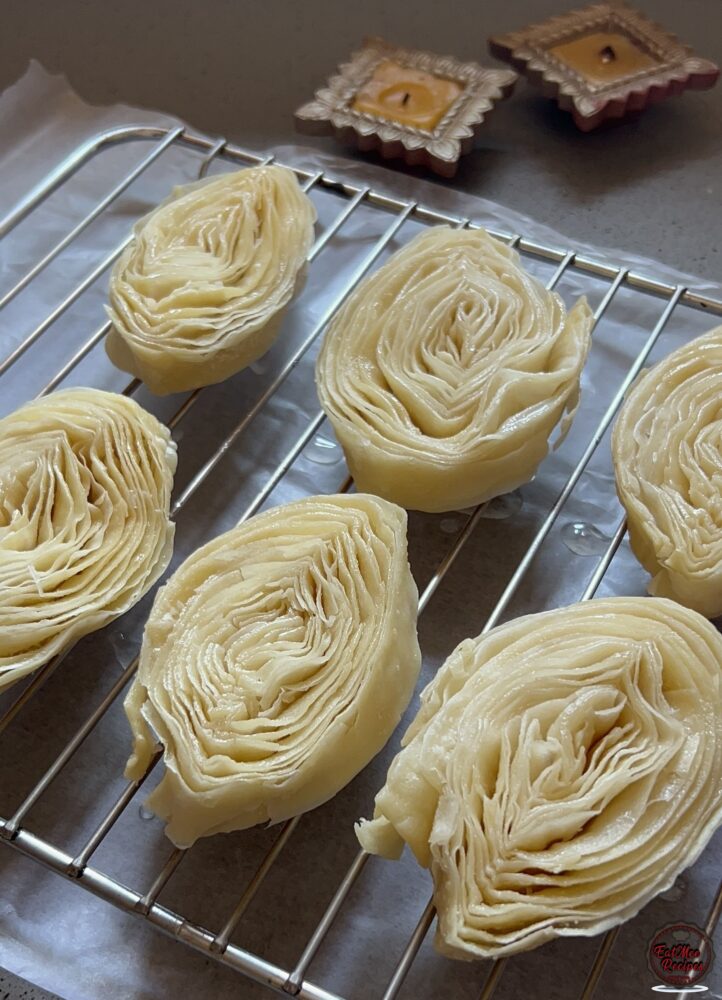
Next, you may decorate them as desired. I have sprinkled over chopped coloured almonds & I’ve dusted some gold edible glitter.

Plate or store in an airtight container until ready to serve.
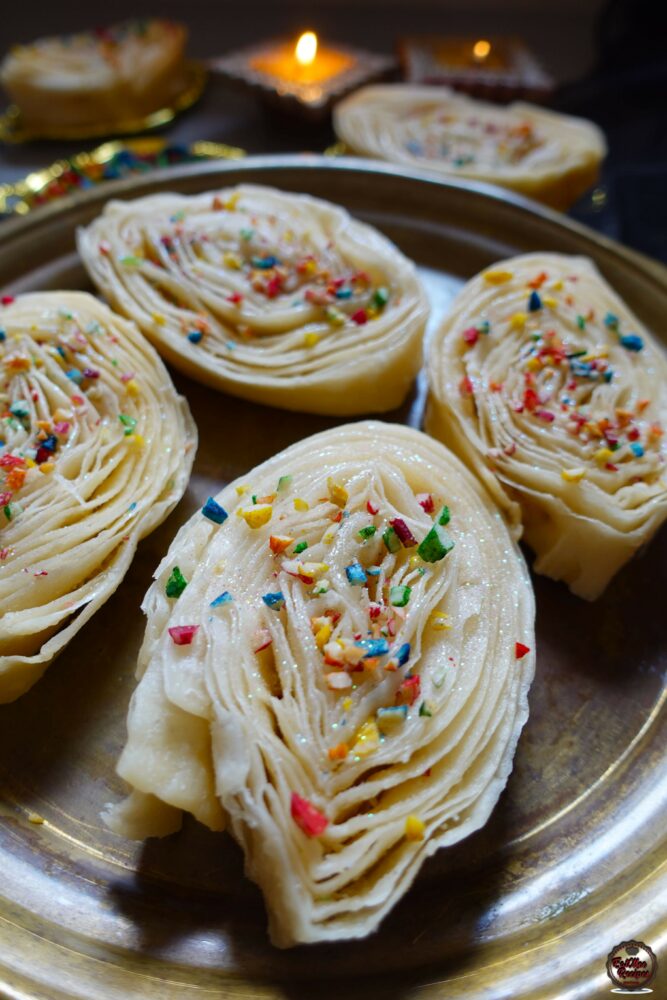
Gather your ingredients, and enjoy the process of making this delicious snack that’s steeped in culture and flavor. Your taste buds will thank you!
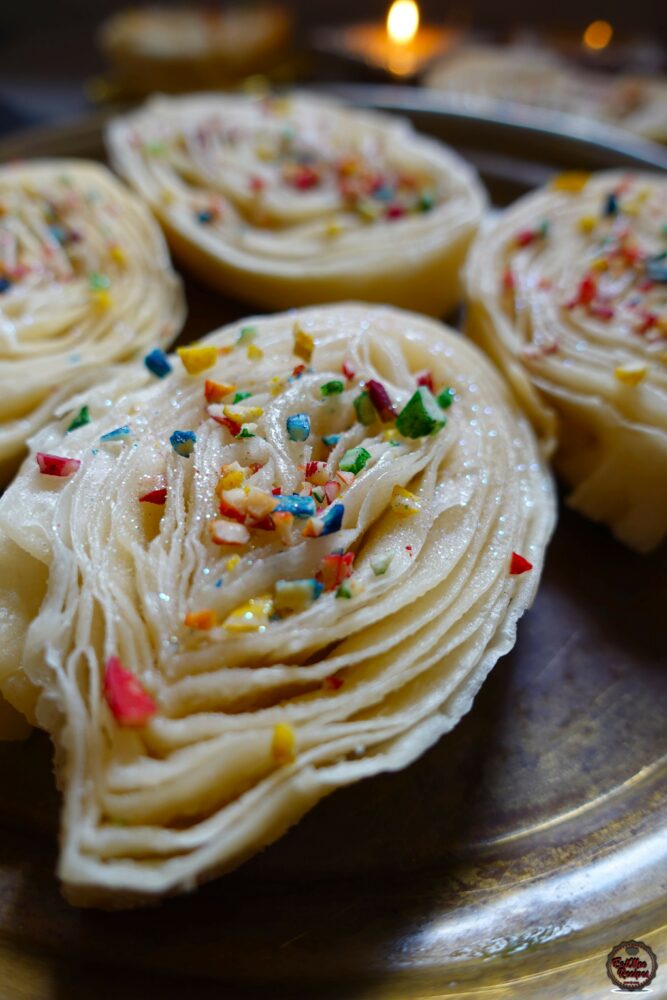
These Banana Puri’s are so light & crisp & they are perfect for your Diwali or Eid parcels.
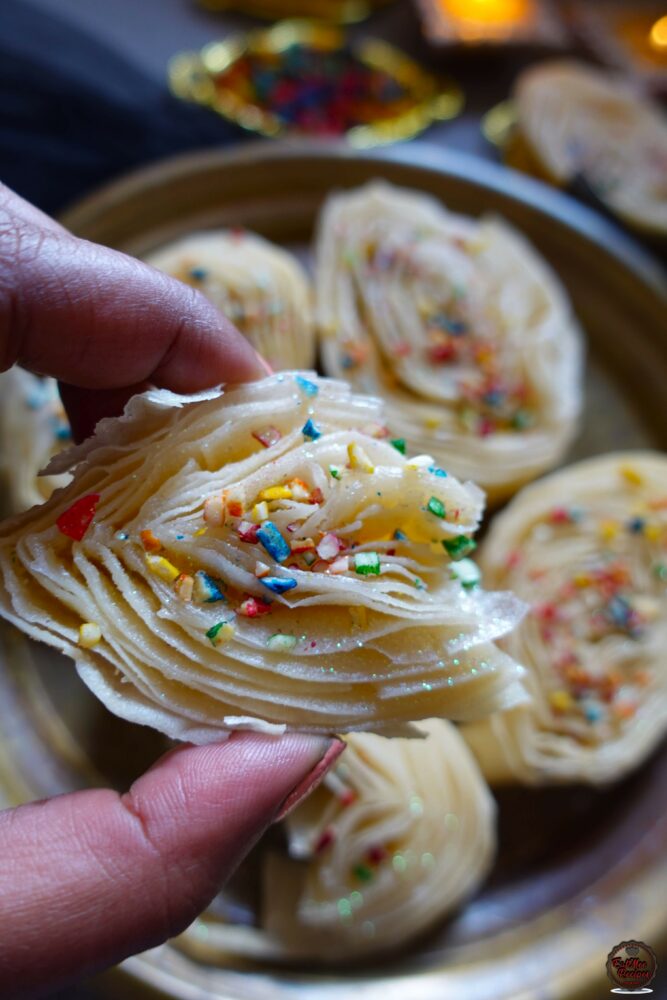
Follow along with Denisiya's step-by-step video guide for Banana Puri.
Expert kitchen guidance and troubleshooting for making the best Banana Puri
The golden secret is kneading the flour with boiling hot water, which pre-gelatinizes the starches. Roll thin, cook on a hot tawa with a light brush of butter or ghee, and stack inside a covered container wrapped in a clean kitchen cloth.
Yes! Cooked rotis freeze exceptionally well. Place sheets of wax paper between each cooked roti, wrap in foil or a zip-top bag, and freeze for up to 2 months. Reheat directly on a hot pan for 30 seconds.
Stiff rotis are caused by rolling the dough with too much dry flour, rolling too thick, or cooking on too low heat for too long, which dries out the moisture. Cook on medium-high heat quickly.
Hi, I'm Denisiya! Food lover, recipe developer, and founder of EatMee Recipes. I specialize in authentic South African Durban Indian cuisine, comforting curries, and modern Instant Pot adaptations. Every recipe on this site is tested in my personal kitchen to ensure you get mouth-watering, foolproof results every time.
Explore more authentic Durban curries, traditional bakes, and comforting family favourites.
 Desserts
If you love traditional South African sweet rice but want an easier, hands-off method, thi...
 Desserts
Light, crisp, and delicately sweet biscuit sticks dipped in chocolate
 Desserts
There’s something comforting about a marble loaf cake fresh from the oven, especially when...
Have you tried this recipe or have questions for Denisiya? Join the conversation below.
No comments yet. Be the first to share your thoughts on this recipe!
Leave a Comment
Your email address will not be published. Required fields are marked *