
We Value Your Culinary Privacy
EatMee Recipes uses cookies to provide a personalized browsing experience, analyze recipe popularity, and serve relevant ads. You can review our full disclosure in our Privacy Policy.
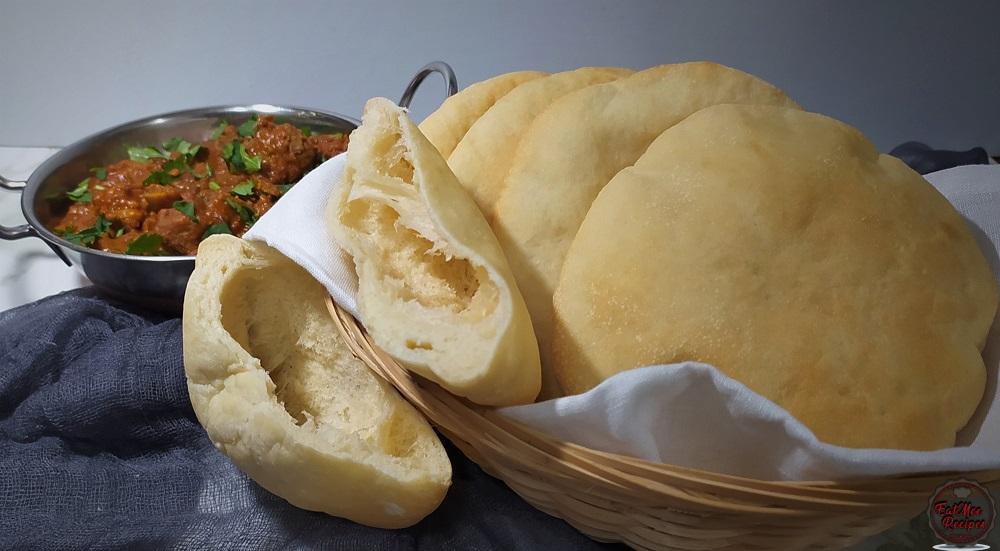
Air Fryer Pita Bread – yup you read that correctly! I love pita bread & these are by far the tastiest ones I have ever made.

Join over 60,000+ home chefs for weekly authentic Durban Indian cook-alongs, Instant Pot masterclasses, and family heritage recipes.
Air Fryer Pita Bread – yup you read that correctly! I love pita bread & these are by far the tastiest ones I have ever made.
I have opted to using my Instant Vortex Air Fryer Oven for this recipe, unfortunately I haven’t tried them in the basket air fryer (Instant Vortex Air Fryer) but I am sure they will turn out just as good.
With this recipe, you can also opt to making them on the stovetop or in a regular convention oven. Air fryers are basically mini ovens so they can be used for just about anything. I must admit though that these are time consuming but I made a small batch just for my husband & I, & it was definitely worth it – so if you need to make a larger batch then I suggest placing them onto a baking tray & doing them all in one go (or however many can fit on the tray at a time).
Add the flour, salt, sugar & instant yeast to a mixing bowl.
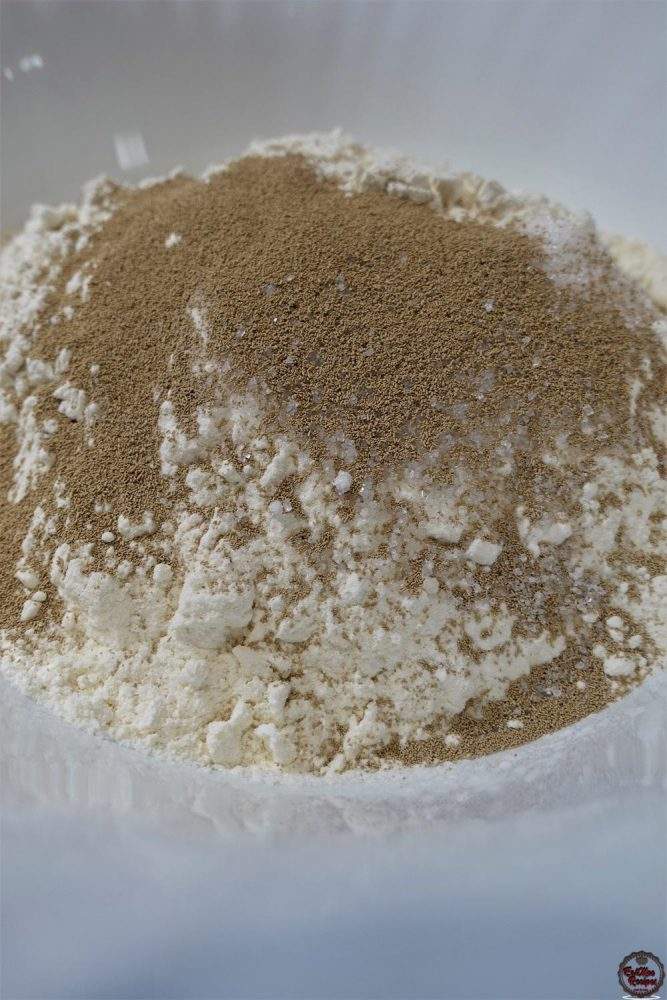
Give the dry ingredients a mix.
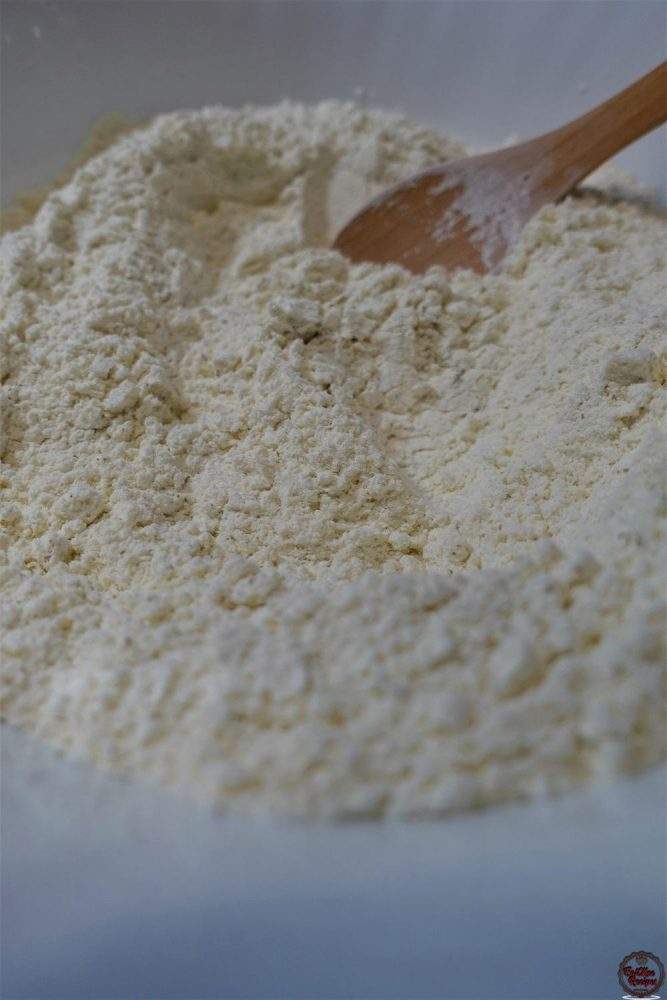
Pour in the vegetable or olive oil.
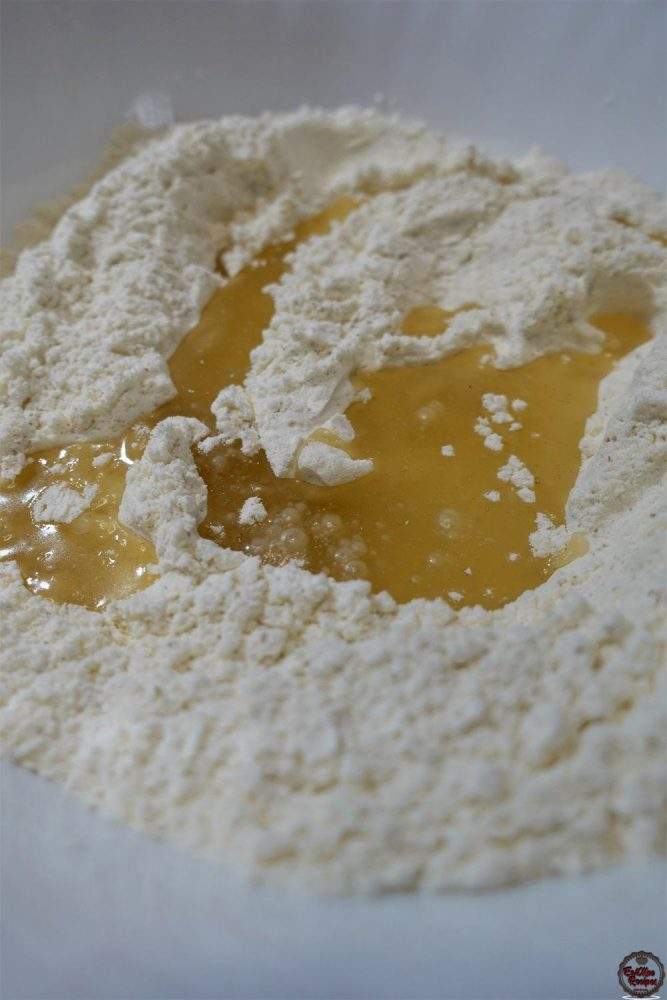
Pour in the warm water & warm milk.
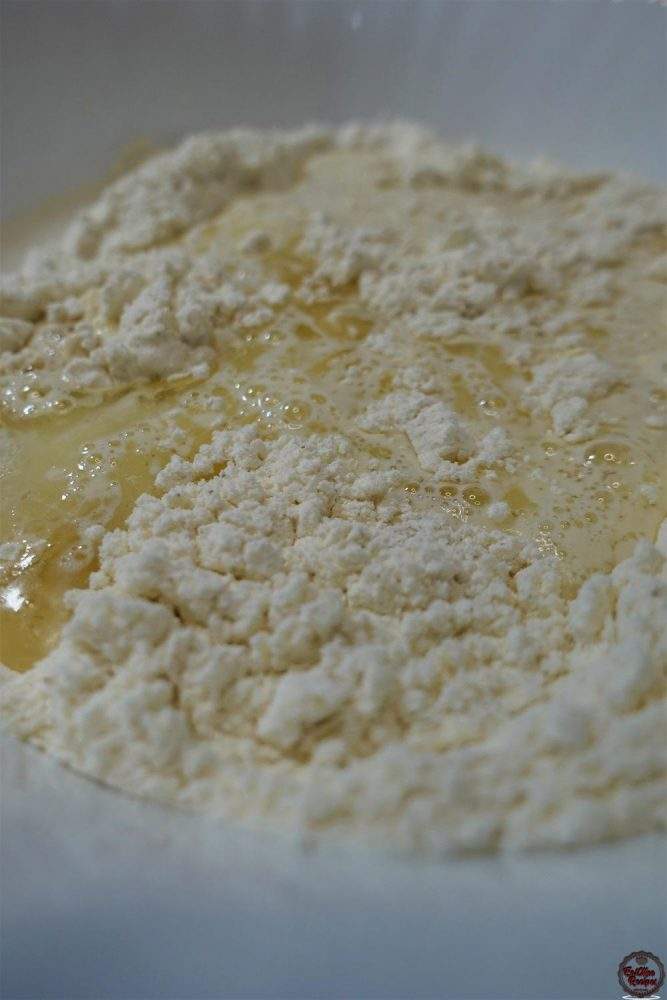
Mix with a spoon & then with your hands until it forms a dough.
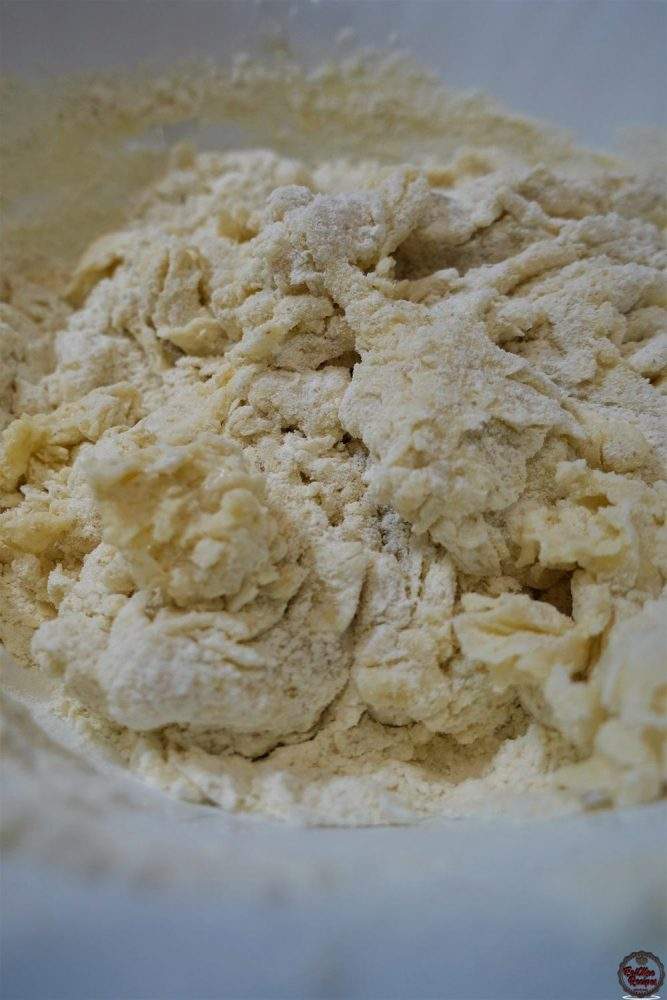
If the dough is too dry, add in a little warm milk or water & if the dough is too sticky, add in more flour.
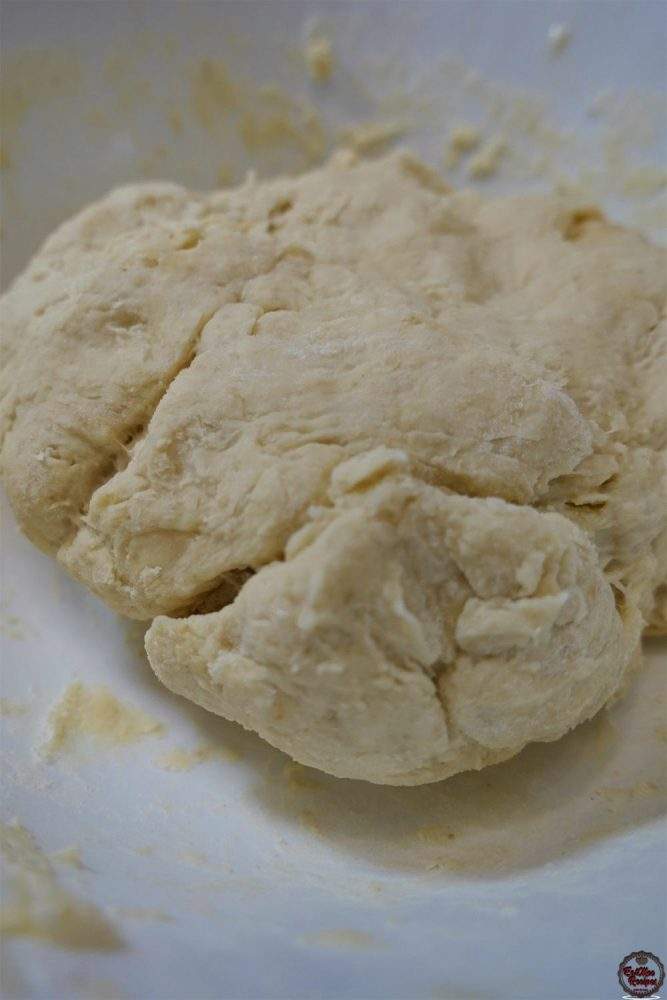
Place dough onto a floured surface.
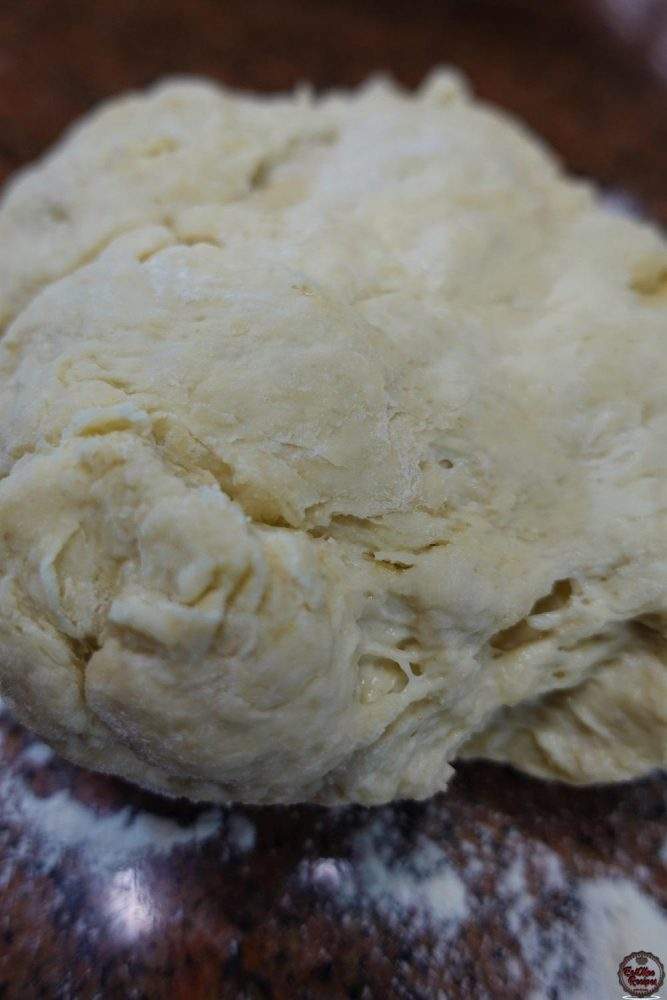
Knead for 10 minutes. The longer it is kneaded, the softer it will be. This process can be done by hand or with a stand mixer.
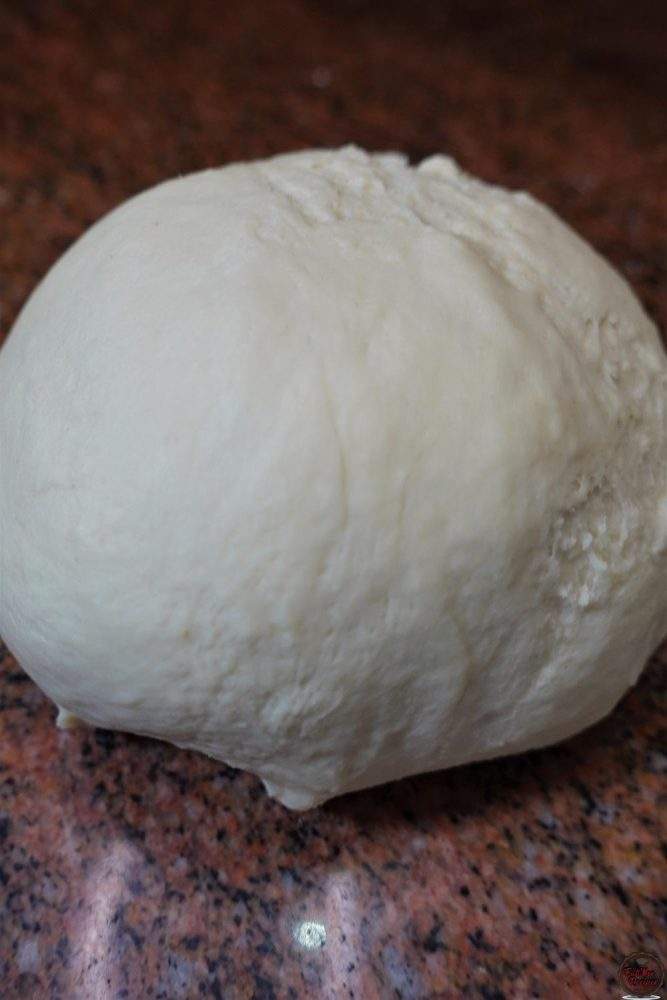
Lightly oil a bowl & place the dough into the bowl. Rotate the dough in the bowl coating with the oil so it does not dry up.
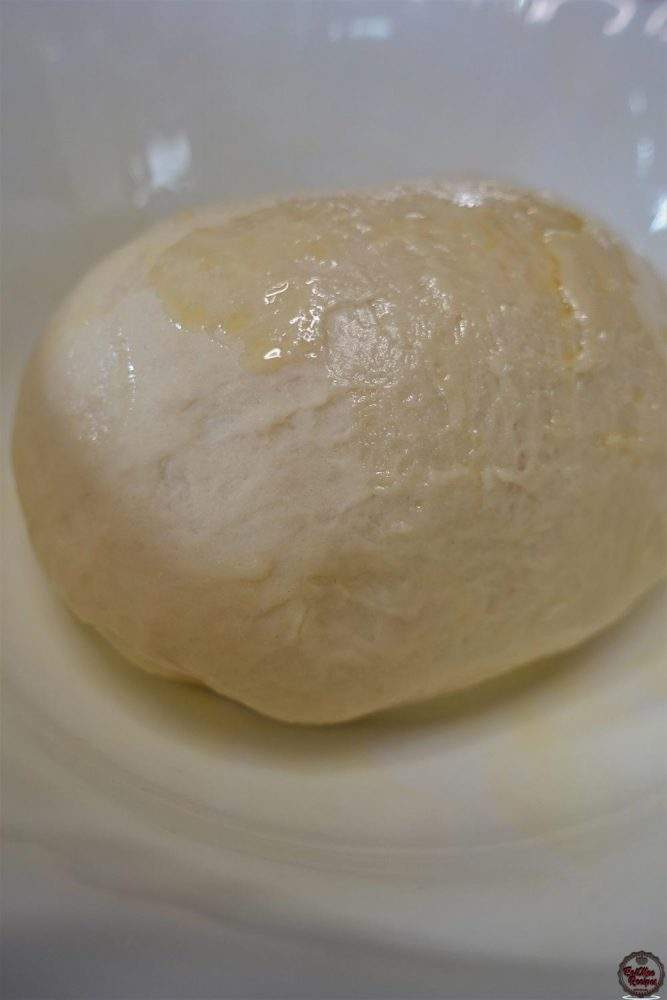
Cover with cling/plastic wrap & leave in a dark place to rest for 1 hour or more. I usually pop it in a turned off oven or microwave.
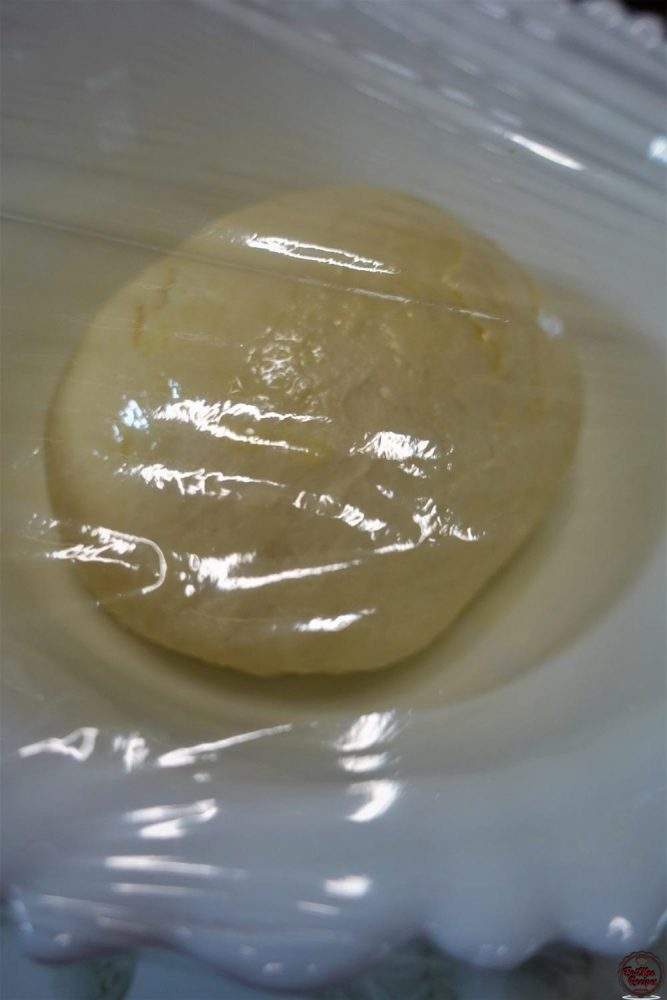
After an hour, the dough should double in size.
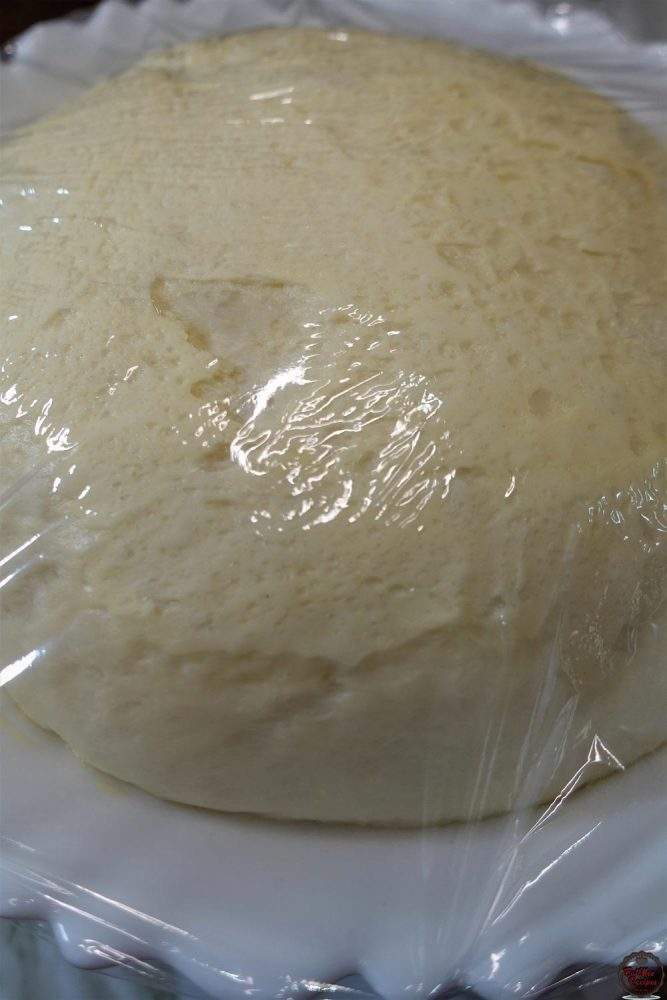
Remove the cling/plastic wrap.
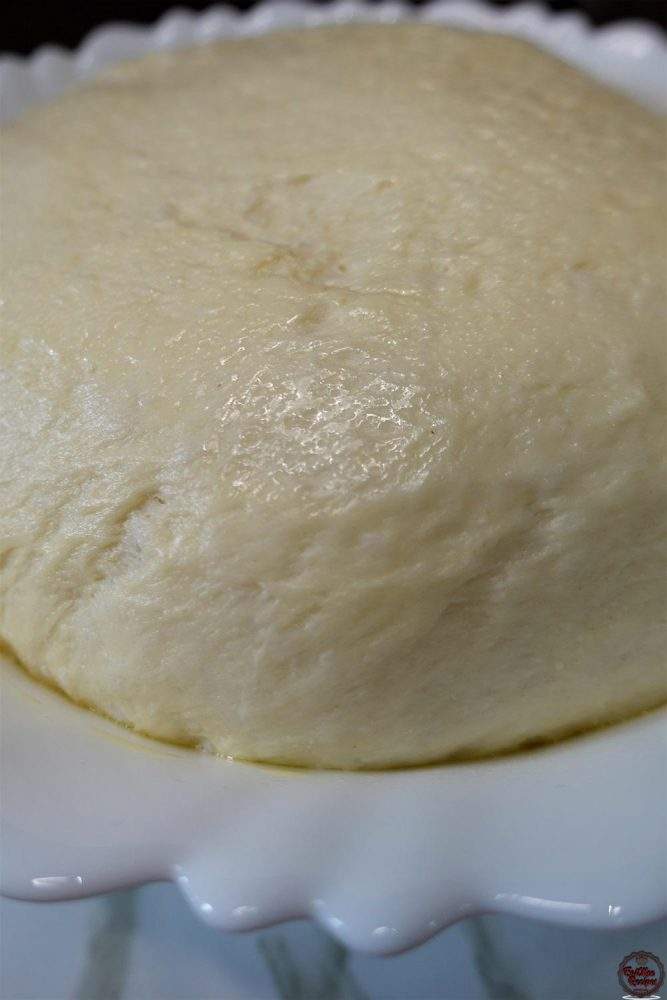
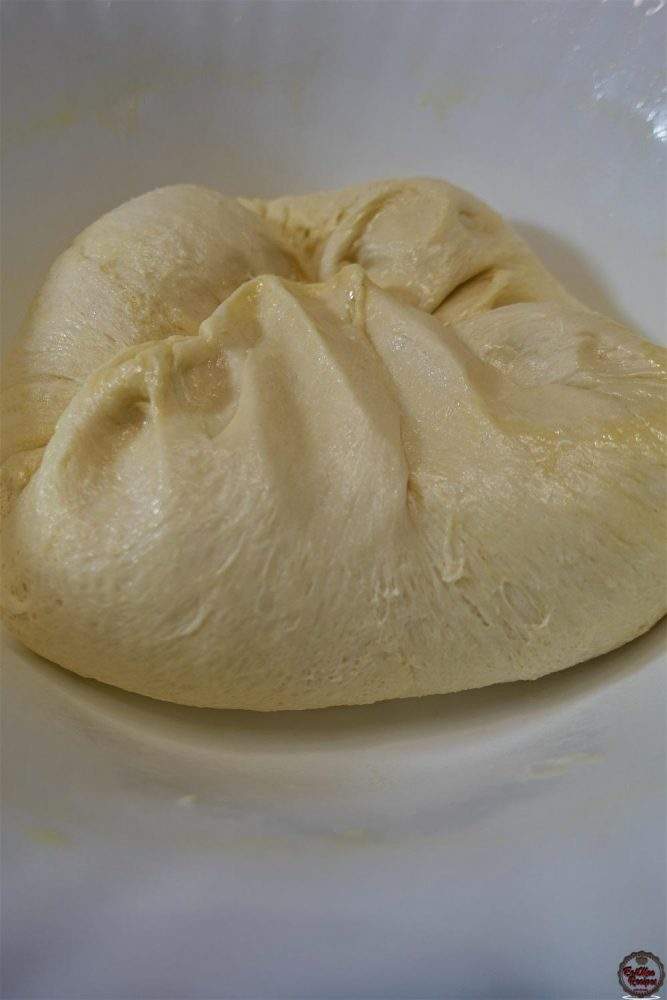
Punch down dough.
If using a convection oven – Preheat oven to 260° Celsius or 500° Fahrenheit at this point.
Roll into a ball & divide into 10 equal parts.
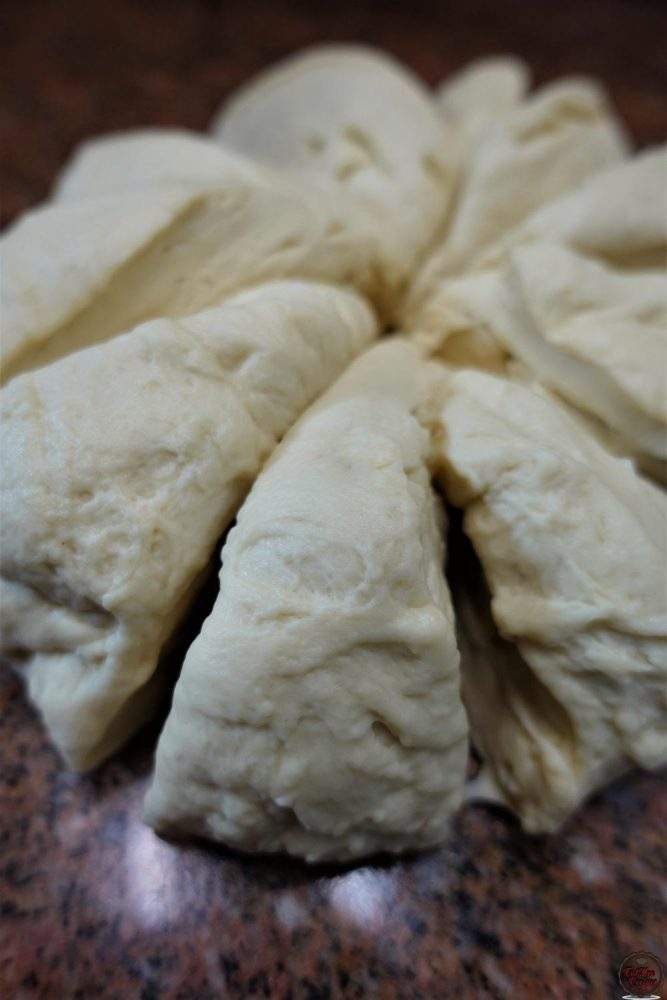
Roll each portion into balls.
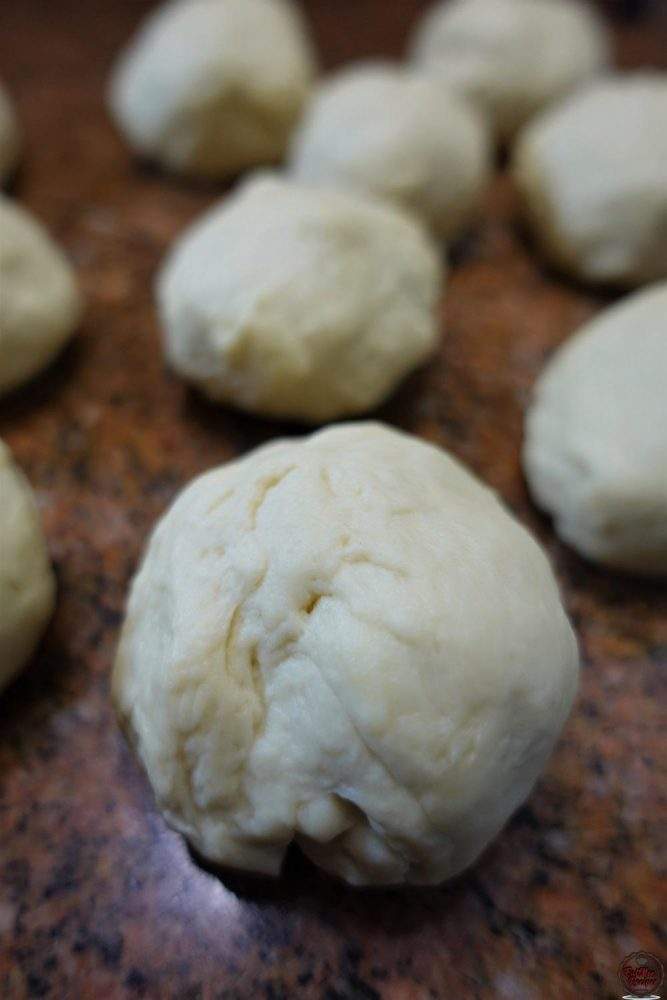
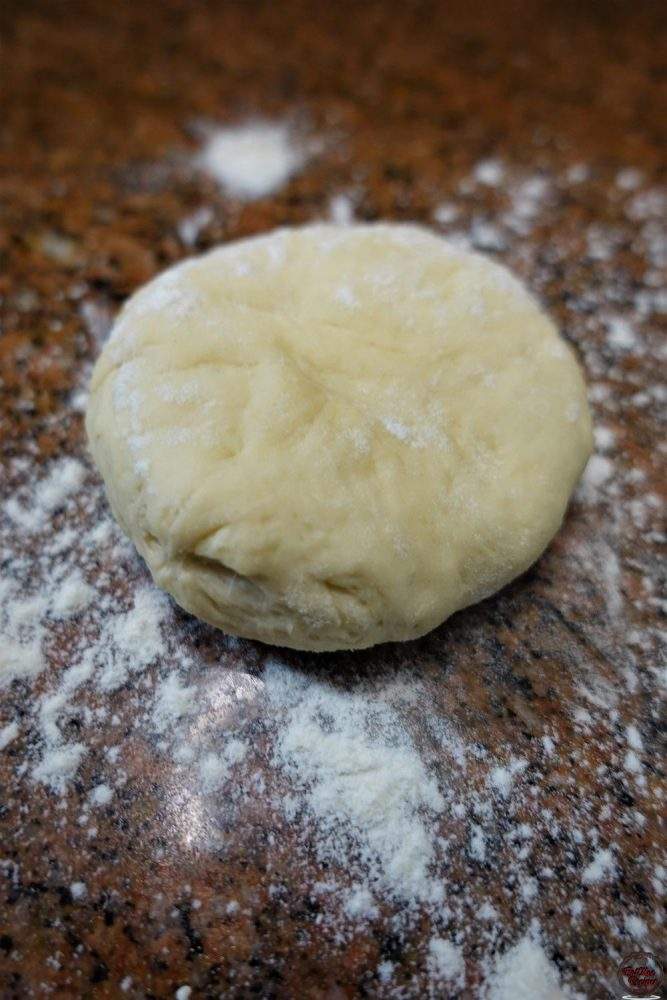
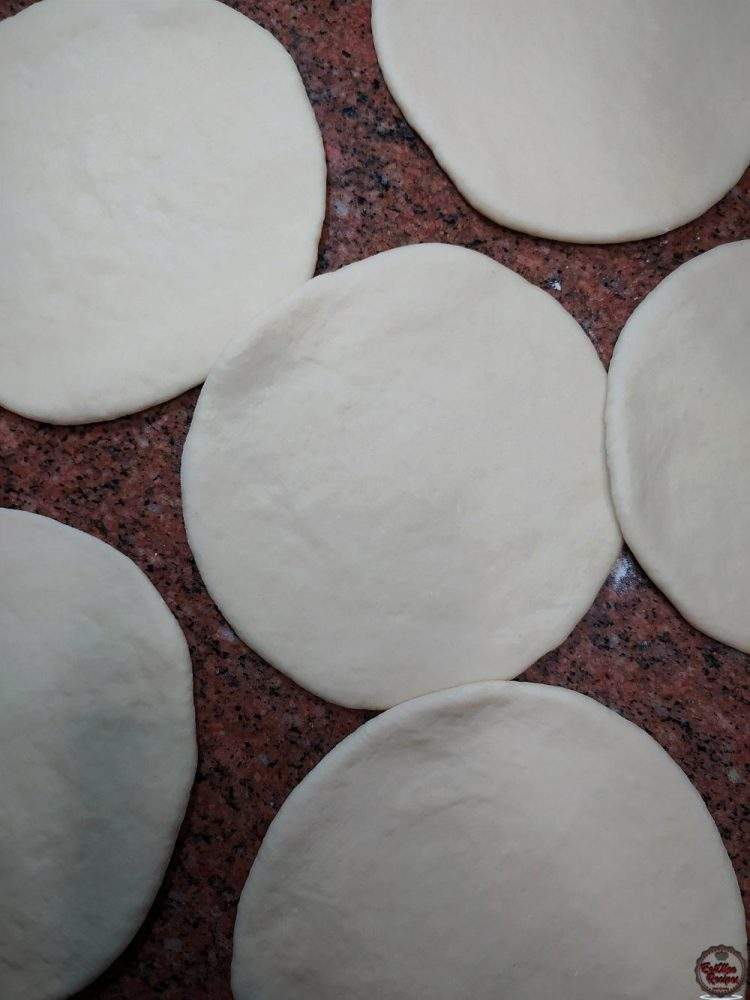
Working with one ball of dough at a time, tuck, roll into a ball & flatten on the floured surface.
Using a rolling pin, roll each ball out into a circular shape.
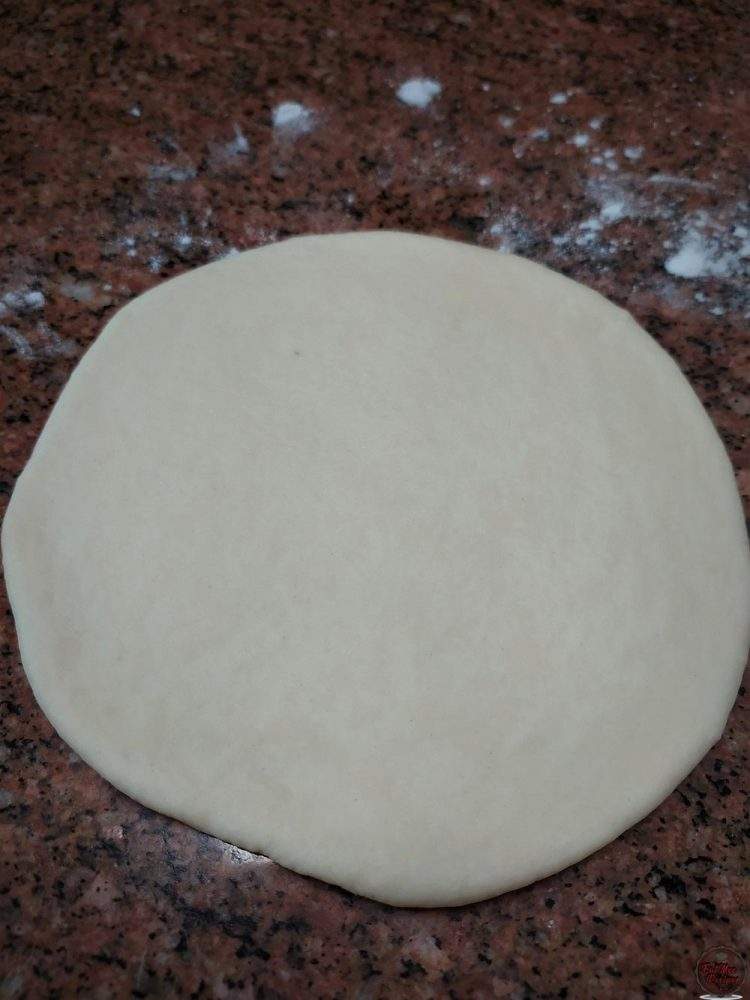
Continue this process until all the dough is rolled out.
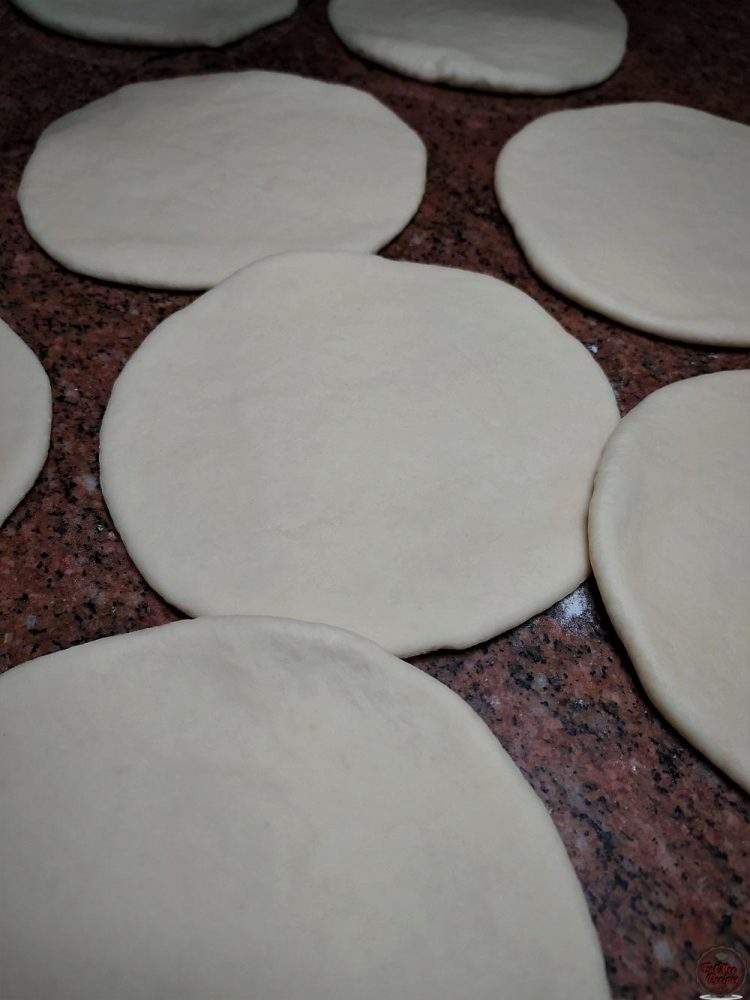
They should be about ½ centimeter thick.
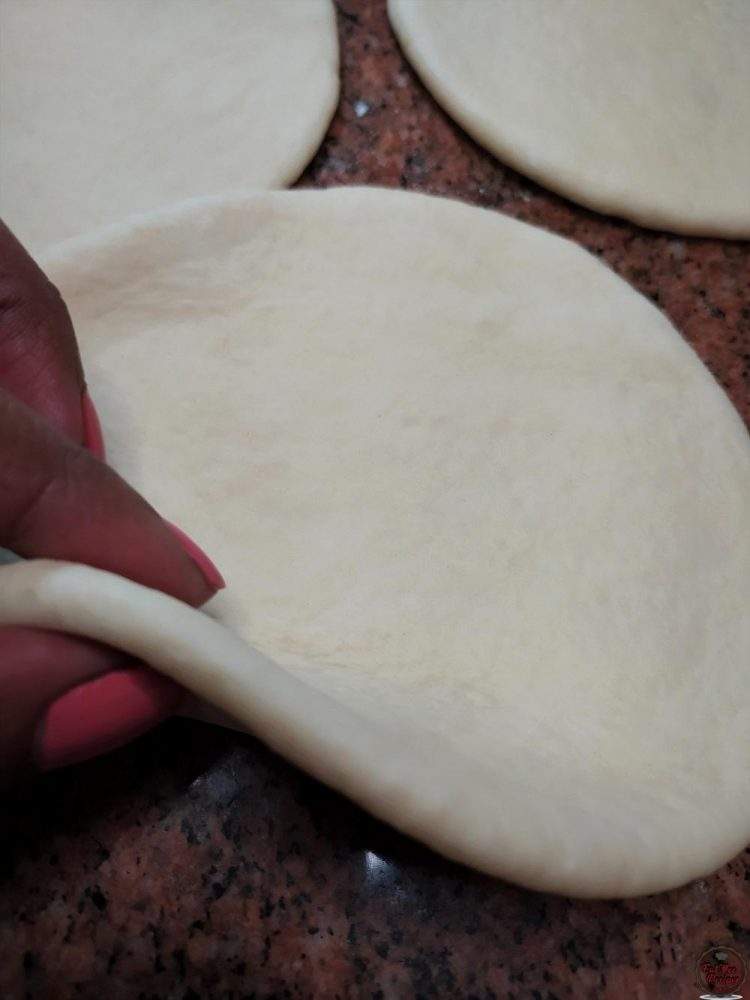
As they are being rolled out, be sure to cover them with a dish towel to prevent them from drying.
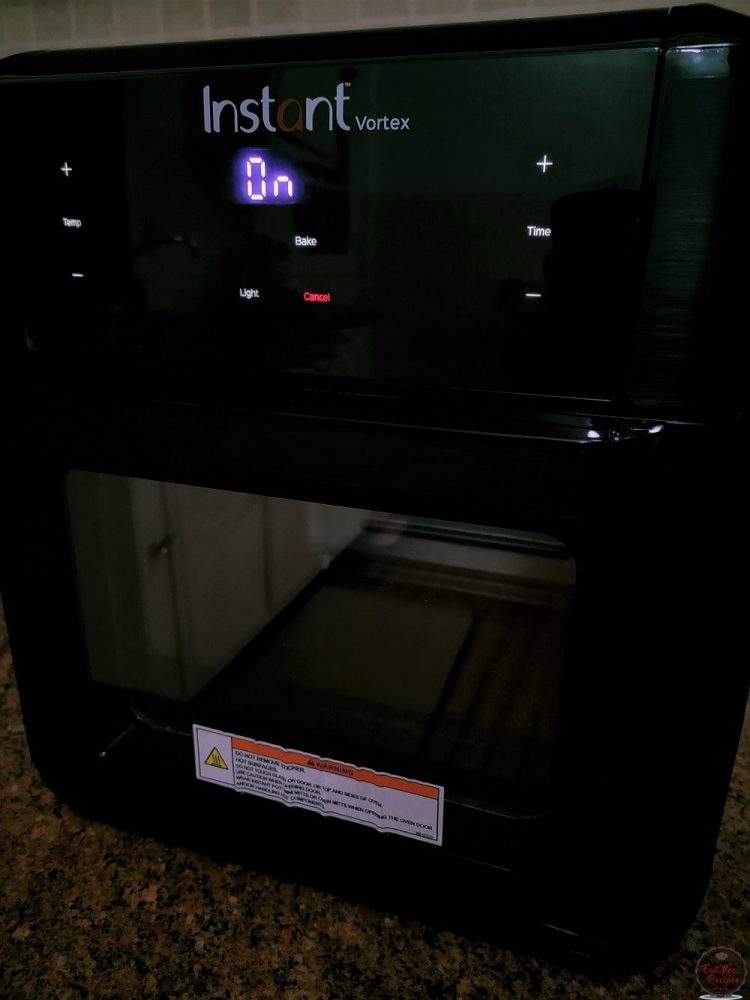
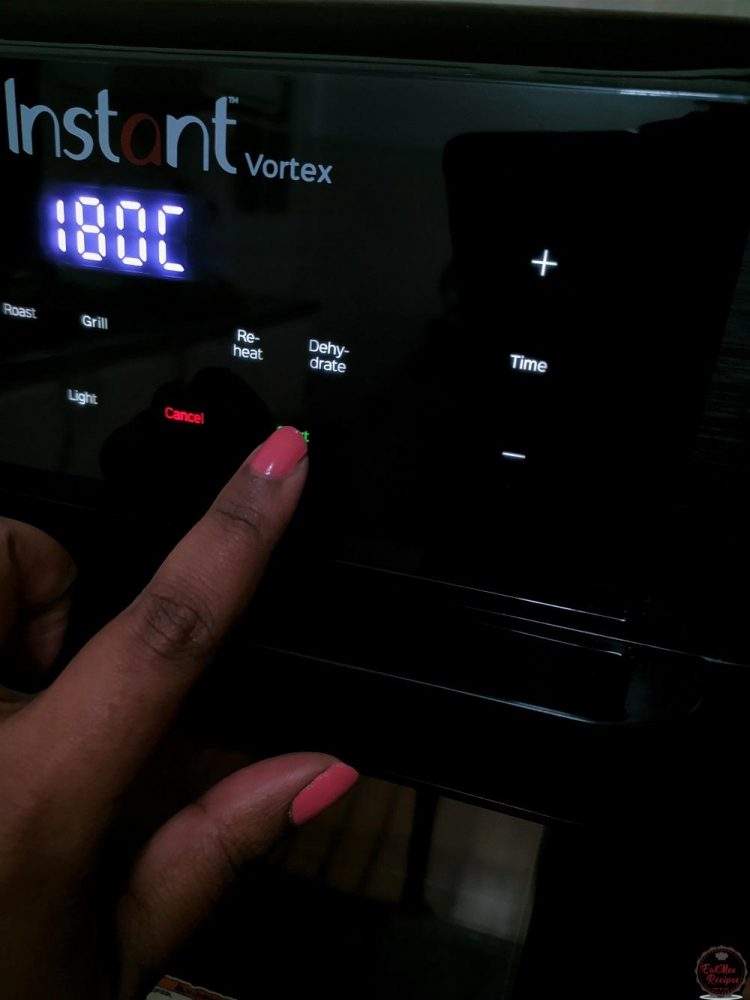
Turn on your air fryer. I am using my Instant Vortex Air Fryer Oven.
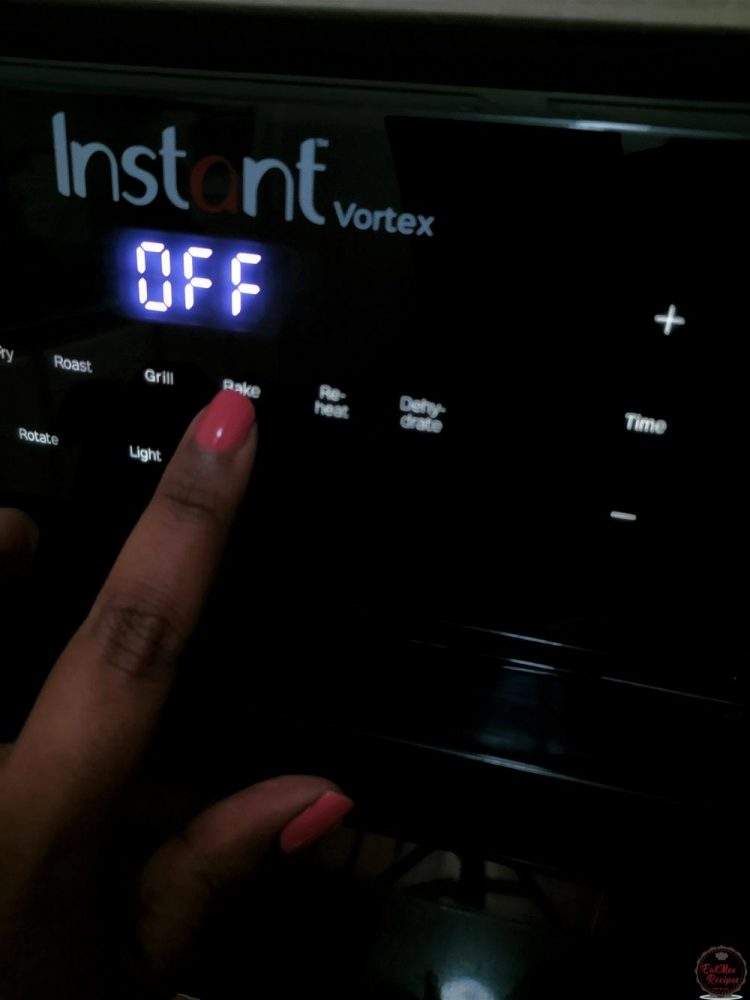
Press the “Bake” button on the Instant Vortex Air Fryer Oven. Or you can press the “Air Fry” button if your air fryer doesn’t have that option.
Adjust the “Time” to 00:04 (04 Minutes) & the “Temperature” to 180° Celsius.
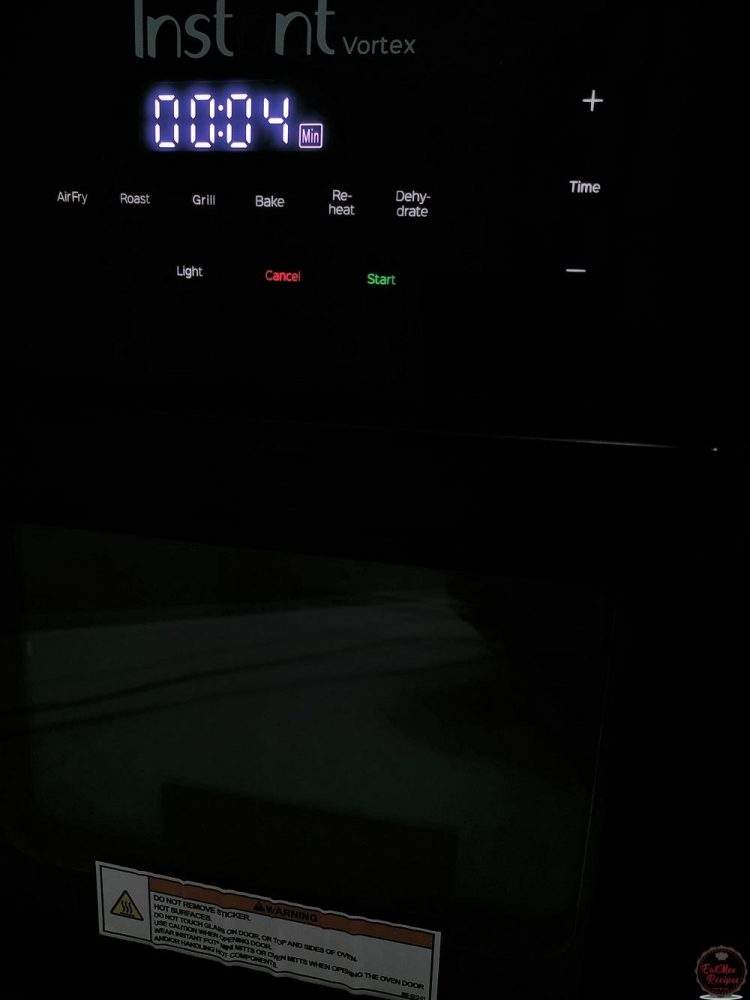
Press “Start” & allow the air fryer to Preheat.
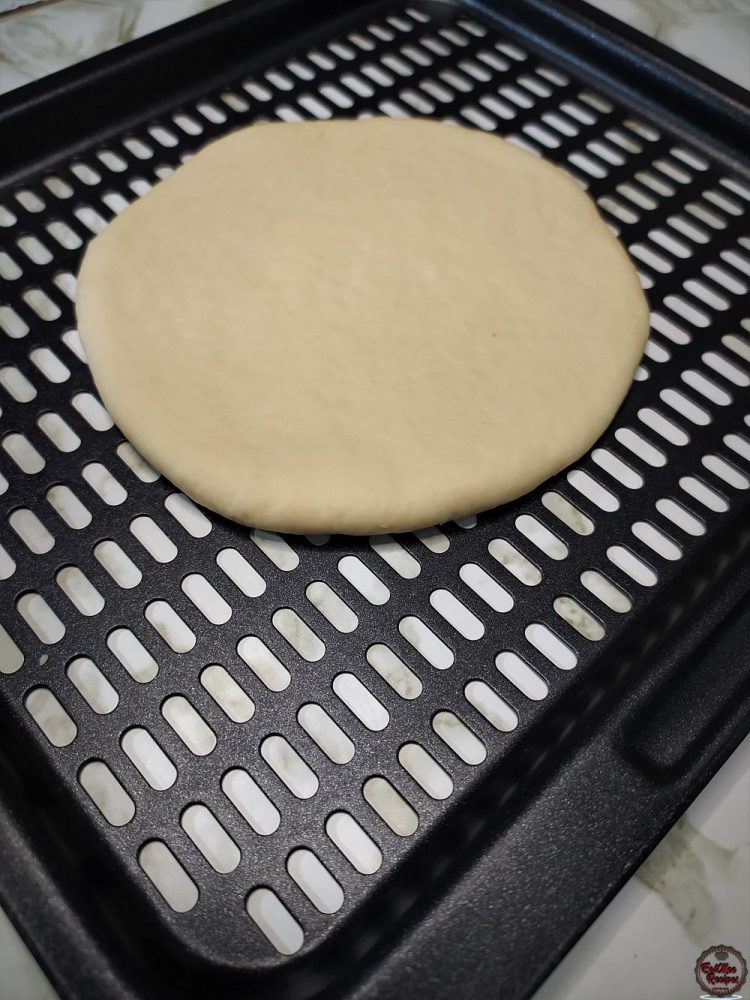
Place one of the rolled pitas onto the air fryer tray (or into the air fryer basket).
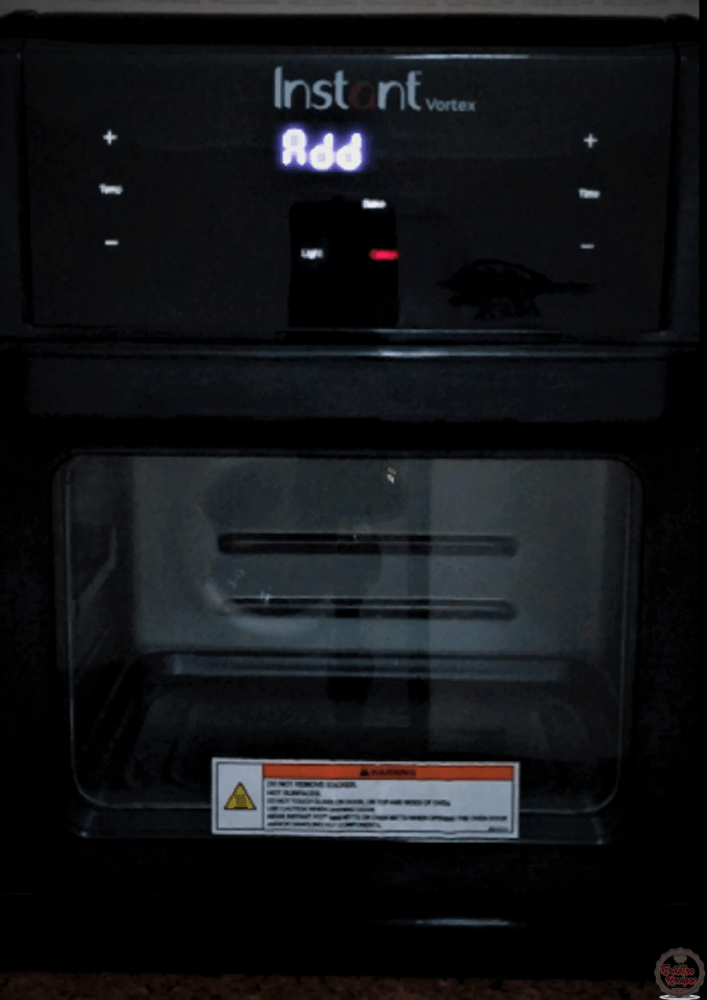
Once the Air Fryer reads “Add Food”, open it & slide in the tray on the middle rack (or simply pop the air fryer basket in). Alternatively, place the pita dough onto a baking tray & pop it into the preheated oven & bake for about 3 minutes or until golden & puffed.
For the stovetop, preheat a pan or cast iron skillet over medium high heat. Lay pita on the hot skillet for 30 seconds, once you see it bubbling, flip the pita & toast for 1 minute – it will puff then flip & cook another minute.
After 2 minutes, you will notice it start to puff up.
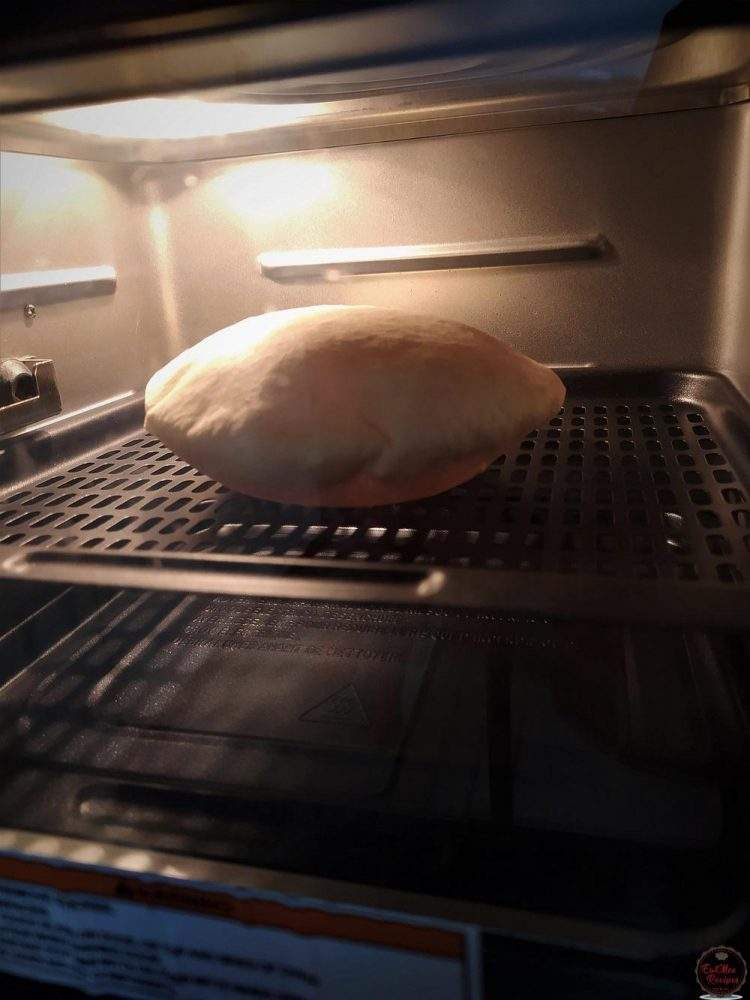
Pull out the tray (or basket).
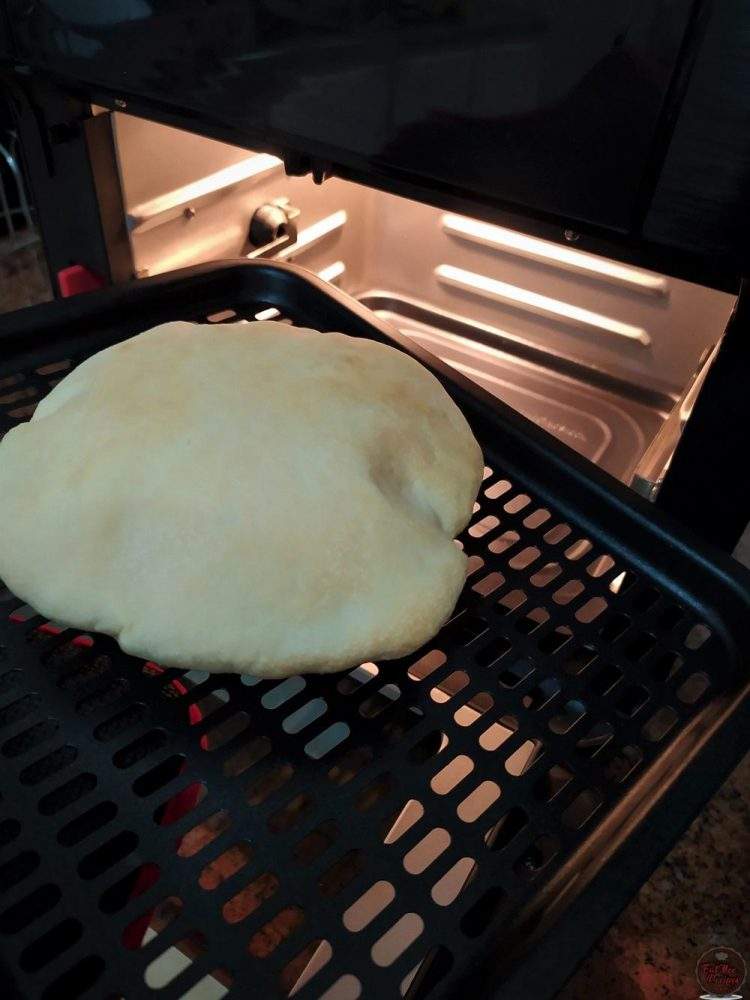
Carefully flip it over.
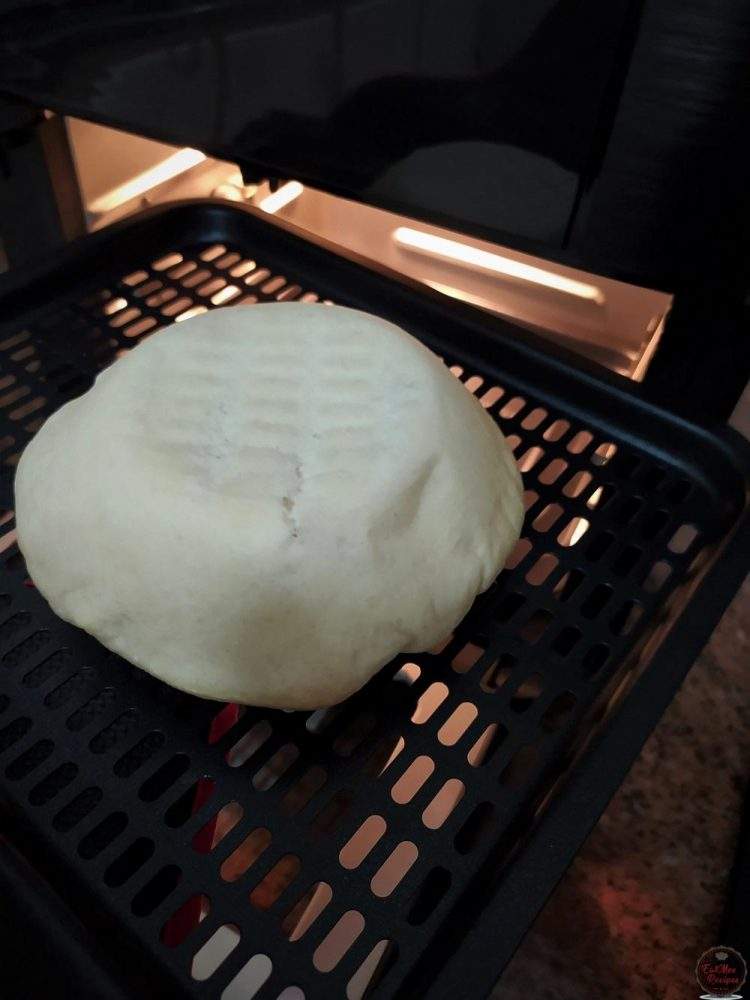
Pop the tray or basket back into the Air Fryer & allow it to bake for the remaining 2 minutes. Depending on your Air Fryer, keep an eye on it as you don’t want it to get too browned because it will result in hard pitas.
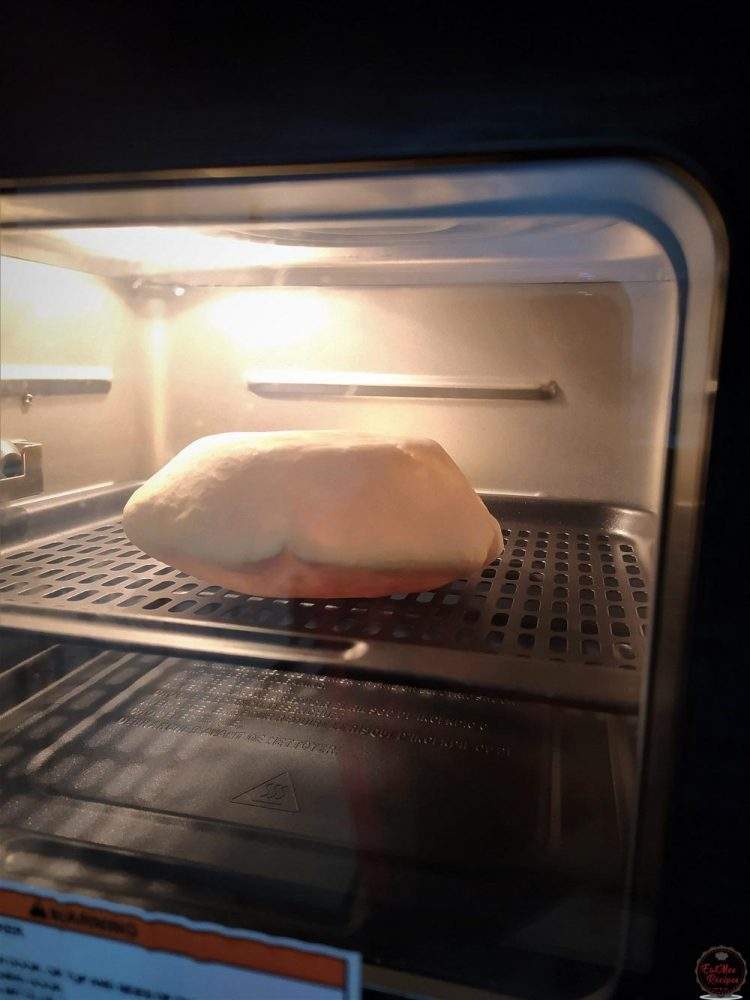
Once done, they should be perfectly cooked.
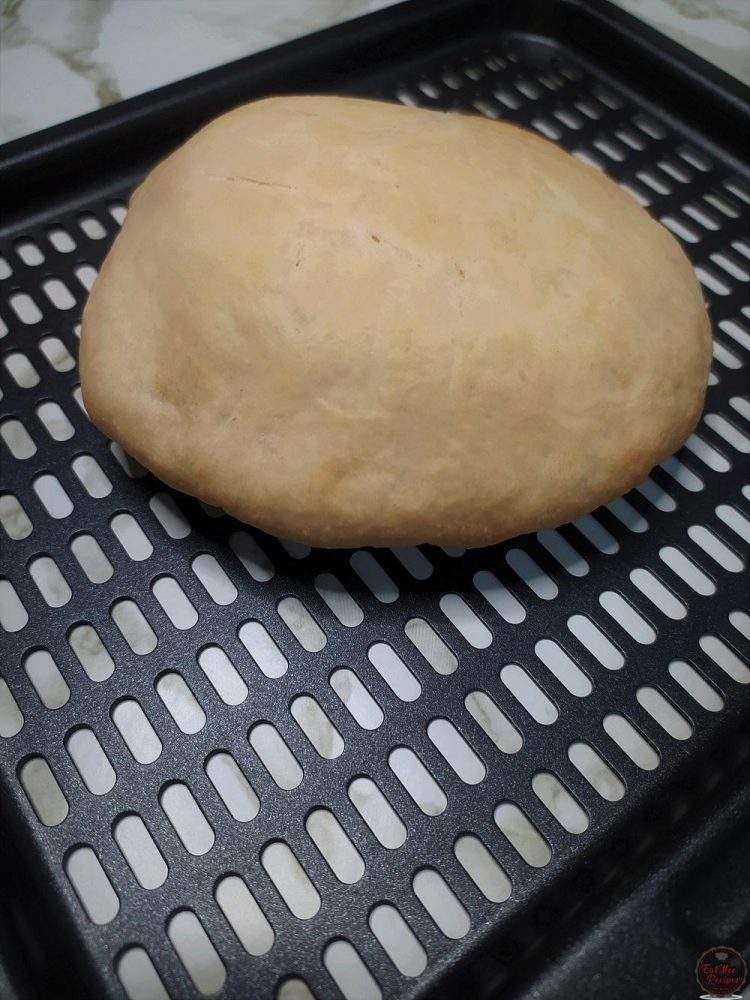
Serve these Air Fryer Pita Bread however you prefer.
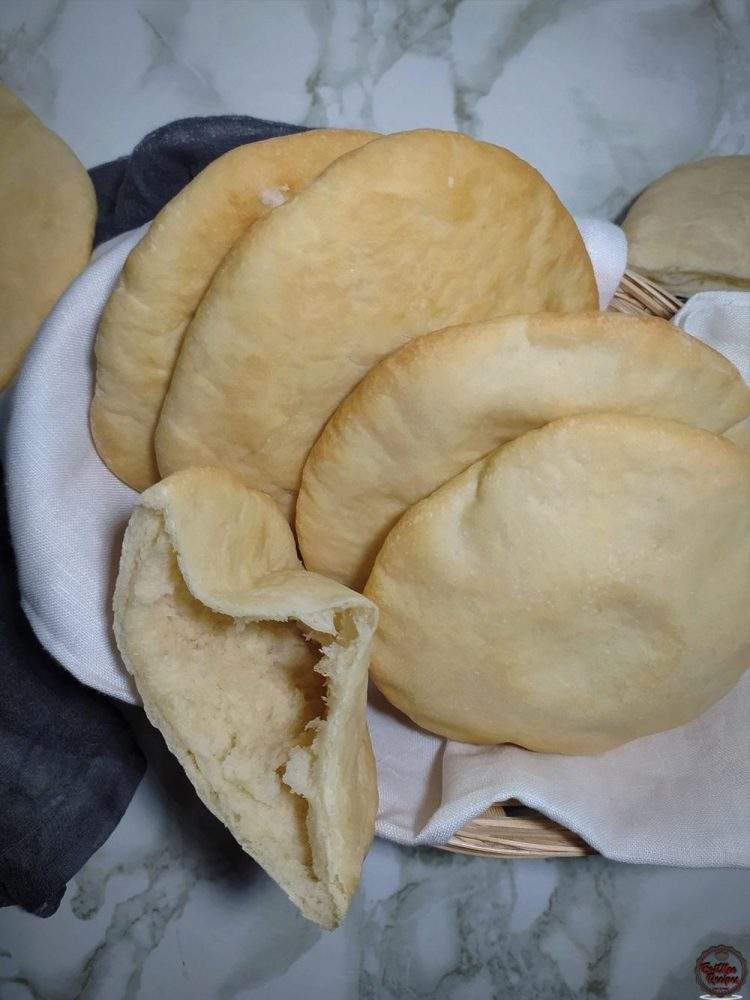
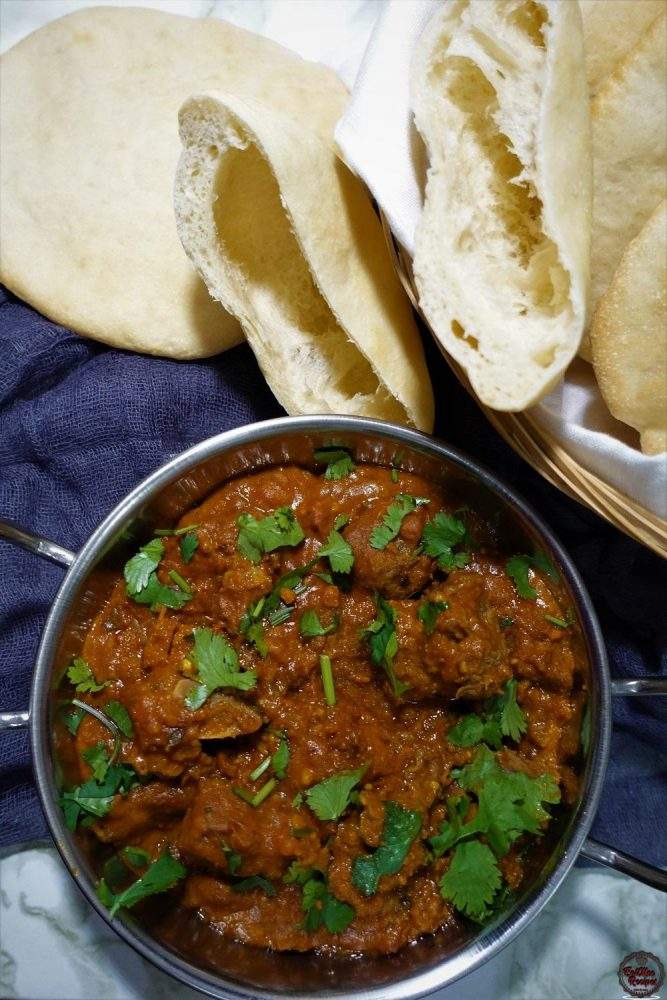
Usually they are cut in halves or at the tip & it should become a pocket. To this any filling can be added with salads & sauces for a perfect meal.
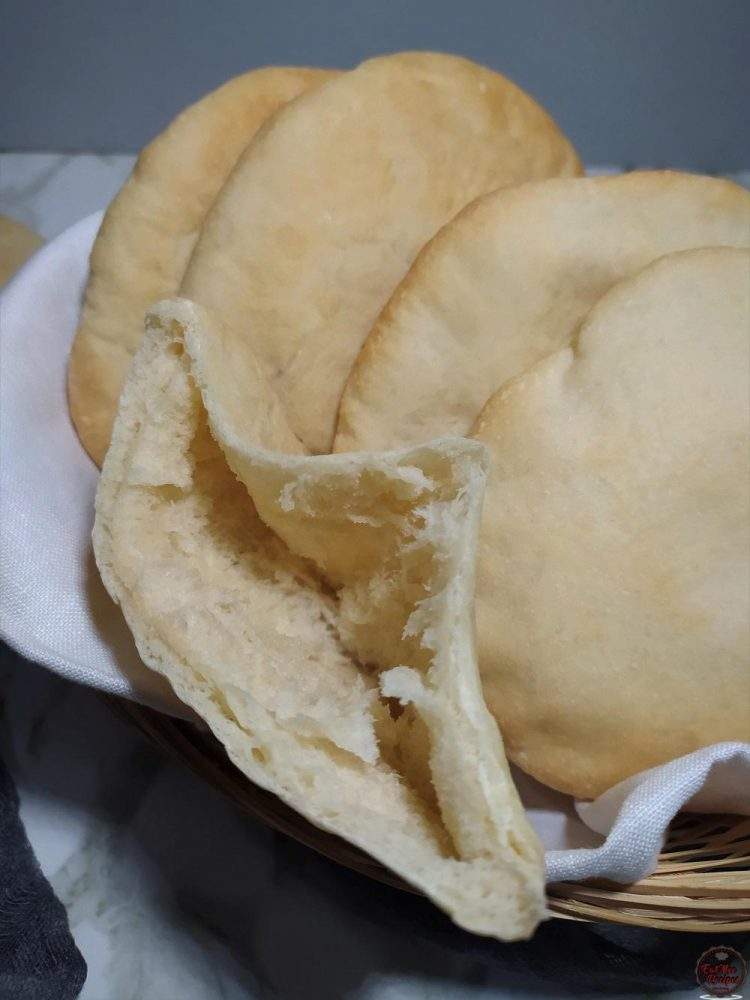
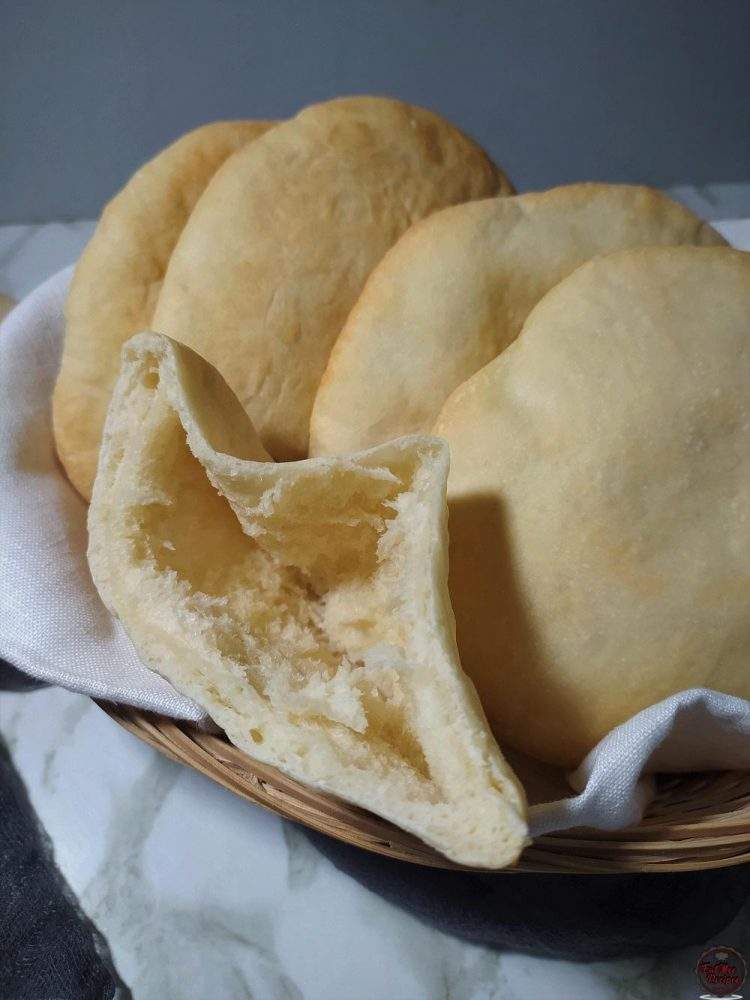
As you can see, the inside is super fluffy & these pitas are absolutely soft & delicious.
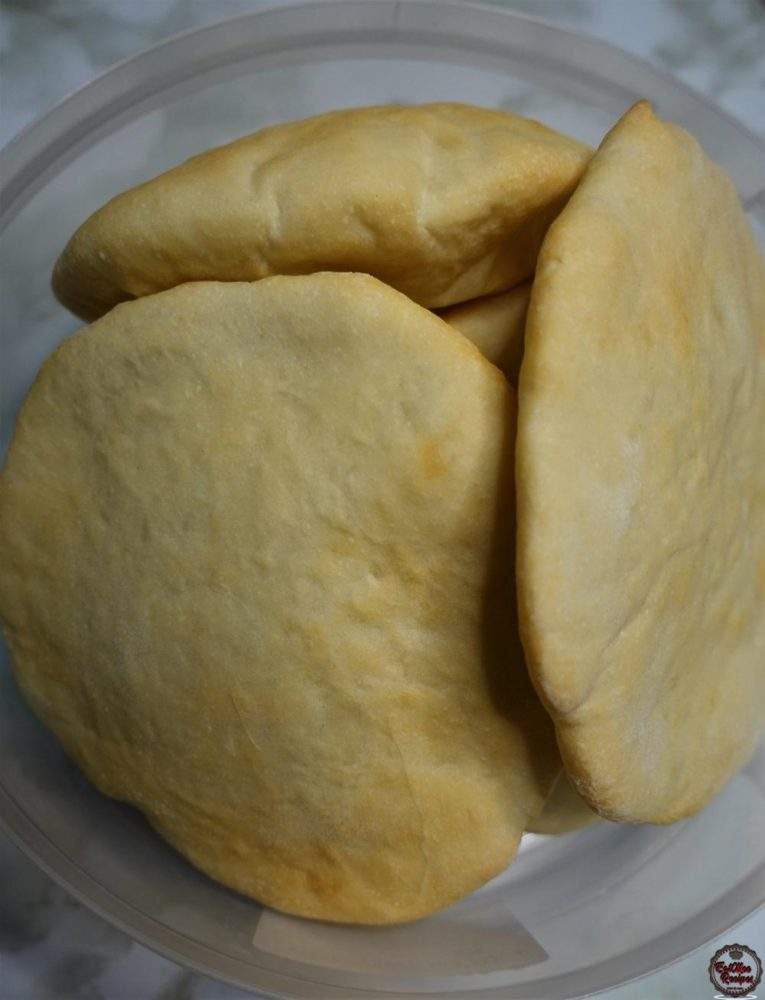
Store in an air tight container for up to a week.
Apart from serving it as a pocket, I actually love serving it with Dhall Gosht – yes that seems odd but do give it a try, its something will definitely stick because those two just pair so well together.
Follow along with Denisiya's step-by-step video guide for Air Fryer Pita Bread.
Expert kitchen guidance and troubleshooting for making the best Air Fryer Pita Bread
The golden secret is kneading the flour with boiling hot water, which pre-gelatinizes the starches. Roll thin, cook on a hot tawa with a light brush of butter or ghee, and stack inside a covered container wrapped in a clean kitchen cloth.
Yes! Cooked rotis freeze exceptionally well. Place sheets of wax paper between each cooked roti, wrap in foil or a zip-top bag, and freeze for up to 2 months. Reheat directly on a hot pan for 30 seconds.
Stiff rotis are caused by rolling the dough with too much dry flour, rolling too thick, or cooking on too low heat for too long, which dries out the moisture. Cook on medium-high heat quickly.
Hi, I'm Denisiya! Food lover, recipe developer, and founder of EatMee Recipes. I specialize in authentic South African Durban Indian cuisine, comforting curries, and modern Instant Pot adaptations. Every recipe on this site is tested in my personal kitchen to ensure you get mouth-watering, foolproof results every time.
Explore more authentic Durban curries, traditional bakes, and comforting family favourites.
 Air Fryer Recipes - Instant Vortex
Air Fryer Pizza Toast: The Ultimate Quick and Delicious Snack
 Air Fryer Recipes - Instant Vortex
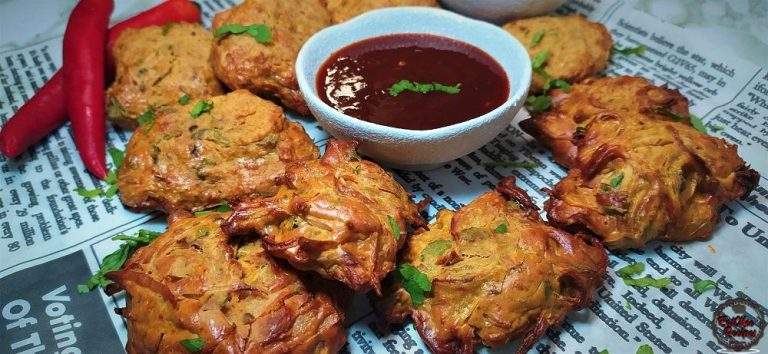
I know what you’re going to say…how can pakoras be air fried? These Air Fryer Potato And O...
 Air Fryer Recipes - Instant Vortex
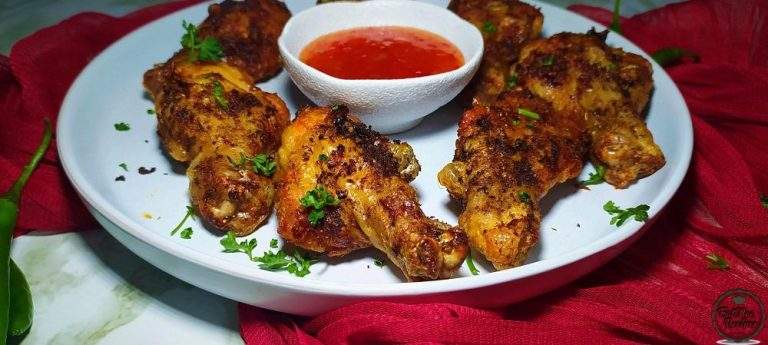
We all love quick & easy meals, especially when its super delicious without all of the mes...
Have you tried this recipe or have questions for Denisiya? Join the conversation below.
No comments yet. Be the first to share your thoughts on this recipe!
Leave a Comment
Your email address will not be published. Required fields are marked *