
We Value Your Culinary Privacy
EatMee Recipes uses cookies to provide a personalized browsing experience, analyze recipe popularity, and serve relevant ads. You can review our full disclosure in our Privacy Policy.
Make authentic Air Fryer Burnt Basque Cheesecake with this foolproof recipe. Packed with rich traditional flavor, step-by-step photos, and cooking tips by Denisiya on EatMee Recipes.

Join over 60,000+ home chefs for weekly authentic Durban Indian cook-alongs, Instant Pot masterclasses, and family heritage recipes.
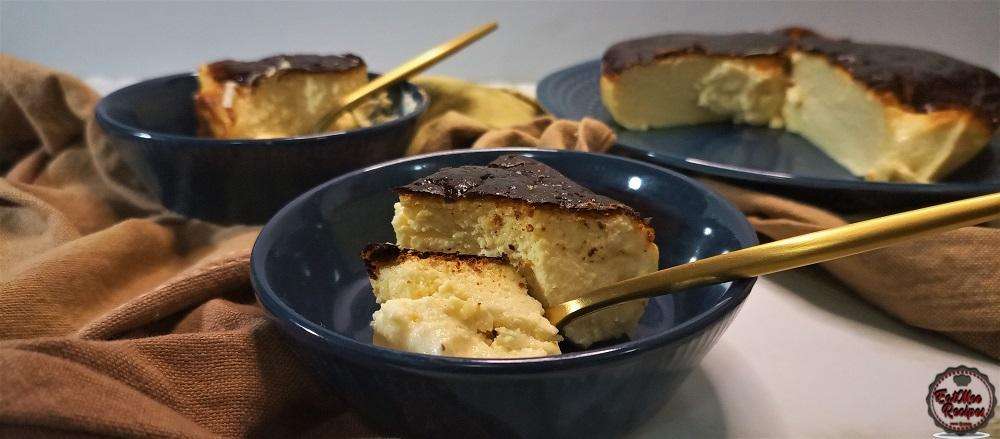
You’re probably wondering, what the heck is Burnt Basque Cheesecake & why does it look inedible? Well, let me just say that this cheesecake is absolutely delicious, it is creamy in the middle with a firmer texture on the exterior, it does not have a crust & it tastes like a caramelized cheesecake. This is my Air Fryer version hence the name Air Fryer Burnt Basque Cheesecake – It can be done in the oven, however, I have chosen to bake it in my Instant Vortex Air Fryer (please note that different brands of Air Fryers will differ in temperatures to adjust accordingly).
It balances out perfectly with the bitterness from the burnt exterior & sweetness from the creamy custardy interior.
This cheesecake is meant to be burnt on the top, it is also cooked on high heat & it basically makes it impossible to mess it up.
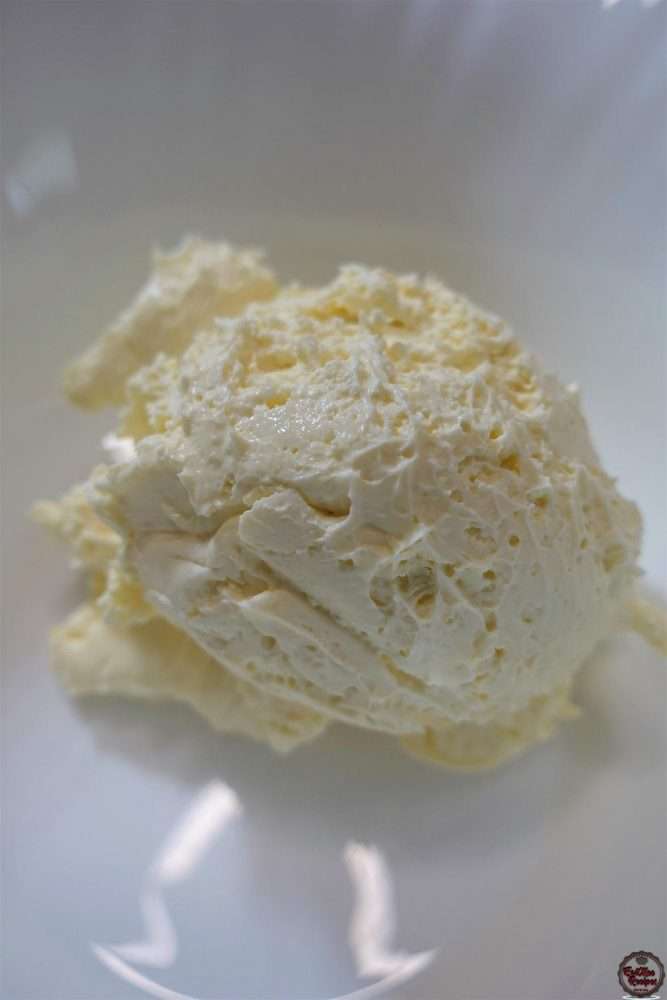
To a mixing bowl, add in the cream cheese.
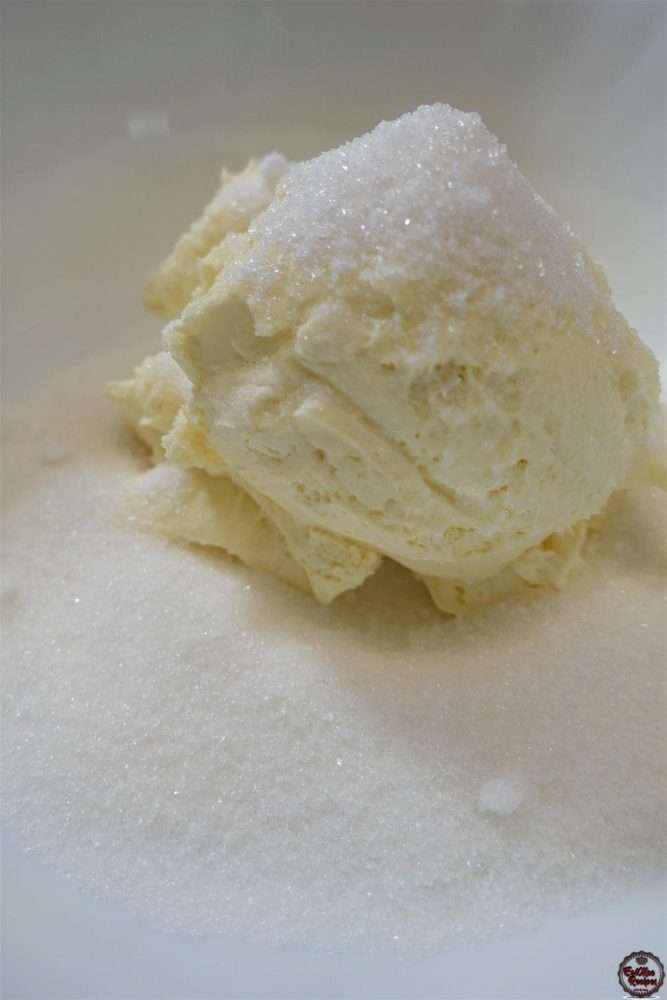
Add in the white granulated sugar & a pinch of salt.
Whisk together until smooth. I’ve used an electric whisk but a stand mixer will work just as well.
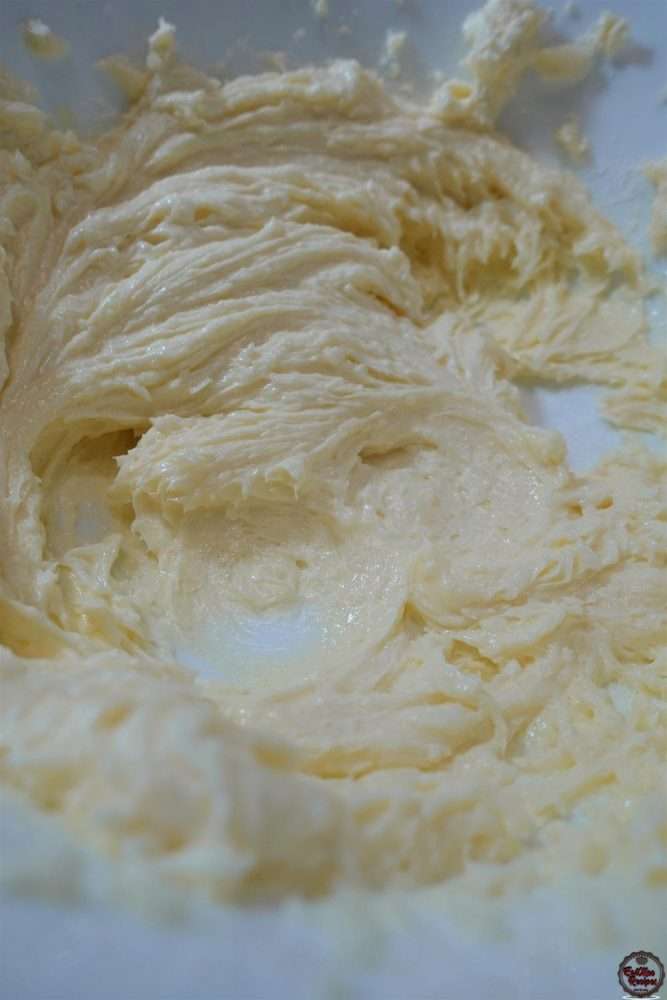
Be sure to scrape down the edges of the bowl.
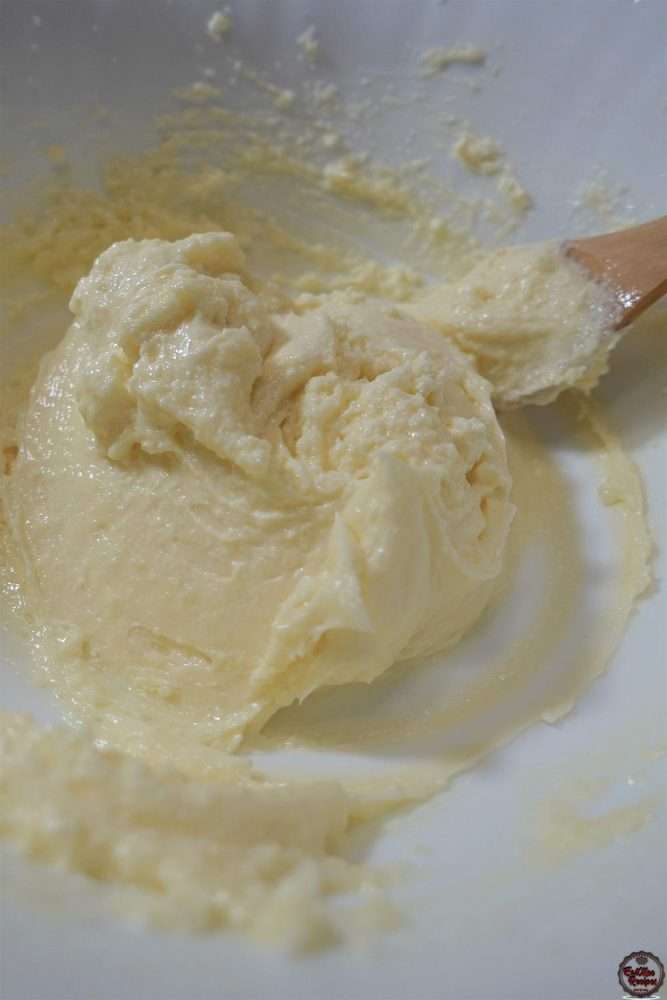
Next, add in the eggs.
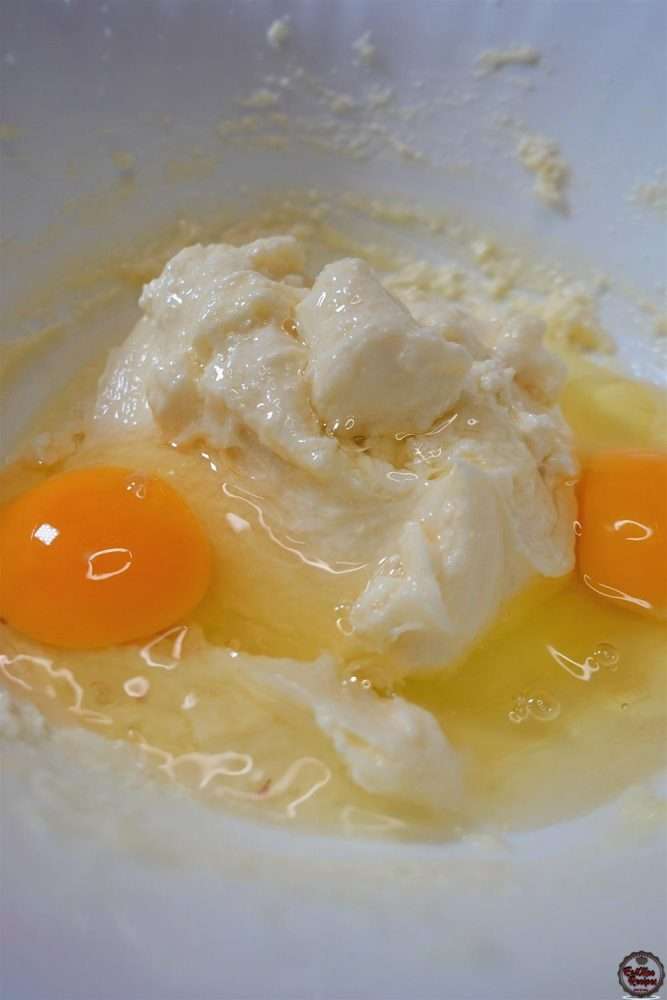
Add in the vanilla essence.
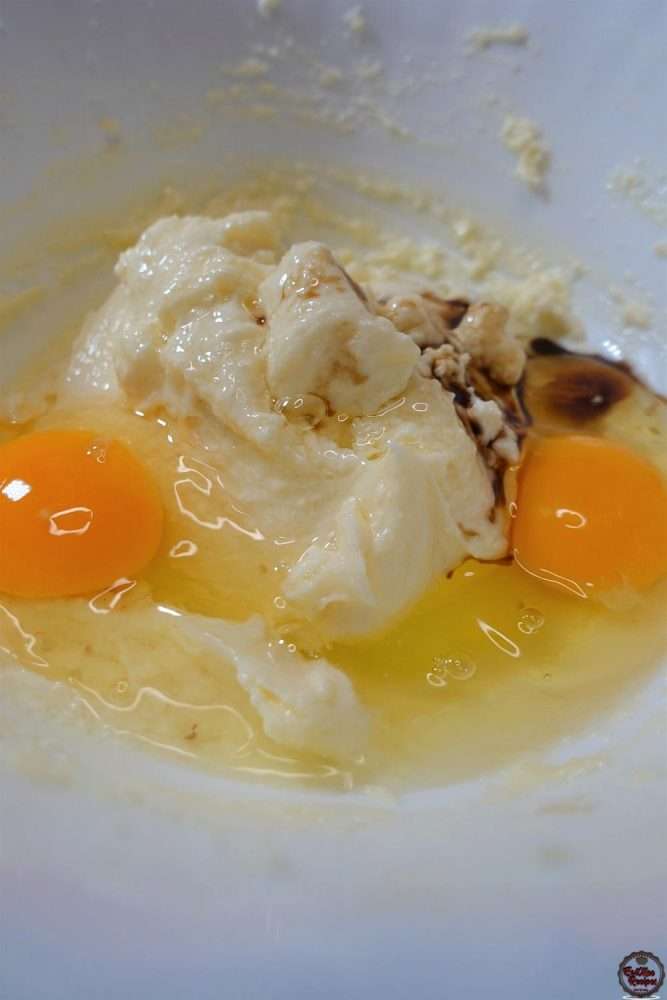
Pour in the fresh or heavy cream.
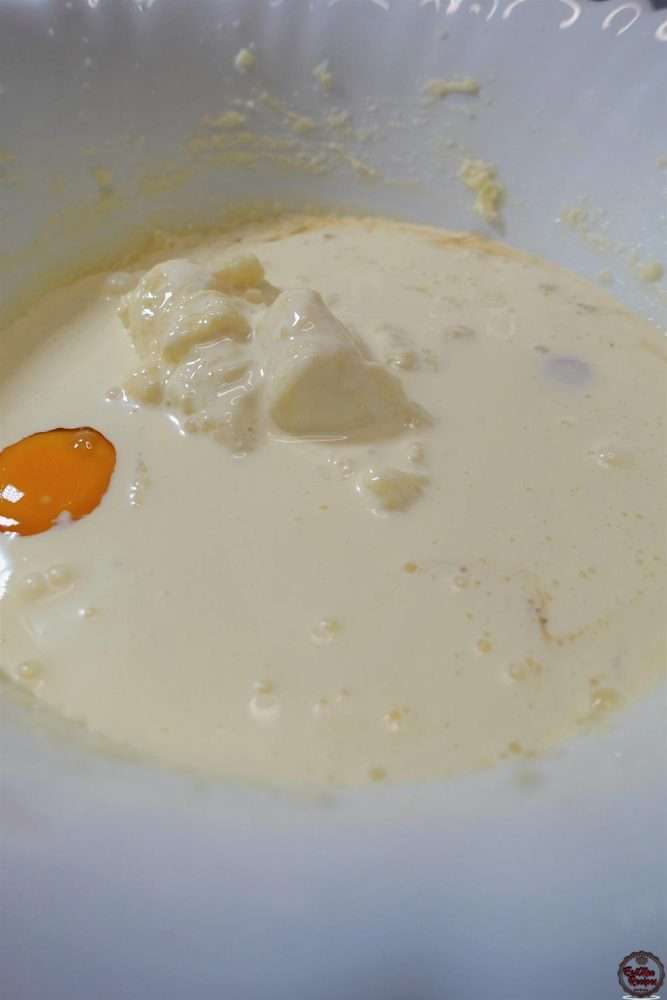
Finally, add in the all-purpose or cake flour.
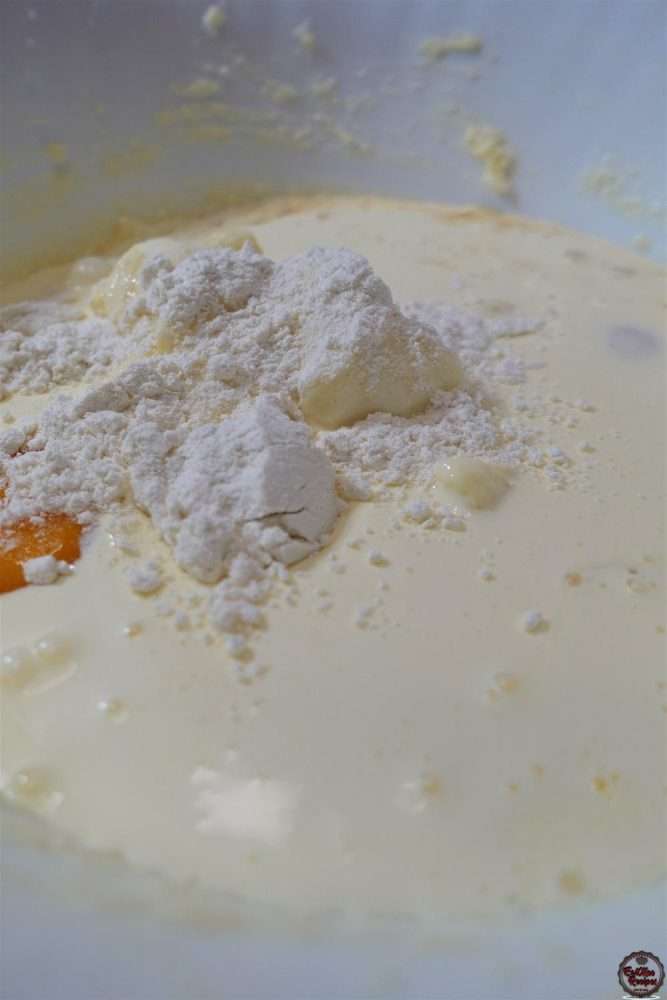
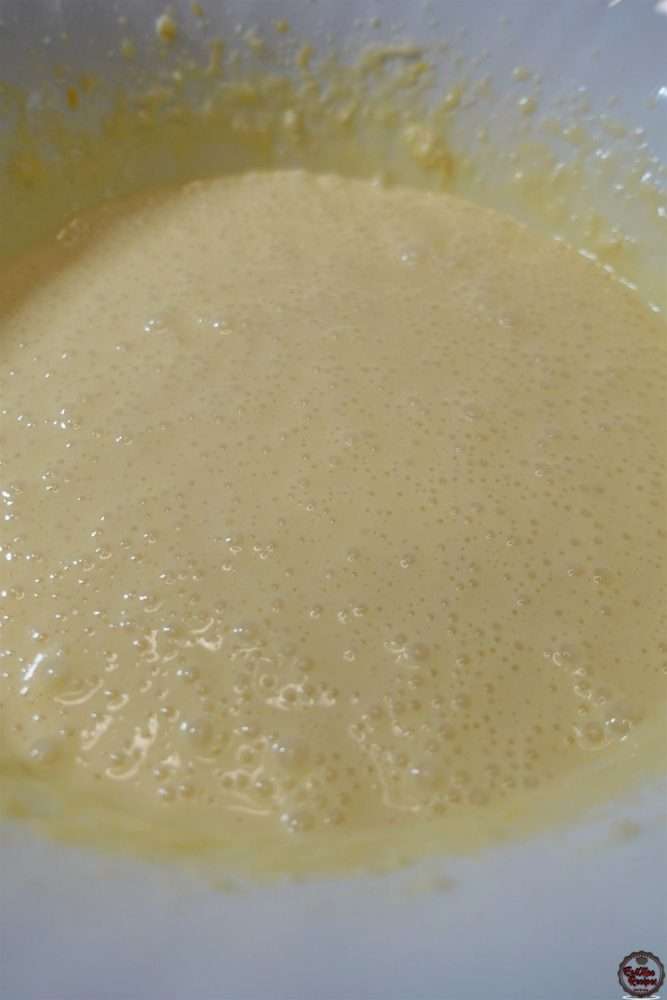
Whisk until it forms a smooth & silky batter.
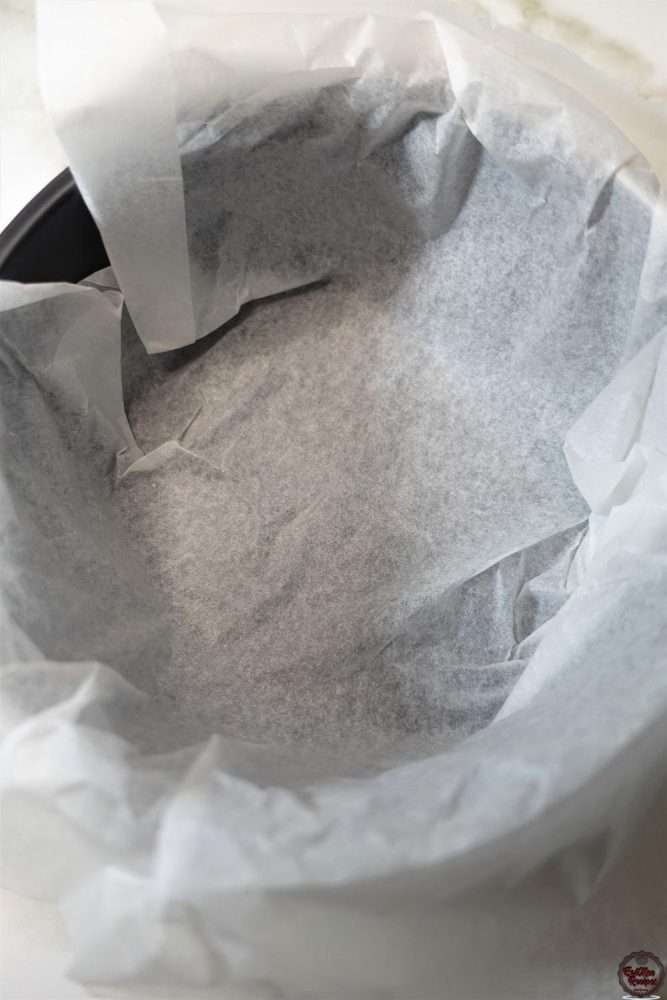
Next. line a baking tin with baking or wax paper. It doesn’t have to be perfect, the messier the better. I used an 8-inch (20cm) tin.
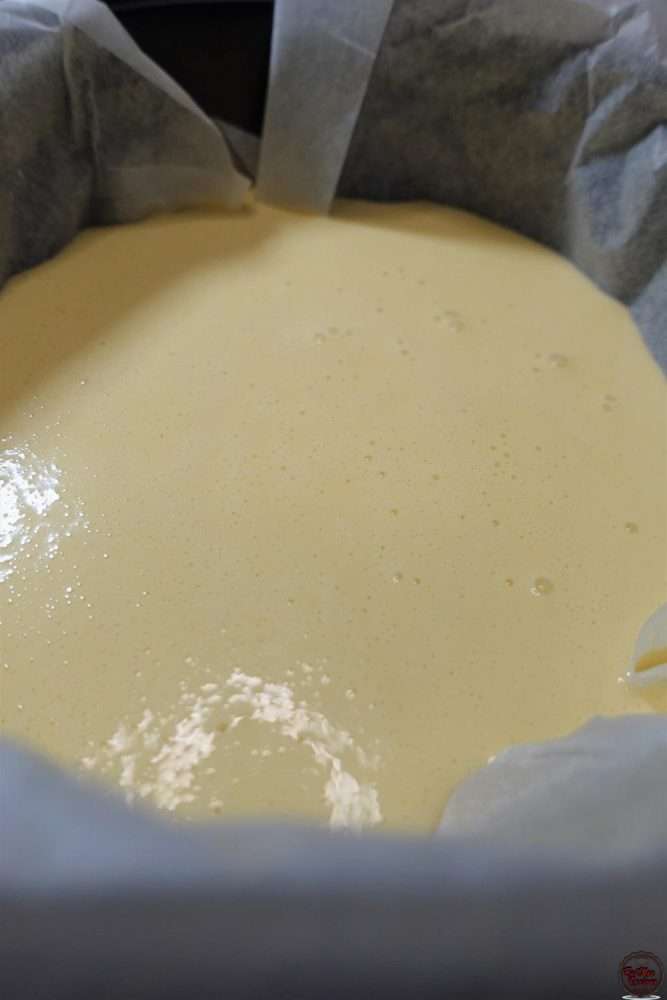
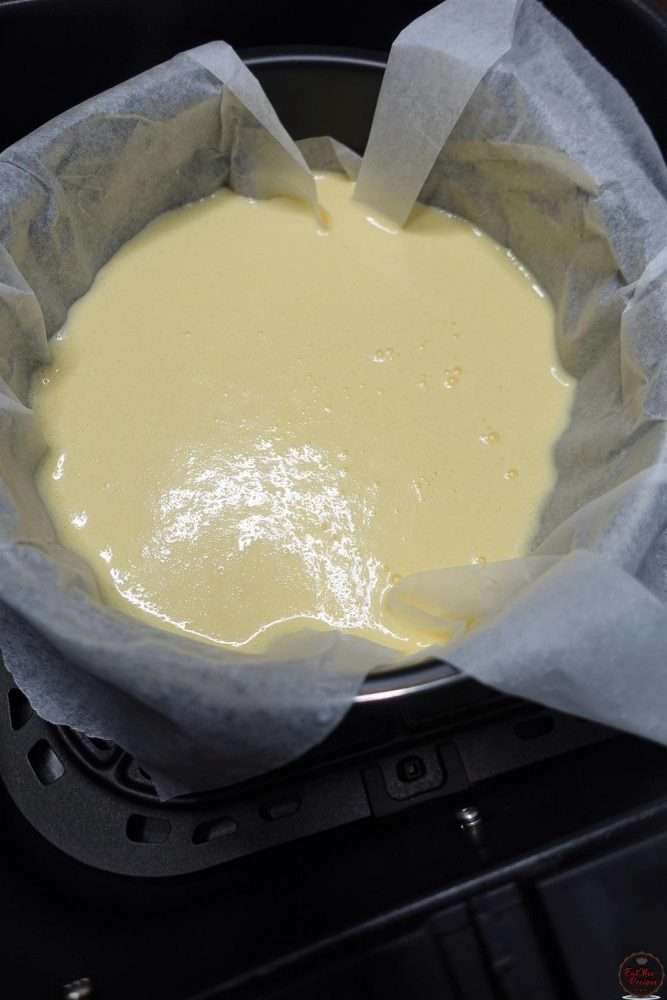
Thereafter, pour the batter into the lined tin. Tap it onto the counter a few times to remove any air bubbles.
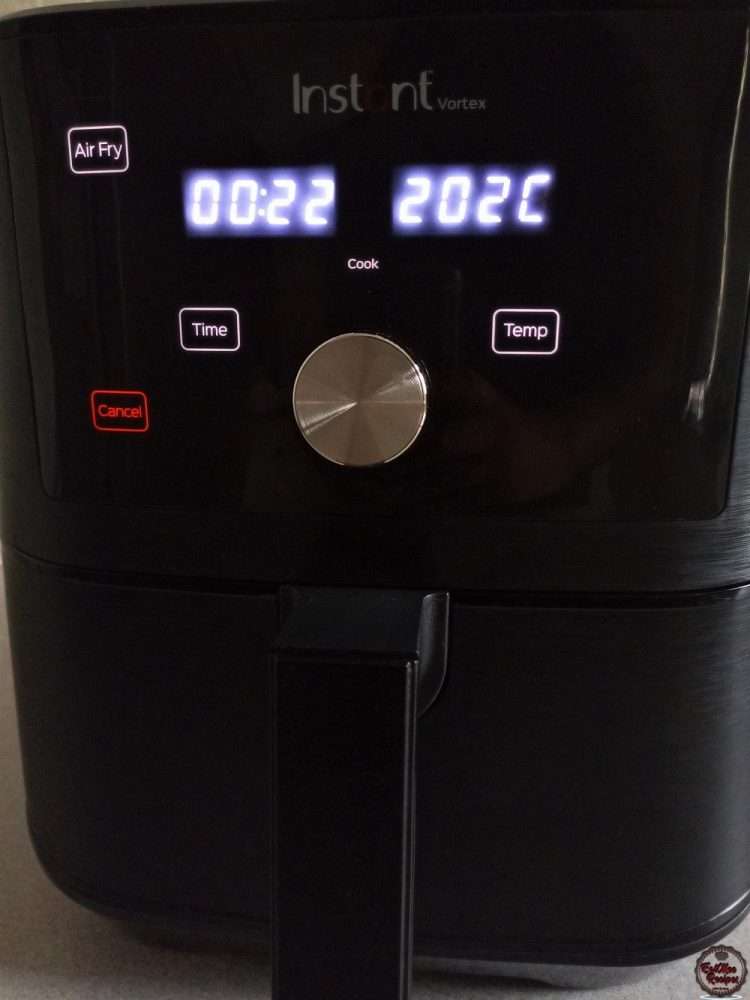
Press the “Air Fry” button on the Instant Vortex Air Fryer. Adjust the “Time” to 00:22 (22 Minutes) & the “Temperature” to 202° Celsius & allow it to Preheat. Alternatively, preheat the oven & set the times to 45 minutes at 202° Celsius.
Once the display reads “add food” pull out the basket & carefully place the baking tin into the basket.
Allow it to bake for the given time & when the timer goes off, simply remove the basket to reveal the cheesecake.
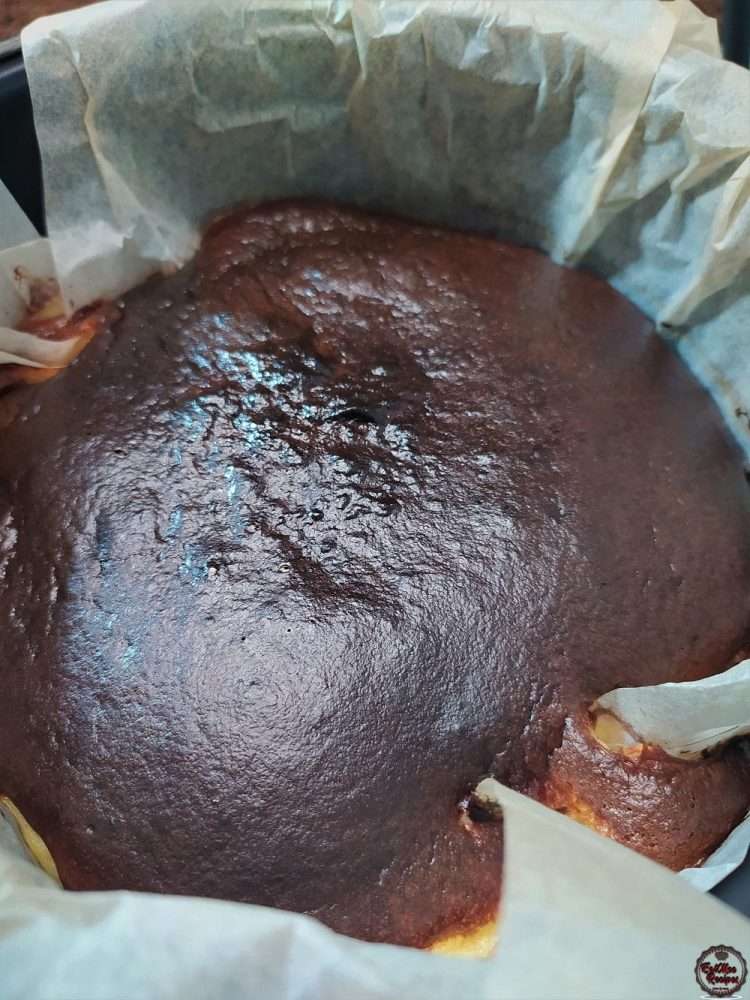
You will notice that the center will start to sink & it’s a bit jiggly when touched, this is because this cheesecake is deliberately undercooked in the center to give it its smooth creamy texture. Since the proteins have not set, as soon as the heat is gone, the steam escapes & which causes the center to sink. The sides remain high because they have been fully cooked.
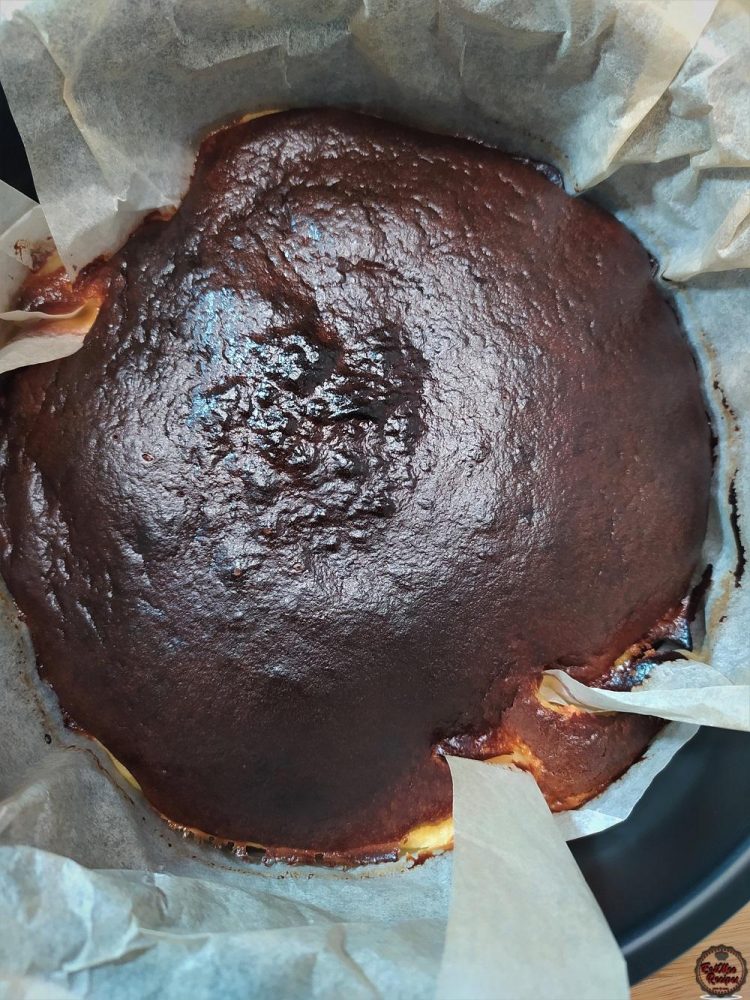
Carefully remove the tin from the air fryer basket & allow the cheesecake to rest in the pan at room temperature until cool to touch (±2 hours).
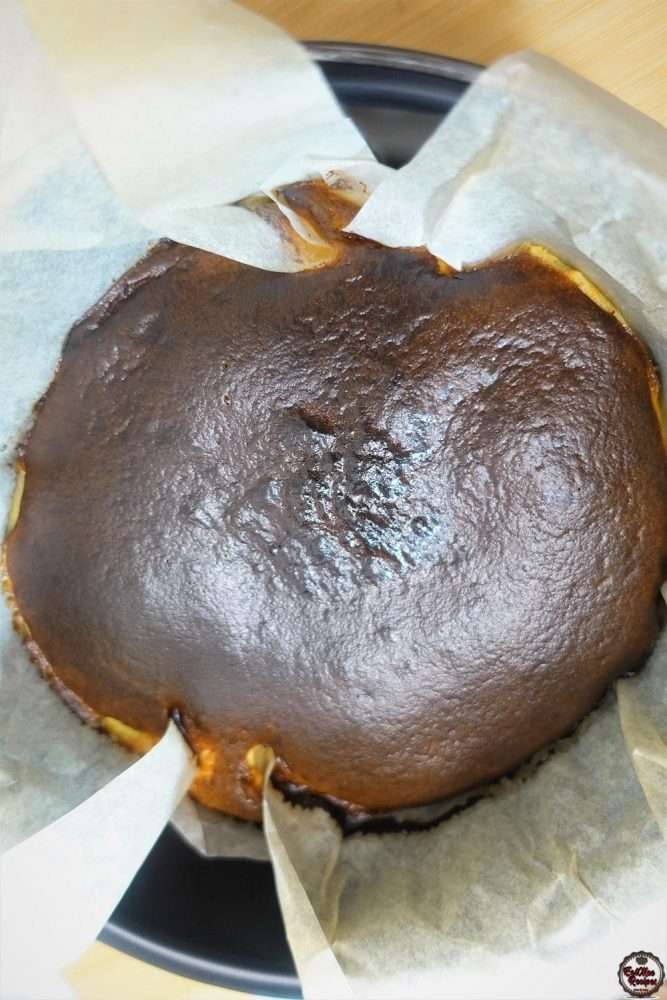
Once cooled, pop the tin into the refrigerator & allow it to chill overnight for best results.
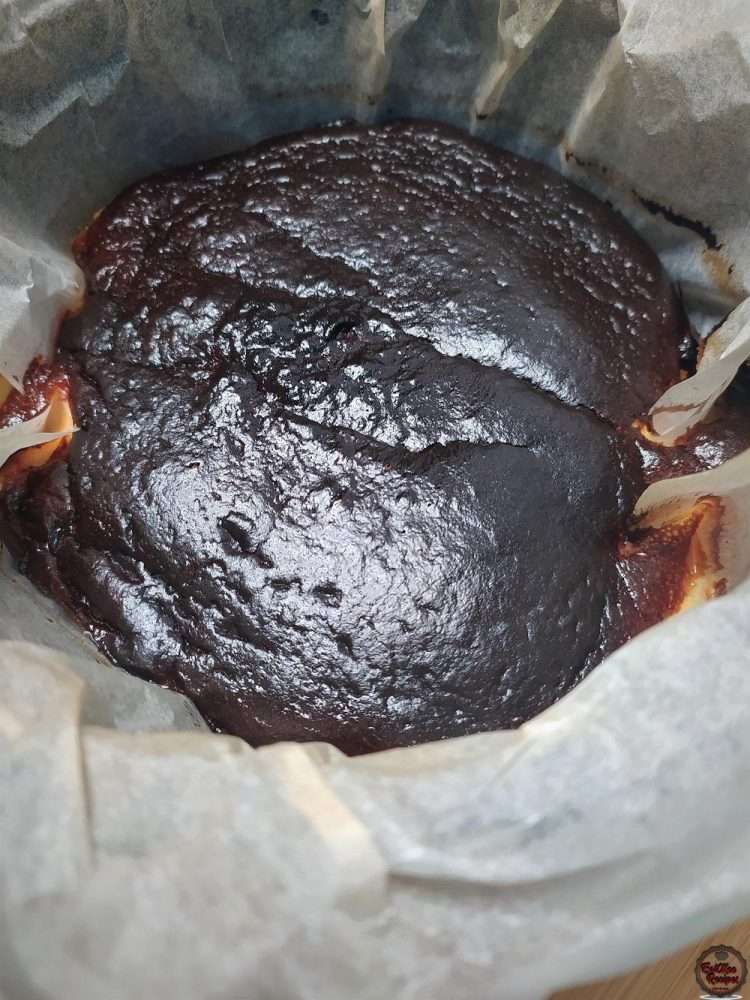
The next day, this cheesecake is ready to be removed from the pan – simply grab the baking or wax paper & pull it out of the tin.
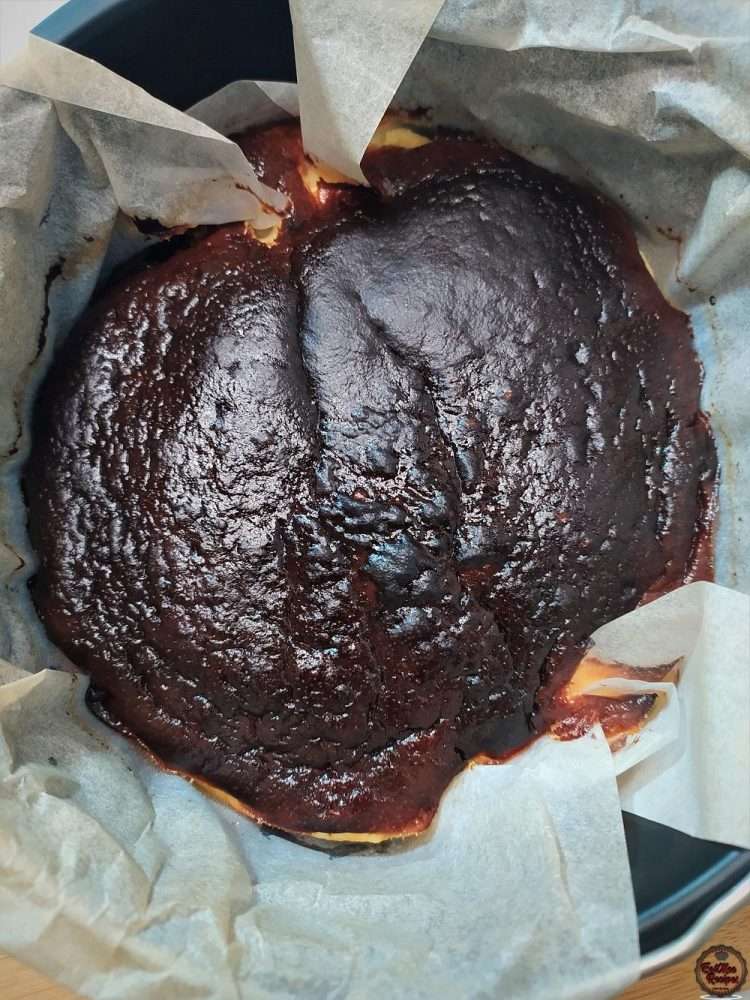
Open up the paper around it.
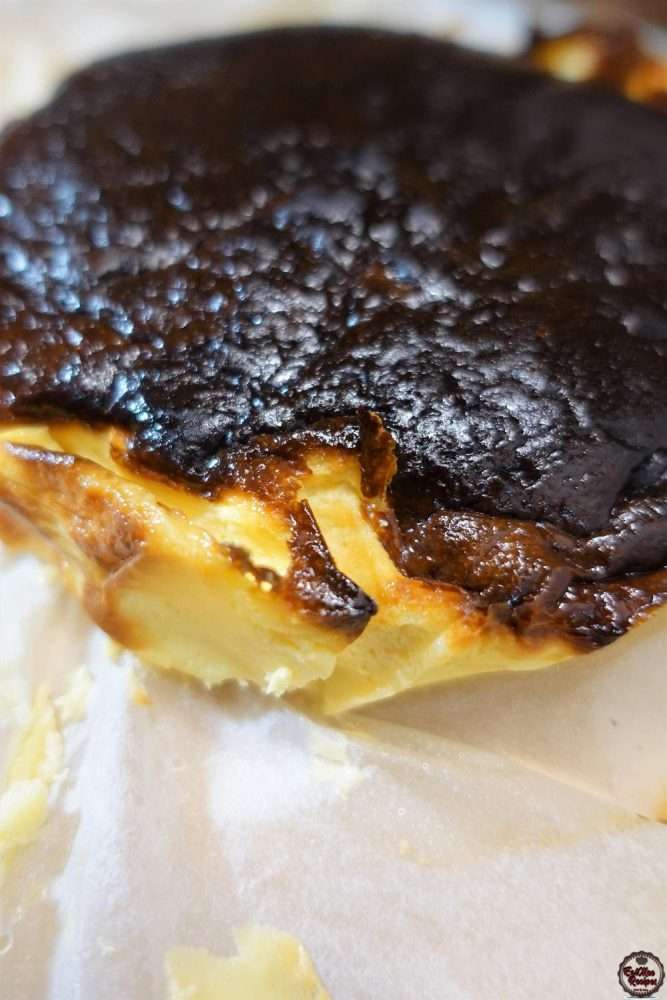
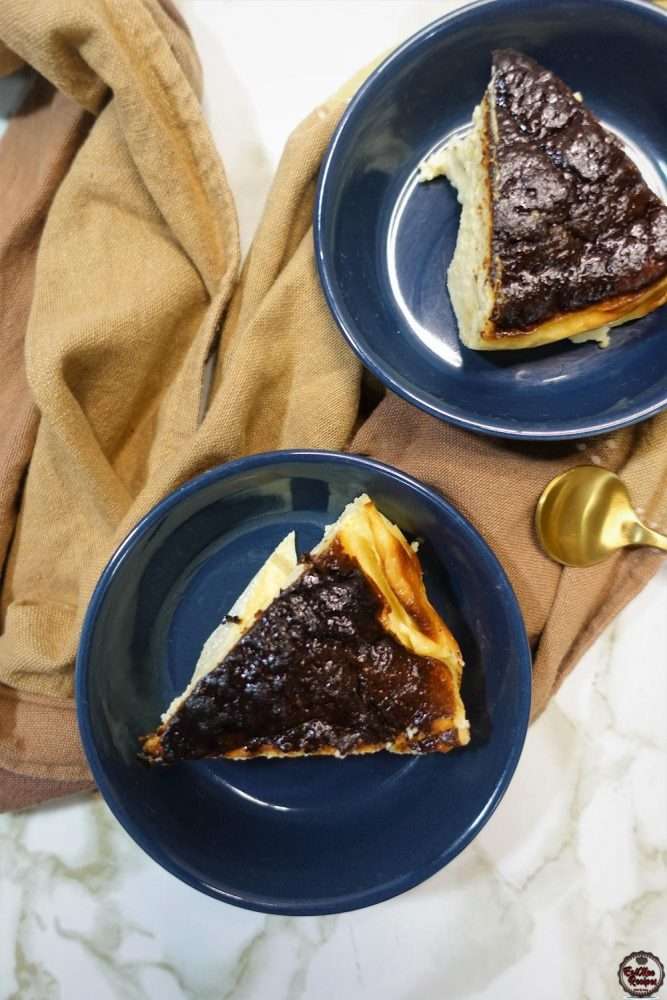
Slice into portions.
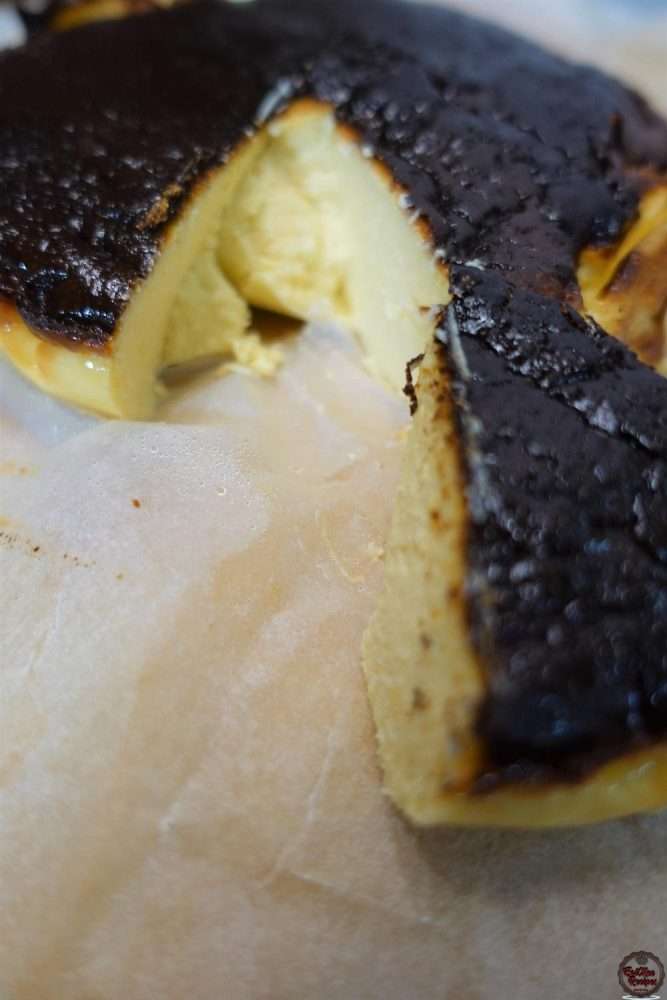
Plate & serve this Burnt Basque Cheesecake.
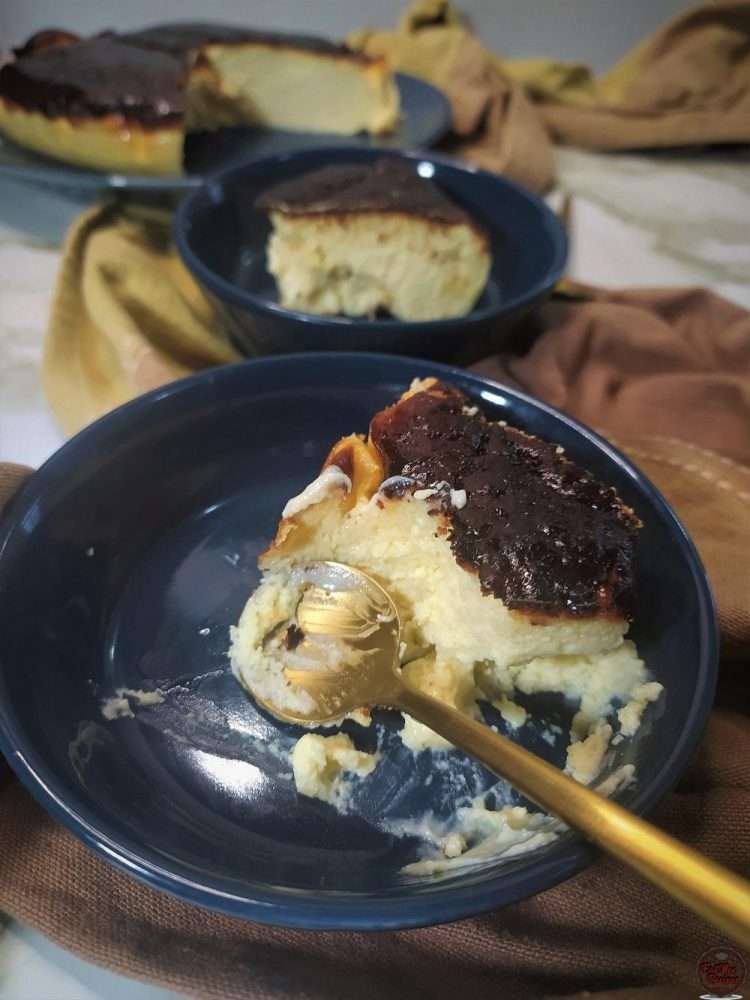
As you spoon into it, notice how creamy & custard-like it is.
It is such an easy, flop proof way of making cheesecake & definitely a must try if you haven’t as yet. The proof is in the spooning lol.
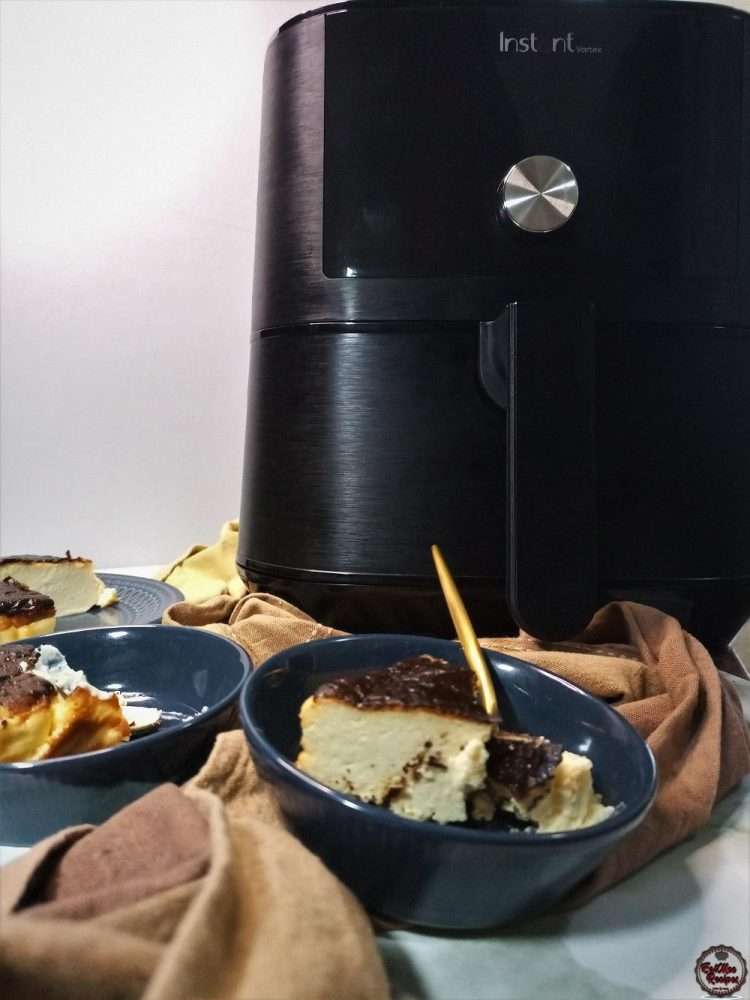
Follow along with Denisiya's step-by-step video guide for Air Fryer Burnt Basque Cheesecake.
Expert kitchen guidance and troubleshooting for making the best Air Fryer Burnt Basque Cheesecake
Store in an airtight container at room temperature for up to 1 to 2 weeks. For milk-based sweetmeats like burfee or soji, refrigerate in an airtight container for up to 7 to 10 days.
Pure butter or ghee provides the authentic rich aroma and texture characteristic of traditional Indian sweetmeats and bakes. Margarine can be used in a pinch, but butter delivers superior flavor.
Hi, I'm Denisiya! Food lover, recipe developer, and founder of EatMee Recipes. I specialize in authentic South African Durban Indian cuisine, comforting curries, and modern Instant Pot adaptations. Every recipe on this site is tested in my personal kitchen to ensure you get mouth-watering, foolproof results every time.
Explore more authentic Durban curries, traditional bakes, and comforting family favourites.
 Air Fryer Recipes - Instant Vortex
Air Fryer Pizza Toast: The Ultimate Quick and Delicious Snack
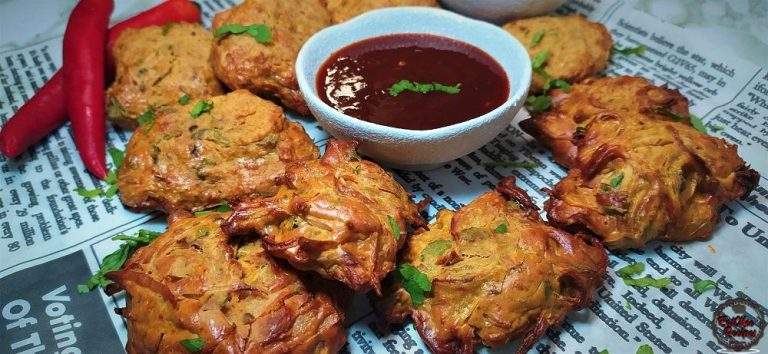 Air Fryer Recipes - Instant Vortex
I know what you’re going to say…how can pakoras be air fried? These Air Fryer Potato And O...
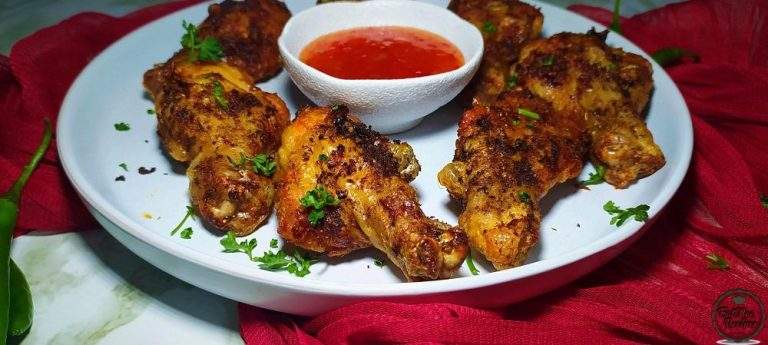 Air Fryer Recipes - Instant Vortex
We all love quick & easy meals, especially when its super delicious without all of the mes...
Have you tried this recipe or have questions for Denisiya? Join the conversation below.
No comments yet. Be the first to share your thoughts on this recipe!
Leave a Comment
Your email address will not be published. Required fields are marked *