
We Value Your Culinary Privacy
EatMee Recipes uses cookies to provide a personalized browsing experience, analyze recipe popularity, and serve relevant ads. You can review our full disclosure in our Privacy Policy.
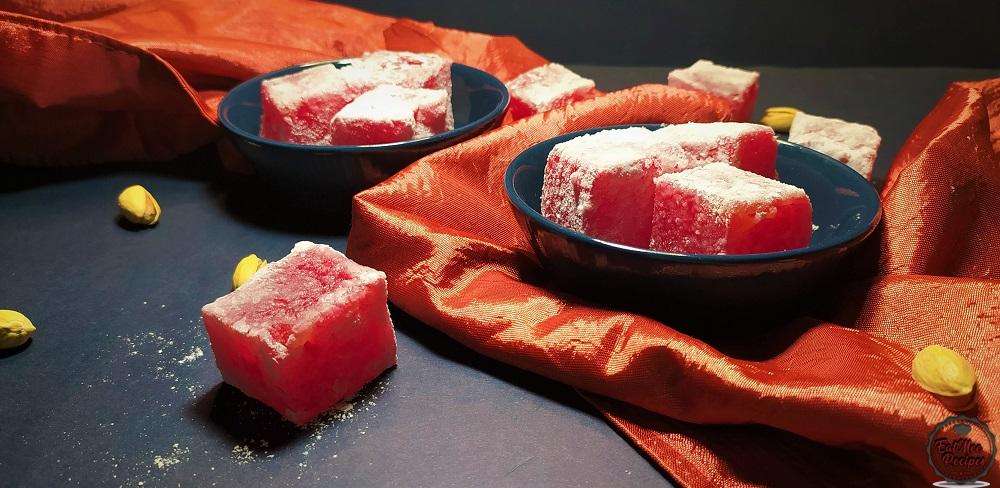
Turkish Delight – also known as Lokum are soft gum like pillows that are coated in confectionery (icing) sugar & corn flour.

Join over 60,000+ home chefs for weekly authentic Durban Indian cook-alongs, Instant Pot masterclasses, and family heritage recipes.
Turkish Delight – also known as Lokum are soft gum like pillows that are coated in confectionery (icing) sugar & corn flour.
They are sweet & oh so good! If you watched The Chronicles Of Narnia then you most certainly know the hype around this treat. This treat is not as easy as it seems but if you have time on your hands why not have your hand at it. There is a lot of mixing involved & after that arm workout, you definitely deserve to devour these treats.
From it’s name “Turkish Delight” you would think that it originated in Turkey, however, exact origin of these sweets is yet to be definitively determined.
Firstly, start off by making the sugar syrup by adding the granulated sugar to a pot on medium-low heat. I am using my 16cm AMC pot for this recipe.
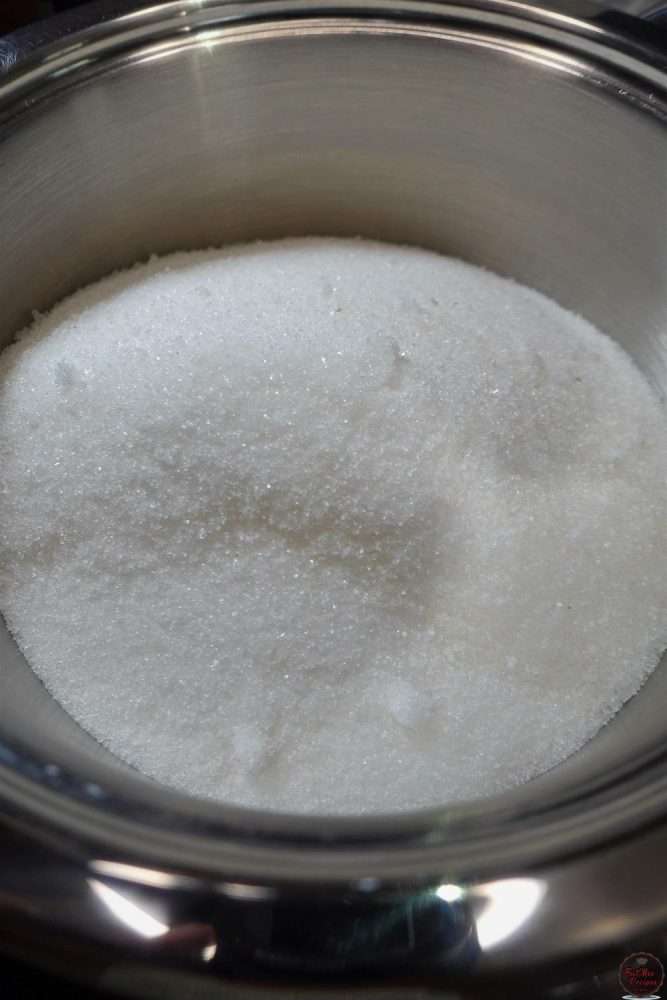
To the sugar, pour in the water.
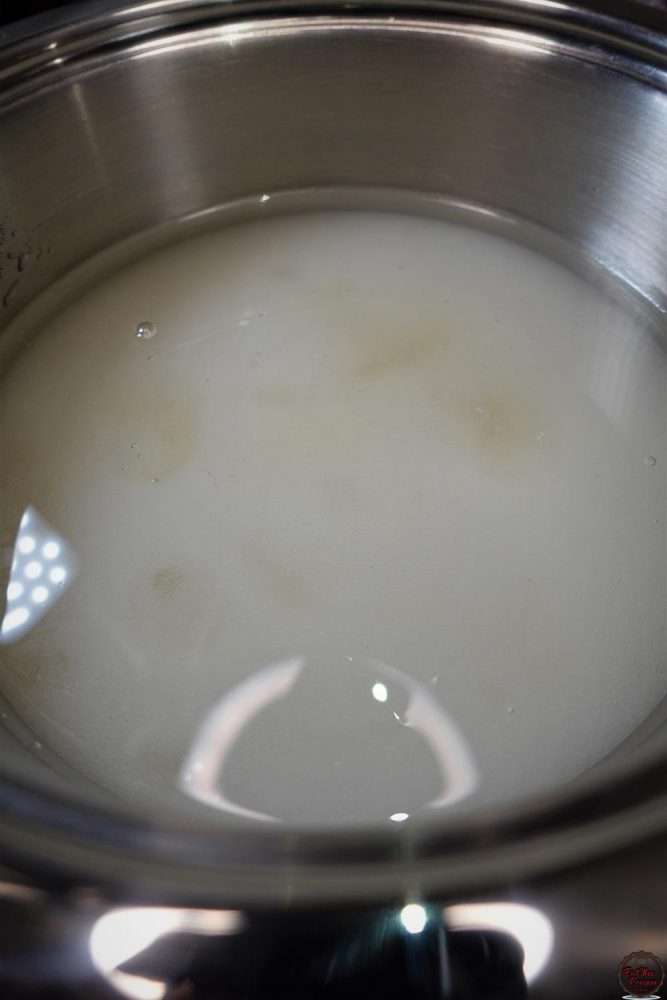
Keeping the heat on medium-low, stir until all the sugar dissolves.
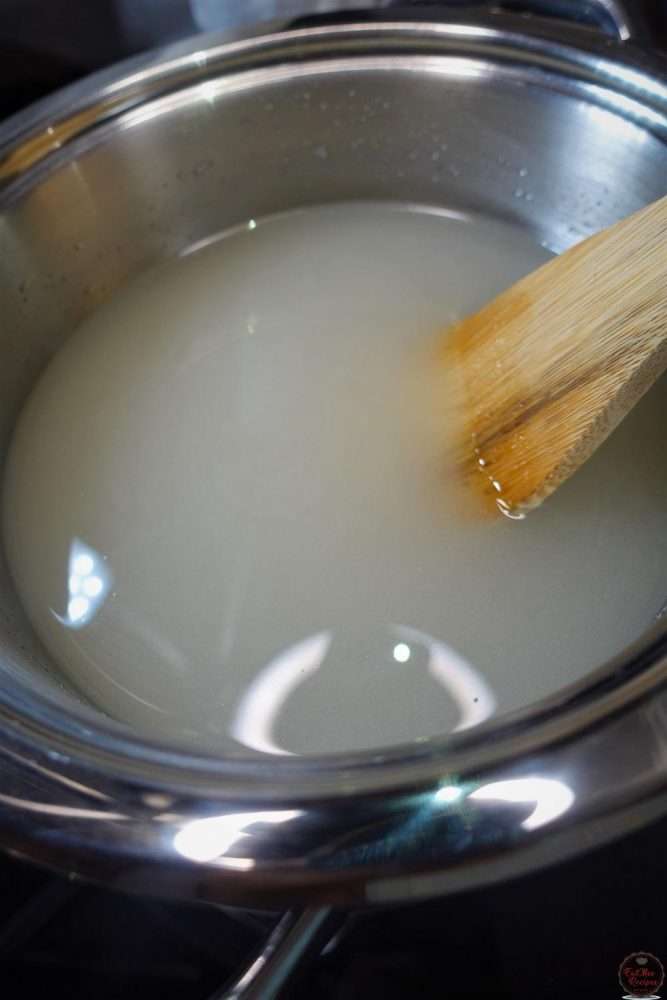
Once the sugar has dissolved, turn up the heat to high & allow the mixture to come to a boil.
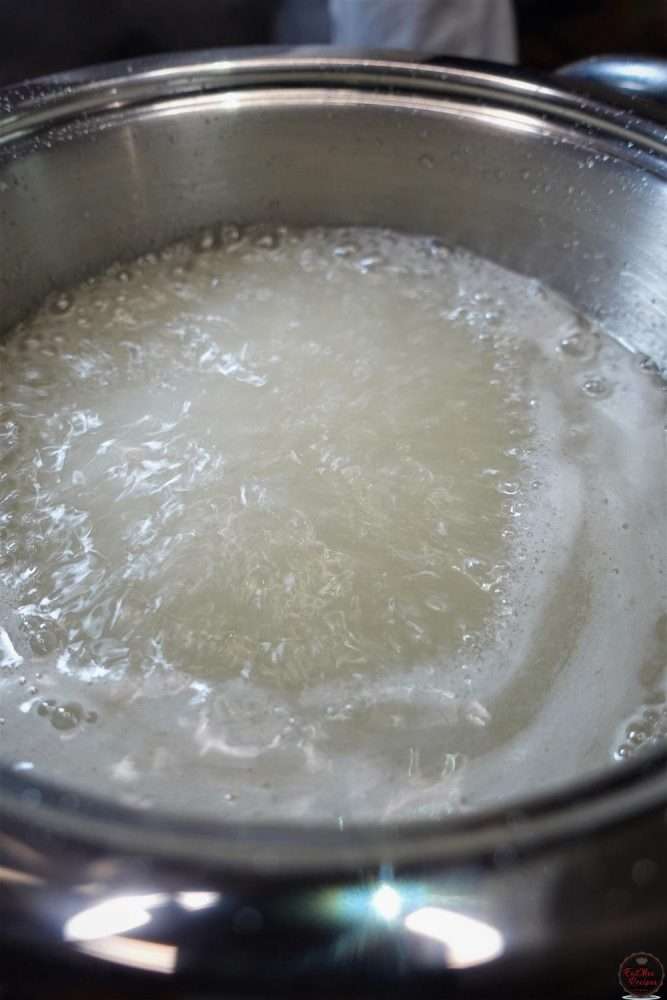
Once it comes to a boil, turn the heat down to low & add in the lemon juice.
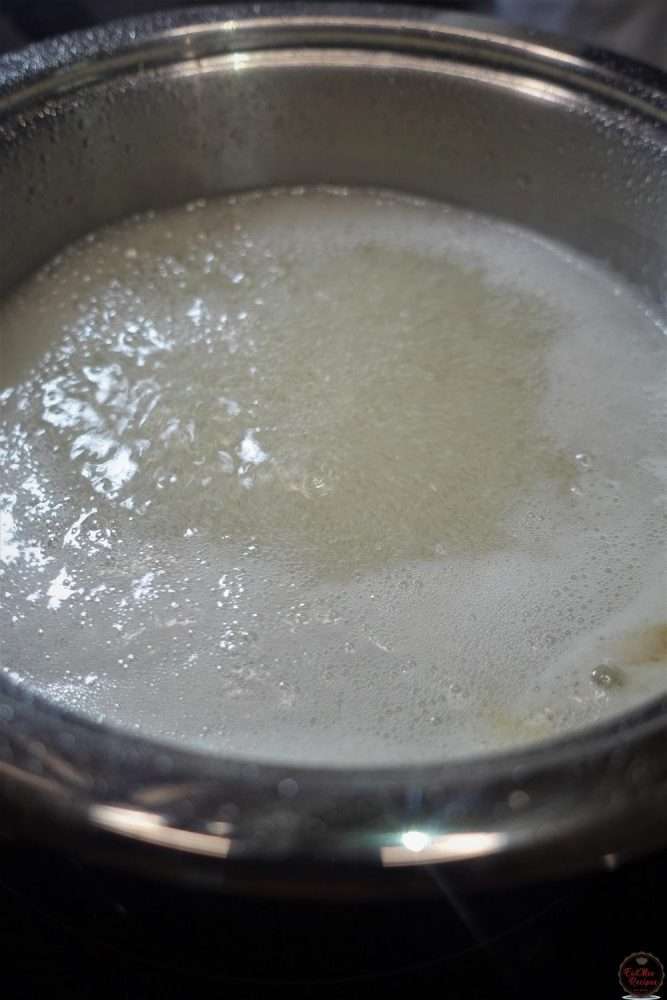
Give it a stir & keeping it on low heat, allow to simmer for 25 minutes whilst stirring occasionally.
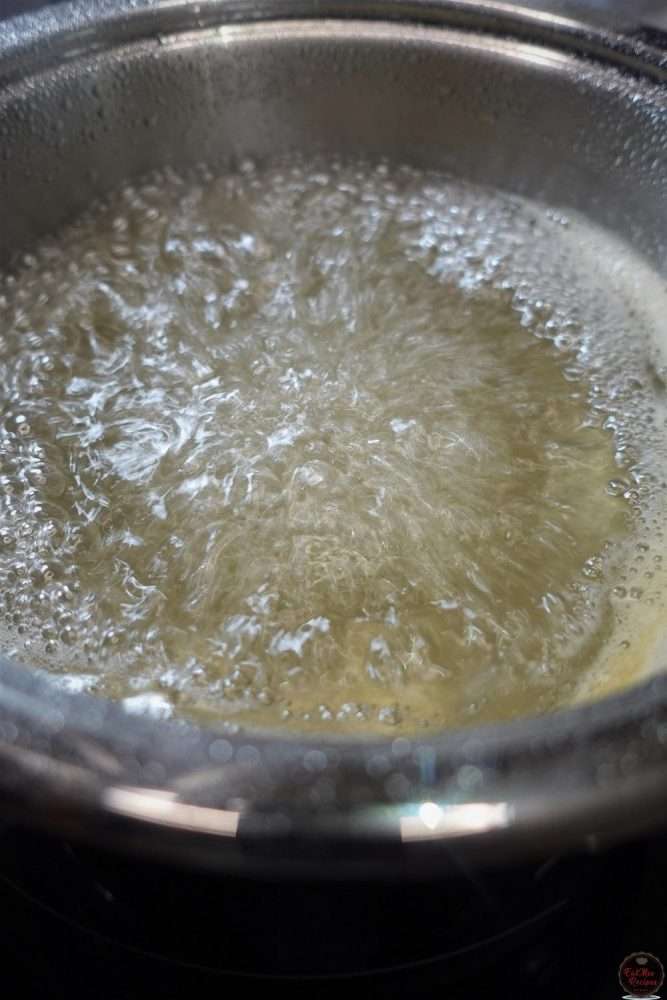
The colour of the syrup will start to change into a more darker shade.
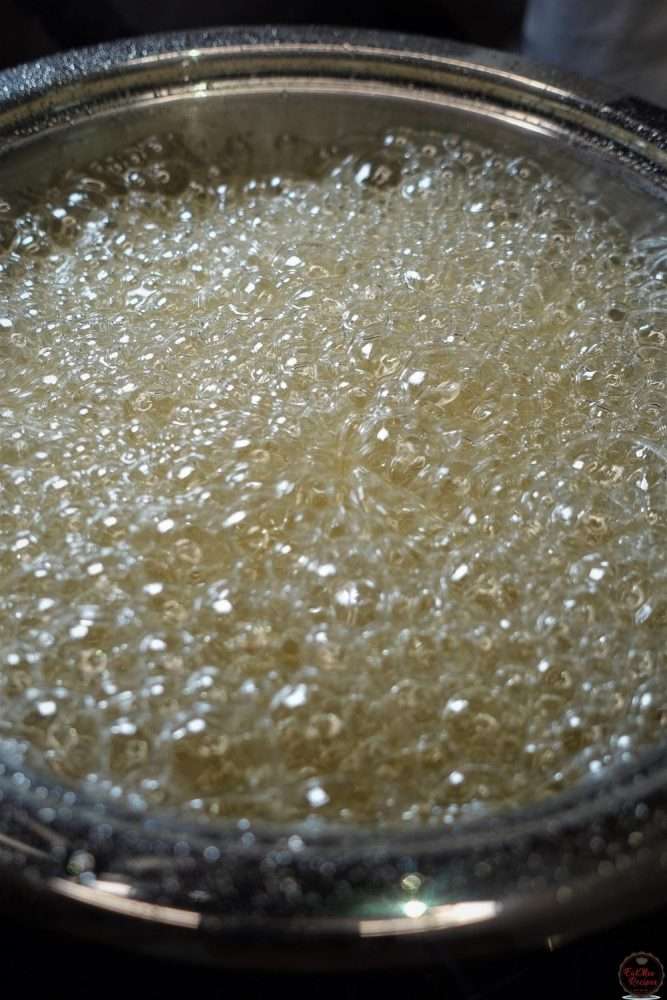
The syrup is ready when you drop some into a bowl of water & use your fingers to smush the syrup together.
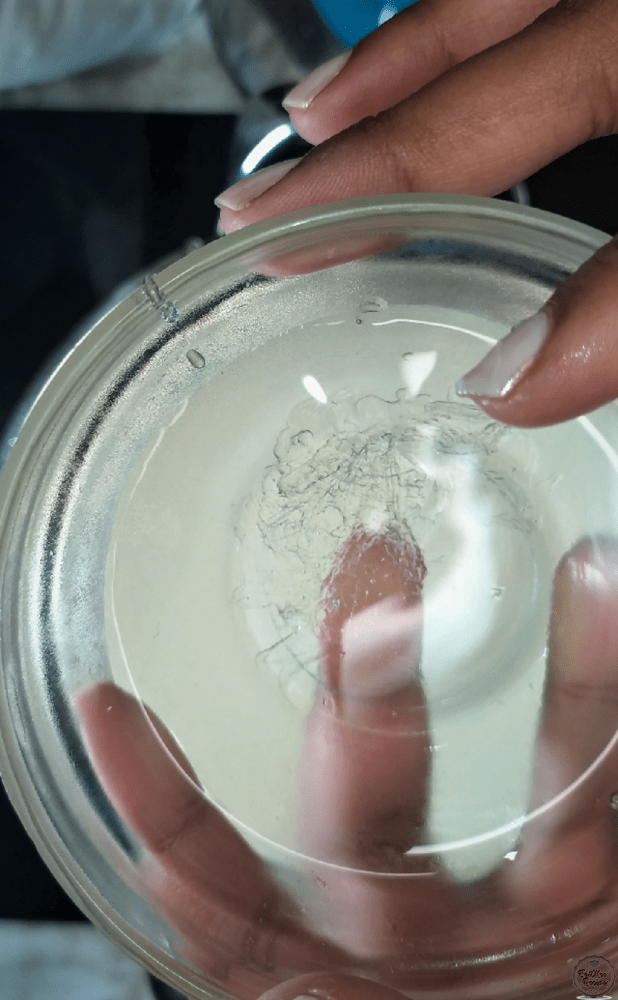
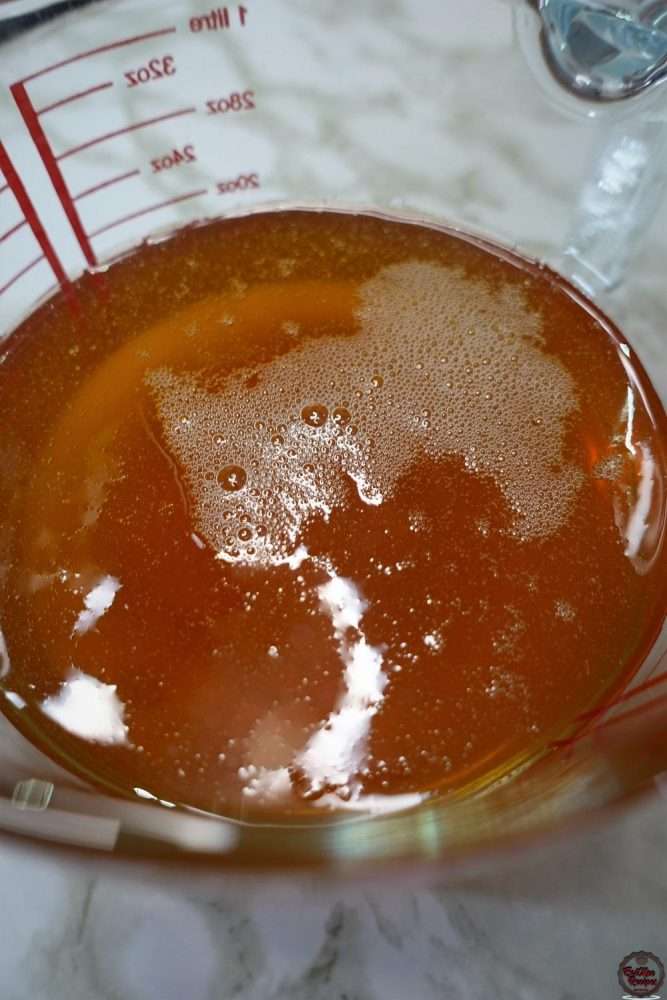
Once the syrup is done, carefully pour it into a heat resistant jug & set aside.
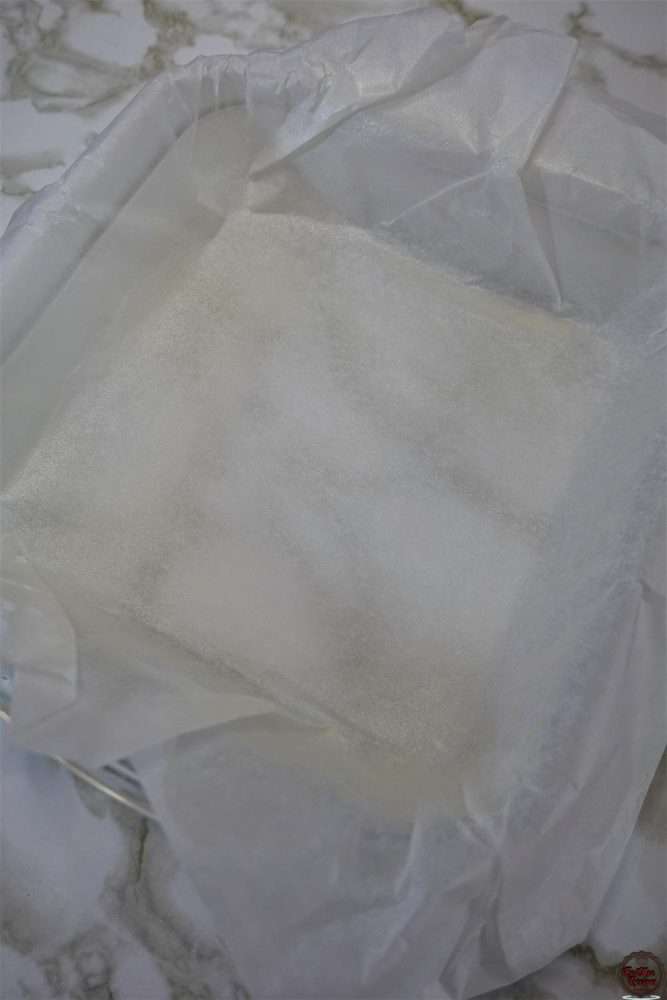
Grease a 18×18 cm casserole with spraying oil, line it with some baking paper & spray the top with more oil. Set aside until ready to use.
To another pot, add in the corn flour & cream of tartar. Do not put it on the heat just yet.
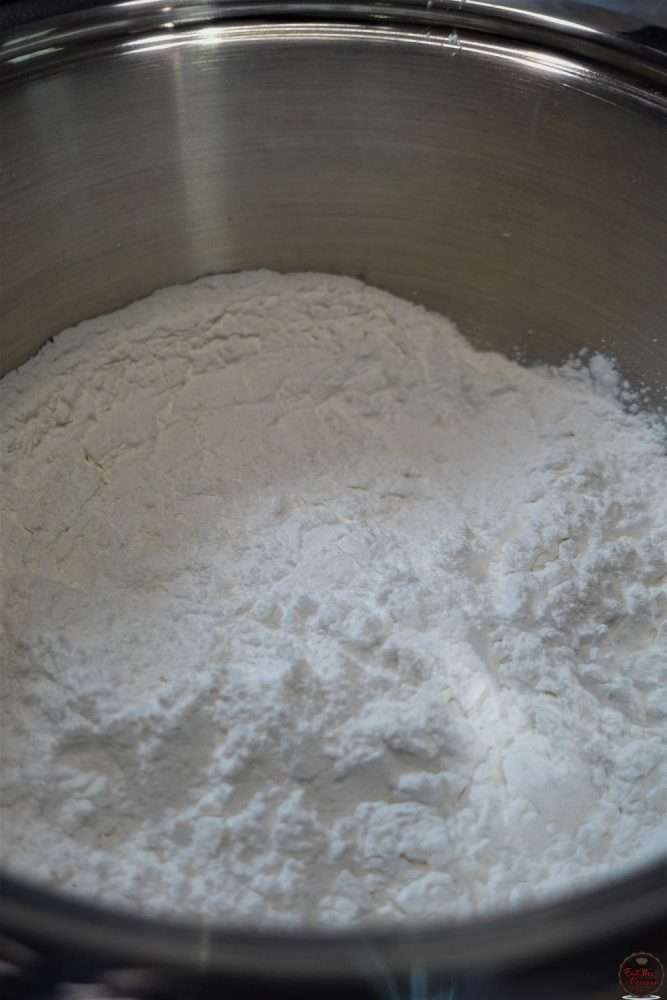
Pour in water.
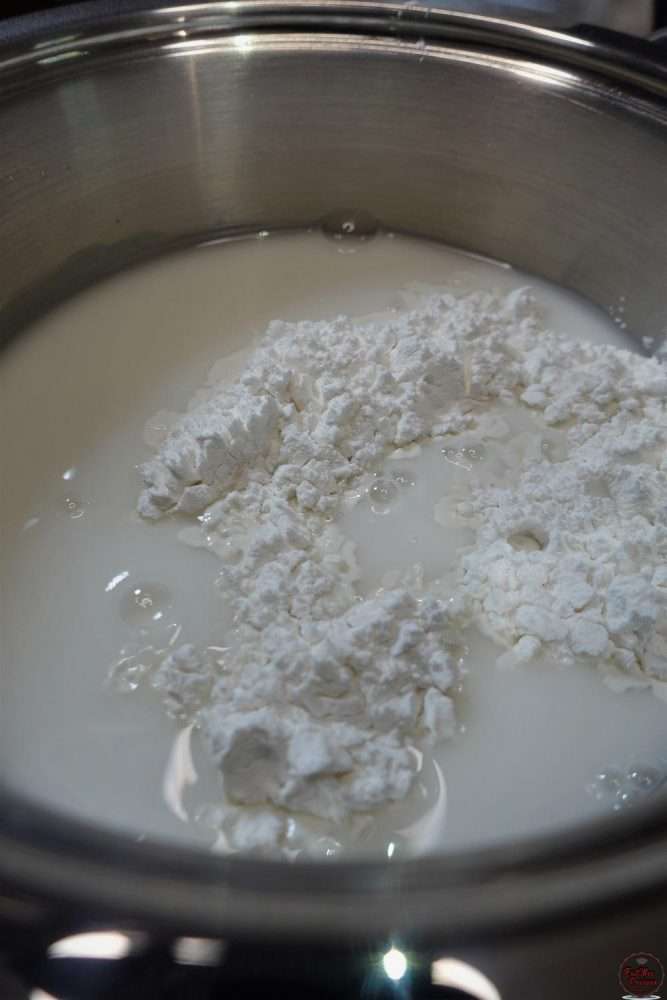
Whisk together until there are no lumps.
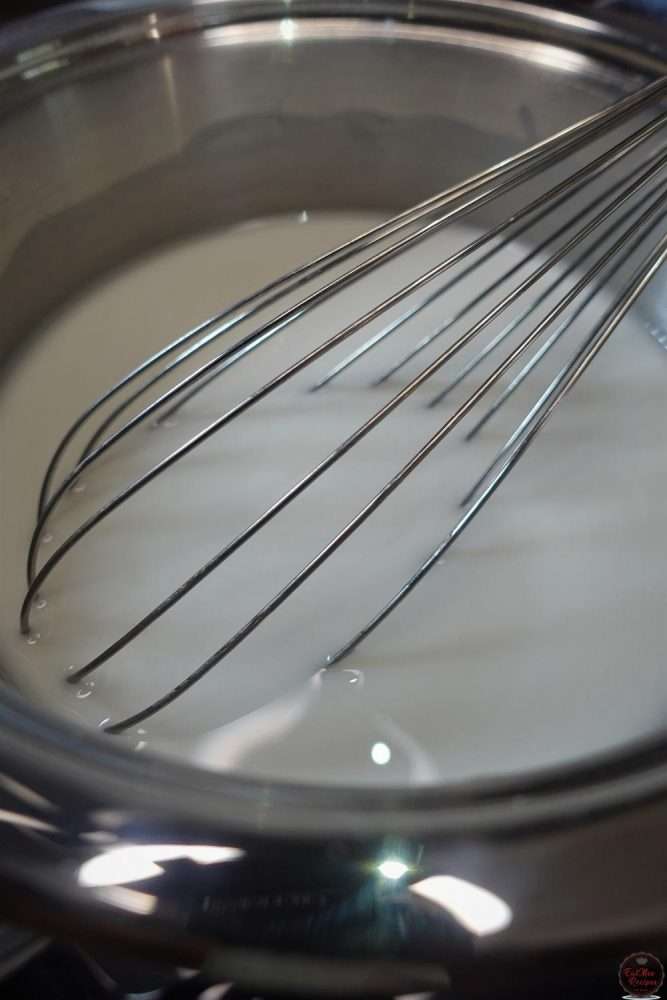
Place the pot on medium-high heat & whisk until the mixture thickens. It should be of a glue-like paste.
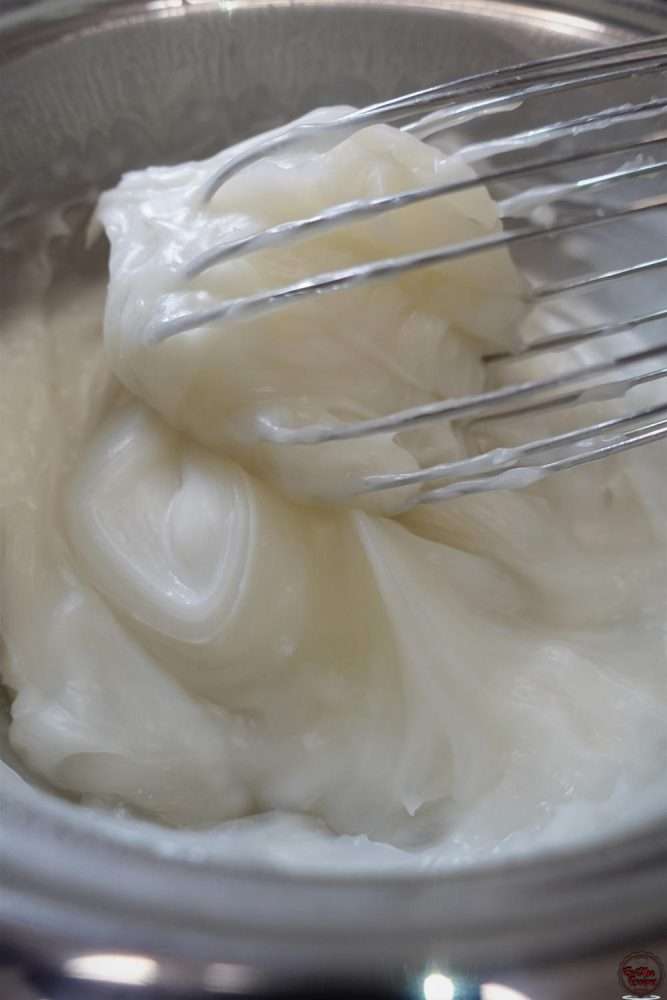
Turn the heat down to medium-low & gradually pour in the syrup that was made earlier.
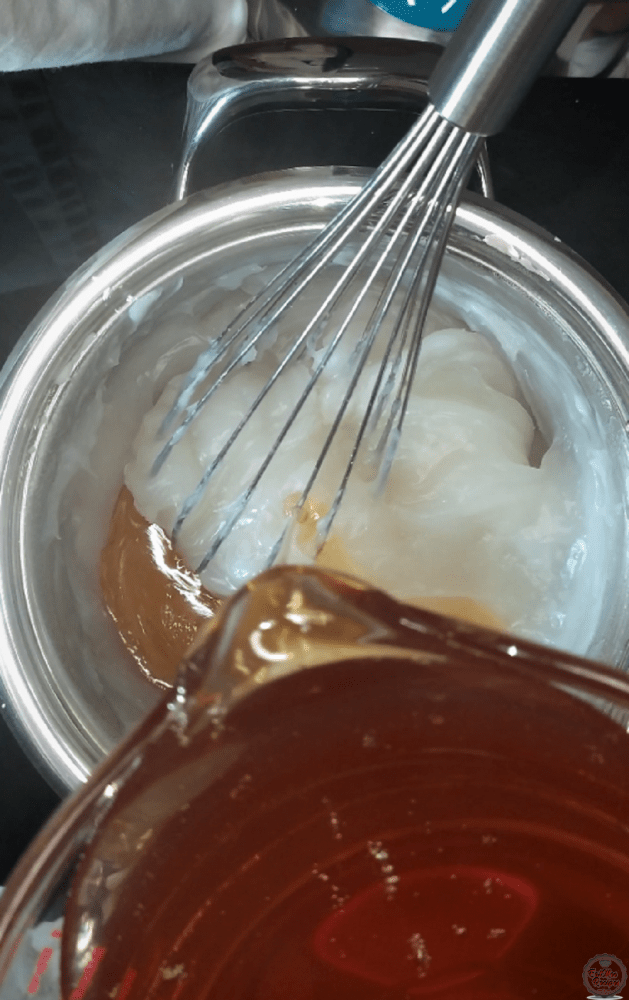
Whisk the syrup into the paste.
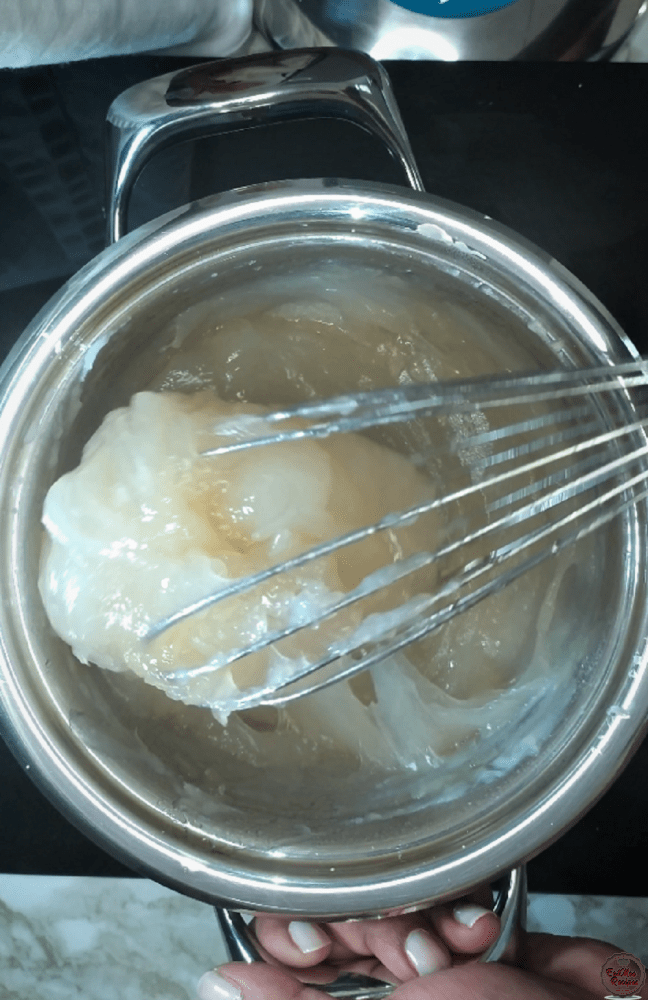
Continue pouring in a little syrup at a time & whisk.
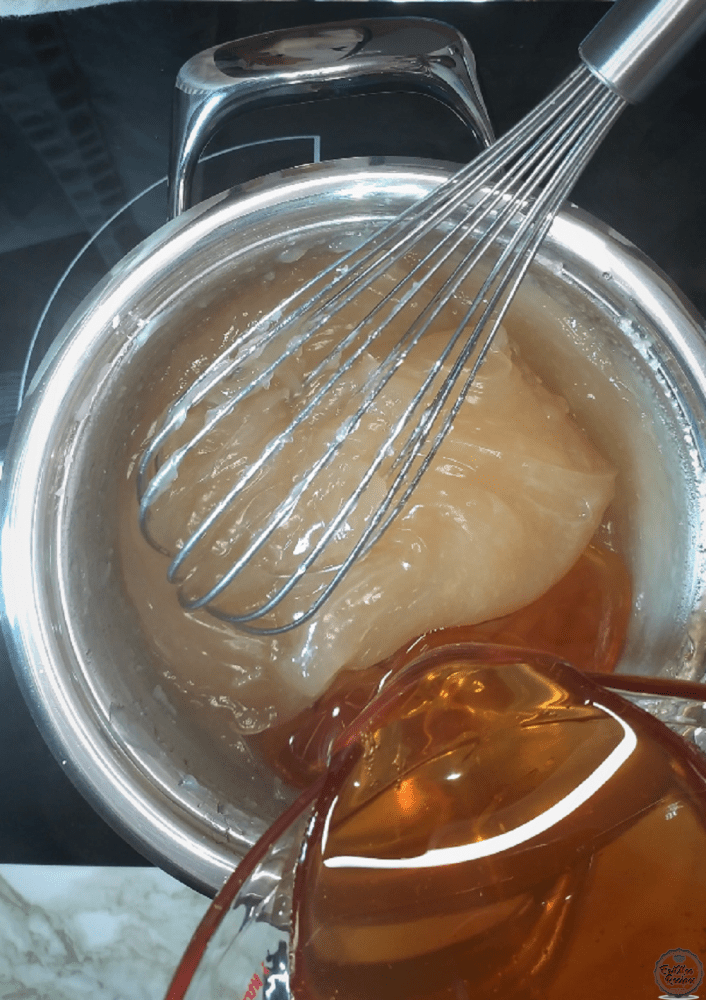
Once all the syrup has been added, switch over to a wooden spoon as I find this works best.
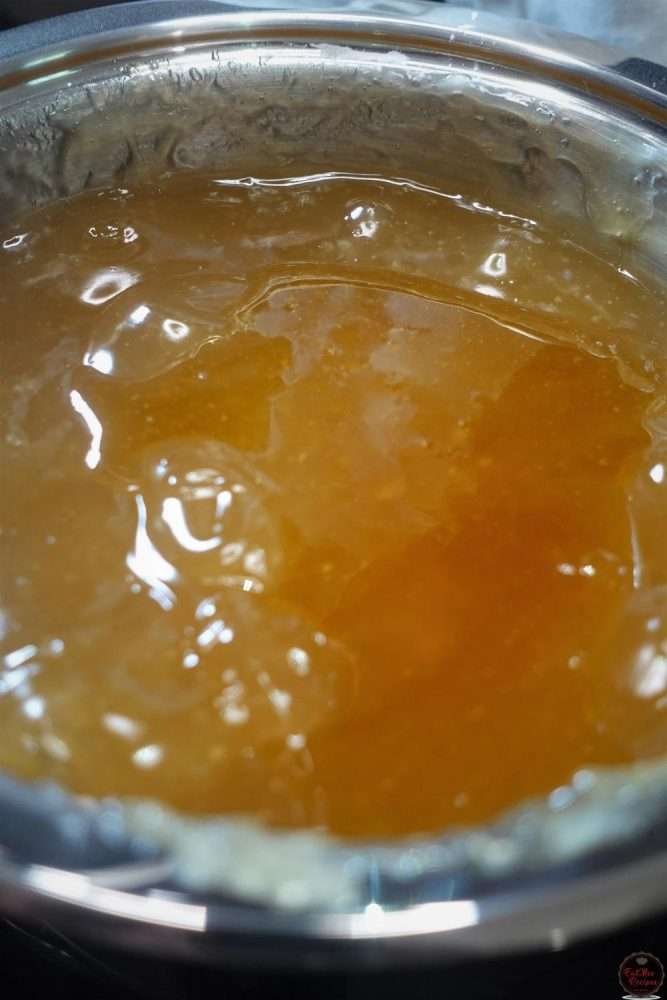
Now you want to mix this every few minutes for a total of 45 minutes.
It is going to be a workout, you can take a break every few minutes so that your arm doesn’t numb out, also be sure that it’s on low heat so when you do catch a break, it won’t burn. I also recommend using a good quality stainless steel pot because it does catch a bit at the surface & there’s easier cleanup with a good pot.
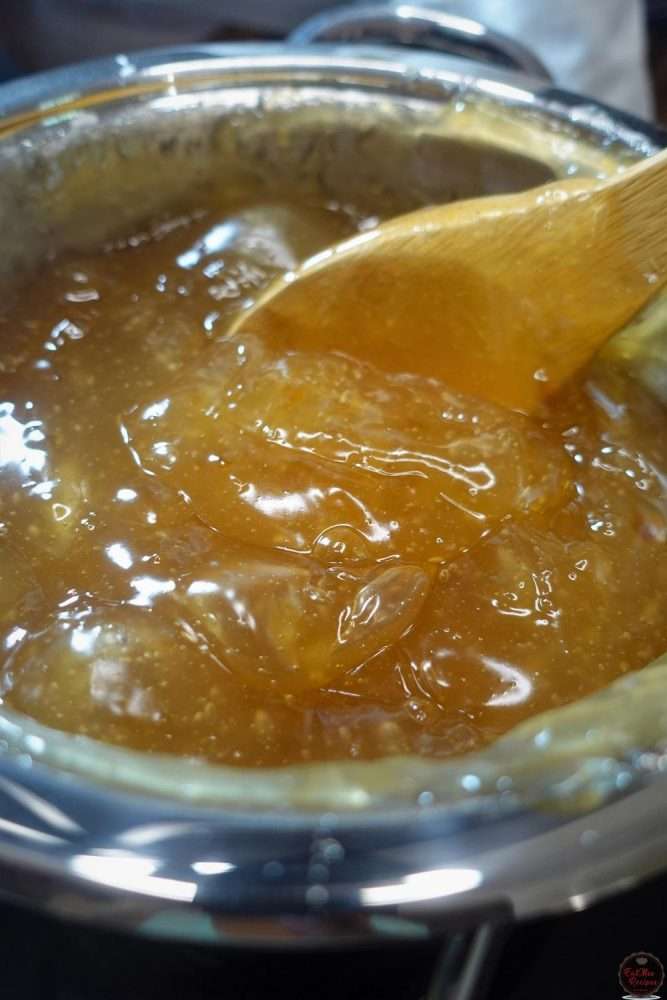
After 45 minutes, the mixture should have a jelly like consistency but more of a candy form.
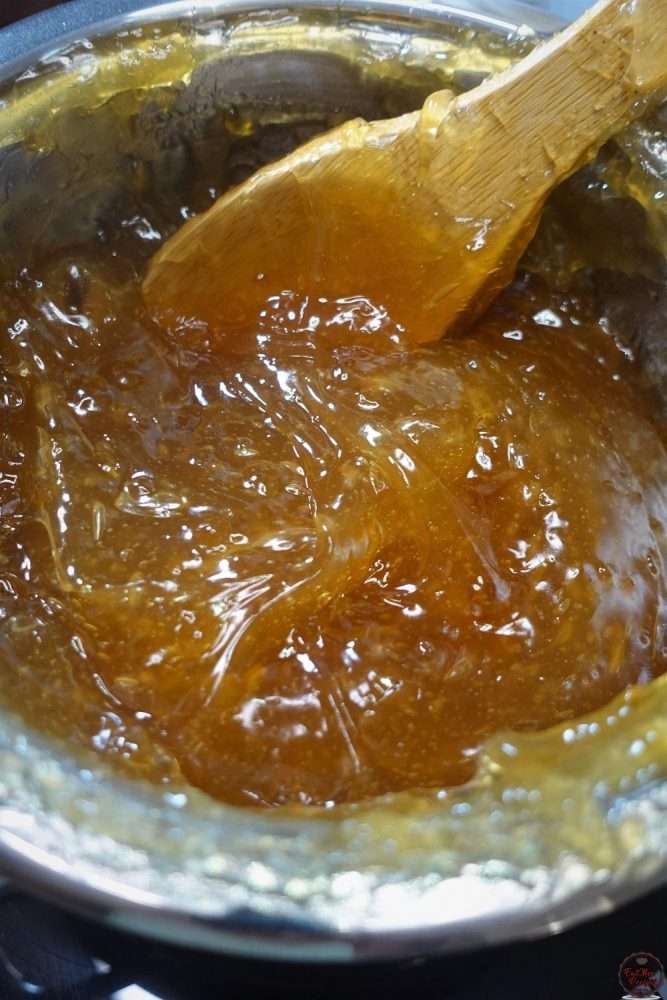
Turn off the heat & add in the rose water & red food colouring.
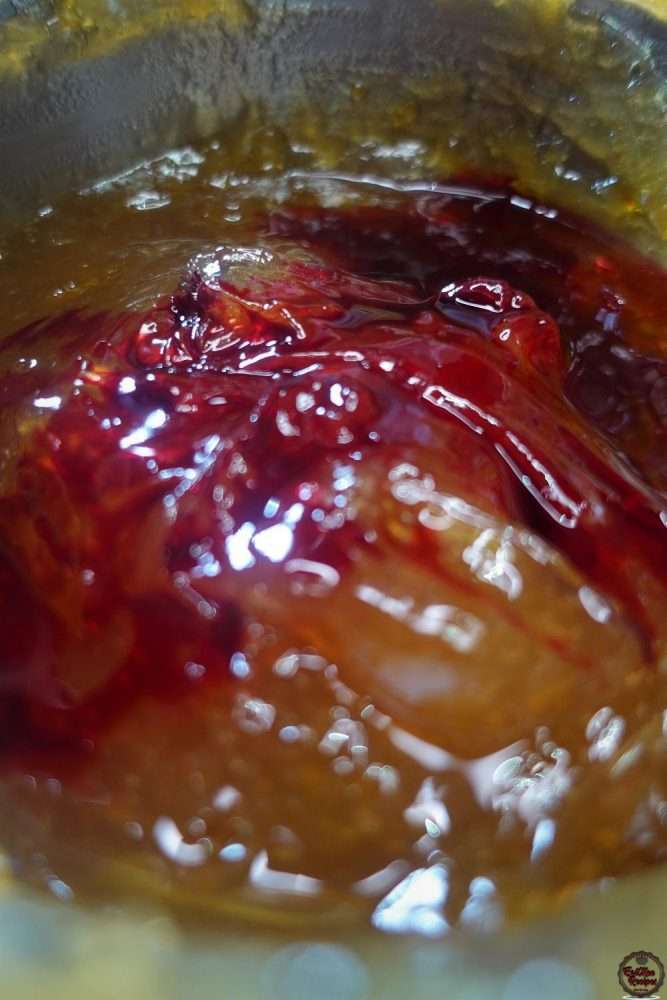
Mix well until the mixture is evenly coloured in red. I recommend using a silver spoon for mixing so it doesn’t stain your wooden spoon.
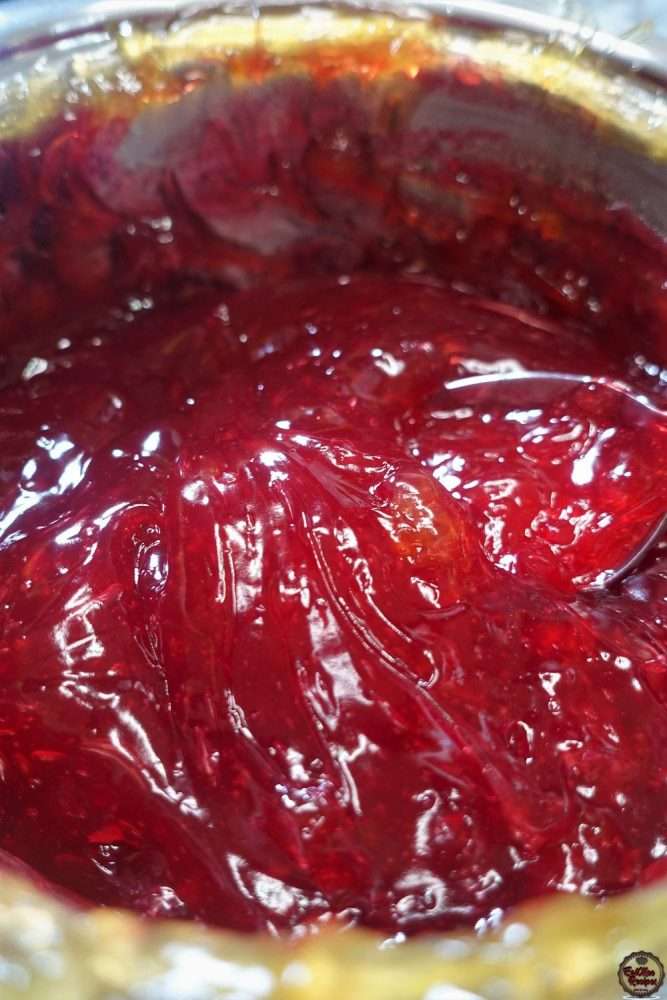
Add the mixture to the lined & greased casserole.
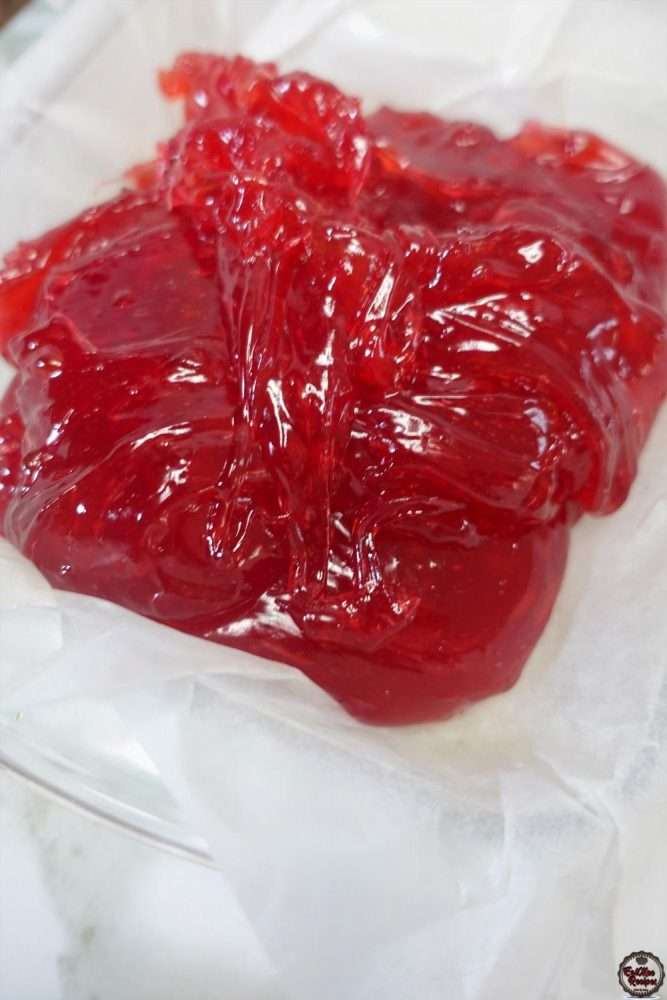
Spray some oil on the back of a spoon & evenly spread the mixture into the casserole.
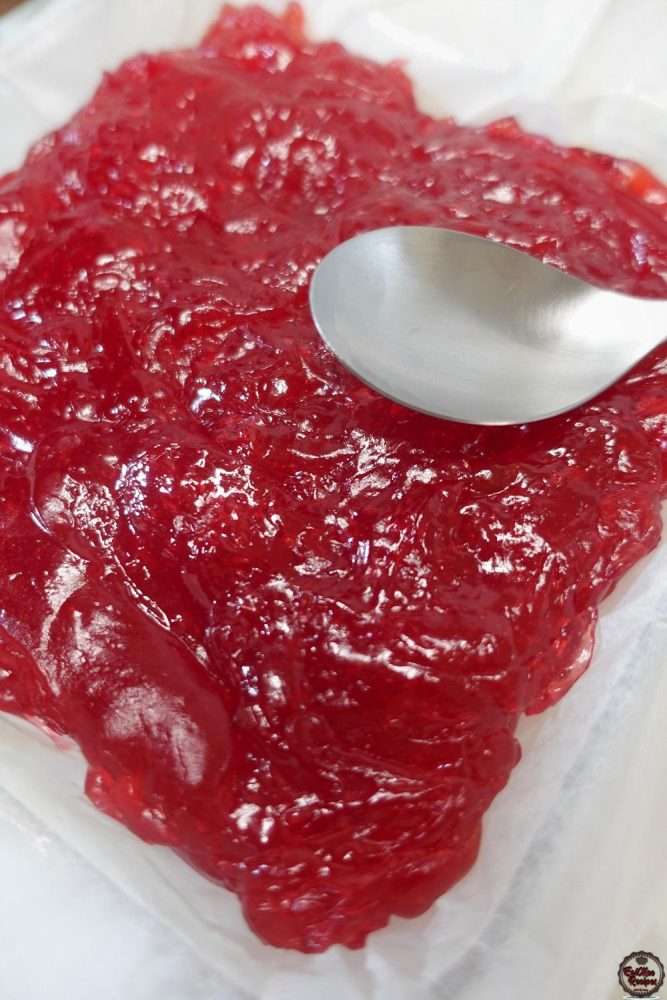
Allow it to set uncovered at room temperature for 2 hours or overnight.
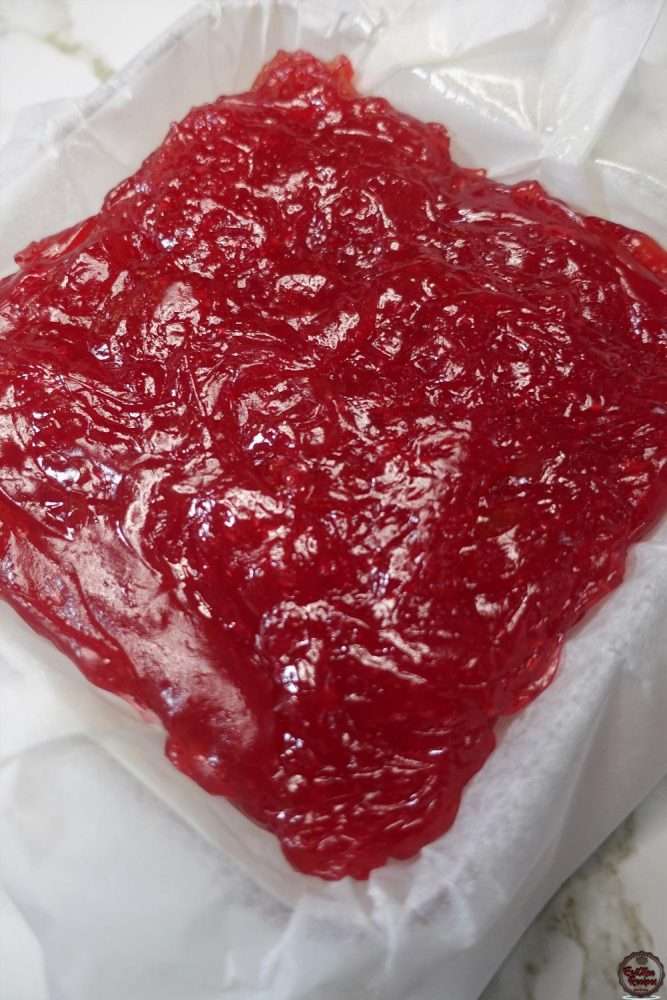
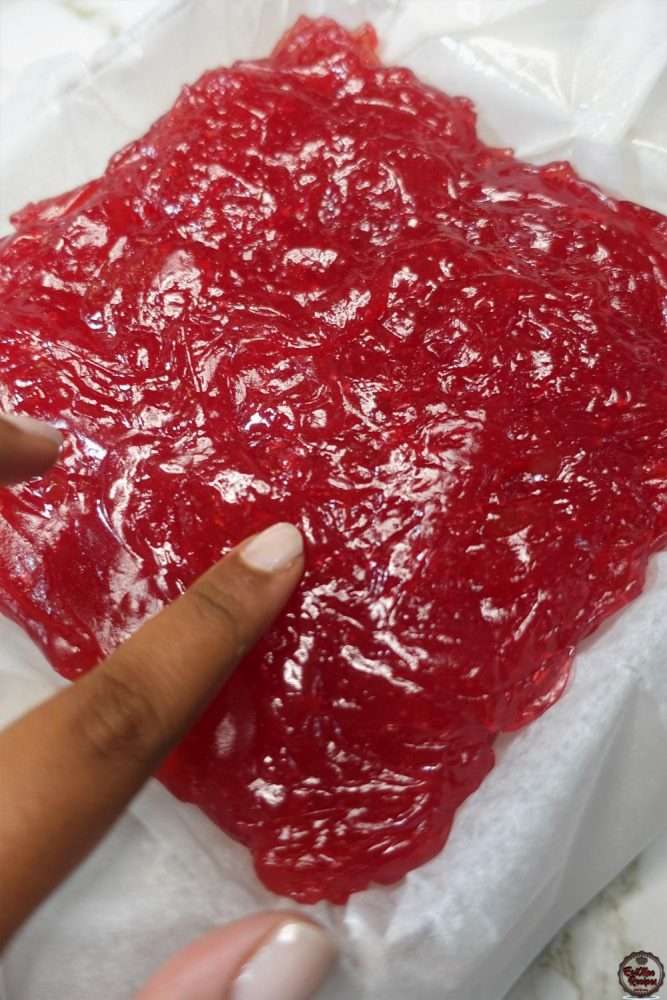
It’s ready when it is firm to the touch.
Thereafter, add the confectionery (icing) sugar & the corn flour to a bowl.
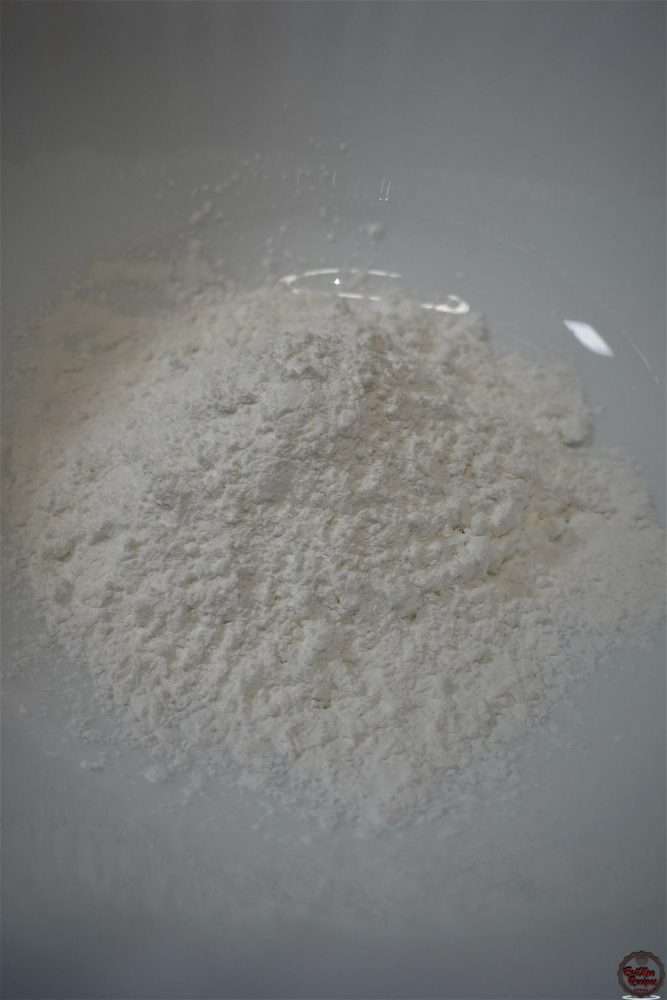
Mix well.
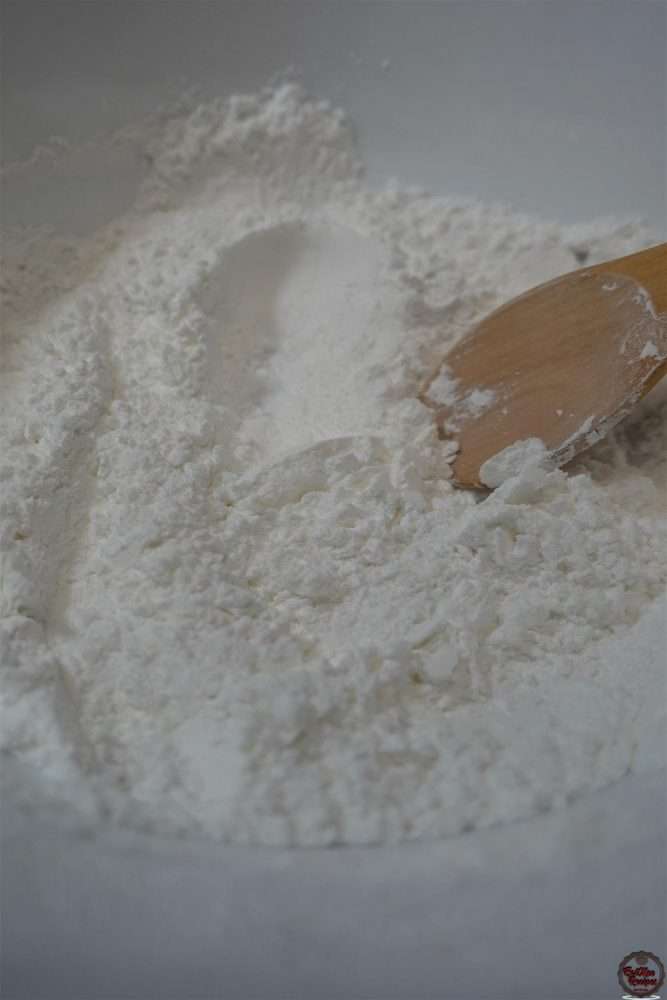
Sprinkle some of the confectionery (icing) sugar & corn flour mix onto a surface.
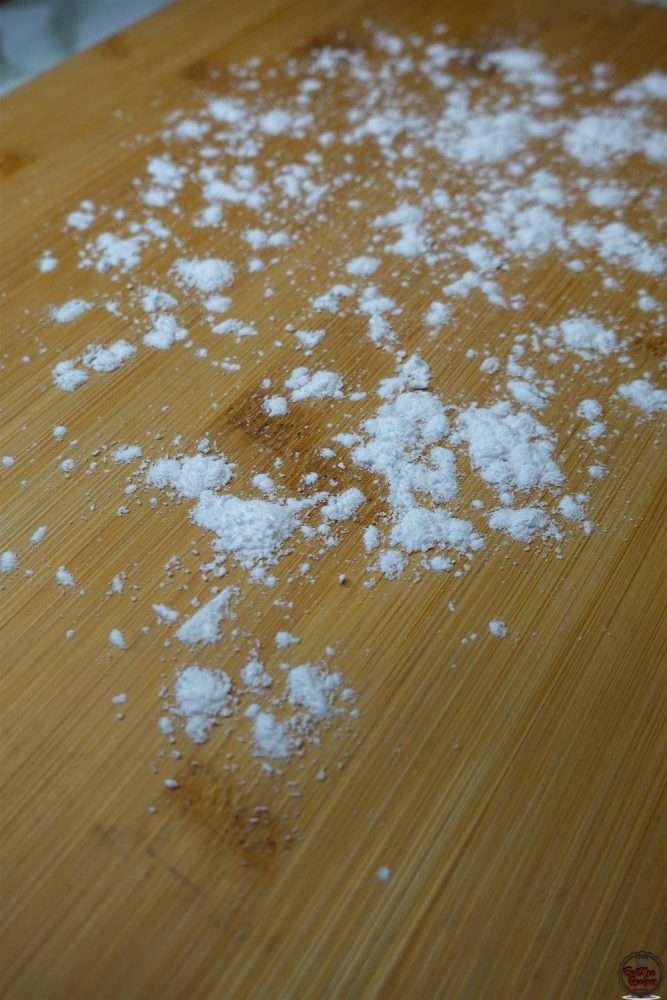
Remove the set Turkish Delight from the casserole & place it onto the surface.
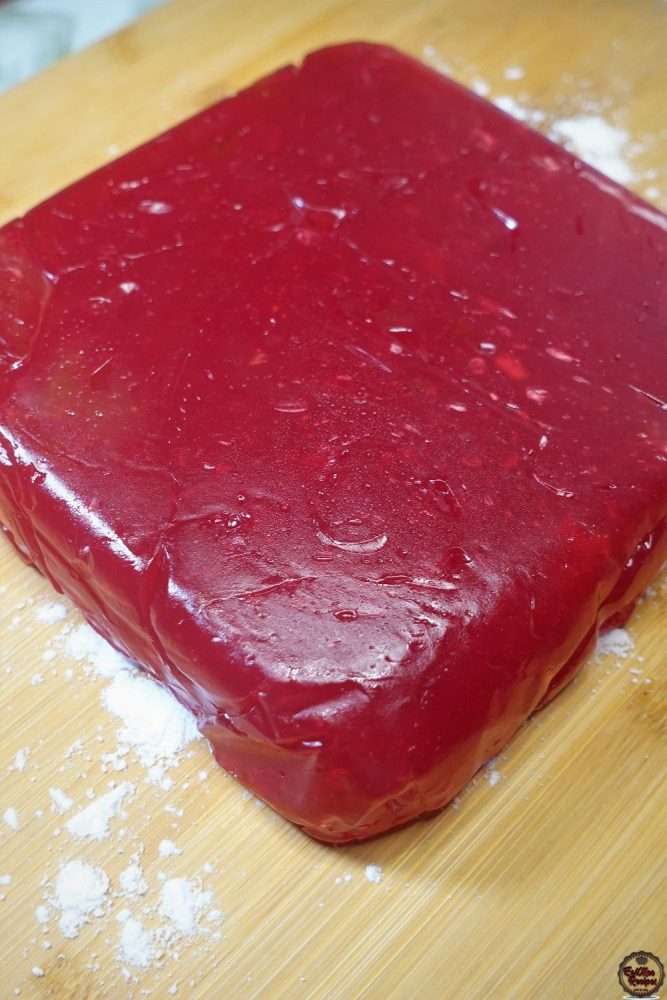
Coat the knife in some of that powder as well & then slice the mould into squares.
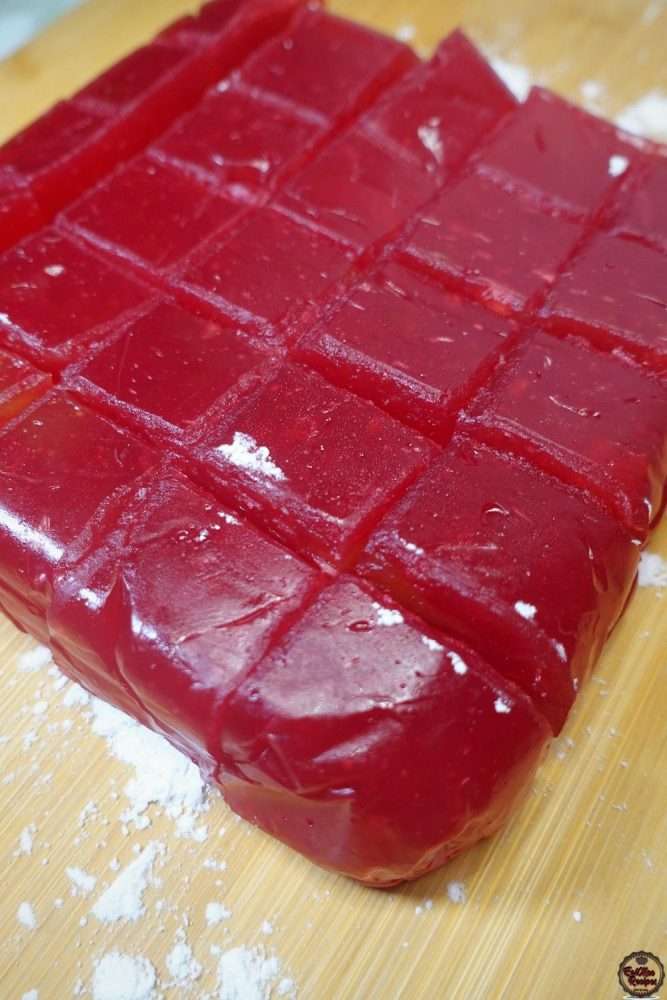
Carefully separate the squares.
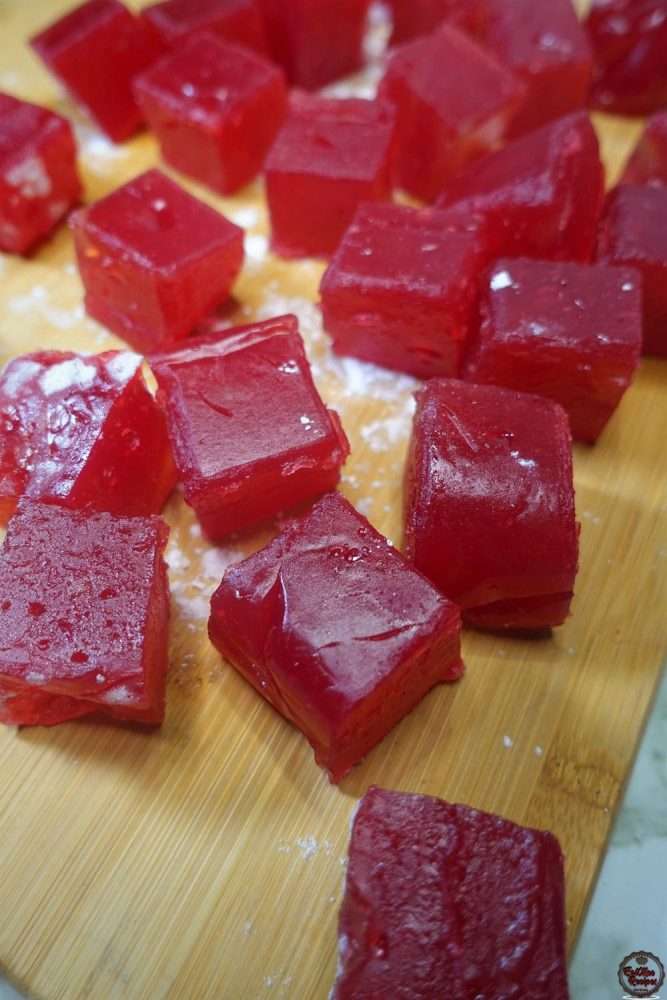
Place the squares into the bowl of confectionery (icing) sugar & corn flour.
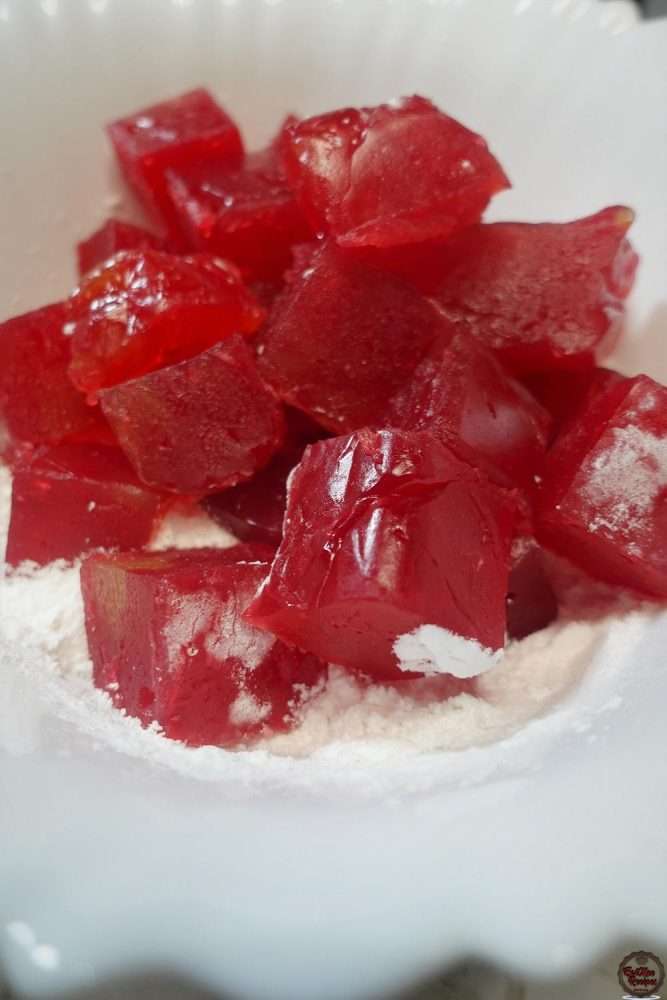
Use your hands to thoroughly coat all the squares in the powder.
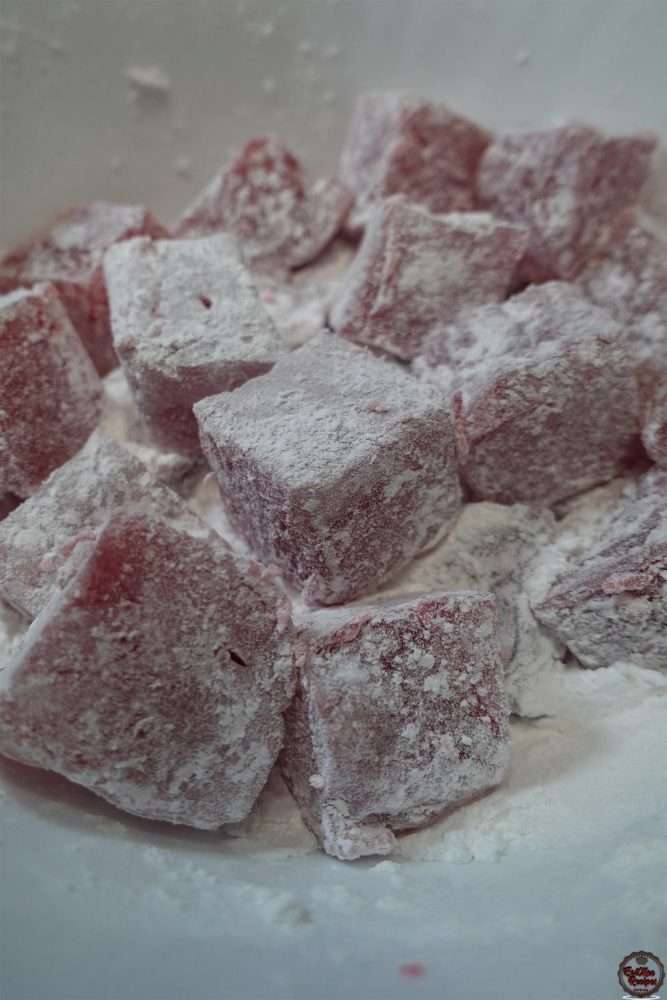
This Turkish Delight is ready to be devoured.
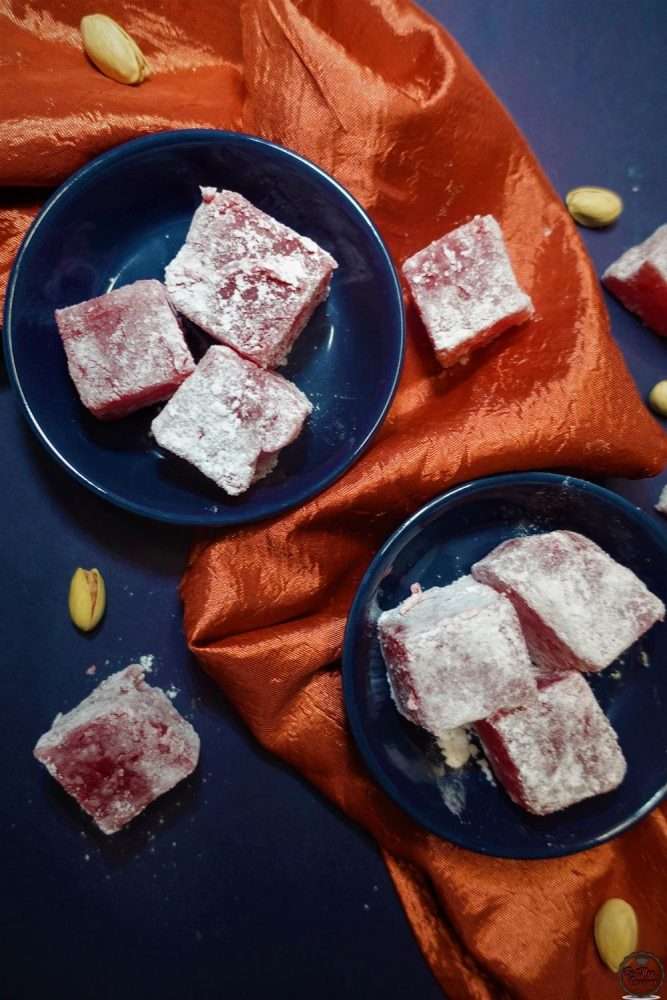
Store them in an airtight container for up to a week.
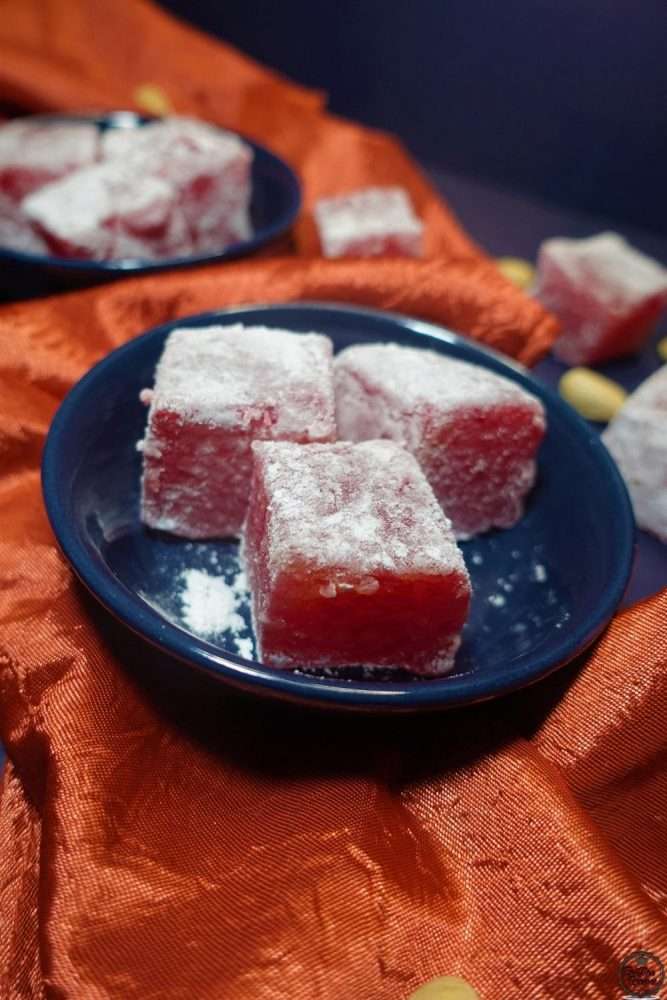
Whenever consuming, simply roll it into more confectionery (icing) sugar.
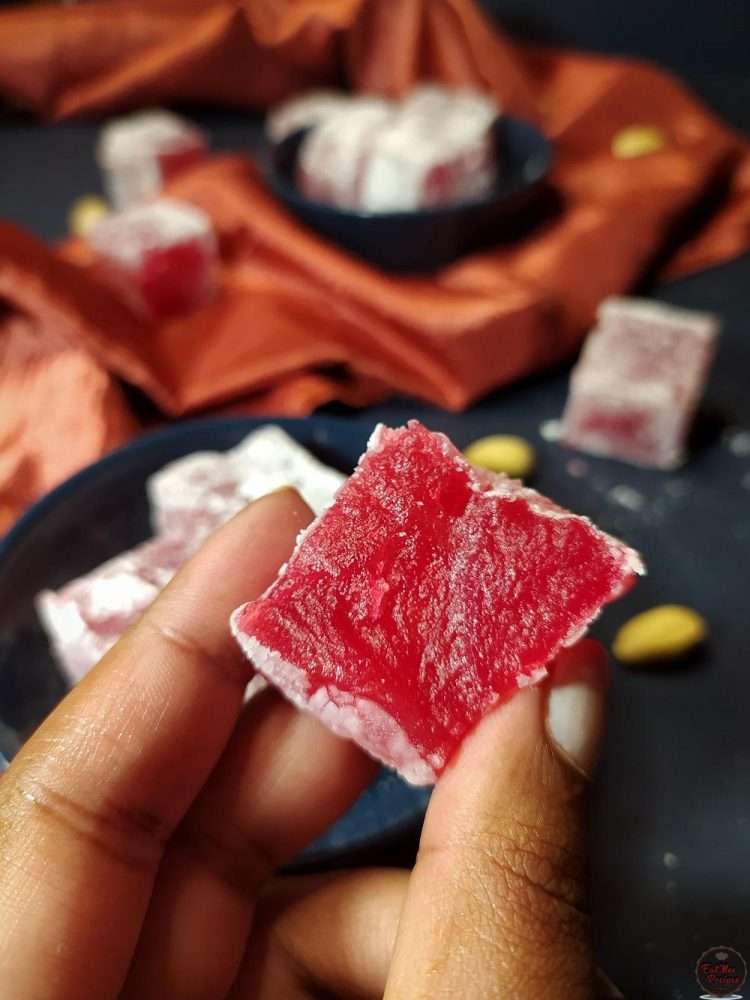
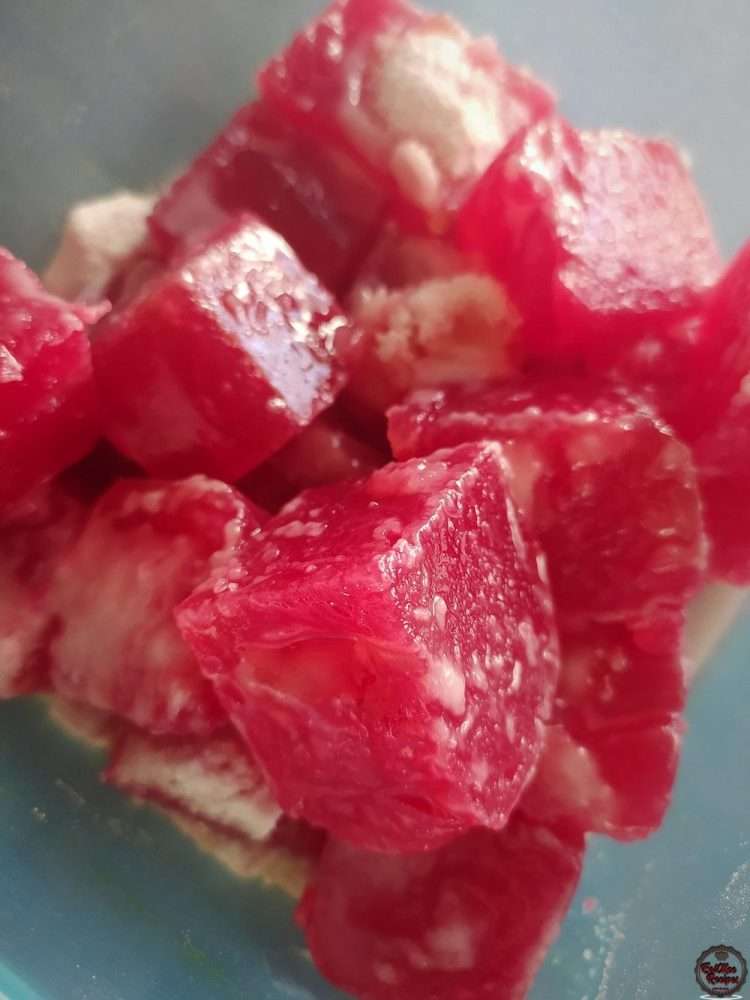
I took the shorter way in making these Turkish Delight’s & did not cure them – if you have time on your hands then after cutting them into squares, space them out onto a board & leave them to sweat at room temperature for 24 hours. Thereafter, coat each square in a layer of corn flour & space apart. Leave at room temperature to cure. It will take at least a few hours & should form a dull crust around each square. If, during this process, you notice any cubes still seeping water – simply roll them in more corn flour & leave to cure again until a crust forms. The confectionery (icing) sugar is going to make them sweat so it is best to coat in icing sugar only when serving. This step is completely up to you & if you have the time to wait. The image below is what the Turkish Delight looks like a day old after being coated in both icing sugar & corn flour – you can see how they sweat & all the sugar almost melts away.
Follow along with Denisiya's step-by-step video guide for Turkish Delight.
Expert kitchen guidance and troubleshooting for making the best Turkish Delight
Store in an airtight container at room temperature for up to 1 to 2 weeks. For milk-based sweetmeats like burfee or soji, refrigerate in an airtight container for up to 7 to 10 days.
Pure butter or ghee provides the authentic rich aroma and texture characteristic of traditional Indian sweetmeats and bakes. Margarine can be used in a pinch, but butter delivers superior flavor.
Hi, I'm Denisiya! Food lover, recipe developer, and founder of EatMee Recipes. I specialize in authentic South African Durban Indian cuisine, comforting curries, and modern Instant Pot adaptations. Every recipe on this site is tested in my personal kitchen to ensure you get mouth-watering, foolproof results every time.
Explore more authentic Durban curries, traditional bakes, and comforting family favourites.
 Desserts
If you love traditional South African sweet rice but want an easier, hands-off method, thi...
 Desserts
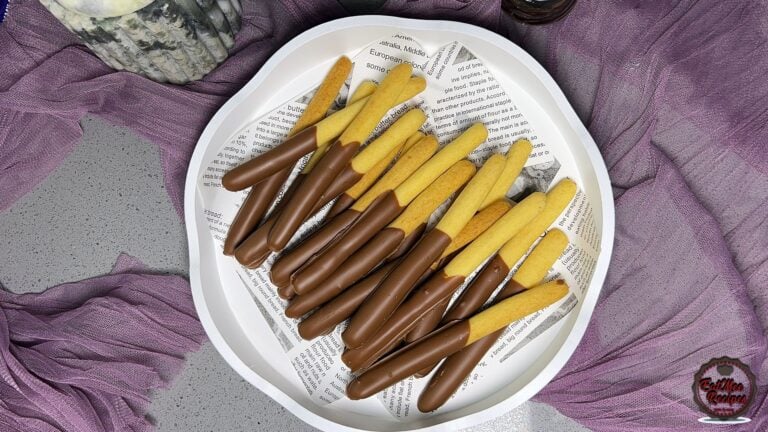
Light, crisp, and delicately sweet biscuit sticks dipped in chocolate
 Desserts
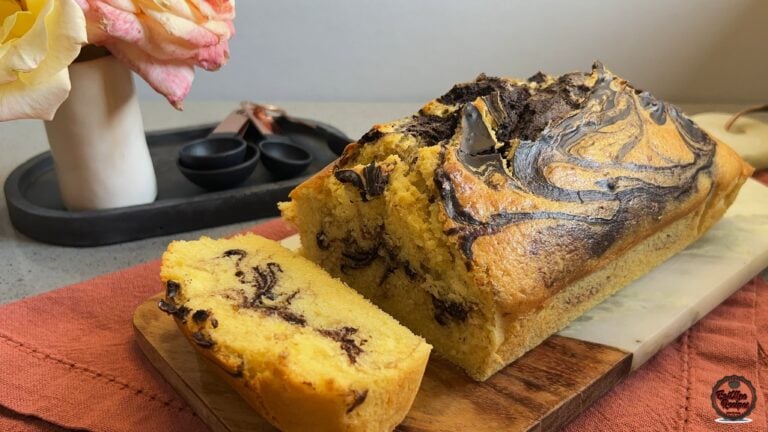
There’s something comforting about a marble loaf cake fresh from the oven, especially when...
Have you tried this recipe or have questions for Denisiya? Join the conversation below.
No comments yet. Be the first to share your thoughts on this recipe!
Leave a Comment
Your email address will not be published. Required fields are marked *