
We Value Your Culinary Privacy
EatMee Recipes uses cookies to provide a personalized browsing experience, analyze recipe popularity, and serve relevant ads. You can review our full disclosure in our Privacy Policy.
Make authentic Sweet Potato Roti with this foolproof recipe. Packed with rich traditional flavor, step-by-step photos, and cooking tips by Denisiya on EatMee Recipes.

Join over 60,000+ home chefs for weekly authentic Durban Indian cook-alongs, Instant Pot masterclasses, and family heritage recipes.
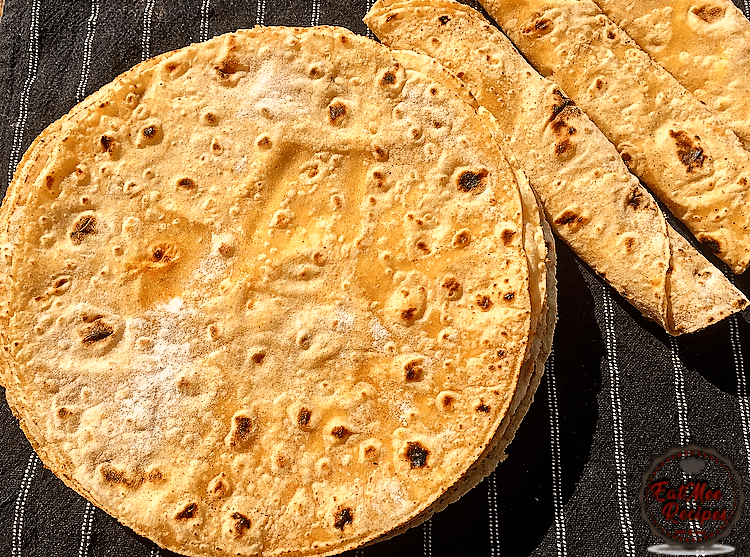
Sweet Potato Roti is quite a different alternative to the usual rotis (chapatti’s). This roti has a bit of a sweet taste combined with a little bit of cinnamon to create something out of the ordinary.
In spite of the fact that sweet potatoes do have more sugar, they’re really viewed as “low” on the glycemic list (GI) contrasted with customary white potatoes which are viewed as “high.” This implies you break down the sugars of sweet potatoes in your blood more gradually than white potatoes, which avoids a sharp spike in your glucose. Therefore this Sweet Potato Roti is ideal for those who have Type 2 Diabetes.
Pronunciation: Roh-tee, Cha-pa-tee
Thoroughly wash the sweet potato, keeping the skin on.
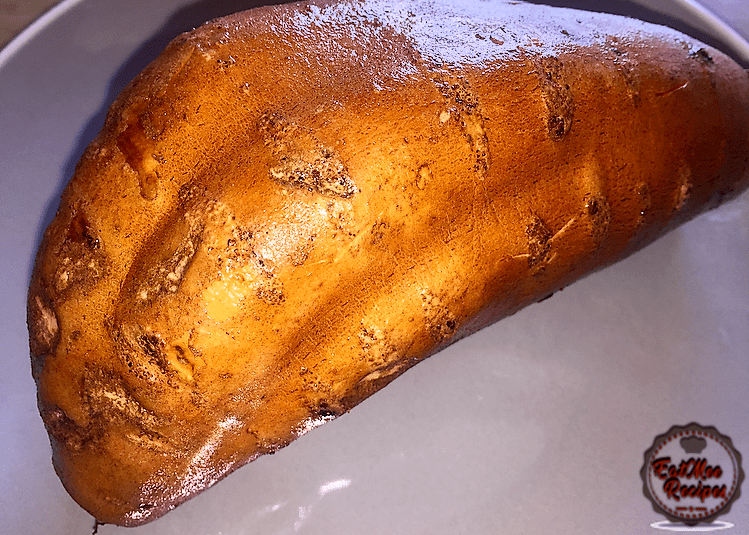
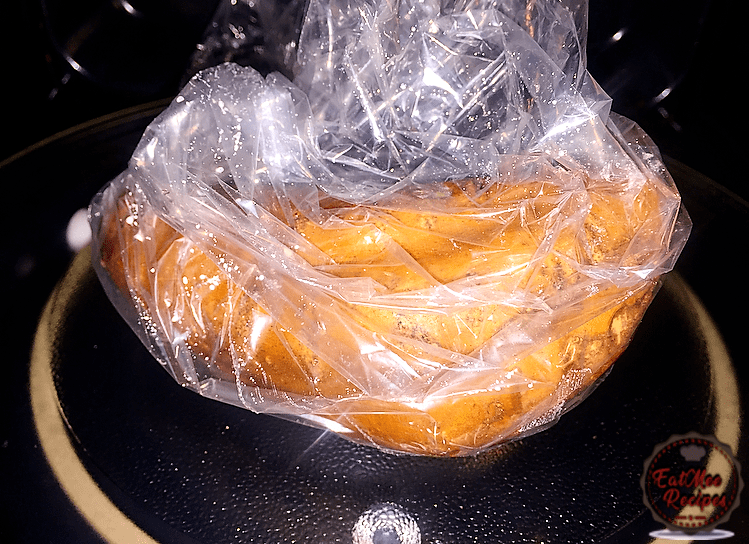
Poke a few holes in the sweet potato using a knife or a fork & place it in a clean plastic bag. Make a knot on the plastic, sealing it & microwave the sweet potato for 10 minutes. If you do not have a microwave, you can boil the sweet potato in a pot, filled with water on the stove top. Boil until the sweet potato is soft.
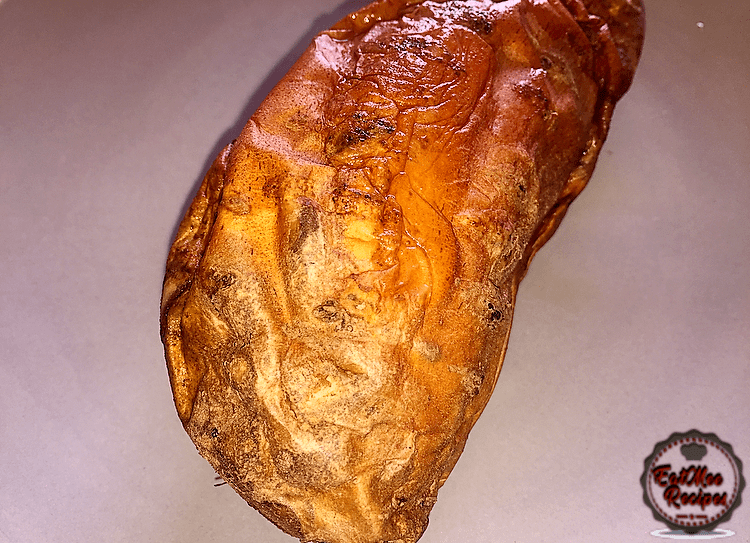
Once the sweet potato is soft, carefully remove & discard the skin/peel.
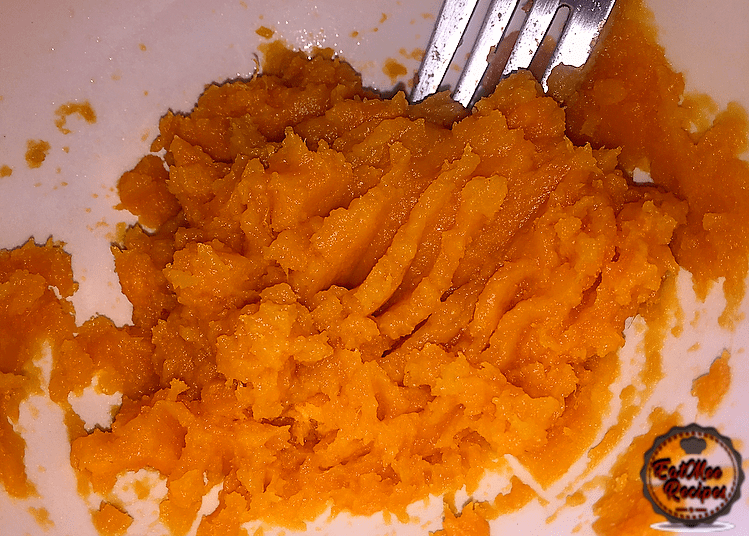
Thereafter, place the fleshy insides of the sweet potato into a small bowl & using a masher or a fork, mash up the potato & set aside.
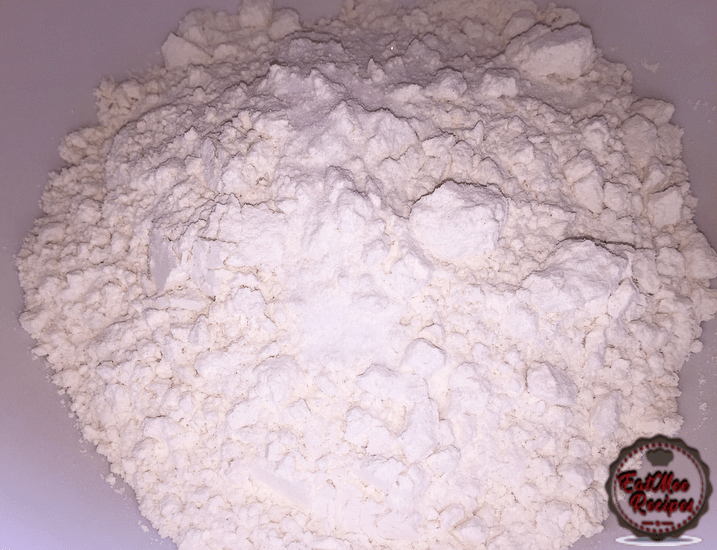
In a medium/large mixing bowl, add in the all purpose flour.
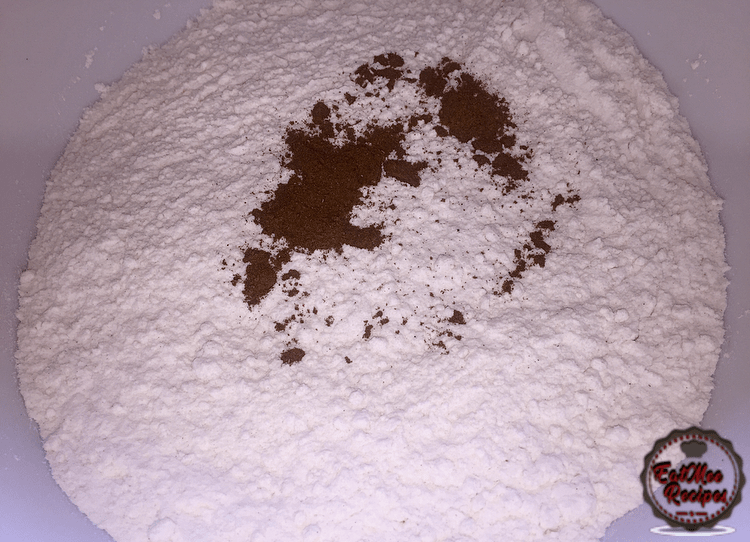
Add the salt & cinnamon powder to the flour.
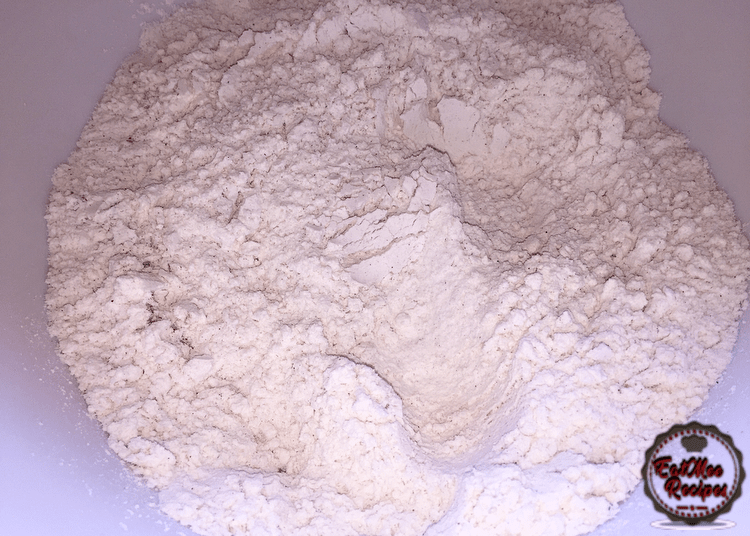
Mix the dry ingredients together.
Next, pour in the vegetable oil.
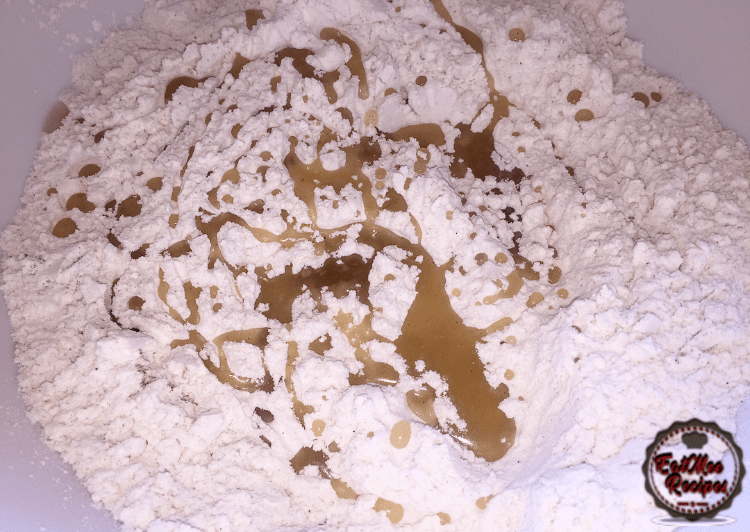
Add in the mashed sweet potato.
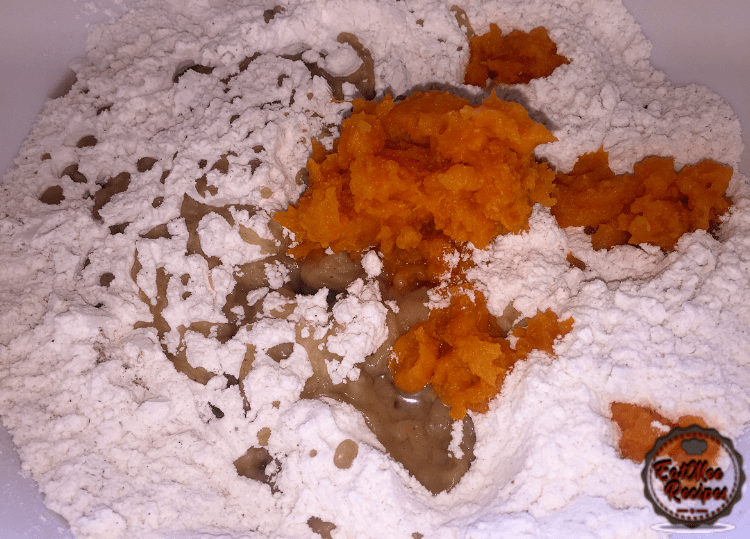
Finally pour in the boiling water.
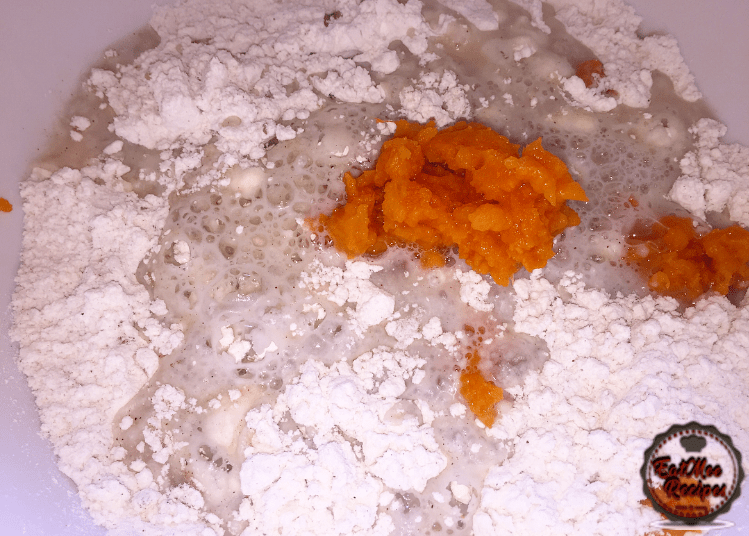
Stir using a spoon. It should almost be forming a dough.
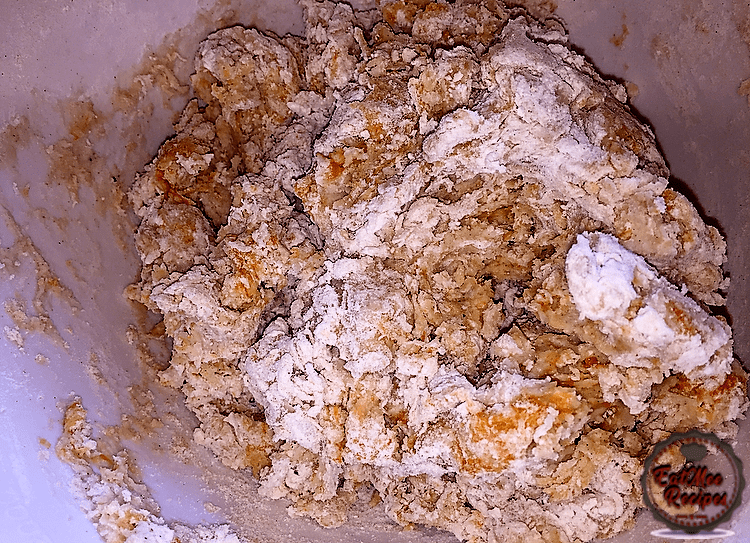
Once it cools down a bit, use your hands & begin mixing it to feel the consistency. If it is too weak, add more flour, & if it is too dry then add in a bit more boiling water.
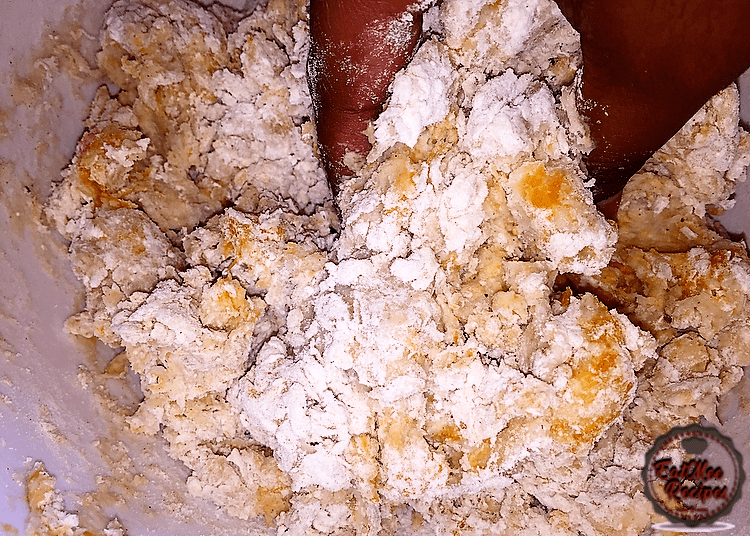
After mixing it with you hands, knead the dough on a floured or oiled surface.
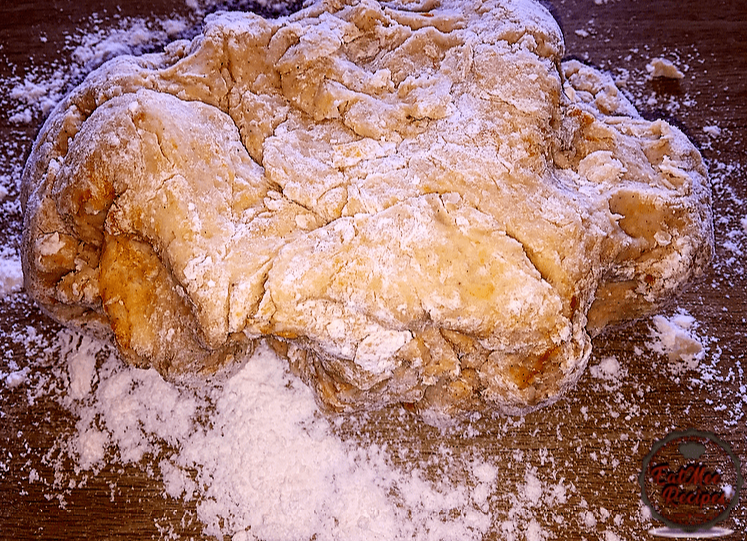
It should form a soft pliable dough.
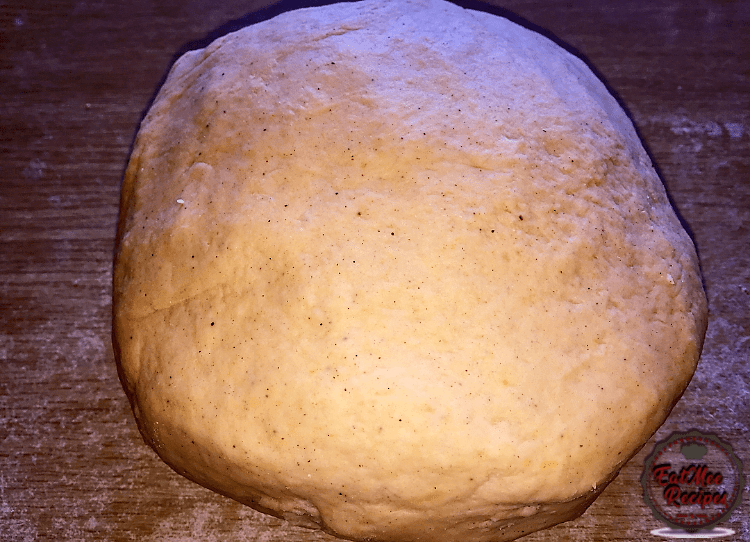
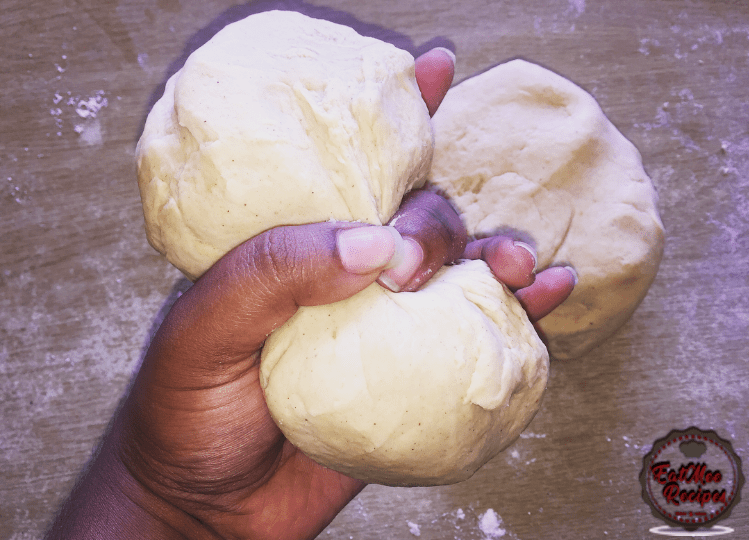
Once the dough is ready, divide into small golf size balls. To evenly do this, grip the dough in the middle & using your thumb & middle finger, separate the dough into two pieces. It should be somewhat equal in size.
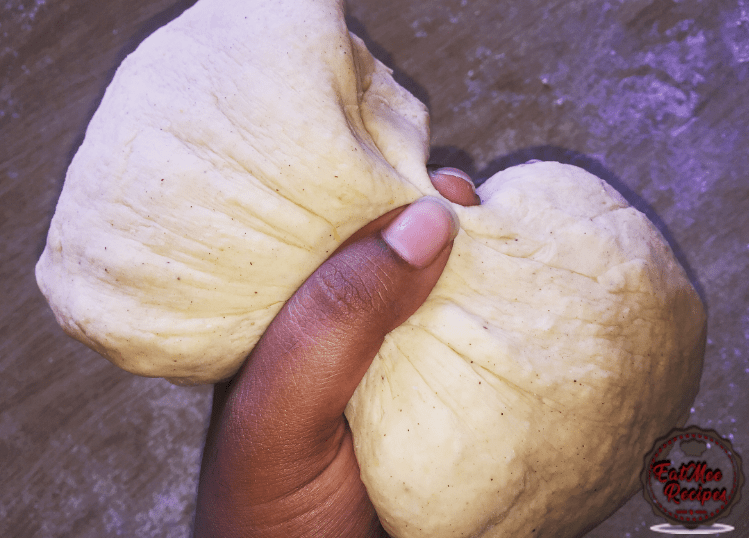
Next, take the two dough pieces & divide each one into two pieces, using the above method.
You should now have four dough pieces.
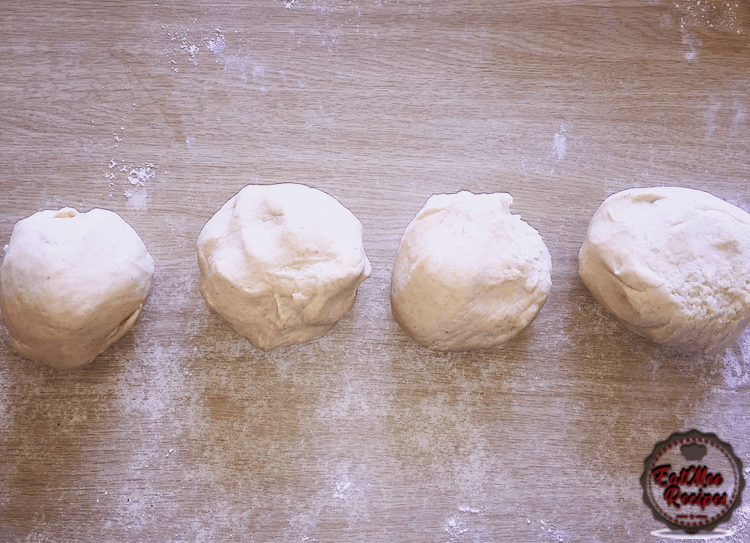
Next, divide each of the four pieces into two’s.
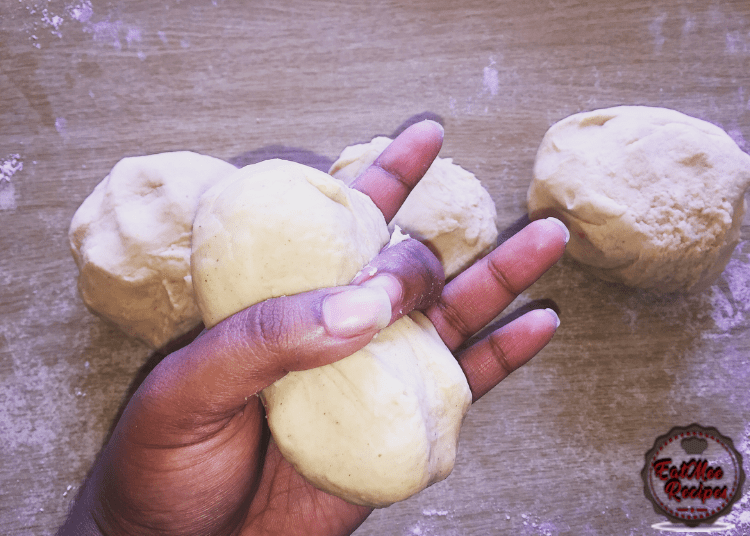
You should now have eight dough pieces.
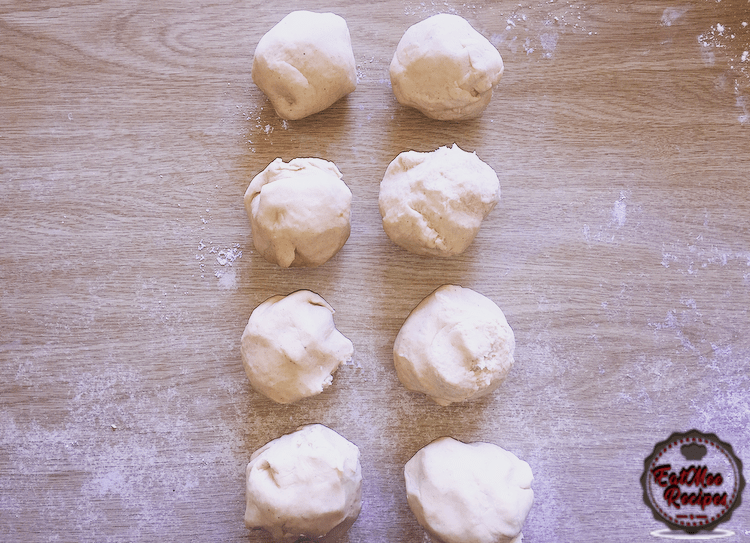
Finally, divide each of the eight dough pieces into two’s.
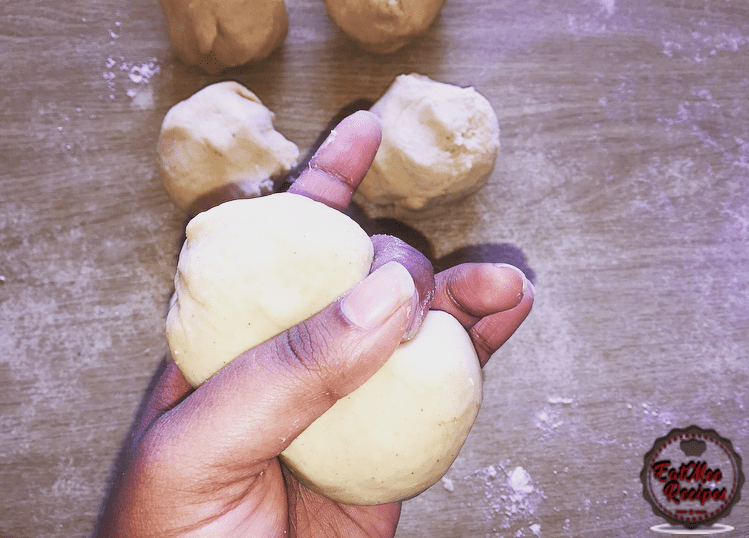
You should now have sixteen dough pieces.
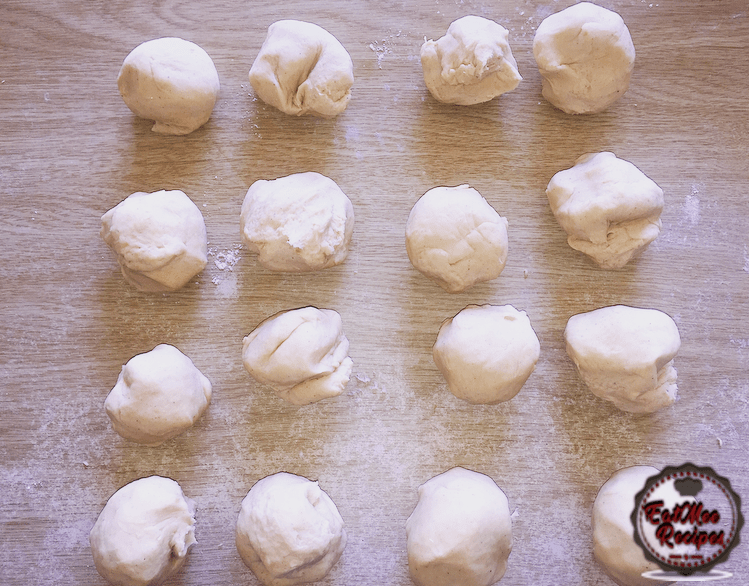
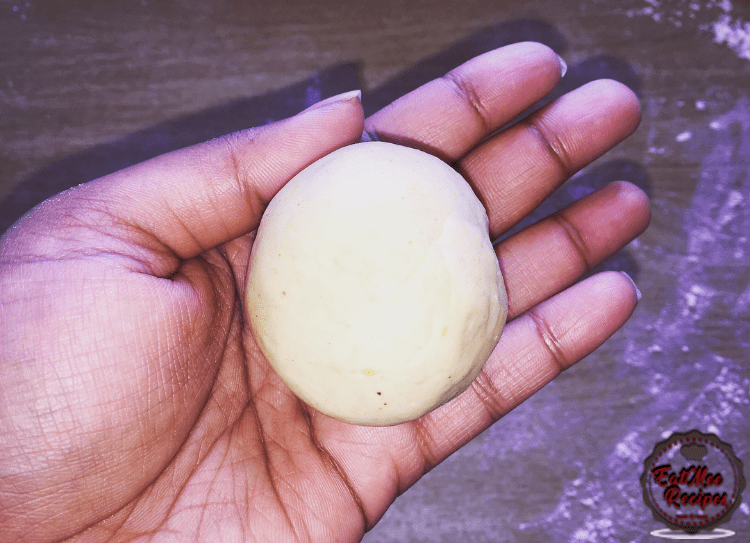
Roll each piece of dough in the palm of your hands to form a ball.
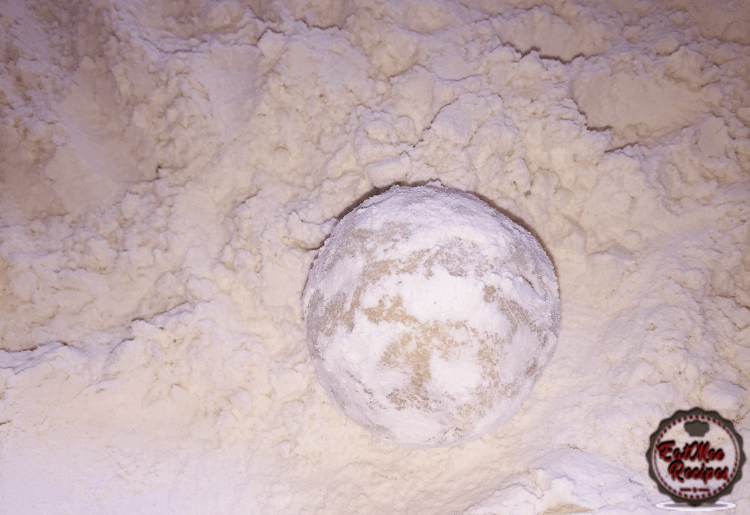
Dunk the dough ball into flour.
Place the flour covered dough ball on a floured surface & press down lightly with your palm to form a disc.
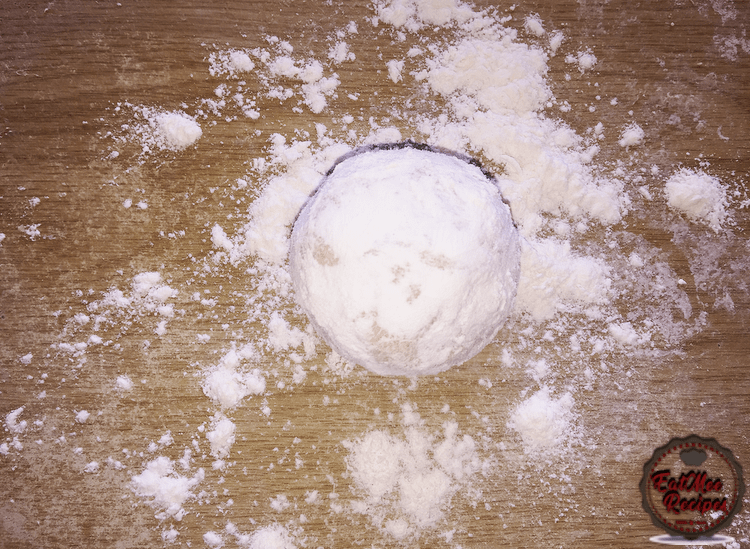
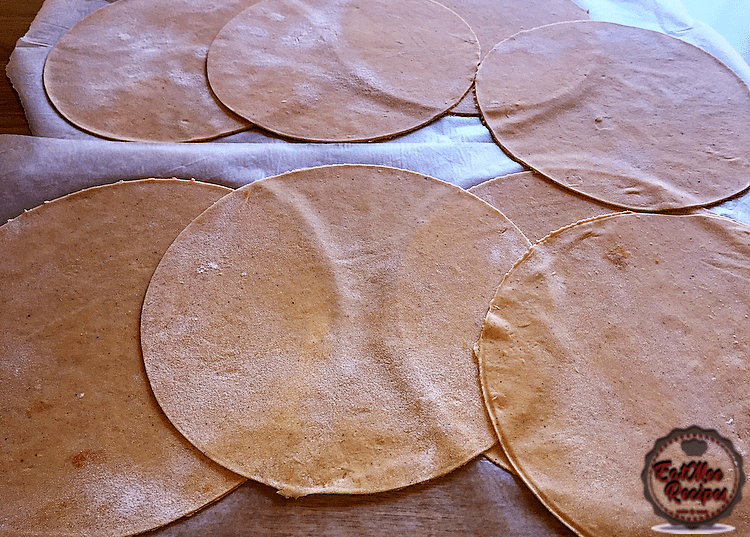
Using a rolling pin, roll each ball out into a circular shape.
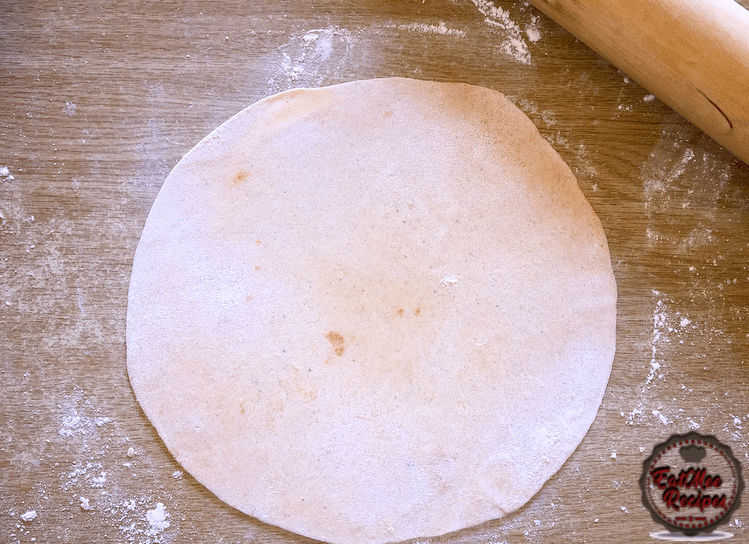
If you cannot roll it out into a perfect circle, it’s fine, no stress, you may proceed to the next step with whatever shapes you have made, but if you really do want it to be round then just place something that is circular over the shape you have created, either a plate or a lid of a container.
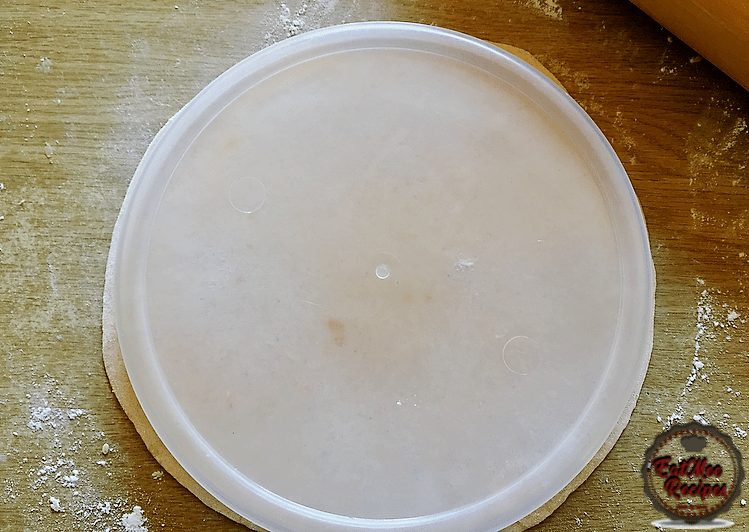
Use a knife & cut around the shape & viola, perfectly round roti’s.
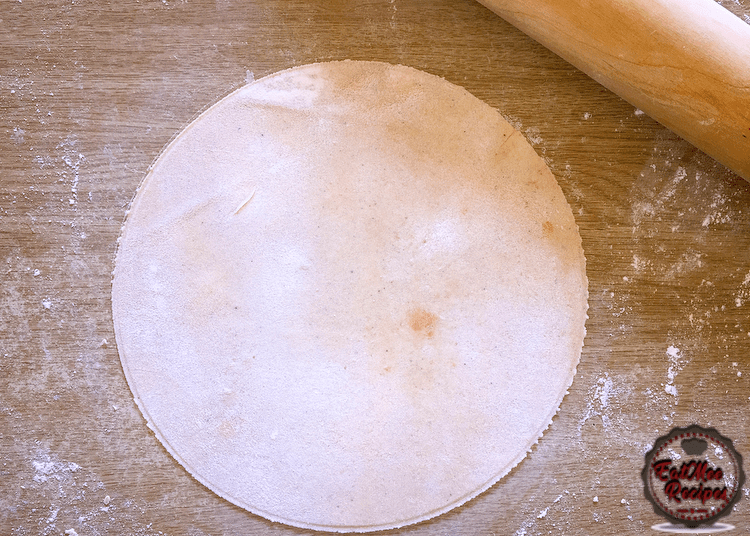
Once all the discs are rolled out, it’s time for the toasting.
Place the discs one at a time on a hot thava or pan & toast on medium to high heat..
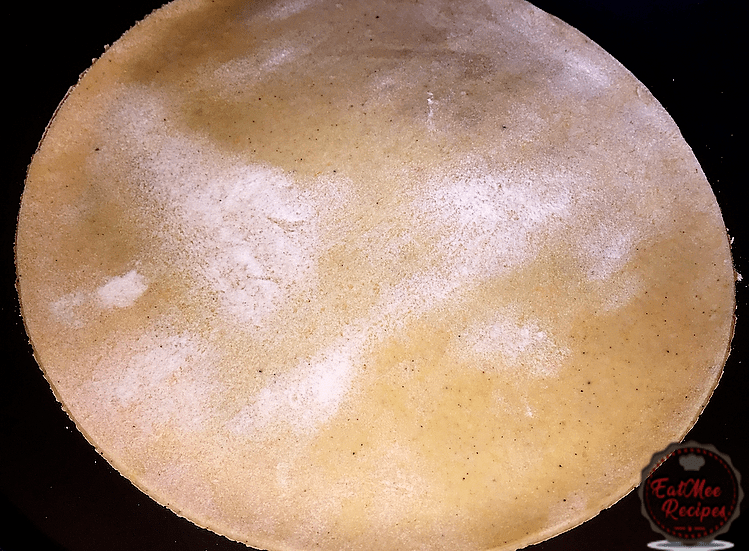
It should begin to puff up after a few seconds.
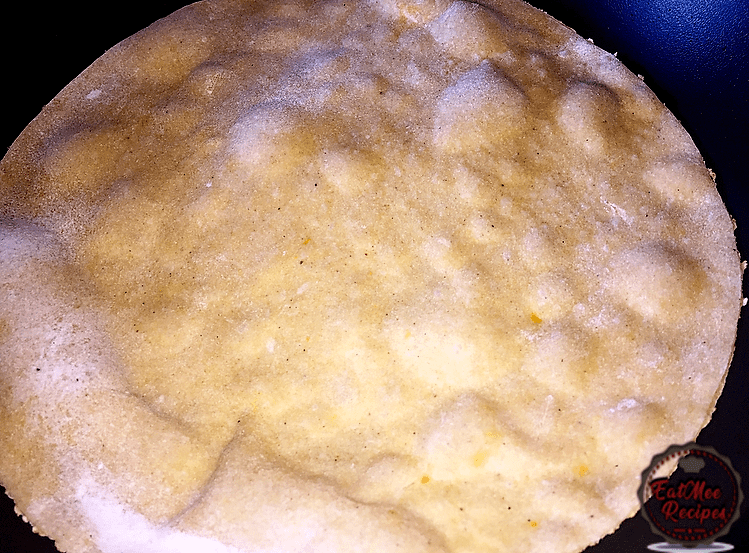
Flip the roti & toast the other side. It is not necessary to add any butter or ghee over it whilst toasting.
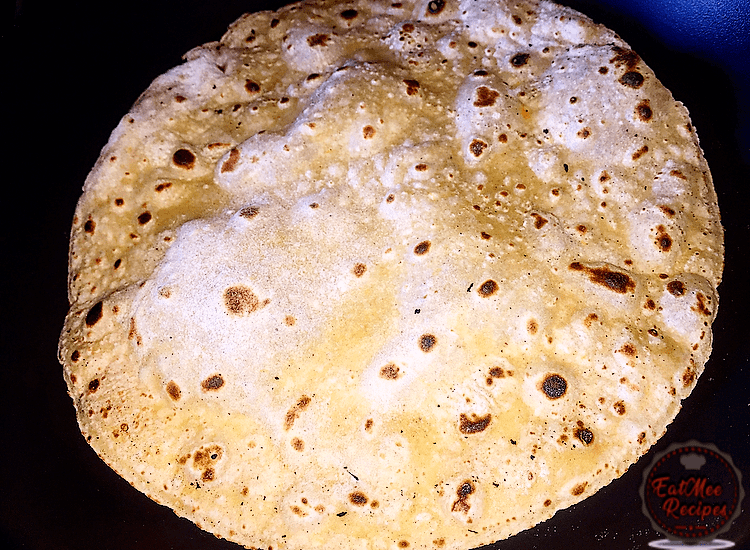
Once toasted on both sides, remove from the heat & place the cooked roti’s into a container lined with wax paper.
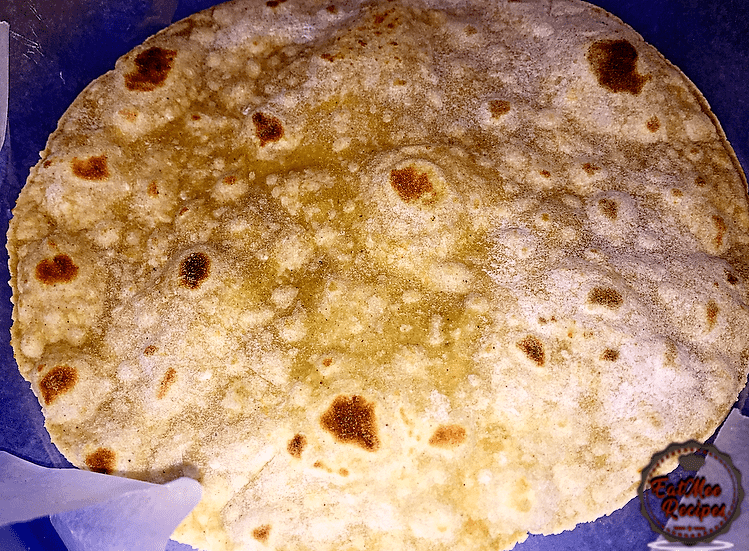
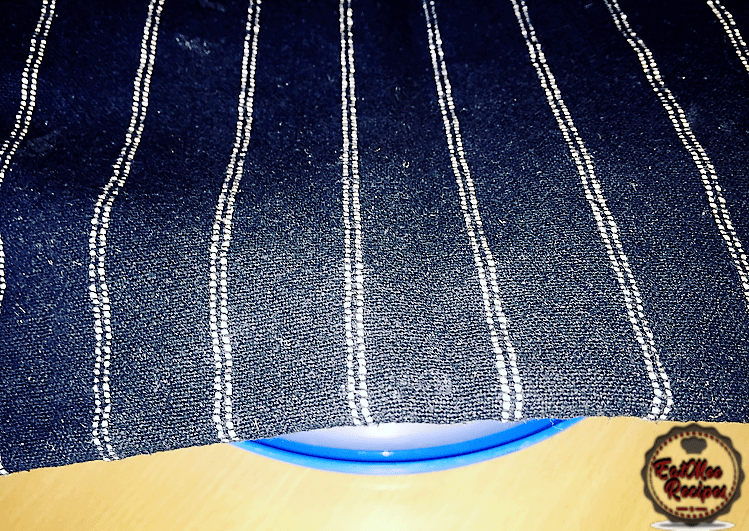
Cover the container of roti’s with a cloth as soon as you add each one into the container. The steam helps it remain soft.
These Sweet Potato Roti’s can be stored for up to a week.
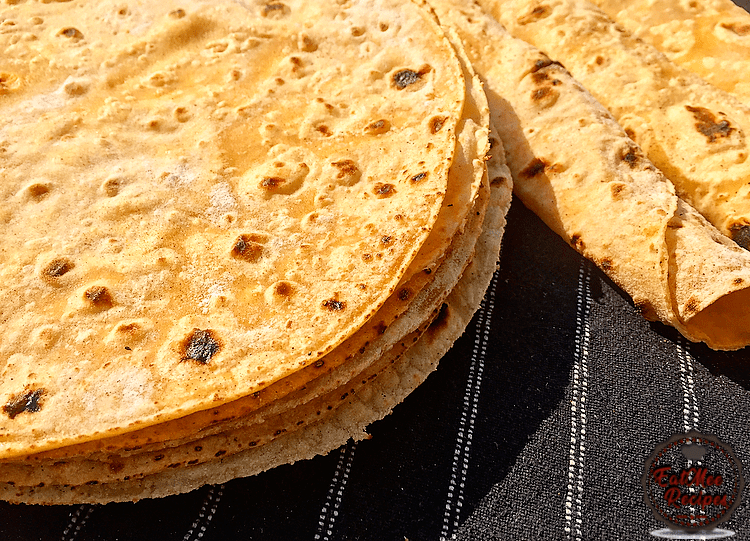
They can also be frozen for as long as six months & can be defrosted & reheated in the microwave.
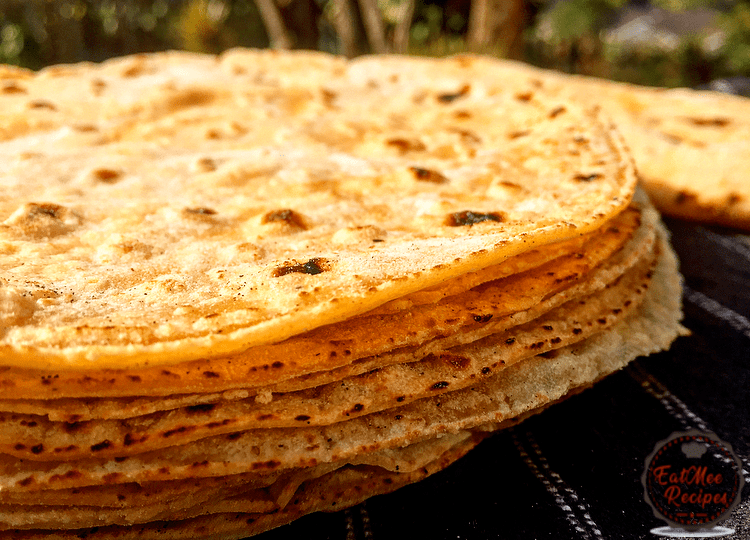
This Sweet Potato Roti can be served as is or with a variety of curries & other dishes such as Sugar Beans Curry, Mutton Curry, Chicken Curry, Prawn Curry & others.
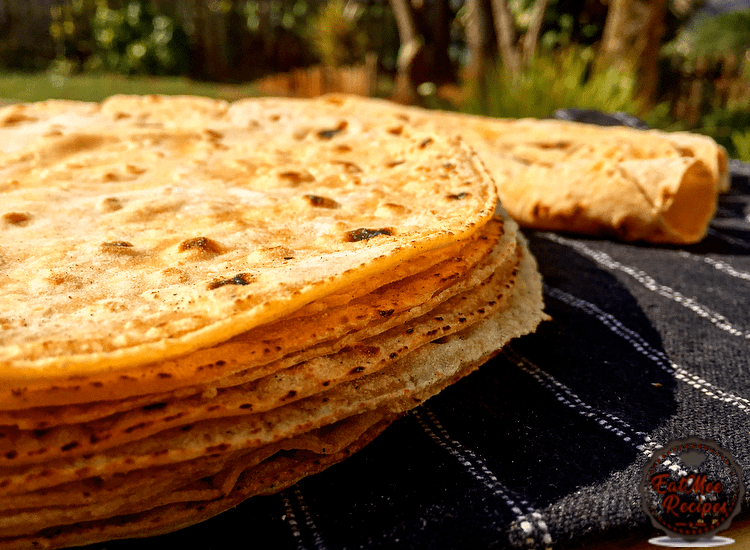
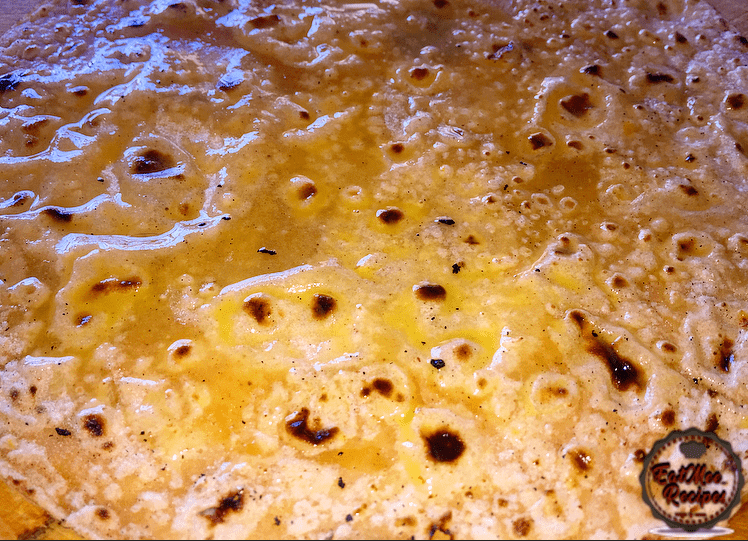
I also prefer it with a thick layer of butter.
Expert kitchen guidance and troubleshooting for making the best Sweet Potato Roti
The golden secret is kneading the flour with boiling hot water, which pre-gelatinizes the starches. Roll thin, cook on a hot tawa with a light brush of butter or ghee, and stack inside a covered container wrapped in a clean kitchen cloth.
Yes! Cooked rotis freeze exceptionally well. Place sheets of wax paper between each cooked roti, wrap in foil or a zip-top bag, and freeze for up to 2 months. Reheat directly on a hot pan for 30 seconds.
Stiff rotis are caused by rolling the dough with too much dry flour, rolling too thick, or cooking on too low heat for too long, which dries out the moisture. Cook on medium-high heat quickly.
Hi, I'm Denisiya! Food lover, recipe developer, and founder of EatMee Recipes. I specialize in authentic South African Durban Indian cuisine, comforting curries, and modern Instant Pot adaptations. Every recipe on this site is tested in my personal kitchen to ensure you get mouth-watering, foolproof results every time.
Explore more authentic Durban curries, traditional bakes, and comforting family favourites.
 Indian Cuisine
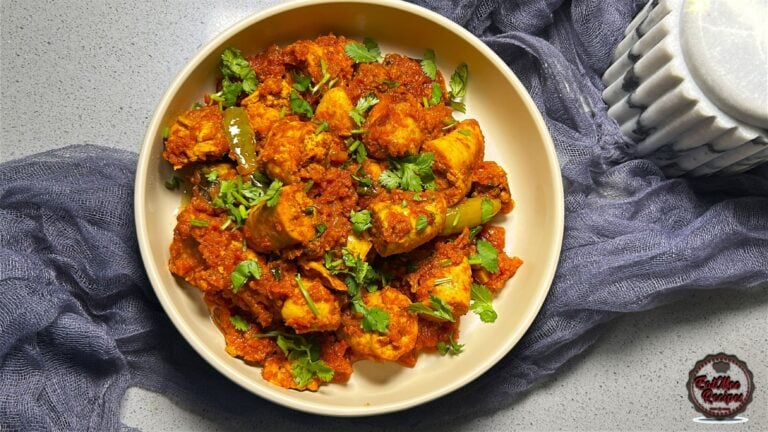
My mum is sharing another one of her much-loved traditional South African Indian recipes. ...
 Indian Cuisine
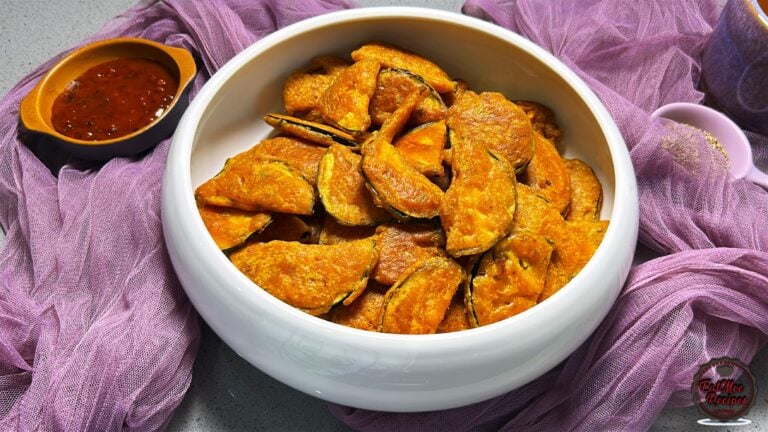
Crispy, golden and delicious, these Brinjal Pakoras are made with thin slices of brinjal c...
 Indian Cuisine
Mum’s Pumpkin Curry is a simple, comforting vegetarian dish that proves you don’t need a l...
Have you tried this recipe or have questions for Denisiya? Join the conversation below.
No comments yet. Be the first to share your thoughts on this recipe!
Leave a Comment
Your email address will not be published. Required fields are marked *