
We Value Your Culinary Privacy
EatMee Recipes uses cookies to provide a personalized browsing experience, analyze recipe popularity, and serve relevant ads. You can review our full disclosure in our Privacy Policy.
Make authentic South African Veda with this foolproof recipe. Packed with rich traditional flavor, step-by-step photos, and cooking tips by Denisiya on EatMee Recipes.

Join over 60,000+ home chefs for weekly authentic Durban Indian cook-alongs, Instant Pot masterclasses, and family heritage recipes.
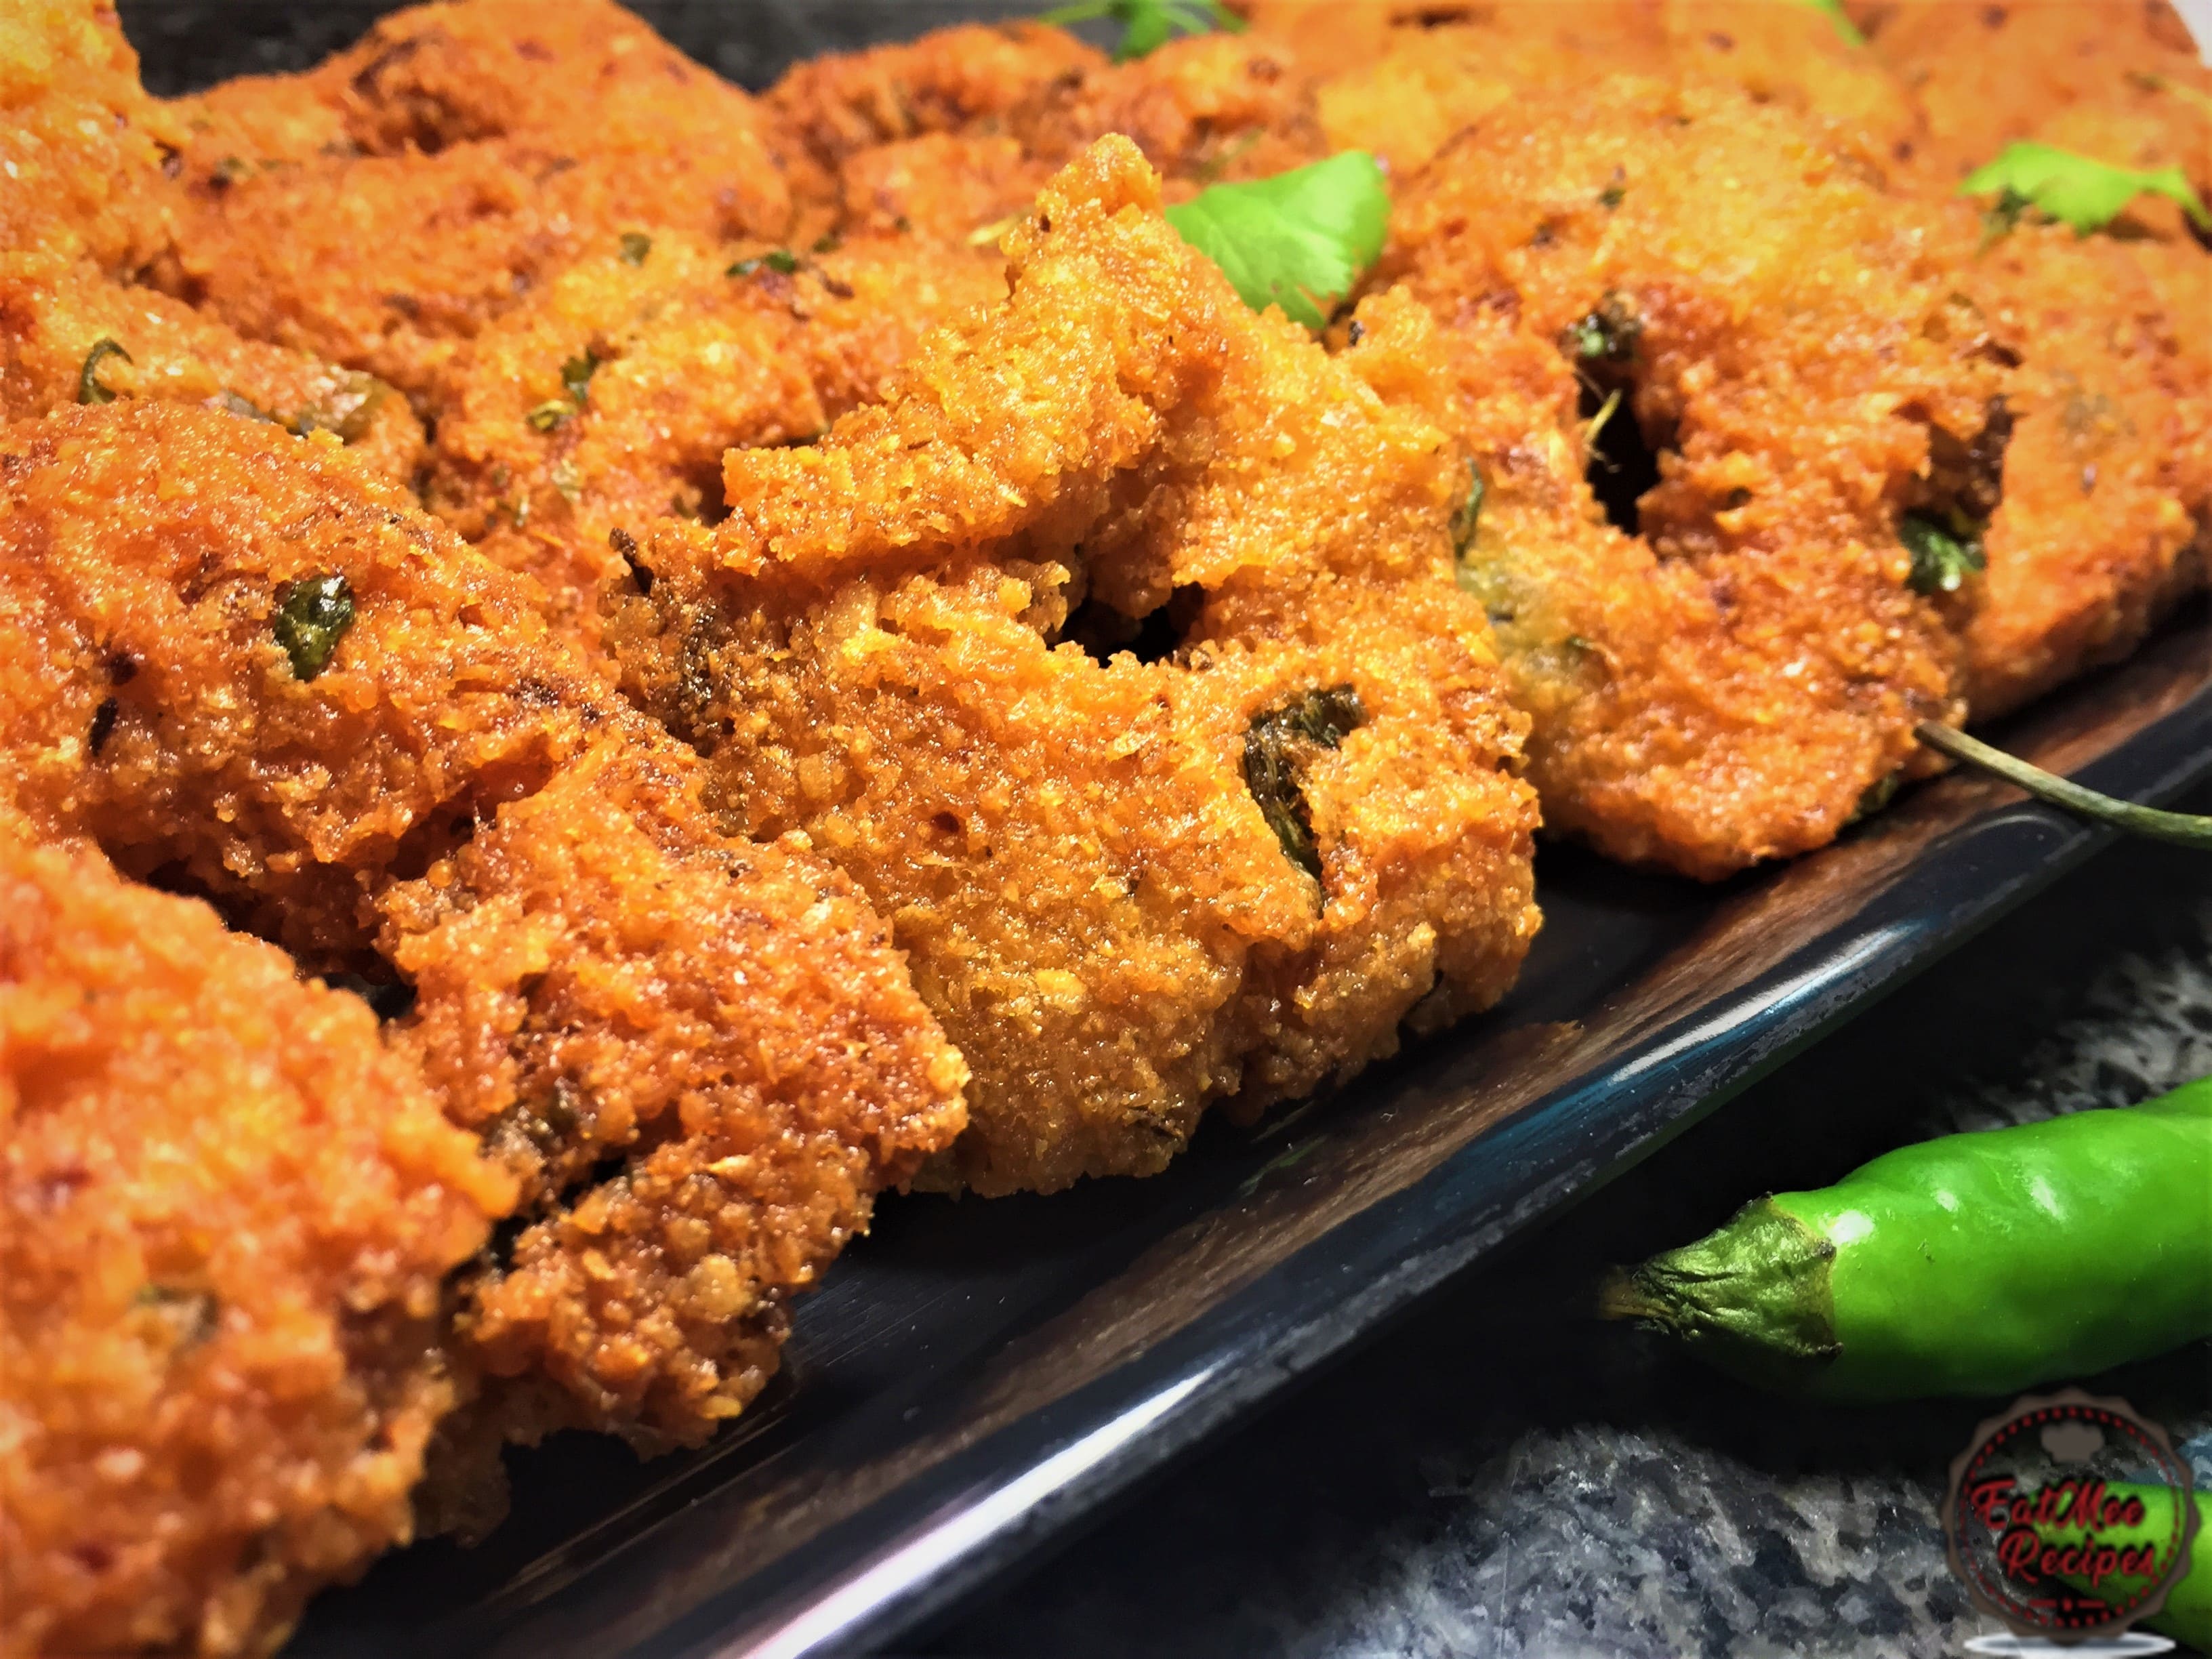
South African Veda is quite different from the vedas made in India. Most vedas in India consist of flour in the batter & it is made really thick. In South Africa, the veda recipe is made with pea dhall & fried until crispy. This simple recipe is an essential for vegetarians & vegans.
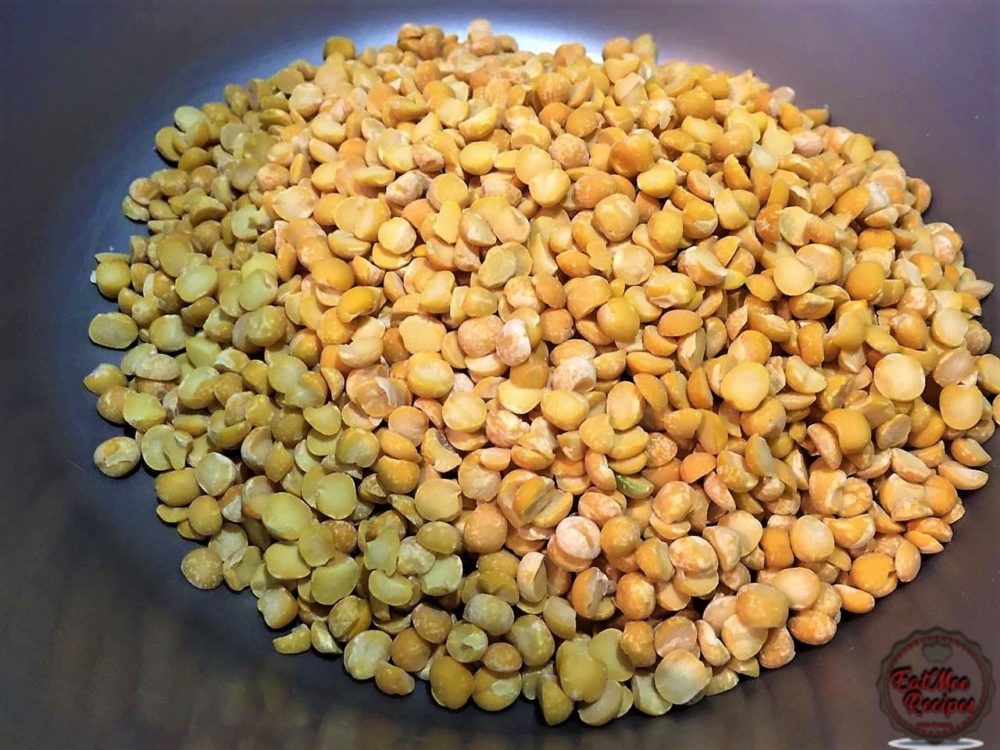
Split peas are a agricultural or culinary preparation comprising of the dried, peeled & split seeds of Pisum sativum, the pea.
The veda originates from South India & is very popular in Chennai as a street snack. In South Africa, we make vedas usually as a savoury snack or for many prayer offerings.
I was lucky enough to get this recipe from my late grandmother, who is also from South Indian origins. I did tweak it a bit by adding the red chilli flakes but this is entirely optional. I just prefer my vedas a little more spicier.
It is recommended that the pea dhall be soaked the day before in order for the dhall to become soft but if your craving suddenly appears & you need these vedas on the same day then you may opt to soaking the dhall for about 4-5 hours & then proceeding with the preparations.
Sift through the dried dhall to remove stones or blemished pieces. Place in a bowl.
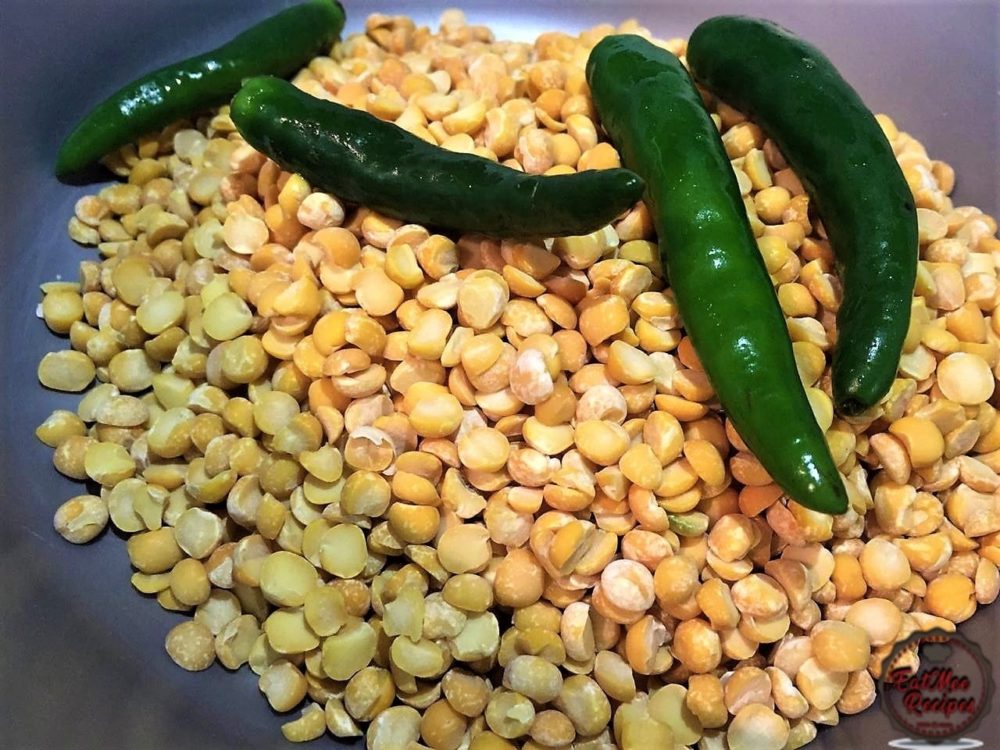
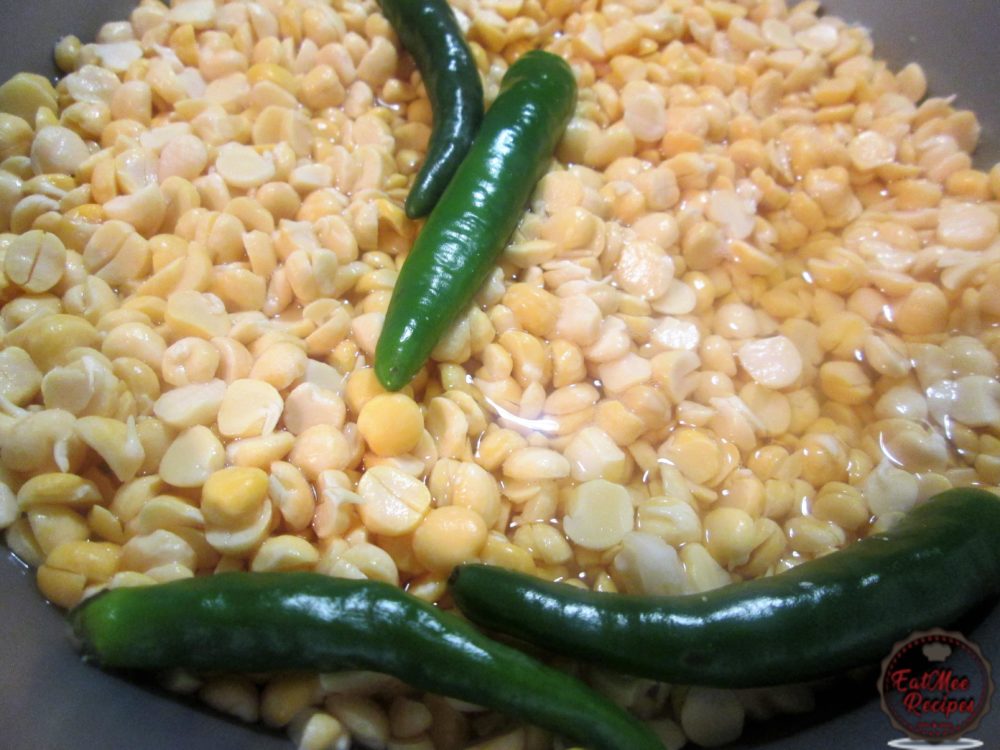
Add 4 green chilies to the bowl of dhall.
Cover with water & allow to soak overnight or for 4-5 hours on the same day of preparation. Do not soak for too long as the dhall can go bad, especially in humid weathers.
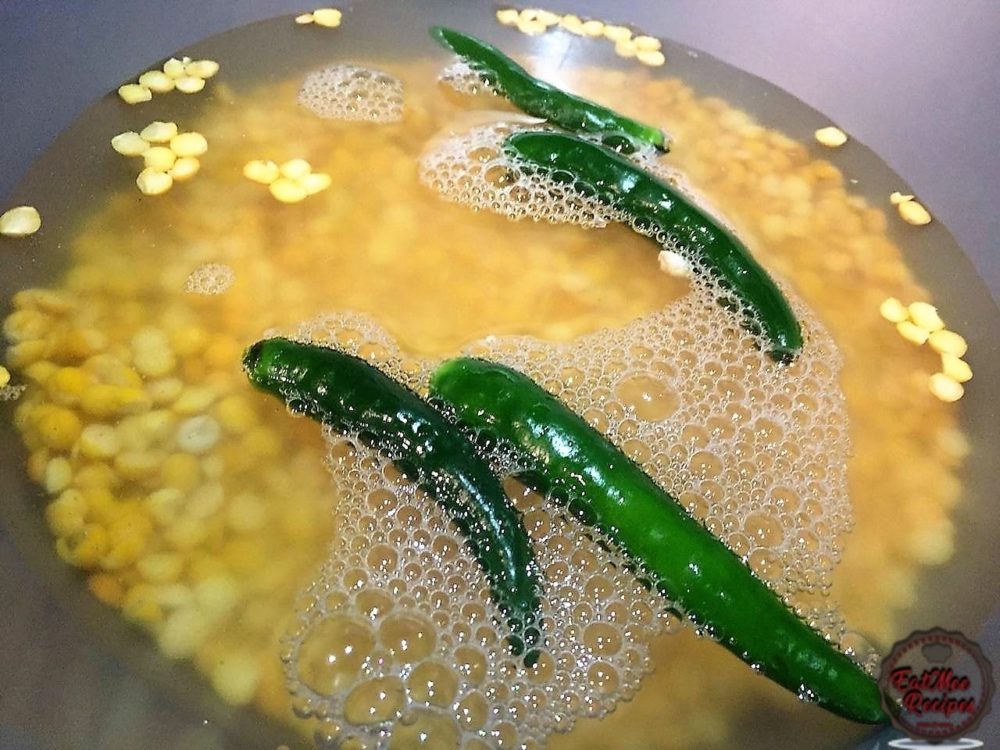
After the dhall has soaked, notice how it is much softer. Now it’s time to start the veda preparation.
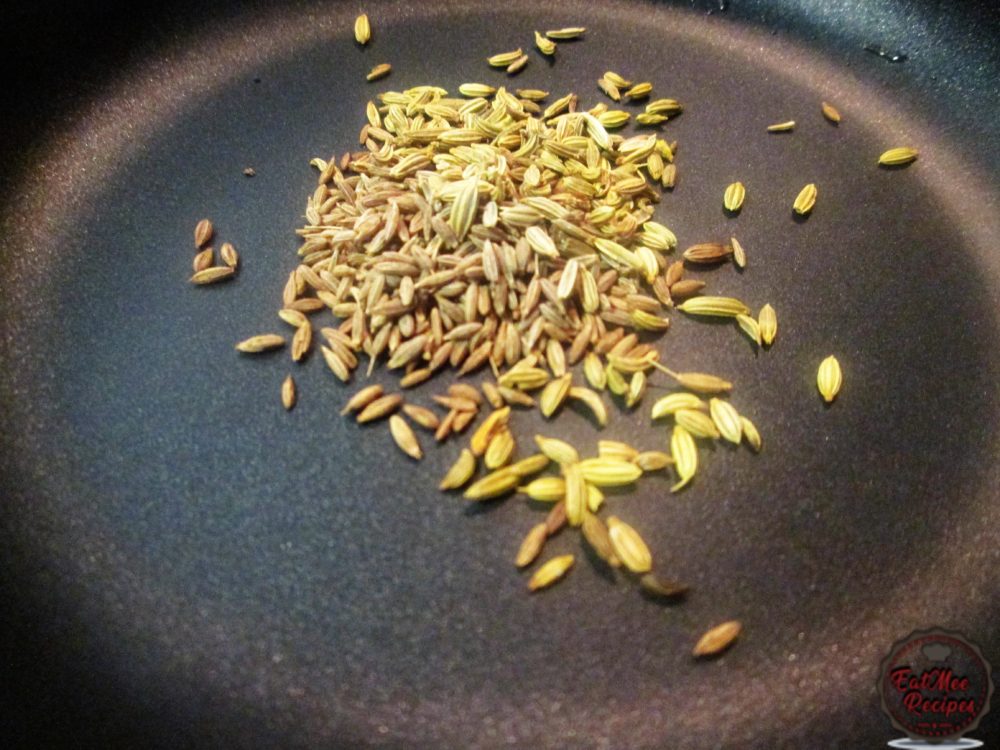
Heat a pan on the stove-top & add in the cumin (jeera) seeds & the fennel (soomph) seeds.
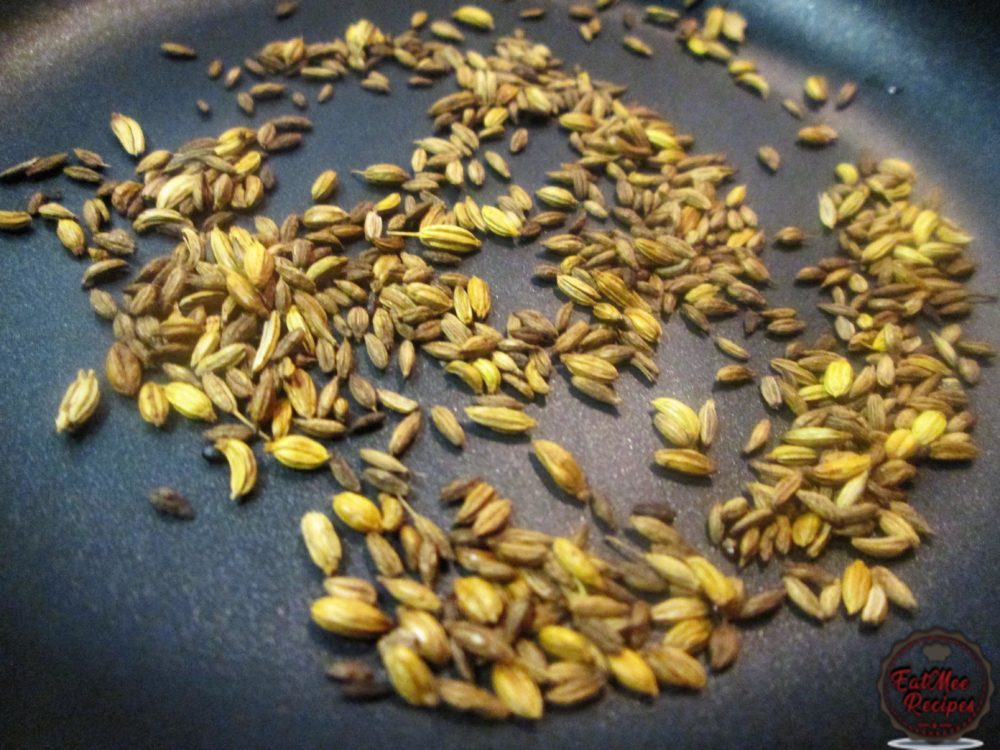
Fry the seeds until browned. Constantly stir to avoid burning the seeds. Once browned, remove from heat & set aside.
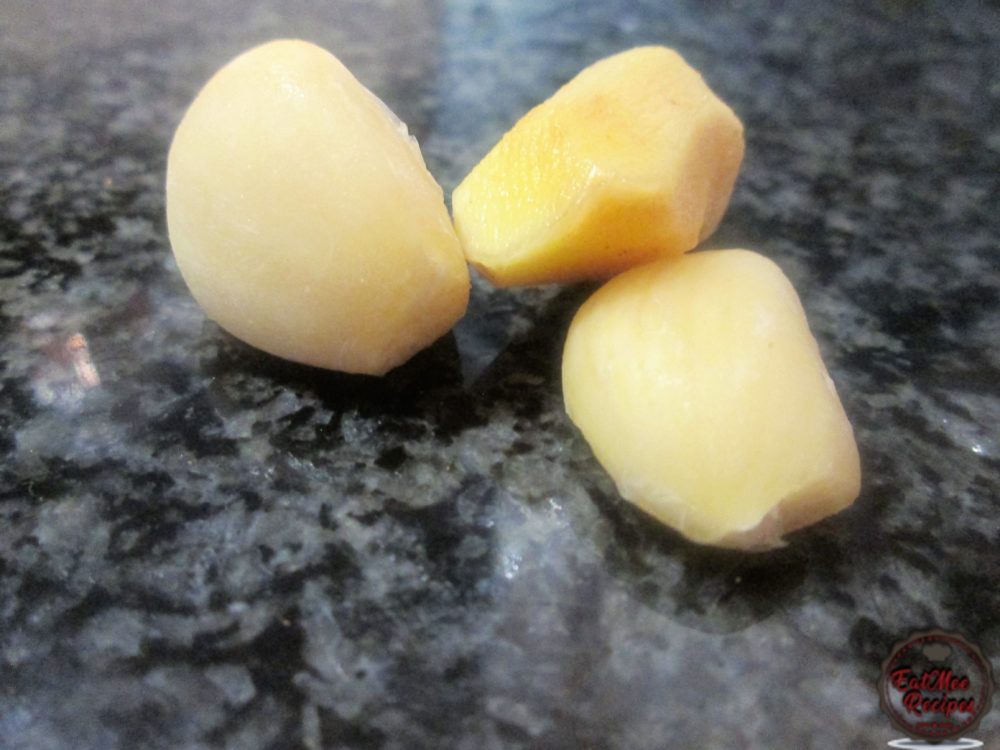
Only a small piece of ginger is needed. Alternatively, 2 teaspoons of ginger & garlic paste may be used if fresh garlic & ginger is not available on hand.
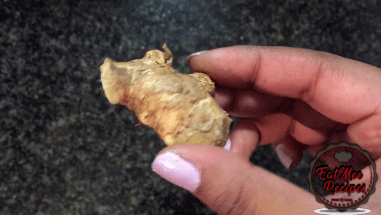
Peel garlic cloves & ginger & set aside.
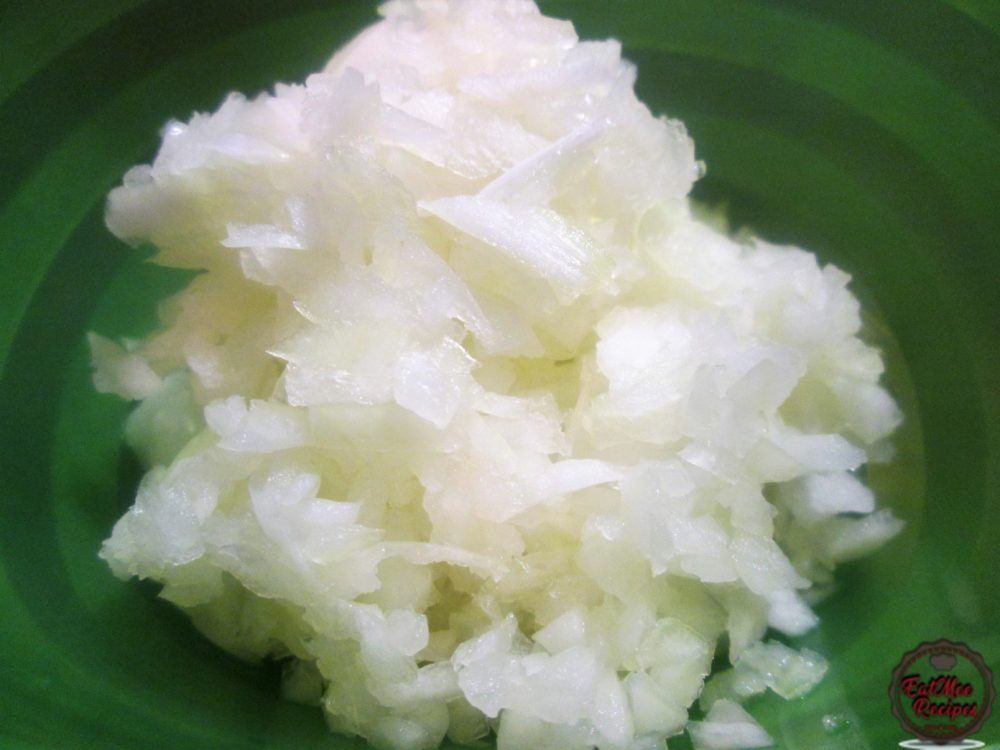
Peel & chop the onion & set aside.
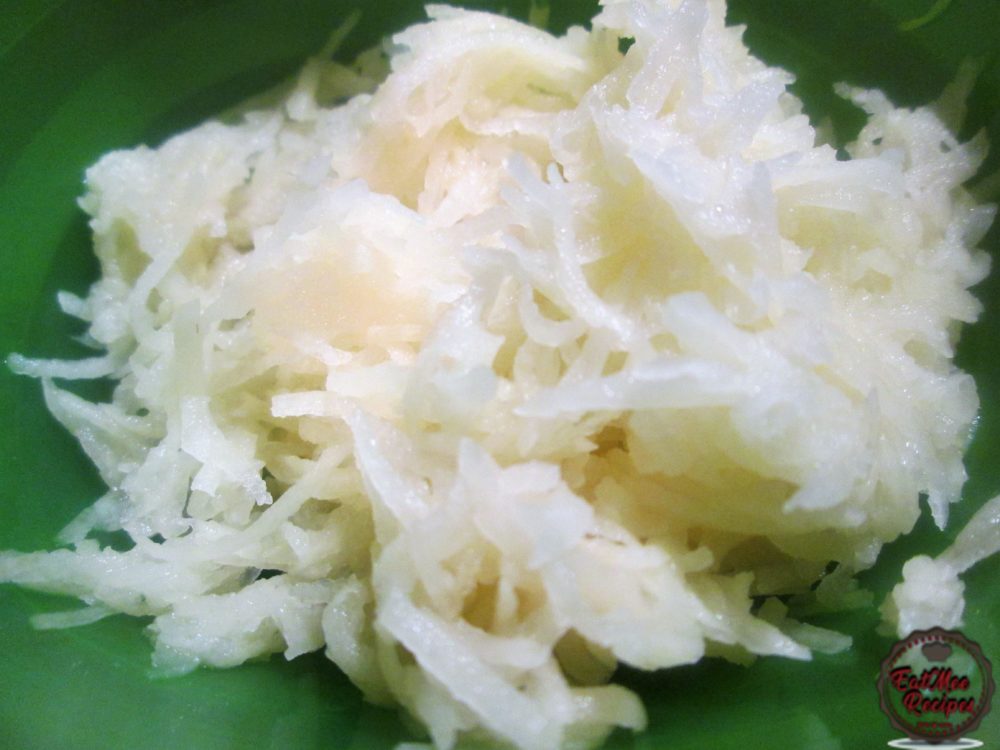
Peel the potato & grate it using the smaller grooves of the grater & set aside.
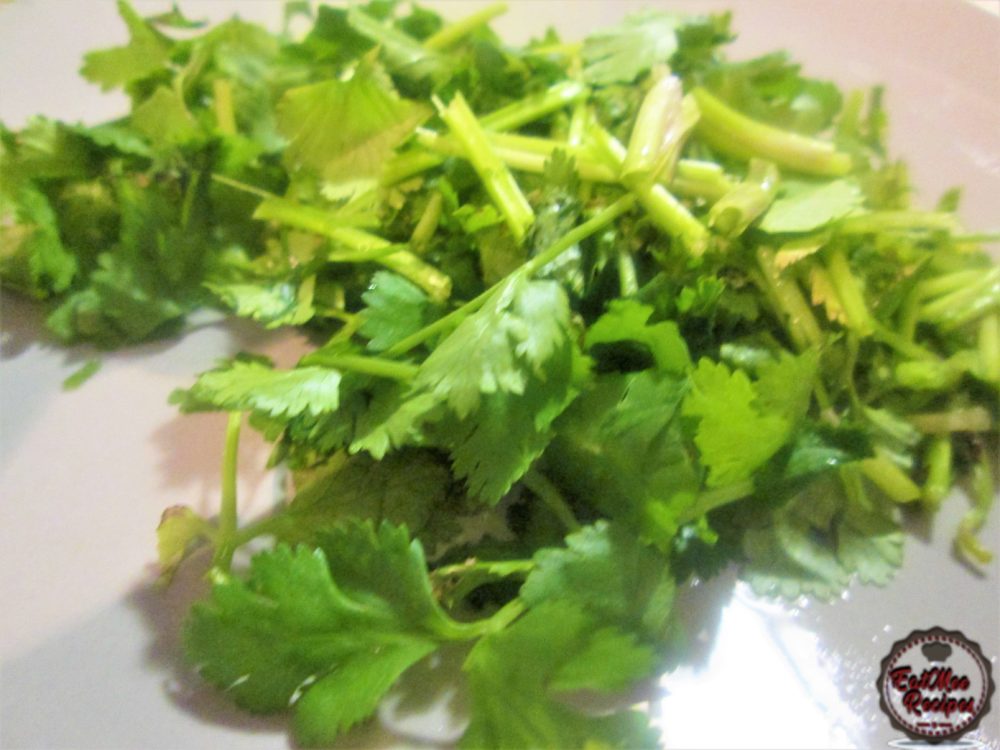
Rinse the coriander (dhania), roughly chop it & have it ready.
Using a colander, strain the soaked pea dhall to remove any excess water.
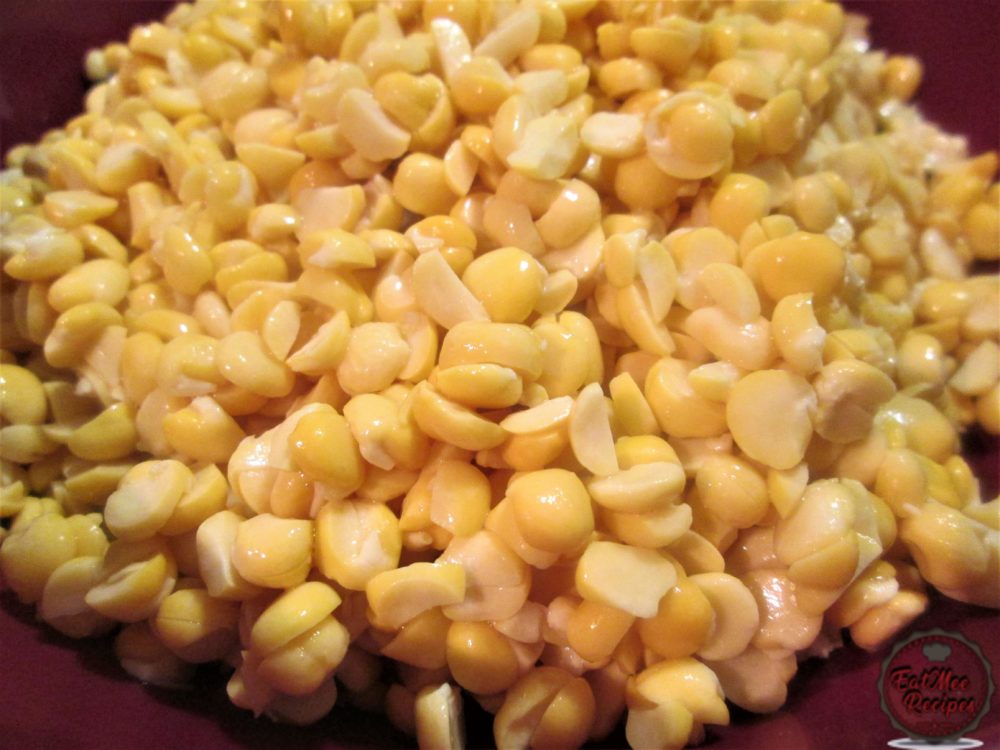
Next, add the strained dhall, together with the green chilies into a food processor.
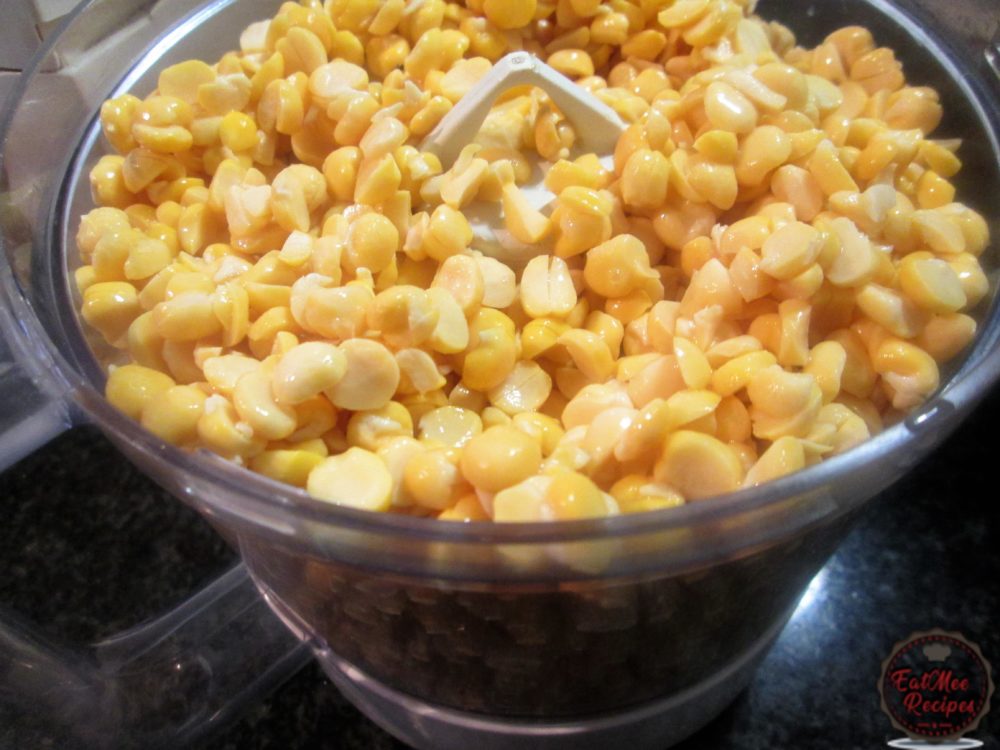
Thereafter, add in the peeled ginger & garlic or ginger & garlic paste if you’re using that.
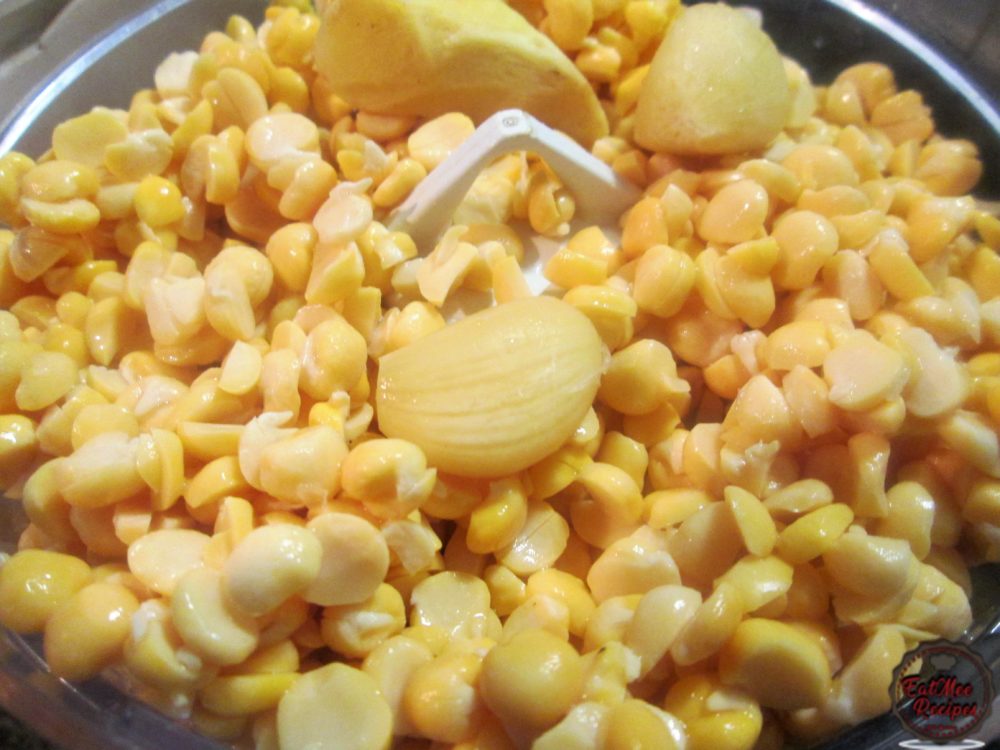
Blend for a few seconds & then add in the browned cumin (jeera) & fennel (soomph) seeds.
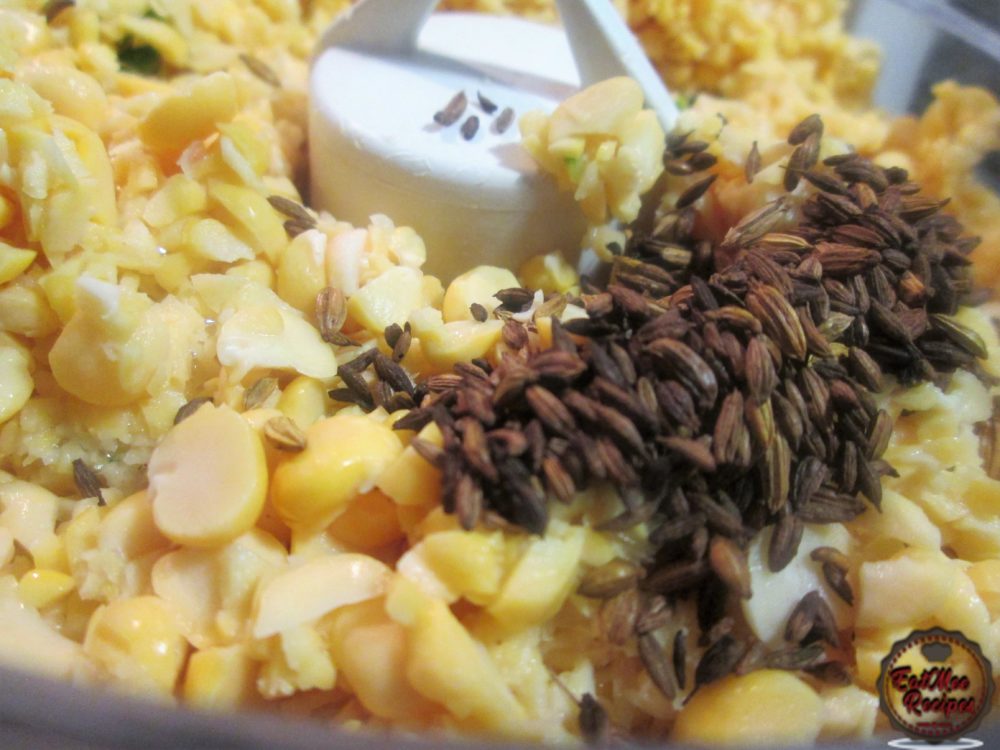
Blend until smooth. It should be of a paste like consistency.
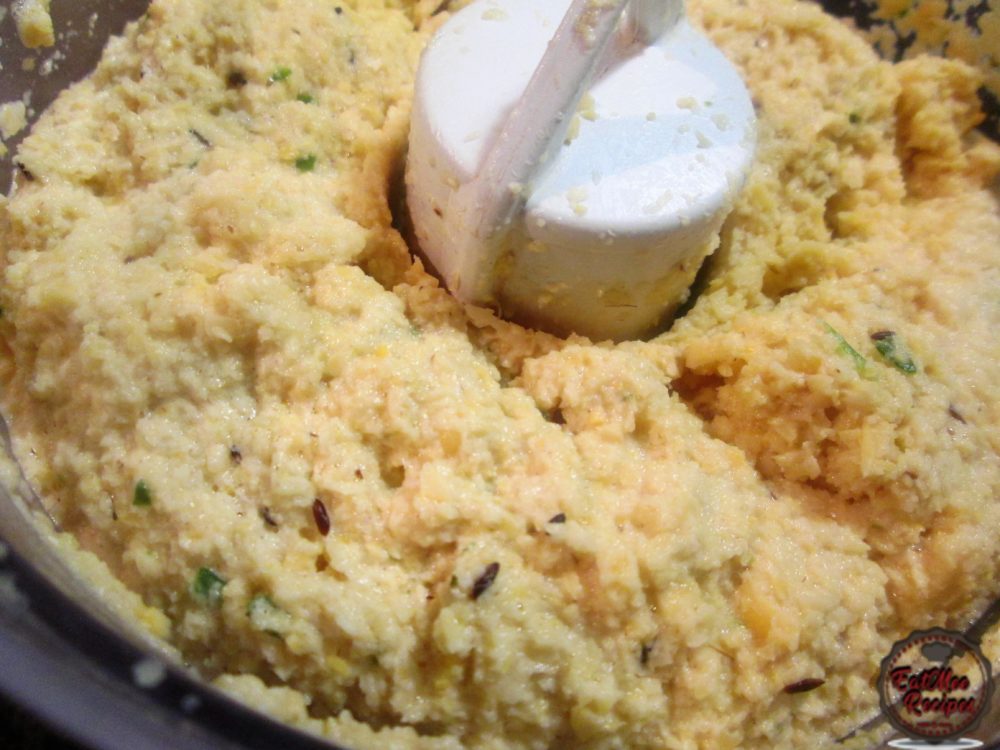
Add the mixture to a large mixing bowl.
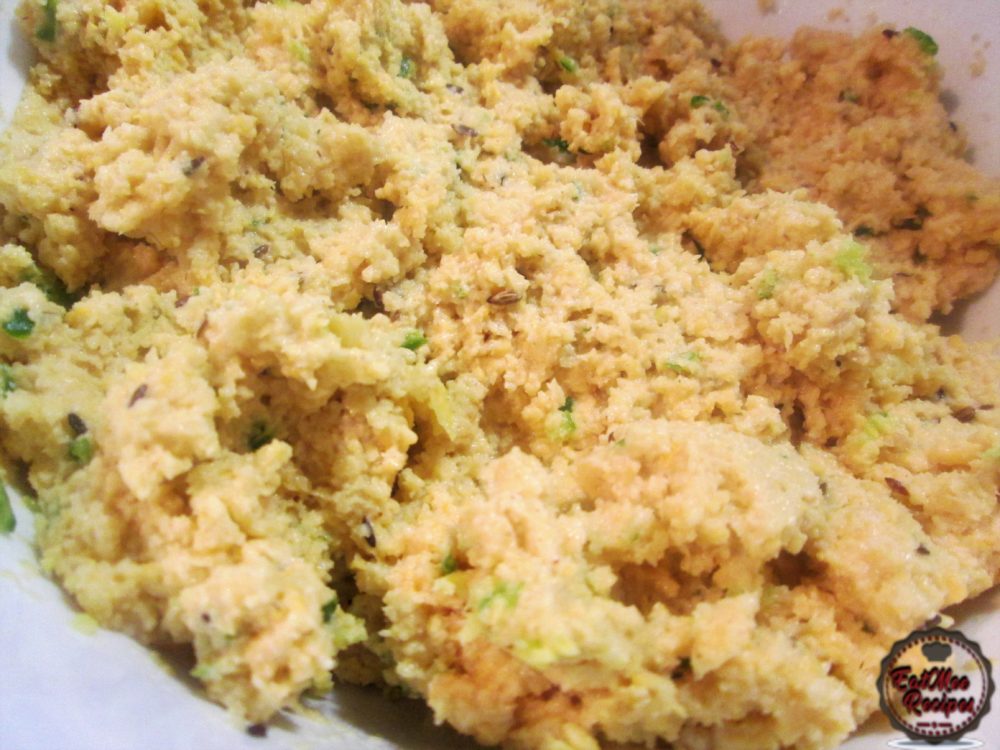
Drop in the chopped onion.
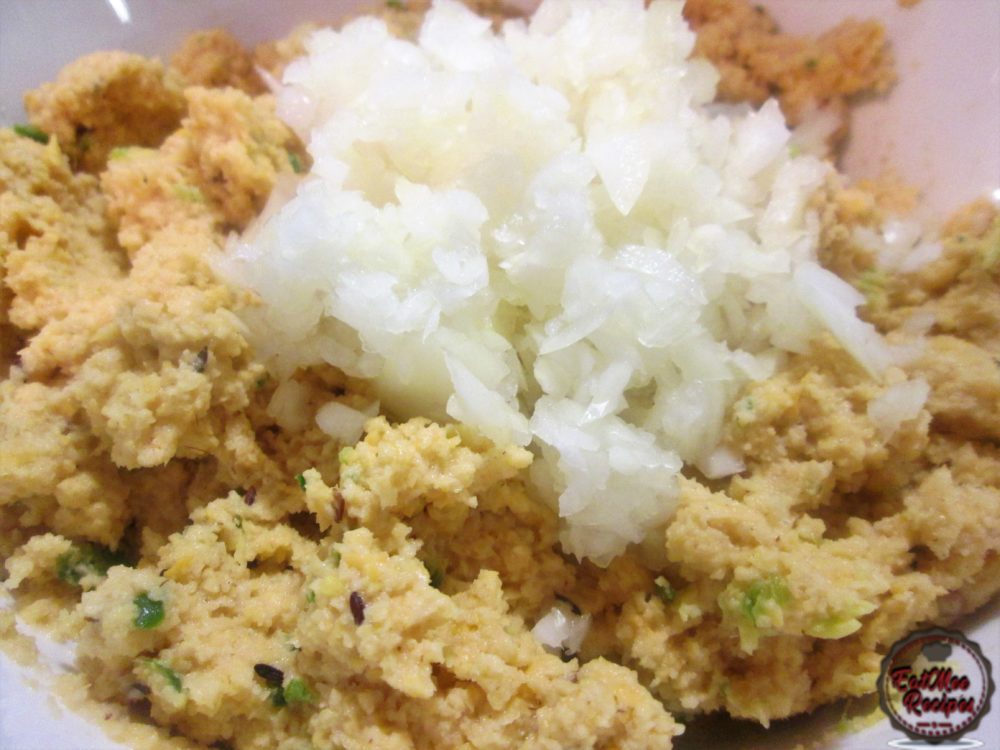
Next, add in the grated potato.
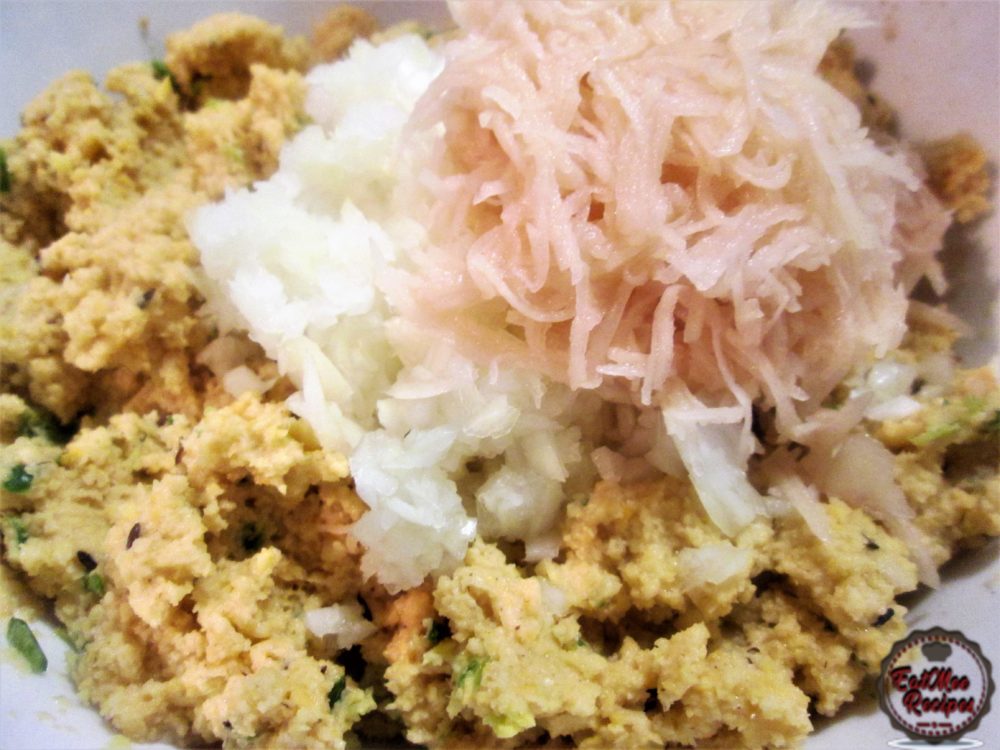
Add in the roughly chopped coriander (dhania) & salt to taste.
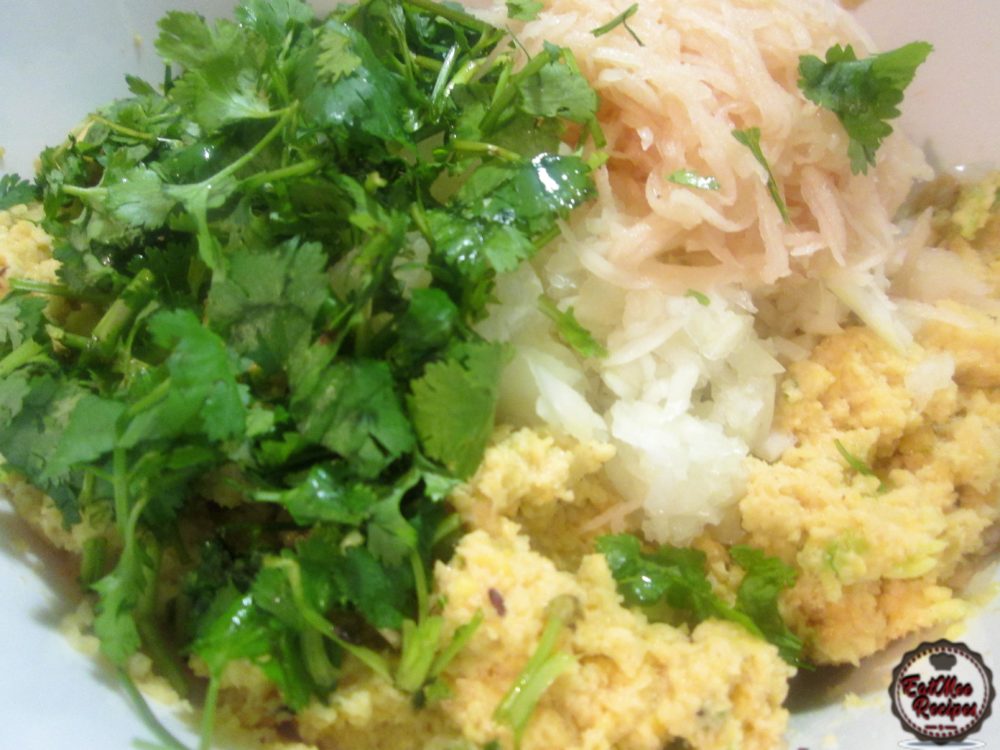
Roughly mix & then add in the baking powder.
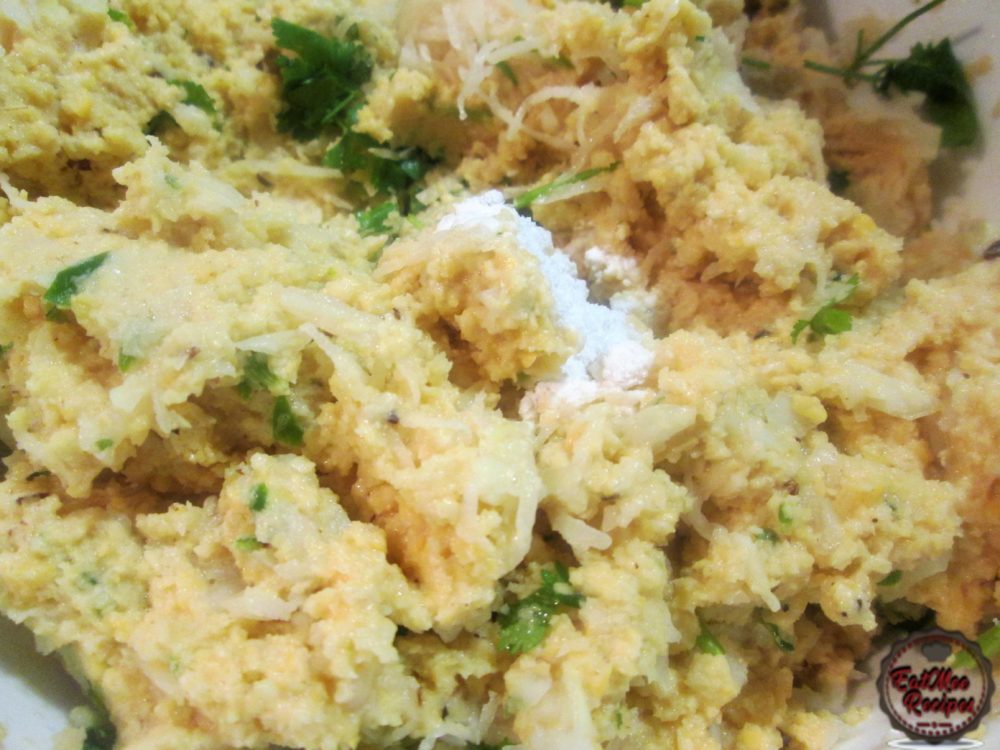
Thereafter, add in the red chilies flakes – this is optional as it can be omitted.
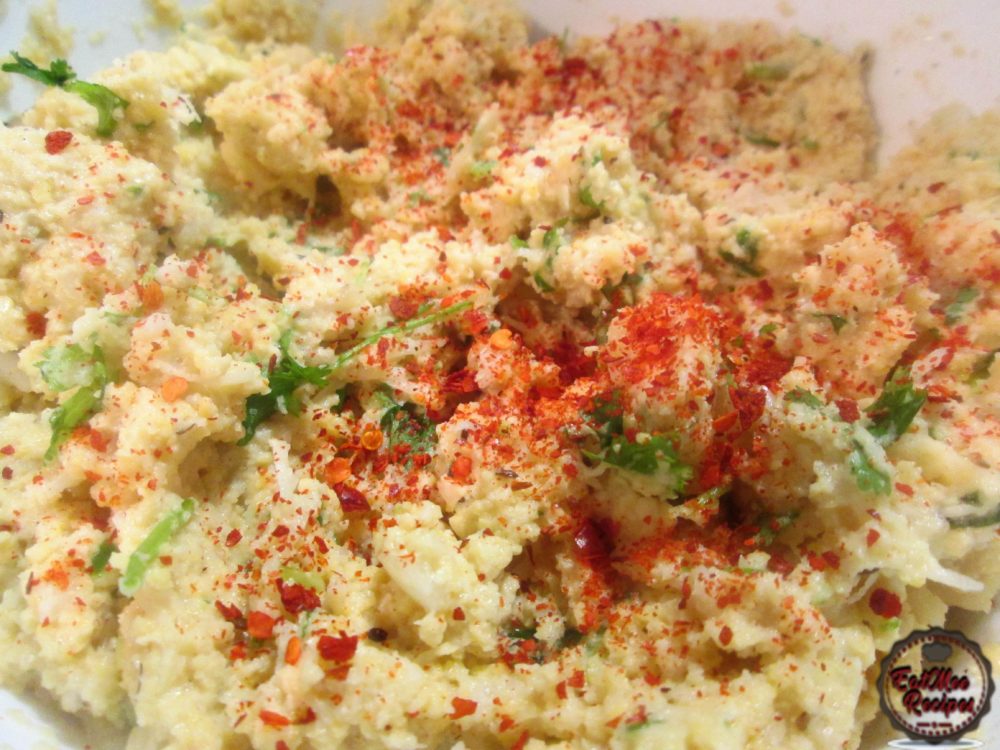
Mix well until all the ingredients are combined.
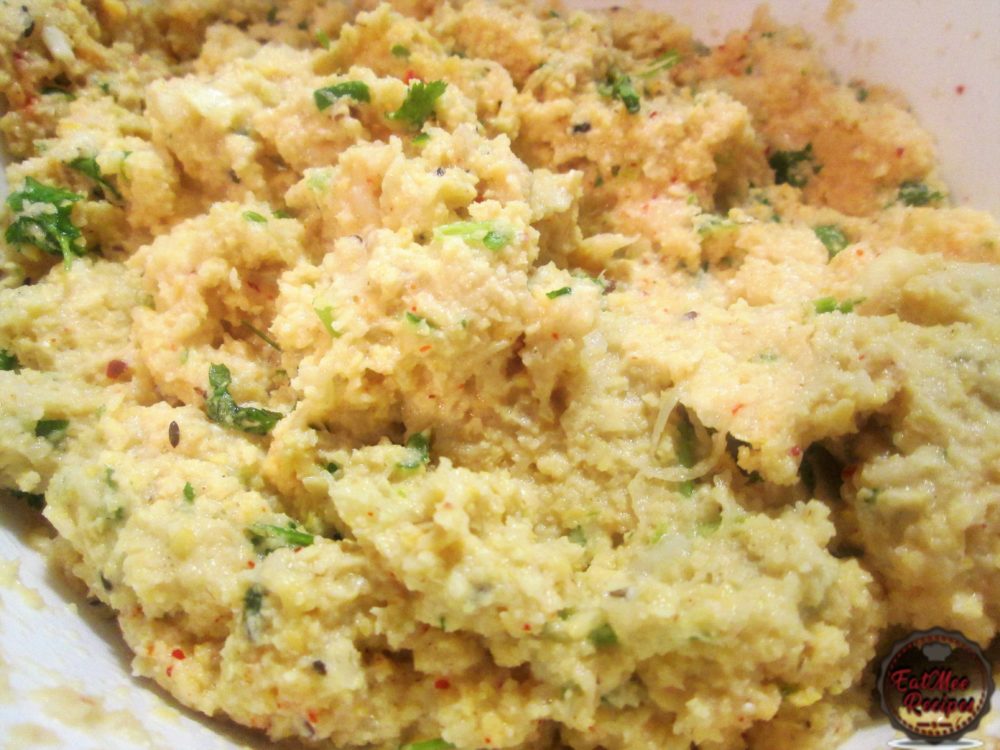
Fill a deep pot with enough vegetable oil for deep frying. Place on a stove-top on medium-high heat.
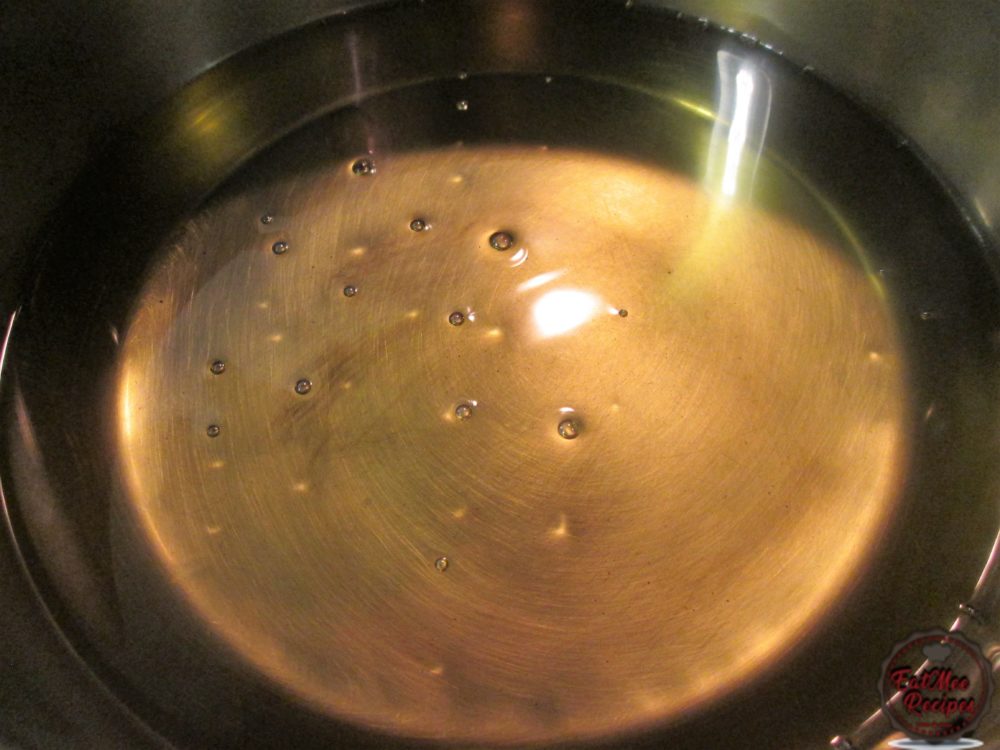
When the vegetable oil is hot, it is time to prepare the mixture into shapes.
Take a small amount of the mixture.
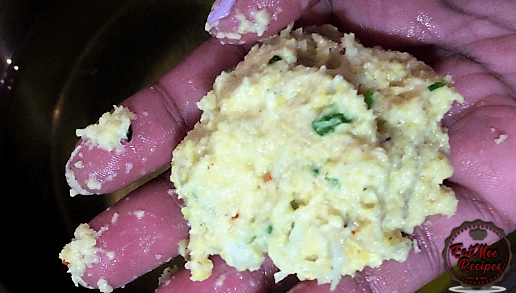
Place the mixture onto the palm of your other hand & slightly flatten into a disc.
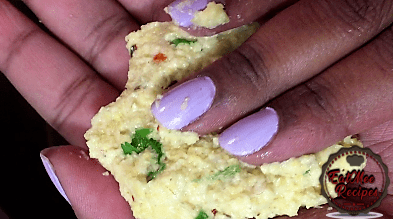
Pierce a hole at the center of the disc using your finger.
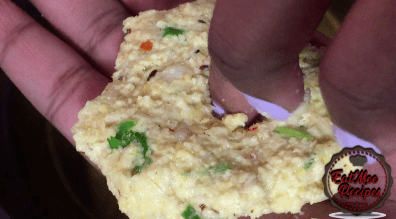
Carefully flip into the other hand & place into the hot oil.
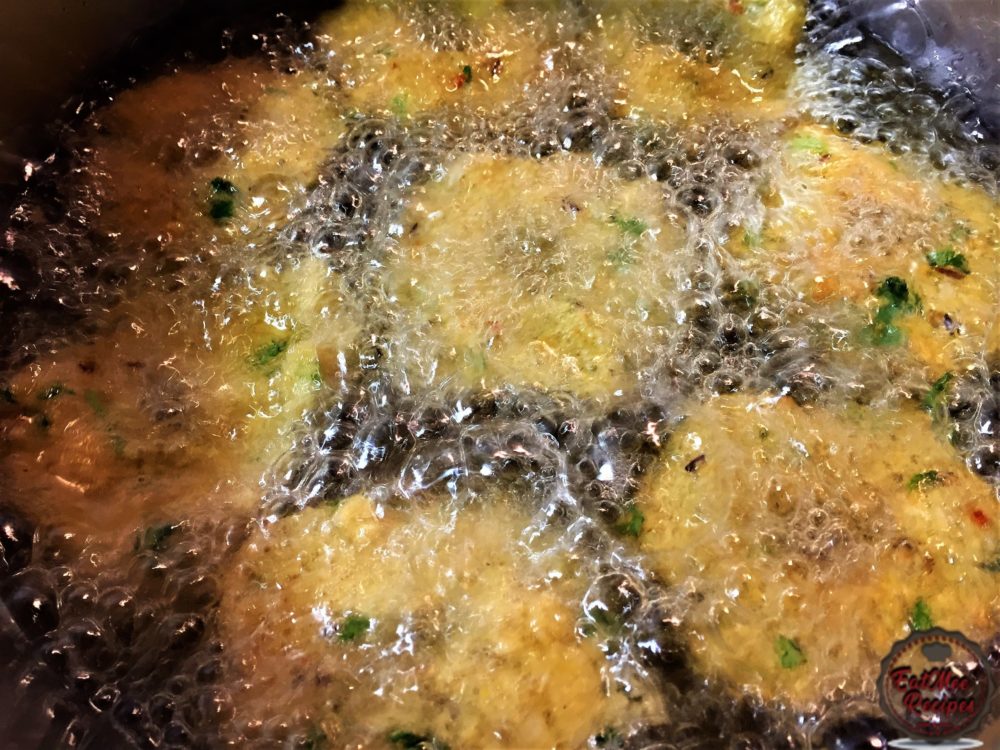
Continue making the shapes & dunking it into the oil until the pot is full. Do not over crowd the pot, give the vedas enough space to fry.
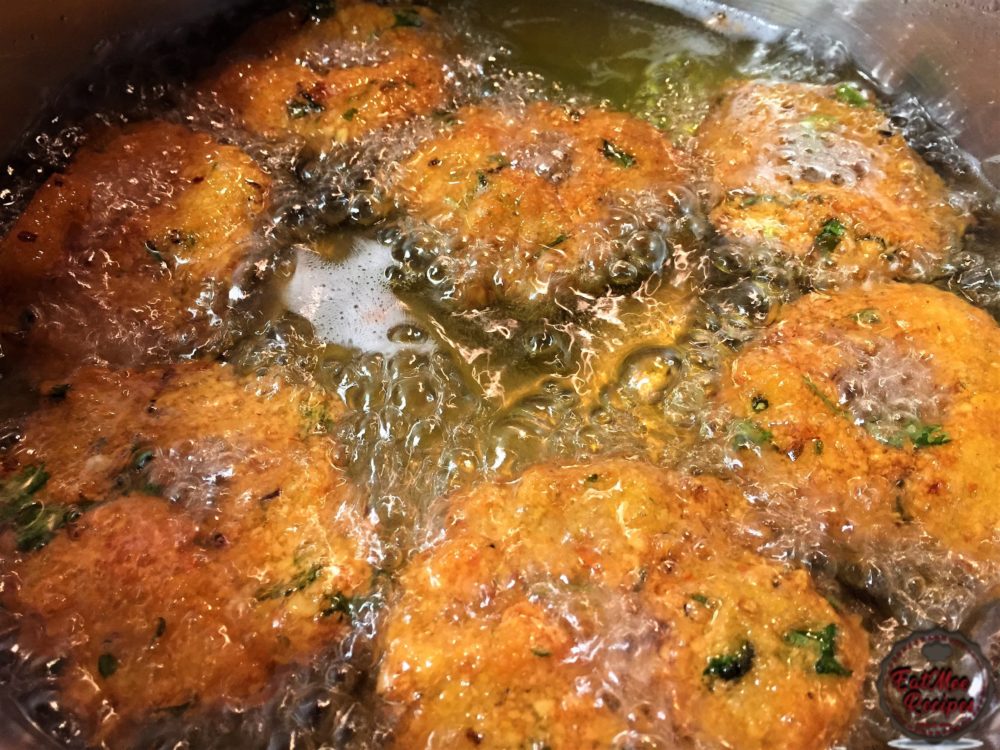
Fry them until golden & crispy.
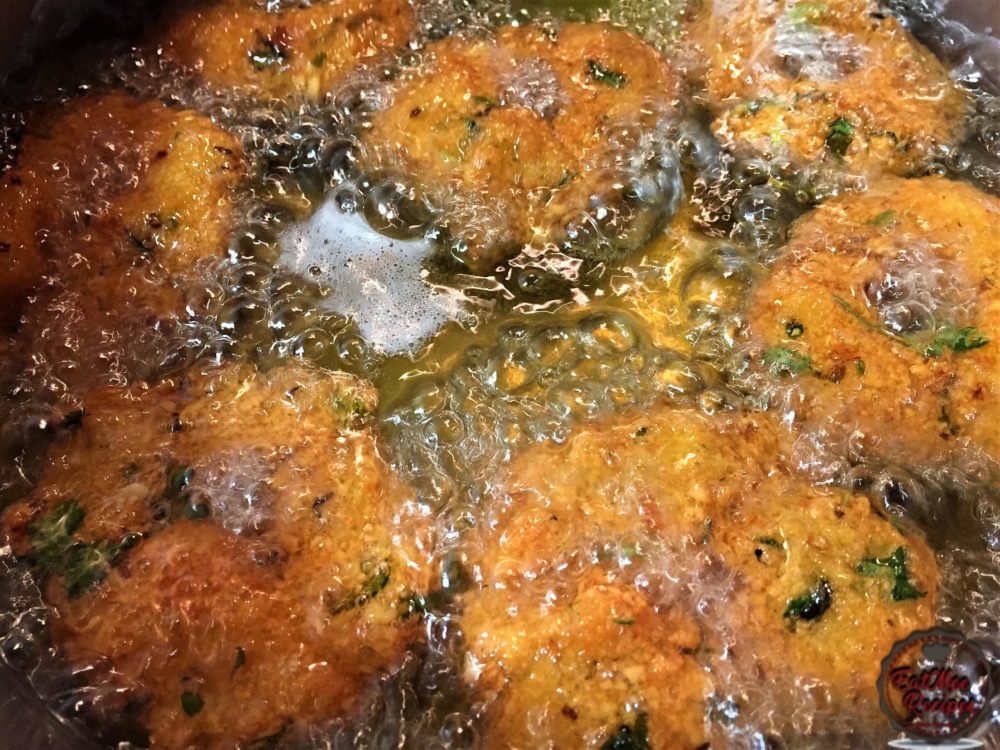
Once the South African Veda’s are golden & crisp, removed onto a strainer.
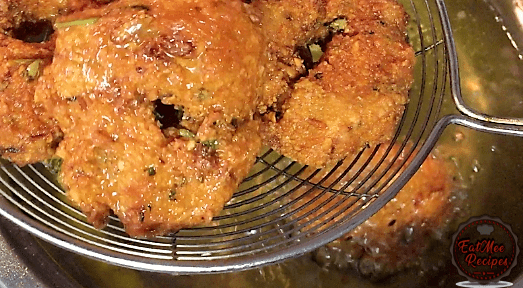
Thereafter, place the fried veda’s into a bowl lined with kitchen towels, to remove the excess oil.
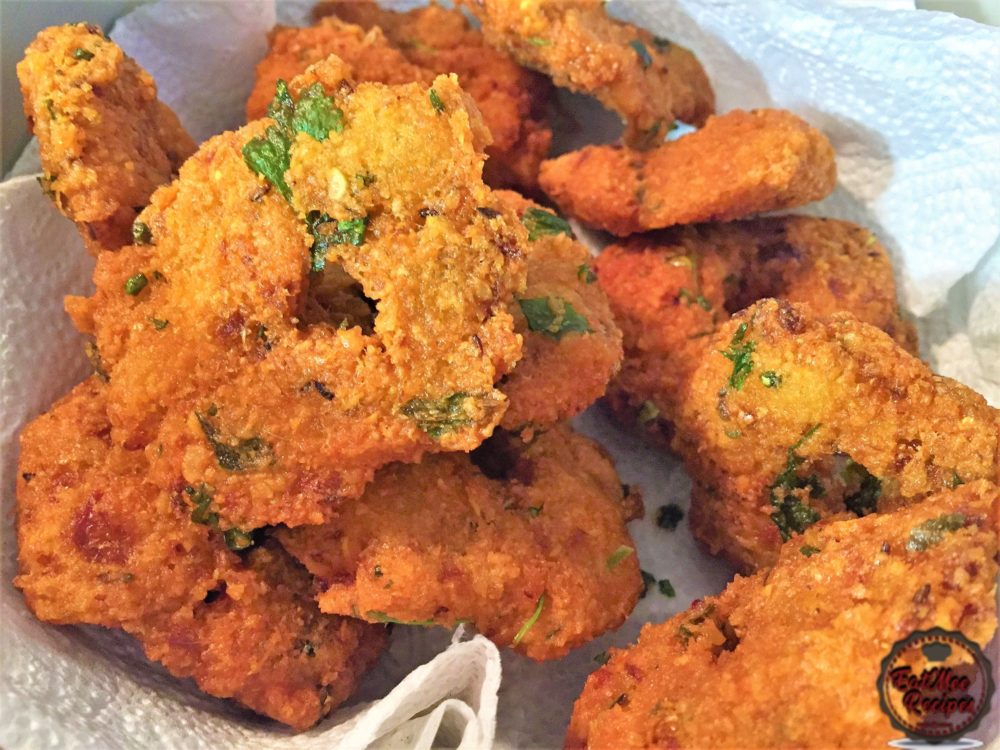
Continue this process until all of the mixture is used. It is best to use all at the same time because if this mixture is kept for later use, it will get watery due to the onion & it won’t be able to form the discs.
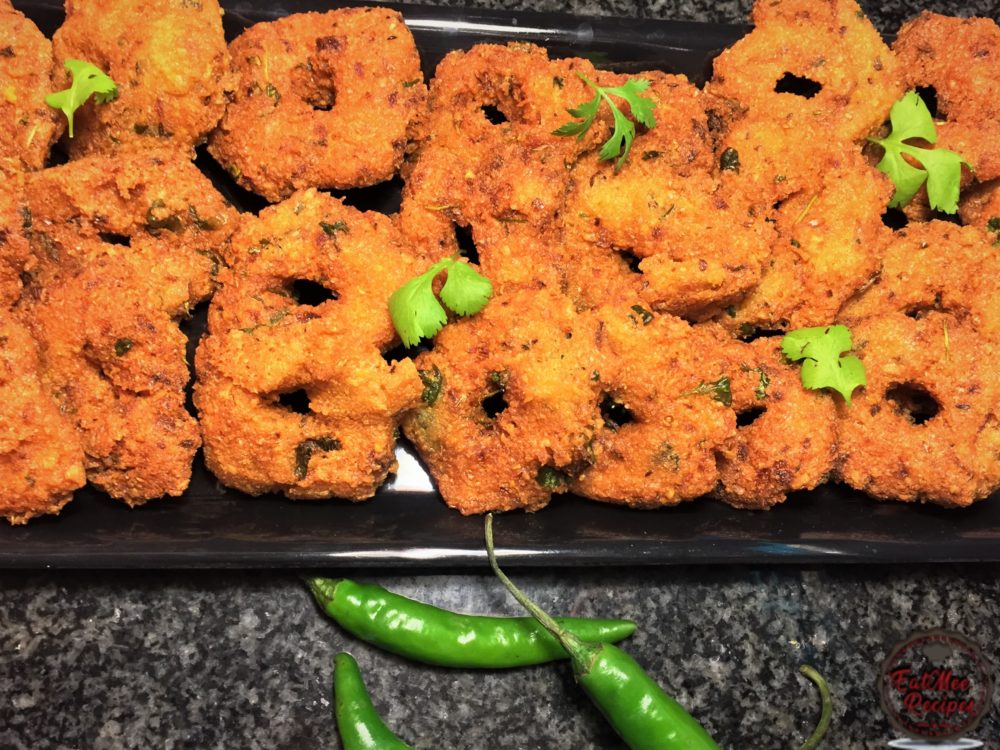
Plate & serve these South African Veda whilst hot.
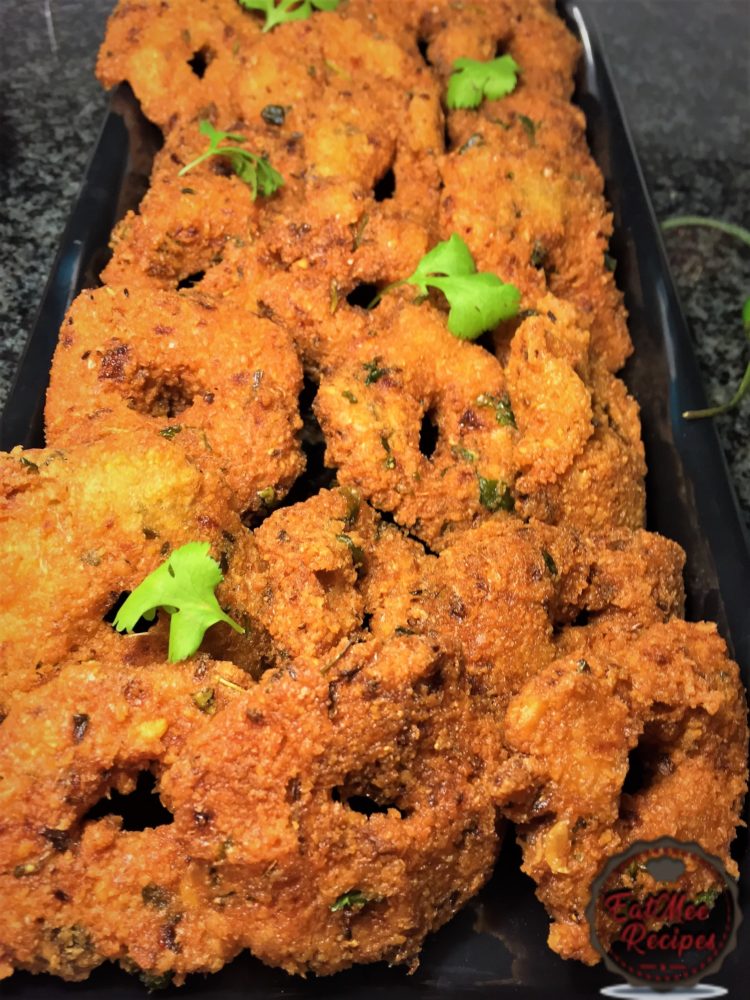
Store this South African Veda in an airtight container to avoid them from losing their crispiness.
Follow along with Denisiya's step-by-step video guide for South African Veda.
Expert kitchen guidance and troubleshooting for making the best South African Veda
Absolutely! You can easily tailor the heat by increasing or reducing the chili powder and fresh chilies to suit your family’s palate without compromising the authentic flavor profile.
Yes, you can freeze South African Veda in an airtight, freezer-safe container for up to 2 to 3 months. Thaw overnight in the refrigerator before gently reheating.
Reheat gently on the stovetop over low heat with a splash of water, or in the microwave covered with a damp paper towel to retain moisture.
Hi, I'm Denisiya! Food lover, recipe developer, and founder of EatMee Recipes. I specialize in authentic South African Durban Indian cuisine, comforting curries, and modern Instant Pot adaptations. Every recipe on this site is tested in my personal kitchen to ensure you get mouth-watering, foolproof results every time.
Explore more authentic Durban curries, traditional bakes, and comforting family favourites.
 Indian Cuisine
My mum is sharing another one of her much-loved traditional South African Indian recipes. ...
 Indian Cuisine
Crispy, golden and delicious, these Brinjal Pakoras are made with thin slices of brinjal c...
 Indian Cuisine
Mum’s Pumpkin Curry is a simple, comforting vegetarian dish that proves you don’t need a l...
Have you tried this recipe or have questions for Denisiya? Join the conversation below.
No comments yet. Be the first to share your thoughts on this recipe!
Leave a Comment
Your email address will not be published. Required fields are marked *