
We Value Your Culinary Privacy
EatMee Recipes uses cookies to provide a personalized browsing experience, analyze recipe popularity, and serve relevant ads. You can review our full disclosure in our Privacy Policy.
Make authentic Puli Sadam with this foolproof recipe. Packed with rich traditional flavor, step-by-step photos, and cooking tips by Denisiya on EatMee Recipes.

Join over 60,000+ home chefs for weekly authentic Durban Indian cook-alongs, Instant Pot masterclasses, and family heritage recipes.
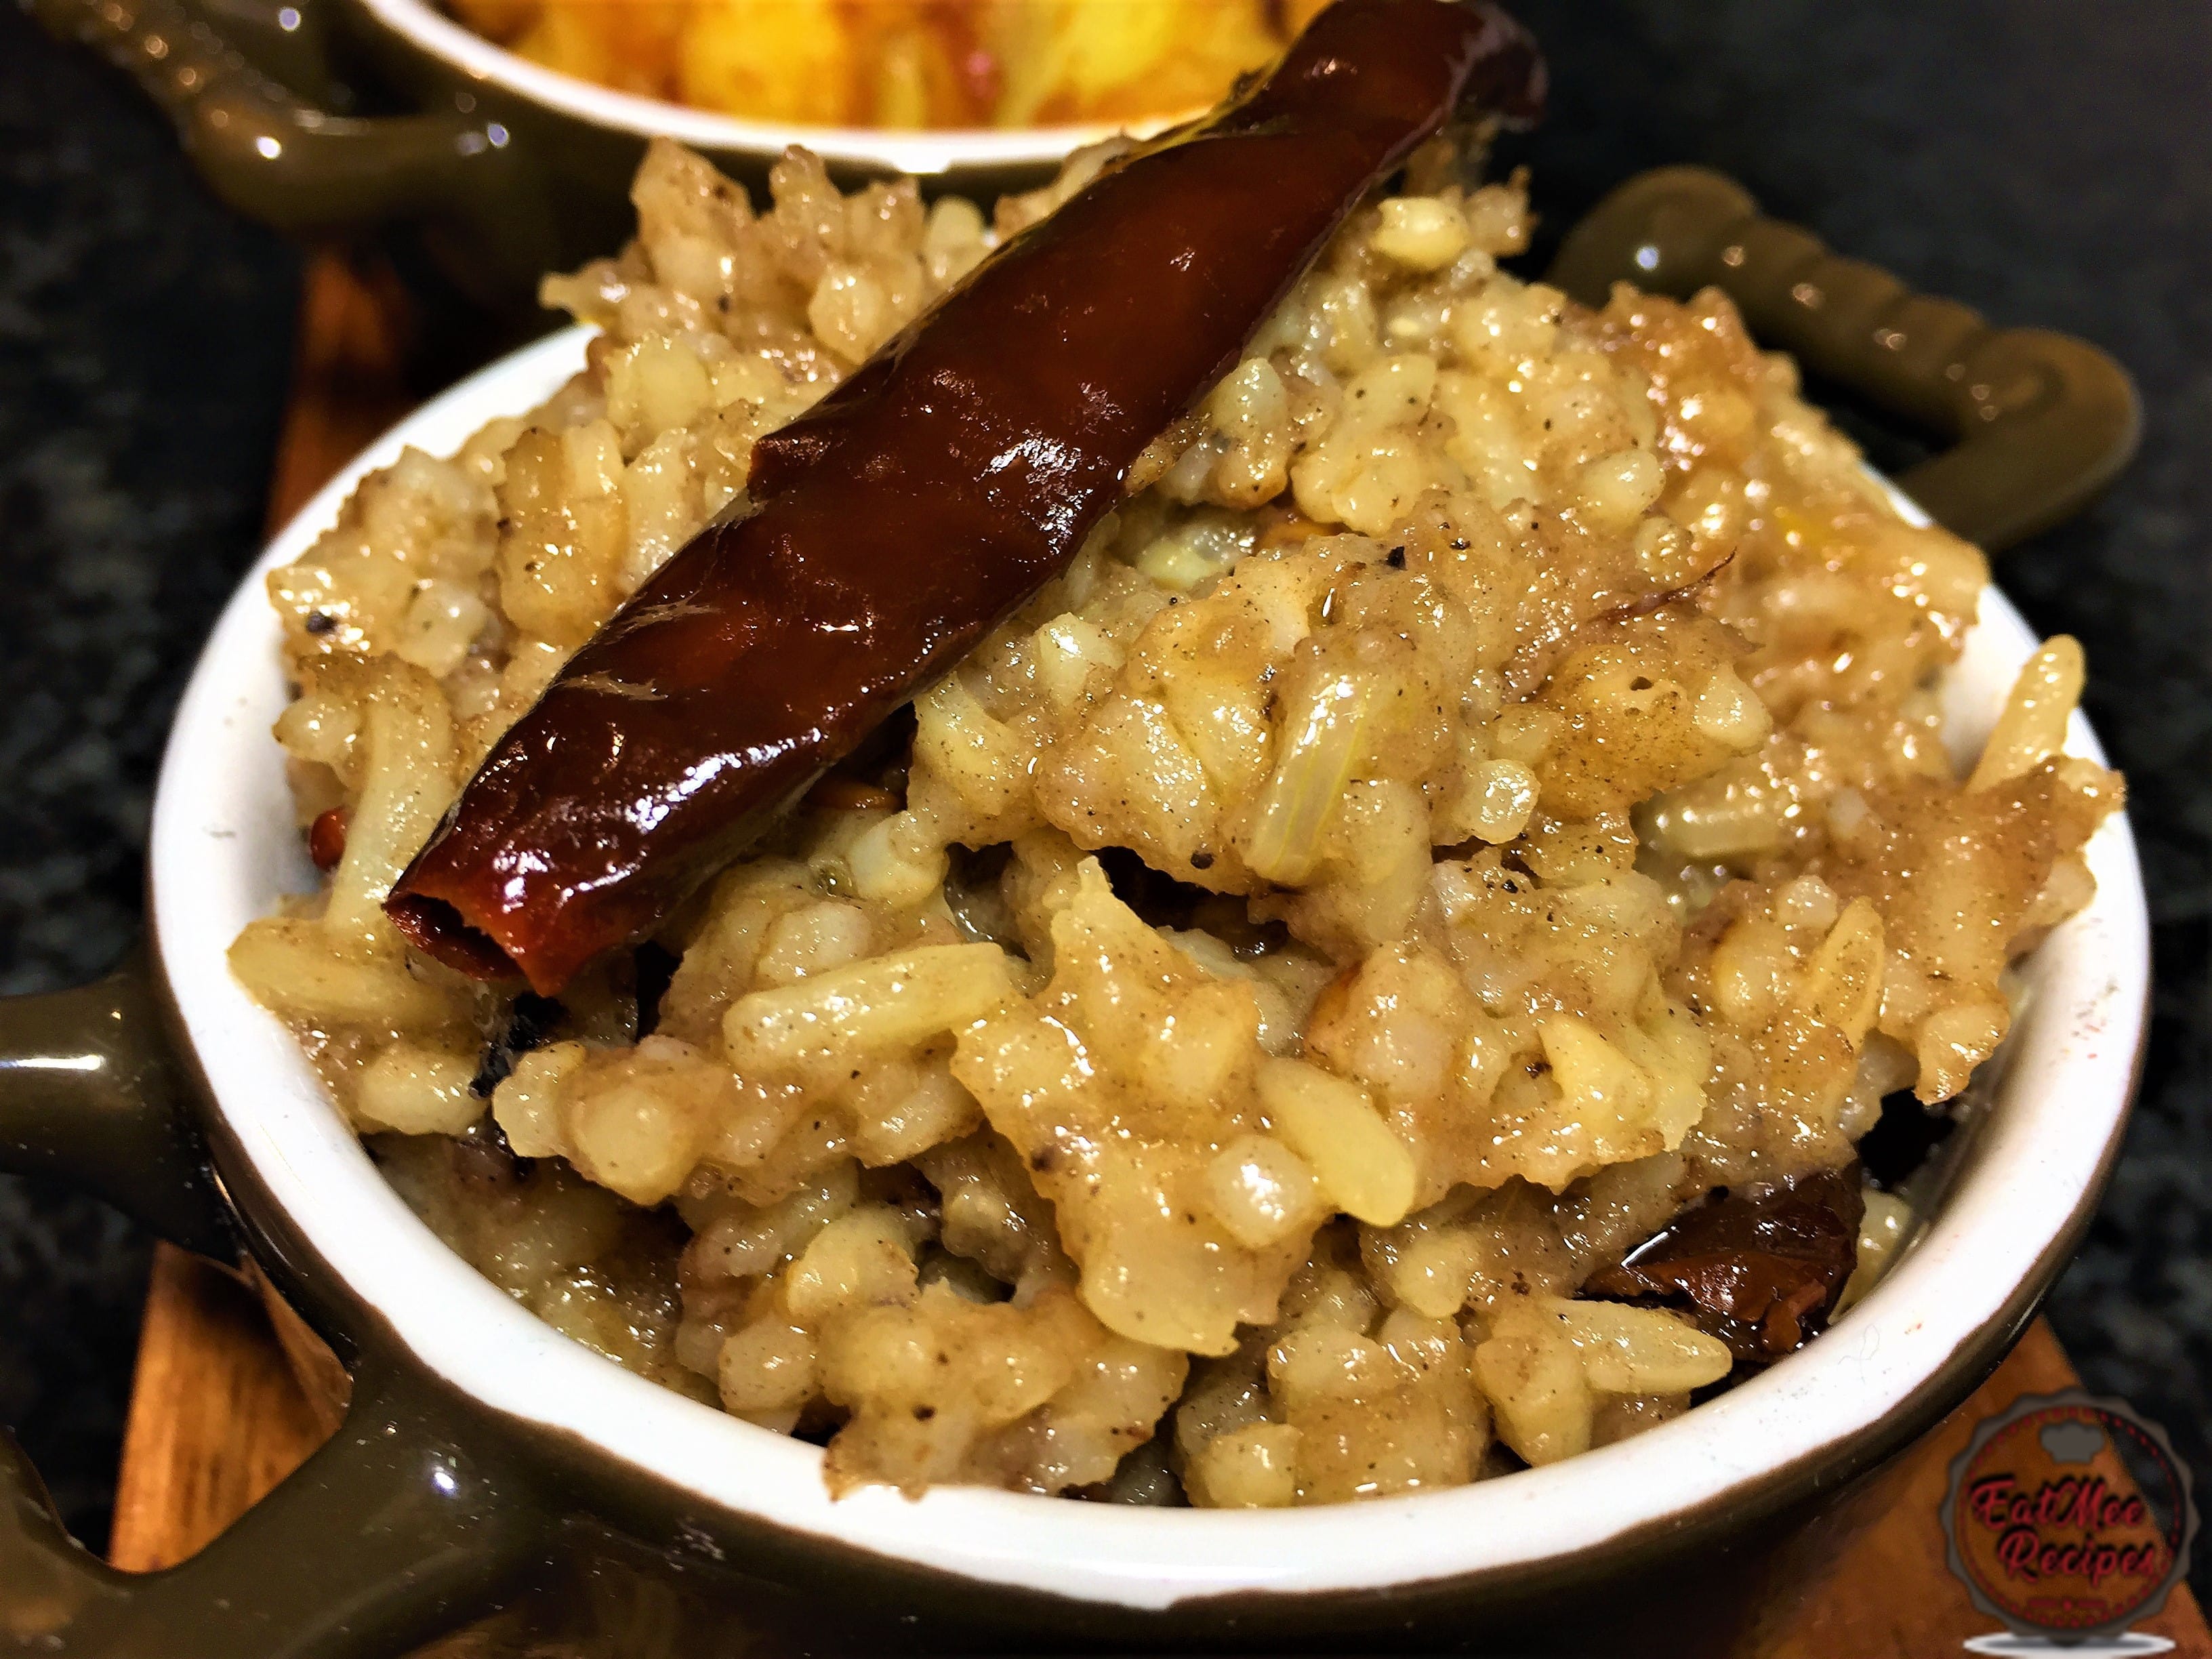
Puli Sadam is a popular dish of South India. The term Puli Sadam actually means Tamarind Rice in English. The North Indians (Hindustani’s) know it as Imalee Rice.
Growing up, my grandmother used to always prepare Puli Sadam (Tamarind Rice) for us & she was good at it as she is of South Indian decent. The recipe below is my late grandmothers recipe & I am so glad that she left behind this recipe so that I too can prepare it & hopefully future generations can make this dish as well.
This dish is best for lunchbox & for travel as it does not get spoiled easily, also the resting time enhances the flavour. It has a sour/tangy & spicy taste to it.
Tamarind is a hardwood tree referred to as Tamarindus indica. It’s local to Africa yet in addition develops in India, Pakistan & numerous other tropical districts. The tree produces bean-like cases loaded with seeds encompassed by a stringy pulp.
Pronunciation: Pulley-Saa-Dim
Place rice in a bowl.
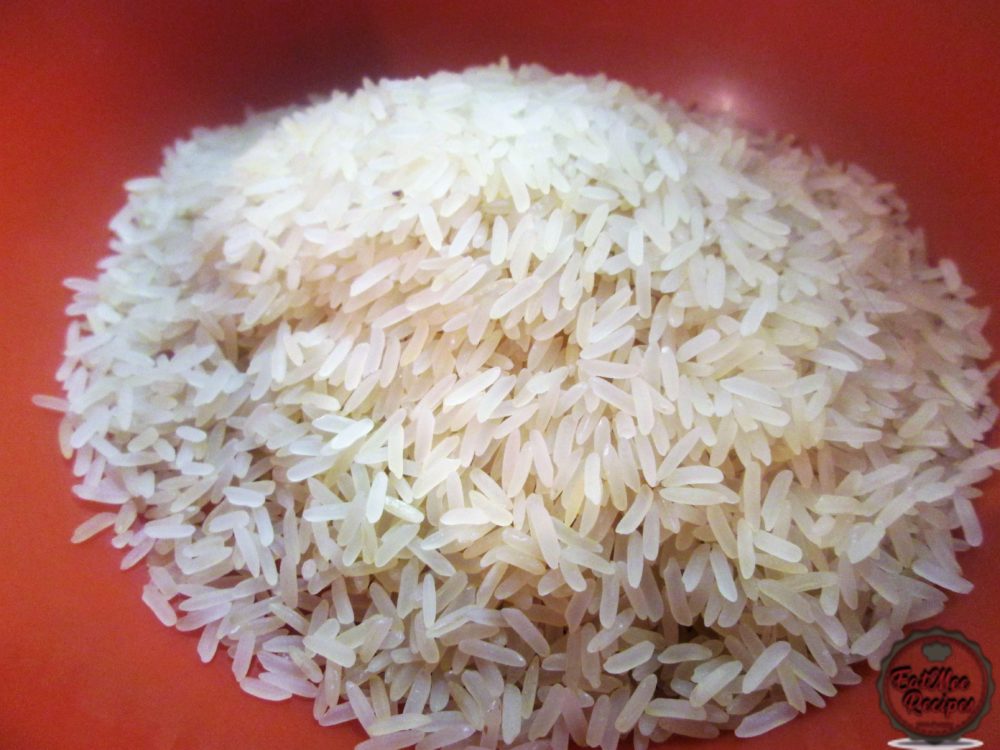
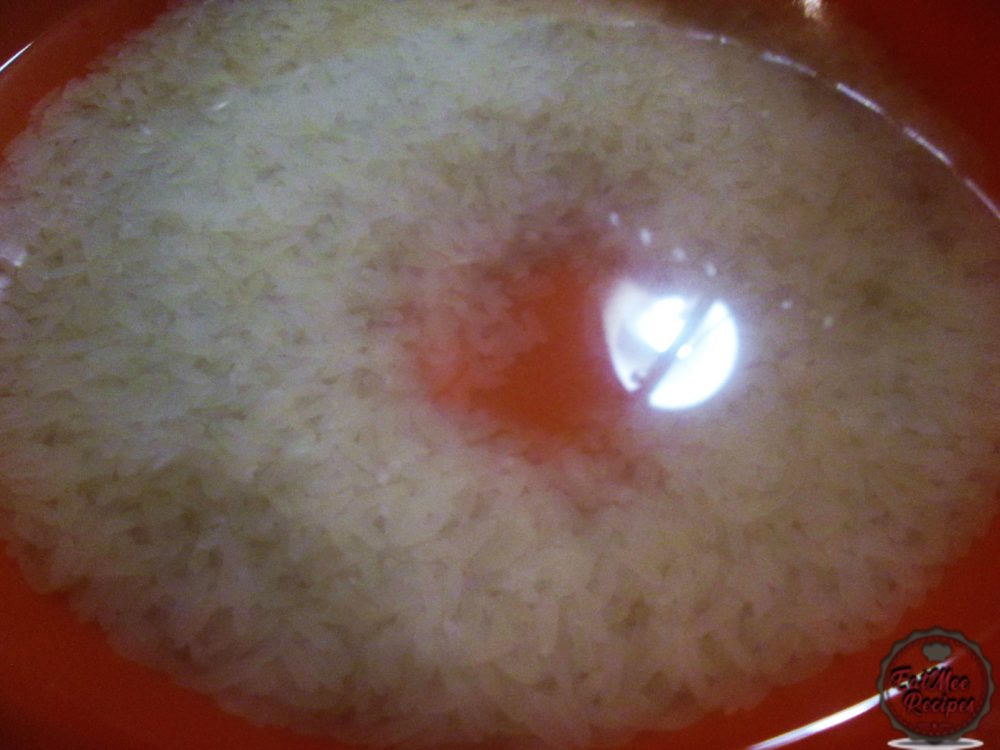
Wash rice until water runs clear & thereafter, cover the rice with water & set aside.
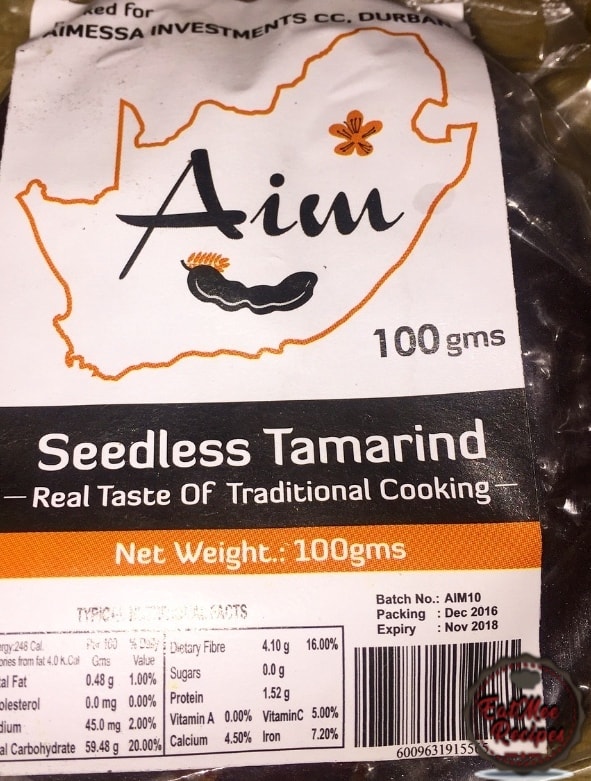
Next, scoop out a tablespoon of the Tamarind (puli/imalee) & place into a bowl.
Full the bowl with a cup of water.
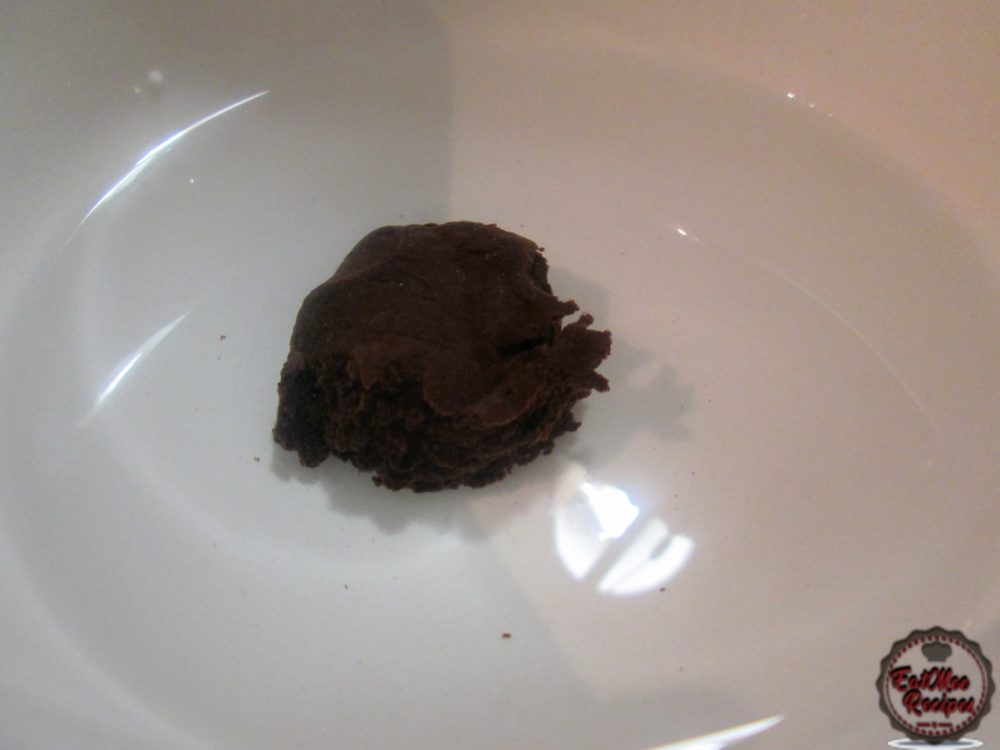
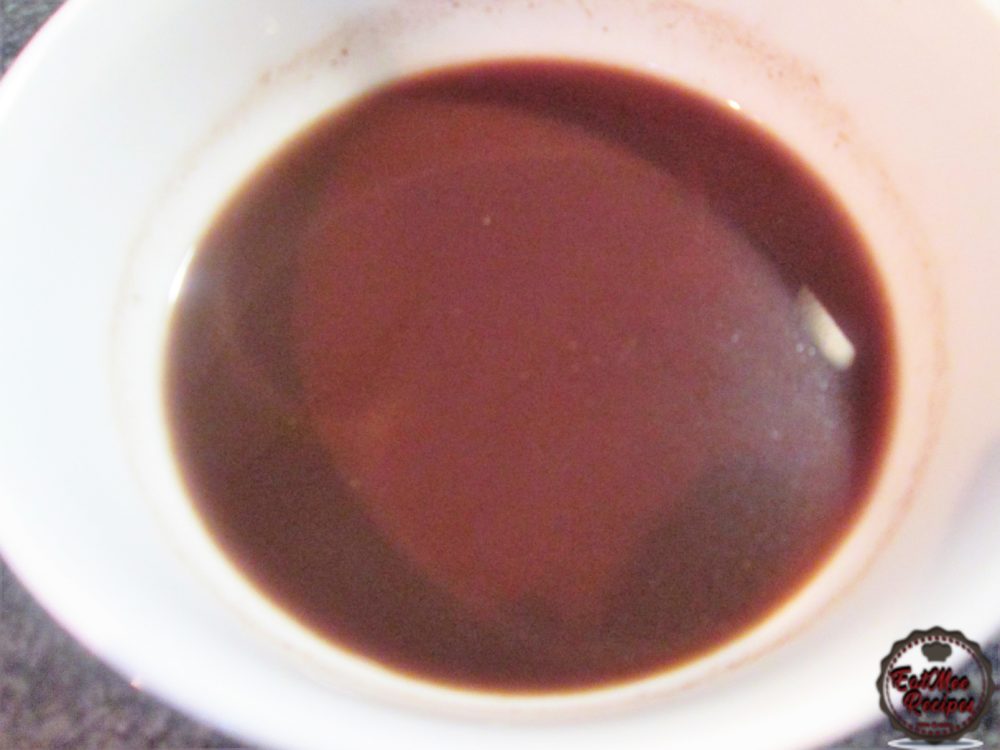
Whilst the bowl has water in it, begin smashing the tamarind with your fingertips. This will allow the tamarind to dilute in the water, hence forming tamarind water (puli water). I have used the seedless tamarind, but if you are using the one with seeds then as you’re smashing the tamarind with your fingertips, remove the seeds & discard of them.
Once all of the tamarind is combined with the water, you should have a bowl of brownish liquid. Set aside until ready to use.
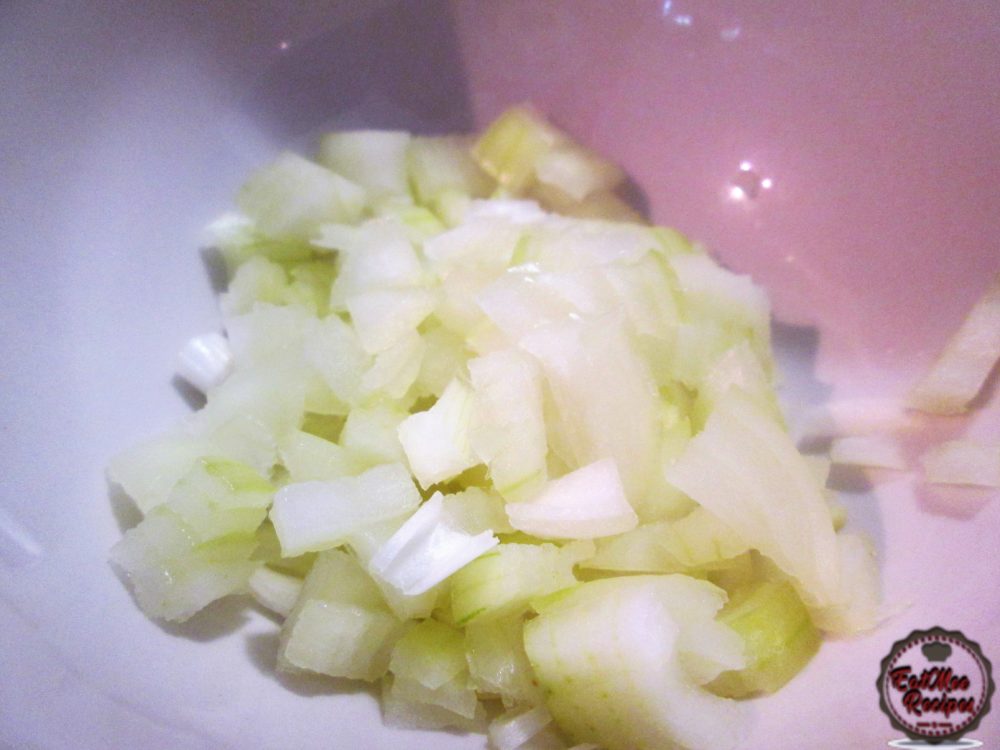
Next, peel & chop the onion & set aside.
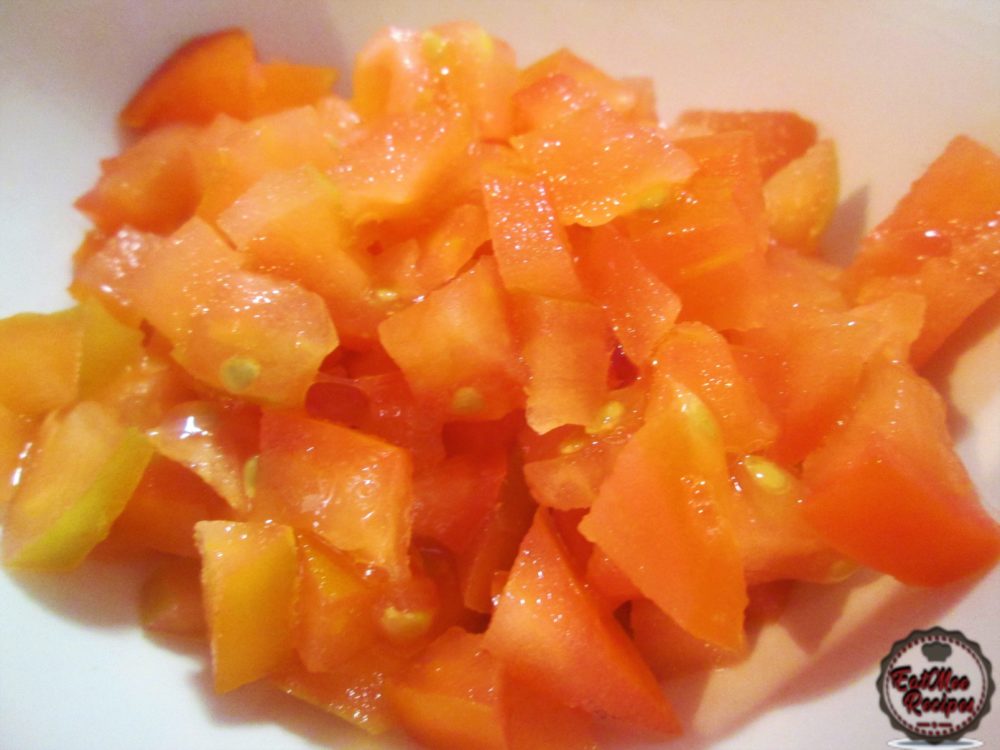
Rinse & chop tomatoes. Set aside.
Heat the vegetable oil in a large pot. I prefer using a bigger pot as it becomes easier to stir whilst cooking. Add in the chopped onions, dried chillies, jeera (cumin seeds) & the mustard seeds.
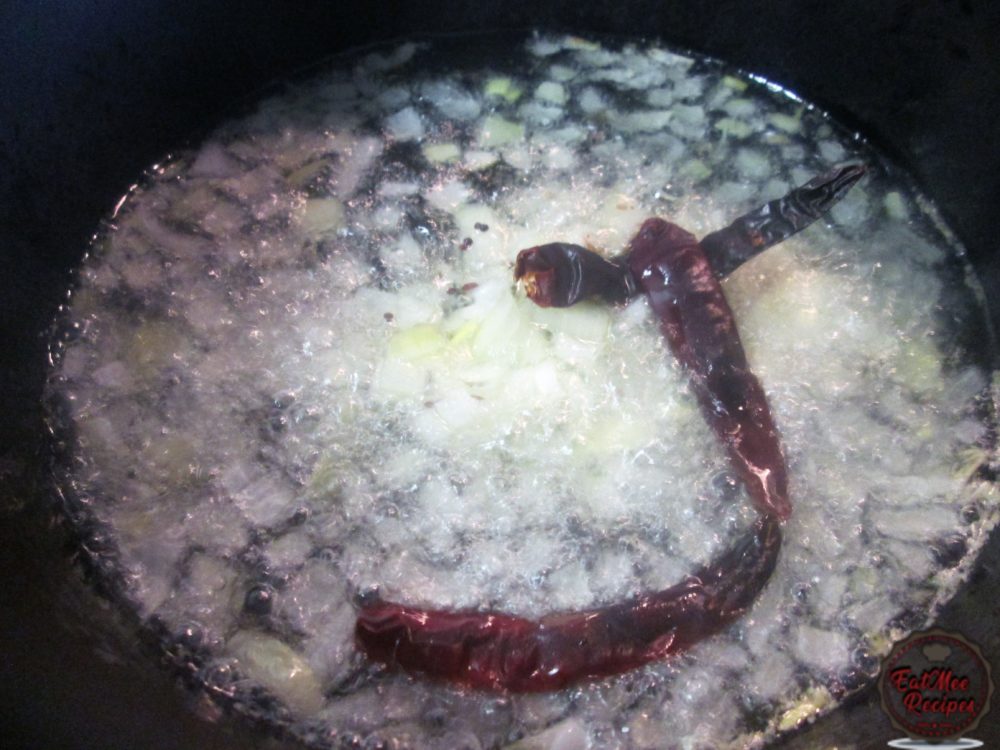
Mix & allow to simmer until onions are lightly browned.
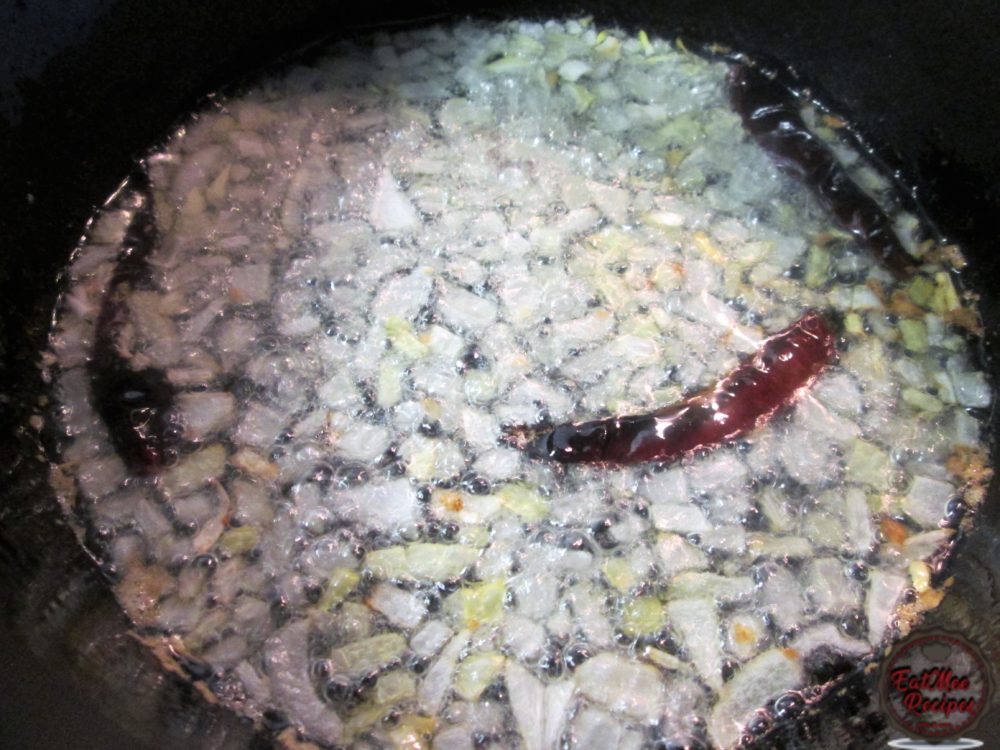
Add in the chopped tomatoes.
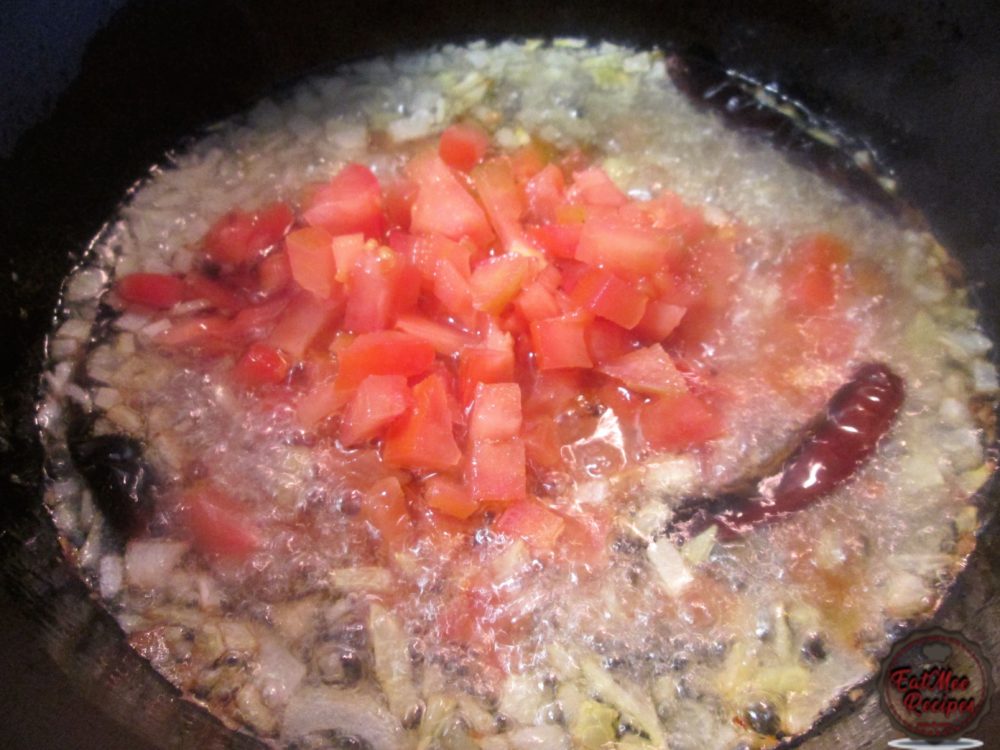
Mix well.
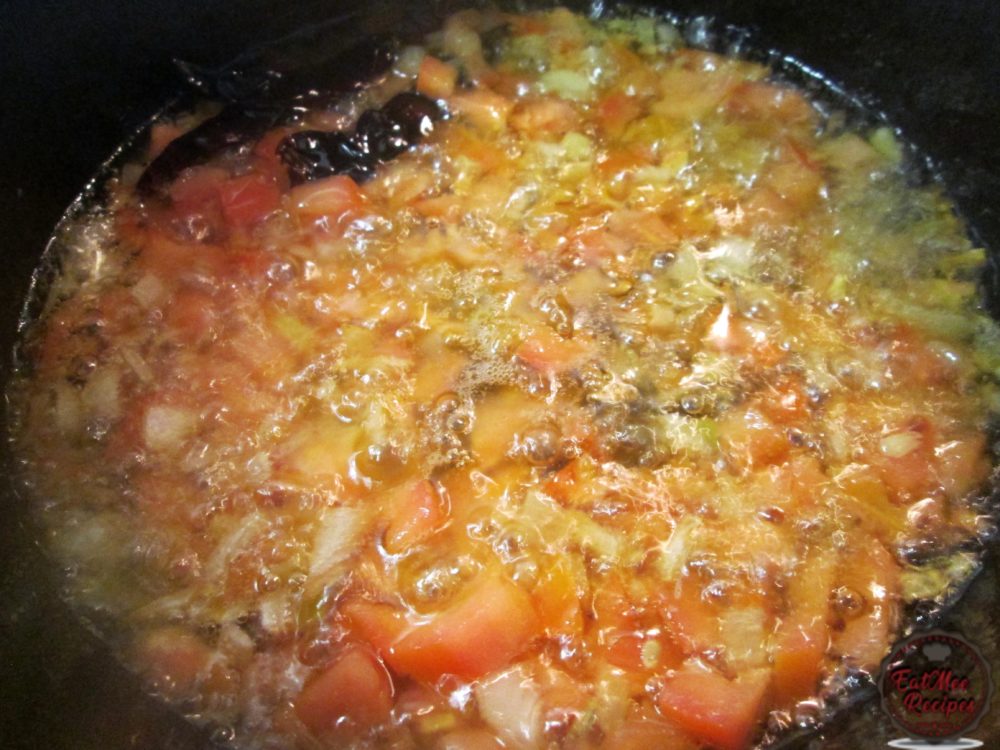
Cover with a lid & allow the tomatoes to cook until soft.
Once the tomatoes have cooked, pour in the tamarind water (puli water).
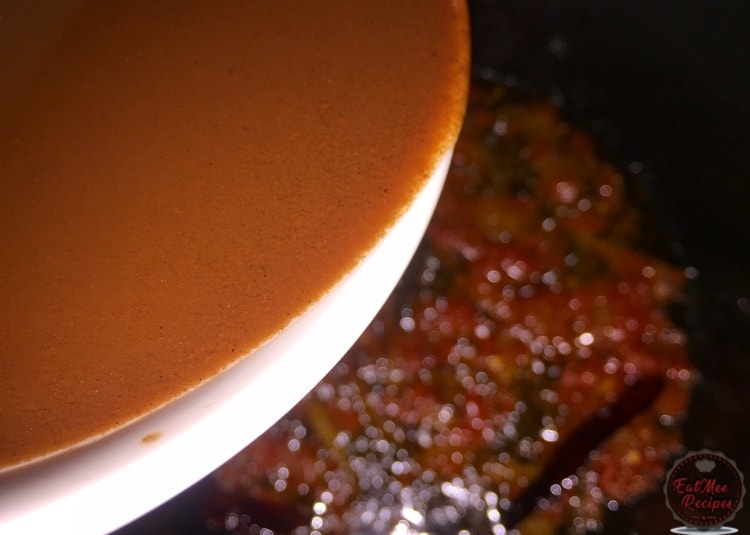
Mix well & allow to simmer for 2 minutes.
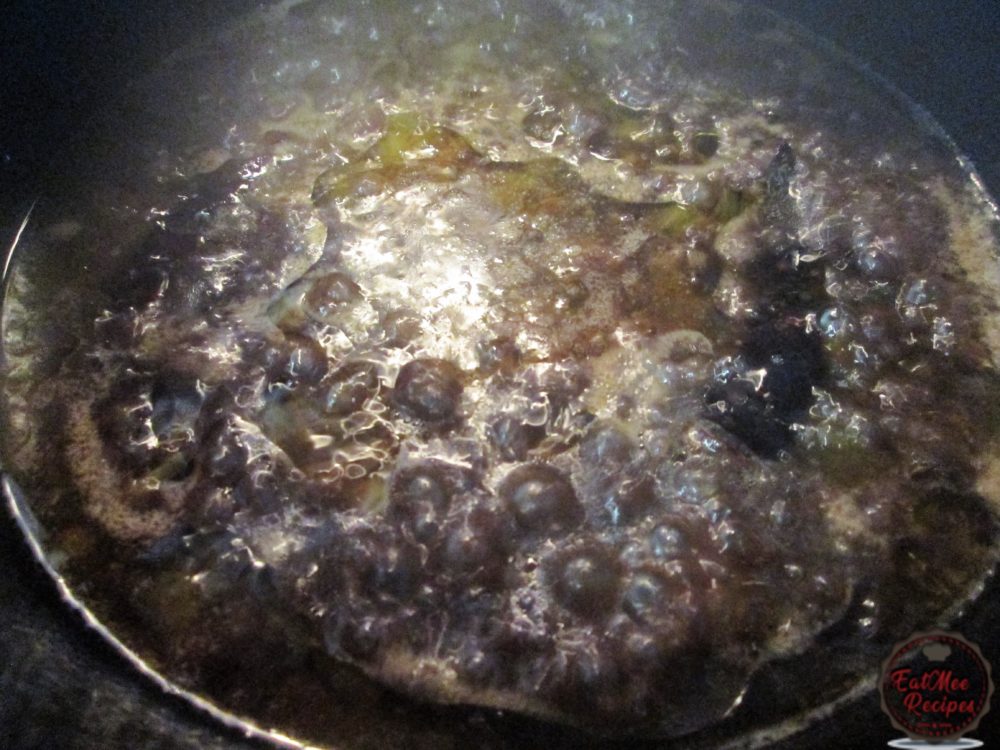
After 2 minutes of simmering, drop in the rice that had been soaking in the bowl of water. Discard the water that it had been soaking in.
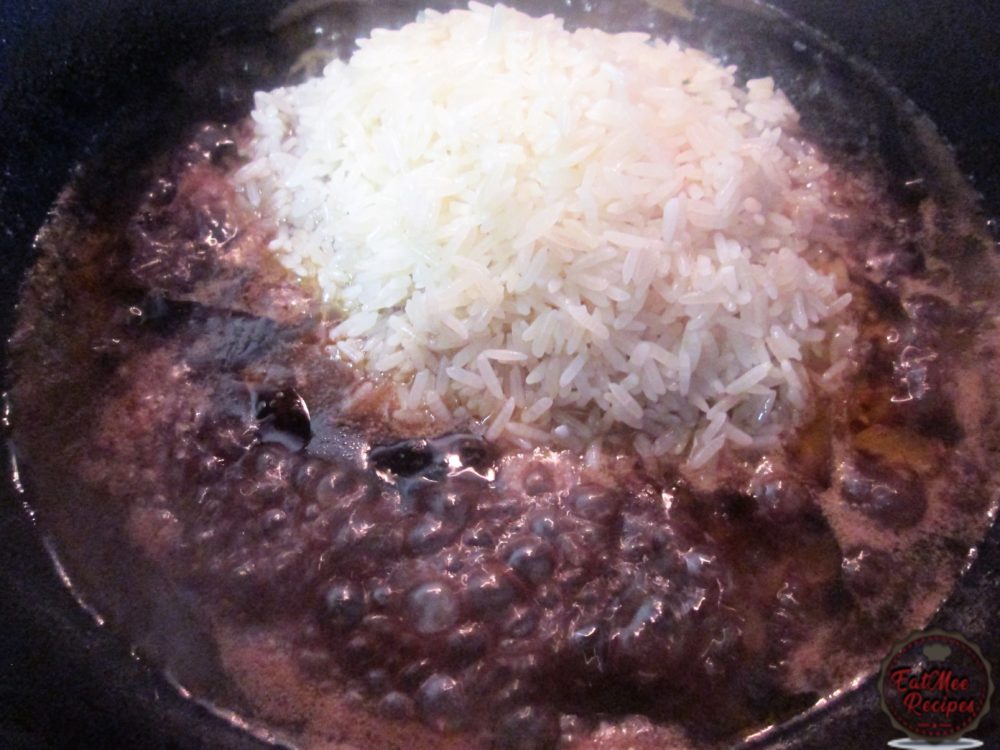
Mix well.
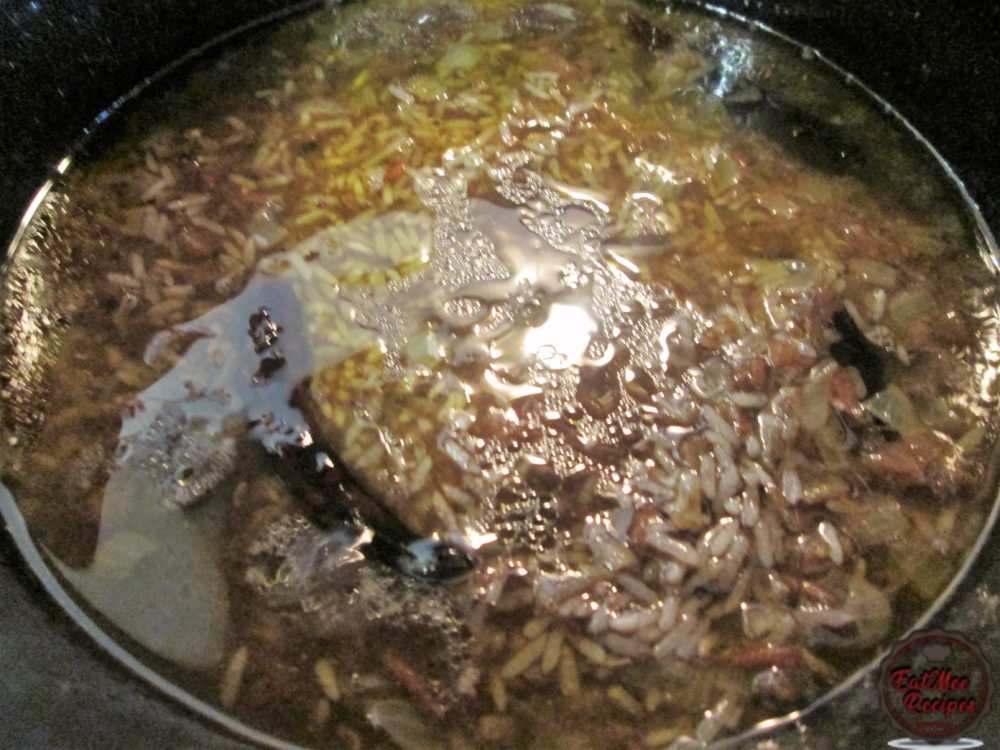
Add a little water & allow the rice to cook until soft.
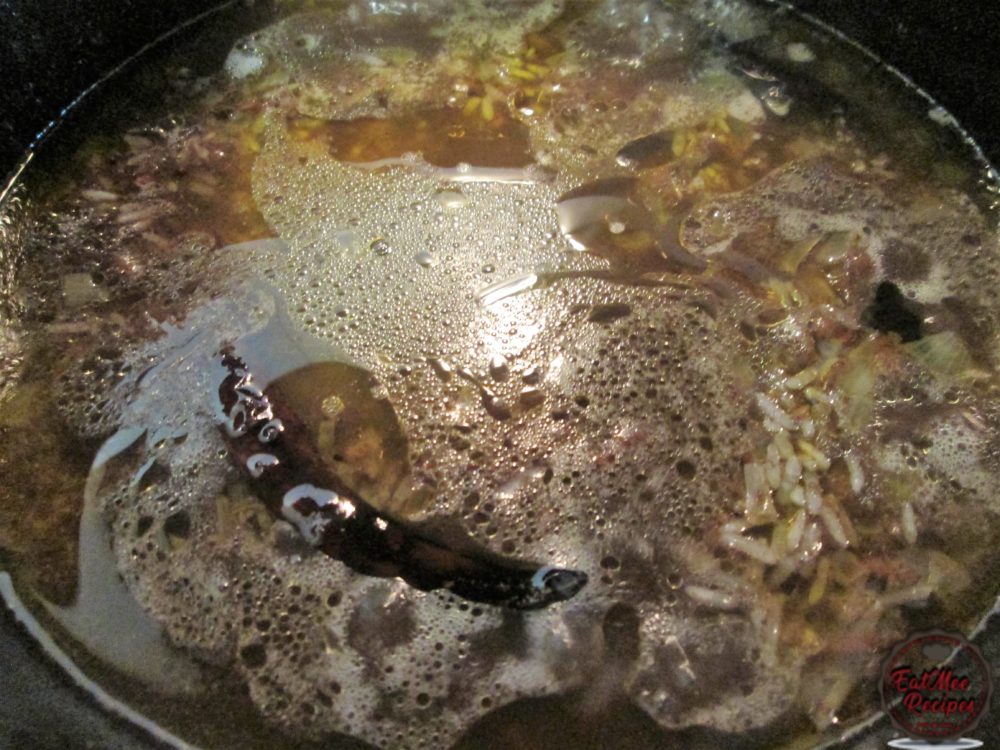
Keep checking on the rice every now & again as you do not want the rice to burn. If the liquid dries up, keep on filling the pot with a little water at a time until the rice is soft to your desire.
When the rice has cooked, add in the curry leaves & salt to taste.
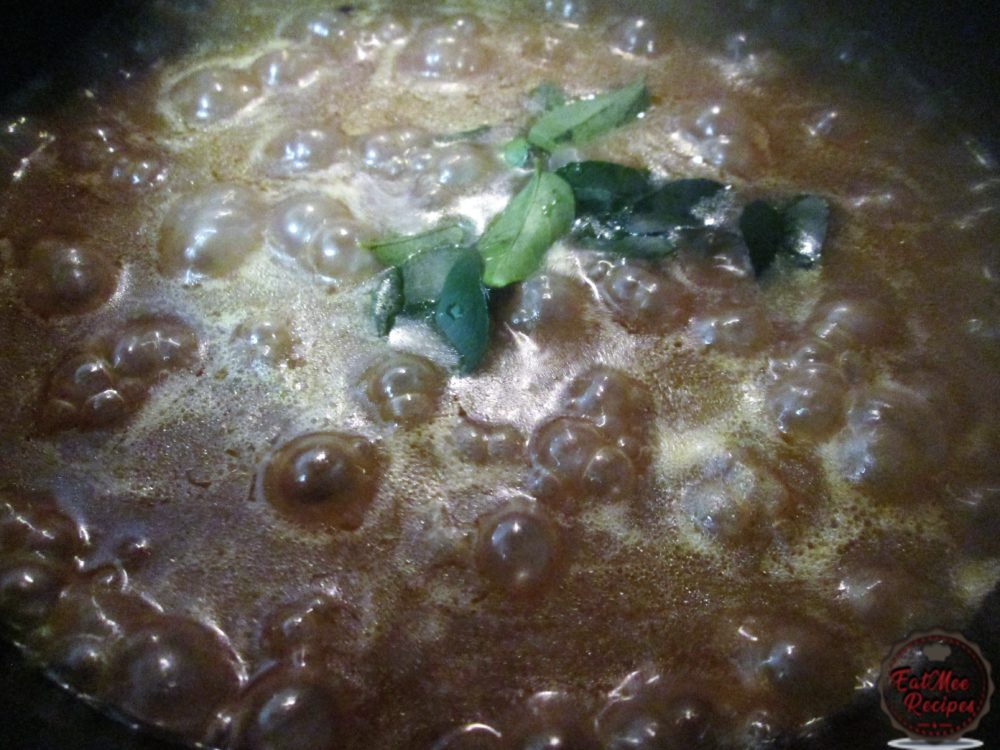
Mix until combined.
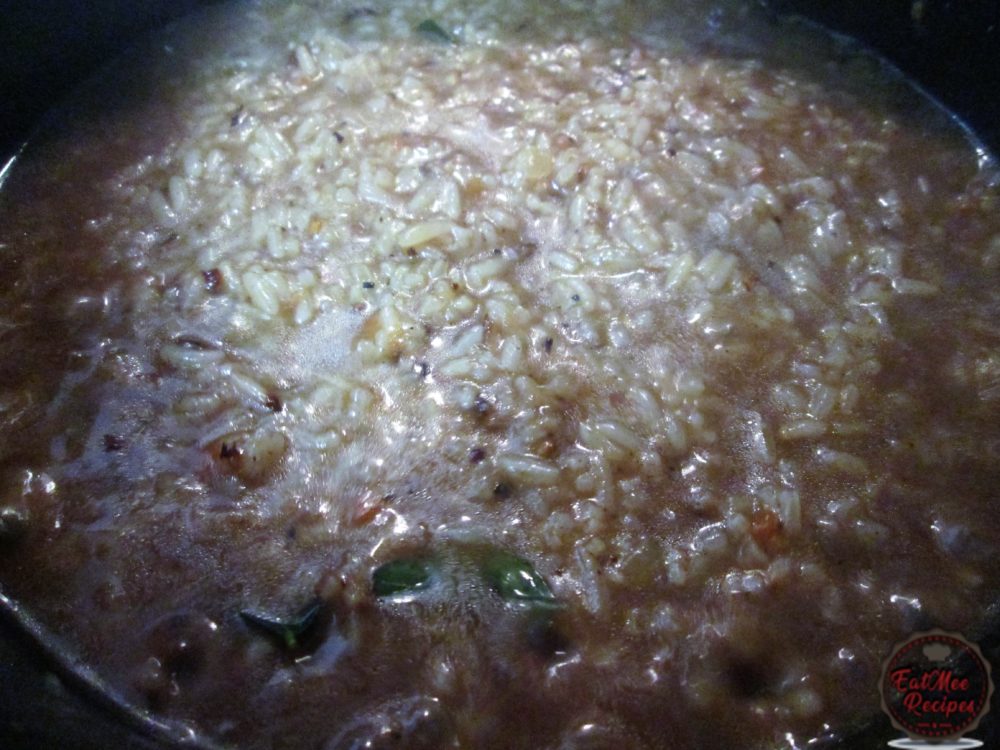
Mix well & turn off the heat. If the rice is very watery then keep the stove heat on low. Allow the liquid to evaporate. The rice should be a bit wet & not overly dry.
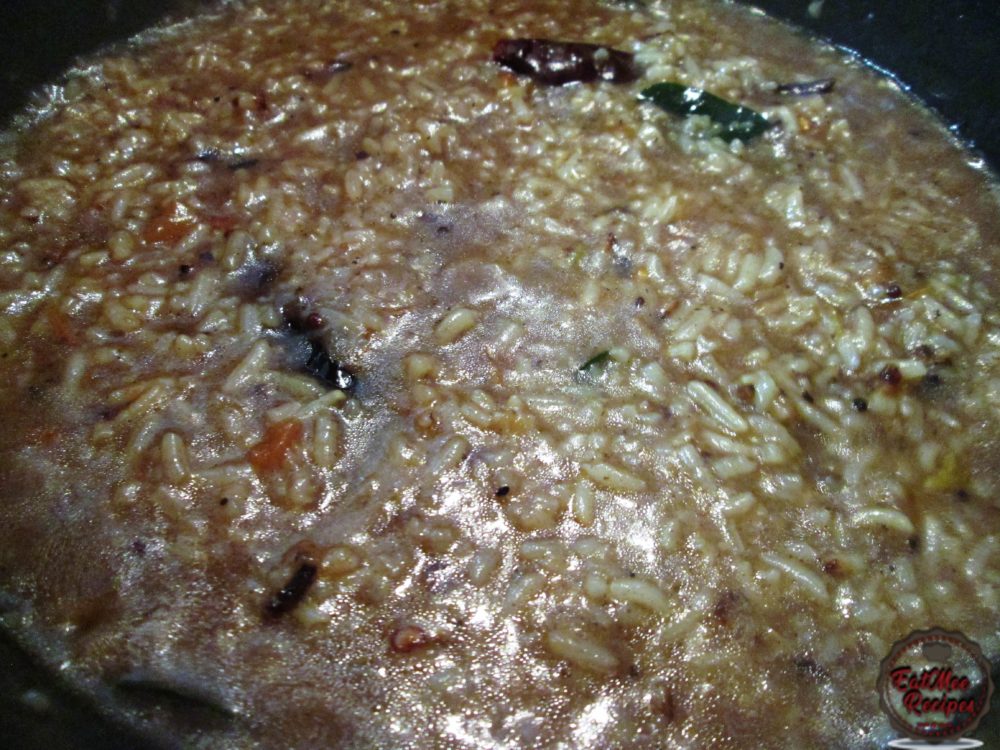
Serve your Puli Sadam whilst hot.
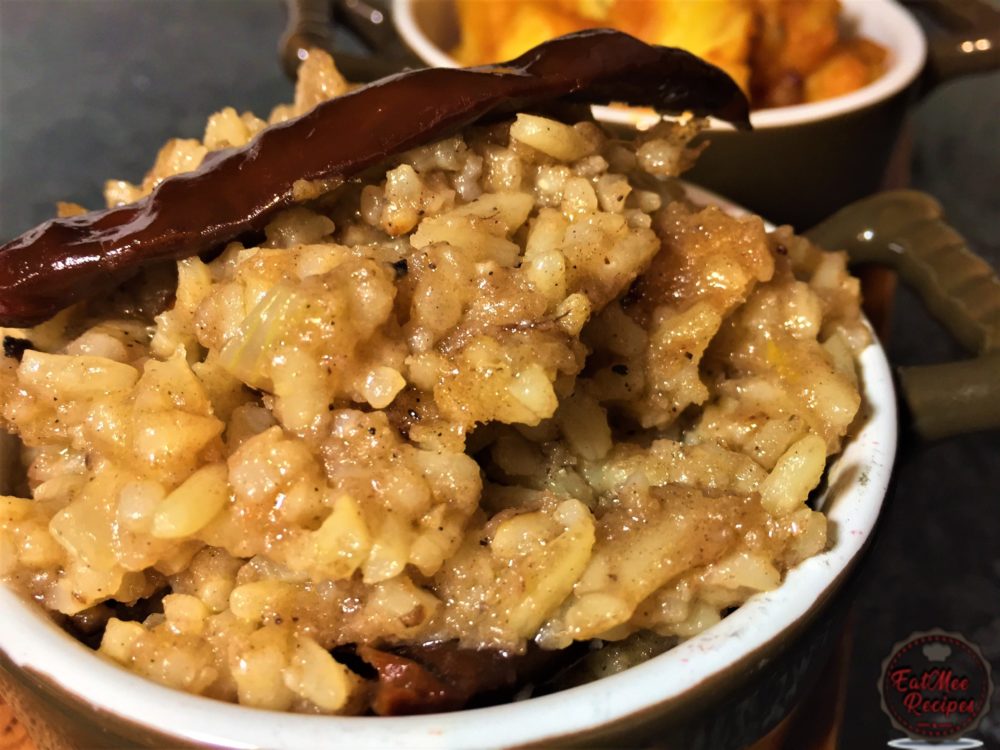
Best served hot as is or with curries.
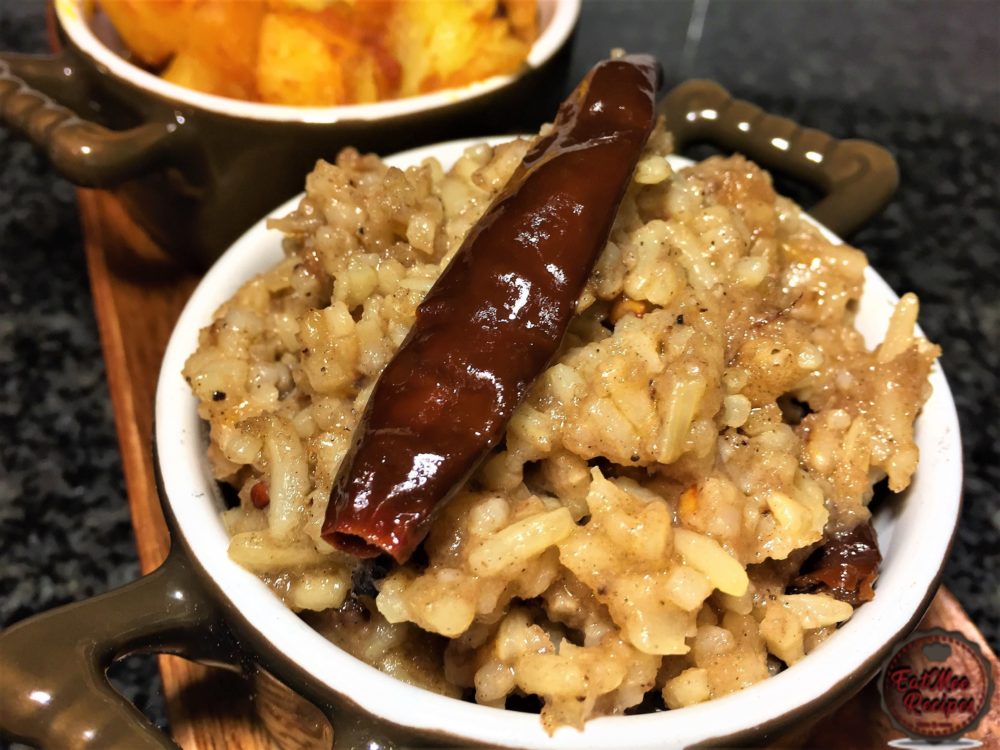
Note that when the Puli Sadam gets cold, it tends to harden & stick together. Use a spoon to loosen it again when reheating.
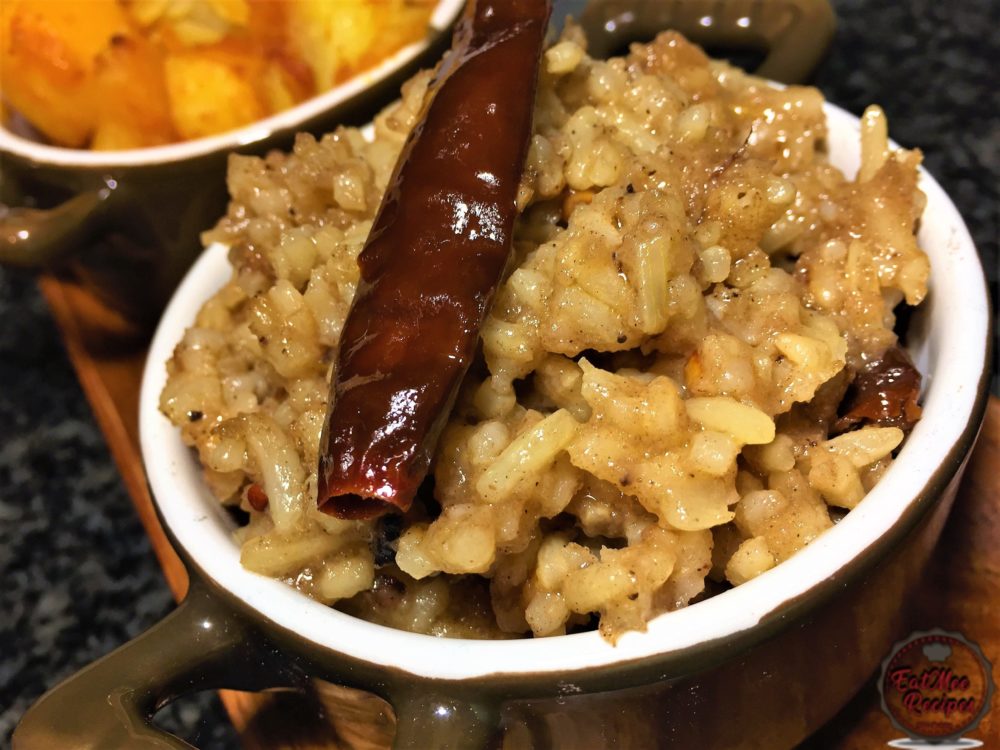
I served this dish with Potato Curry.
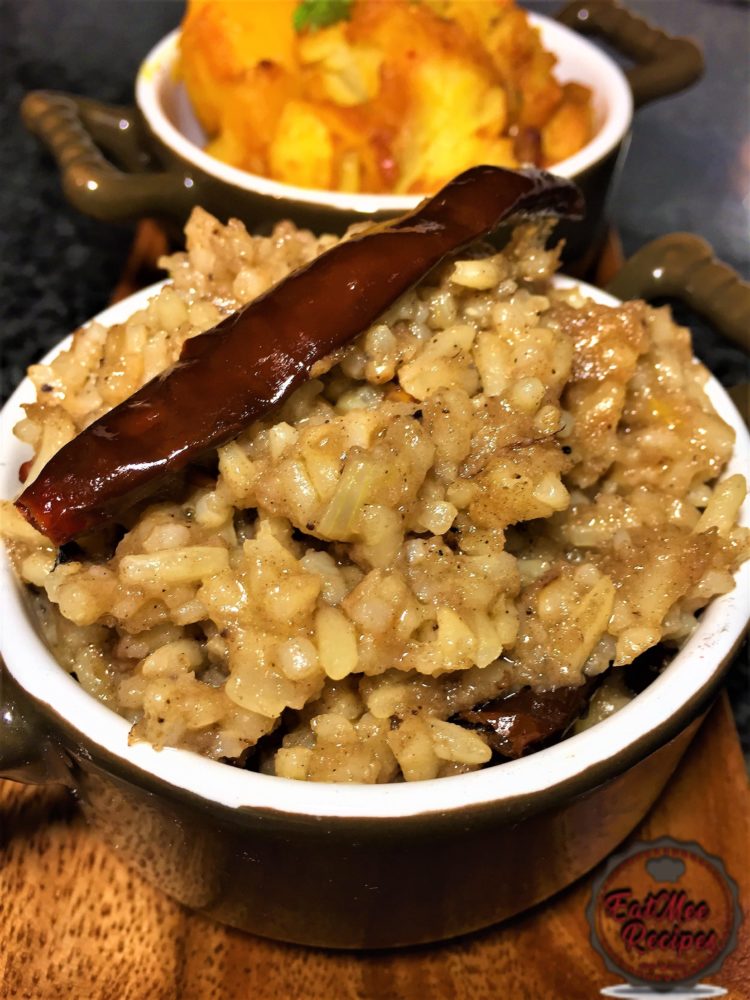
Follow along with Denisiya's step-by-step video guide for Puli Sadam.
Expert kitchen guidance and troubleshooting for making the best Puli Sadam
Absolutely! You can easily tailor the heat by increasing or reducing the chili powder and fresh chilies to suit your family’s palate without compromising the authentic flavor profile.
Yes, you can freeze Puli Sadam in an airtight, freezer-safe container for up to 2 to 3 months. Thaw overnight in the refrigerator before gently reheating.
Reheat gently on the stovetop over low heat with a splash of water, or in the microwave covered with a damp paper towel to retain moisture.
Hi, I'm Denisiya! Food lover, recipe developer, and founder of EatMee Recipes. I specialize in authentic South African Durban Indian cuisine, comforting curries, and modern Instant Pot adaptations. Every recipe on this site is tested in my personal kitchen to ensure you get mouth-watering, foolproof results every time.
Explore more authentic Durban curries, traditional bakes, and comforting family favourites.
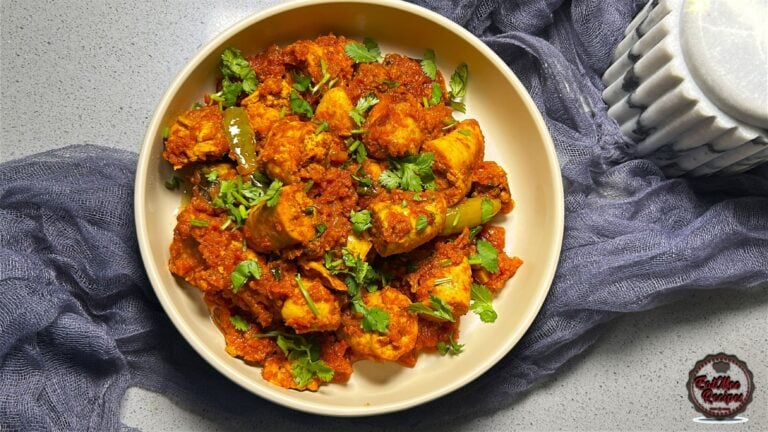 Indian Cuisine
My mum is sharing another one of her much-loved traditional South African Indian recipes. ...
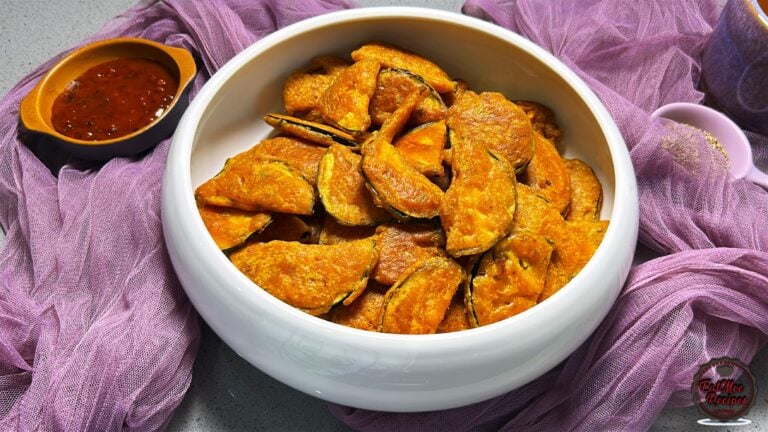 Indian Cuisine
Crispy, golden and delicious, these Brinjal Pakoras are made with thin slices of brinjal c...
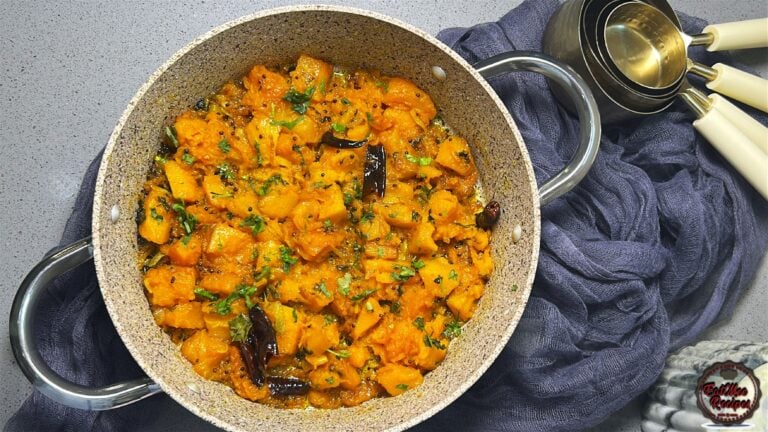 Indian Cuisine
Mum’s Pumpkin Curry is a simple, comforting vegetarian dish that proves you don’t need a l...
Have you tried this recipe or have questions for Denisiya? Join the conversation below.
No comments yet. Be the first to share your thoughts on this recipe!
Leave a Comment
Your email address will not be published. Required fields are marked *