
We Value Your Culinary Privacy
EatMee Recipes uses cookies to provide a personalized browsing experience, analyze recipe popularity, and serve relevant ads. You can review our full disclosure in our Privacy Policy.
Make authentic Plain Naan with this foolproof recipe. Packed with rich traditional flavor, step-by-step photos, and cooking tips by Denisiya on EatMee Recipes.

Join over 60,000+ home chefs for weekly authentic Durban Indian cook-alongs, Instant Pot masterclasses, and family heritage recipes.
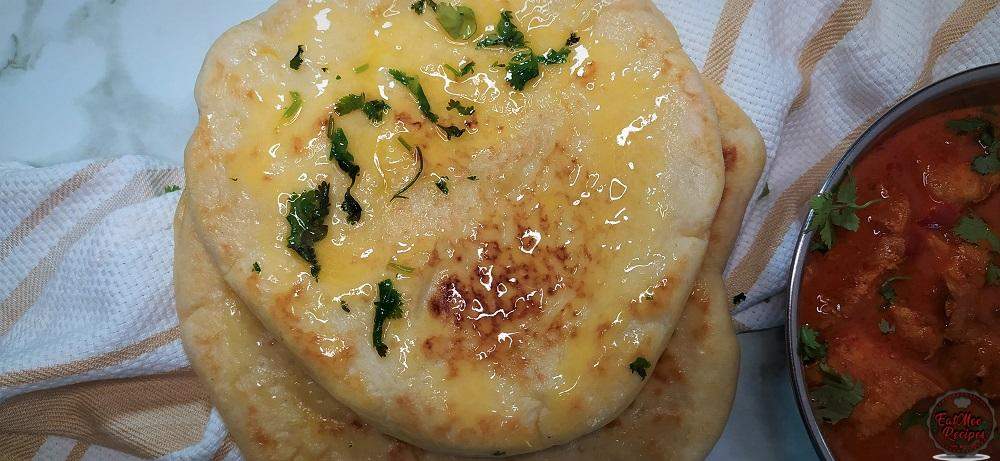
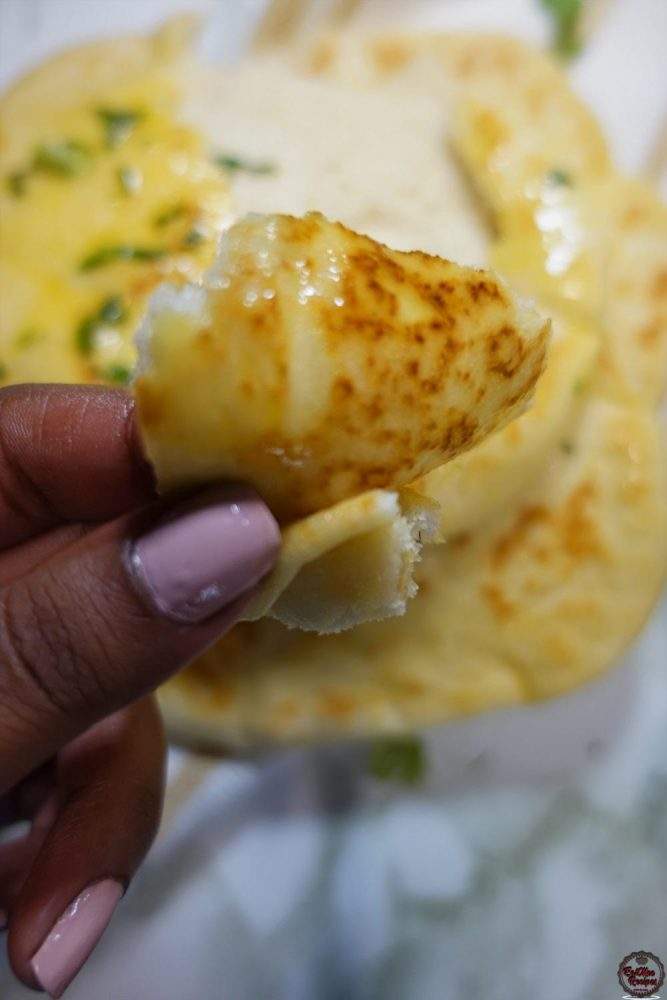
Naan is simply an Indian style flat bread similar to roti/chapatti but is much thicker, airier & come in a variety of flavours but this Plain Naan is the OG of them all.
If you enjoy garlic naan then this Plain Naan is just as good, but without the garlic of course. Typically this delicate wonderful Indian bread is cooked in a tandoor oven, a hot clay oven used to cook tandoori dishes or on a tava. There are adaptions to making this naan without yeast, however for this recipe yeast is involved – it just makes it so much softer & so much more delicious. It is served hot with an immense amount of butter or a combination of butter & fresh coriander.
To a mixing bowl, add in the flour.
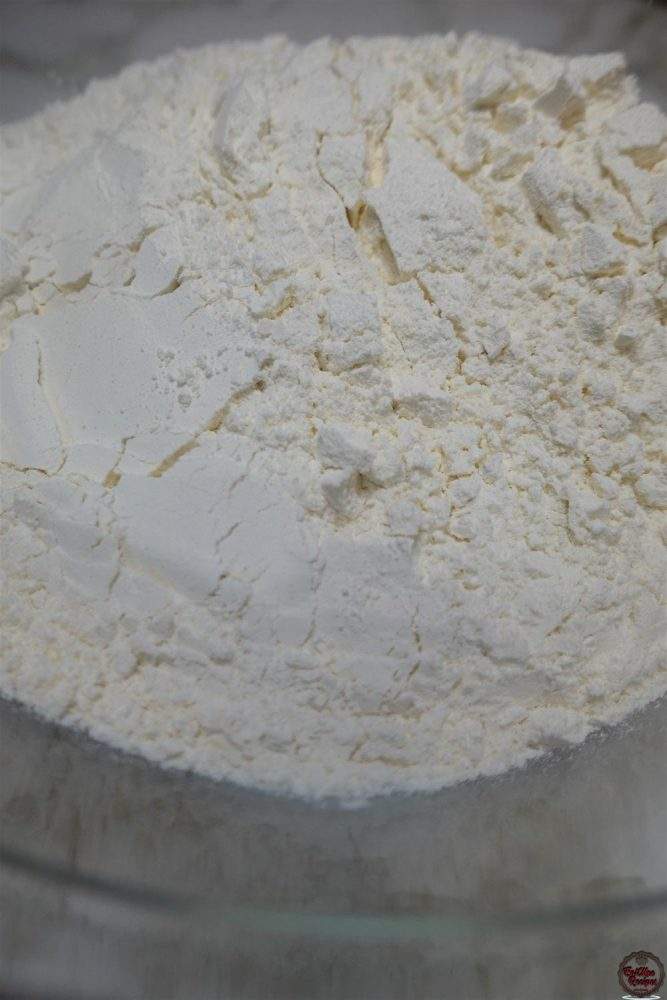
Add salt, white granulated sugar & instant yeast.
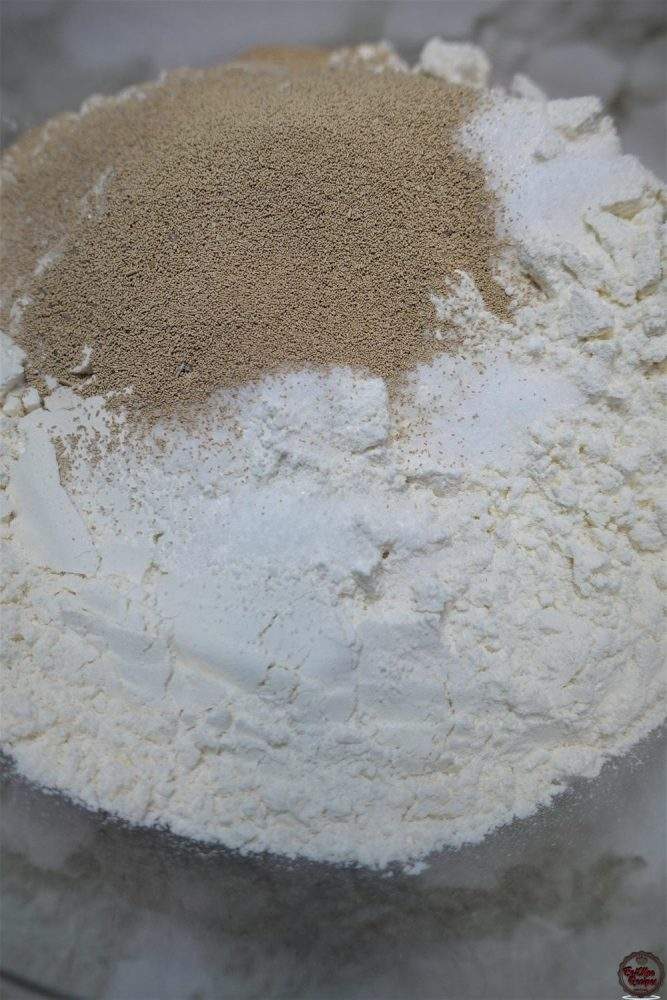
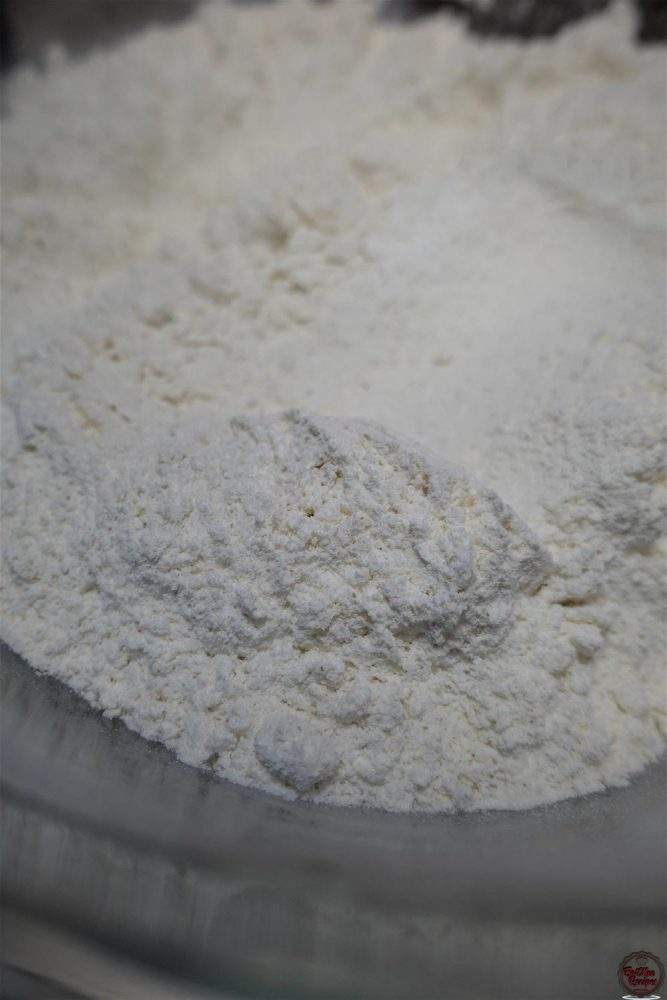
Give the dry ingredients a mix.
Thereafter, pour in the vegetable oil & add in the plain yoghurt.
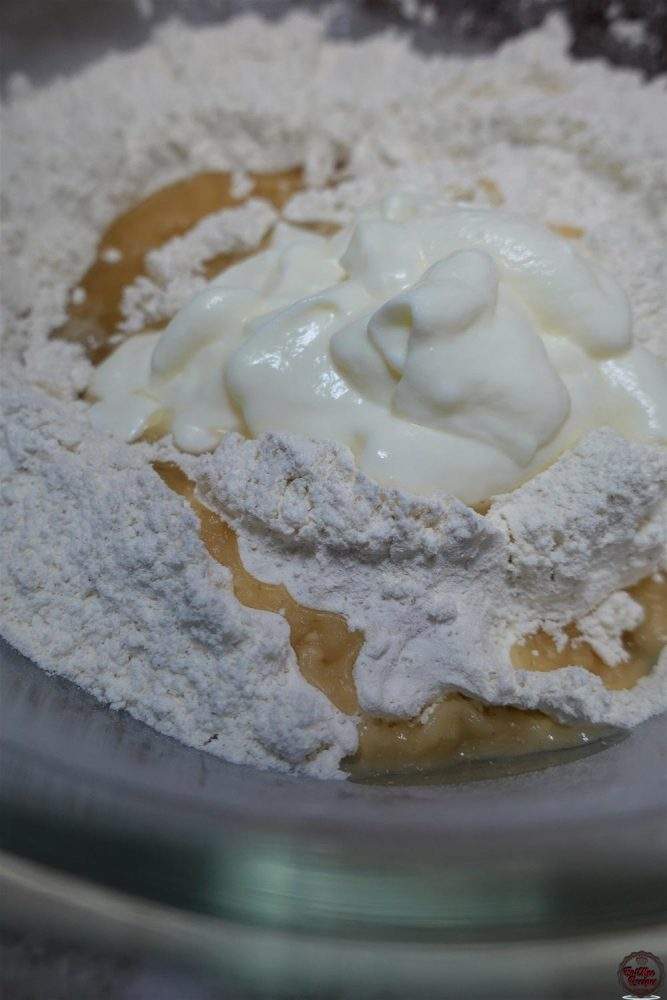
Pour in the warm water. If the water is too hot, it can kill the yeast so a quick way to have the right temperature is to stick your finger into the water & if it doesn’t hurt then it’s warm enough.
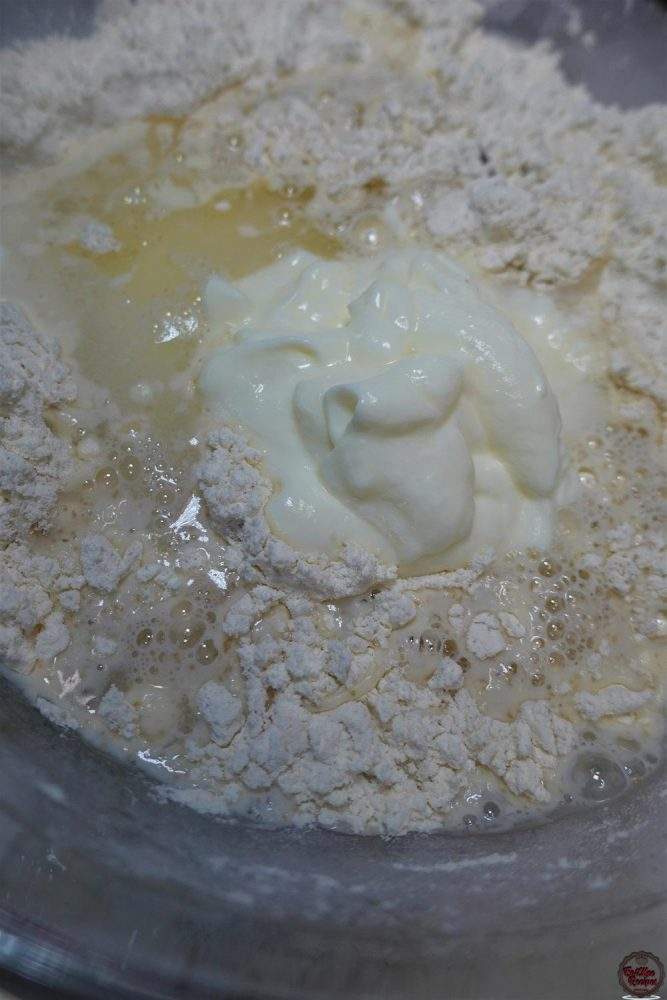
Mix all the ingredients using a wooden spoon until the liquids have been absorbed.
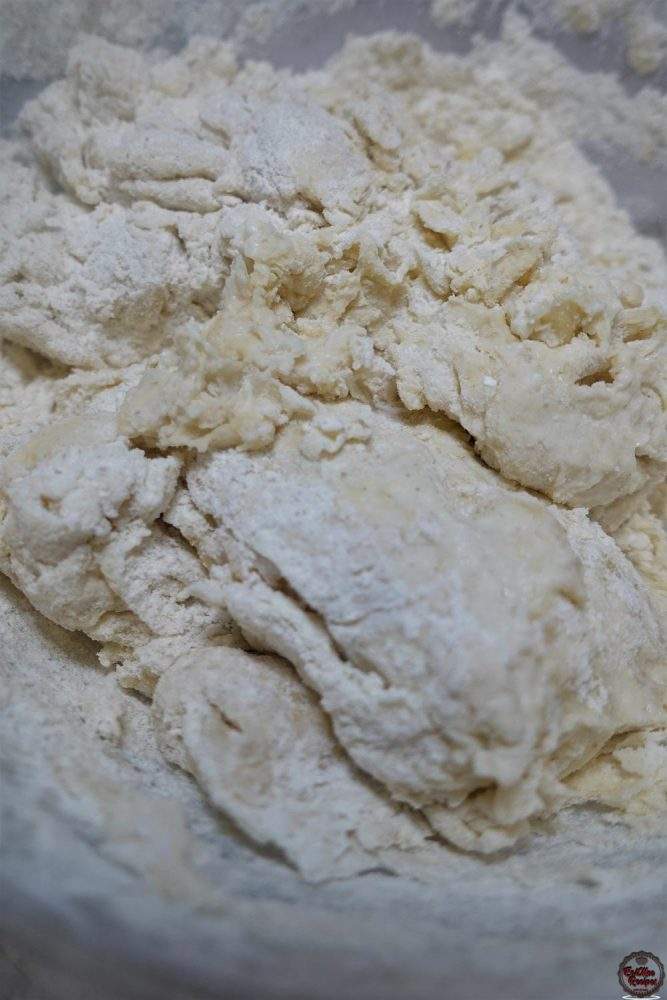
Use your hands & combine until there is no dry flour in the bowl.
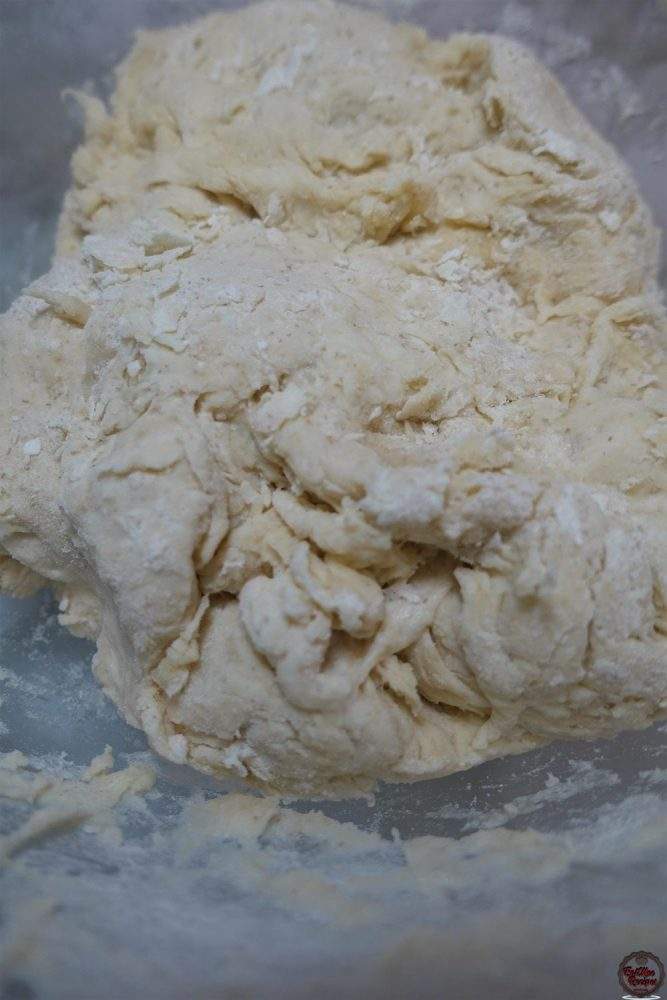
Place the dough onto a floured surface.
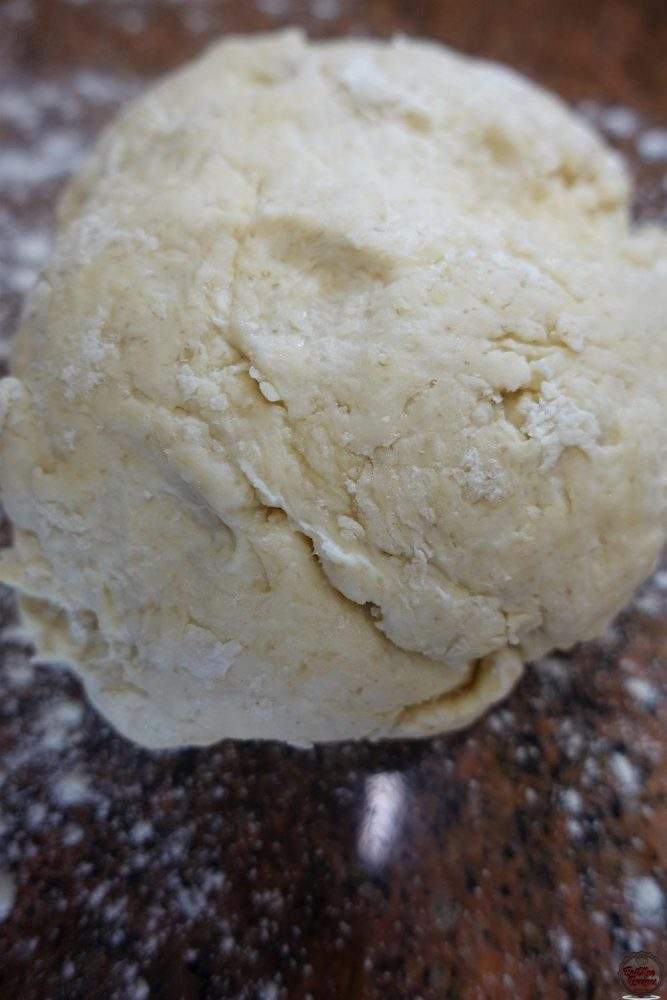
Knead for 10 minutes until it becomes a smooth & pliable dough. Alternatively, this can be done in a stand mixer.
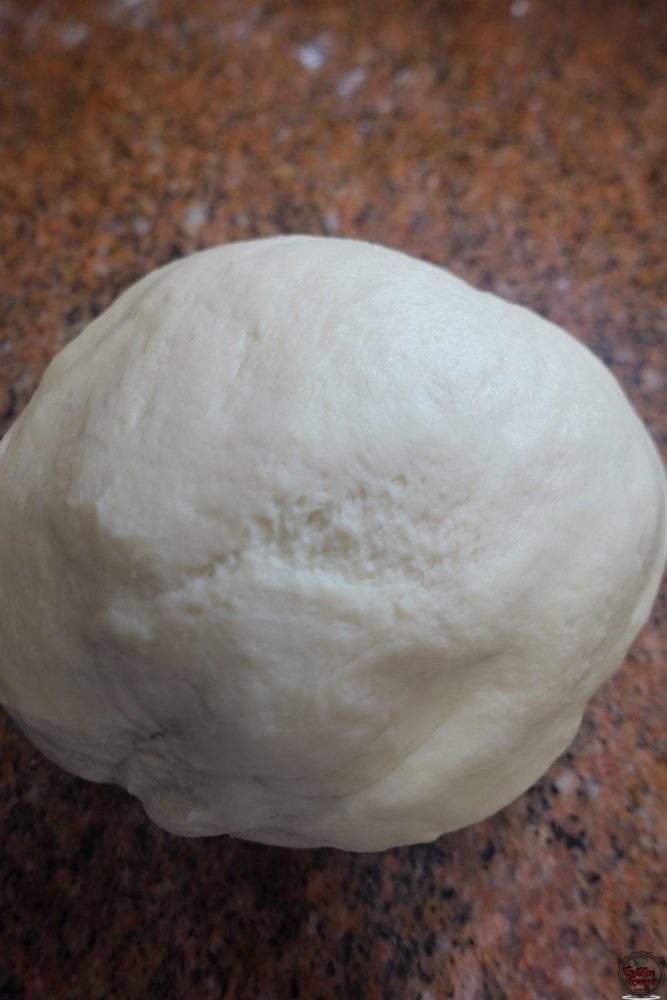
Place the dough into a lightly oiled bowl, making sure to coat the dough in the oil to prevent it from drying out.
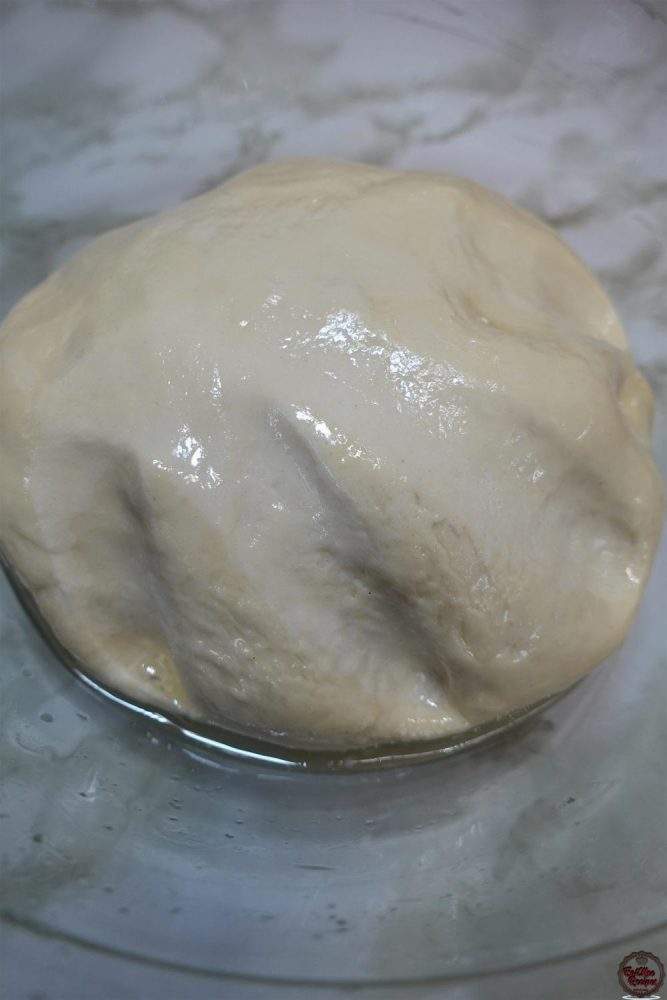
Cover the bowl with plastic wrap & allow to rest for 1-2 hours in a dark place – I usually leave it in my microwave or oven whilst it is not on.
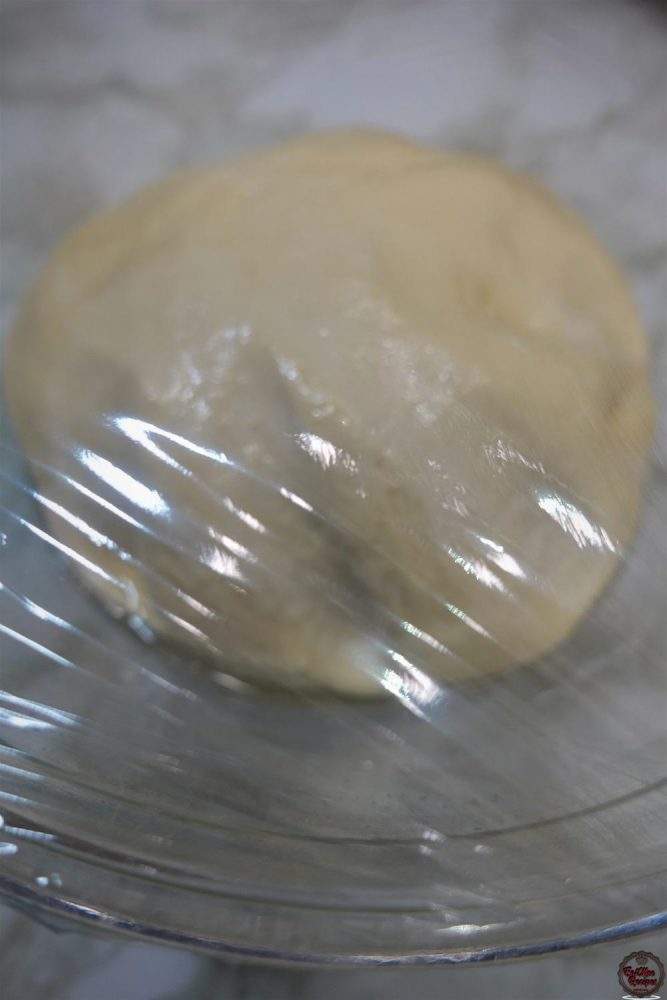
Once rested, the dough should be doubled in size.
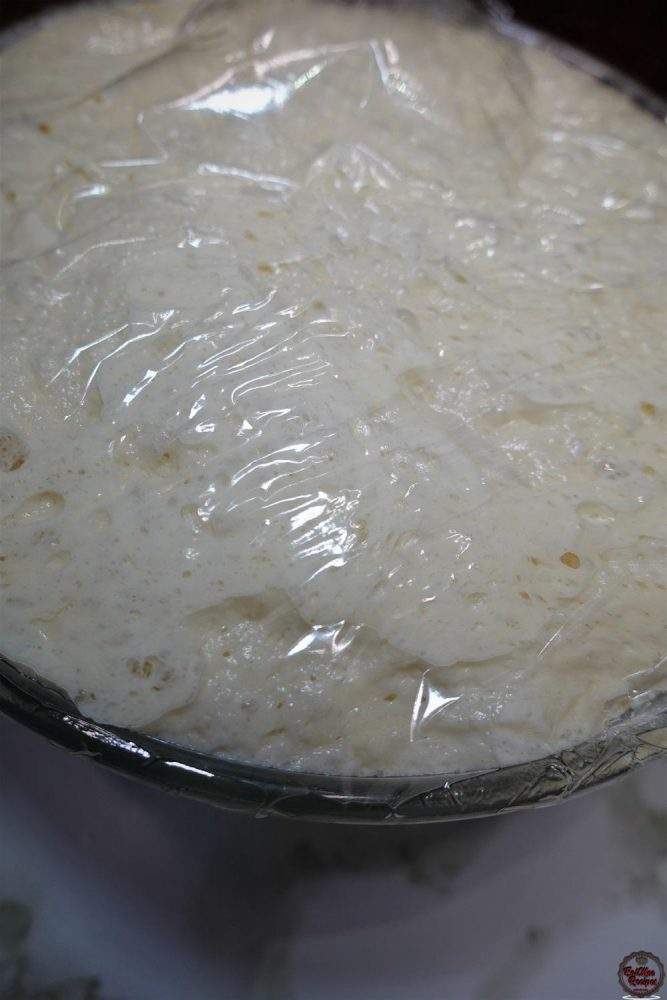
Remove the plastic wrap & punch down the dough.
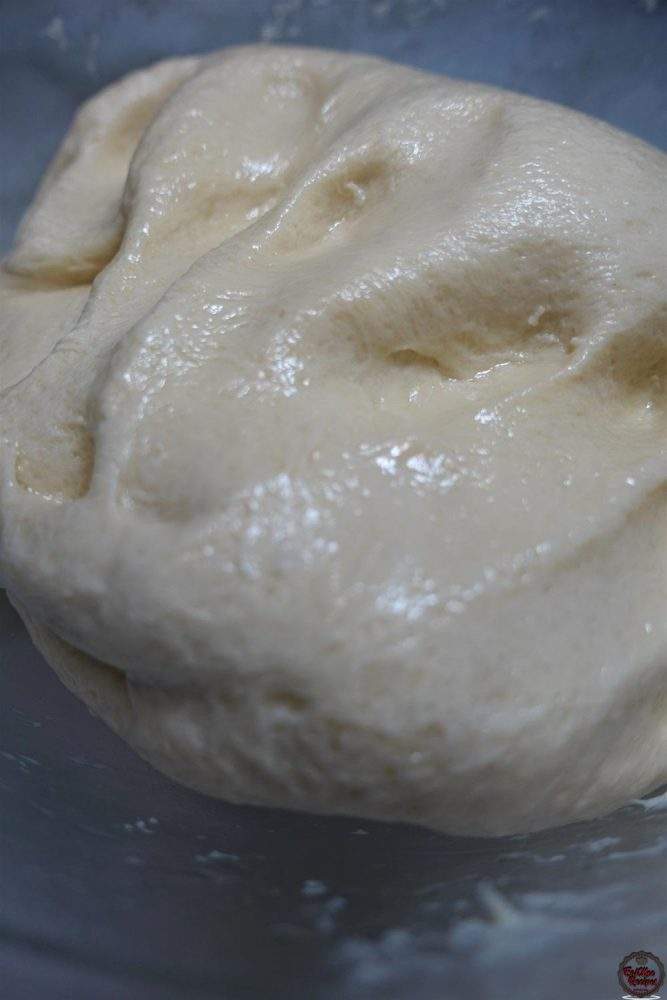
Knead for a minute on a lightly floured surface & shape into a ball.
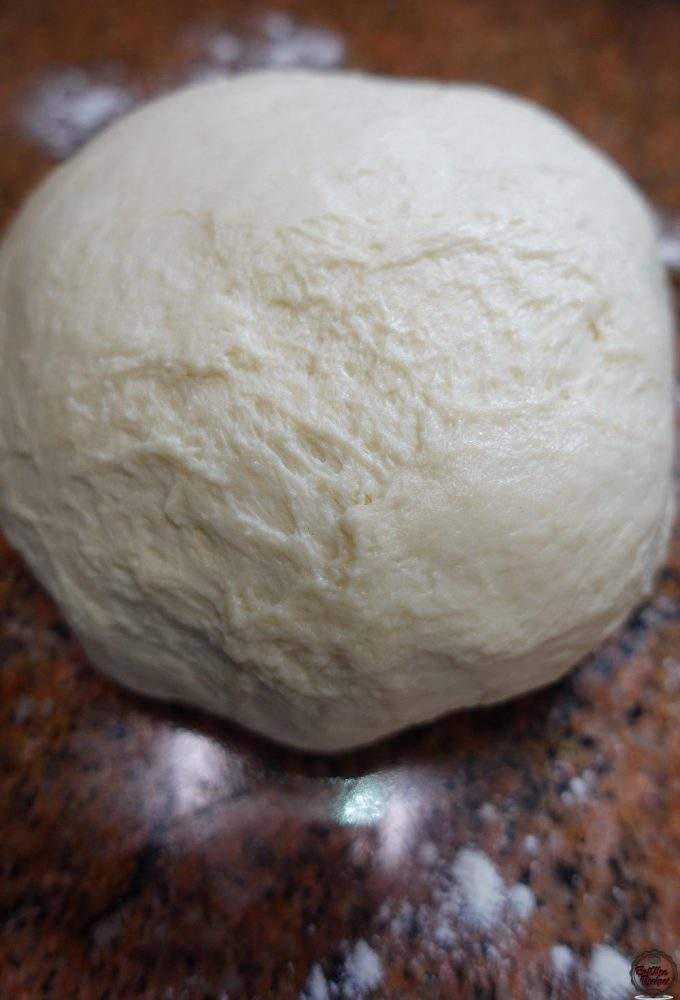
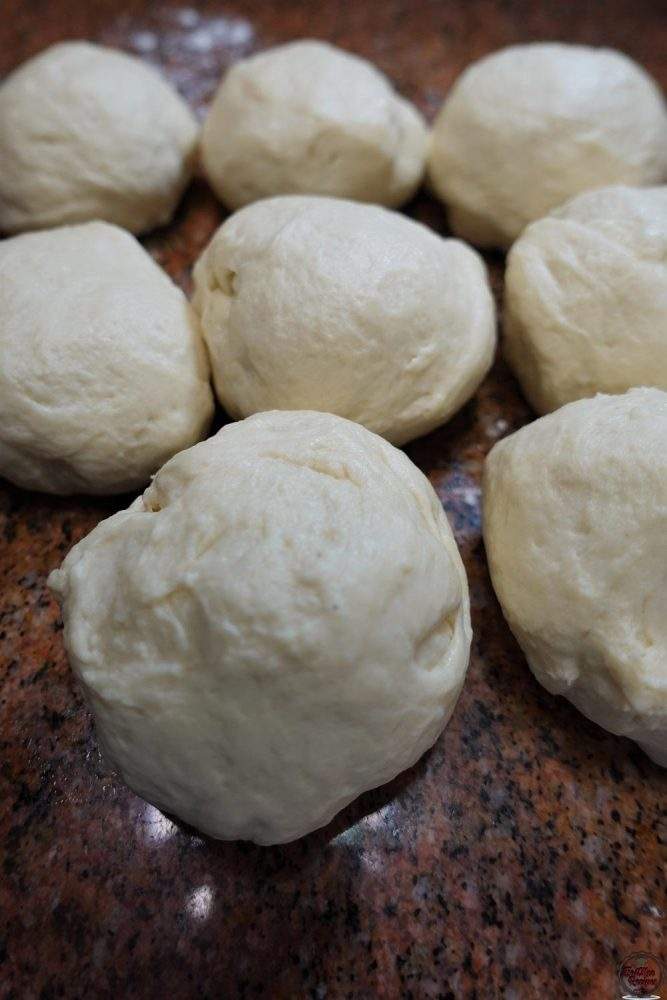
Divide the dough into 8 equal pieces.
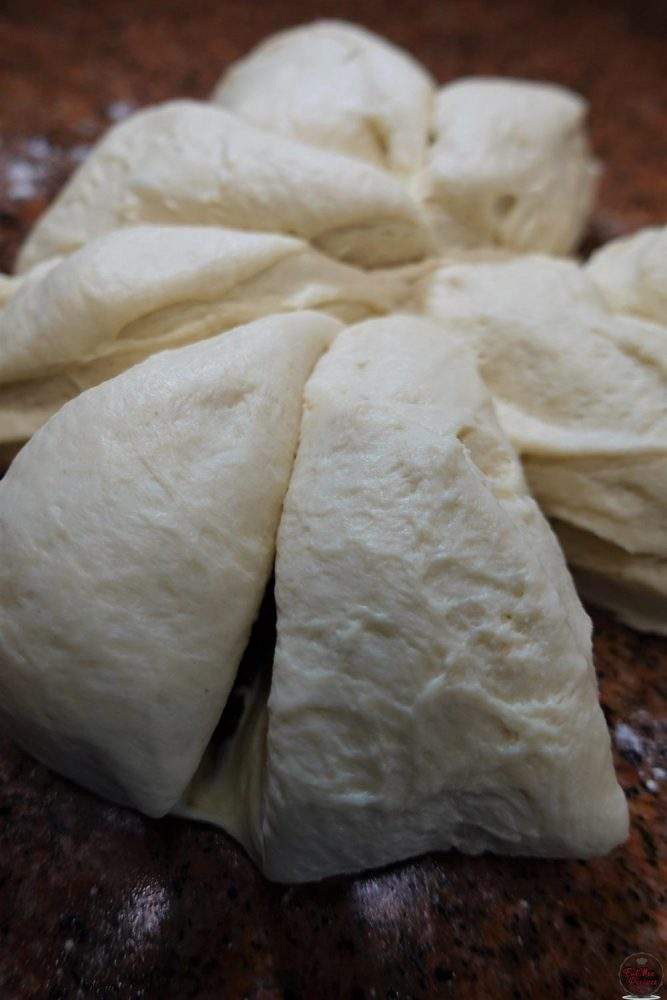
Tuck & roll each portion into a ball.
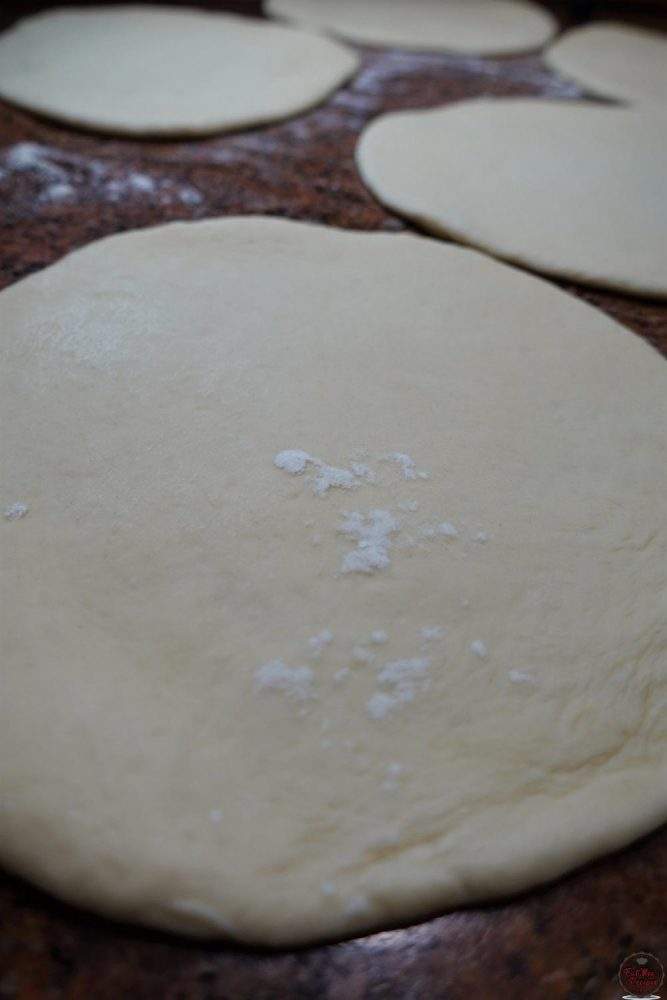
On a floured surface, roll out the dough balls into oval, circular or rectangular shapes.
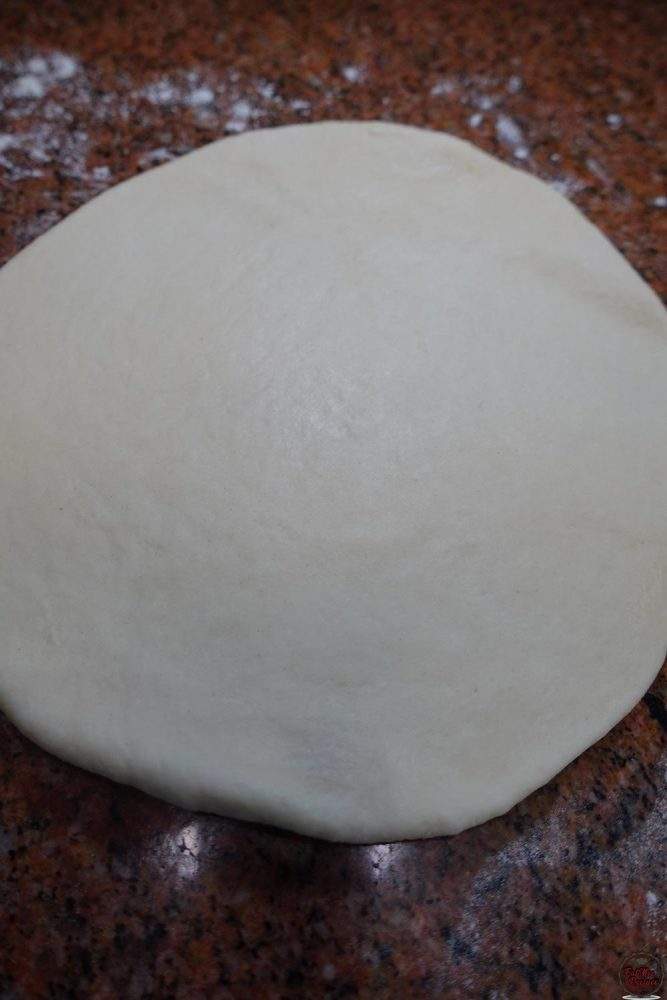
Once all your dough balls are rolled out, line a container with wax/parchment paper & set aside.
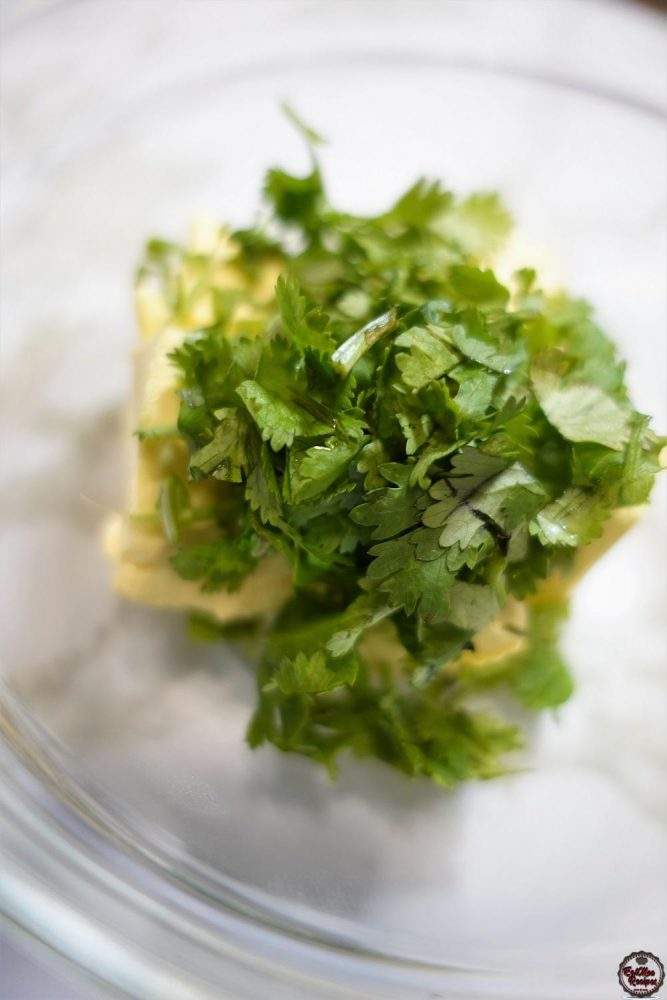
Before we start toasting the naan’s, add the butter or margarine to a microwave safe bowl.
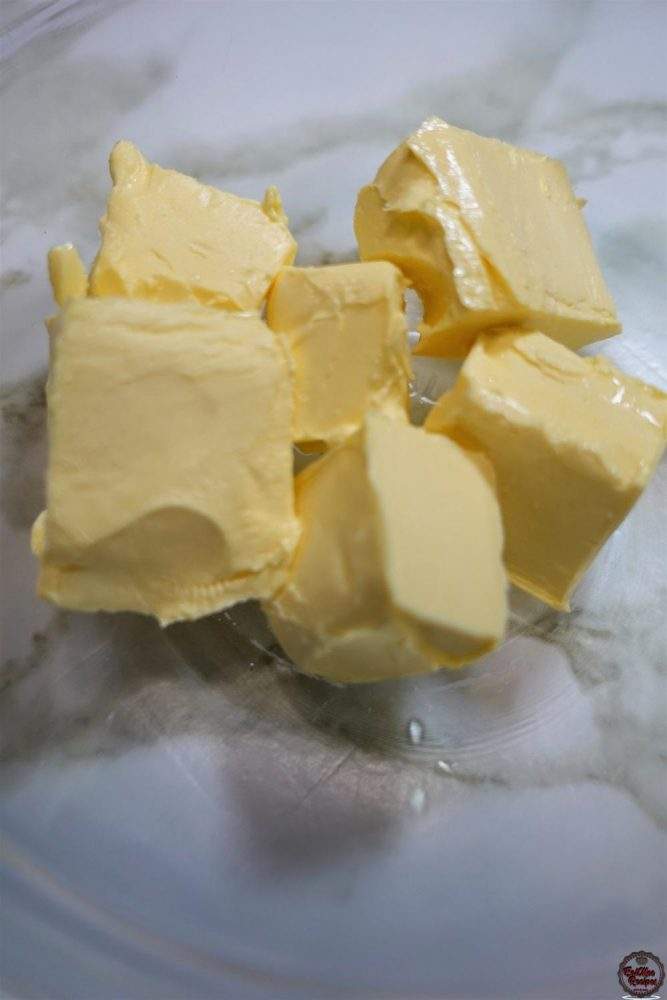
To the butter/margarine, add in the chopped coriander (dhania).
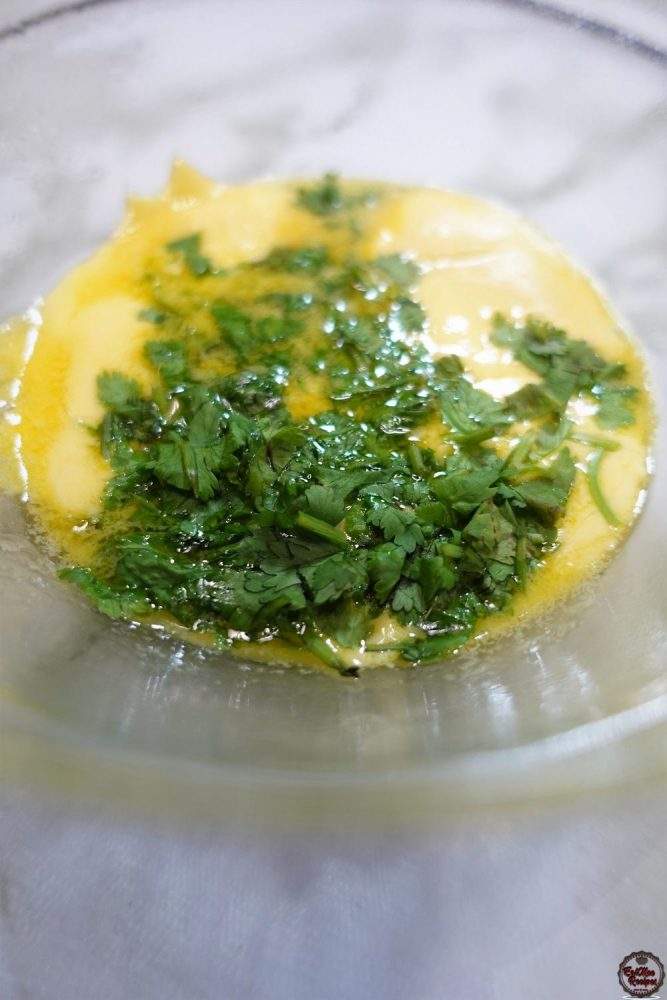
Heat in the microwave for a few seconds until the butter has melted.
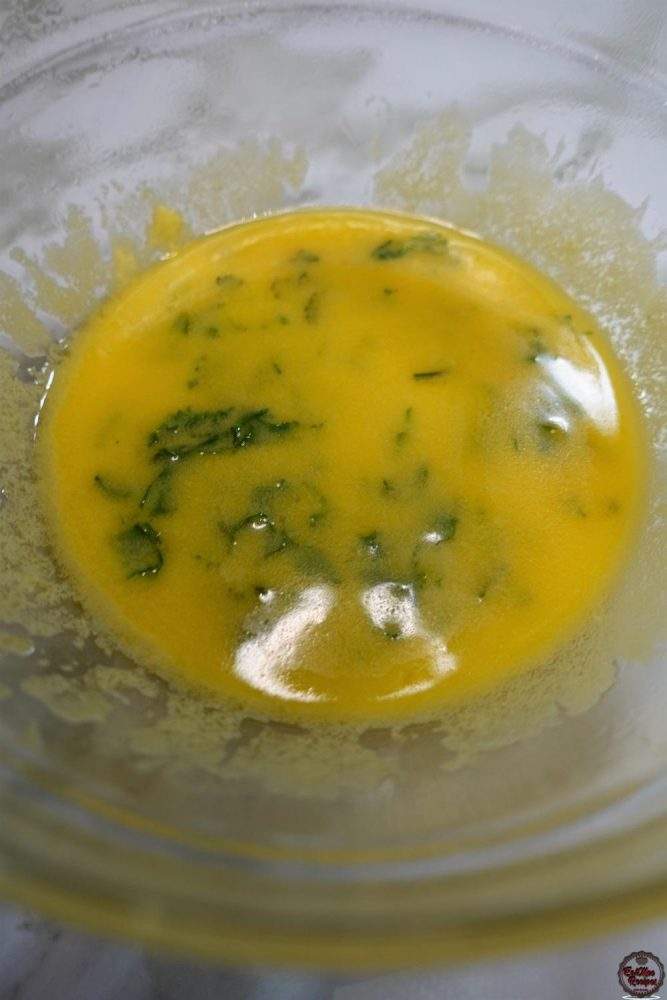
Give it a quick stir.
I don’t have a tandoor or clay oven so the good old tava will do – heat up the tava on medium heat, a skillet or pan can be used if you don’t have a tava on hand. Once hot, place the rolled out dough onto it.
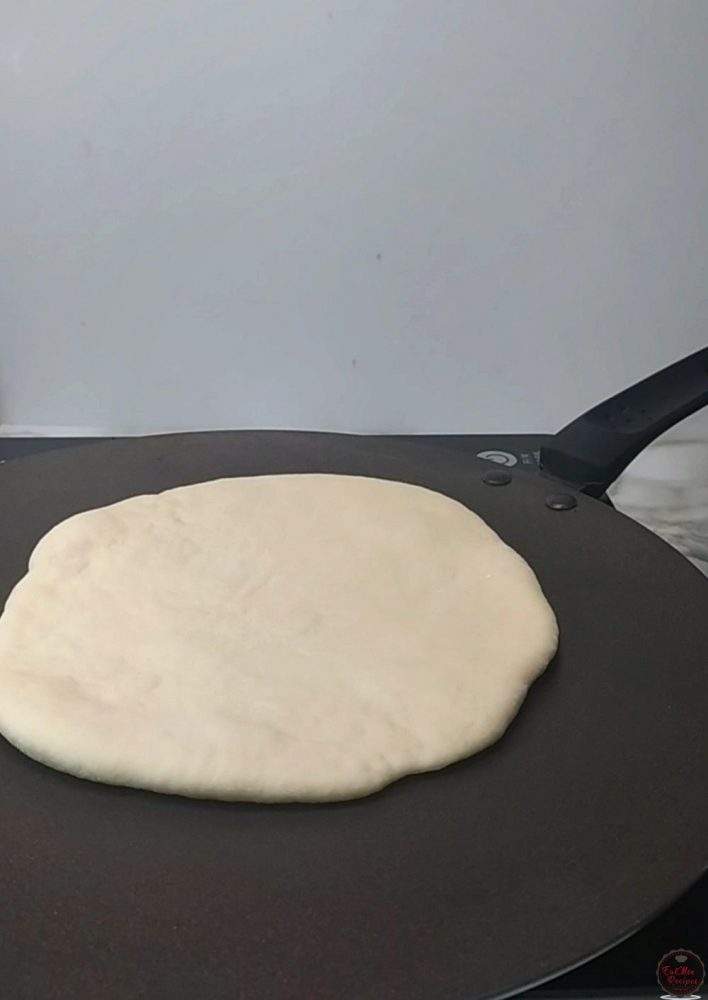
Allow it to toast until it starts to form bubbles.
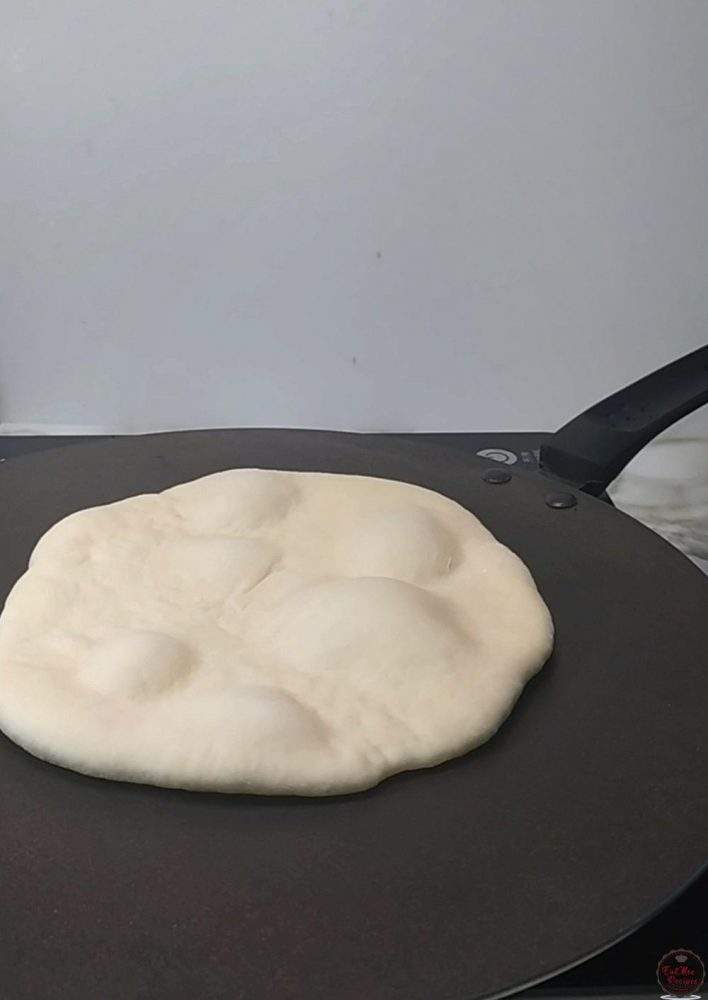
Carefully flip it over & allow the other side to toast for a minute or so.
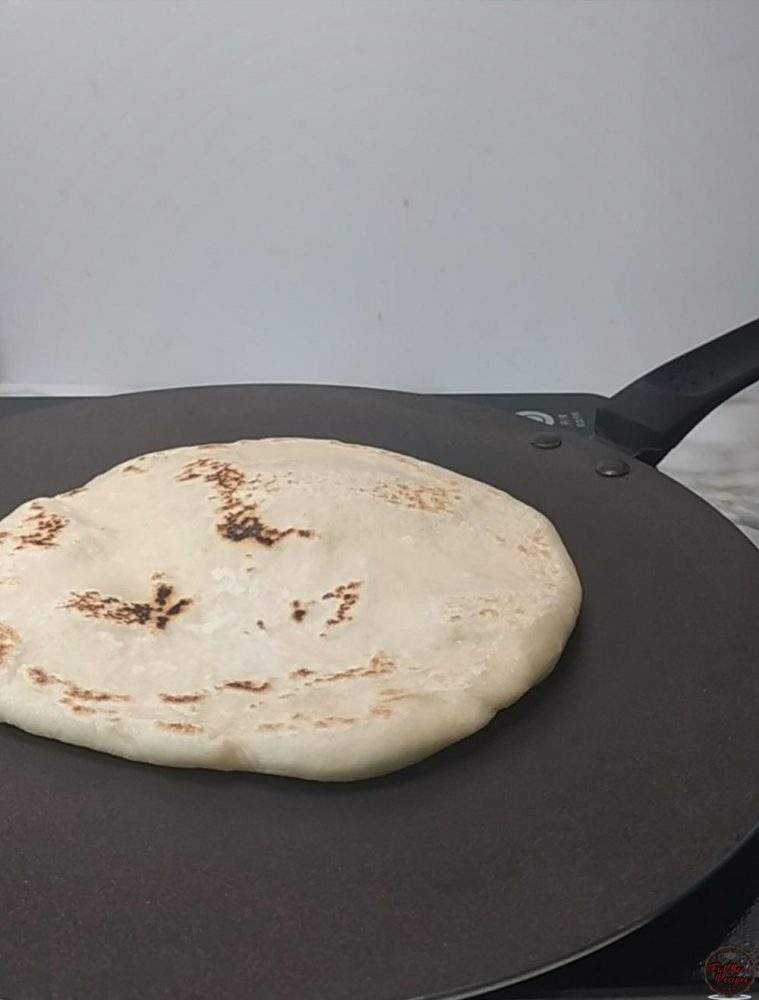
Keep flipping & toasting until the dough is cooked throughout – if you got the dough right then it should puff up as well.
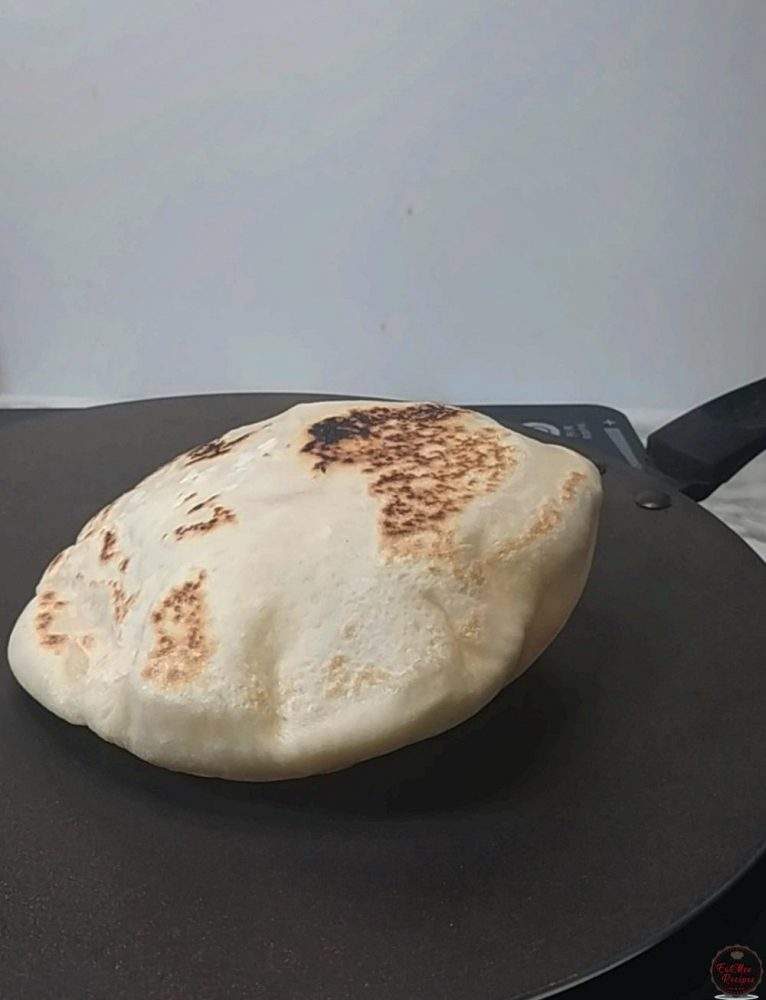
Once toasted throughout, brush over that melted butter & coriander.
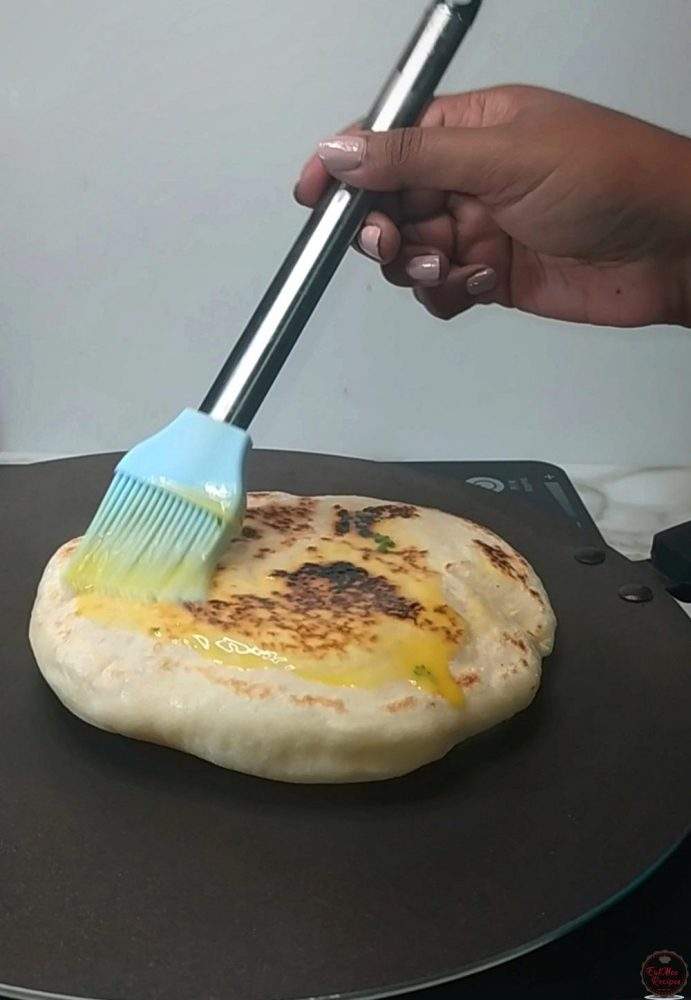
Thereafter, place it into the lined container. Do not toast the buttered side & it will burn the coriander.
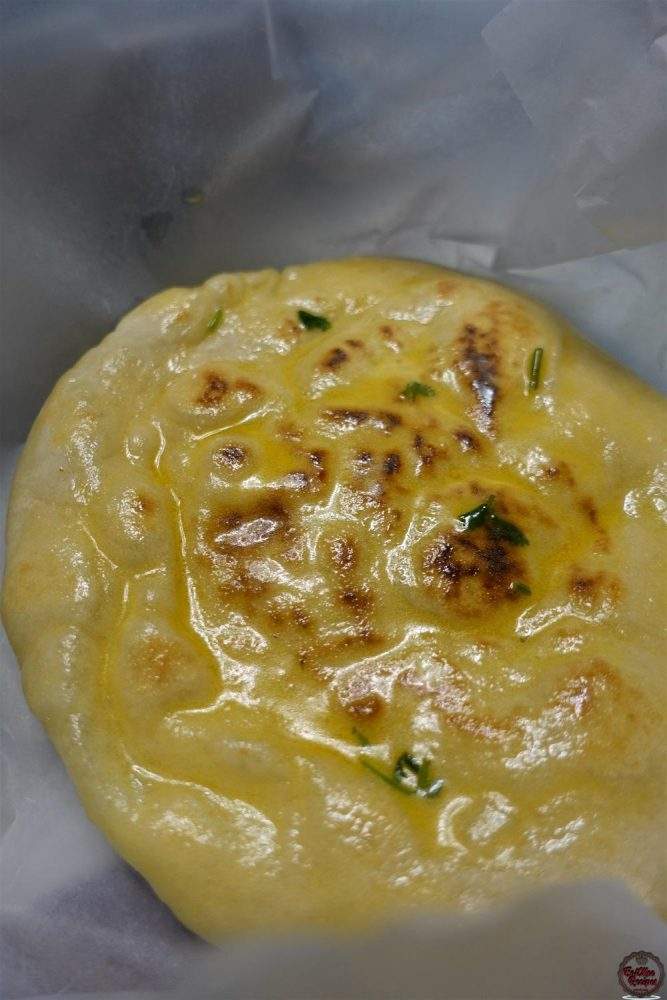
Be sure to cover the toasted naan’s with a dish towel & this will trap in the moisture & keep them soft.
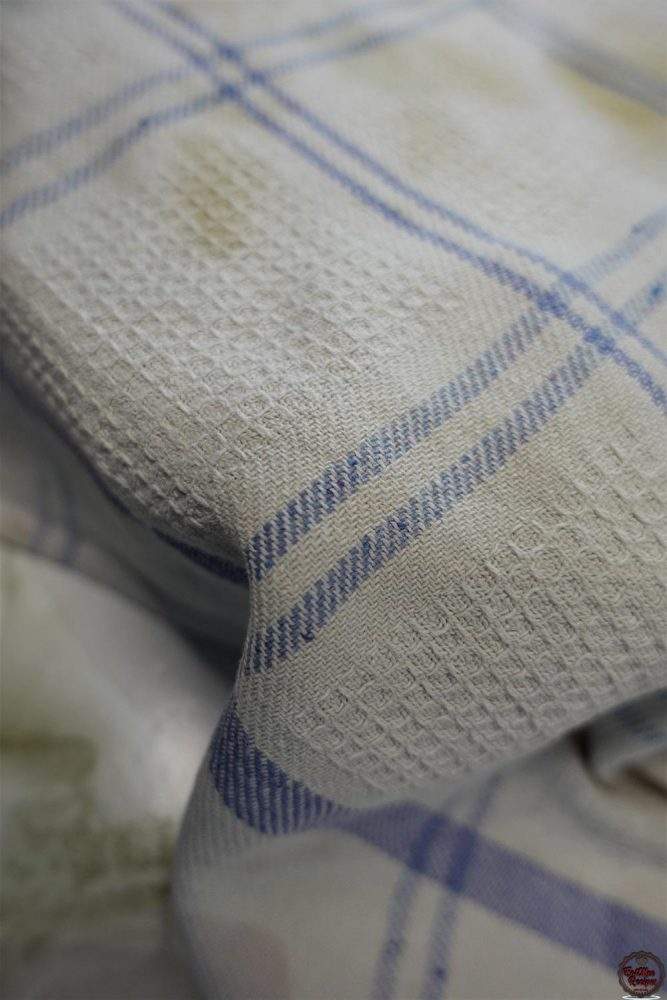
Continue this process until all the naan’s are toasted & slathered in butter.
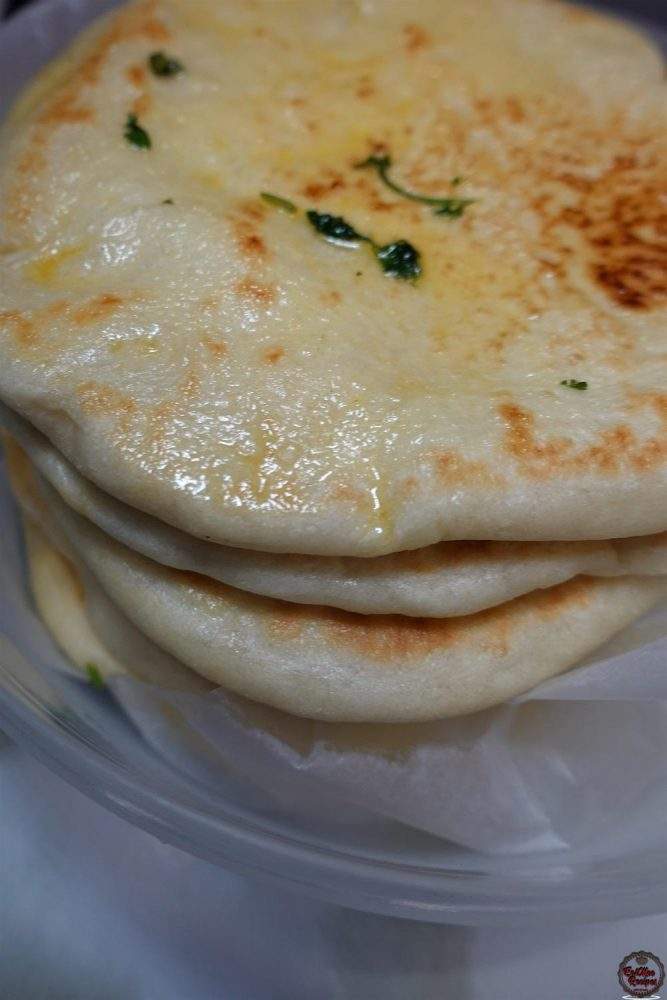
These Plain Naan’s can be served as a side to any dish or can be used as a wrap for fillings. These are also great just as is.

They can also be brushed with more butter just before serving.
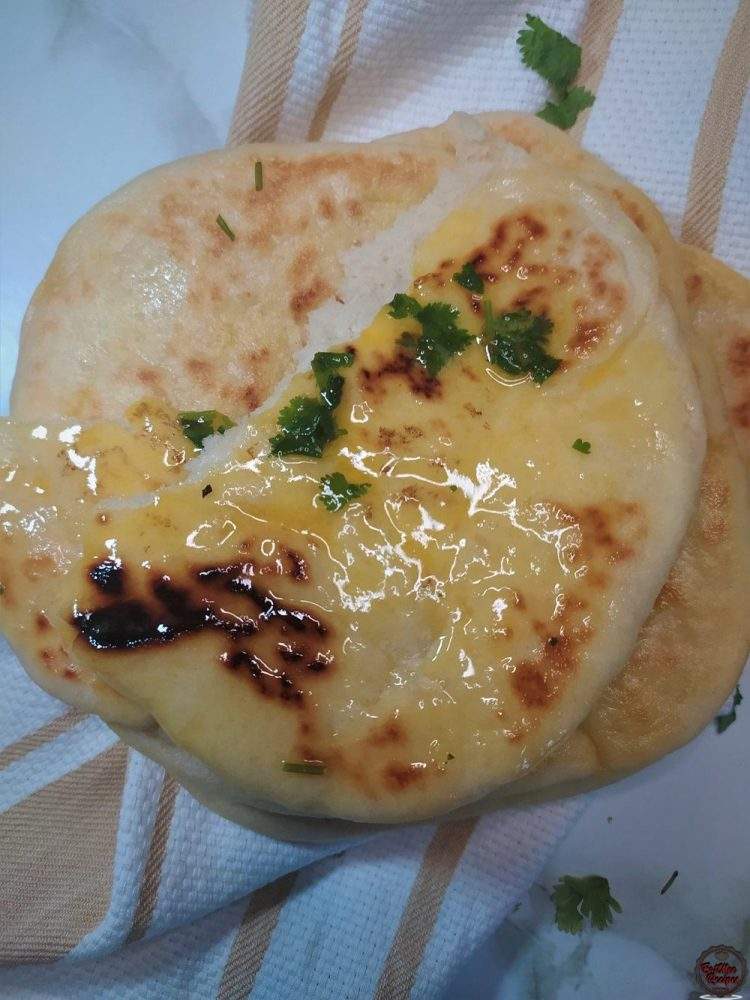
They are super soft, light & oh so delicious.
Follow along with Denisiya's step-by-step video guide for Plain Naan.
Expert kitchen guidance and troubleshooting for making the best Plain Naan
The golden secret is kneading the flour with boiling hot water, which pre-gelatinizes the starches. Roll thin, cook on a hot tawa with a light brush of butter or ghee, and stack inside a covered container wrapped in a clean kitchen cloth.
Yes! Cooked rotis freeze exceptionally well. Place sheets of wax paper between each cooked roti, wrap in foil or a zip-top bag, and freeze for up to 2 months. Reheat directly on a hot pan for 30 seconds.
Stiff rotis are caused by rolling the dough with too much dry flour, rolling too thick, or cooking on too low heat for too long, which dries out the moisture. Cook on medium-high heat quickly.
Hi, I'm Denisiya! Food lover, recipe developer, and founder of EatMee Recipes. I specialize in authentic South African Durban Indian cuisine, comforting curries, and modern Instant Pot adaptations. Every recipe on this site is tested in my personal kitchen to ensure you get mouth-watering, foolproof results every time.
Explore more authentic Durban curries, traditional bakes, and comforting family favourites.
 Indian Cuisine
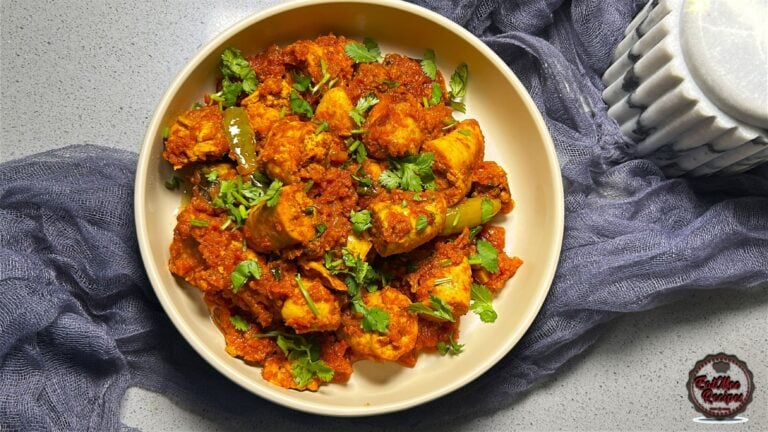
My mum is sharing another one of her much-loved traditional South African Indian recipes. ...
 Indian Cuisine
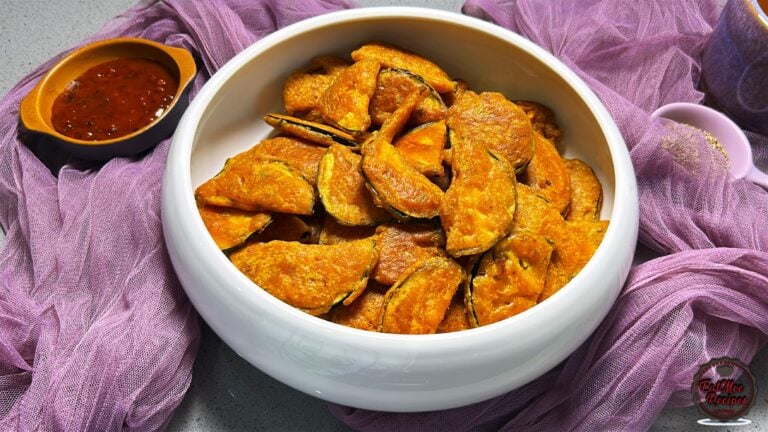
Crispy, golden and delicious, these Brinjal Pakoras are made with thin slices of brinjal c...
 Indian Cuisine
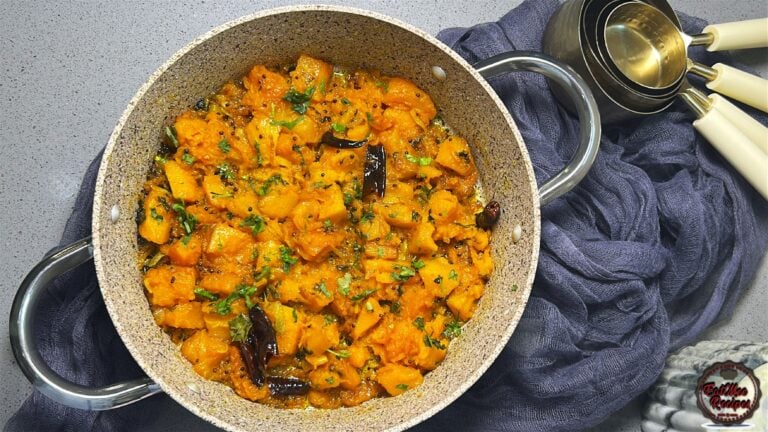
Mum’s Pumpkin Curry is a simple, comforting vegetarian dish that proves you don’t need a l...
Have you tried this recipe or have questions for Denisiya? Join the conversation below.
No comments yet. Be the first to share your thoughts on this recipe!
Leave a Comment
Your email address will not be published. Required fields are marked *