
We Value Your Culinary Privacy
EatMee Recipes uses cookies to provide a personalized browsing experience, analyze recipe popularity, and serve relevant ads. You can review our full disclosure in our Privacy Policy.
Make authentic Murukku with this foolproof recipe. Packed with rich traditional flavor, step-by-step photos, and cooking tips by Denisiya on EatMee Recipes.

Join over 60,000+ home chefs for weekly authentic Durban Indian cook-alongs, Instant Pot masterclasses, and family heritage recipes.
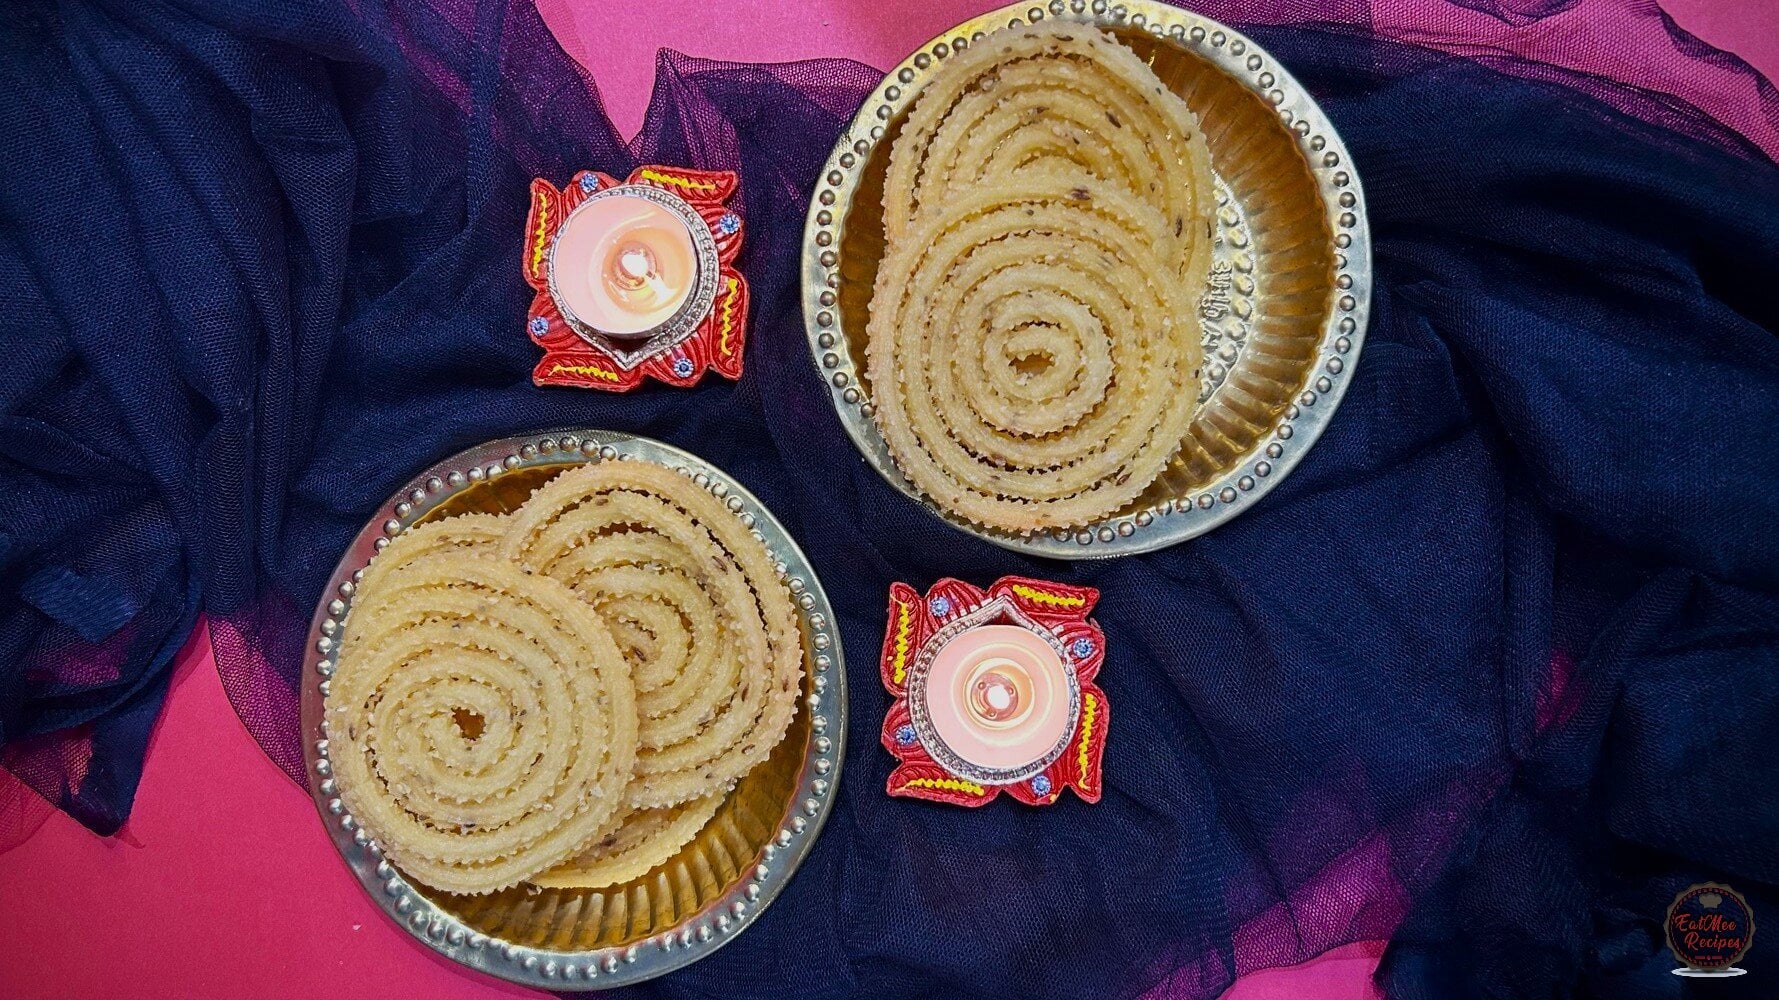
Murukku also spelled Murkoo is a crunchy, deep-fried, flavorsome snack that is made from rice flour. In South Africa, there are other adaptions of making this snack with the use of cream of maize.
This incredible snack originated from the state of Tamil Nadu, South India. The word Murukku means ‘twisted‘, which represents the shape of it.
My late maternal grandmother was of South Indian decent & she used to always make these snacks for us with her antique murukku machine. Not having her around & making these all by myself triggers those fond memories of her. I am sure she will be proud that I attempted making Murukku – even I am proud of myself to carry on her traditions.
I promise, this is the best tasting Murukku you will ever have – I had some mishaps but finally perfected it & now you can make it with no fuss.
These treats are often made in large quantities to share with friends & family during celebrations like Diwali or auspicious days such as Ganesh Chaturthi & Krishna Janmashtami. Additionally, these snacks can also be enjoyed as tea-time snacks on any regular day, providing a delicious & savory option to accompany a cup of tea or coffee.
Firstly, to make these Murukku’s, you will need a Murukku machine – I got mine from Gorima’s, an Indian spice store but do check online as other stores may stock it. They can also be piped out using a piping bag but they won’t have the spikes or mullu on them. I personally have not used a piping bag so I am unsure of the results.
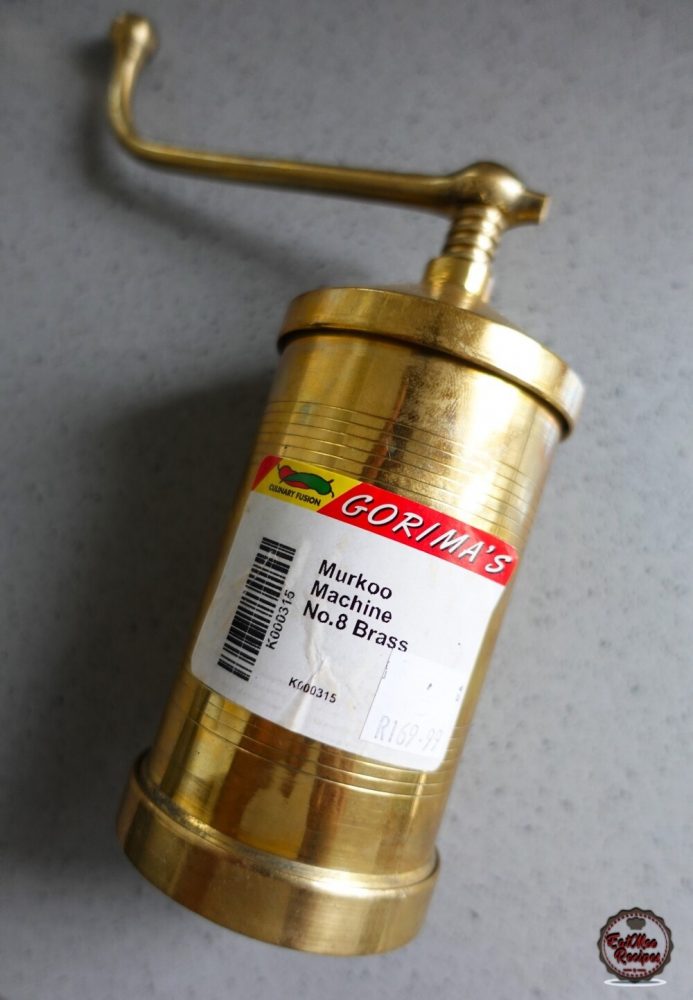
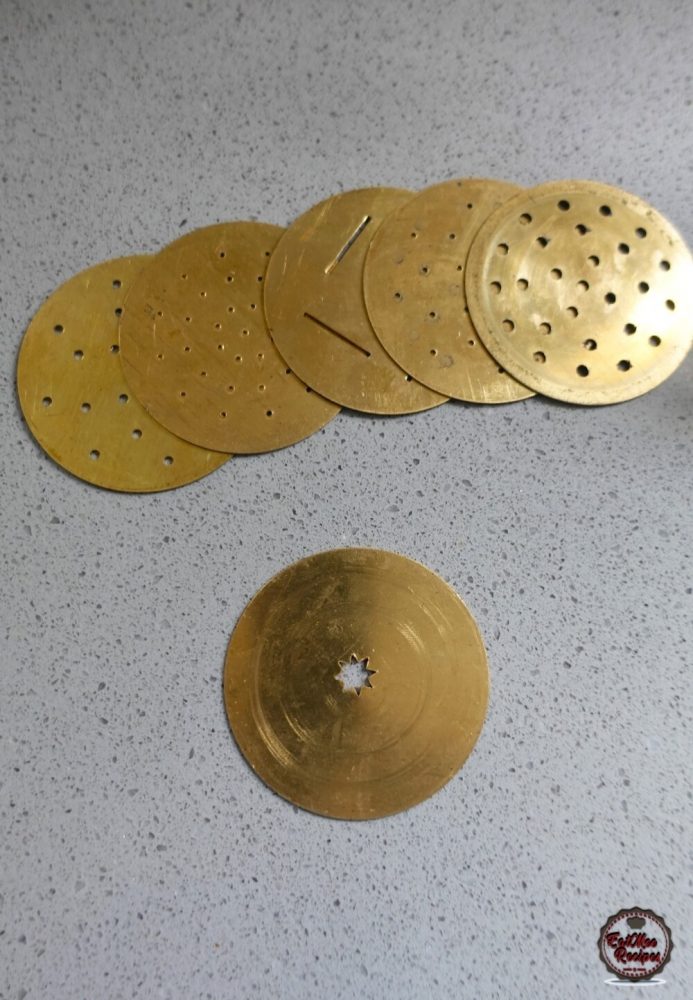
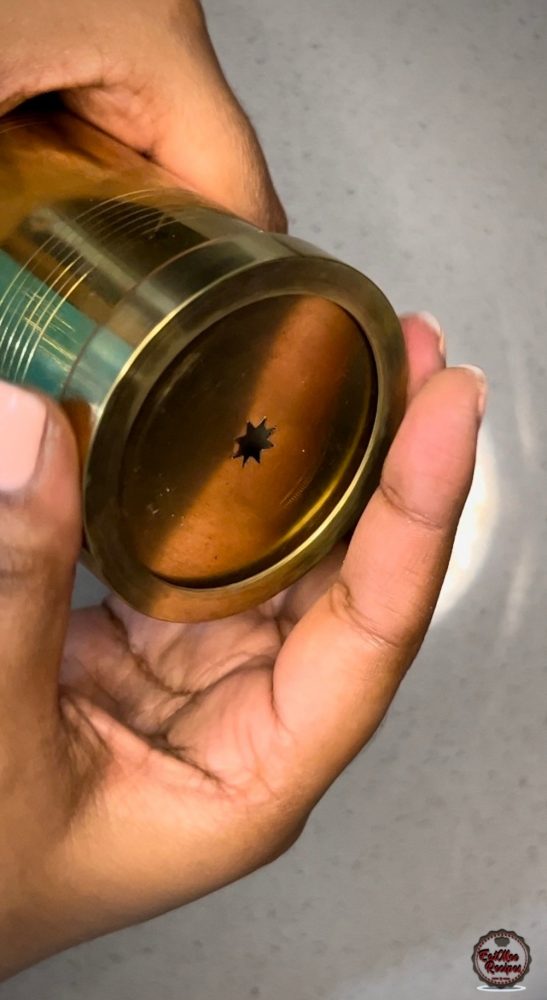
The Murukku machine uses different discs but for this specific recipe, we are using the star shaped hole.
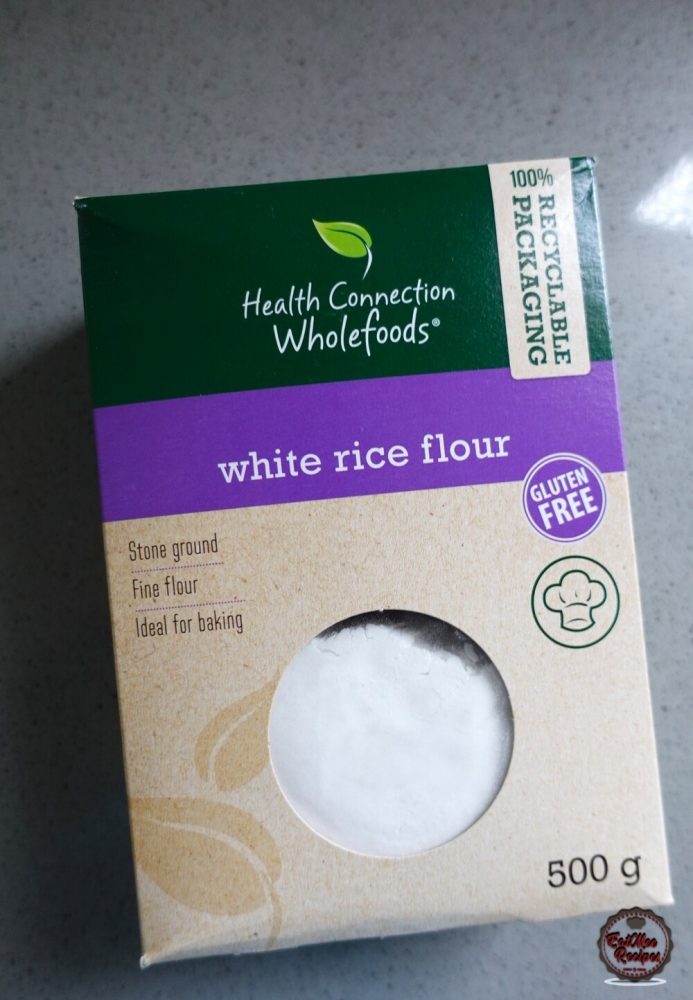
For this recipe I used rice flour, this can be found at any Indian spice store. Be sure to get it from spice stores rather than retail stores as the prices make a huge difference. This one from Gorima’s was R24.99 for 1kg.
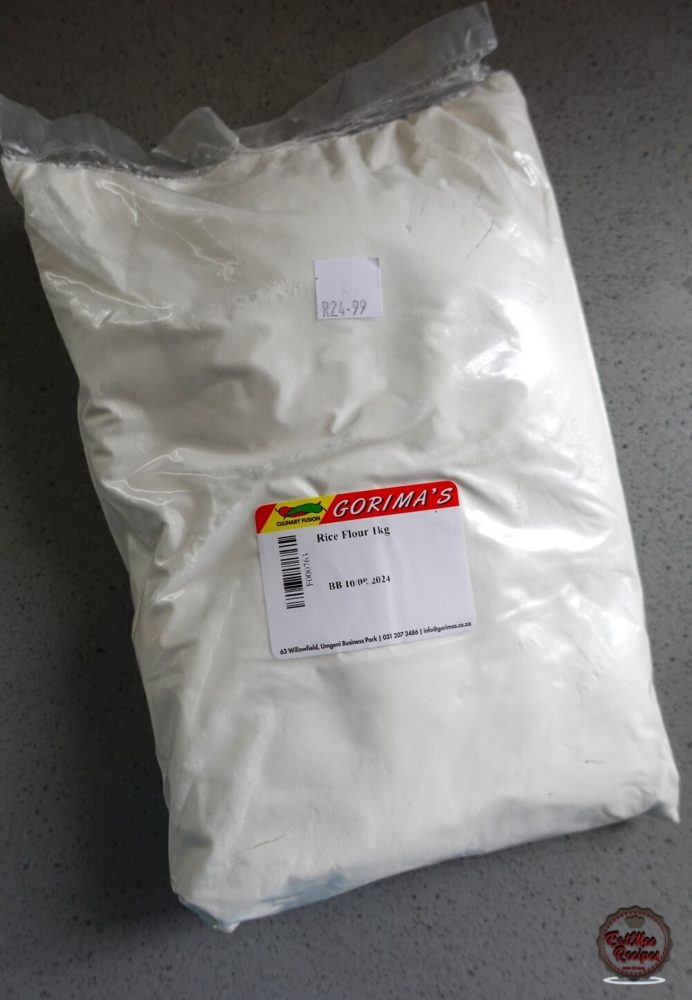
If you absolutely cannot get it from a spice store then you can get it from grocery stores. I paid R49.99 for 500grams.
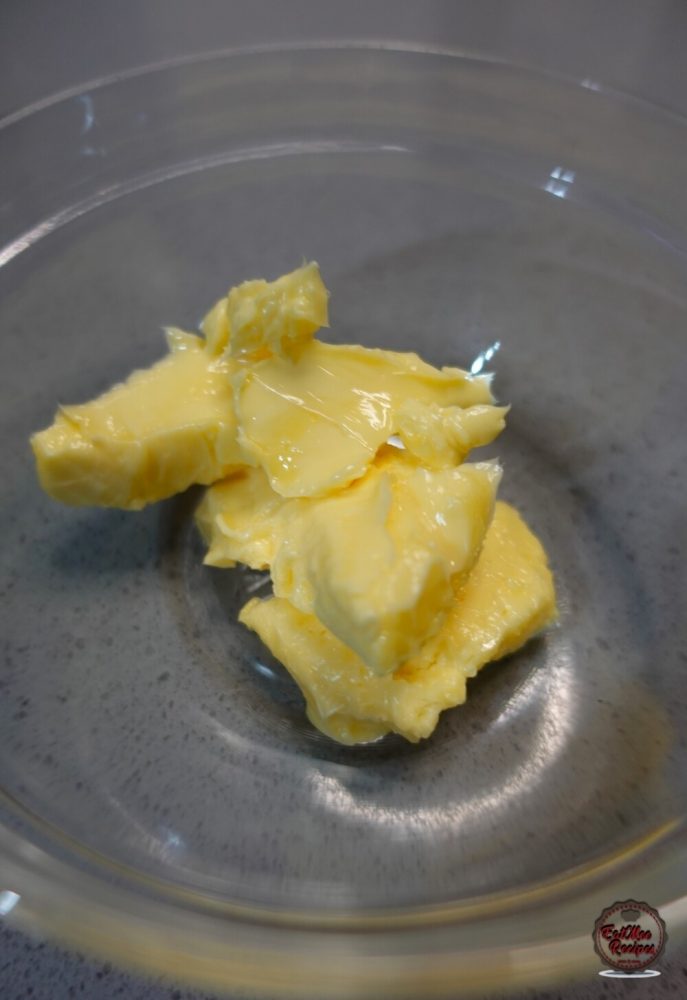
Add the butter to a microwave-safe bowl.
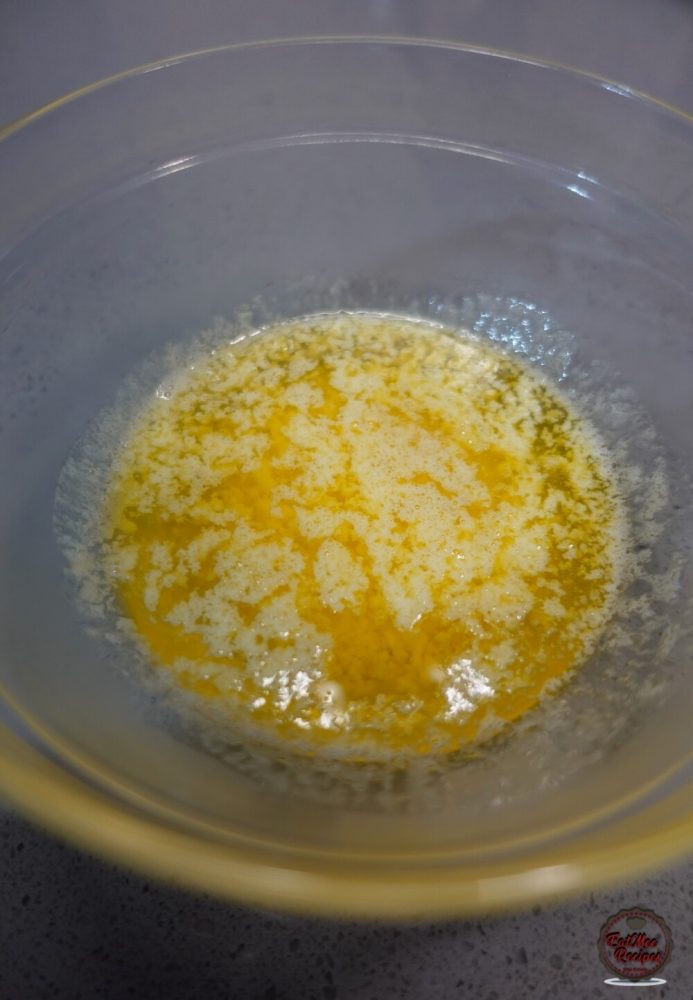
Heat in the microwave for 30 seconds or until the butter has melted & set aside to cool for a bit.
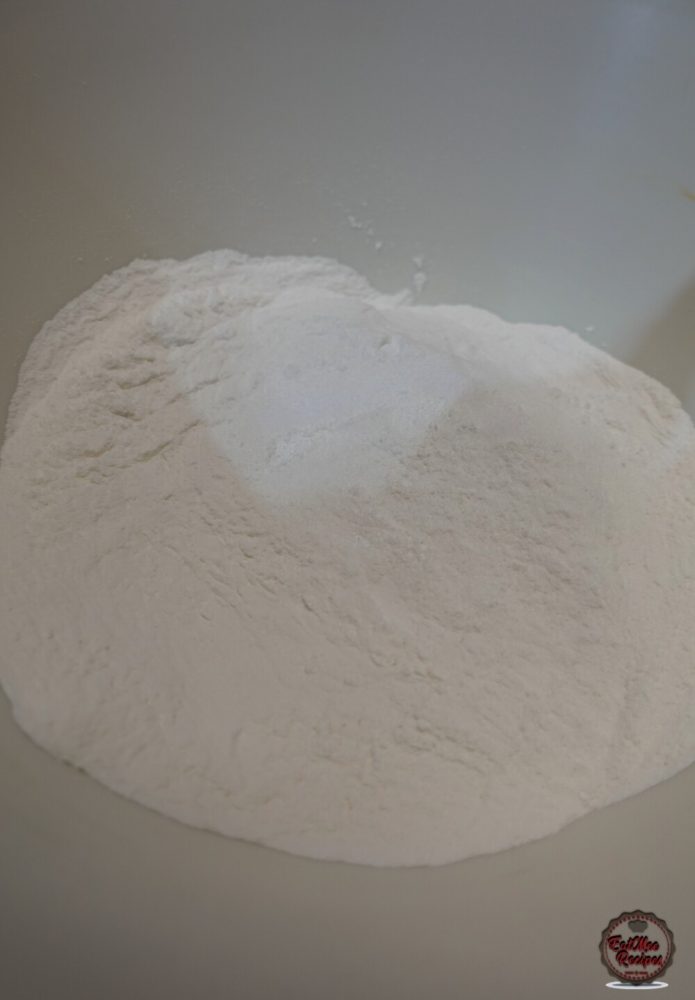
Add the rice flour, baking powder, bicarbonate of soda & salt to a mixing bowl.
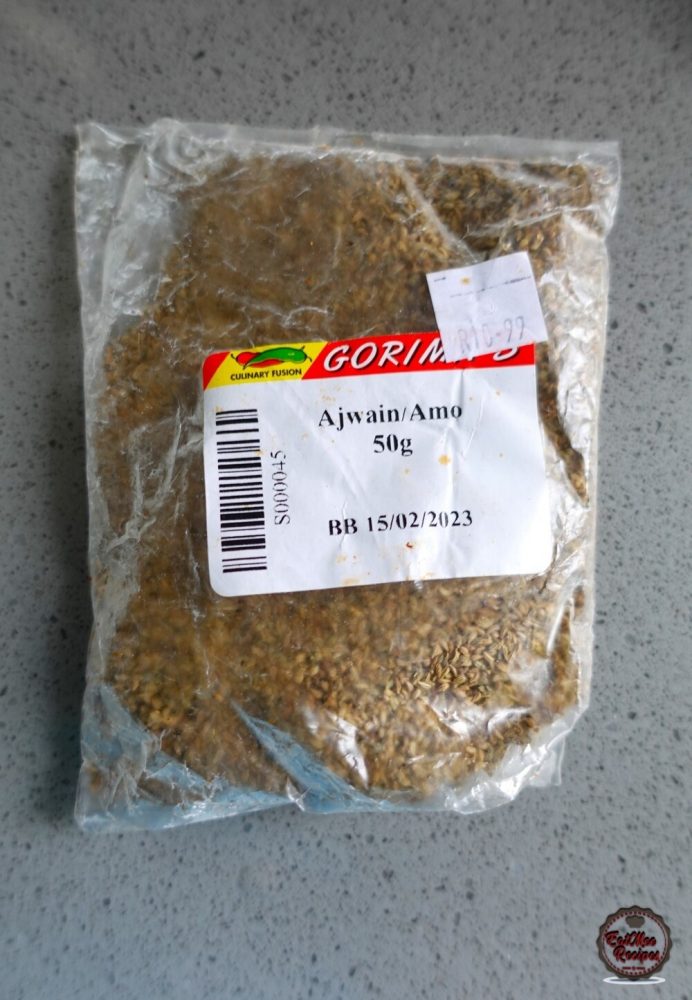
To the rice flour, add in the carom (ajwain) seeds, cumin (jeera) seeds & white sesame seeds (thill). Again, your local spice store should have all of these.
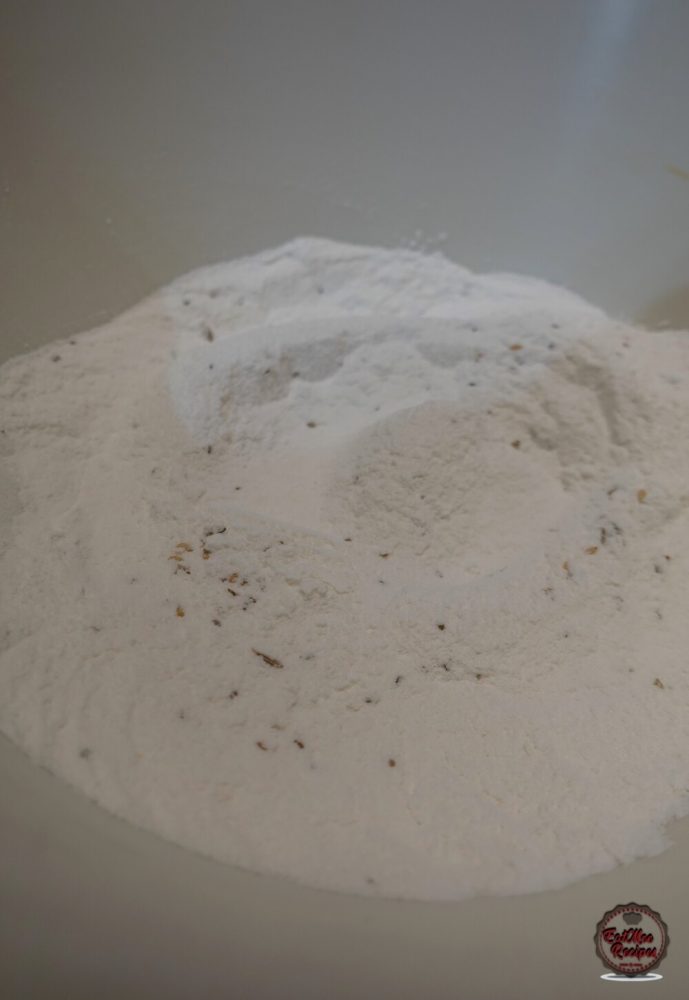
Mix the dry ingredients.
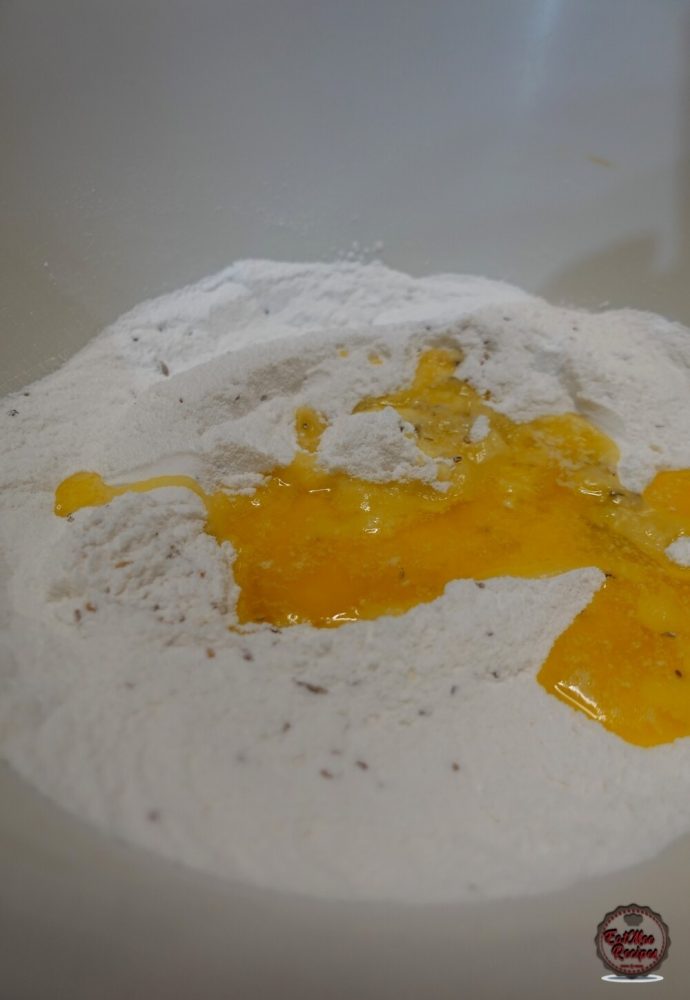
Add in the melted butter.
Next, pour in ½ cup of water at a time, stirring after adding it in. Do not add all the water at one go as the rice flour is very fine & absorbs the water very fast. Make sure the measurement of water is correct or else the mixture will end up in a paste if too much water is added.
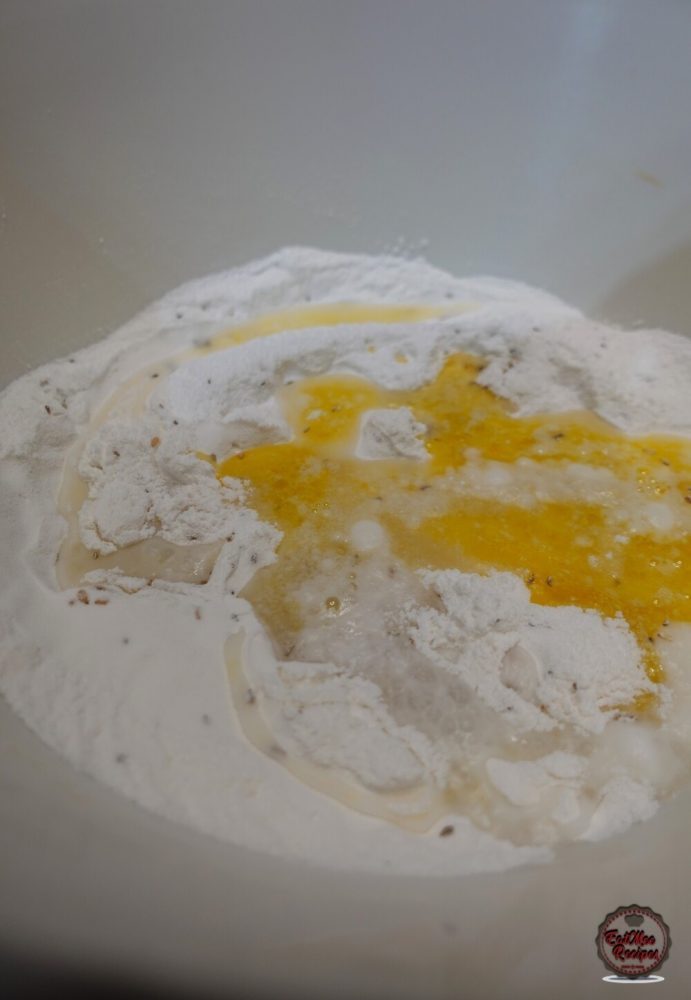
The mixture should have a dough like consistency.
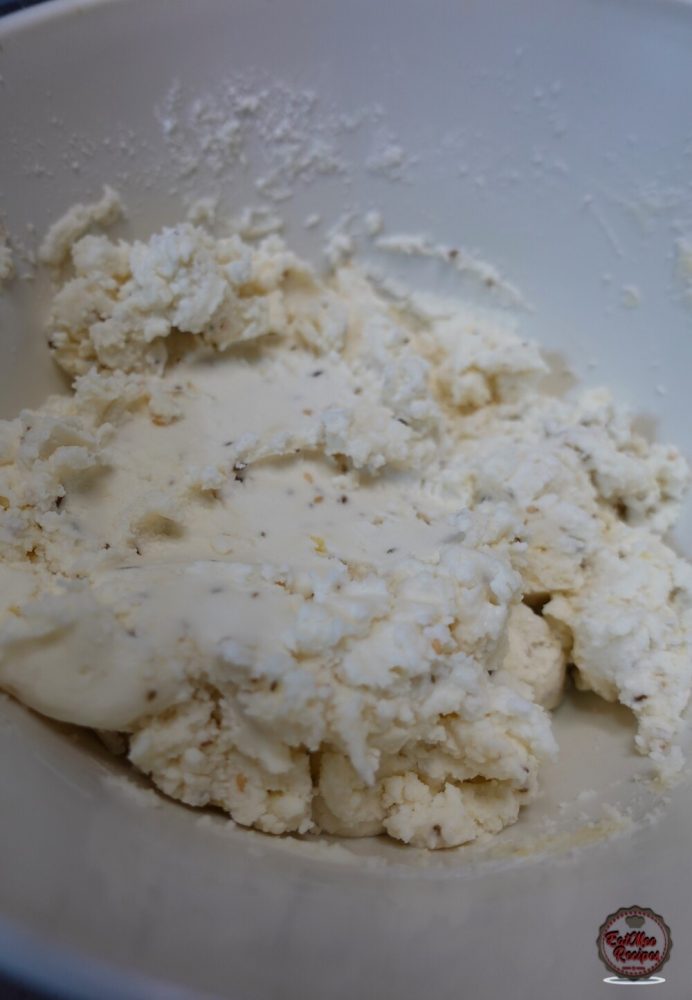
Use your hands to bring the dough together.
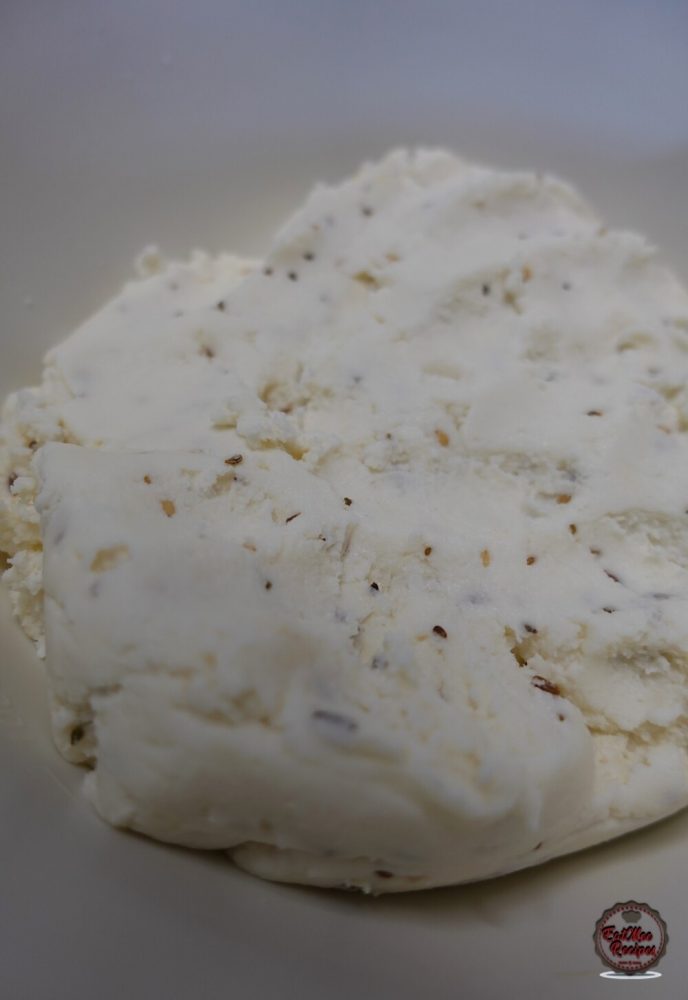
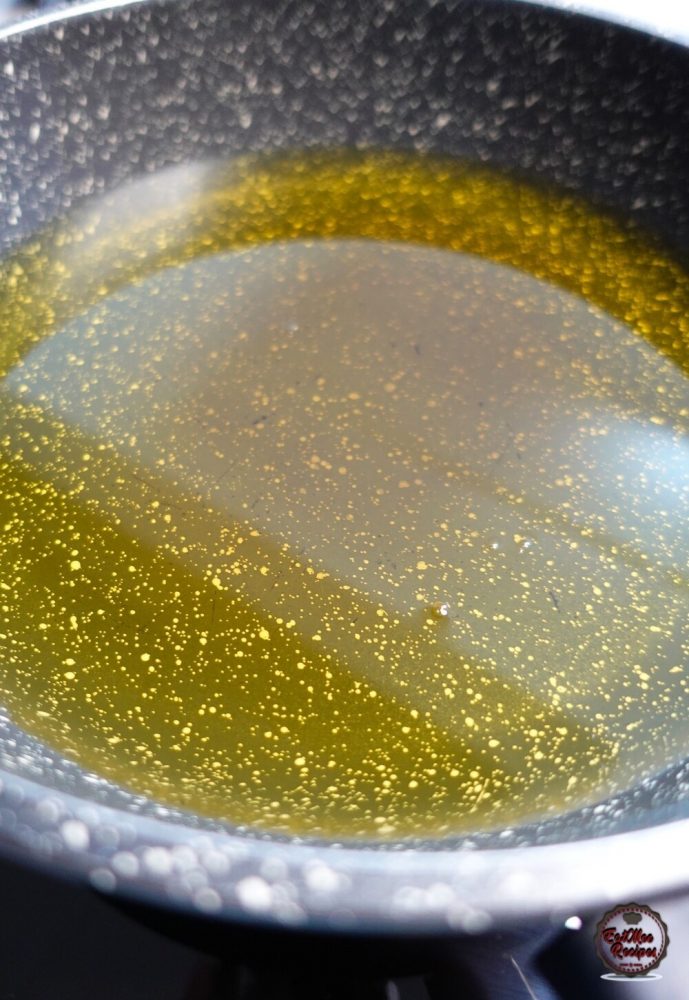
Now that the dough is ready, pour enough vegetable oil to a pot for deep frying. Place on the stove-top & keep the heat on medium.
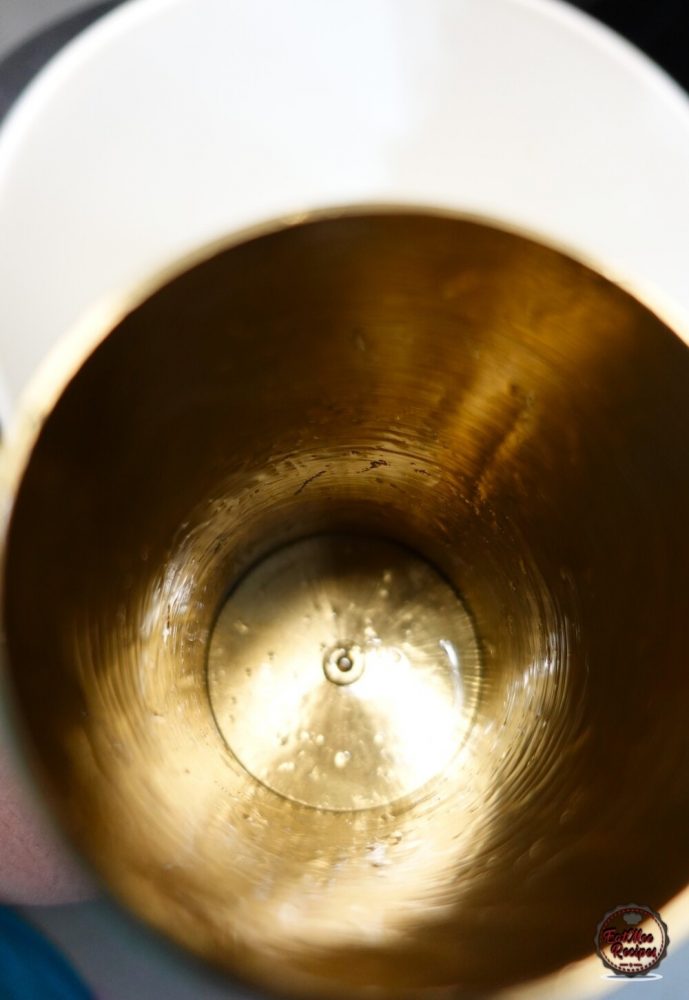
Brush some vegetable oil inside the Murukku machine – this is where the dough will be added.
Shape some of the dough with your hands into a cylindrical shape.
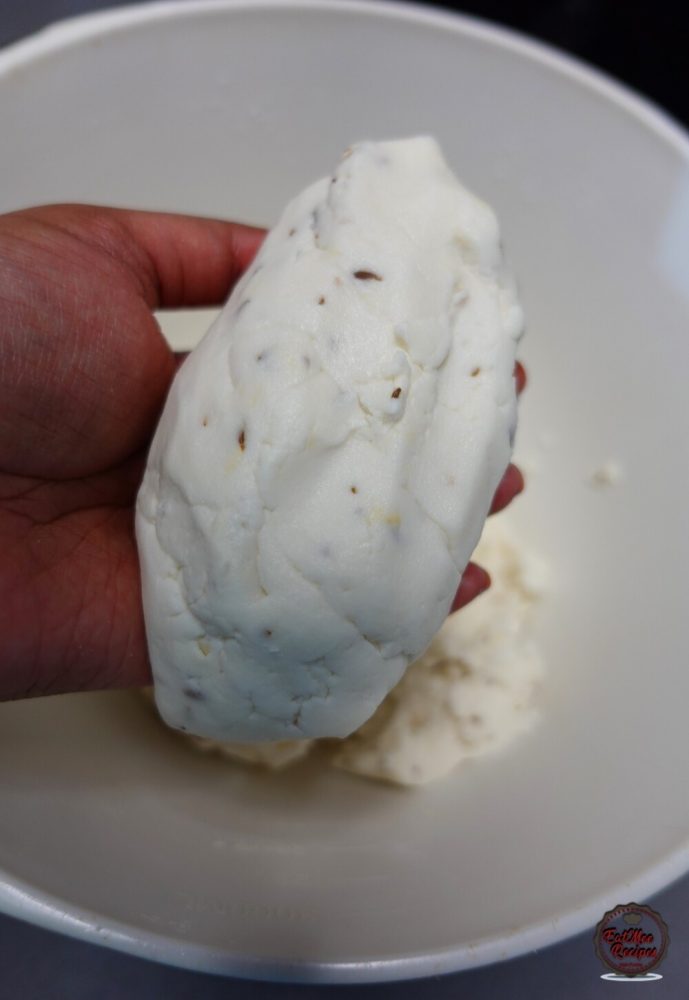
Place the shaped dough inside the Murukku machine.
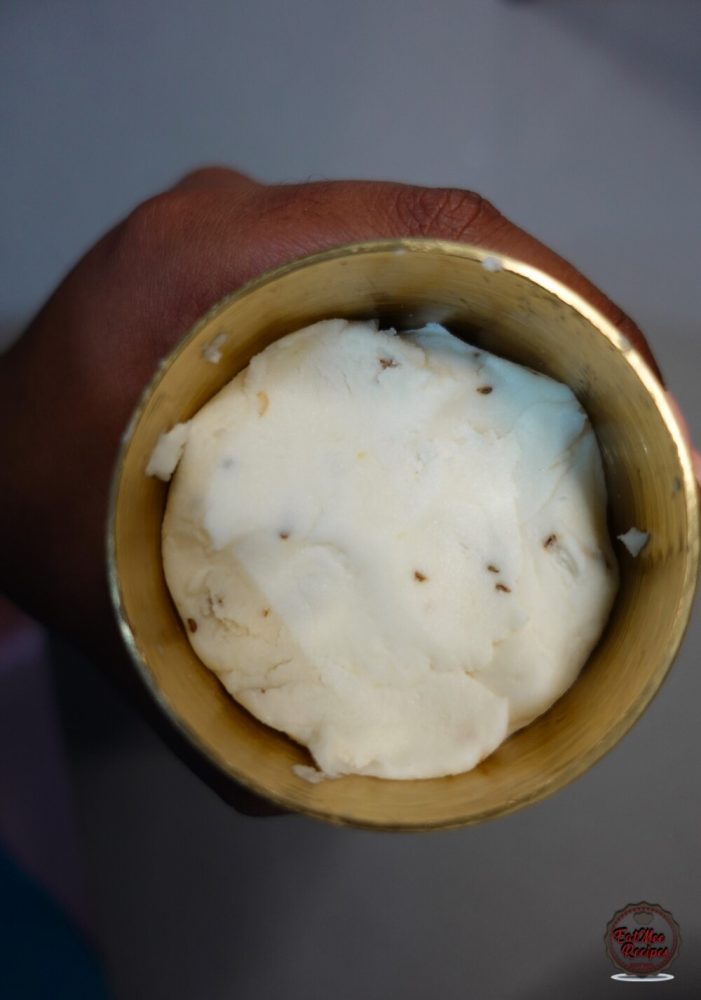
Using the star press, secure it & the bottom of the machine.
Place medium sized pieces of wax paper on a surface & begin piping the dough out. Turn the top long handle & move in rounds to get the concentric circles or spirals on the paper squares.
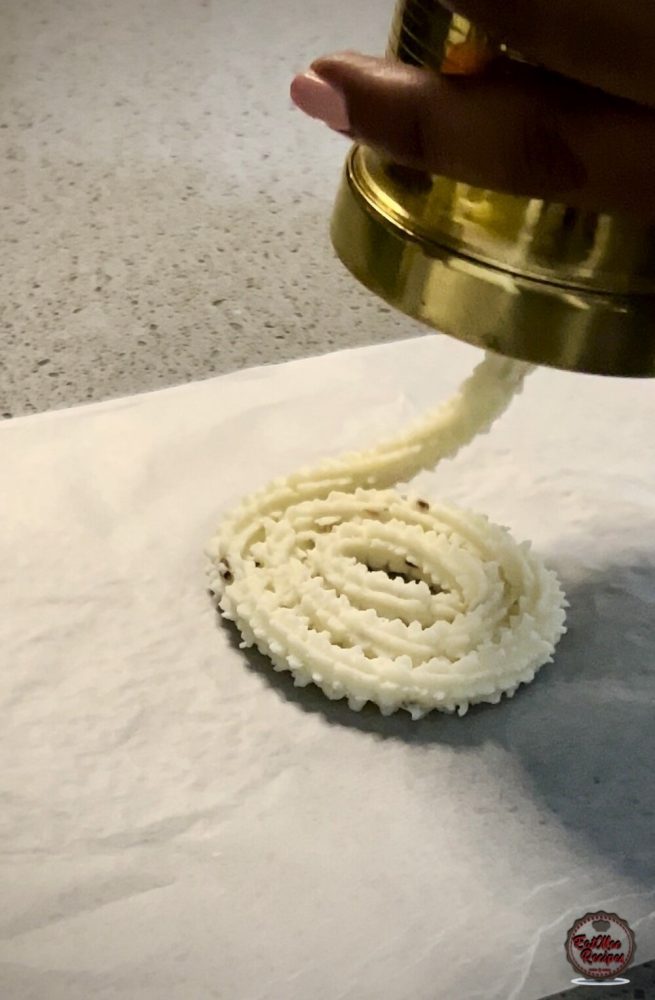
Be sure to keep the spirals as close as possible & press the ends into the shape so that they don’t fall apart when deep frying.
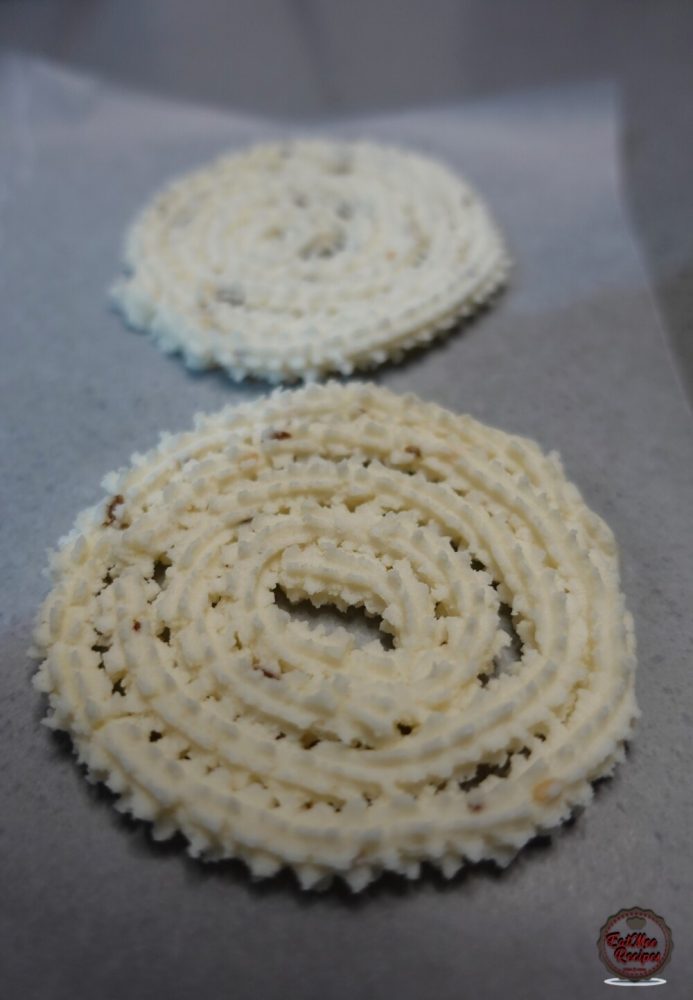
If you pipe them directly onto your counter, it will be difficult to pick them up without ruining the shape hence why I recommend piping them on wax paper.
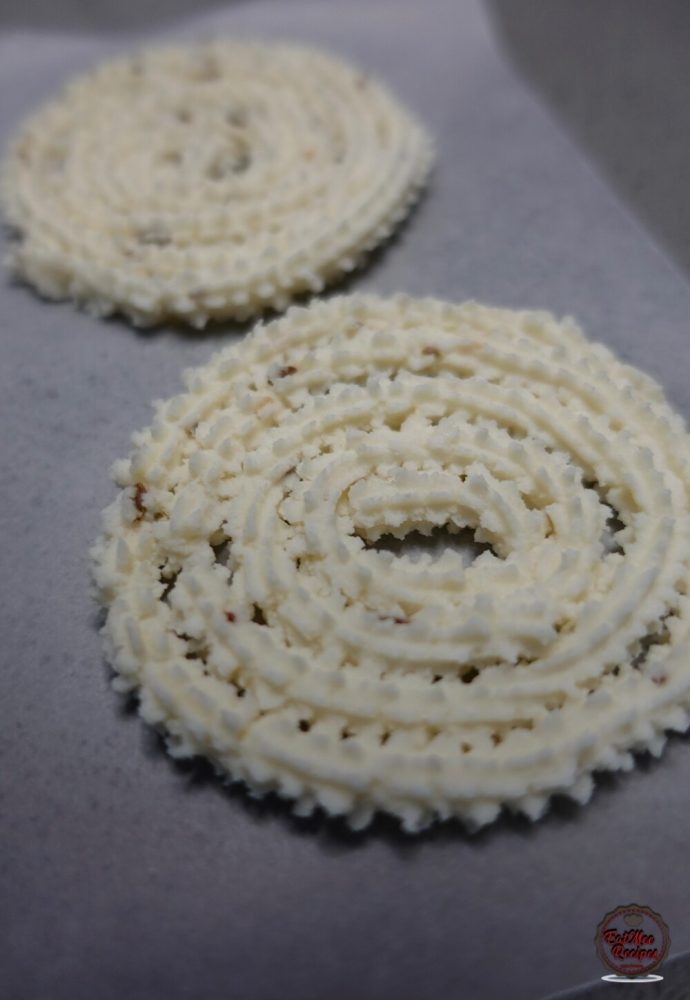
Once the Murukku’s have been piped, it’s time to fry them. Pick up the wax paper & carefully flip it over onto your other hand.
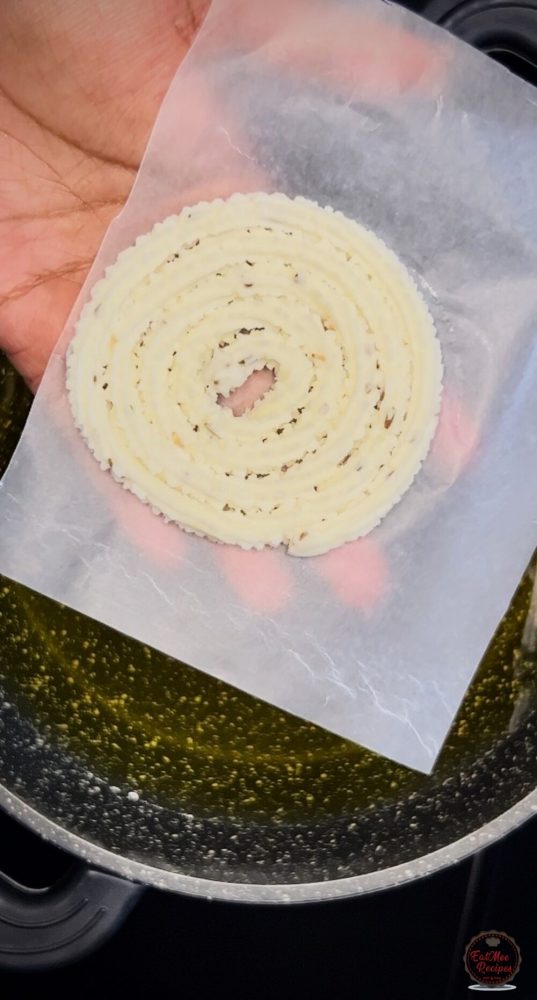
Try to place it more onto your fingers rather than your palm as it will make it easier to place them into the hot oil.
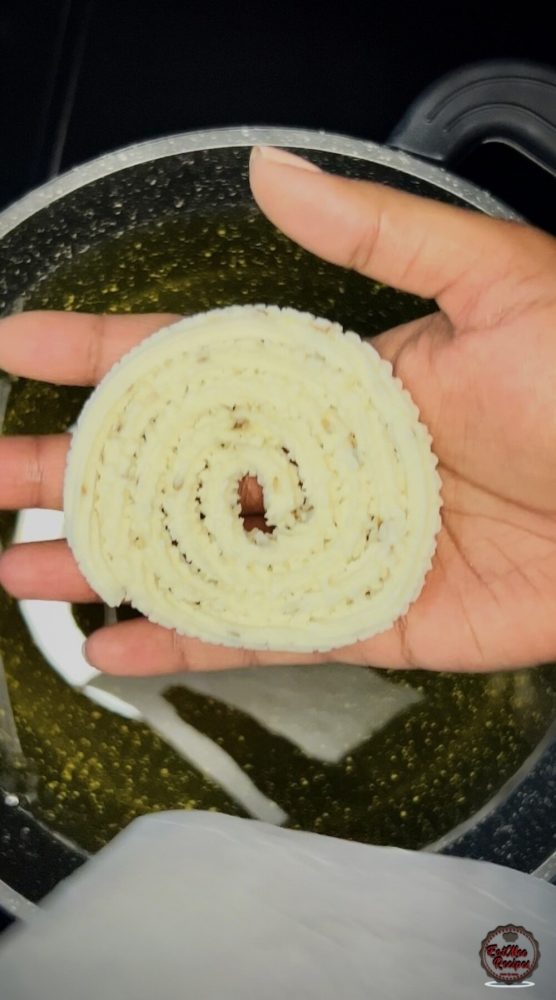
Carefully place it into the hot oil & continue adding them in to fill the pot. Do not place them over each other, place them side by side & allow them to fry.
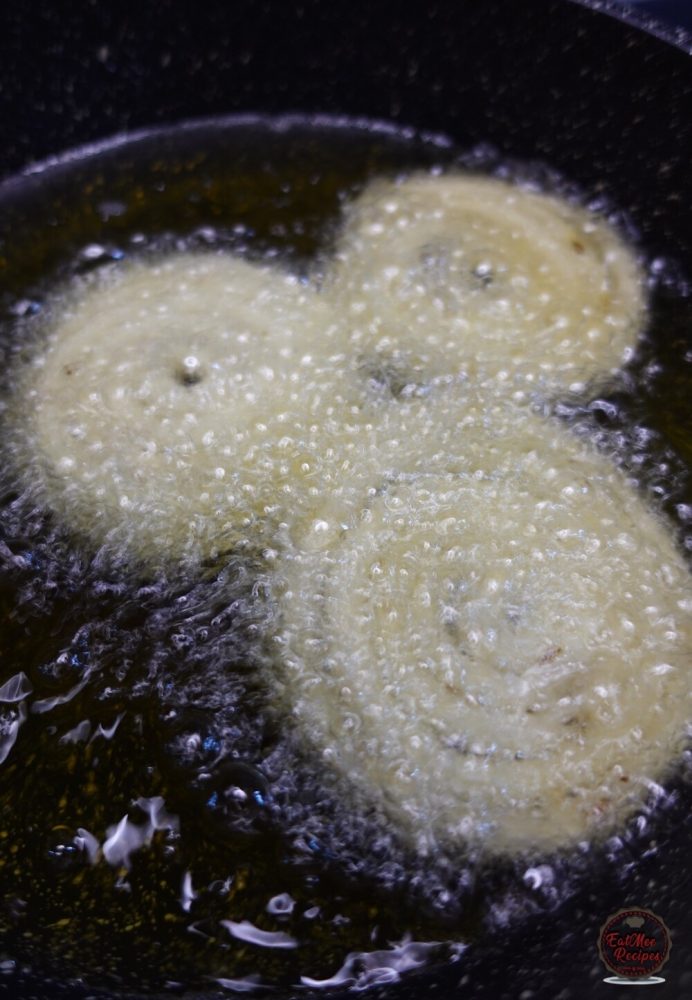
After a few seconds, they should start to float to the top.
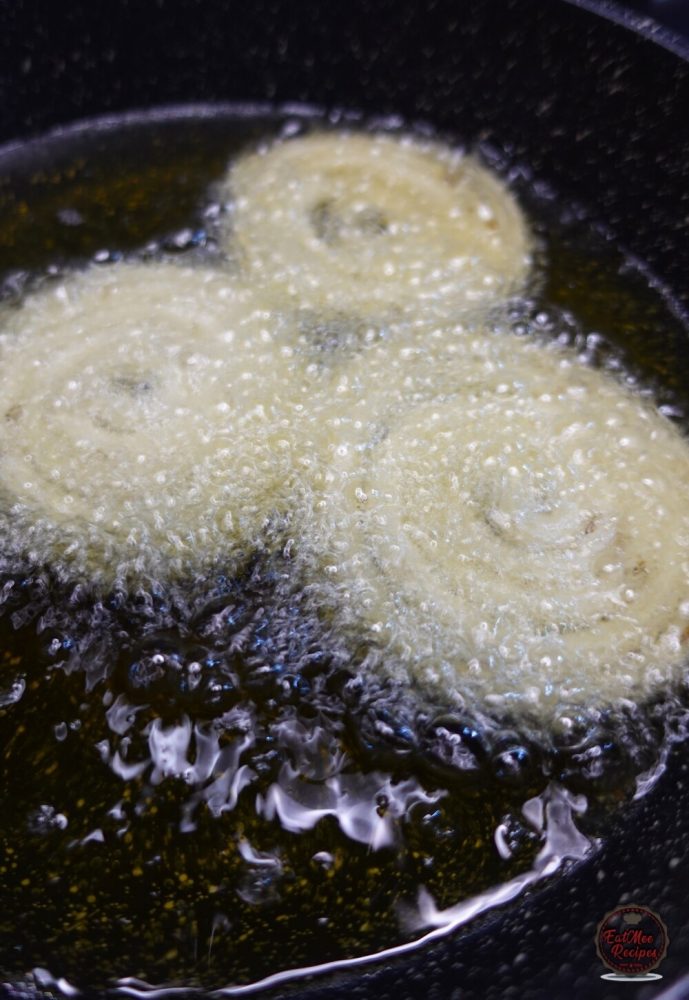
Fry them for 10-12 minutes on medium heat until they are lightly browned. After 5 minutes, flip them using a spoon. If the heat is too high, they will get too brown & won’t be cooked inside.
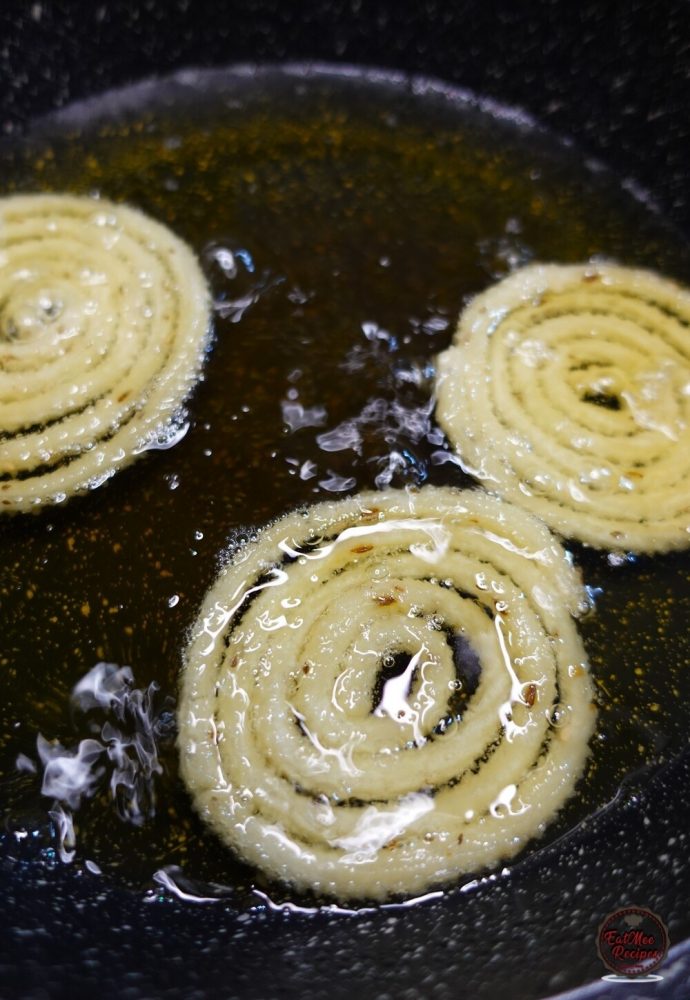
Once they have fried, remove from the oil with a slotted spoon & drain them on paper towel.
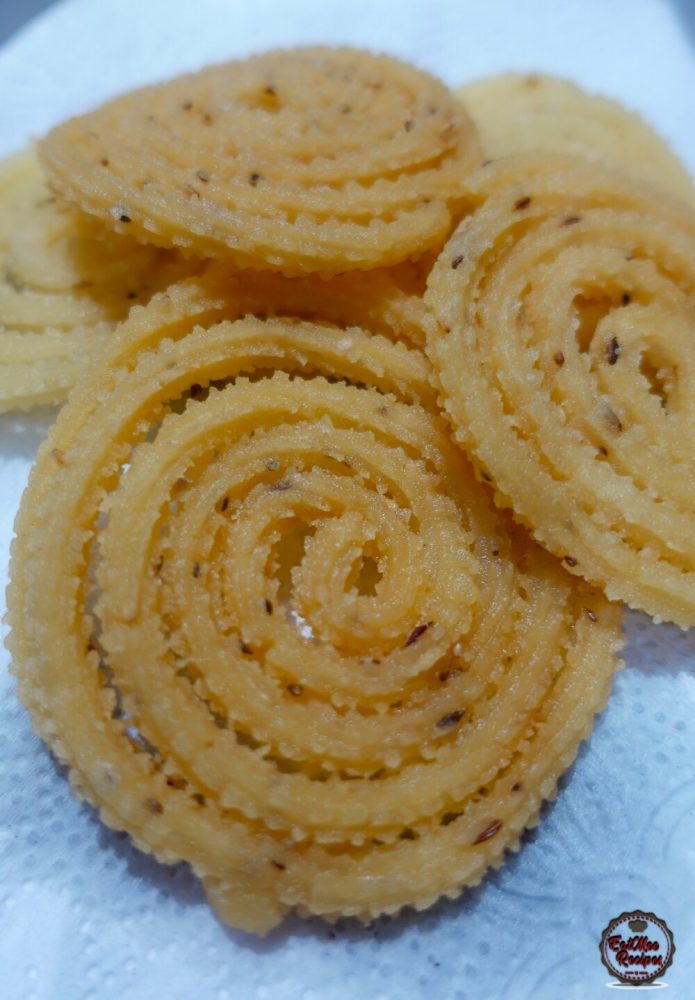
Continue frying them & draining them as you go.
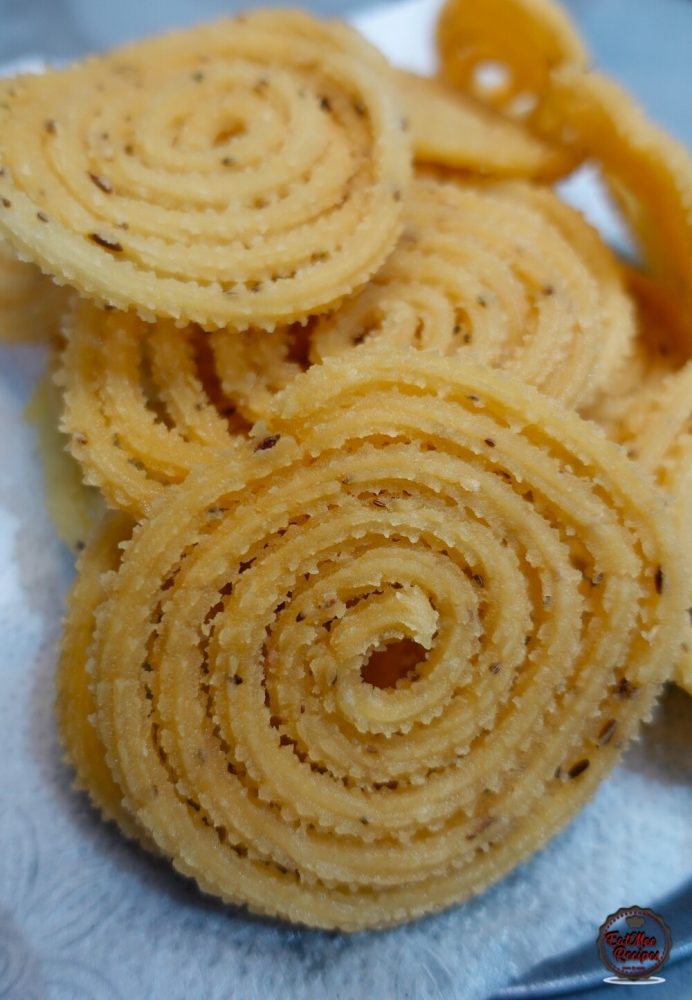
Once all the Murukku’s are fried, they are ready to be enjoyed.
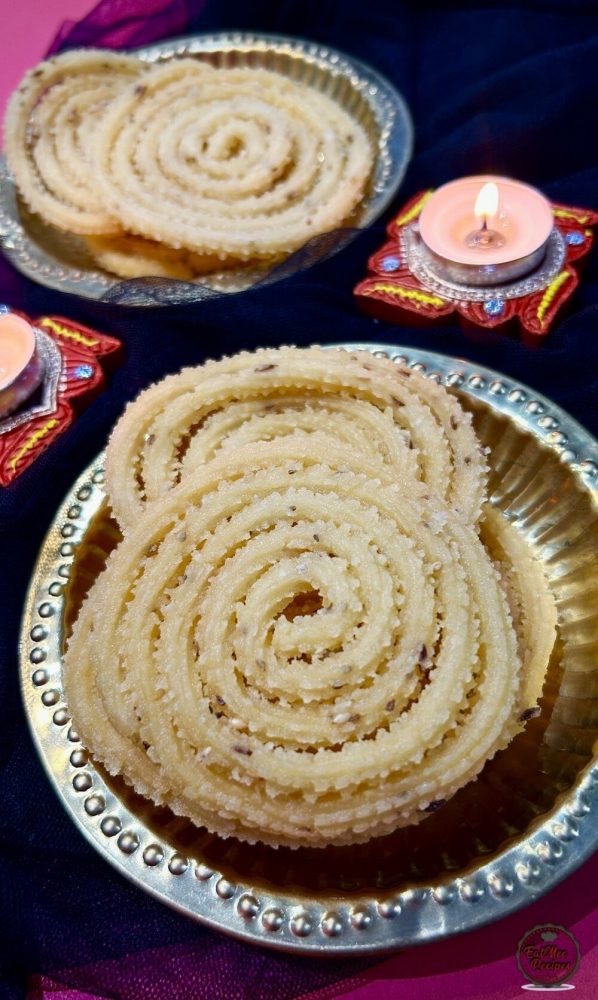
I promise, these are super tasty & super crunchy, this recipe is definitely going to be your go to the next time you crave a Murukku.
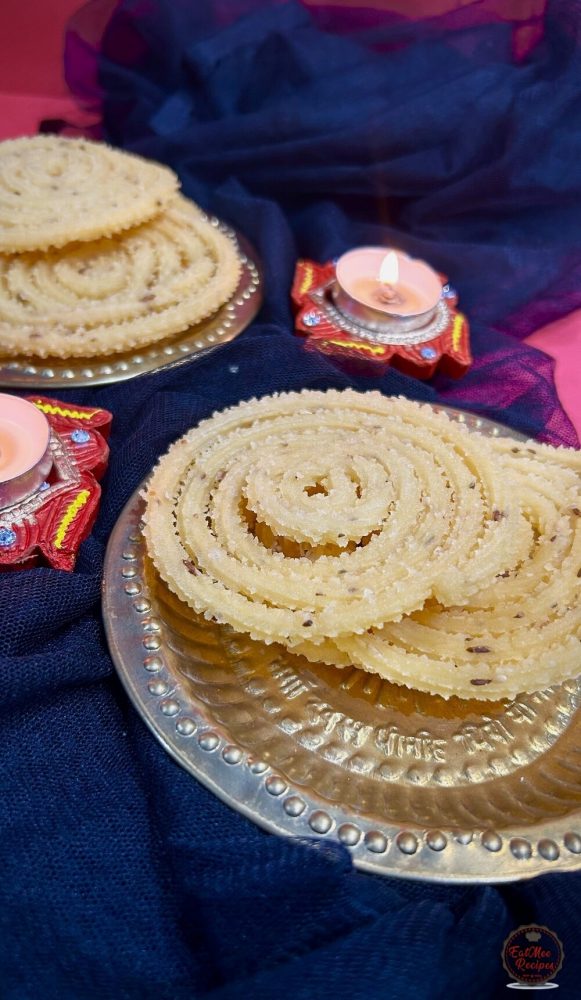
Store them in an airtight container for up to a month.
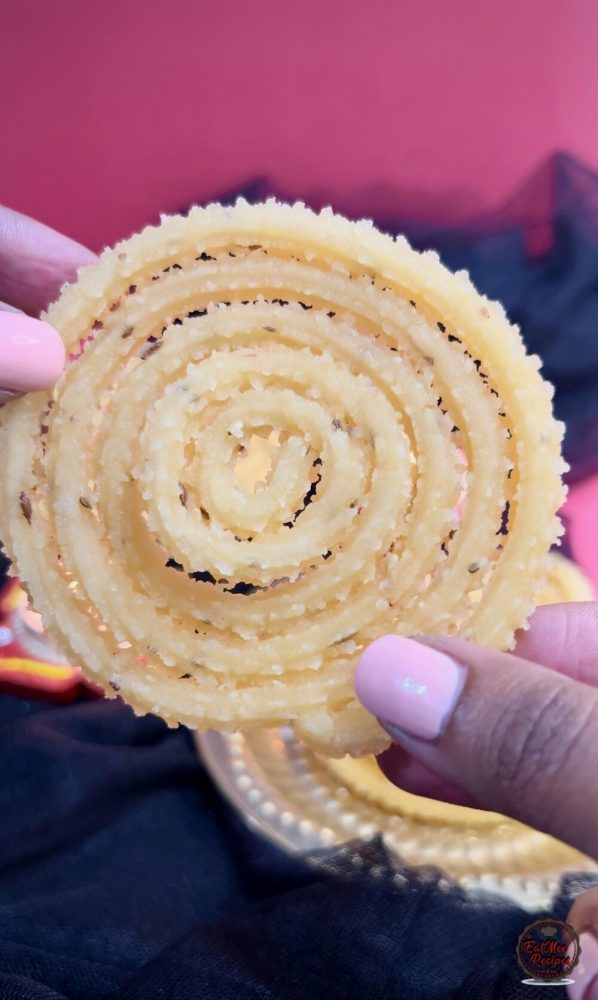
Follow along with Denisiya's step-by-step video guide for Murukku.
Expert kitchen guidance and troubleshooting for making the best Murukku
Absolutely! You can easily tailor the heat by increasing or reducing the chili powder and fresh chilies to suit your family’s palate without compromising the authentic flavor profile.
Yes, you can freeze Murukku in an airtight, freezer-safe container for up to 2 to 3 months. Thaw overnight in the refrigerator before gently reheating.
Reheat gently on the stovetop over low heat with a splash of water, or in the microwave covered with a damp paper towel to retain moisture.
Hi, I'm Denisiya! Food lover, recipe developer, and founder of EatMee Recipes. I specialize in authentic South African Durban Indian cuisine, comforting curries, and modern Instant Pot adaptations. Every recipe on this site is tested in my personal kitchen to ensure you get mouth-watering, foolproof results every time.
Explore more authentic Durban curries, traditional bakes, and comforting family favourites.
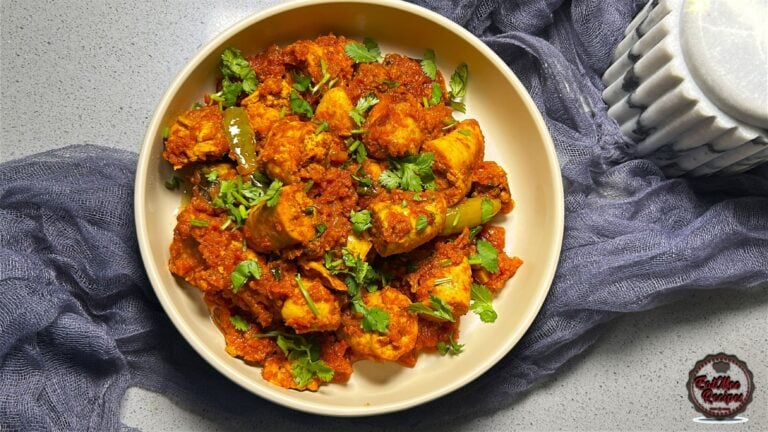 Indian Cuisine
My mum is sharing another one of her much-loved traditional South African Indian recipes. ...
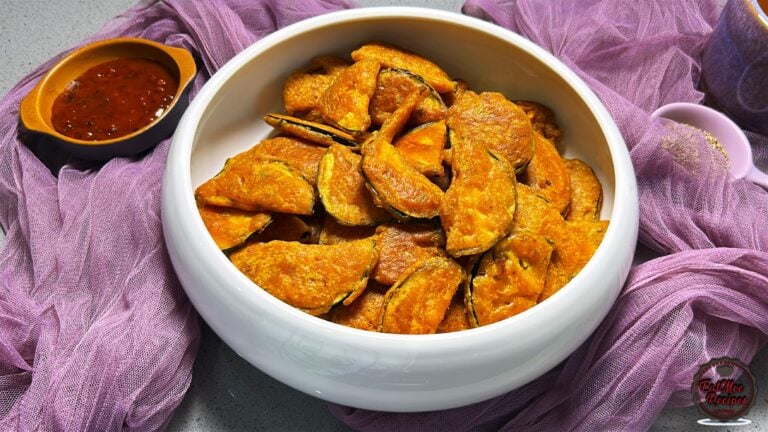 Indian Cuisine
Crispy, golden and delicious, these Brinjal Pakoras are made with thin slices of brinjal c...
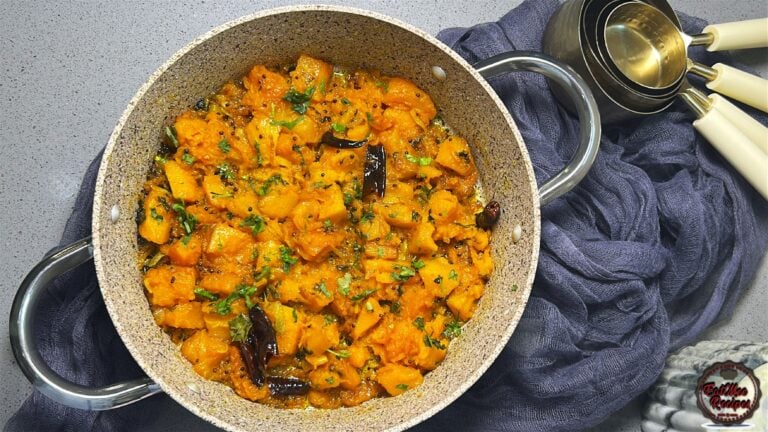 Indian Cuisine
Mum’s Pumpkin Curry is a simple, comforting vegetarian dish that proves you don’t need a l...
Have you tried this recipe or have questions for Denisiya? Join the conversation below.
No comments yet. Be the first to share your thoughts on this recipe!
Leave a Comment
Your email address will not be published. Required fields are marked *