

We Value Your Culinary Privacy
EatMee Recipes uses cookies to provide a personalized browsing experience, analyze recipe popularity, and serve relevant ads. You can review our full disclosure in our Privacy Policy.
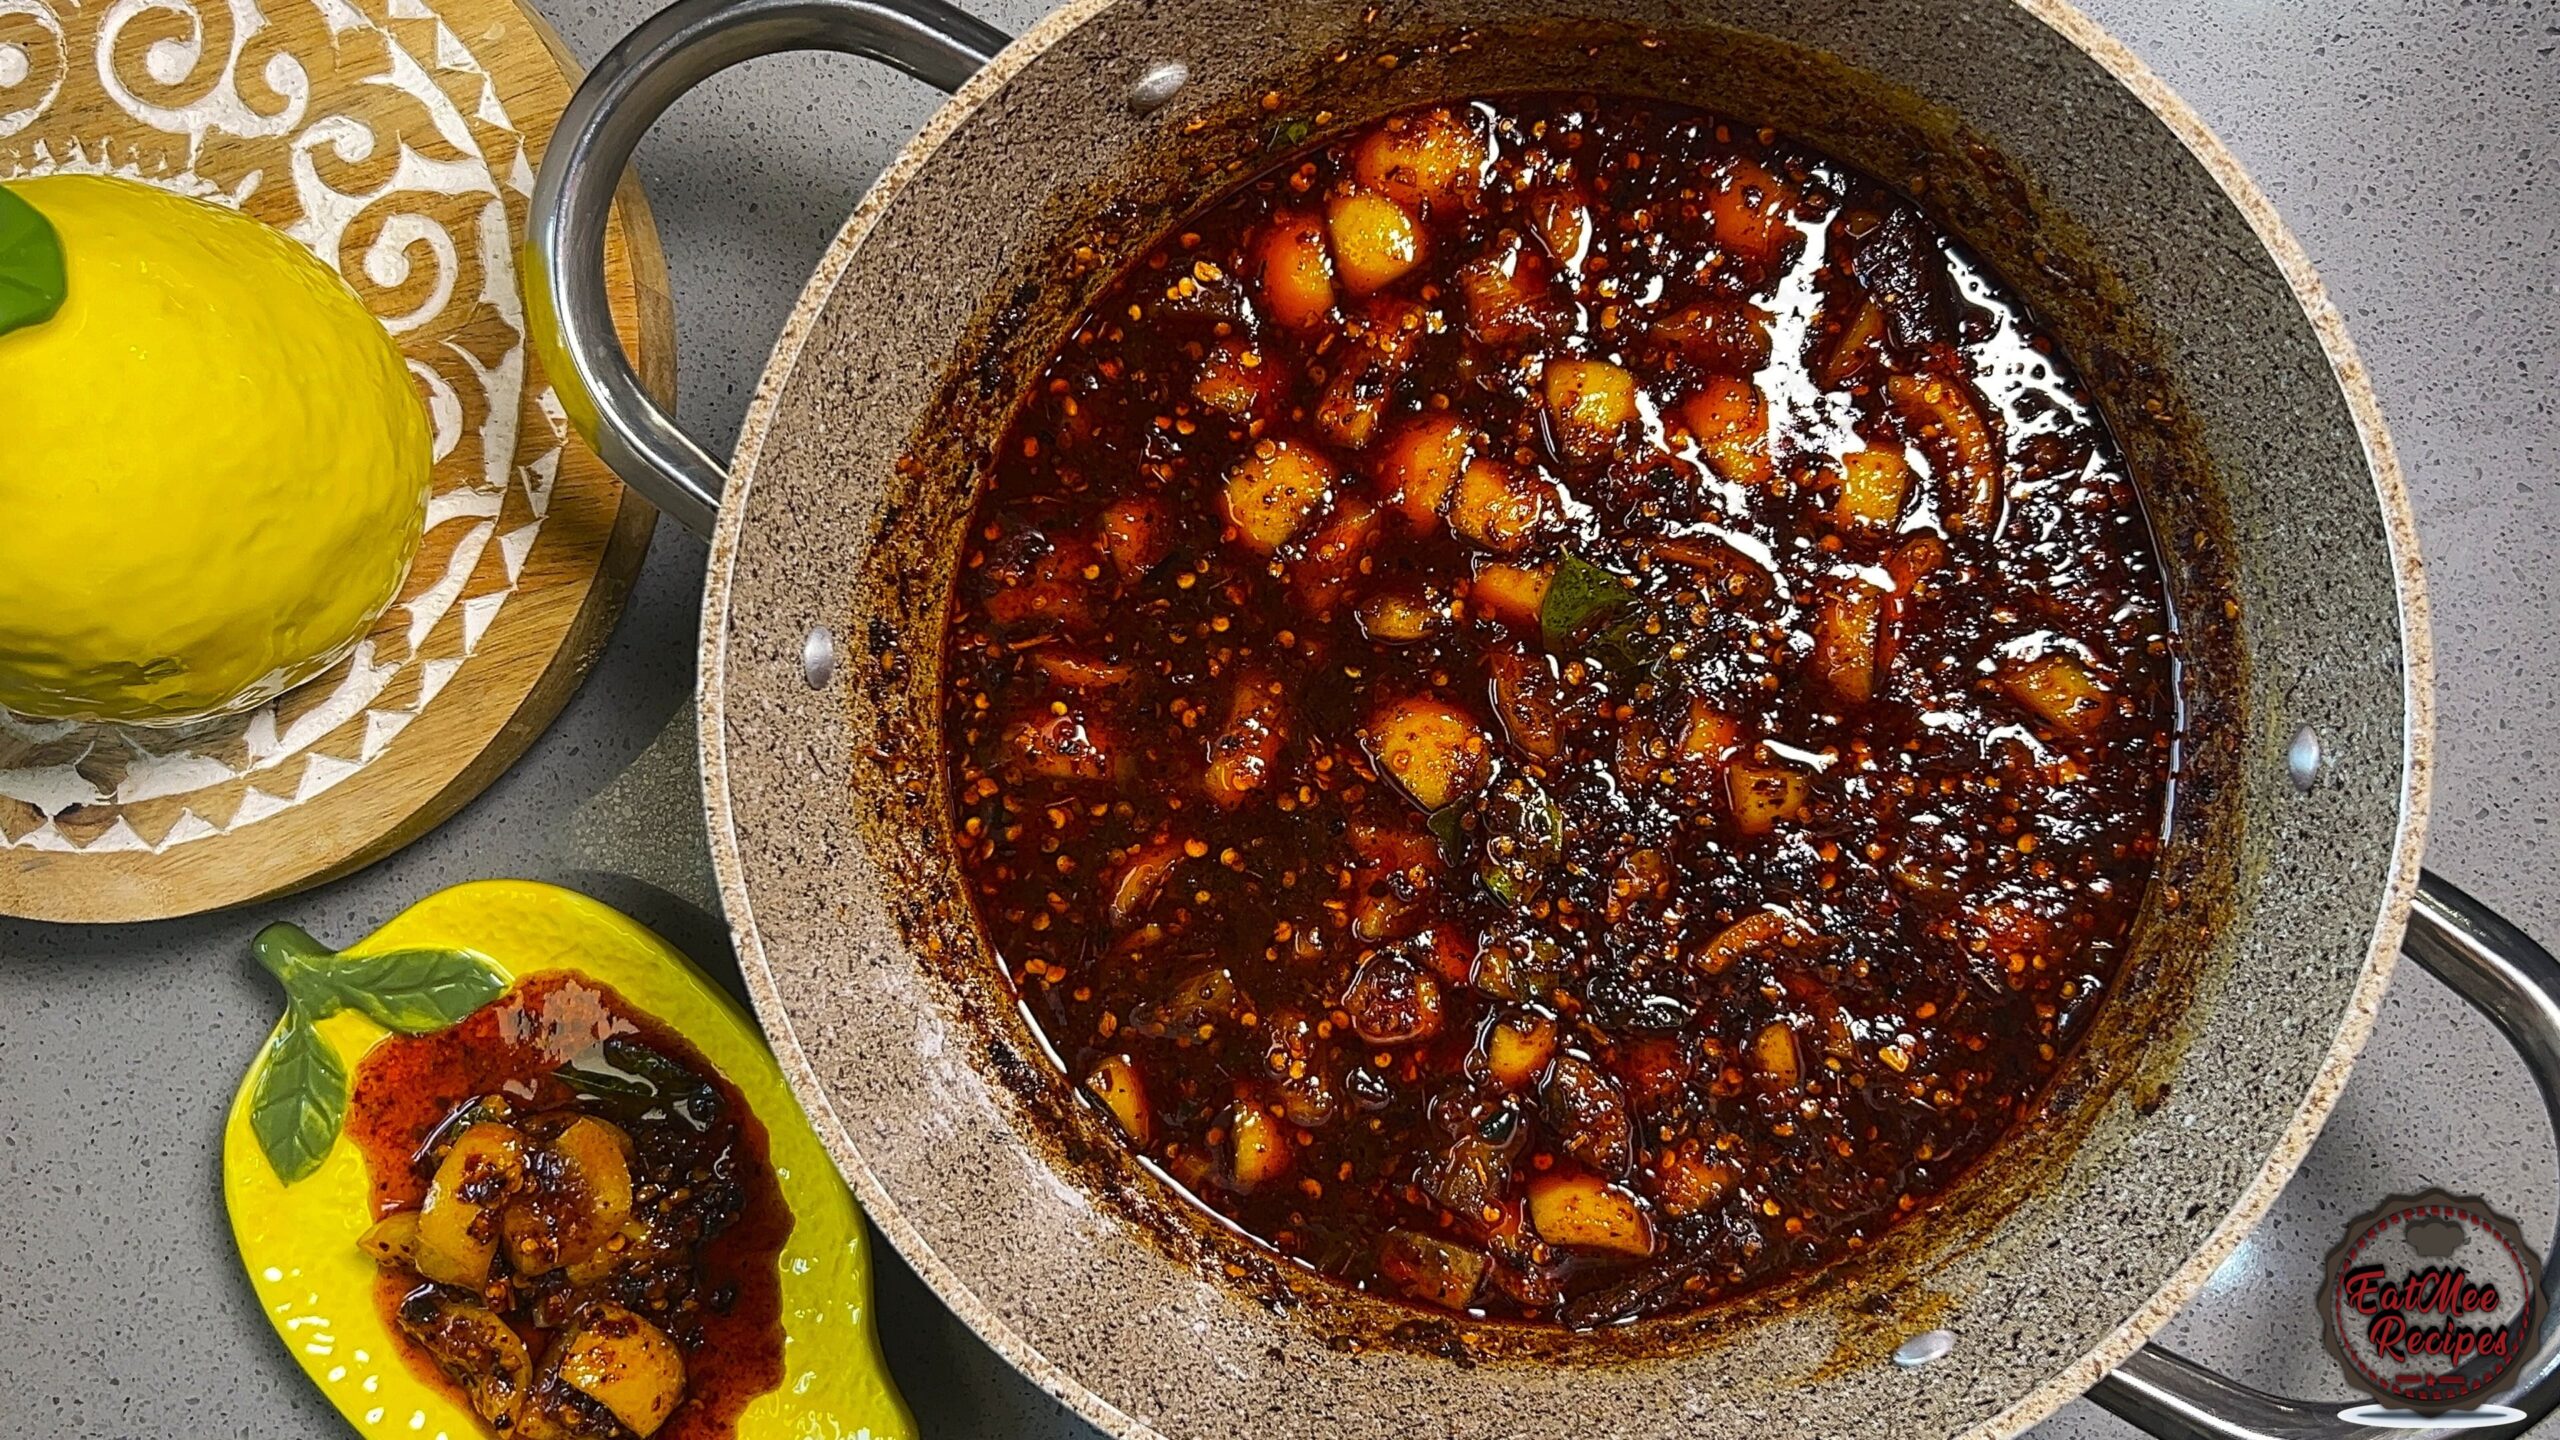
Make authentic Mum’s Lemon Pickle with this foolproof recipe. Packed with rich traditional flavor, step-by-step photos, and cooking tips by Denisiya on EatMee Recipes.

Join over 60,000+ home chefs for weekly authentic Durban Indian cook-alongs, Instant Pot masterclasses, and family heritage recipes.
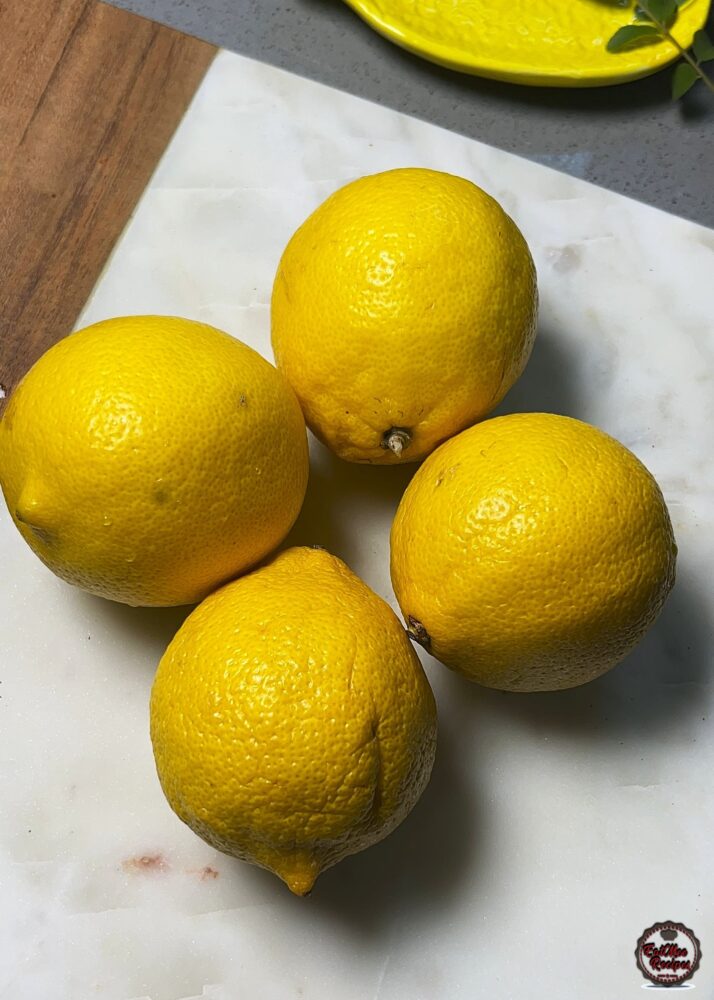
Cut the ends off the lemons, then cut them into small cubes. Remove and discard all the seeds.
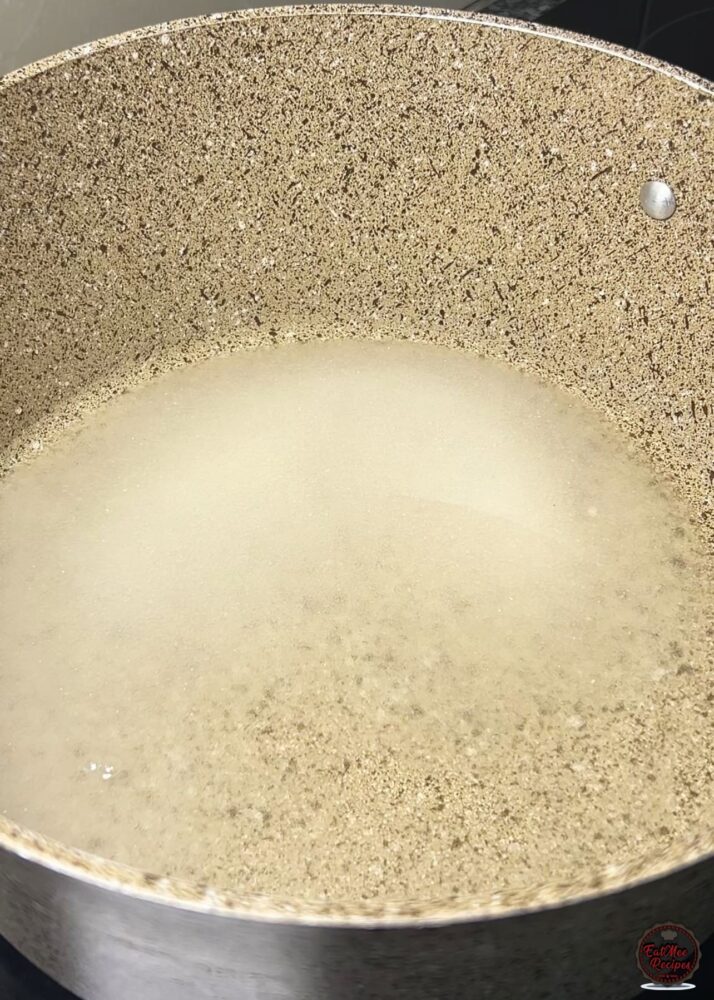
Add the sugar and water to a pot over high heat.
Stir until the sugar has completely dissolved.
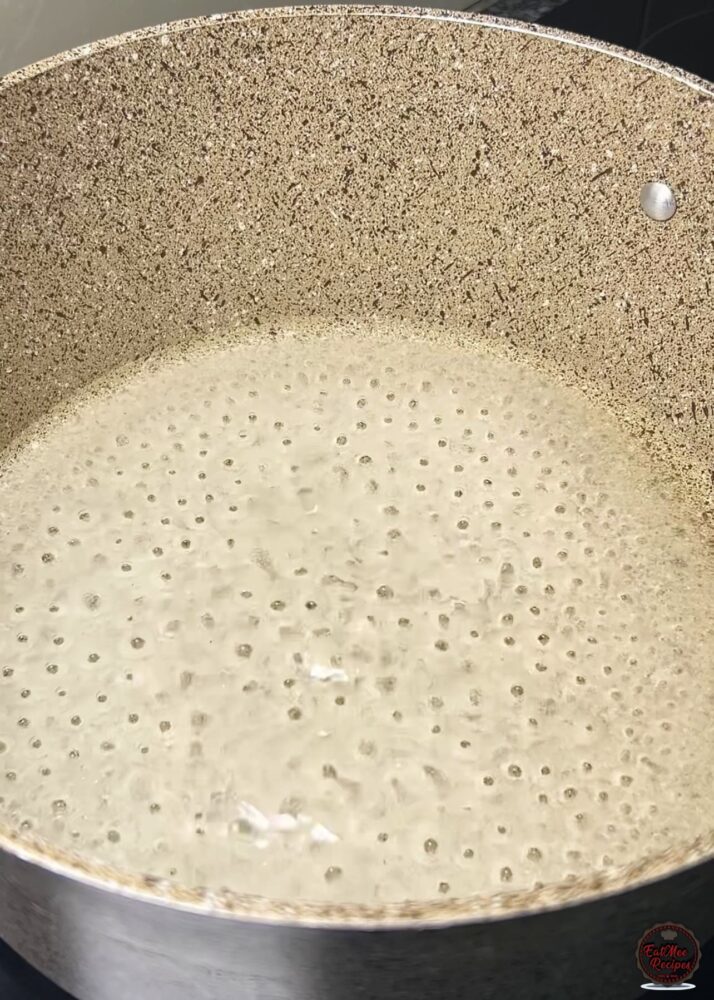
Reduce the heat to low and simmer for 5 minutes, until slightly thickened.
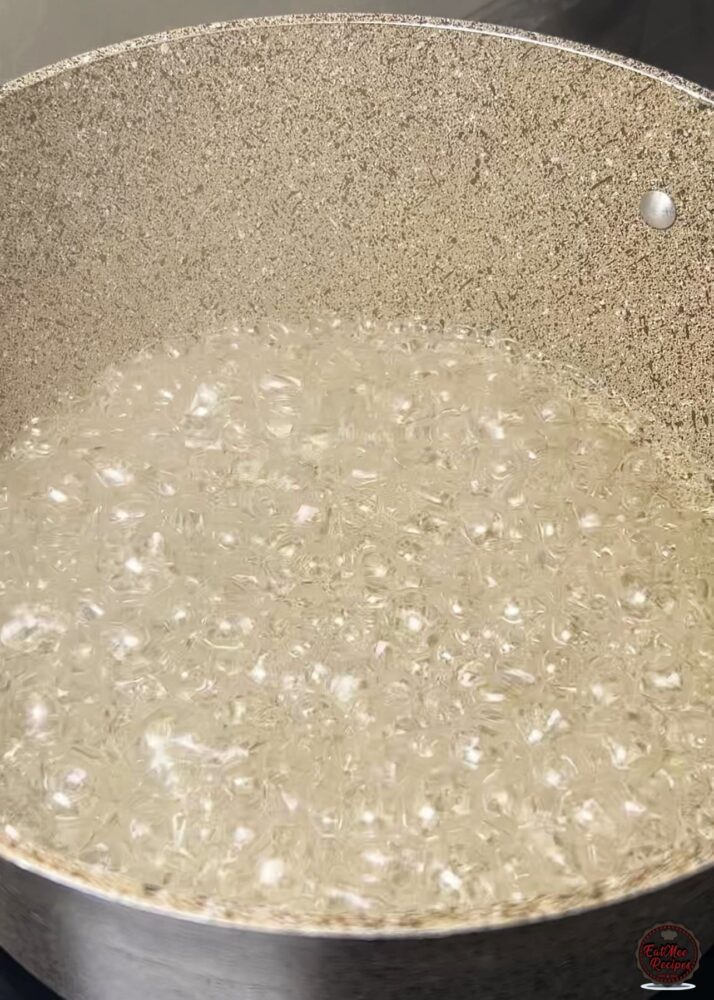
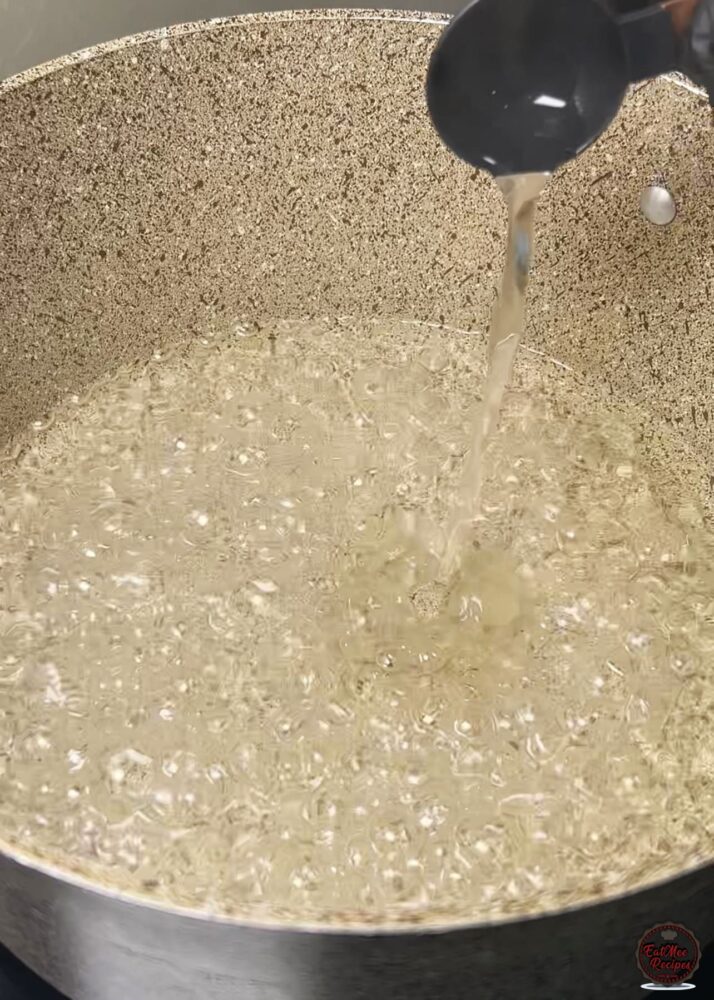
Add the vinegar and mix well.
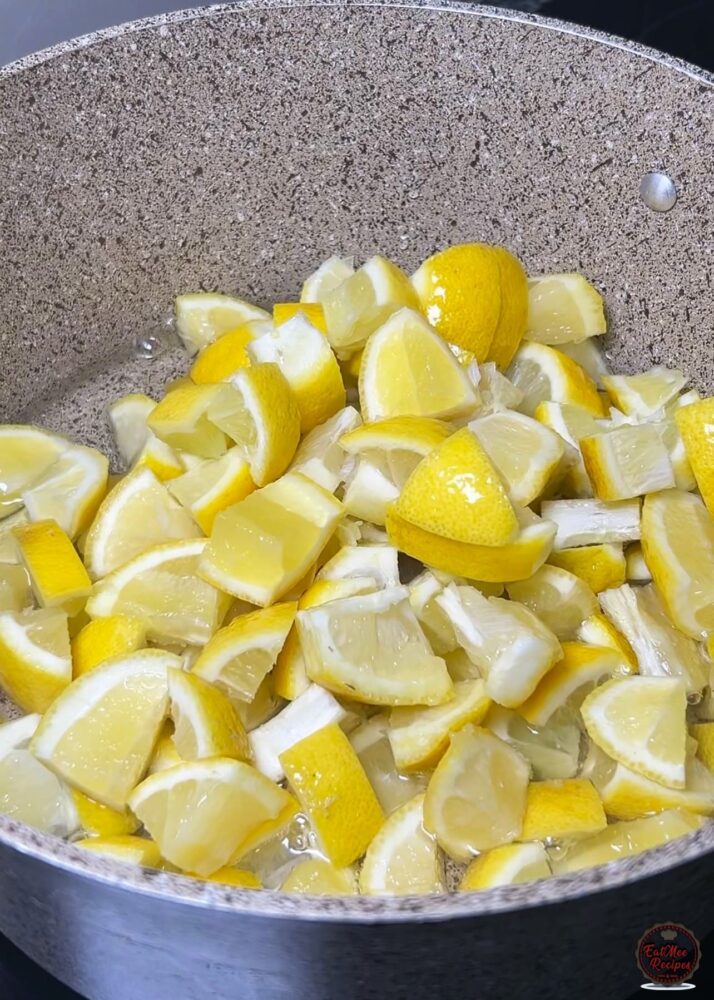
Add the chopped lemons and stir to coat them in the syrup.
Cover and cook over medium-high heat for 3 minutes.
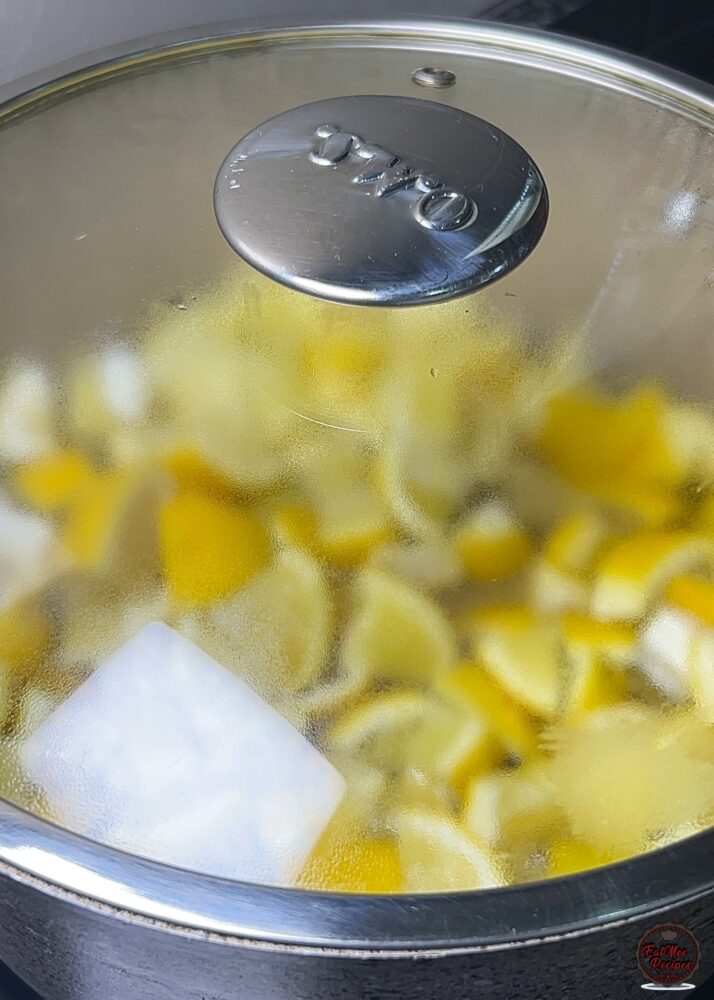
Remove the lid and continue cooking for 10 minutes, stirring occasionally. The lemons should be tender but still hold their shape, you don’t want them to become too soft or mushy.
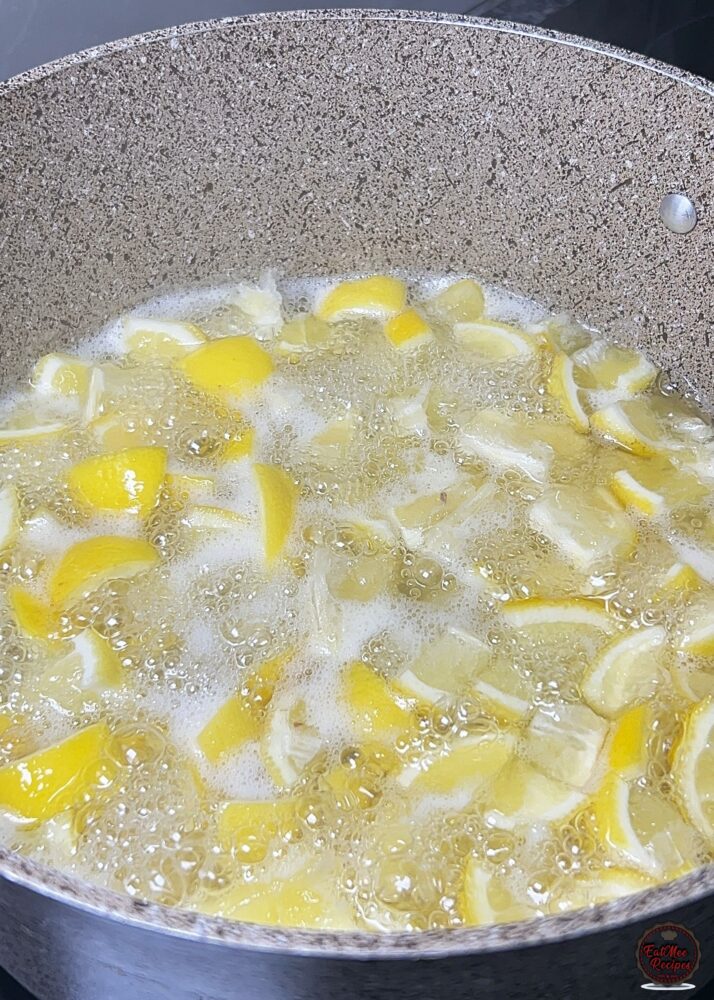
Remove from the heat and allow the lemon mixture to cool completely.
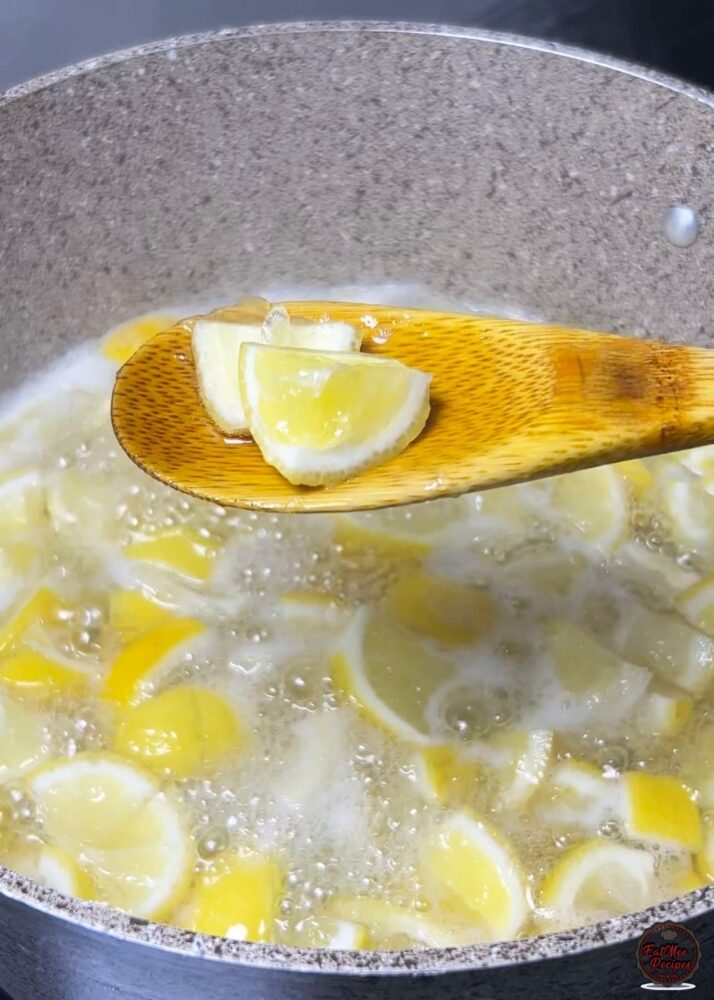
Once the lemon mixture has cooled, prepare the hot tempering.
Heat the vegetable oil in a pan over medium-high heat. Add the curry leaves, cinnamon sticks and mustard seeds.
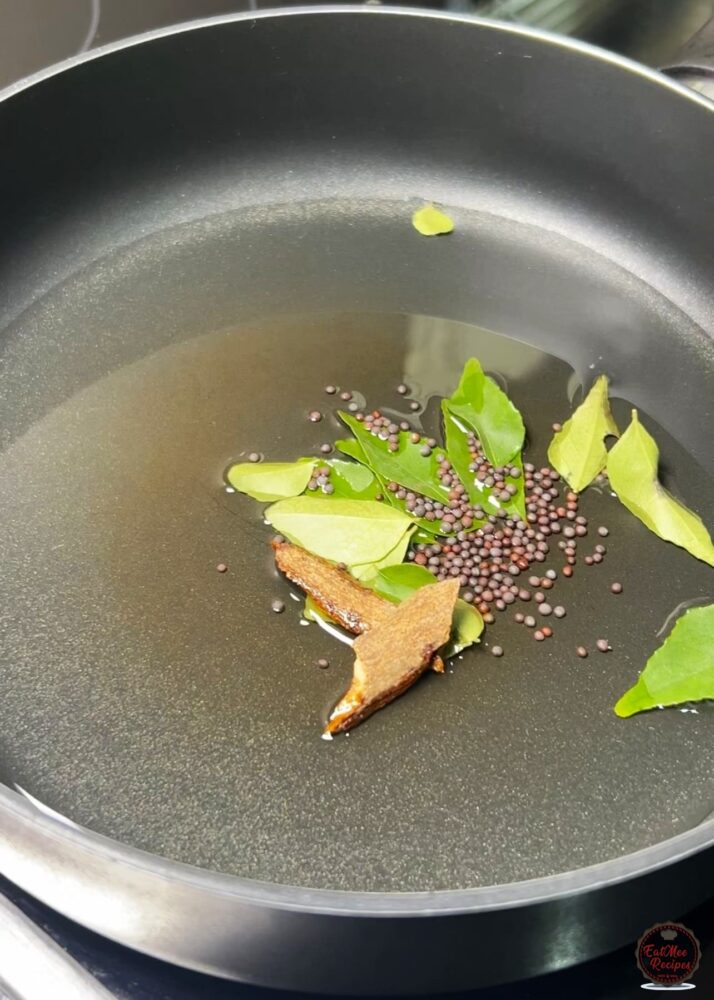
Stir and sauté until the mustard seeds begin to pop.
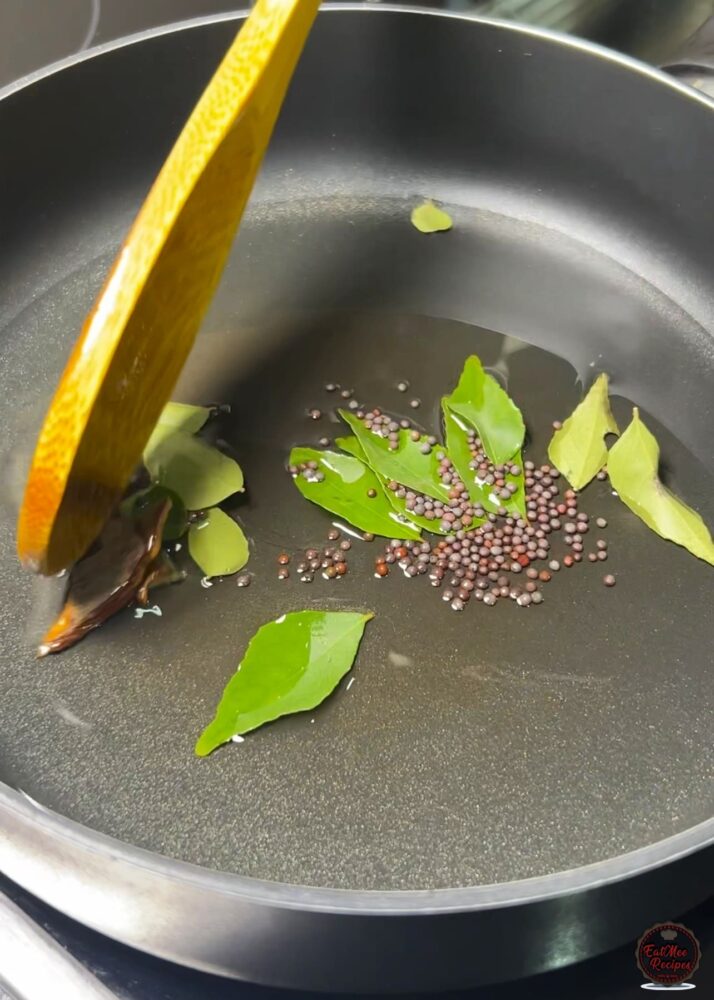
Add the wet pickle masala and chilli flakes.
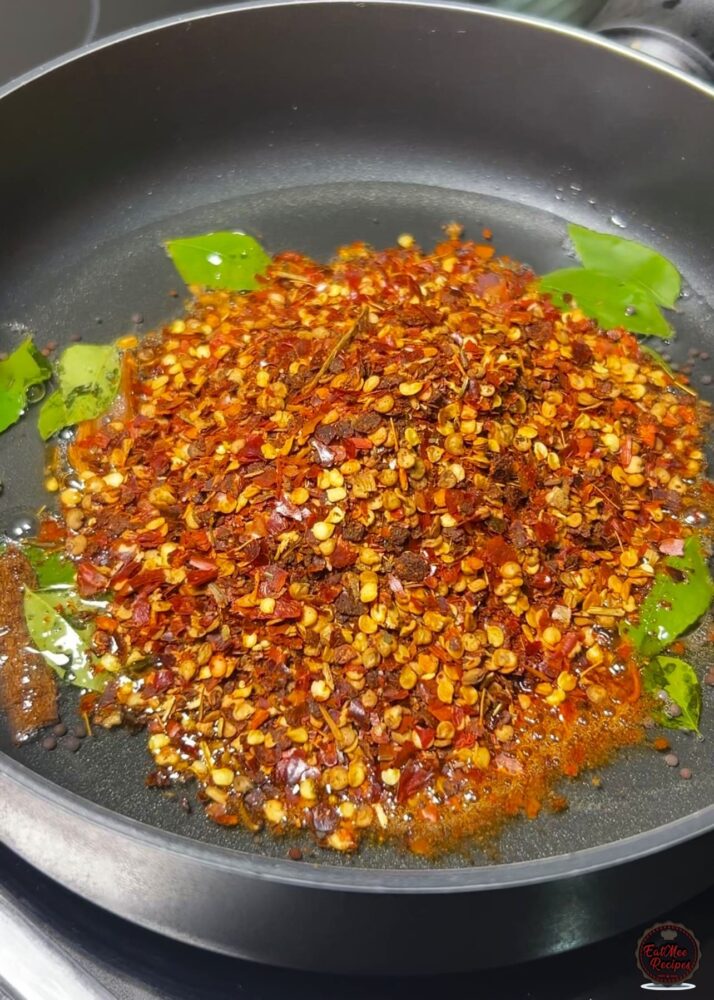
Mix well and cook for 2 minutes, allowing the spices to cook in the oil.
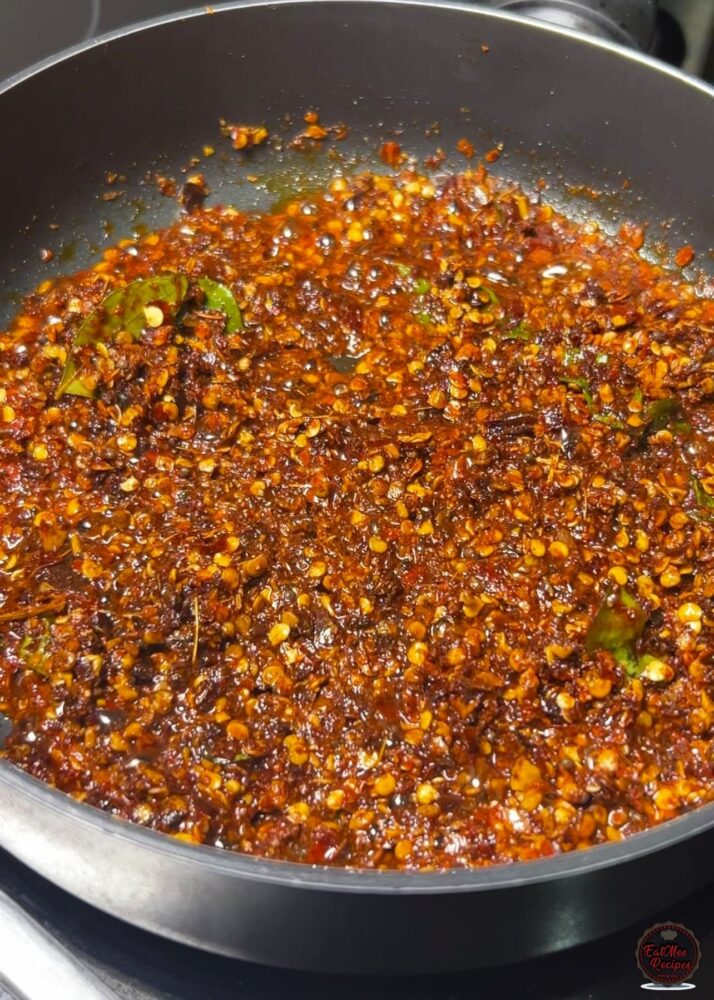
Pour the hot pickle mixture into the cooled lemon mixture.
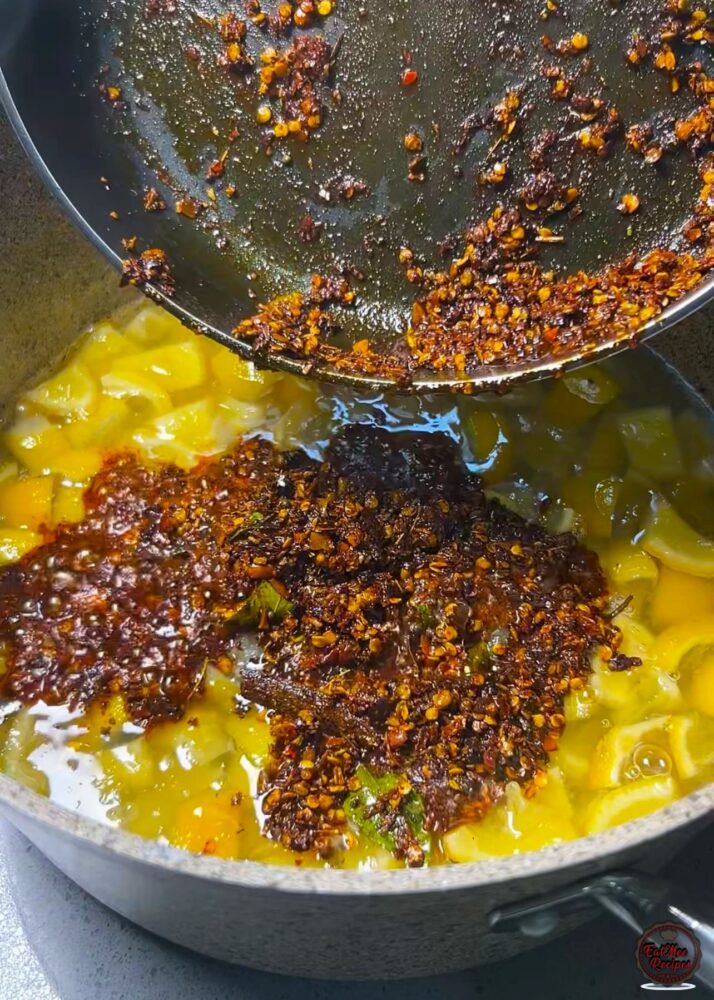
Mix thoroughly until everything is well combined.
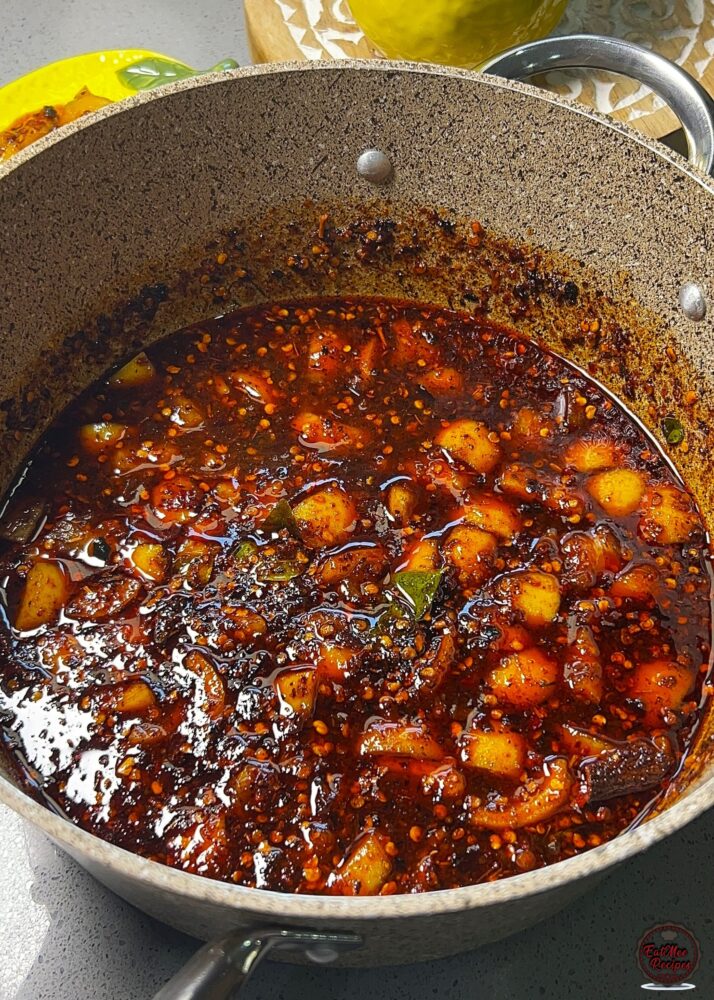
Allow the pickle to cool completely before transferring it to a clean, dry jar.
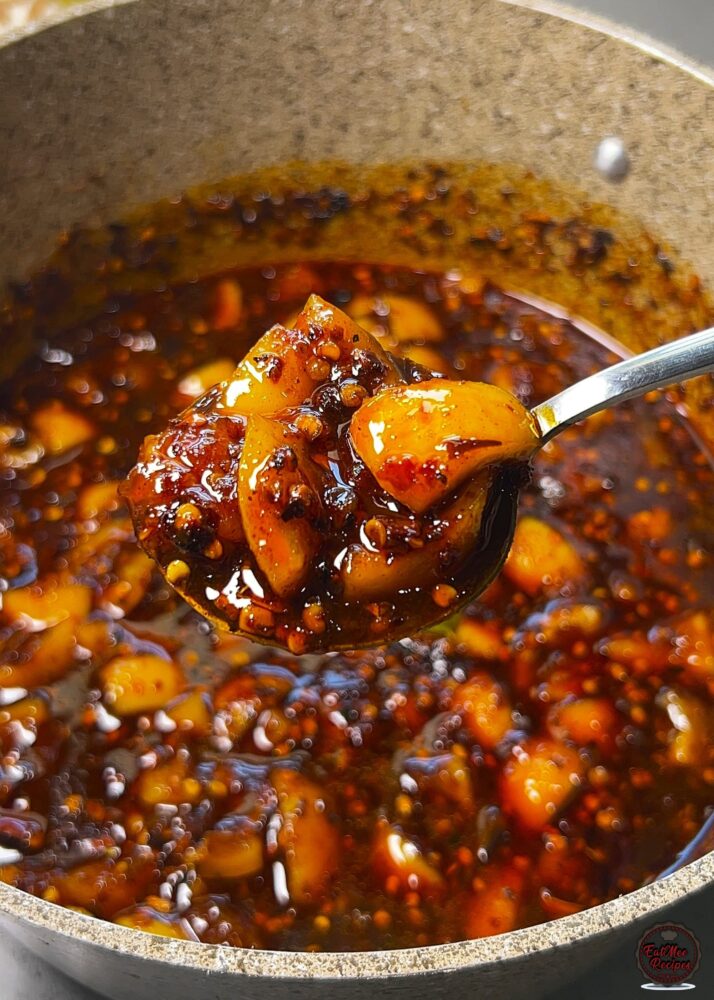
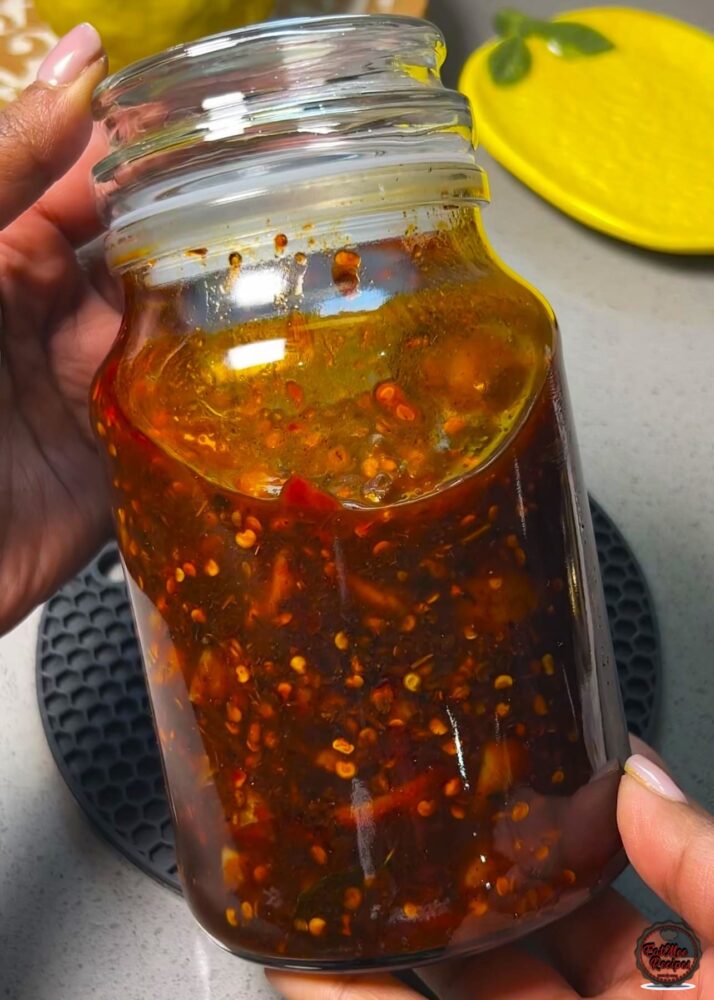
The pickle may seem a little loose when you first bottle it, but it will thicken as it rests. Allow it to sit for at least 24-48 hours for the flavours to develop and the consistency to settle. It will continue to mature and thicken over the following days.
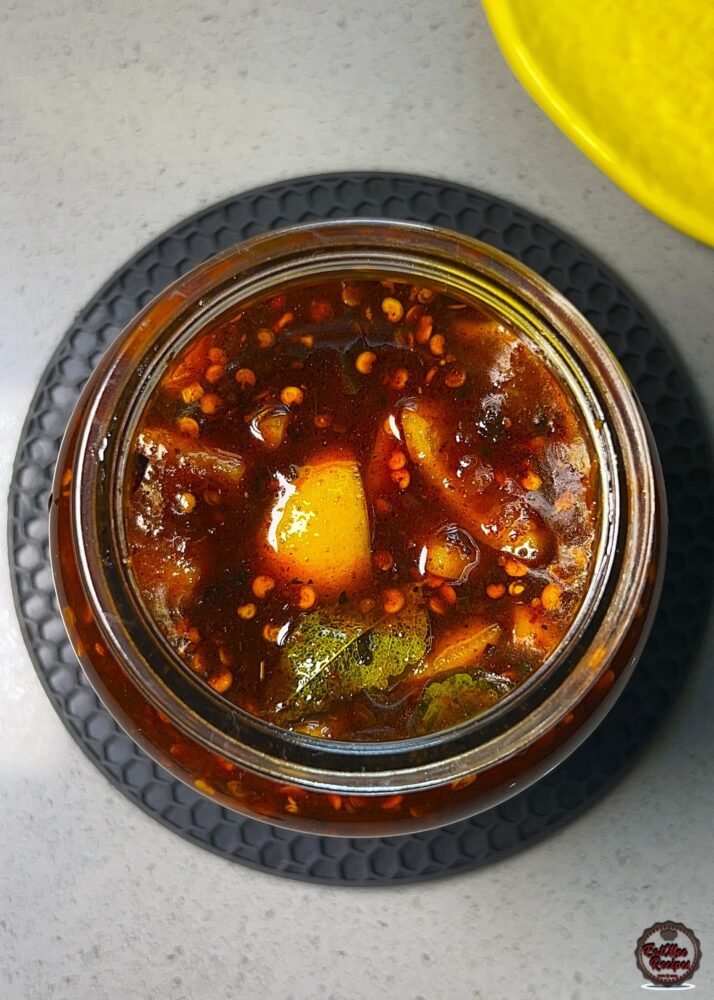
For the best quality, use within a few weeks and refrigerate after opening. If you notice mould, fermentation, an unusual smell or any other signs of spoilage, discard it.
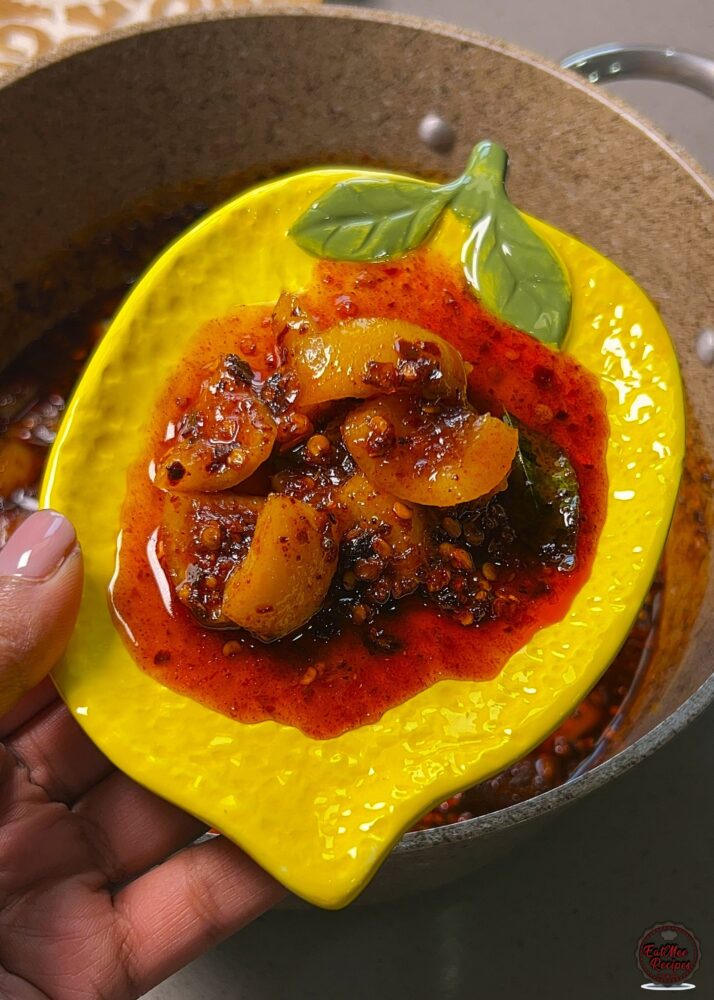
Mum’s lemon pickle is perfect alongside a traditional Indian meal. A little goes a long way because of its sweet, sour and spicy flavour – although, if you’re anything like us, you might find yourself going back to the jar for just one more spoonful.
Follow along with Denisiya's step-by-step video guide for Mum’s Lemon Pickle.
Expert kitchen guidance and troubleshooting for making the best Mum’s Lemon Pickle
This is completely up to you! We like ours spicy, which is why this recipe uses ½ cup each of wet pickle masala and chilli flakes. For a milder pickle, simply reduce the amount of pickle masala and/or chilli flakes to suit your taste. You can adjust both according to your preferred heat level.
Store in thoroughly sterilized, airtight glass jars in a cool, dark place or in the refrigerator. Always use a clean, dry spoon to serve. Properly preserved pickles can last for 6 months to a year.
Yes, sterilizing jars in boiling water or a warm oven ensures no bacteria or moisture remains, preserving the flavor and preventing spoilage.
Hi, I'm Denisiya! Food lover, recipe developer, and founder of EatMee Recipes. I specialize in authentic South African Durban Indian cuisine, comforting curries, and modern Instant Pot adaptations. Every recipe on this site is tested in my personal kitchen to ensure you get mouth-watering, foolproof results every time.
Explore more authentic Durban curries, traditional bakes, and comforting family favourites.
 Pickles
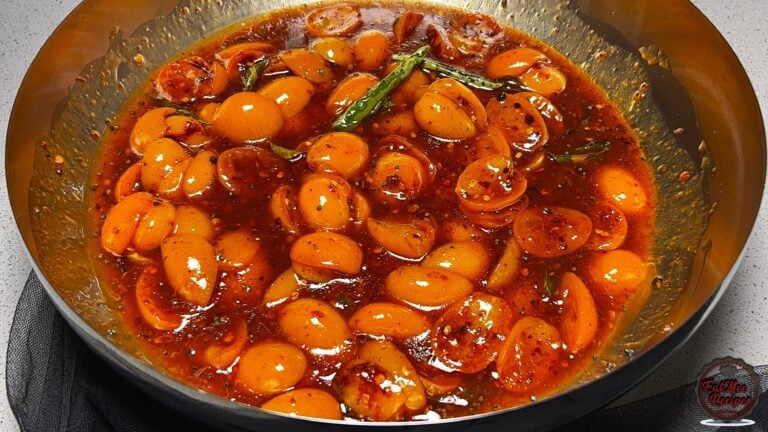
One of my favourite things about kumquat season is making a fresh batch of pickle. The com...
 Indian Cuisine
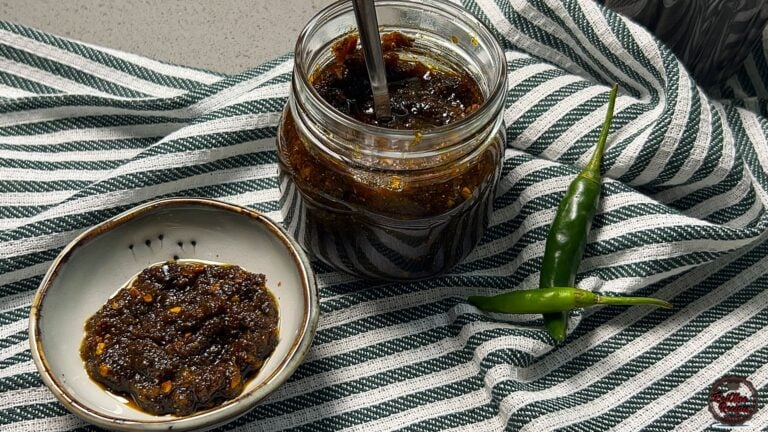
A bold, fiery favourite made in small batches, this crushed chilli pickle is rich, punchy,...
 Indian Cuisine
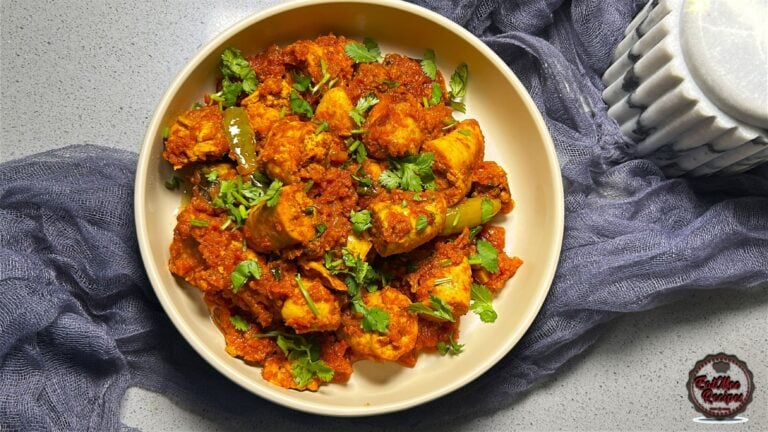
My mum is sharing another one of her much-loved traditional South African Indian recipes. ...
Have you tried this recipe or have questions for Denisiya? Join the conversation below.
No comments yet. Be the first to share your thoughts on this recipe!
Leave a Comment
Your email address will not be published. Required fields are marked *